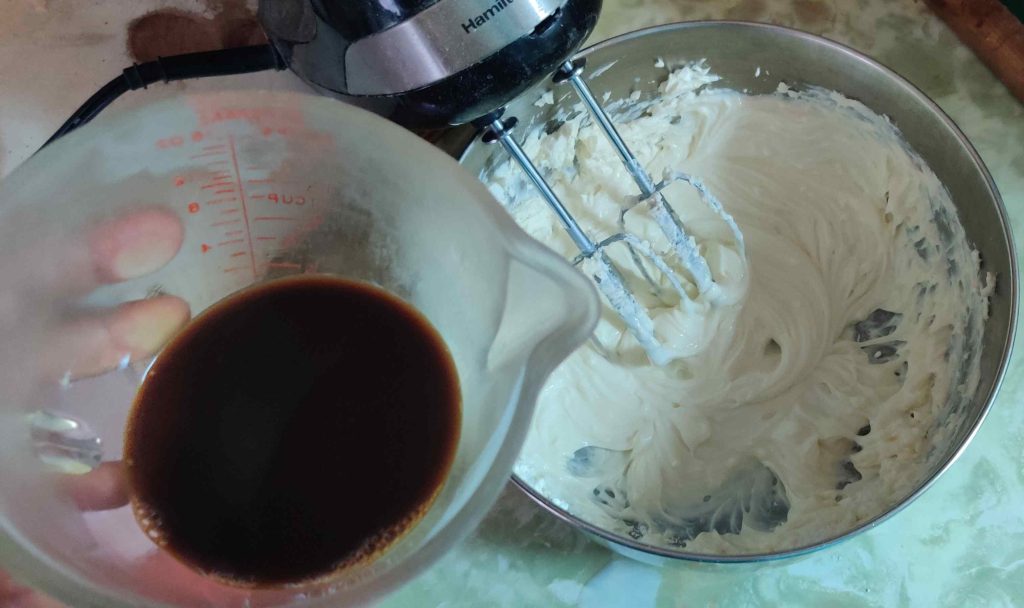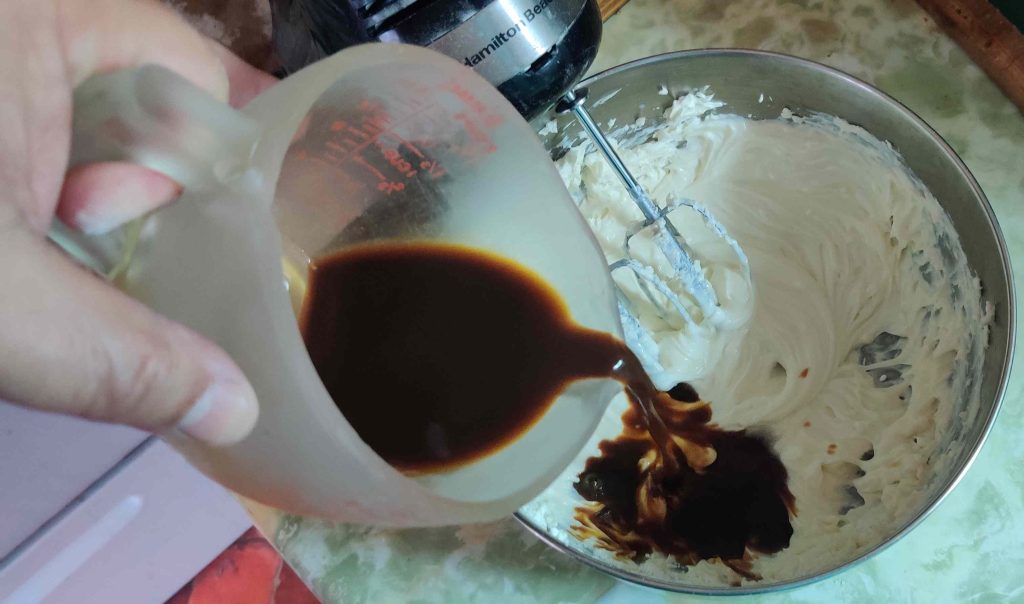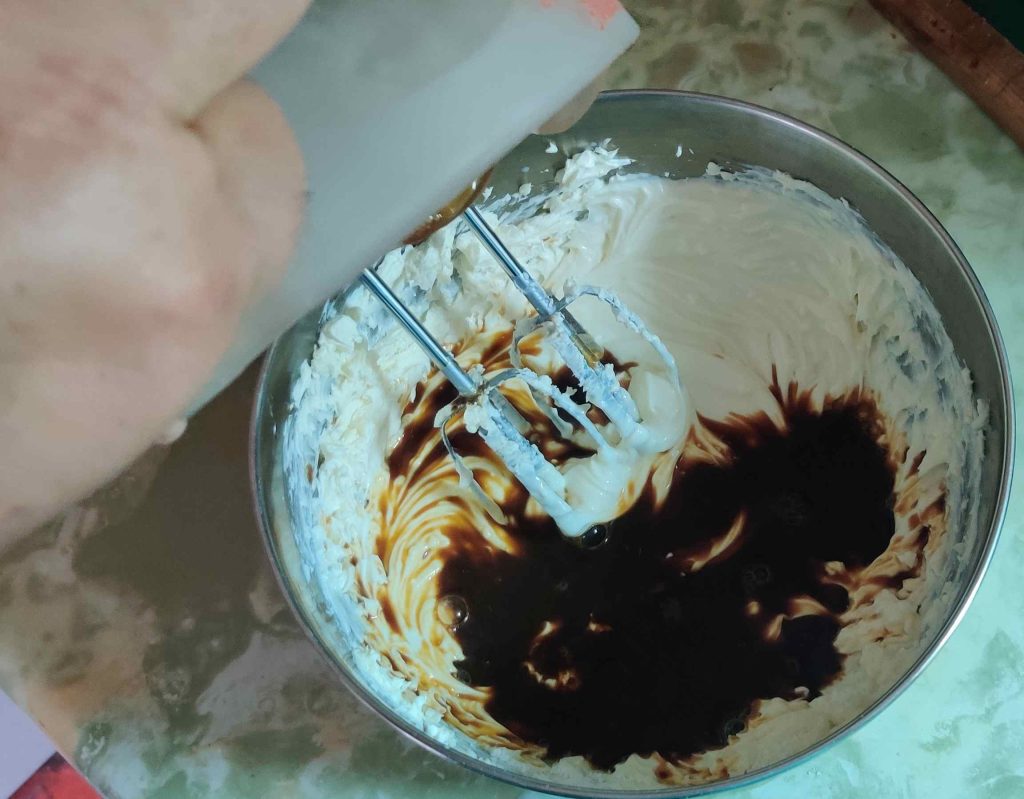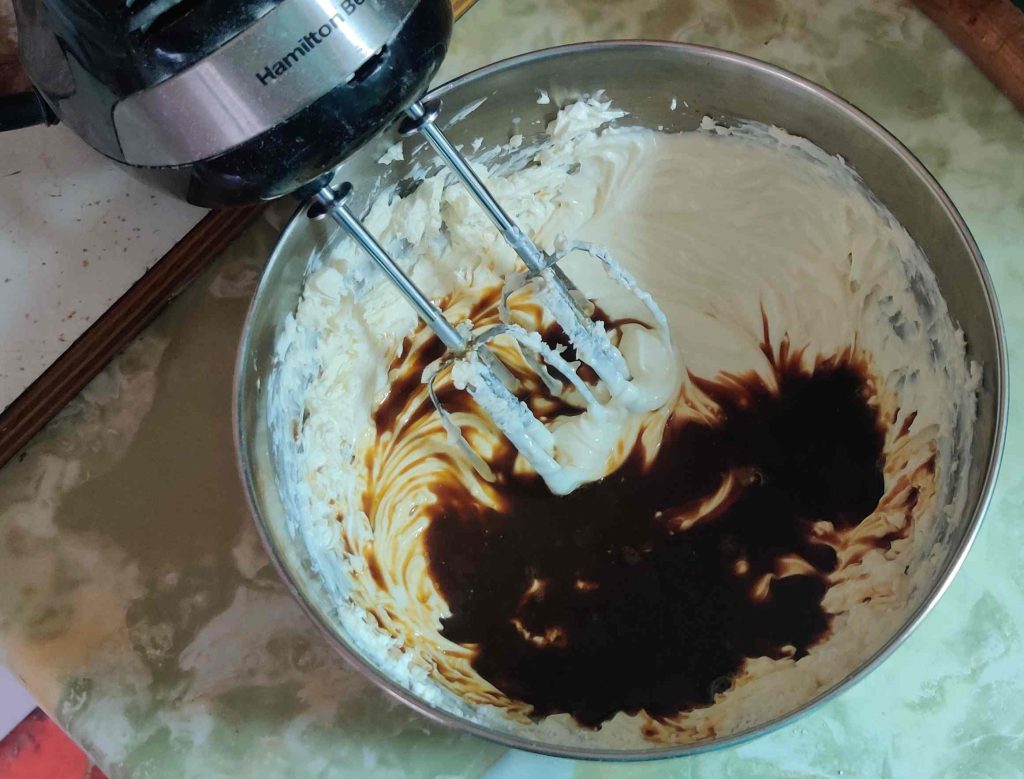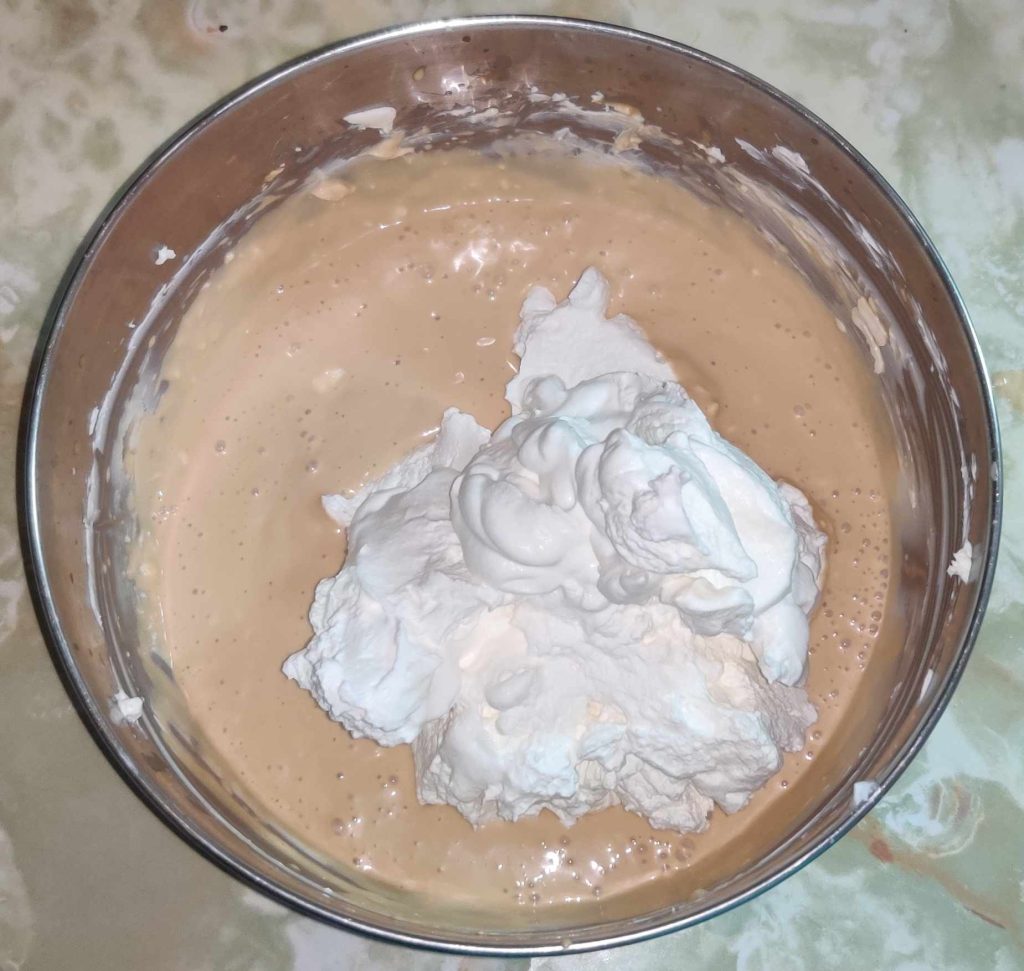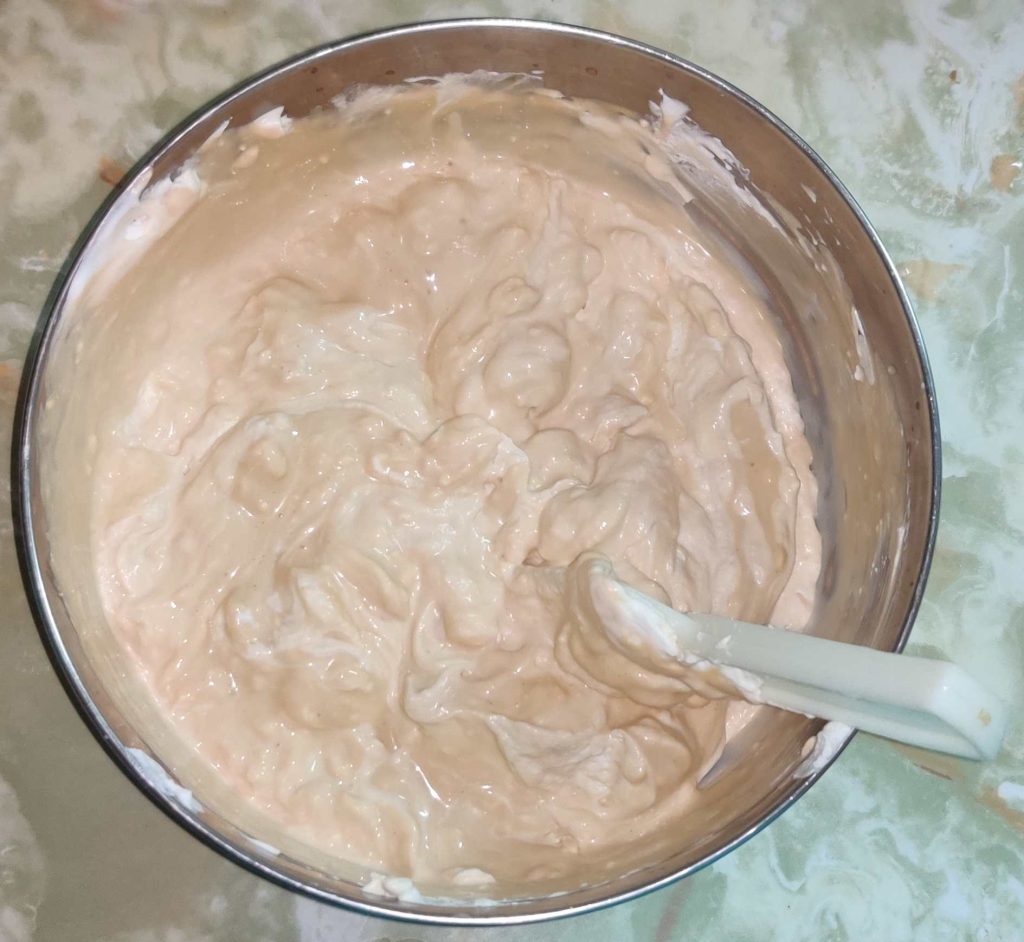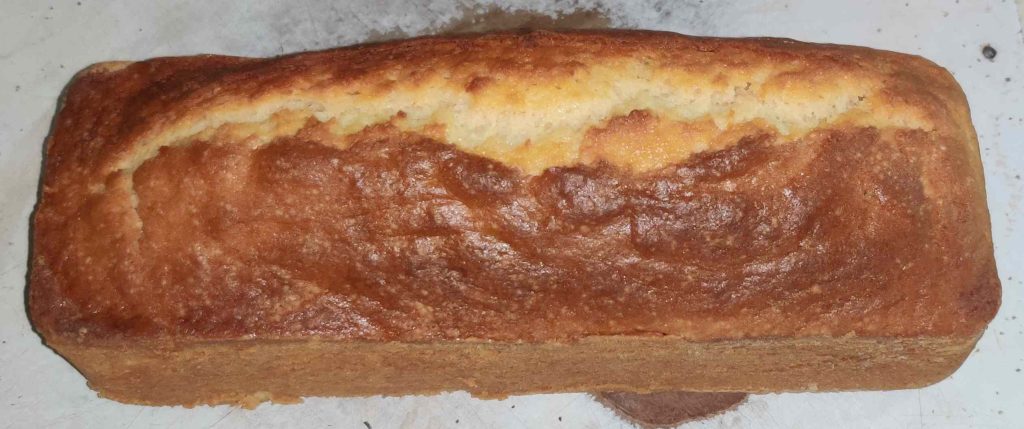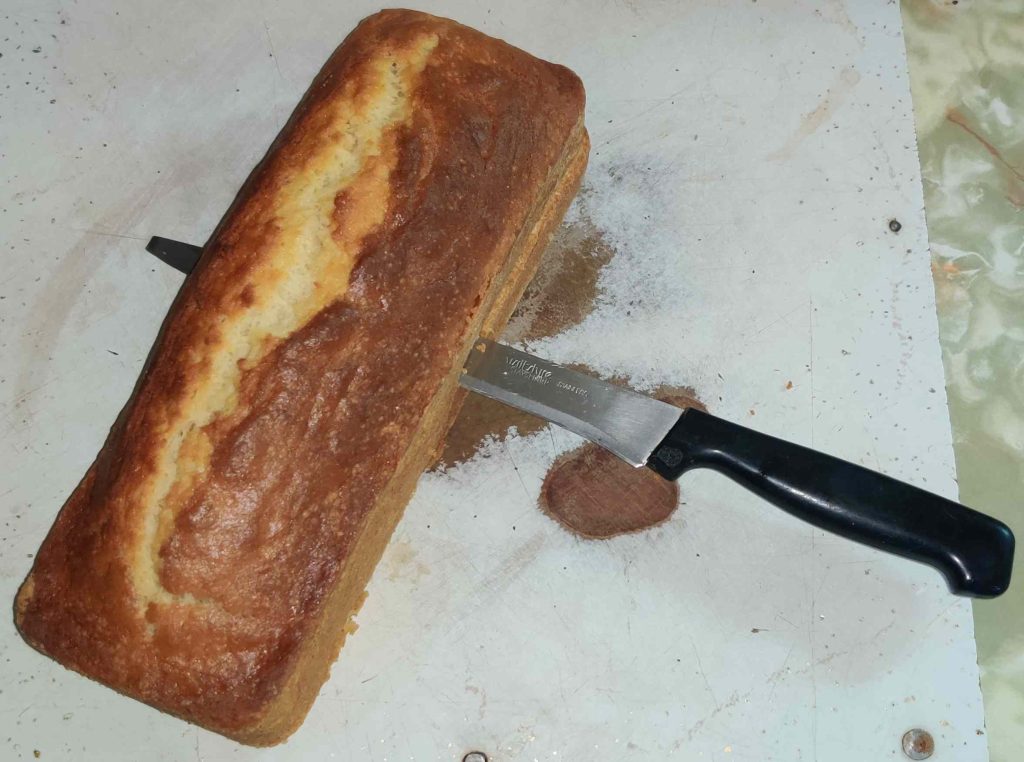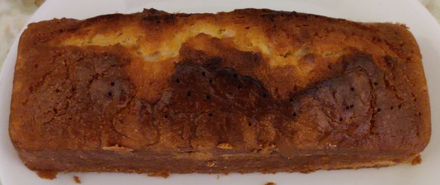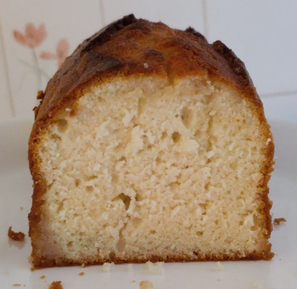
Making Date Squares — Photos

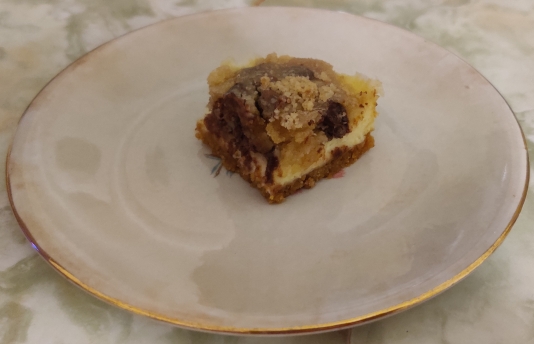
This recipe was developed and added to my collection of recipes as a result of chatting with an online AI chatbot discussing church culture, during which the chatbot listed at one point some typical desserts to be found at church potluck luncheons. It listed the item which is the subject of this post as “Matrimonial Squares”. My interest was piqued because I did not know what “Matrimonial Squares” were, as well as said name telling me nothing of what the dessert was. As such, I bemusedly asked whether it was a dessert to be typically served as part of a wedding feast, or if there was something somewhat more prurient to them along the lines of being considered an aphrodisiac! I got a response along the lines of their description — date squares! — and how the name was a florid and traditional name meaning how well all the parts “marry together to make an ideal dessert”, an absolutely church-safe name. 🙂

Incidentally, this recipe is vegetarian tending toward vegan if you use margarine (as I did) instead of butter.

This batch was the second batch made at the cottage during my holidays, and will likely be served at the lake association BBQ later this week.

Setting up:

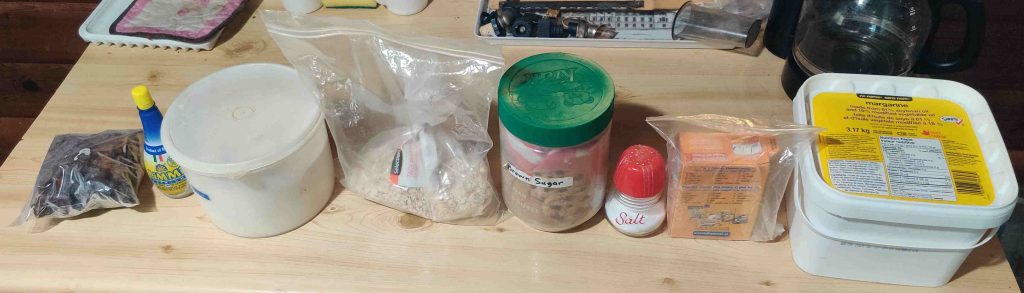
First, I decided to take out all the ingredients:

Ingredients taken out

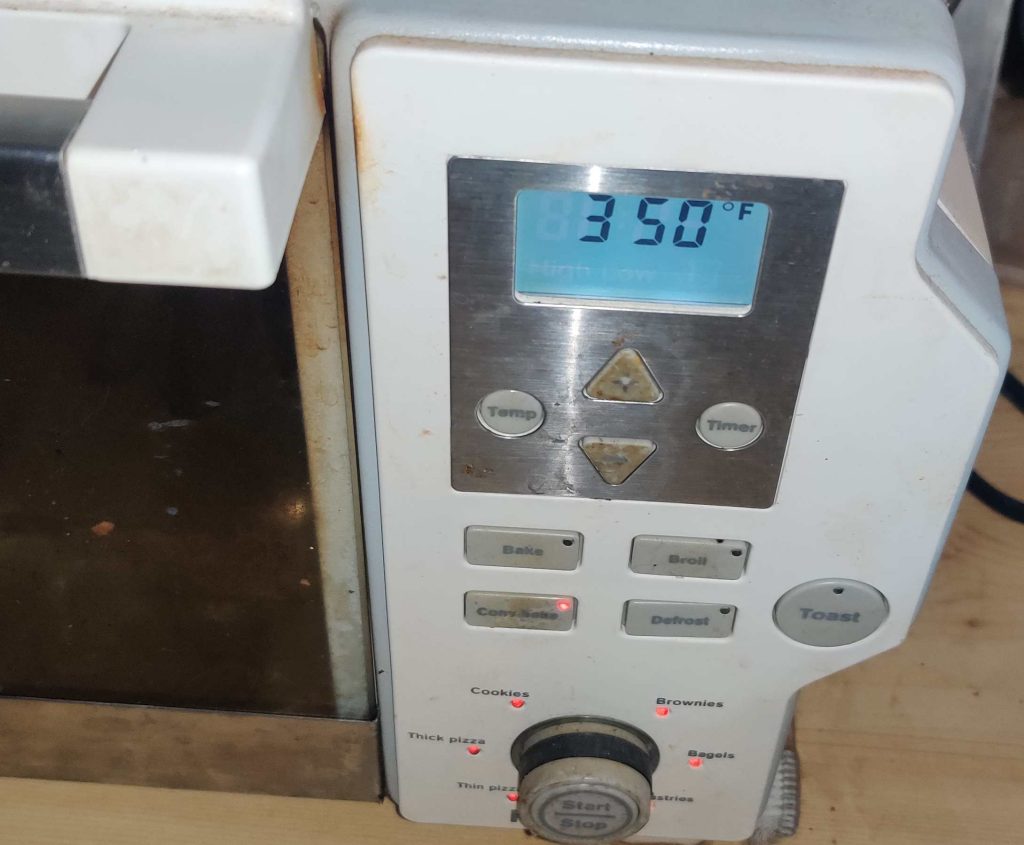
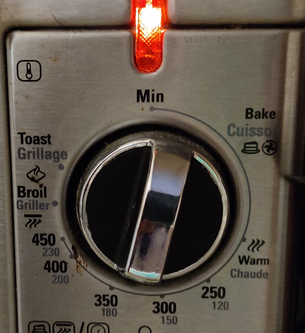
Although I actually did this a little later, now is a good time to preheat the oven:

Preheating oven

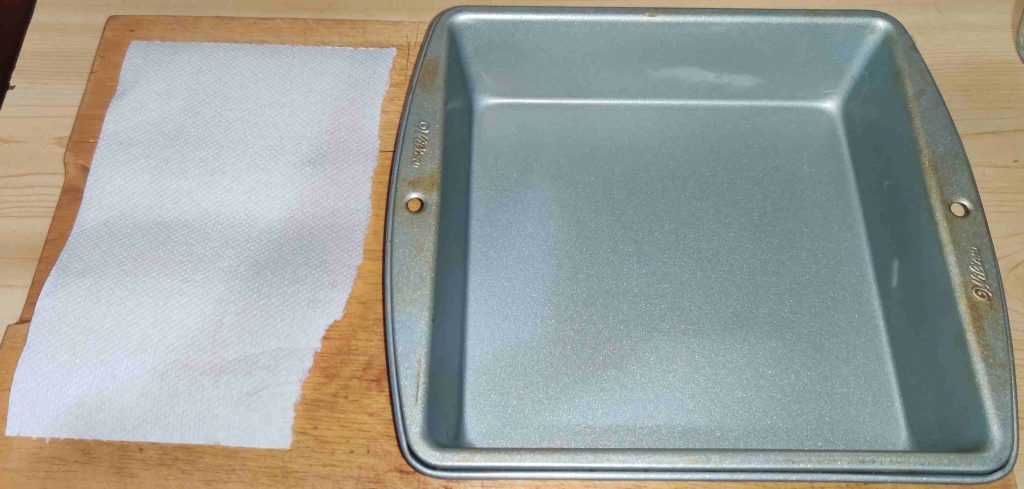
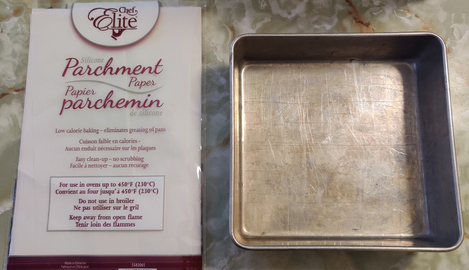
An 8″ x 8″ baking pan and a piece of paper towelling were taken out:

Paper towelling and baking pan taken out

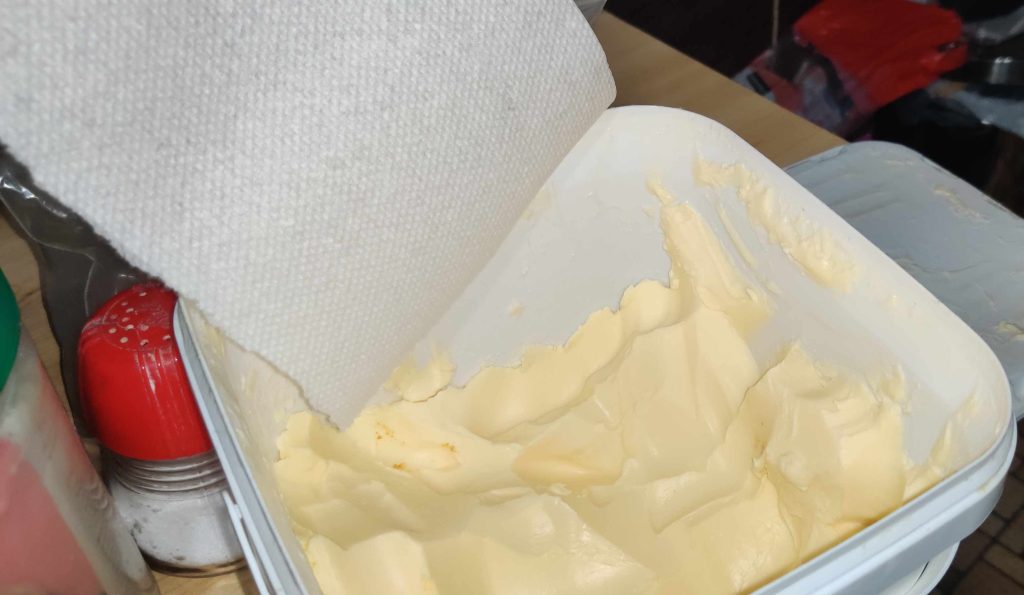
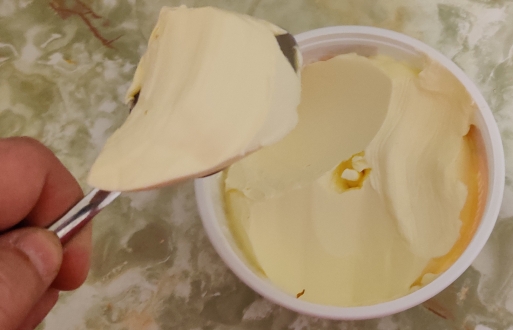
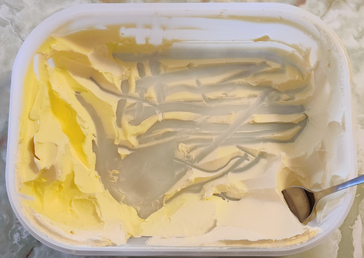
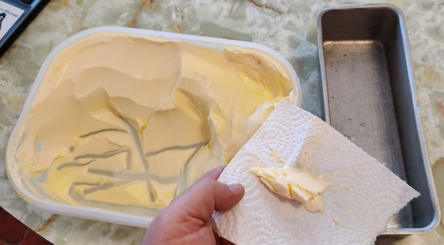
The paper towel was taken over to the tub of margarine, and some margarine was scooped up with my hand and the paper towel:

Paper towel taken over to tub of margarine

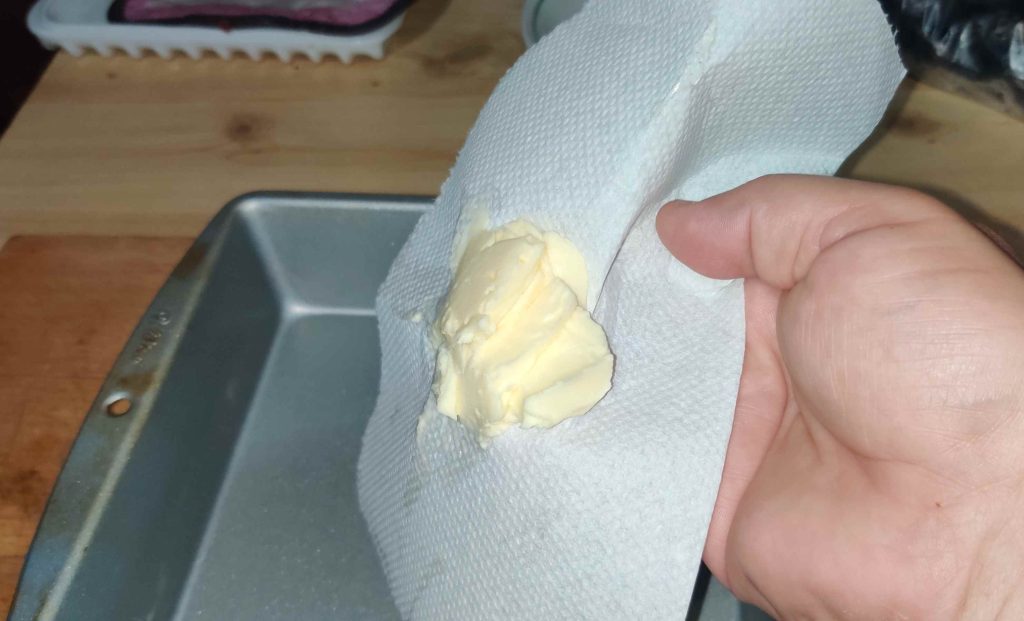
The paper towel and margarine were taken over to the baking pan:

Paper towel and margarine taken over to the baking pan

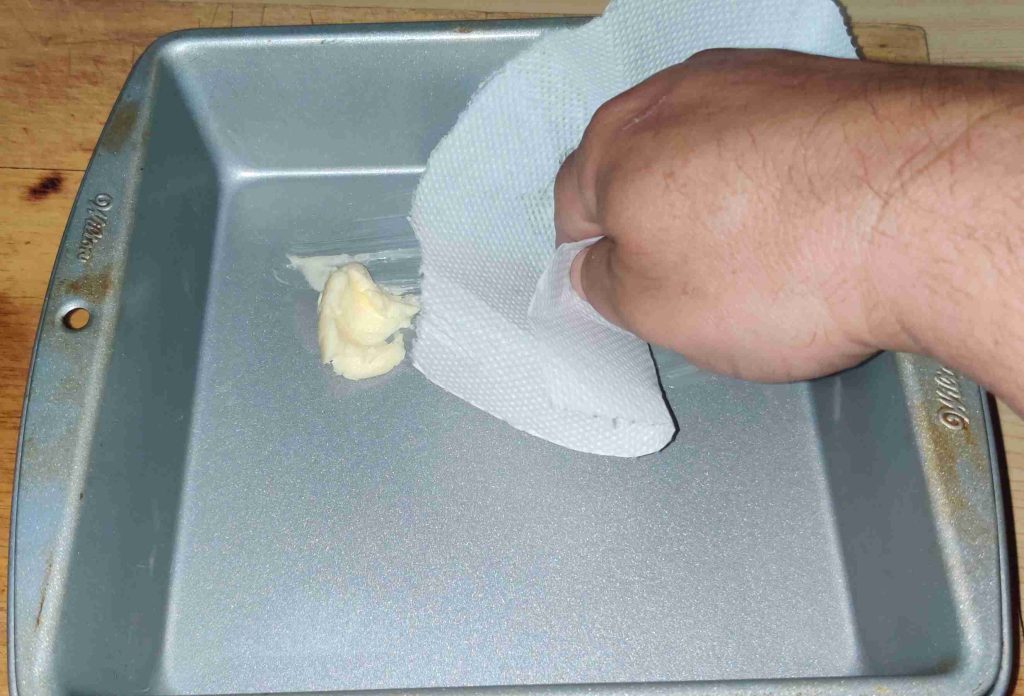
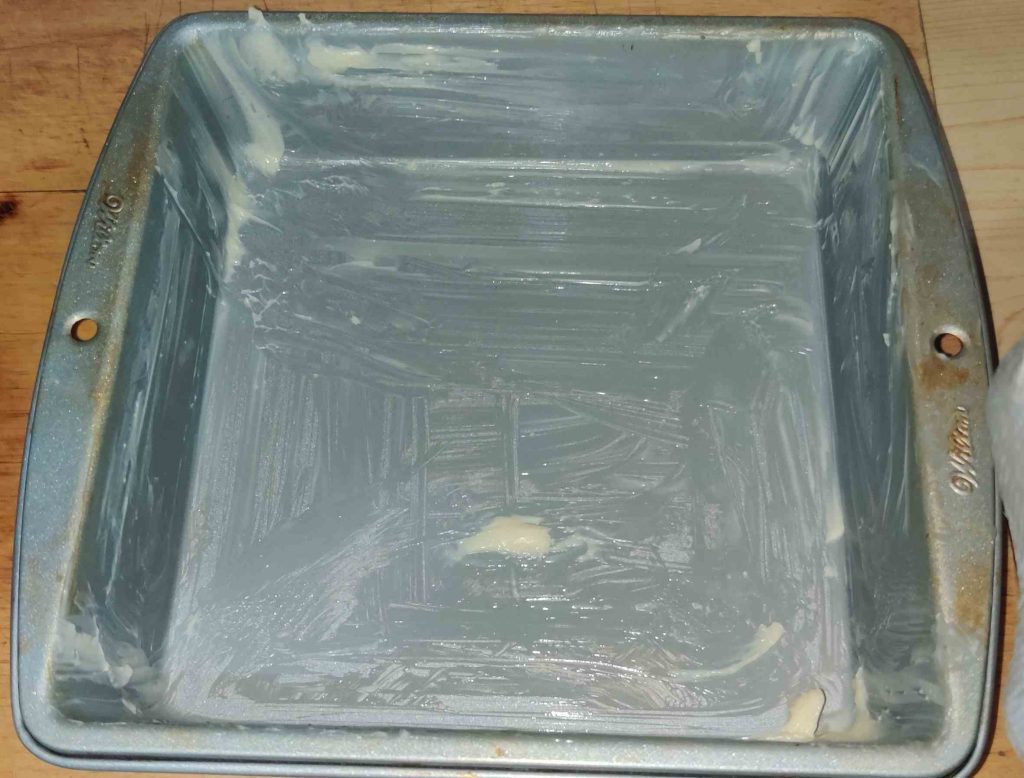
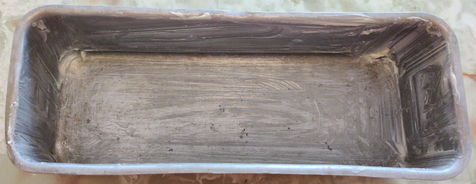
… and the margarine was slathered onto the surfaces of the baking pan:

Margarine slathered over all surfaces in the baking pan

The baking pan was put aside.

Preparing the date filling:

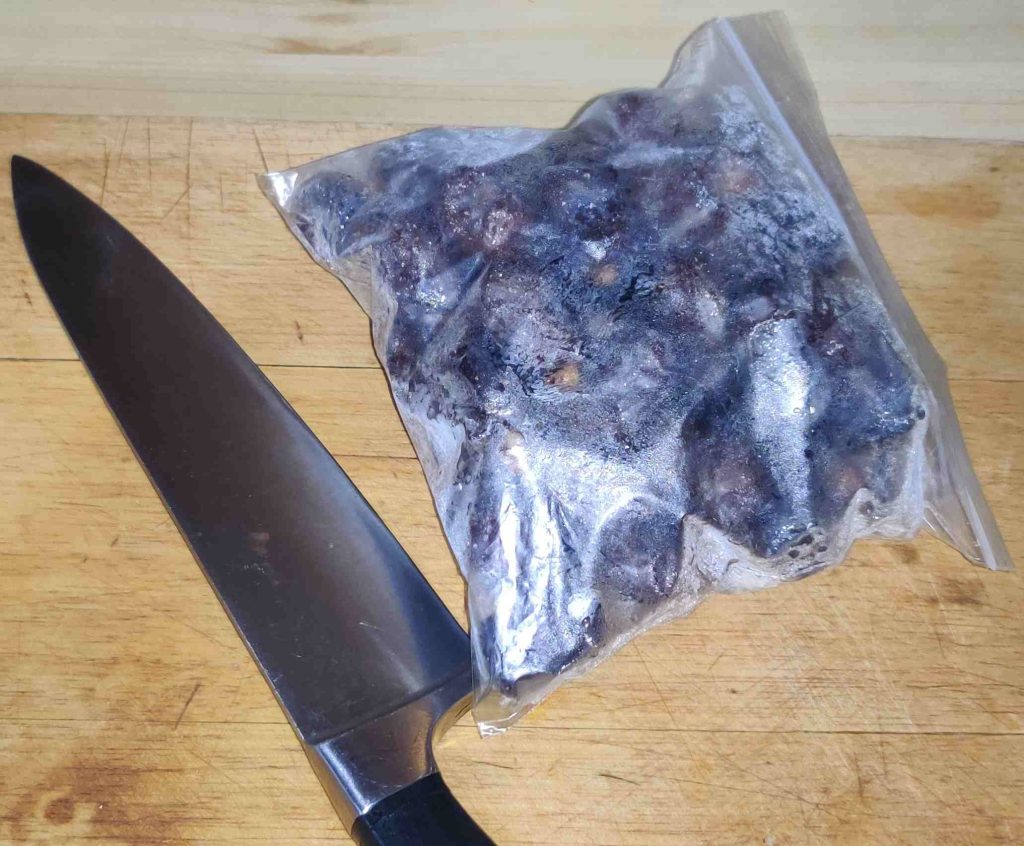
Dates and a knife were taken out — in this case dates I had been keeping in the freezer, hence the fuzzy condensation on the bag:

Dates and a knife taken out

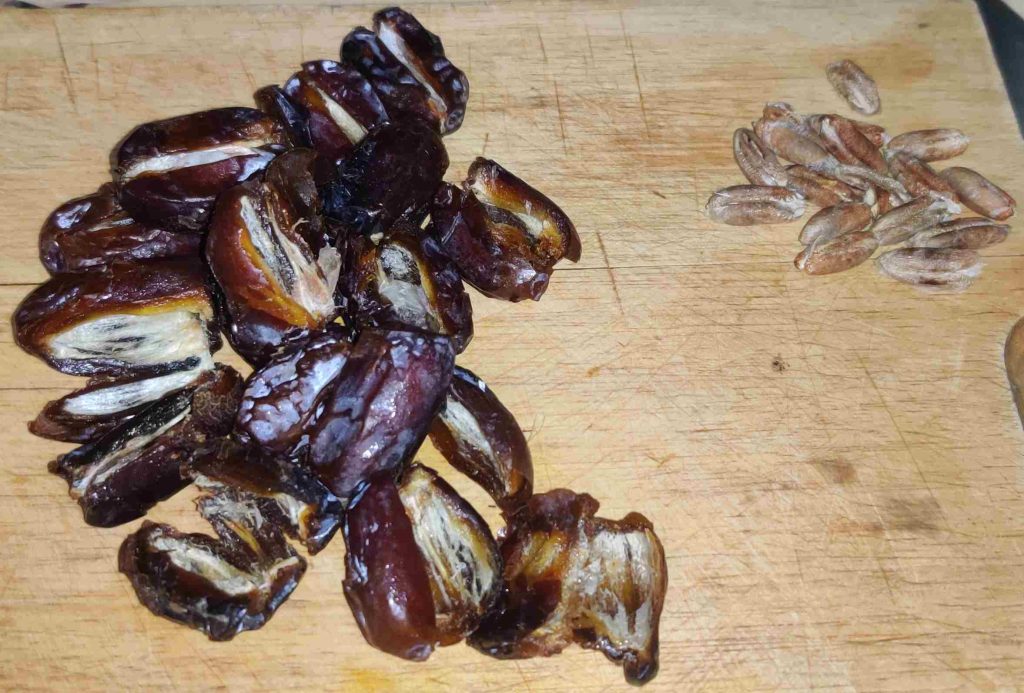
The dates were pitted:

Pitted dates

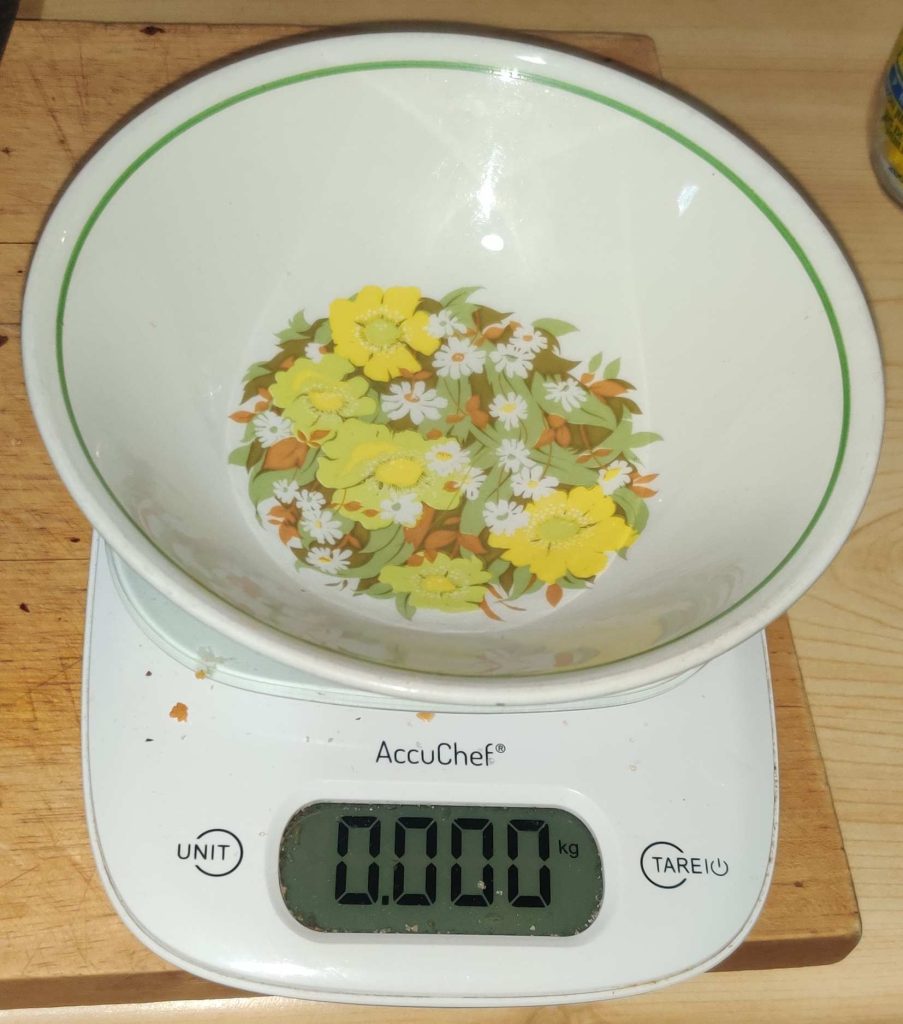
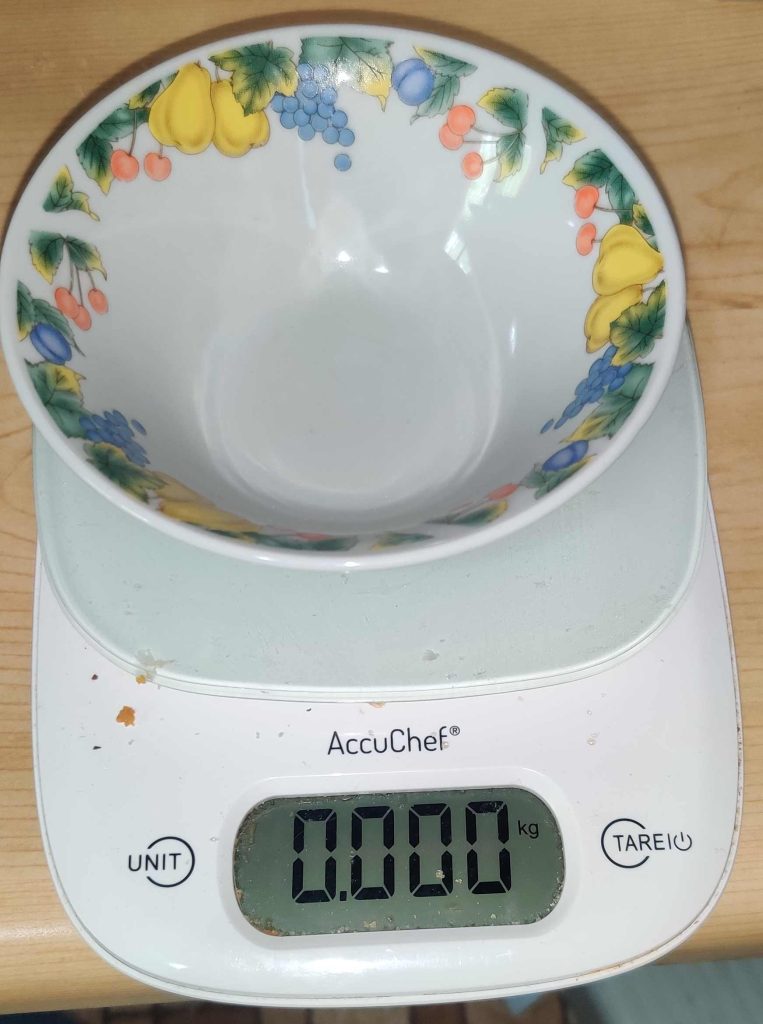
At this point, I took out a kitchen scale and a bowl, and set the reading to zero with the bowl on the scale …

Tare weight of bowl on scale

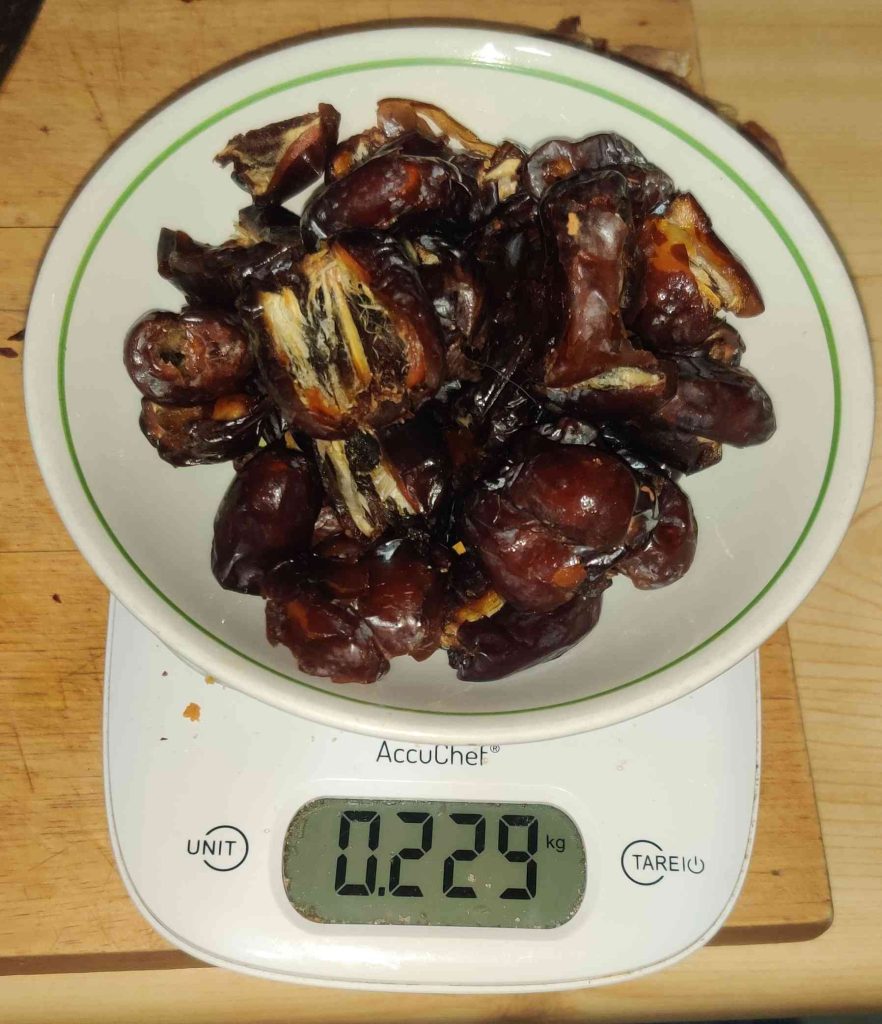
… so that I could weigh out the required amount of pitted dates, which I kept on pitting until I had enough pitted dates:

Weighed out pitted dates

At this point, I should have chopped the dates up a bit, but I forgot, and no matter.

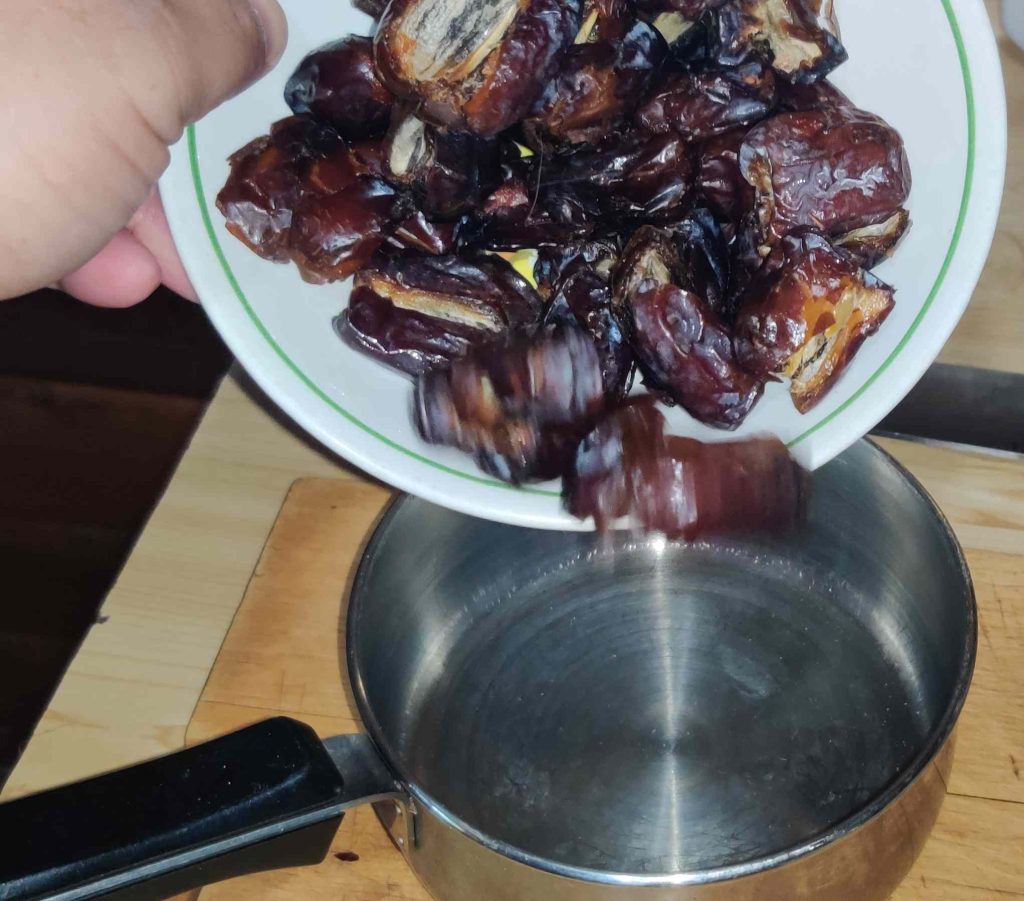
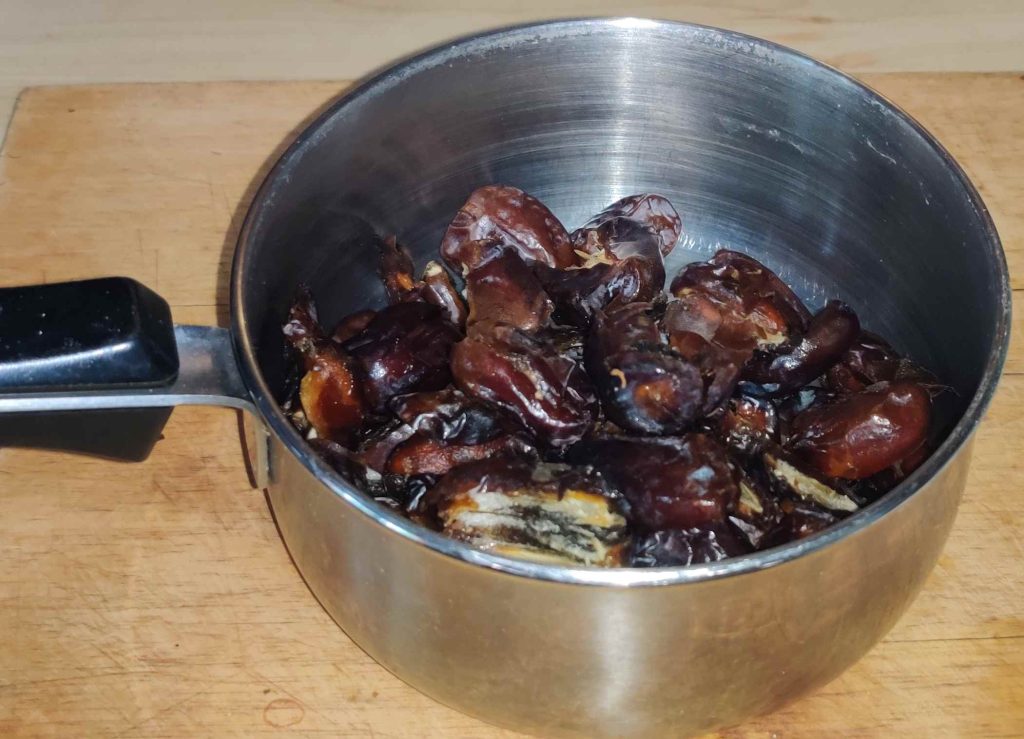
The pitted dates were transferred to a pot:

Transferring the pitted dates to the pot
Pitted dates transferred to pot

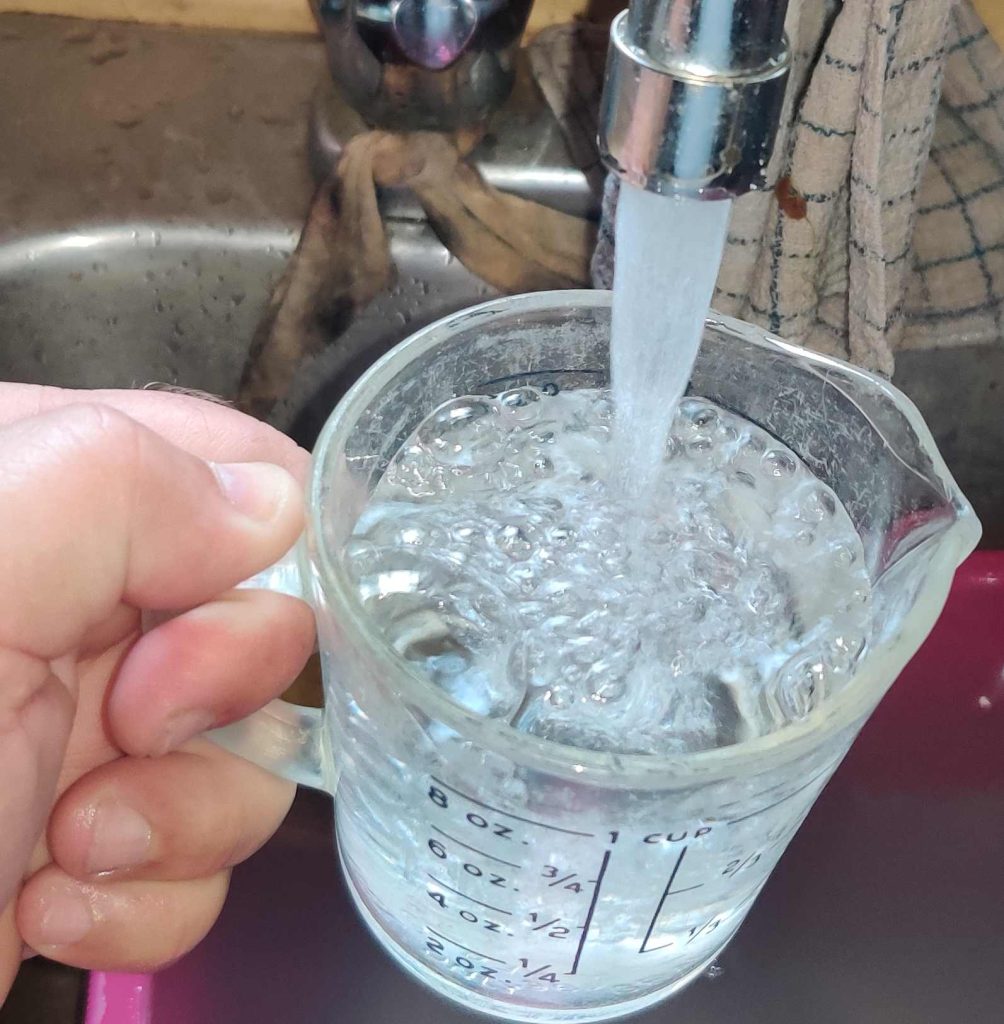
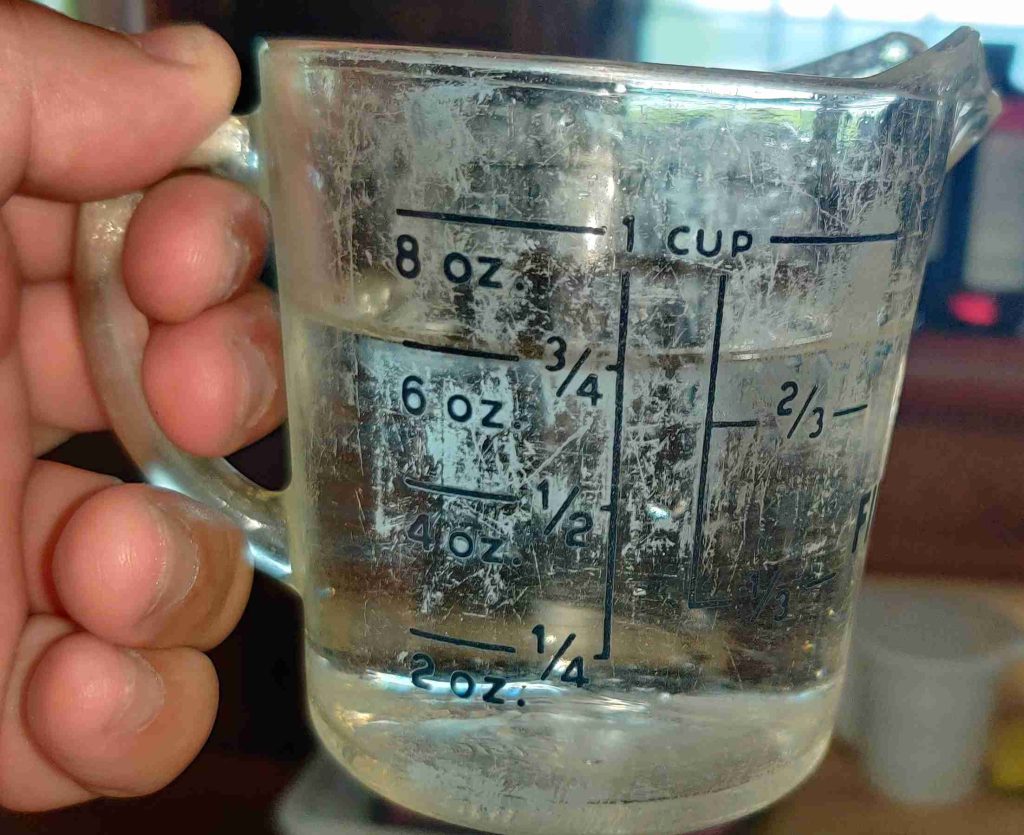
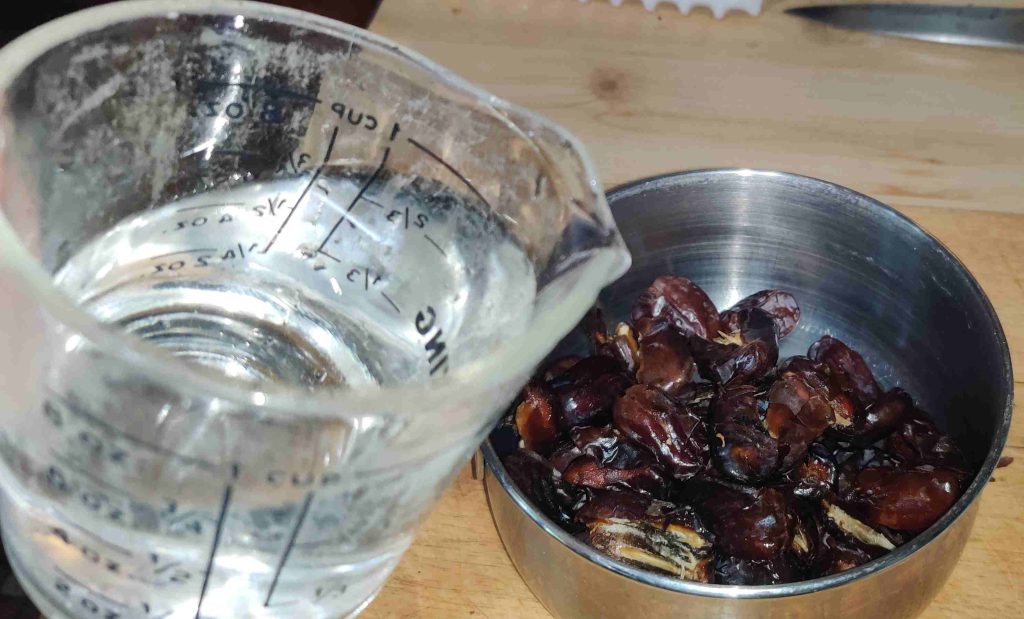
Water was measured out:

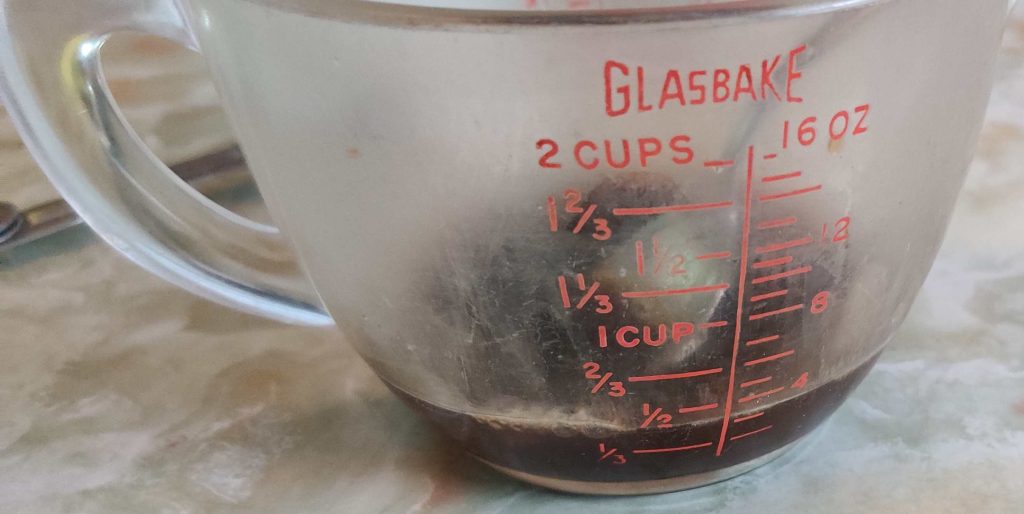
Drawing water into measuring cup
Water measured out

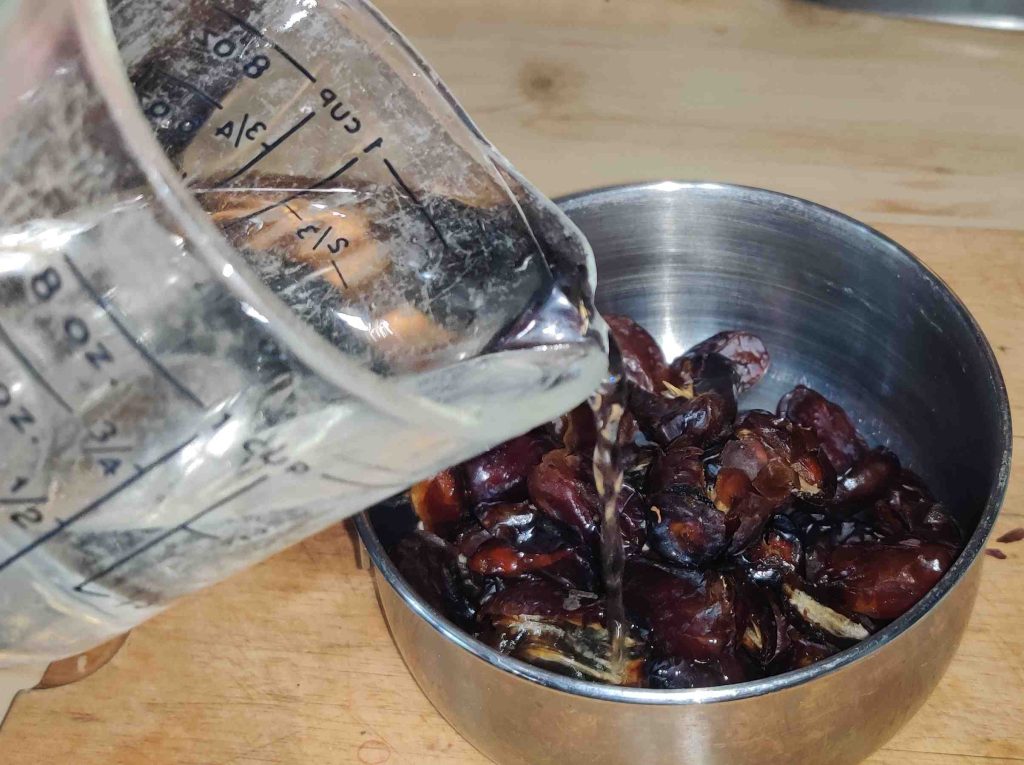
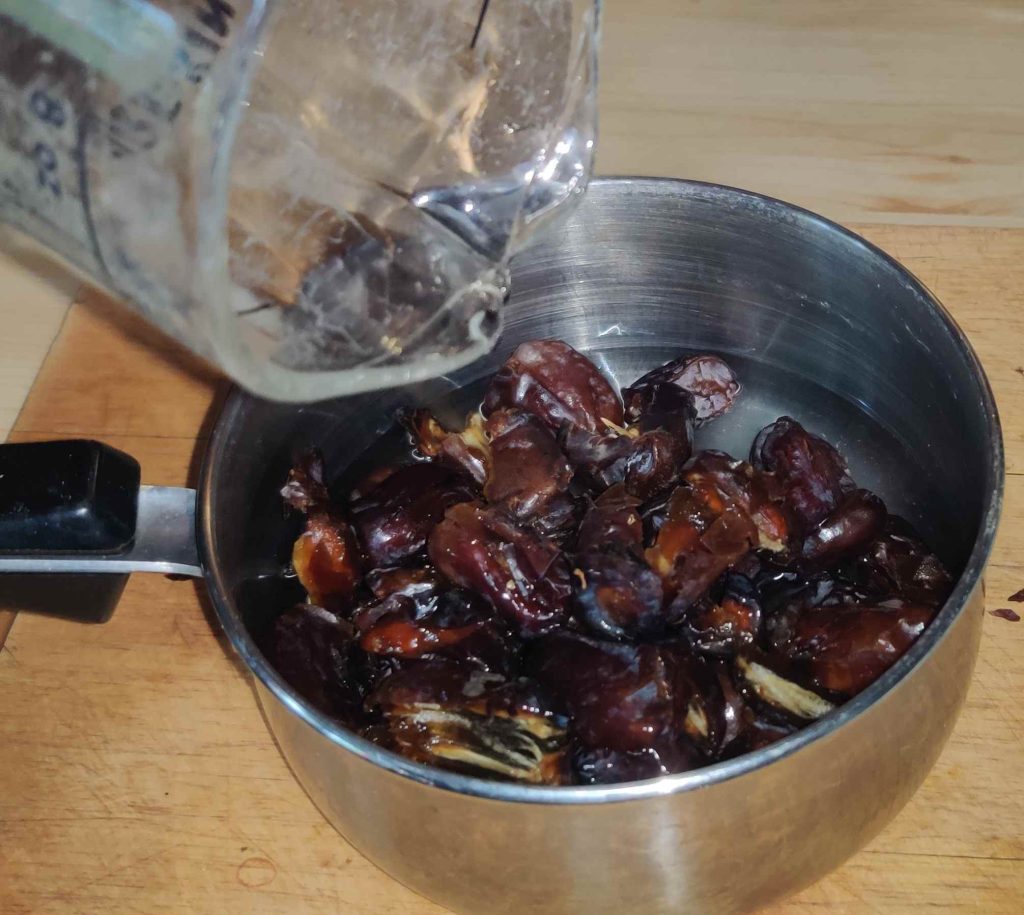
The water was transferred to the pot with the pitted dates:

Transferring water to pot with pitted dates

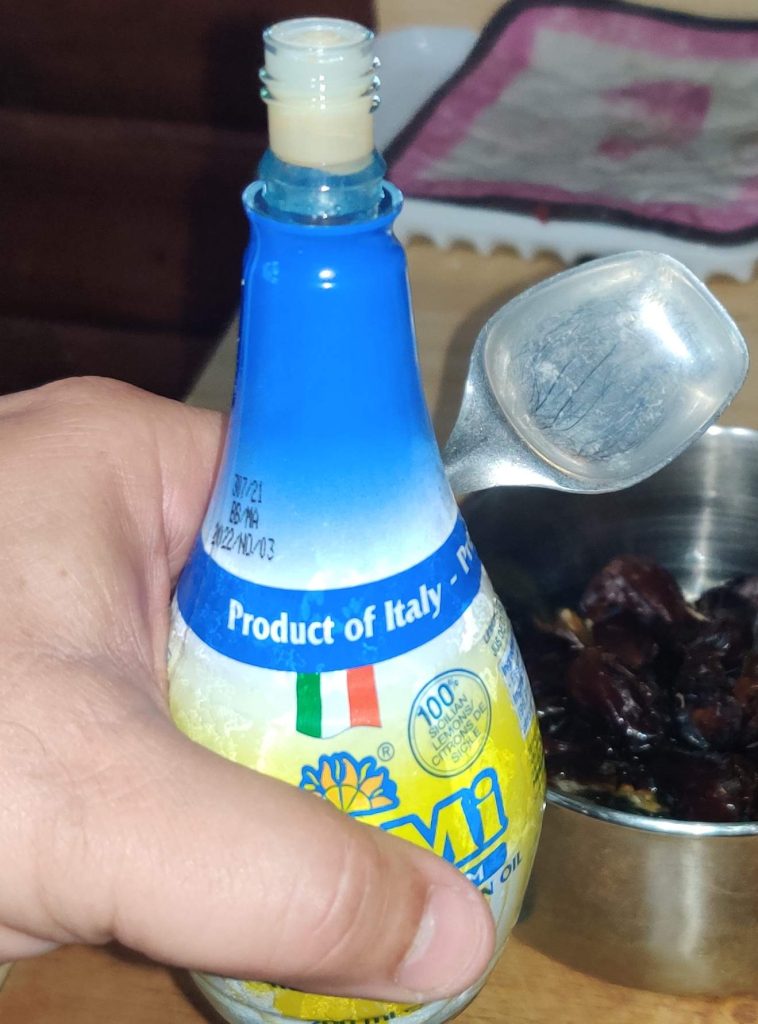
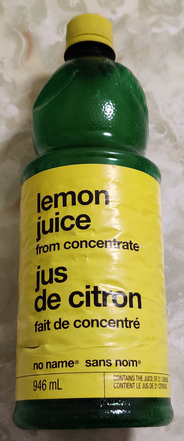
Lemon juice was taken out:

Lemon juice taken out

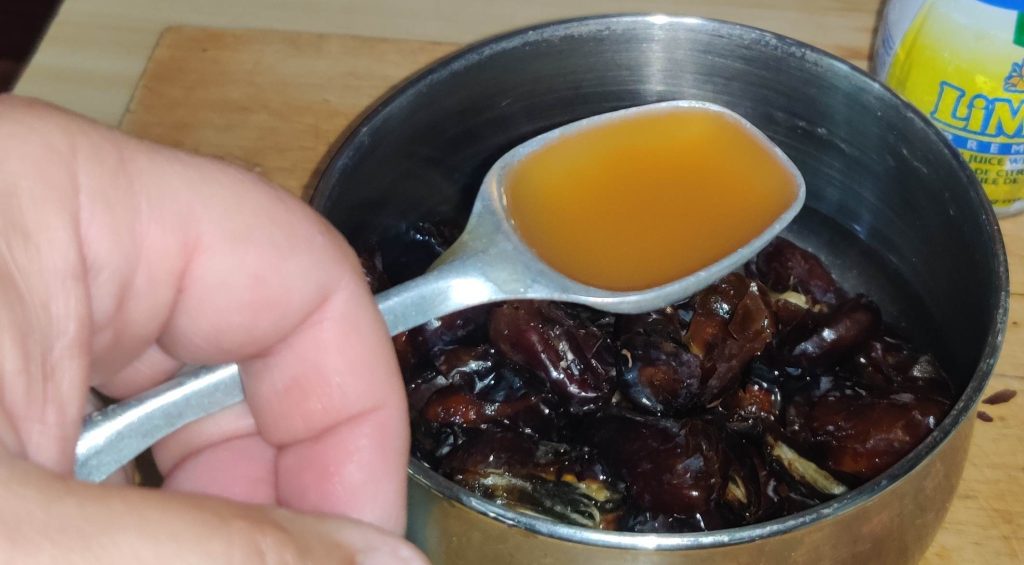
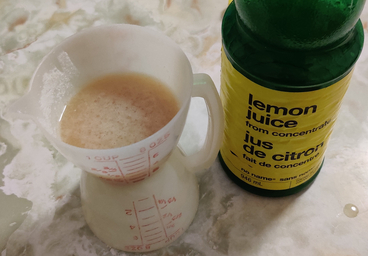
The lemon juice was measured out:

Lemon juice measured out

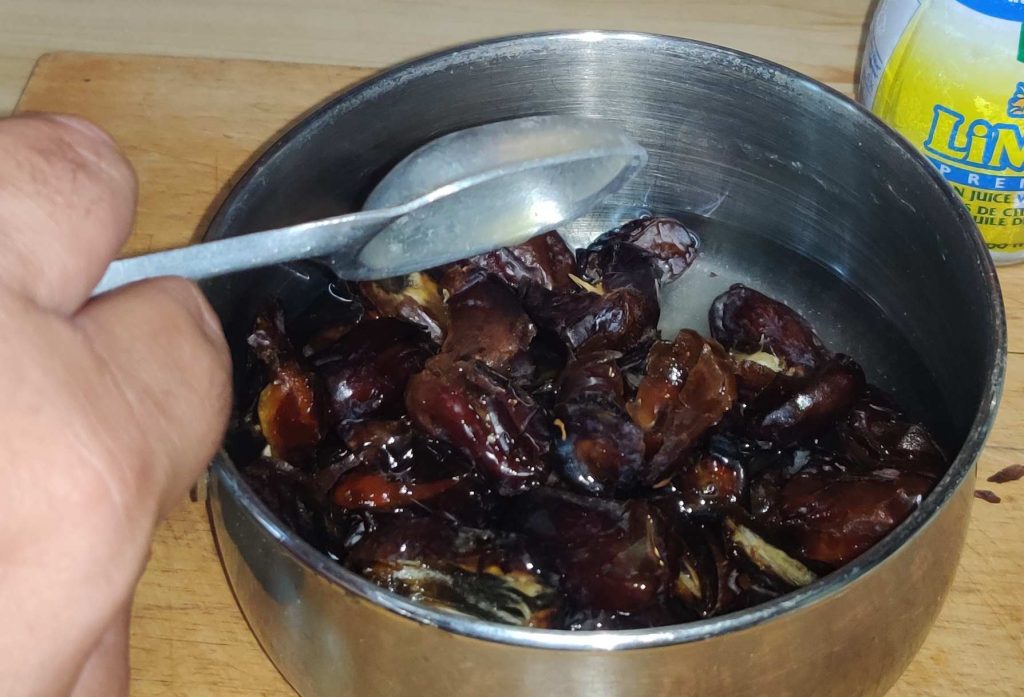
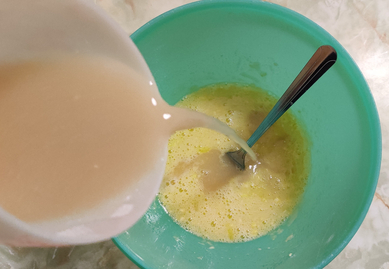
The lemon juice was transferred to the pot with the pitted dates and water:

Lemon juice transferred to pot with pitted dates and water

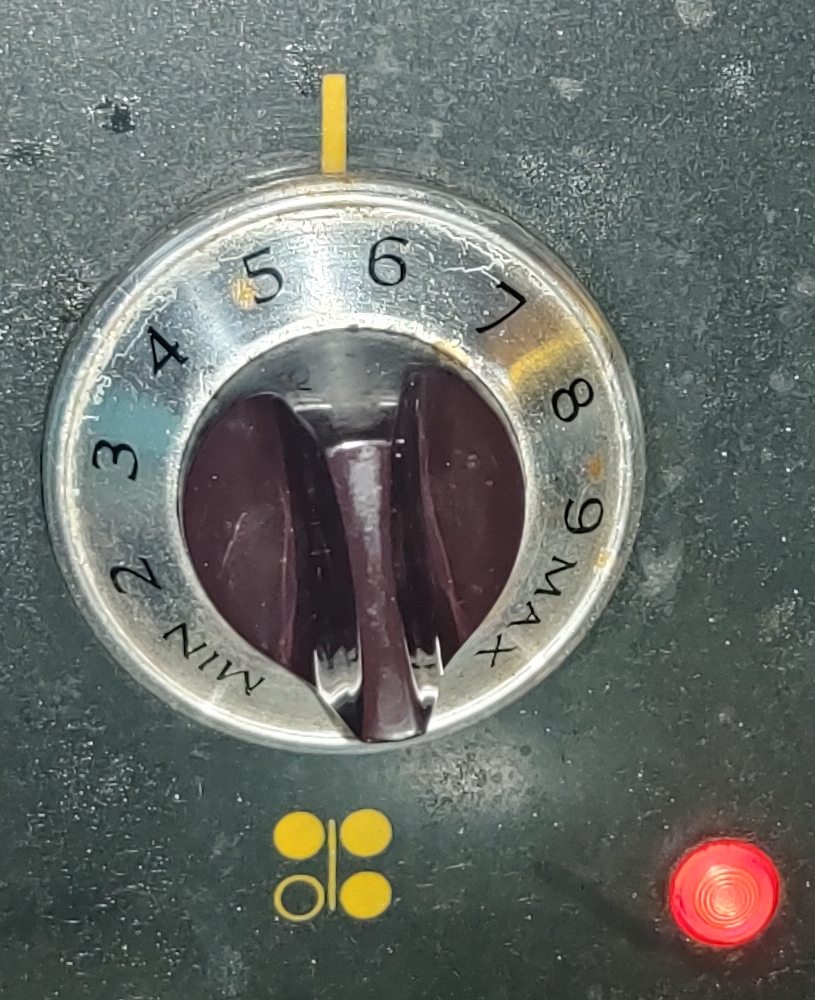
A burner on the stove was turned on to medium heat:

Stove turned to medium heat

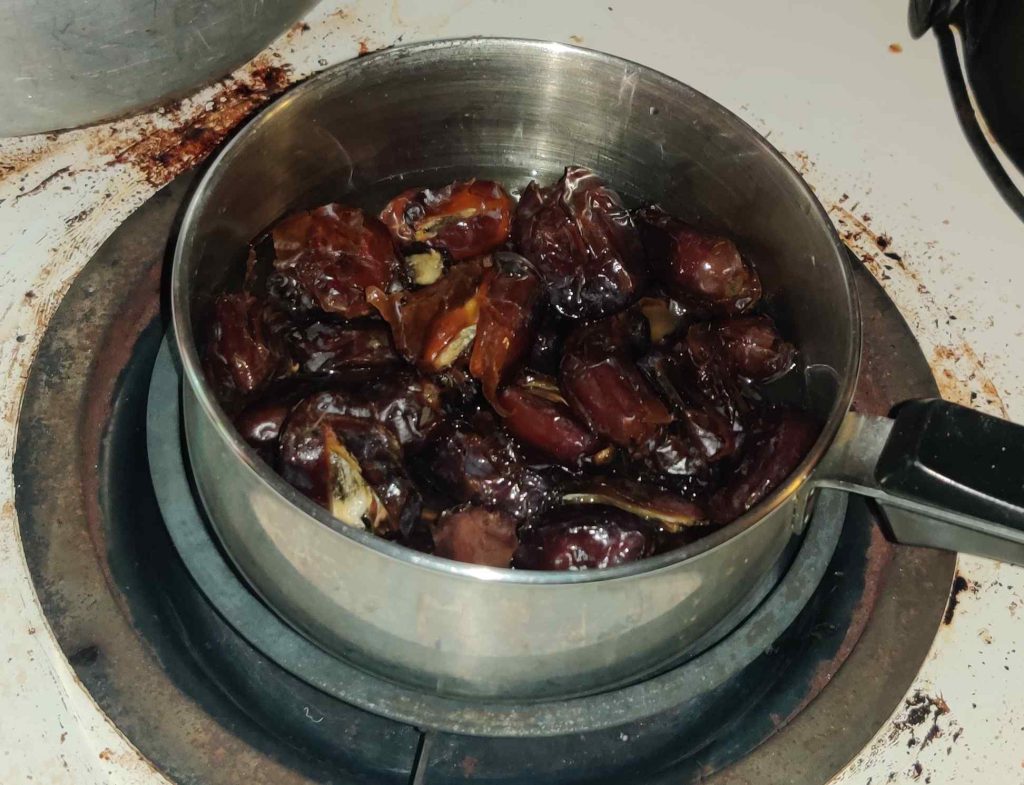
The pot of pitted dates, water, and lemon juice was placed on the burner:

Pot of pitted dates, water, and lemon juice

The pitted dates were largely left alone for the next several minutes, although I kept an eye on the pot and occasionally stirred it.

Making the oat crumble base and topping:

Flour was taken out:

Flour taken out

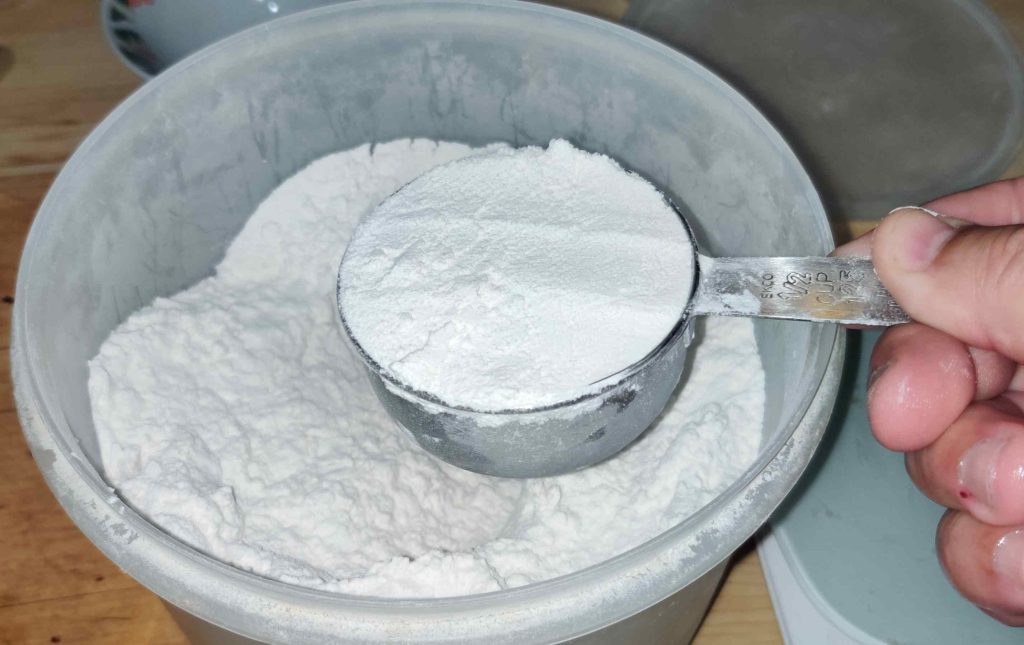
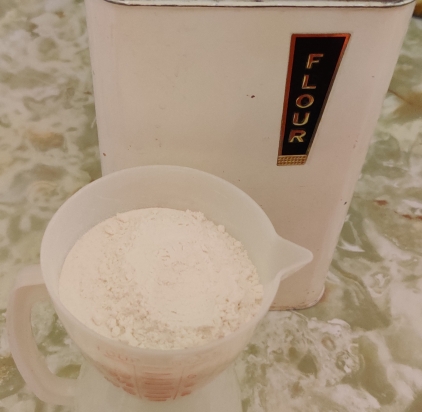
Flour was measured out:

Flour measured out

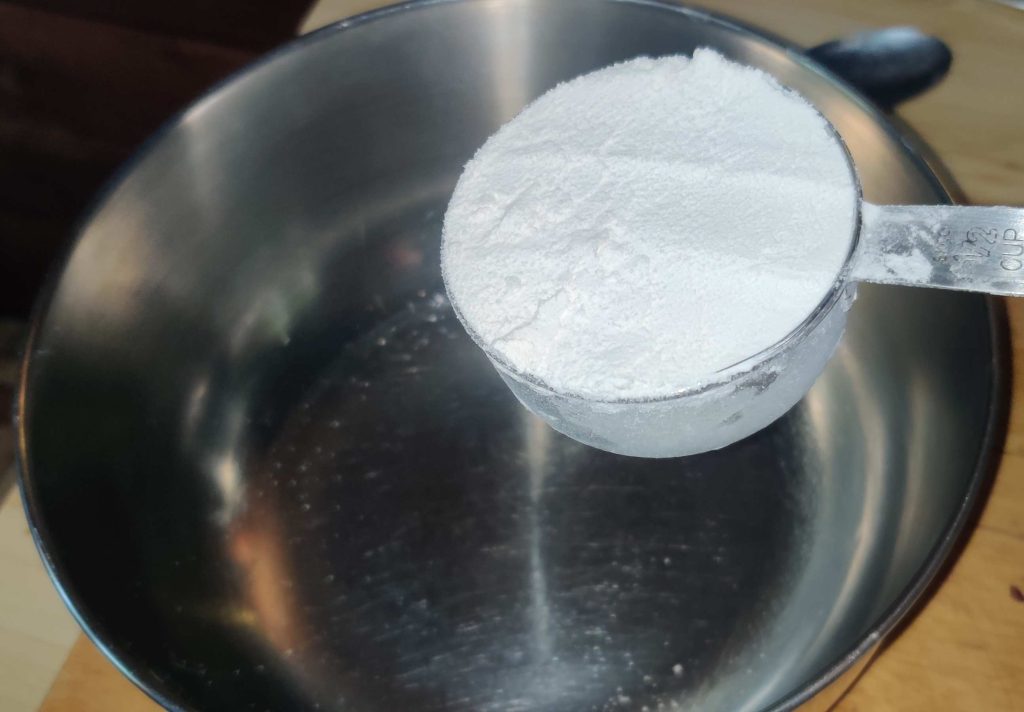
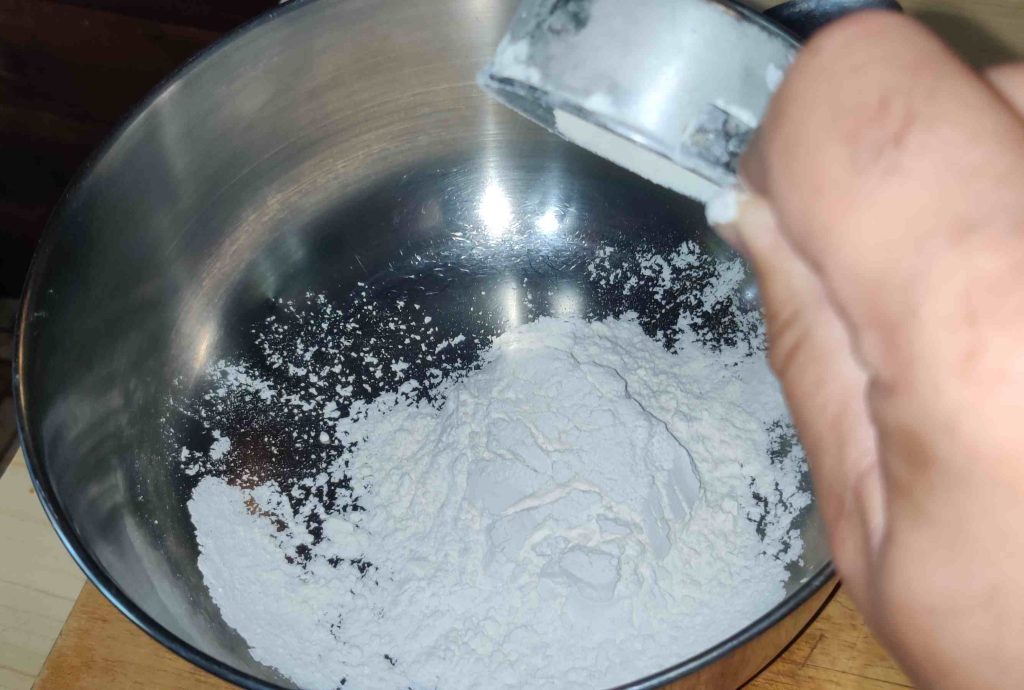
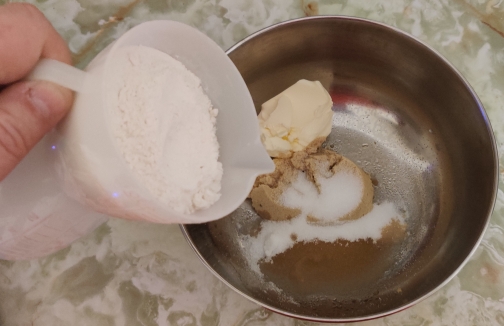
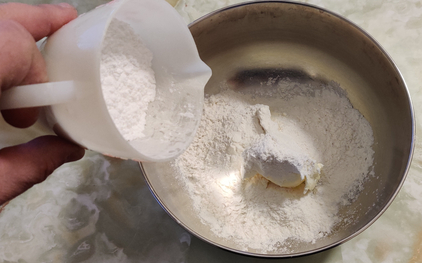
The flour was transferred to a mixing bowl:

Flour transferred to mixing bowl

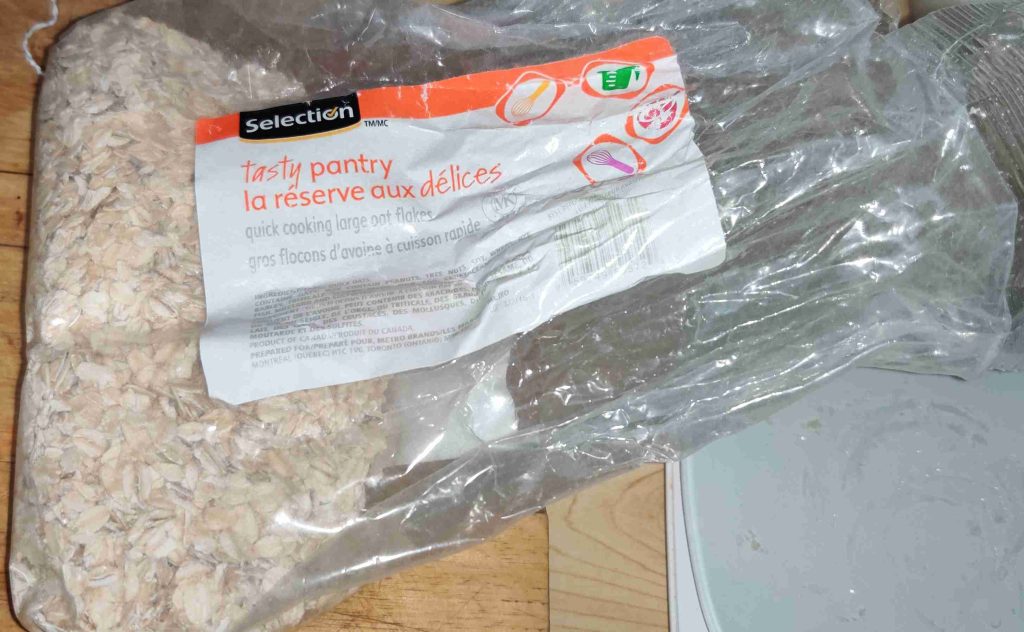
Oats were taken out:

Oats taken out

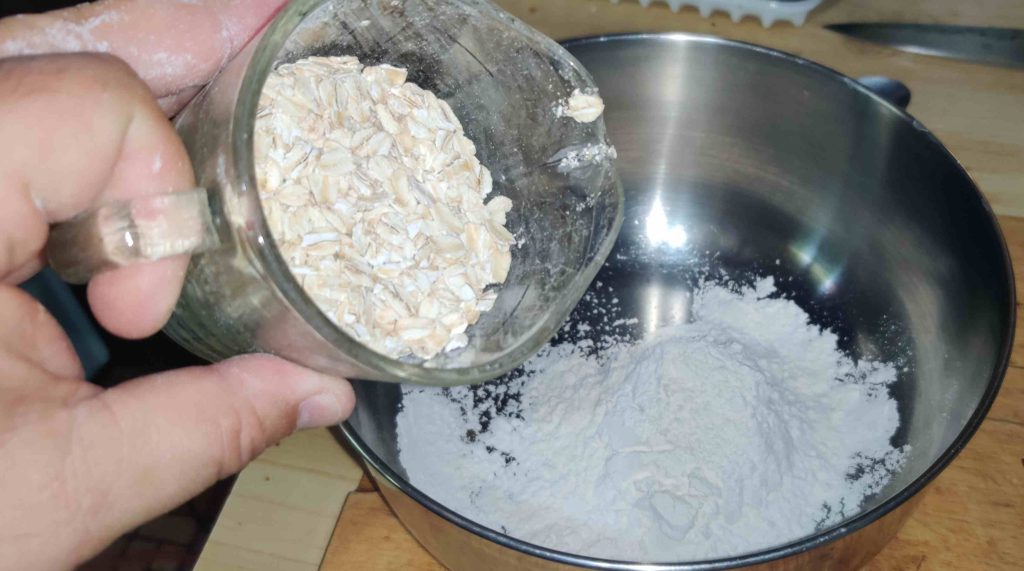
Oats were measured out:

Oats measured out

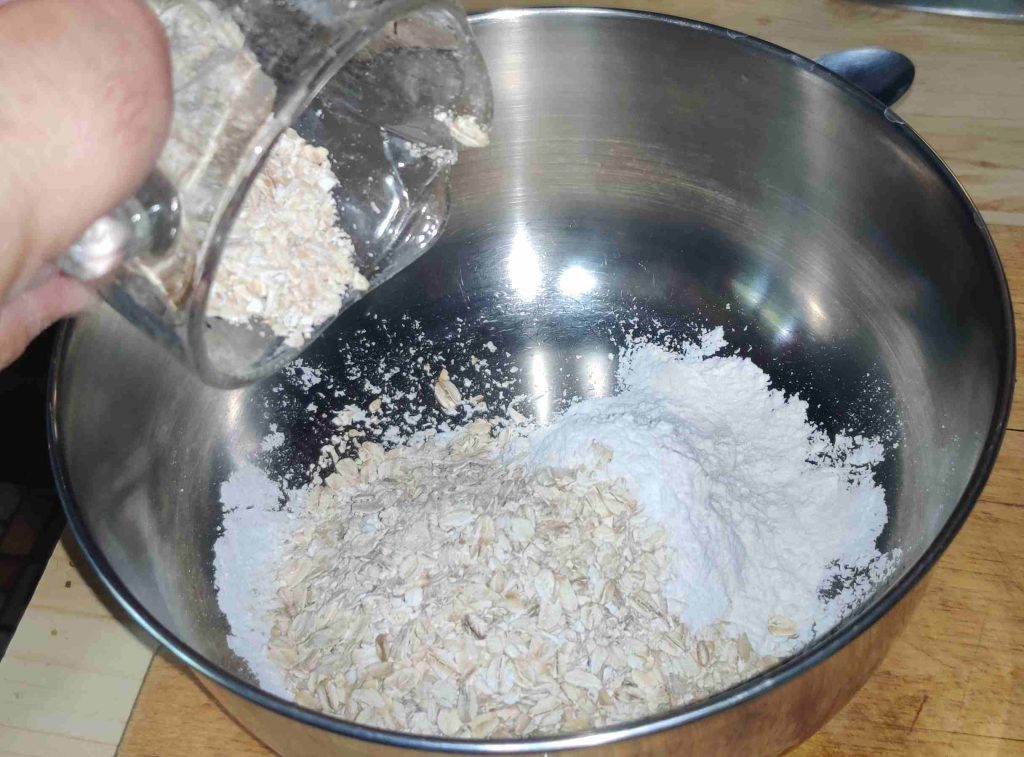
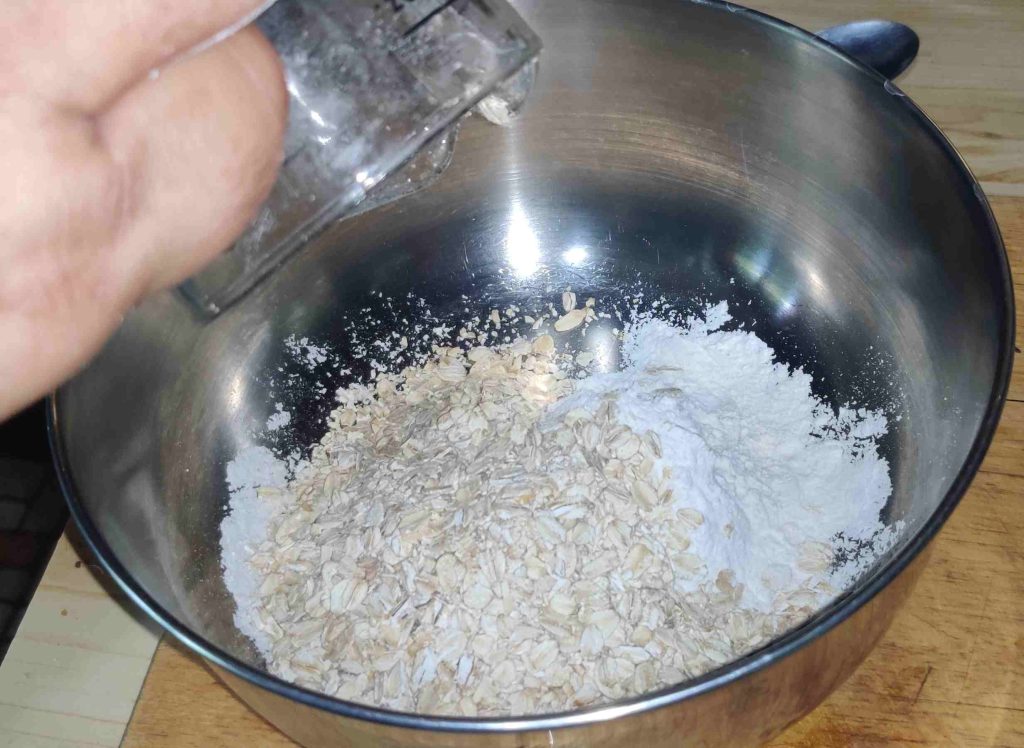
The oats were transferred to the mixing bowl with the flour:

Oats transferred to mixing bowl with flour

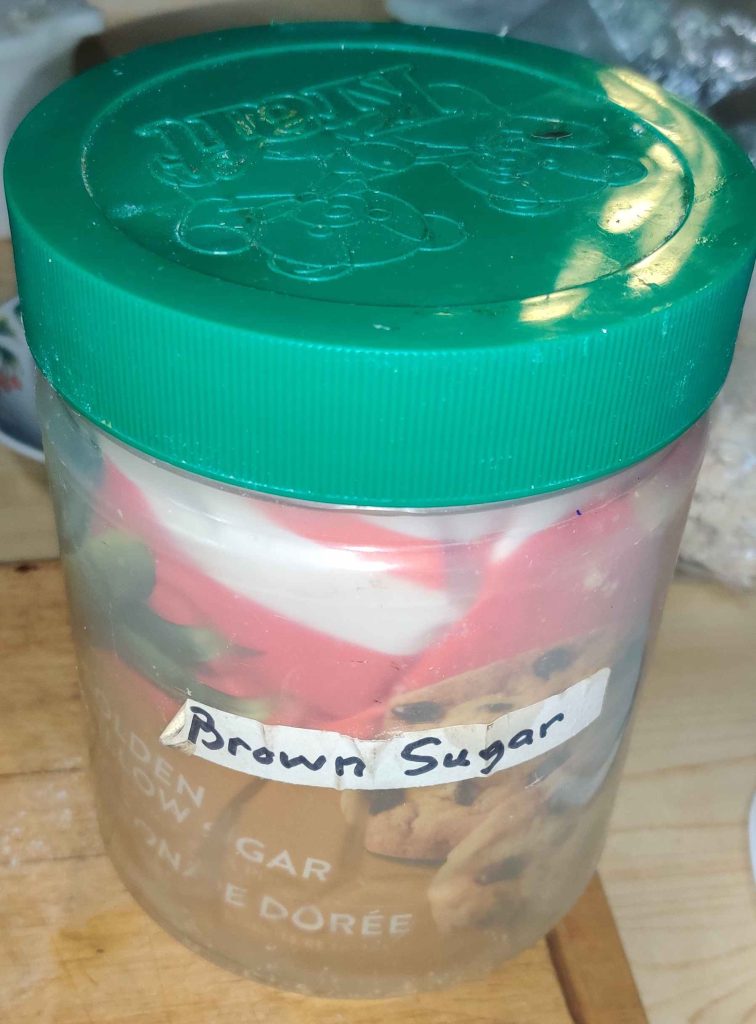
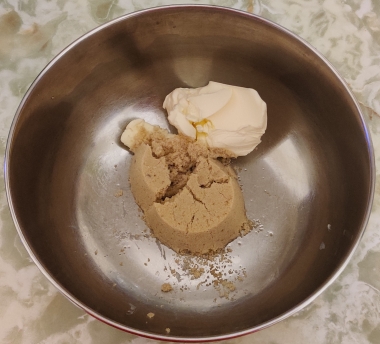
Brown sugar was taken out:

Brown sugar taken out

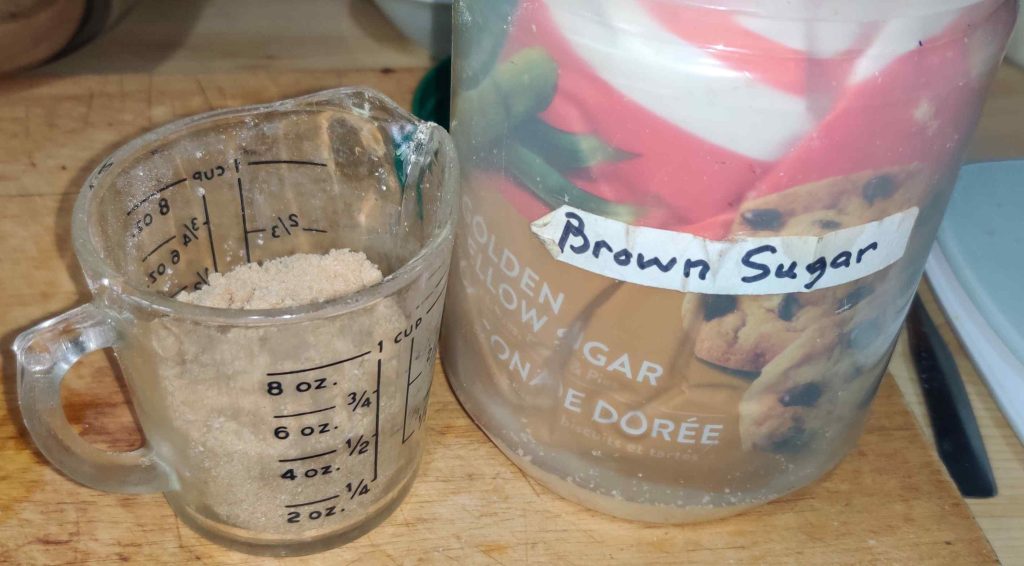
Brown sugar was measured out:

Brown sugar measured out

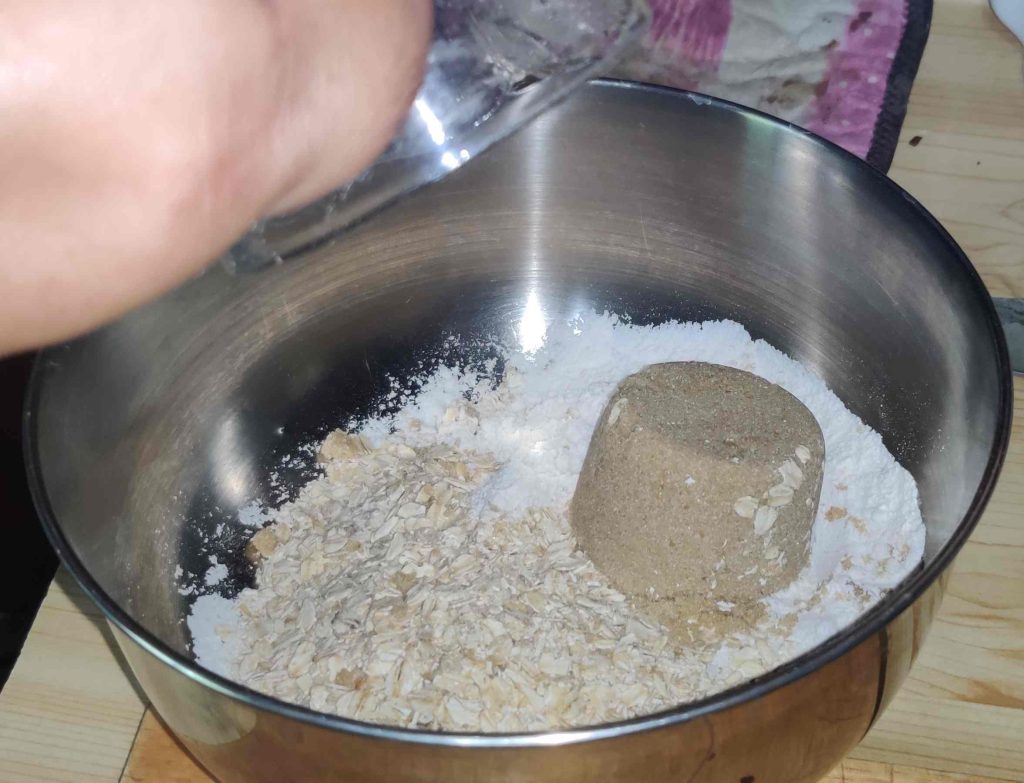
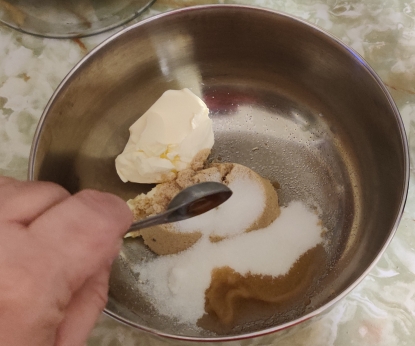
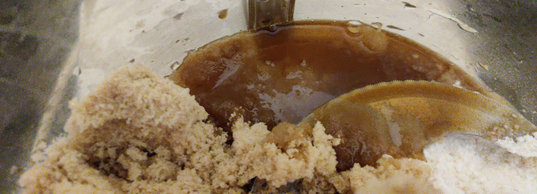
The brown sugar was transferred to the mixing bowl with the flour and the oats:

Brown sugar transferred to mixing bowl

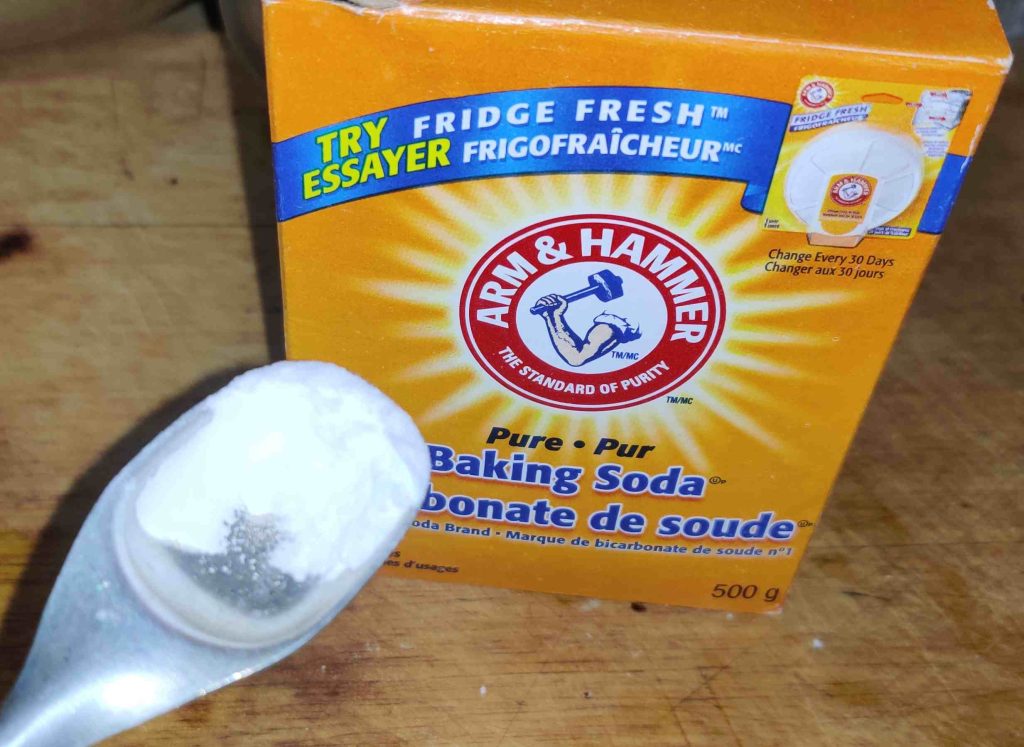
Baking soda was taken out and measured out:

Baking soda measured out

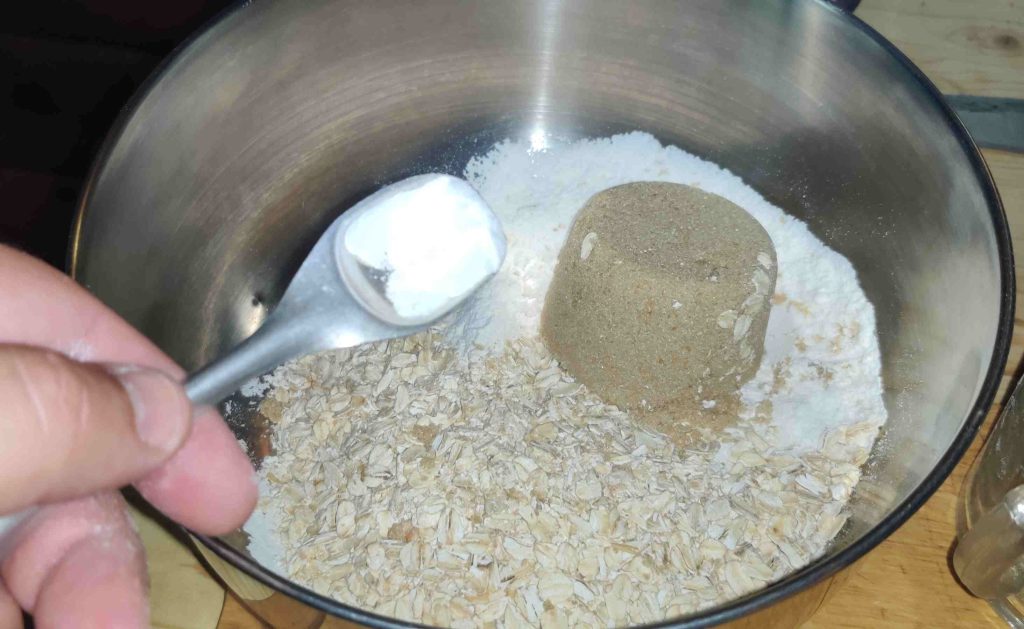
The baking soda was transferred to the mixing bowl with the flour, oats, and brown sugar:

Baking soda transferred to mixing bowl

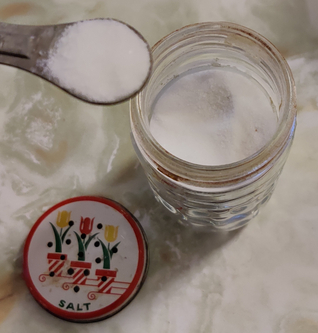
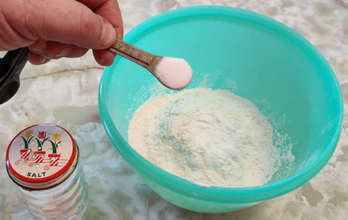
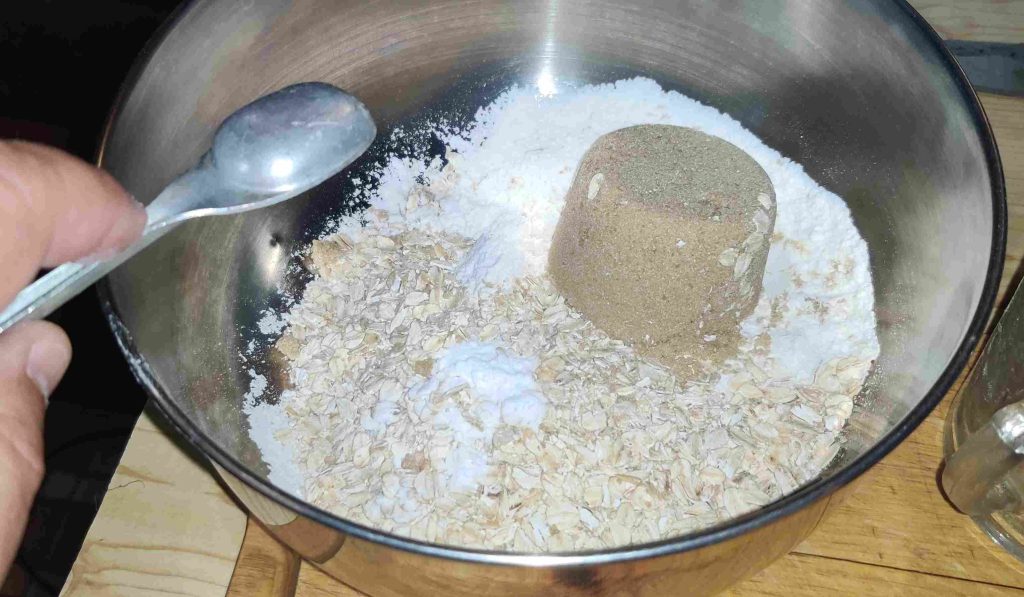
Salt was taken out and measured out:

Salt measured out

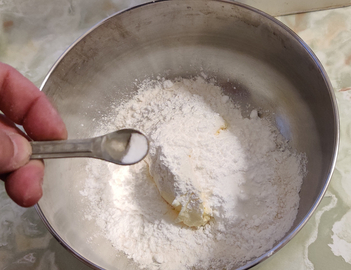
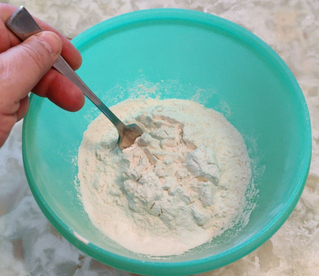
The salt was transferred to the mixing bowl with the flour, oats, brown sugar, and baking salt:

Salt transferred to mixing bowl

Another bowl was placed on my kitchen scale, and the display set to zero:

Bowl placed on scale and tare weight set

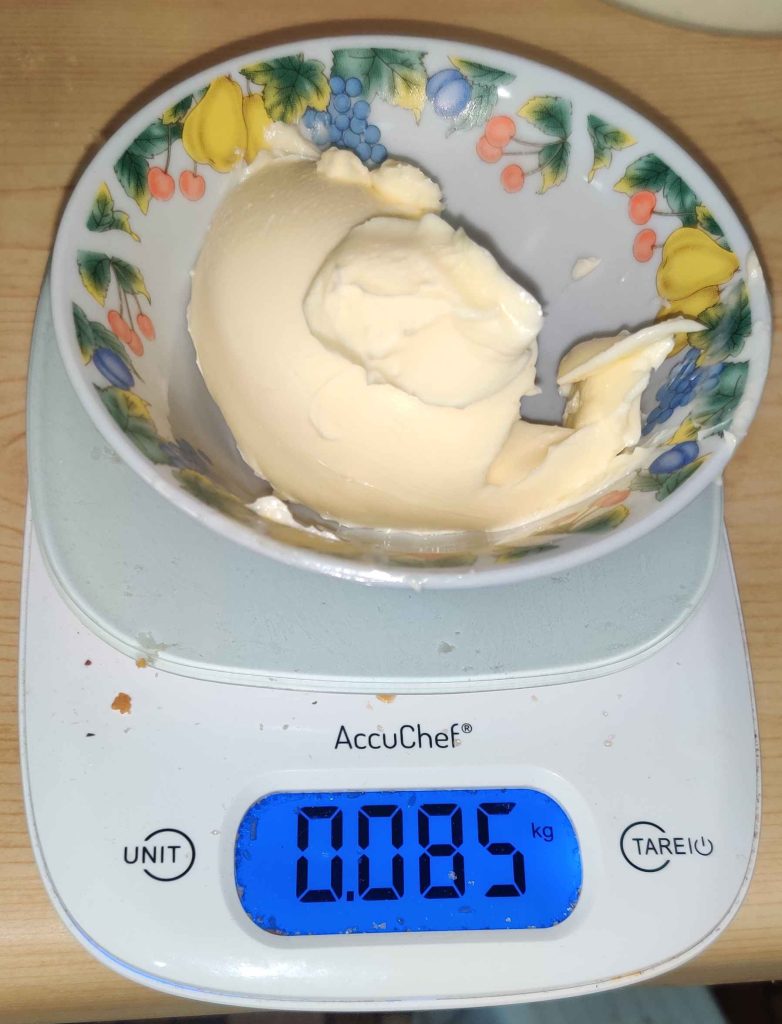
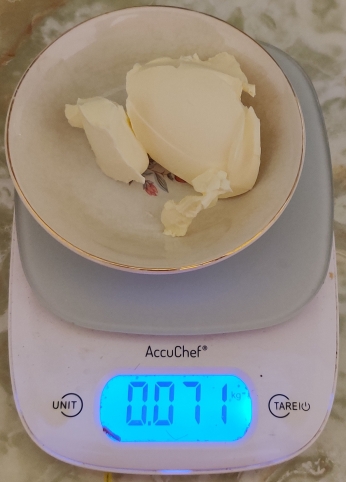
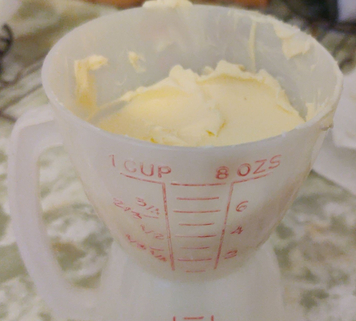
Margarine was measured out:

Margarine measured out

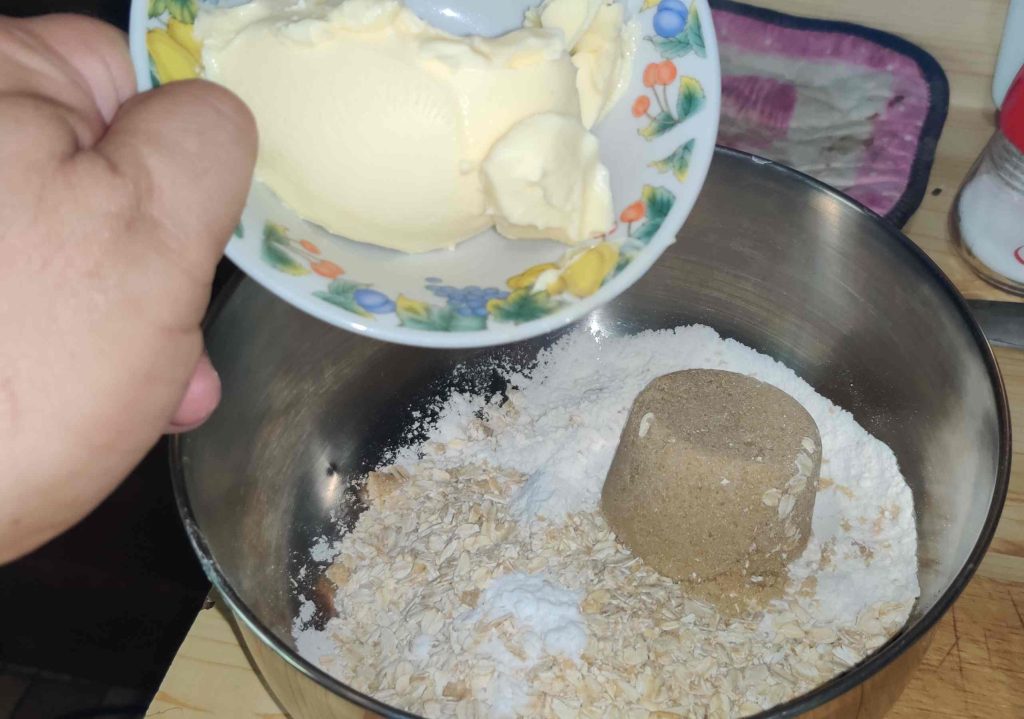
The margarine was transferred to the mixing bowl with the flour, oats, brown sugar, baking soda, and salt:

Margarine transferred to mixing bowl

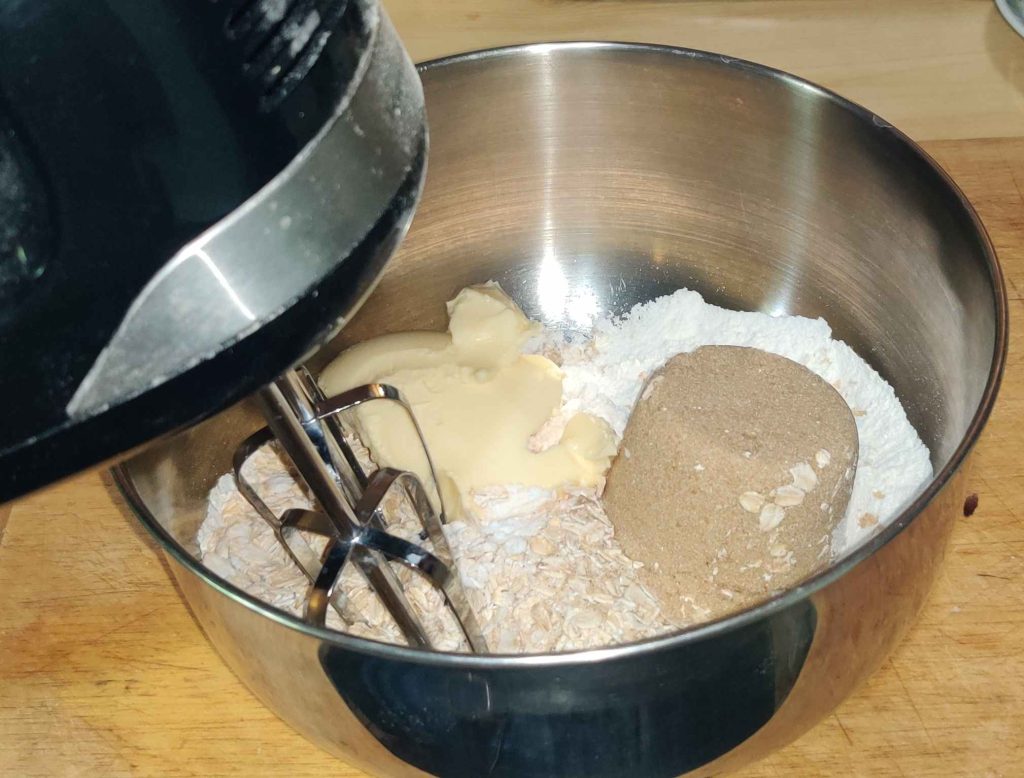
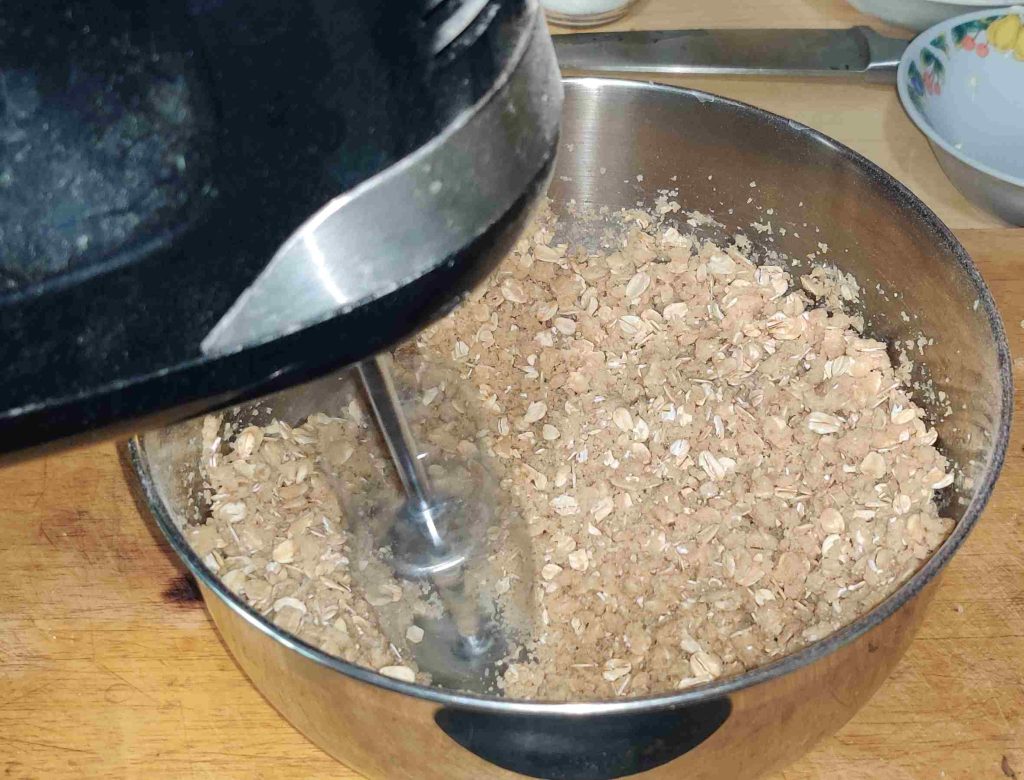
An electric mixer was brought to the mixing bowl:

Electric beater brought to mixing bowl

The ingredients were mixed thoroughly:

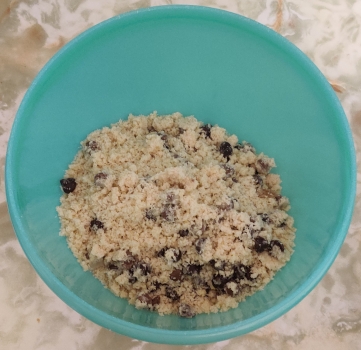
Ingredients thoroughly mixed

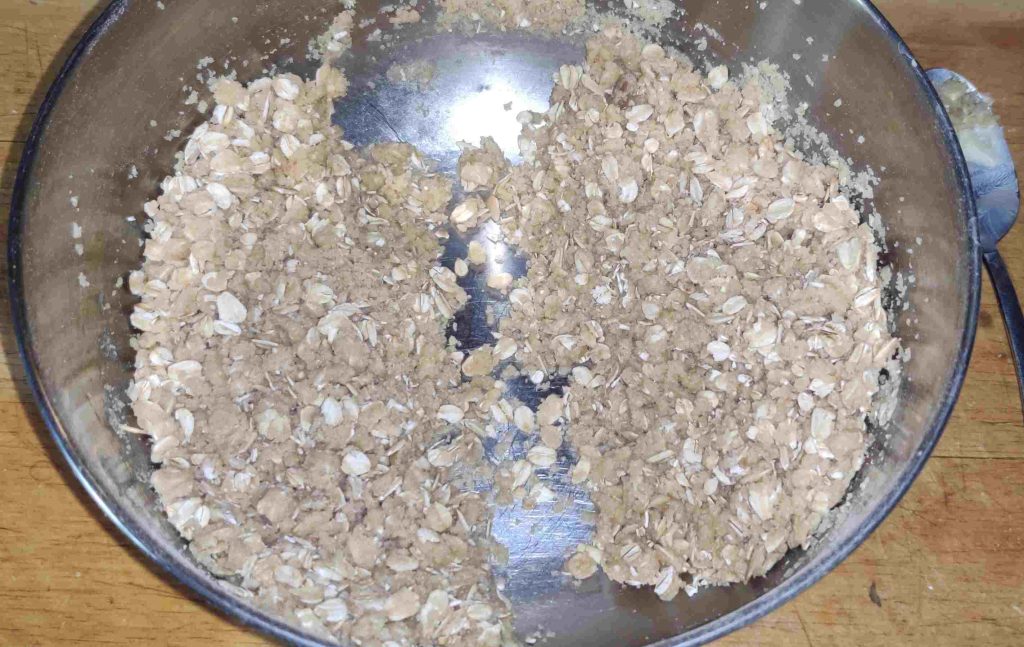
The ingredients in the bowl were roughly divided into two parts:

Ingredients in bowl divided into two parts

Mounting the date squares:

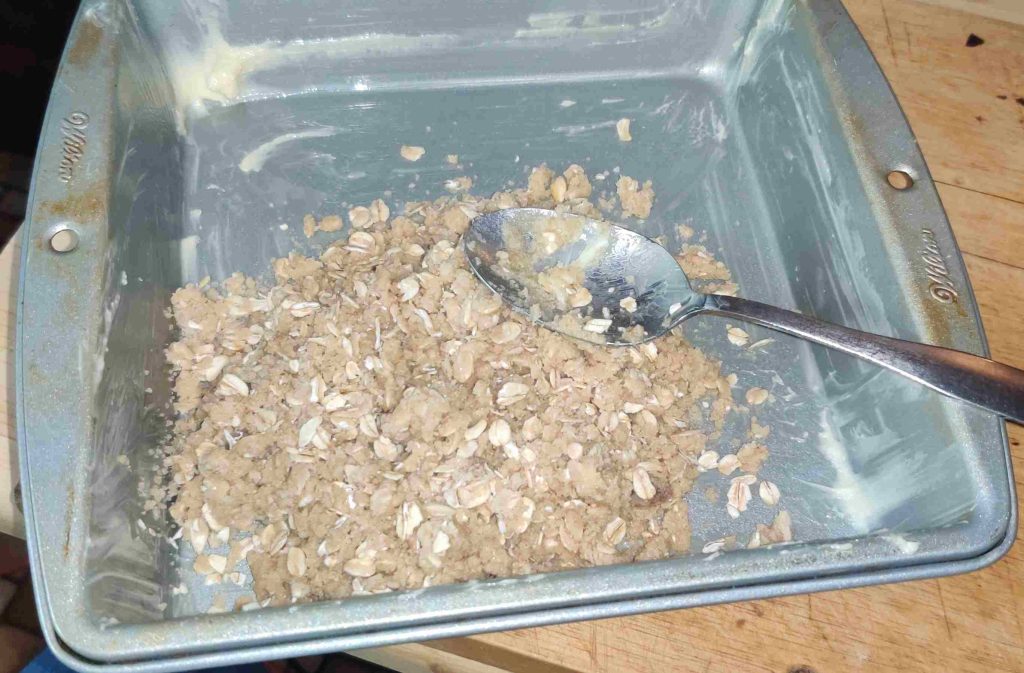
About half of the oat crumble mix was transferred to the baking pan:

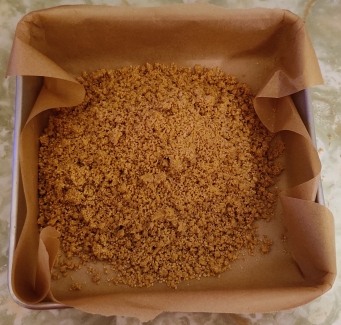
Oat crumble transferred to baking pan

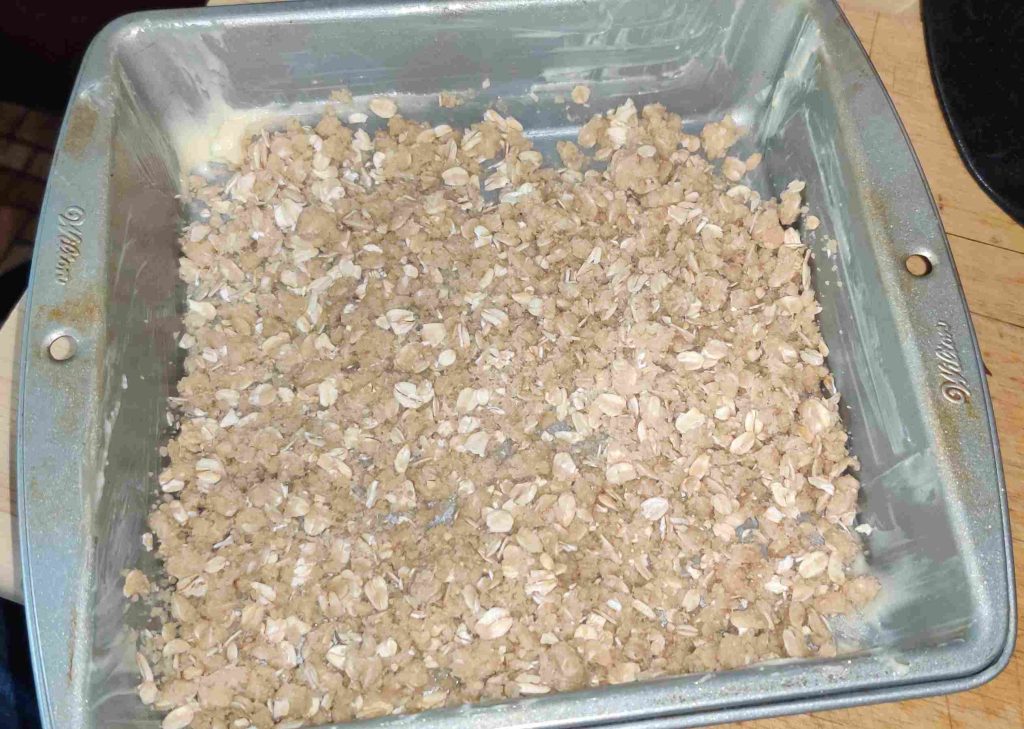
The oat crumble base was spread out over the whole surface of the baking pan:

Oat crumble spread over base of baking pan

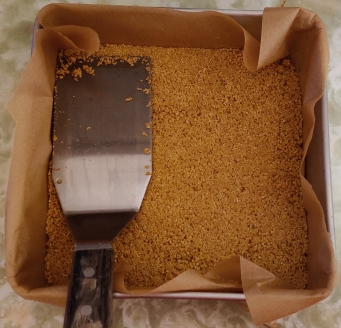
The oat crumble base was flattened with an egg flipper:

Oat crumble base flattened

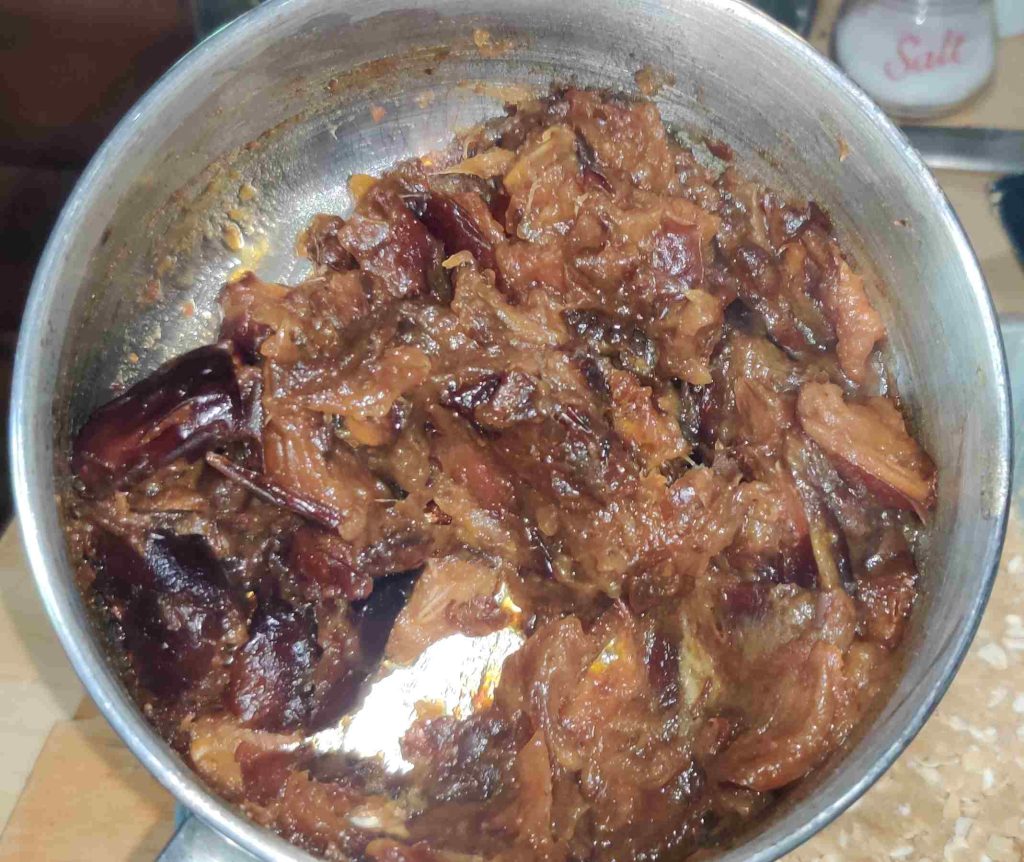
At this point, after having only occasionally glanced at and stirring the dates in the pot on the stove, I took the pot off the stove, the mix having turned into a nice jammy consistency:

Cooked date filling with a jammy consistency

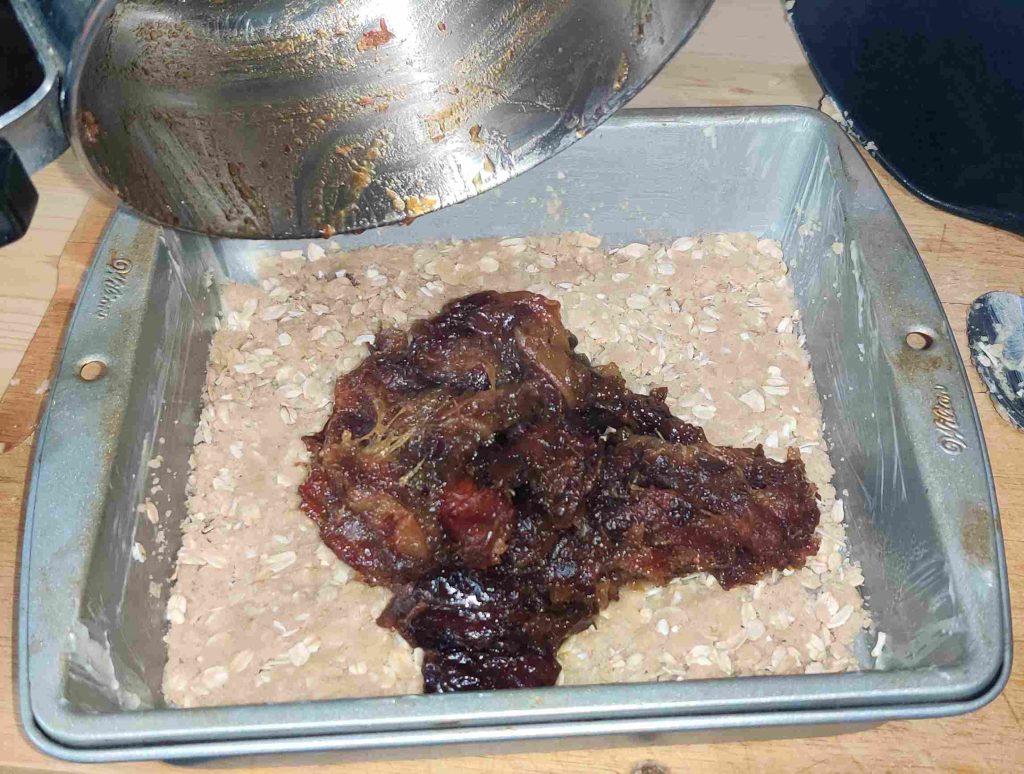
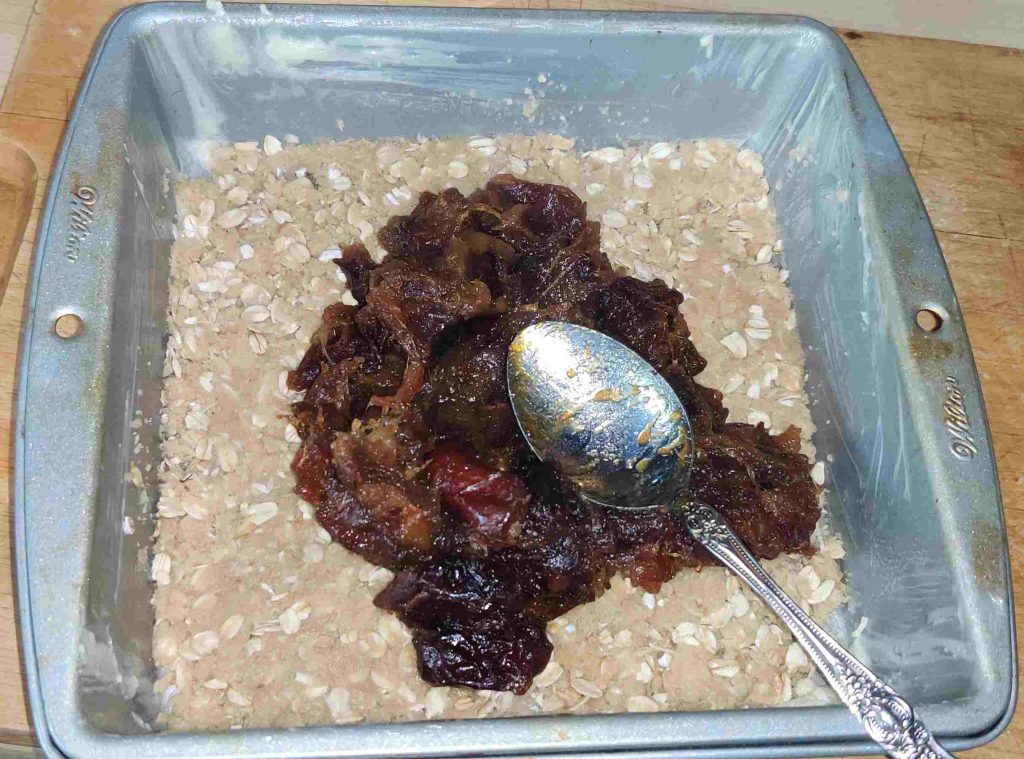
The cooked date filling was transferred to the pan with the oat crumble base:

Cooked date filling transferred to pan with oat crumble base

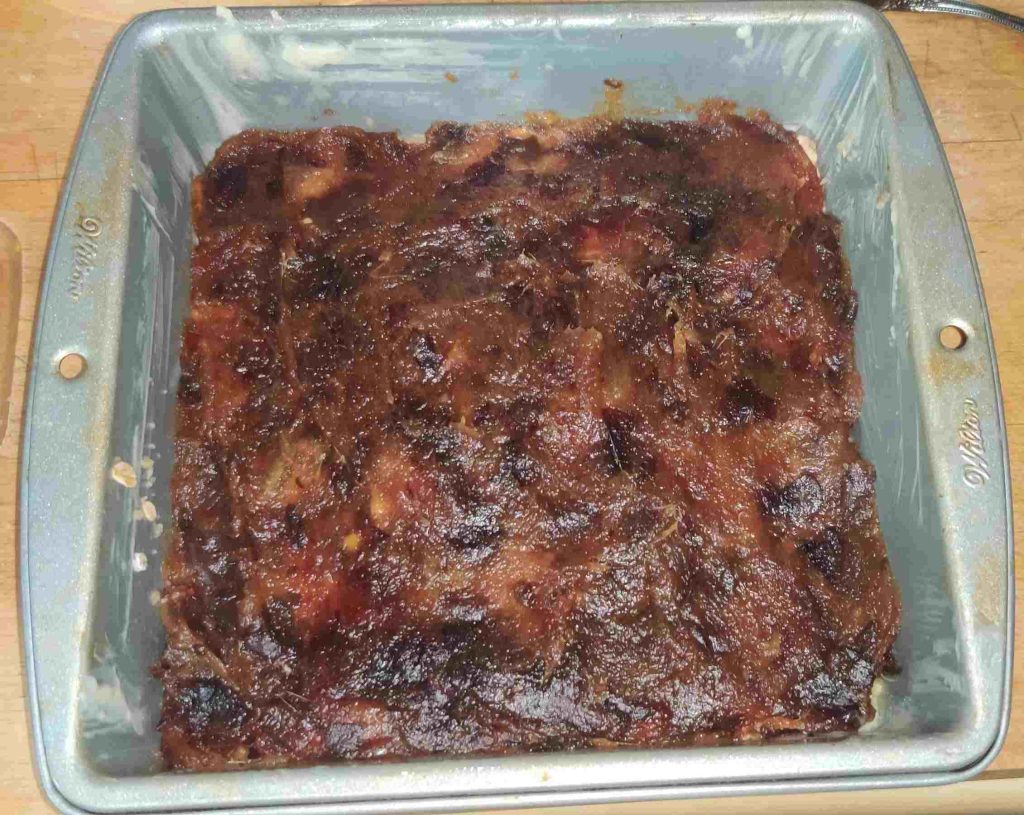
The date filling was spread roughly evenly over the base with a spoon:

Spreading the date filling with a spoon

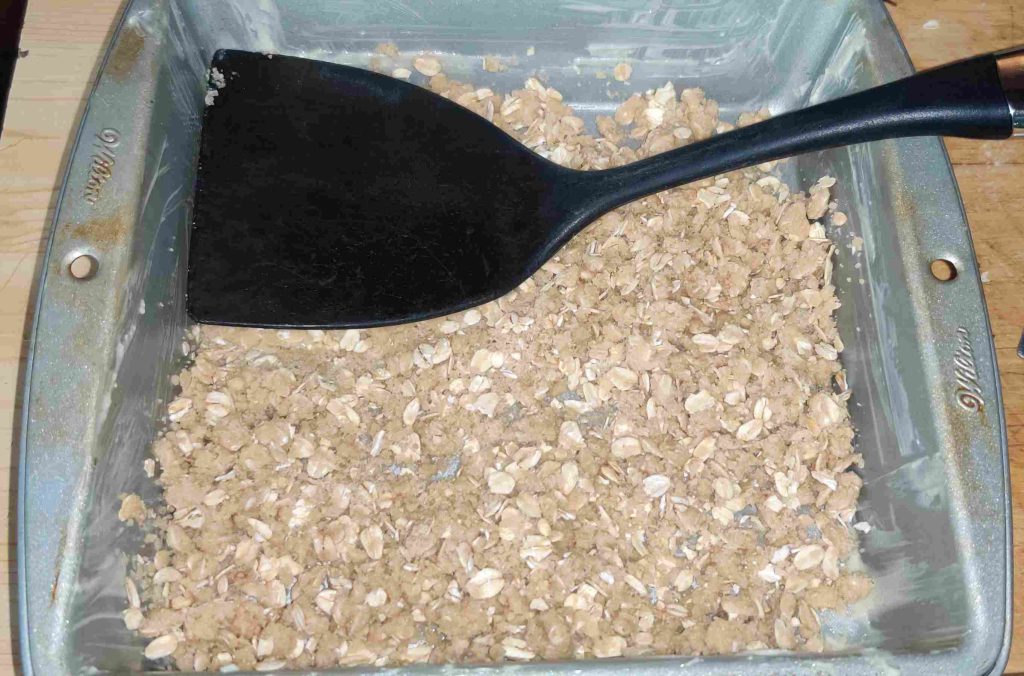
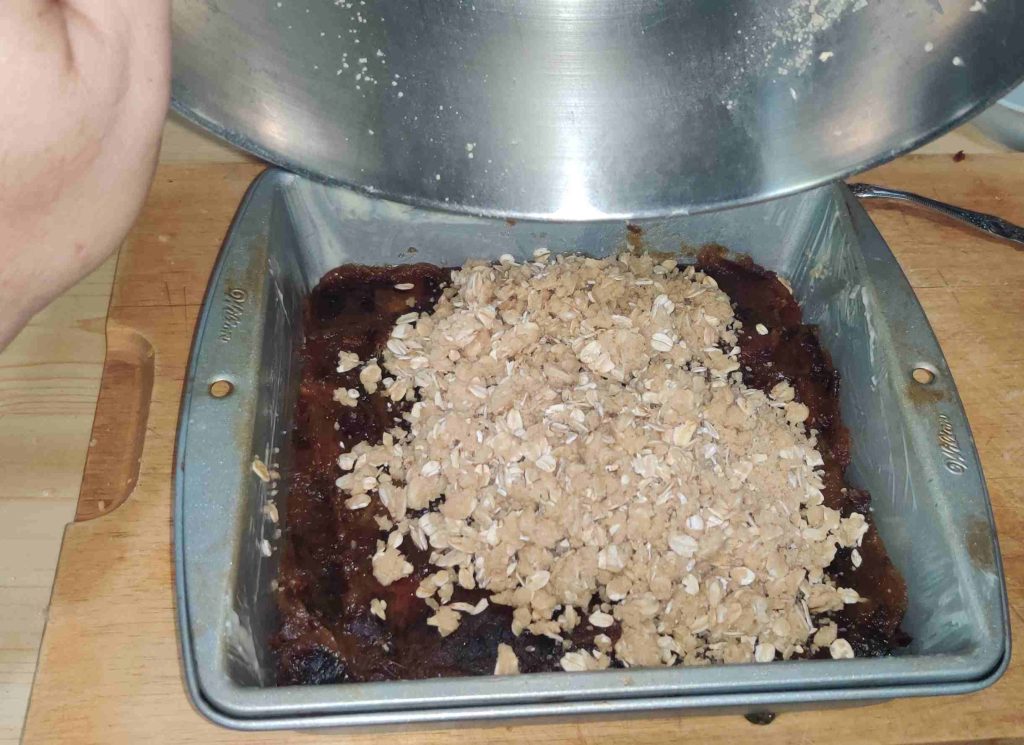
The rest of the oat crumble was transferred on top of the date filling:

Second half of oat crumble transferred to baking pan

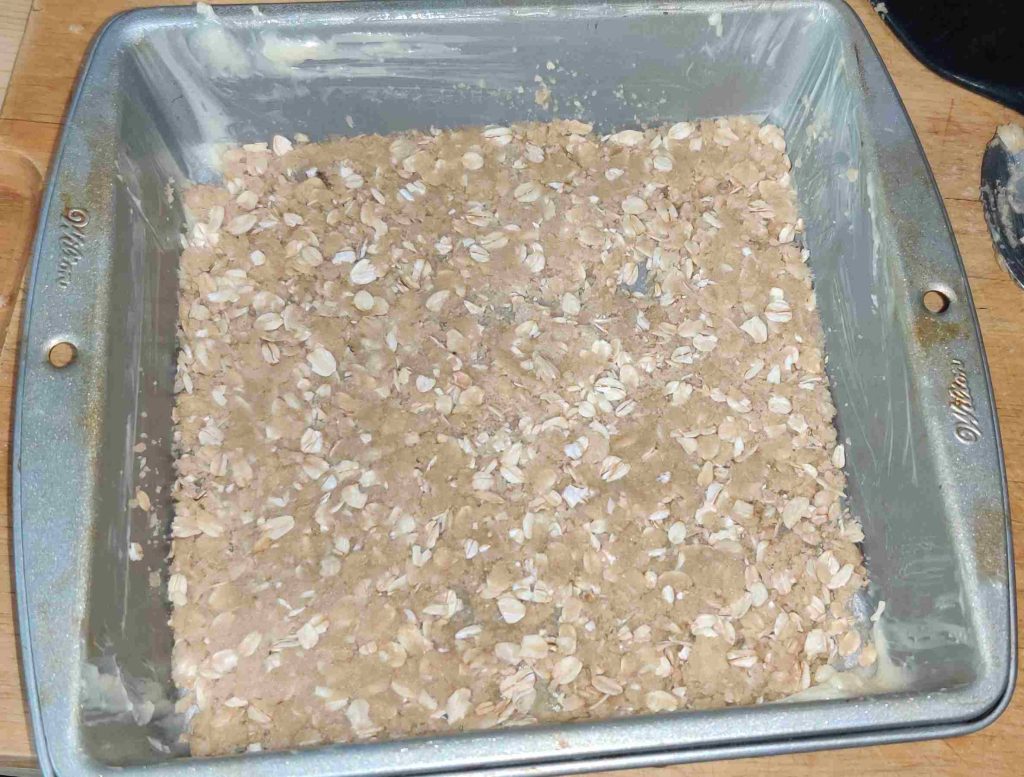
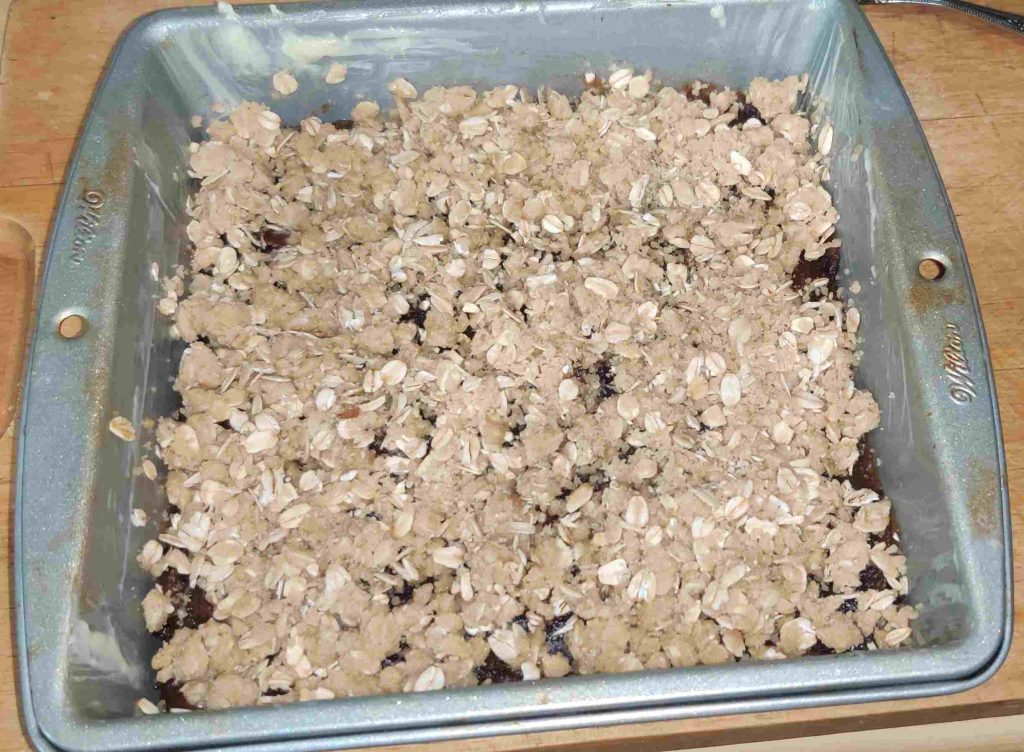
The oat crumble topping was spread roughly evenly over the date filling:

Oat crumble spread over date filling

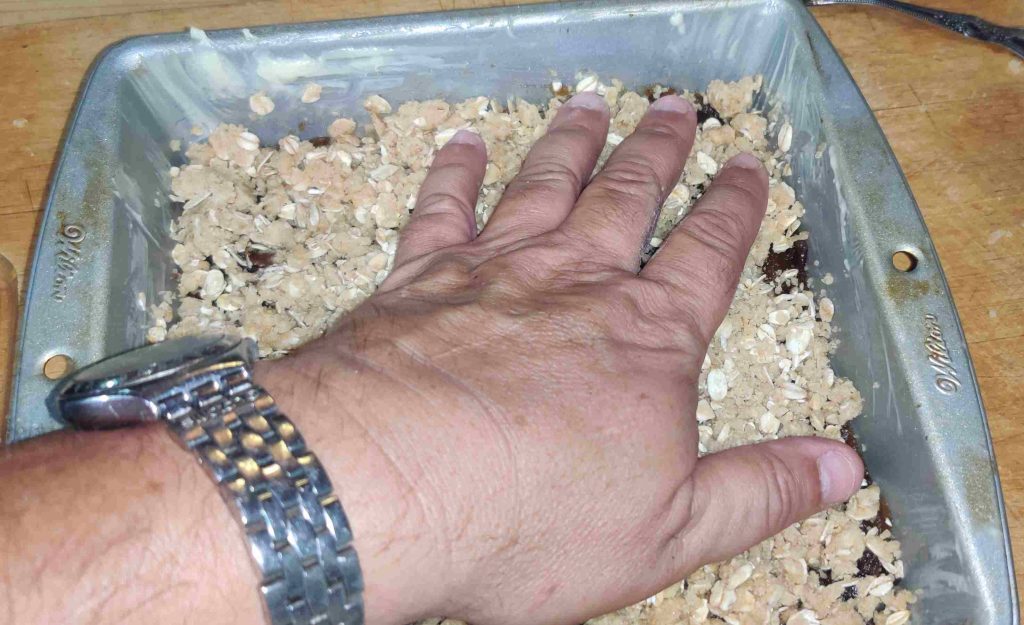
I gently patted down the topping with my hand; note that I said “gently”:

Gently patting down the oat crumble topping
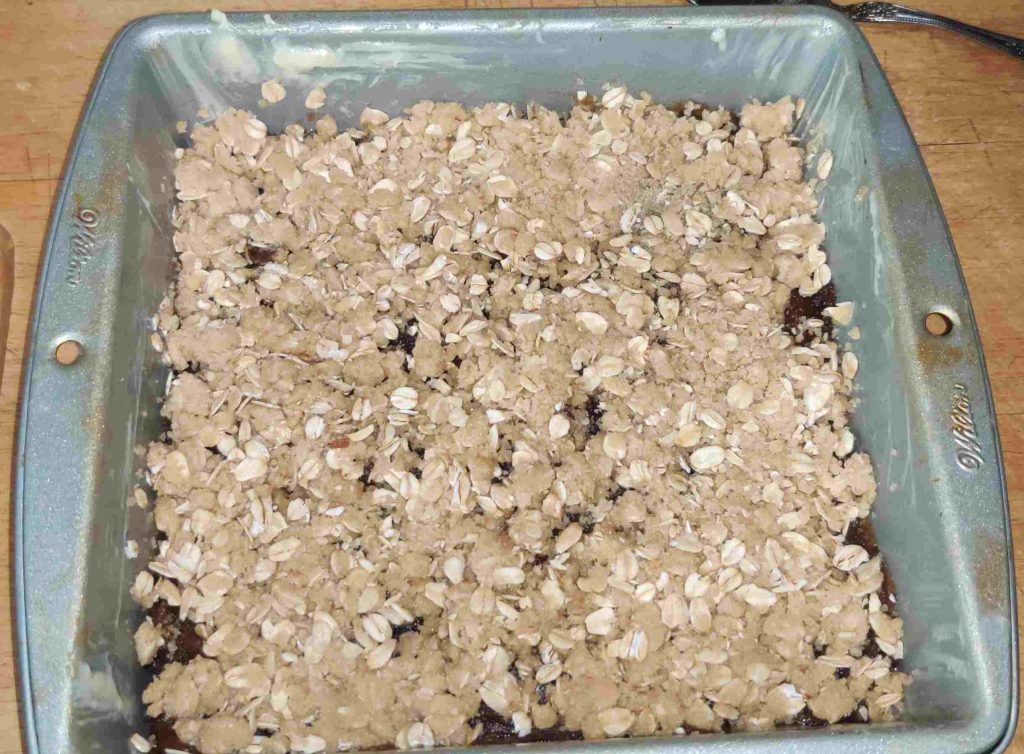
Patted down oat crumble topping

Baking the date squares:

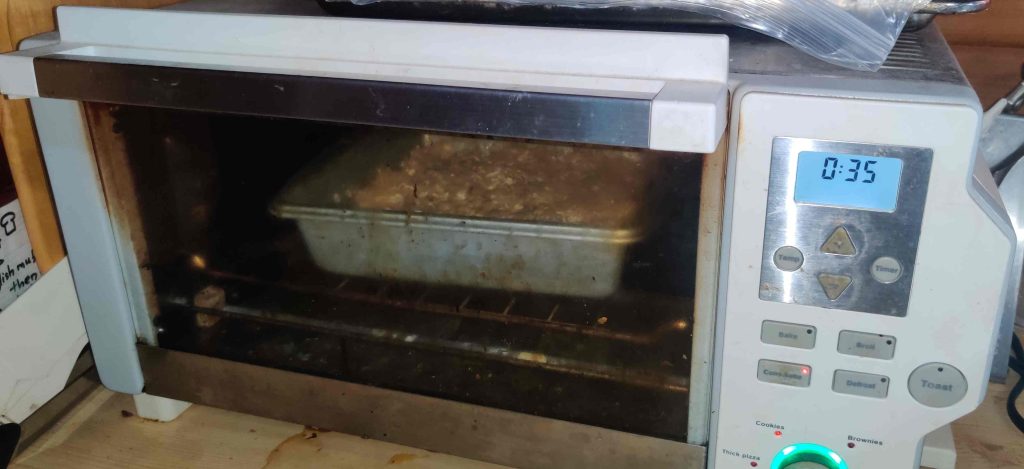
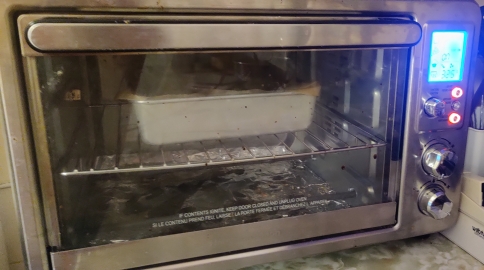
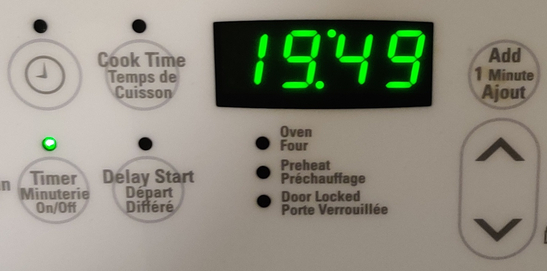
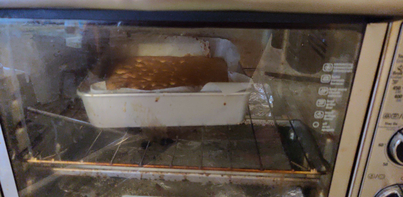
The pan was placed in the preheated countertop oven, and a timer was set to about 35 minutes:

Baking pan placed in countertop oven and timer set to 35 minutes

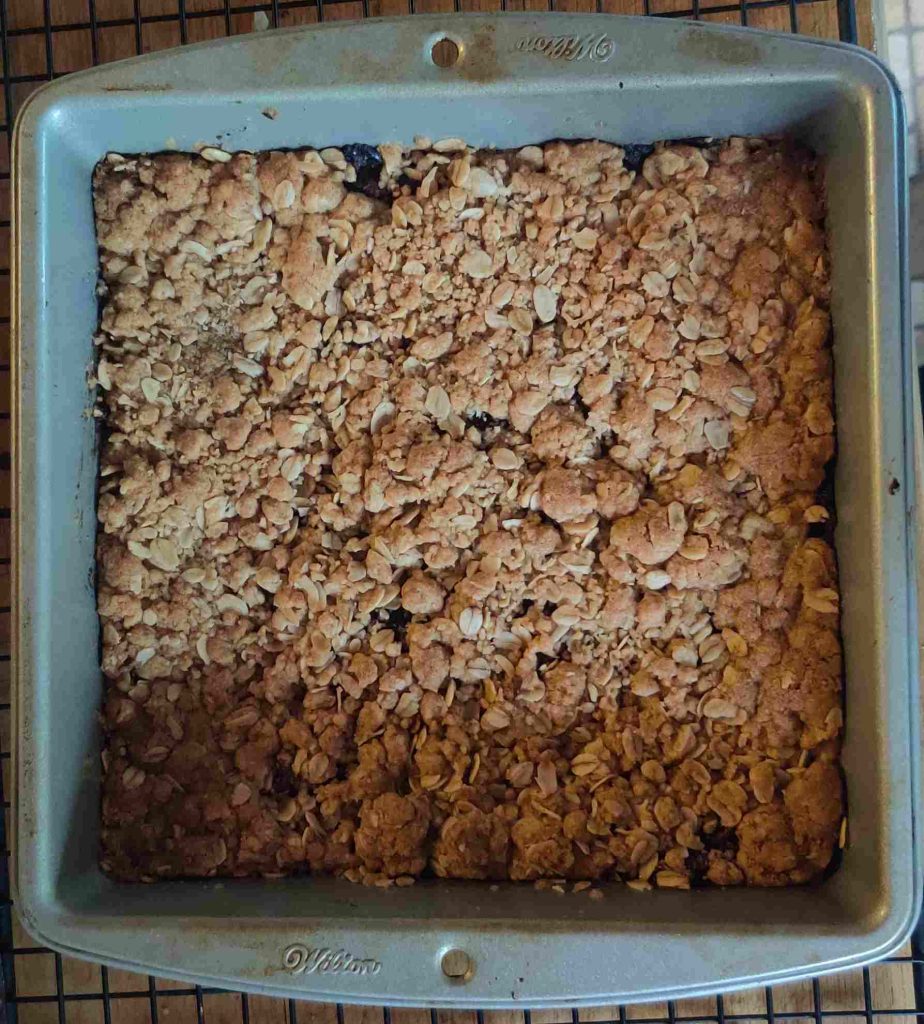
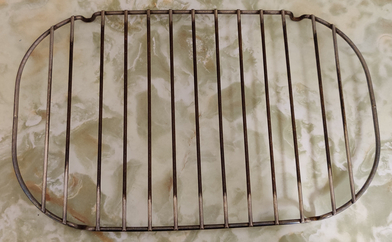
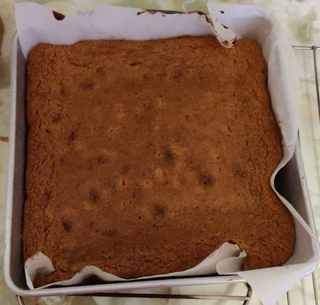
When the baking was finished, the baking pan was taken out of the oven and placed on a cooling rack:

Baking pan placed on cooling rack

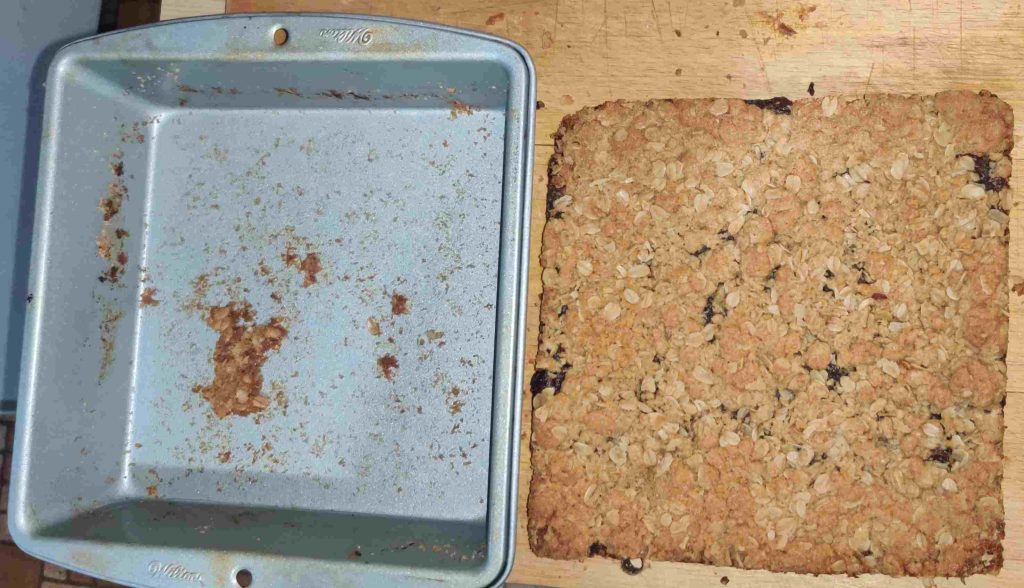
Once cooled (I did move the cooling along by placing the pan in the fridge for a while), the whole large date square was removed from the pan. Yes I tasted the bit of the base that was left behind: It was yummy!

Large date square removed from baking pan

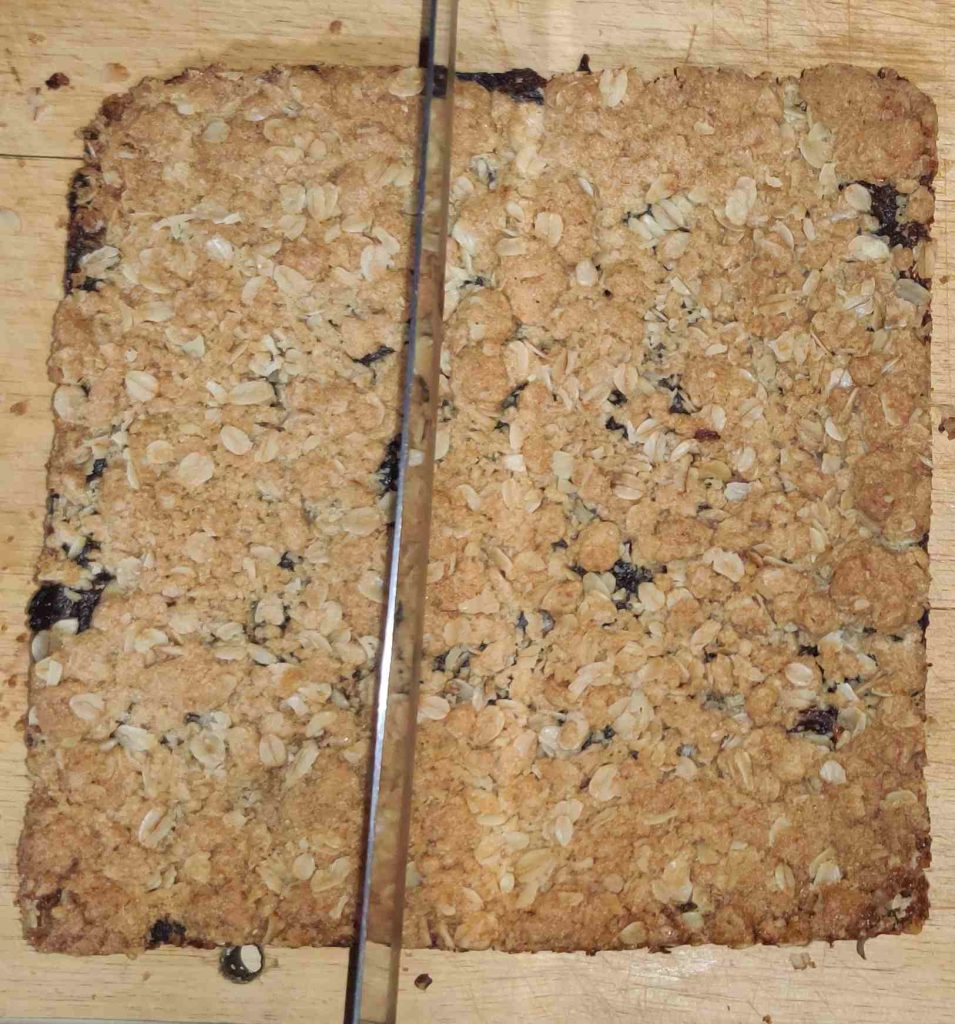
I began cutting the large piece off-center, with a goal of cutting a 5 x 5 grid for a total of 25 pieces:

Cutting the date squares, starting from off-centre

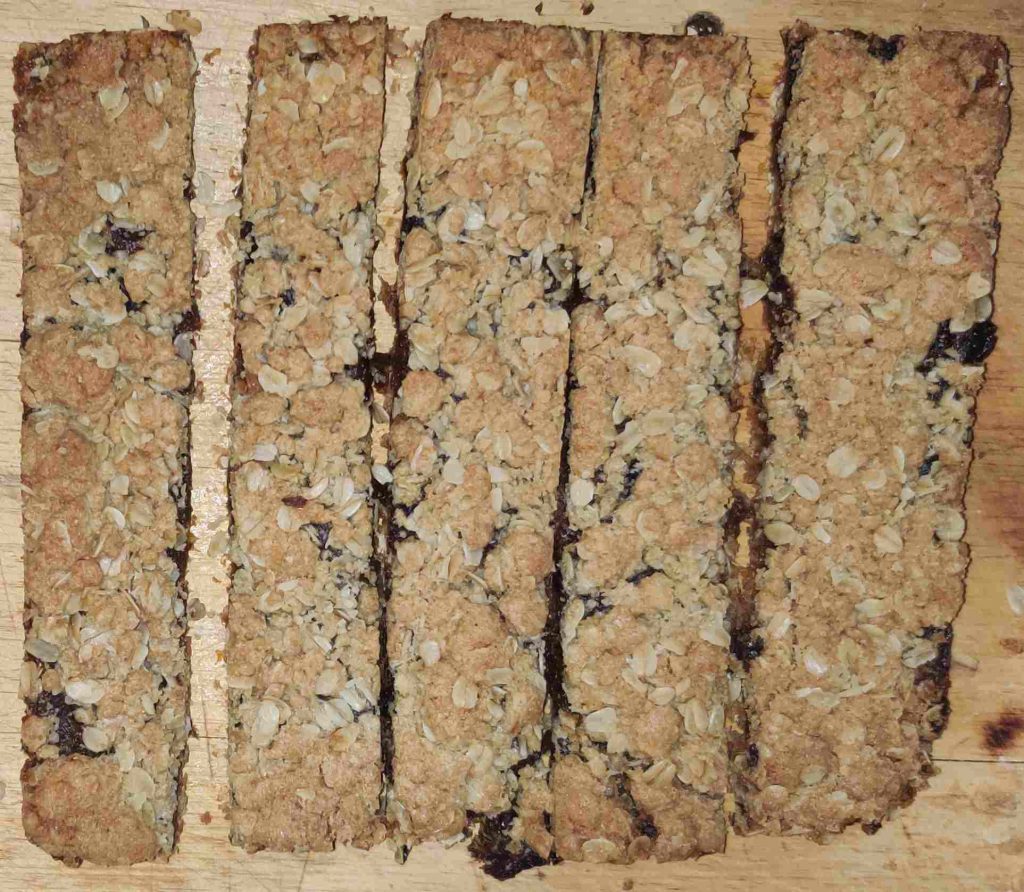
Three more slices were made, in order to have five long bars:

Five long bars

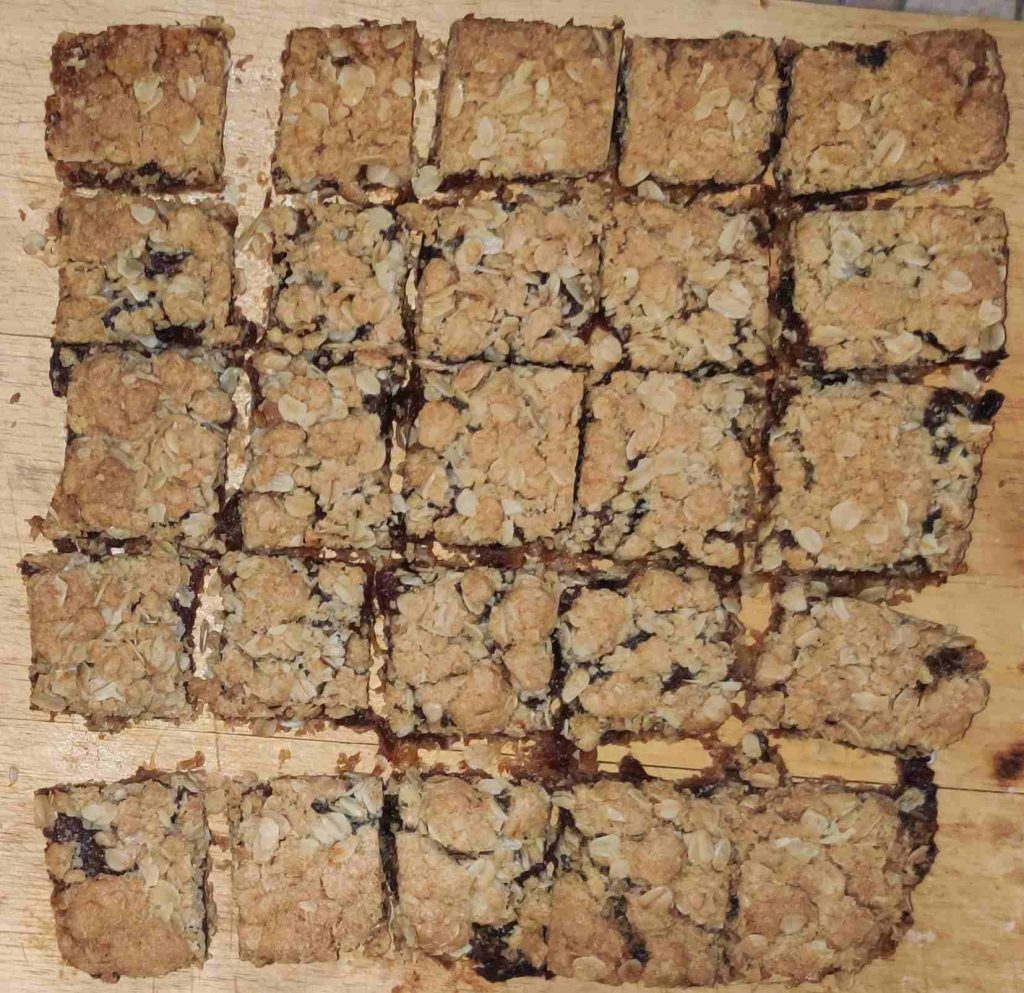
The cutting board was rotated 90 degrees so as to continue with four more cuts, to have a total of 25 squares:

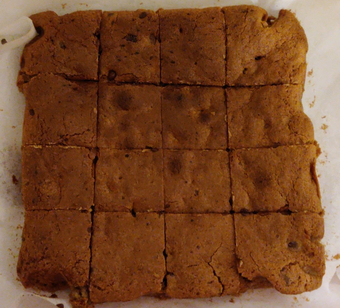
25 date squares!

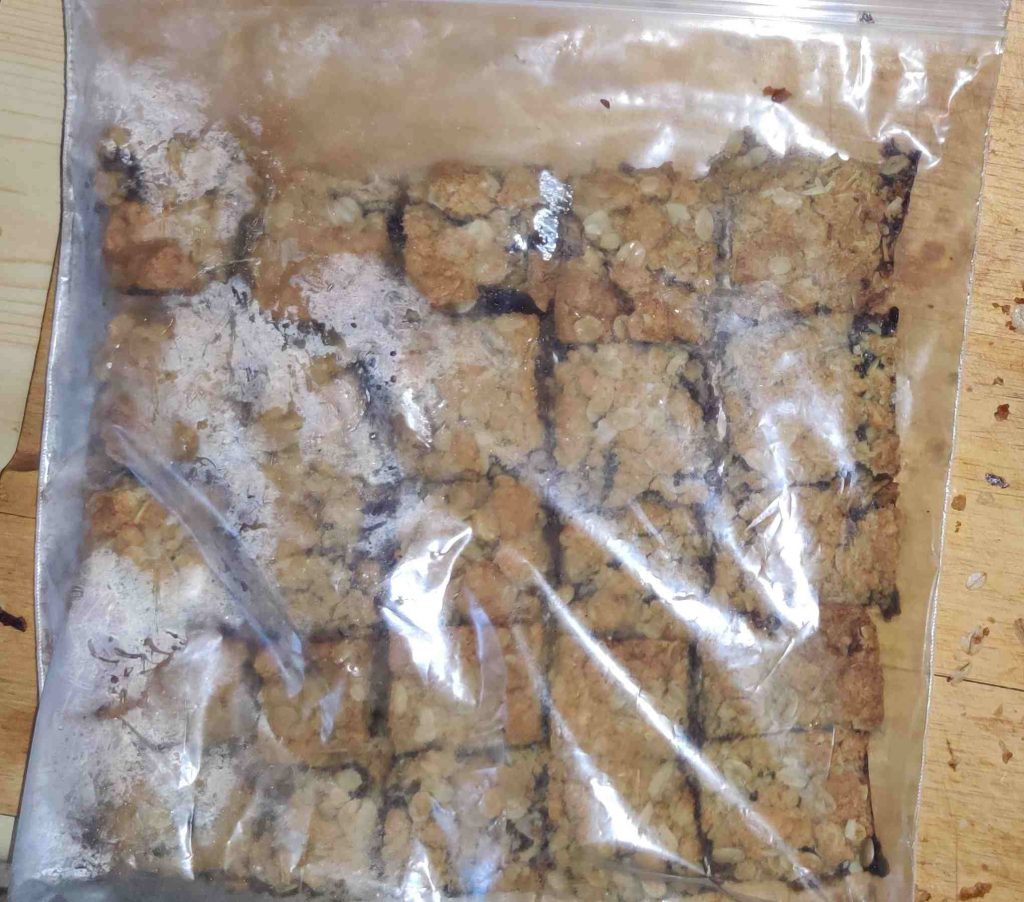
… and since I implied that I still had a few leftover from last week, and that I outright suggested that this batch would be placed on a dessert table at this week’s lake association BBQ, I bagged up the freshly-baked date squares, and placed them in the freezer for later in the week:

Date squares bagged

And yes, of course they’re yummy — I got to taste a bunch of crumbs while I was cleaning up!

I’m a lumberjack and that’s okay …

(In case you’re wondering, here’s the link to wikipedia (and my archive), and to youtube (and my archive).)

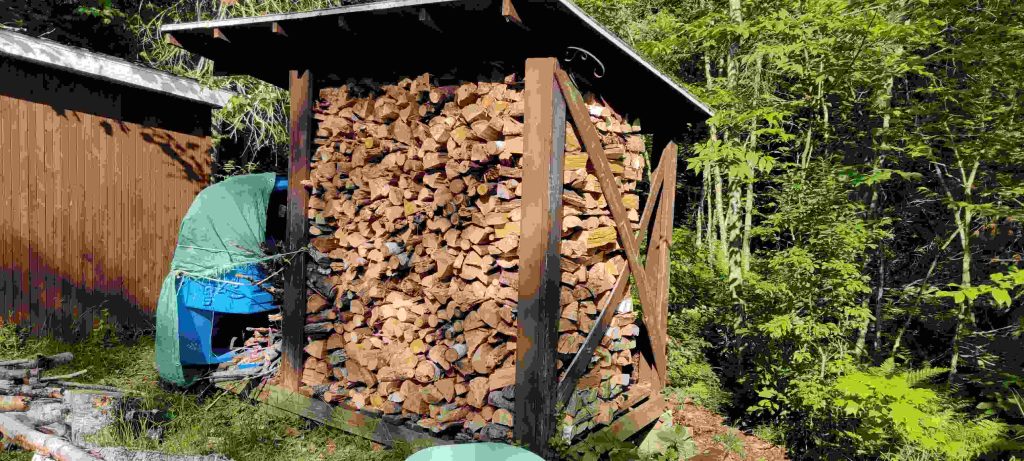
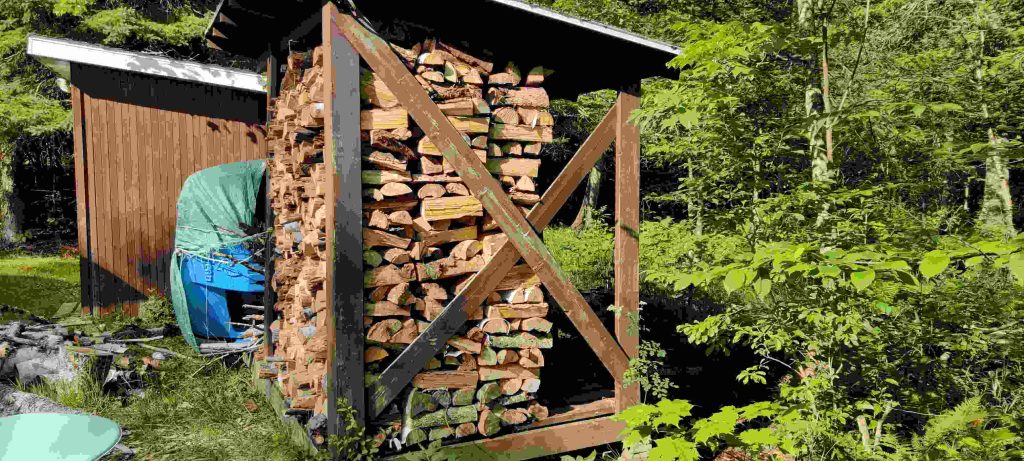
During my holidays at the cottage this year, I had the usual plans: A lot of relaxing, maybe a bit of boating, possibly some cycling on some nearby cycling trails, definitely a lot of cooking especially at the beginning, mostly of desserts to be frozen for eating during my stay at the cottage, and of course, some wood splitting to fill up the wood pile. No matter that said wood shed is already three quarters full after last year’s work and what I did burn over the winter.

View of my wood shed that is already three quarters full
Side view of my wood shed that is already three quarters full

As you can see, I already had a lot of wood on my woodpile.

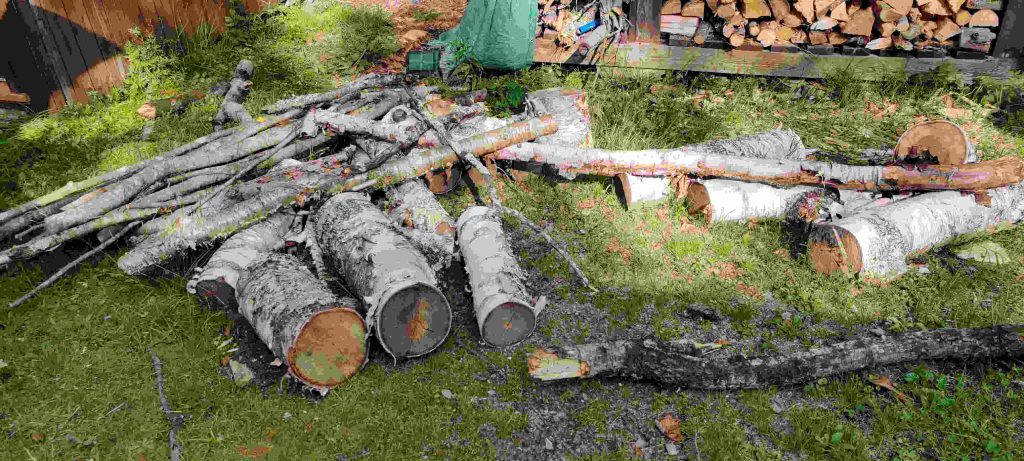
Part of my plans, nonetheless, involved cutting up a couple of big birch trees which we had felled by a real lumberjack last autumn, because the trees were liable to fall any time, possibly the wrong way.

One of two birch trees felled on the property
More wood ready to be cut up, before I would start cutting up the felled trees

Early on during my vacation, I met friends at a flea market somewhat nearby to the cottage, and afterwards I welcomed them at the cottage for an afternoon meal and visit. However, that day, 21 July 2026, we had a little bit of weather at the cottage (here’s my archive).

My friends were ready to pack up anyway as it was starting to rain heavily, and there had already been a few rounds of lightning and thunder at that point. As it turns out, they had to drive through the worst of the weather!

In the meantime, the cottage lost power from 20260721 at 17:41, shortly after my friends had departed. I was slightly beside myself without power, receiving advice to pack up not even five days into my holiday to go home … but I waited it out, and I won my bet in sticking through it all. Yay Hydro-Québec! … but, I have just jumped a bit ahead of myself.

I almost immediately started making a lot of calls back home (good thing old fashioned phones usually work during power outages!) to get Hydro-Québec (the power company here in Québec, where I live) updates on the storm. Said updates went from:

  • 19:45 power return a mere couple of hours after the storm;
  • to noon on the following day;
  • to noon on the second day after the storm;
  • to still noon on the second day after the storm, but because crews had “finished” a lot of the work in the grouping around my address and the number of affected clients had dramatically dropped, it seemed that on said second morning, a work crew hadn’t yet been assigned to fix the branch of wires my cottage was on.

But again, I’m getting ahead of the story.

During the storm, I heard a tree fall; I figured it came from our spare lot beside the cottage. As it turned out, it was indeed from our spare lot, and it fell onto the road!

After the storm had passed, I went out onto the road to investigate, particularly since I could hear other people talking, and in fact said persons were walking down my driveway.

On the road, we found the following:

Fallen tree on road
Fallen tree on road
Fallen tree on road

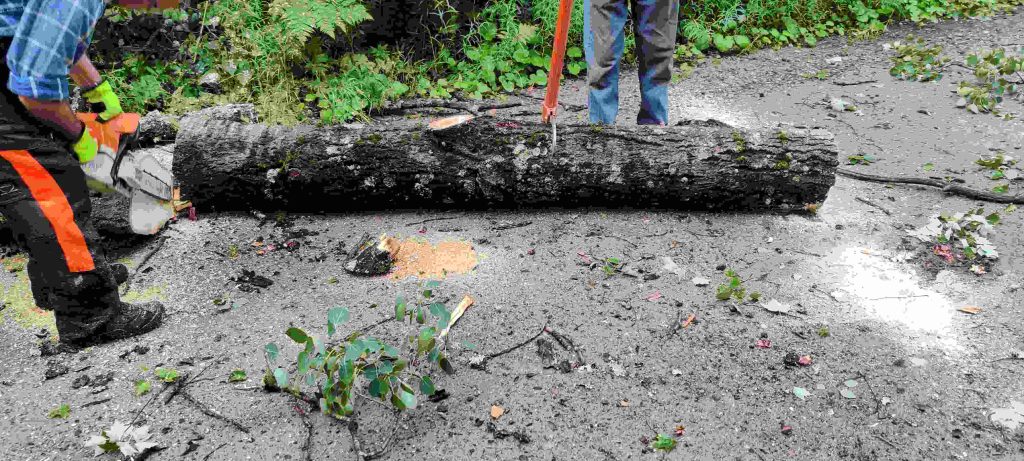
As can be seen above, people were hoping to pass, and the person who usually deals with events such as this had appeared on site and began to cut up the tree, in order to clear the way.

Tree being cut up
Tree being cut up
Tree being cut up
Cut up tree placed on the side of the road, for later, collection of the long pieces for milling, and cleanup of the rest

The power came back on on 20260723 at about 11:35. As of this writing, we’re still waiting on Update 20260724: According to La Presse (here’s my archive) (yeah it’s in French, deal with it) and CBC news (here’s my archive) Environment Canada Northern Tornadoes Project (NTP) to announce whether has confirmed that it was indeed a tornado.

At this point, this story is going to take a bit of a detour.

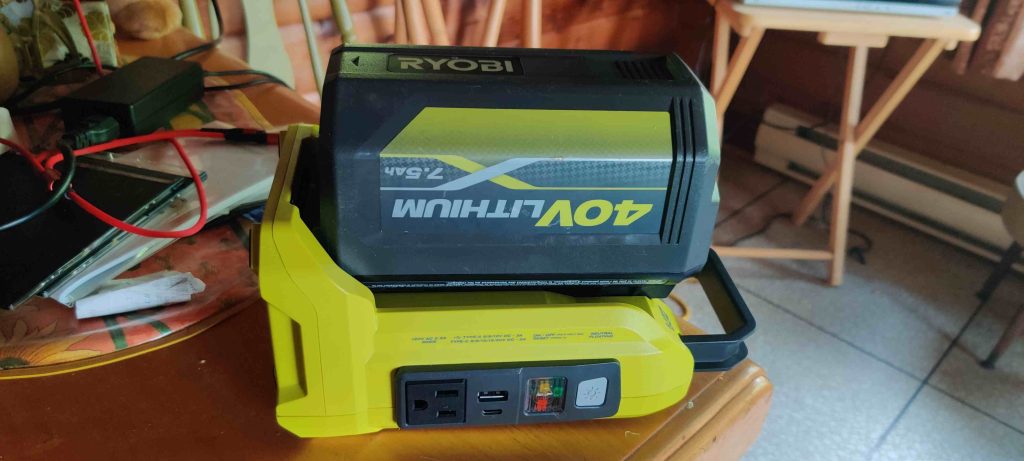
During the power outage, I learned that my two Ryobi 7.5 Ah batteries for my lawnmower, using a Ryobi converter, can each power my cottage fridge for a bit over an hour on a full charge.

Ryobi 7.5Ah battery from my lawnmower on an inverter, which was used to power the fridge

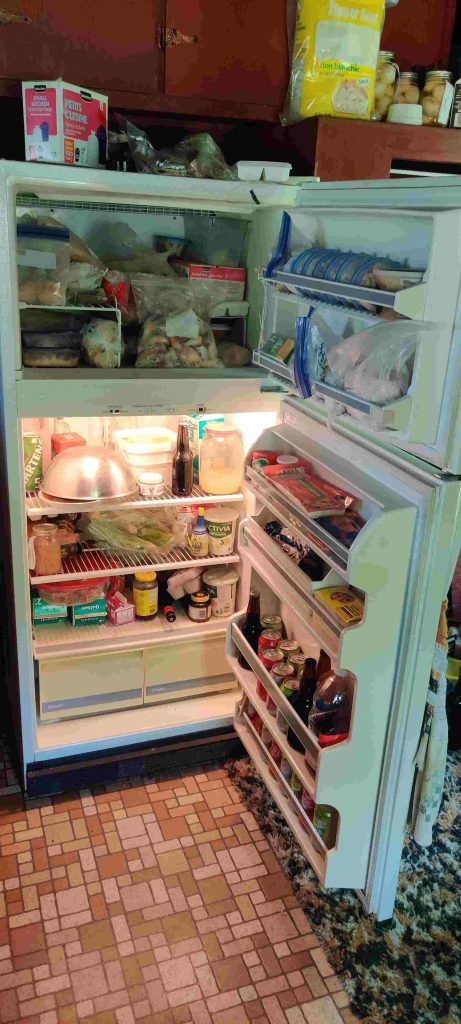
To state what may be obvious, I had to protect two weeks’ worth of food and groceries and already-done baking in the fridge and freezer.

Fridge full of food (photo taken after power restoration)

After the storm but long before the power came back on, I learned from people with whom I’d spoken on the road, that the effects of the storm was worse but a kilometre or two north of me. I didn’t drive there, but I hear that it was like a disaster zone and would take several days to a week or more to repair everything.

Stories from neighbours convinced me to embark mid afternoon on a folly of a trip to secure a generator, something I could not fully convince myself that I’d need after a hopefully short period of time.

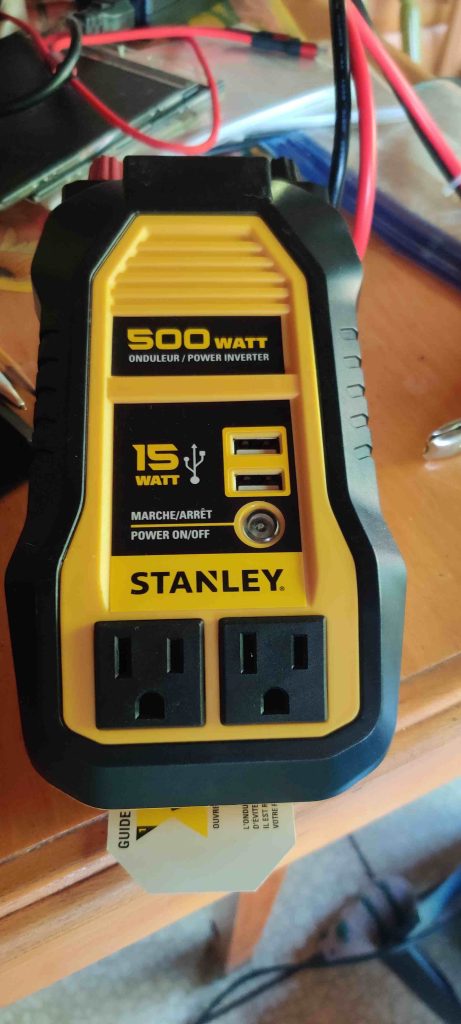
I went down to a nearby city (Lachute) to get a generator for the fridge … but between gasping at the prices, trying to figure out what I’d do with a generator after the power came back (or after I evacuated if it were to be too long), and remembering that I used to have an inverter for my car which I had used before to power the same fridge, I decided to buy a new inverter instead. Immediately prior to leaving on the folly of a trip, I brought with me my lawnmower batteries to recharge at the community centre as a backup plan, since I had also learned that the power had already been restored there.

Inverter meant to be attached to a car battery

On the way back to the cottage, I stopped at the community centre, and I spent about two and a half hours at the centre charging my two lawnmower batteries, and then I made it back to the cottage at approximately 8pm.

As it was starting to get darker (and outright dark by 9pm) I found myself a bit befuddled and I couldn’t quite grasp how to get the inverter to work; as such, I was pleased with myself that I had spent the time earlier to charge my lawnmower batteries, and one was set to work to get the fridge going for another hour or so before the battery drained, and in the process I also went to bed.

The next morning, I managed to get the purchased inverter working perfectly on my car engine, and the fridge was running for a bit over two hours before the power came back on.

At this point, I had a couple of priorities:

  • take a bath, which I couldn’t do during the power outage because the water system is a private system on the property dependent on electricity, putting aside the possibility of taking a swim in the lake beside the cottage — and when the power came back on, I was pleasantly surprised that the water in the hot water tank was still relatively hot after roughly 42 hours of no power, and therefore requiring little time for it to get back to temperature;
  • and wash the dishes from my entertaining on Tuesday!
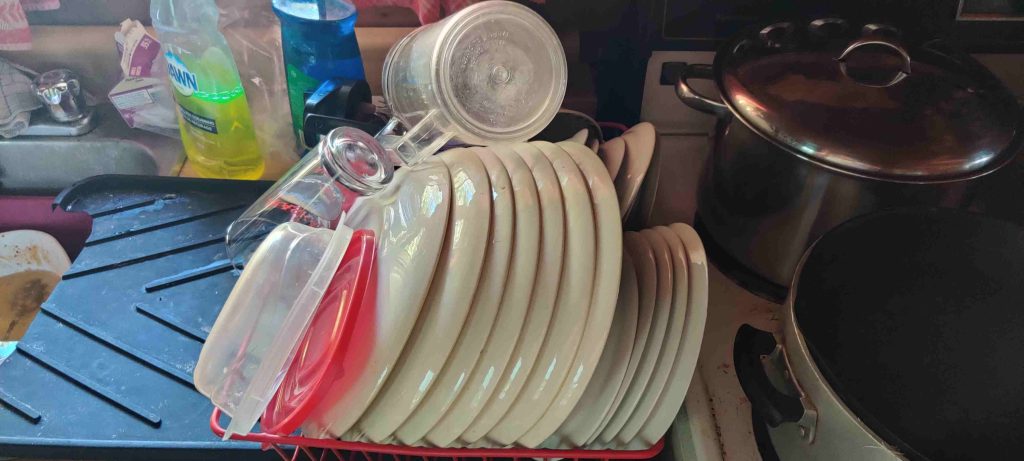
Dishes from the previous two days, including a large number from my visitors on Tuesday, after washing

… And at this point, the little detour has come back to the wood story.

After finishing up the dishes, I could tell that there was activity going on on the road where the tree had fallen: I ended up helping the person who maintains the roads clear up the tree that he’d cut up a couple of days earlier, mainly during the part when he was shredding the branches less than 3″ thick.

I asked what he was going to do with the rest of the wood, viz. the branches larger than 3″ but which were not the main trunk wood that he had recovered; I already knew from a couple of days earlier that he’d said he’d take the main part of the tree trunk so that he could season the wood, and then mill it and dry it out for lumber. As such, I said I’d take the rest — which was substantial — that he would have otherwise driven to the local ecocentre (here’s my archive) (yes, it’s in French, deal with it.)

Here is a photo of the branches packed into my car:

Branches loaded into my car

A little note at this point: The person who was leading with clearing the road noticed my car filled with the wood, and “strongly suggested” (jovially, though with an air of being serious along the lines of “they may feature your story, and perhaps even give you a credit”) that I take photos in order to send to the manufacturer to tell a story of how I use my car … whether I end up doing this remains to be seen, but in the meantime, I mounted this post. 🙂

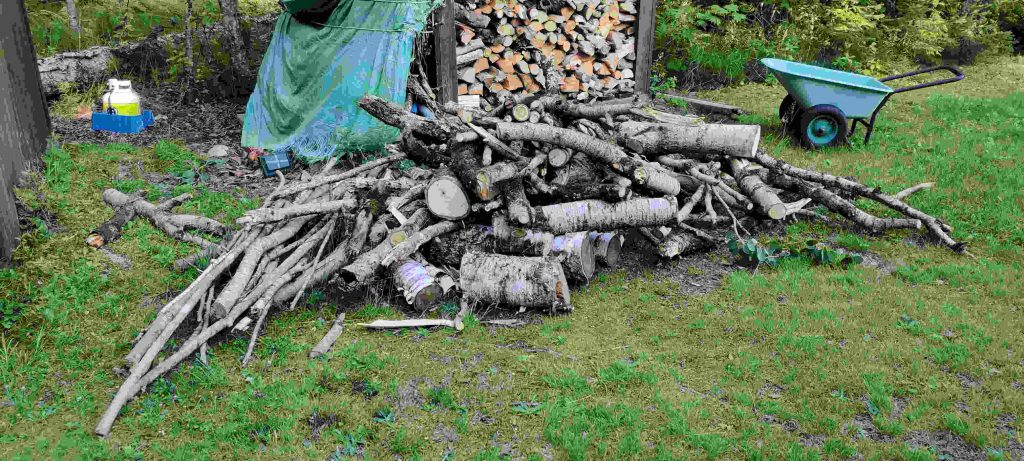
And, now I have this pile of wood to cut up to place in my wood shed … while you can see on the left of the photo, just behind the propane tank, one of the birch trees that was felled last year, that at this point will at best be cut into logs for seasoning for another year, and hopefully be kept somewhat out of winter snow and spring wetness!

(And as for the rest of the Monty Python sketch … well it’s as old as I am, and it’s still funny!)

WordPress updated again, more recipes added, and recipe updates

Yet another note to underline that WordPress on www.malak.ca has been updated, this time to version 6.9.4. And, when I was checking, I deleted 3,344 pending comments — I have long since stopped inspecting them 100 at a time for the possibility of a legitimate post; though I did notice that this time around, about 1,400 (presumably) spammy comments were lined up for my post on making Sour Cream Muffins! 🙂

New recipes:

  • Savoury Pork Custard: A recipe developed with — actually initially proposed by — ChatGPT to create a pork based dish that is very soft.
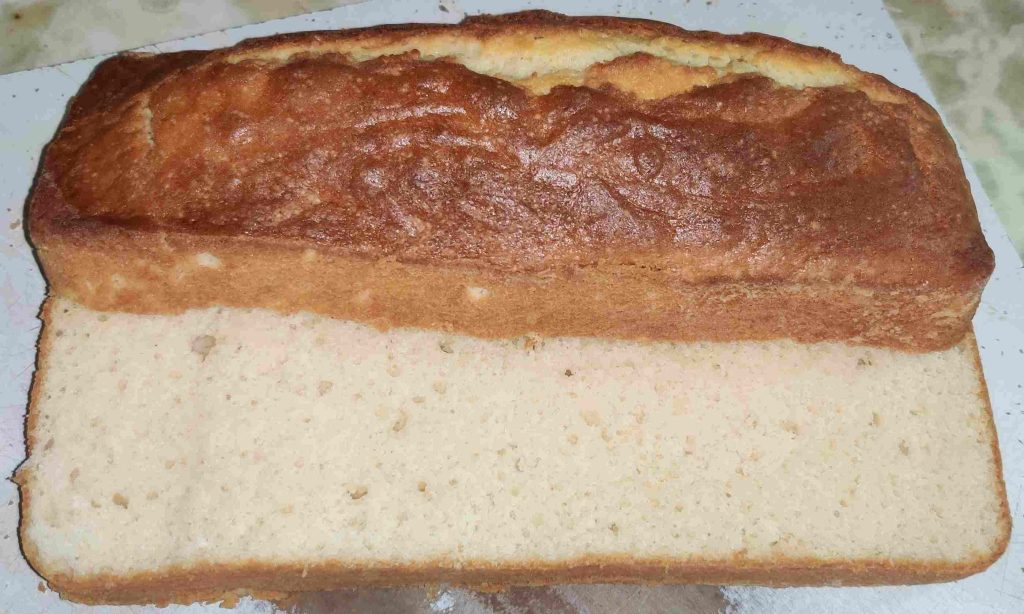
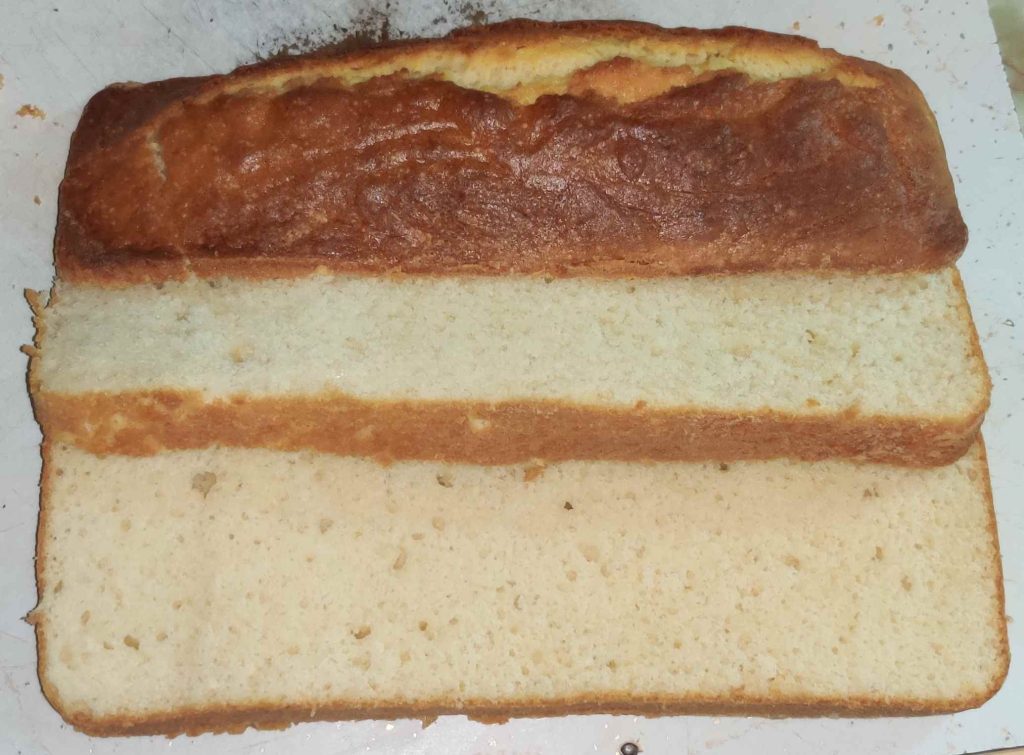
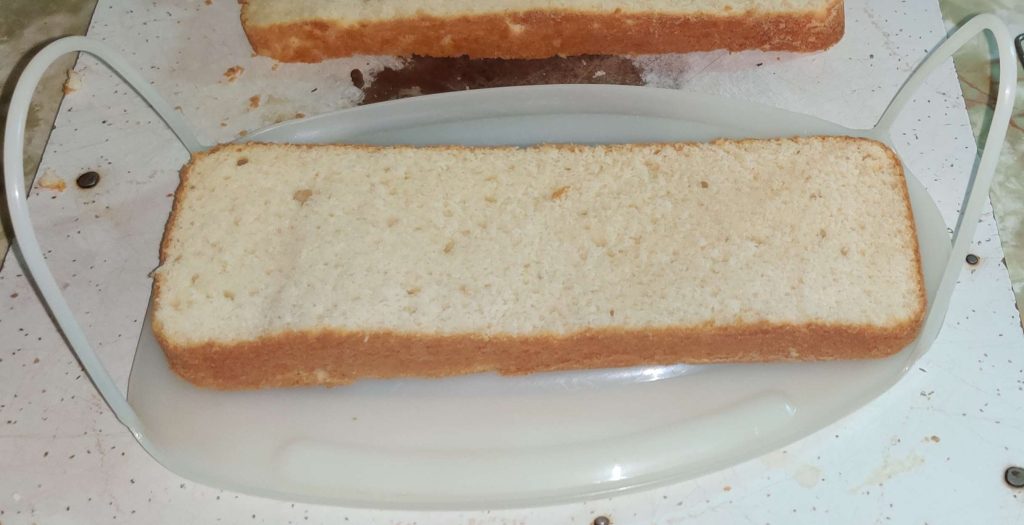
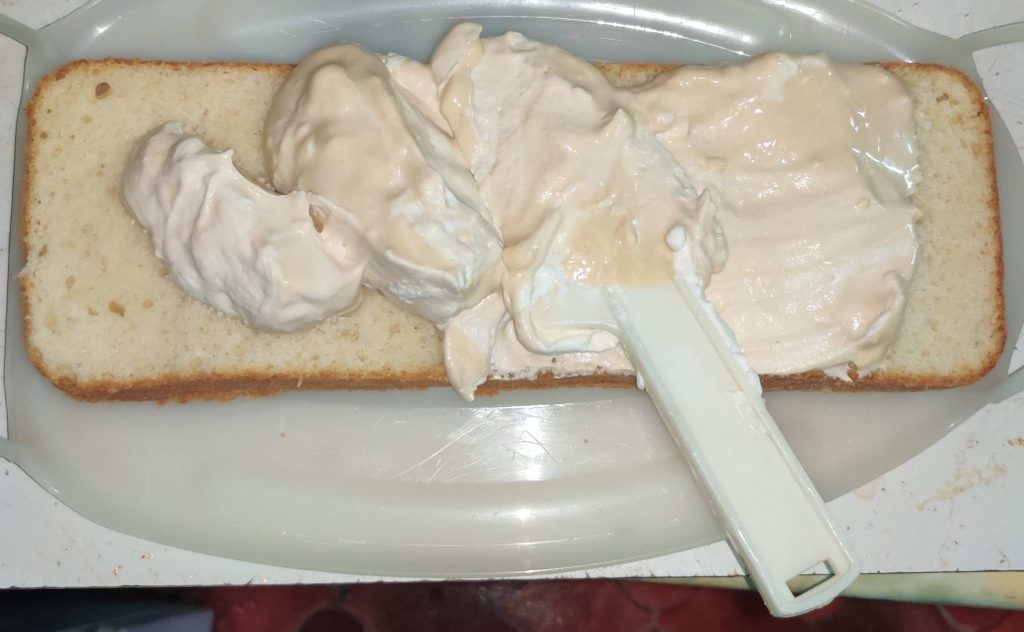
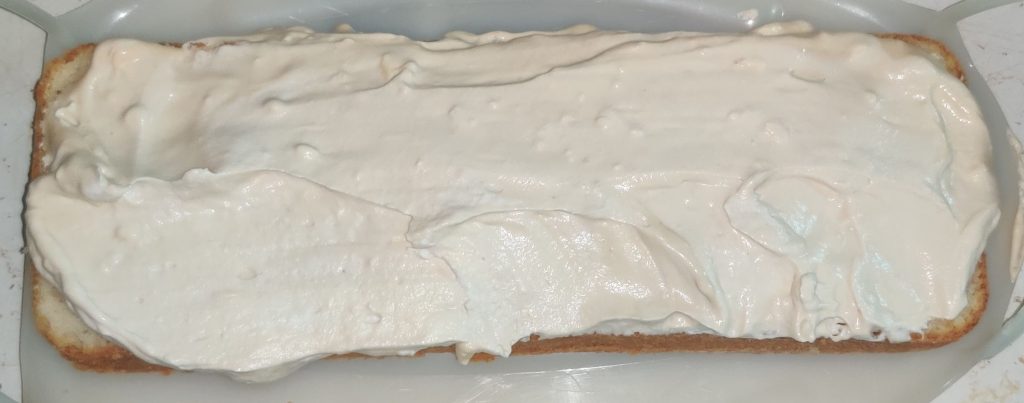
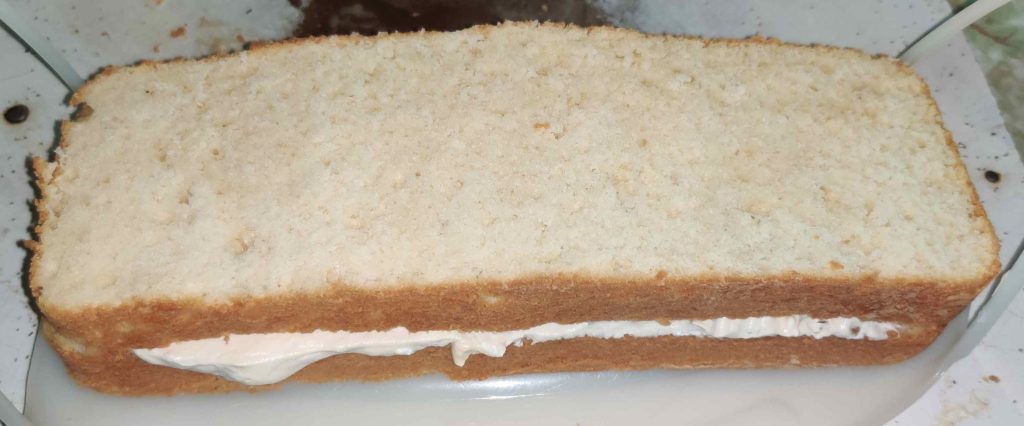
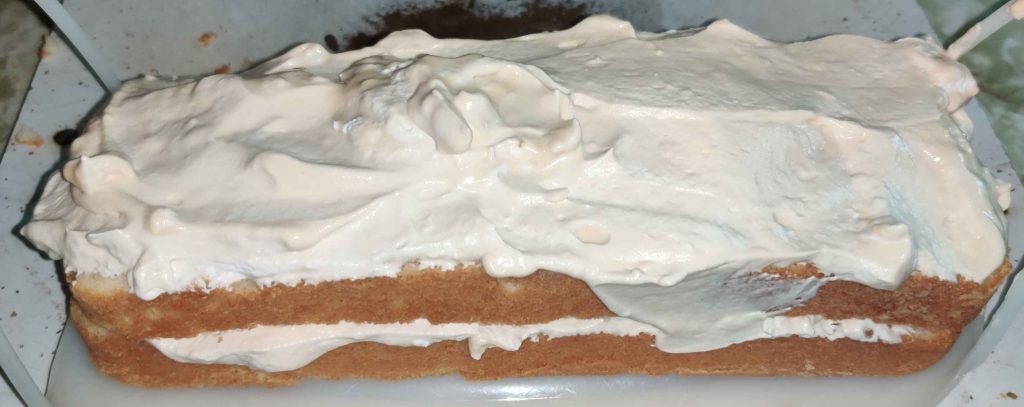
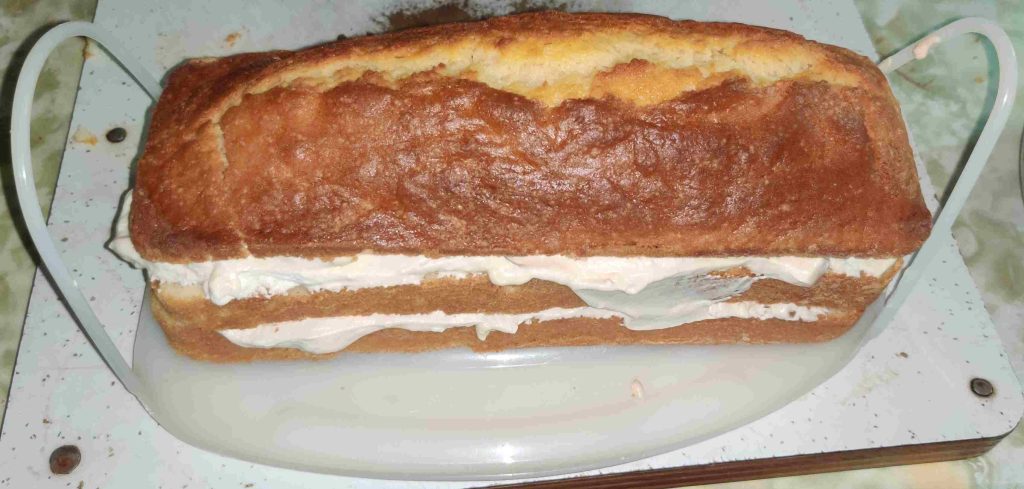
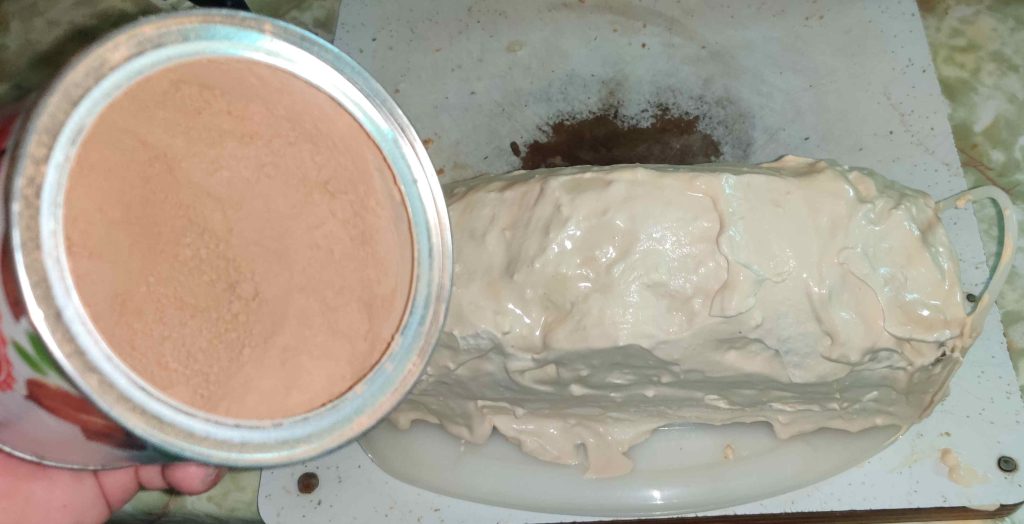
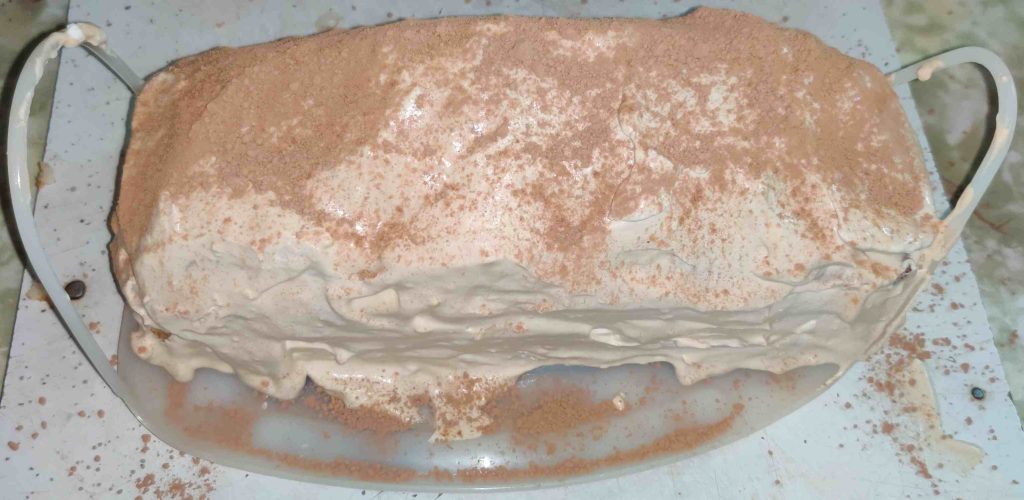
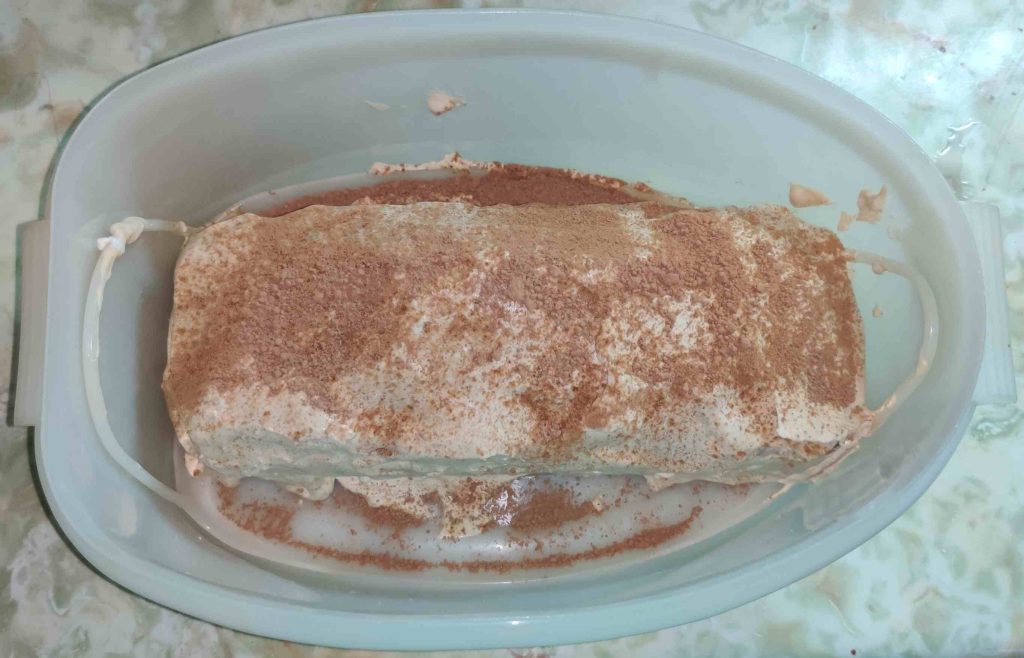
  • A Tiramisu-inspired Layer Cake: A recipe based off a “quick tiramisu” seen on a “30 minute meals” show, and reworked again with the help of ChatGPT. Tasty! (Optionally) Uses the loaf cake version of my Plain Cake. At this moment, the recipe is still an early draught along the lines of a “Release early, release often” model (here’s my archive).
  • Pulled Beef: Basically, beef cooked in the kitchen braising or stewed beef method. The first time I made it, it was a spot on recreation of what one would expect! (Adapted from my pulled pork recipe for beef, with … the help of ChatGPT.)

Updated recipes:

  • Pulled Pork: A recent addition, but listed as “updated” because I had already transferred this recipe to malak.ca/food several weeks ago. Pulled pork cooked in the kitchen braising method. This has become a recent favourite! The second time I brought it to a church dinner, it was sufficiently popular for it to be characterized as “Don’s Famous Pulled Pork” — much to my amusement, given that in those circles it is more my vegetable soup that would be characterized as “famous” when associated with me, while another parishioner’s pulled pork would best characterized as the “famous pulled pork” in those circles. 🙂
  • Vegetable Soup: Updated a couple of months ago; I don’t recall the latest updates.
  • Bacon Wrapped Chicken Pieces: Updated to suggest pairing their preparation with my turkey stuffing / dressing should the latter be prepared for its own sake sans turkey.
  • Turkey Stuffing / Dressing: Updated to include a cooking section, including to suggest pairing with the bacon wrapped chicken pieces if cooked for its own sake sans turkey.
  • Barbecups: General updating, the specifics of which I no longer remember, after making them a few weeks ago.

Enjoy!

WordPress updated and recipes added

Just a quick note to note that:

www.malak.ca blog:

  • The WordPress on malak.ca was updated from 6.8.3 to 6.9;

Food / recipes:

  • The following new recipes were added to my collection:
  • The following recipes were updated:
    • stewed apples;
    • chocolate buttercrunch (“English Toffee”); along with among other things generally updating the recipe text, a section was added stressing the importance of and outlining the mise-en-place (here’s my archive) that I find to be crucial to this recipe (as in, “of course mise-en-place is always a good practice and a good idea and really helpful when cooking, however in the case of this recipe, mise-en-place is essential to the success of, and simply, the execution of this recipe“);
    • plain cake, mostly adding for the addition of the optional use of fruit and stewed fruit, the use of either a loaf pan or a square cake pan, and allowing for the distinction between the use of either the “old fashioned” greasing and flouring of the pan method and the parchment paper method;
    • ham and cheese omelette, updating principally as a function of also using the recipe as a base for the above-mentioned goat cheese omelette;
    • chocolate chip cookie dough cheesecake squares, mostly for minor turns of phrase, as well as any updates I may or may not have done (oops bad memory, it’s been a while!) since the previous version;
    • shortbread cookies, again mostly for minor turns of phrase, as well as dividing some “multi-step” instructions, and fleshing out a number of implied steps (call my recipe style ridiculously verbose and overly detailed … in order to … live up to a lesson learned at a computer conference I attended in 2011. 🙂 )
    • 20260105 updated: The recipe for roast potatoes was updated yesterday.

Happy cooking!

PS: as a personal reference, I have made seven batches of chocolate buttercrunch — representing 3-1/2 pounds of butter, over 4-1/2 pounds of chocolate, over 3-3/4 pounds of sugar, and over 200mL of maple syrup — over the past roughly two weeks, to plan for Christmas giveaways. That’s about 90 to 91 bags of 60g of crunch each!

Making Chocolate Chip Cookie Dough Cheesecake Squares — Photos

This decadently rich and scrumptious dessert is another relatively new addition to my collection of recipes. Mom loves it!

Making the squares:

Before beginning, some cream cheese was taken out of the fridge and put on the counter to warm up to room temperature:

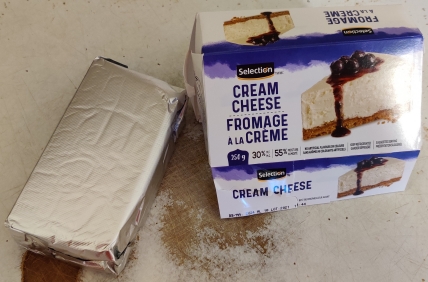
Cream cheese taken out before beginning in order to soften it

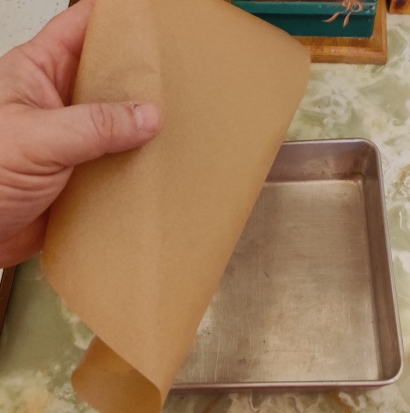
Parchment paper and an 8″ baking pan were taken out:

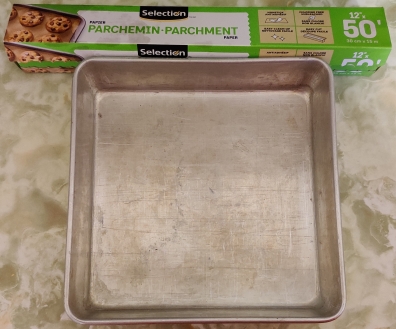
Parchment paper and baking pan taken out

A parchment paper larger than the baking pan was torn off the roll …

Parchment paper cut off of roll

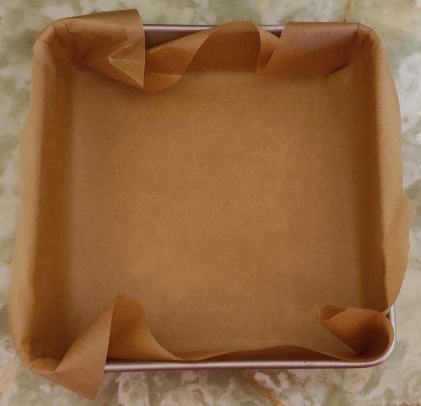
… and the baking pan was lined with the parchment paper, with a little bit left over the edges of the pan:

Baking pan lined with parchment paper

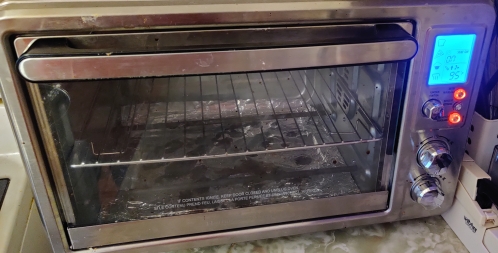
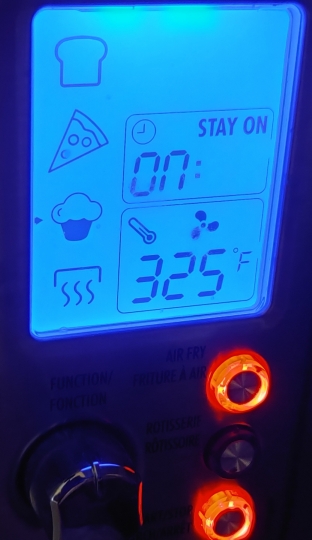
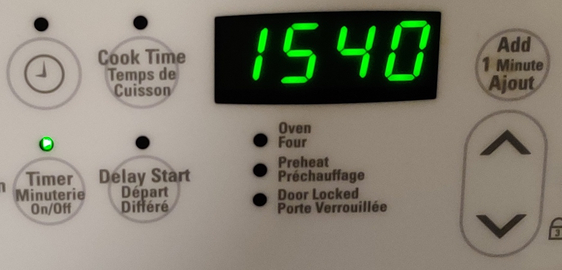
The pan was put aside for a few moments, and a countertop convection oven was set to 325F and turned on:

Countertop convection oven turned on
Oven set to 325F

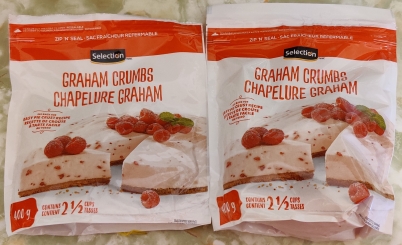
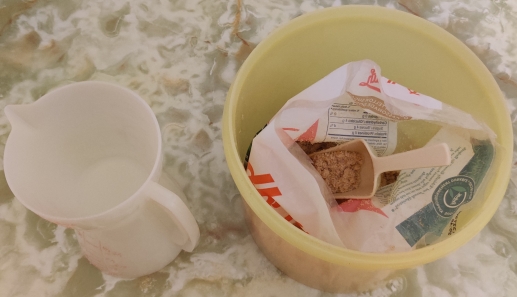
Graham cracker crumbs were taken out:

Graham cracker crumbs taken out

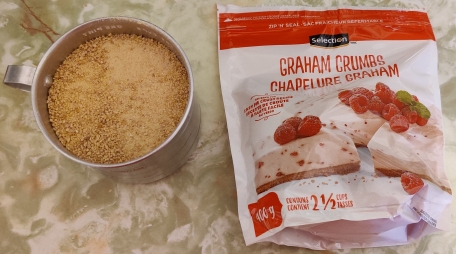
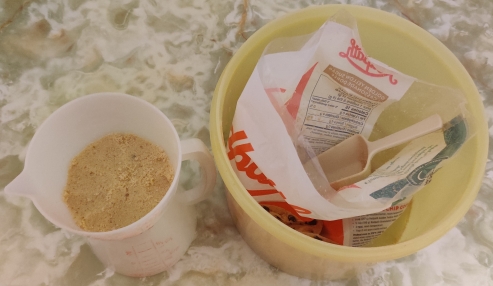
A cup and a half of graham cracker crumbs were measured out:

Graham cracker crumbs measured out

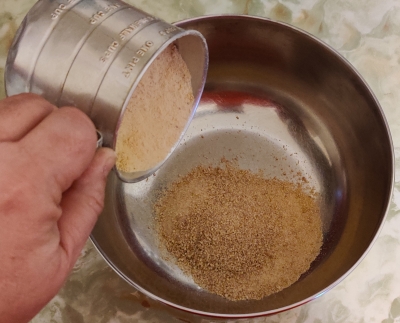
The graham cracker crumbs were transferred to a mixing bowl:

Graham cracker crumbs transferred to mixing bowl

Margarine was taken out:

Margarine taken out

Margarine was scooped out of the tub:

Margarine scooped out of tub

The margarine was placed in a bowl, previously placed on the scale and the tare set to zero:

Margarine measured out

The margarine was melted in the microwave oven, 15 seconds at a time:

Microwave oven set to 15 seconds
Margarine being melted 15 seconds at a time in microwave oven

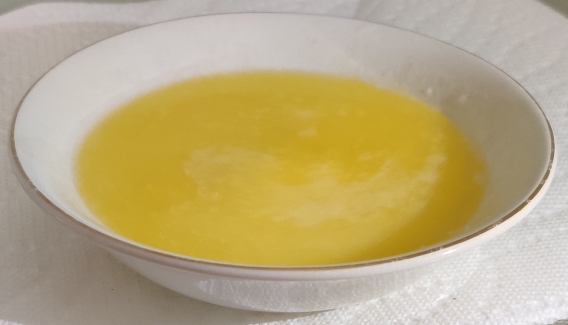
Once fully melted, the margarine was taken out of the microwave oven:

Melted margarine taken out of the microwave oven

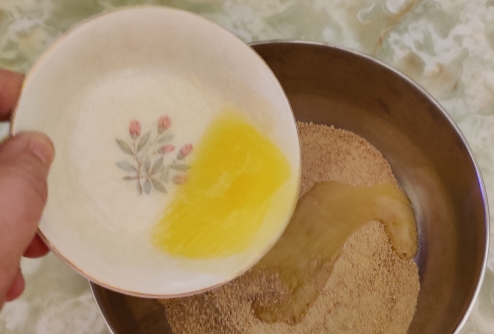
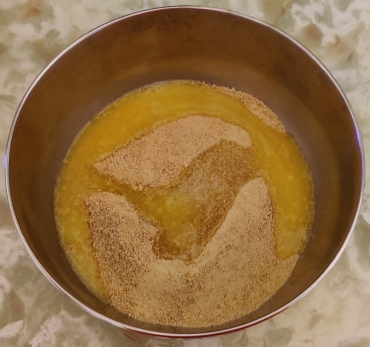
The melted margarine was poured over the graham cracker crumbs in the mixing bowl:

Melted margarine poured over graham cracker crumbs

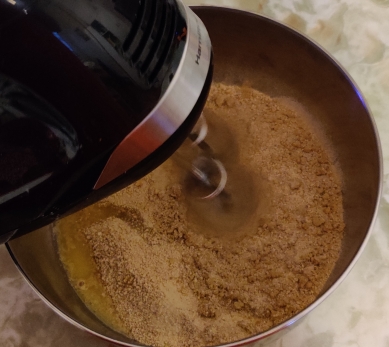
An electric blender was taken out and used to fully mix the graham cracker crumbs and the melted margarine:

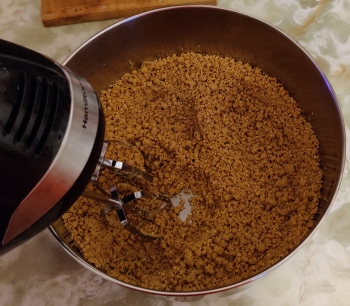
Graham cracker crumbs and melted margarine mixed with electric blender

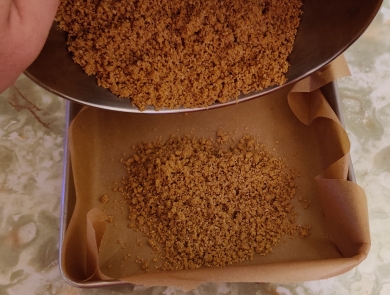
The baking pan with the parchment paper lining was brought back and the fully blended graham cracker crumbs and melted margarine were transferred to the baking pan.

Graham cracker mix transferred to baking pan

The graham cracker mix was flattened with an egg flipper:

Graham cracker mix flattened with an egg flipper

The baking pan with the graham cracker crust was placed in the pre-heated countertop oven:

Graham cracker crust placed in oven

A timer was set for six minutes:

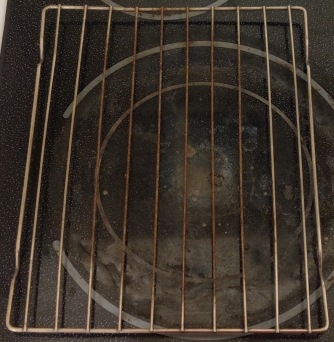
While the graham cracker crust was baking, a cooling rack was taken out (and placed on my stove):

Cooling rack taken out

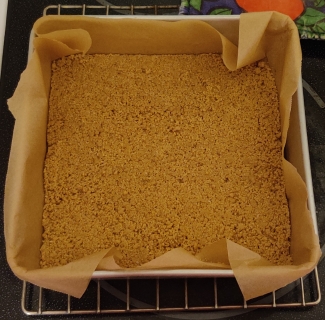
After baking for six minutes, the graham cracker crust was taken out of the oven and placed on the cooling rack:

Graham cracker crust placed on cooling rack

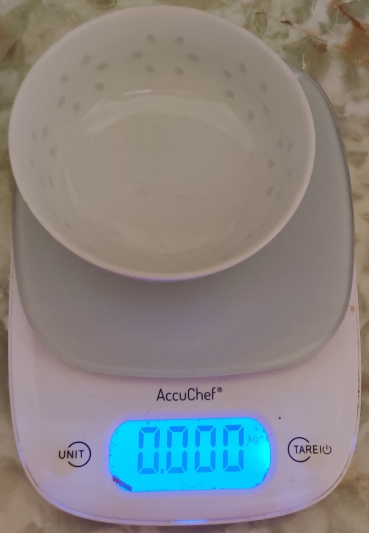
Another bowl was placed in the scale and the tare set to zero:

Small bowl placed on scale and scale set to zero

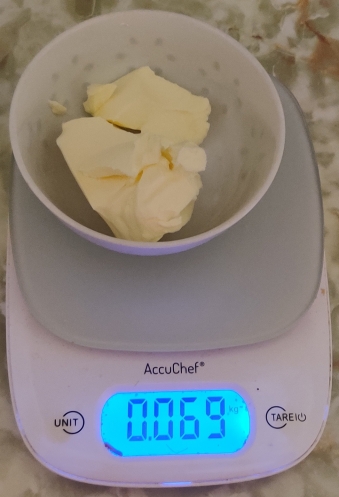
More margarine was taken out and measured out:

Margarine measured out

The mixing bowl had been washed while the graham cracker base was baking, and the margarine was transferred to the mixing bowl:

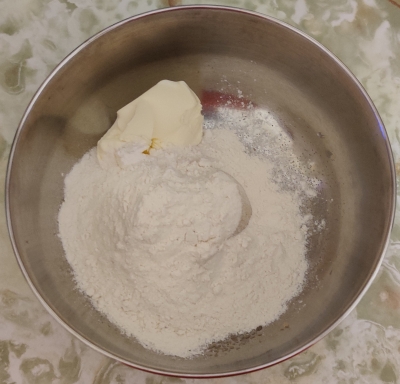
Margarine transferred to clean mixing bowl

Brown sugar and a measuring cup were taken out:
Brown sugar and measuring cup taken out

The brown sugar was measured out:

Brown sugar measured out

The brown sugar was transferred to the mixing bowl with the margarine:

Brown sugar transferred to mixing bowl

Table sugar and a measuring spoon were taken out:

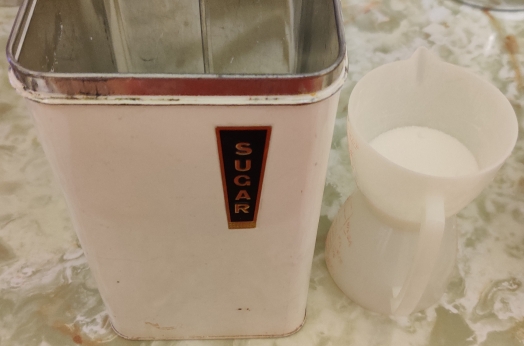
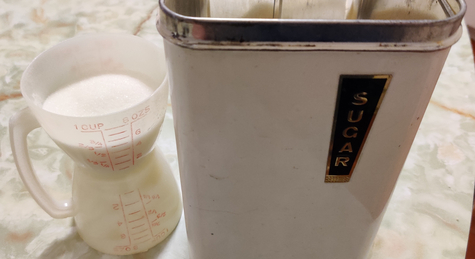
Sugar and measuring spoon taken out

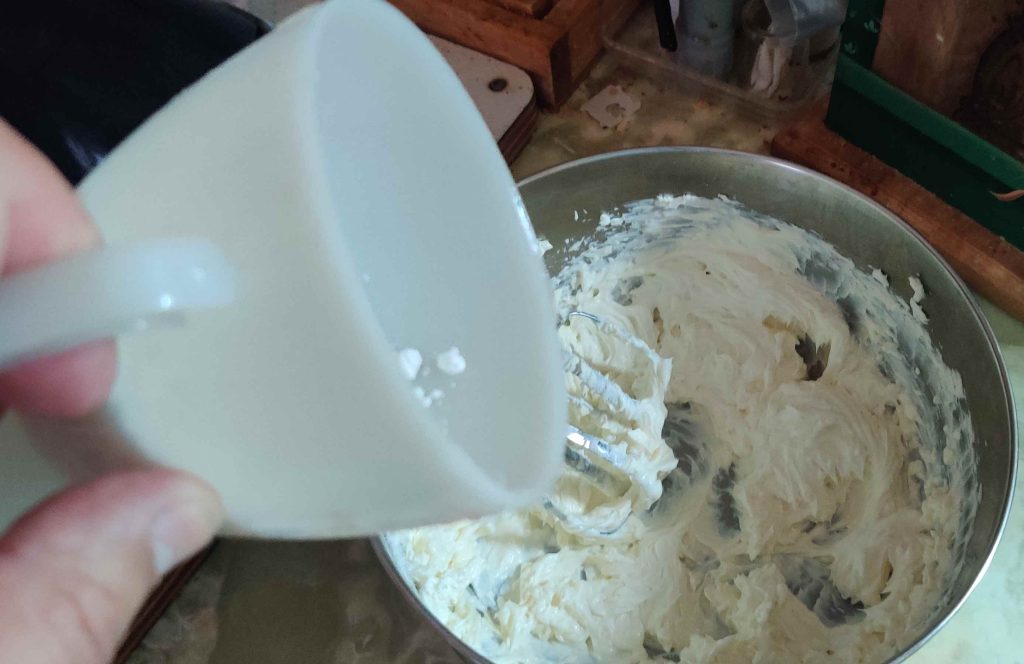
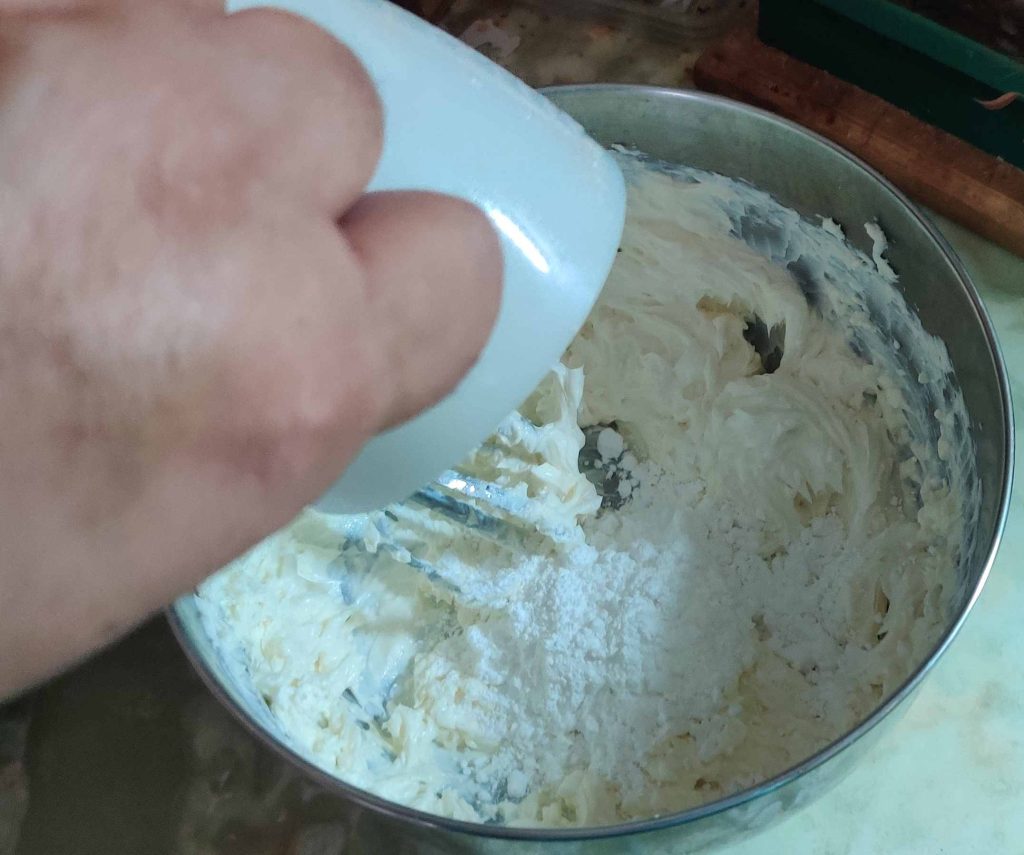
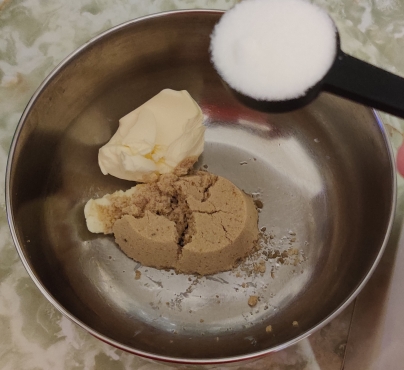
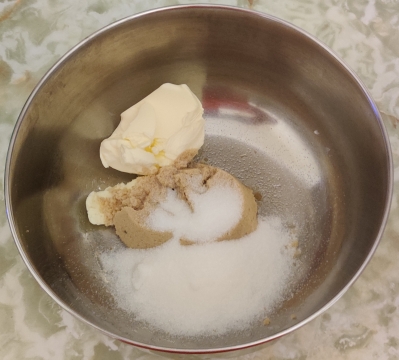
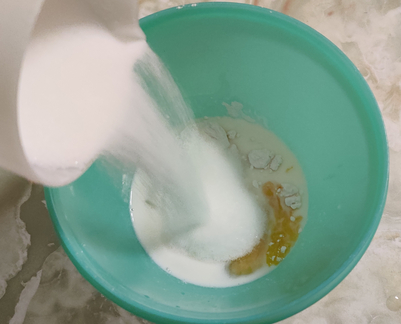
Table sugar was measured out and poured into the mixing bowl with the brown sugar and margarine:

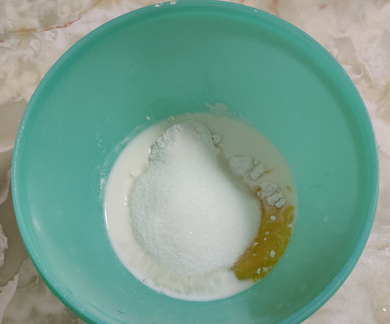
Table sugar added to mixing bowl

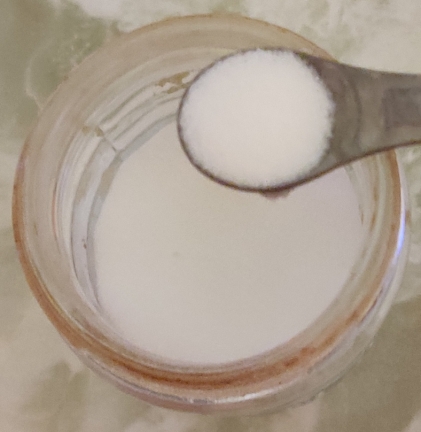
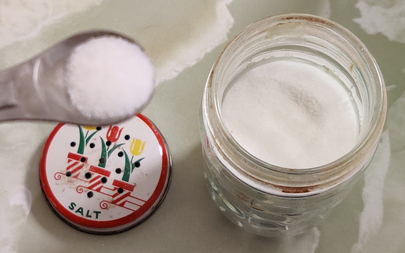
Salt was taken out and measured out:

Salt measured out

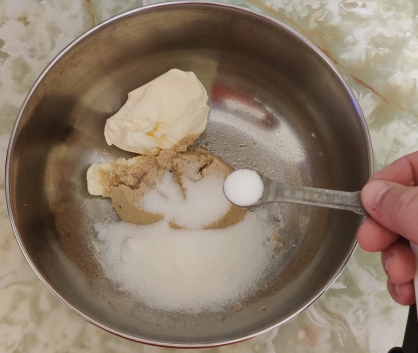
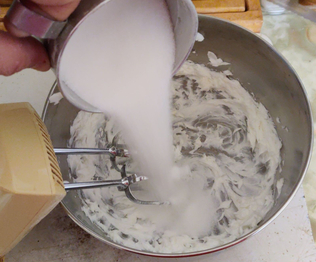
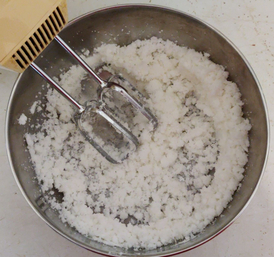
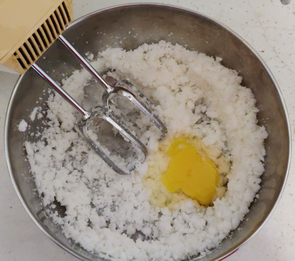
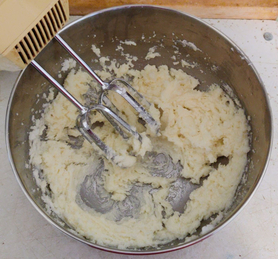
The salt was added to the mixing bowl with the two kinds of sugar and margarine:

Salt added to mixing bowl

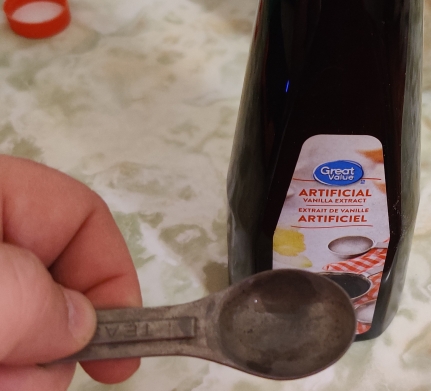
Vanilla extract and a measuring spoon were taken out:

Vanilla extract

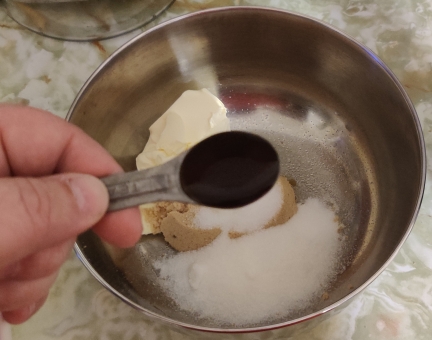
The vanilla extract was measured out and added to the mixing bowl with the two kinds of sugar, margarine, and salt:

Vanilla extract added to mixing bowl

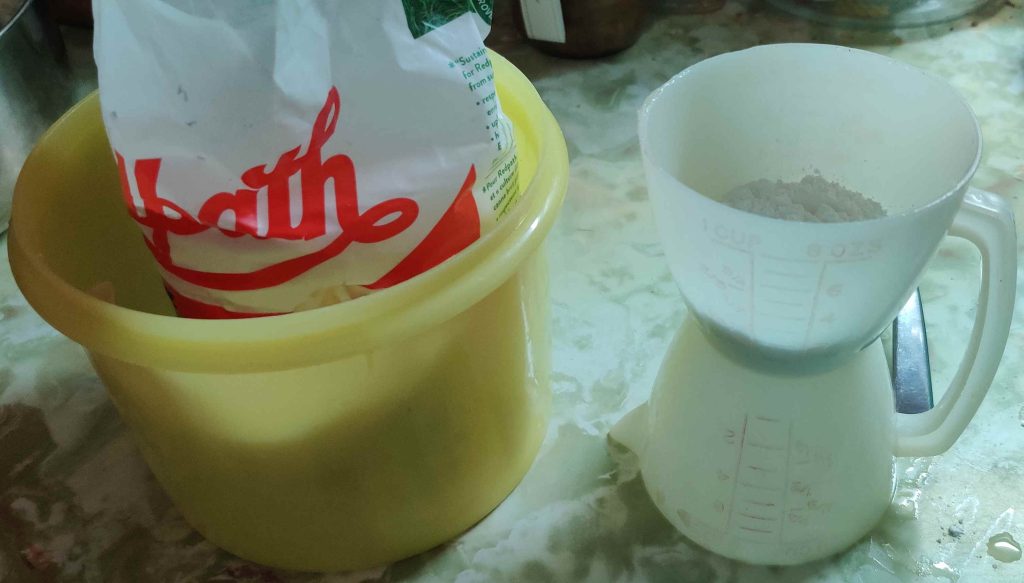
Flour and a measuring cup were taken out:

Flour taken out

The flour was measured out:

Flour measured out

The flour was transferred to the bowl with the two kinds of sugar, margarine, salt, and vanilla extract:

Flour added to mixing bowl

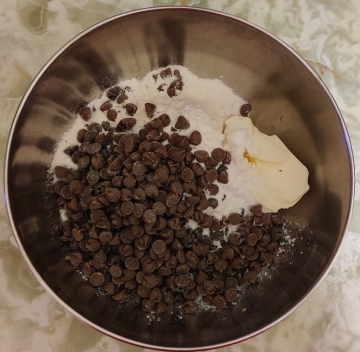
Two kinds of chocolate chips were taken out:

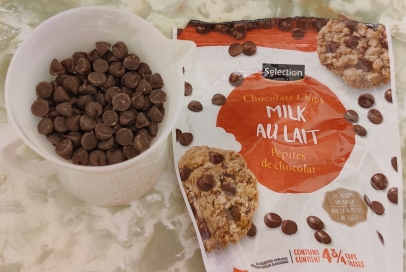
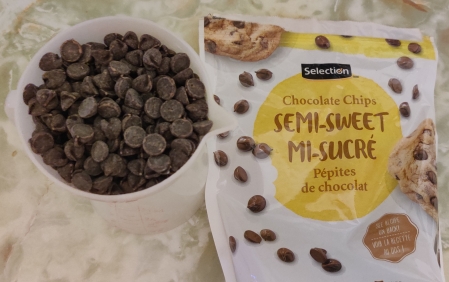
Two kinds of chocolate chips taken out

Half a cup of milk chocolate chips were measured out:

Half a cup of milk chocolate chips measured out

… and half a cup of semi-sweet chocolate chips were measured out:

Half a cup of semi-sweet chocolate chips measured out

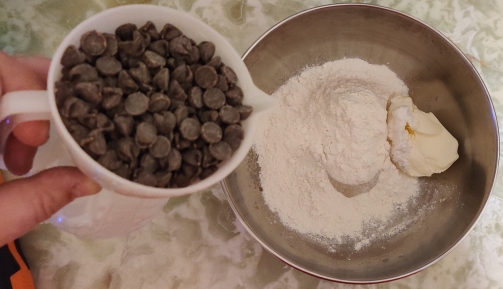
The chocolate chips were added to the mixing bowl with the other ingredients:

Chocolate chips added to mixing bowl

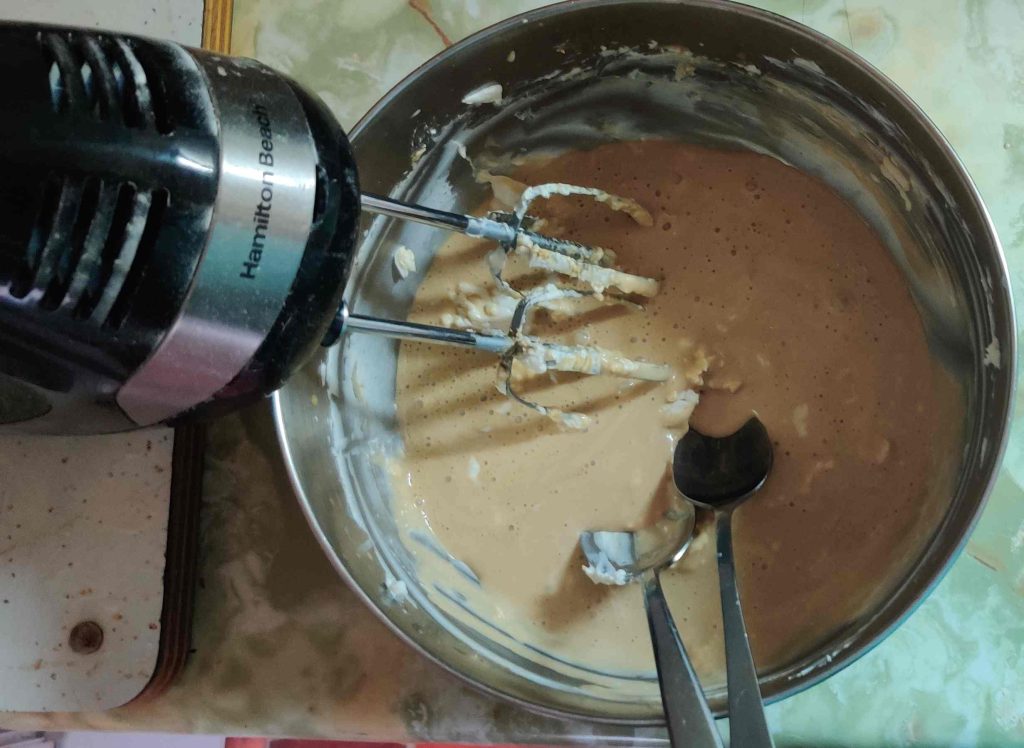
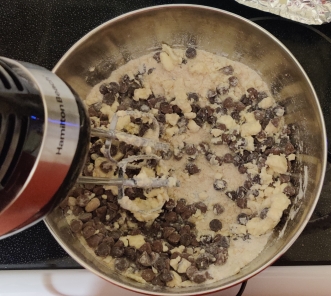
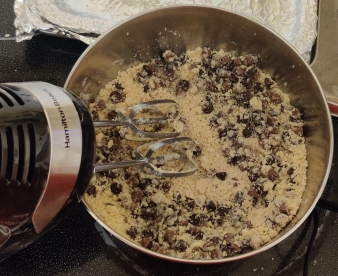
A hand held electric mixer was taken out and the ingredients mixed to make a powdery dough:

Ingredients mixed with electric mixer

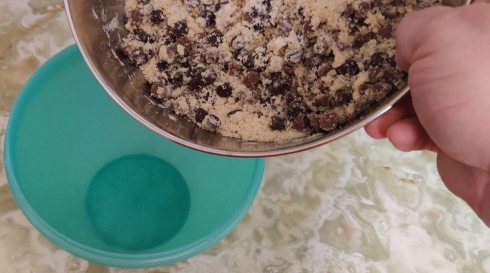
The cookie dough was transferred to another bowl and put aside:

Cookie dough transferred to another bowl
Cookie dough transferred to another bowl and put aside

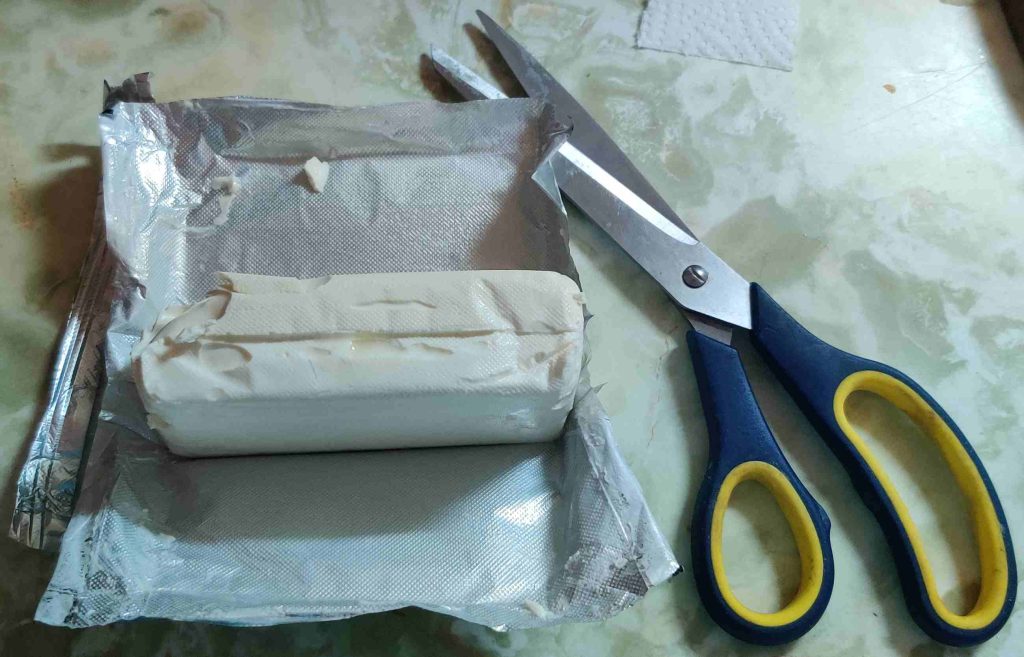
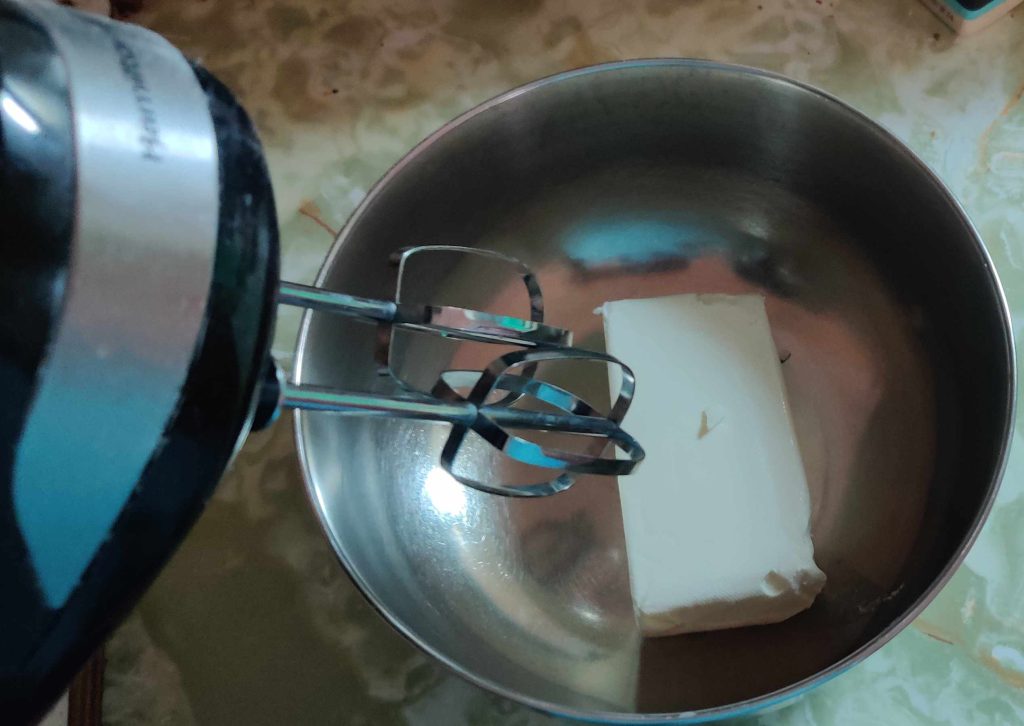
The package of cream cheese placed on the counter earlier to warm up to room temperature was taken out and opened with a pair of scissors:

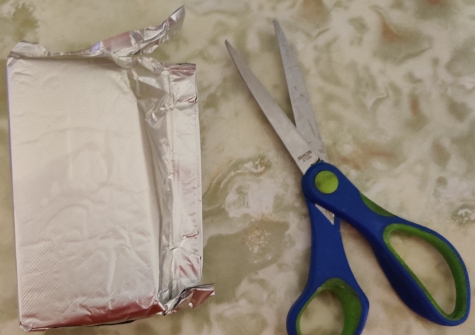
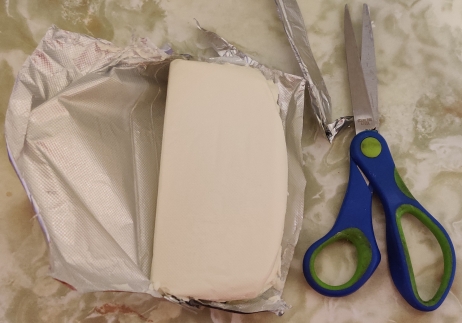
Package of cream cheese opened

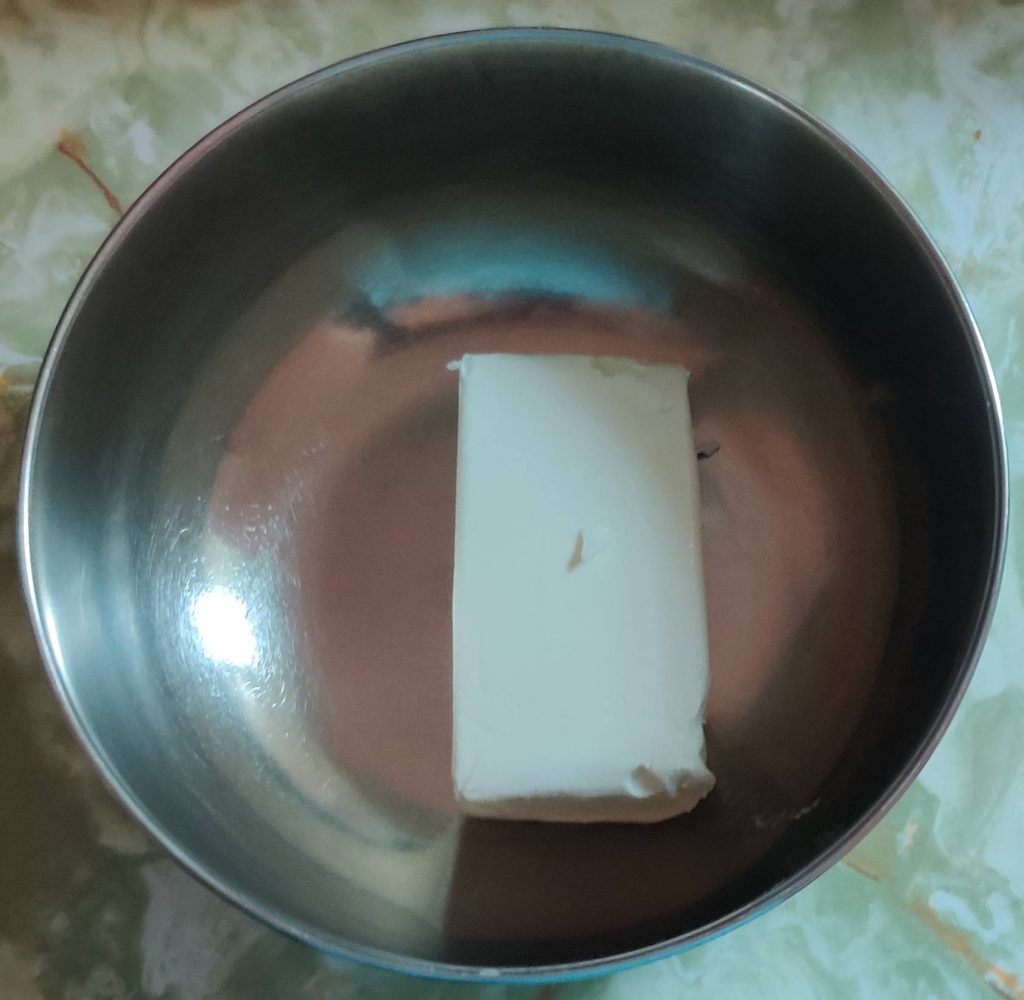
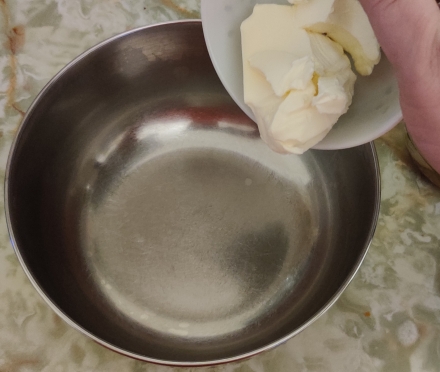
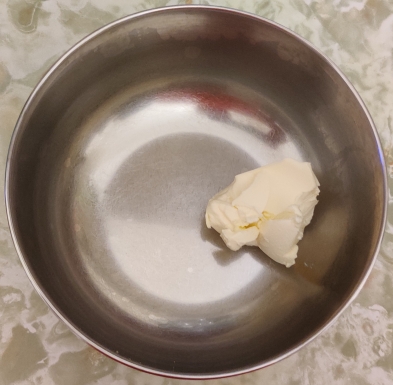
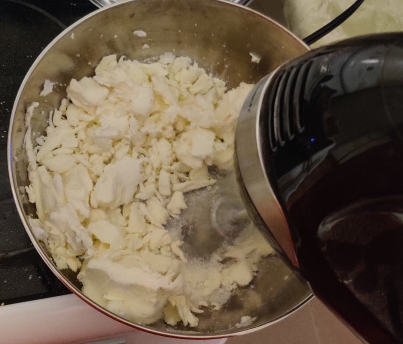
The cream cheese was transferred to the mixing bowl, the latter of which again was washed in between mixing jobs.

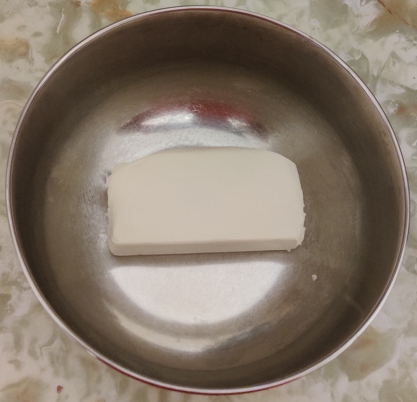
Cream cheese placed in mixing bowl

The table sugar was taken out again and measured out:

Sugar measured out

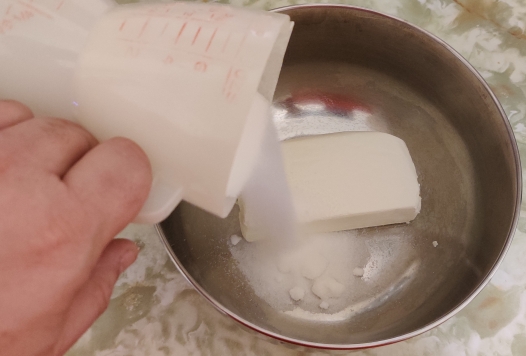
The table sugar was transferred to the mixing bowl with the cream cheese:

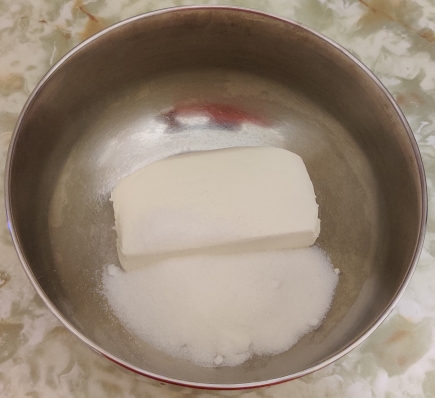
Table sugar placed in mixing bowl

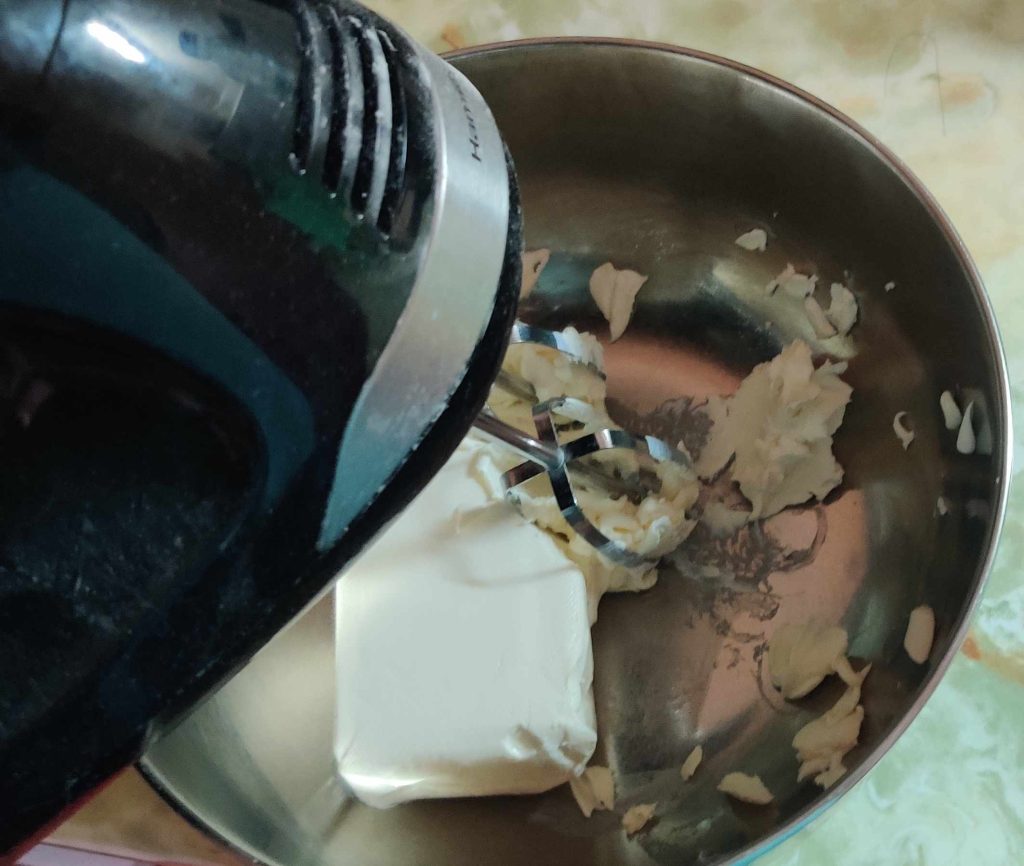
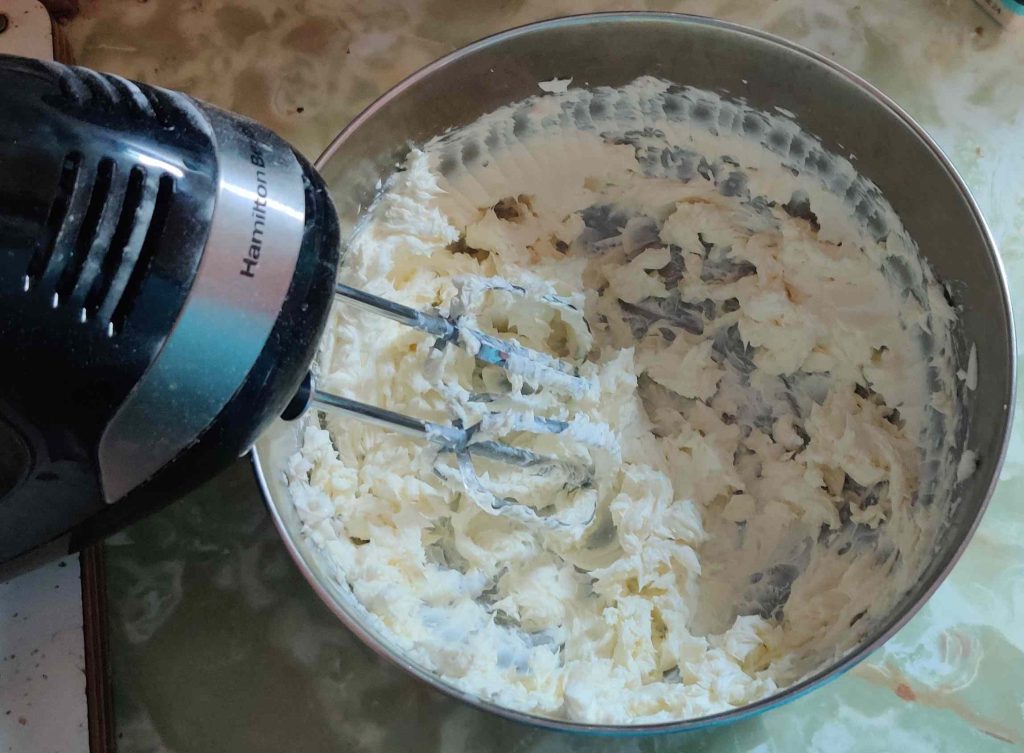
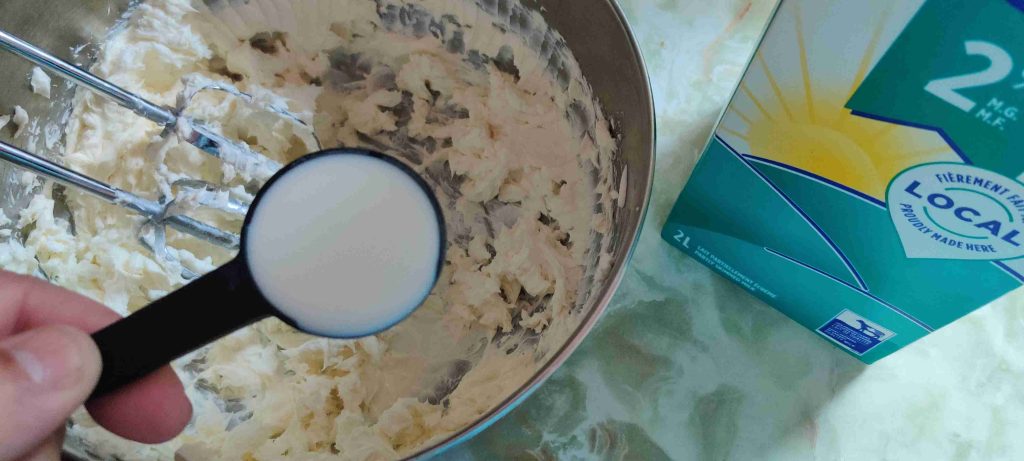
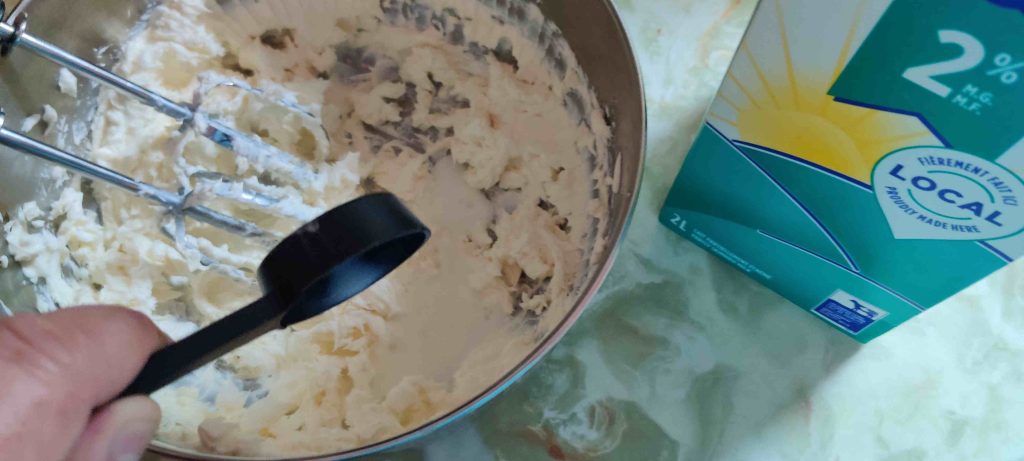
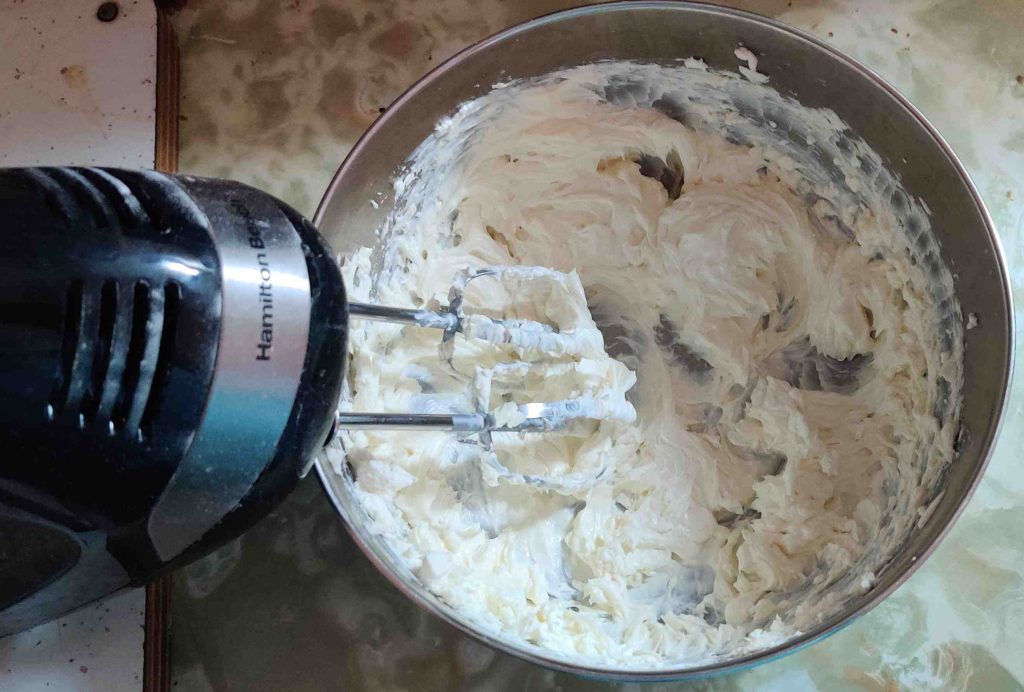
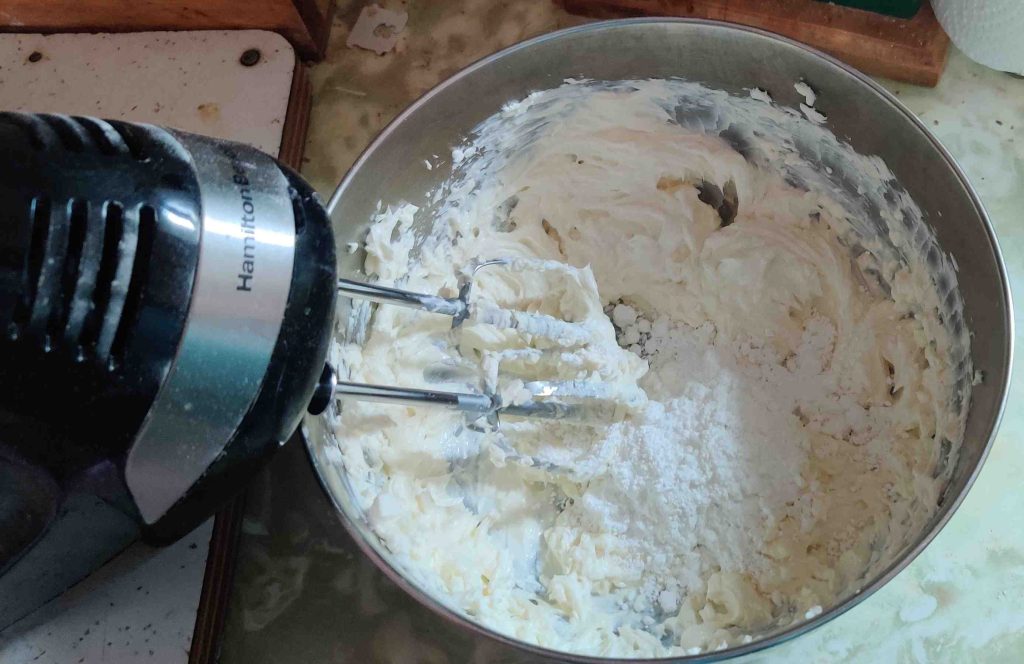
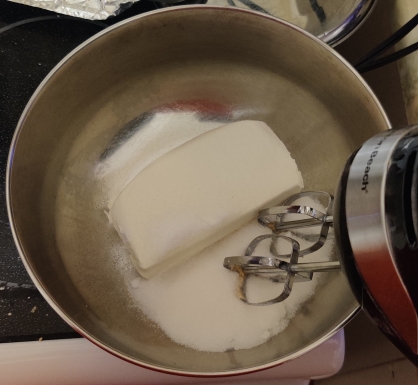
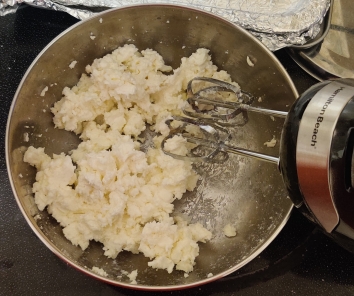
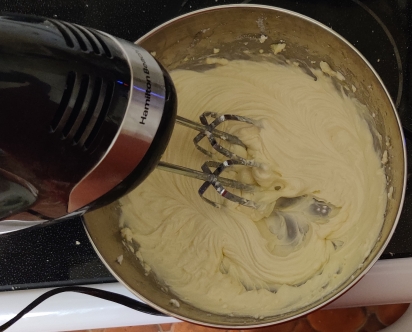
The electric mixer was taken out again to cream the cream cheese and table sugar together:

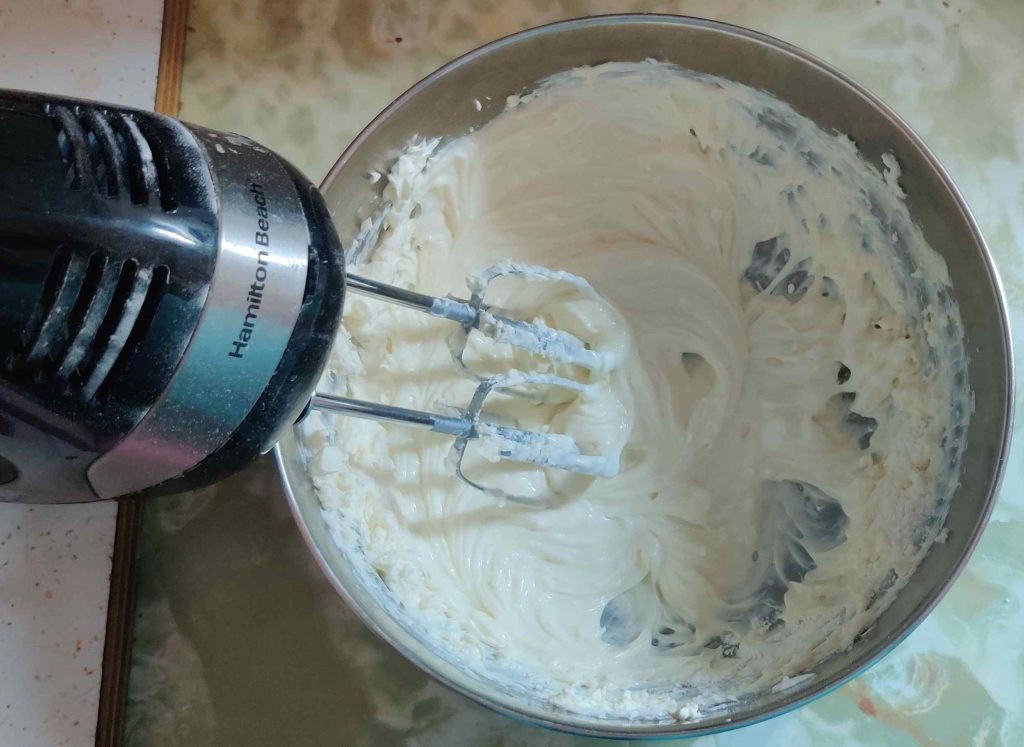
Creaming cream cheese and sugar

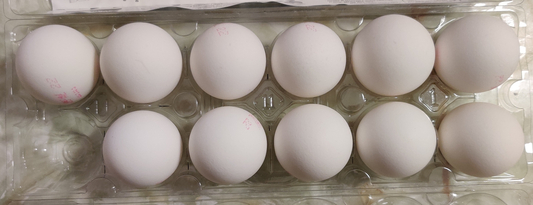
Eggs were taken out:

Eggs taken out
Last egg taken out

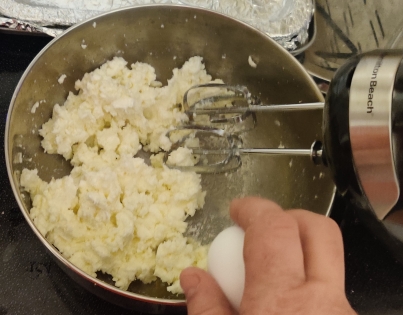
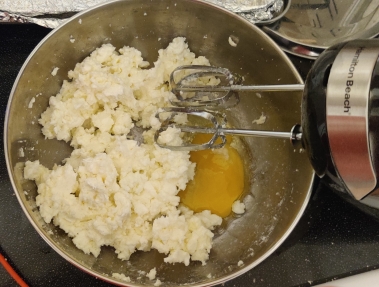
The egg was cracked into the bowl with the cream cheese and sugar:

Egg cracked in bowl with cream cheese and sugar

Vanilla extract was taken out again:

Vanilla extract taken out

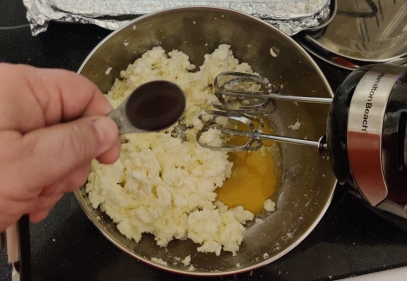
The vanilla extract was measured out and was added to the bowl with the cream cheese, sugar, and egg:

Vanilla extract added to bowl

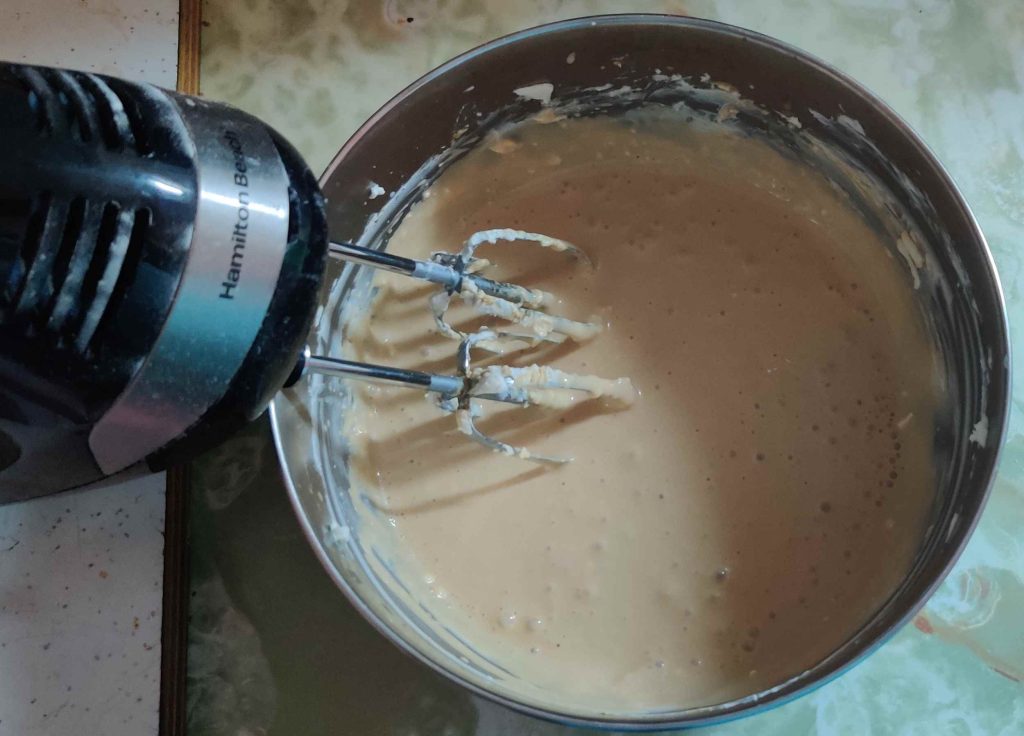
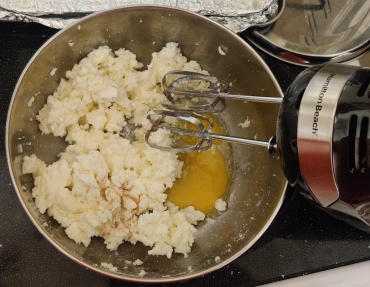
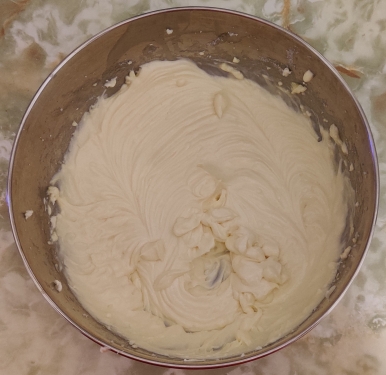
The egg and vanilla extract were mixed into the cream cheese and sugar:

Egg and vanilla extract mixed into cream cheese and sugar

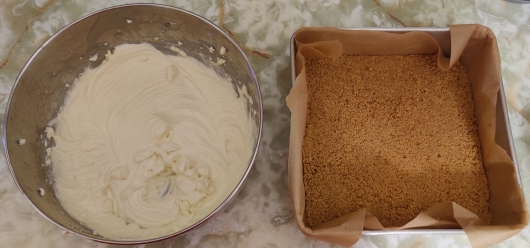
The now-cooled graham cracker crumb base was taken out:

Cooled graham cracker crumb base taken out

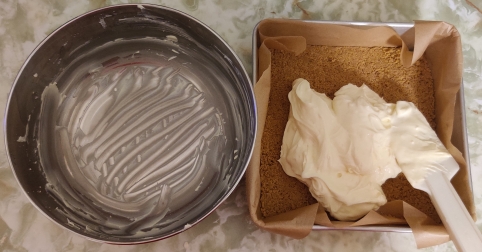
The cream cheese mix was transferred on top of the graham cracker crumb crust:

Cream cheese mix transferred to base

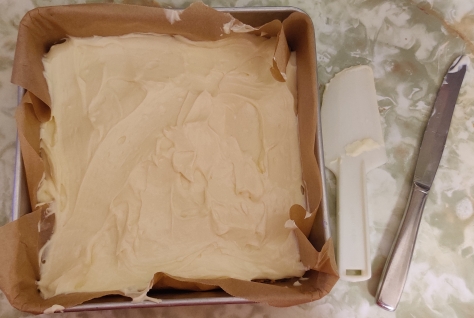
The cream cheese mix was spread evenly over the graham cracker crumb crust:

Cream cheese mix spread evenly over base

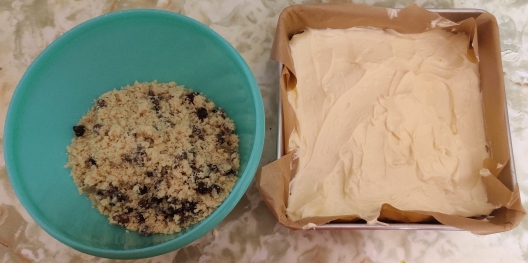
The chocolate chip cookie dough was taken out:

Cookie dough taken out

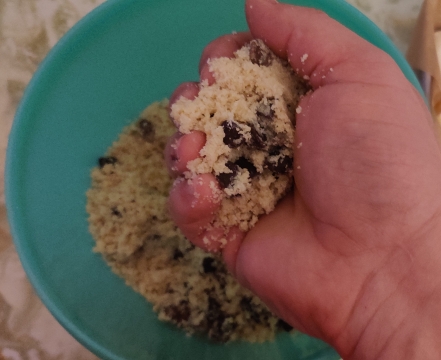
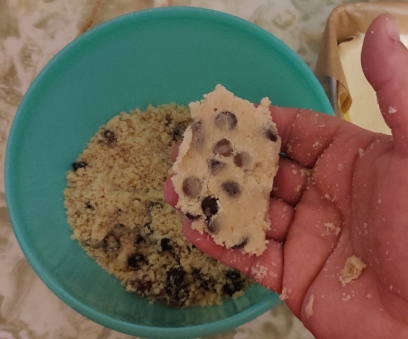
A bit of the cookie dough was picked up in my hand …

Cookie dough picked up

… and the ball of dough was flattened between my two hands:

Cookie dough flattened

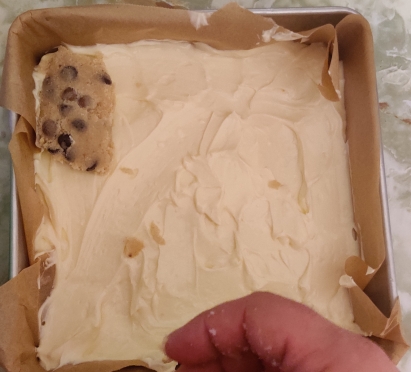
The flattened cookie dough was placed on top of the cream cheese mix:

Flattened cookie dough placed on top of cream cheese mix

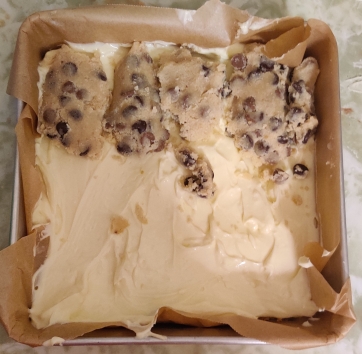
… and repeated with more cookie dough:

Flattened cookie dough pieces placed on top of cream cheese mix

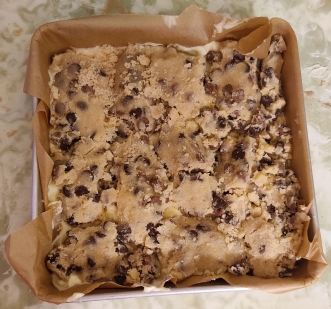
… until all the cookie dough was used and the whole surface of the cream cheese mix was covered:

Flattened cookie dough pieces fully covering cream cheese mix

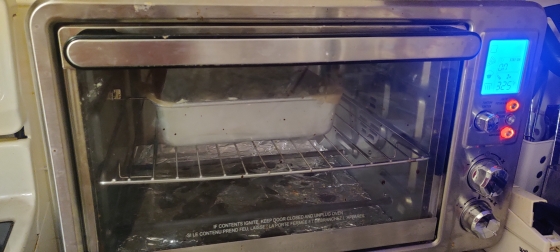
The baking pan was placed in the still-hot countertop convection oven:

Baking pan placed in oven

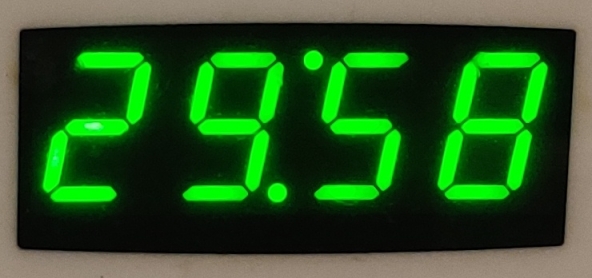
A timer was set for 30 minutes:

Timer set for 30 minutes

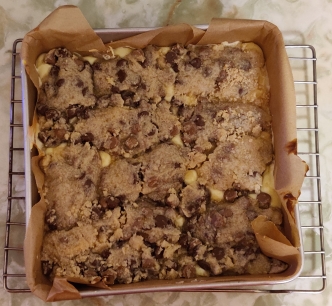
After the 30-minute baking period, the baking pan was taken out of the oven and placed on a cooling rack:

Baking pan placed on cooling rack

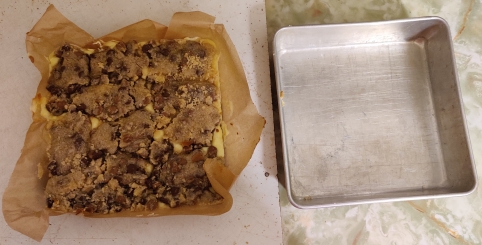
Once the dessert had cooled enough, it was removed from the baking pan using the edges of the parchment paper:

Dessert removed from baking pan

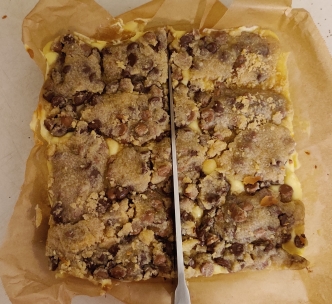
The dessert was first cut in half:

Dessert cut in half

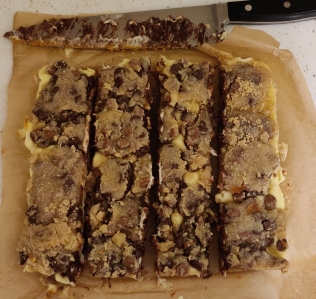
The dessert was cut into quarters:

Dessert sliced into four strips

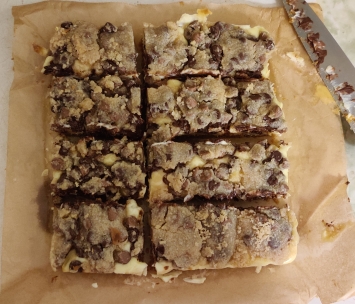
The dessert was rotated 90 degrees, and sliced just left of centre (so that it can be cut five ways):

Dessert rotated and sliced left of centre

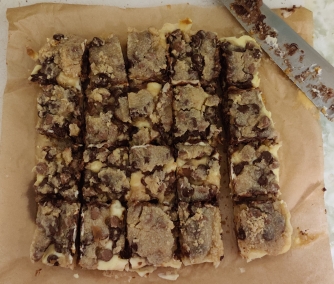
The slicing of dessert was completed (five slices along this axis), making twenty (20) pieces:

Dessert sliced into 20 pieces

And a yummy piece of dessert was served!

Yummy piece of dessert served

Making Lemon Squares — Photos

This week’s cooking projects from my collection of recipes included making bran muffins for my mom, more blondies, more chocolate buttercrunch, and the subject of this post, lemon squares. I started making them to have another dessert to add to my collection of recipes, and so I found a recipe on the Martha Stewart website, which I then converted to my format and whose measures I adjusted down by half. However, you may notice that in this recipe, the full amounts of the original recipe are also listed, since you may wish to make enough of these squares for a party; unfortunately, since the recipe does not freeze too well, I found that the full recipe was big enough that my mom and I started to get tired of them after eating them every day for a week!

UPDATE 20210608: This post is based on my “old” lemon squares recipe, which I have updated, replacing the base with appropriately adjusted amounts of my aunt’s shortbread cookie recipe.

There are two parts to these lemon squares: A shortbread base, and a lemon curd topping.

The base is made first:

First, in order to bring the margarine to room temperature, I took out margarine:

Margarine taken out of the fridge

… then margarine was measured out:

Margarine measured out

… and the margarine was put aside for a bit to warm up to room temperature.

In the meantime, I took out some parchment paper and an 8″ x 8″ baking pan …

Parchment paper and a baking pan

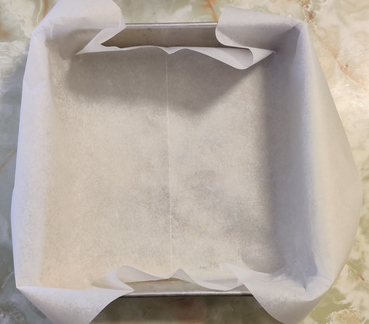
… and the baking pan was lined with parchment paper:

Baking pan lined with parchment paper

When the margarine had warmed up to room temperature, I placed it in a mixing bowl:

Margarine placed in a mixing bowl

Flour was taken out …

Flour container

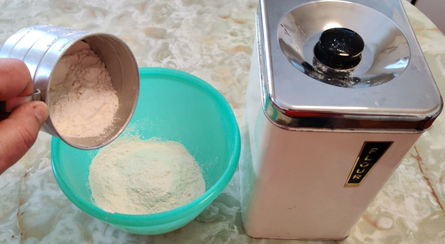
… then the flour was measured out …

Flour measured out

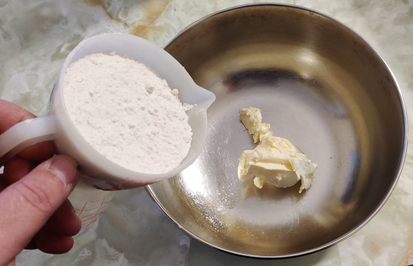
… and the flour was poured into the mixing bowl with the margarine:

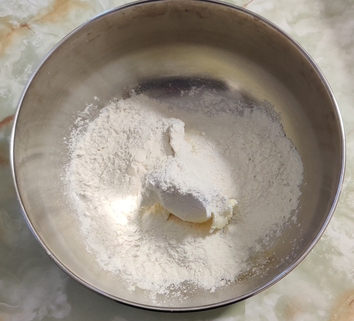
Pouring flour into mixing bowl with margarine
Flour in mixing bowl with margarine

Icing sugar was taken out …

Icing sugar

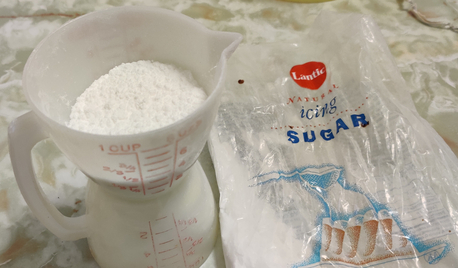
… measured out …

Icing sugar measured out

… and poured into the mixing bowl

Icing sugar poured into mixing bowl with flour and margarine
Icing sugar in mixing bowl with flour and margarine

Salt was taken out and measured …

Salt taken out and measured

… and added to the mixing bowl with the icing sugar, flour, and margarine:

Adding salt to the mixing bowl with icing sugar, flour, and margarine

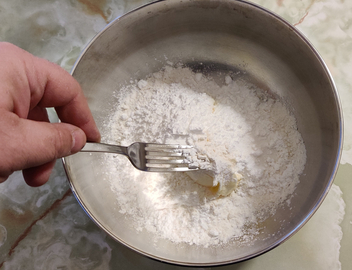
A fork was used …

Using a fork to break the margarine into pieces the size of a pea

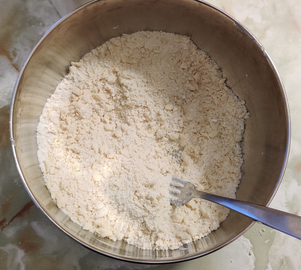
… to break up the margarine into pieces about the size of peas, mixing the icing sugar, flour, and margarine together in the process:

Margarine broken into pieces the size of peas

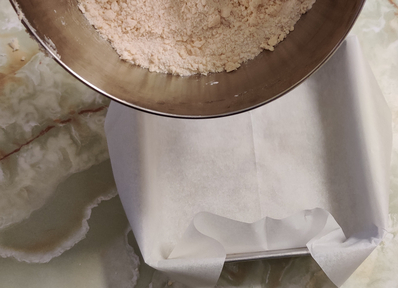
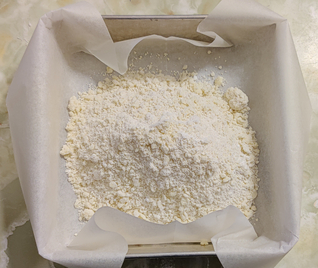
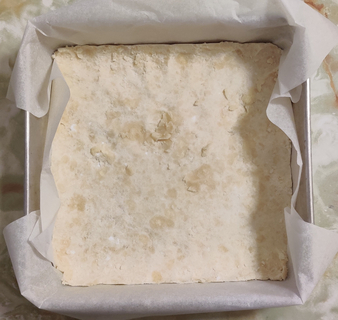
The mixed ingredients were transferred to the lined baking pan:

Transferring the mixed ingredients to the lined baking pan
Mixed ingredients transferred to the lined baking pan

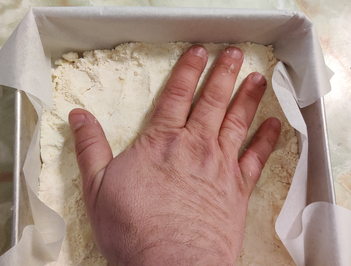
The mixed ingredients were pressed down by hand:

Mixed ingredients were pressed down by hand

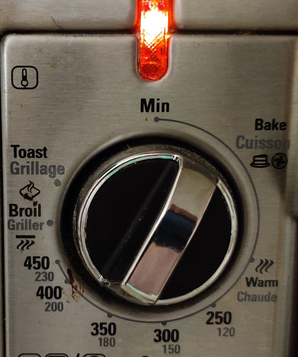
A countertop convection oven was preheated to 350F:

Countertop convection oven preheated to 350F

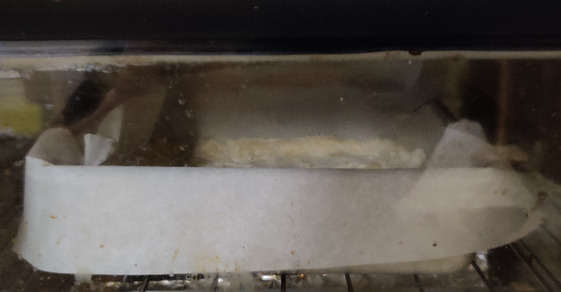
… into which the baking pan was placed …

Baking pan placed in a countertop convection oven

… and a timer was set to 16 minutes (obviously, the photo was taken about 20 seconds later!)
Timer set to 16 minutes

Making the topping:

Eggs were taken out …

Eggs taken out

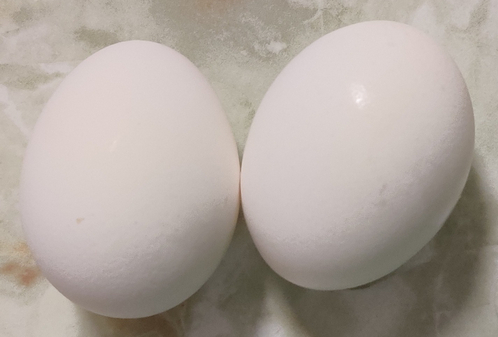
… two eggs were chosen ..

Two eggs taken out

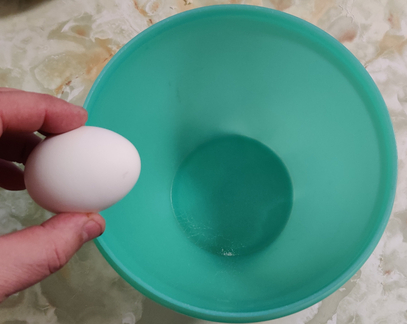
… which were then cracked into a mixing bowl …

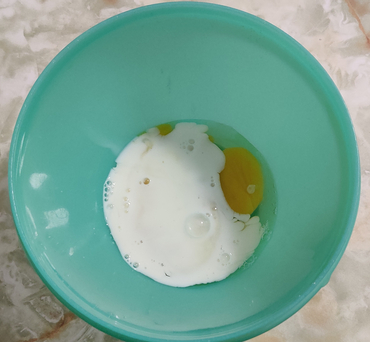
Egg cracked into mixing bowl
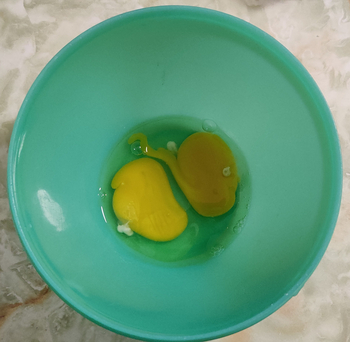
Two eggs cracked into a bowl

Ooops, I forgot to lightly beat the eggs.

Milk was taken out:

Milk taken out

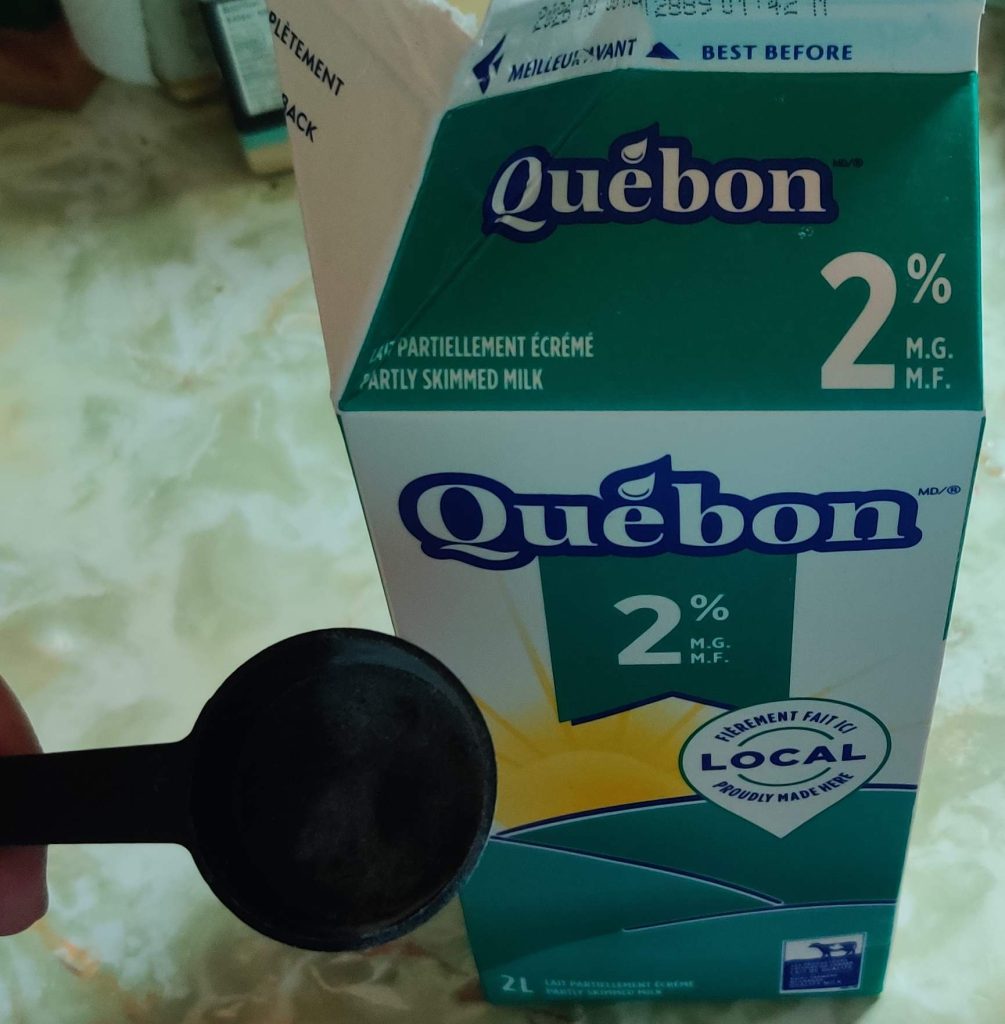
Milk was measured out:

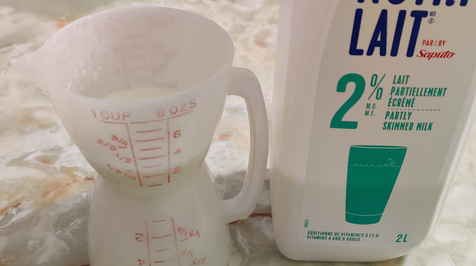
Milk measured out

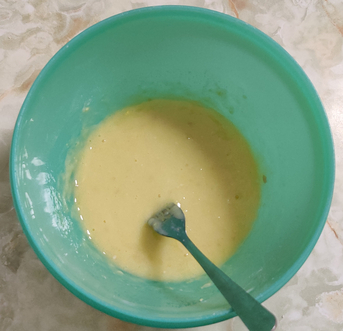
The milk was poured into the mixing bowl with the eggs:

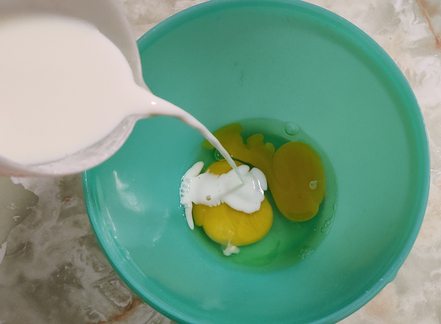
Milk poured into mixing bowl with eggs

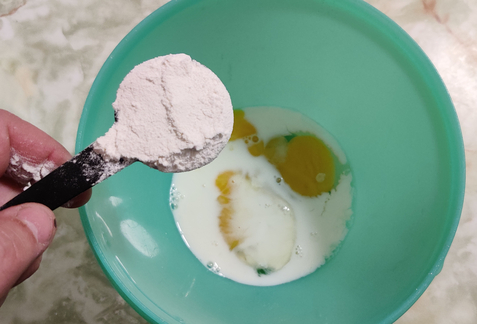
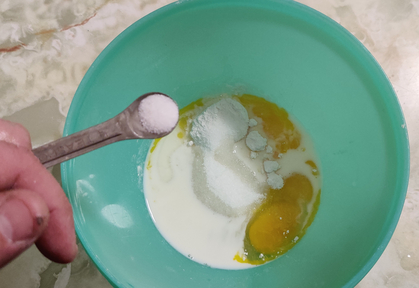
A bit of flour was measured out and added to the mixing bowl with the milk and eggs:

Adding flour to the milk and eggs
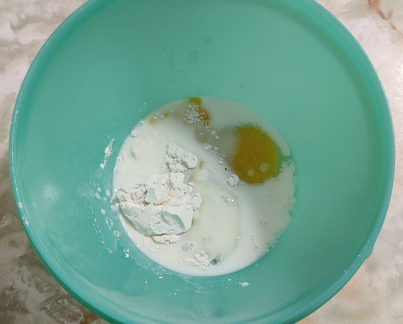
Flour added to the milk and eggs

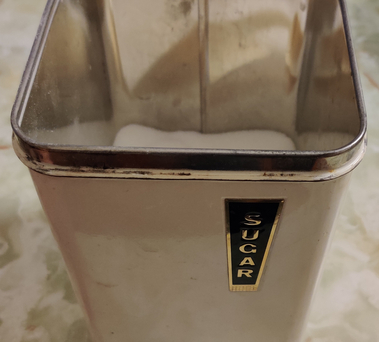
Sugar was taken out:

Sugar taken out

Sugar was measured out:

Sugar measured out

The sugar was poured into the mixing bowl with the flour, milk, and eggs:

Sugar poured into the mixing bowl with the flour, milk, and eggs

Salt was measured out:

Salt measured out

… and the salt was added to the mixing bowl with the sugar, flour, milk, and eggs:

Salt added to the mixing bowl with the sugar, flour, milk, and eggs
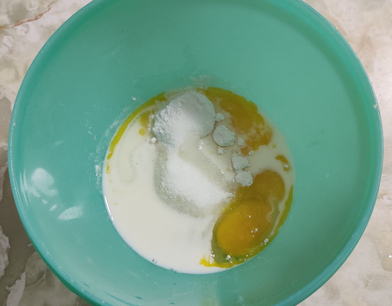
Mixing bowl with salt, sugar, flour, milk, and eggs

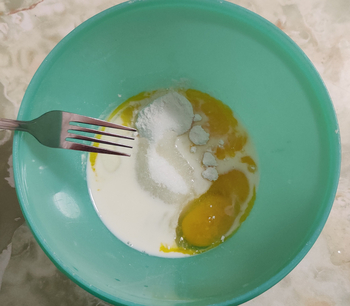
A fork was taken out …

Using a fork to mix the salt, sugar, flour, milk, and eggs

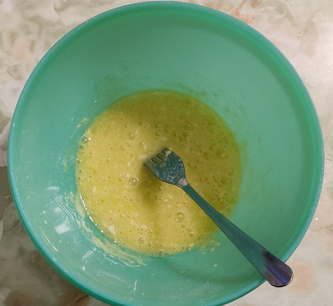
… to mix the salt, sugar, flour, milk, and eggs:

Salt, sugar, flour, milk, and eggs mixed with a fork

Lemon juice was taken out:

Lemon juice taken out

Lemon juice was measured out:

Lemon juice measured out

The lemon juice was poured into the mixing bowl:

Lemon juice poured into the mixing bowl

… and the ingredients were mixed together with a fork:

Ingredients mixed with a fork

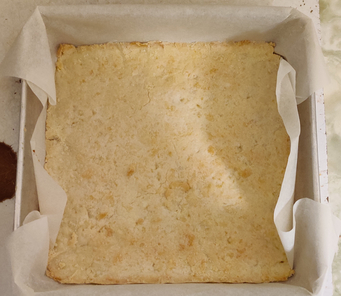
By this time, the base had finished baking, and was taken out of the countertop convection oven:

Baked base taken out of countertop convection oven

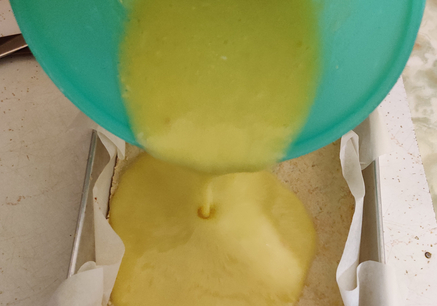
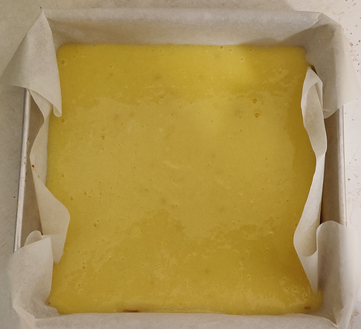
The topping was poured over the still hot base:

Topping poured over still hot base

The temperature of the countertop convection oven was reduced to 325F:

Countertop convection oven preheated to 325F

The baking pan was placed again in the countertop convection oven:

Baking pan placed again in the countertop convection oven

… and a timer was set to 20 minutes (obviously, the photo was taken about 11 seconds later!)
Timer set to 20 minutes

A cooling rack was taken out for when the cooking was done:

Cooling rack taken out

When the baking was completed, the baking pan was taken out of the oven, and placed on the cooling rack:

Baking pan placed on a cooling rack

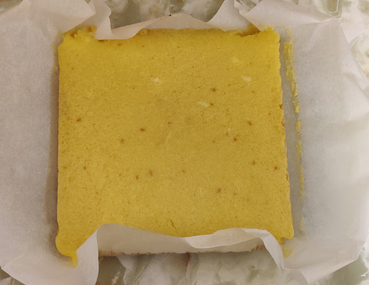
After a bit of cooling, the lemon squares were lifted out of the baking pan, and placed back on the cooling rack:

Lemon squares lifted out of the baking pan

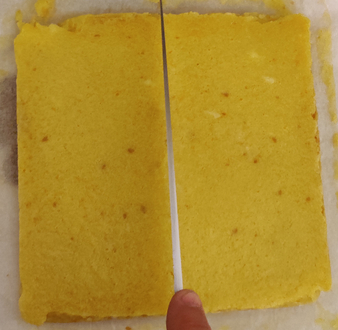
I started slicing the whole dessert in half:

Slicing the dessert

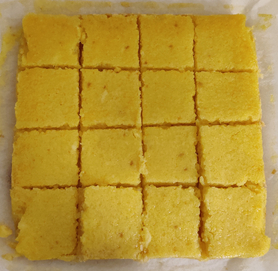
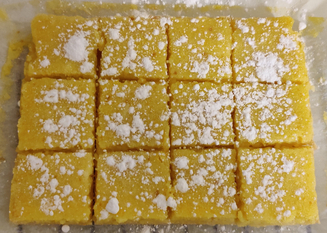
… and I sliced the whole dessert into 16 pieces:

Dessert sliced into 16 pieces

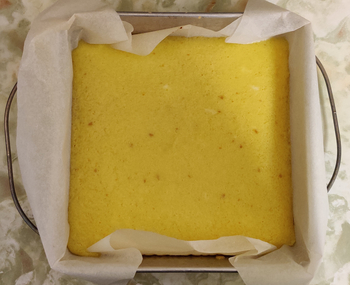
Icing sugar was sprinkled on the top:

Icing sugar sprinkled on the top of the lemon squares

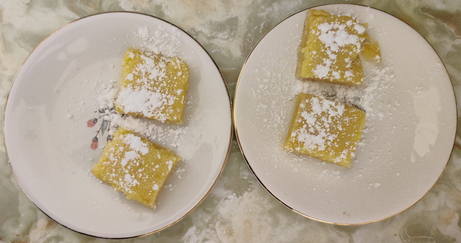
… and of course served!

Lemon squares served

Mom liked them; she also suggested that I try using my aunt’s shortbread recipe for the base, which I will try the next time I make lemon squares.

Making Plain Cake (With Lemon Sauce) — Photos

This weekend’s cooking projects from my collection of recipes included more chocolate buttecrunch, more bran muffins, and the subject of this post, plain cake, with the addition of a lemon sauce as an experiment.

I came about to learning to make plain cake from scratch after I attempted to make a New York crumble cake I’d seen being made on a Martha Stewart cooking show. Not only was the cake not as expected — we were expecting mostly cake with a modest but tasty crumble crust, instead of the actual small amount of cake and a sizable crumble crust — the cake did not bake well, and I was very disinclined to try it again. The next day, I looked for a plain cake recipe on the internet and found one, which I adapted to my format.

First, two cups of flour were placed in a mixing bowl:

Two cups of flour added to a mixing bowl

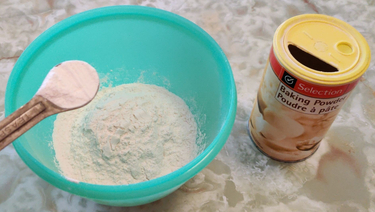
… to which two teaspoons of baking powder were added:

Baking powder added to the flour

… as well as a quarter teaspoon of salt:

Quarter teaspoon salt added to flour and baking powder

The flour, baking powder, and salt were blended with a fork:

Blending flour, baking powder, and salt

The bowl was then put aside until later.

Margarine was picked up on a piece of paper towelling:

Margarine on a piece of paper towel

… in order to coat the interior surfaces of the baking pan:

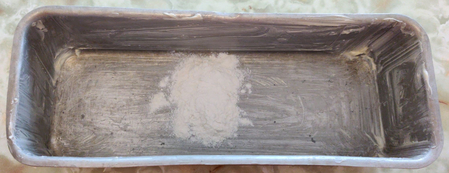
Inner surfaces of baking pan coated with margarine

Then, a bit of flour was put in the pan …

Flour put into pan

… and spread around to coat the margarine:

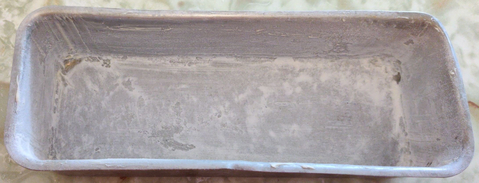
Baking pan coated with flour and margarine

The baking pan was also put aside until later.

In another mixing bowl, a quarter cup of shortening was added:

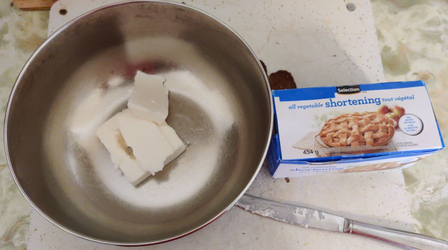
A quarter cup of shortening in a mixing bowl

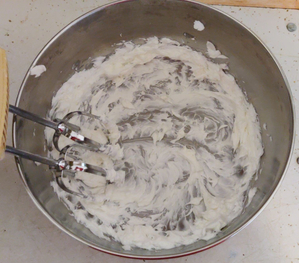
The shortening was creamed with an electric mixer:

Creamed shortening

A cup of sugar was added to the creamed shortening:

Adding a cup of sugar to the creamed shortening

… and the sugar and shortening were blended:

Sugar and shortening blended

An egg was added to the mixing bowl:

Egg added to mixing bowl

… and the ingredients were again blended:

Egg, sugar, and shortening blended

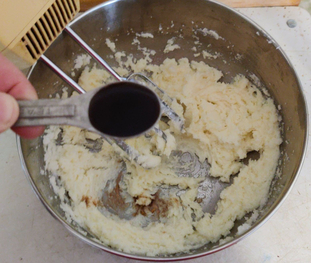
A teaspoon of vanilla extract was added to the mix:

A teaspoon of vanilla extract being added to the mix
A teaspoon of vanilla extract added to the mix

… and again, the ingredients were blended.

About a third of the flour mix prepared earlier, and about a third of a cup of milk, were added to the ingredients:

A third of the flour mix and a third of a cup of milk added to the ingredients

… and completely blended:

Cake batter thoroughly mixed

The previous two steps were repeated twice until all the milk and flour mix were blended into the batter.

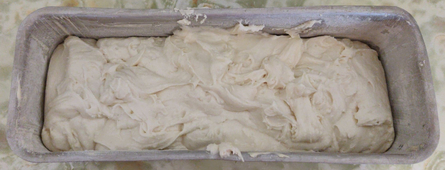
The batter was then transferred to the floured baking pan:

Batter transferred to baking pan

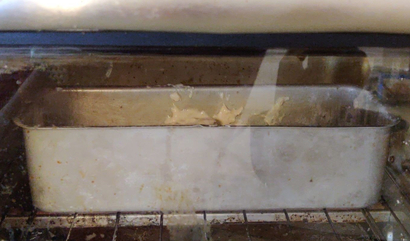
… and placed in a countertop convection oven preheated to 350F:

Cake pan in countertop convection oven

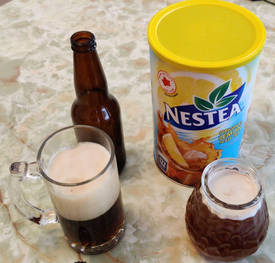
At this point, I was getting rather thirsty, so I poured myself some iced tea, and a bottle of my homebrew, a Belgian-style brown ale, made with water from filtered, melted ice from the lake at my cottage:

Some of my homebrew, and some iced tea
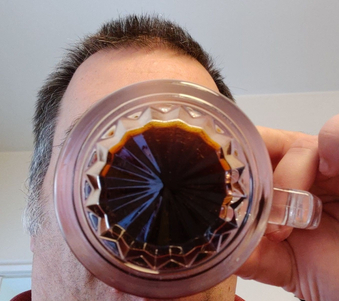
Aaahhhhh …

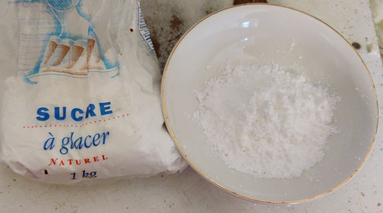
Since my mom suggested that a lemon drizzle be added to the cake, first a few tablespoons of icing sugar were placed in a bowl:

Icing sugar added to a bowl

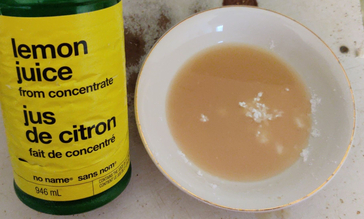
… to which half the number of teaspoons of lemon juice were added:

Lemon juice added to the icing sugar

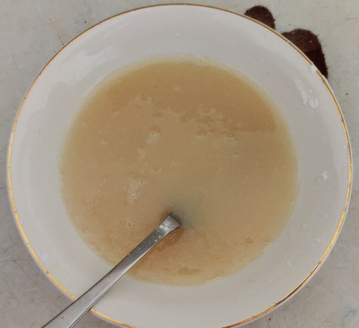
… and the ingredients were mixed, then put aside for later:

Icing sugar and lemon juice mixed together

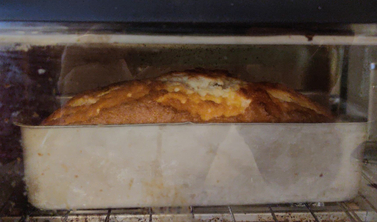
Soon, the cake in the oven was puffing up and browning:

Cake baking in the oven

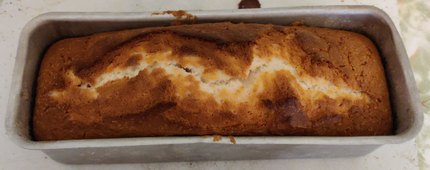
… and was taken out of the oven after 55 minutes of baking:

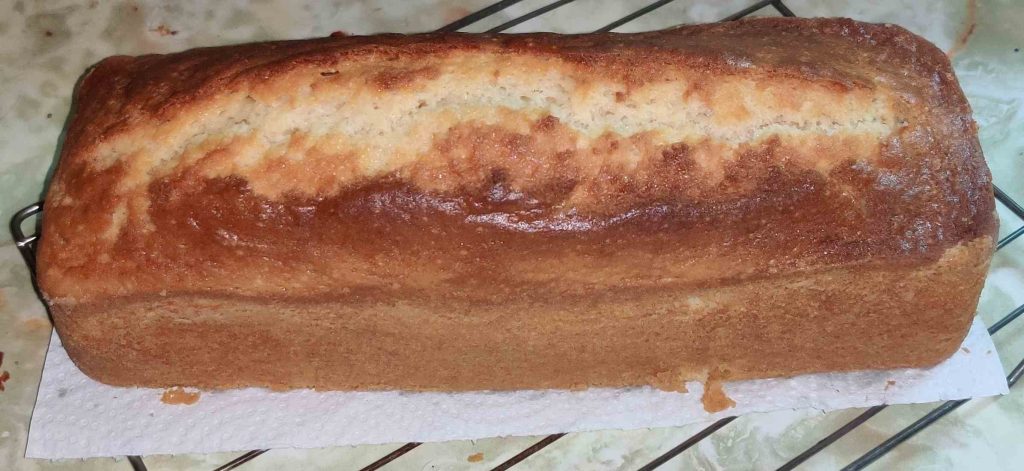
Fully baked cake

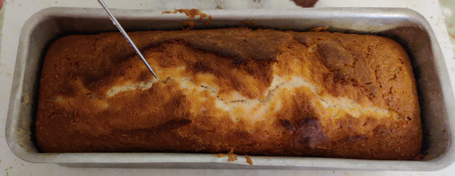
The cake was pricked multiple times with a thick needle …

Pricking the cake

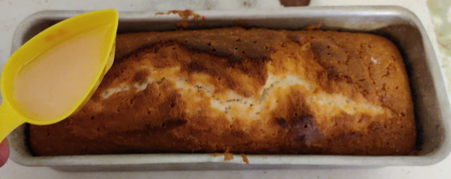
… to allow for some absorption of the lemon sauce which was poured over the cake with a small plastic scoop:

Pouring the lemon sauce on the cake

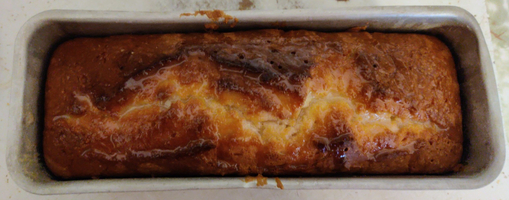
… at which point, the cake looked like follows:

Baked cake with lemon sauce

When cooled, a knife was used to loosen the cake around its edges in the baking pan, and the cake was taken out of the baking pan:

Cake removed from baking pan

A few slices of cake were cut from the cake:

Cake with some pieces sliced off

And, of course, the cake was yummy! And mom said “Delicious!”

I Made “Blondies” Today — Photos

I made two batches of “blondies” today, and as has been somewhat of my wont over the past few months, I took a lot of pictures while I was cooking.

I started by taking some chocolates I received for Christmas from Santa Claus:

Chocolates received for Christmas

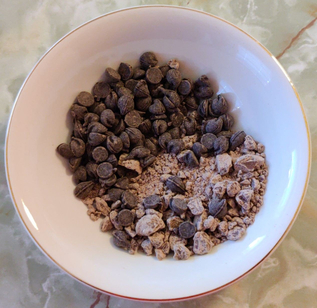
… which were partly pulverized in a food processor, and to which the same amount of chocolate chips were added:

One of two bowls of pulverized chocolates and chocolate chips

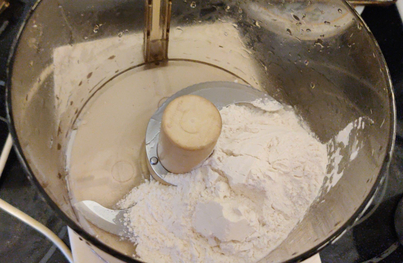
The chocolates were put aside. Then, flour was added to a food processor:

1 cup of flour added to a food processor

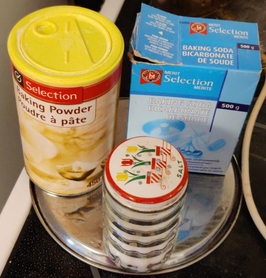
Baking powder, baking soda, and salt, were added:

Baking powder, baking soda, and salt, were added (not the boxes, of course!)
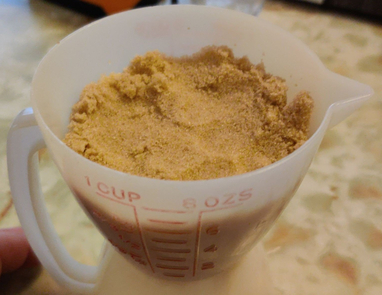
Brown sugar was measured out …

3/4 cup of brown sugar (packed)
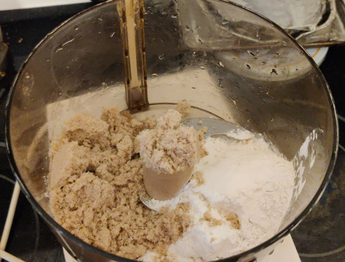
… and added to the food processor.

Brown sugar added to the food processor

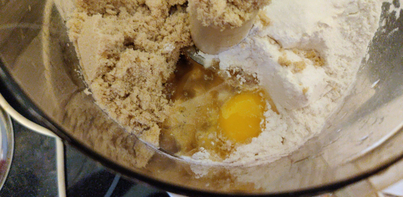
A large egg was added:

Egg added to the food processor

Vanilla extract was measured …

Vanilla extract

… and added to the food processor:

Vanilla extract added to the food processor

Margarine was measured out and added to the food processor:

1/2 cup margarine measured and added to the food processor

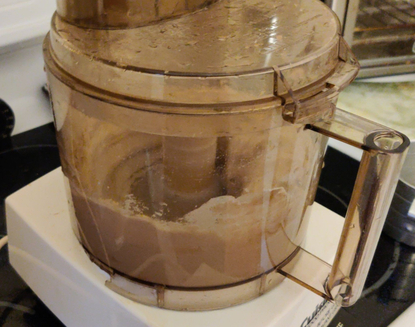
The ingredients were mixed with the food processor:

Mixing of the ingredients in the food processor

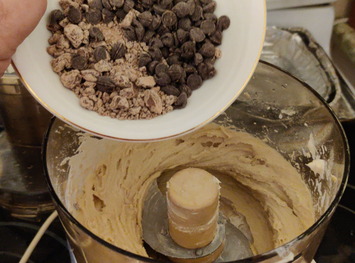
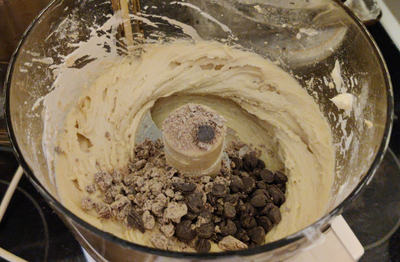
The mix of pulverized Christmas chocolates and chocolate chips was added to the dough …

Adding the chocolate to the mix
Chocolates added to the mix

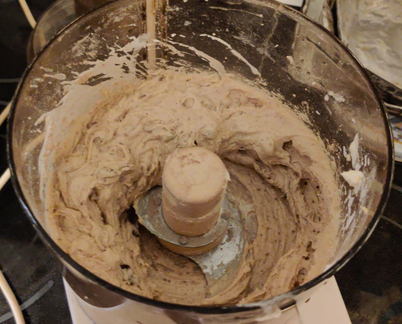
… and the dough was blended again.

The ingredients and chocolates were blended

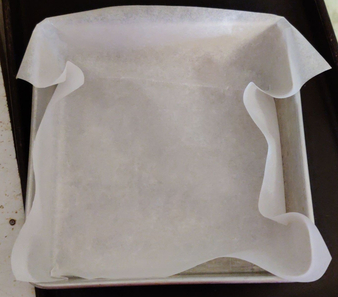
An 8″ x 8″ baking pan was lined with parchment paper …

Baking pan lined with parchment paper

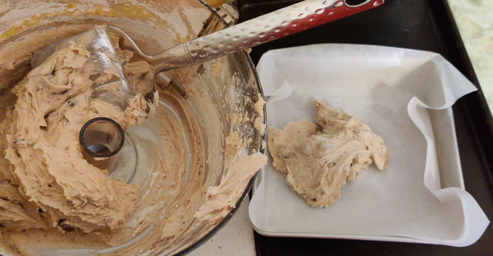
… and the dough was transferred to the baking pan:

Transferring the dough to the baking pan

The baking pan and dough were placed on the centre rack in a countertop convection oven set to 350F:

The blondies being baked in a countertop convection oven

The blondies were taken out of the oven after baking, and cooled for a few minutes on a cooling rack:

Baked blondies cooling on a rack

The blondies were lifted out of the baking pan, and once completely cooled, the blondies were cut into 2″ x 2″ pieces:


Blondies cut into 2″ x 2″ pieces

Unfortunately, the two batches I made today did not fully solidify into a fluffy cake consistency during the baking process, and fell a bit, creating a consistency like brownies.

But were they tasty? Of course!