Making Three (or Five) Ingredient Cheese Biscuits — Photos

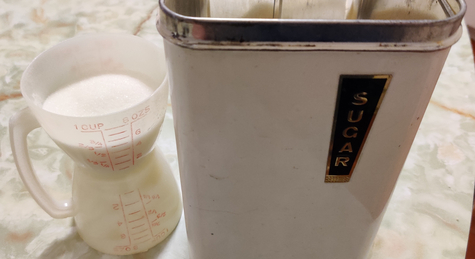
This week’s cooking projects from my collection of recipes included more chocolate buttercrunch (mostly) for mom, shortbread cookies for my brother, chicken soup, and, the subject of this post, three (or five) ingredient cheese biscuits. (The ambiguity about the number of ingredients lies in the recipe calling for self-rising flour, which you may or may not have on hand. If you don’t have any self-rising flour, you can easily make some yourself by adding two ingredients to regular flour; see below.)

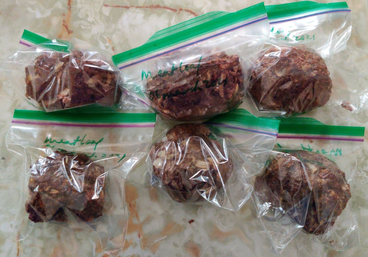
These cheese biscuits are quite easy to make, such as for a light Saturday morning breakfast, or for afternoon tea. They are so tasty that six of the eight cheese biscuits I made this morning were eaten, while the other two frozen for another day, long before I started organizing and putting together this blog post. 🙂

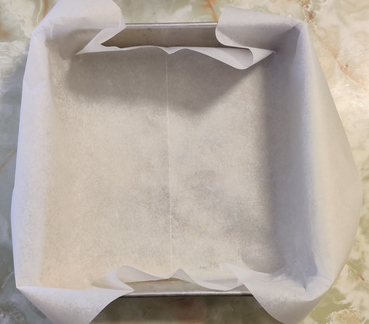
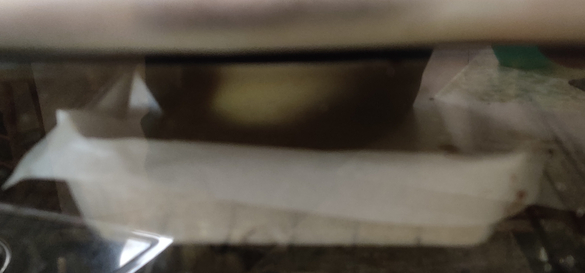
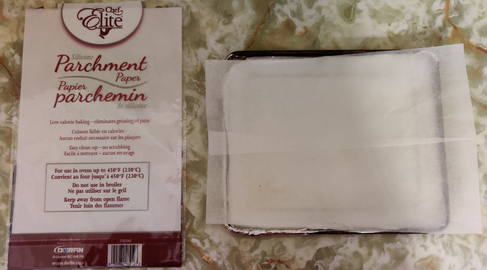
First, I took out some parchment paper and lined a baking tray with a couple of stray pieces of parchment paper I had:

Lining a baking pan with parchment paper

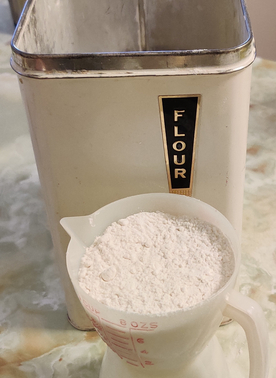
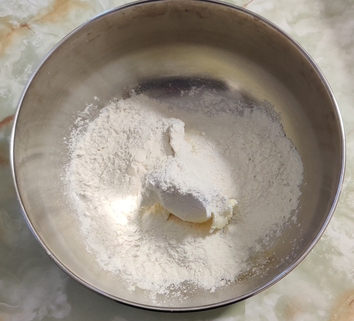
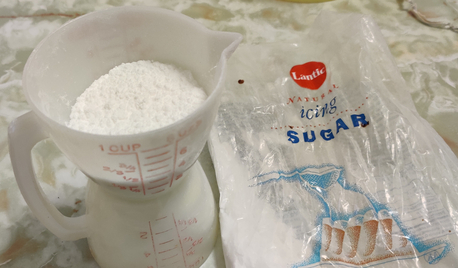
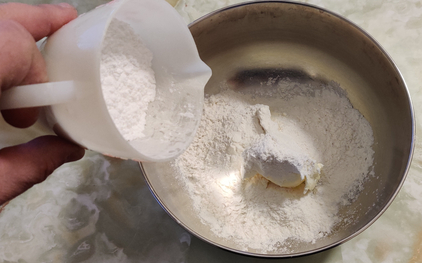
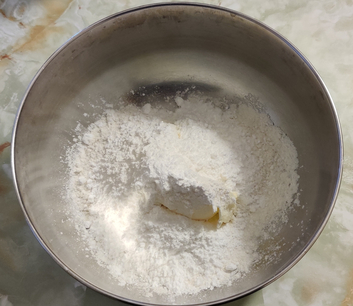
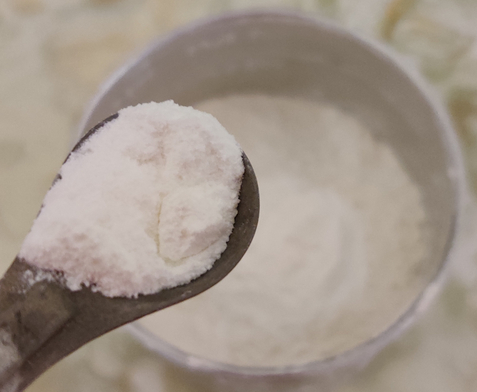
Normally, the recipe calls for self-rising flour; I didn’t have any, so a cup of flour was measured out:

Flour measured out

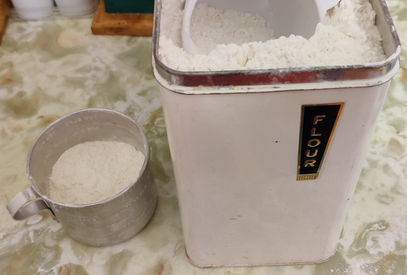
The measuring cup with the flour was kept at hand.

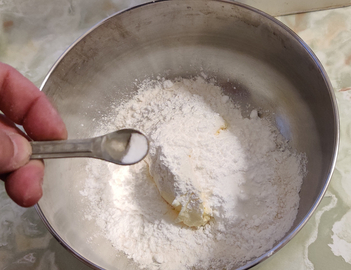
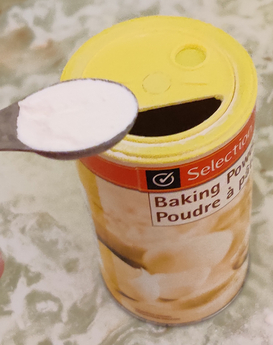
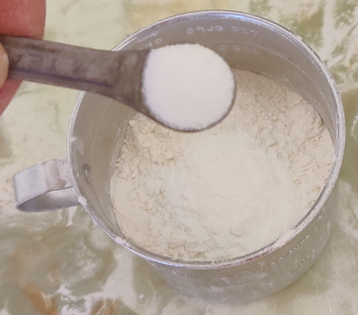
A teaspoon and a half of baking powder was measured out:

Baking powder measured out

… and placed in the measuring cup with the flour:

Baking powder placed into the measuring cup with the flour

The measuring cup with the flour and baking powder was again kept at hand.

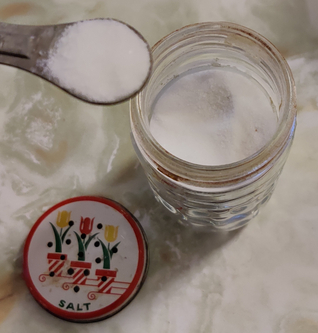
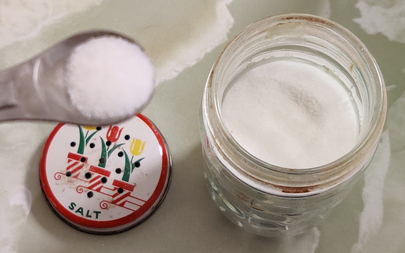
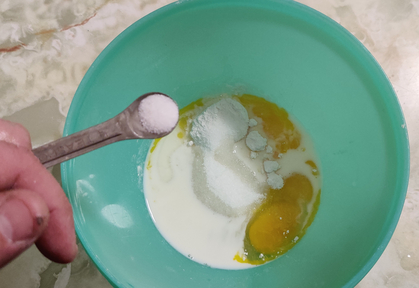
A quarter teaspoon of salt was measured out:

Salt measured out

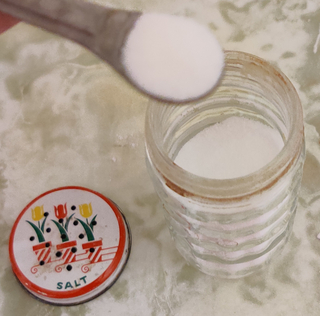
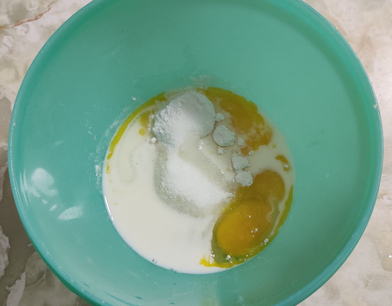
… and the salt was added to the measuring cup with the flour and the baking powder:

Salt added to flour and baking powder

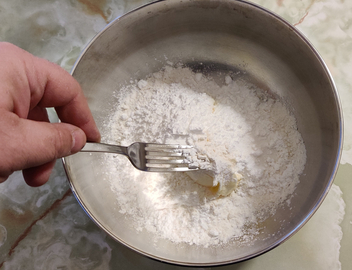
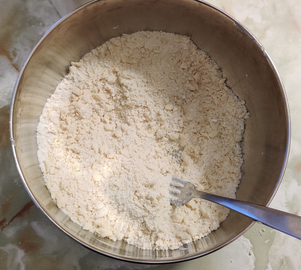
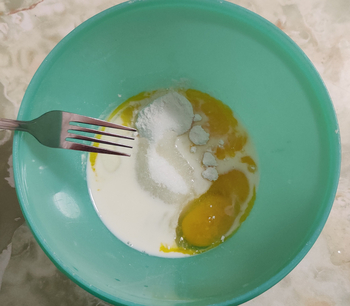
The flour, baking powder, and salt were mixed in the measuring cup with a fork:

Mixing flour, baking powder, and salt with a fork

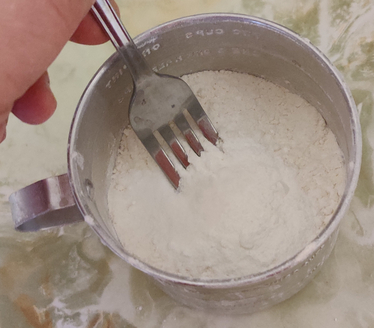
And, because the measuring cup I was using has a two cup capacity, the measuring cup with the flour, baking powder, and salt was again kept at hand (see the next part.)

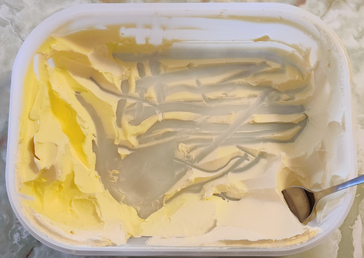
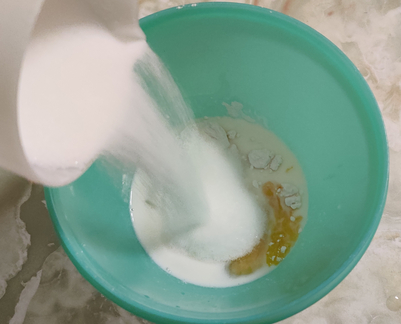
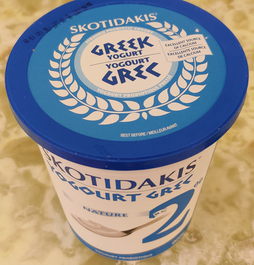
Greek yoghurt was taken out:

Greek yoghurt taken out

… and the greek yoghurt was spooned out of the container …

Spooning greek yoghurt out of the container

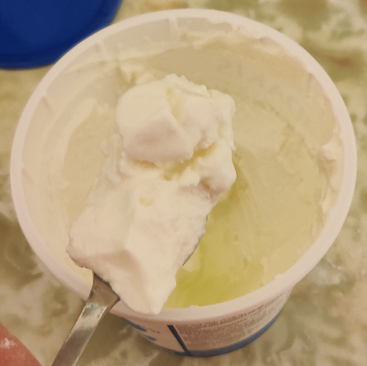
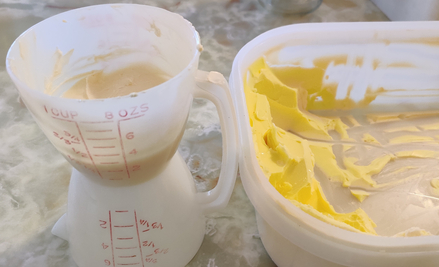
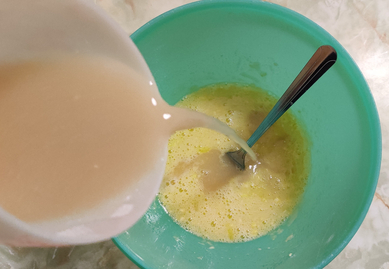
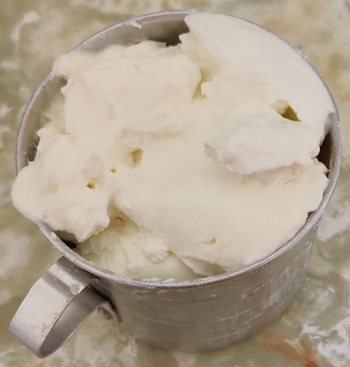
… and greek yoghurt was transferred into the measuring cup with the flour mixture until there was a cup’s worth of greek yoghurt added:

Greek yoghurt measured out

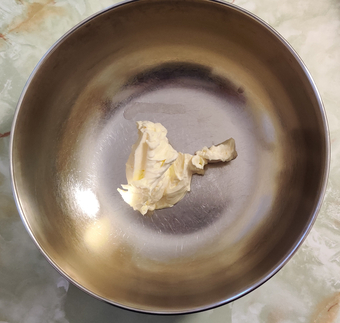
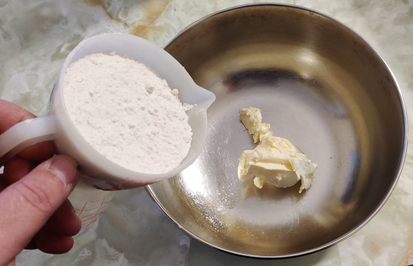
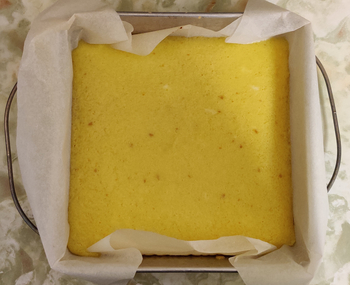
The measured out flour mixture and greek yoghurt were transferred to a mixing bowl:

Flour mixture and greek yoghurt transferred to a mixing bowl

The mixing bowl was put aside for a moment.

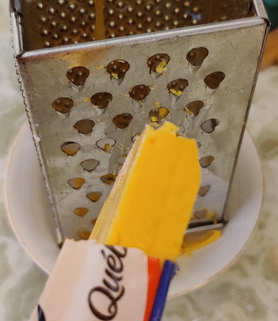
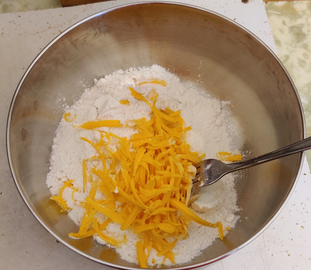
Cheese was taken out, along with a grater and bowl:
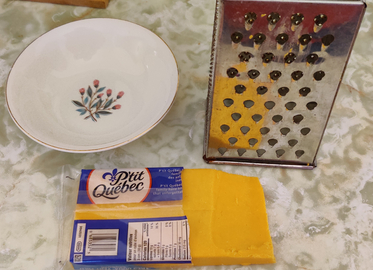
Cheese, grater, and bowl taken out

Cheese was grated:

Cheese being grated
Grated cheese

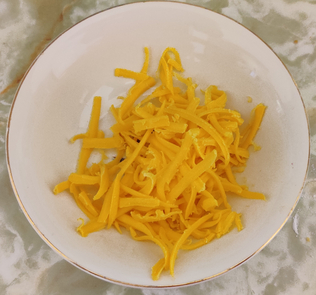
… and half a cup of the grated cheese was measured out:

Grated cheese measured out

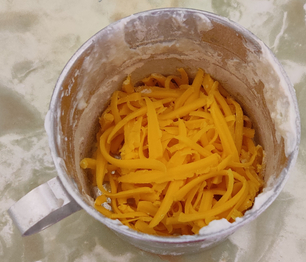
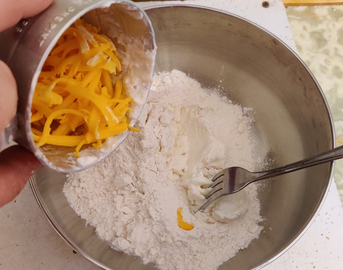
The grated cheese was transferred to the mixing bowl with the flour mixture and the greek yoghurt:

Grated cheese transferred to the mixing bowl with the flour mixture and the greek yoghurt

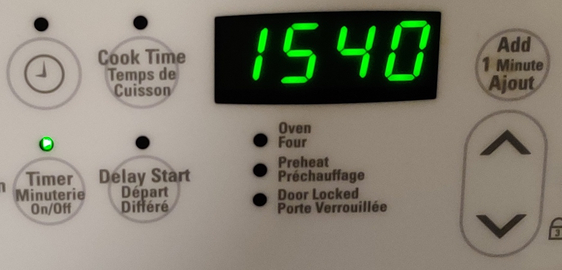
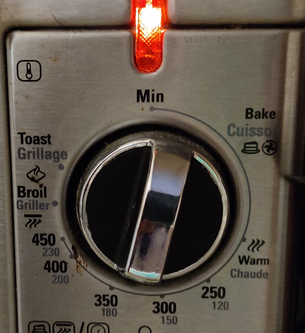
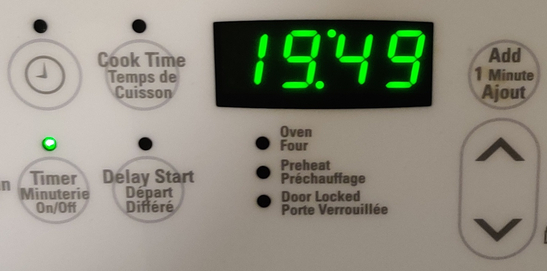
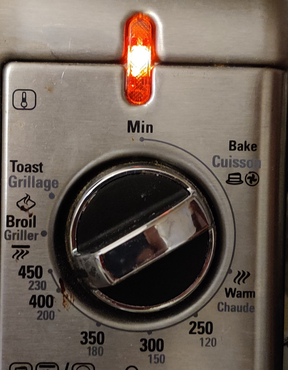
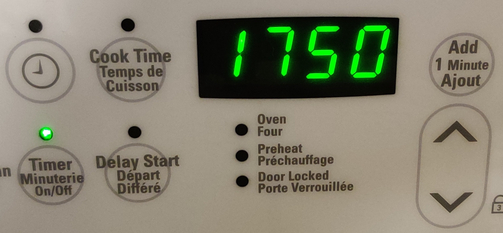
At this point, I remembered that I needed to preheat my countertop convection oven to 425F:

Countertop convection oven preheated to 425F

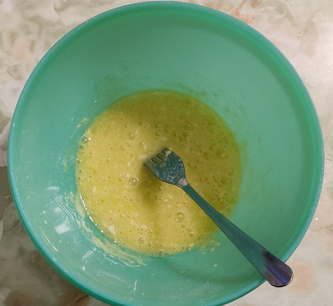
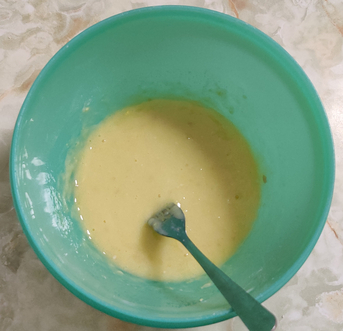
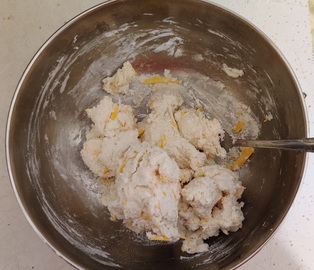
I continued by mixing the flour mixture, greek yoghurt, and grated cheese in the bowl with a fork to make a stiff (and sticky!) dough:

Ingredients completely mixed with a fork

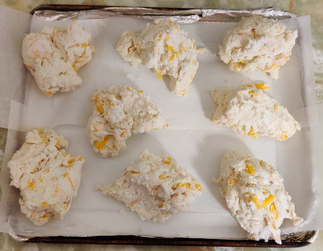
Balls of dough about the size of golfballs, without any further handling (nor any flattening out) were scooped out of the mixing bowl and placed on the baking tray:

Dough ball placed on the baking tray

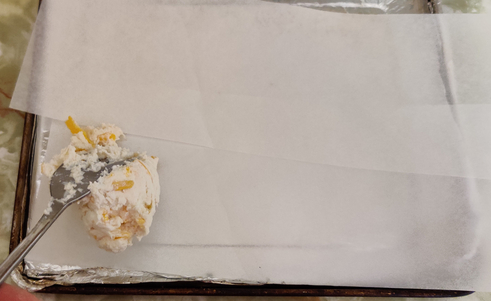
… and the rest of the dough was portioned out to make a total of eight rough balls about the size of golfballs:

Dough balls placed on the baking tray

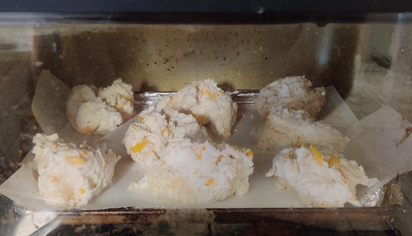
The baking tray with the biscuit dough was placed in the preheated countertop convection oven:

Biscuits placed in a preheated countertop convection oven

… and a timer was set to 18 minutes (obviously, the photo was taken about 10 seconds later!)

Timer set to 18 minutes

At the 16 minute mark, a couple of the cheese biscuits were taken out for mom, who likes the biscuits slightly less well baked than I do:

A couple of biscuits taken out at 16 minutes

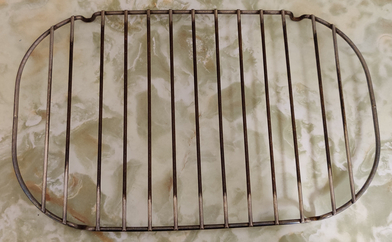
… and the rest of the cheese biscuits were taken out at 18 minutes, and placed on a cooling rack:

Baked cheese biscuits on a cooling rack (mom’s biscuits on the right)

Regarding how tasty they are … as mentioned at the beginning of this post: “They are so tasty that six of the eight cheese biscuits I made this morning were eaten, while the other two frozen for another day, long before I started organizing and putting together this blog post. :)”

Making Lemon Squares — Photos

This week’s cooking projects from my collection of recipes included making bran muffins for my mom, more blondies, more chocolate buttercrunch, and the subject of this post, lemon squares. I started making them to have another dessert to add to my collection of recipes, and so I found a recipe on the Martha Stewart website, which I then converted to my format and whose measures I adjusted down by half. However, you may notice that in this recipe, the full amounts of the original recipe are also listed, since you may wish to make enough of these squares for a party; unfortunately, since the recipe does not freeze too well, I found that the full recipe was big enough that my mom and I started to get tired of them after eating them every day for a week!

UPDATE 20210608: This post is based on my “old” lemon squares recipe, which I have updated, replacing the base with appropriately adjusted amounts of my aunt’s shortbread cookie recipe.

There are two parts to these lemon squares: A shortbread base, and a lemon curd topping.

The base is made first:

First, in order to bring the margarine to room temperature, I took out margarine:

Margarine taken out of the fridge

… then margarine was measured out:

Margarine measured out

… and the margarine was put aside for a bit to warm up to room temperature.

In the meantime, I took out some parchment paper and an 8″ x 8″ baking pan …

Parchment paper and a baking pan

… and the baking pan was lined with parchment paper:

Baking pan lined with parchment paper

When the margarine had warmed up to room temperature, I placed it in a mixing bowl:

Margarine placed in a mixing bowl

Flour was taken out …

Flour container

… then the flour was measured out …

Flour measured out

… and the flour was poured into the mixing bowl with the margarine:

Pouring flour into mixing bowl with margarine
Flour in mixing bowl with margarine

Icing sugar was taken out …

Icing sugar

… measured out …

Icing sugar measured out

… and poured into the mixing bowl

Icing sugar poured into mixing bowl with flour and margarine
Icing sugar in mixing bowl with flour and margarine

Salt was taken out and measured …

Salt taken out and measured

… and added to the mixing bowl with the icing sugar, flour, and margarine:

Adding salt to the mixing bowl with icing sugar, flour, and margarine

A fork was used …

Using a fork to break the margarine into pieces the size of a pea

… to break up the margarine into pieces about the size of peas, mixing the icing sugar, flour, and margarine together in the process:

Margarine broken into pieces the size of peas

The mixed ingredients were transferred to the lined baking pan:

Transferring the mixed ingredients to the lined baking pan
Mixed ingredients transferred to the lined baking pan

The mixed ingredients were pressed down by hand:

Mixed ingredients were pressed down by hand

A countertop convection oven was preheated to 350F:

Countertop convection oven preheated to 350F

… into which the baking pan was placed …

Baking pan placed in a countertop convection oven

… and a timer was set to 16 minutes (obviously, the photo was taken about 20 seconds later!)

Timer set to 16 minutes

Making the topping:

Eggs were taken out …

Eggs taken out

… two eggs were chosen ..

Two eggs taken out

… which were then cracked into a mixing bowl …

Egg cracked into mixing bowl
Two eggs cracked into a bowl

Ooops, I forgot to lightly beat the eggs.

Milk was taken out:

Milk taken out

Milk was measured out:

Milk measured out

The milk was poured into the mixing bowl with the eggs:

Milk poured into mixing bowl with eggs

A bit of flour was measured out and added to the mixing bowl with the milk and eggs:

Adding flour to the milk and eggs
Flour added to the milk and eggs

Sugar was taken out:

Sugar taken out

Sugar was measured out:

Sugar measured out

The sugar was poured into the mixing bowl with the flour, milk, and eggs:

Sugar poured into the mixing bowl with the flour, milk, and eggs

Salt was measured out:

Salt measured out

… and the salt was added to the mixing bowl with the sugar, flour, milk, and eggs:

Salt added to the mixing bowl with the sugar, flour, milk, and eggs
Mixing bowl with salt, sugar, flour, milk, and eggs

A fork was taken out …

Using a fork to mix the salt, sugar, flour, milk, and eggs

… to mix the salt, sugar, flour, milk, and eggs:

Salt, sugar, flour, milk, and eggs mixed with a fork

Lemon juice was taken out:

Lemon juice taken out

Lemon juice was measured out:

Lemon juice measured out

The lemon juice was poured into the mixing bowl:

Lemon juice poured into the mixing bowl

… and the ingredients were mixed together with a fork:

Ingredients mixed with a fork

By this time, the base had finished baking, and was taken out of the countertop convection oven:

Baked base taken out of countertop convection oven

The topping was poured over the still hot base:

Topping poured over still hot base

The temperature of the countertop convection oven was reduced to 325F:

Countertop convection oven preheated to 325F

The baking pan was placed again in the countertop convection oven:

Baking pan placed again in the countertop convection oven

… and a timer was set to 20 minutes (obviously, the photo was taken about 11 seconds later!)

Timer set to 20 minutes

A cooling rack was taken out for when the cooking was done:

Cooling rack taken out

When the baking was completed, the baking pan was taken out of the oven, and placed on the cooling rack:

Baking pan placed on a cooling rack

After a bit of cooling, the lemon squares were lifted out of the baking pan, and placed back on the cooling rack:

Lemon squares lifted out of the baking pan

I started slicing the whole dessert in half:

Slicing the dessert

… and I sliced the whole dessert into 16 pieces:

Dessert sliced into 16 pieces

Icing sugar was sprinkled on the top:

Icing sugar sprinkled on the top of the lemon squares

… and of course served!

Lemon squares served

Mom liked them; she also suggested that I try using my aunt’s shortbread recipe for the base, which I will try the next time I make lemon squares.

Making Vegetable Soup (Big Batch) — Photos

I started making vegetable soup in large quantities several years ago at my church to serve after services, and this weekend I made some for myself to have in the freezer.

Making the vegetable soup instead of another recipe from my recipe collection that I had planned was a bit of a last minute decision, given that the decision to go to the cottage this past weekend was made at the last minute. As such, being at the cottage, I was cooking in a different kitchen using different equipment from usual while making the soup (see pictures).

My 16 quart pot was placed on the stove:

Large pot on stove

A can each of crushed tomatoes and diced tomatoes were taken out:

28 oz cans of crushed tomatoes and diced tomatoes

The crushed tomatoes were poured into the pot:

Crushed tomatoes poured into a pot

The can with crushed tomatoes was rinsed with water, which was poured into the pot:

Rinsing crushed tomatoes can with water, and poured into the pot

The diced tomatoes were then poured into the pot:

Diced tomatoes poured into pot

A can of kidney beans was taken out …

19 oz can of kidney beans

… poured into the pot …

Kidney beans poured into the pot

… and the kidney beans can was rinsed with water, which was then poured into the pot as well:

Kidney bean can rinsed with water and poured into the pot

A 32 ounce (900 mL) box of vegetable broth was taken out …

A roughly 32 ounce (900 mL) box of vegetable broth

… and was poured into the pot:

Vegetable broth poured into the pot

About a kilogram (a bit over two pounds) of mixed frozen vegetables were taken out …

About 1kg of mixed frozen vegetables

… and poured into the pot:

Mixed vegetables poured into the pot

At this point, I started mixing the ingredients:

Ingredients in pot mixed

A 32 ounce (945mL) bottle of multi-vegetable cocktail was taken out …

32 oz (945mL) bottle of vegetable cocktail

… and poured into the pot:

32 oz (945mL) bottle of vegetable cocktail poured into the pot

At this point, the burner on the stove was turned on to start heating up the soup:

Stove under pot turned on

Throughout the following steps, I kept on mixing the soup in the pot to keep it from burning on the bottom of the pot.

Next, a couple of onions were taken out …

Two onions

… then the onions were cleaned and trimmed …

Onions cleaned and trimmed

… then the onions were sliced …

Sliced onions

… then the onions were chopped …

Chopped onions

… and the chopped onions were placed in a mixing bowl:

Chopped onions placed in mixing bow

A potato was taken out …

A potato

… and the potato was cleaned and trimmed:

Potato cleaned and trimmed

The potato was sliced along its length …

Potato sliced along its length

… the potato was then sliced into spears …

Potato sliced into spears

… then the potato was sliced into cubes …

Potatoes sliced into cubes

… and the potato cubes were placed into the mixing bowl with the chopped onions:

Potato cubes placed in mixing bowl with chopped onions

Two carrots were taken out …

Two carrots

… the carrots were cleaned and trimmed …

Carrots cleaned and trimmed

… then the carrots were quartered to make spears …

Carrots sliced into spears

… then the carrots were then chopped coarsely …

Carrots chopped coarsely

… and the chopped carrots were placed in the bowl with the potato cubes and chopped onions:

Chopped carrots placed in mixing bowl with potatoes and onions

Throughout all the vegetable chopping, I mixed the ingredients already in the pot while it was heating up, in order to avoid burning on the bottom of the pot.

Next, olive oil was added to the bowl of chopped vegetables …

Olive oil added to the chopped vegetables

… then the chopped vegetables and olive oil were mixed together to fully coat the chopped vegetables:

Mixed vegetables and olive oil mixed together

A cast iron skillet was preheated on the stove:

Cast iron skillet preheated on the stove

… and the mixed chopped vegetables and olive oil were transferred to the skillet:

Transferring mixed chopped vegetables and olive oil to the cast iron skillet
Mixed chopped vegetables and olive oil in the cast iron skillet

Salt was added to the frying chopped vegetables:

Salt added to the frying chopped vegetables

Once the chopped vegetables started to brown in the skillet, they were transferred to the soup pot that was continuing to be heated up:

Fried vegetables transferred to the soup pot

The skillet was deglazed with water …

Deglazing hot skillet

… and the deglazing liquid was added to the soup pot:

Deglazing liquid added to the soup pot

Half a cup of rice was measured out:

Half a cup of rice measured out

… and the rice was added to the soup.

Rice added to the soup

Water was added to the soup pot to bring the liquid level up to the eight quart mark:

Water added to soup pot to bring it to eight quart mark

The soup was continued to be heated:

Soup heating up

… and brought to a boil:

Boiling soup

The heat was reduced and the soup was simmered for over half an hour:

Simmering soup

I continued adjusting the salt level in the soup until it was to my taste.

While the soup was simmering, plastic containers (in this case, reused yoghurt containers) were laid out:

Plastic containers laid out

Once the soup had simmered for over half an hour (probably coming on to an hour), the soup was taken off the stove, and transferred to the containers with a ladle (the golden sheen is the olive oil reflecting the camera flash):

Soup transferred to plastic containers

And the containers were covered, and placed in the freezer:

Containers of soup placed in the freezer

Of course the soup is tasty!

Making Mini Meat Loaves — Photos

This week’s cooking projects from my recipe collection was to make my mini meat loaves, the subject of this post, plus, earlier in the week, blondies and bran muffins. My recipe for meat loaf is another example of one of my easy recipes whose formal existence lies in simply documenting rough amounts of ingredients required to make the dish, as well as filling the freezer with convenient prepared-in-advance foods in portions convenient for one to two people; admittedly, the recipe hardly describes a particularly technical, involved, or challenging dish.

First, I checked my container in which I collect and save bread crumbs and bread pieces to see if I’d had enough dried bread crumbs and bread pieces:

My container of dried bread crumbs and bread pieces

Although I did have a sufficient supply, I decided to add to it, by taking out a bread heel …

Bread heel

… which was sliced into spears …

Bread sliced into spears

… and then sliced again into cubes:

Bread cut into cubes

The bread was placed into a countertop convection oven in order to dry the bread cubes:

Bread cubes drying in a countertop convection oven

When dried (and perhaps slightly over-browned), the bread cubes were taken out of the countertop oven, and allowed to cool:

Dried bread cubes

The cooled bread cubes, and some of my existing supply, were placed in a measuring cup and put aside:

Dried bread put aside

Two onions were taken out …

Two onions

… trimmed …

Trimmed onions

… chopped somewhere between coarsely and finely …

Chopped onions

… and placed in a bowl, to be put aside for later use:

Chopped onions placed in a bowl

A serving plate was placed on a kitchen scale, which was set to imperial units, and set to zero:

Plate, and kitchen scale set to zero

Four pounds of ground beef were measured out …

Four pounds of ground beef

… and placed in a large mixing bowl (well in this case, a large salad bowl):

Ground beef placed in a mixing bowl

The dried bread cubes and bread crumbs were added to the mixing bowl:

Dried bread cubes and bread crumbs added to the mixing bowl

The chopped onions were added to the mixing bowl:

Chopped onions being added to the mixing bowl
Chopped onions added to the mixing bowl

A large egg was cracked and added to the mixing bowl:

Large egg added to the mixing bowl

A teaspoon of salt was added to the mixing bowl:

A teaspoon of salt was added to the mixing bowl

And pepper was added to the mixing bowl:

Pepper added to the mixing bowl

Here is the mixing bowl with all the ingredients in it:

Mixing bowl with all the ingredients

All ingredients were thoroughly mixed by hand:

Ingredients mixed by hand

The meat mix was formed into six individual mini loaves, and three mini loaves were placed in each of two loaf pans:

Meat mix formed into individual loaves and placed in loaf pans

The meat loaves were placed in a countertop oven preheated to 350F:

Meat loaves placed in countertop oven

Partway through the cooking, the meat loaves were removed from the oven, and basted with the drippings from the bottom of the baking pans:

Basting the meatloaves with drippings from the baking pan

At the end of the cooking, the meat loaves were removed from the countertop oven:

Fully cooked meat loaves

The drippings were transferred to a bowl …

Drippings from the pan were transferred to a bowl

… and the grease was cooled solid in a refrigerator:

Solidified grease

The solidified fat was separated from the other drippings, which were saved in a container and frozen for use in some future soup not yet otherwise planned; the solidified fat was wrapped in paper towelling, and placed in the curbside brown box for municipal composting.

In the meantime, the meat loaves were placed on a tray, to be placed in the freezer to quickly cool down:

Meat loaves placed on a tray to place in the freezer to cool down

Sealable sandwich bags were identified with the intended contents and the date:

Sandwich bags identified with the intended contents and the date

The now partially frozen meat loaves were placed in the sandwich bags:

Meat loaves placed in sandwich bags

Finally, the meat loaves were placed in the freezer again, for when I will be eating them.

They are really convenient to take out for last minute supper plans for two, and / or to have leftovers for lunches.