
This recipe was developed and added to my collection of recipes as a result of chatting with an online AI chatbot discussing church culture, during which the chatbot listed at one point some typical desserts to be found at church potluck luncheons. It listed the item which is the subject of this post as “Matrimonial Squares”. My interest was piqued because I did not know what “Matrimonial Squares” were, as well as said name telling me nothing of what the dessert was. As such, I bemusedly asked whether it was a dessert to be typically served as part of a wedding feast, or if there was something somewhat more prurient to them along the lines of being considered an aphrodisiac! I got a response along the lines of their description — date squares! — and how the name was a florid and traditional name meaning how well all the parts “marry together to make an ideal dessert”, an absolutely church-safe name. 🙂
Incidentally, this recipe is vegetarian tending toward vegan if you use margarine (as I did) instead of butter.
This batch was the second batch made at the cottage during my holidays, and will likely be served at the lake association BBQ later this week.
Setting up:
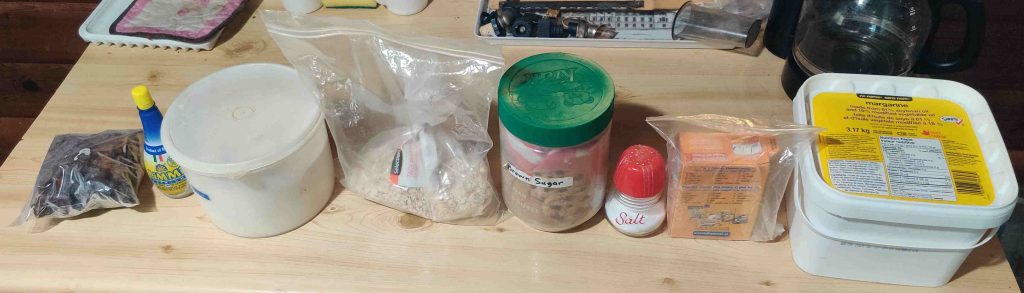
First, I decided to take out all the ingredients:
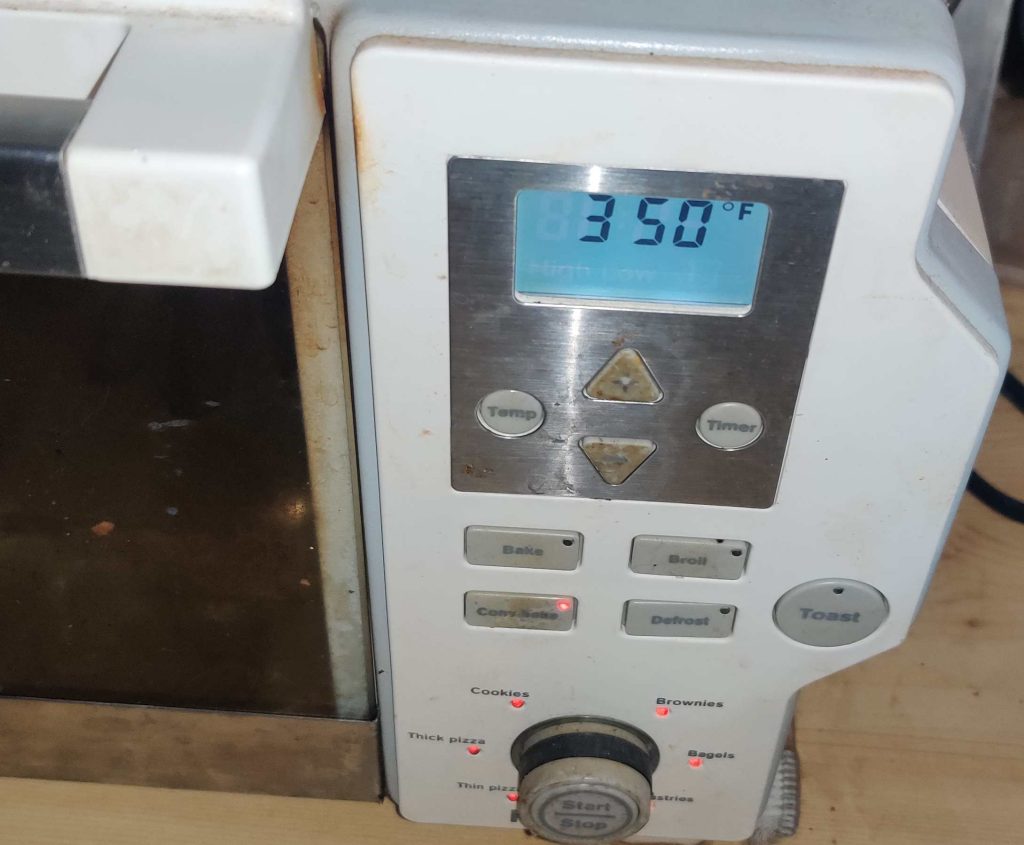
Although I actually did this a little later, now is a good time to preheat the oven:
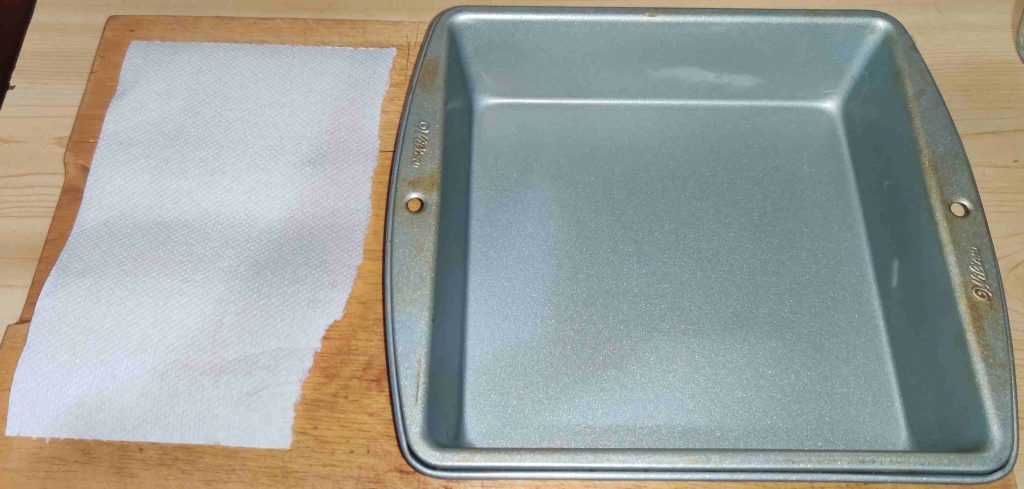
An 8″ x 8″ baking pan and a piece of paper towelling were taken out:
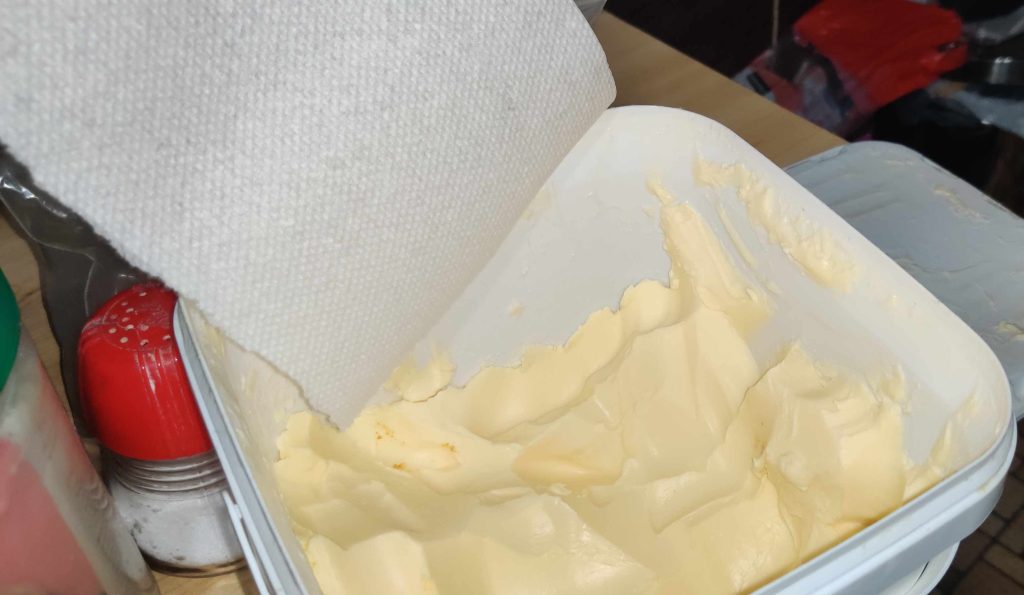
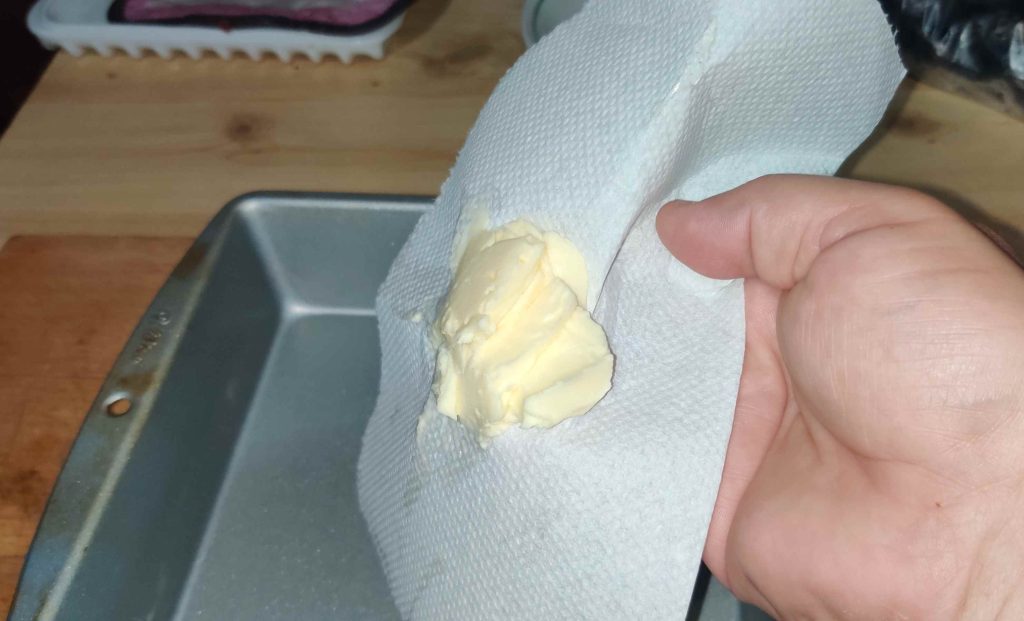
The paper towel was taken over to the tub of margarine, and some margarine was scooped up with my hand and the paper towel:
The paper towel and margarine were taken over to the baking pan:
… and the margarine was slathered onto the surfaces of the baking pan:
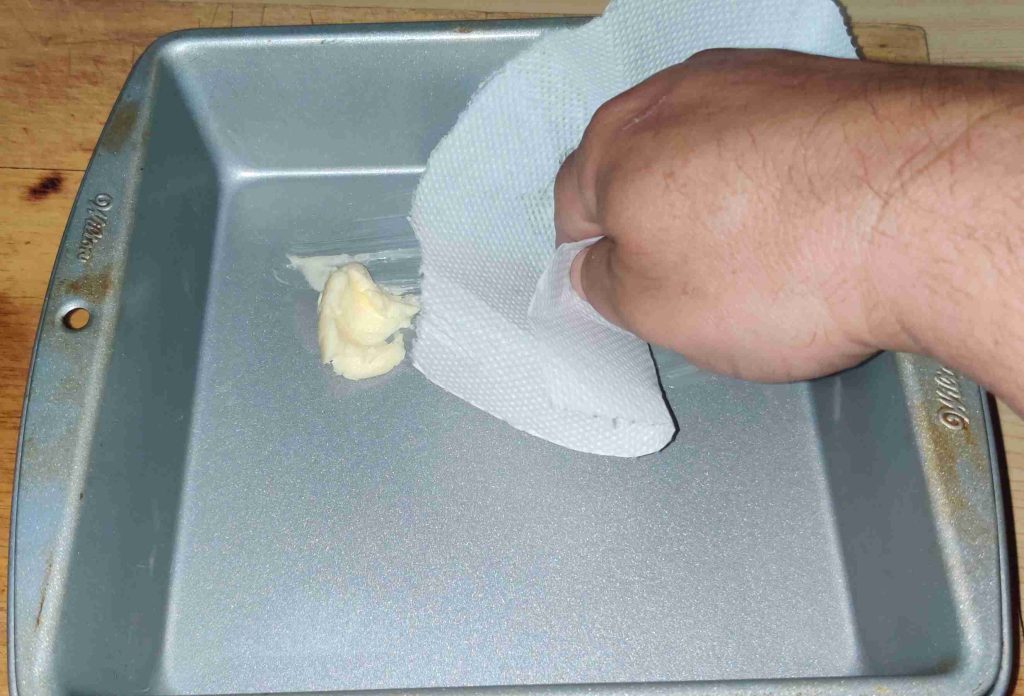
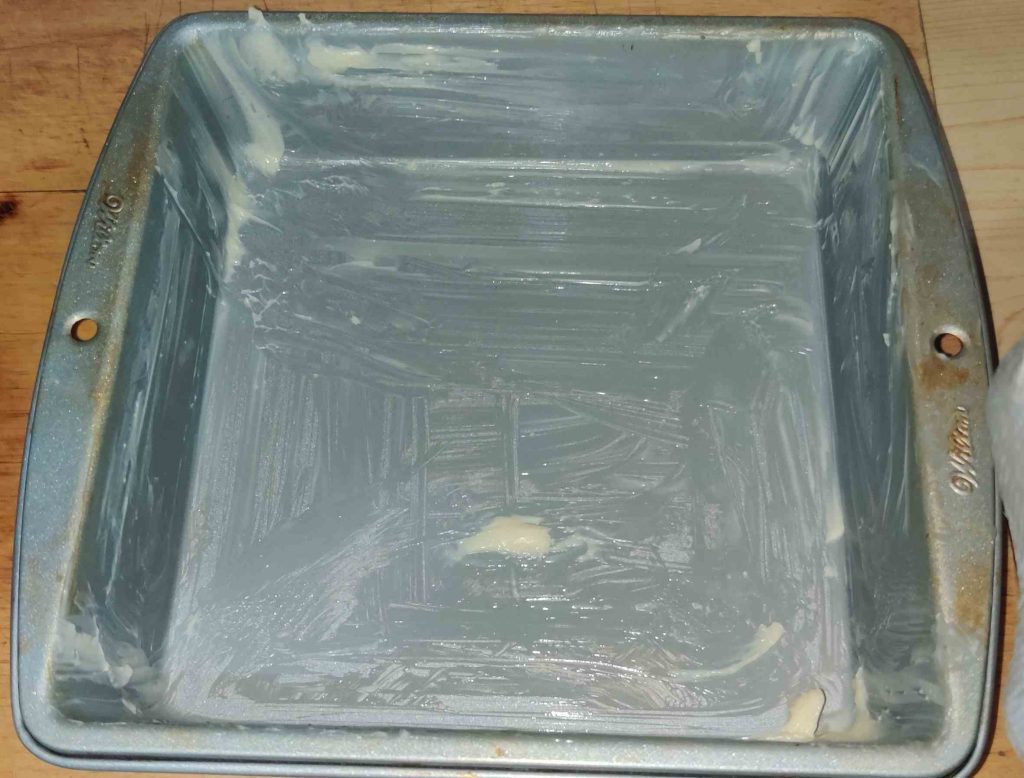
The baking pan was put aside.
Preparing the date filling:
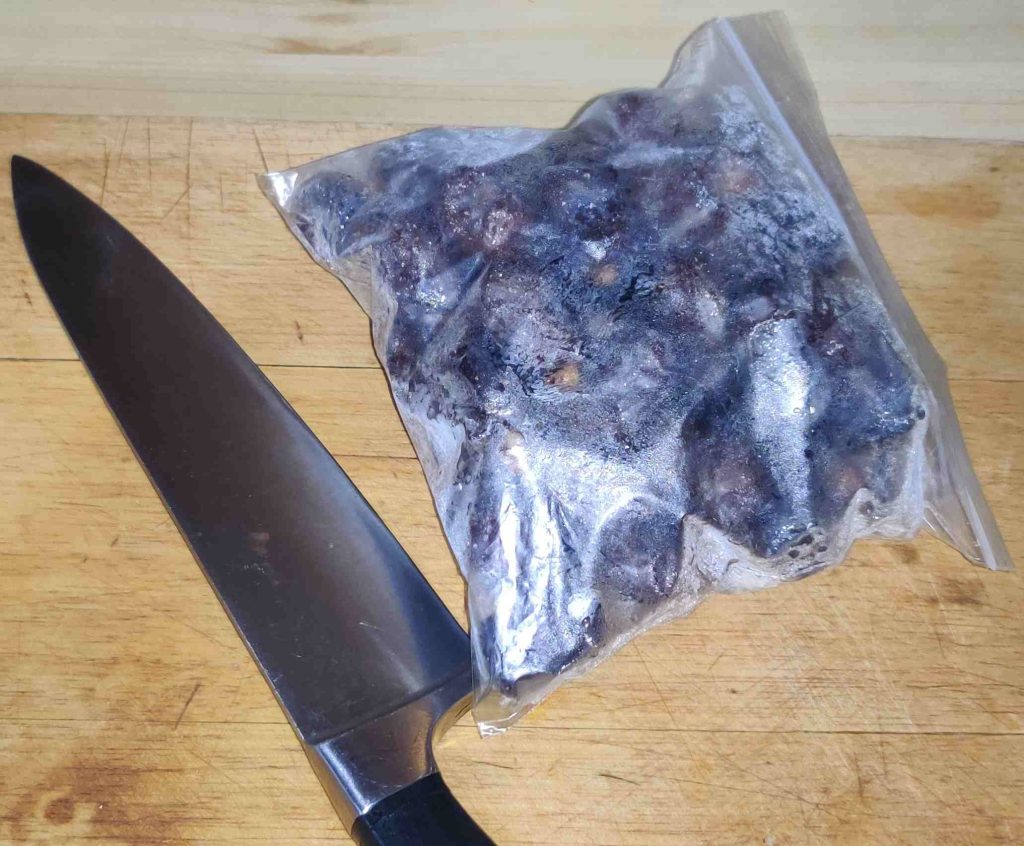
Dates and a knife were taken out — in this case dates I had been keeping in the freezer, hence the fuzzy condensation on the bag:
The dates were pitted:
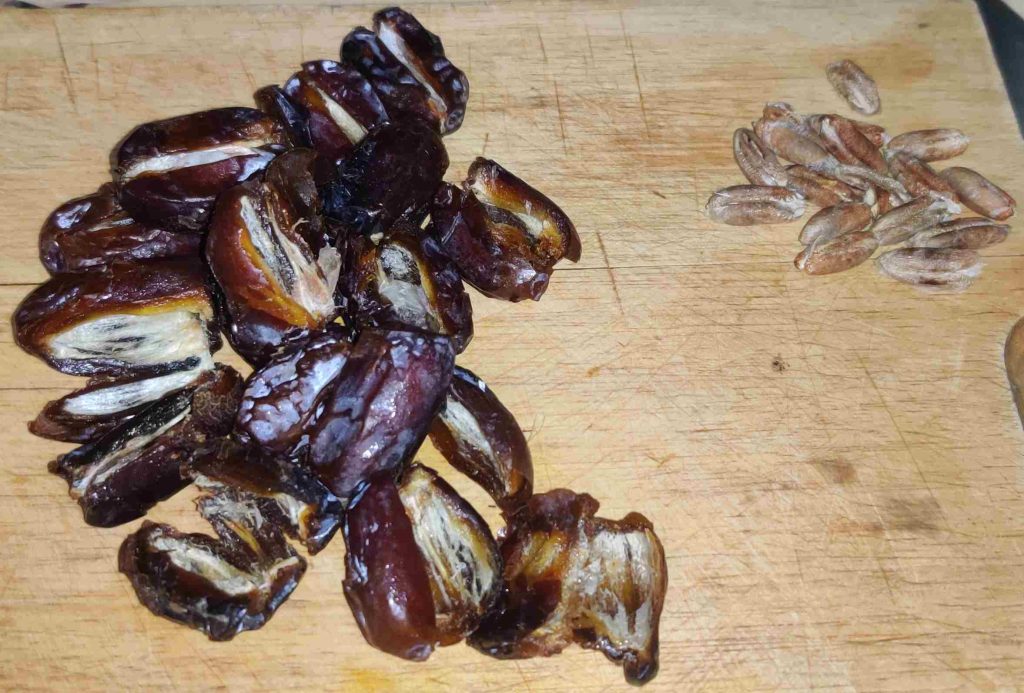
At this point, I took out a kitchen scale and a bowl, and set the reading to zero with the bowl on the scale …
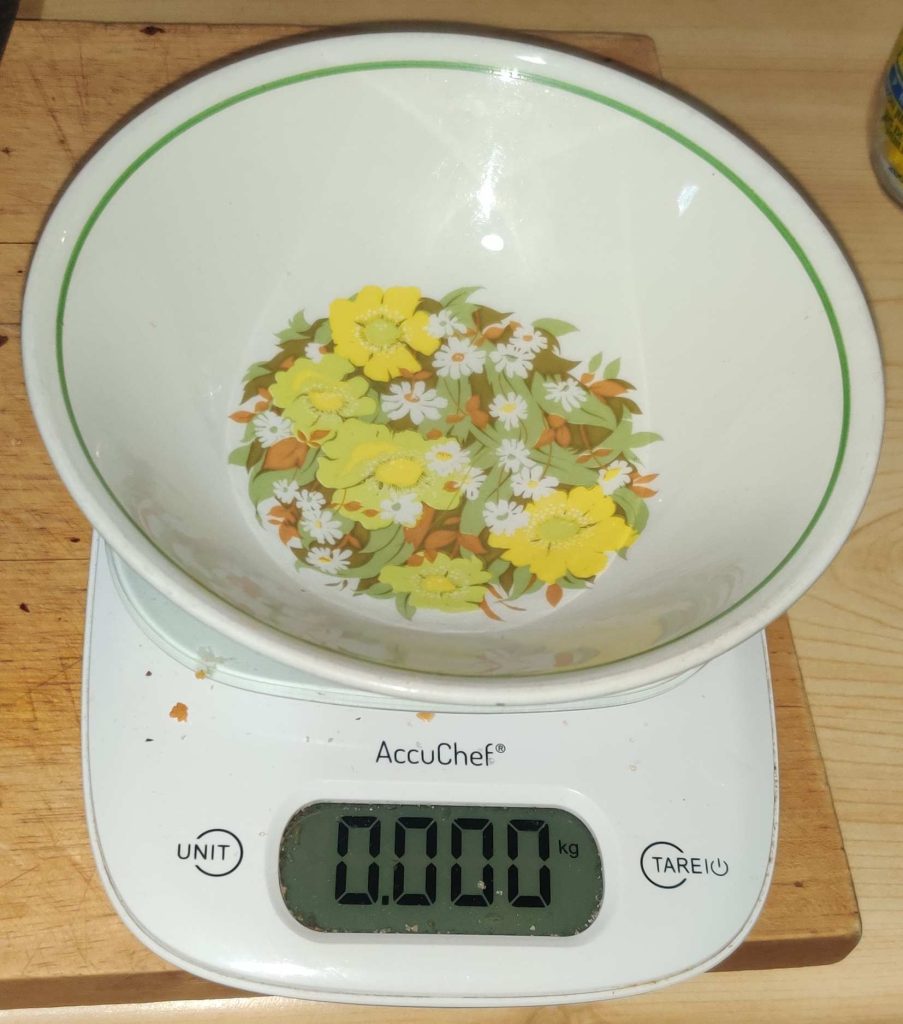
… so that I could weigh out the required amount of pitted dates, which I kept on pitting until I had enough pitted dates:
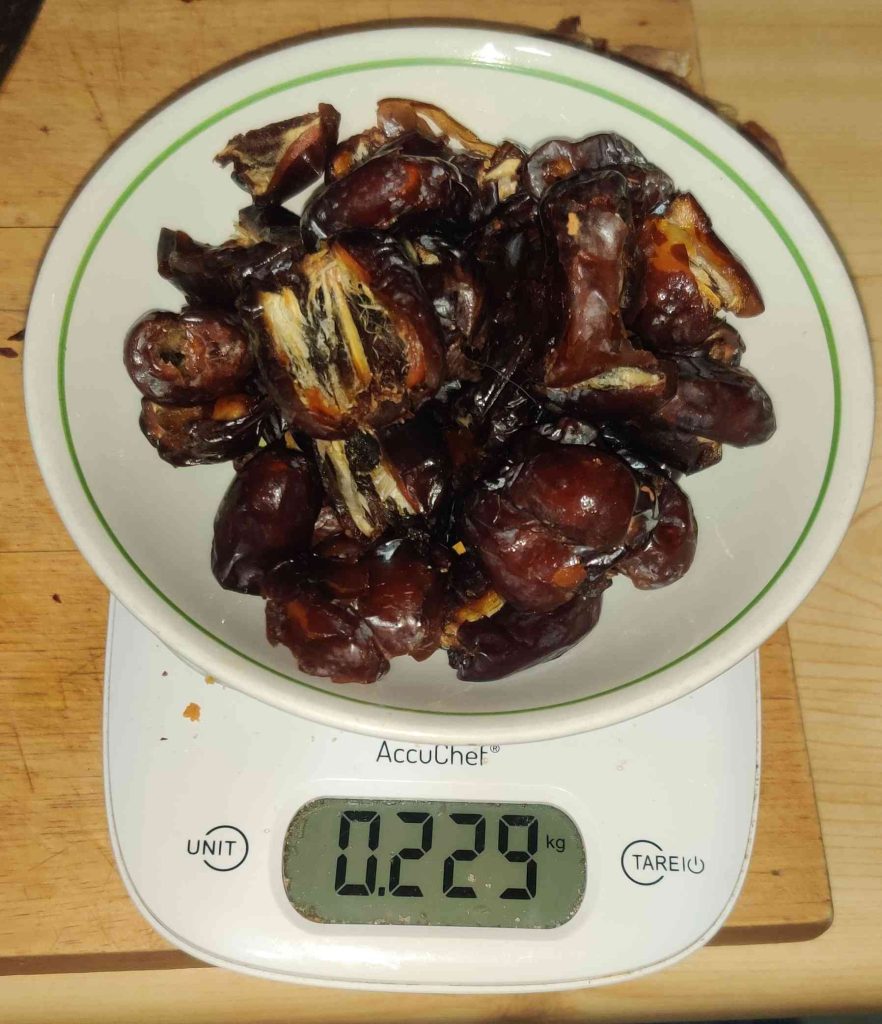
At this point, I should have chopped the dates up a bit, but I forgot, and no matter.
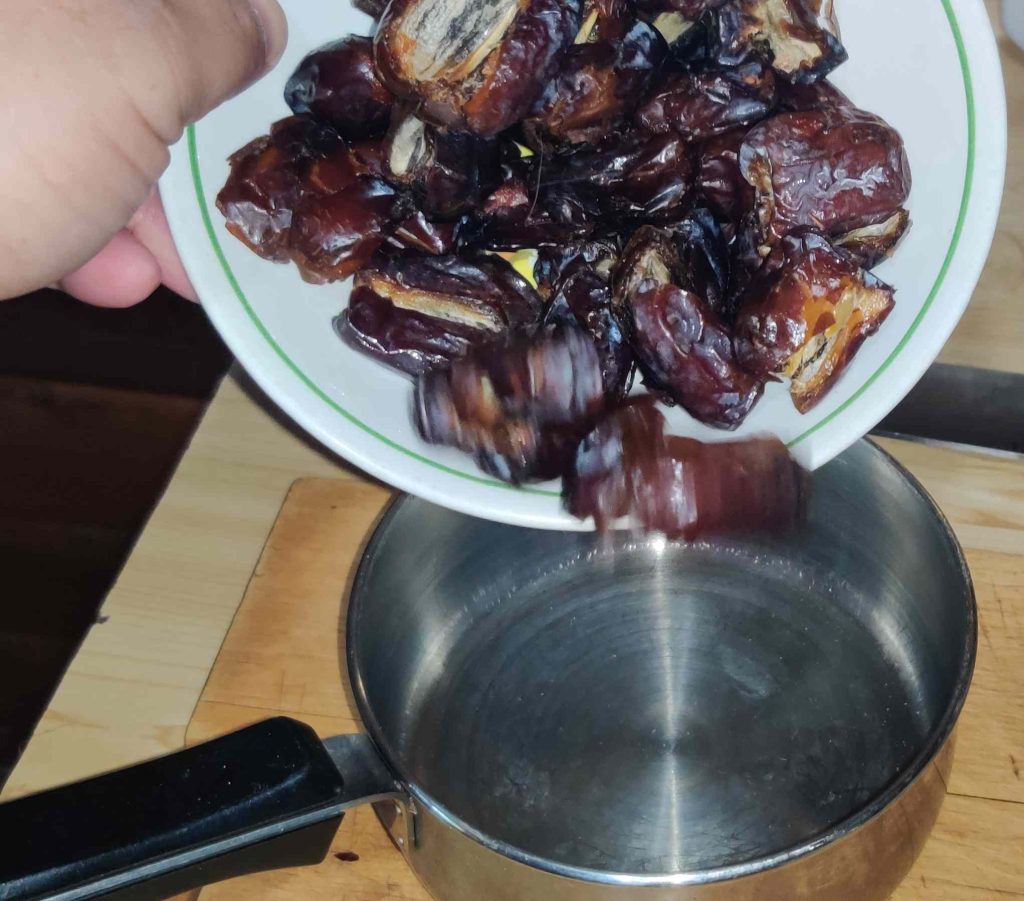
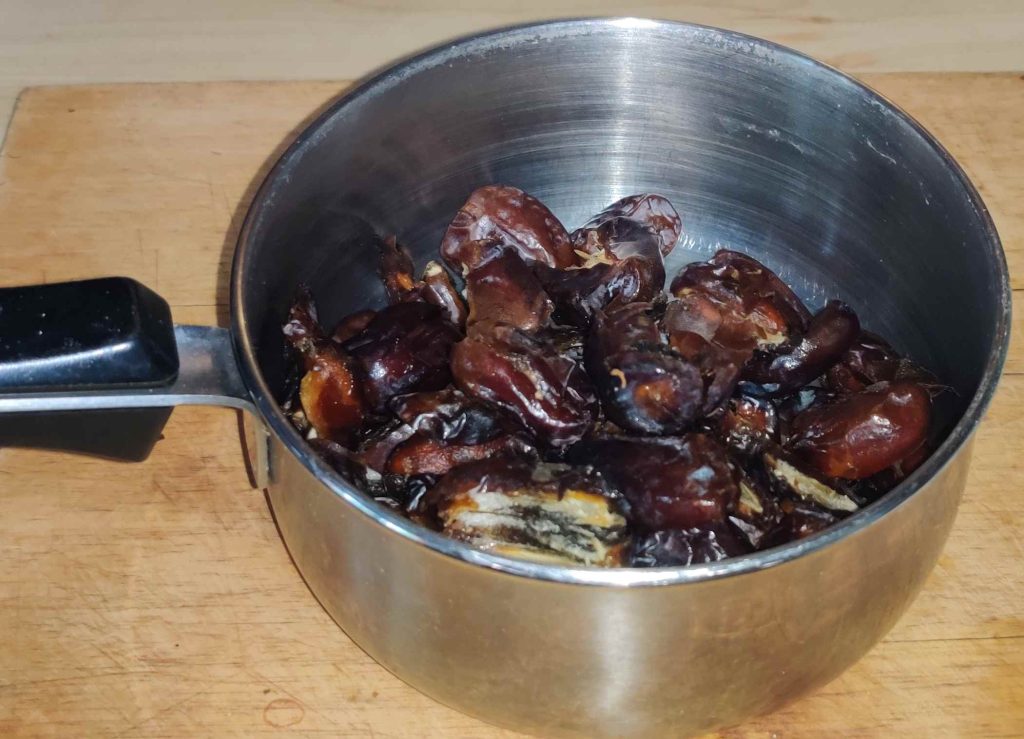
The pitted dates were transferred to a pot:
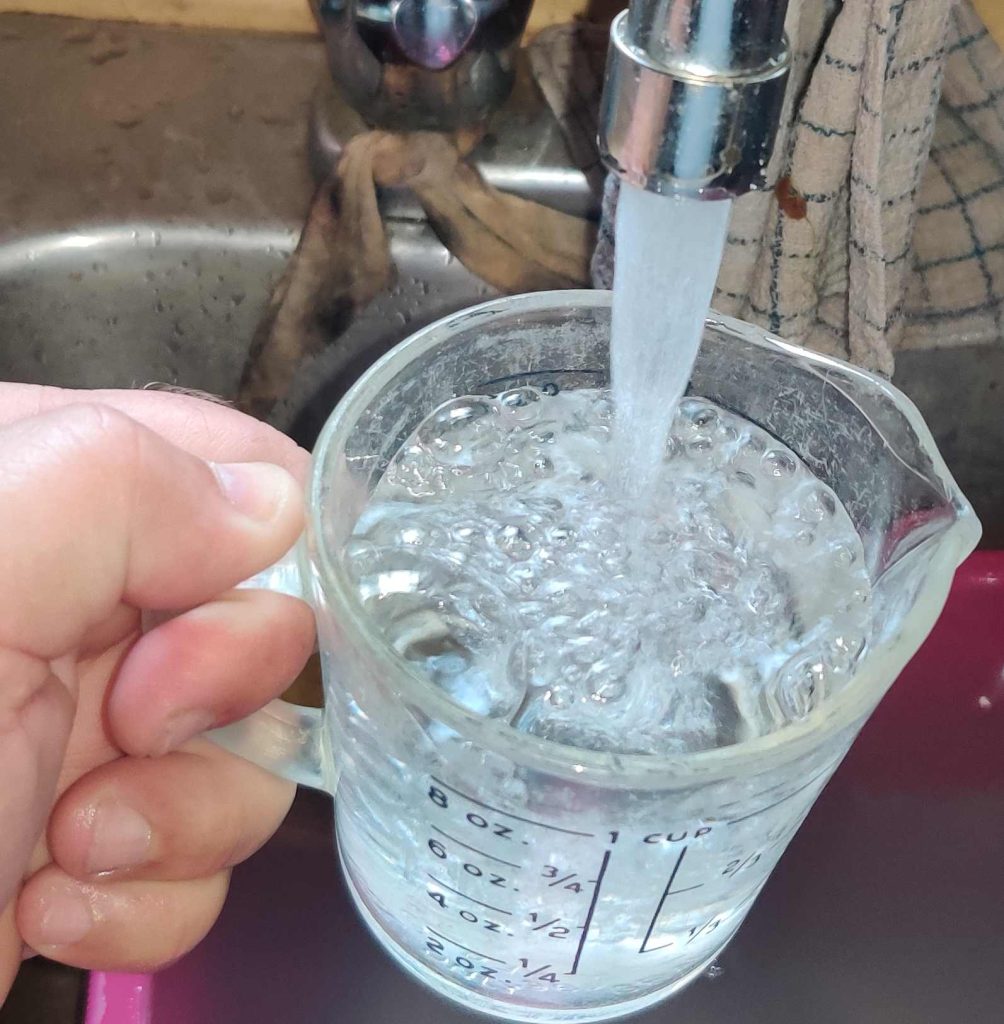
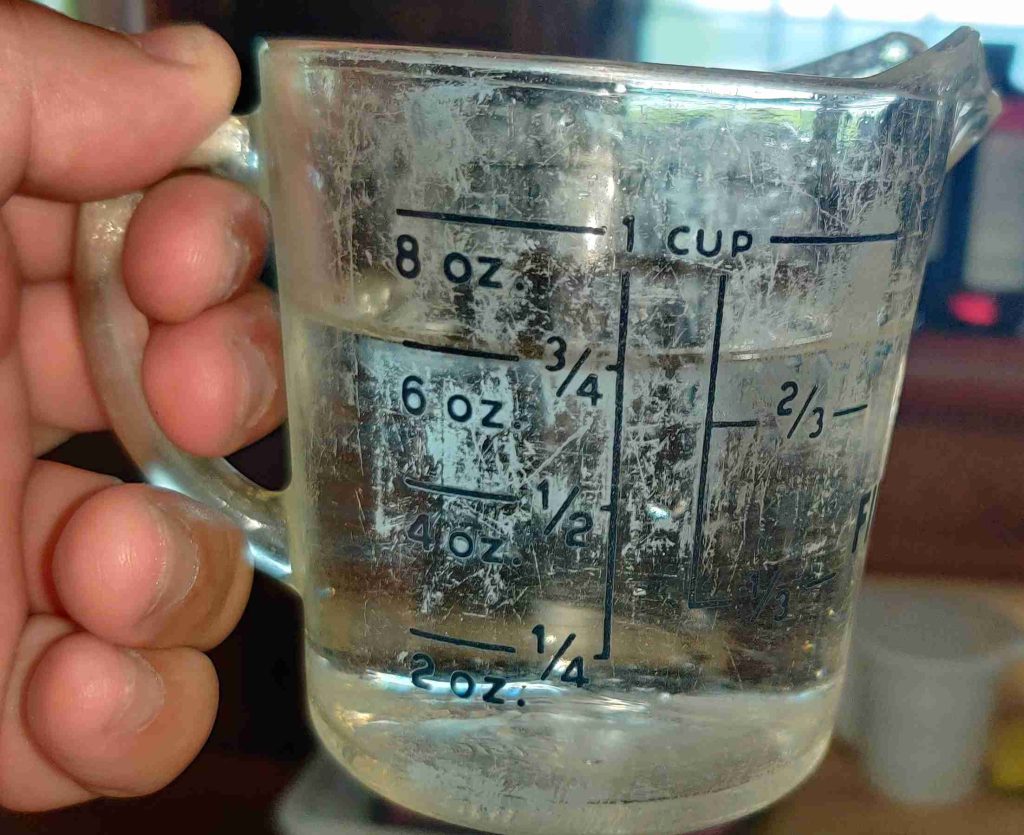
Water was measured out:
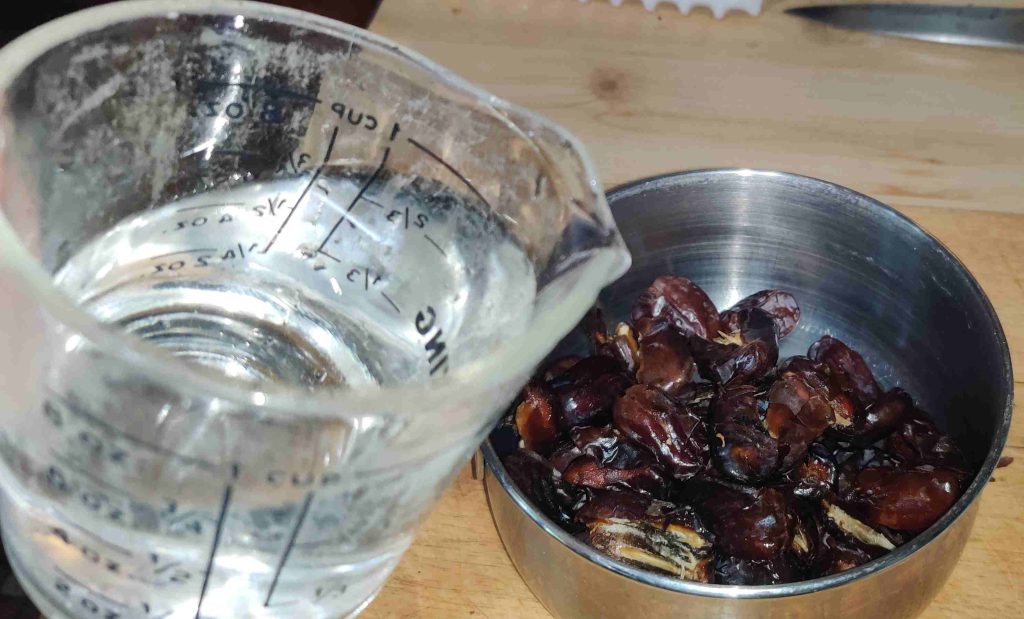
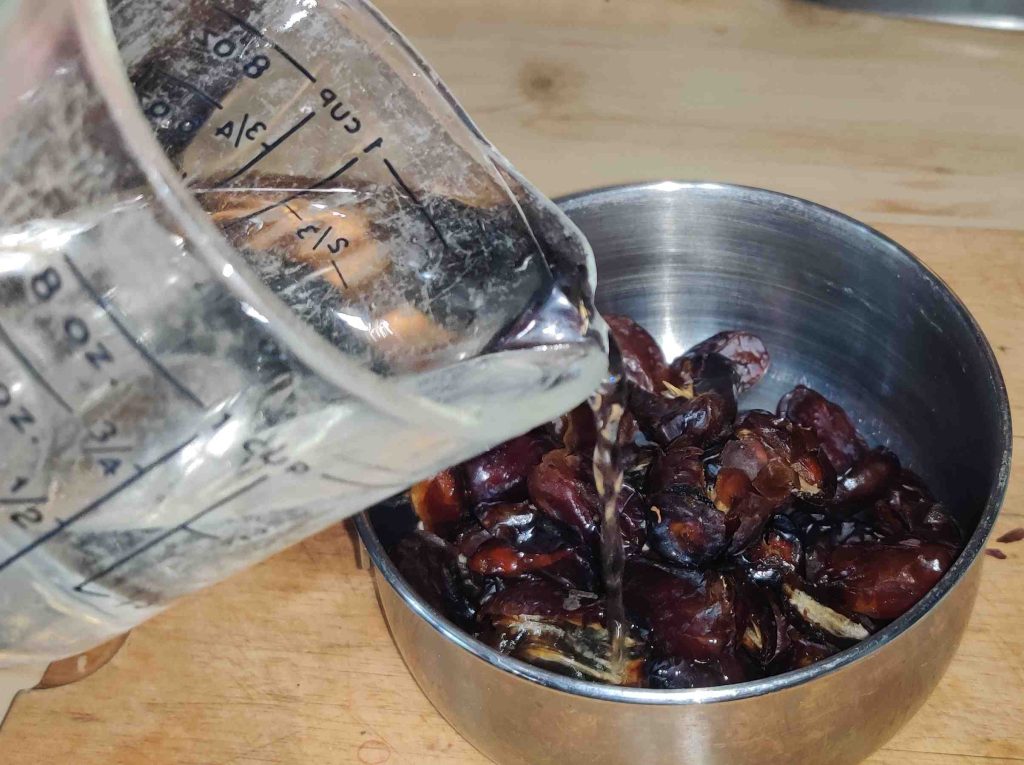
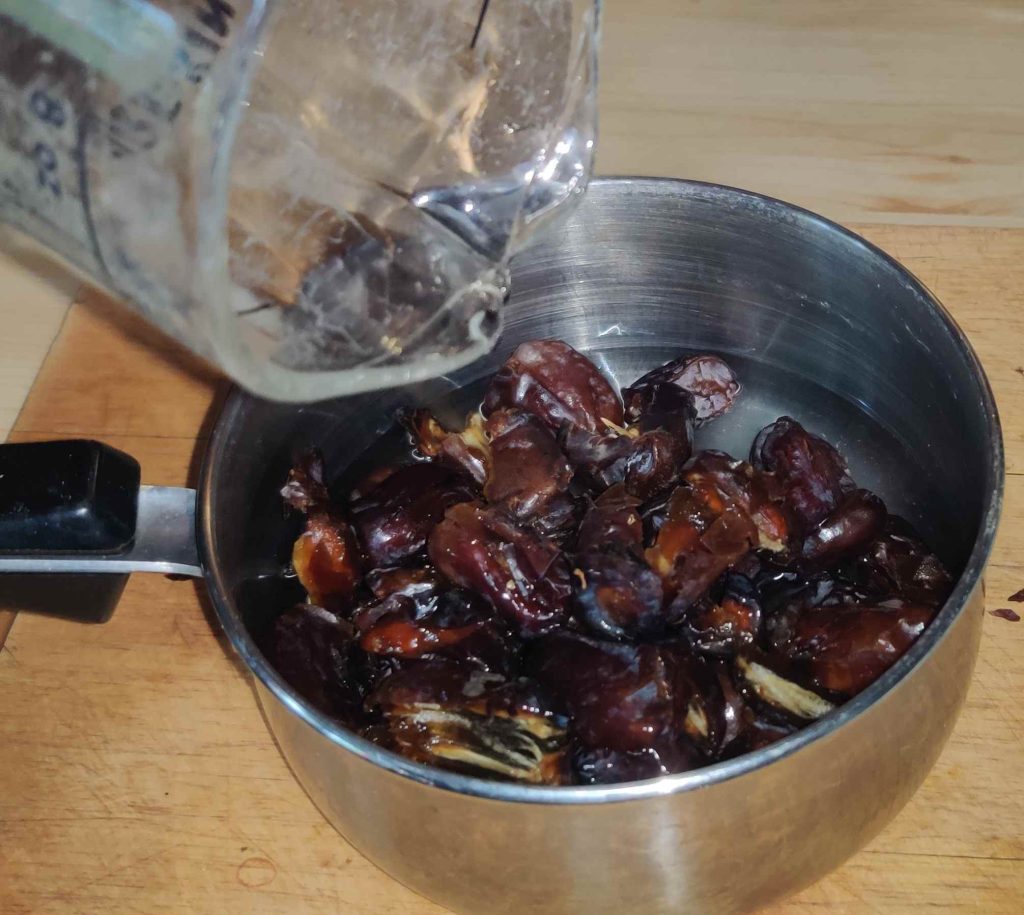
The water was transferred to the pot with the pitted dates:
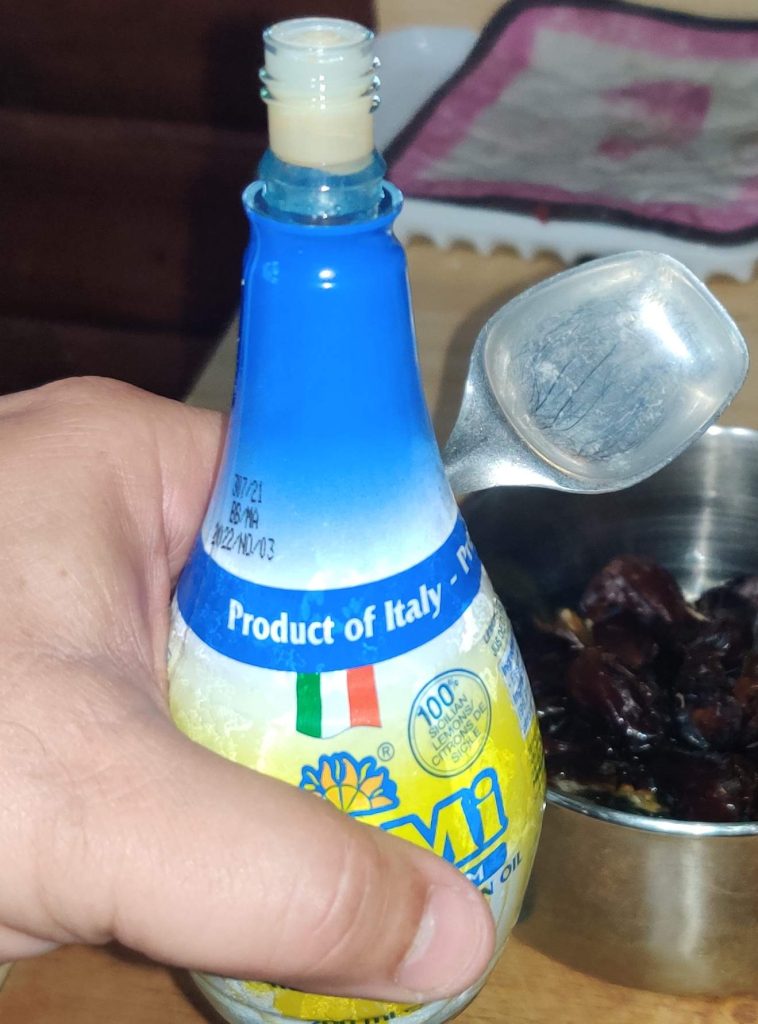
Lemon juice was taken out:
The lemon juice was measured out:
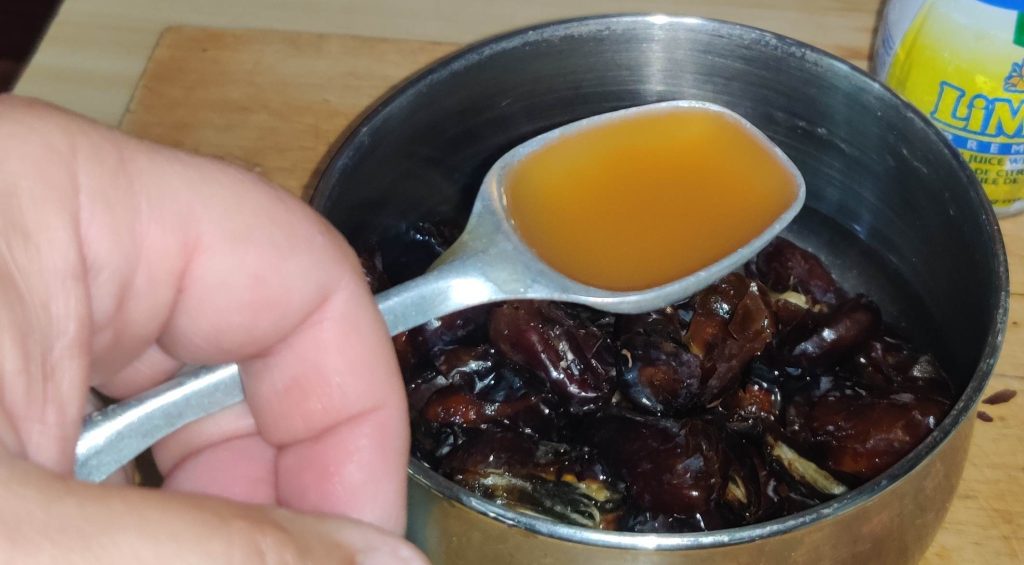
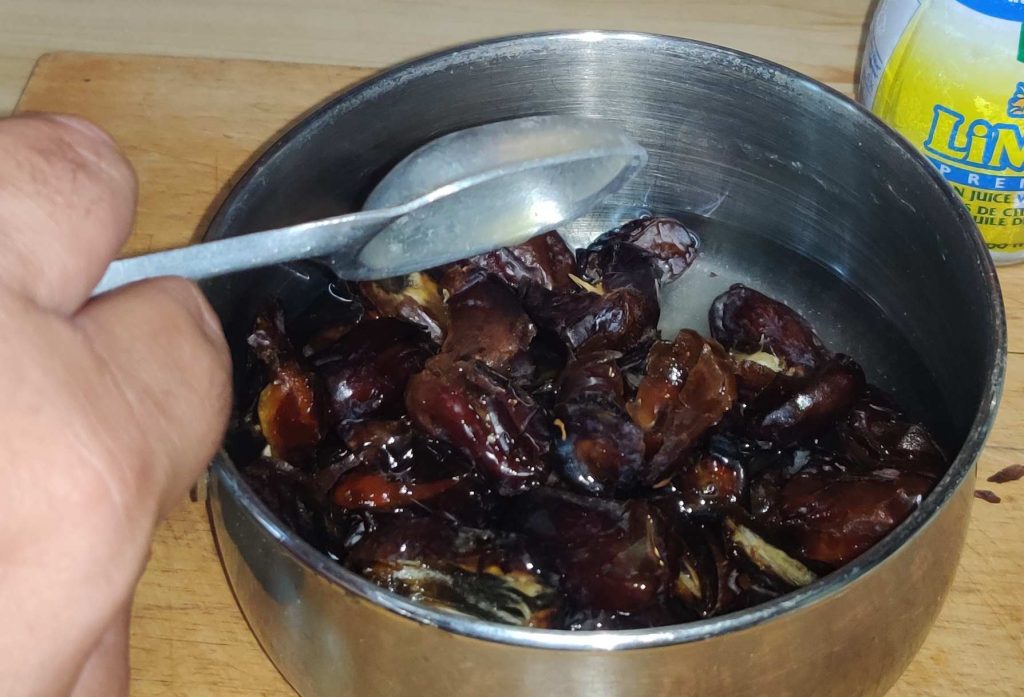
The lemon juice was transferred to the pot with the pitted dates and water:
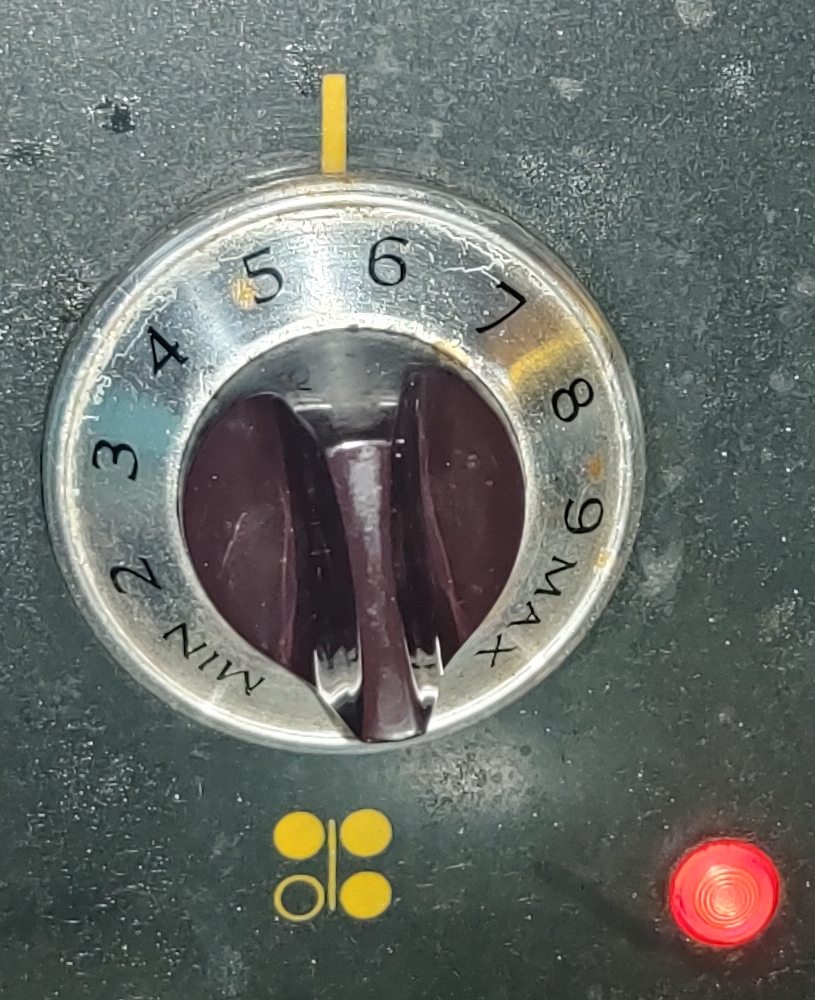
A burner on the stove was turned on to medium heat:
The pot of pitted dates, water, and lemon juice was placed on the burner:
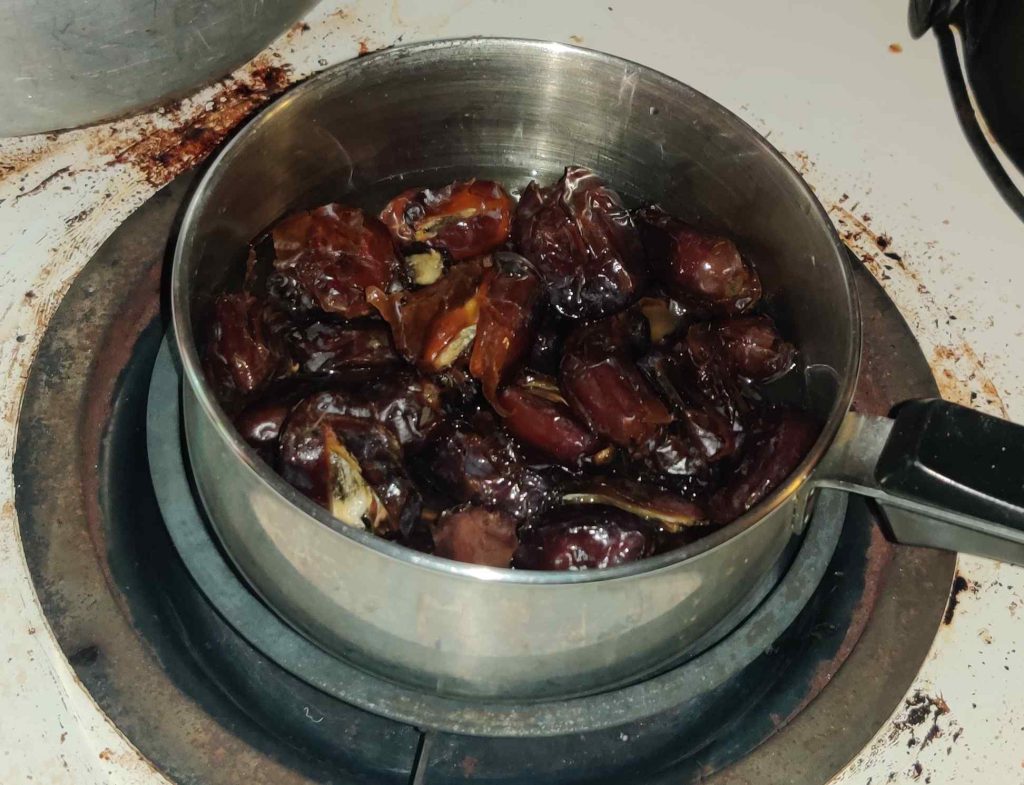
The pitted dates were largely left alone for the next several minutes, although I kept an eye on the pot and occasionally stirred it.
Making the oat crumble base and topping:
Flour was taken out:
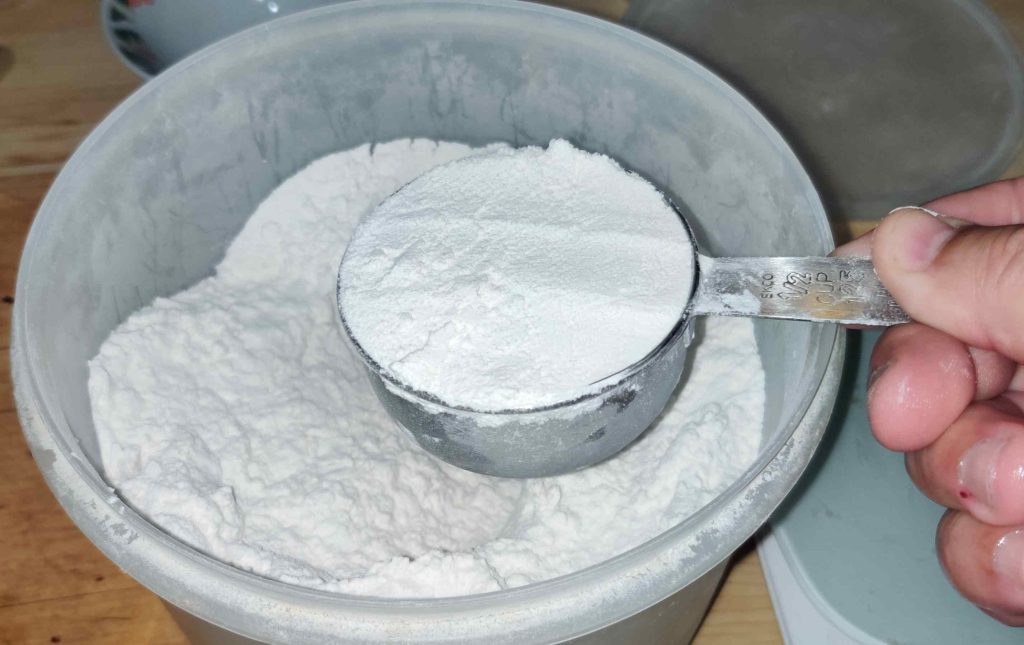
Flour was measured out:
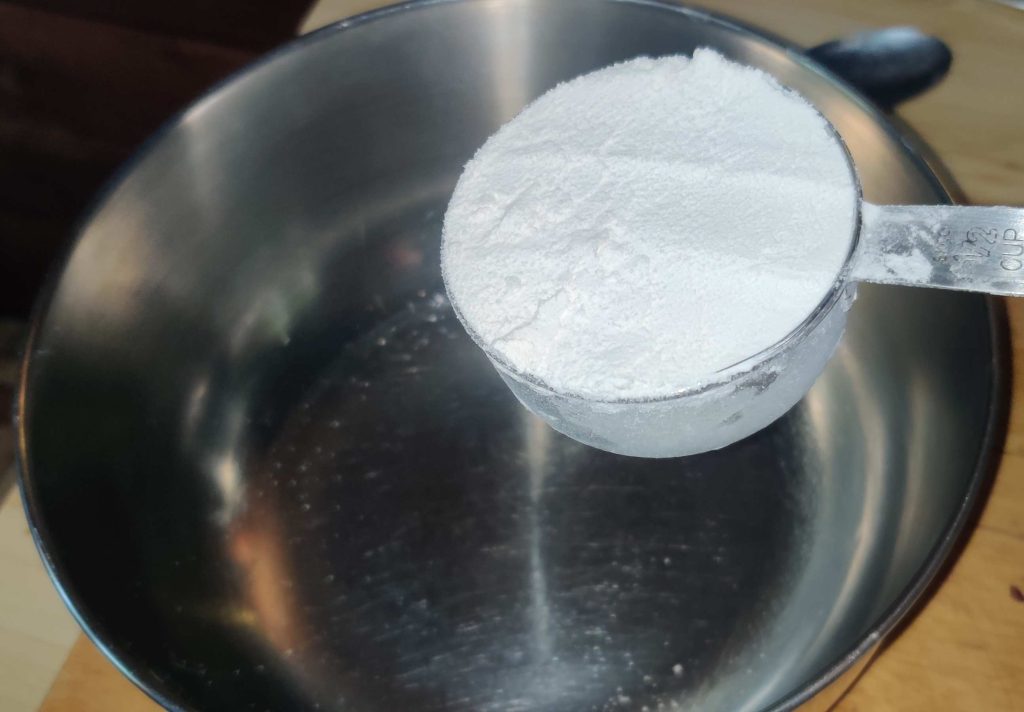
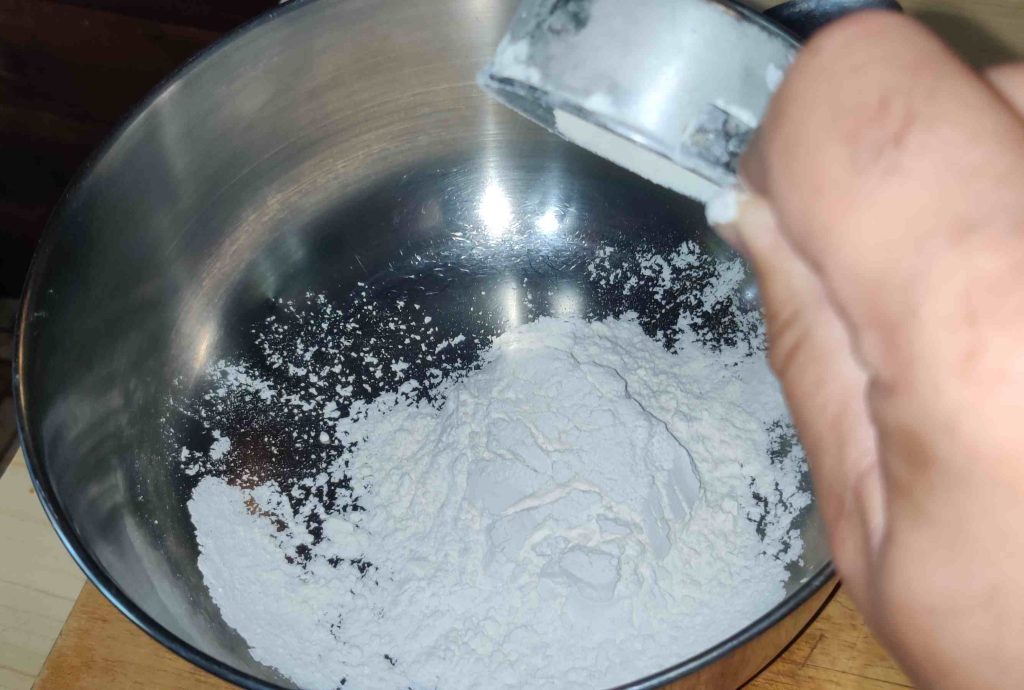
The flour was transferred to a mixing bowl:
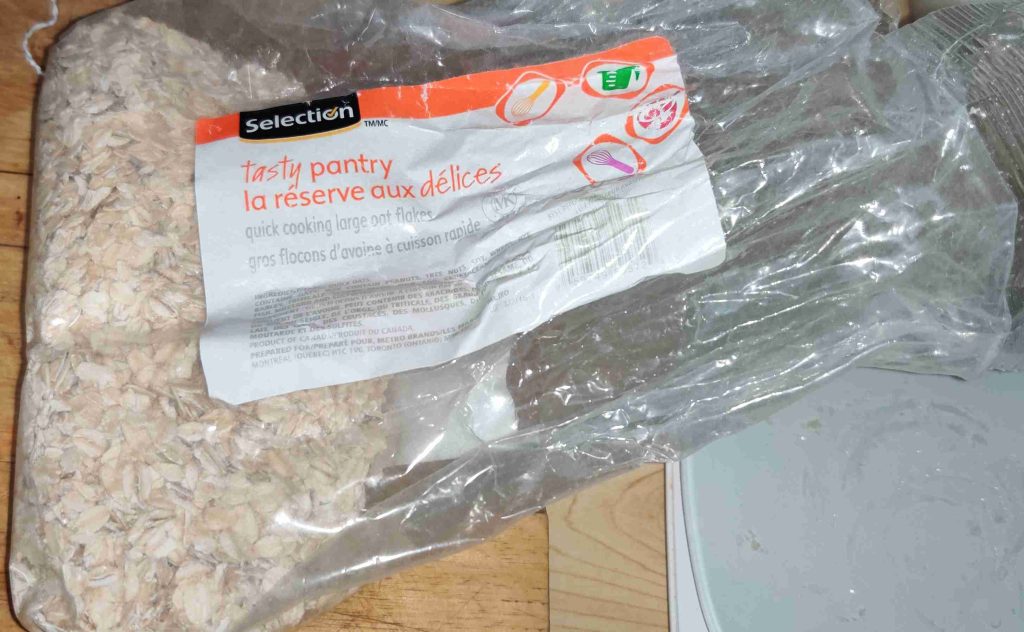
Oats were taken out:
Oats were measured out:

The oats were transferred to the mixing bowl with the flour:
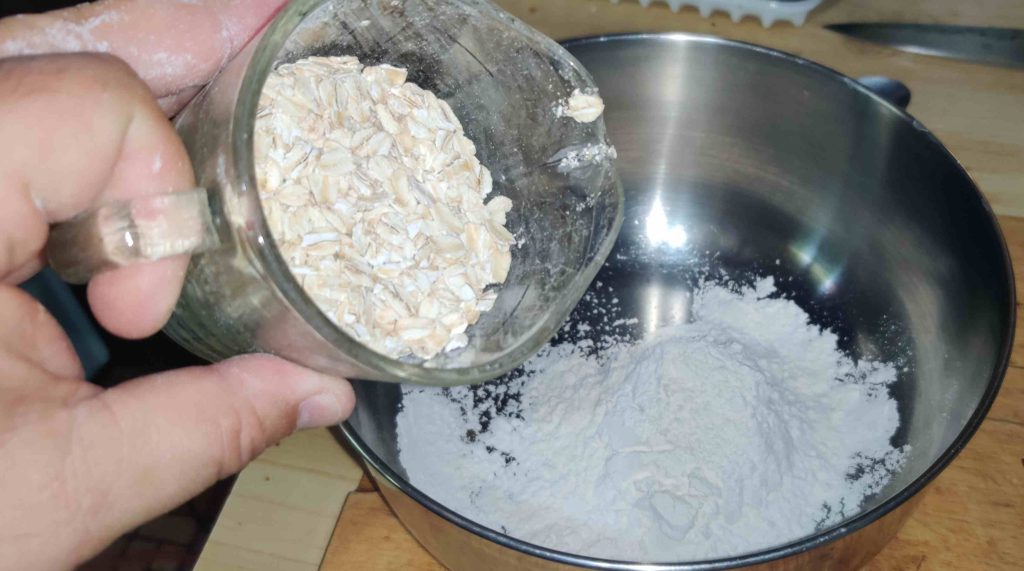
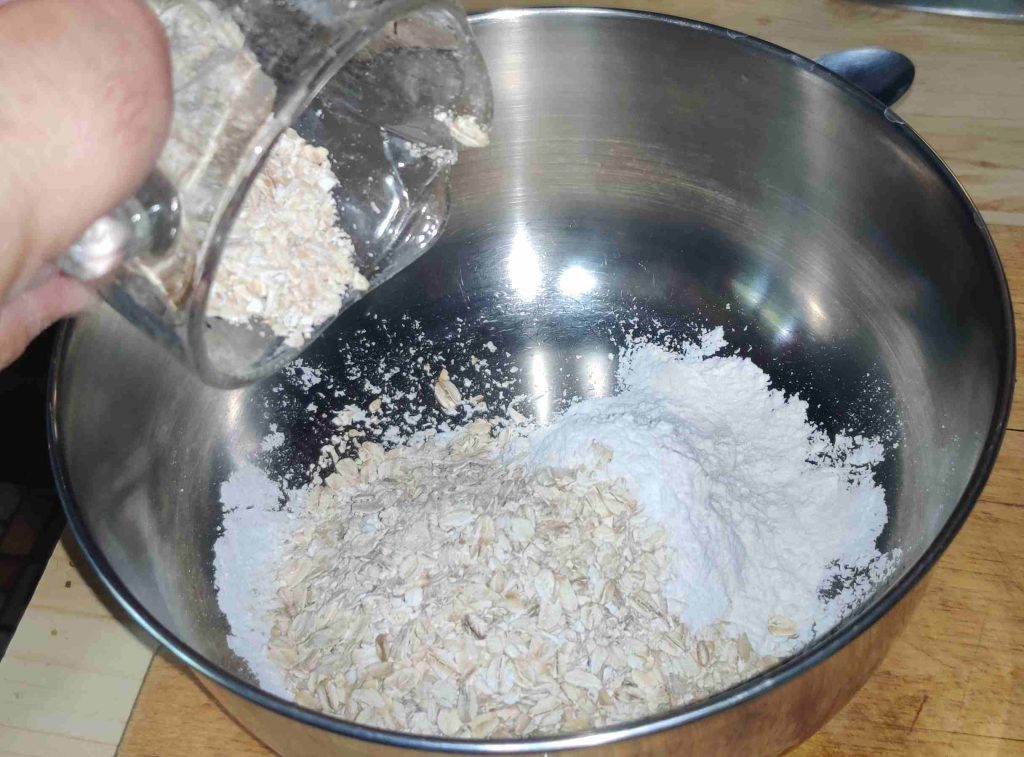
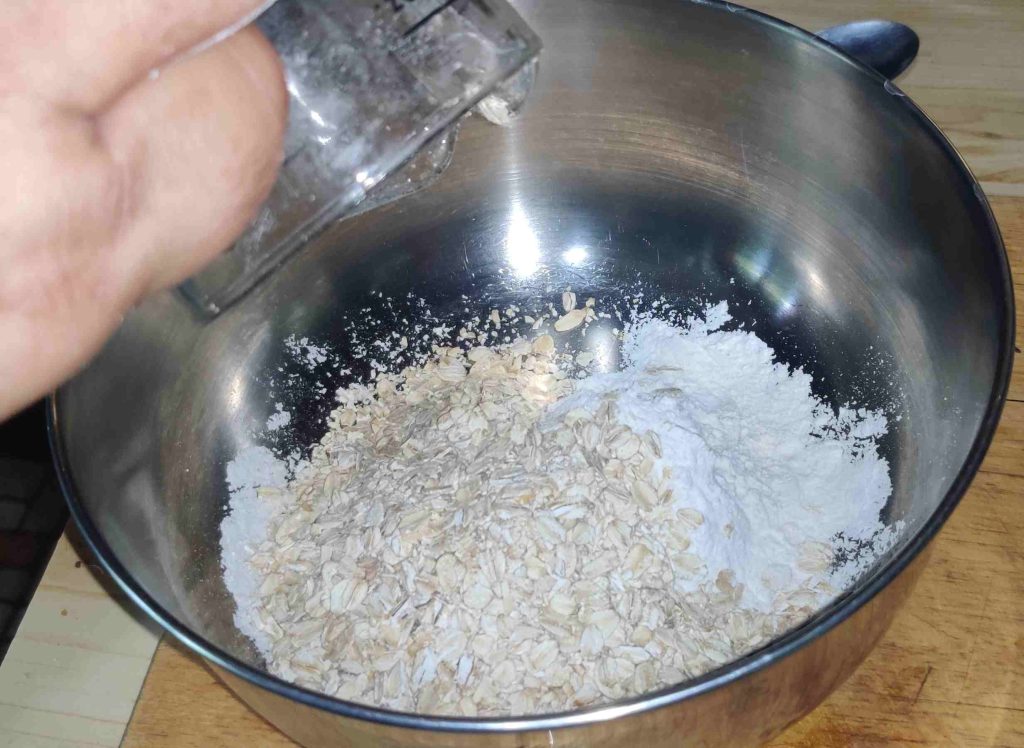
Brown sugar was taken out:
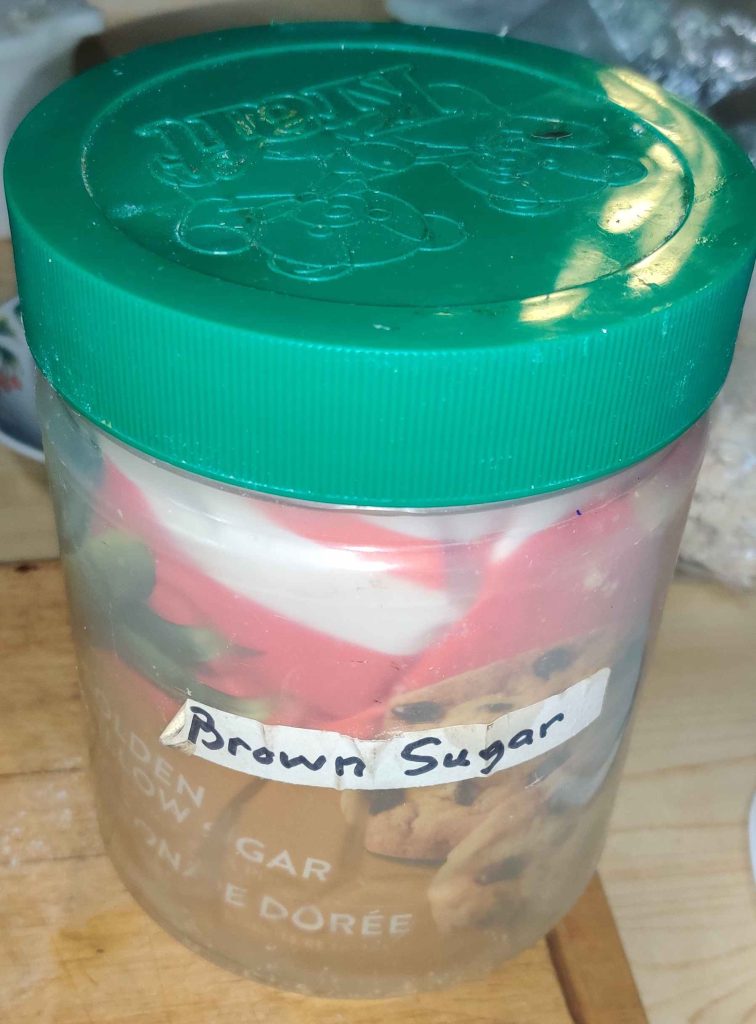
Brown sugar was measured out:
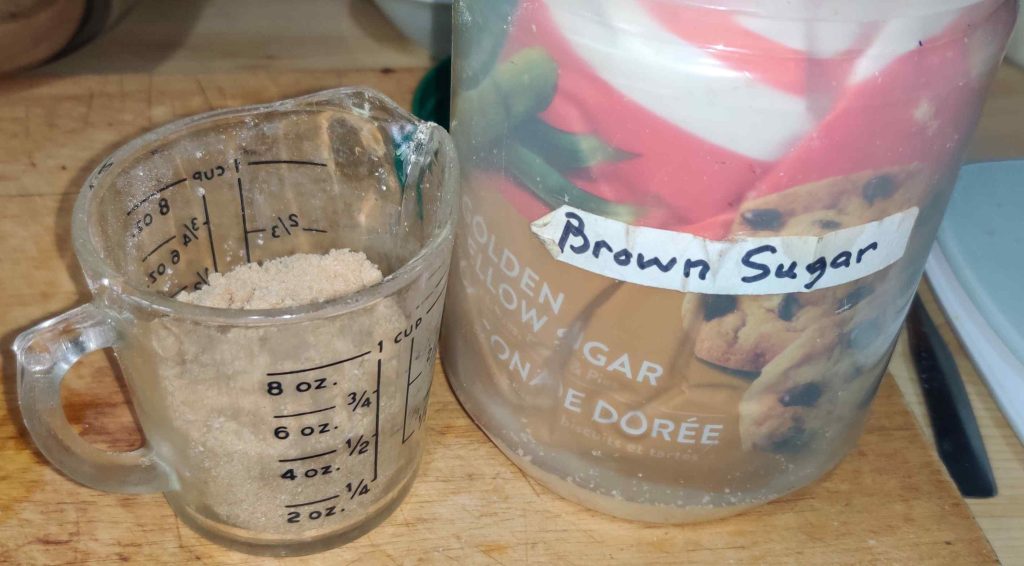
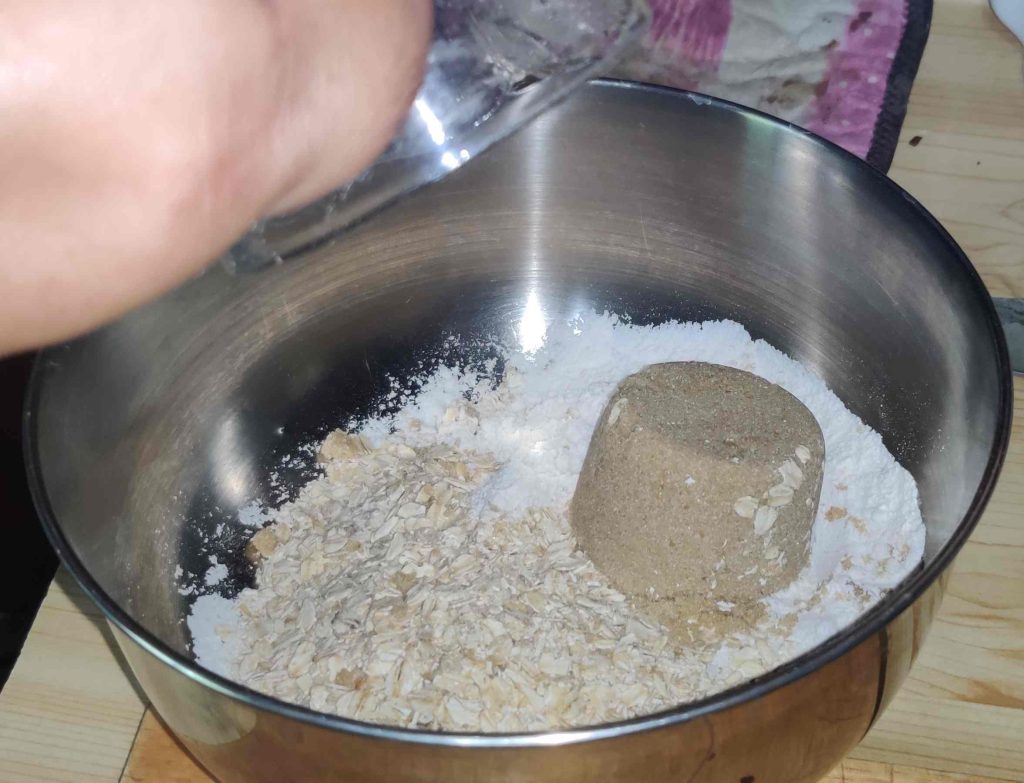
The brown sugar was transferred to the mixing bowl with the flour and the oats:
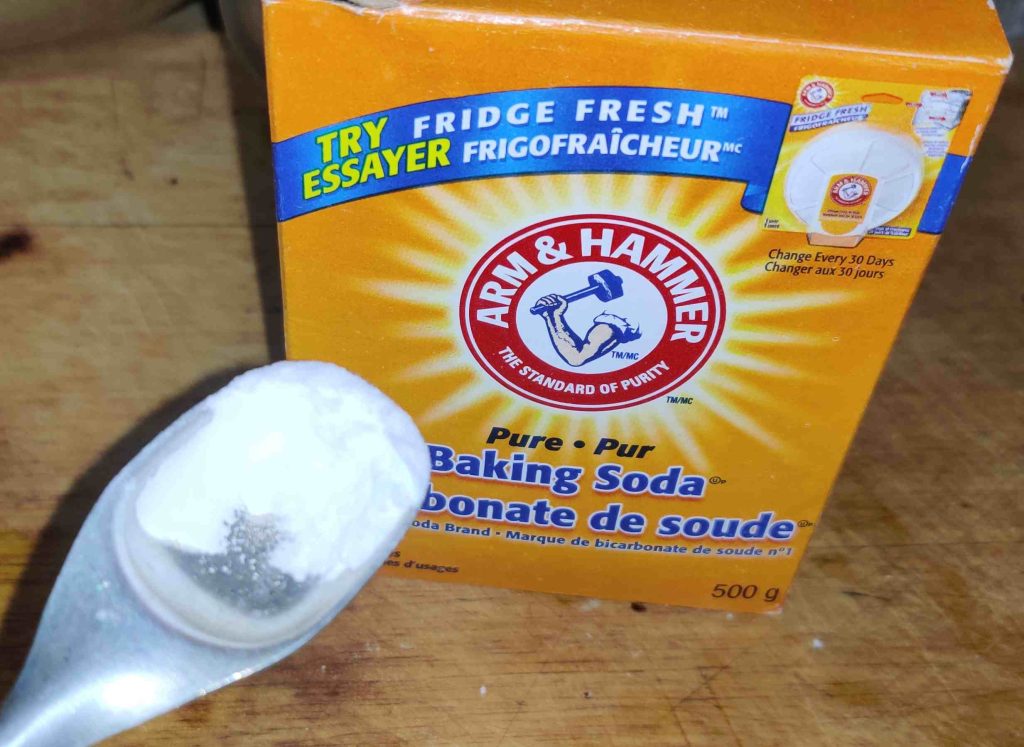
Baking soda was taken out and measured out:
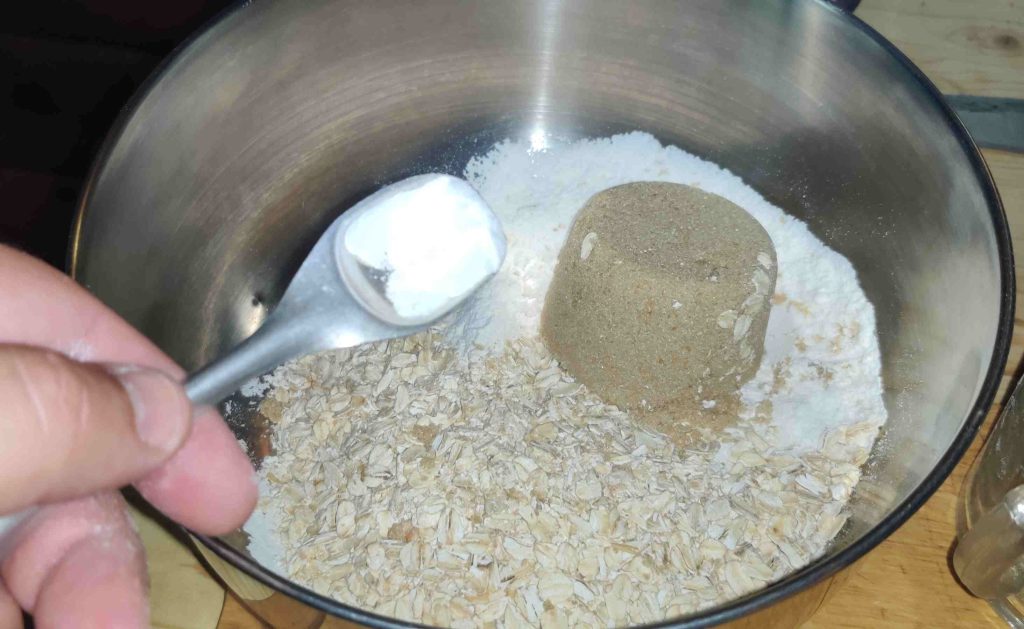
The baking soda was transferred to the mixing bowl with the flour, oats, and brown sugar:
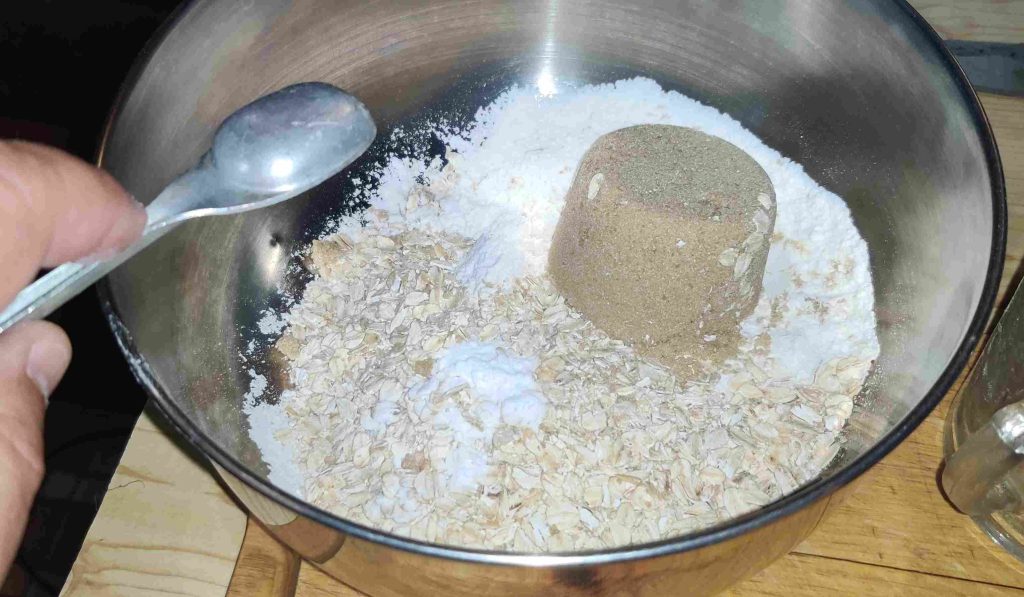
Salt was taken out and measured out:
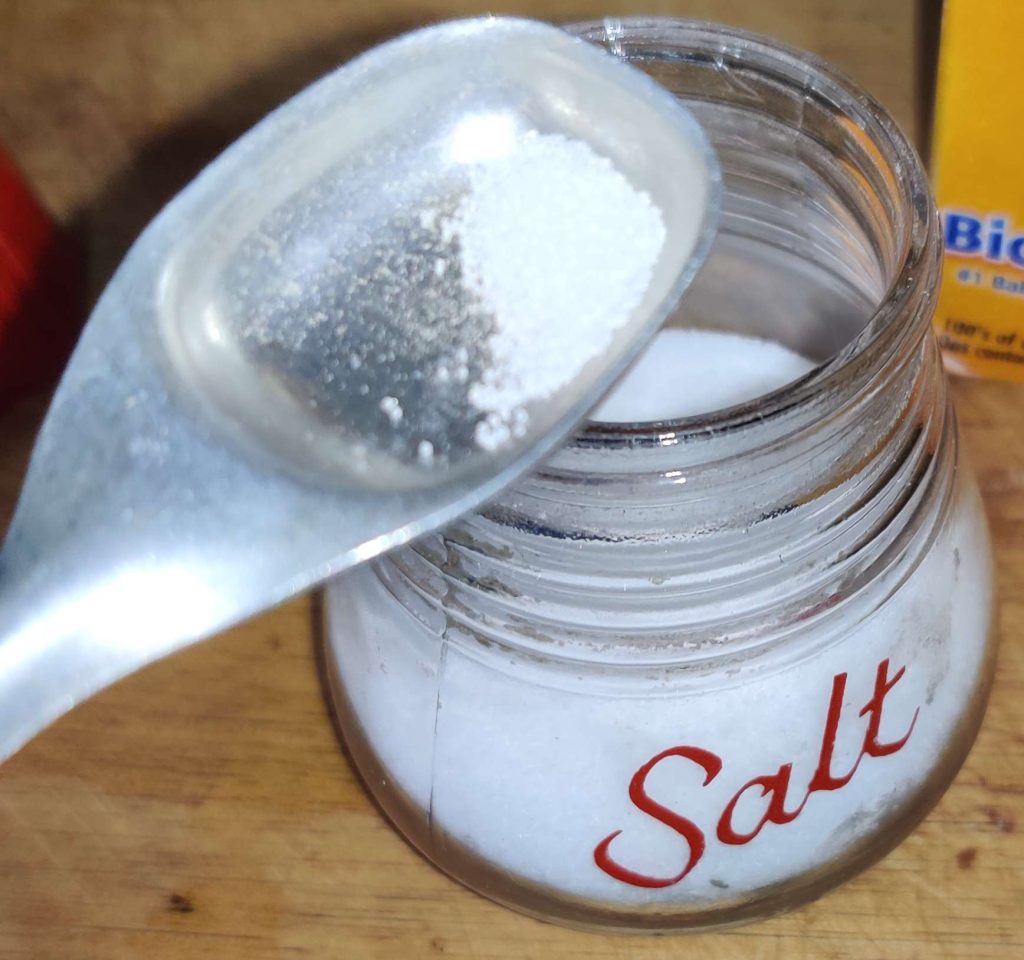
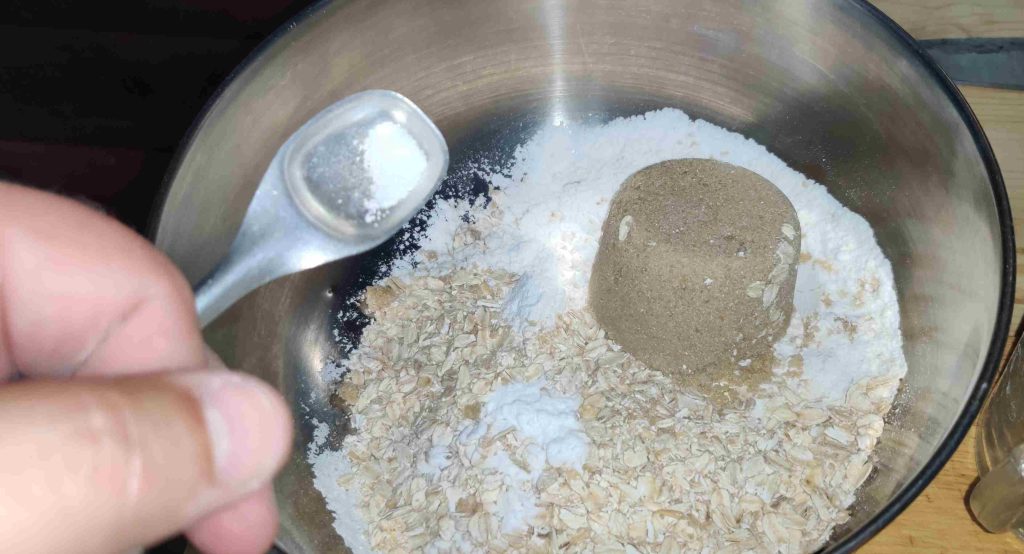
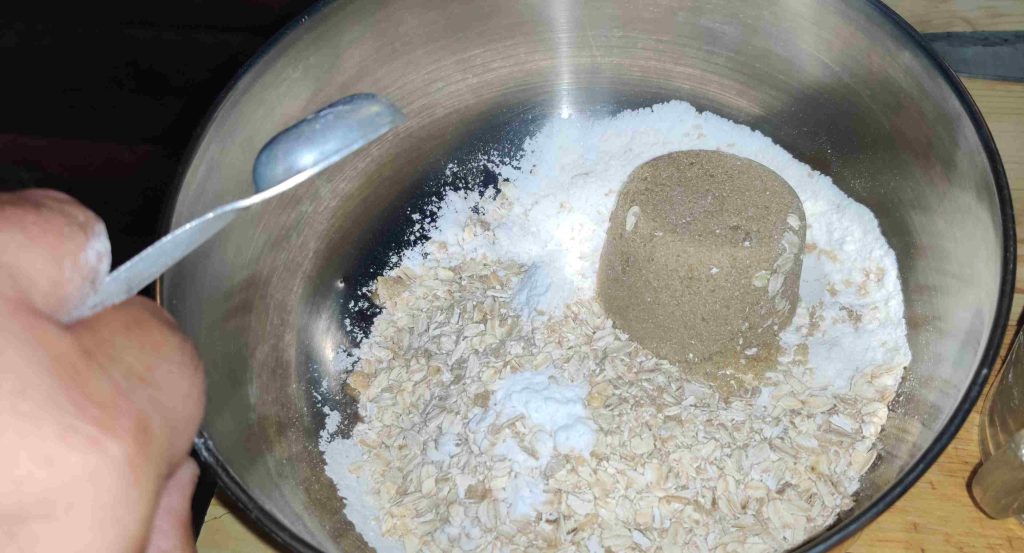
The salt was transferred to the mixing bowl with the flour, oats, brown sugar, and baking salt:
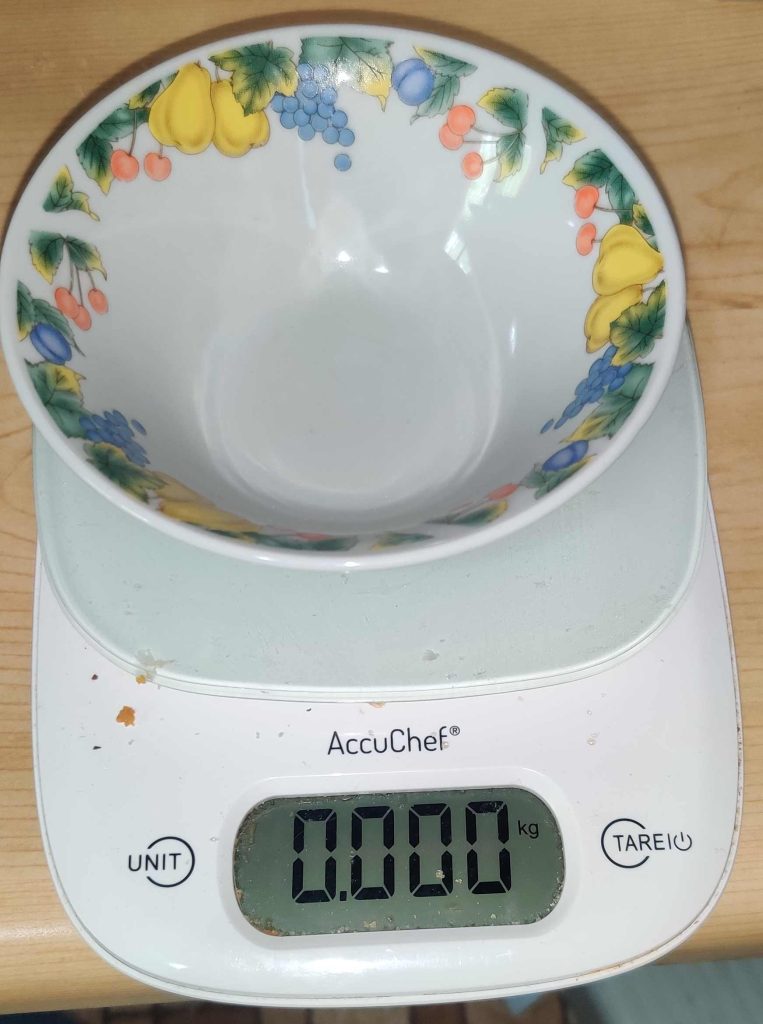
Another bowl was placed on my kitchen scale, and the display set to zero:
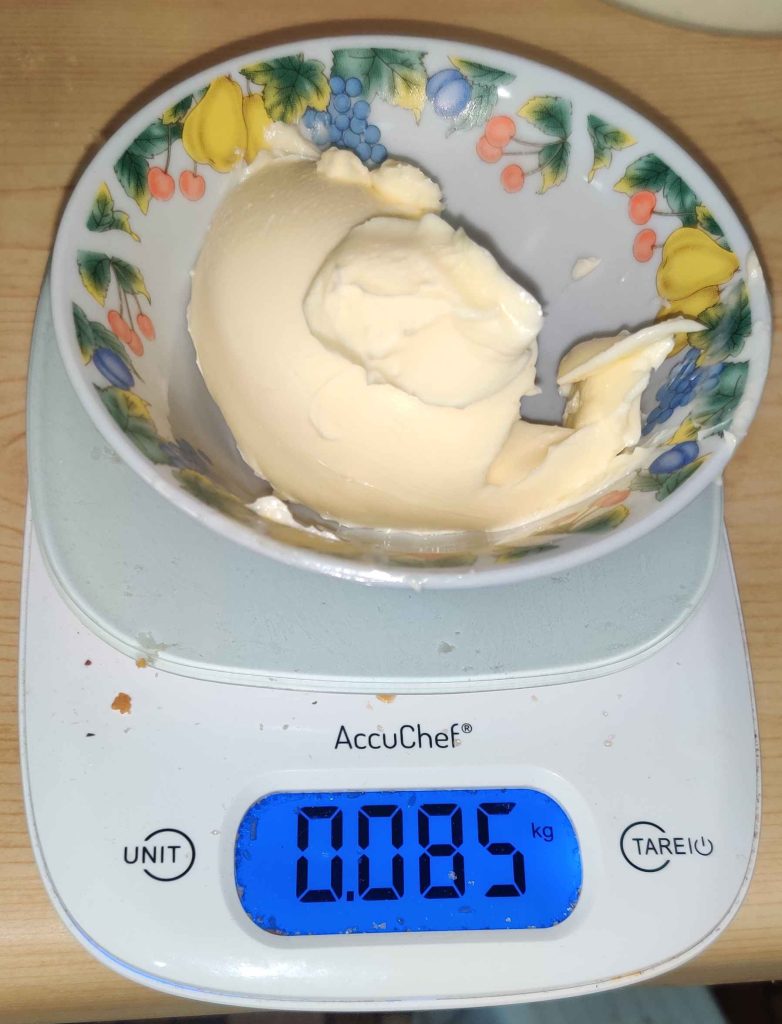
Margarine was measured out:
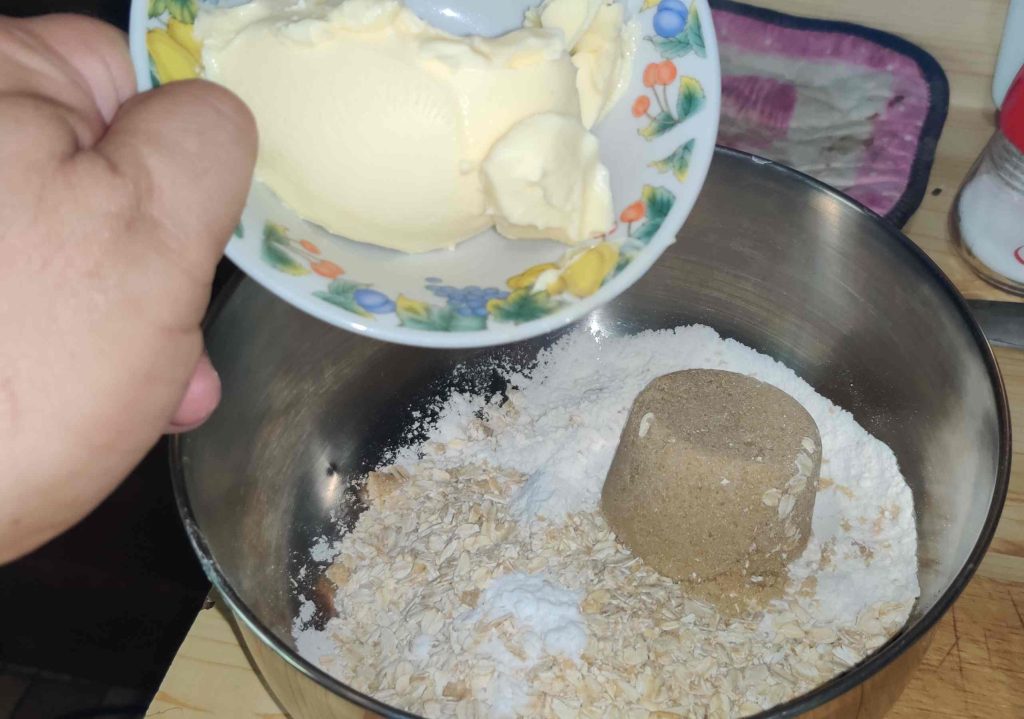
The margarine was transferred to the mixing bowl with the flour, oats, brown sugar, baking soda, and salt:
An electric mixer was brought to the mixing bowl:
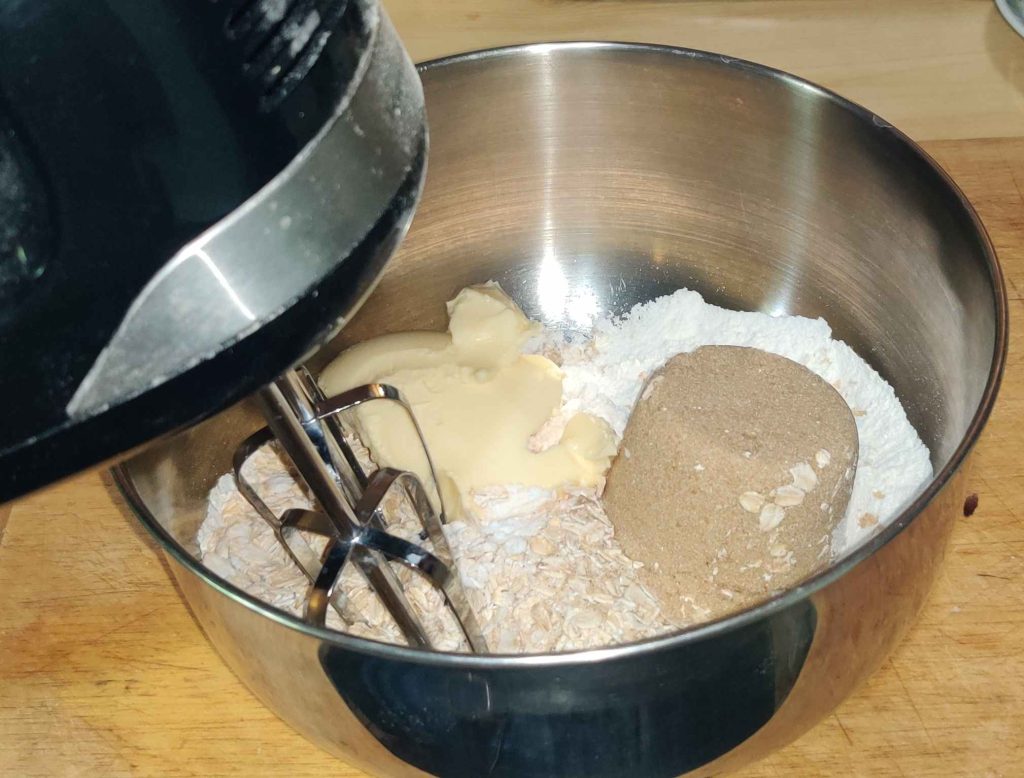
The ingredients were mixed thoroughly:
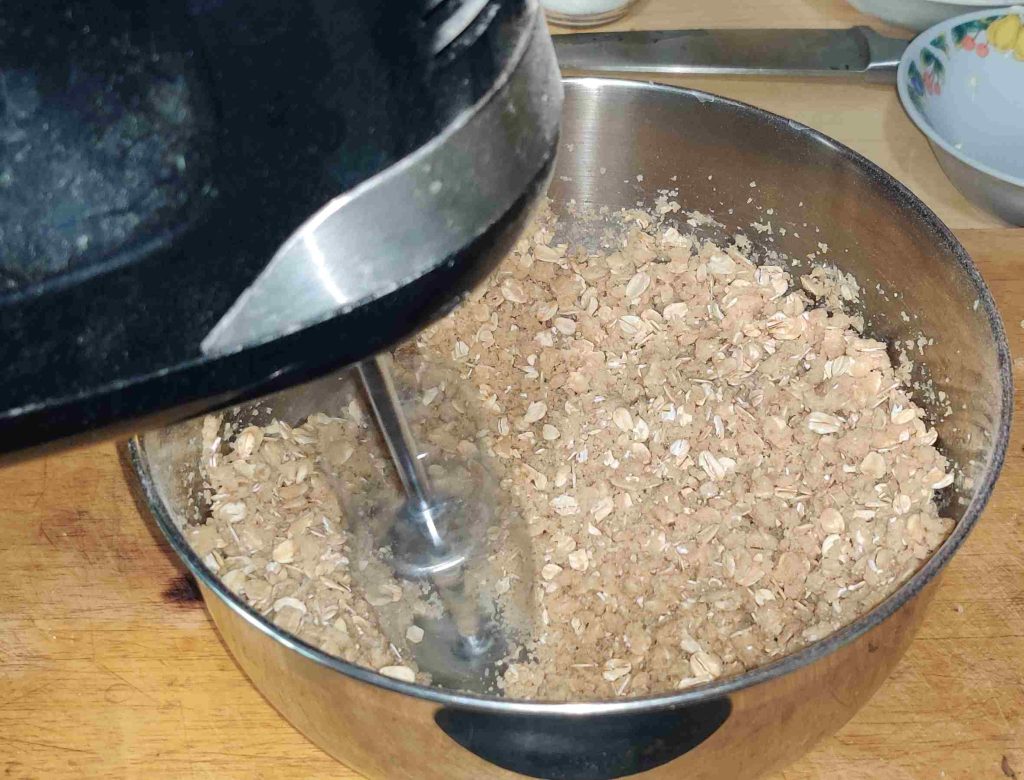
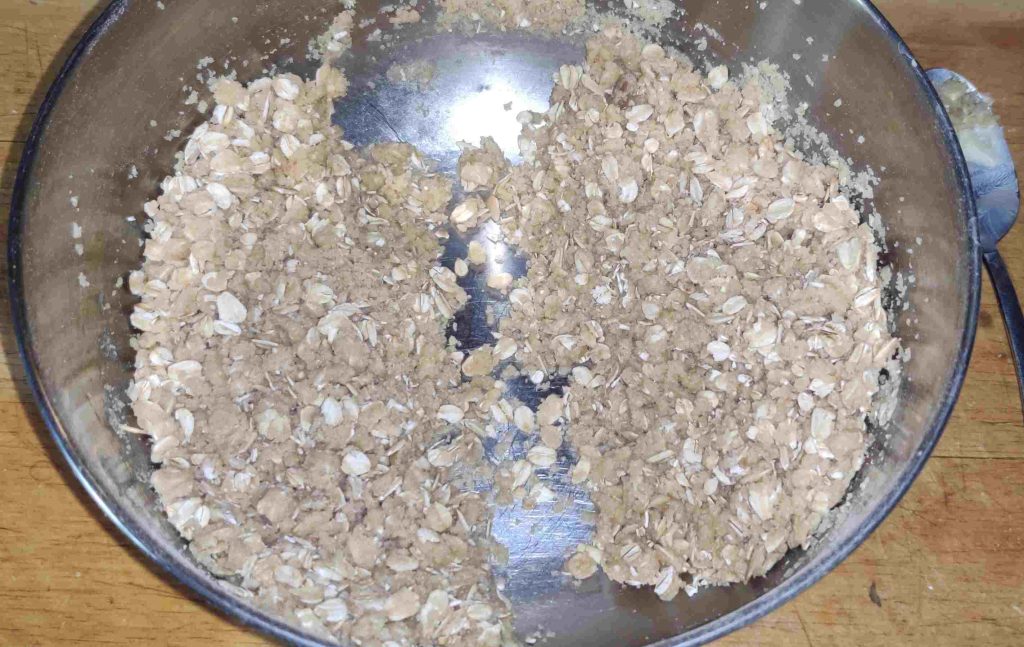
The ingredients in the bowl were roughly divided into two parts:
Mounting the date squares:
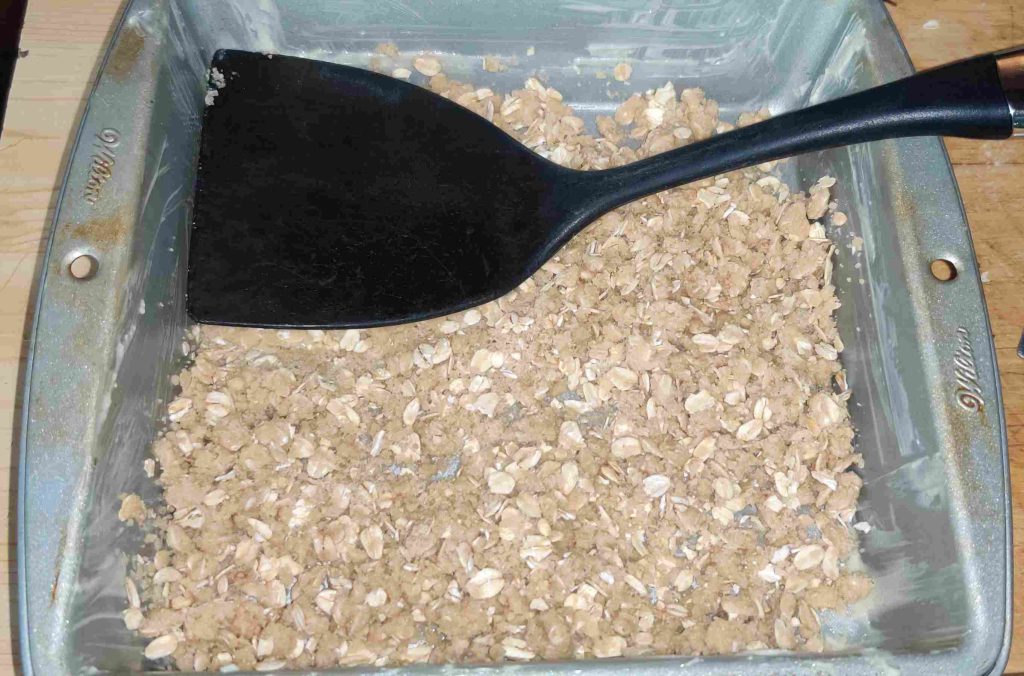
About half of the oat crumble mix was transferred to the baking pan:
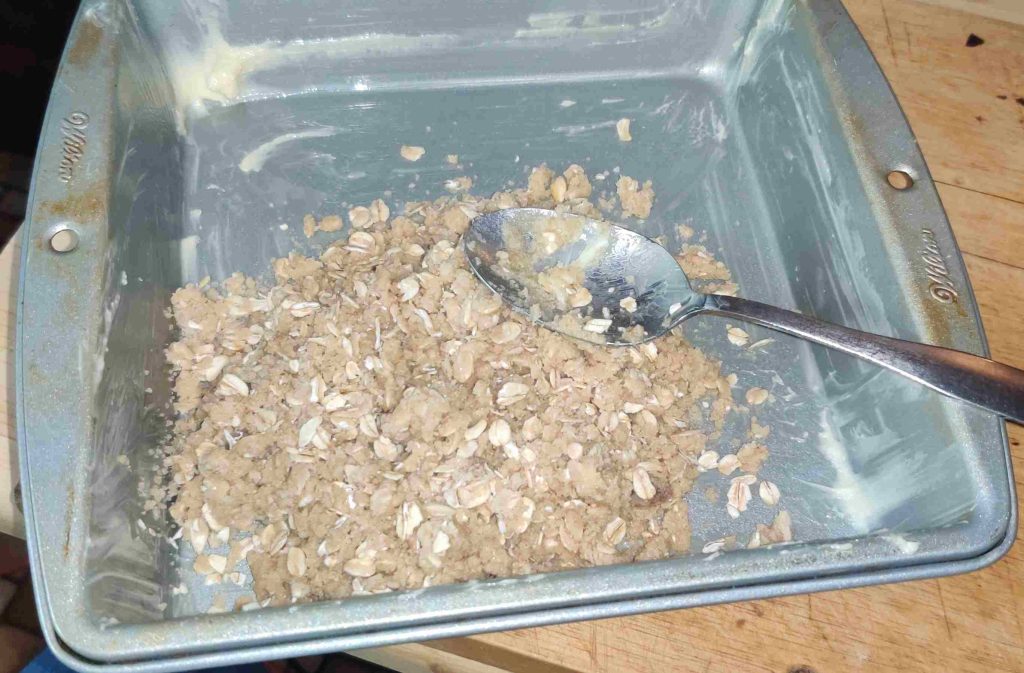
The oat crumble base was spread out over the whole surface of the baking pan:
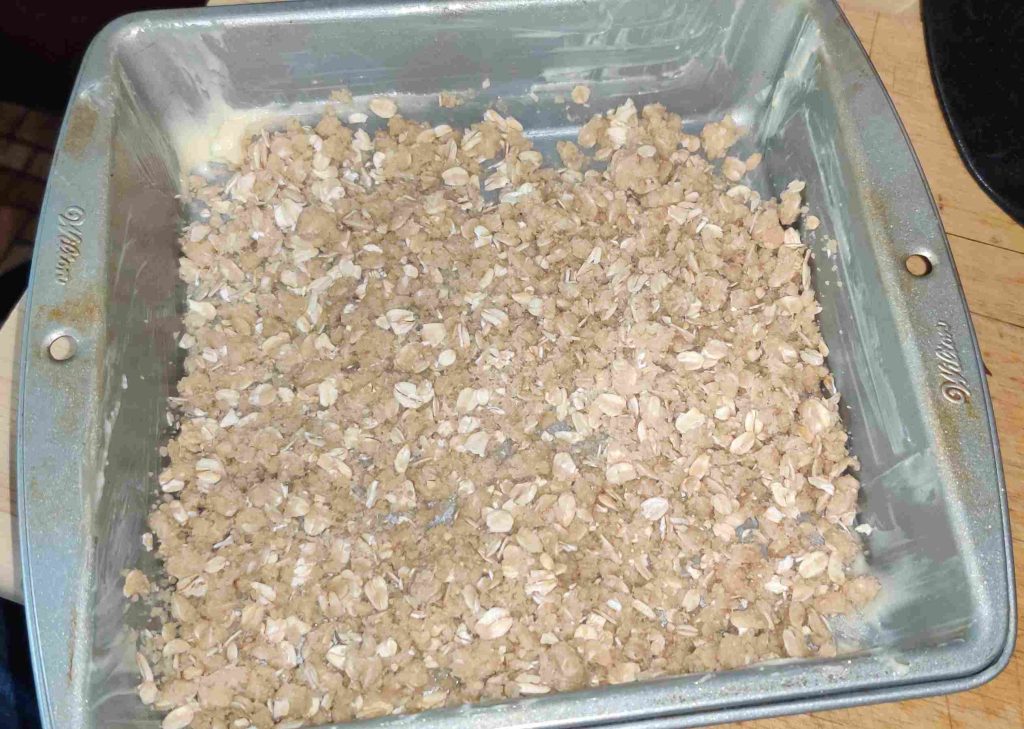
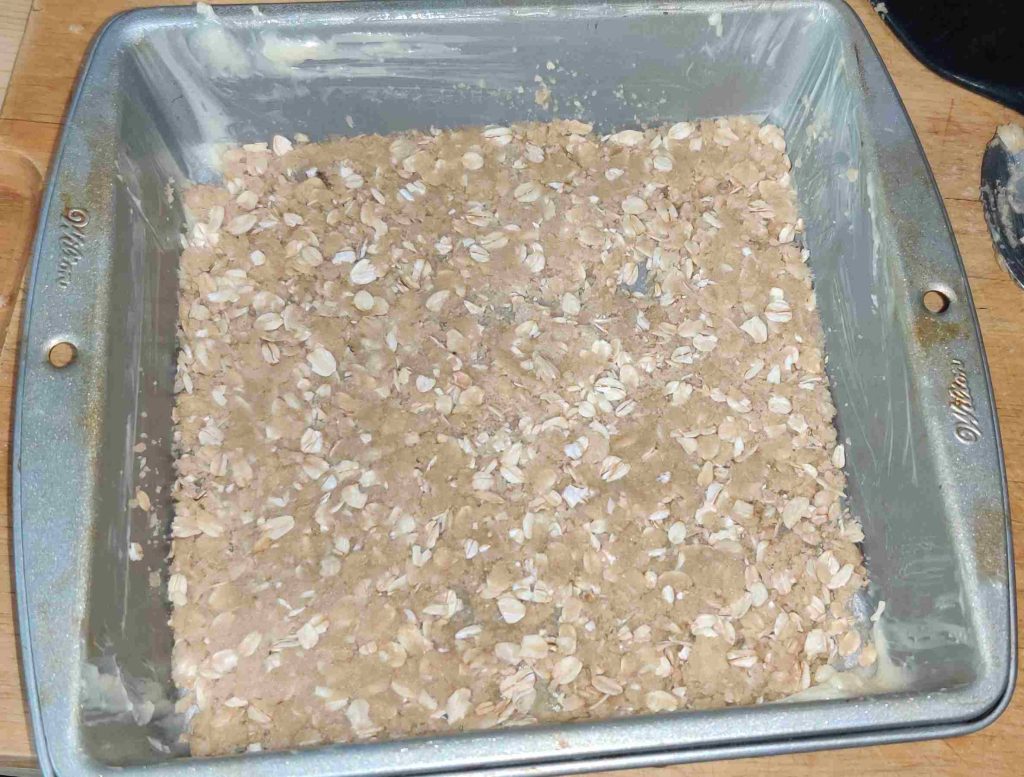
The oat crumble base was flattened with an egg flipper:
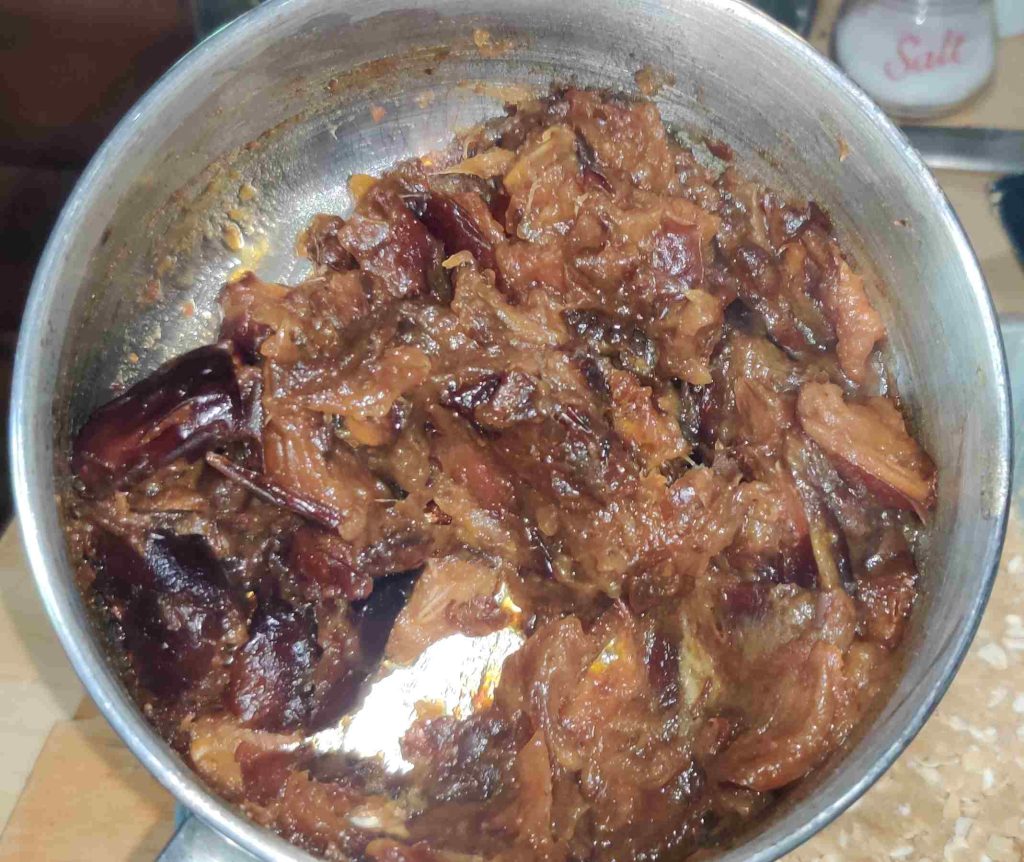
At this point, after having only occasionally glanced at and stirring the dates in the pot on the stove, I took the pot off the stove, the mix having turned into a nice jammy consistency:
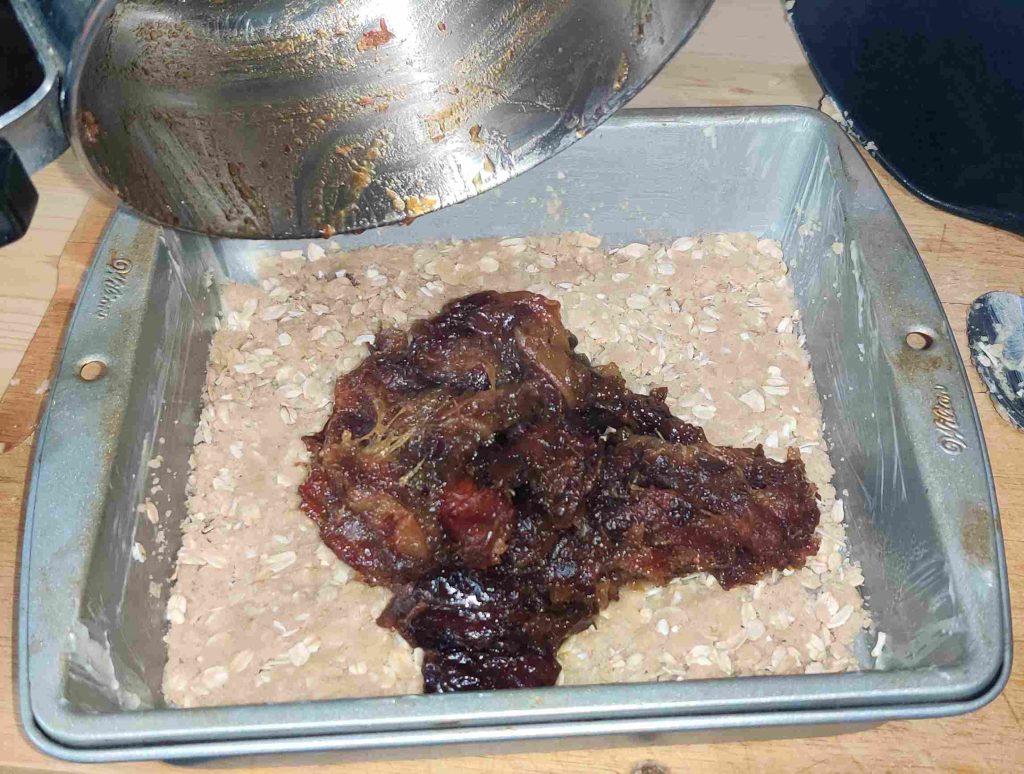
The cooked date filling was transferred to the pan with the oat crumble base:
The date filling was spread roughly evenly over the base with a spoon:
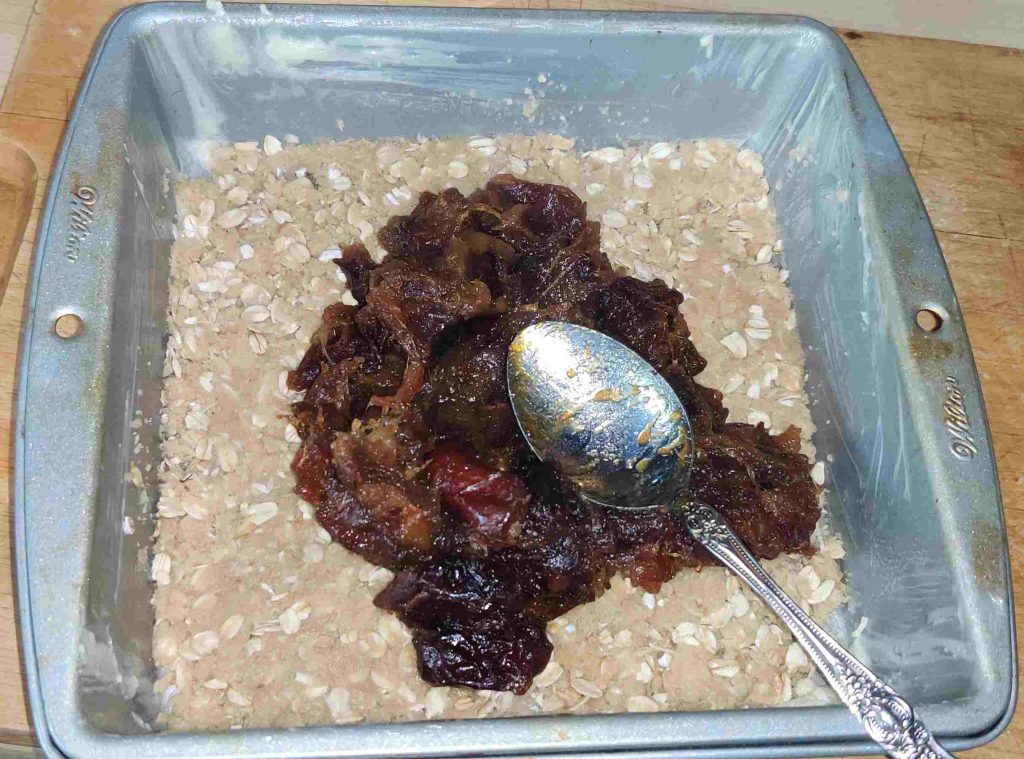
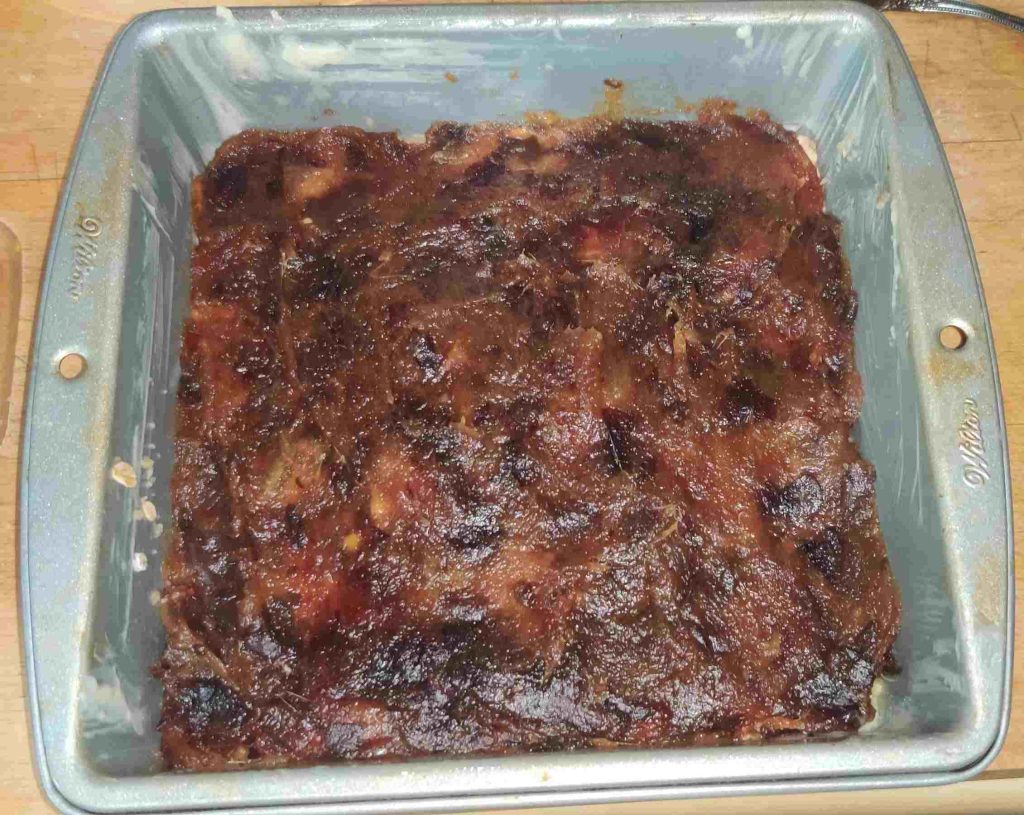
The rest of the oat crumble was transferred on top of the date filling:
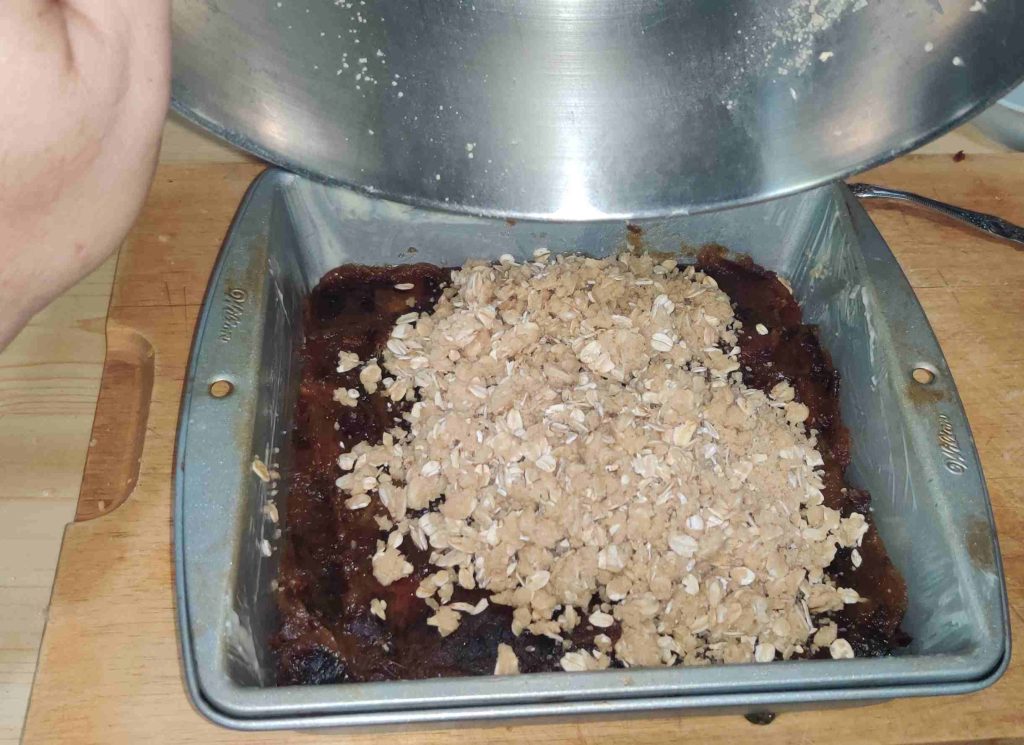
The oat crumble topping was spread roughly evenly over the date filling:
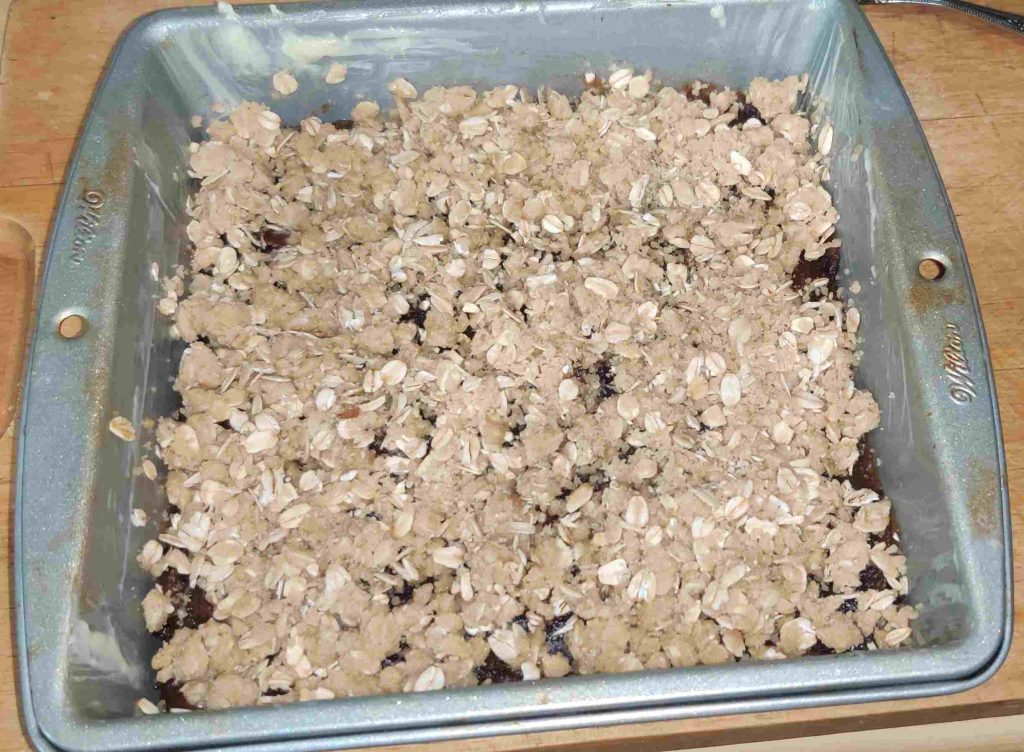
I gently patted down the topping with my hand; note that I said “gently”:
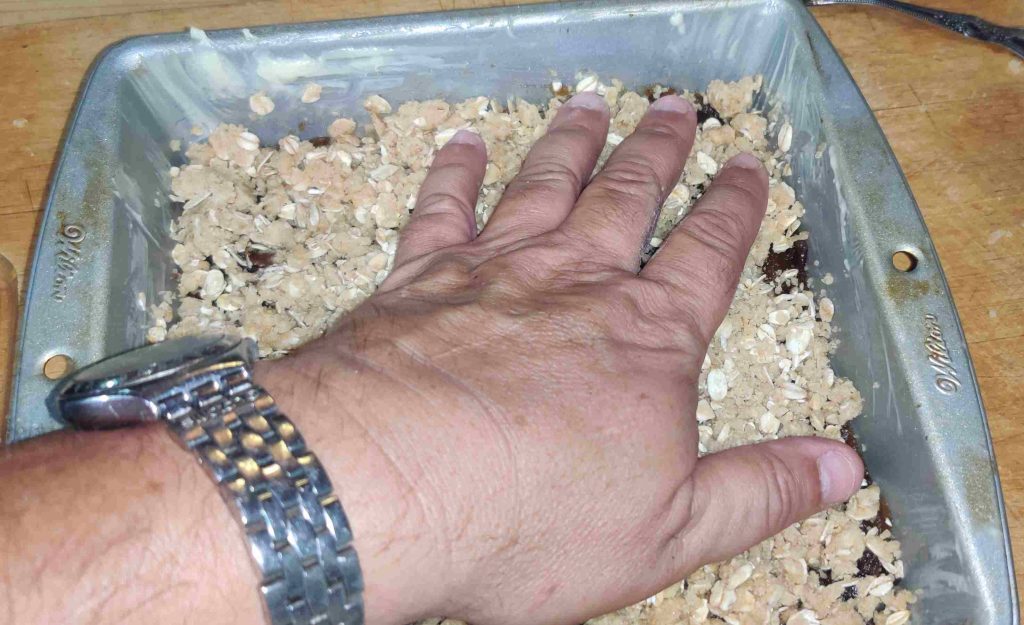
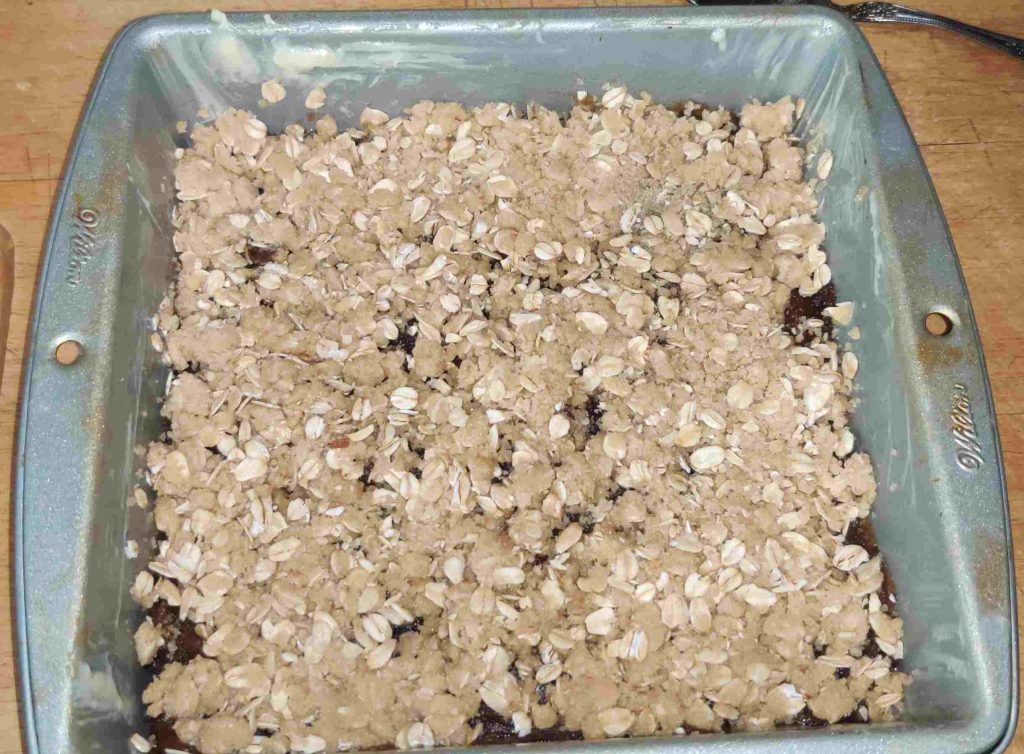
Baking the date squares:
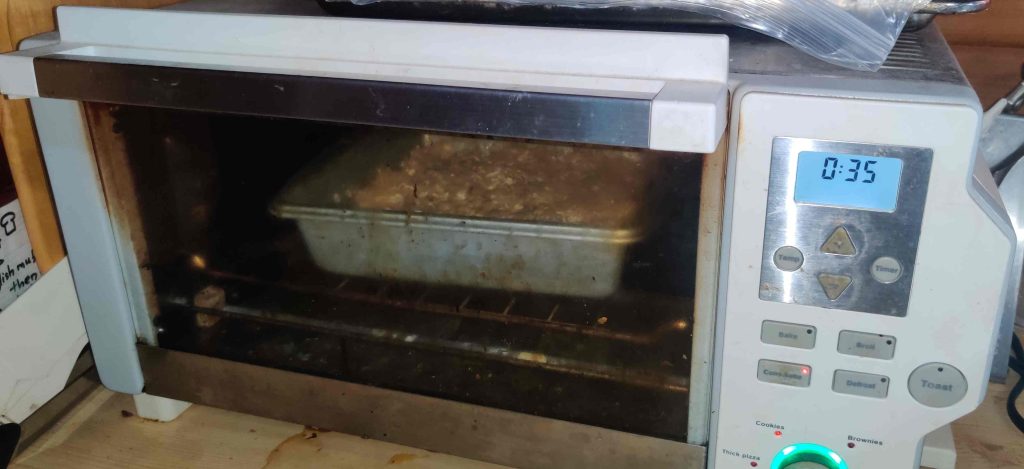
The pan was placed in the preheated countertop oven, and a timer was set to about 35 minutes:
When the baking was finished, the baking pan was taken out of the oven and placed on a cooling rack:
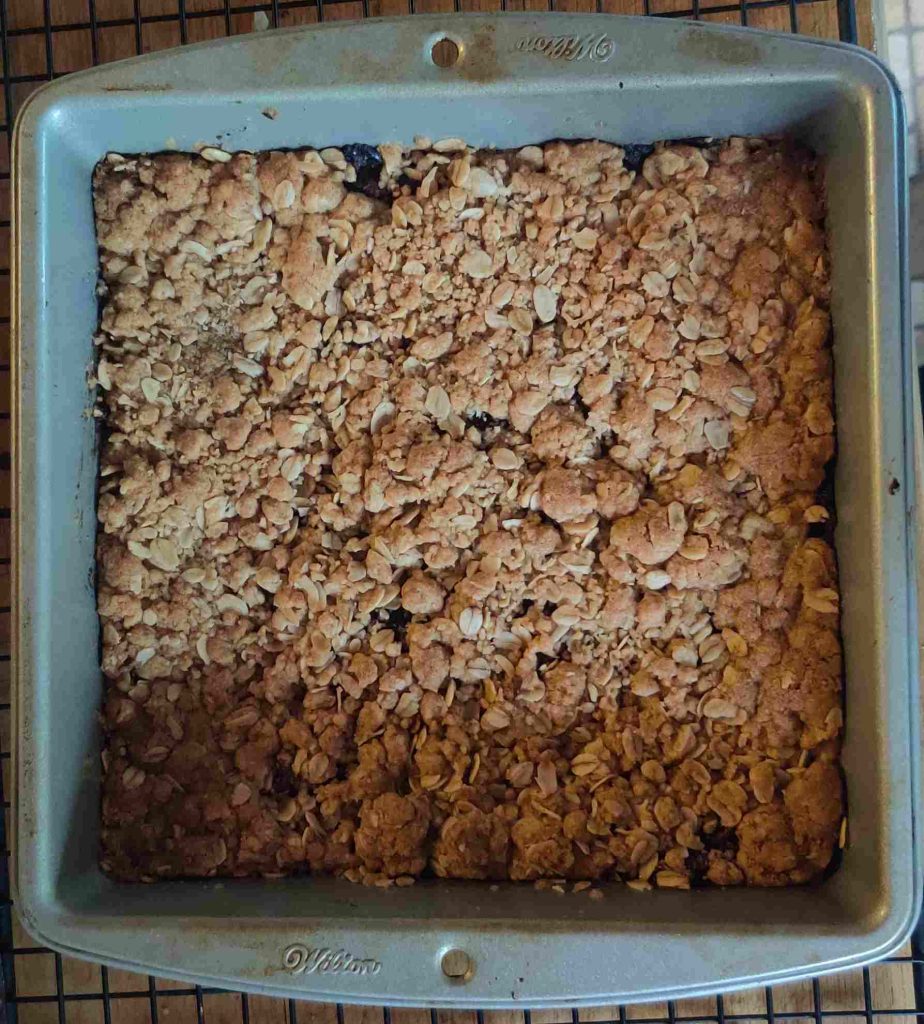
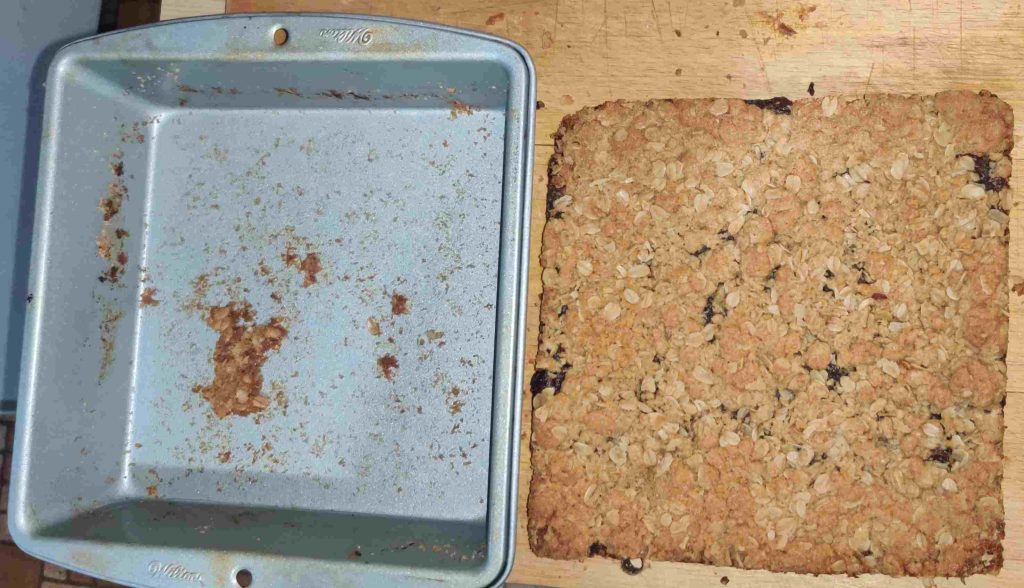
Once cooled (I did move the cooling along by placing the pan in the fridge for a while), the whole large date square was removed from the pan. Yes I tasted the bit of the base that was left behind: It was yummy!
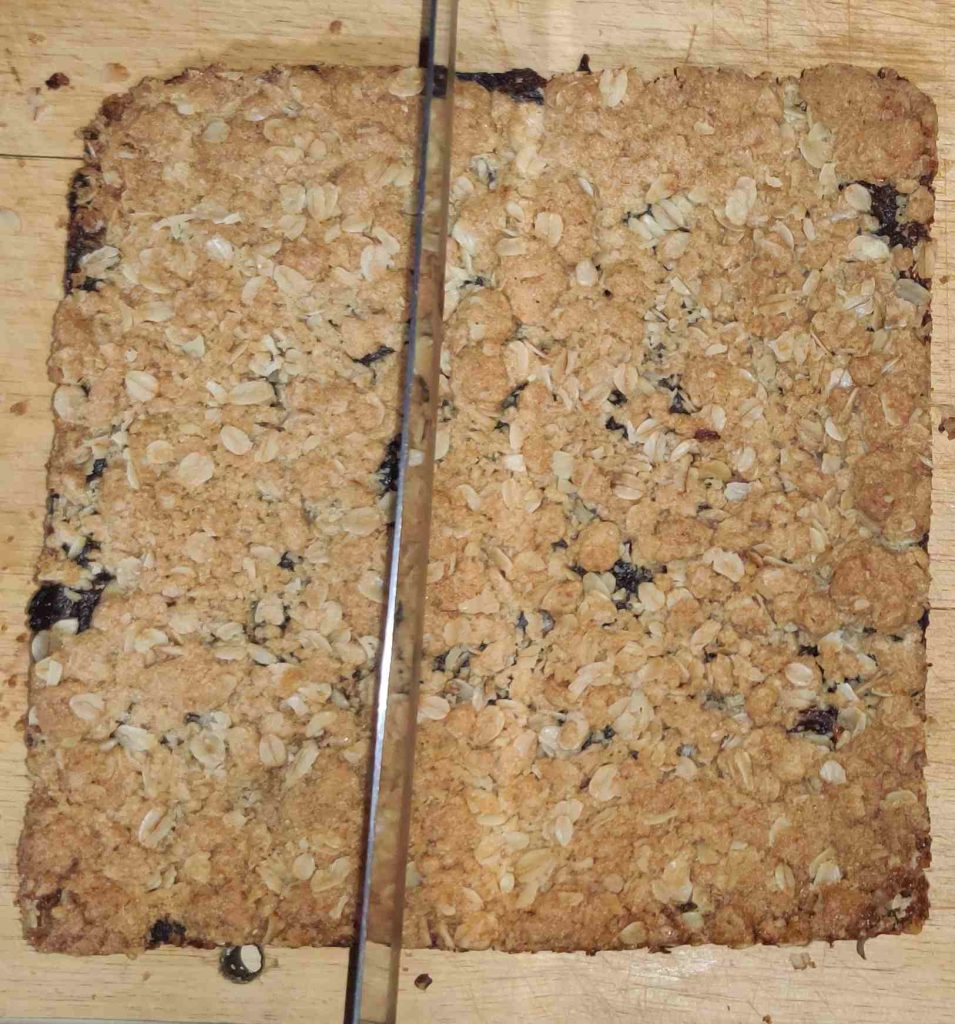
I began cutting the large piece off-center, with a goal of cutting a 5 x 5 grid for a total of 25 pieces:
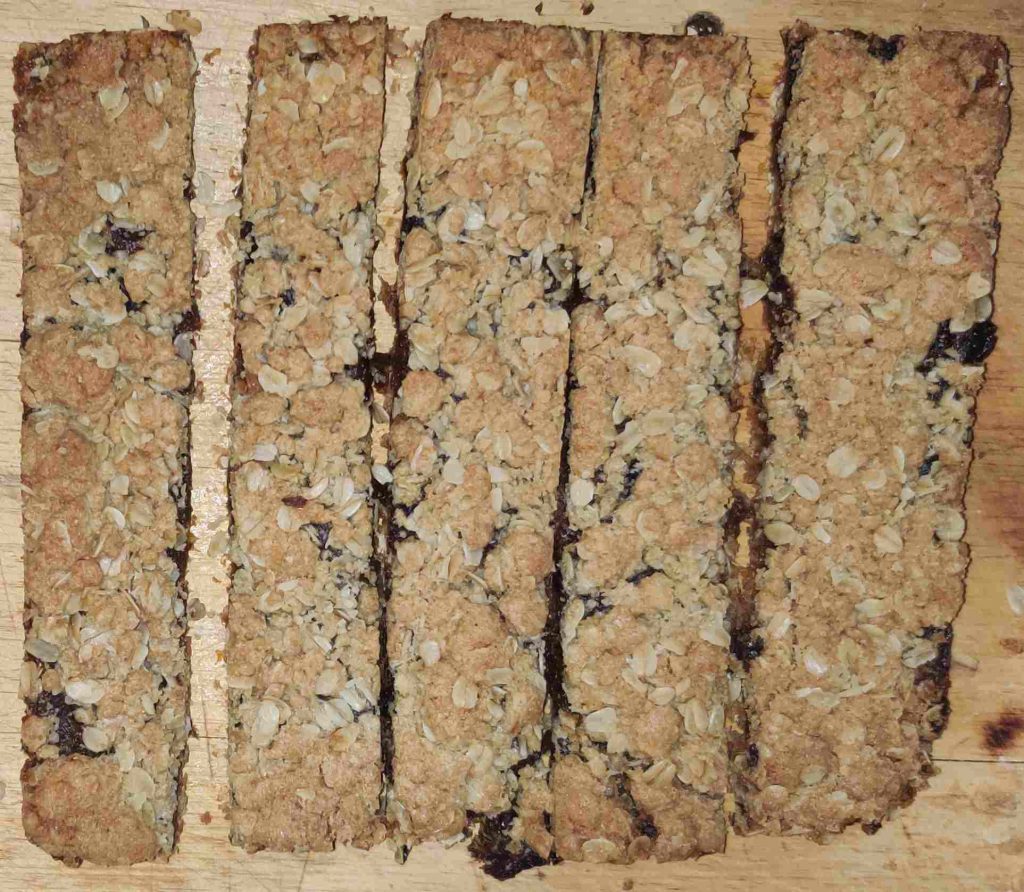
Three more slices were made, in order to have five long bars:
The cutting board was rotated 90 degrees so as to continue with four more cuts, to have a total of 25 squares:
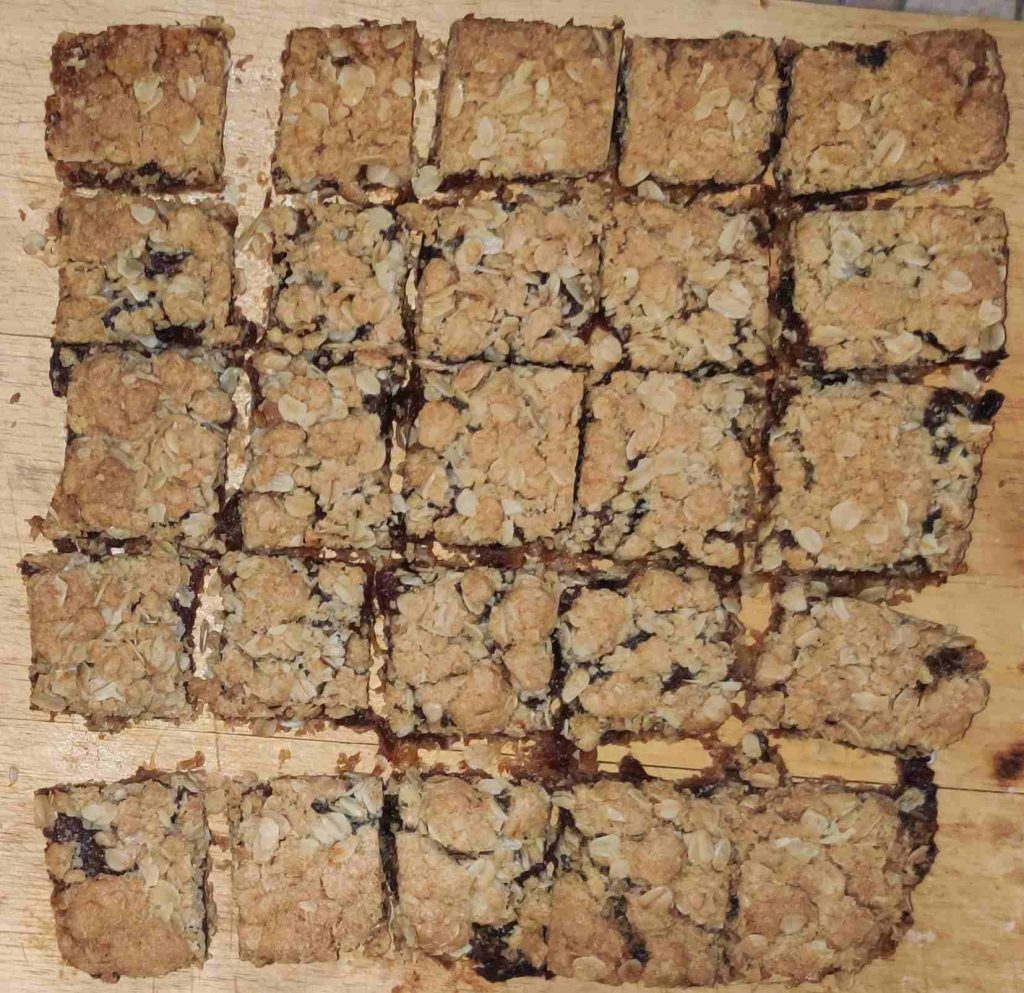
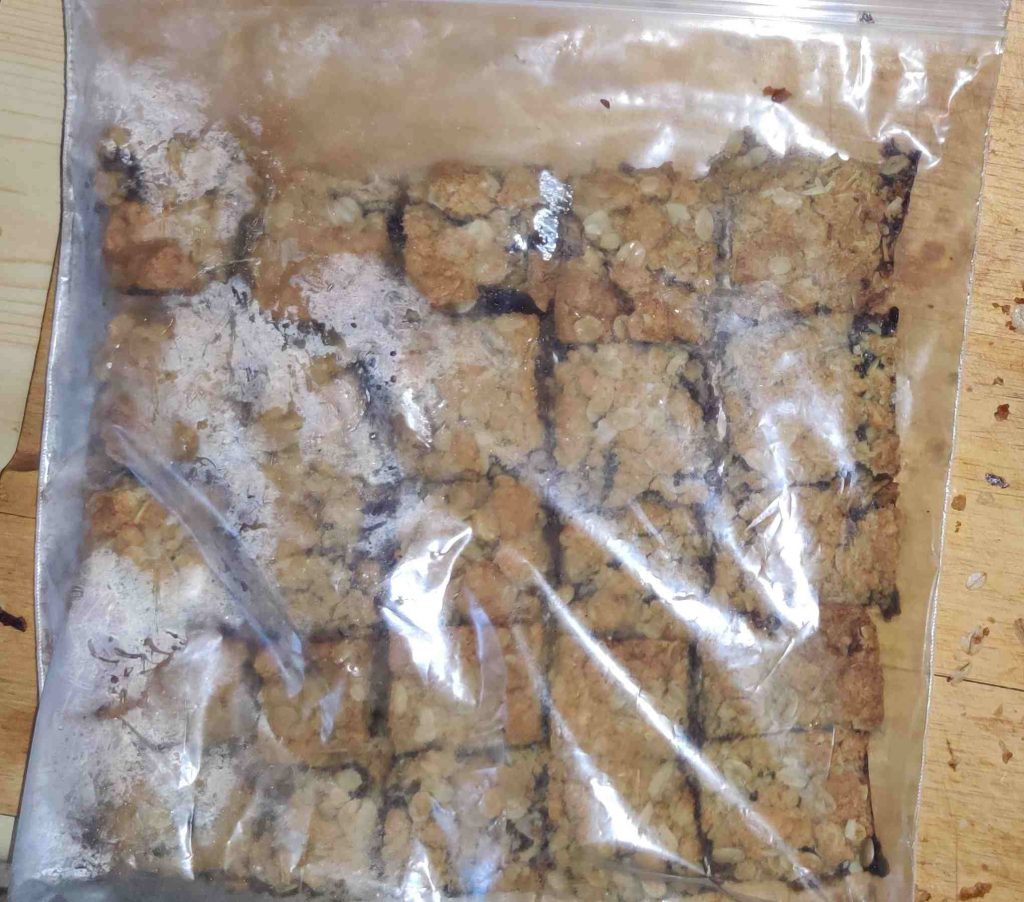
… and since I implied that I still had a few leftover from last week, and that I outright suggested that this batch would be placed on a dessert table at this week’s lake association BBQ, I bagged up the freshly-baked date squares, and placed them in the freezer for later in the week:
And yes, of course they’re yummy — I got to taste a bunch of crumbs while I was cleaning up!