
Although over the past few weeks I have continued cooking a number of dishes from my collection of recipes, for this post, I decided to highlight another obsessive hobby of mine: Making firestarters!
I make these firestarters in such large quantities over time that I have few hard numbers quantifying “how much wax” or “how long to allow cooling” or “melt to what temperature”; it is a matter of experience and “feel”, although it is a process which could easily lend itself to measured amounts.
The process allows for me to do many of the steps below separately, as well prepare “for the next batch”.
Although I used to regularly sell these at craft fairs and flea markets, I now just liberally give them out to my neighbours at the cottage, as well as of course using them myself to light fires in the fireplace at the cottage during heating season.
Preparing the egg carton wells:
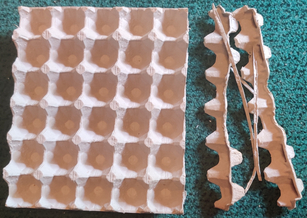
Flats from eggs sold in bulk were taken out:
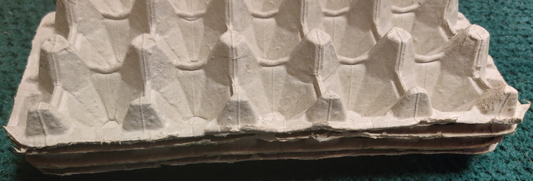
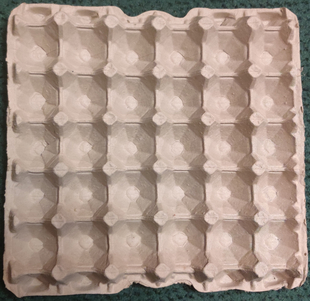
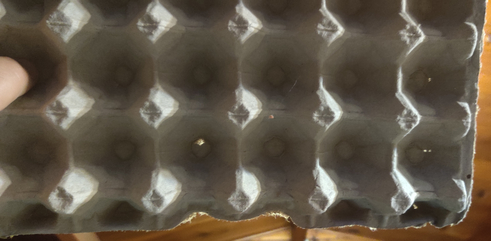
Each flat is brought up to the light and checked for holes:
The wells with holes were cut out of the egg carton flat:
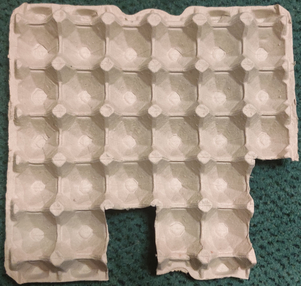
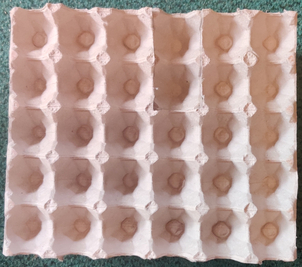
Flats were then trimmed around the edges:
Trimmed flats are stacked together for future cutting:
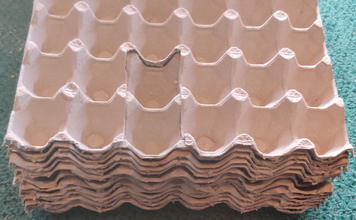
Flats were cut into pieces to be further cut:
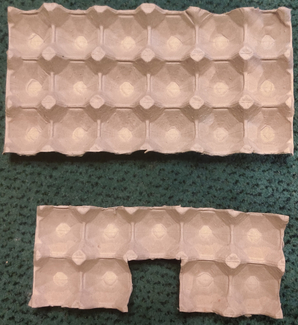
The flat pieces were again cut into manageable pieces:

The pieces were cut into individual sets of wells of varying formats (2, 3, or 4 wells) for making the firestarters:
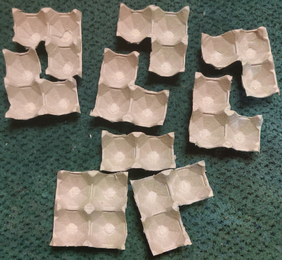
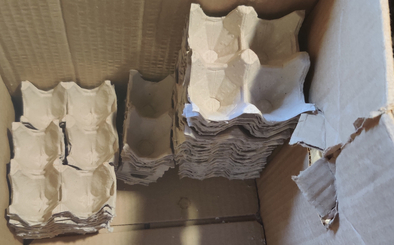
The cut wells are stored in a box:
Making the firestarters:
Melting the wax:
A portable electric countertop stove was turned on:

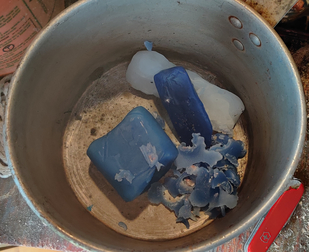
Some old candles were placed in a pot:
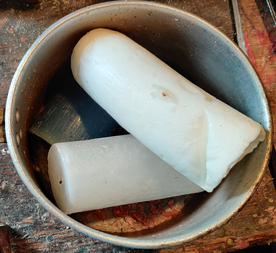
The pot of old candles was placed on the stove:
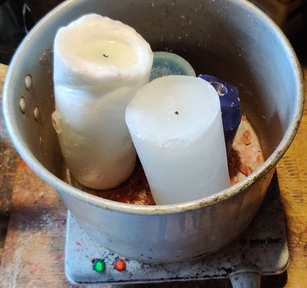
The wax was melted:
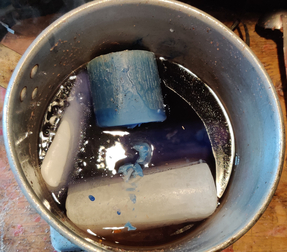
When “enough” wax was melted …
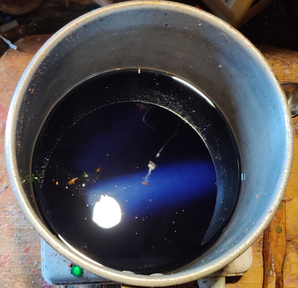
… liquid wax was poured off into a coffee can, which is a convenient size for dipping the filled egg carton wells and soaking them in wax:
Large unmelted pieces of wax were put aside for the next batch, and some solids such as a metal wick base and a wick were transferred to another coffee can where solids from the melting of waxes is collected, to be later rendered for its wax value, and the solids burned in the fireplace:

Preparing the egg cartons:
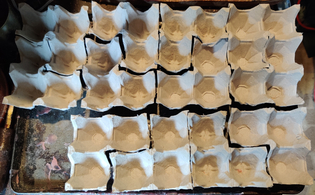
Cut egg carton wells were laid out on a tray:
Using a sawdust and wax filler:
At this point, a sawdust filler is used, which I normally create after the current step; hence here, I used sawdust filler made during a previous batch. If you have not done so , see the sections (lower down) on making the sawdust and wax filler.
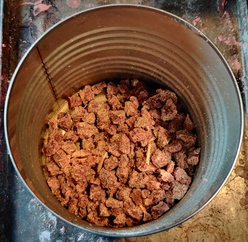
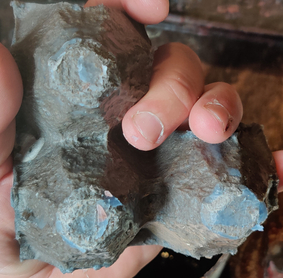
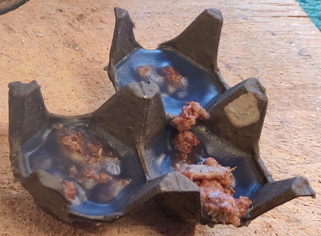
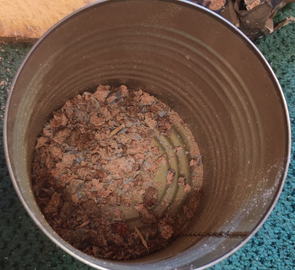
The wells of the cut egg cartons were filled with the sawdust and wax mixture:

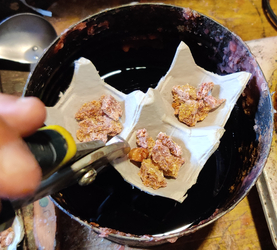
Dipping the filled egg carton wells in the melted wax:
A grouping of egg carton wells filled with sawdust and wax mix was picked up with a pair of pliers, and brought over to the coffee can of liquid wax:
The wells were dipped in the liquid wax:

The dipped wells were lifted out of the liquid wax:
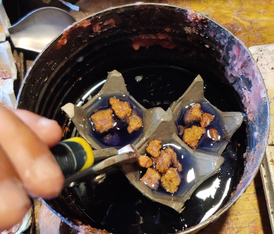
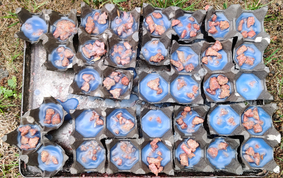
The dipped well was returned to the tray:

The rest of the wells were dipped in the liquid wax:
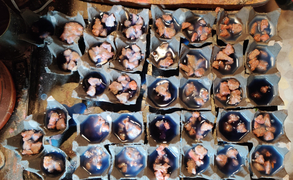
The tray of firestarters was placed on the lawn outside my shed where there was a light breeze to help cool the firestarters:
Trimming the firestarters:
The mostly cooled firestarters were picked up, in order to trim the solidified wax from the bottoms:
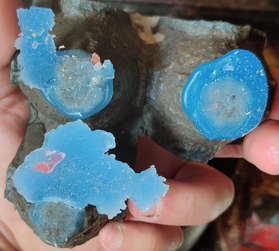
The solidified wax was trimmed off the bottoms of the firestarters:
The wax trimmings were placed back in the pot with the unmelted candles, to be melted during the making of a future batch of firestarters:
Making the sawdust and wax filling:
Sawdust was taken out:
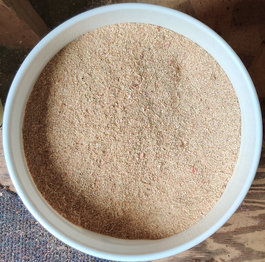
Sawdust was placed on a tray:
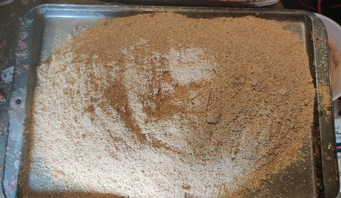
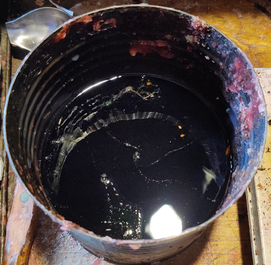
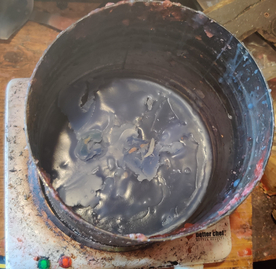
The liquid wax, which at this point had started cooling and hardening, was placed back on the stove to remelt the wax:
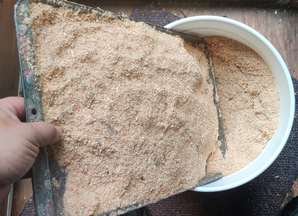
The remelted wax was slowly poured over the sawdust:
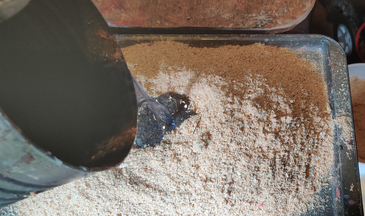
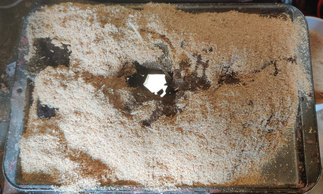
Sawdust not having absorbed any liquid wax was shifted on top of the rest with hot wax:
More sawdust was added to cover the wax soaked sawdust:
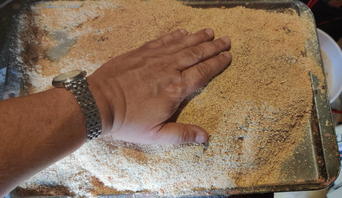
The sawdust was pressed down with my hands to spread out the hot wax:
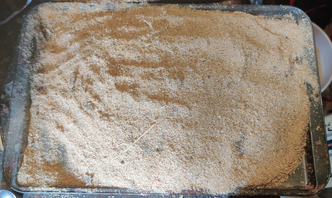
The wax and sawdust were put aside in order to cool for a few hours:
The rest of making the filler can be found at the end of this page, after the section on bagging the firestarters.
Cutting and trimming fireststarters:
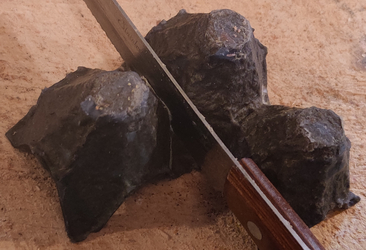
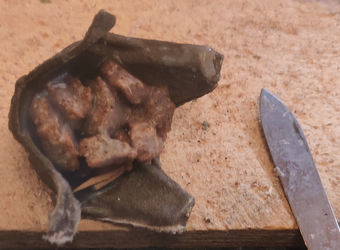
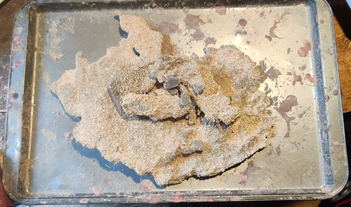
The firestarters, now having cooled, were brought into the house, and placed on a working surface, a piece of plywood board on the floor:
A knife with a serrated blade was taken out to cut the firestarters into individual units:
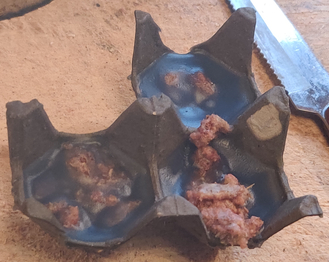
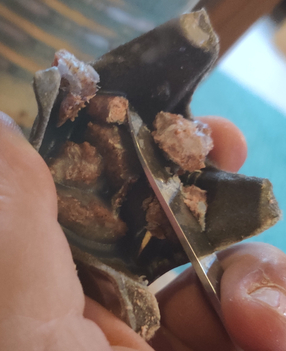
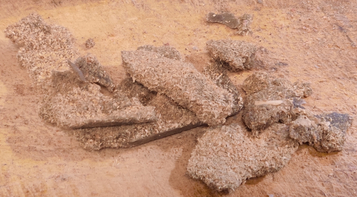
The firestarters were cut into individual units:
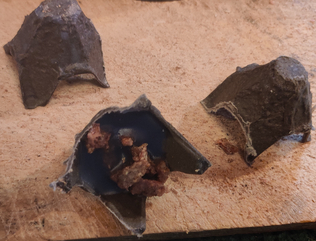
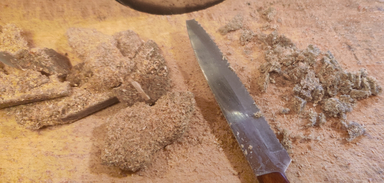
The protruding bits of sawdust and wax were trimmed with a pocket knife:

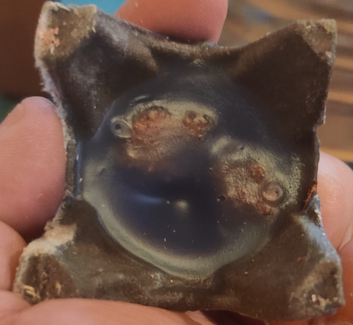
Sometimes, an individual firestarter does not need to be trimmed:
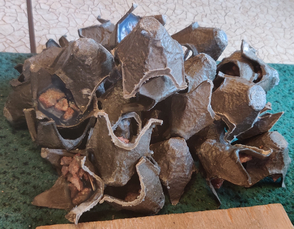
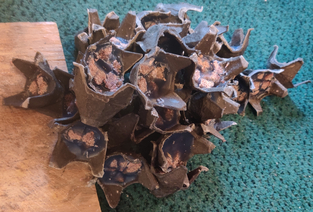
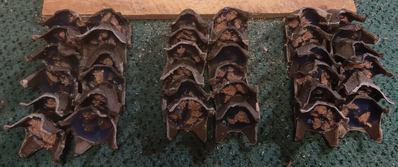
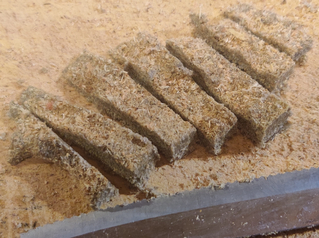
Here is the pile of trimmed firestarters:
Trimmings from the firestarters were placed in the can, for use in a future batch of firestarters:
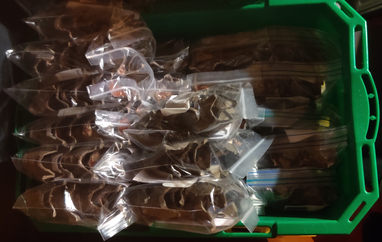
Bagging the firestarters:
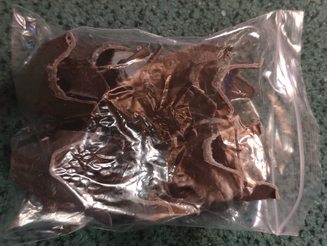
The trimmed firestarters were grouped in dozens (in this case, three dozen):
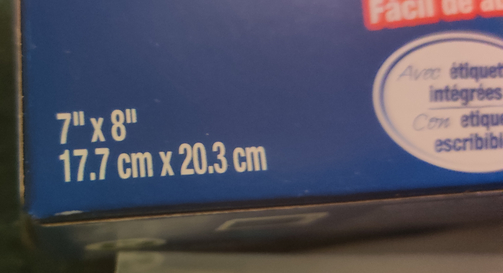
Seven inch by eight inch sealable bags were taken out:
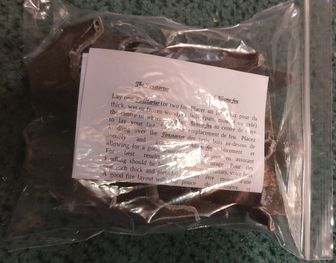
Firestarters were placed in bags, a dozen per bag:
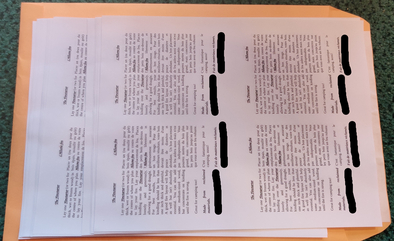
Prior to making this batch of firestarters, printed out labels were copied, four to a page (and for this post, my phone number was blacked out in the pictures):
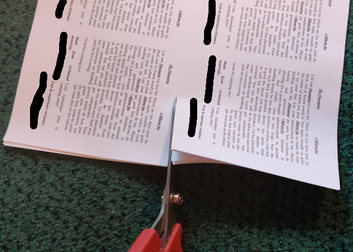
Labels were cut:
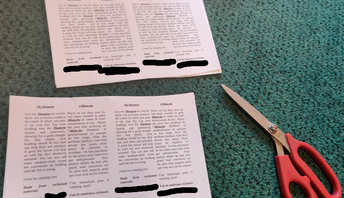
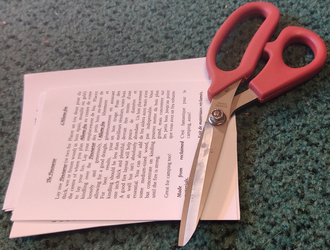
Labels were folded over (note that I live in a predominantly French-speaking area, hence the text is in both English and French):
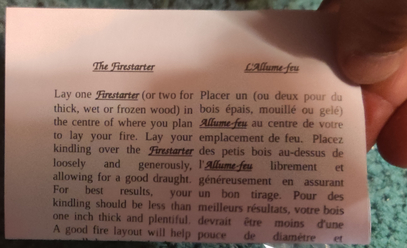
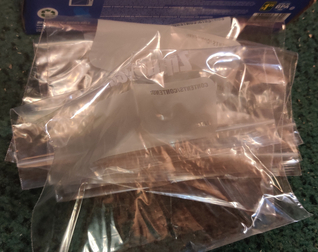
A folded over label was placed in each bag:
And here are the three bags of firestarters made in this batch, ready to give away or sell:
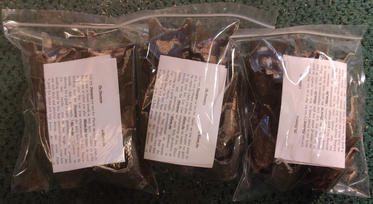
The bags of firestarters were placed in a plastic crate with other bags of firestarters:
Back to making the sawdust filling:
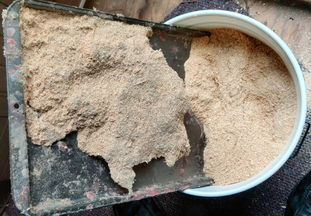
A while later, when the sawdust and wax mix had completely cooled, excess sawdust on the tray was transferred back into the bucket of sawdust:
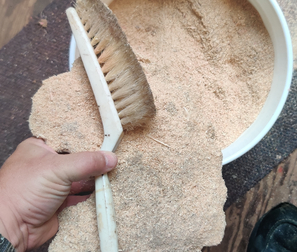
Excess sawdust was brushed off of the cooled and solidified sawdust and wax mix:
The cooled and solidified sawdust and wax mix was brought to my work surface:
Some of the pieces of solidified sawdust and wax mixture were placed on the work surface to cut into smaller pieces:
The pieces of sawdust and wax were cut into fairly small cubes (about half an inch) :
Some of the sawdust and wax pieces were sliced into lengths …
… which were then cut into about half inch cubes:

Finally, the cubes and crumbs were placed into a container, to be used as filler for a future batch of firestarters.
If you came from the top section to see how to make the sawdust filler, return to the section on filling the egg carton wells.