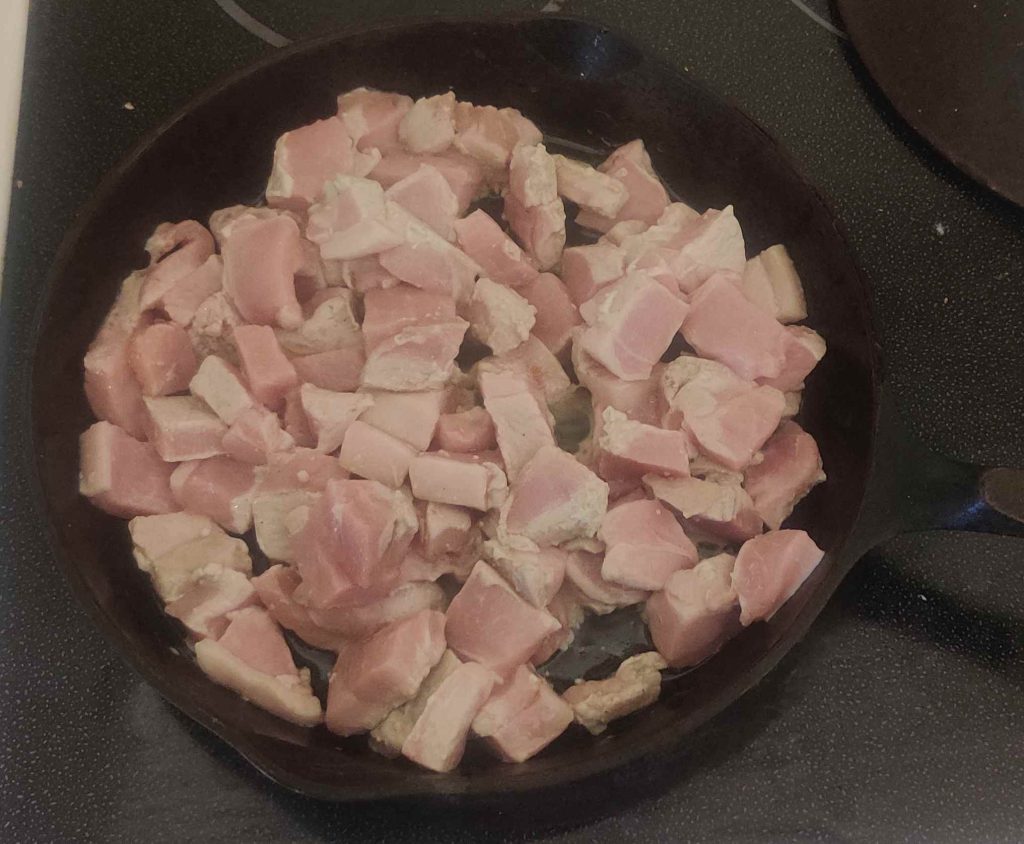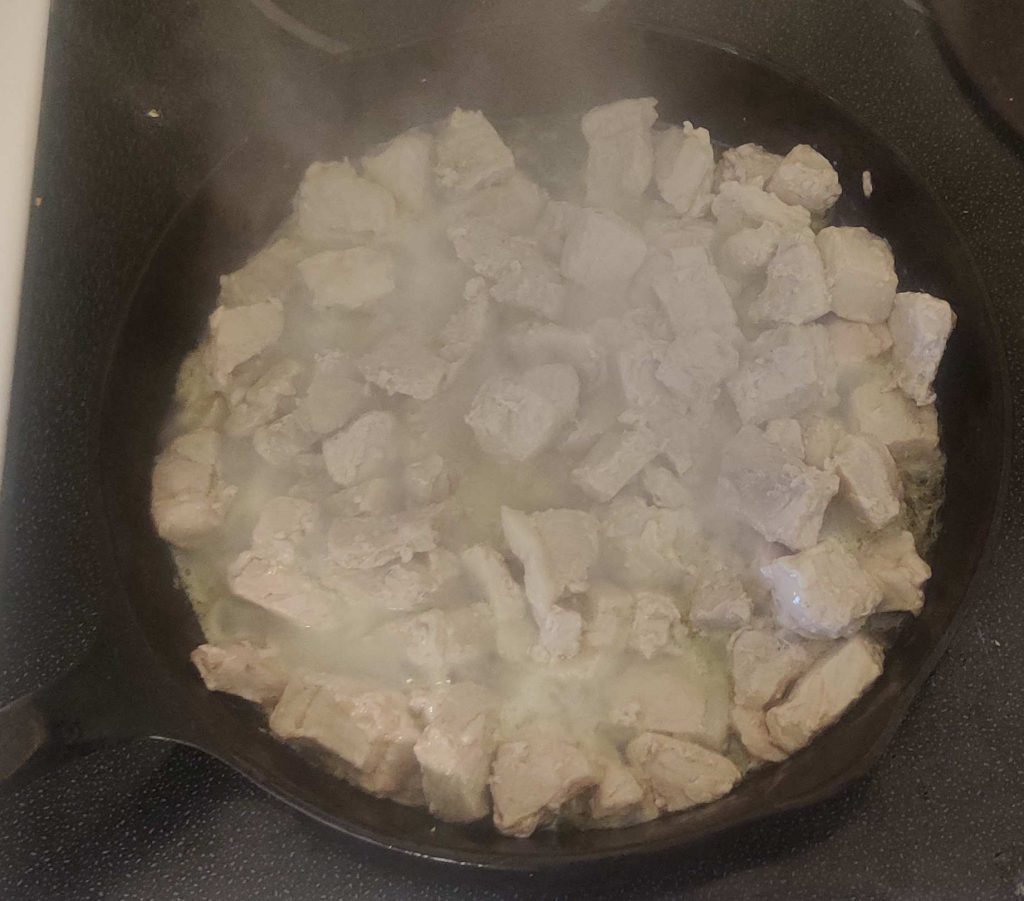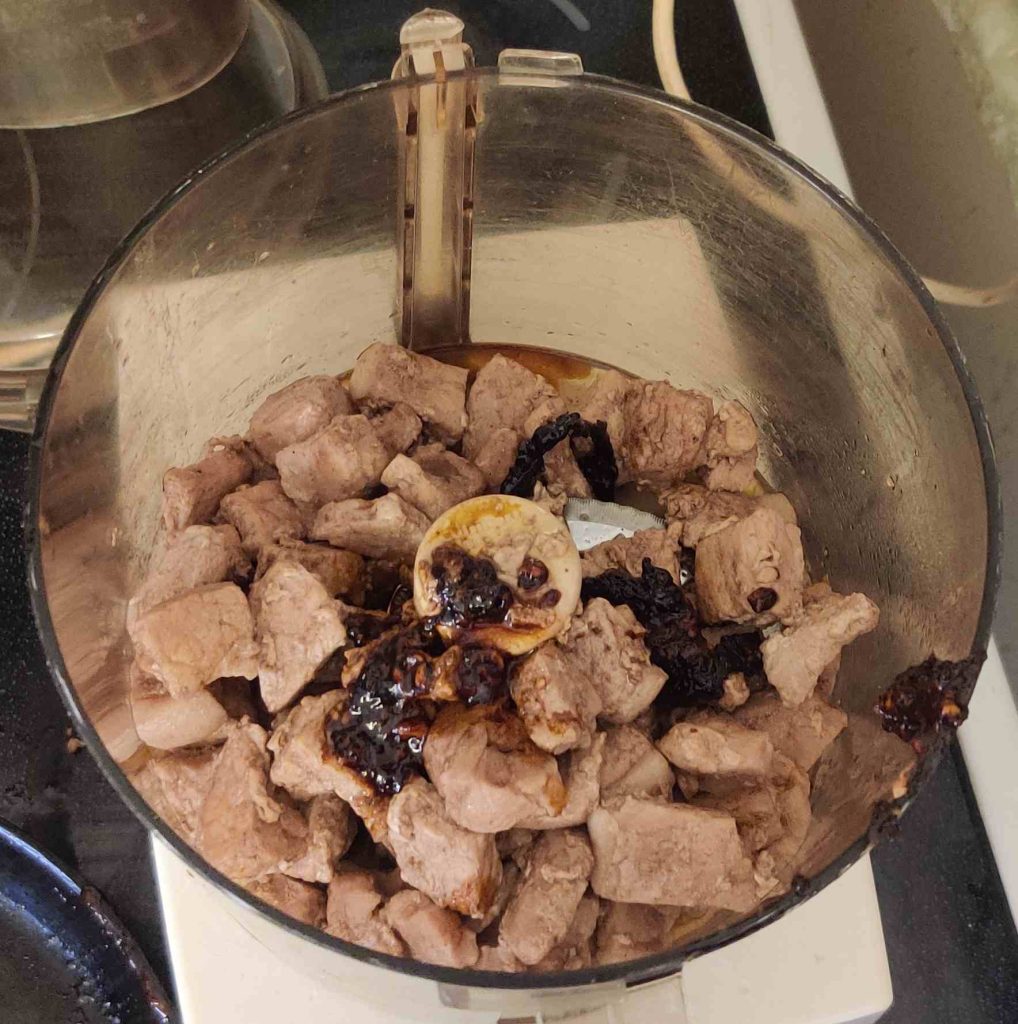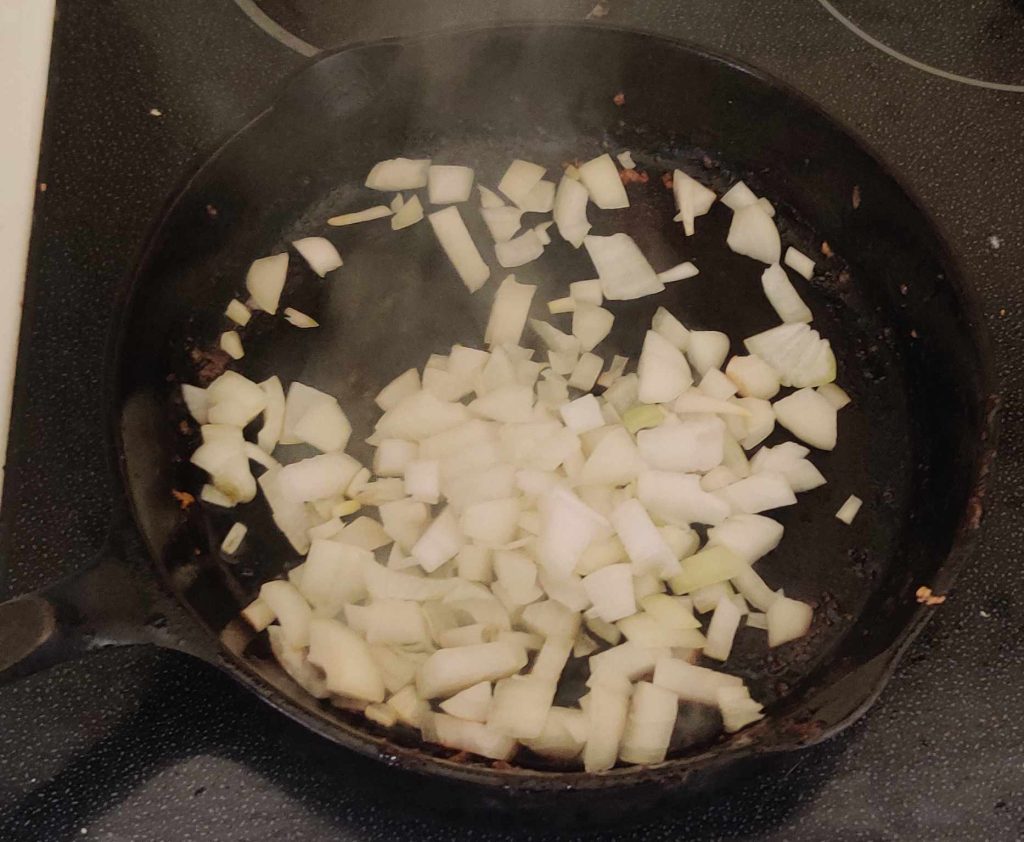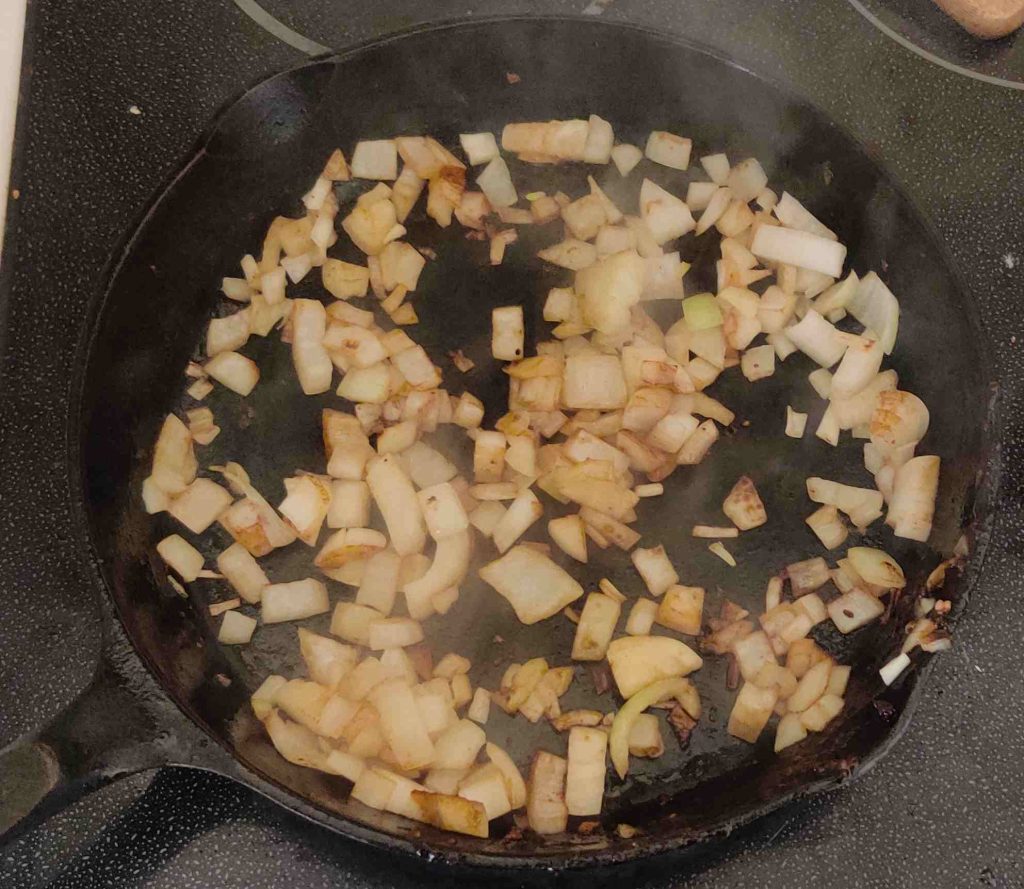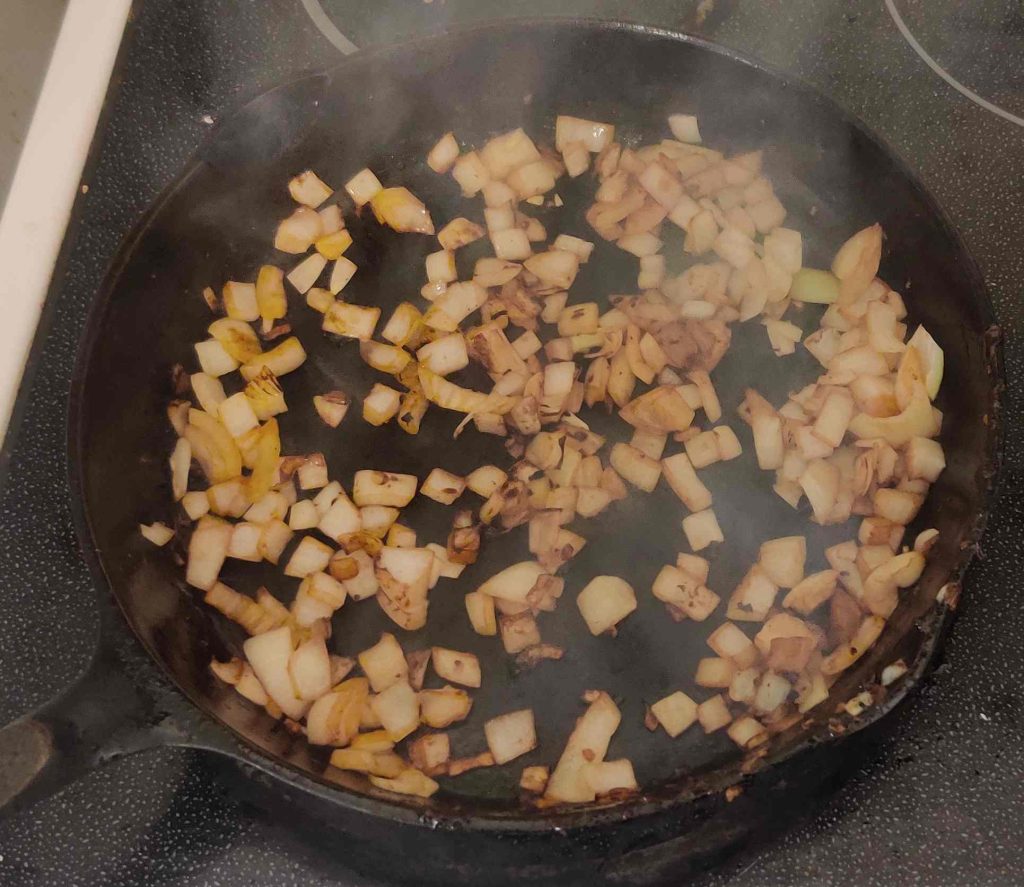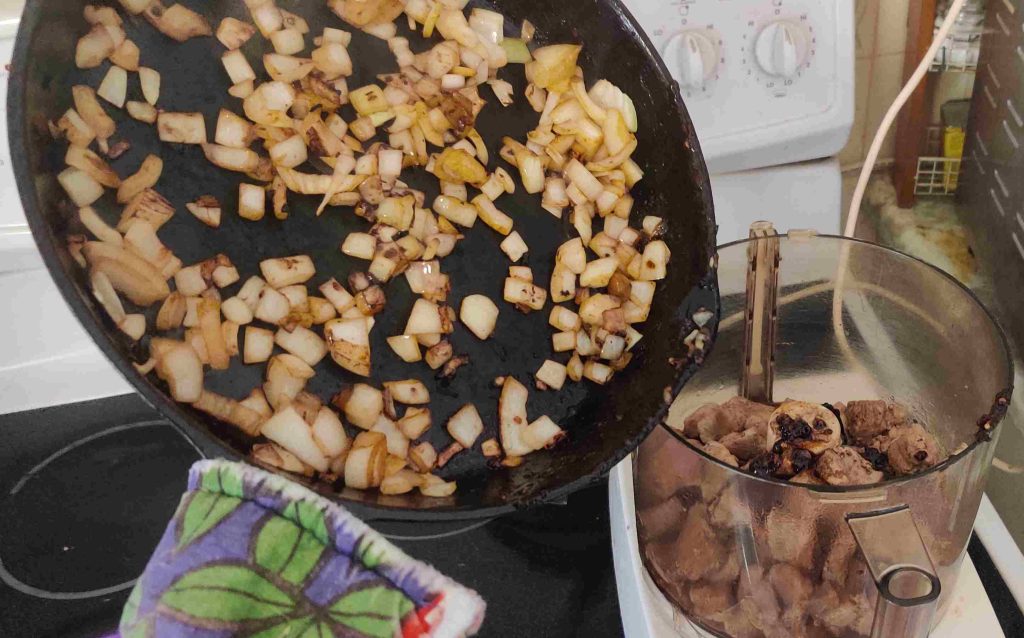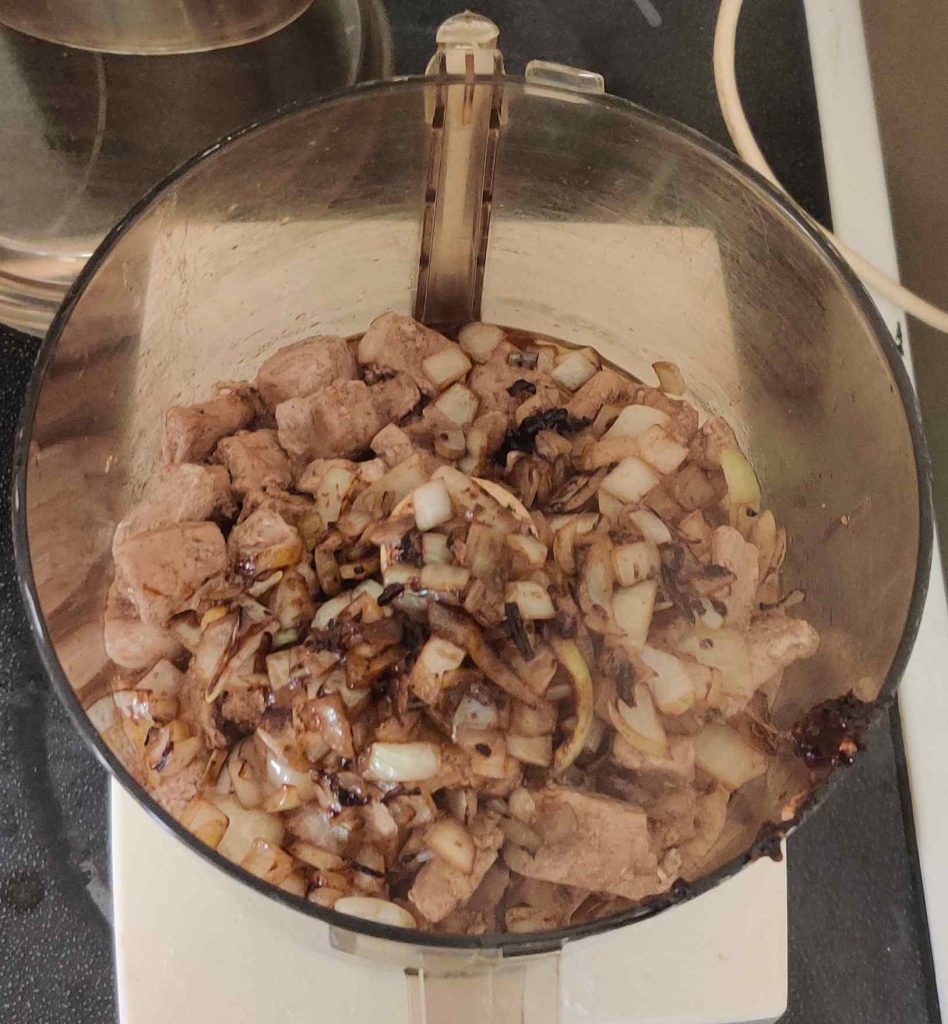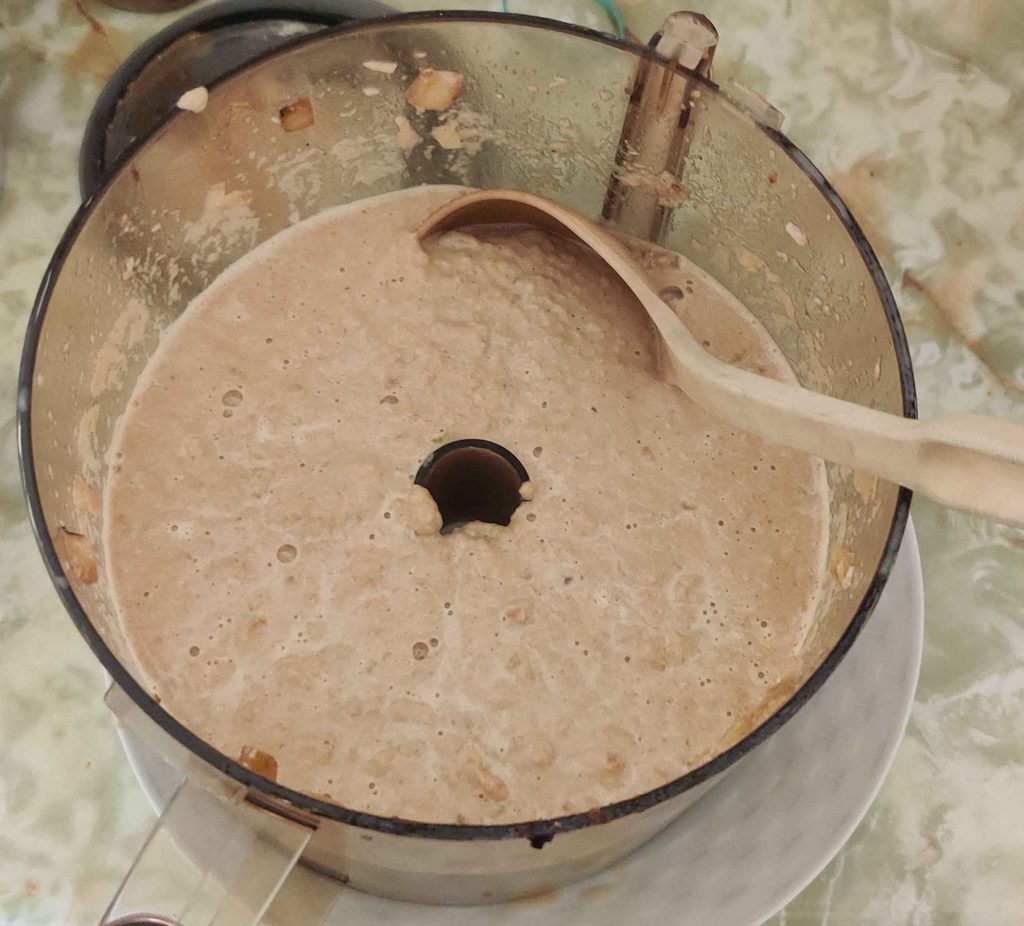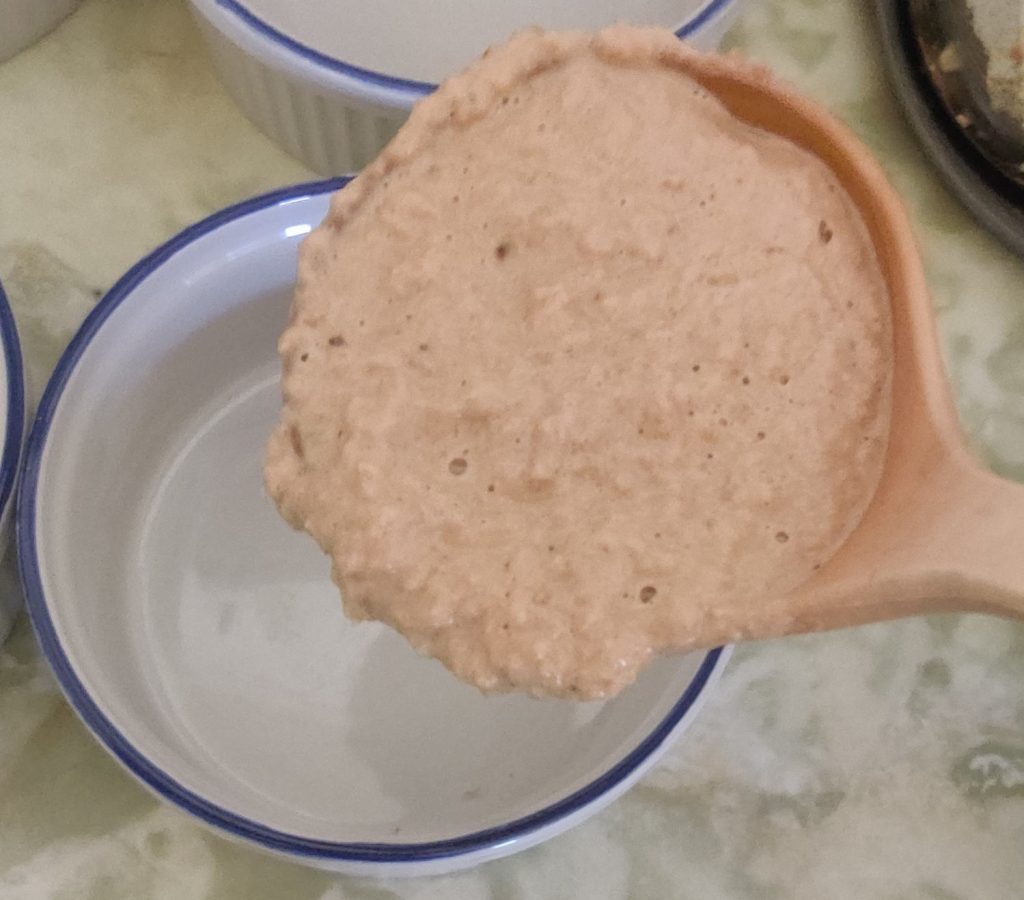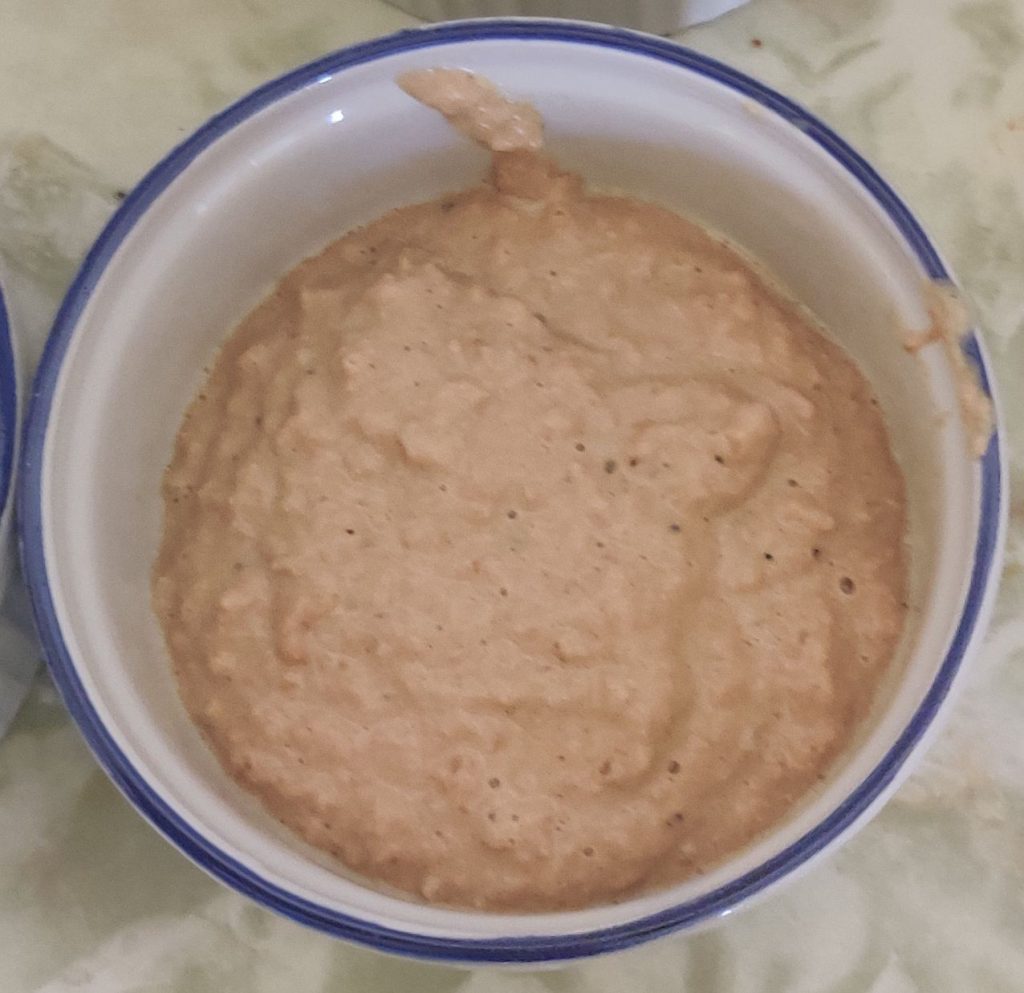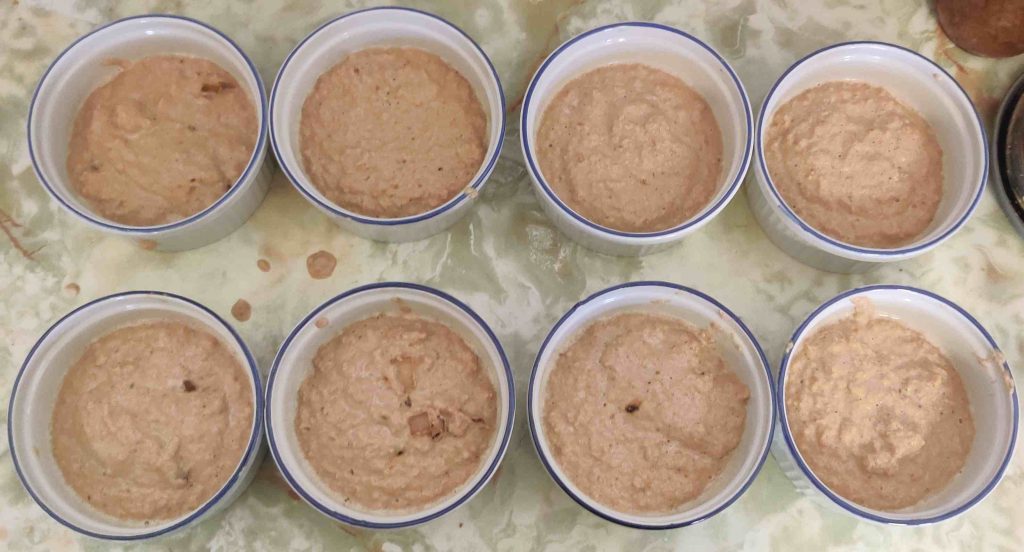
Making Goat Cheese Muffins — Photos

This recipe is another recipe in my muffin collection that has been developed over time — in this case, with the help of chatgpt.com (AI chatbot) to provide my mom with some variety. Interestingly, this recipe started as a goat cheese omelette — which I occasionally make for Mom — but which came about as a result of Mom asking last year “Can you make it less eggy and with more flour?” I still have no idea if she was providing raw, unfiltered, and candid feedback regarding taste and texture, or if she was employing some dry humour to ask me to come up with another kind of muffin using goat cheese. 🙂 Either way, Mom was pleased with the result!

Conveniently, this recipe is also tailored to making six muffins at a time (instead of the customary dozen muffins) and in a countertop convection oven. This avoids turning the making and baking of these tasty muffins into a grand affair by not having to heat up a conventional oven, which might well create a strong temptation to give in to notions of “well, the big oven is heated up … what else should I bake while I’m at it?” (Of course, should you want to make more, or otherwise engage in such a grand affair, all you need to do is scale it up to 12, 18, 24 or more units!)

Note that a small handful of the photos were taken out of order, and that in sorting the photos there are also some minor jumps in my file numbering; all is presented as below for the sake of the narrative.

Making the goat cheese muffins:

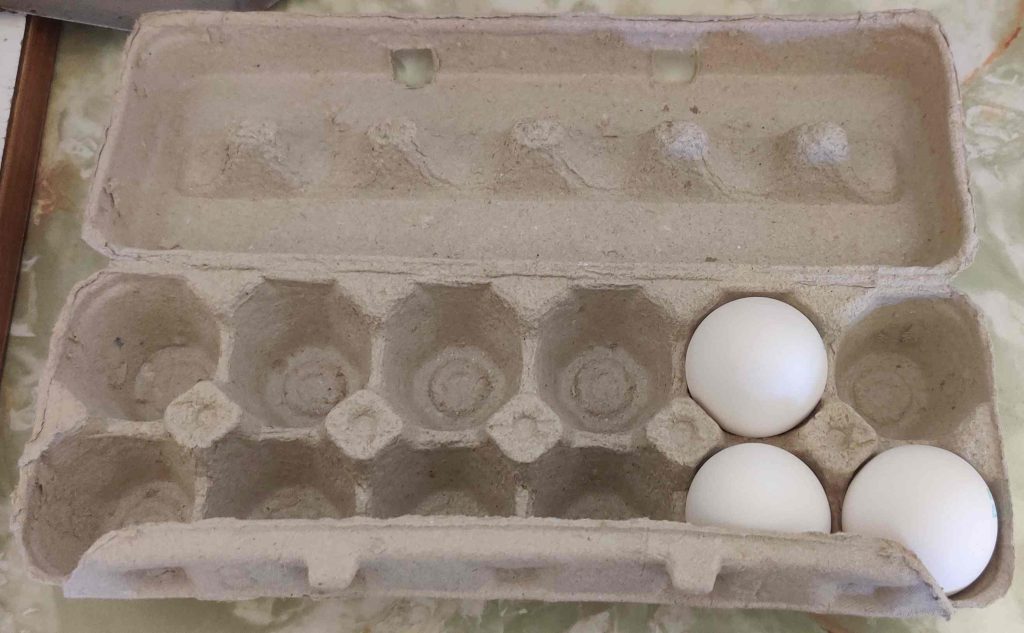
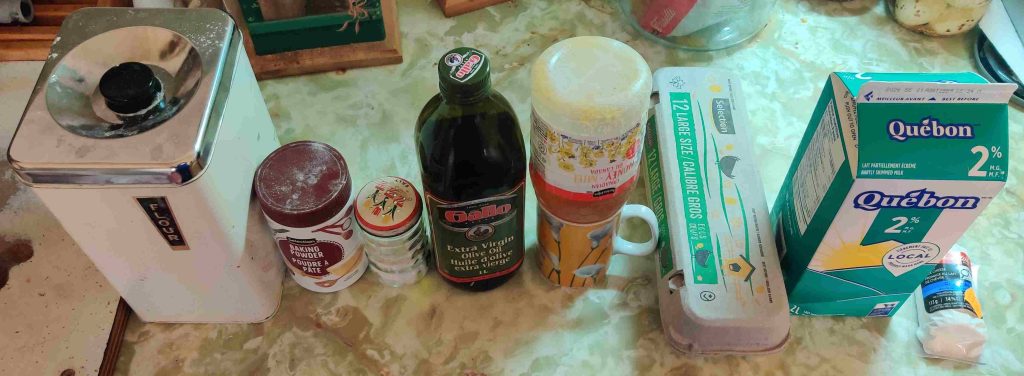
All the ingredients were taken out:

Ingredients taken out

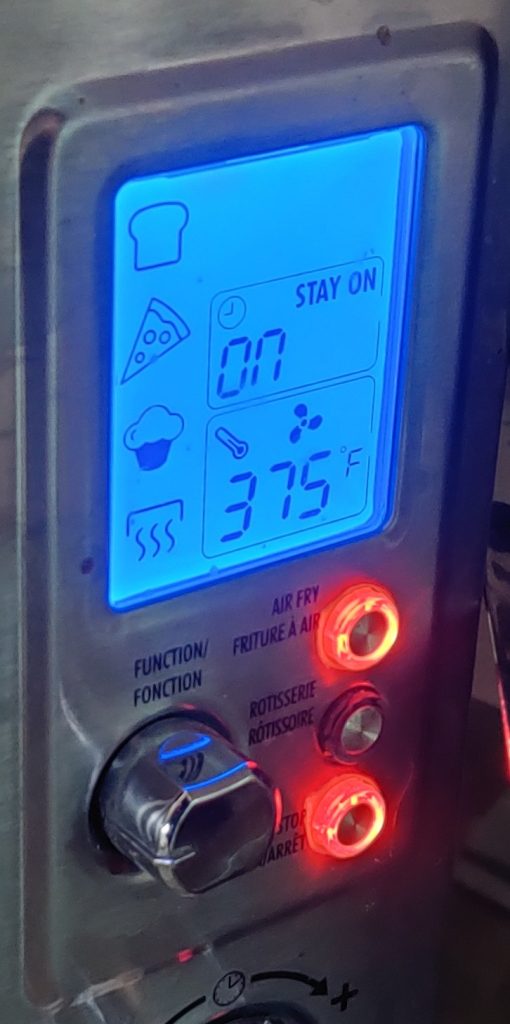
I believe that I performed the following slightly later, but now is a good time to turn on the countertop convection oven:

Countertop convection oven turned on

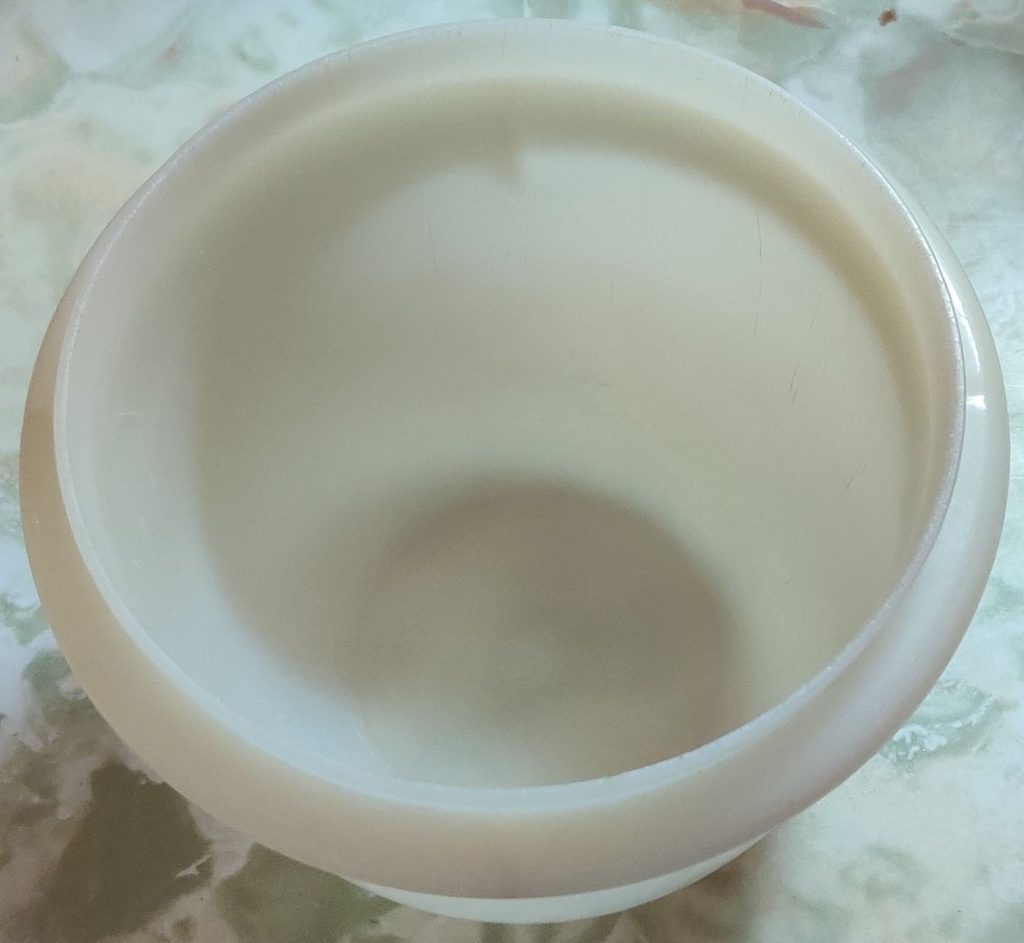
A mixing bowl was taken out:

Mixing bowl taken out

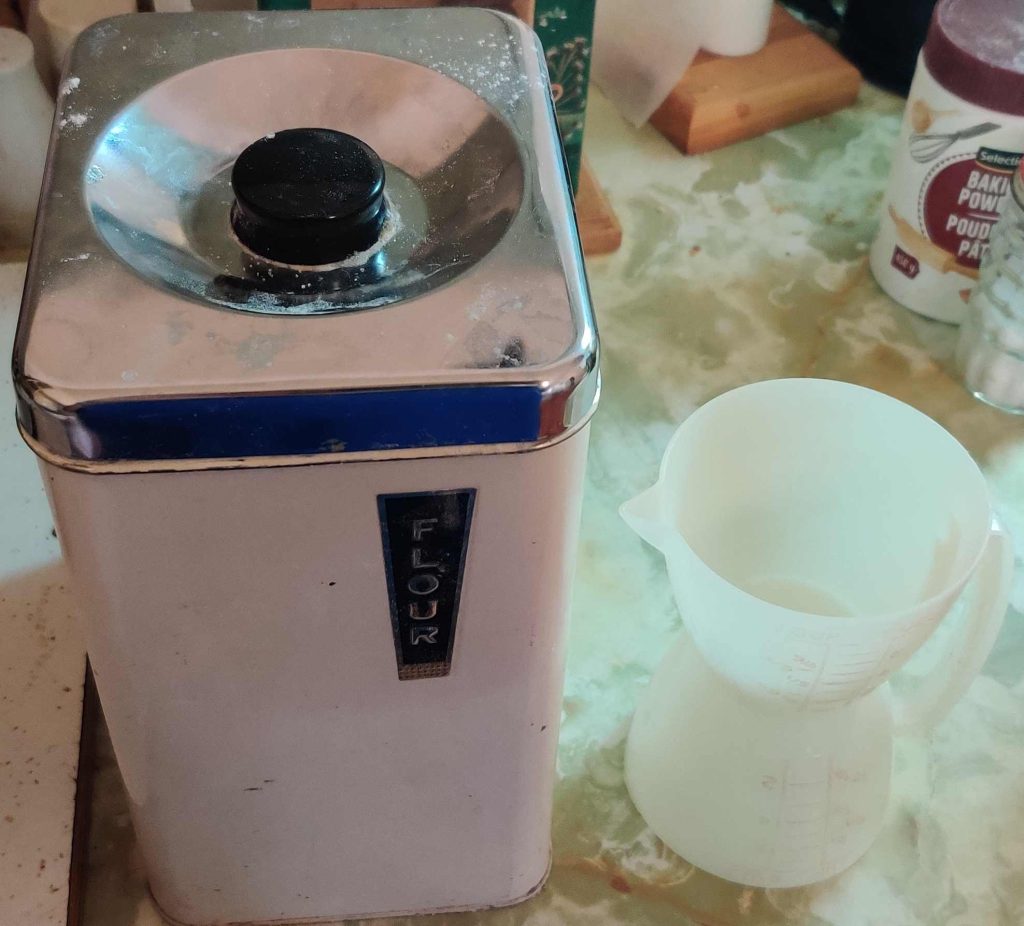
Flour and a measuring cup were taken out:

Flour and measuring cup taken out

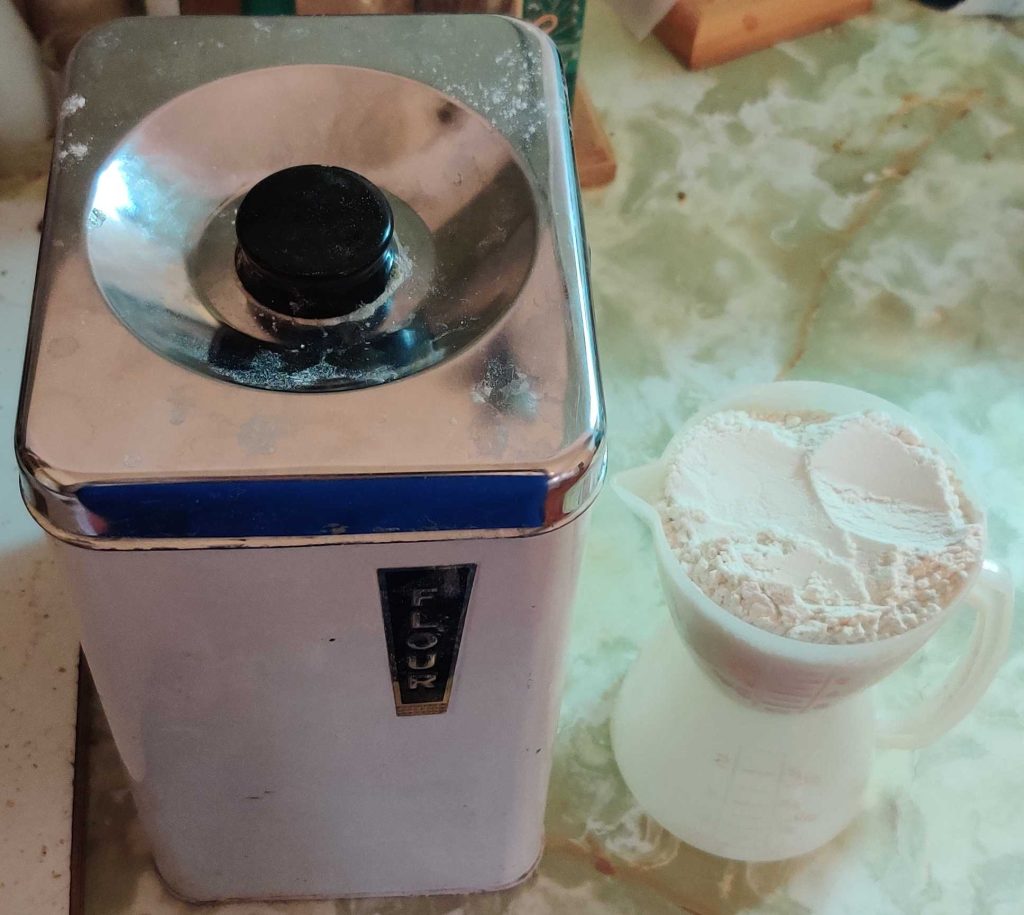
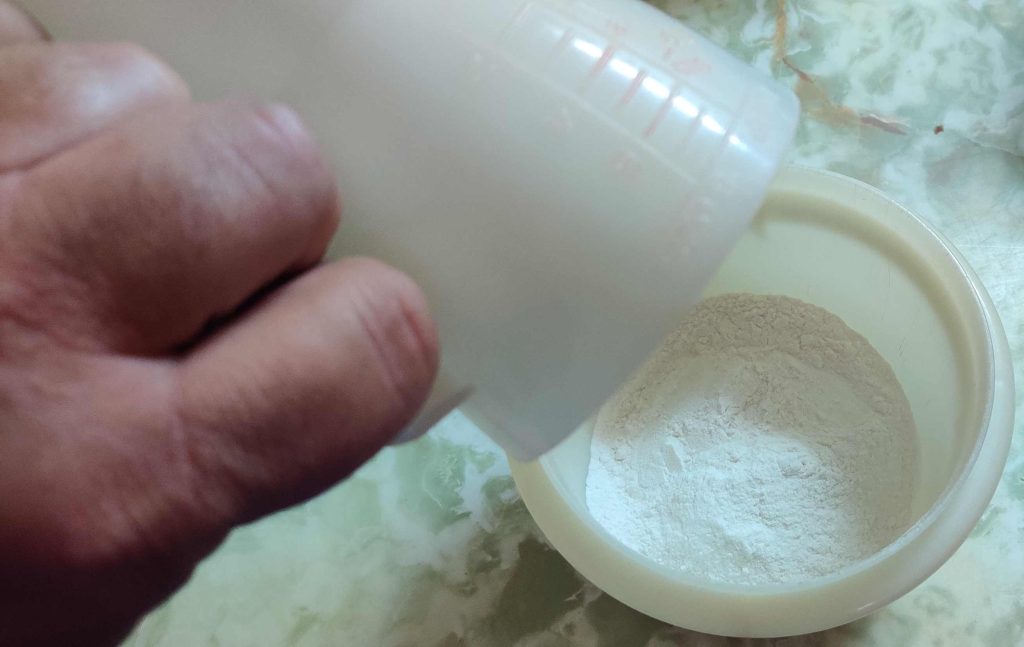
Flour was measured out:

Flour measured out

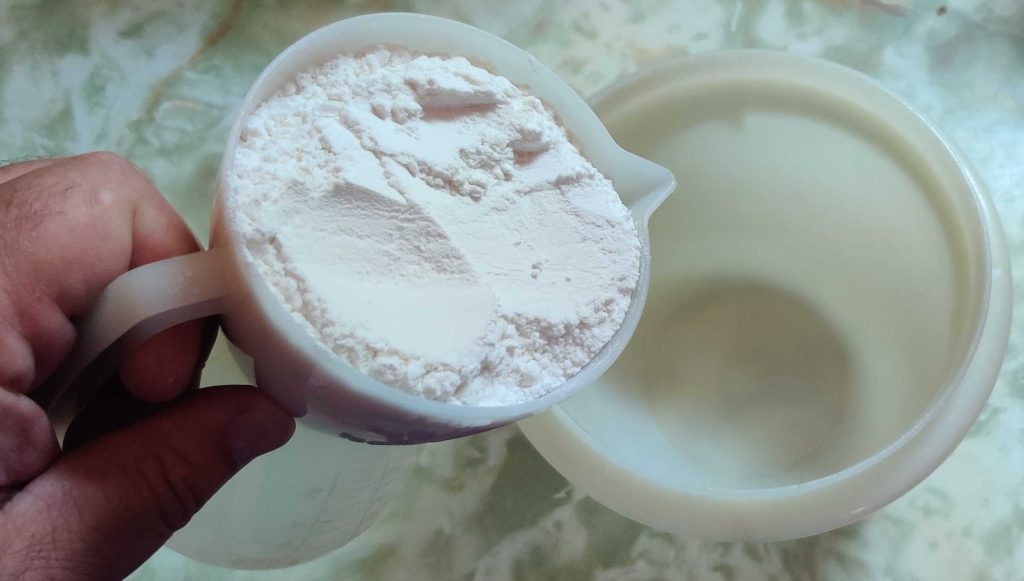
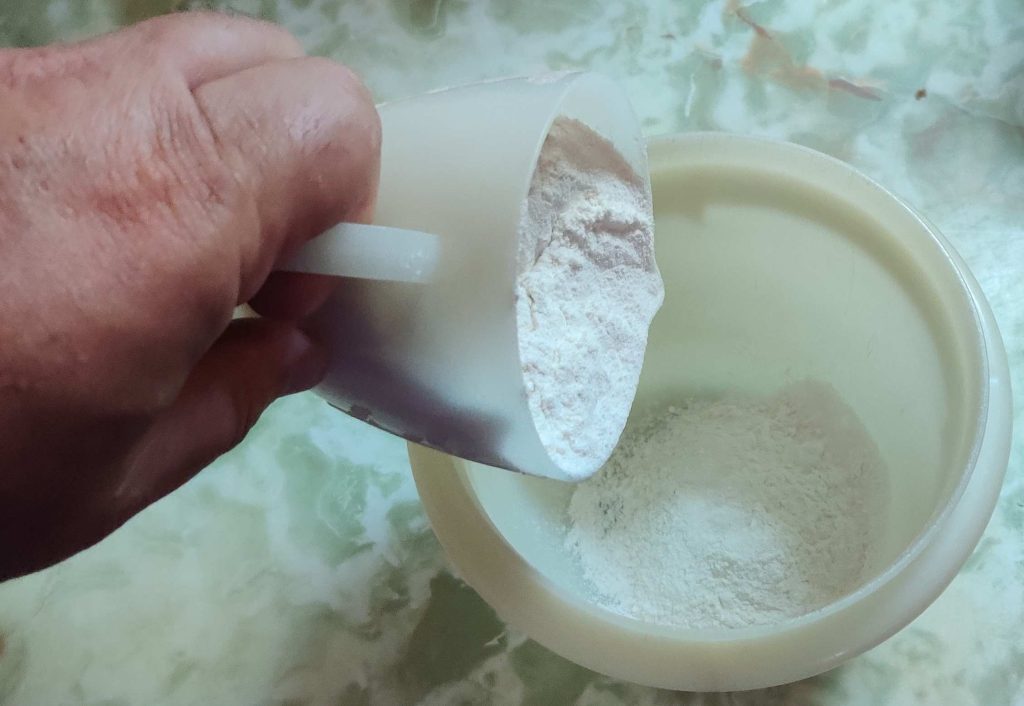
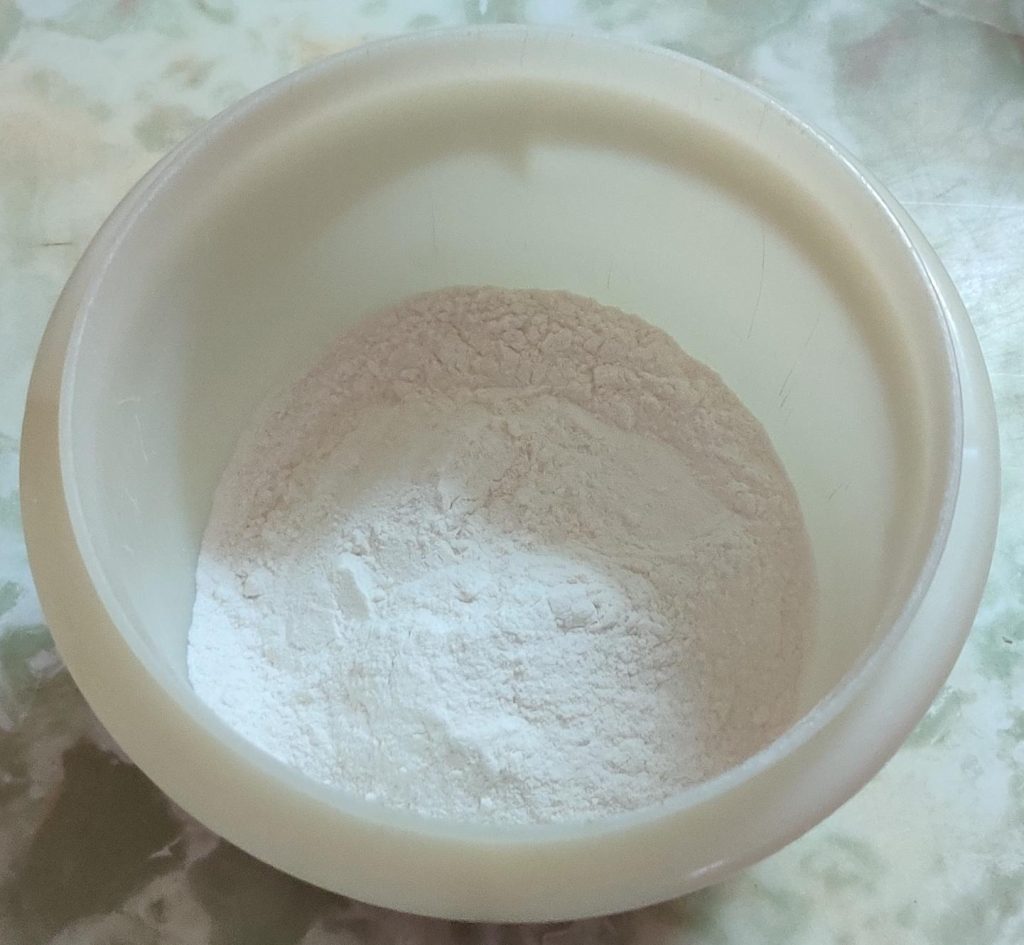
The flour was transferred to the mixing bowl:

Flour transferred to mixing bowl

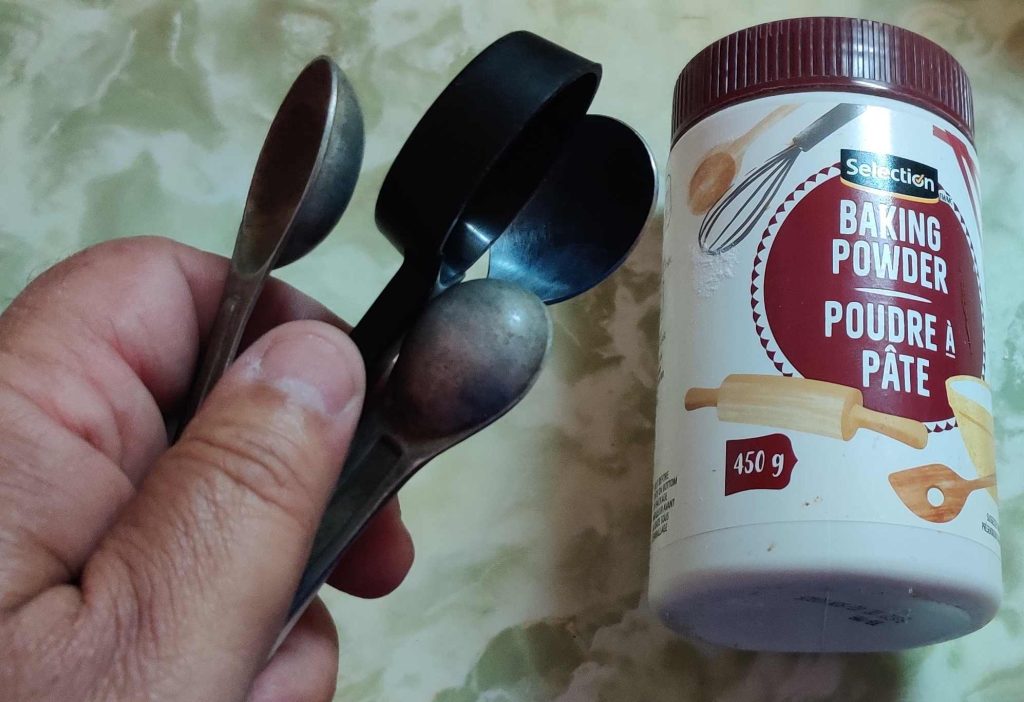
Baking powder and measuring spoons were taken out:

Baking powder and measuring spoons taken out

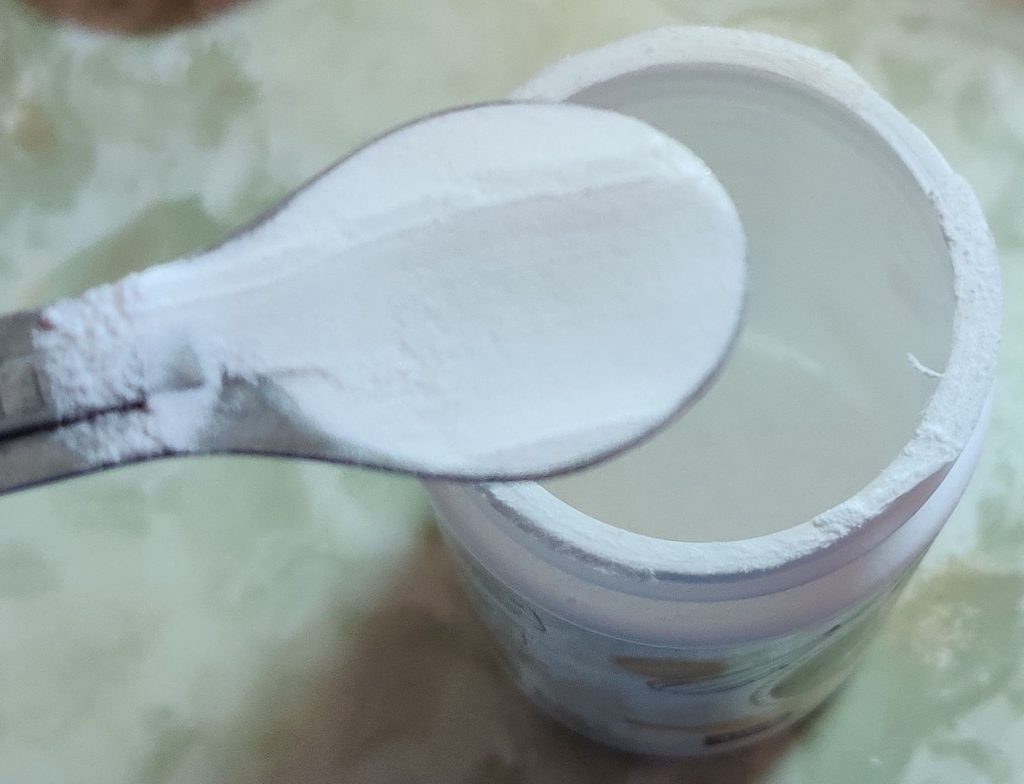
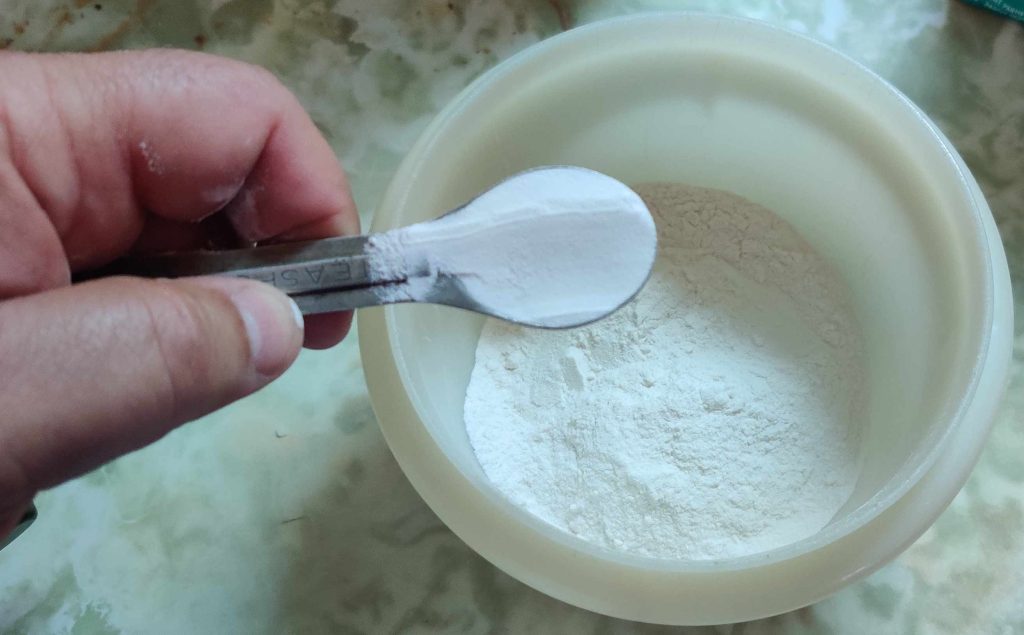
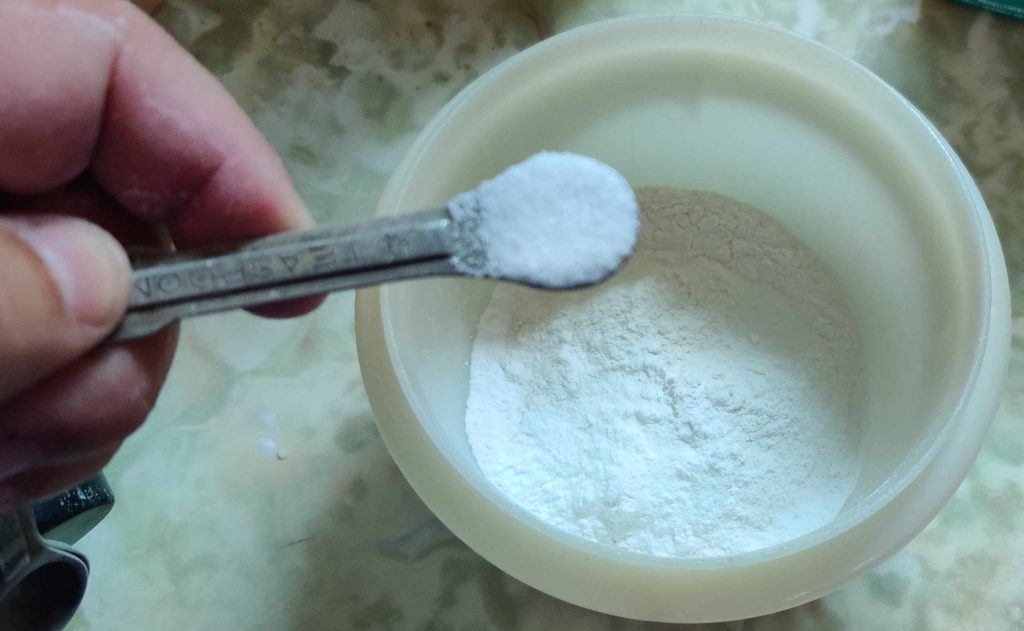
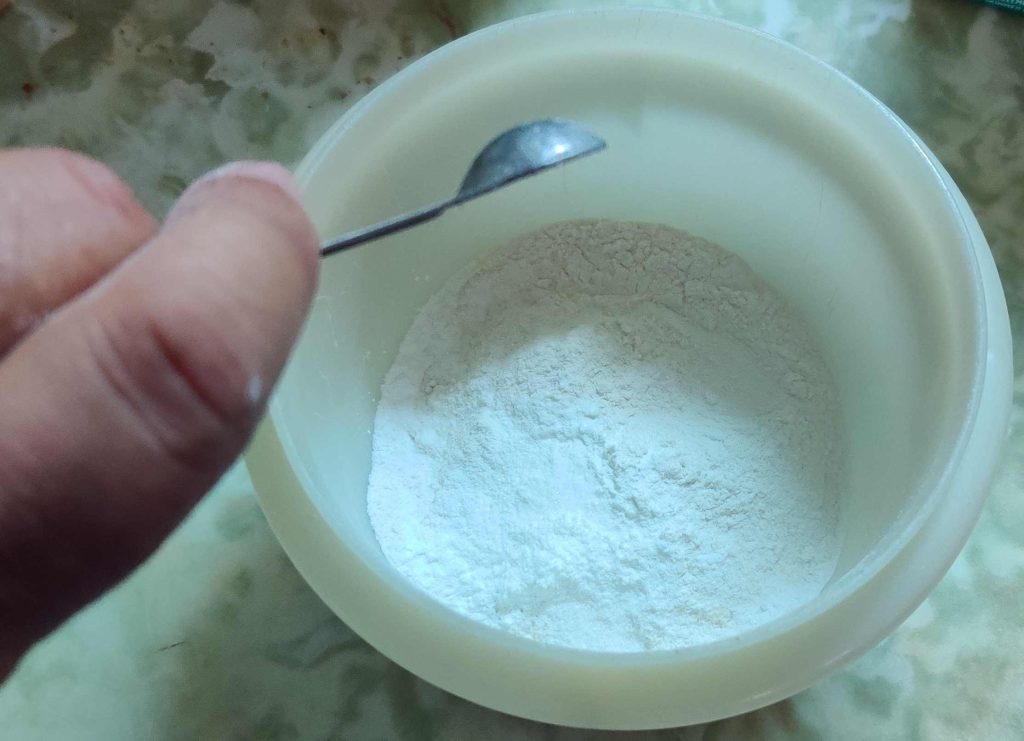
Baking powder was measured out:

Baking powder measured out

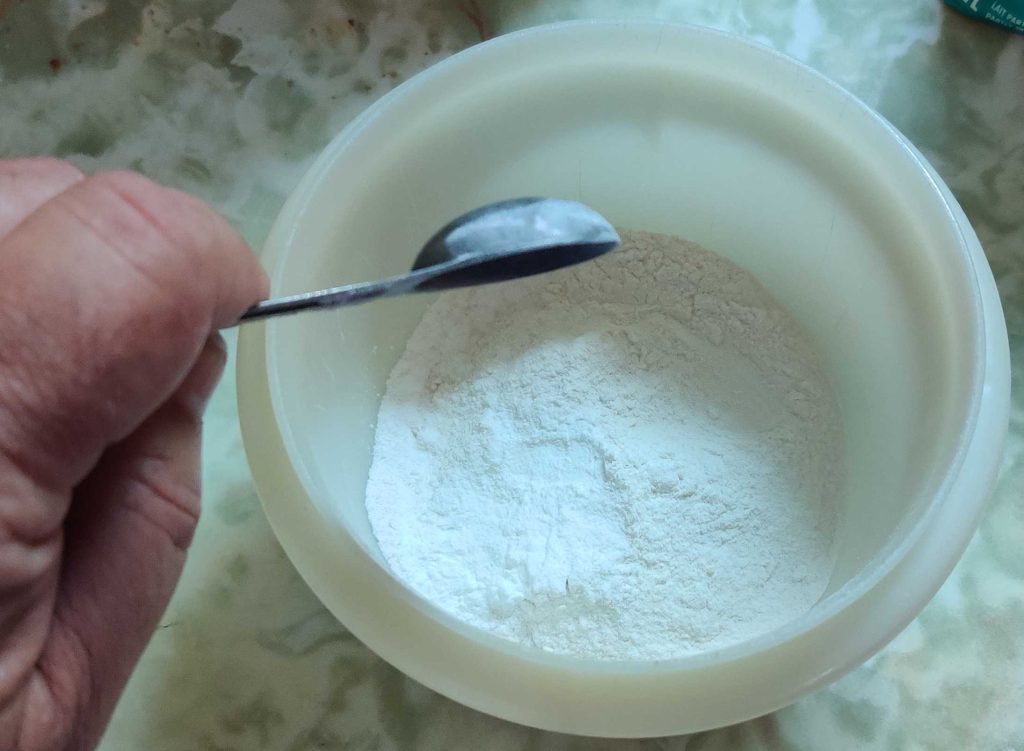
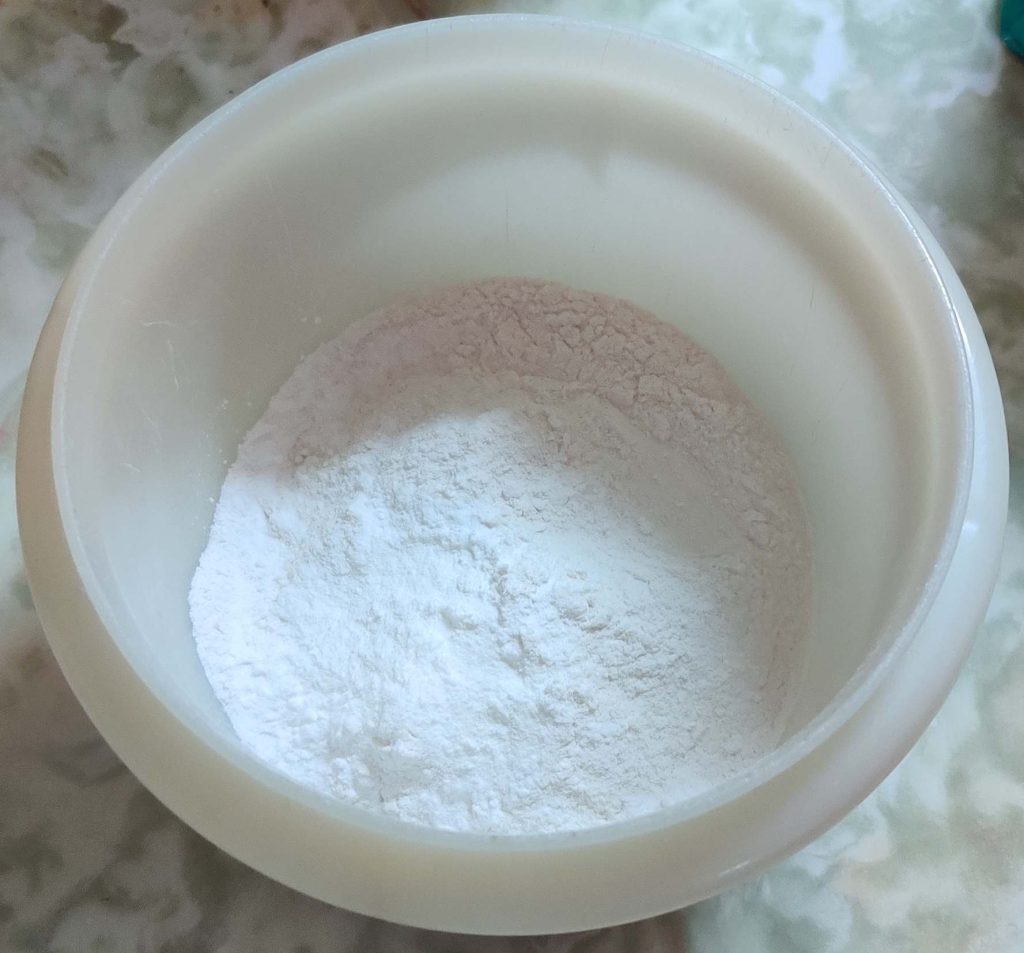
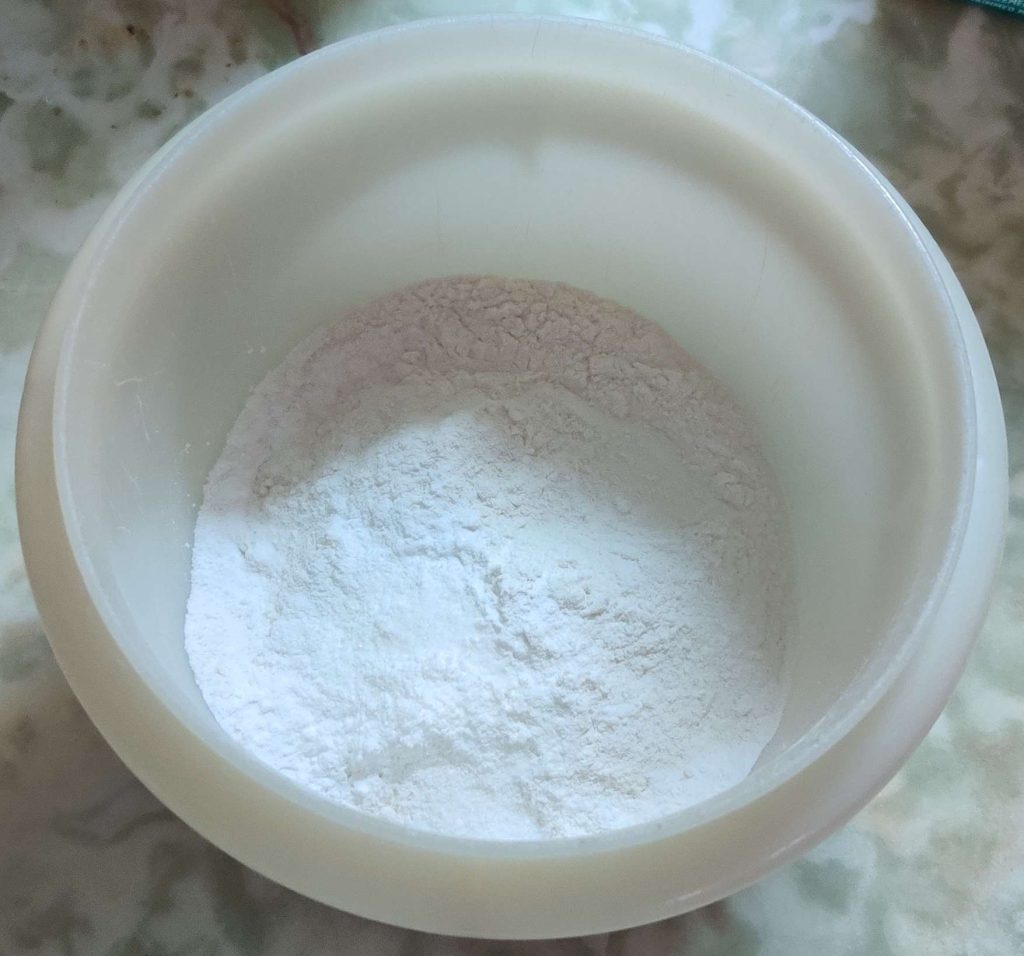
The baking powder was transferred to the mixing bowl with the flour:

Baking powder transferred to mixing bowl

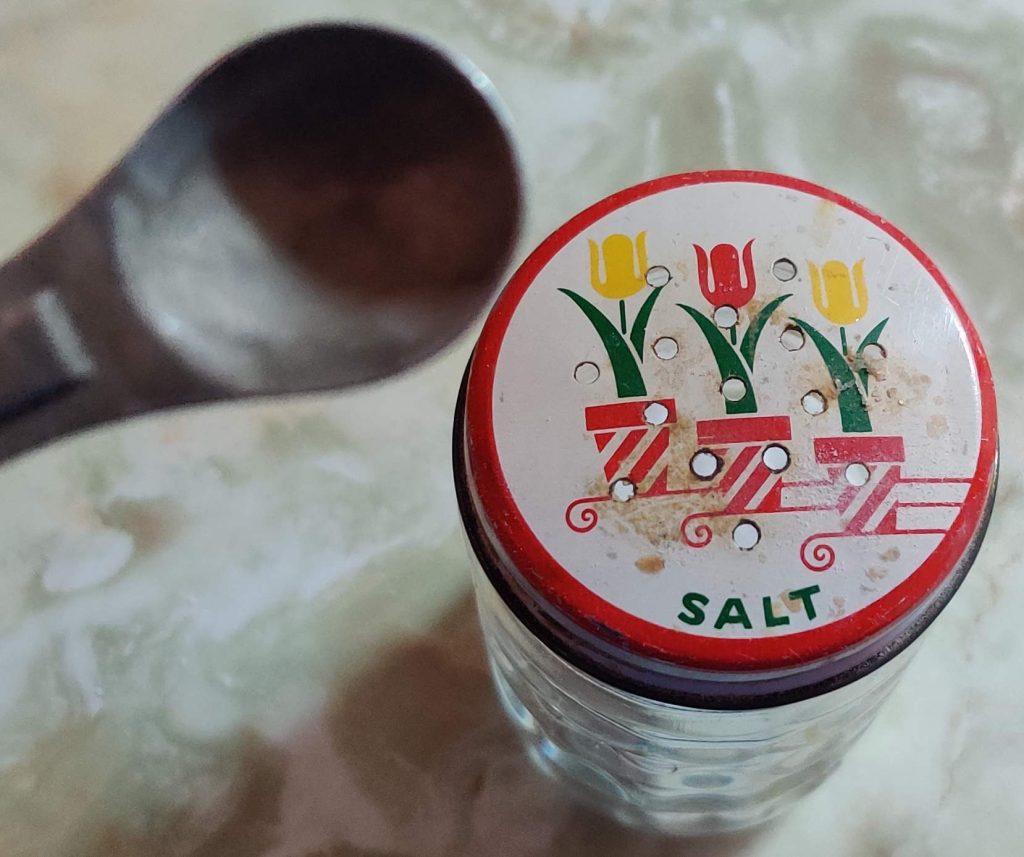
Salt and a measuring spoon were taken out (oh my — yet another surface in the kitchen to clean!):

Salt and measuring spoon taken out

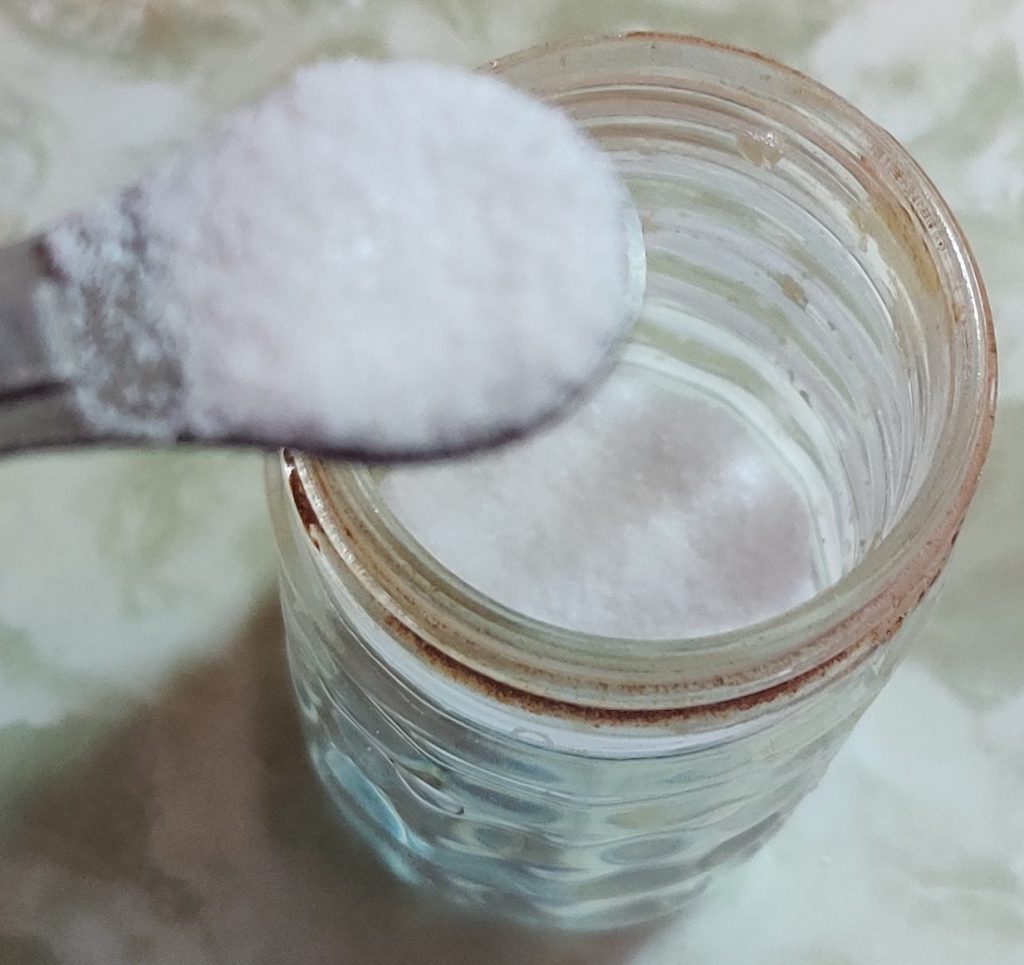
Salt was measured out:

Salt measured out

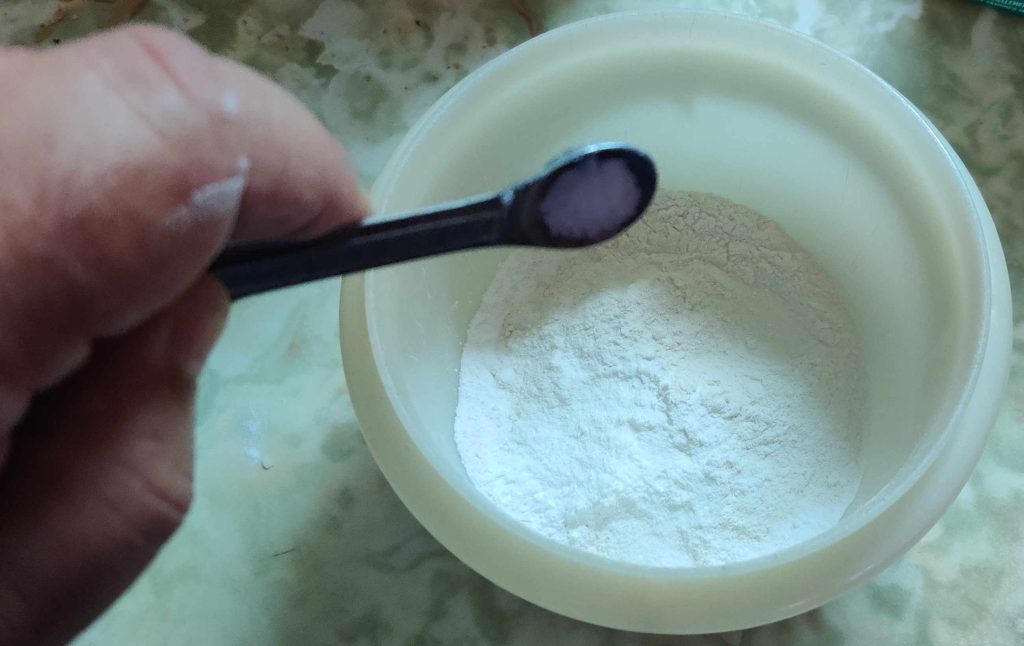
The salt was transferred to the mixing bowl with the flour and the baking powder:

Salt transferred to mixing bowl

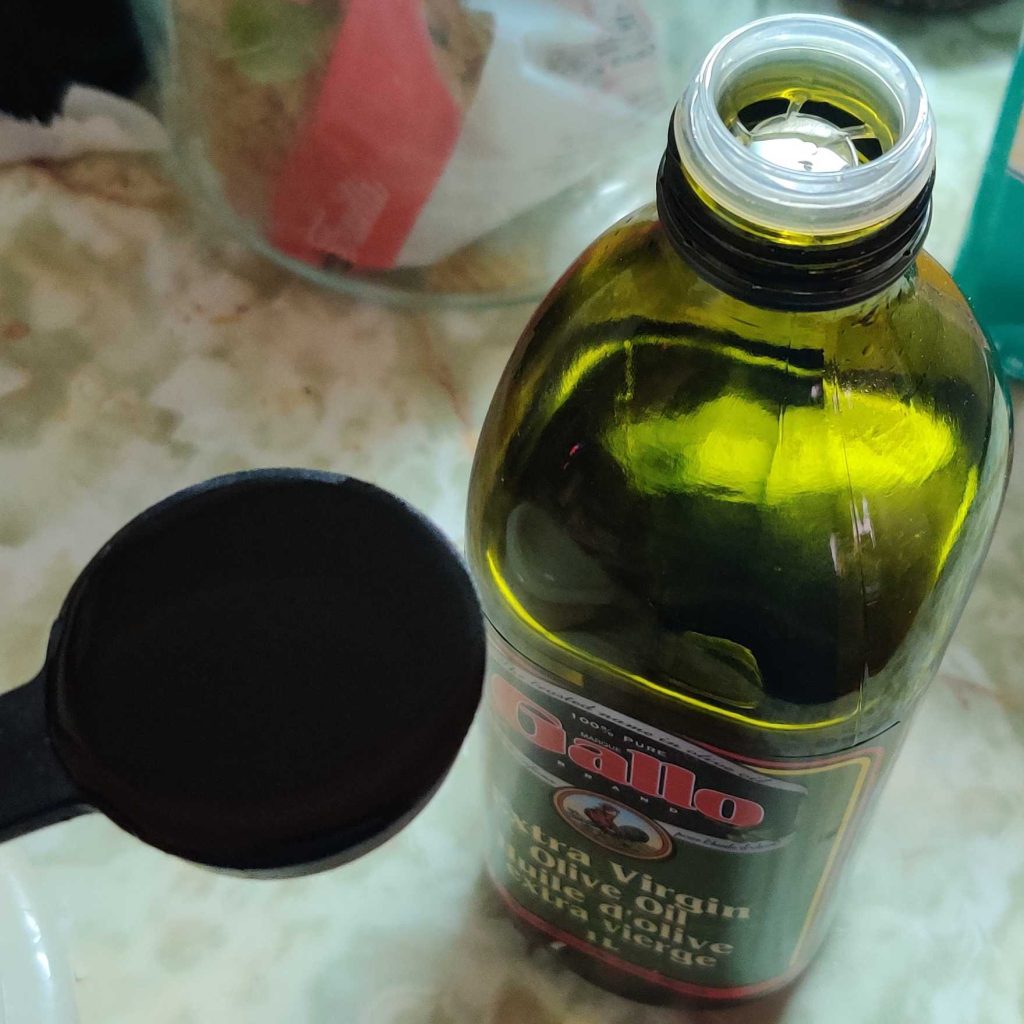
Olive oil and a measuring spoon were taken out:

Olive oil and measuring spoon taken out

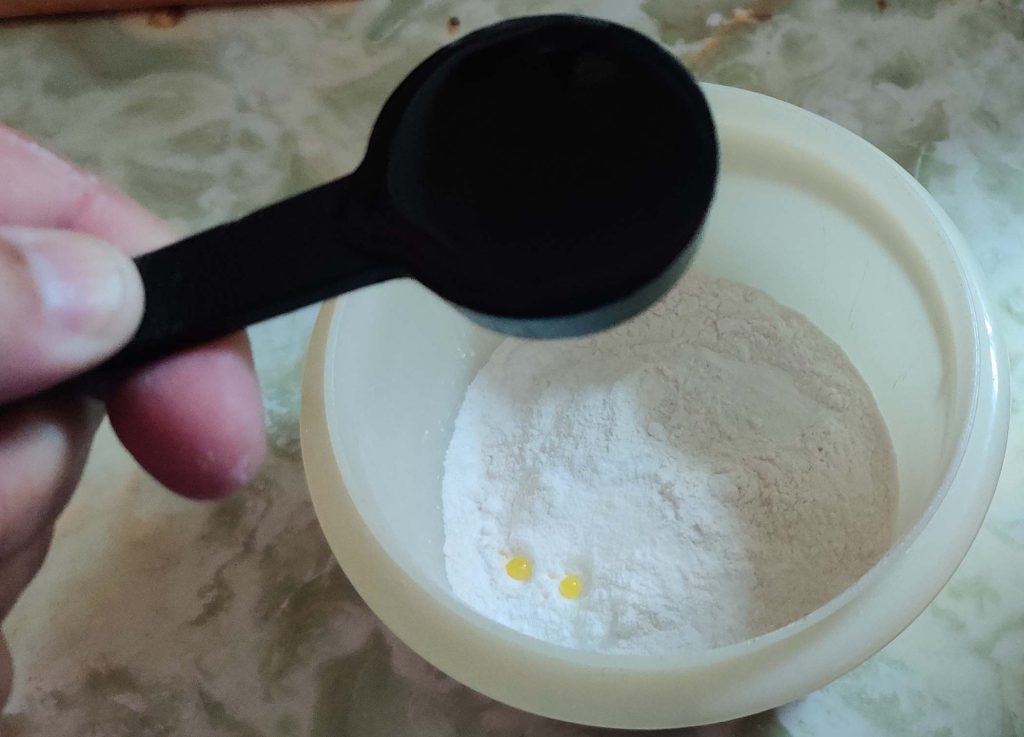
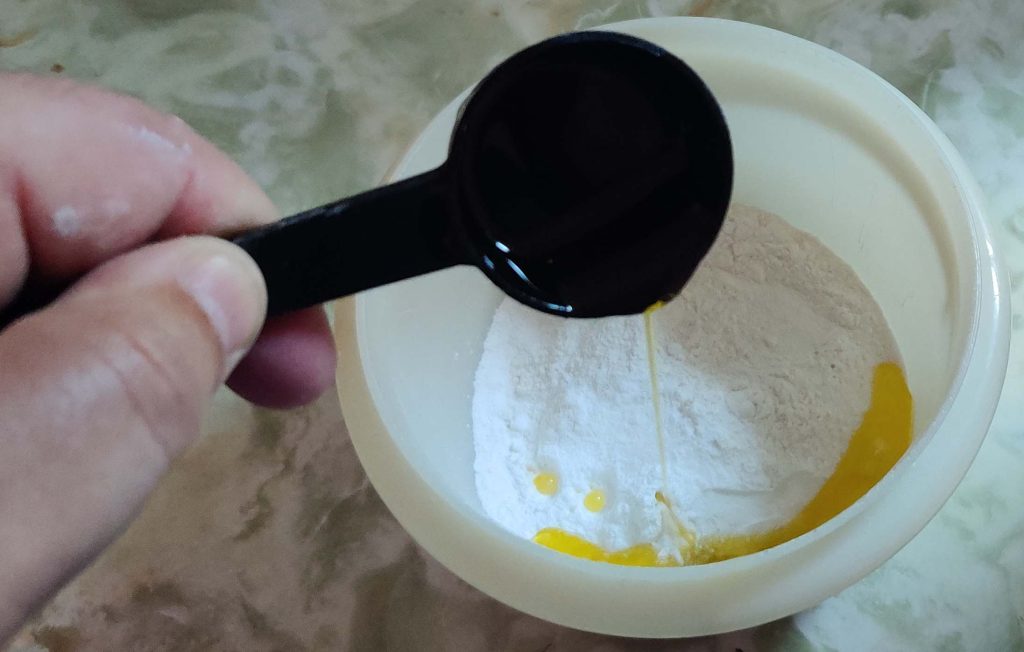
The olive oil was measured out:

Olive oil measured out

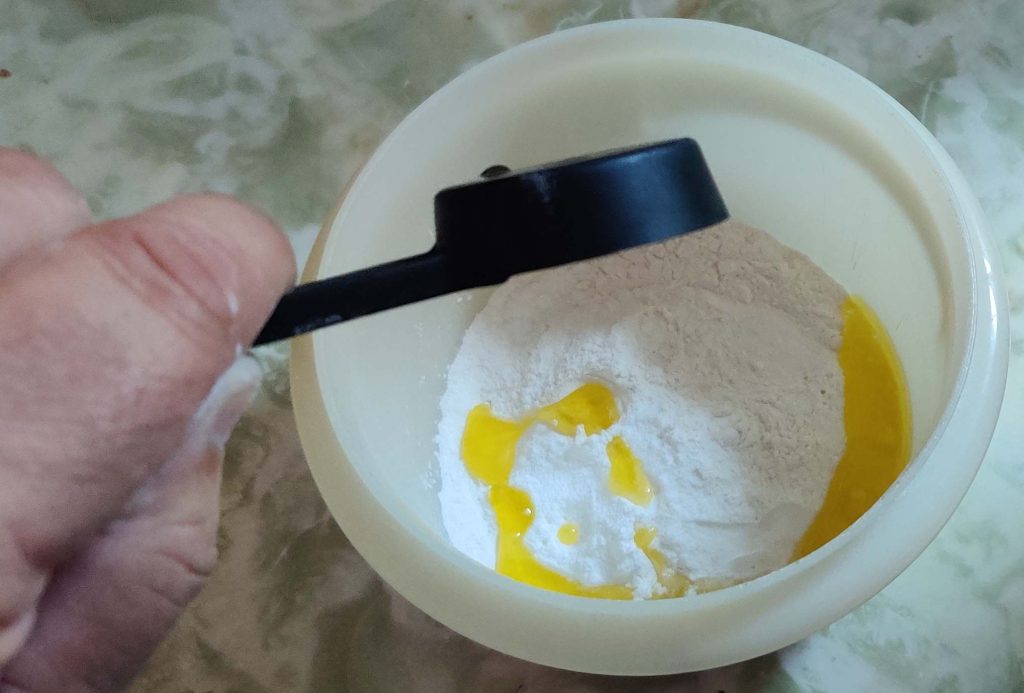
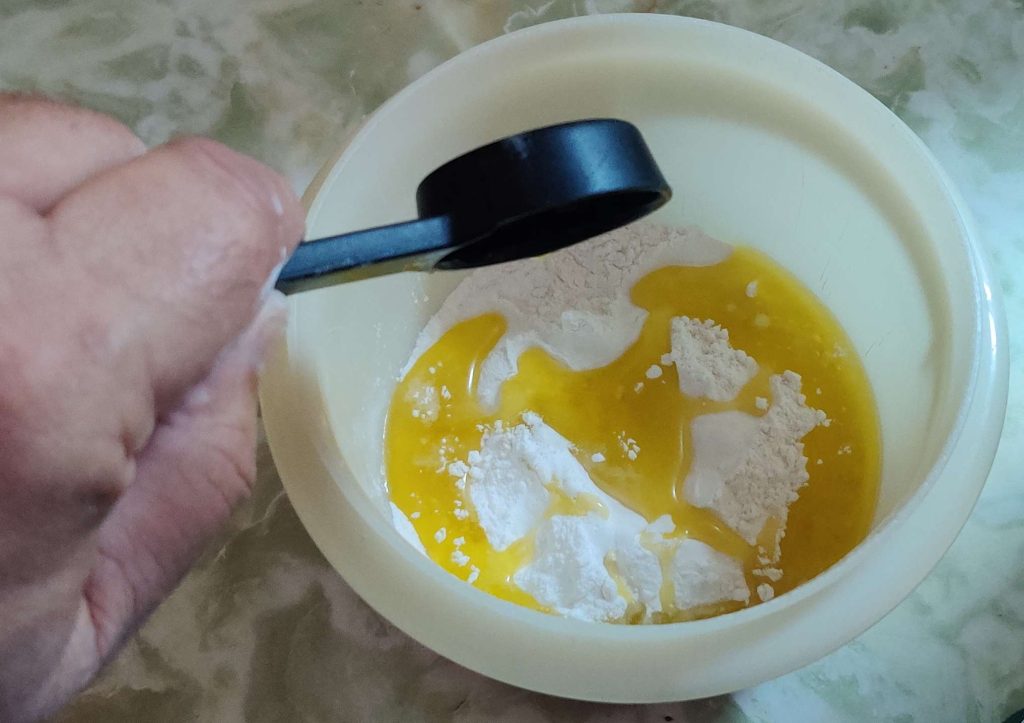
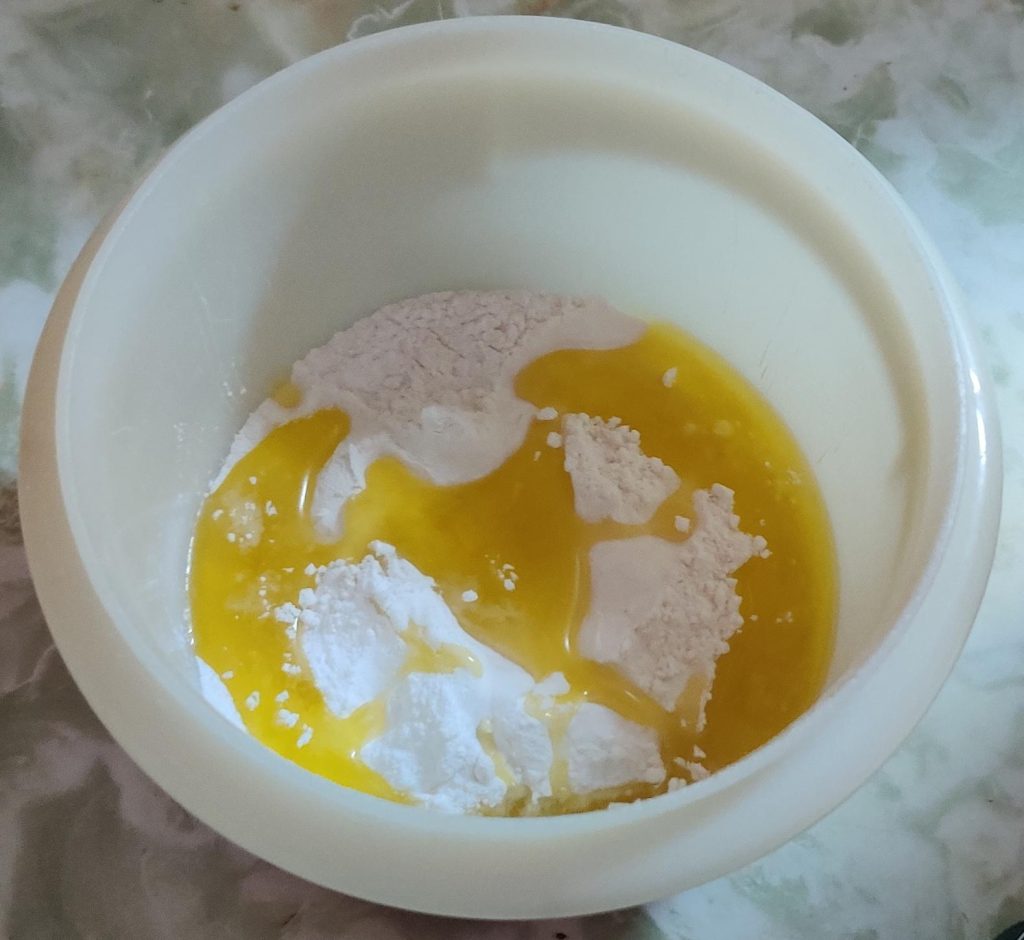
The olive oil was transferred to the bowl with the flour, the baking powder, and the salt:

Olive oil transferred to bowl

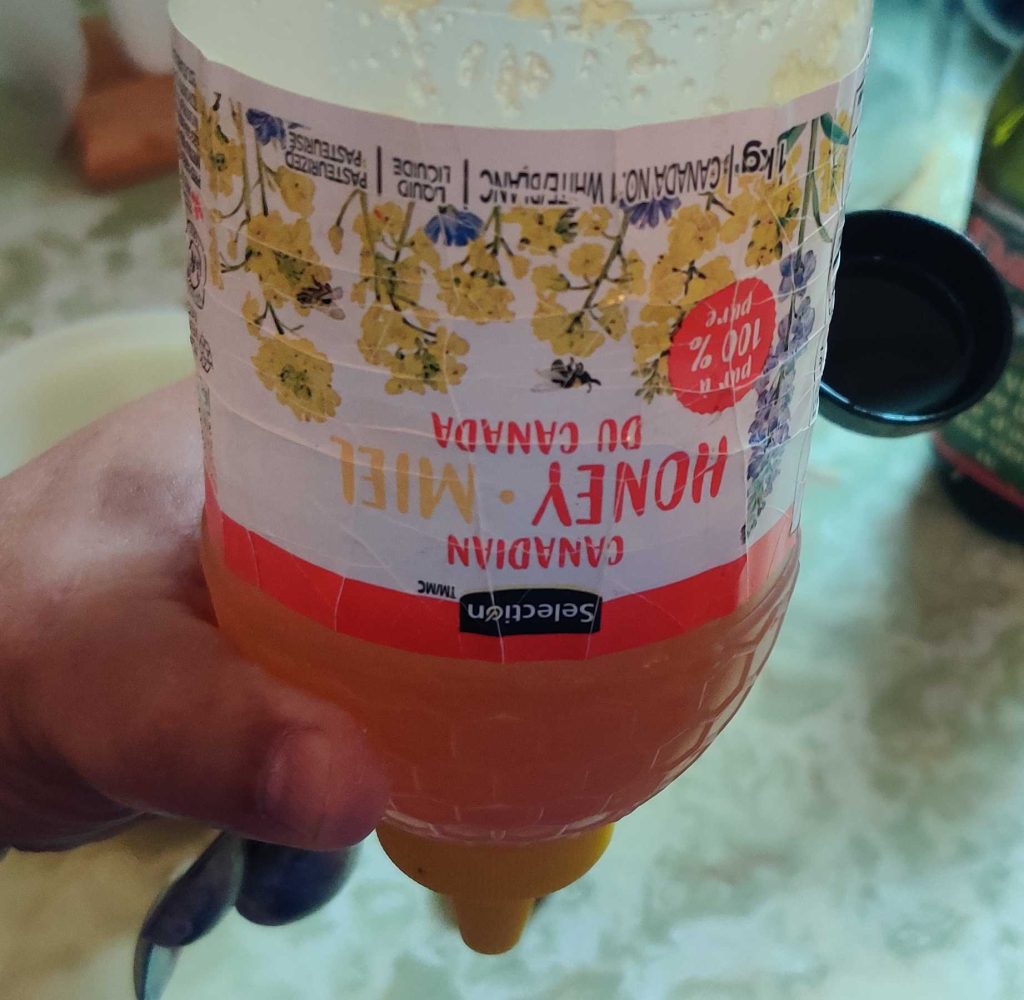
A bottle of honey, which was starting to crystallize and kept upside down to aid in being able to squeeze it out of the bottle, was taken out, along with a measuring spoon:

Honey and measuring spoon taken out

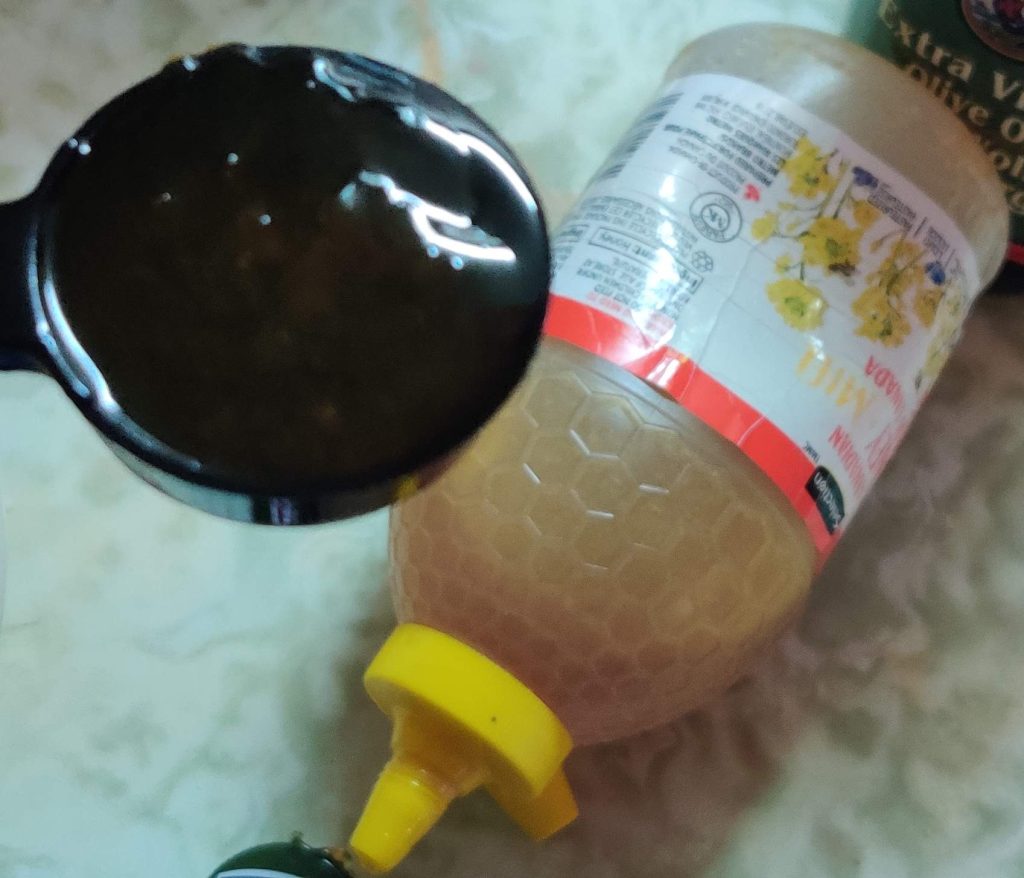
The honey was measured out:

Honey measured out

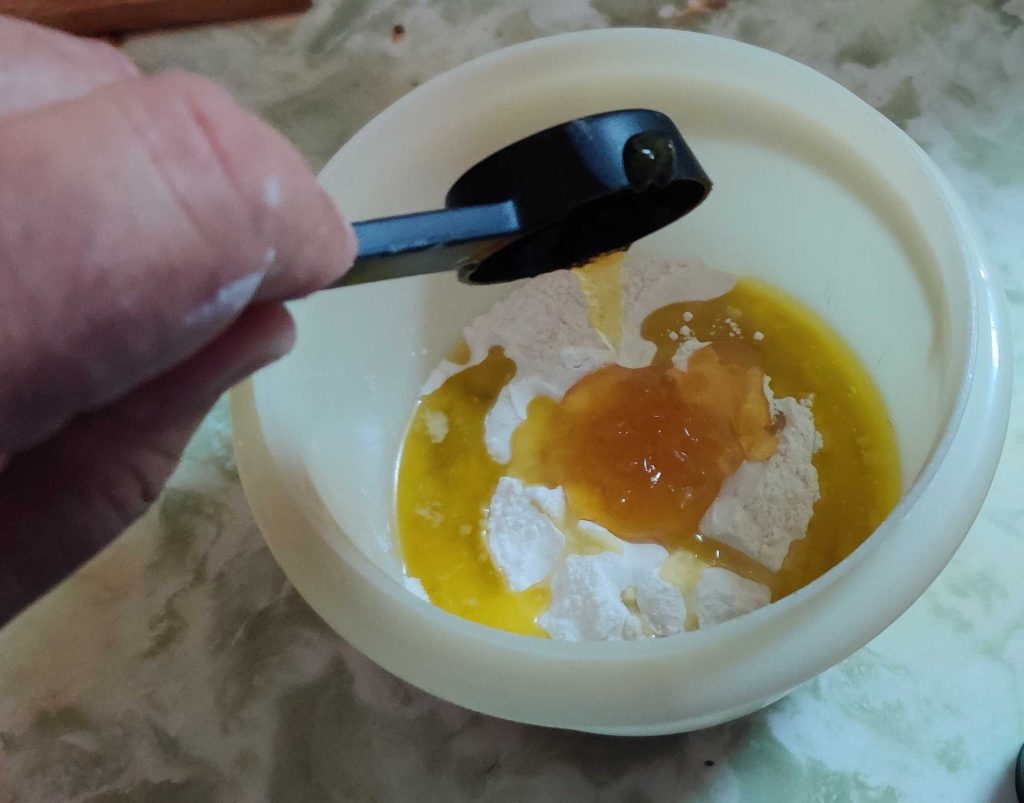
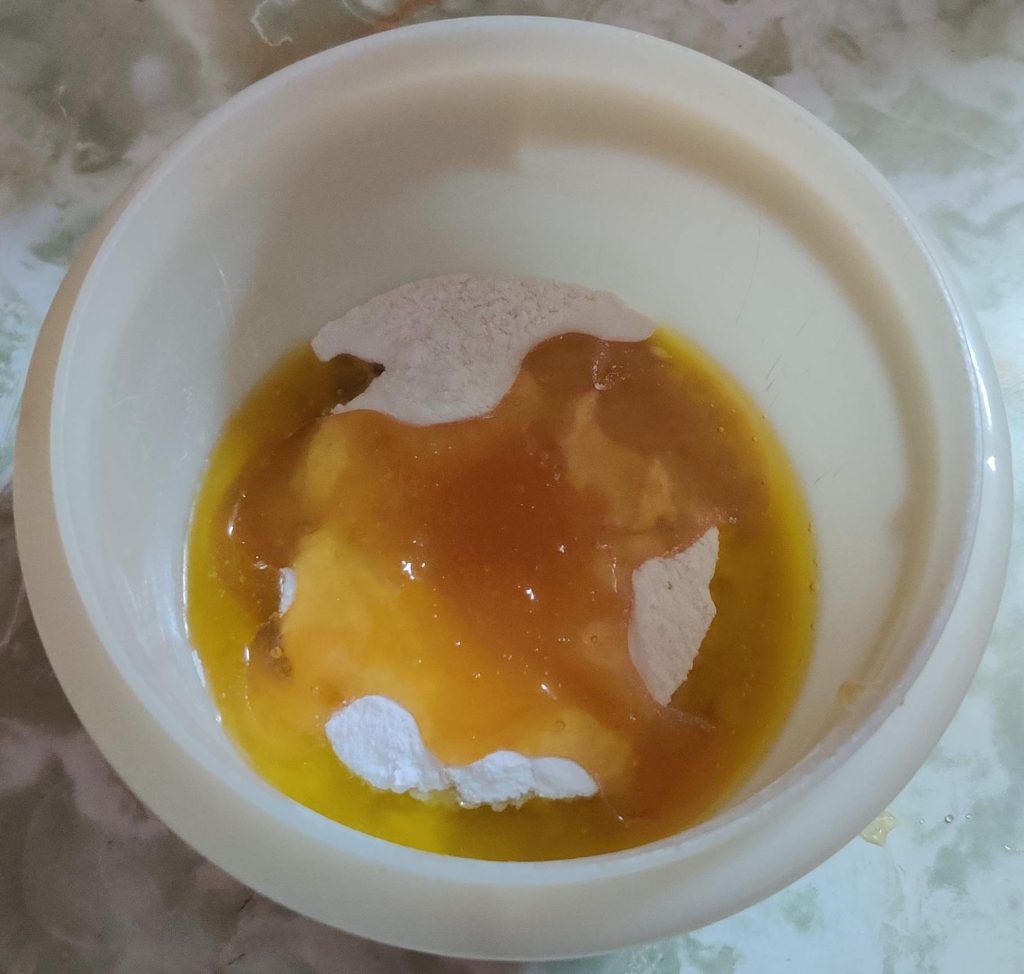
The honey was transferred to the mixing bowl with the flour, the baking powder, the salt, and the olive oil:

Honey transferred to bowl

(By the time I’d finished measuring out the honey, I decided it best to re-liquify the honey in the microwave oven over several short 15 second heating bursts.)

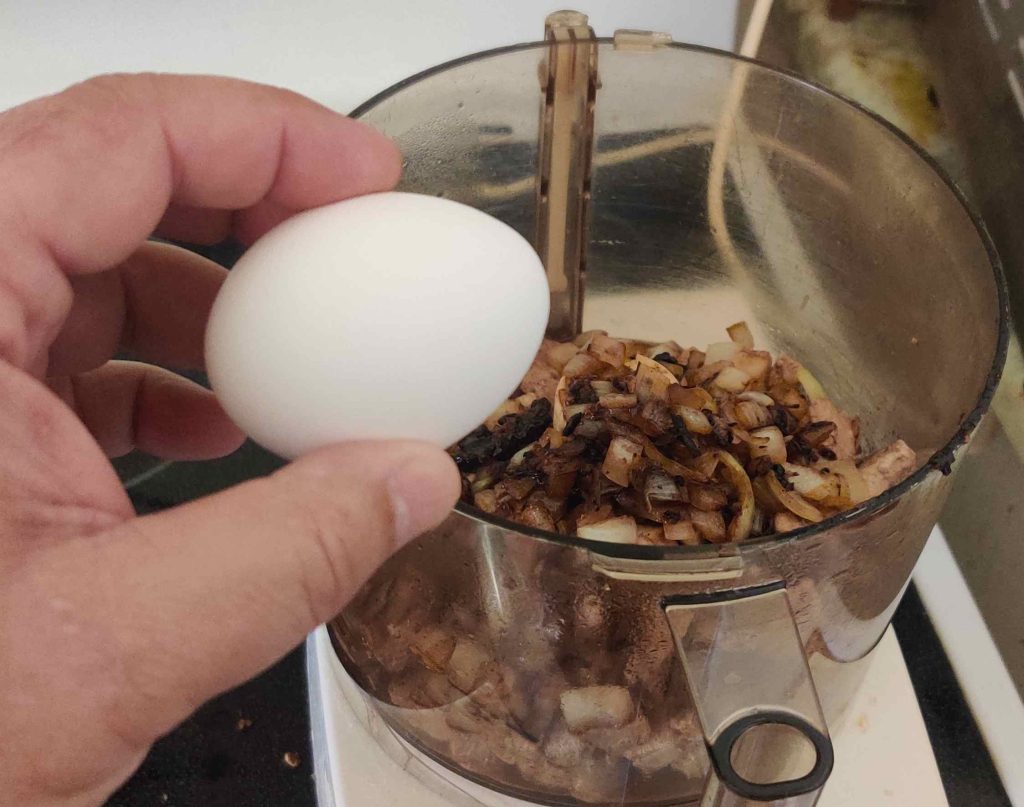
Next, an egg was taken out:

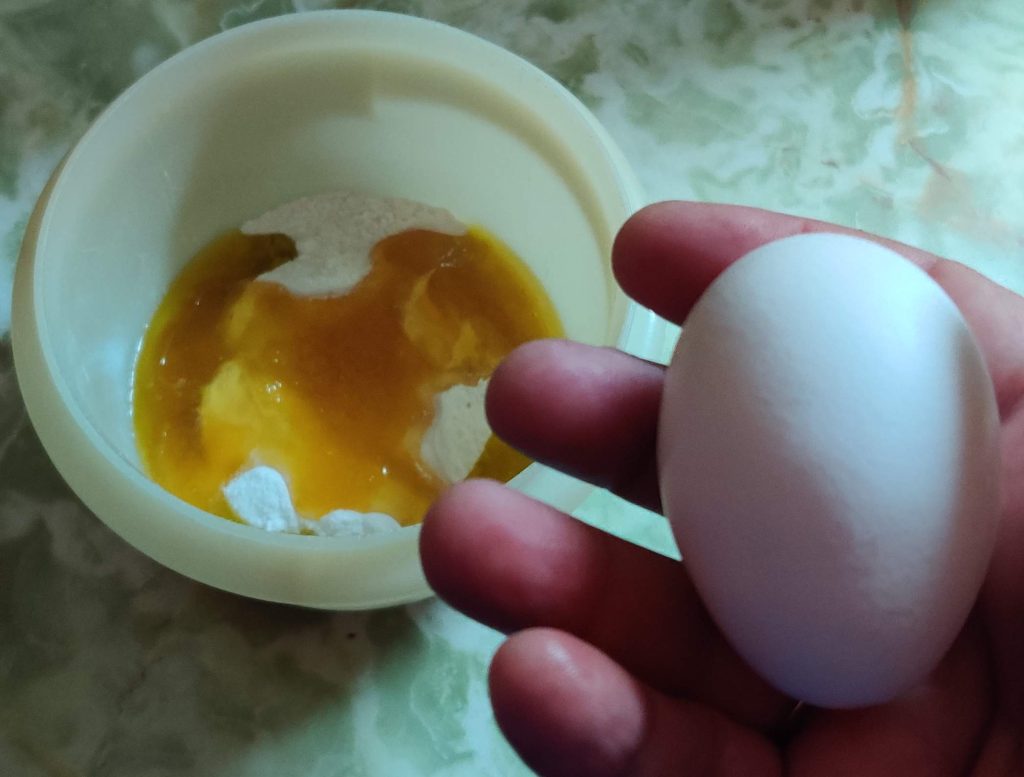
Egg taken out

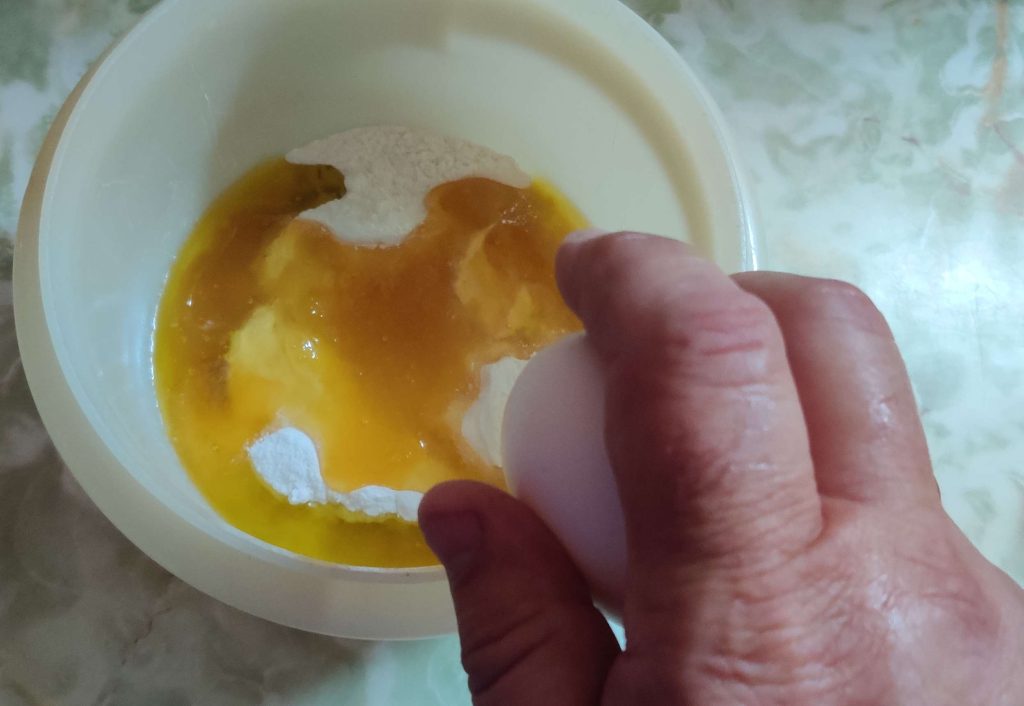
The egg was cracked on the side of the mixing bowl:

Egg cracked on edge of bowl

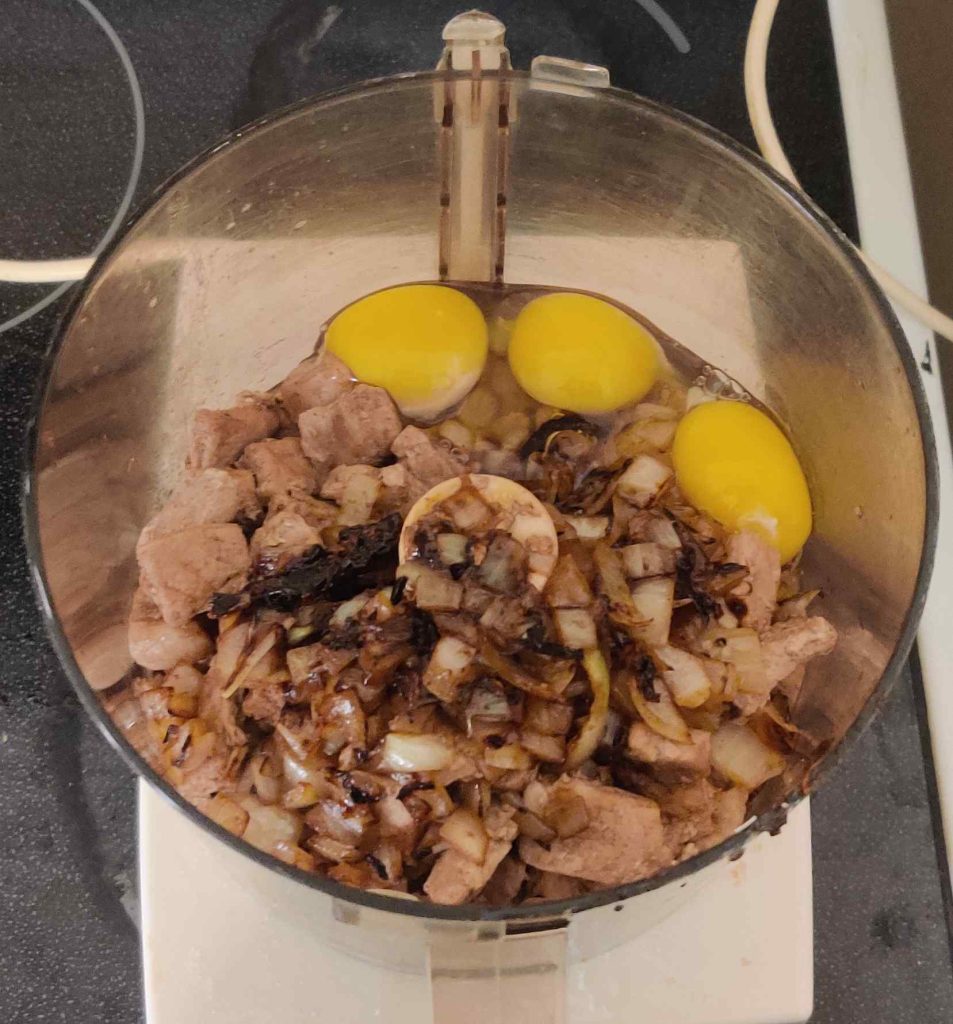
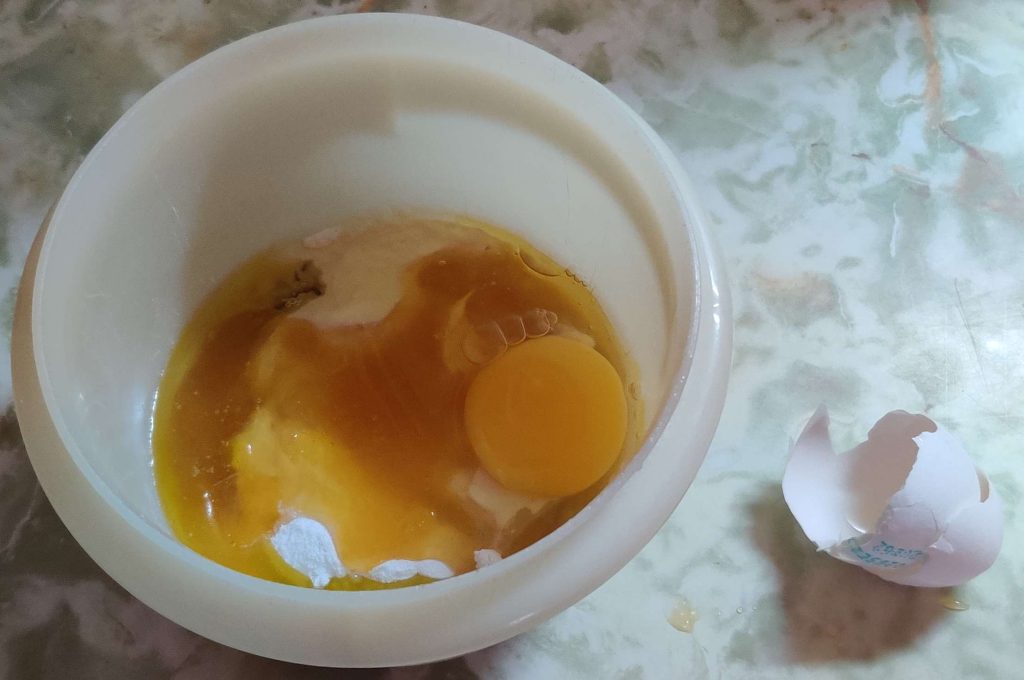
The egg was transferred to the mixing bowl with the flour, the baking powder, the salt, the olive oil, and the honey:

Egg transferred to bowl

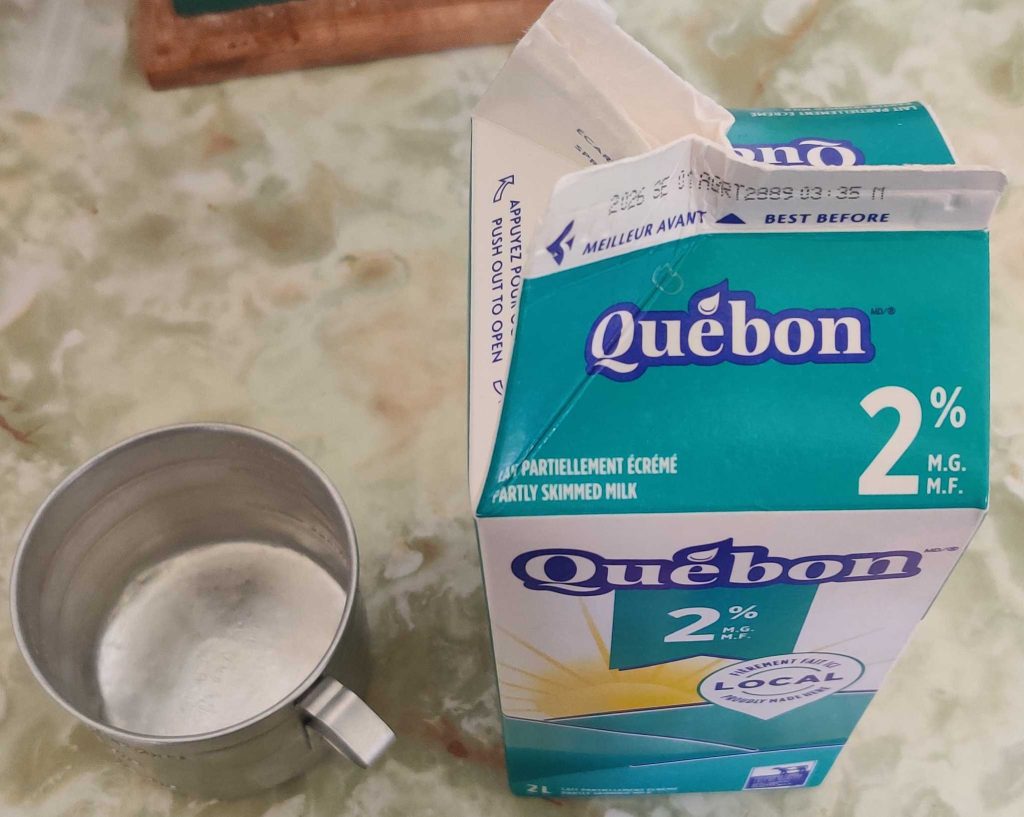
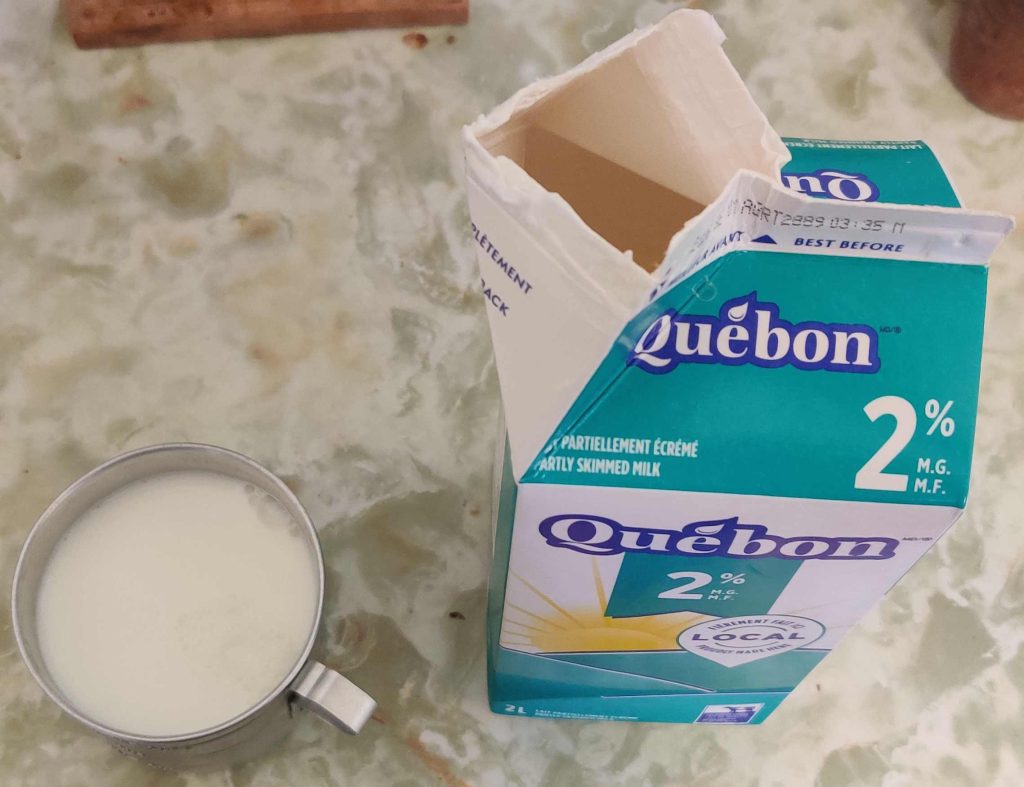
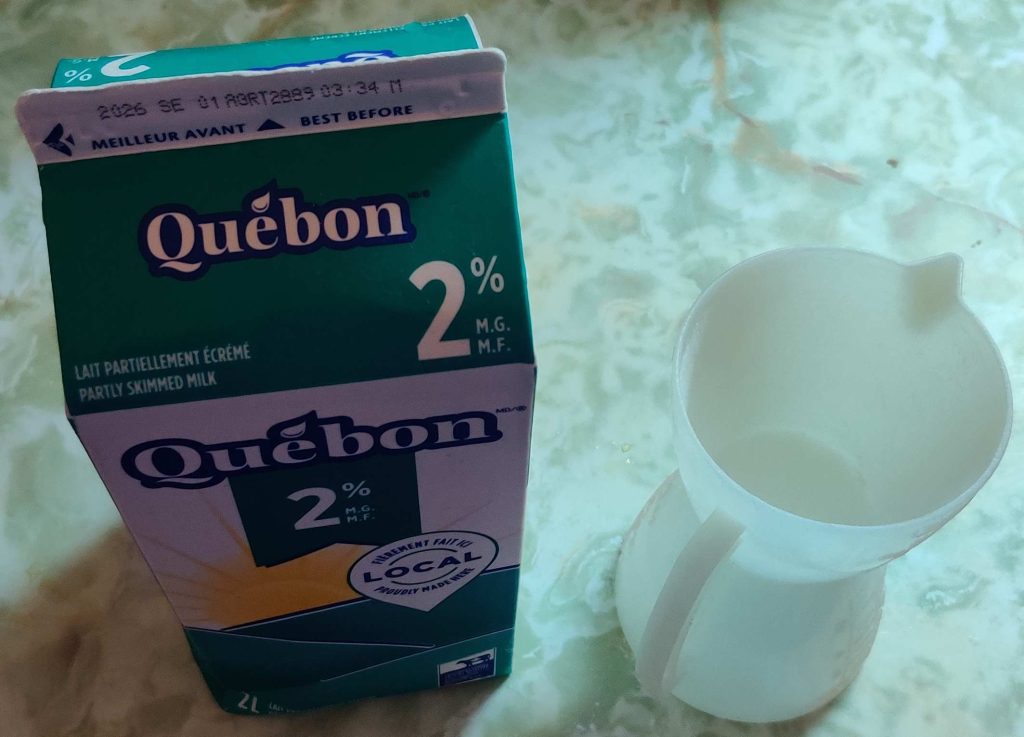
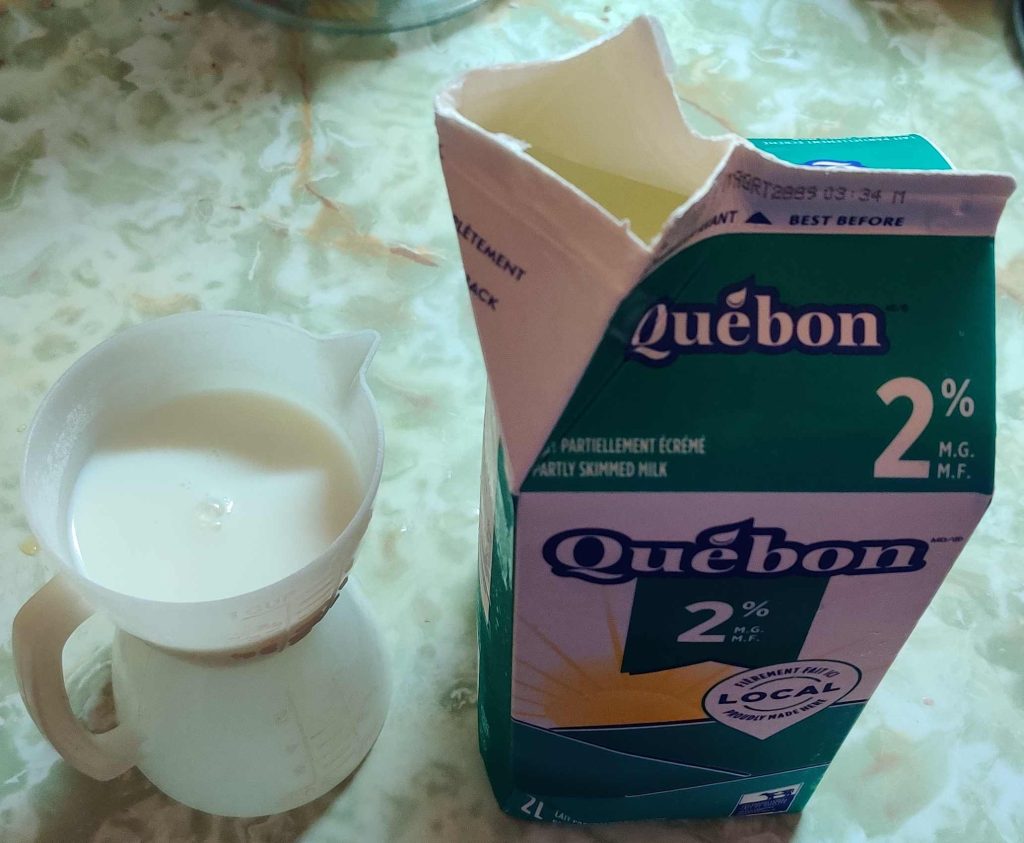
Milk and a measuring cup were taken out:

Milk and measuring cup taken out

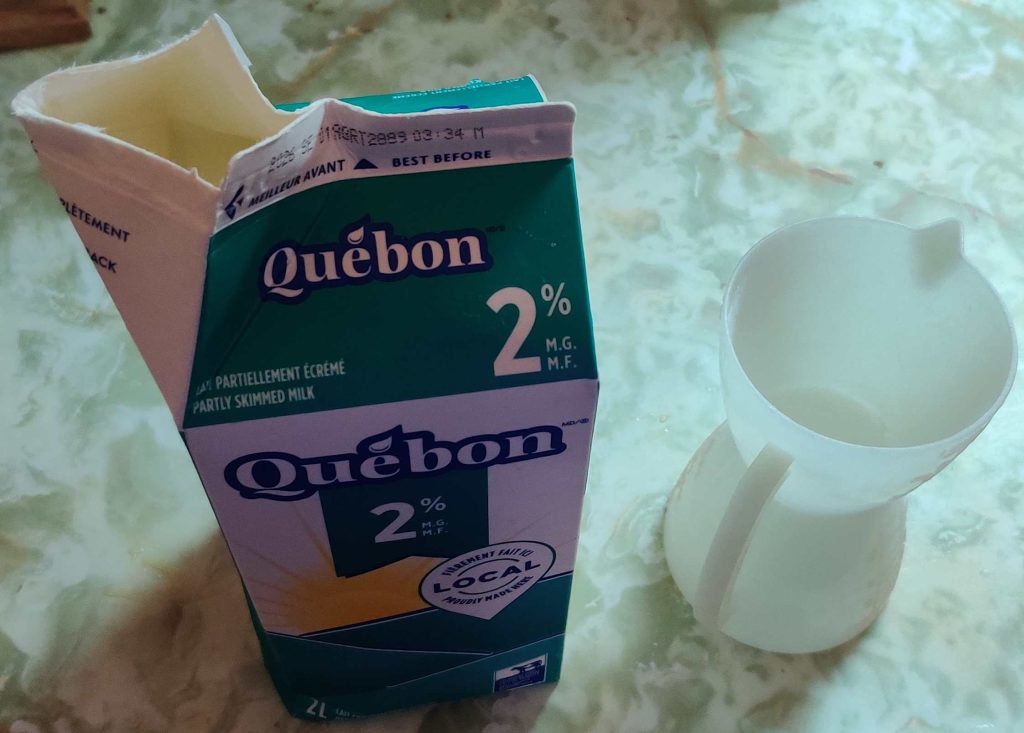
The milk carton was opened up:

Milk carton opened

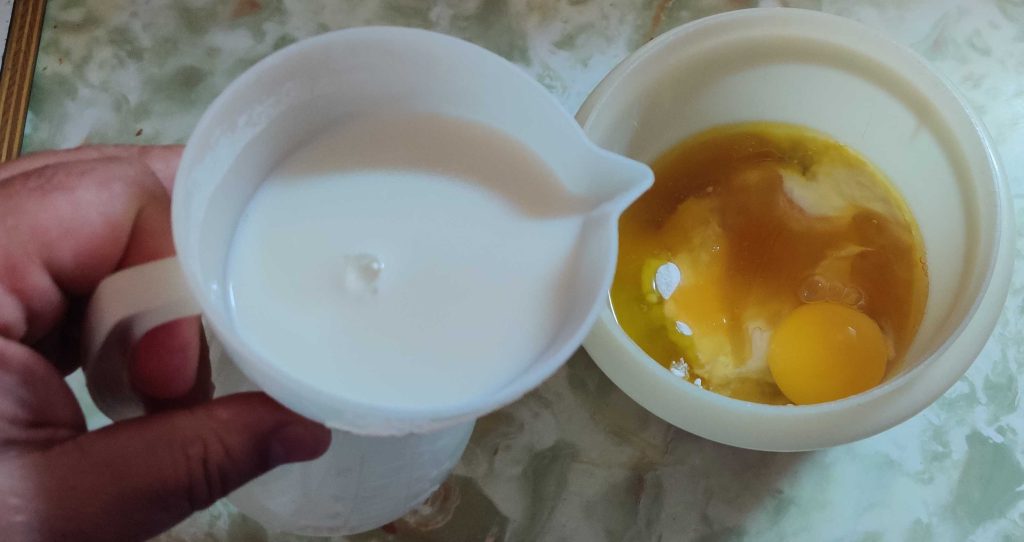
Milk was measured out:

Milk measured out

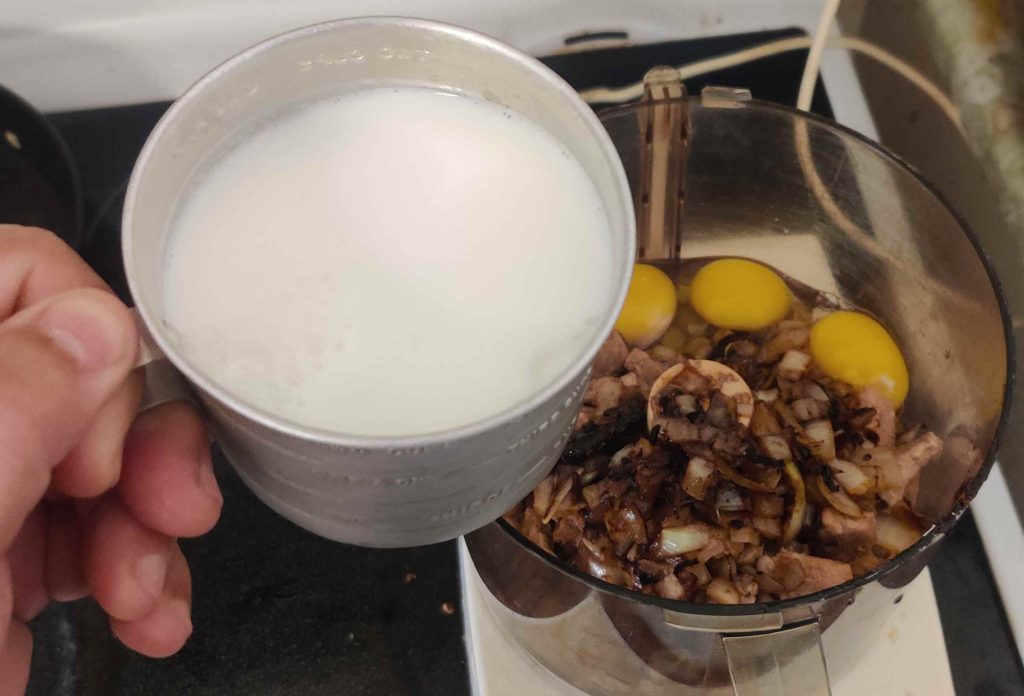
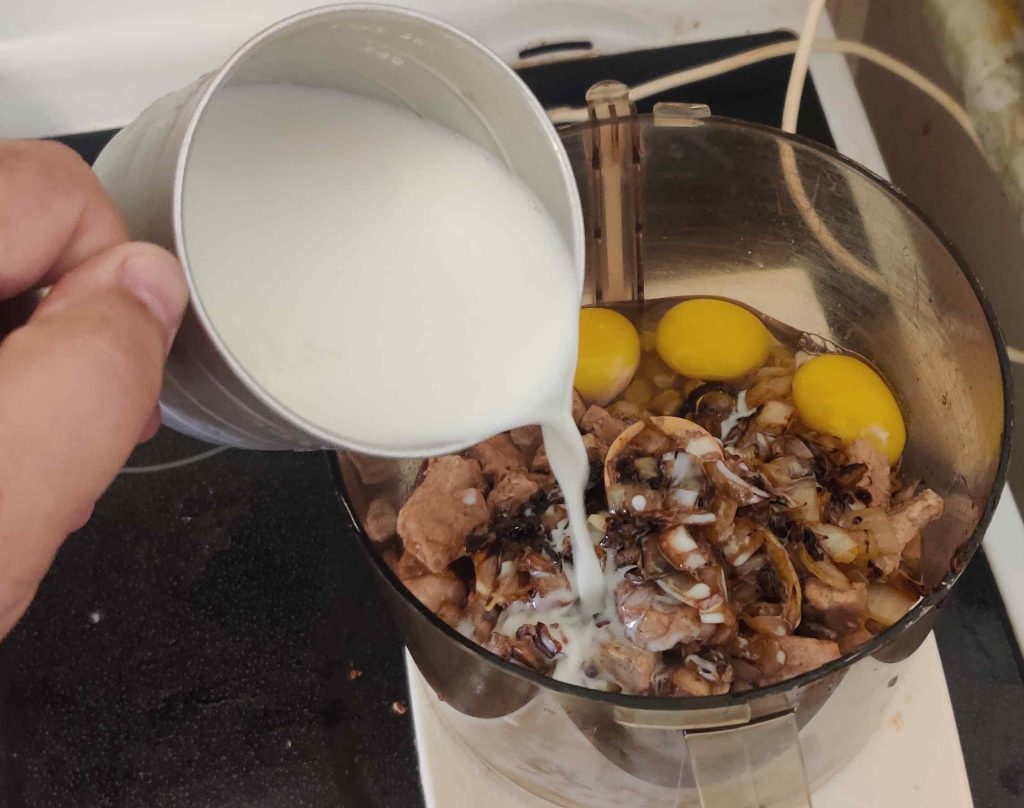
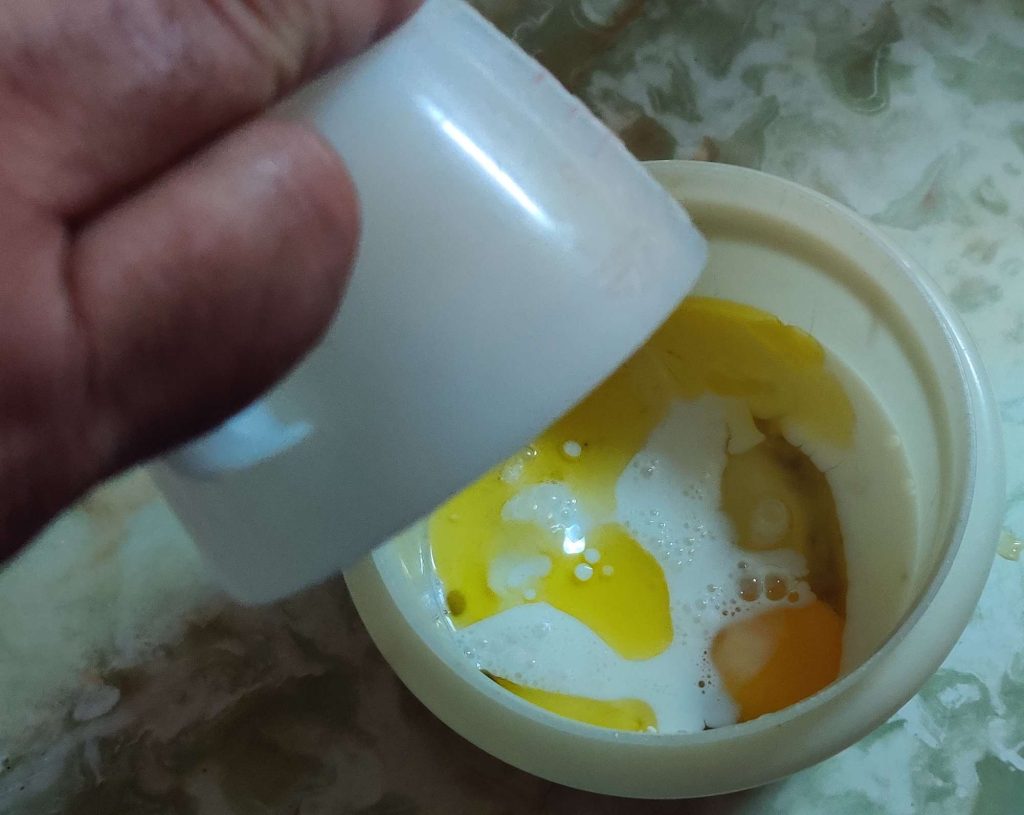
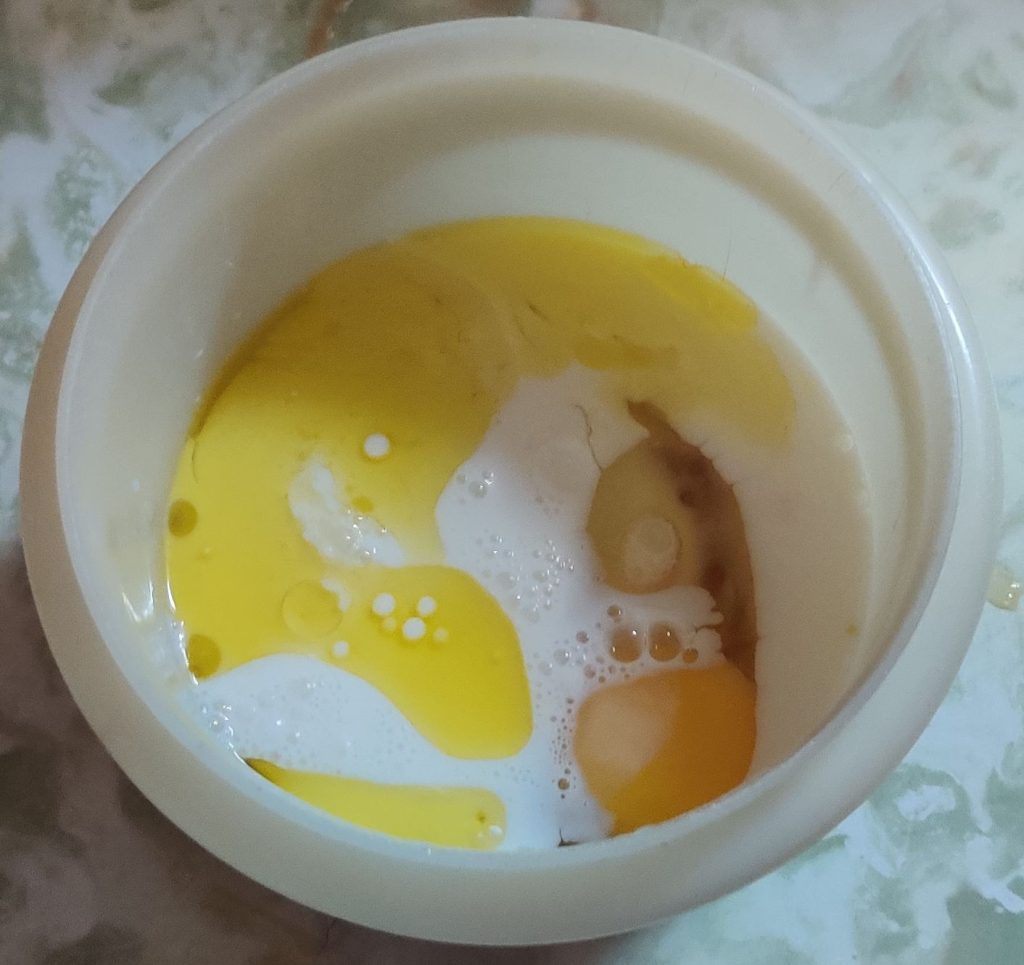
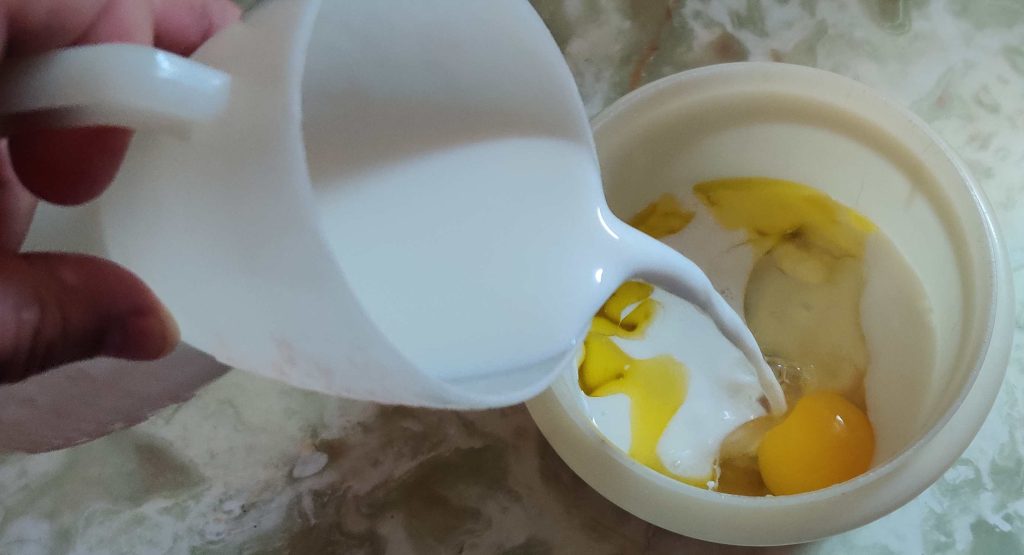
The milk was transferred to the bowl with the flour, the baking powder, the salt, the olive oil, the honey, and the egg:

Milk transferred to bowl

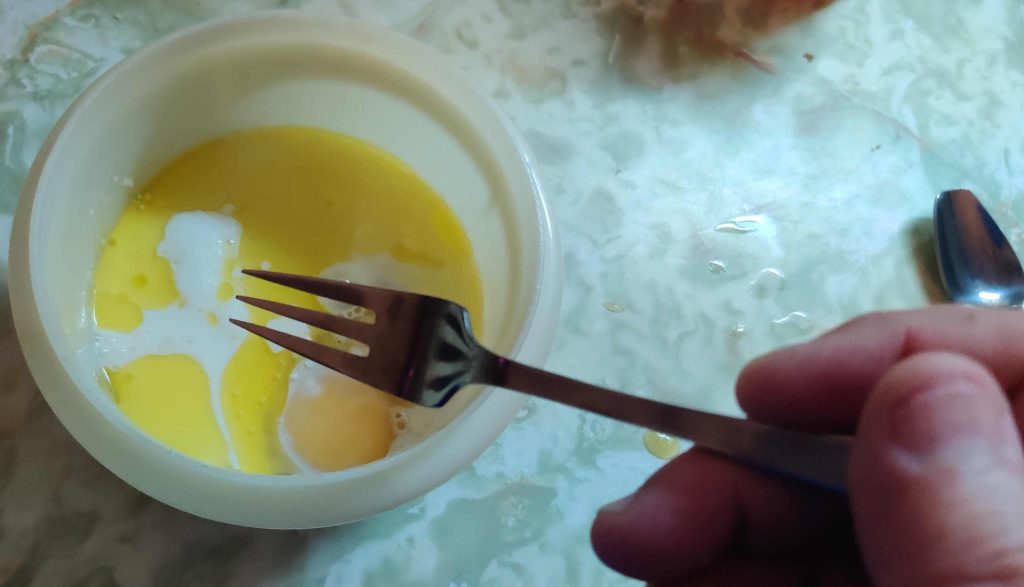
A fork was brought to the bowl in order to mix the ingredients:

Fork brought to bowl for mixing

The ingredients were thoroughly mixed:

Ingredients thoroughly mixed

The mixing bowl with the muffin batter was put aside for a moment.

A bowl was taken out; yes, I seem to have taken the photo at a funny angle.

Bowl taken out

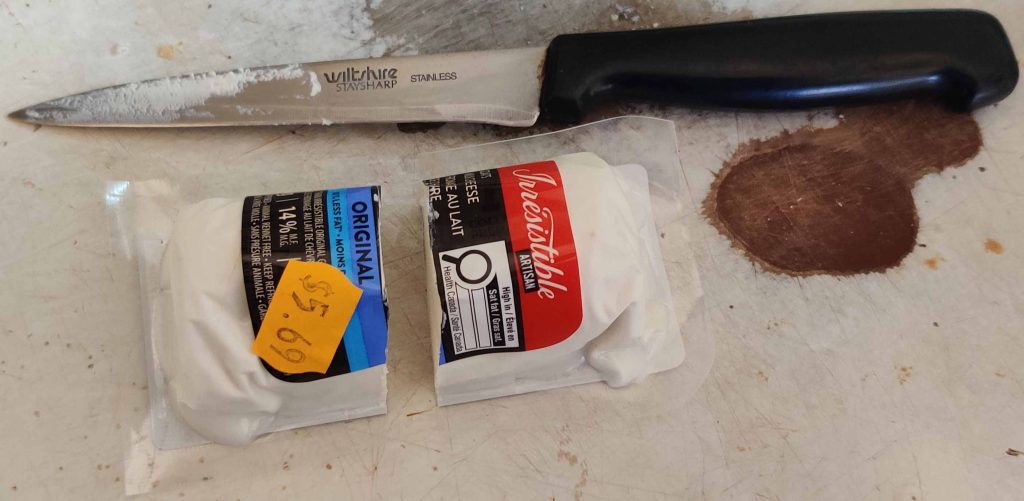
A package of goat cheese and a very sharp knife were taken out, and cut in two in order to have two roughly 56g (2oz) pieces; the other piece was placed in a bag, returned to the fridge, and in fact was used the following morning for a second batch of goat cheese muffins:

Goat cheese and sharp knife taken out, and cheese divided in two

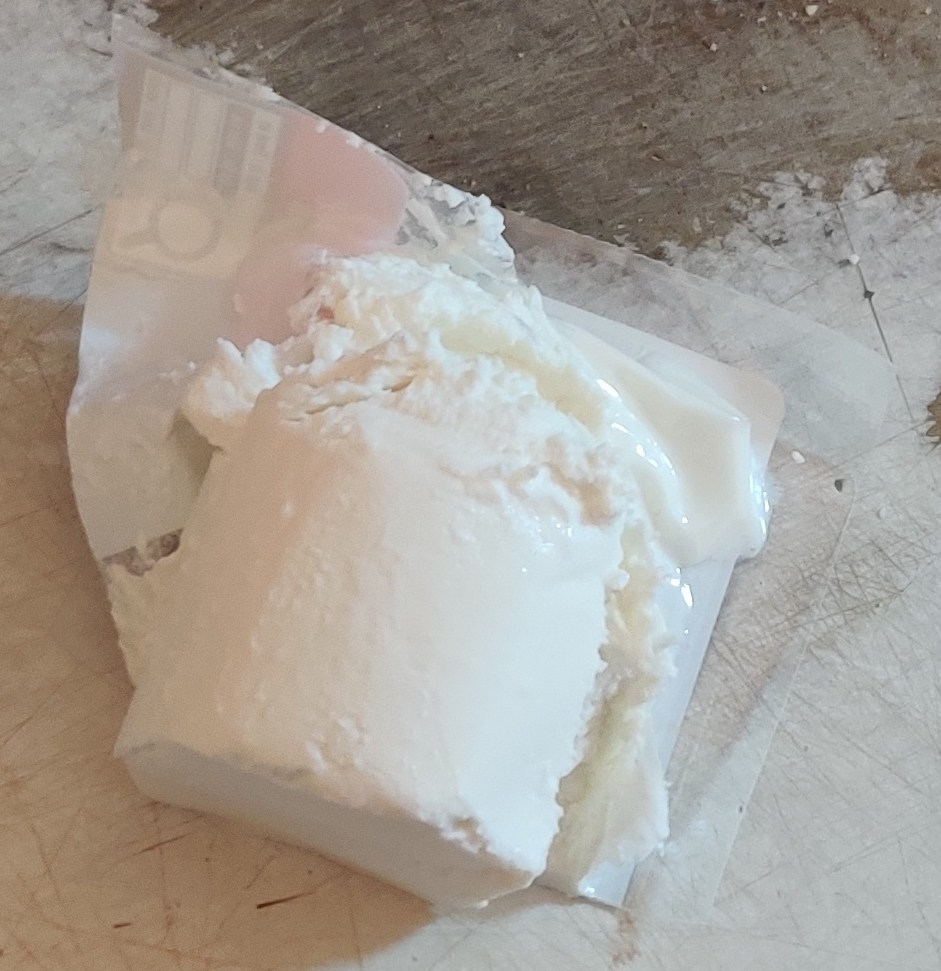
The goat cheese’s packaging was opened in order to allow for the use of the cheese:

Cheese package opened up

The goat cheese was transferred to the bowl:

Goat cheese transferred to bowl

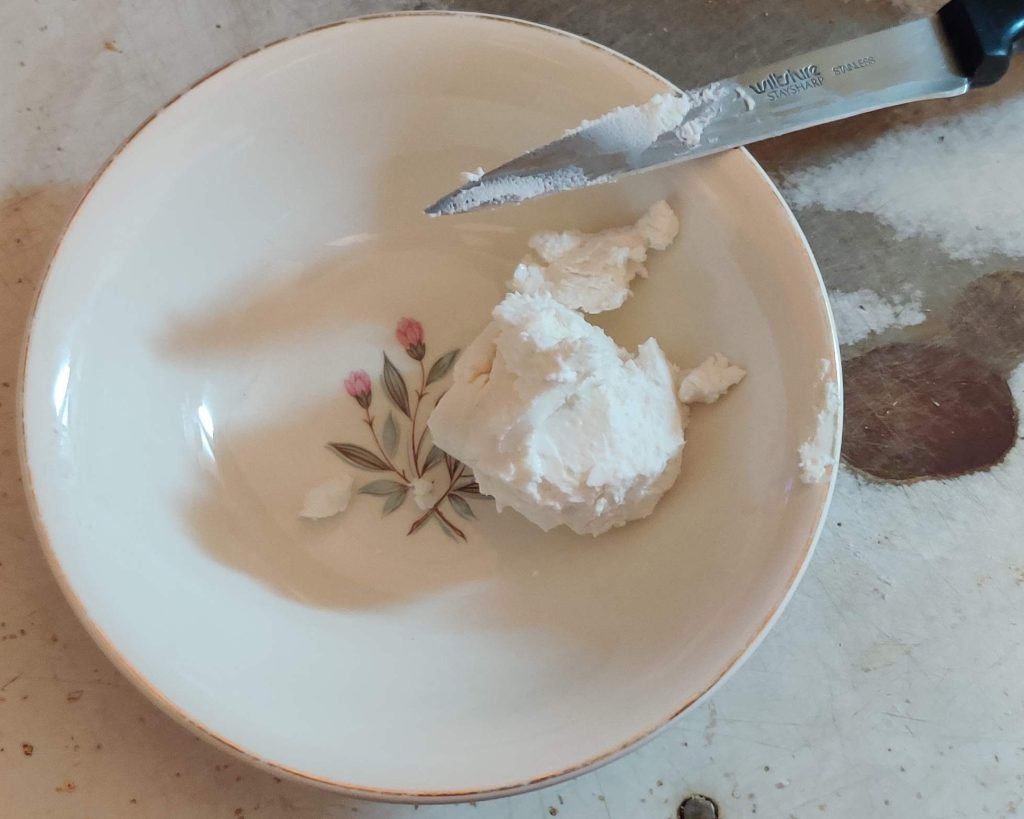
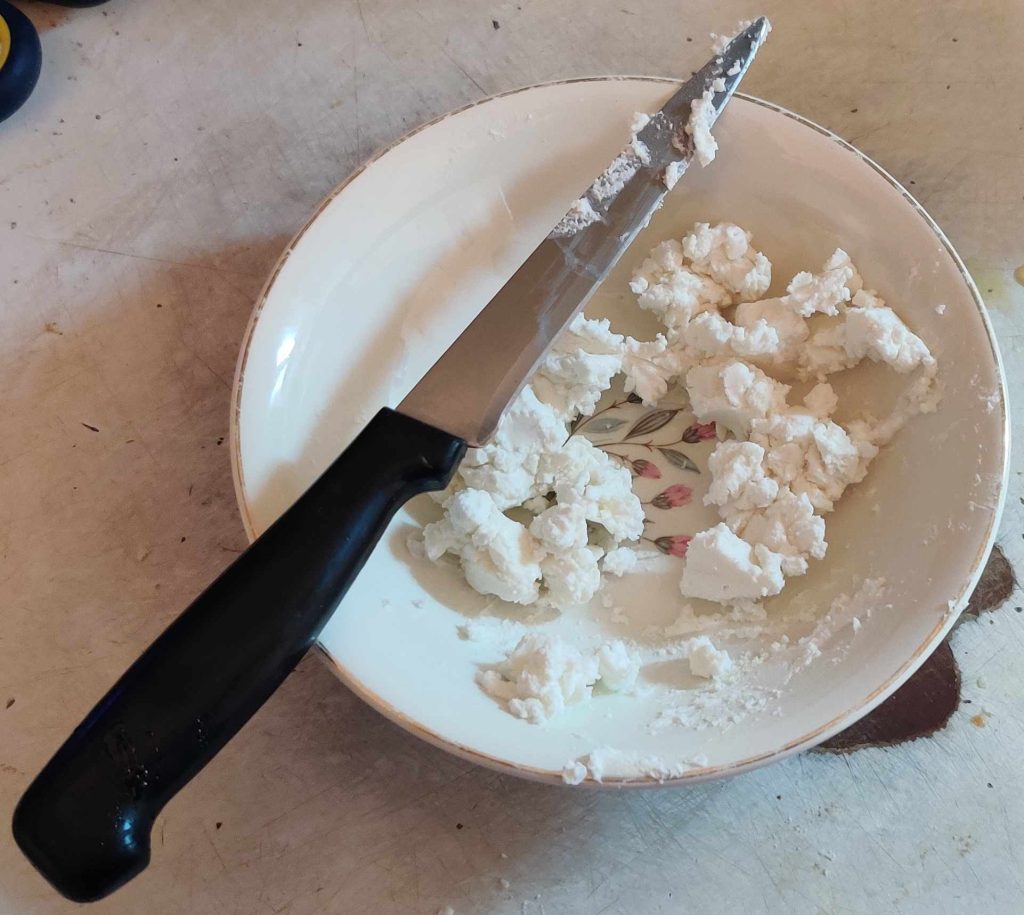
The goat cheese was cut up into small chunks with a knife:

Goat cheese cut up into chunks

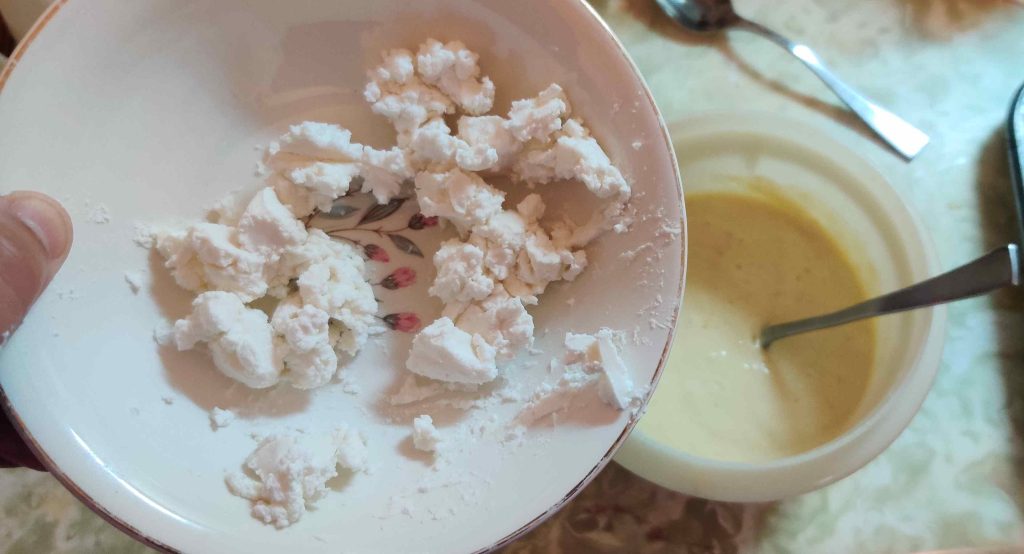
The bowl of goat cheese chunks was brought over to the bowl of muffin batter:

Chunks of goat cheese brought to bowl of muffin batter

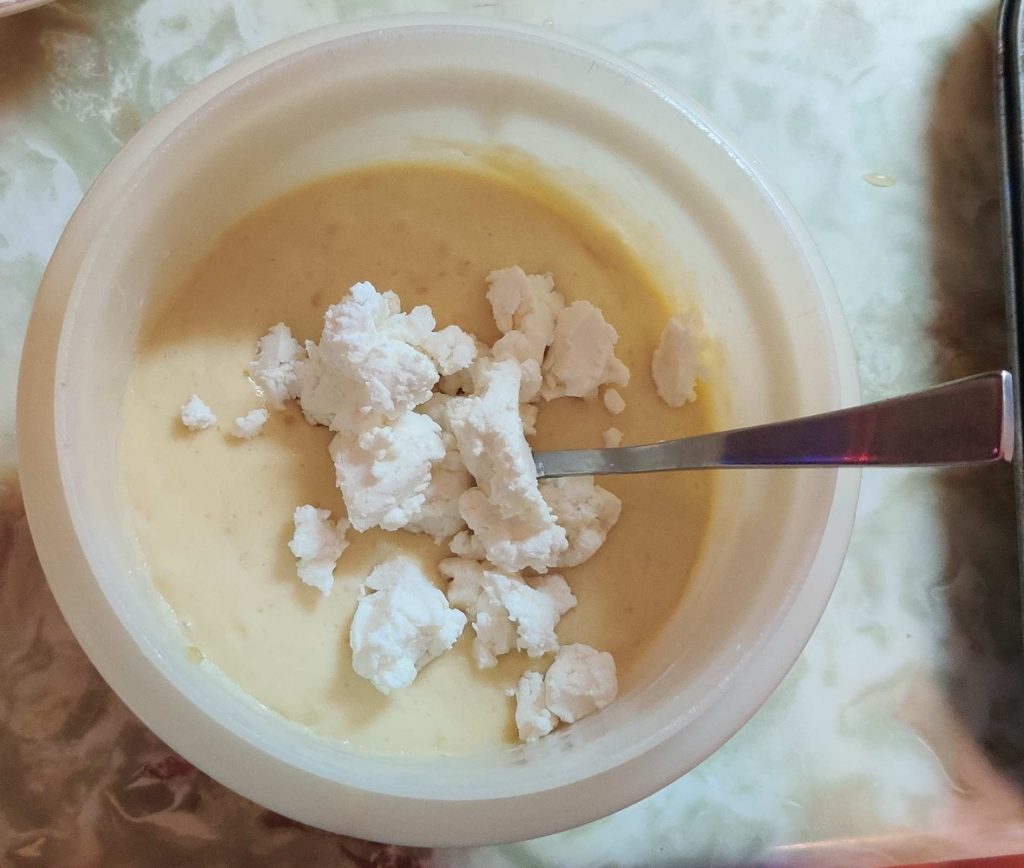
… and the goat cheese chunks were transferred to the bowl with the muffin batter:

Goat cheese transferred to bowl of muffin batter

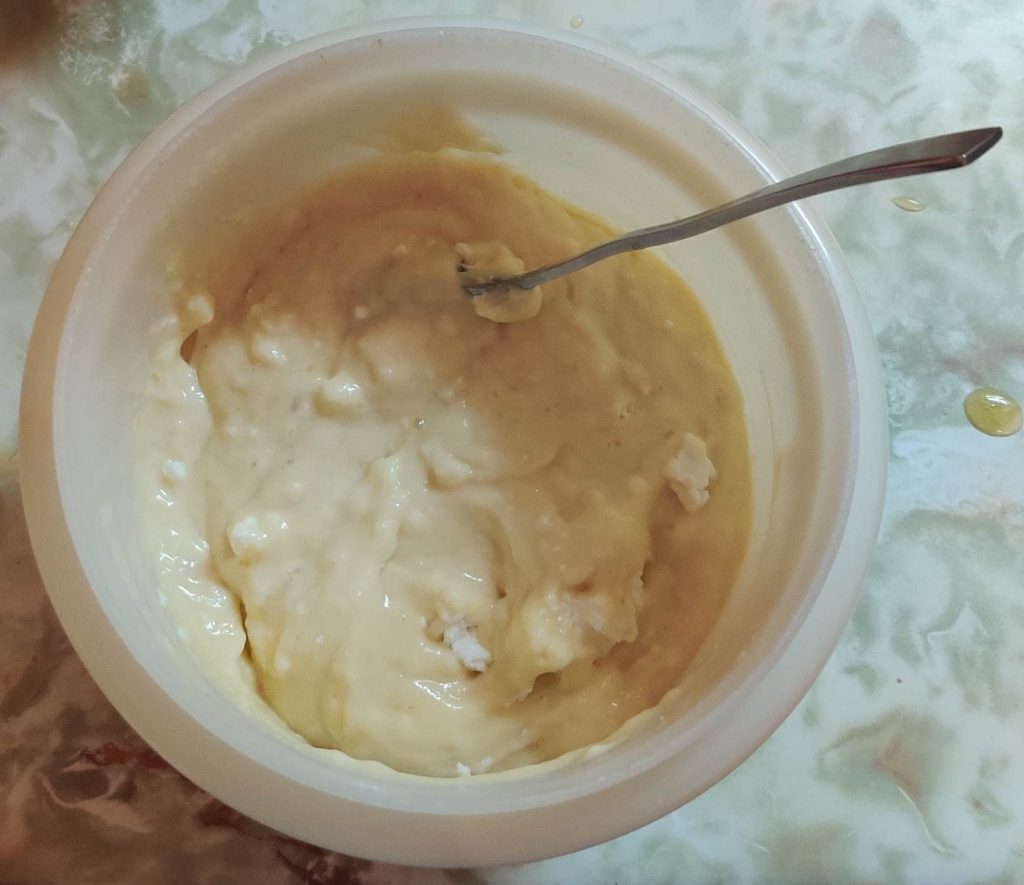
The goat cheese was folded into the batter:

Goat cheese folded into muffin batter

The goat cheese muffin batter was again put aside for a moment.

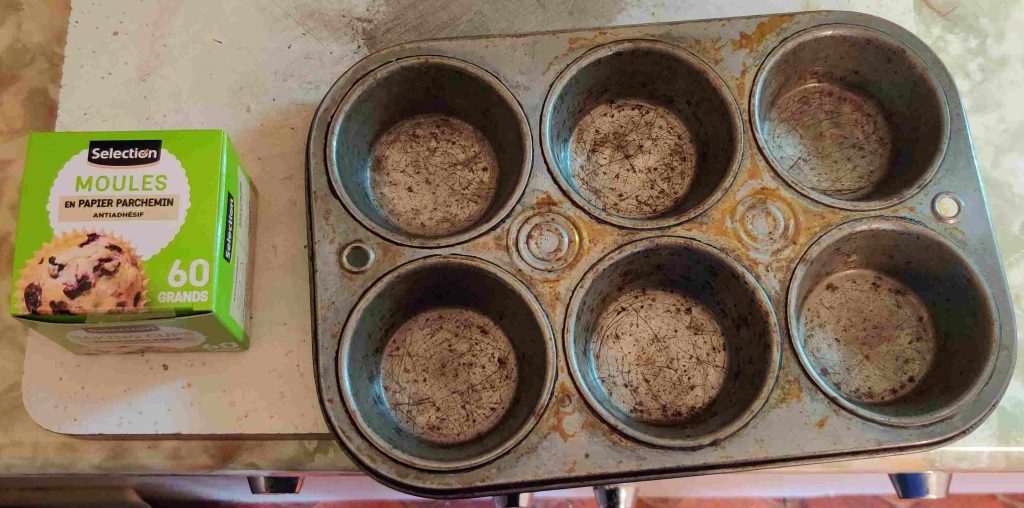
Muffin paper liners and a muffin baking tin were taken out:

Muffin liners and muffin baking tin taken out

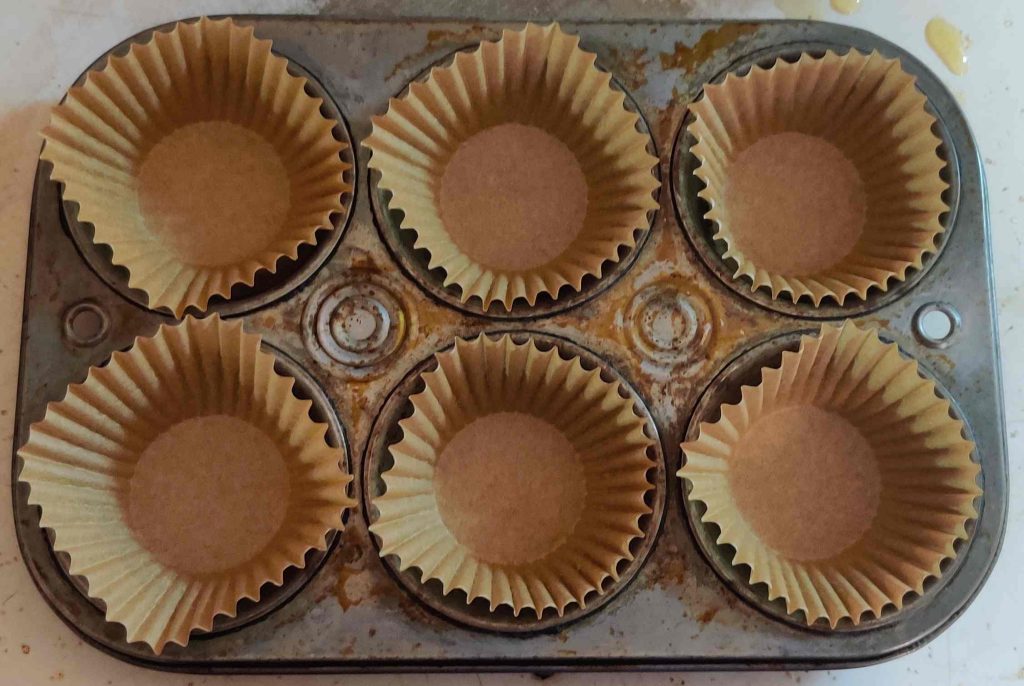
Paper muffin liners were placed in the muffin tin wells:

Paper muffin liners placed in muffin tin wells

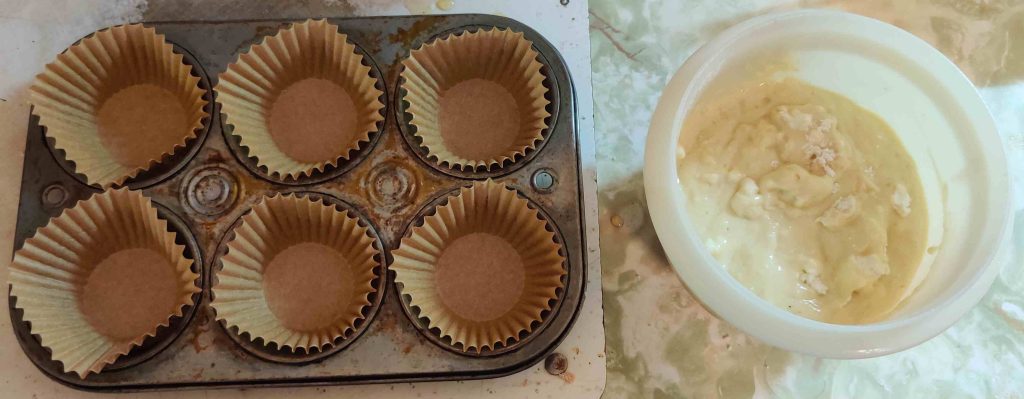
The bowl of goat cheese muffin batter was brought over to the muffin tin with the muffin liner papers:

Bowl of goat cheese muffin batter brought to the muffin tin with paper muffin liners

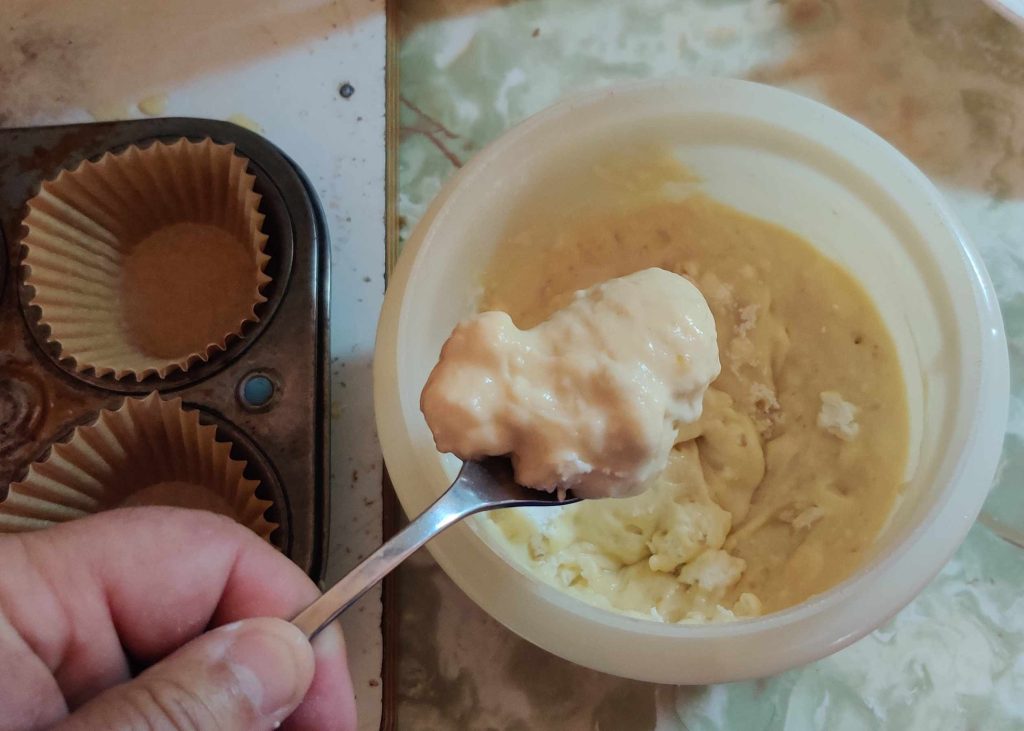
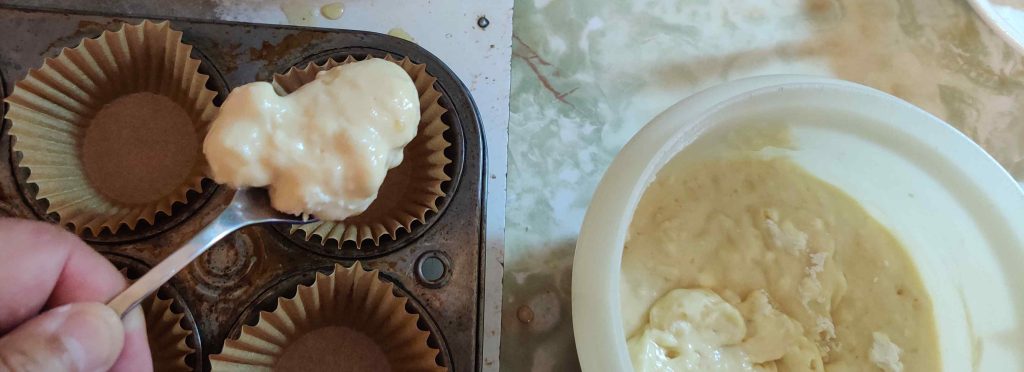
Goat cheese muffin batter was picked up with a spoon:

Goat cheese batter scooped up for transfer to muffin baking tin

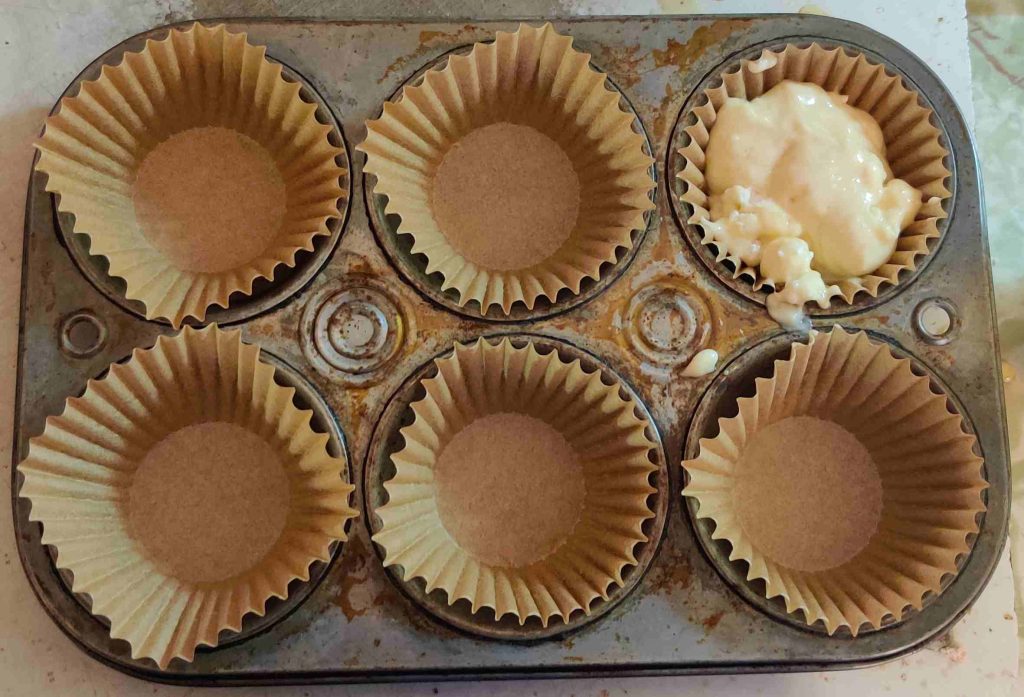
Goat cheese muffin batter was transferred to one of the paper muffin liners:

Goat cheese muffin batter transferred to muffin liner

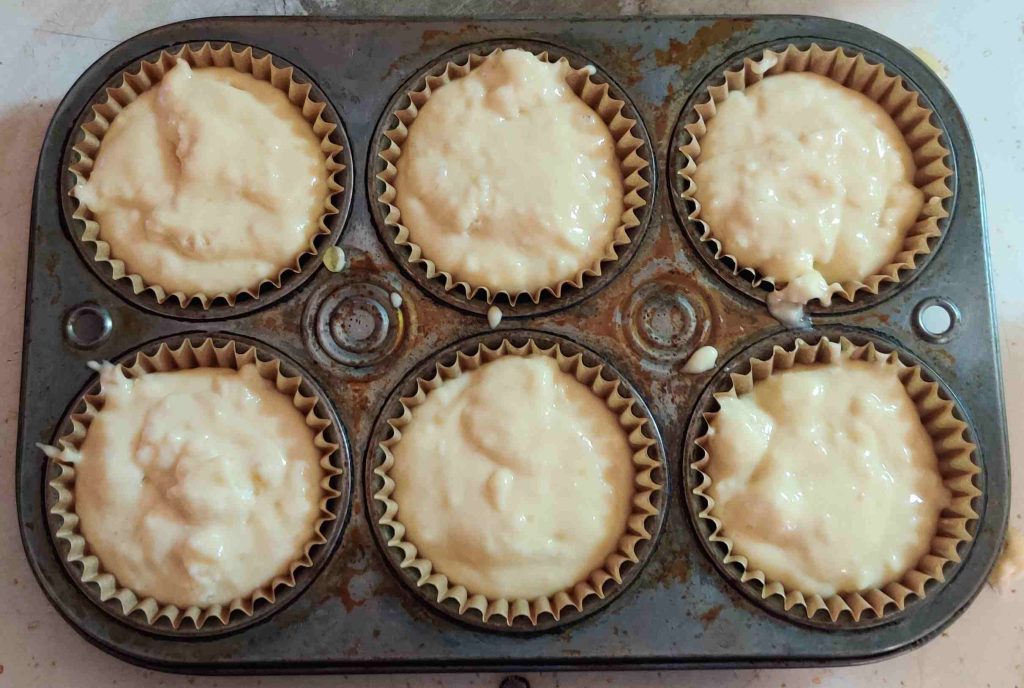
The goat cheese muffin batter was divided roughly equally amongst the muffin paper lined wells:

Goat cheese muffin batter transferred to muffin liners

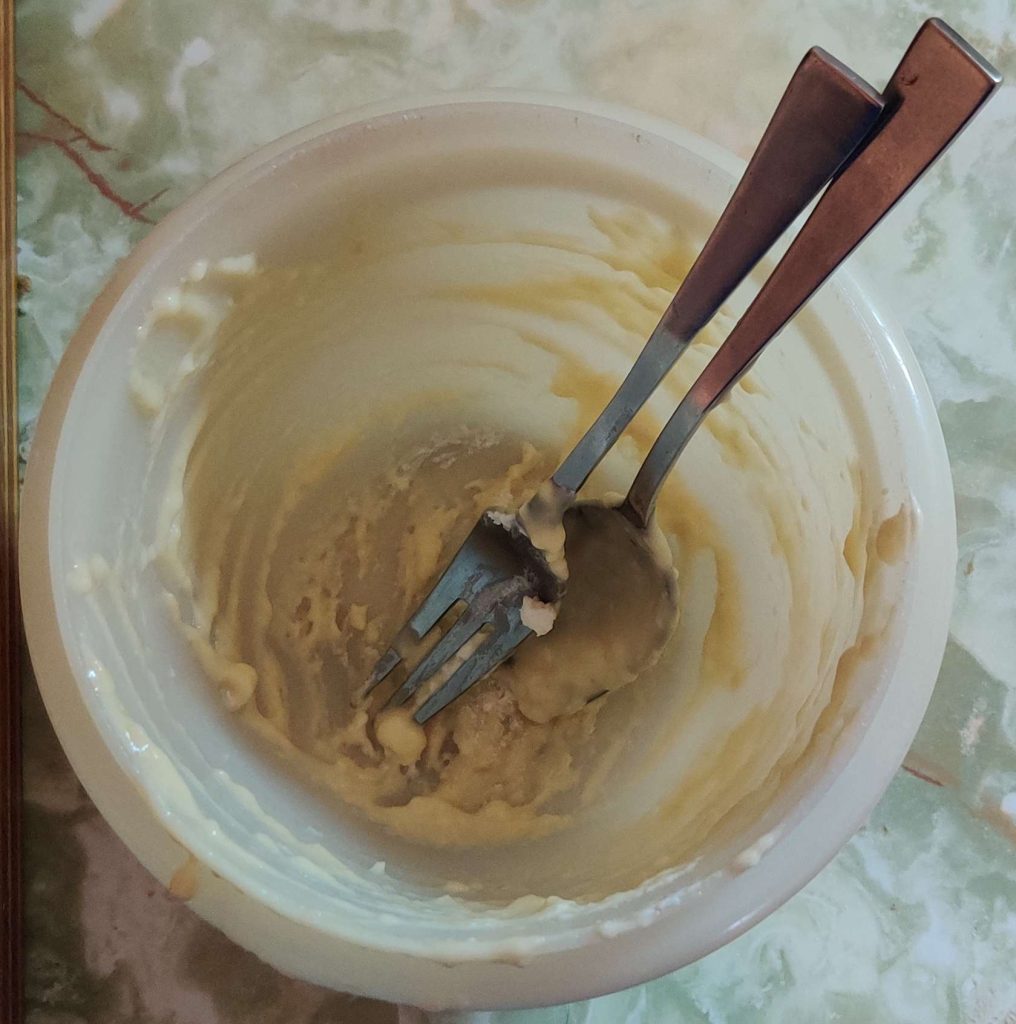
Once the muffin tin wells and paper liners were filled, the goat cheese muffin batter mixing bowl was empty:

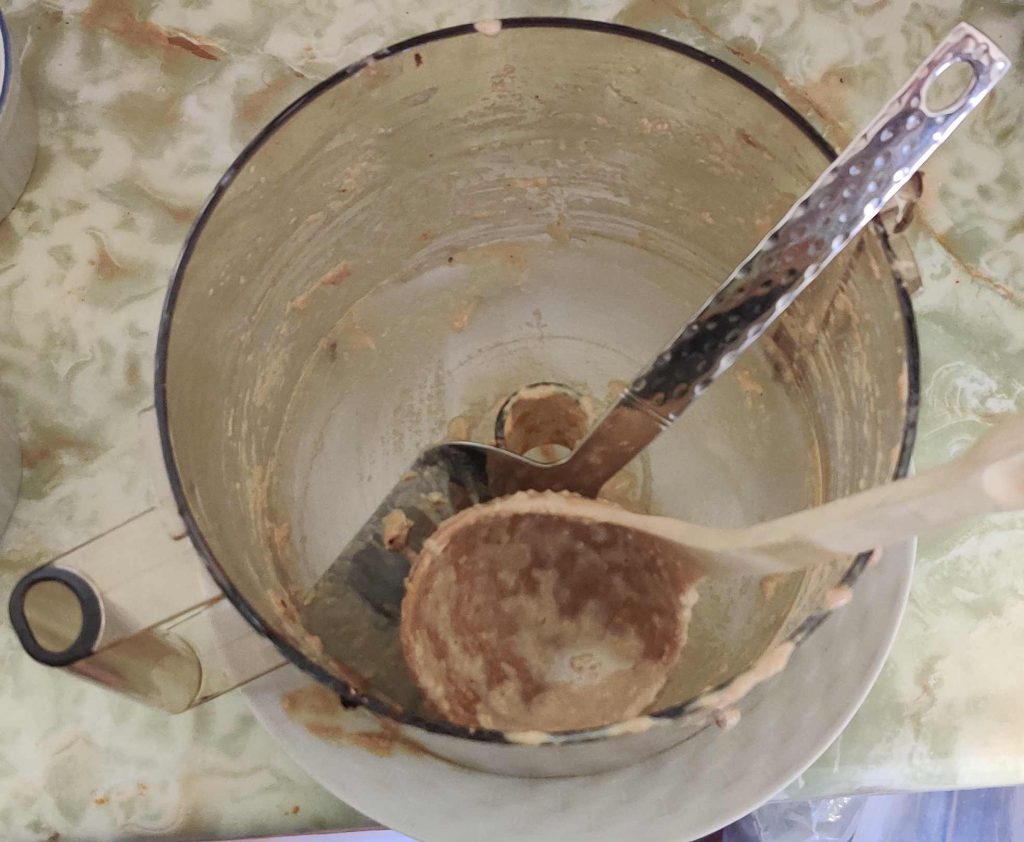
Mixing bowl empty

The door to the now-preheated countertop convection oven was opened …

Countertop convection oven door opened

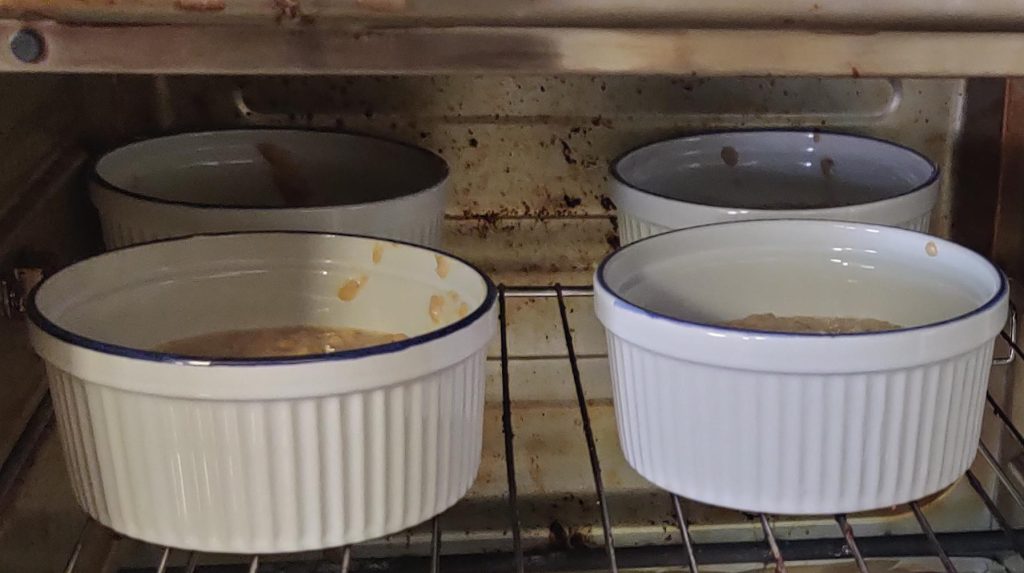
… and the filled muffin baking tin was placed in the countertop convection oven:

Filled baking tin placed in countertop convection oven

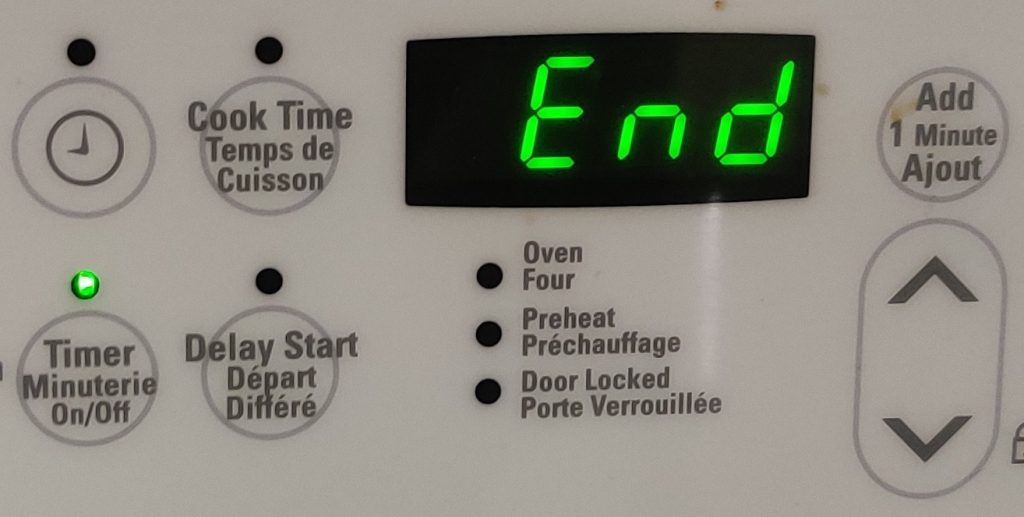
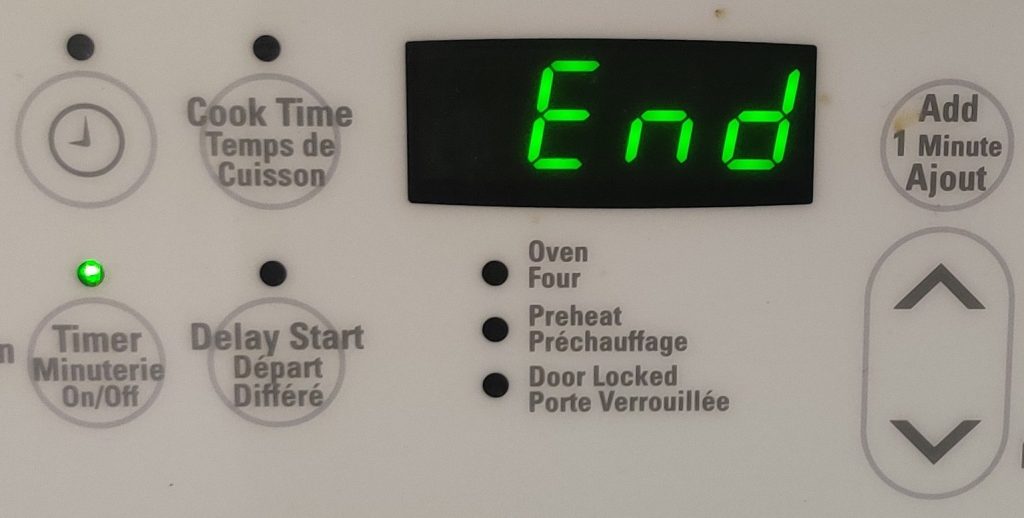
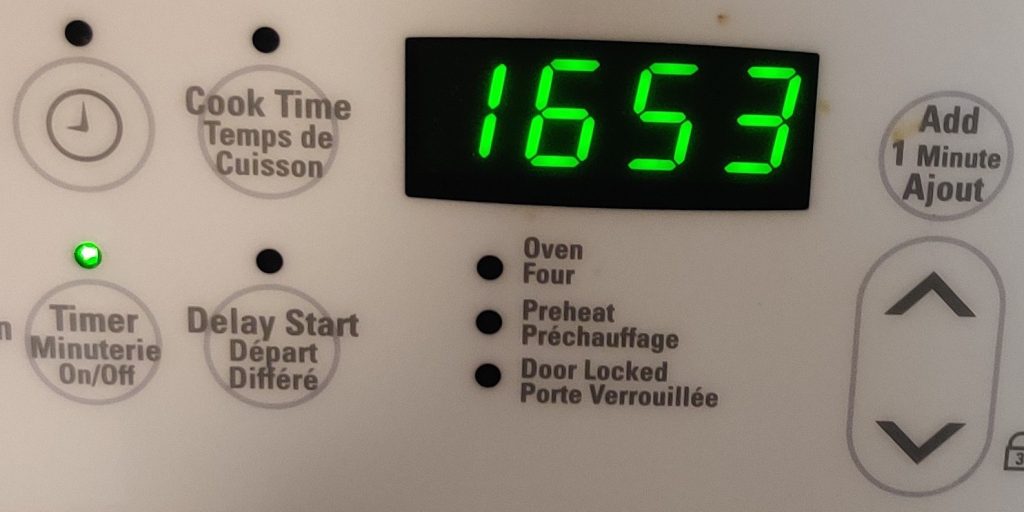
The countertop convection oven door was closed, and a timer was set for 17 minutes:

Timer set for 17 minutes

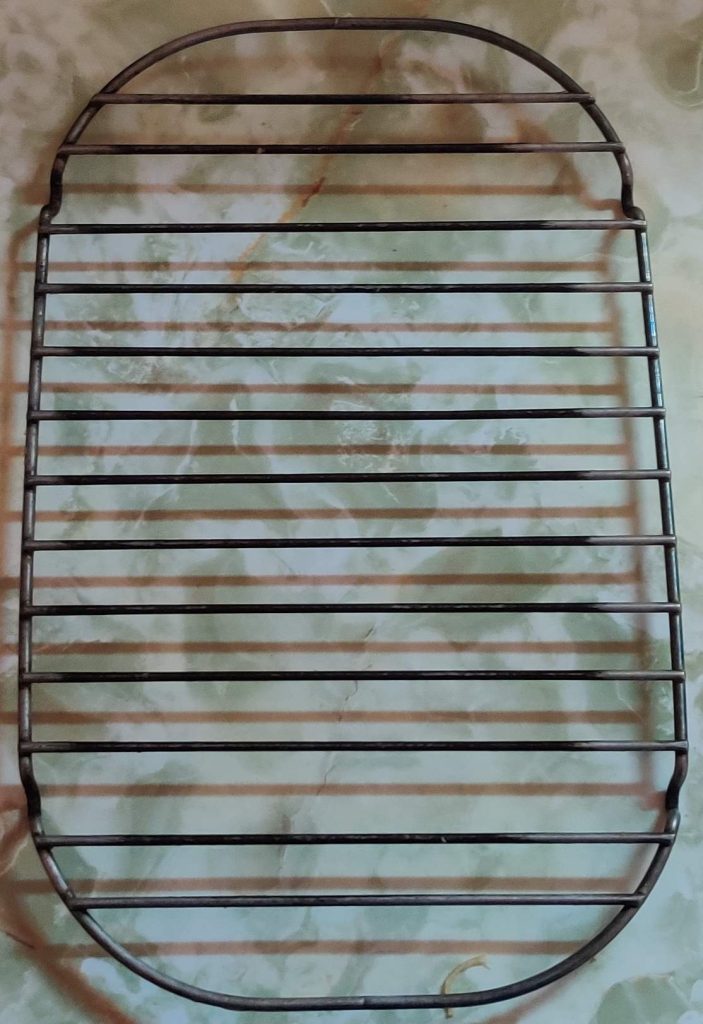
While I was waiting for the muffins to bake, I took out a cooling rack, and placed it on the counter:

Cooling rack taken out

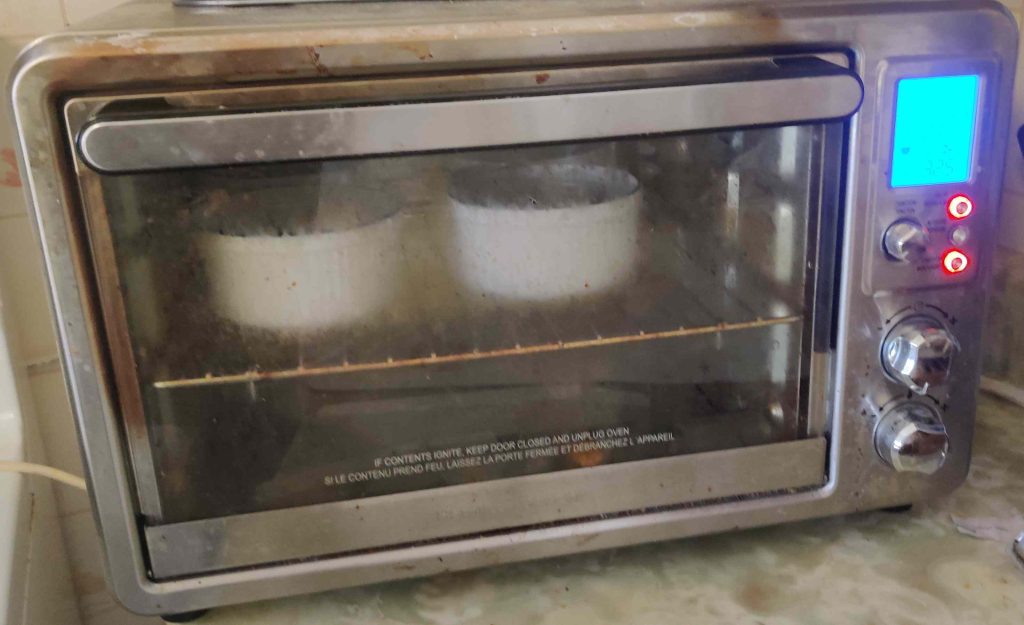
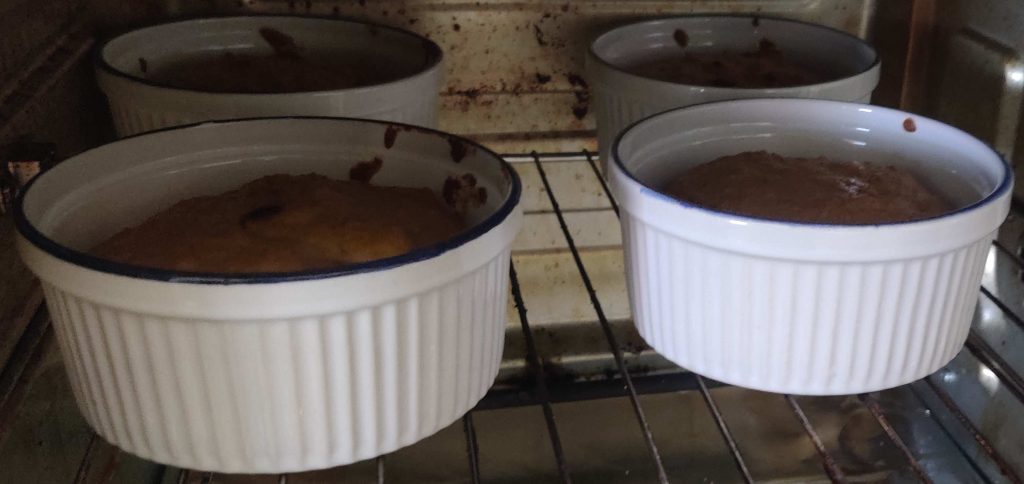
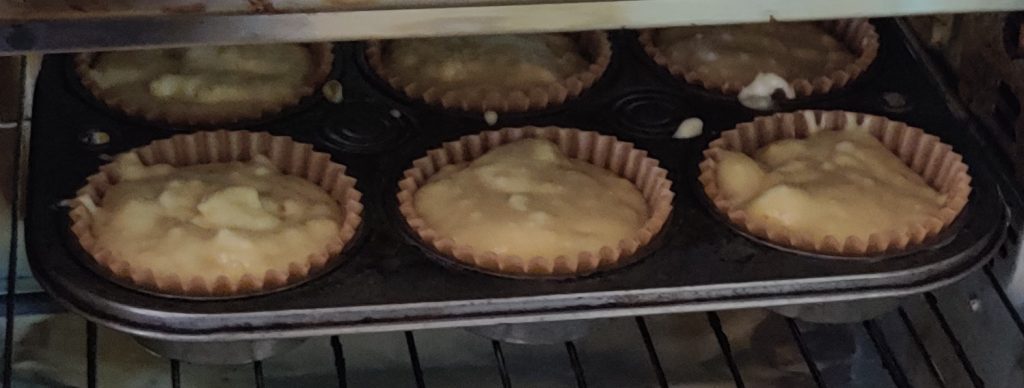
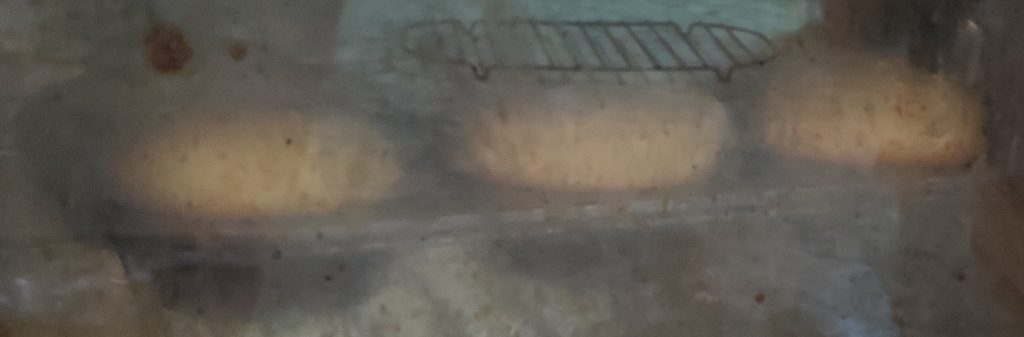
While the muffins were baking, I could see them rising in the countertop convection oven — and a reflection of the cooling rack in the window!

Muffins rising while baking

When the timer ran out …

17 minute timer finished

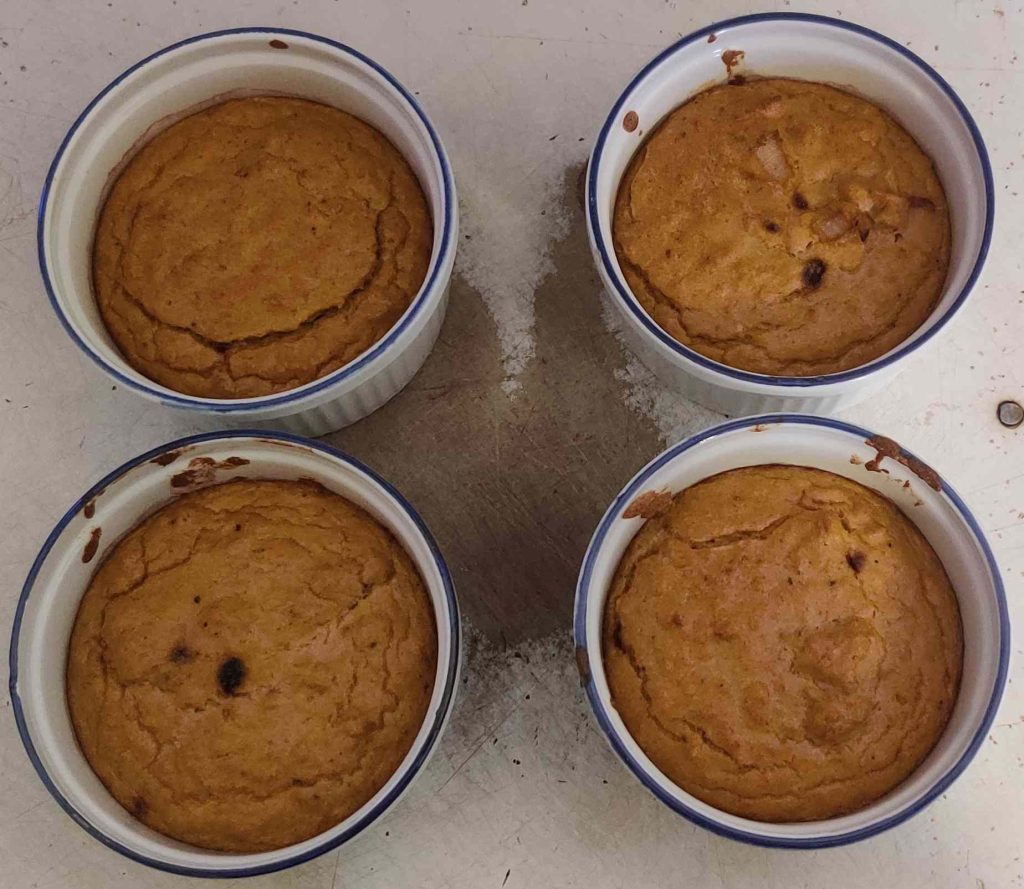
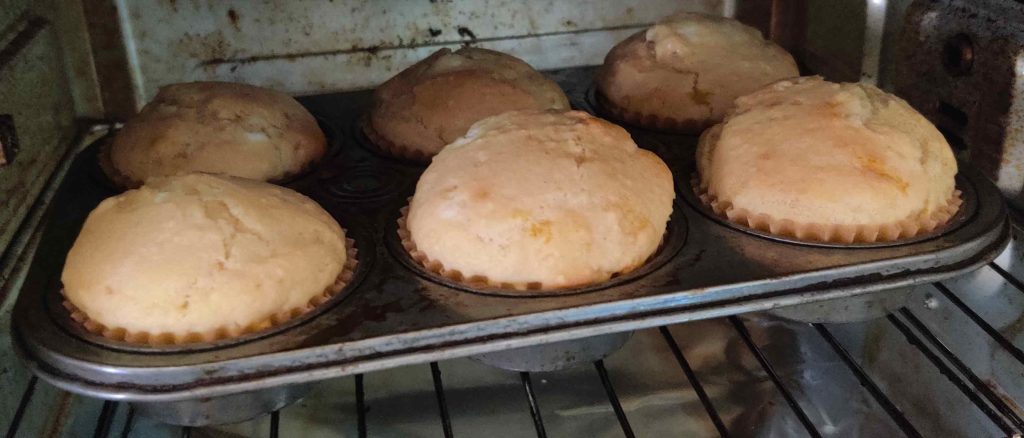
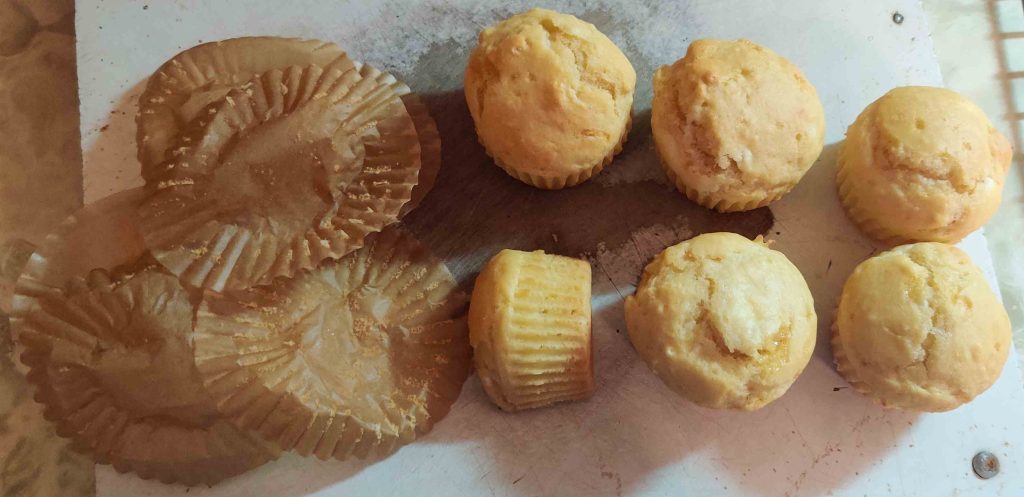
… the goat cheese muffins were nicely baked!

Goat cheese muffins baked

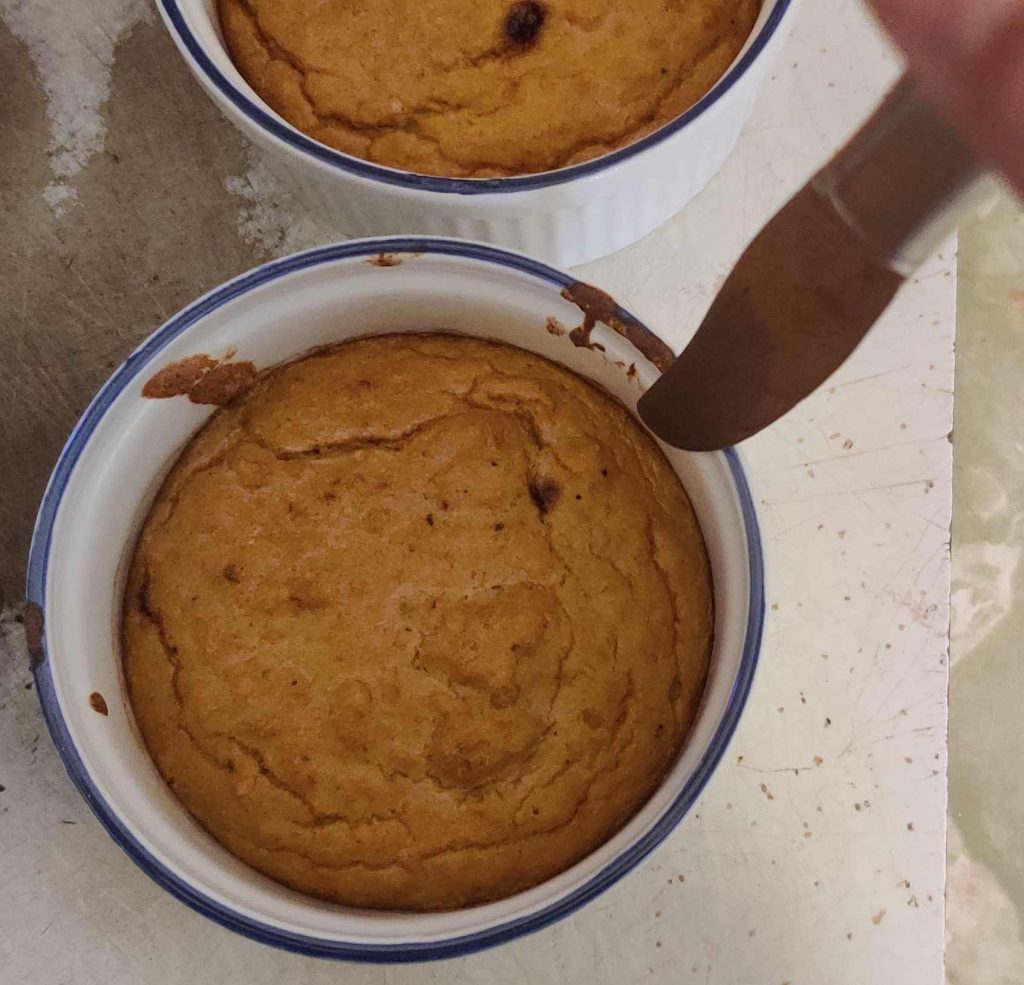
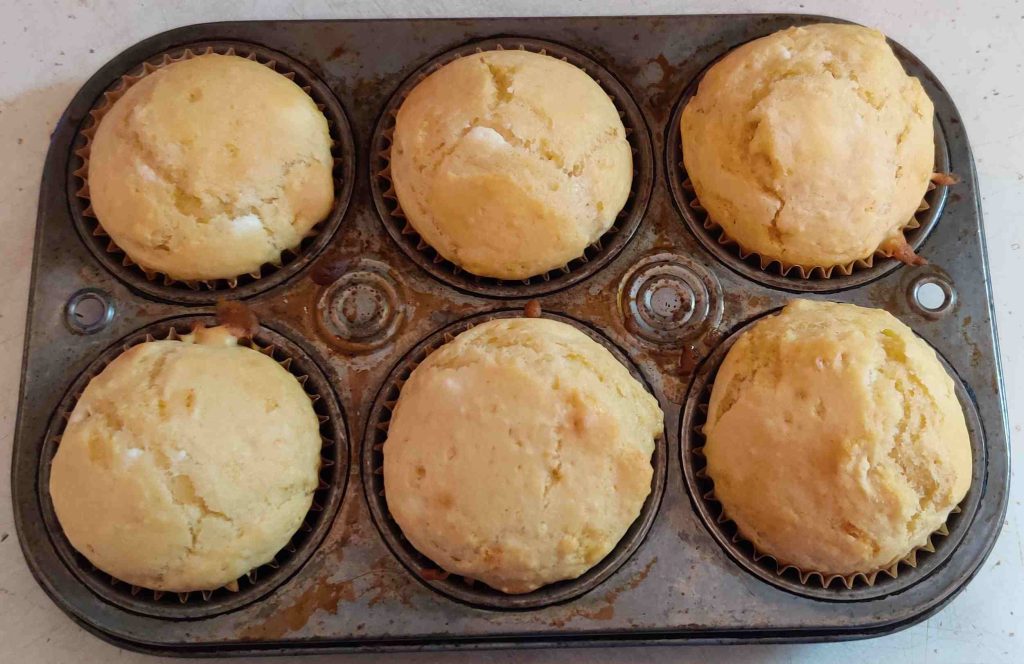
The baked goat cheese muffins were taken out of the countertop convection oven, and placed on a cutting board on the counter:

Goat cheese muffins taken out of countertop convection oven

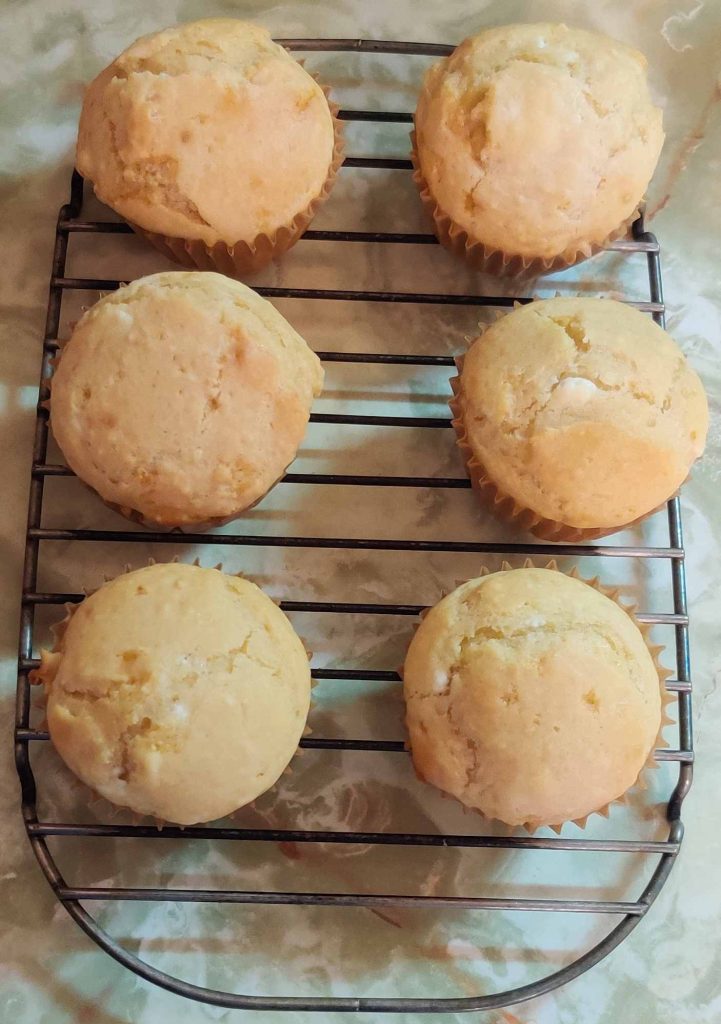
While they were still warm to hot, the fresh goat cheese muffins were taken out of the muffin baking tin and placed on the cooling rack:

Goat cheese muffins placed on cooling rack

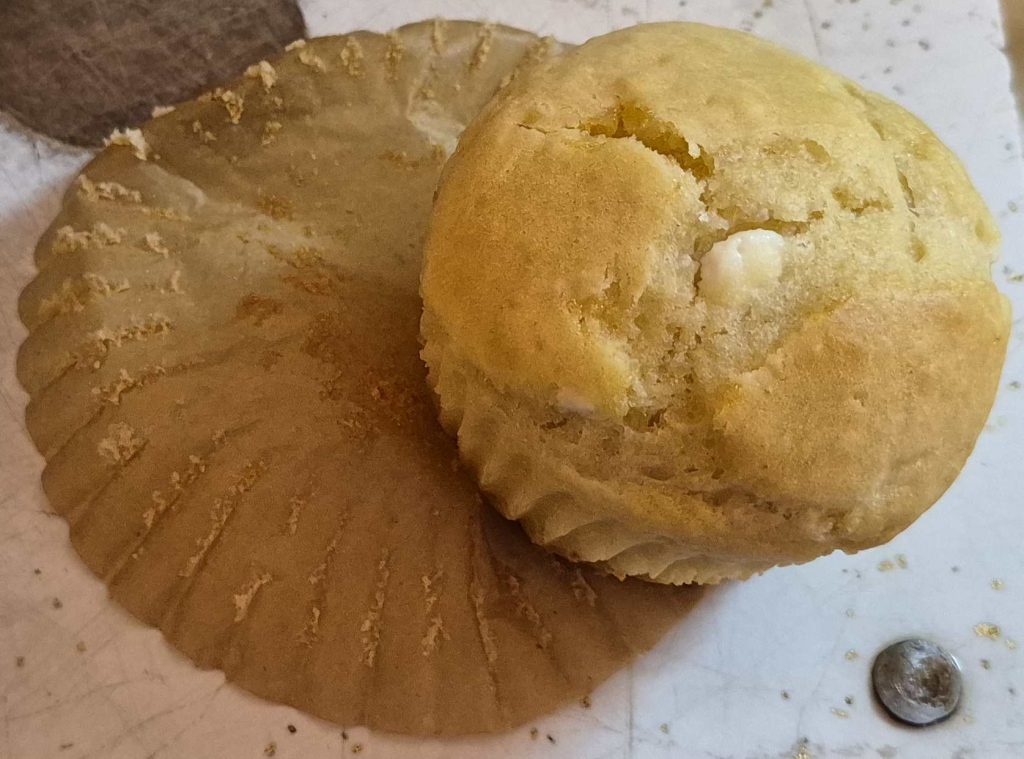
After a bit of cooling, a fresh muffin was taken from the cooling rack, and the paper muffin liner was removed from the goat cheese muffin:

Paper muffin liner removed from goat cheese muffin

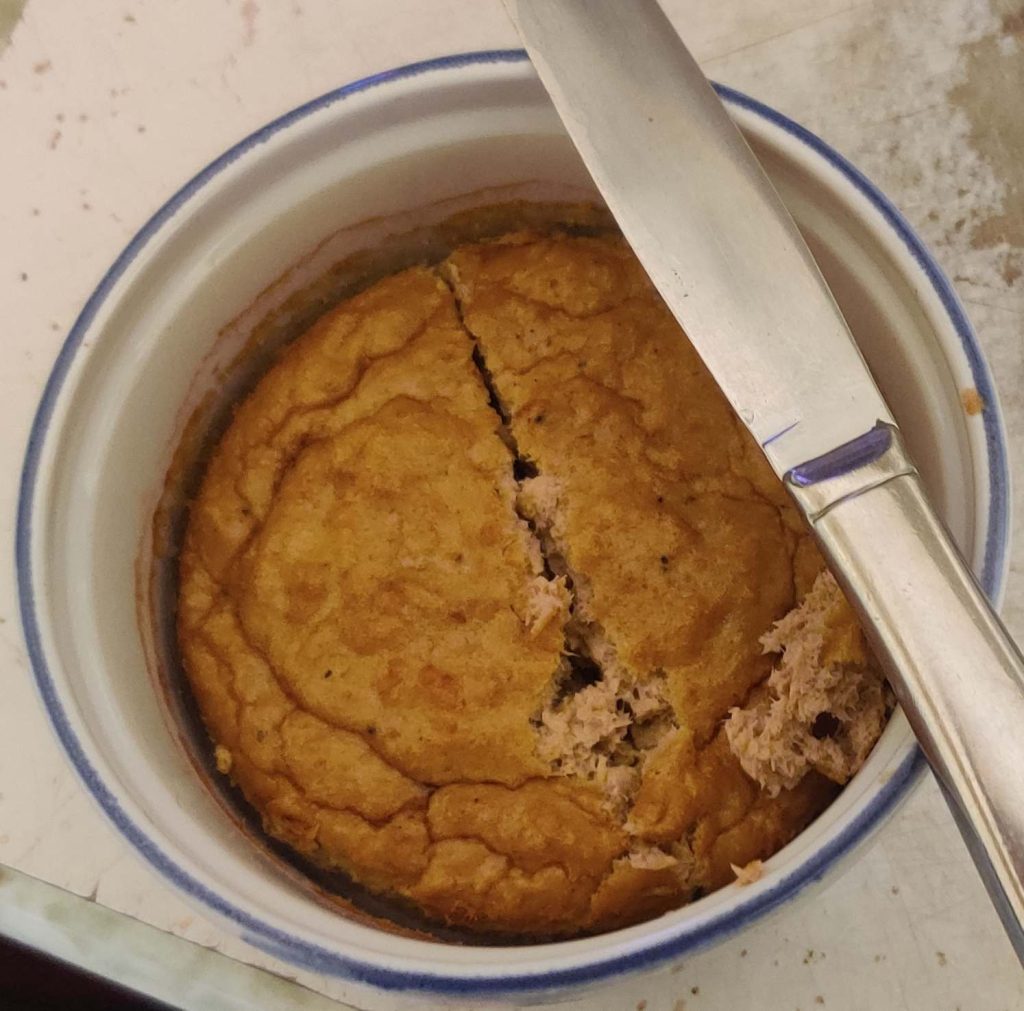
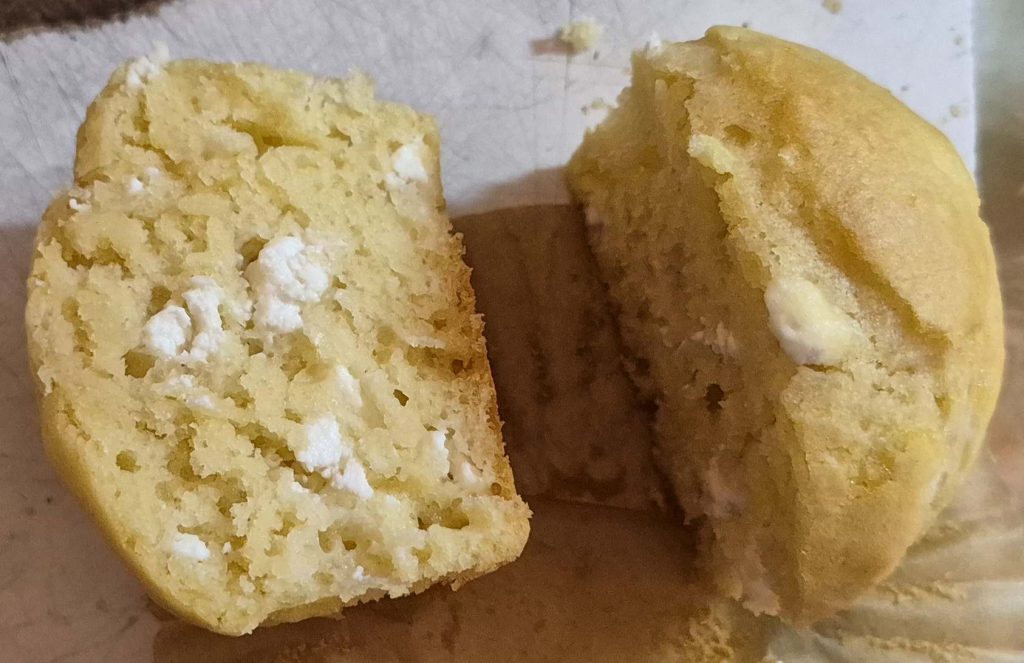
The goat cheese muffin was sliced in half, exposing the chunks of goat cheese inside:

Goat cheese muffin sliced in half, exposing chunks of goat cheese inside

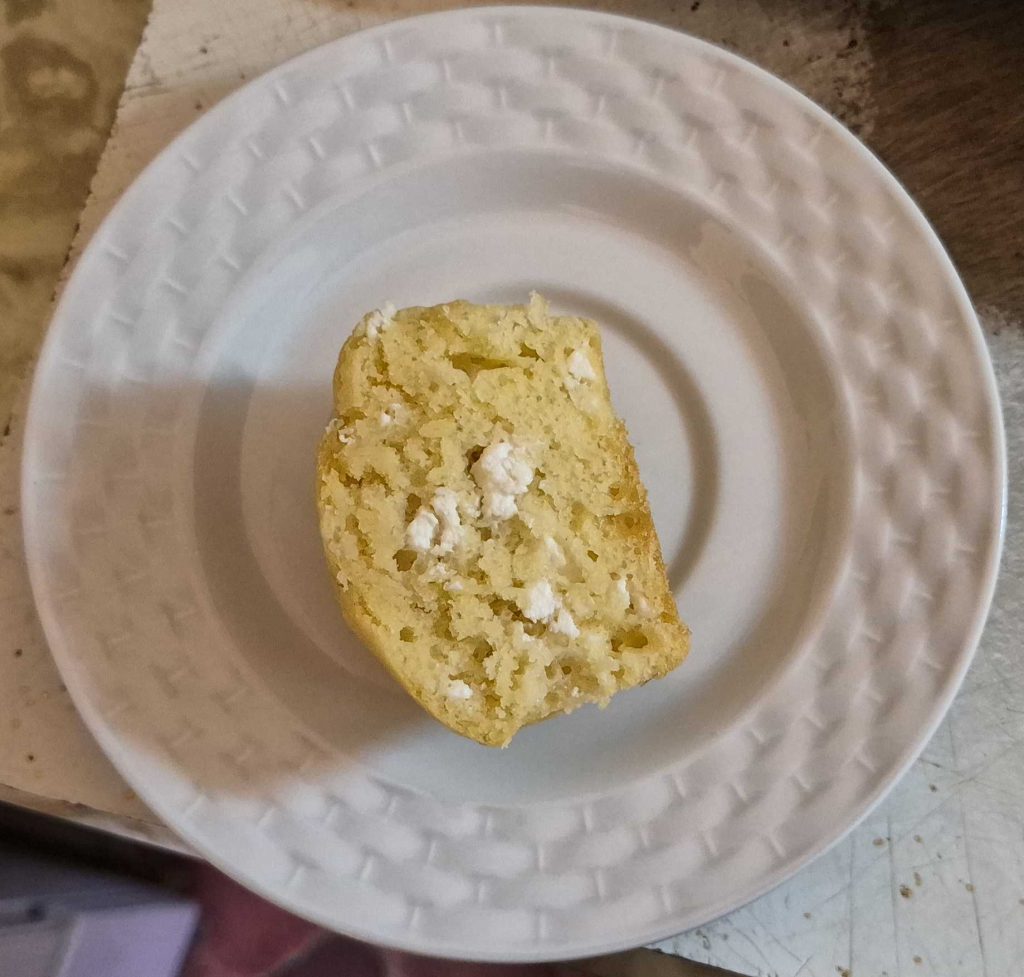
The piece of goat cheese muffin was placed on a plate, and served to Mom:

Goat cheese muffin piece placed on plate for serving

A short while after Mom had eaten the still warm and fresh out of the oven goat cheese muffin piece, she told me that she had been dreaming of having another goat cheese muffin with her supper. High praise indeed!

As for the rest of the muffins — five whole goat cheese muffins and the unserved half goat cheese muffin, their paper liners were removed:

Paper muffin liners removed from goat cheese muffins

At this point, a whole goat cheese muffin was put aside for Mom’s supper; she later told me that she had indeed fully enjoyed the goat cheese muffin during her supper!

A freezer bag was taken out and identified:

Freezer bag taken out and identified

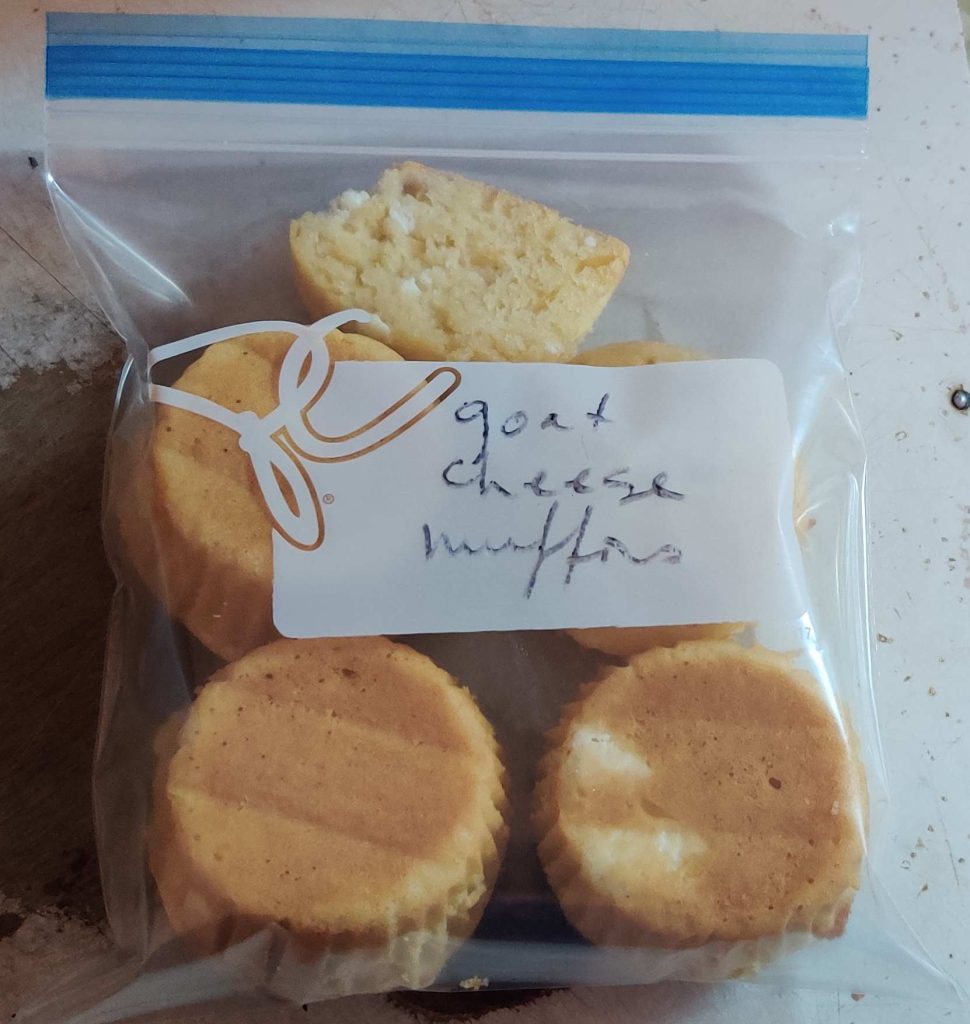
The bag was filled with the remaining four and a half goat cheese muffins:

Goat cheese muffins placed in freezer bag

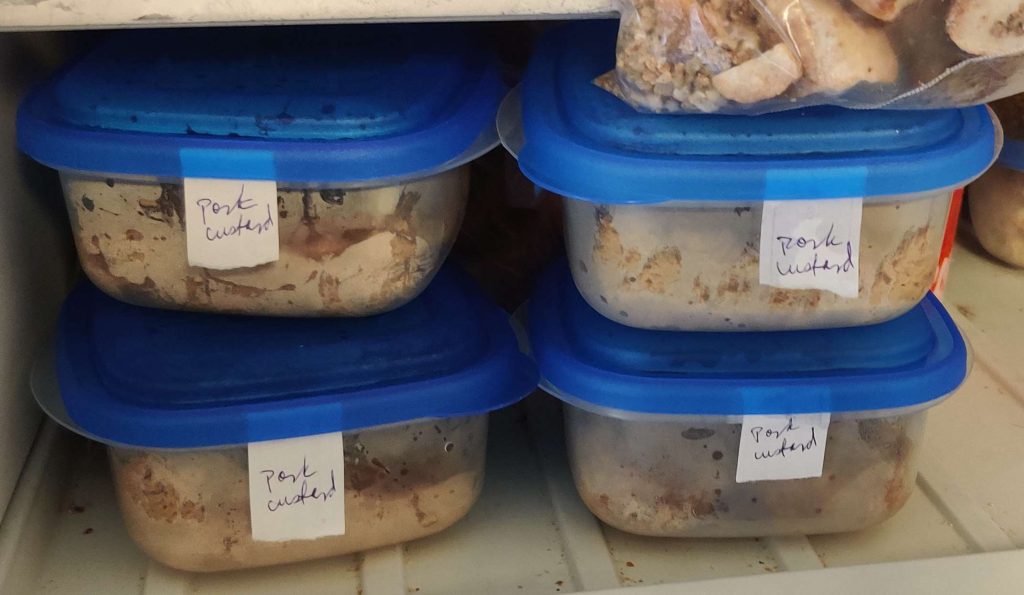
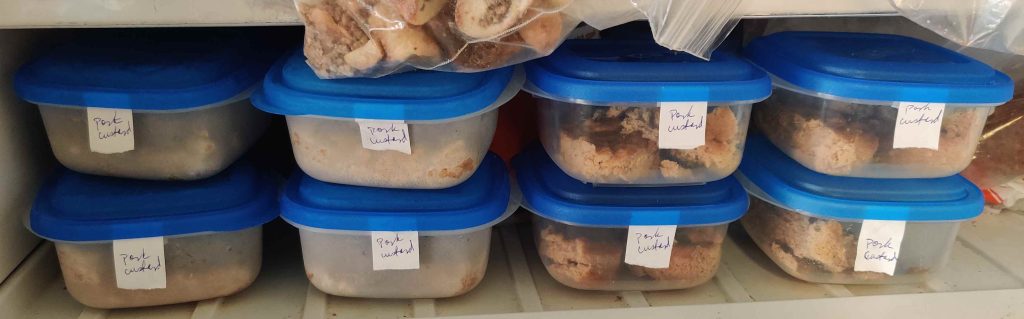
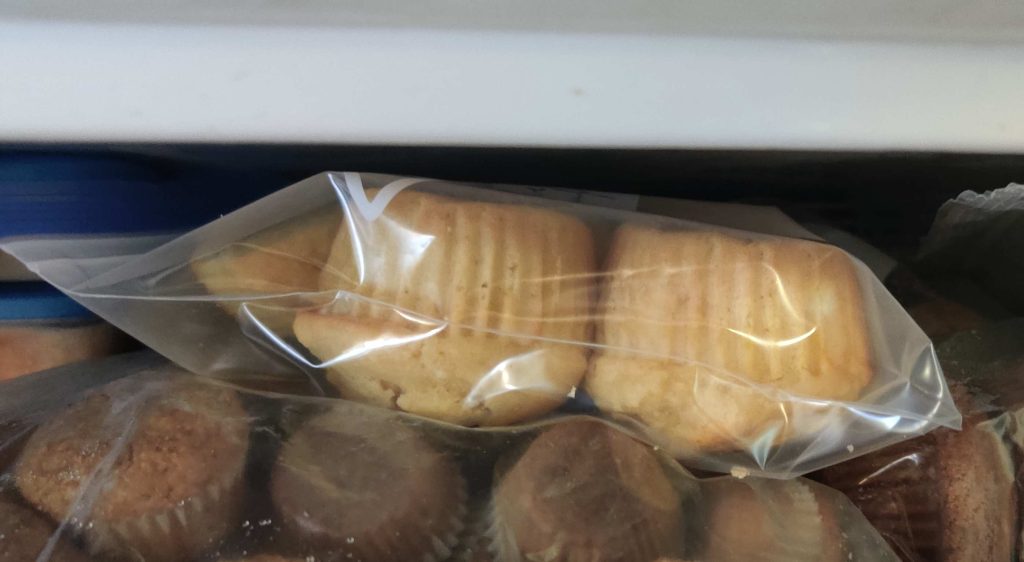
And finally, the bag of goat cheese muffins was placed in the freezer, by happenstance alongside two other kinds of muffins — bran muffins, and strawberry jam muffins, both made earlier in the week:

Goat cheese muffins placed in the freezer alongside other muffins

And as for the rest of the goat cheese package? Mom got more freshly baked goat cheese muffins the following morning!

Making (Simple) Meat Lasagnes — Photos

This is another recipe focusing on a simplification — in fact, two separate simplifications — allowing for easy assembly of as many or as few units that you are willing to mount at once, as well as depending on the number of containers and freezer space you have, or to which you have access.

In the process of mounting this post, a separate, overarching narrative from how I originally viewed the recipe emerged: I originally thought that I had a recipe for (what now used to be) four lasagnes, using commercial tomato sauce in a jar. I eventually realized that I actually had a recipe for one lasagne, which happened to be particularly convenient for making four units at a time, specifically tailored to some conveniently-sized baking pans I possess, measuring 7-1/2″ x 5-1/2″ x 2″.

This led me to calculating the surface area of the particular baking pans, about 41 square inches (266cm2) each, which I realized was about half the 81 square inch surface area of somewhat more common 9″ x 9″ (22.9cm x 22.9cm) baking pans; I further realized that the fairly common 9″ x 13″ (22.9cm x 33cm) baking pans, with a surface area of 117 square inches, have almost three times the surface area of the baking pans I use.

With this realization, the core recipe and process of making my lasagnes emerged from the base unit of my small pans:

  • about one pound (about 450g) of ground beef;
  • about 600mL (about two to two and a half cups) of sauce;
  • about five to six sheets of oven-ready lasagne sheets;
  • ultimately making four layers of lasagne, and five layers of meat and sauce;
  • about 100g (about 3.5 ounces) of grated mozzarella cheese;
  • for a lasagne of about 41 square inches, allowing for about up to four modest but hearty servings.

Having realized this and adjusted my recipe accordingly, this leads to the easier scaling of the recipe either to the number of pans I would be making at once, or to one or more other baking pan size(s).

And to be clear: The two simplifications to this recipe lay in:

  • the use of commercial spaghetti sauce in commonly available jars of 600mL (20oz) or thereabouts, which forms the basic unit of the lasagnes, and,
  • the use of oven-ready lasagne sheets, which require no precooking or soaking before use, making the production of any number of units or even larger units vastly easier and quicker.

Note that I think that you should use a tomato (or other) sauce that you like, be it a commercial tomato sauce in whatever size format that suits you, or your own (or your grandmother’s) homemade tomato (or other) sauce. I can only imagine that making extremely large amounts of lasagne — especially several large format units — may well favour the use of larger commercial formats of tomato sauce, or the outright making large pots of your own tomato sauce!

Lastly, a small handful of photos may have been reordered and/or re-taken afterwards for the sake of the narrative.

Making the lasagnes:

On cooking day, I decided to make two units of lasagnes in my small baking pans.

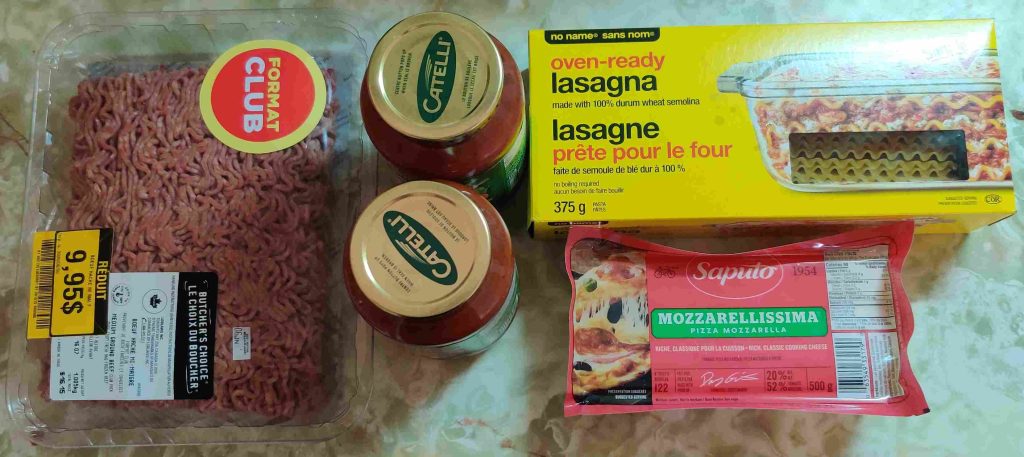
First, all the ingredients were gathered together. I will underline (given the prominent “reduced price” sticker) that the beef was purchased at a clearance price a couple of days before its due date, “a couple of months ago”, and kept in the freezer; it was defrosted overnight in the fridge before use.

Ingredients taken out

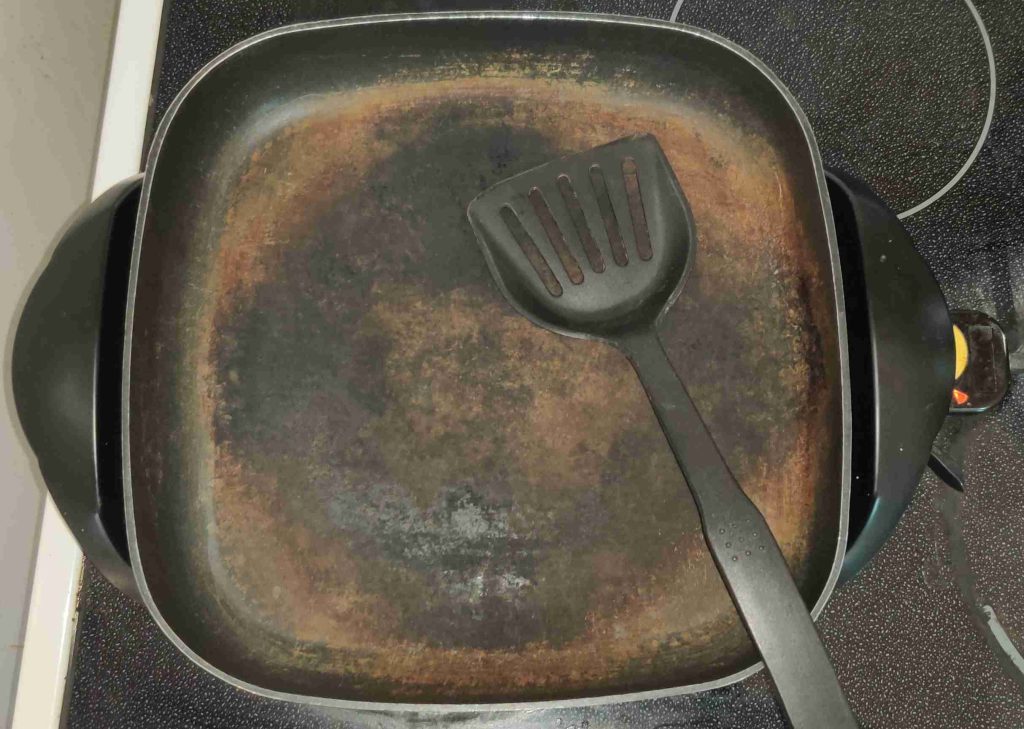
An electric frypan was taken out and plugged in, as well as a spatula / egg flipper being taken out:

Electric frypan taken out and plugged in, and spatula / egg flipper taken out

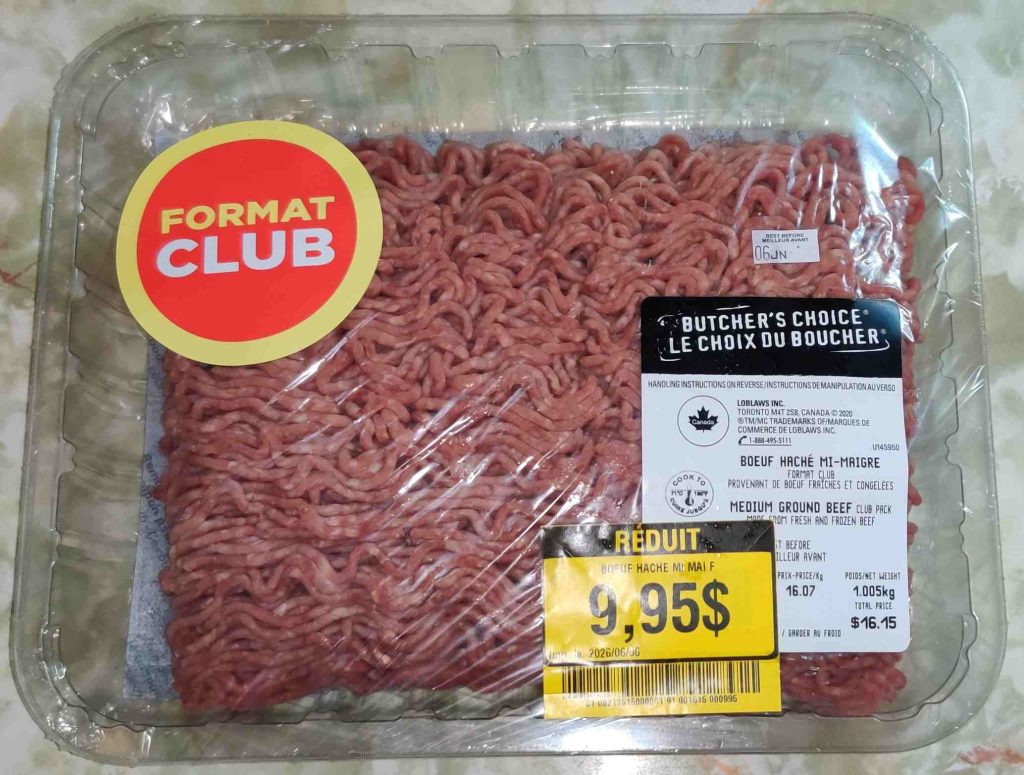
The defrosted (overnight in a fridge) ground beef was taken out:

Defrosted ground beef taken out

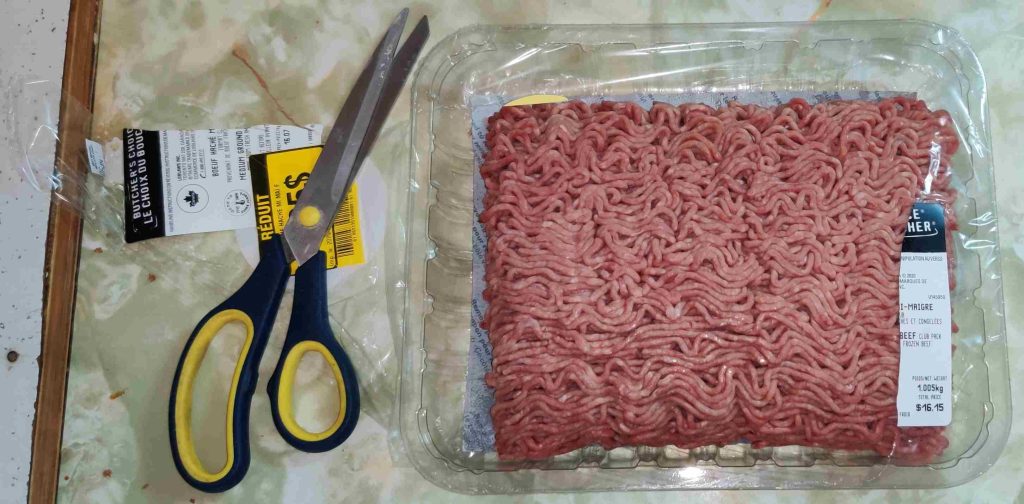
The ground beef package was opened with some scissors:

Ground beef package opened

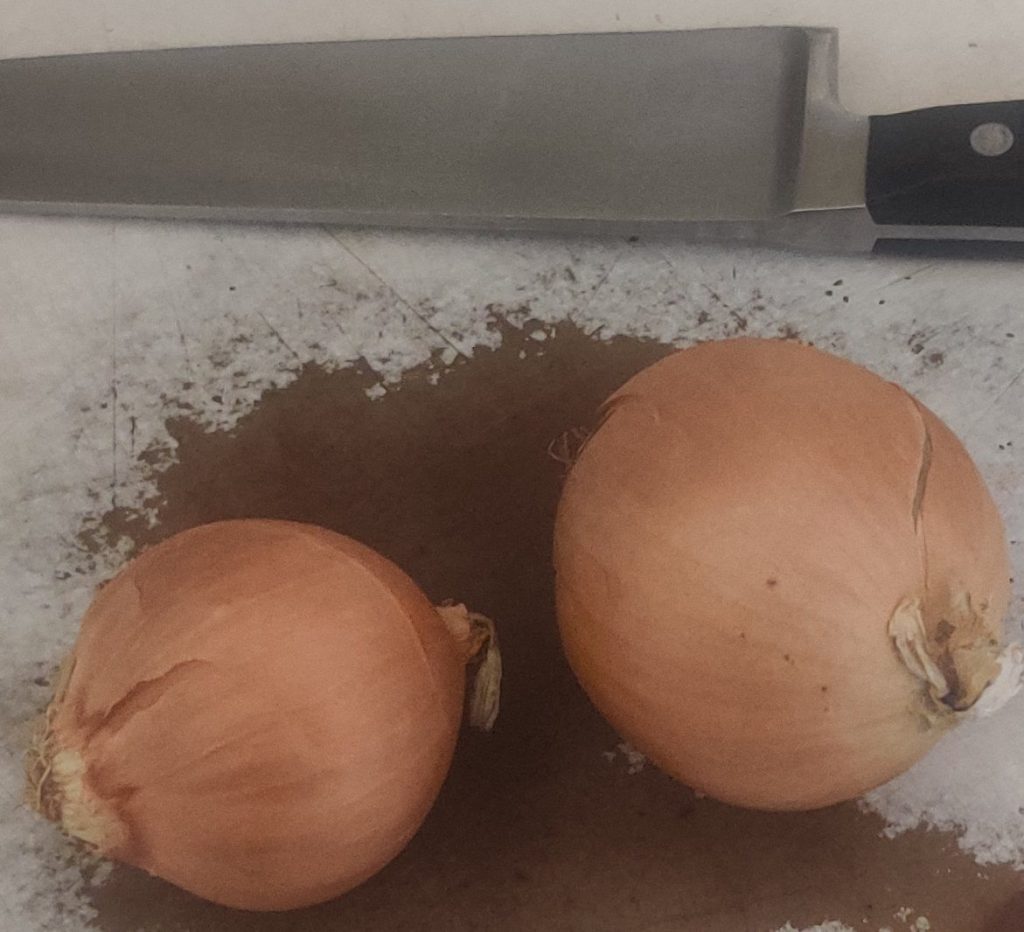
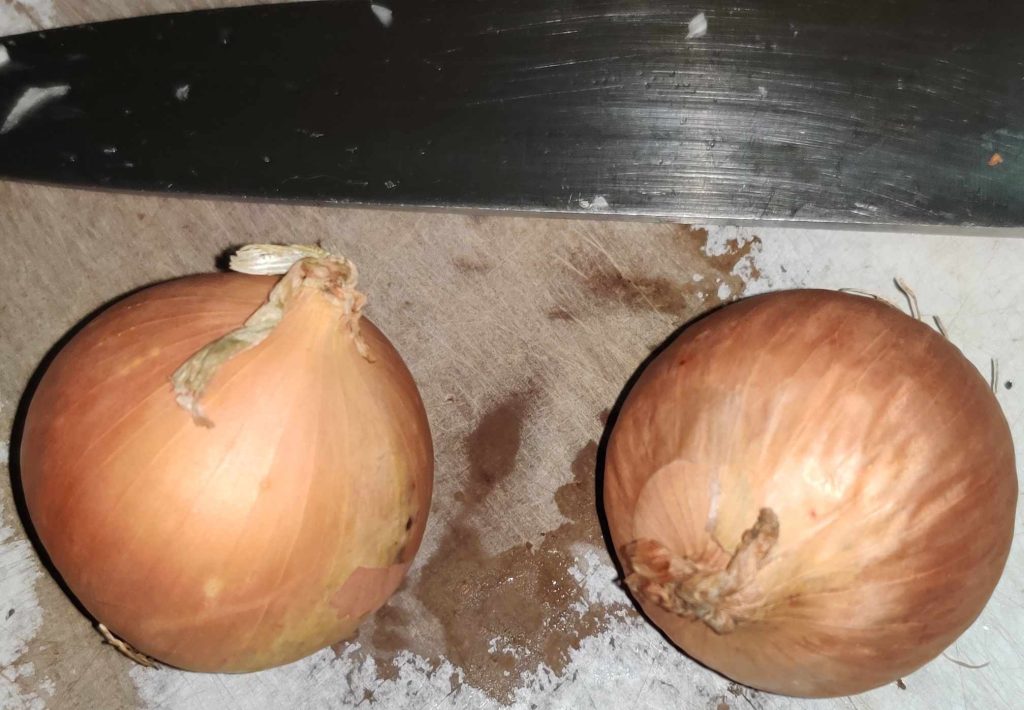
Onions and a kitchen knife were taken out:

Onions and kitchen knife taken out

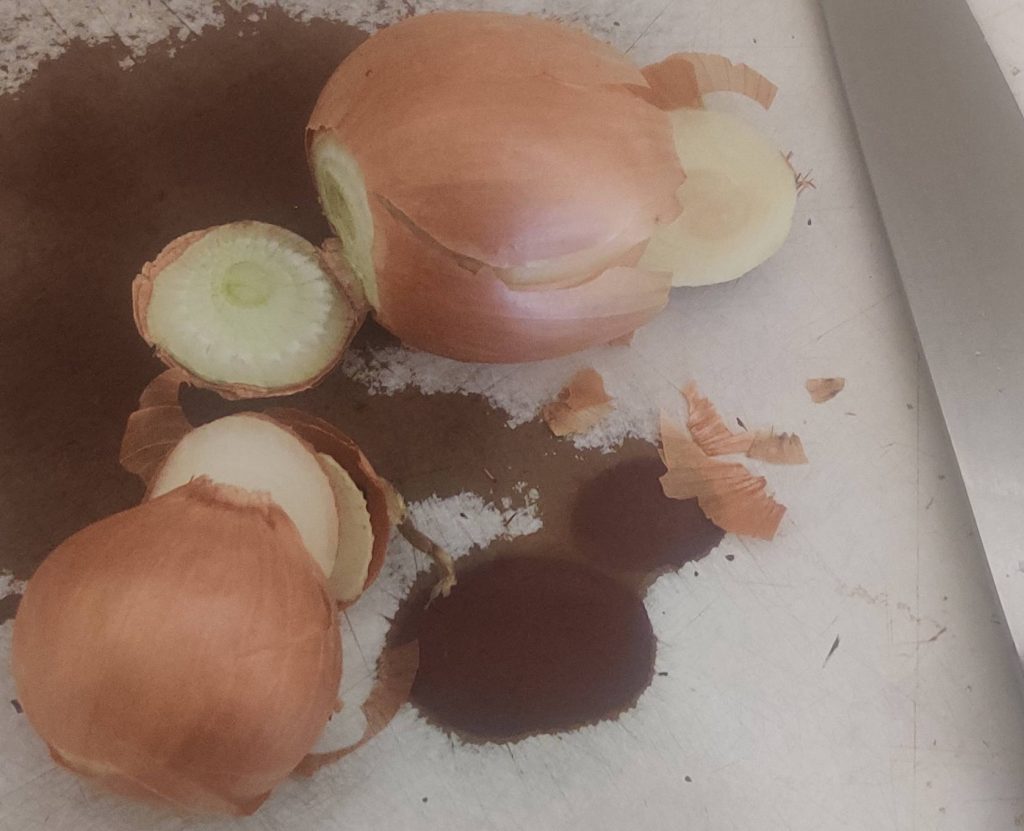
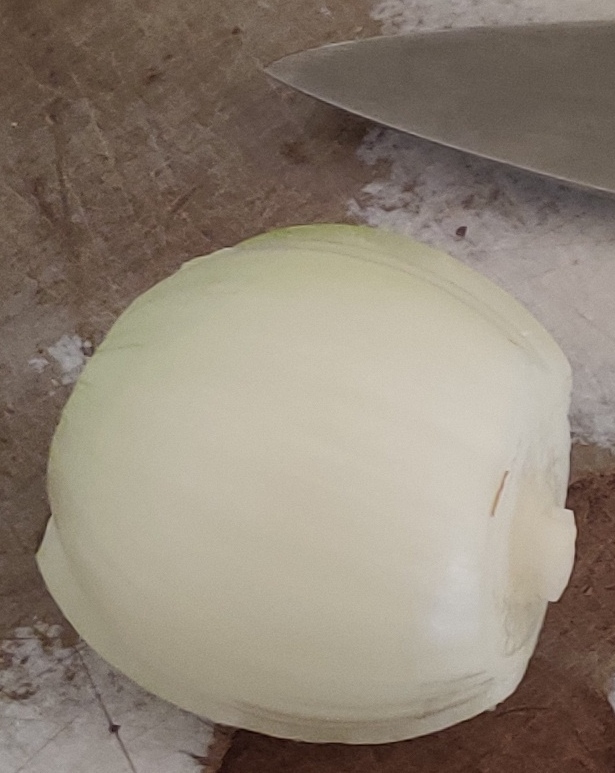
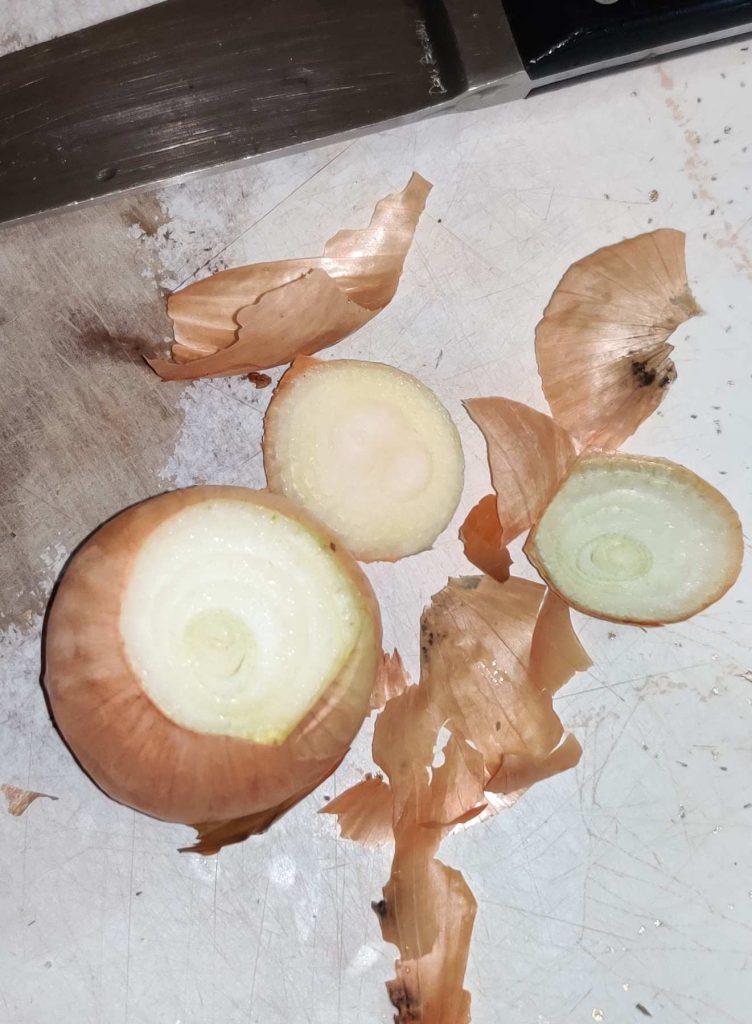
The onions were trimmed:

Onions trimmed

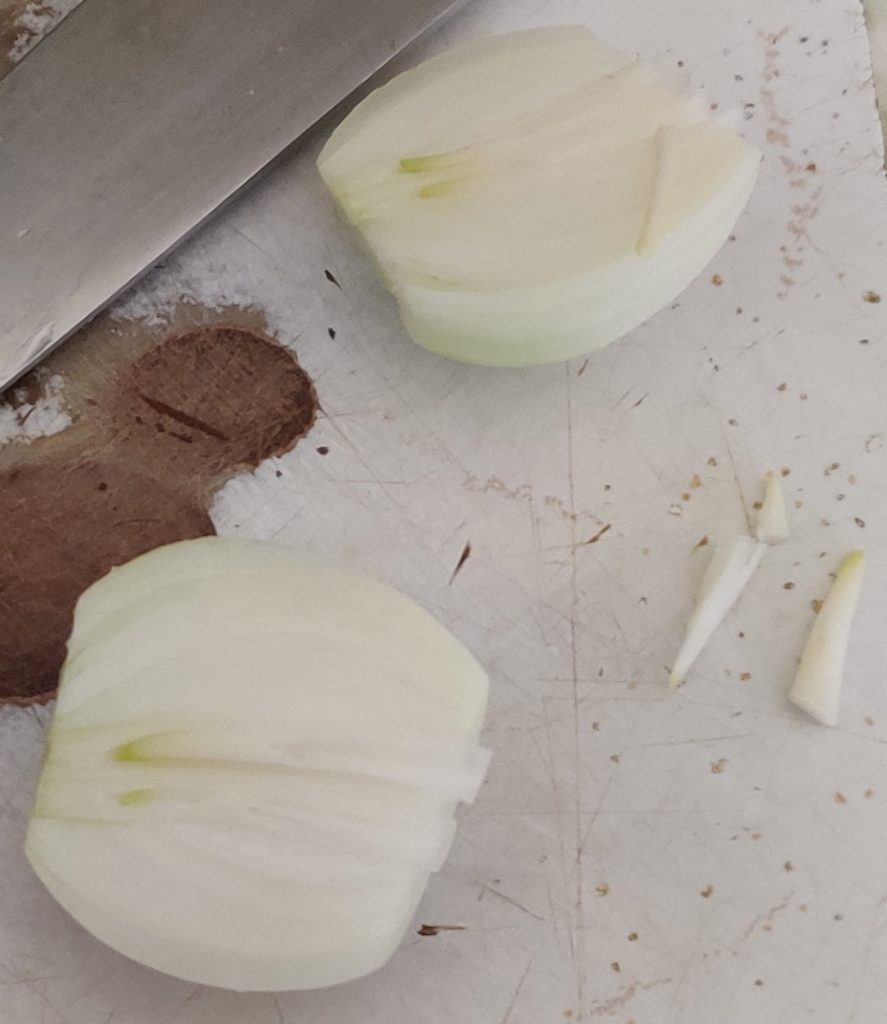
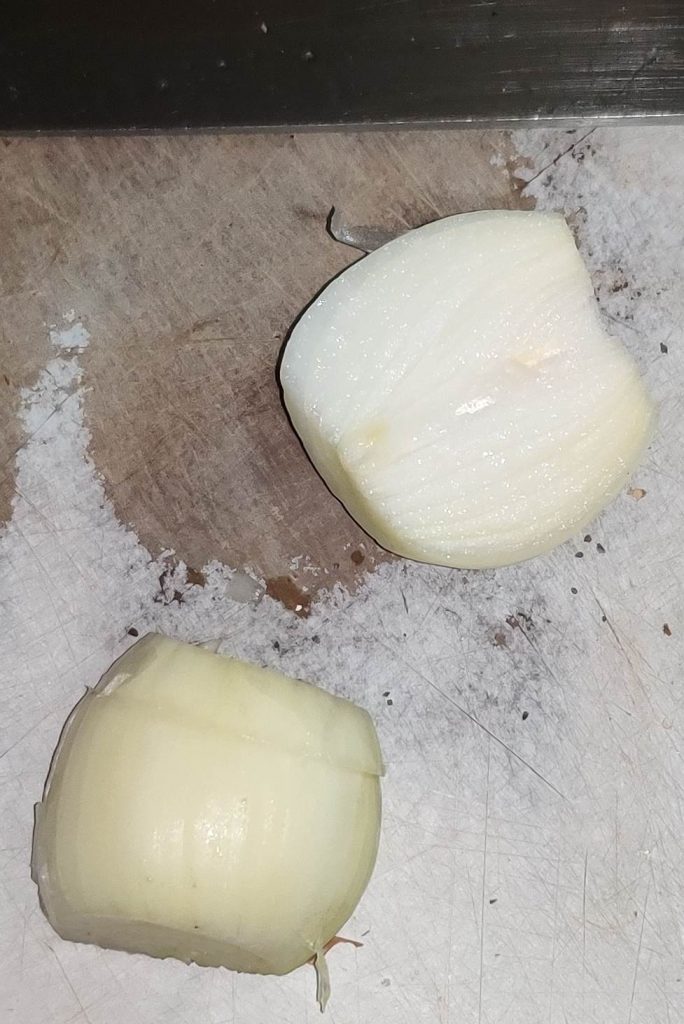
The onions were cut in half:

Onions cut in half

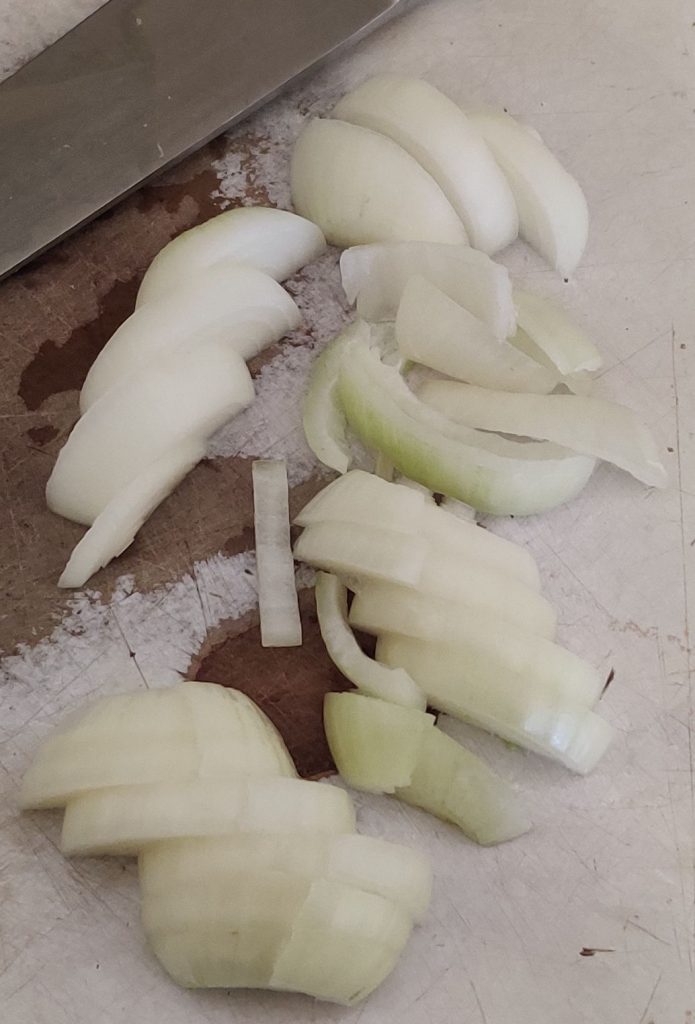
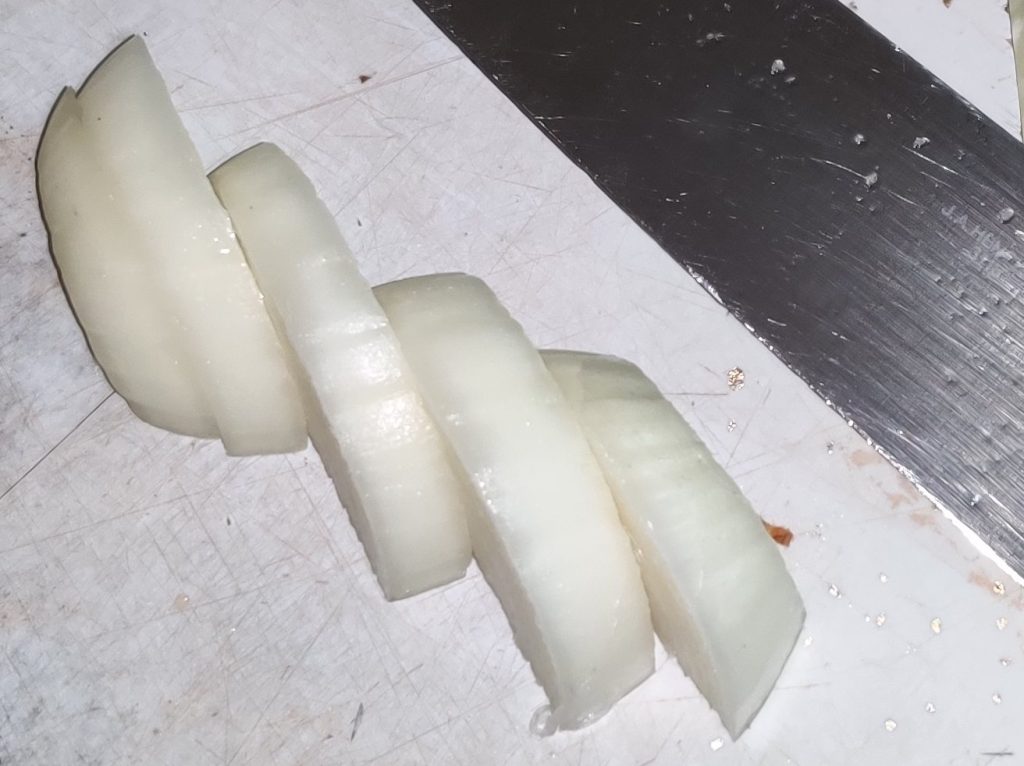
The onion halves were sliced into half-coin shapes:

Onions sliced

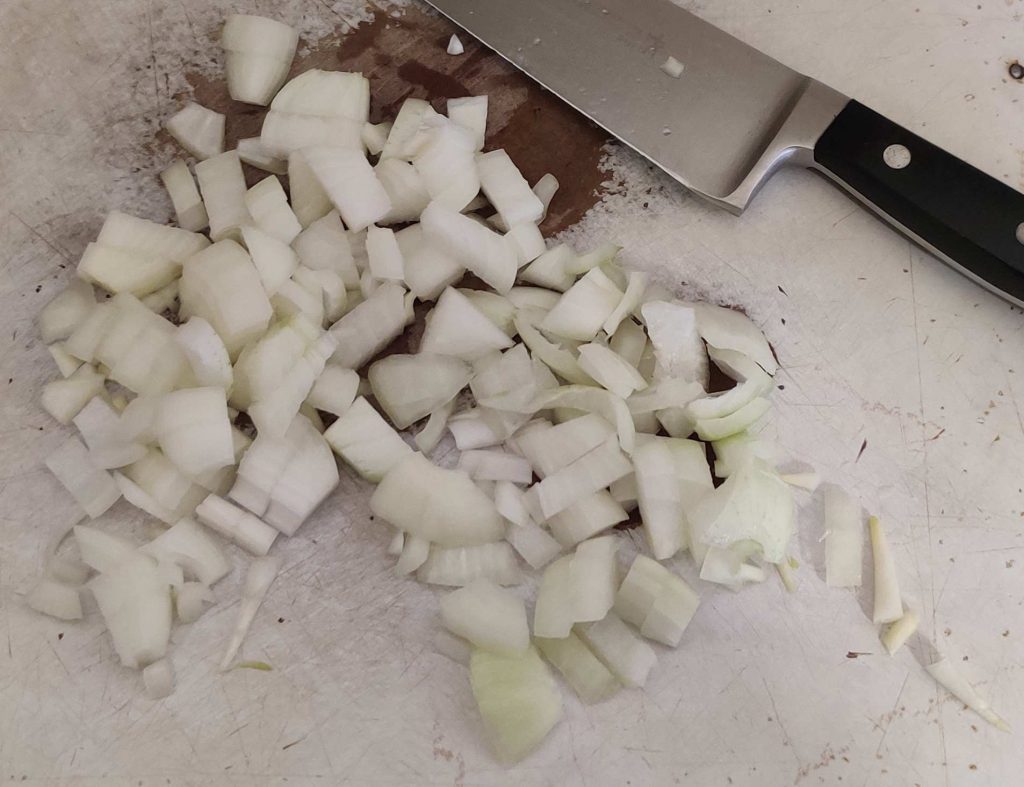
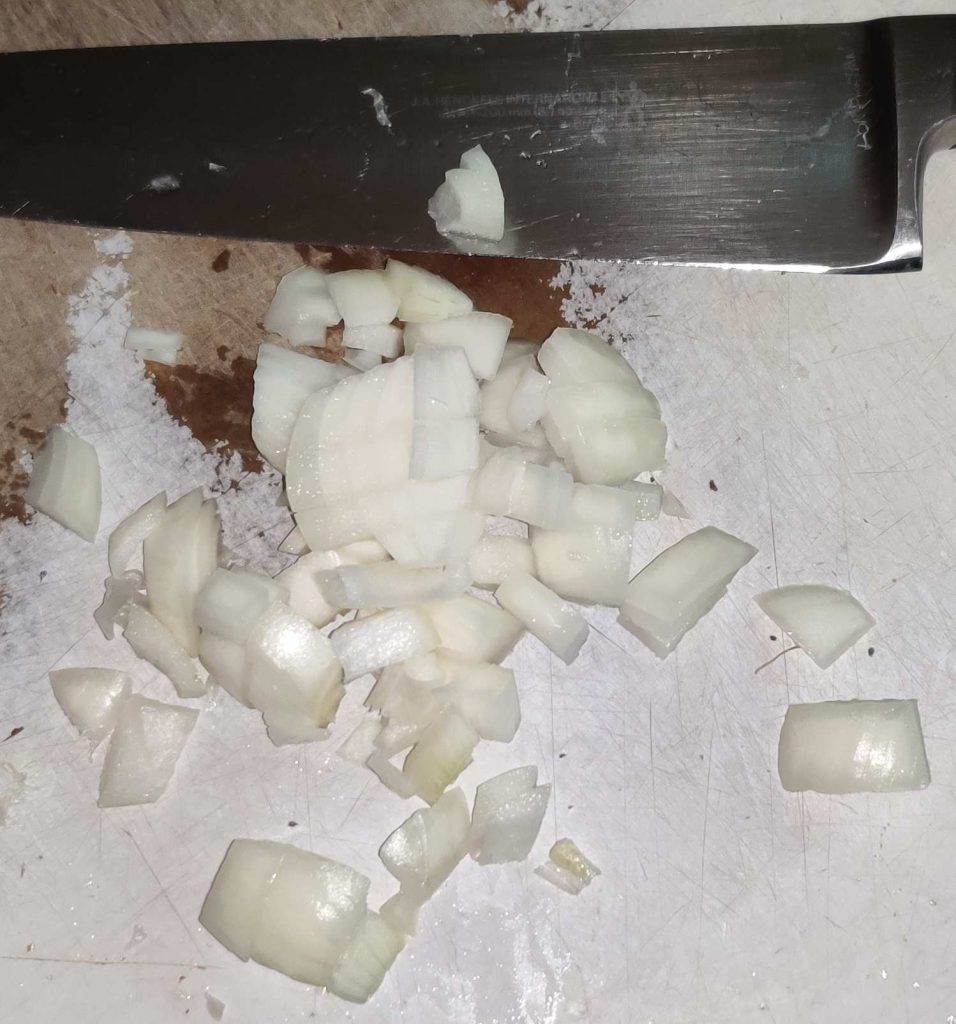
The onions were coarsely chopped:

Onions coarsely chopped

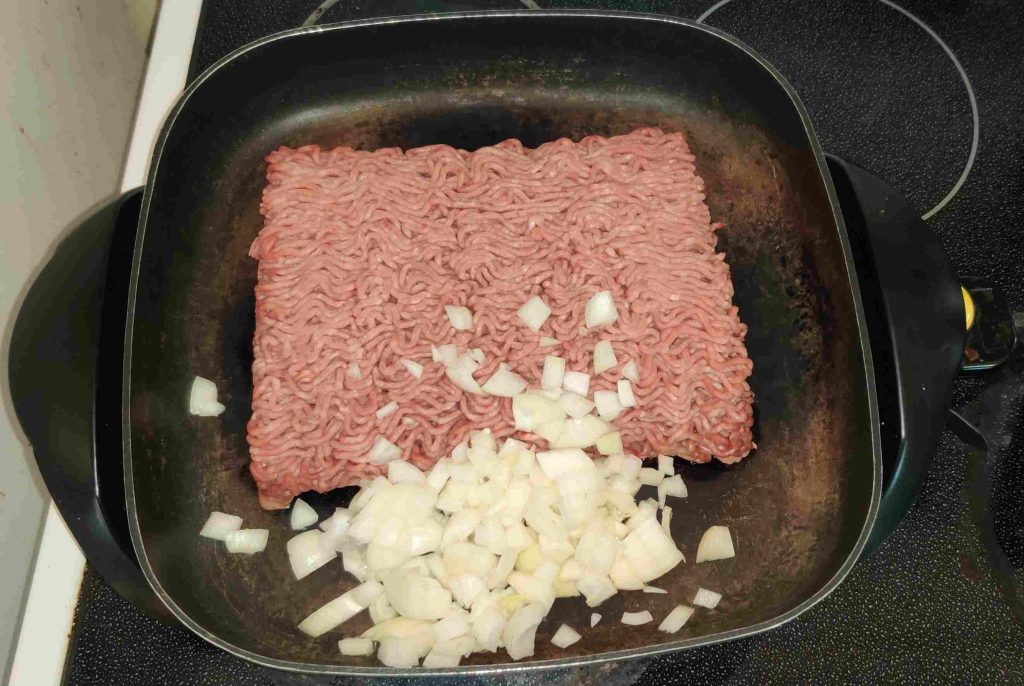
The ground beef and the onions were placed in the electric frypan:

Onions and beef placed in electric frypan

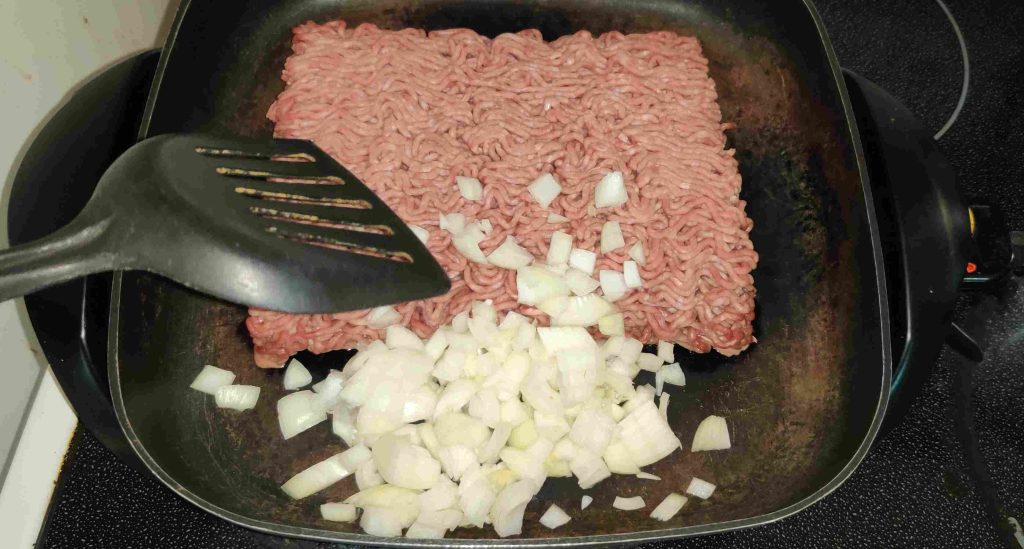
A spatula / egg flipper was taken out, and the electric frypan turned on:

Spatula / egg flipper taken out, and frypan turned on

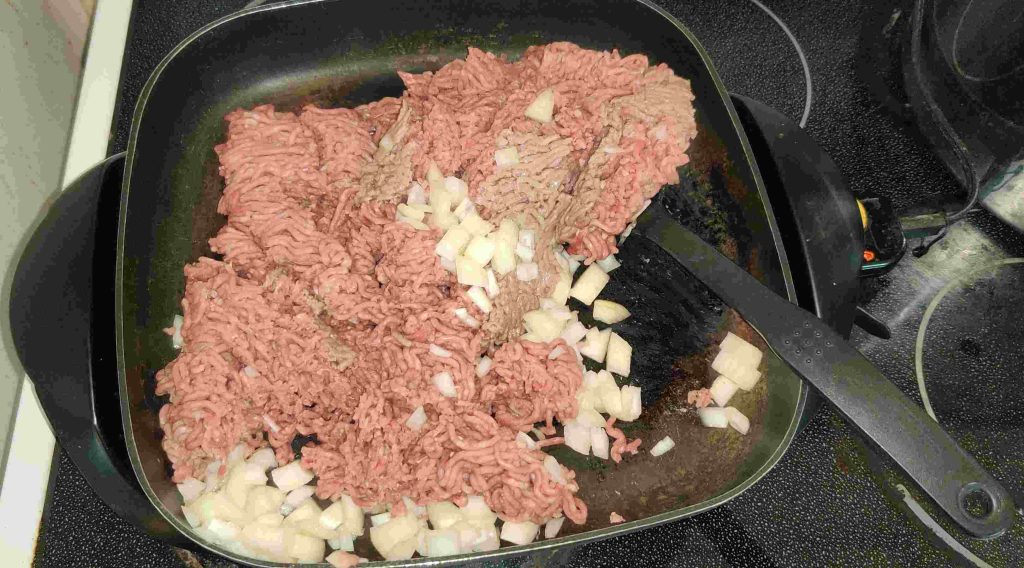
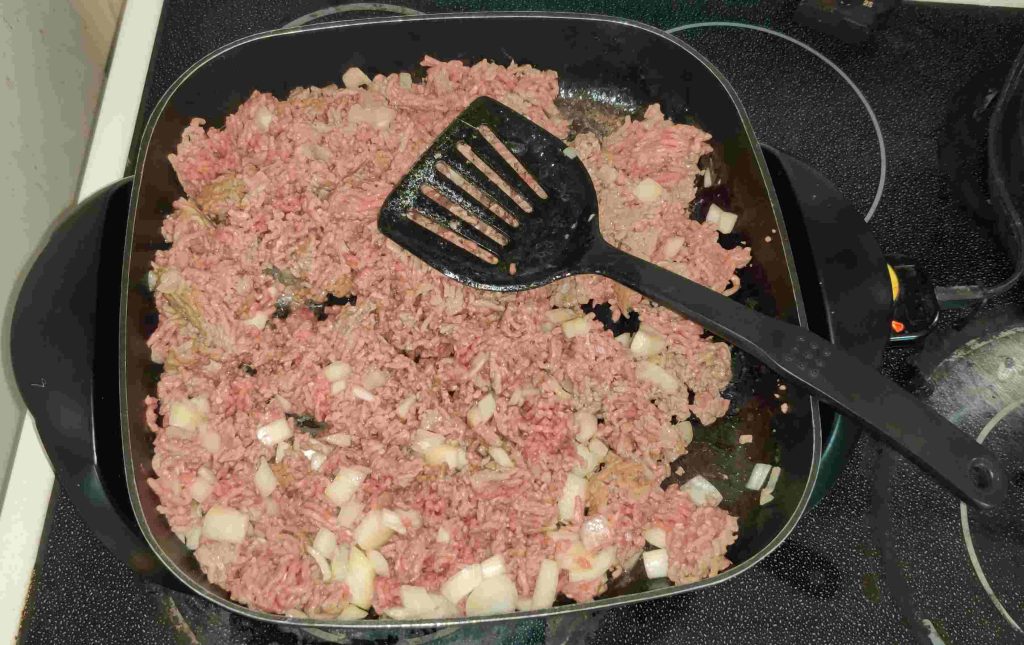
As the ground beef and the onions were cooking, I started breaking up the ground beef, and turning the mixture over:

Ground beef broken up and mixture turned over while cooking
Ground beef broken up and mixed with onions

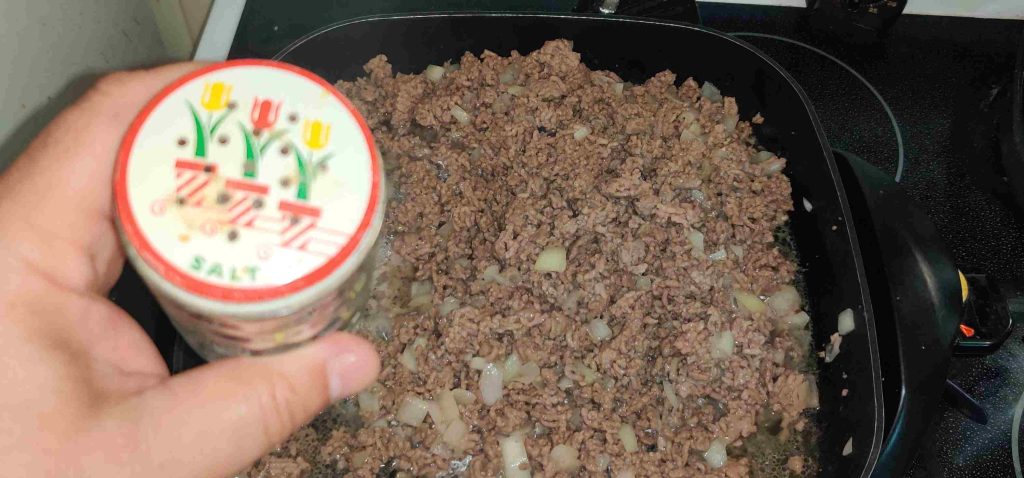
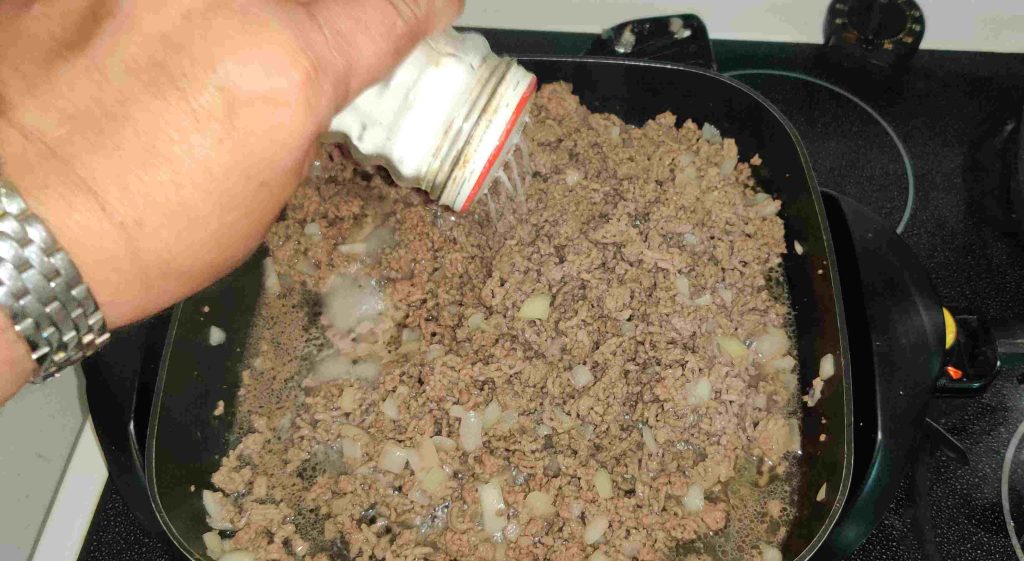
While the ground beef and onion mixture was cooking, I added some salt:

Salt added to ground beef and onion mixture

While the ground beef and onion mixture was cooking, I kept on breaking up the pieces of ground beef.

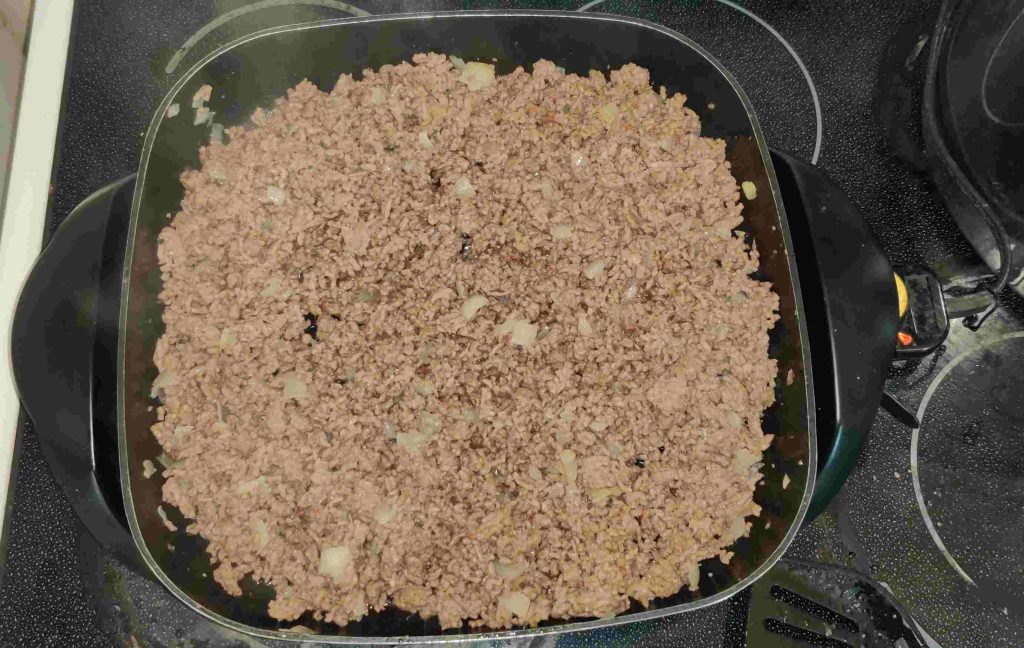
Once the ground beef and onion mixture was cooked …

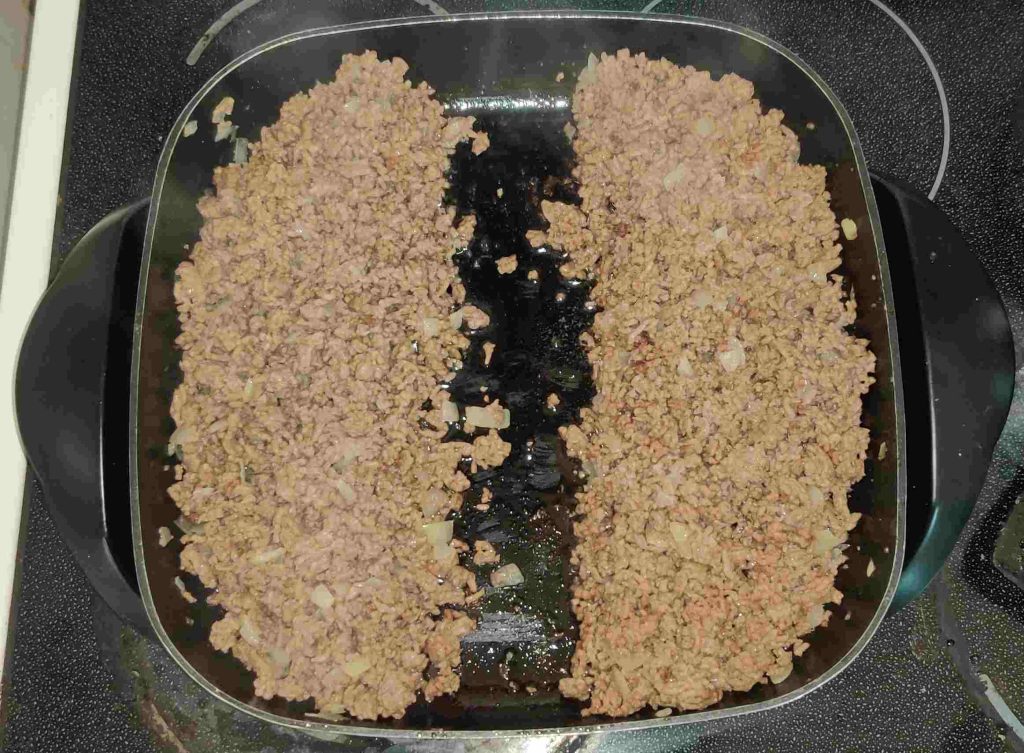
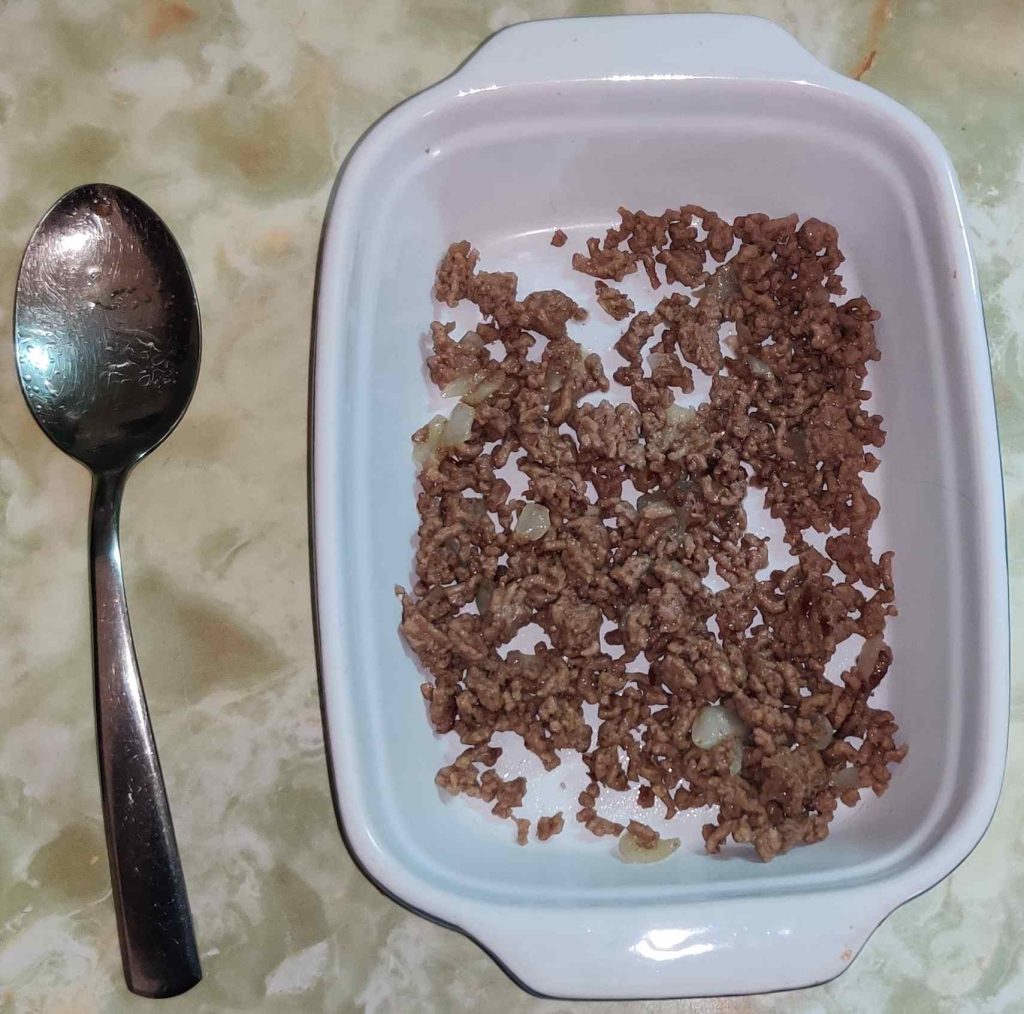
Ground beef and onion mixture cooked

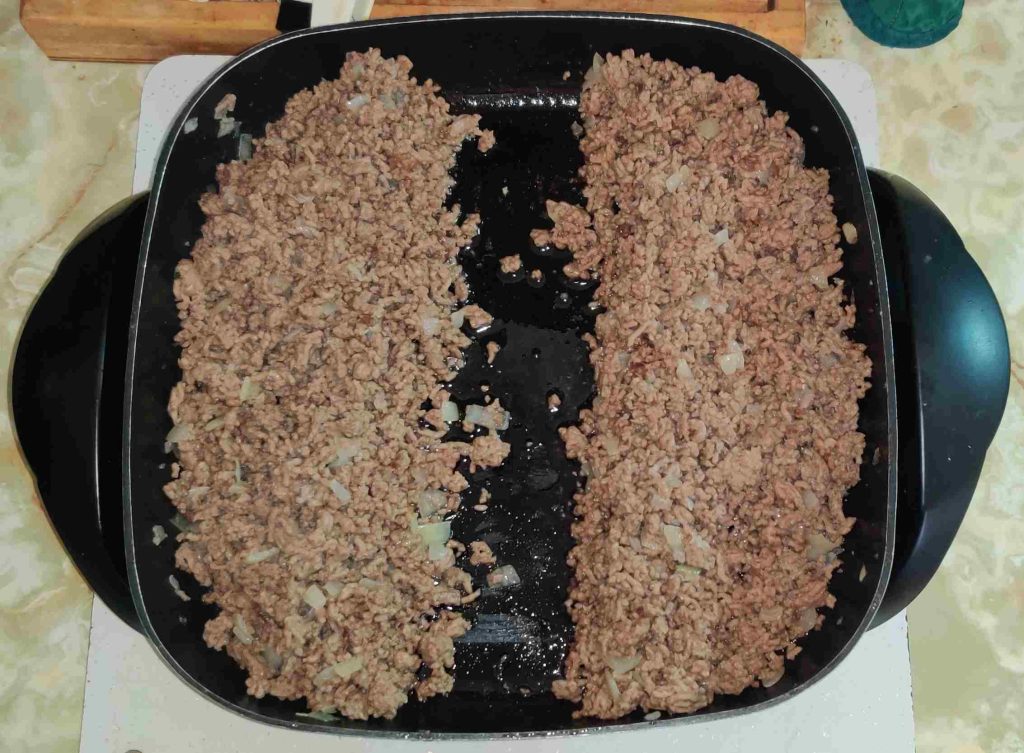
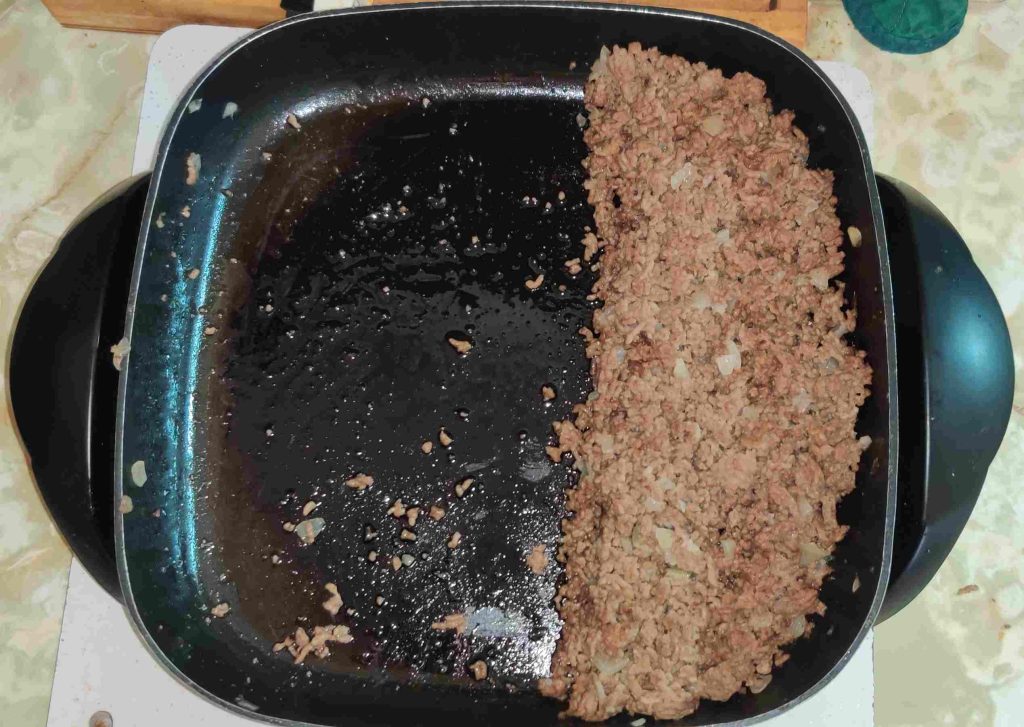
… I separated the ground beef and onion mixture in two, for when I’d be mounting the lasagnes:

Cooked ground beef and onion mixture separated in two

The frypan containing the cooked ground beef and onion mixture was transferred to the nearby counter where I was going to start mounting the lasagnes:

Frypan moved to work counter

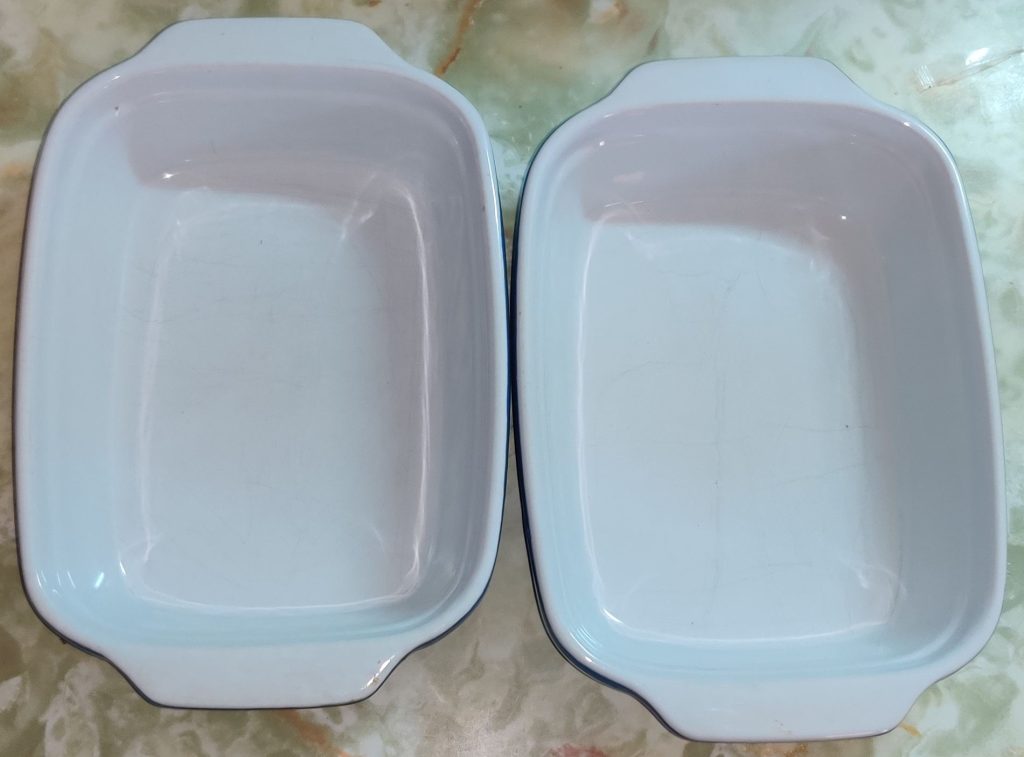
Since I had decided to make two lasagnes of the size I was accustomed to making, two baking dishes were taken out:

Baking dishes taken out

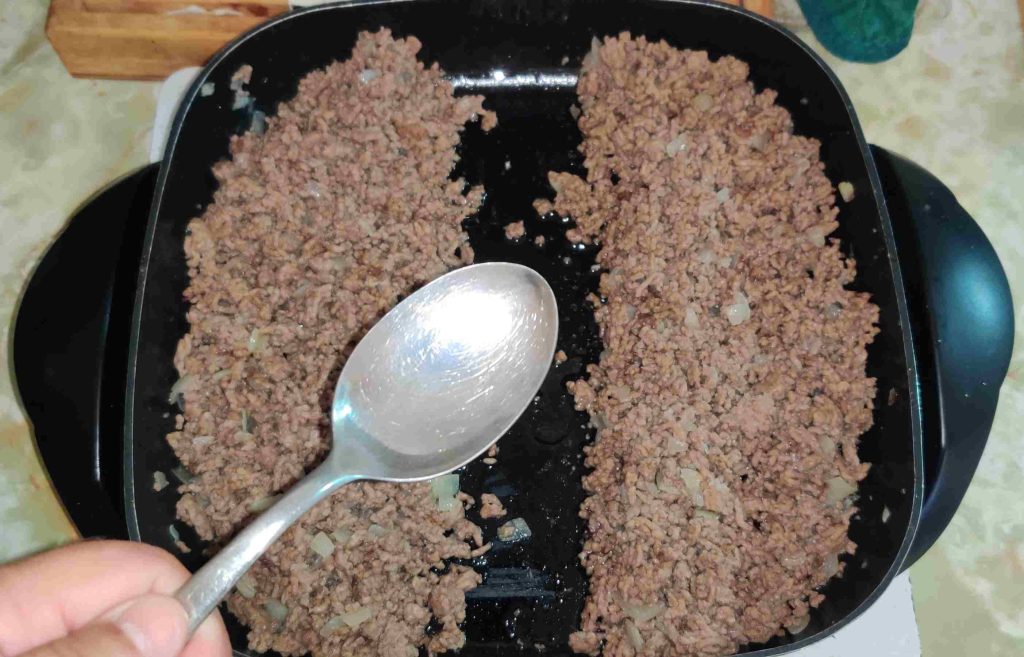
A serving spoon was taken out to start transferring the cooked ground beef and onion mixture to the first baking pan:

Serving spoon taken out to transfer cooked ground beef

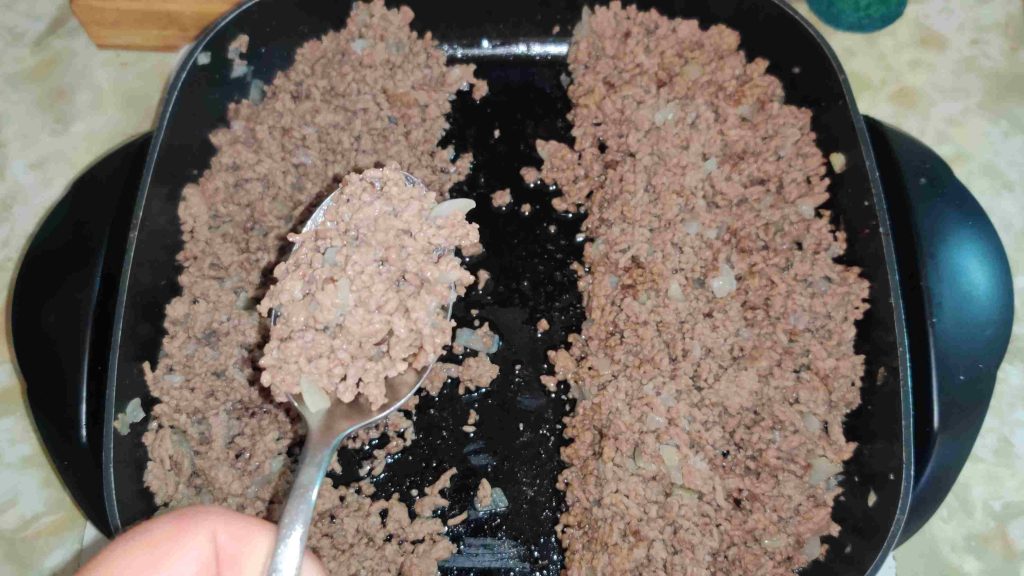
Cooked ground beef and onion mixture was picked up with the spoon:

Cooked ground beef and onion mixture picked up with spoon

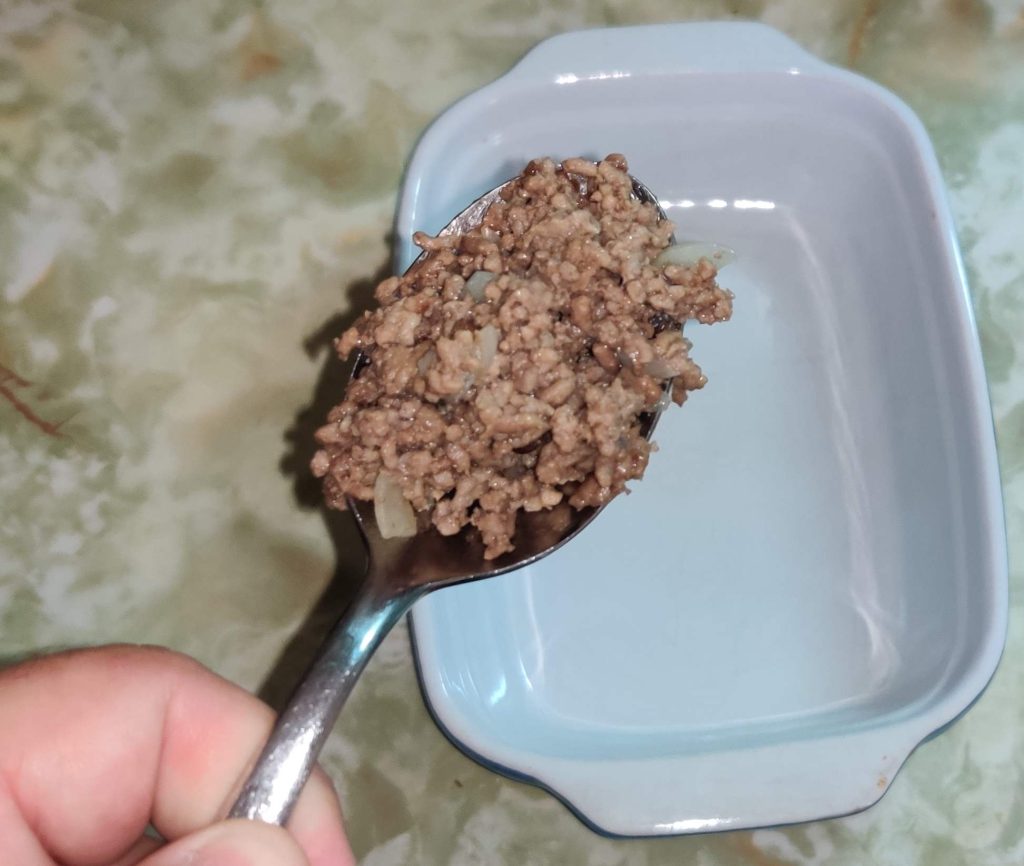
The cooked ground beef and onion mixture was transferred to the first baking pan:

Cooked ground beef and onion mixture transferred to baking pan

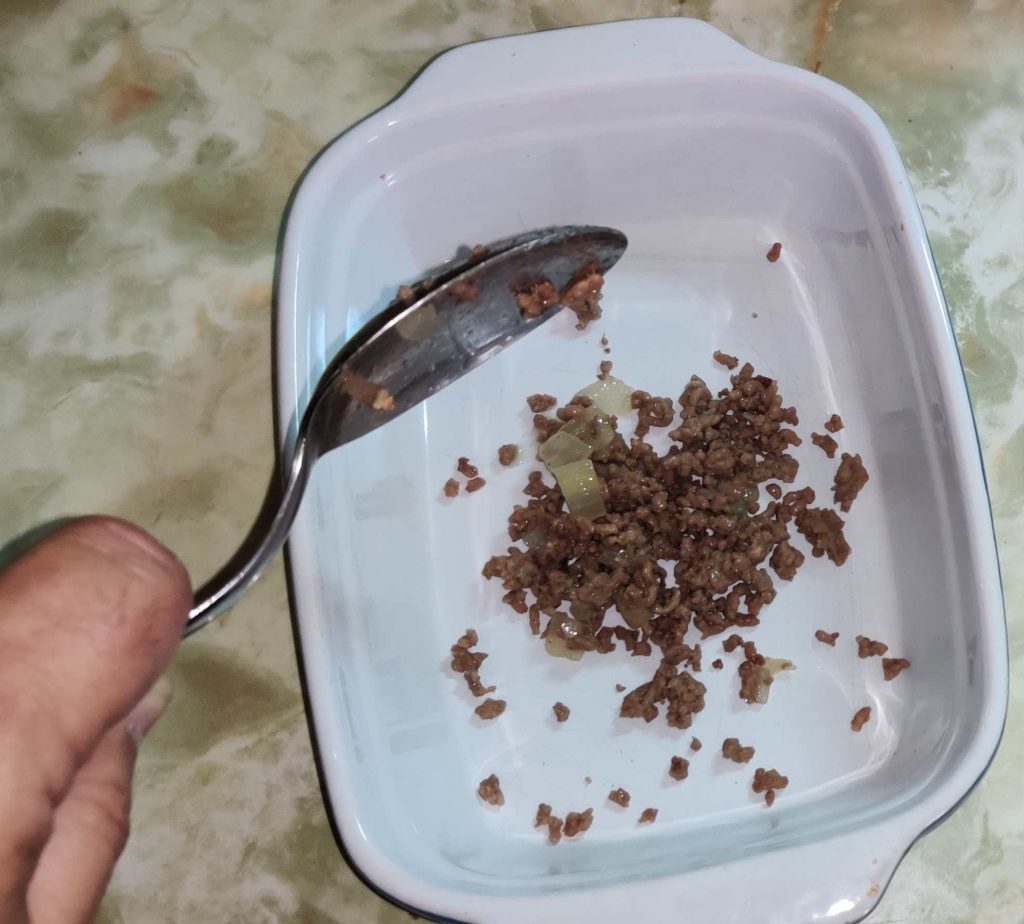
The cooked ground beef and onion mixture was spread evenly over the surface of the bottom of the baking pan:

Cooked ground beef and onion mixture spread over base of baking pan

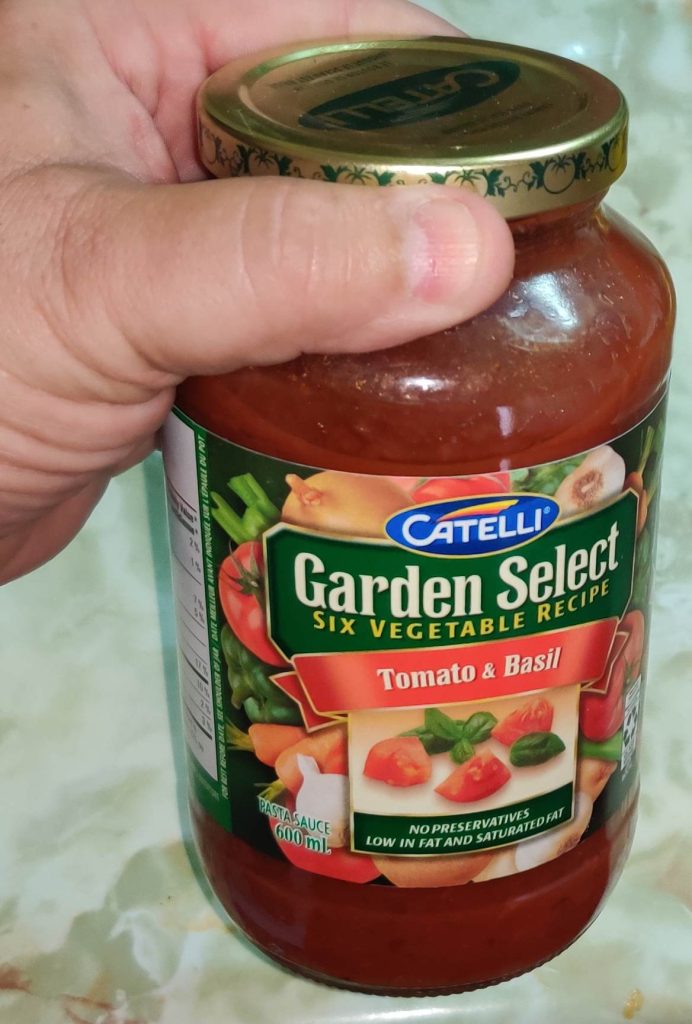
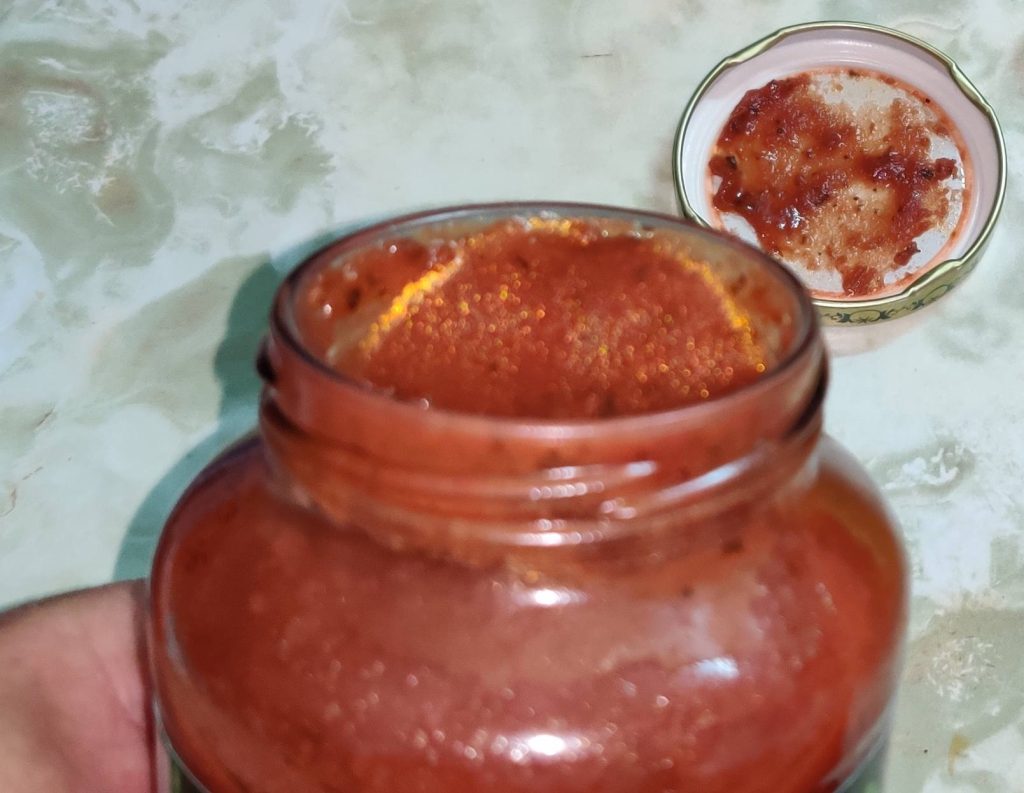
A jar of commercial tomato sauce was taken out:

Jar of tomato sauce taken out

The jar of tomato sauce was opened:

Jar opened

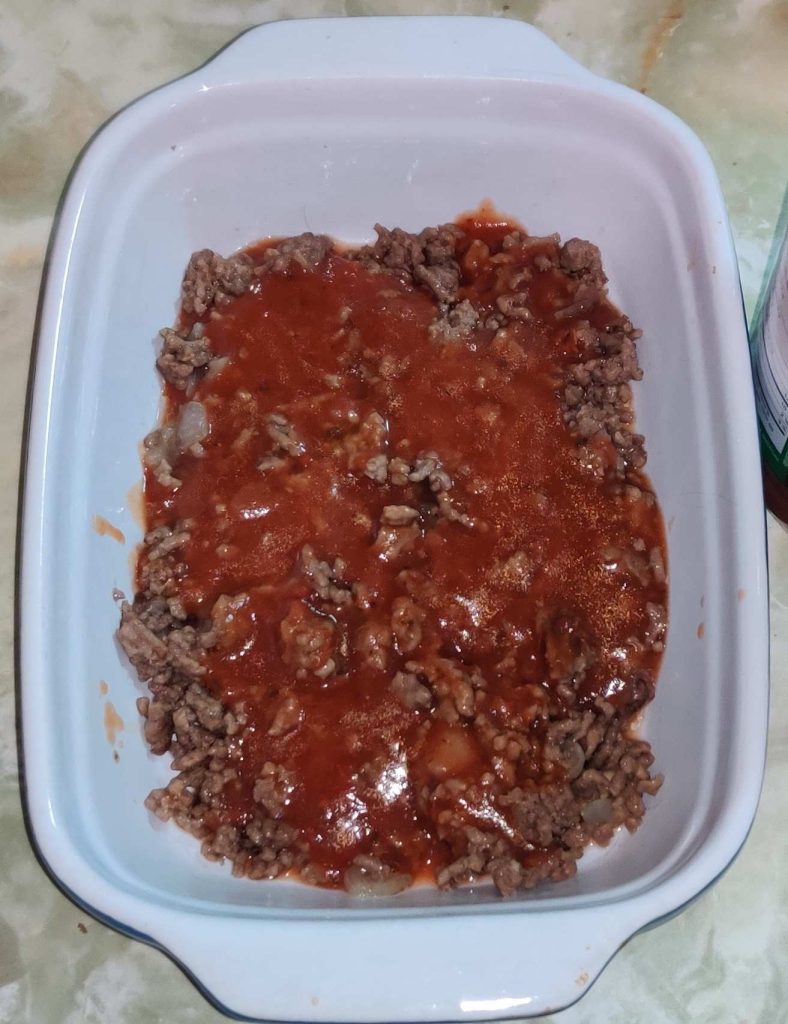
… and a portion of the tomato sauce from the jar was spread over the cooked ground beef and onion mixture:

Tomato sauce poured over cooked ground beef and onion mixture

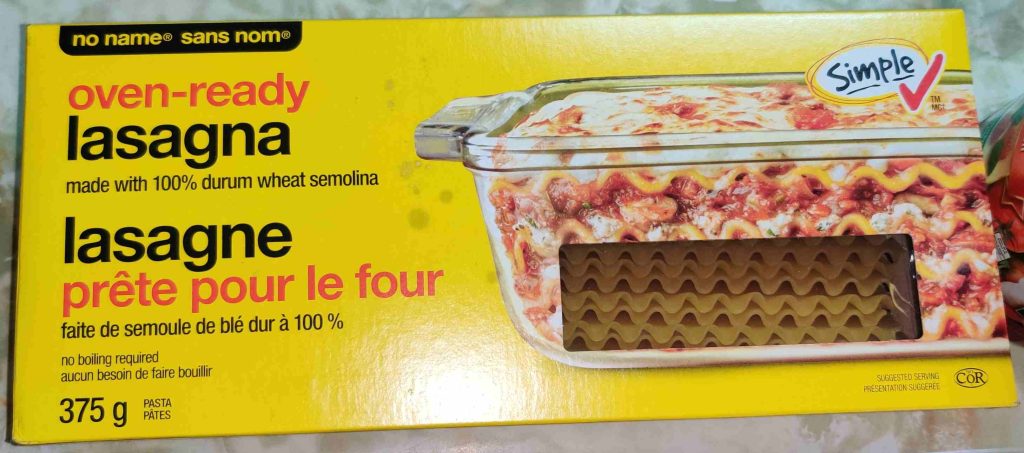
A box of oven-ready lasagne sheets was taken out …

Box of oven-ready lasagne sheets taken out

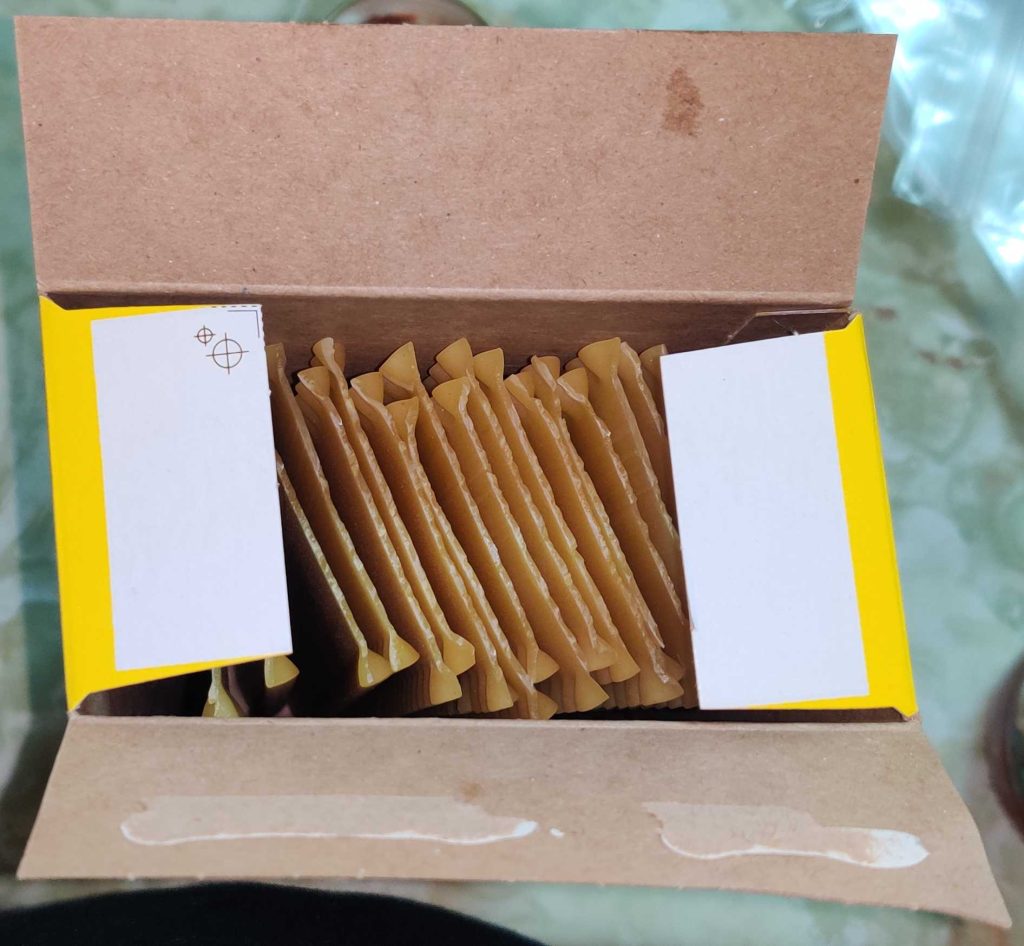
… and the box was opened:

Box of oven-ready lasagne sheets opened


A sheet of lasagne was taken out of the box:

Sheet of lasagne was taken out of box

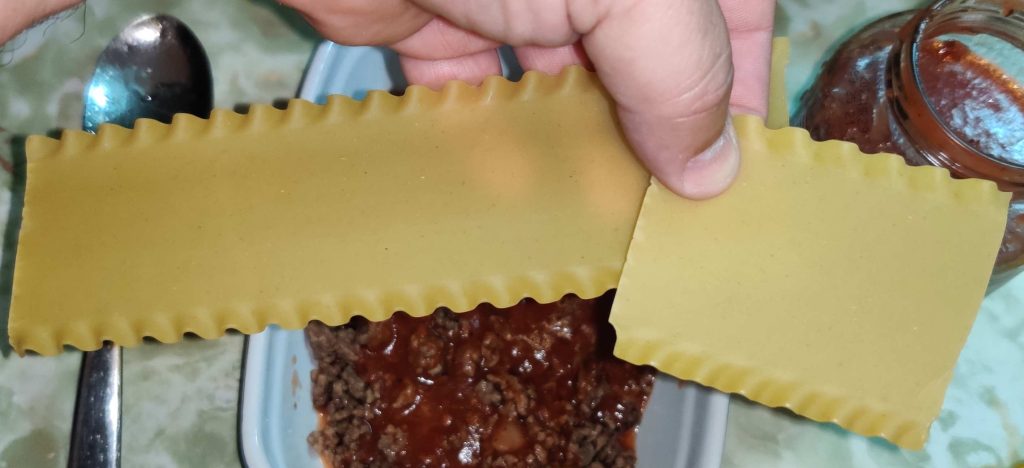
… and it was gently broken to size in order to fit in my baking pan:

Sheet of lasagne broken to fit in baking pan

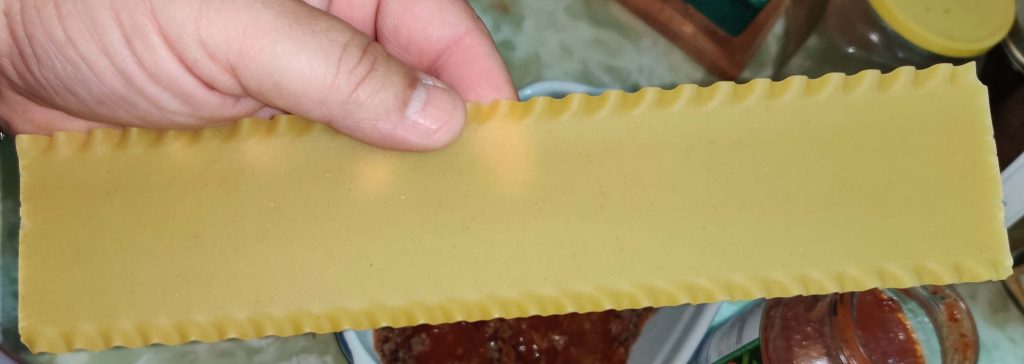
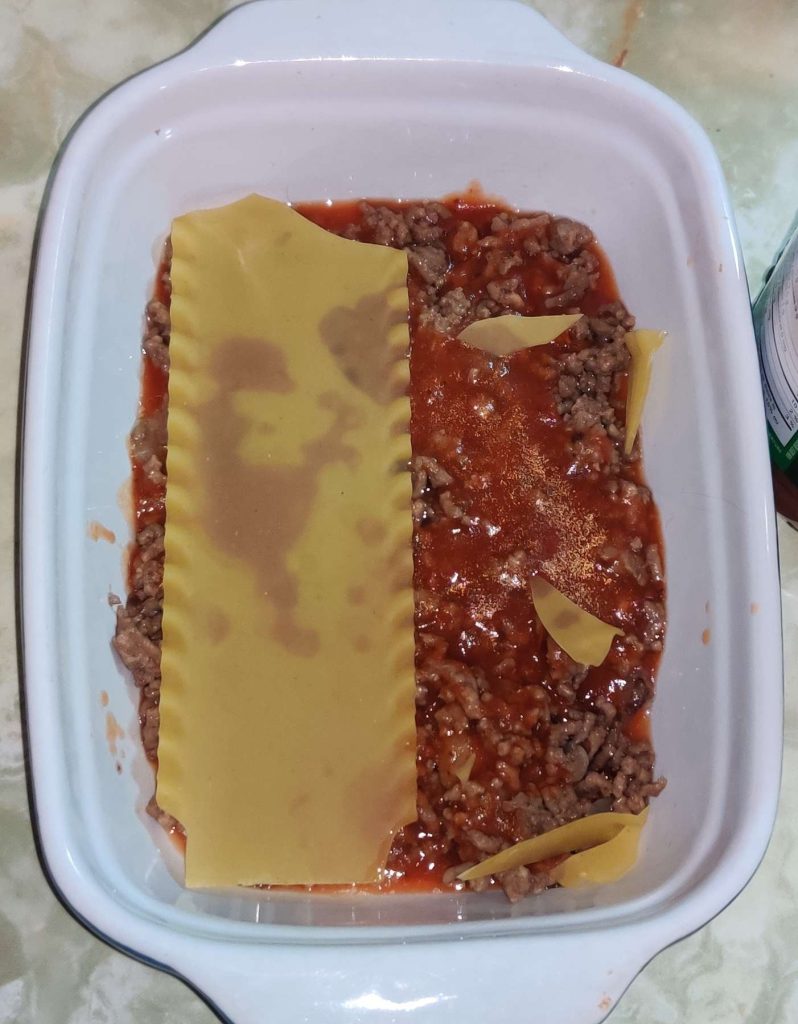
I began layering the lasagne sheets in the baking pan on top of the cooked ground meat and onion mixture:

Lasagne sheet placed in baking pan

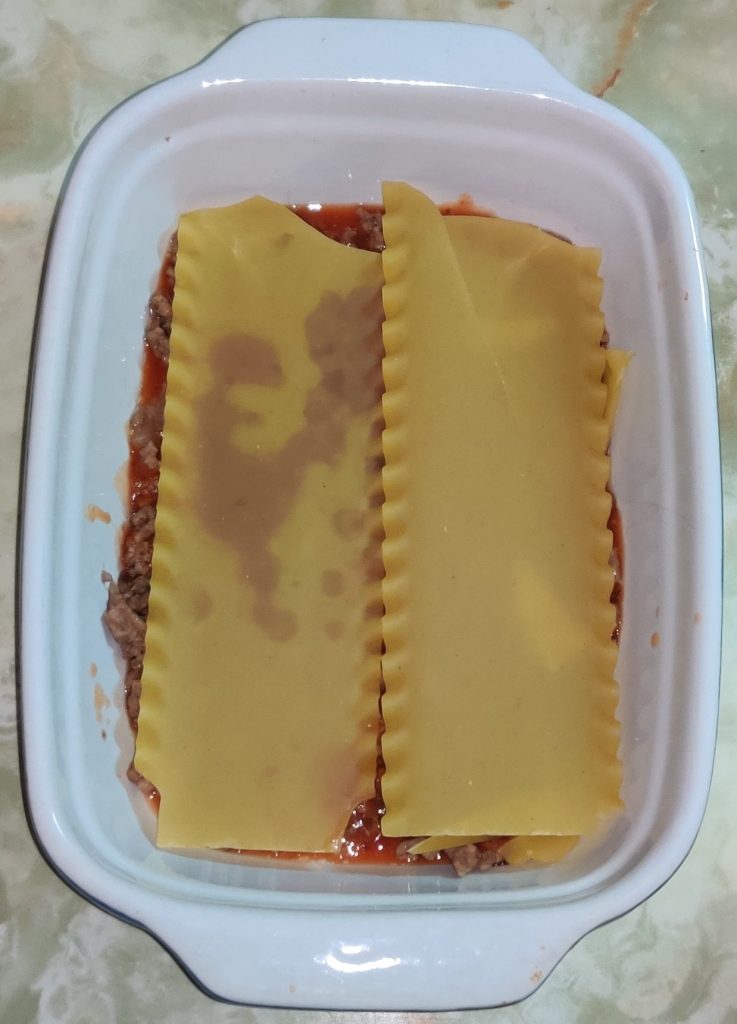
I began to repeat the layering with the cooked ground beef and onion mixture …

Layering of ingredients repeated

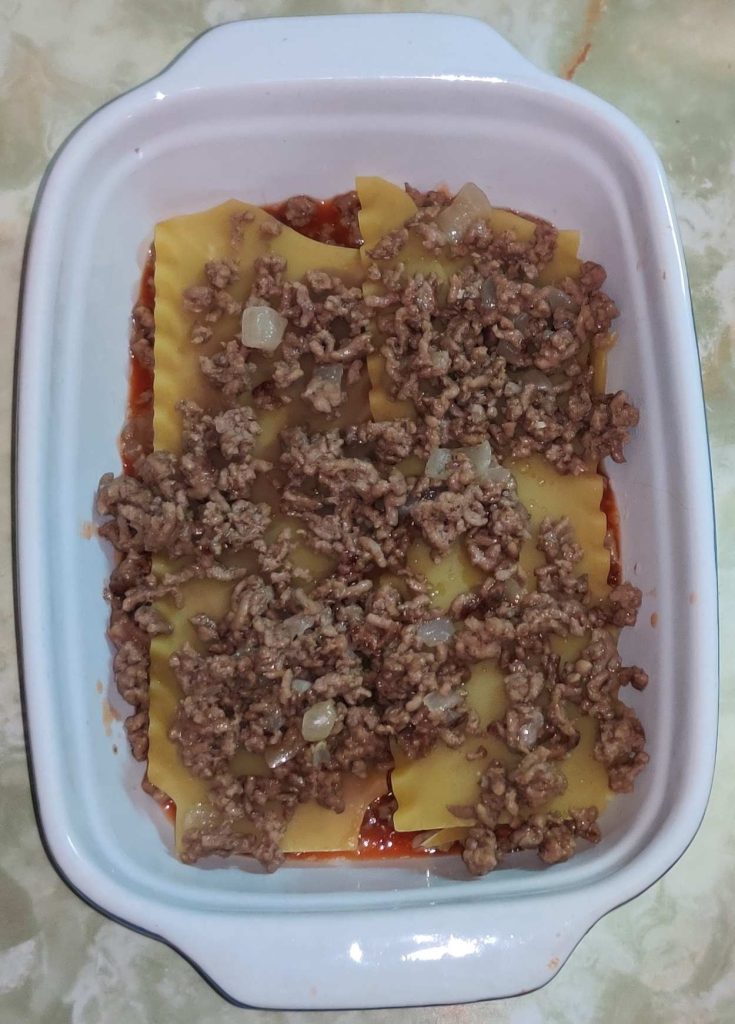
… until I had four layers of lasagne sheets, and five layers of cooked ground beef and onion mixture and tomato sauce:

Layering completed in first lasagne

I should note that despite the lack of a photo, some of the layers of lasagne sheets were composed of varying amounts of the broken off pieces of lasagne sheets.

At this point, as planned, half of the cooked ground beef and onion mixture had been used up, and half remained:

Half of cooked ground beef and onion mixture remaining

Because I had planned on making two small lasagnes, I continued by taking out the second baking pan, and starting the layering process again:

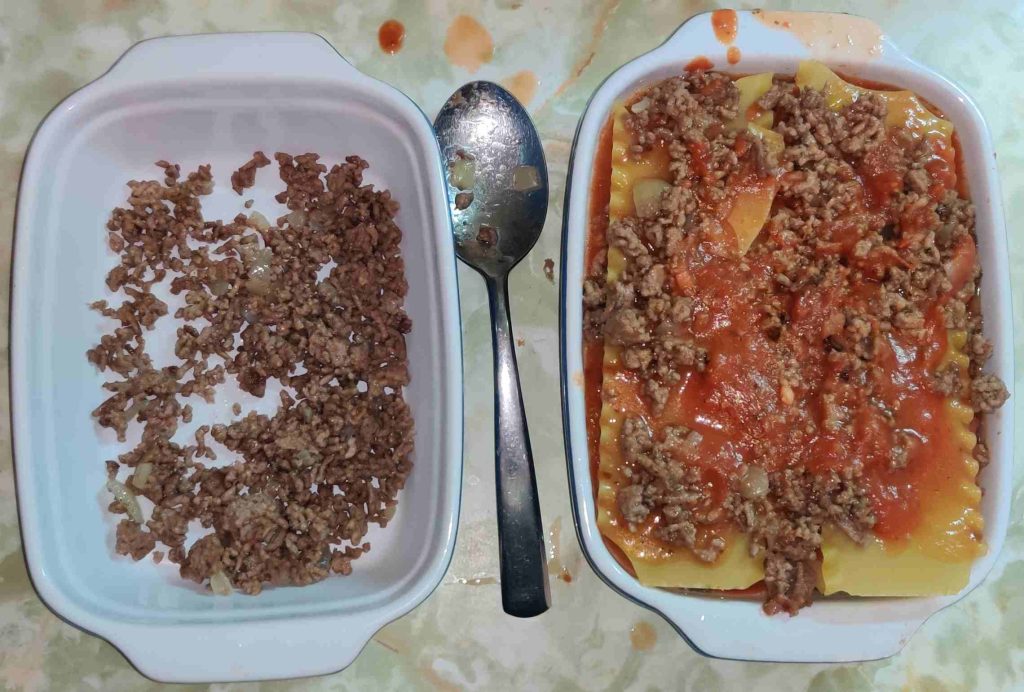
Cooked ground beef and onion mixture layered in the second baking pan

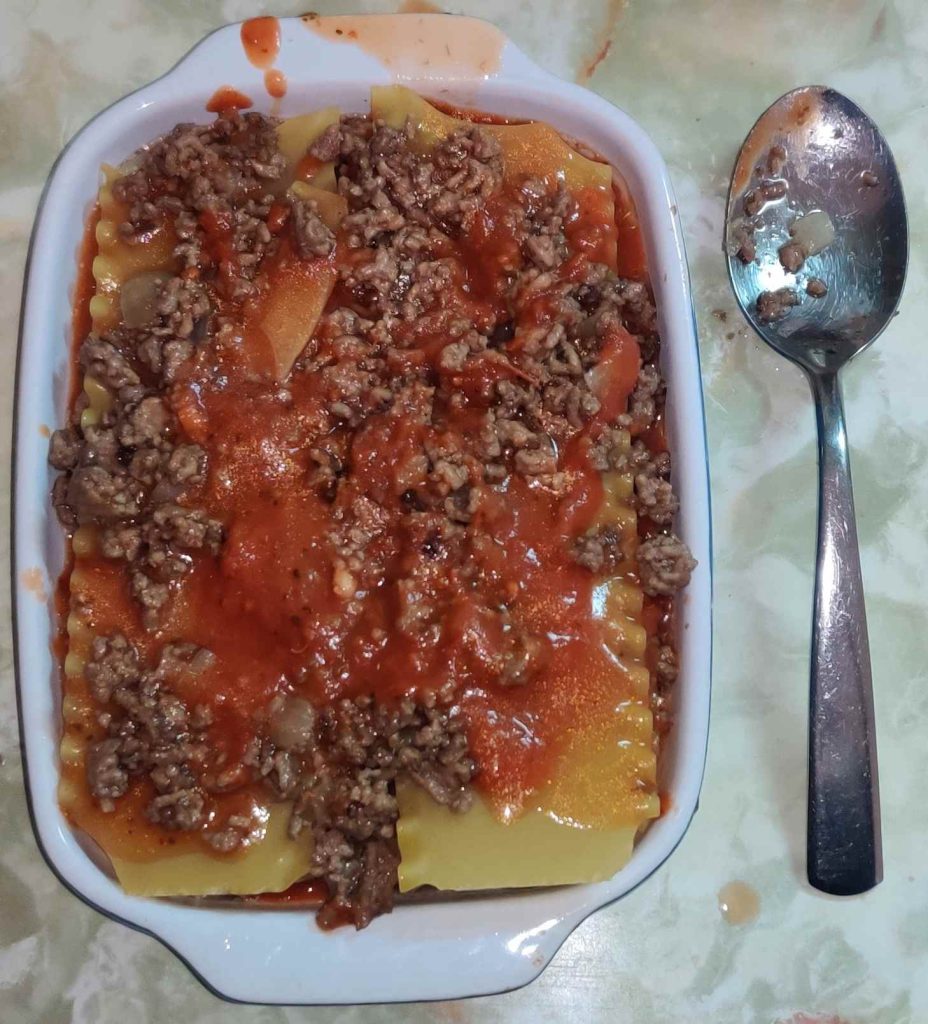
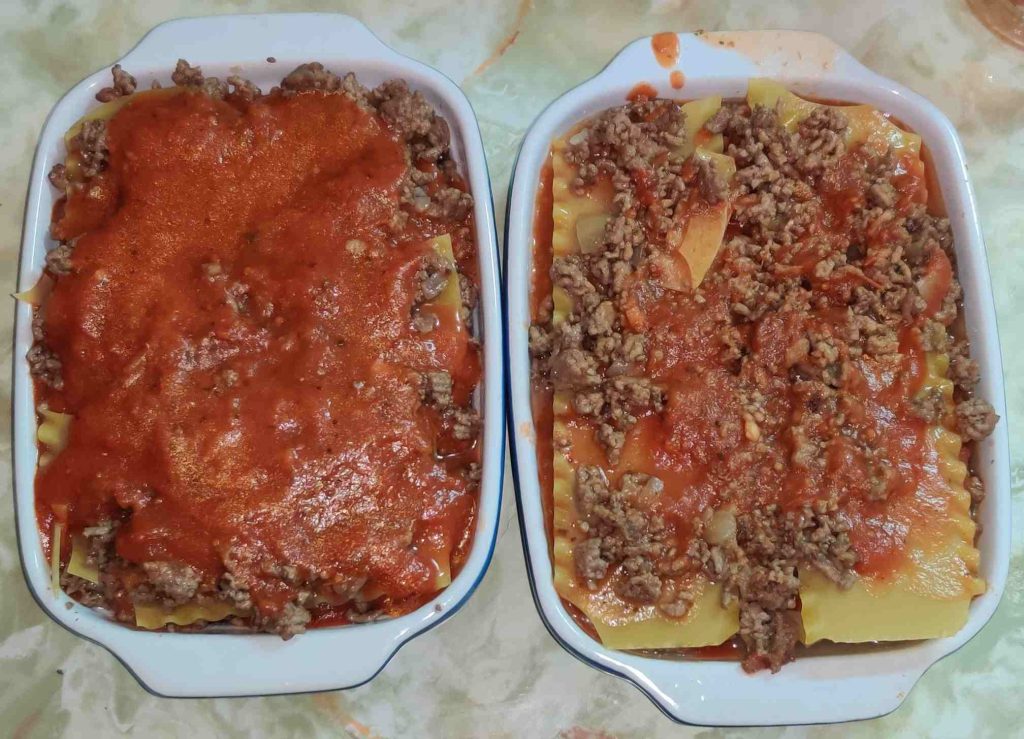
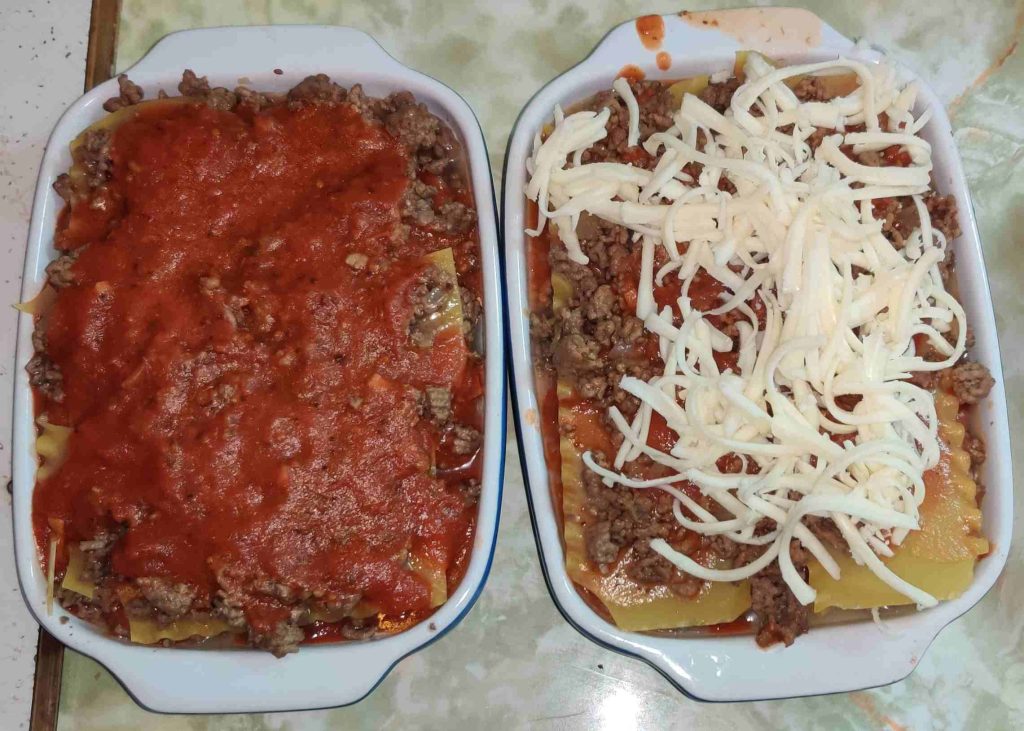
I continued with the layering of the second lasagne in the second baking pan — on the left — until I also had four layers of lasagne sheets and five layers of cooked ground beef and onion mixture and tomato sauce (yes, sometimes sauce distribution was somewhat uneven amongst the layers — although each lasagne contained a full jar of 600ml of sauce):

Two baking pans of lasagne

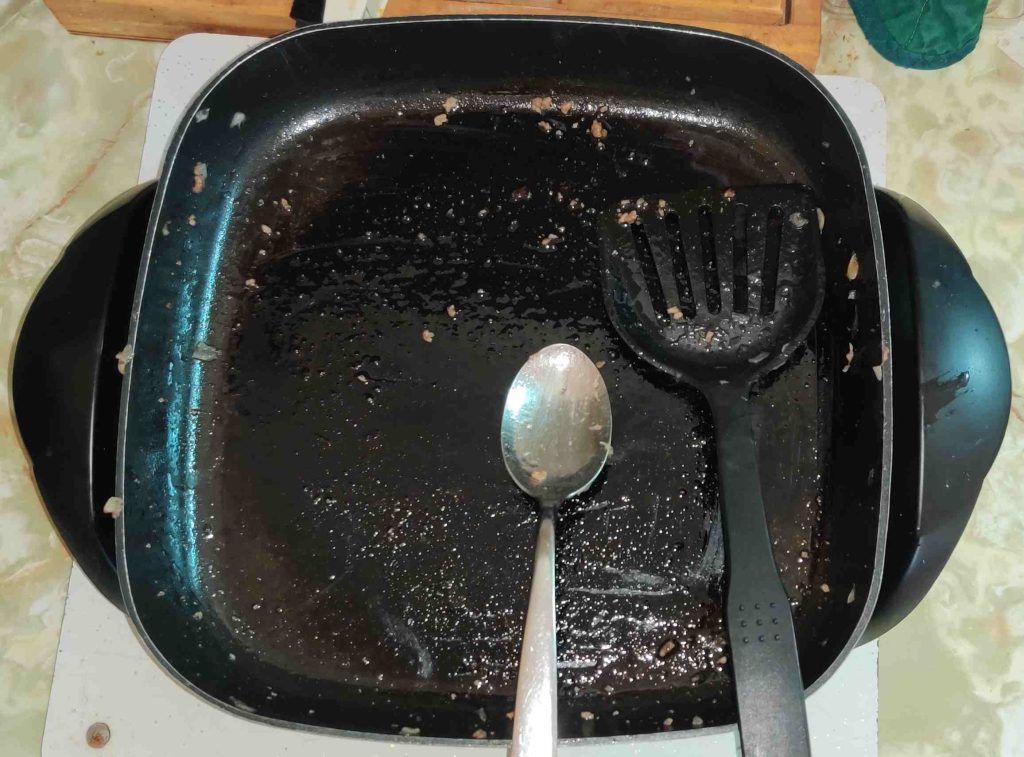
Again, at this point and as planned, the other half of the cooked ground beef and onion mixture had been used up:

Frypan of cooked ground beef and onion mixture emptied of its contents

The frypan was brought over to the sink for washing later.

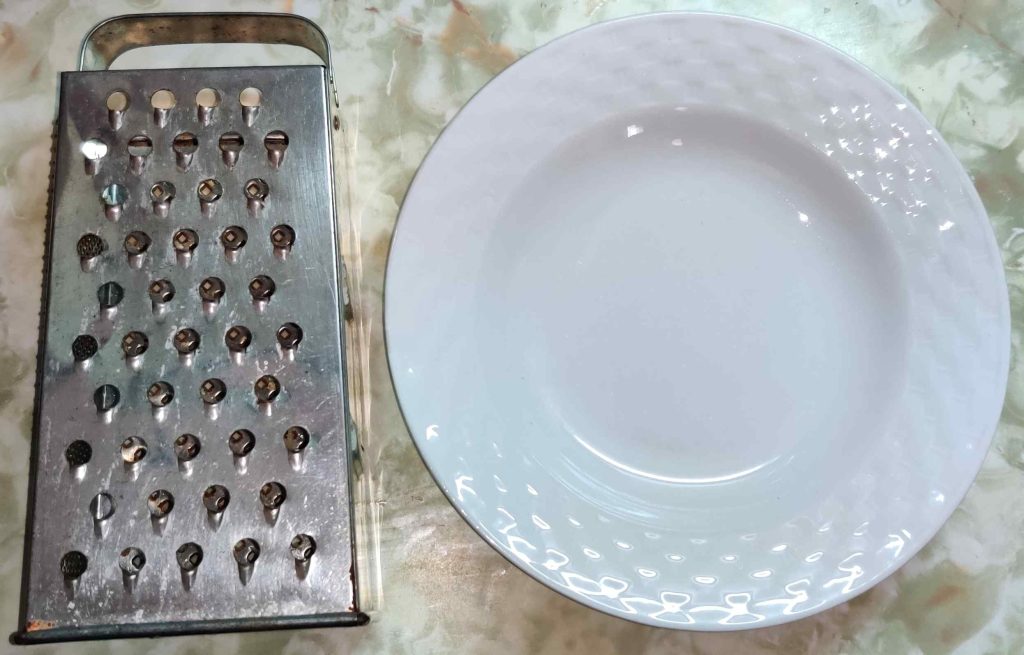
A box grater and a large soup bowl were taken out:

Box grater and soup bowl taken out

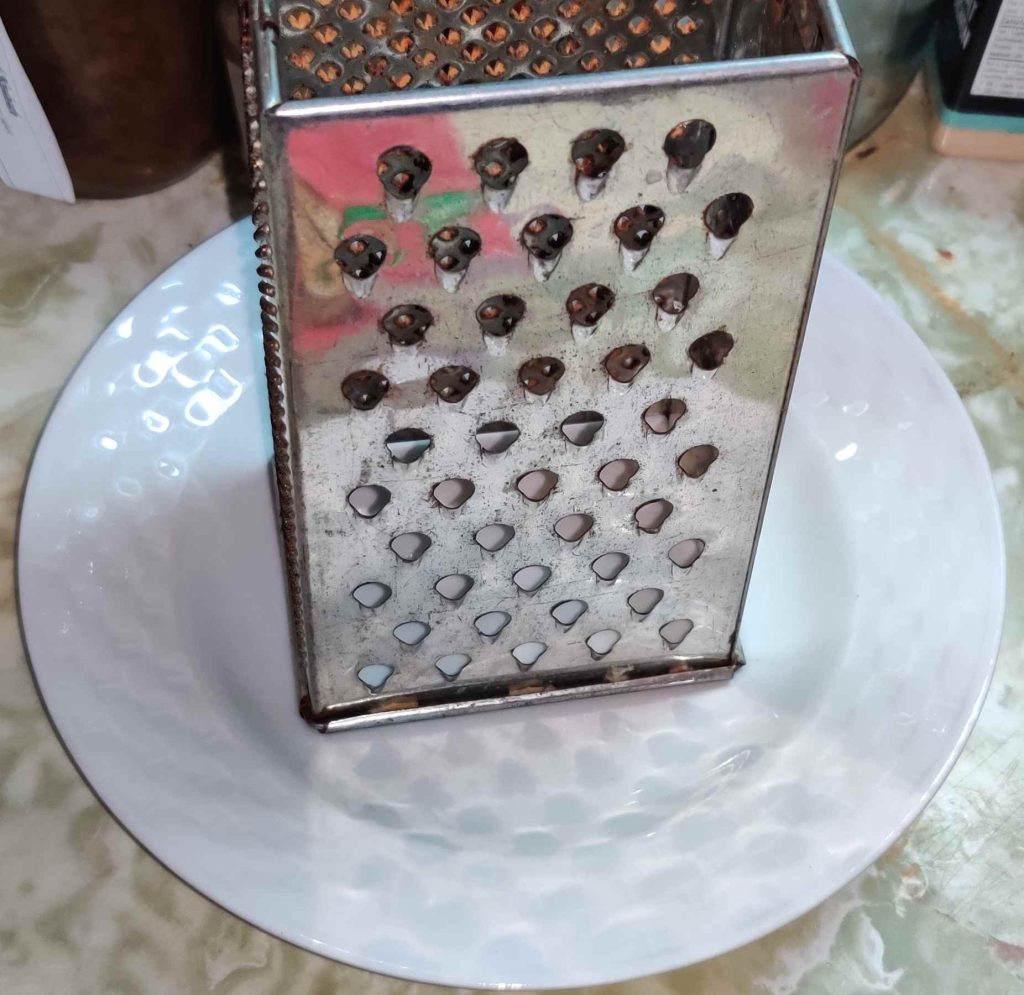
… and the box grater was placed in the soup bowl:

Box grater placed in soup bowl

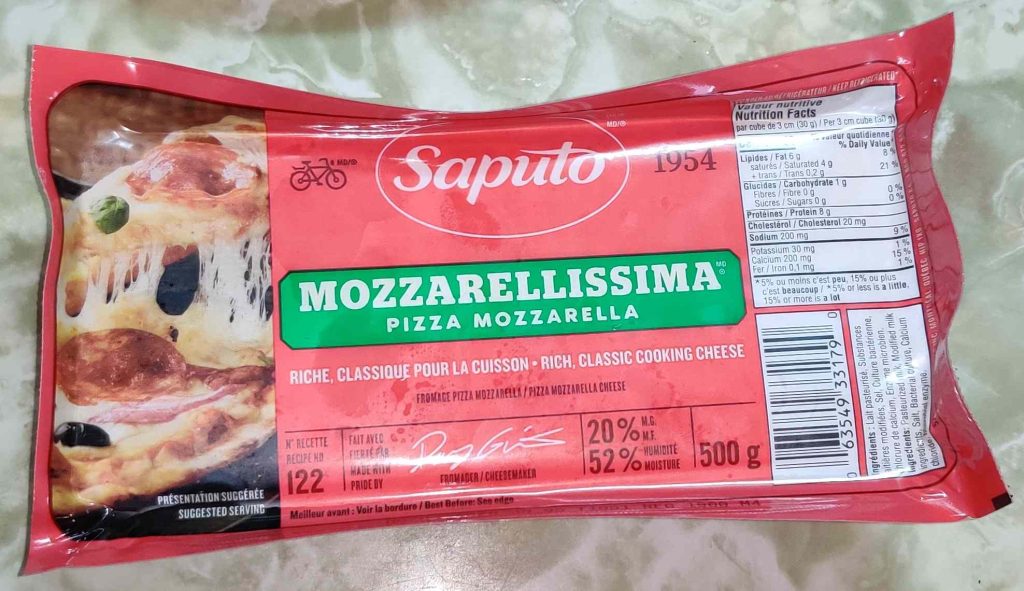
A block of mozzarella cheese was taken out:

Mozzarella cheese taken out

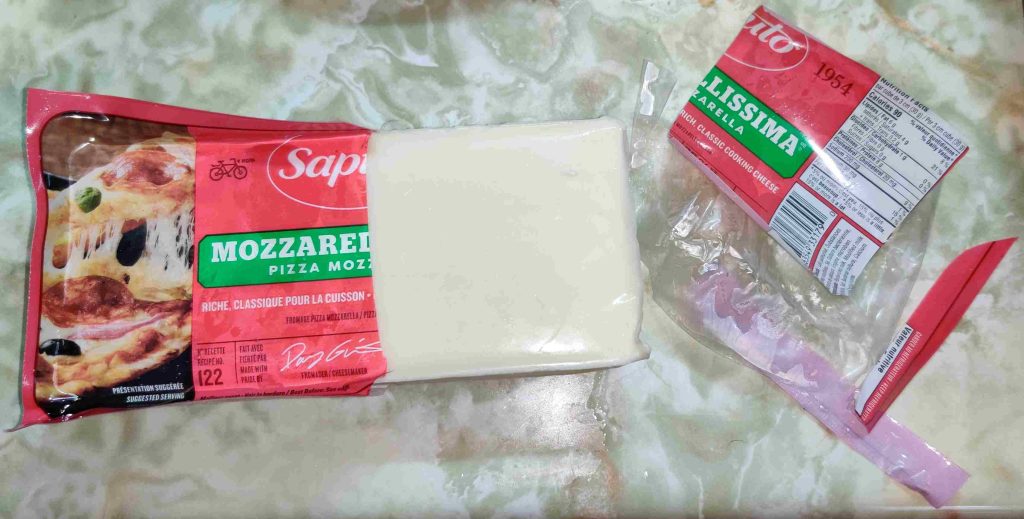
The package was partly removed to facilitate grating about 200 grams of cheese:

Cheese partly unwrapped

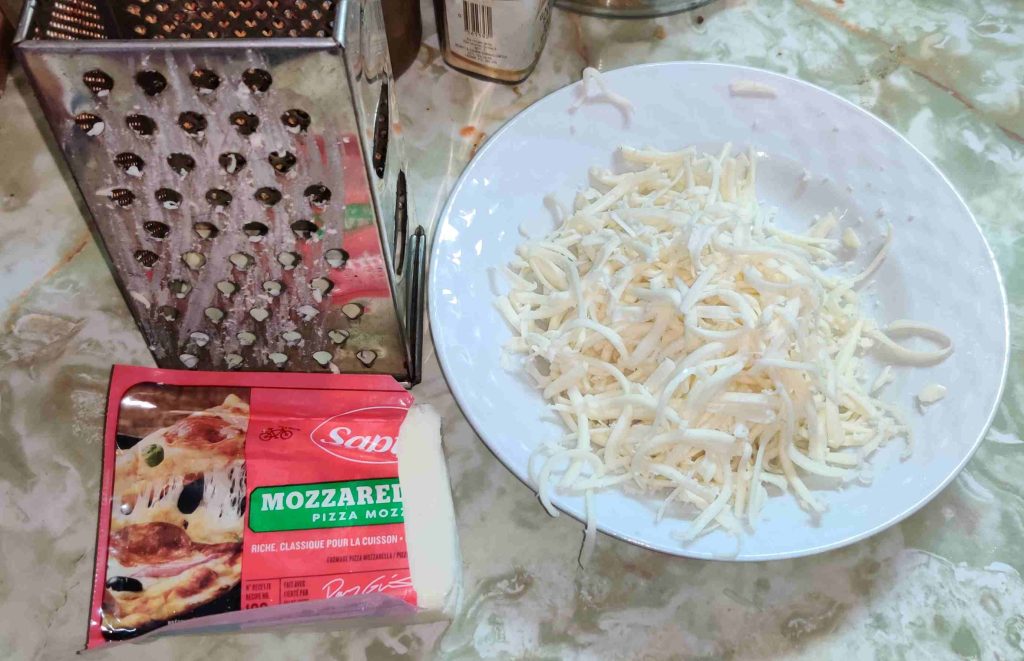
Approximately 200g of cheese, estimated visually as about two fifths of the 500g block, were grated off of the block of mozzarella cheese:

Approximately 200g of cheese grated off the block

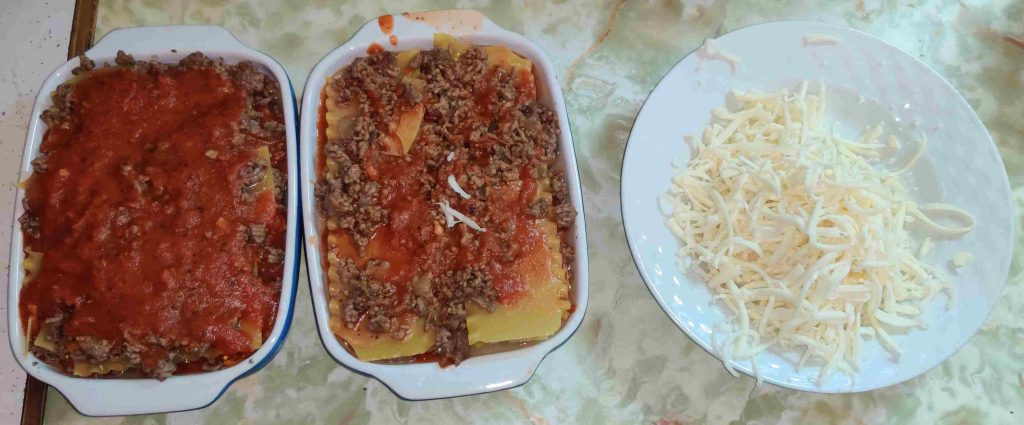
The bowl of cheese was brought over to the two baking pans of lasagnes:

Cheese brought over to lasagnes

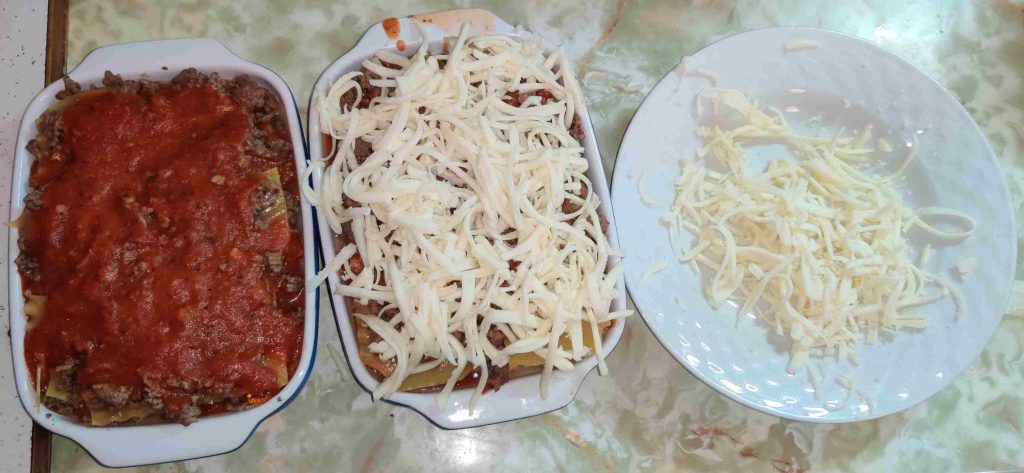
About half of the cheese, approximately 100g, was transferred to the top of a lasagne:

Cheese placed on lasagne
About 100g — about half of the grated cheese — were placed on one of the lasagnes

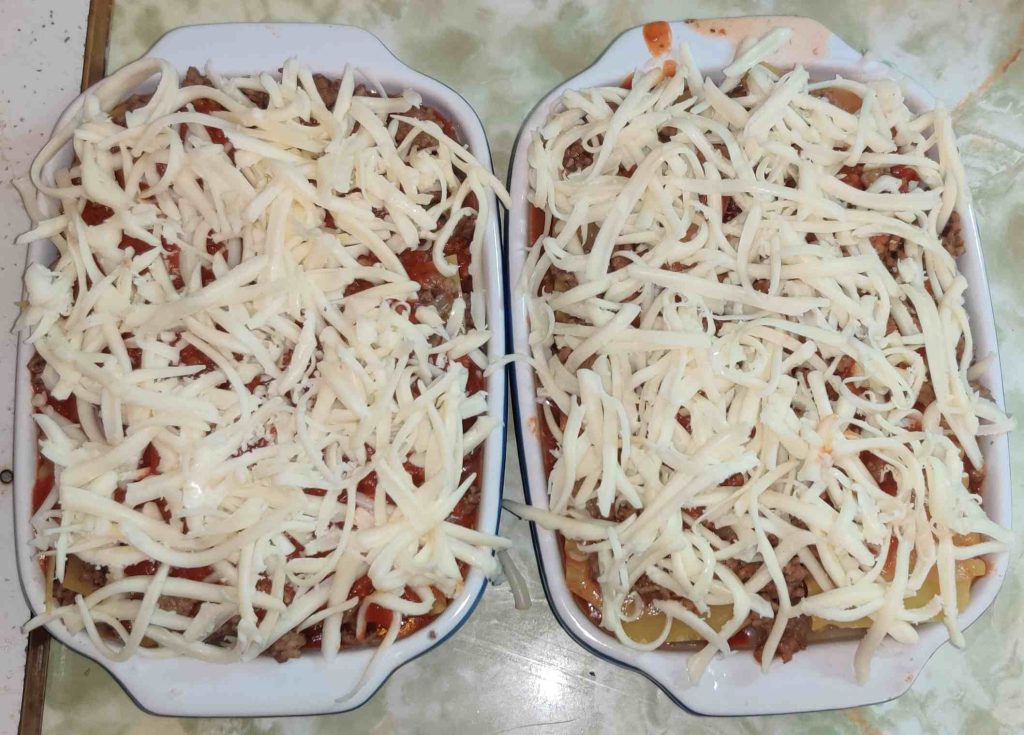
The rest of the cheese was transferred to the other lasagne, ensuring that each unit received approximately the same amount of cheese:

Cheese transferred to both lasagnes

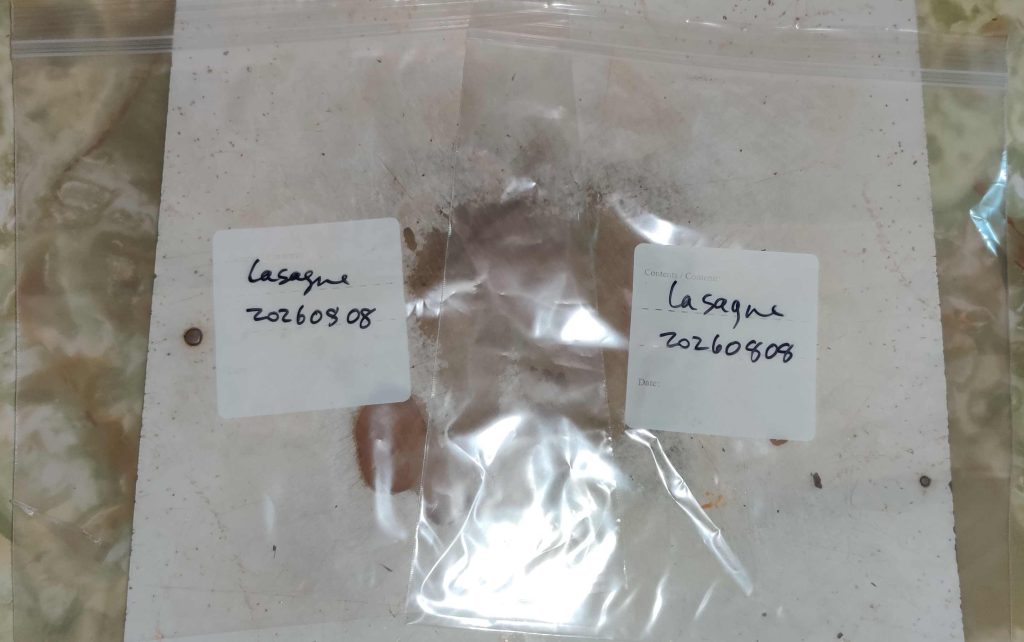
Two freezer bags were taken out, and identified and dated:

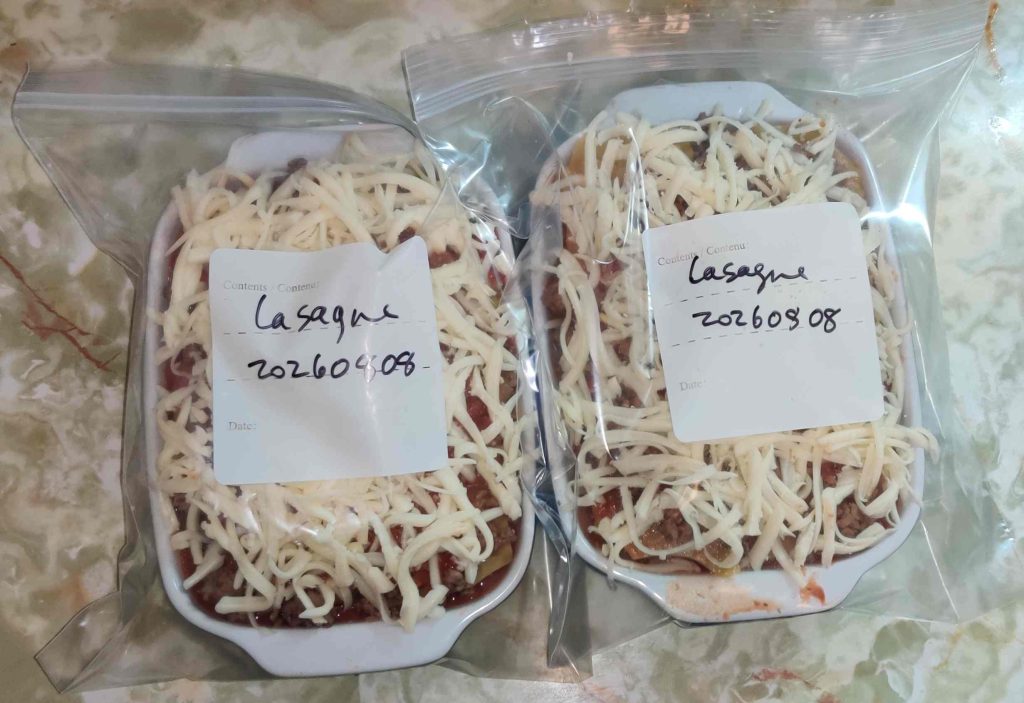
Freezer bags taken out and identified and dated

The lasagnes were individually placed in the bags:

Lasagnes placed in freezer bags

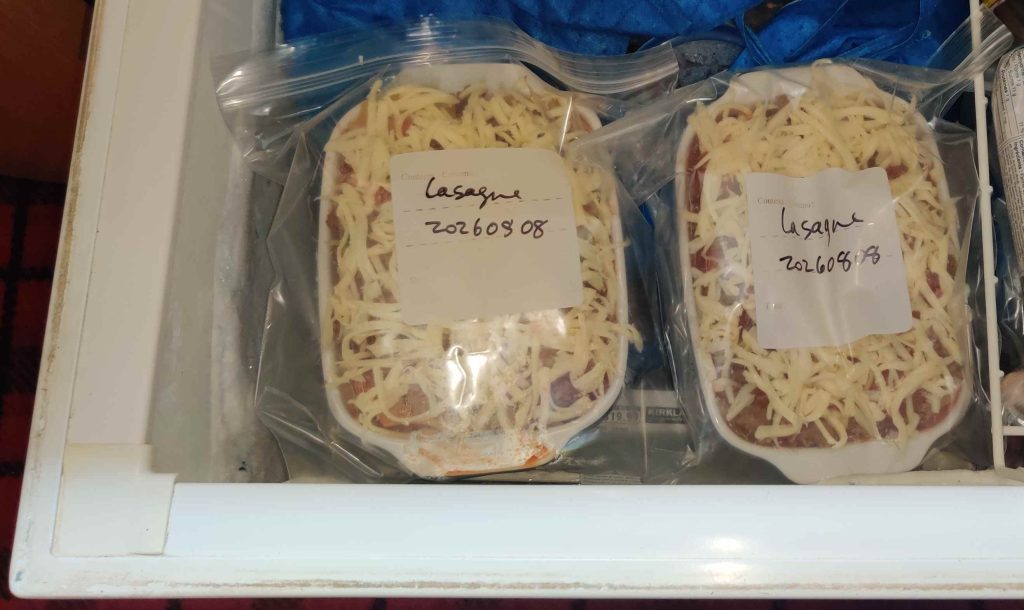
The lasagnes were then placed in my deep freezer for when I’ll want to take them out and bake them:

Lasagnes placed in freezer

Are they tasty? Of course!

A little postscript: Canada — where I live, in the province of Québec — has this funny equilibrium about the spelling of a bunch of words due to simultaneous historical and current day British English and American English influences, as well as our own Canadian conventions (and even regional ones too!) In the case of this post, I use the spelling of “lasagne” due to British influence, as well as French influence, since Québec is a French-speaking region in Canada, instead of “lasagna”, the American spelling. Hence, please don’t write in telling me that I spelled “lasagne” wrong throughout this post. 🙂 (And, we also have lots of fun with measuring systems, too.)

Making (Braised) Pulled Pork — Photos

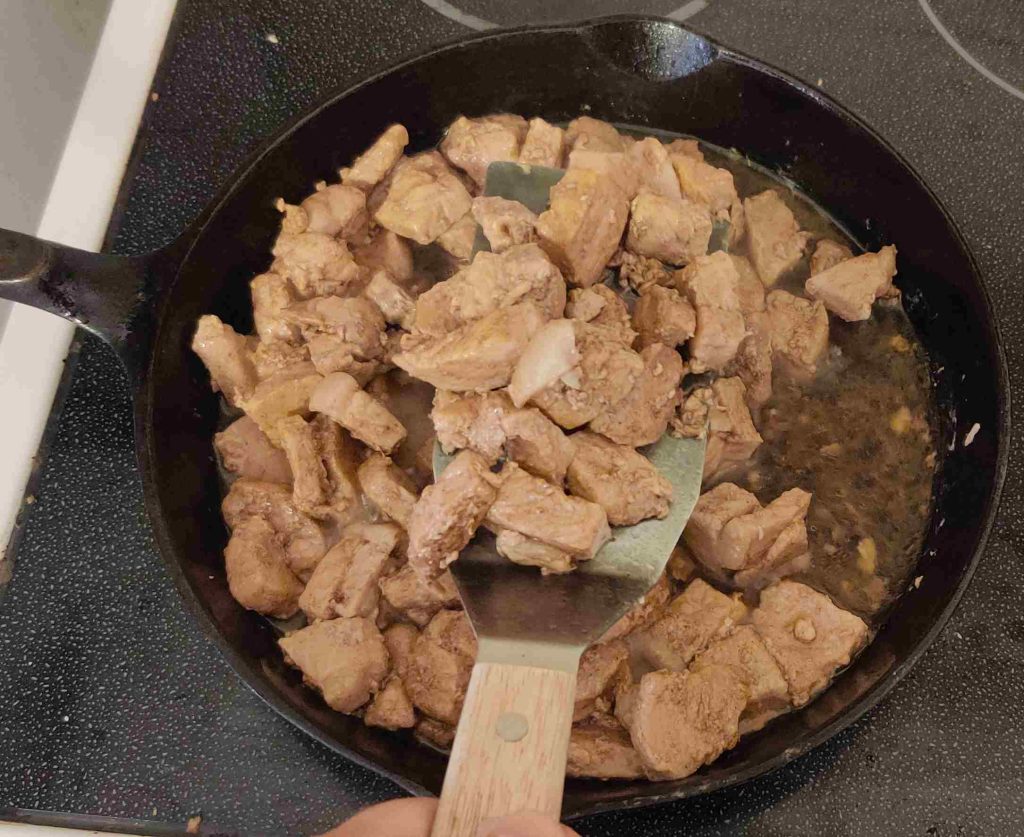
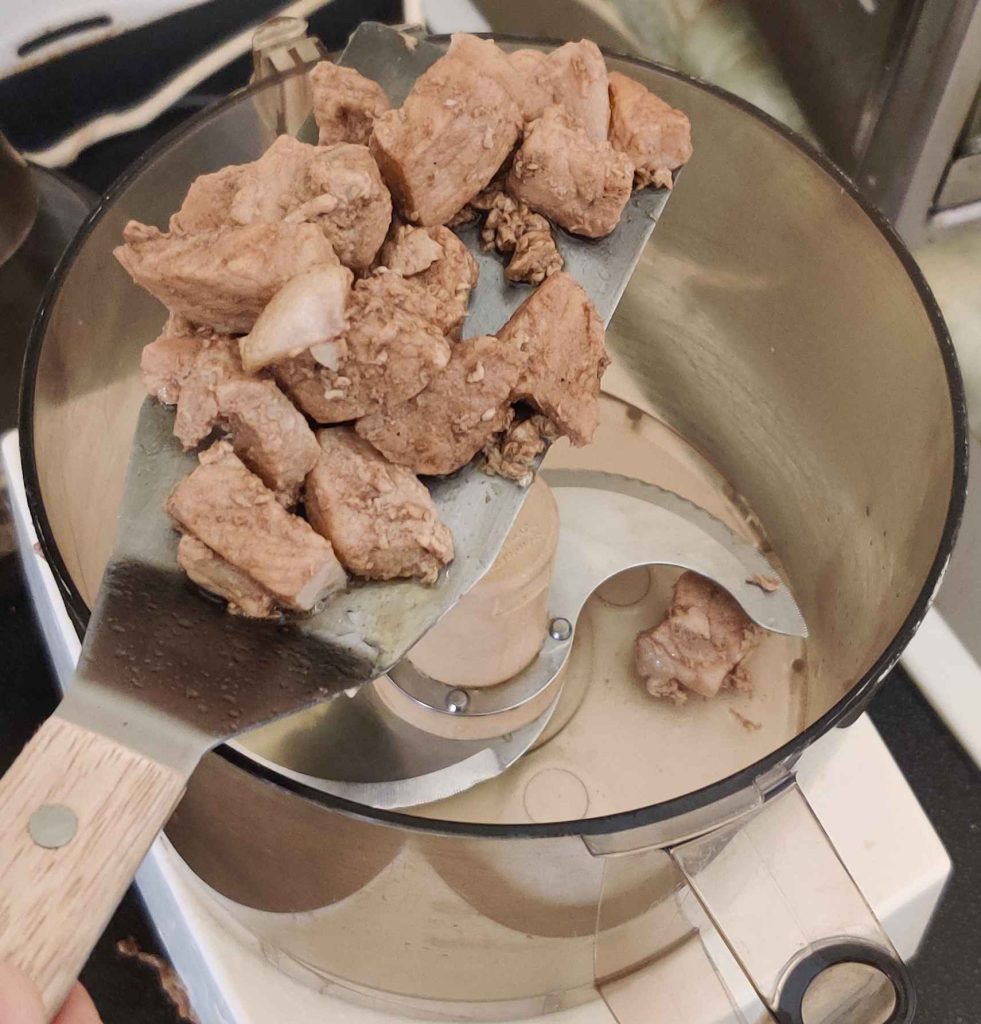
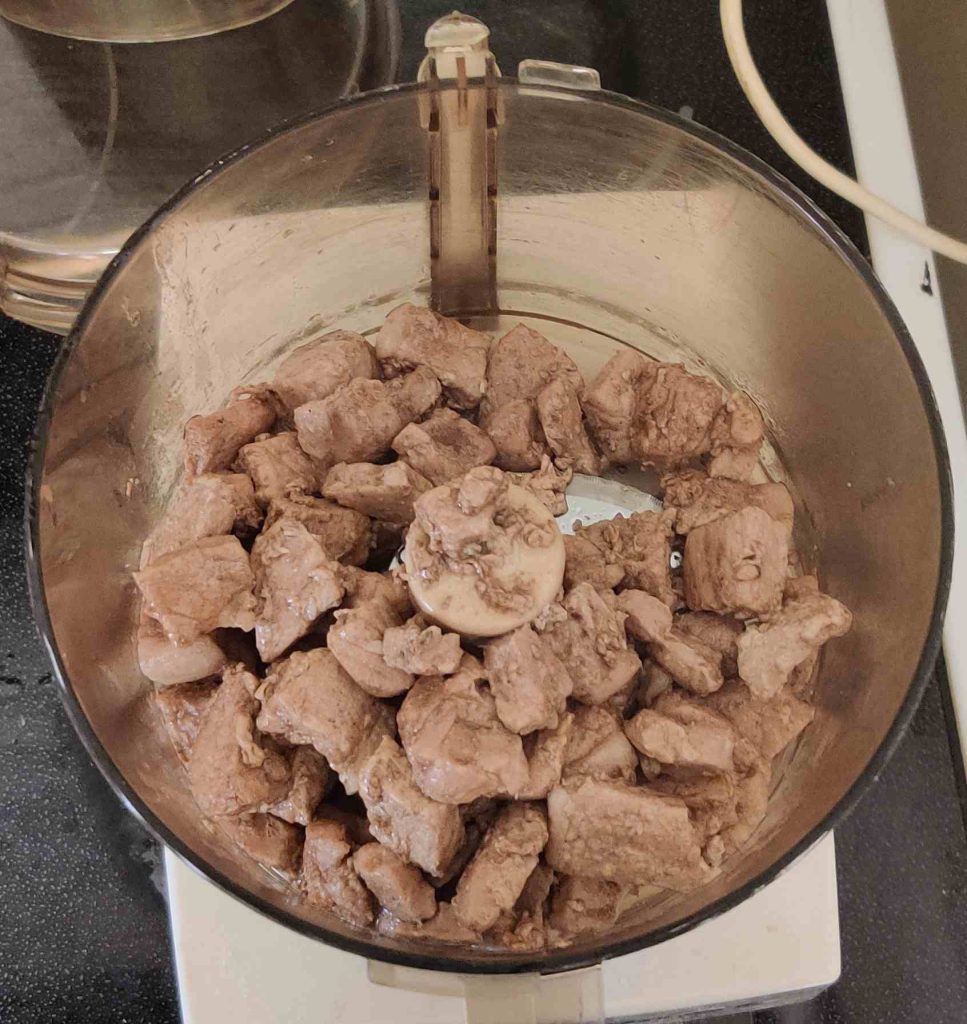
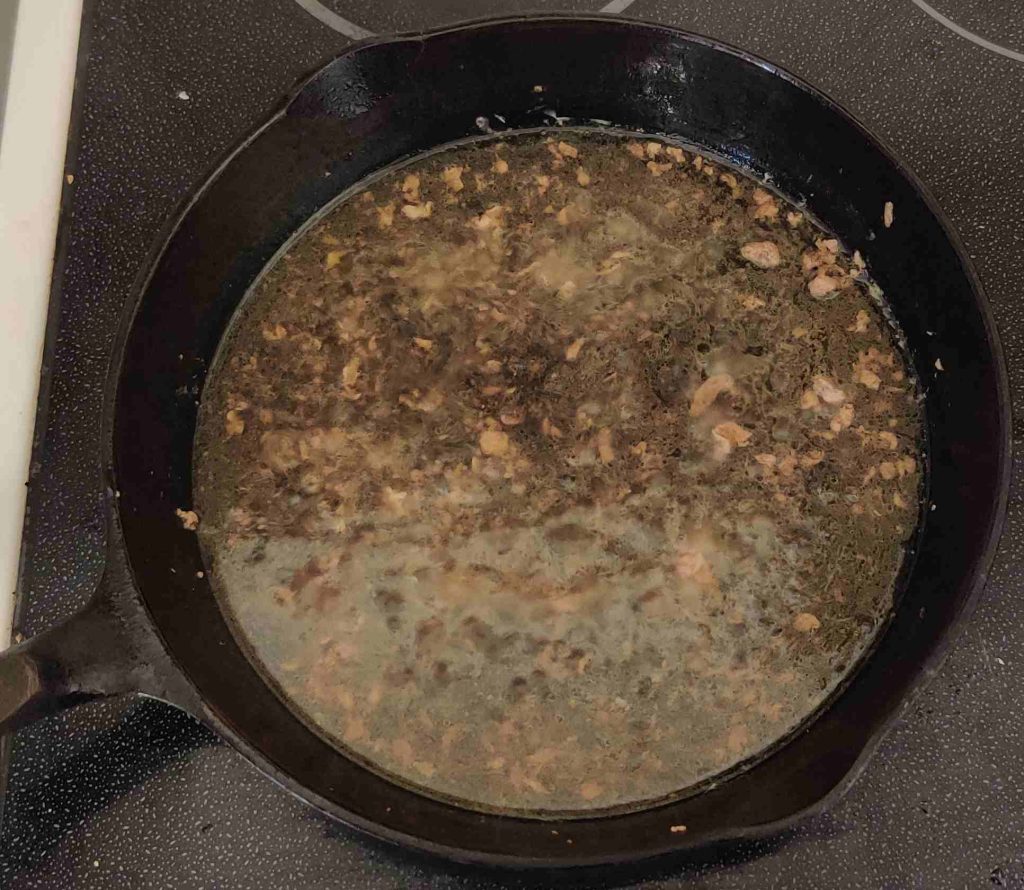
Following having enjoyed a friend’s pulled pork a few times at church functions over the years, I asked her for her recipe in late 2023 / early 2024. I successfully made her pulled pork … and shelved the idea, because her recipe featured star anise — meaning, there was what I considered a weird black licorice taste to the otherwise tasty pulled pork. Also, I asked my friend “what do you do with the braising liquid afterwards?” to which she responded “Oh keep it in the freezer for the next time, or add corn starch to some of it to add to the pork.” These responses didn’t sit well with me either. I resigned myself to enjoying pulled pork whenever my culinary adventures happened to meet with it at restaurants and the like.

In early 2026, I saw pork shoulder on sale, and decided to buy some “so that one day I can try again to make pulled pork.” A couple of months later, I looked up pulled pork recipes on the internet, did my own experimentation on the spot, and decided upon keeping my friend’s basic method; but instead using a 2:1 mix of commercial BBQ sauce (I settled on Kraft) and molasses for the flavour base to the braising liquid, to which I have kept ever since. Once exception was to have found a generic taste-alike recipe for Kraft BBQ sauce on the internet, which I integrated into the recipe, and which I used to partly make up the BBQ sauce portion in this session. (As a side note, I did *not* show extra photos for this makeup, in keeping with the spirit of the recipe that intentionally simply calls for “barbecue sauce” — meaning, you should use your favourite barbecue sauce.) And, as shown below, I reduce the braising liquid down to a sauce to mix in with the pulled pork. 🙂

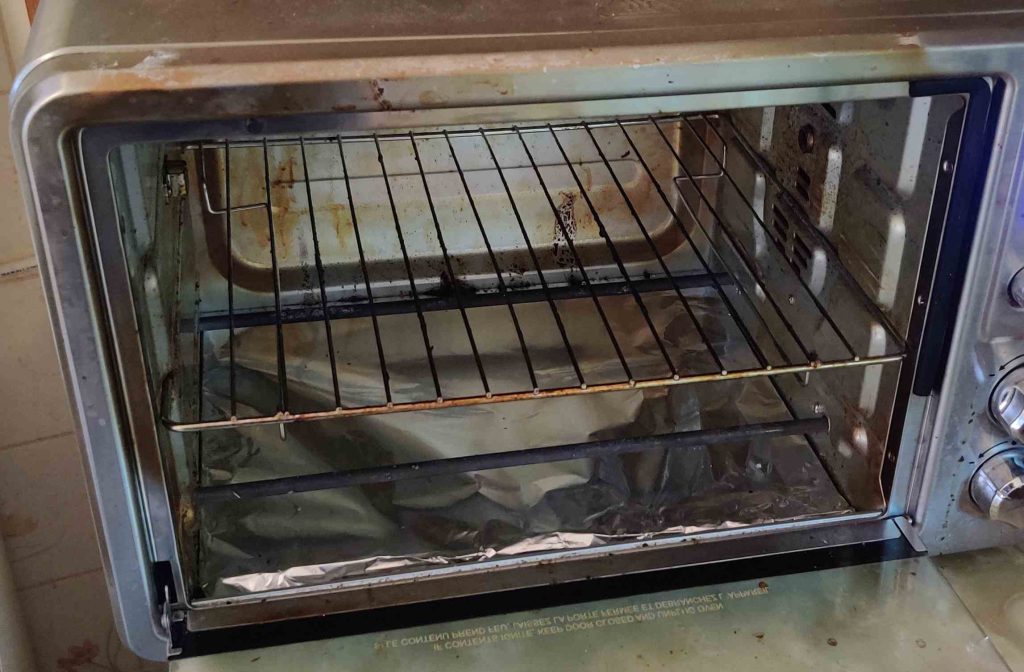
Extra note: In a few instances, my photos from the session have shown some kitchen surfaces that were in need of some cleaning, and the aluminum foil lining at the bottom of my countertop convection oven needing changing. All the “extra cleaning” and foil replacement were performed after the cooking session, and during the course of mounting this post. I think I’m going to claim “Welcome to real life!”

Extra note #2: “A photo or two” may have been slightly presented out of order compared to their having been taken, and at least one make-up photo was staged after the cooking session, both for the sake of the narrative.

Making the pulled pork:

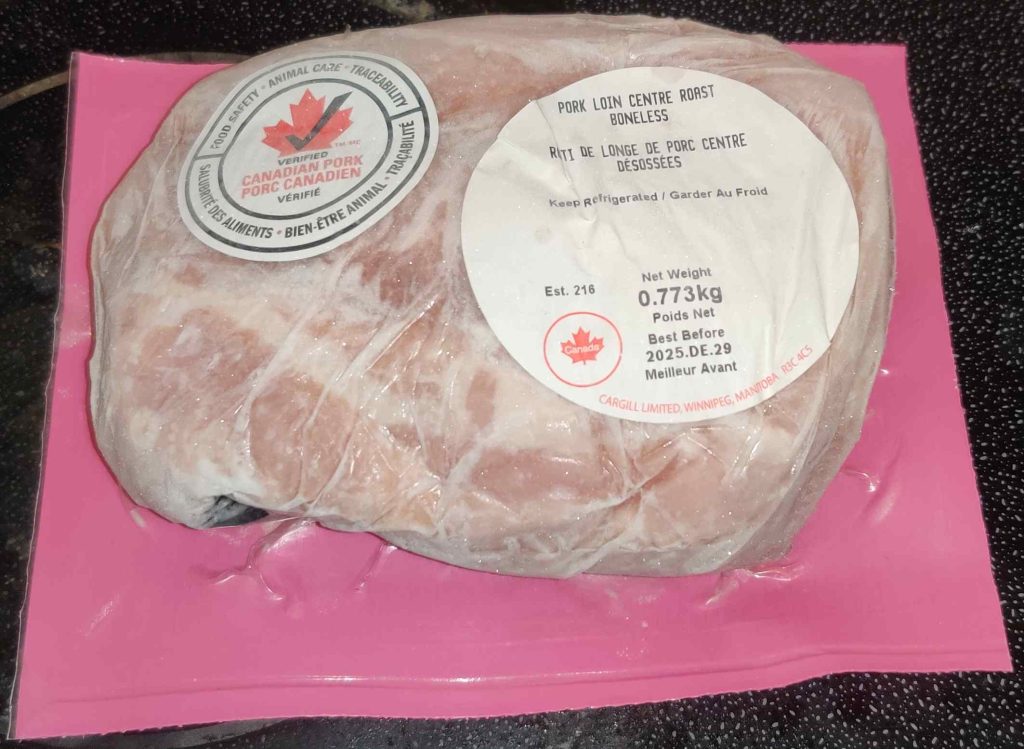
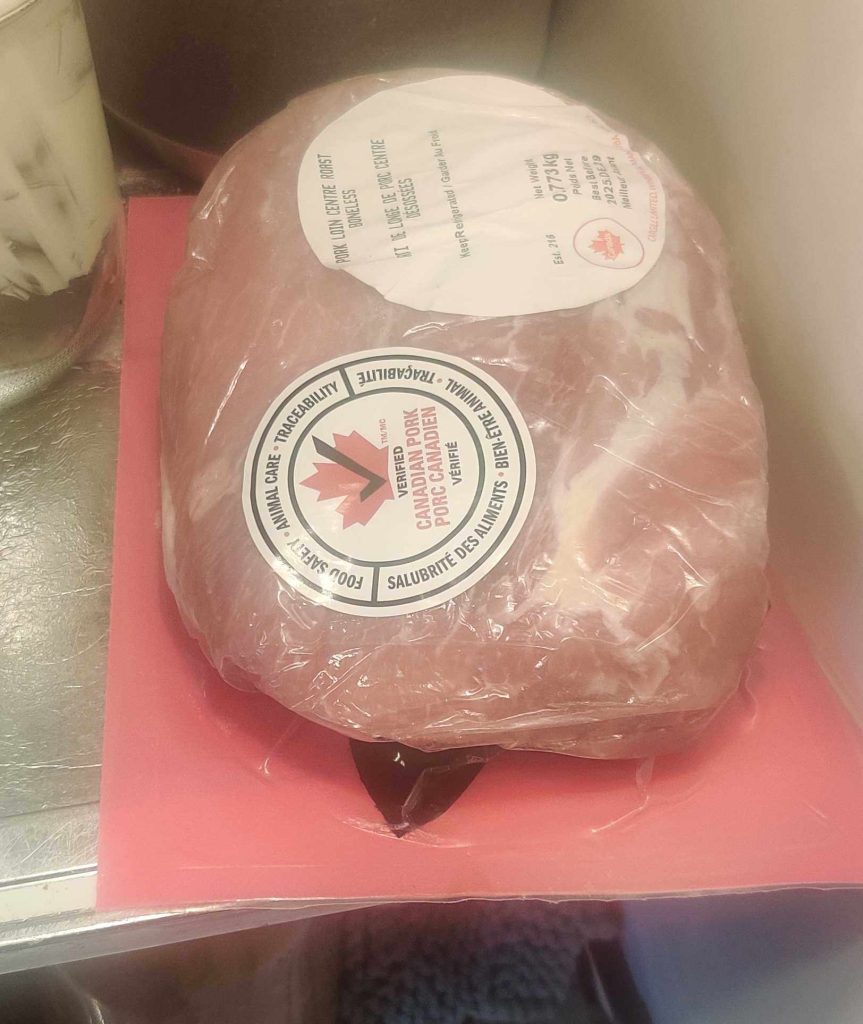
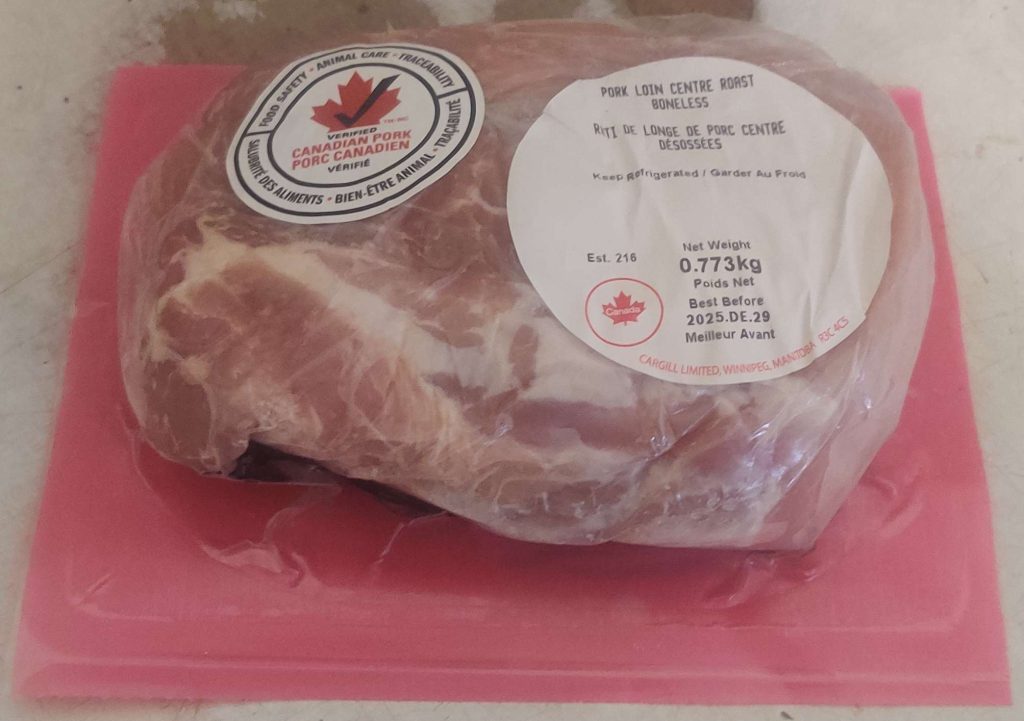
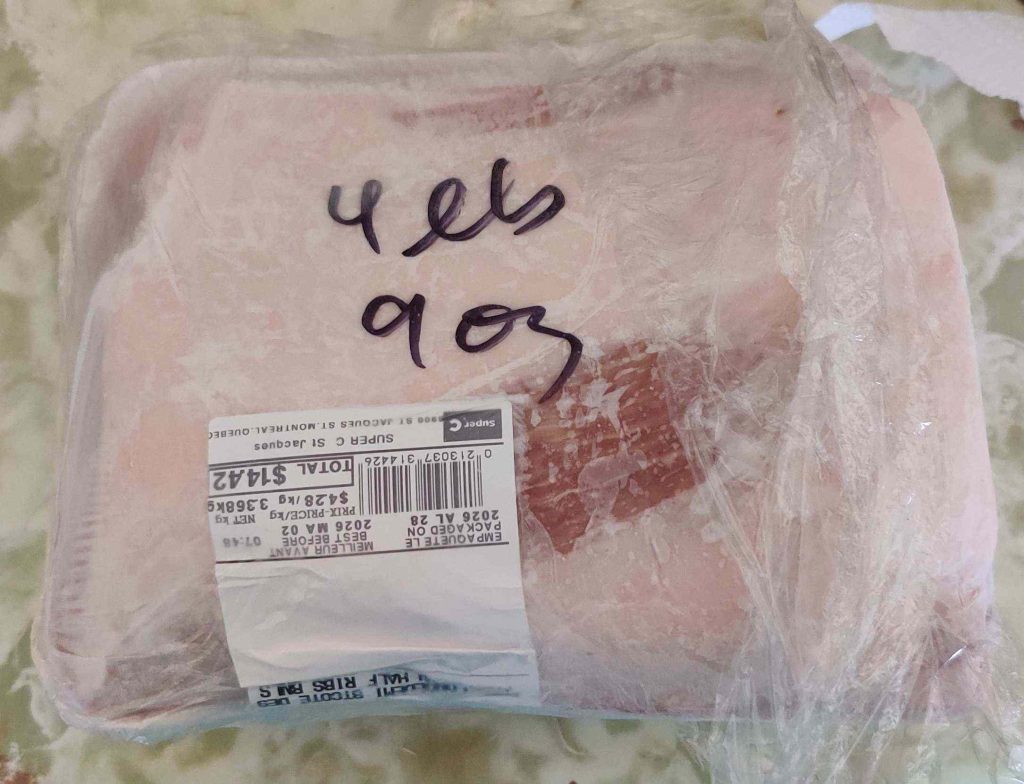
First, some frozen pork was taken out — in this case, some pork loin (instead of pork shoulder, which I concede is still more appropriate for the job — but pork loin does well too) — because I had bought a lot of pork loin a few months ago at a not-as-great-as-I-thought-but-still-good sale price given how thick the fat layers were in some cases:

Frozen pork taken out

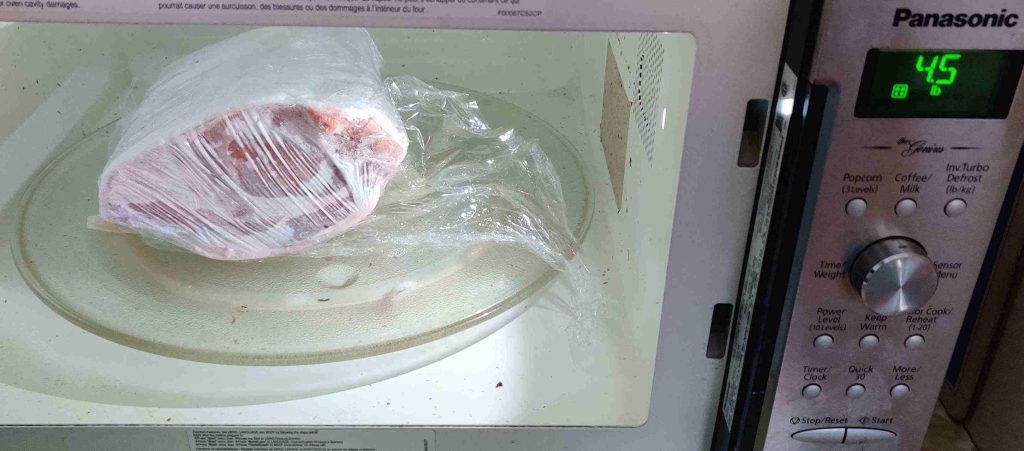
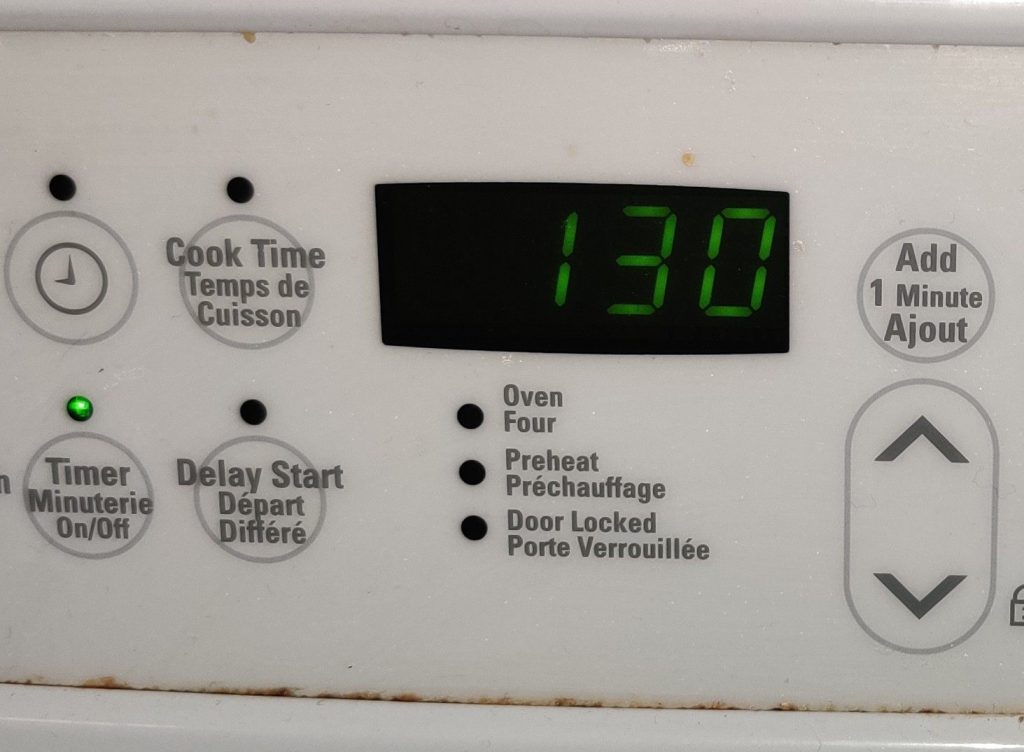
The pork was placed in my microwave oven using the “defrost” function, entering the pork weight that I had marked on the plastic wrap before freezing:

Frozen pork placed in microwave oven for defrosting

The time for defrosting was automatically set based on the weight I’d entered:

Defrosting time automatically set based on weight

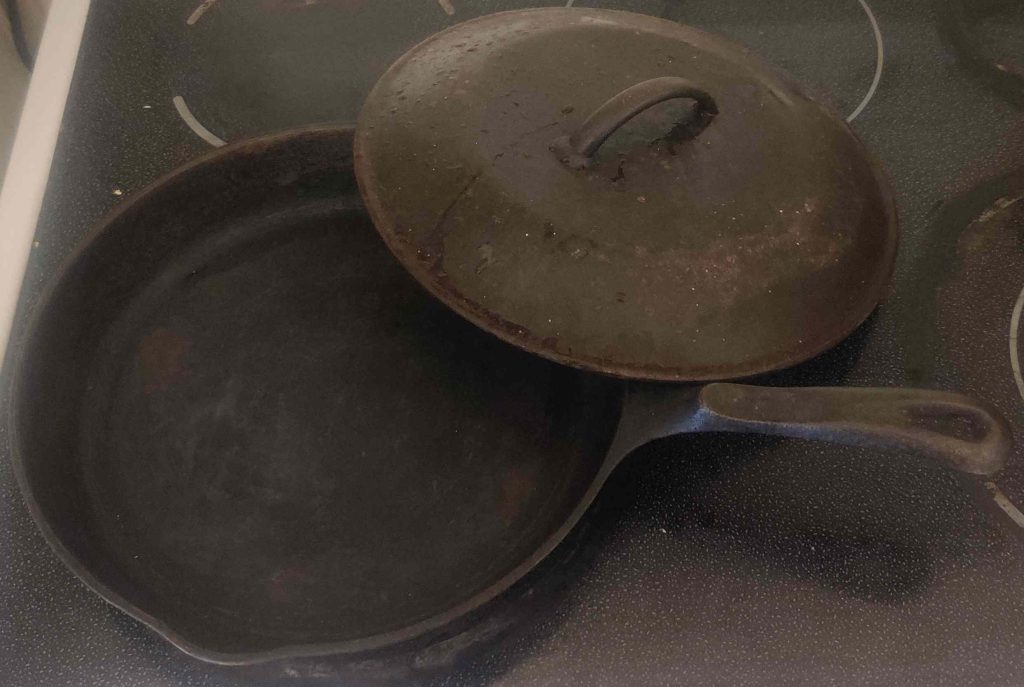
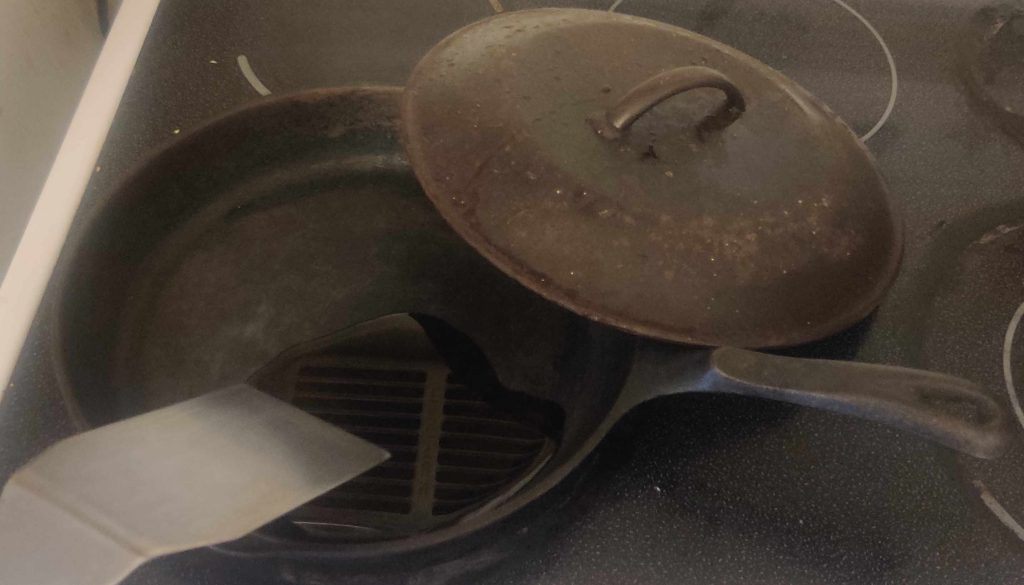
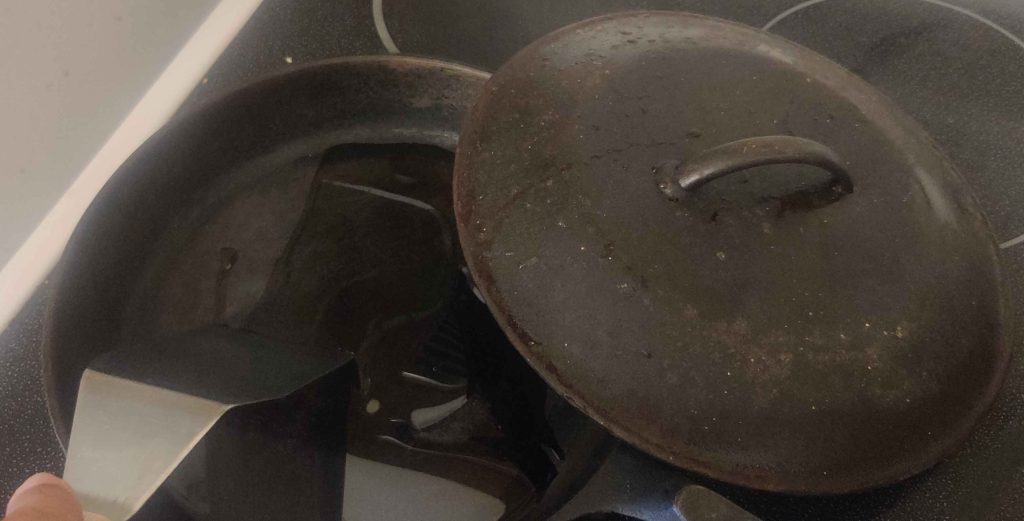
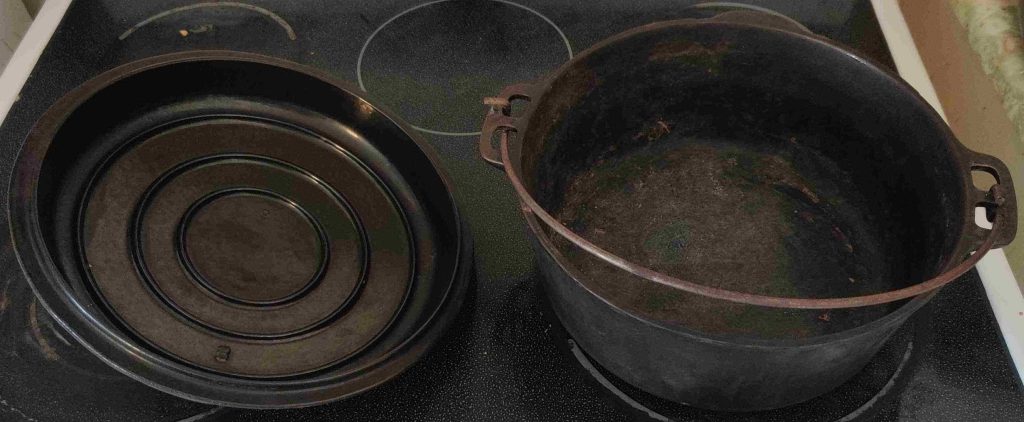
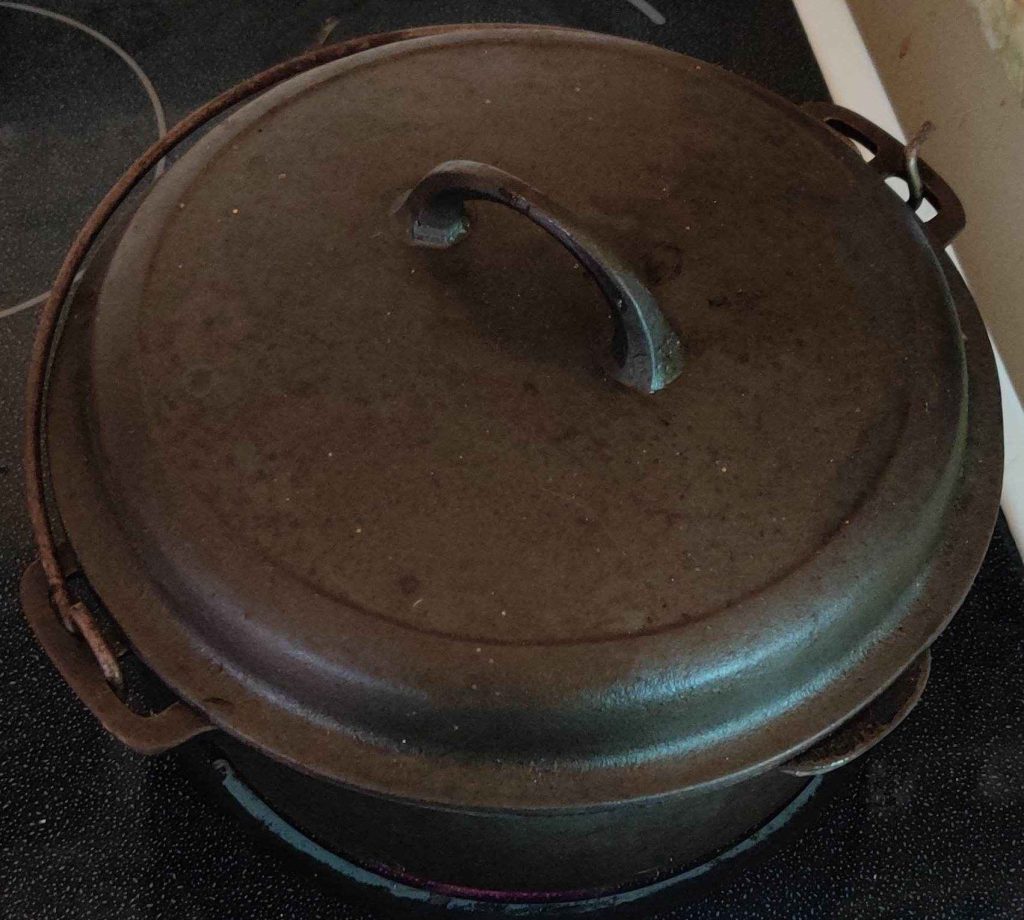
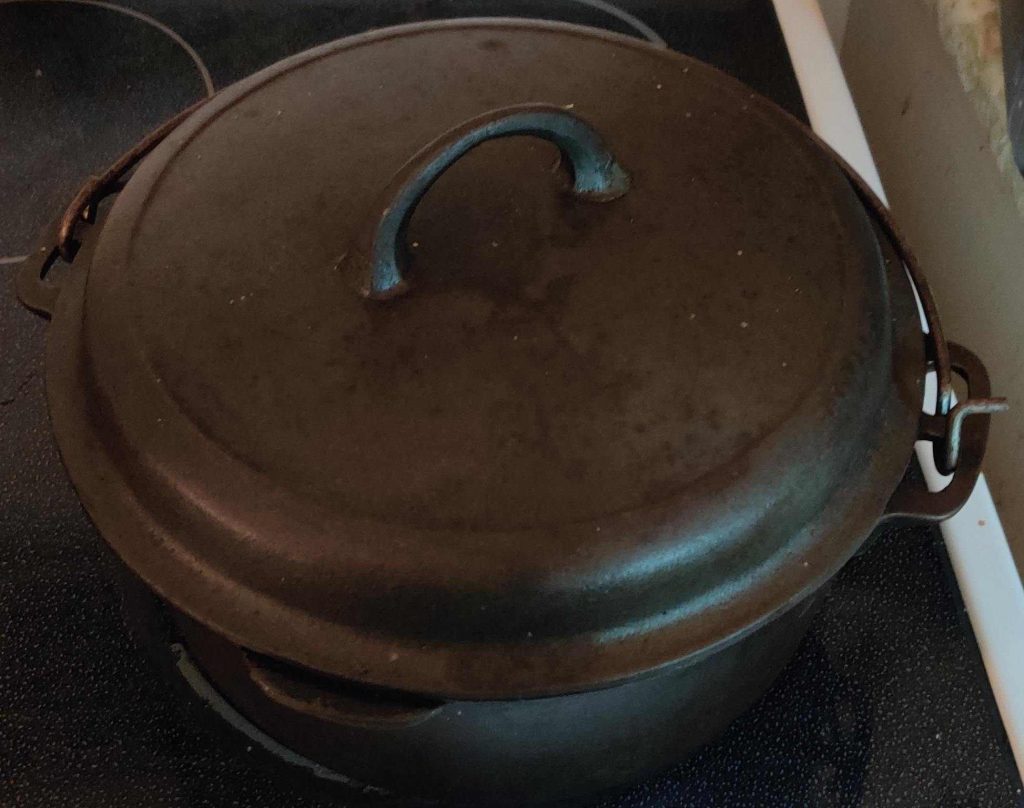
In the meantime, an oven-proof cast iron pot with a lid was taken out:

Oven proof pot taken out

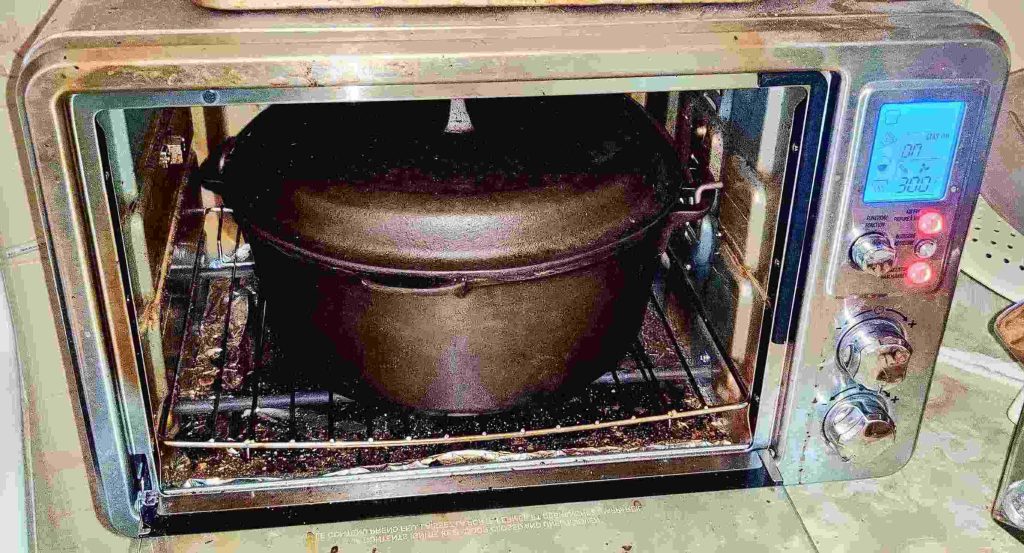
Critically, the use of an oven-proof pot that can be covered, be it with a lid, or aluminum foil, is important — in my case, I use a cast iron pot with a lid that happens to fit in my countertop convection oven, and which allows for pre-heating on the stove.

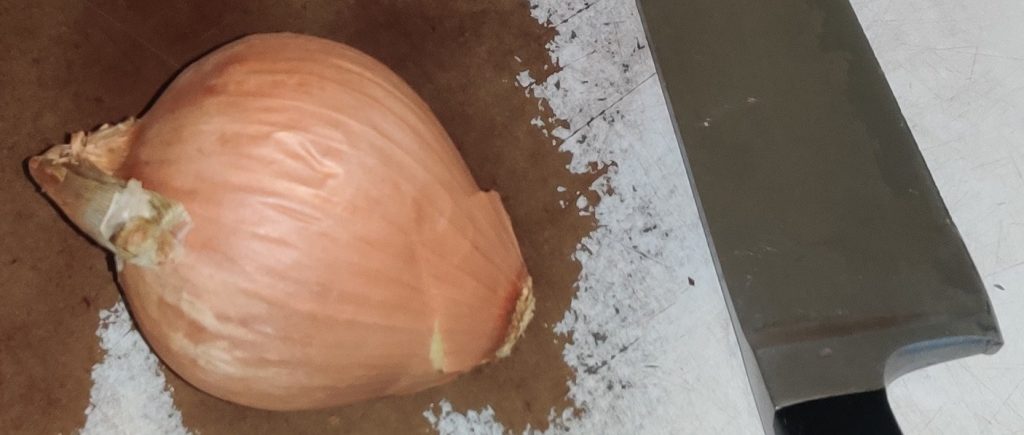
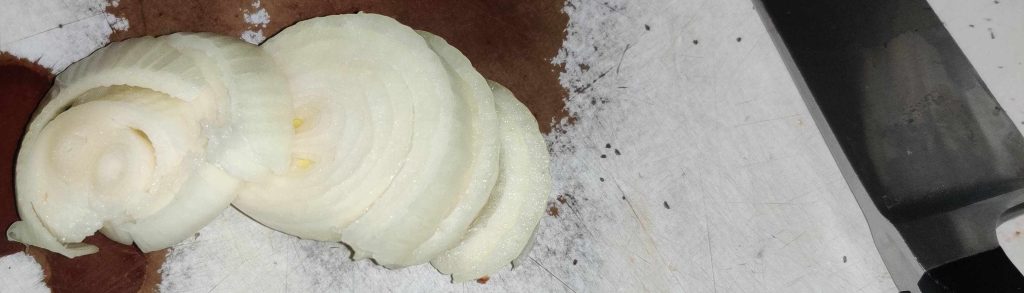
An onion and a kitchen knife were taken out:

Onion and kitchen knife taken out

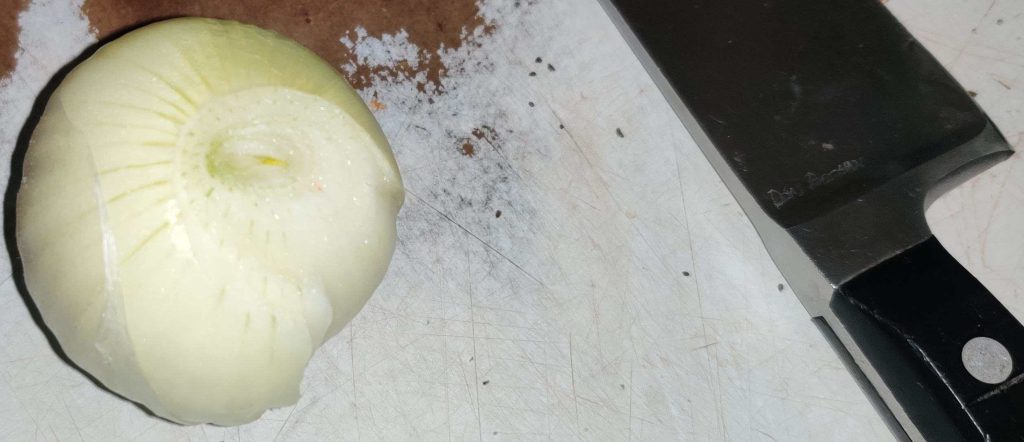
The onion was trimmed:

Onion trimmed

The onion was cut into rounds:

Onion cut into rounds

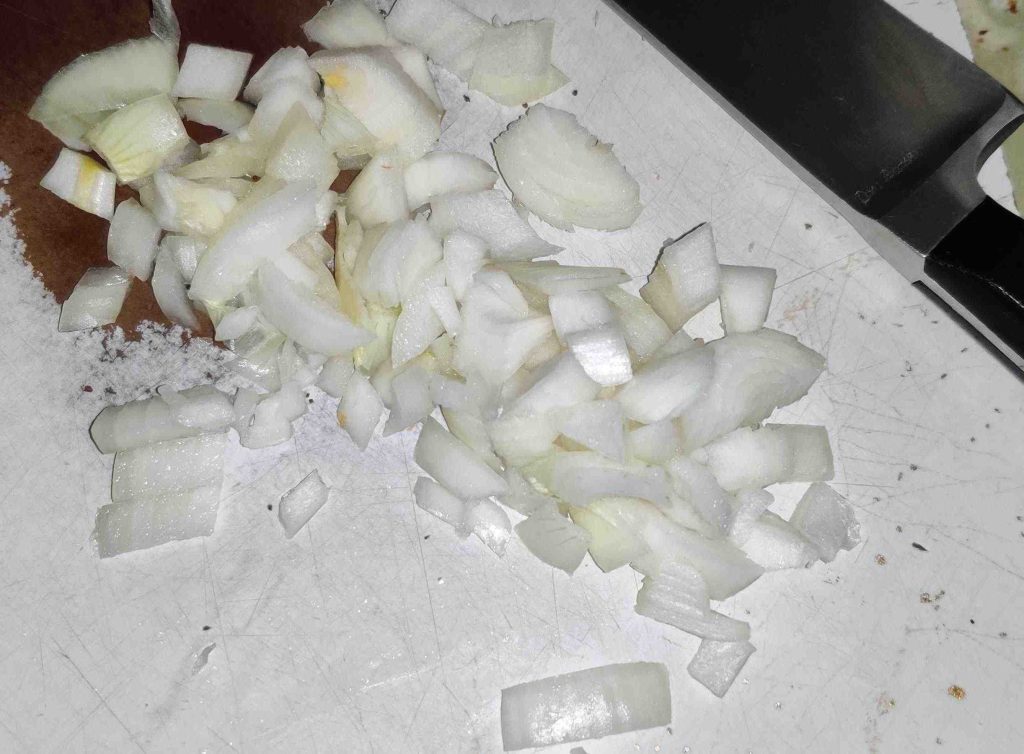
The onion rounds were then chopped coarsly:

Onion chopped coarsely

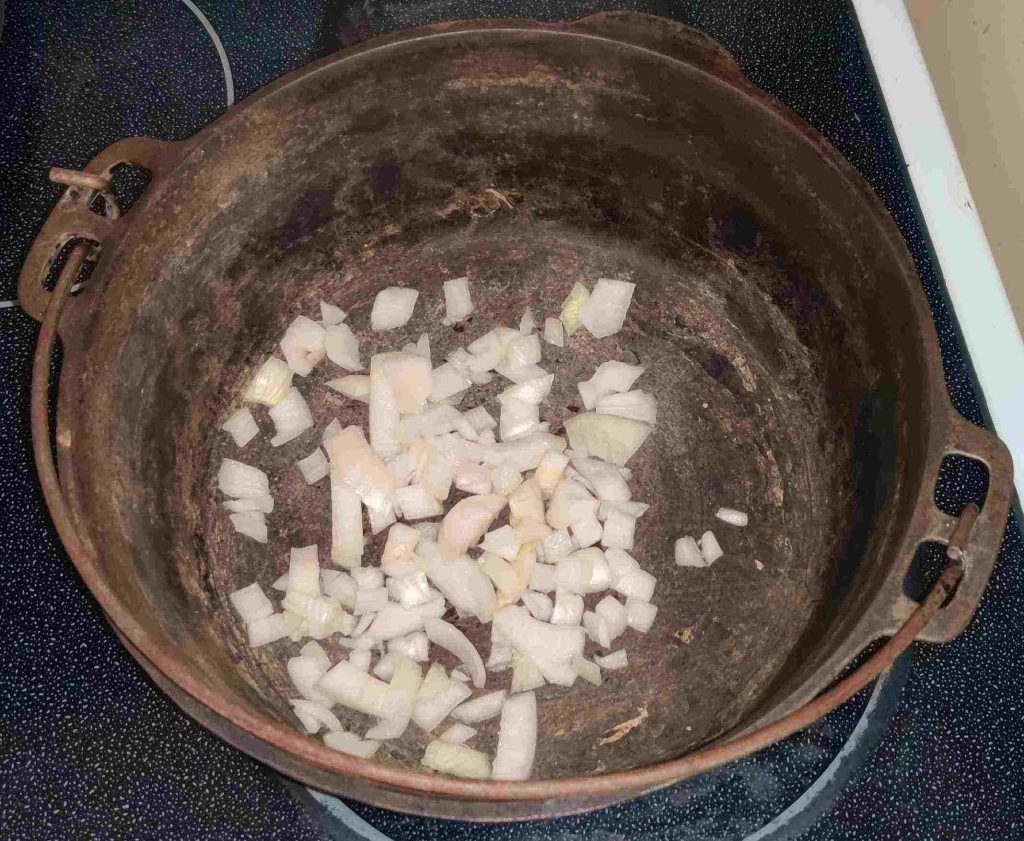
The chopped onion was transferred to the pot:

Chopped onion placed in pot

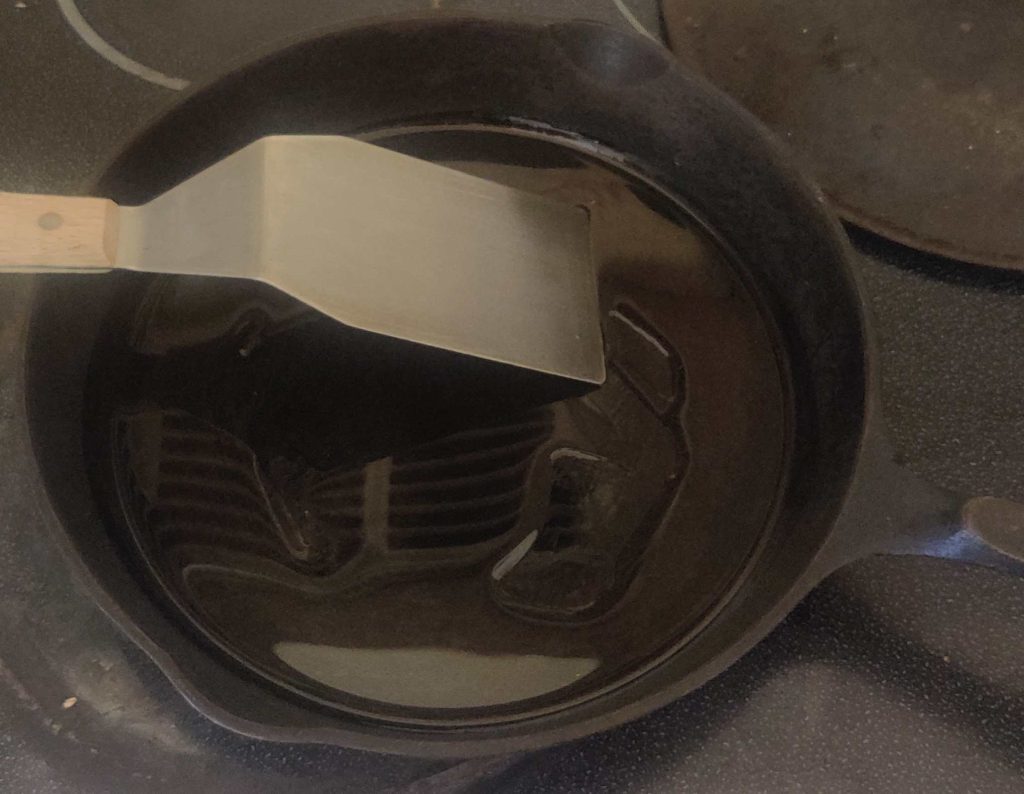
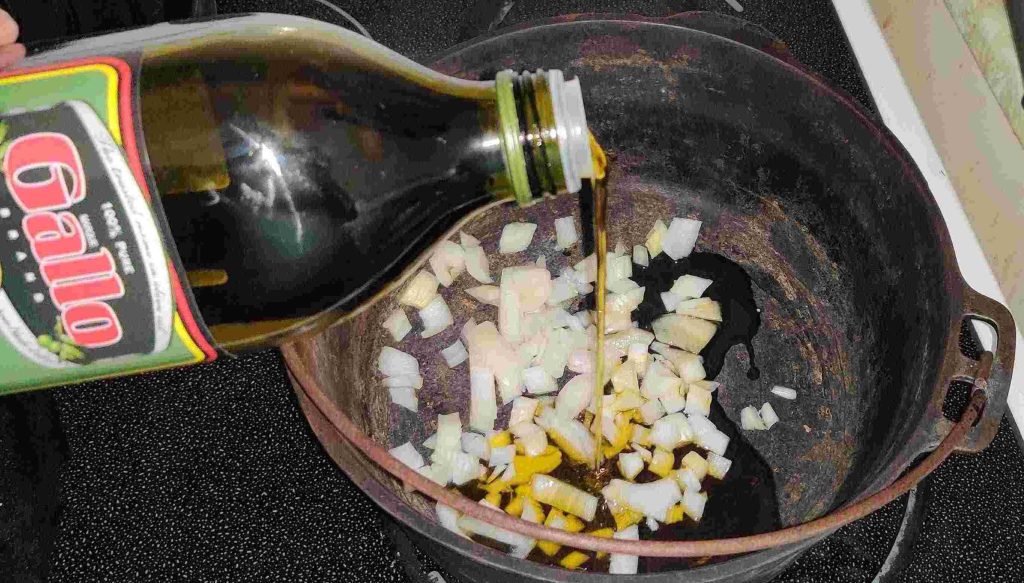
Olive oil was taken out and added to the pot:

Olive oil taken out and added to pot

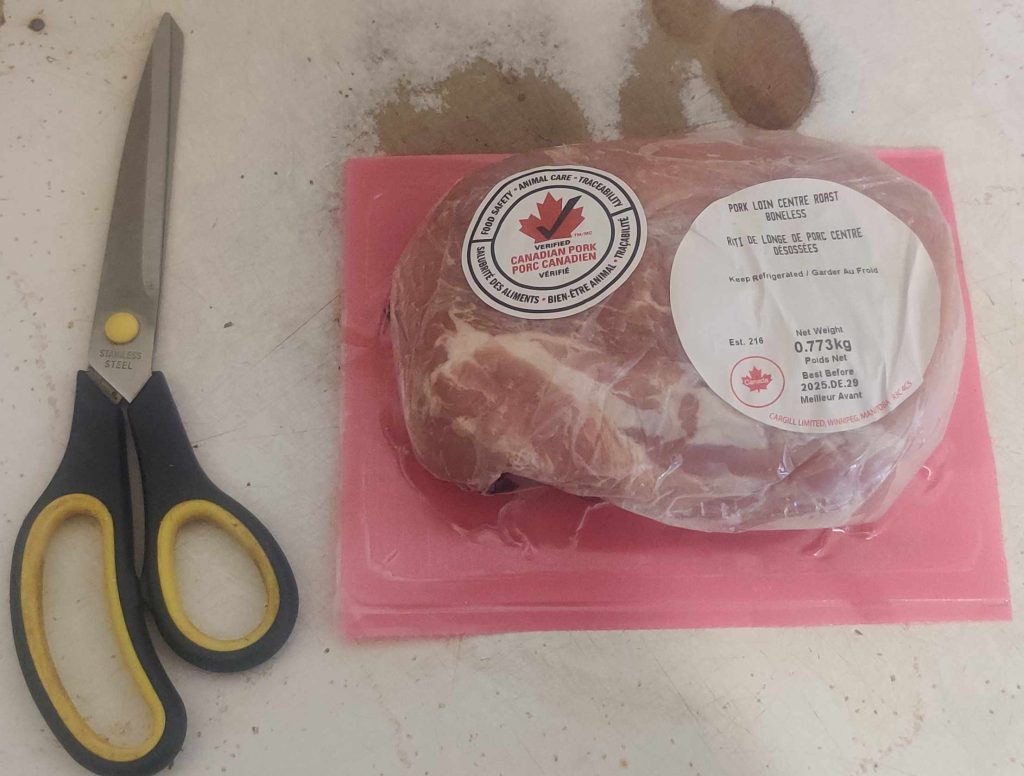
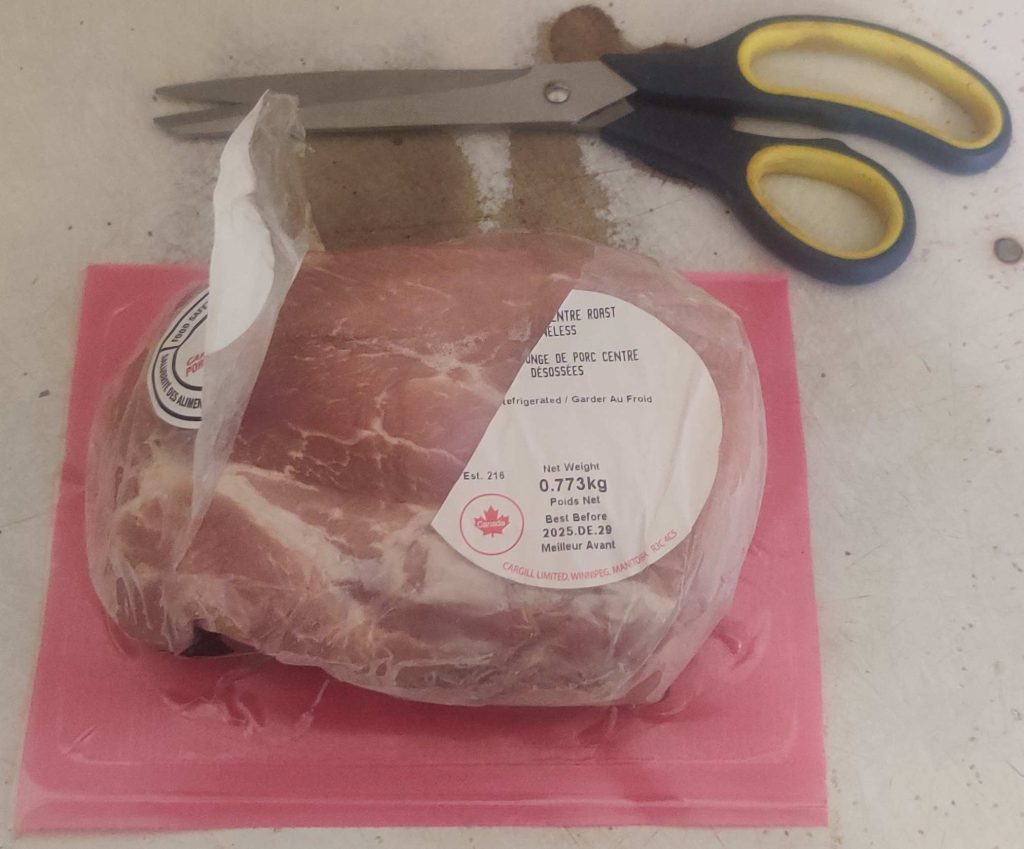
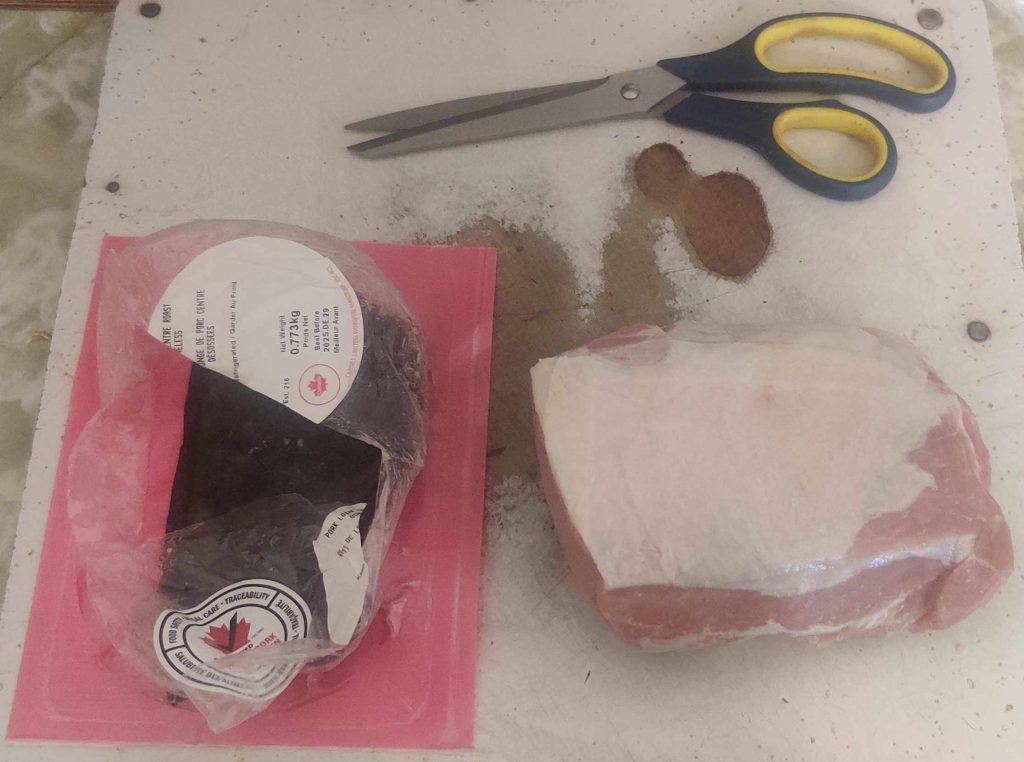
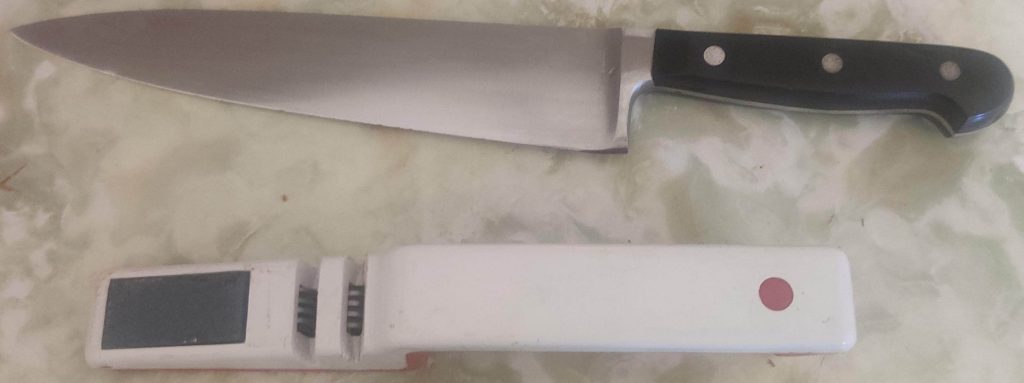
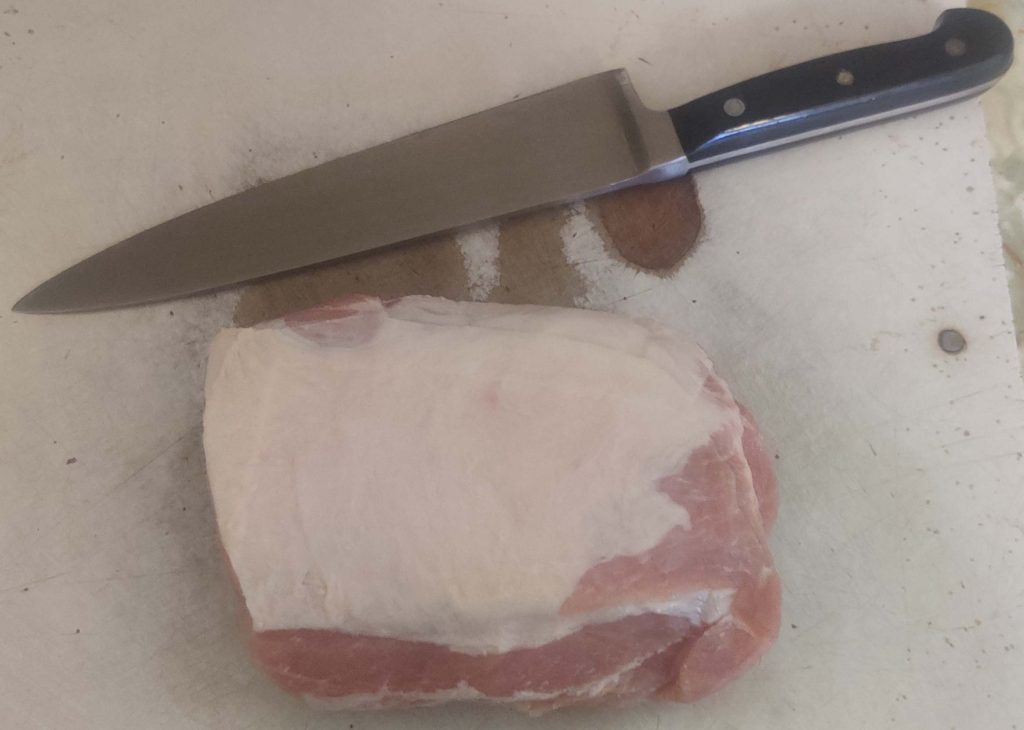
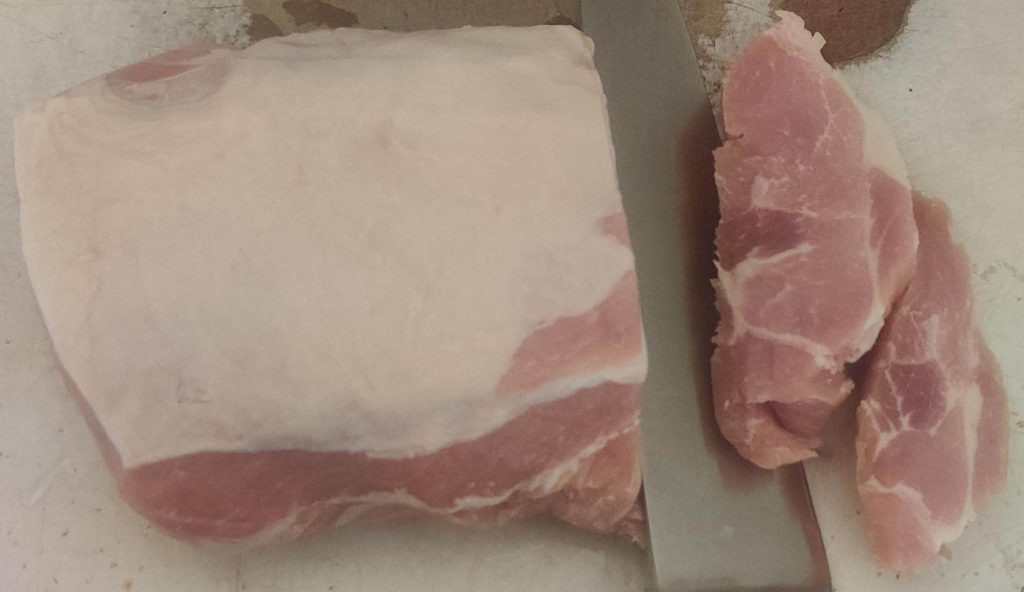
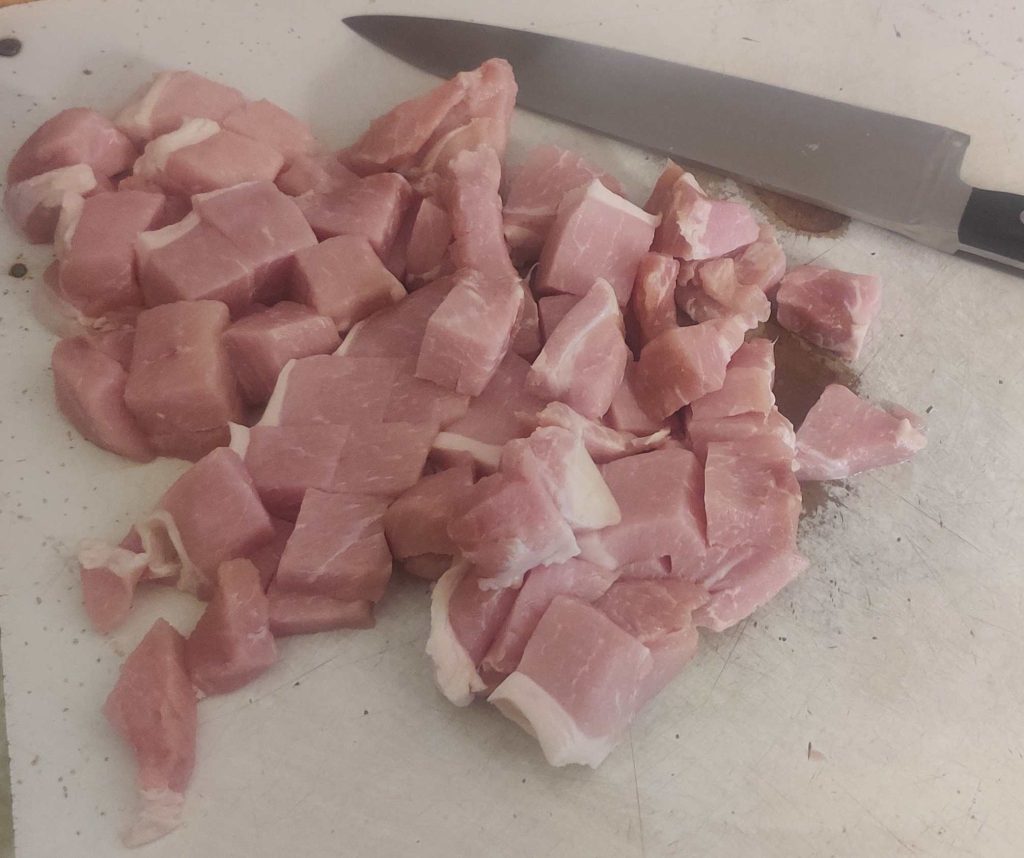
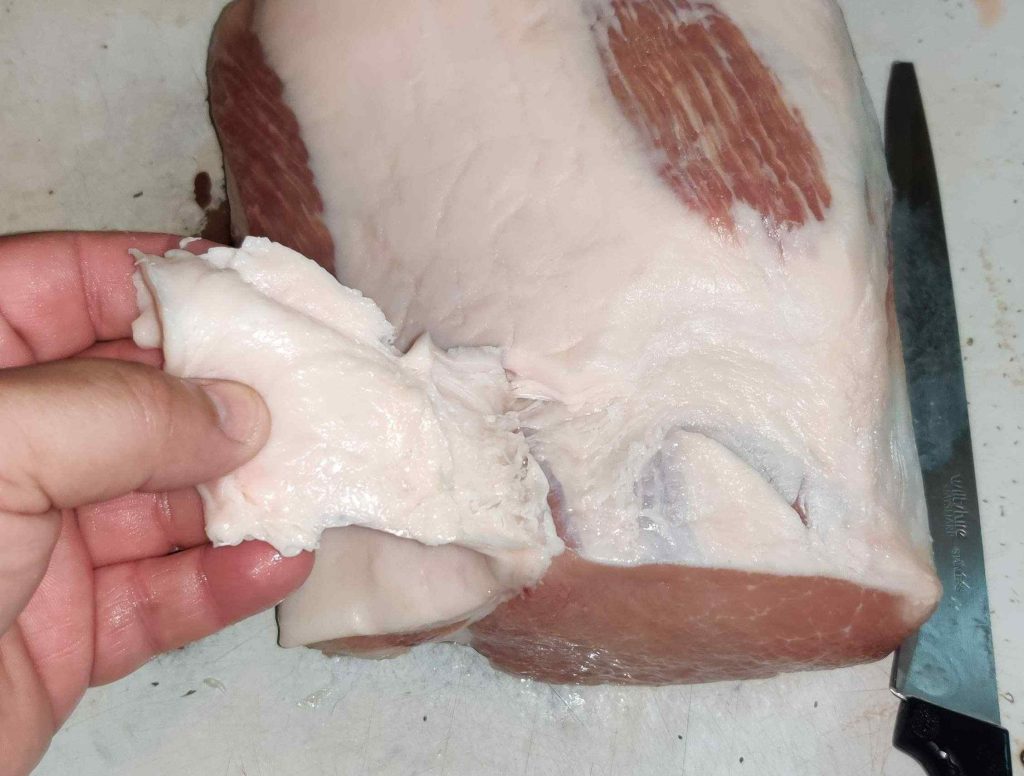
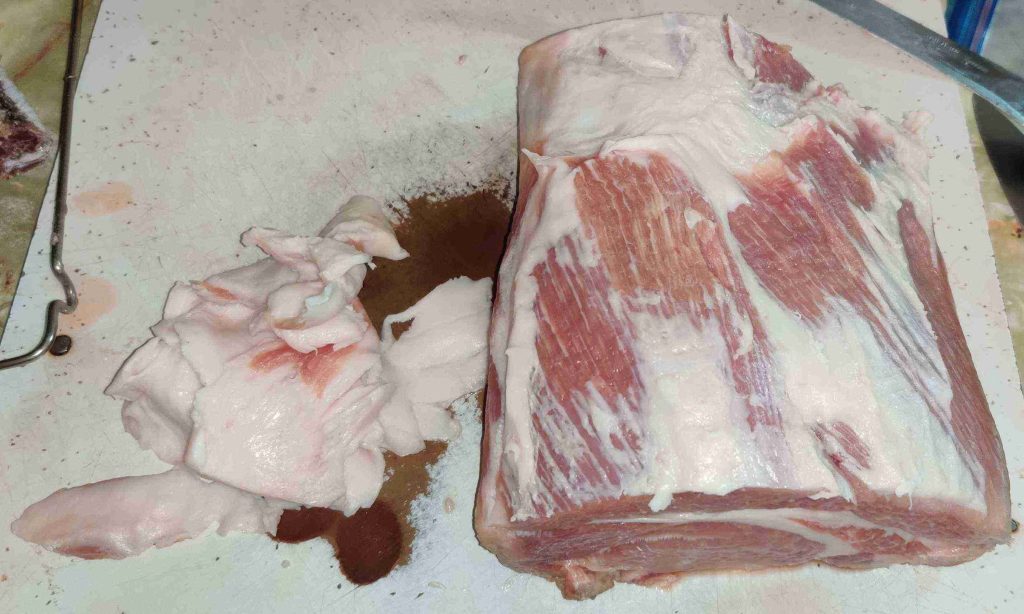
Once the pork had defrosted, I started trimming off excess fat with a particularly sharp knife:

Fat layer trimmed off of pork

The pieces of fat trimmed off the pork were put into a bucket for disposal through the municipal curbside composting programme.

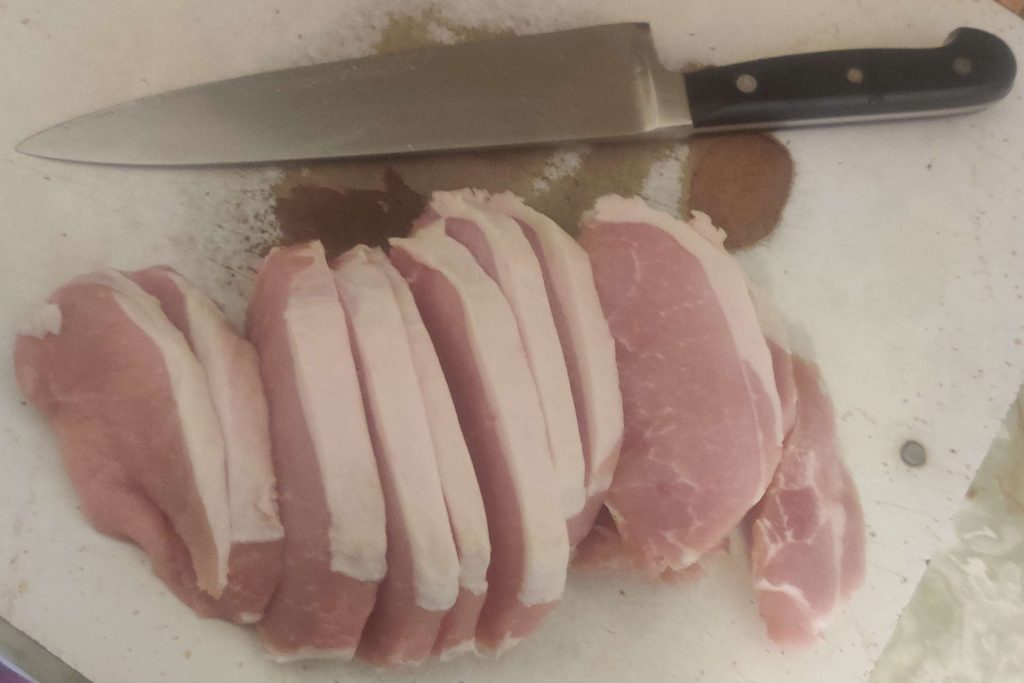
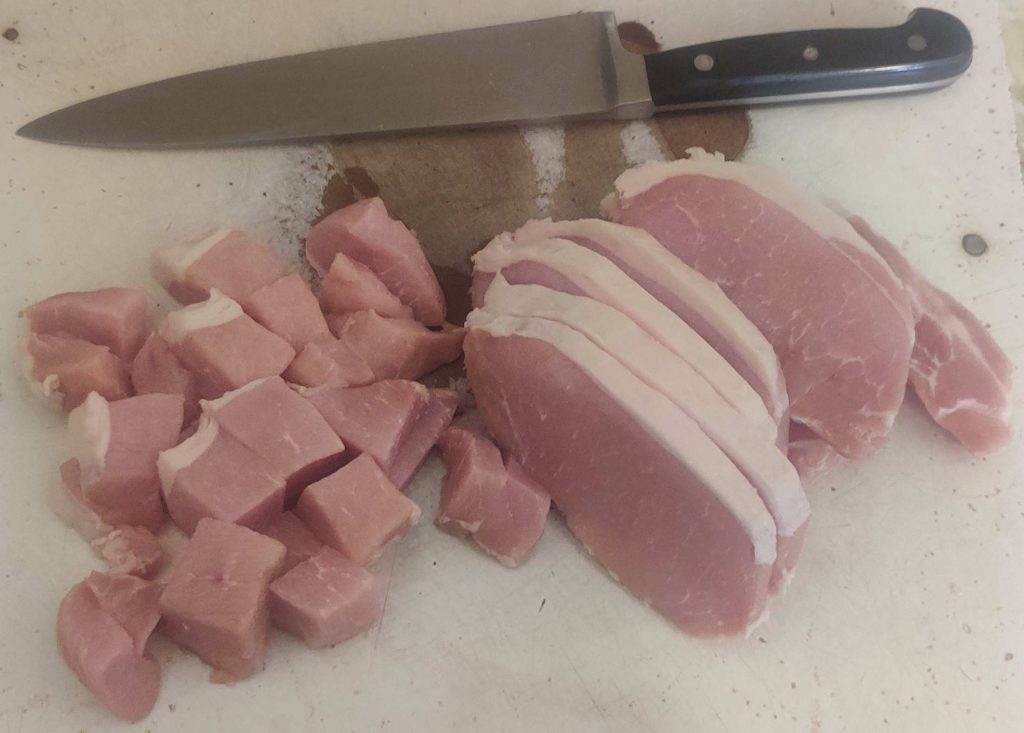
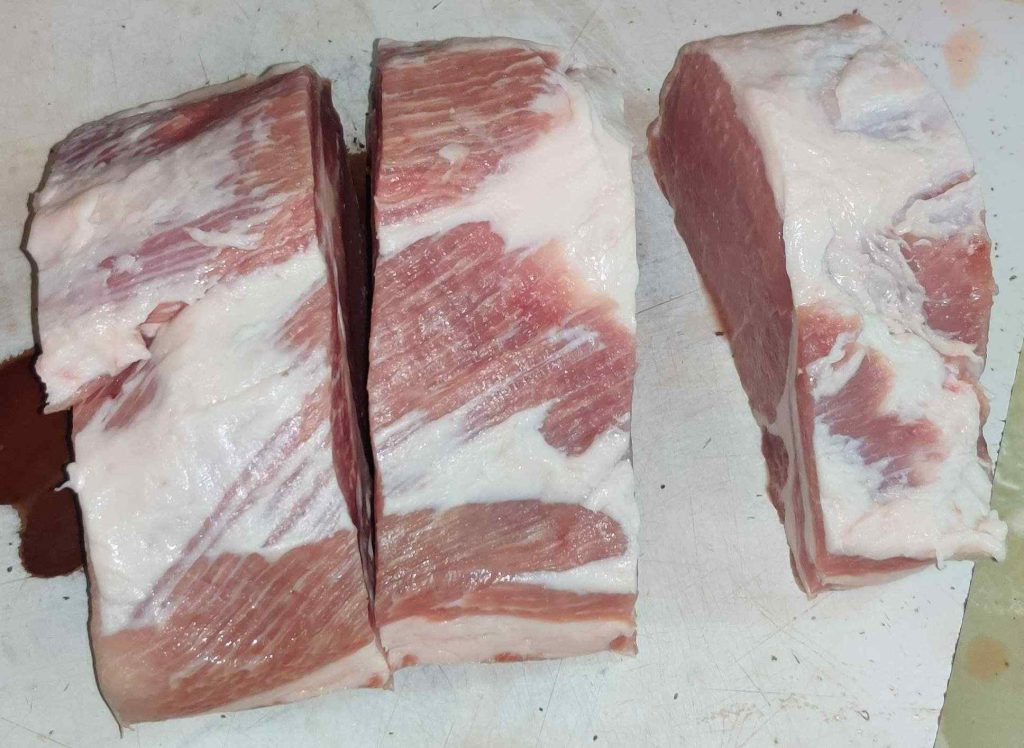
The pork was cut into three pieces, which would fit into my pot:

Pork cut into pieces to fit in pot

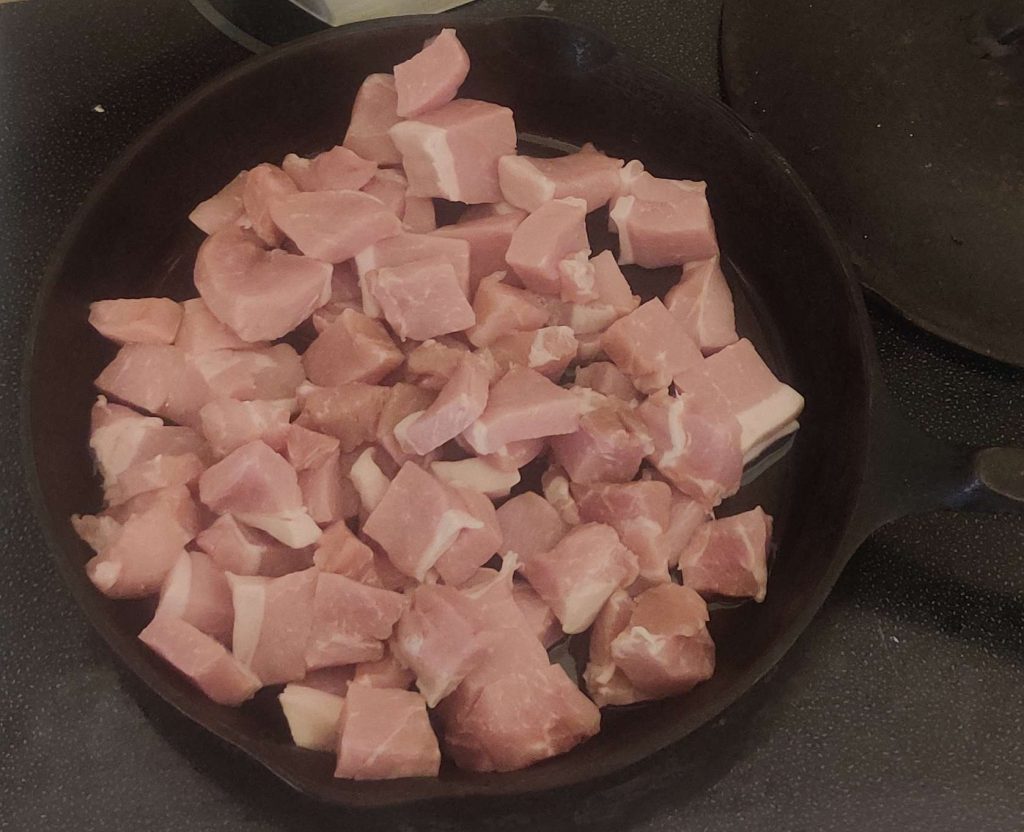
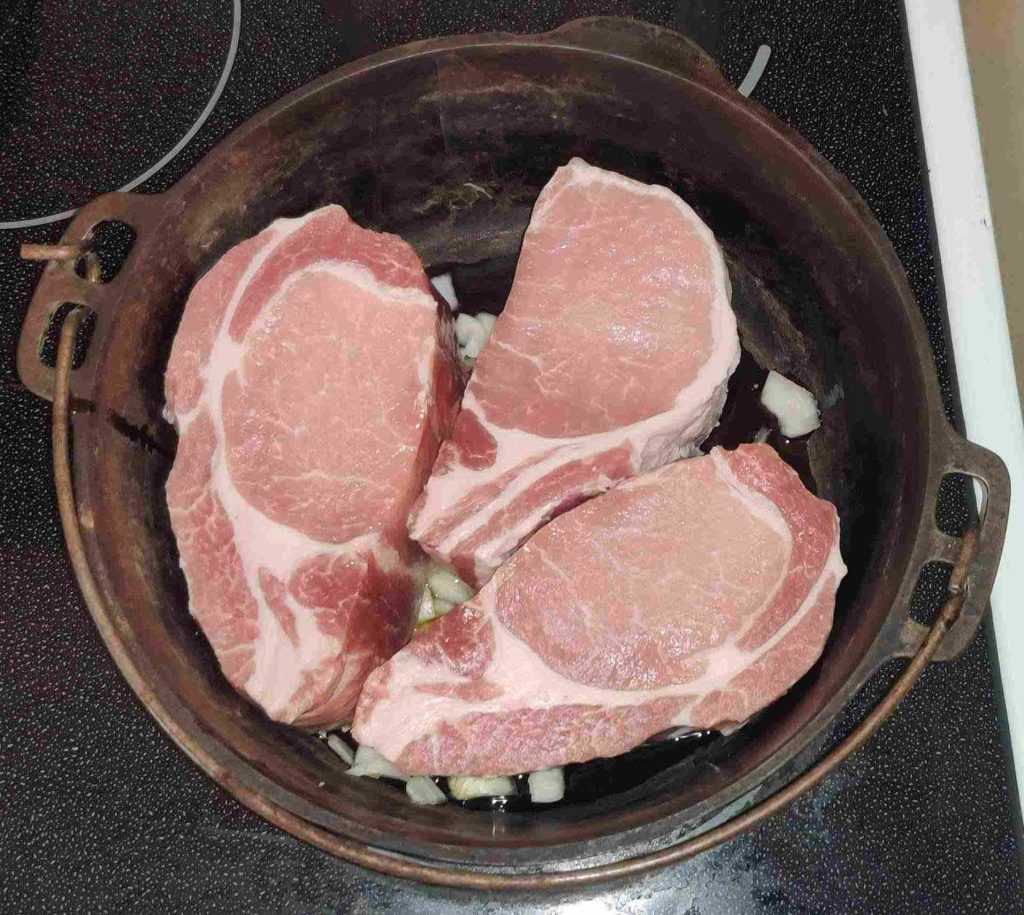
The pieces of pork were placed in the pot with the chopped onion and olive oil:

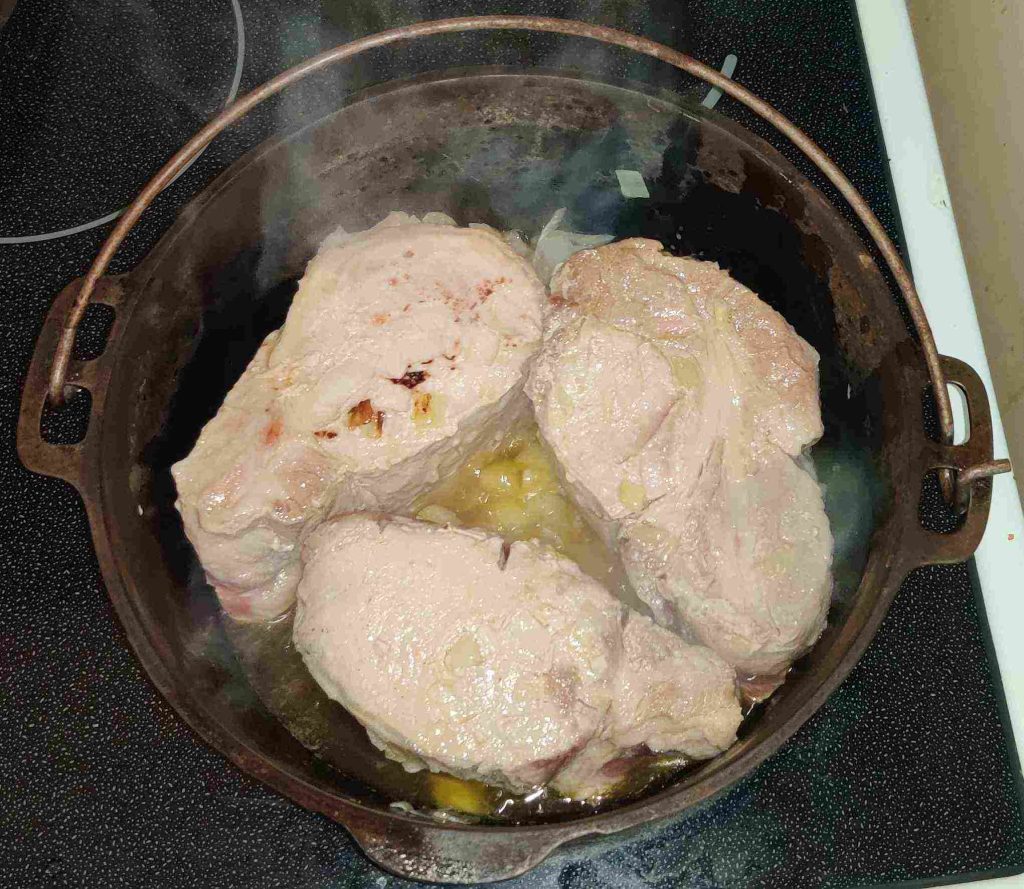
Pork pieces placed in pot with onion and olive oil

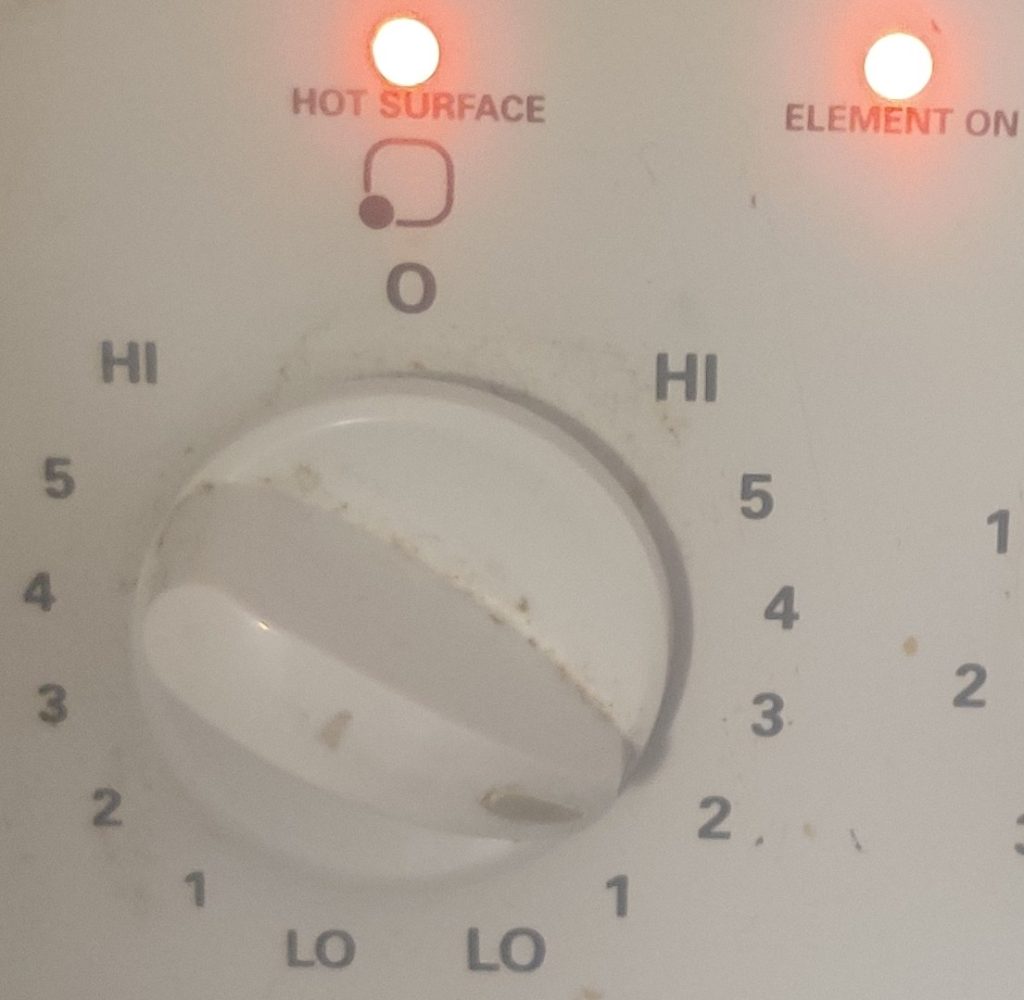
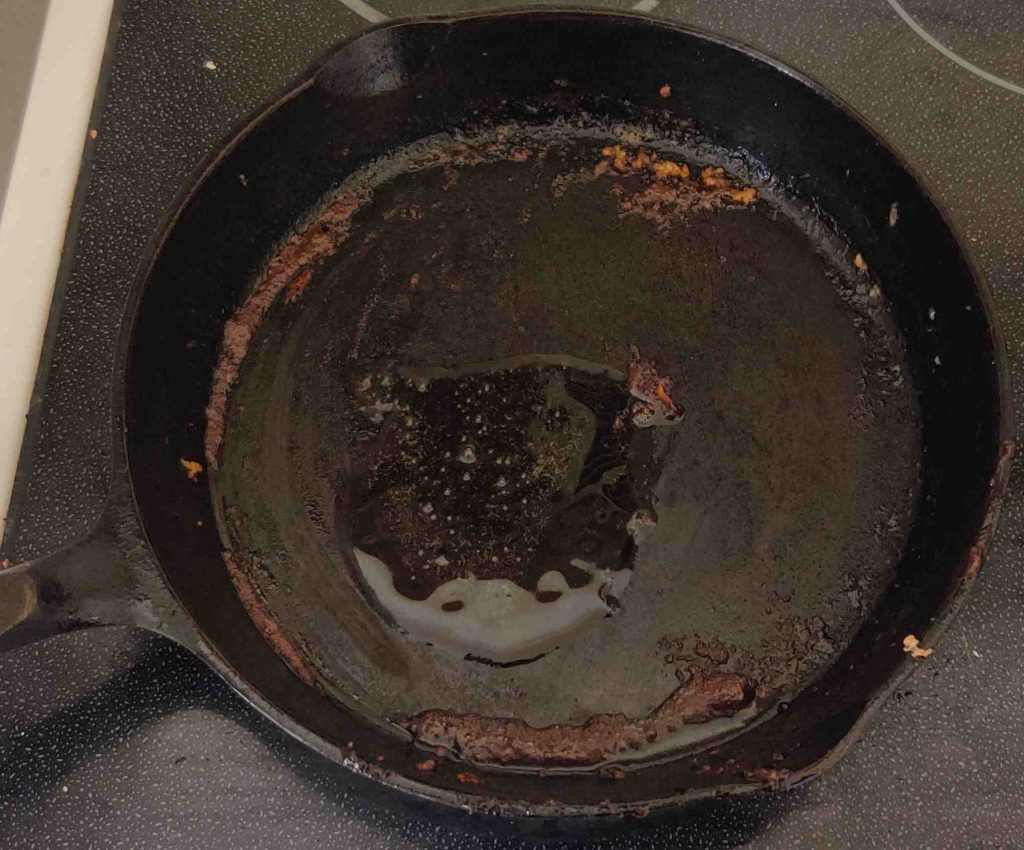
The stove burner was turned on — and oh my, it’s a bit dirty:

Stove burner turned on

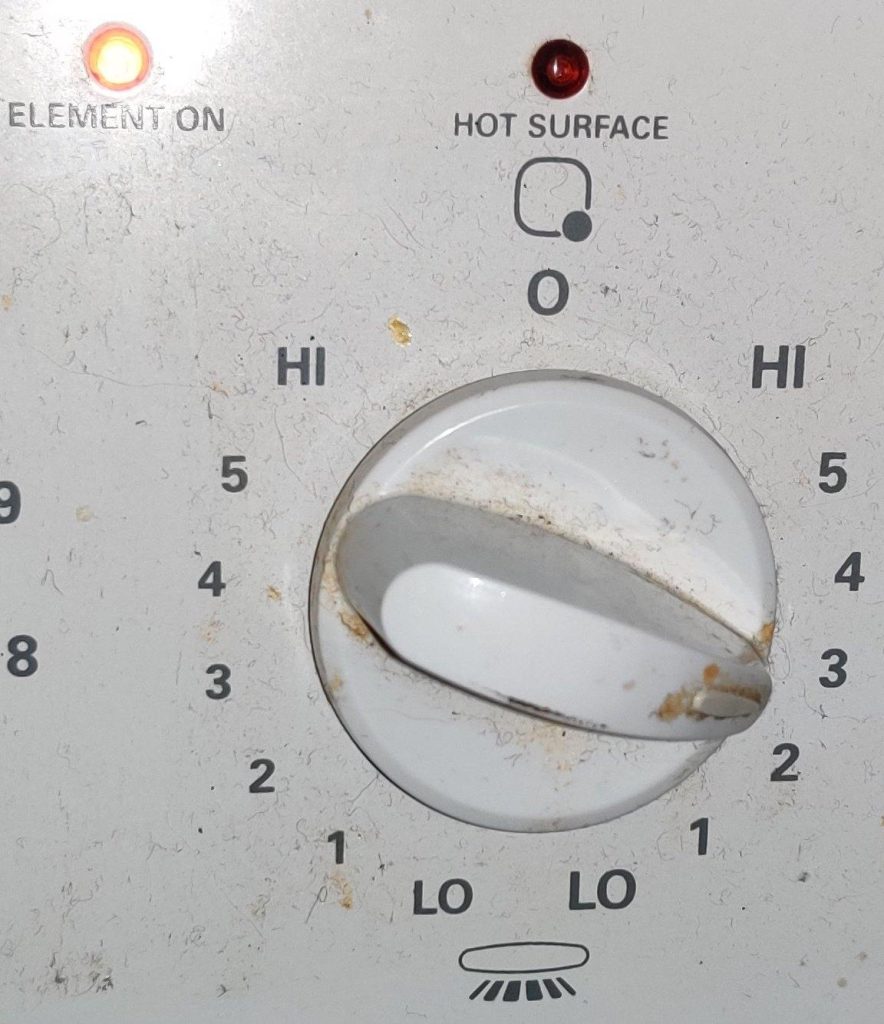
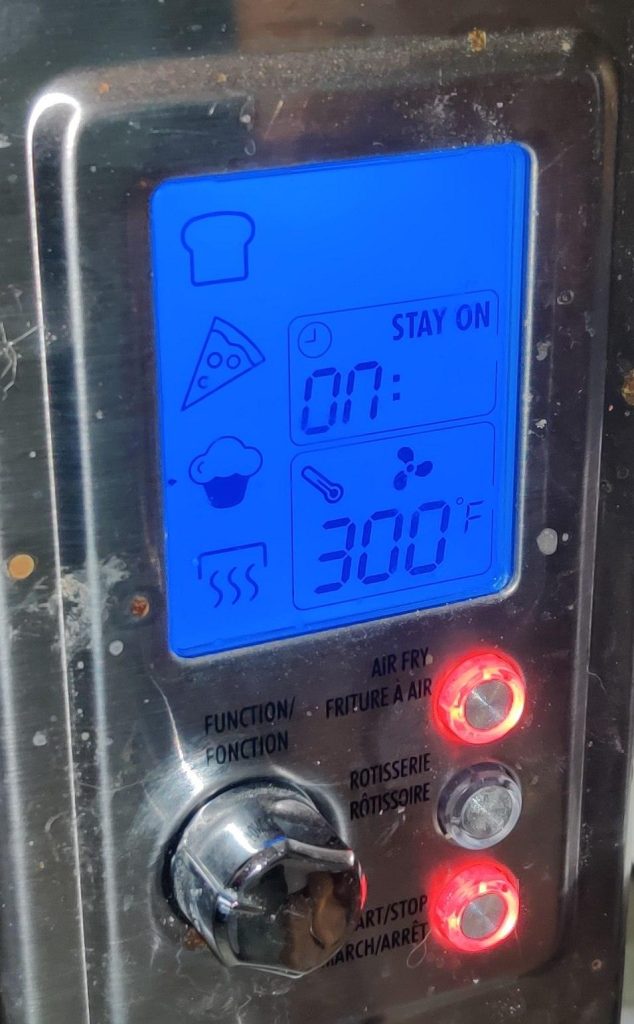
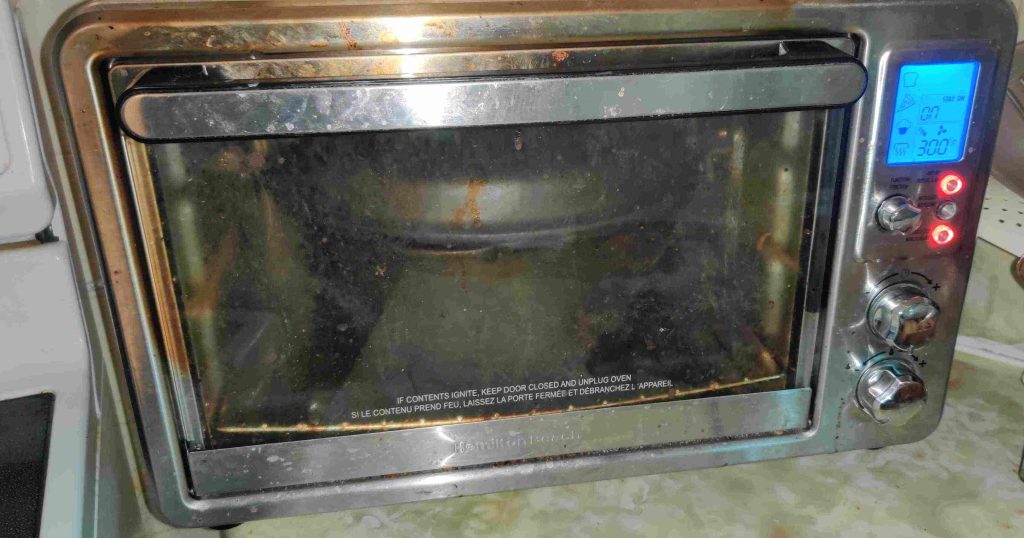
I also turned on my countertop convection oven:

Countertop convection oven turned on

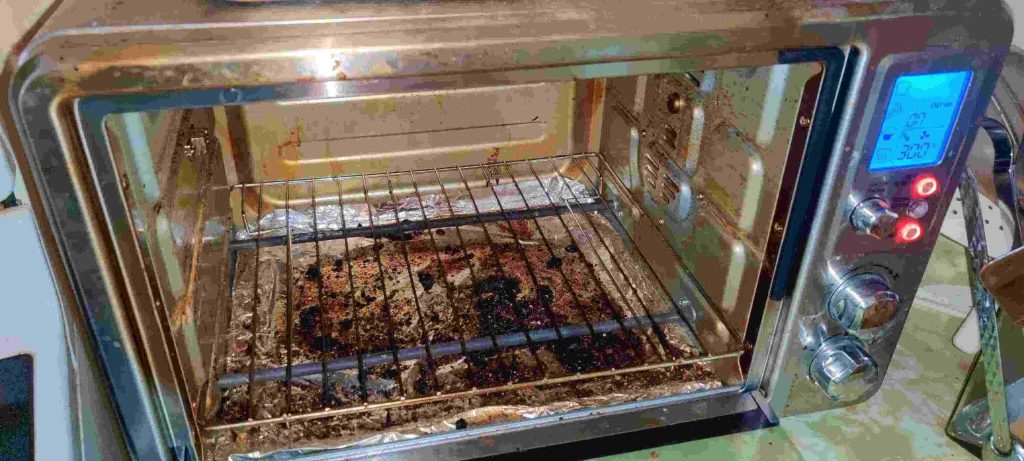
The oven rack was placed on the bottom level of the oven — and oh my! again, a bit of cleaning is needed, including replacing the aluminum foil at the bottom of the oven:

Countertop oven turned on

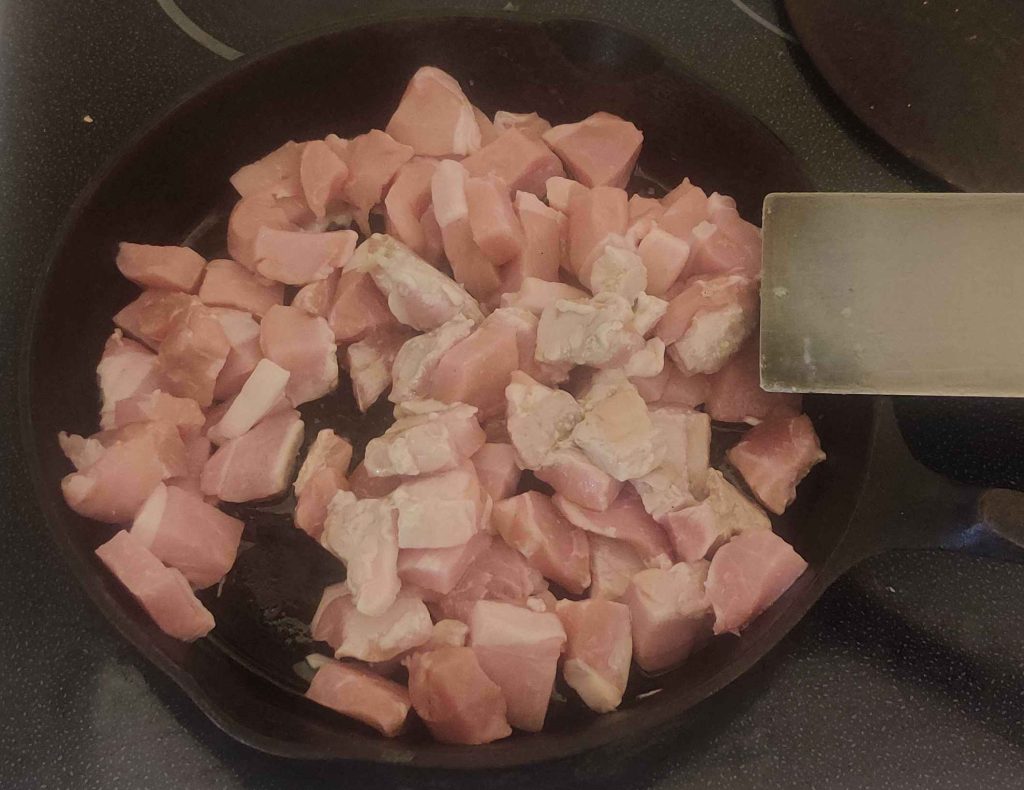
Back to the pork on the stove, the pork was turned over:

Pork turned over

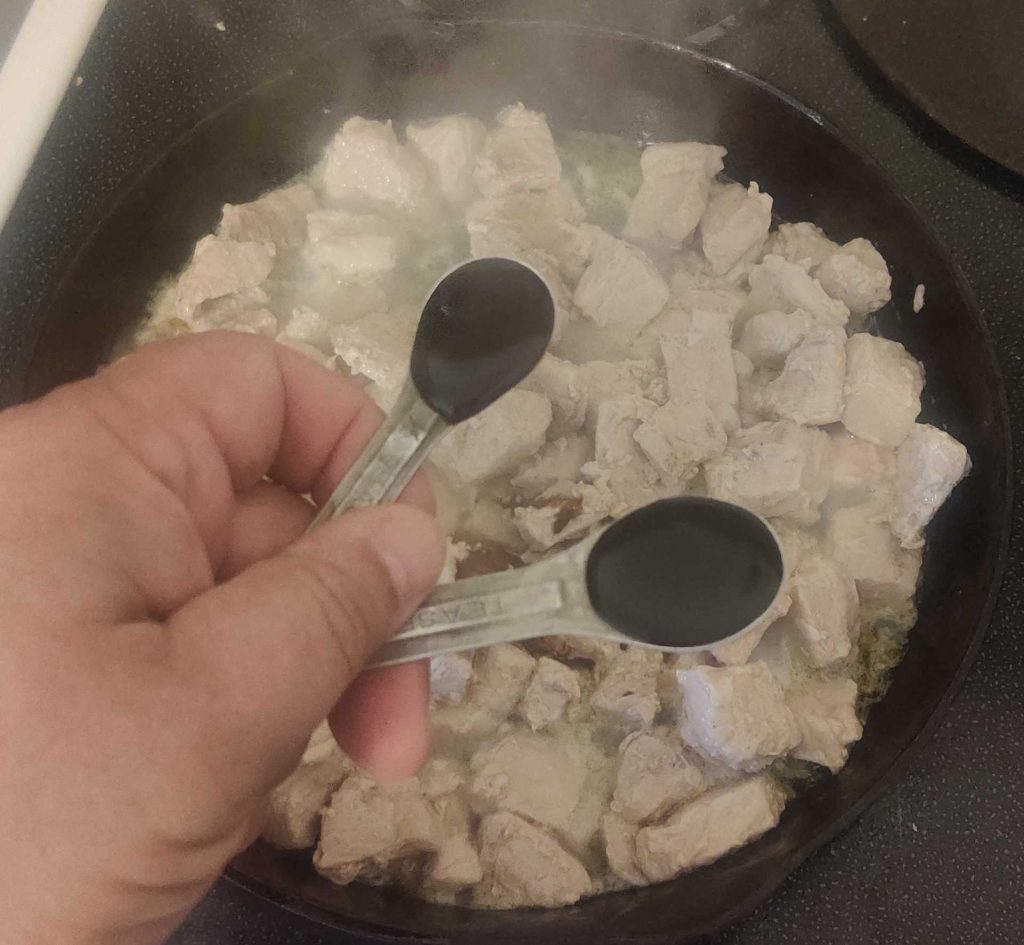
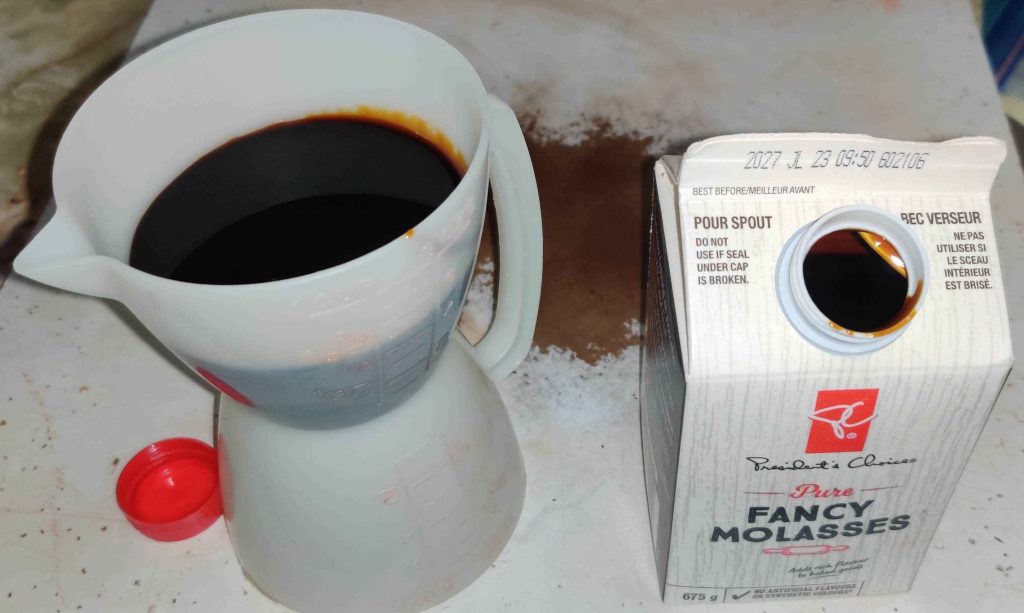
Molasses was taken out and measured out:

Molasses measured out

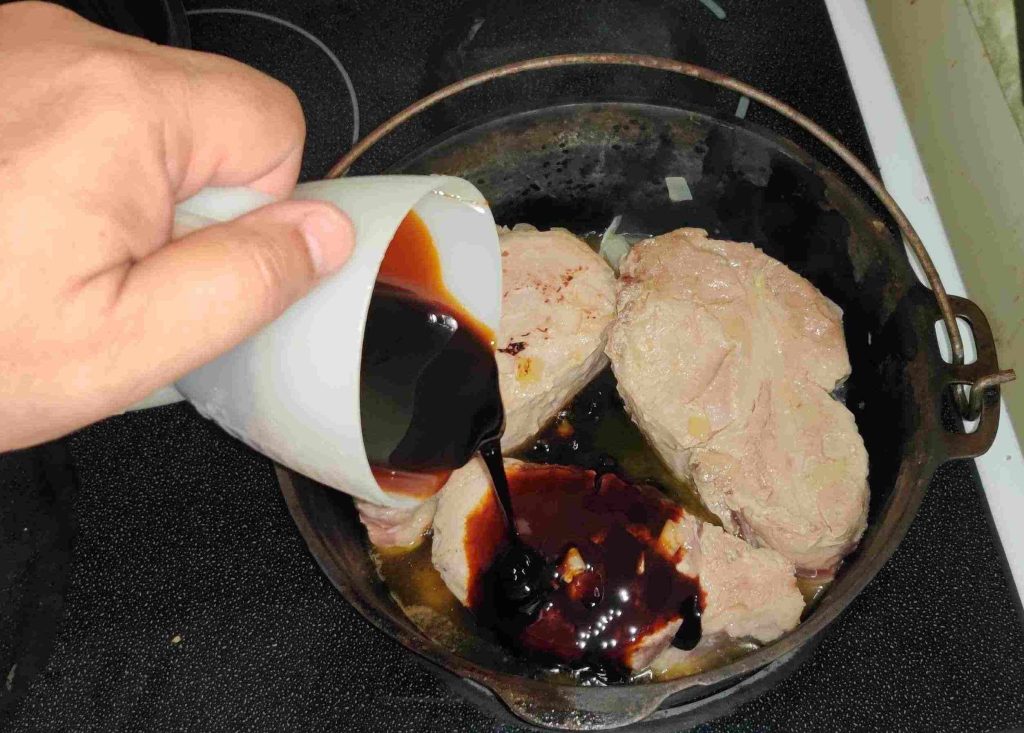
The molasses was transferred to the pot with the pork and chopped onion:

Molasses transferred to pot with pork and onion

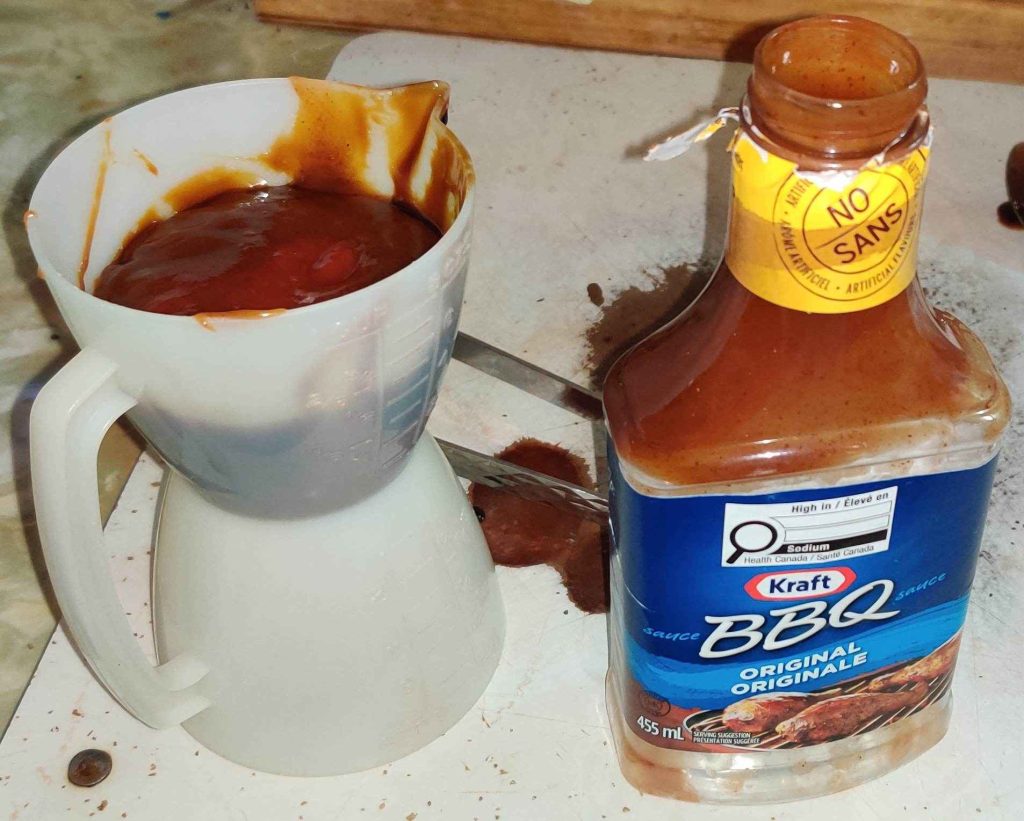
Some barbecue sauce as well as some ketchup to help make up the volume were measured out:

BBQ sauce and ketchup measured out

The barbecue sauce was added to the pot with the pork, onions, and molasses:

Barbecue sauce added to pot

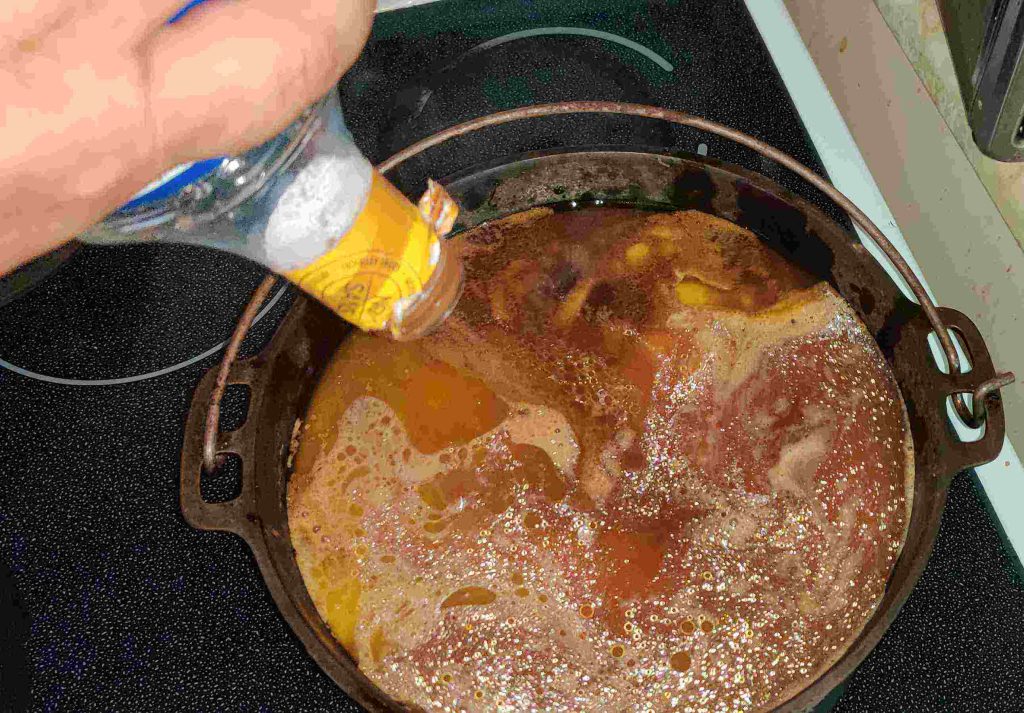
Just a reminder here: Since my recipe for pulled pork and this post are predicated on the notion of “use the barbecue sauce you want to use”, although the ingredients for a taste-alike replacement of Kraft BBQ sauce are in my recipe for pulled pork, showing the makeup ingredients won’t be done here. Also to note, the apparent measure above takes into account the following steps, which washed out the rest of the barbecue sauce and ketchup clinging to the insides of the bottles used.

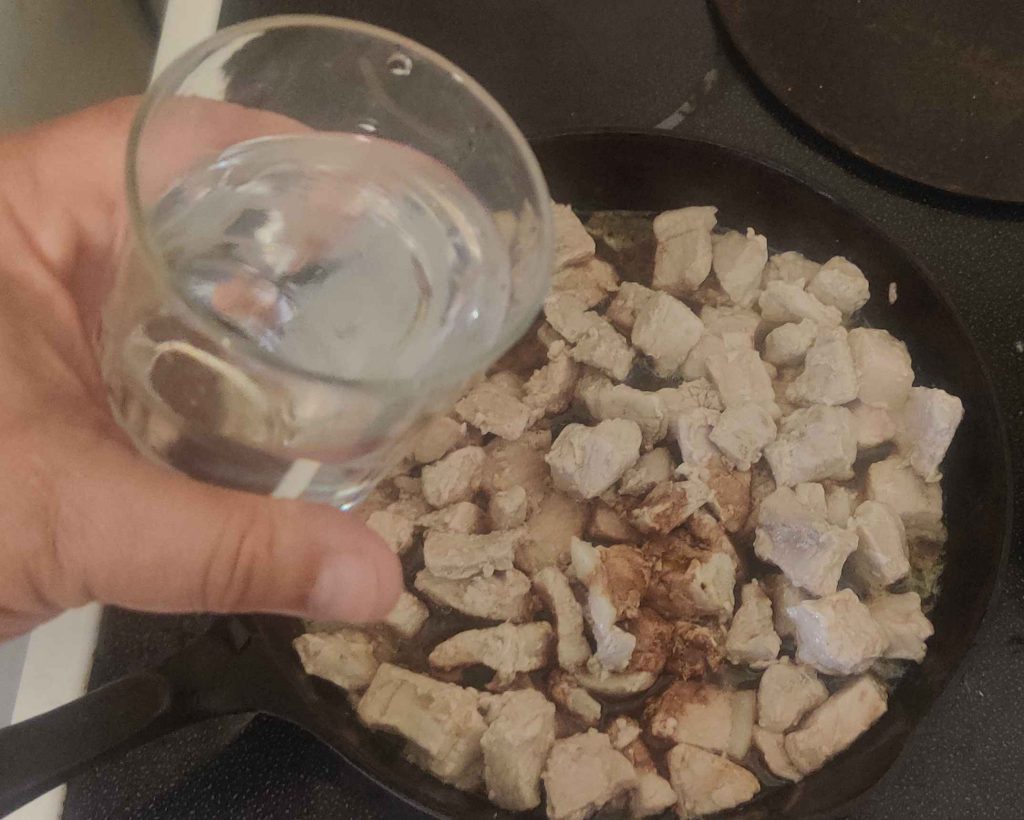
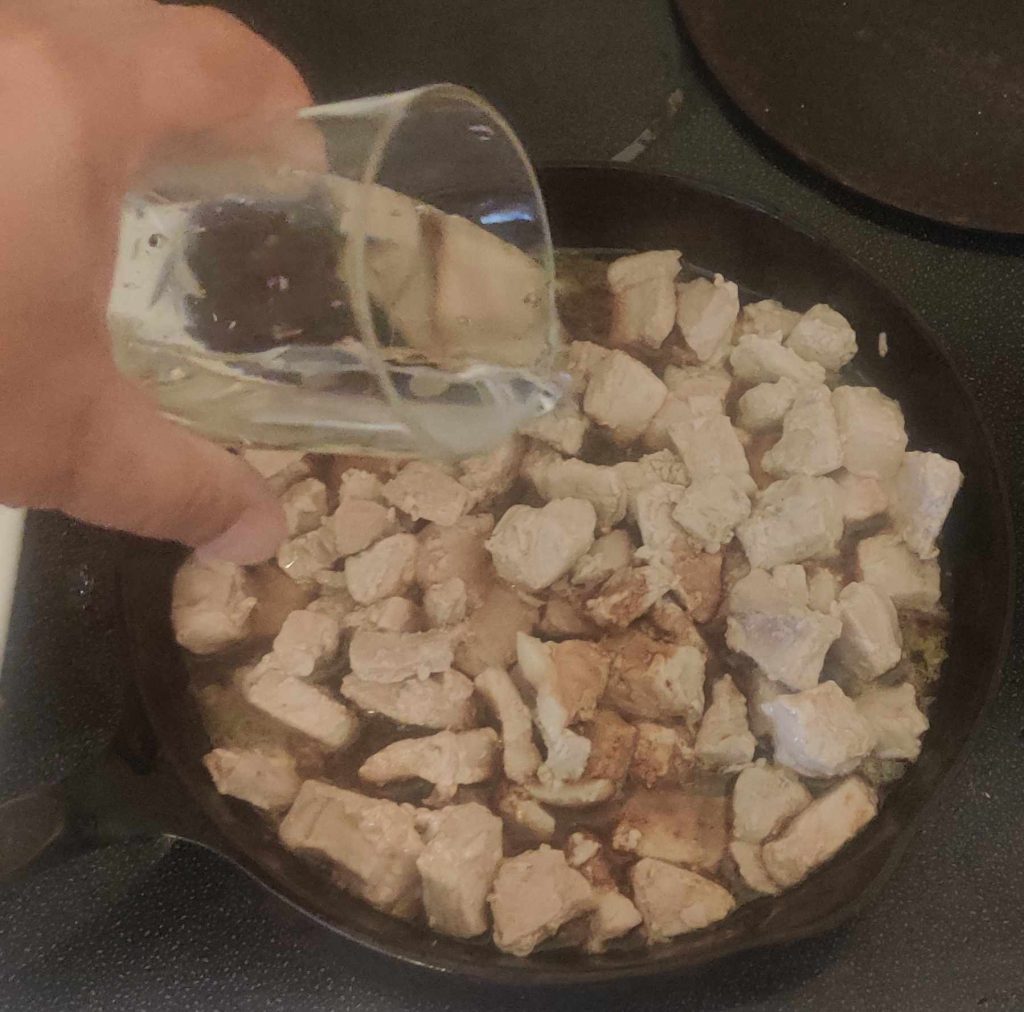
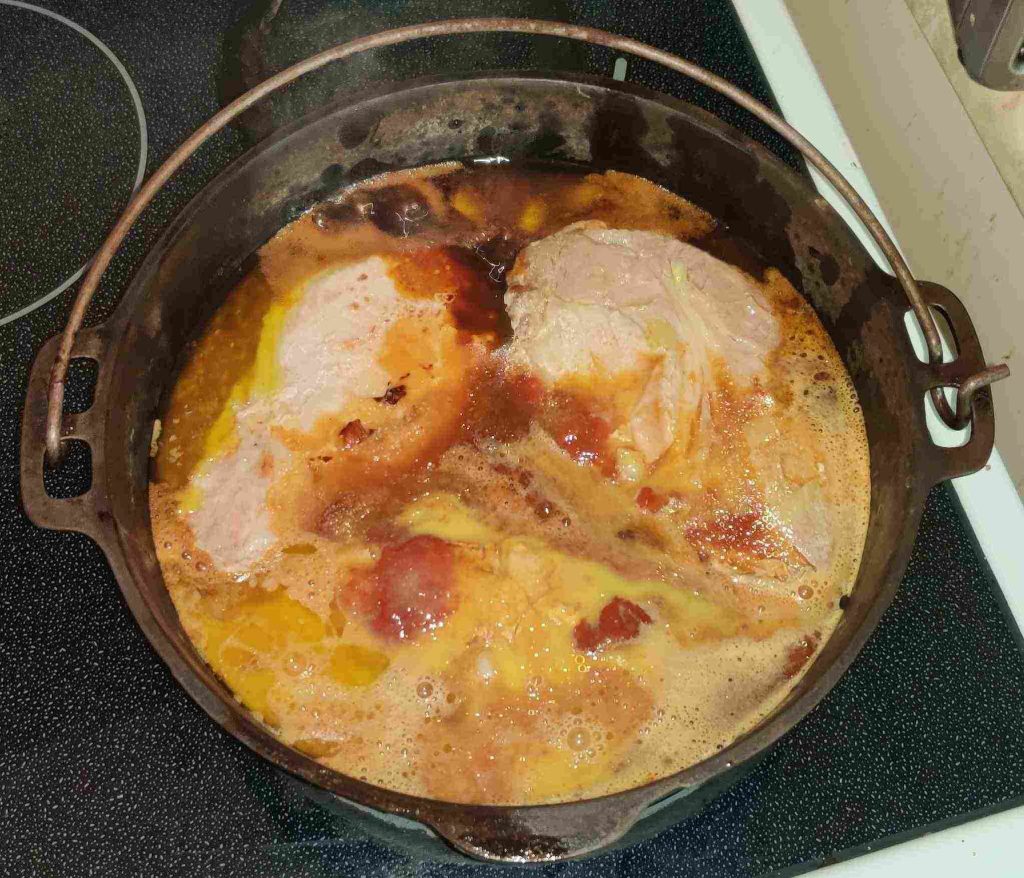
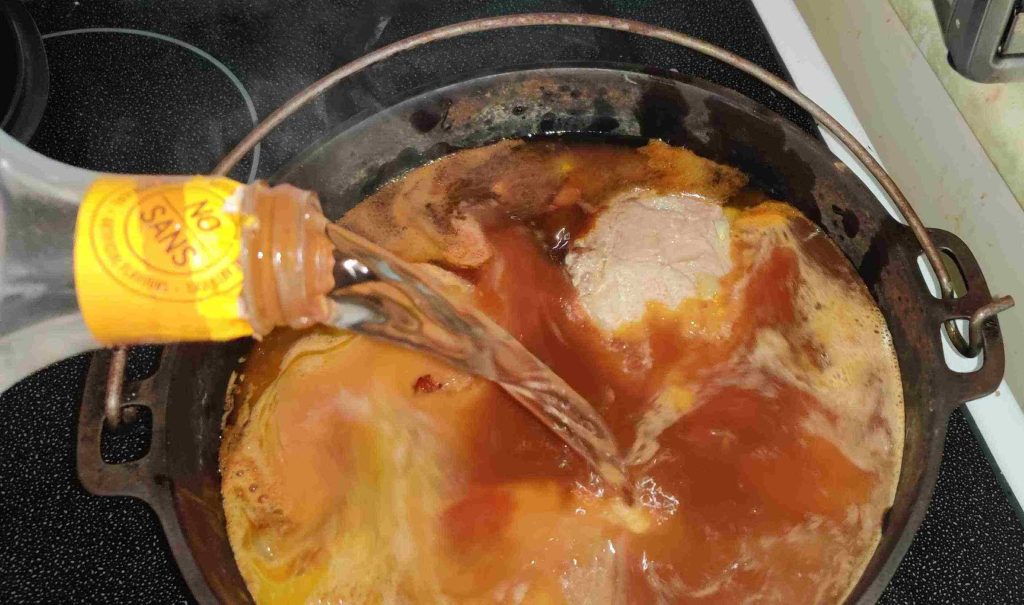
Water was added to the pot with the other ingredients, enough to cover the pork pieces:

Water added to pot with the other ingredients

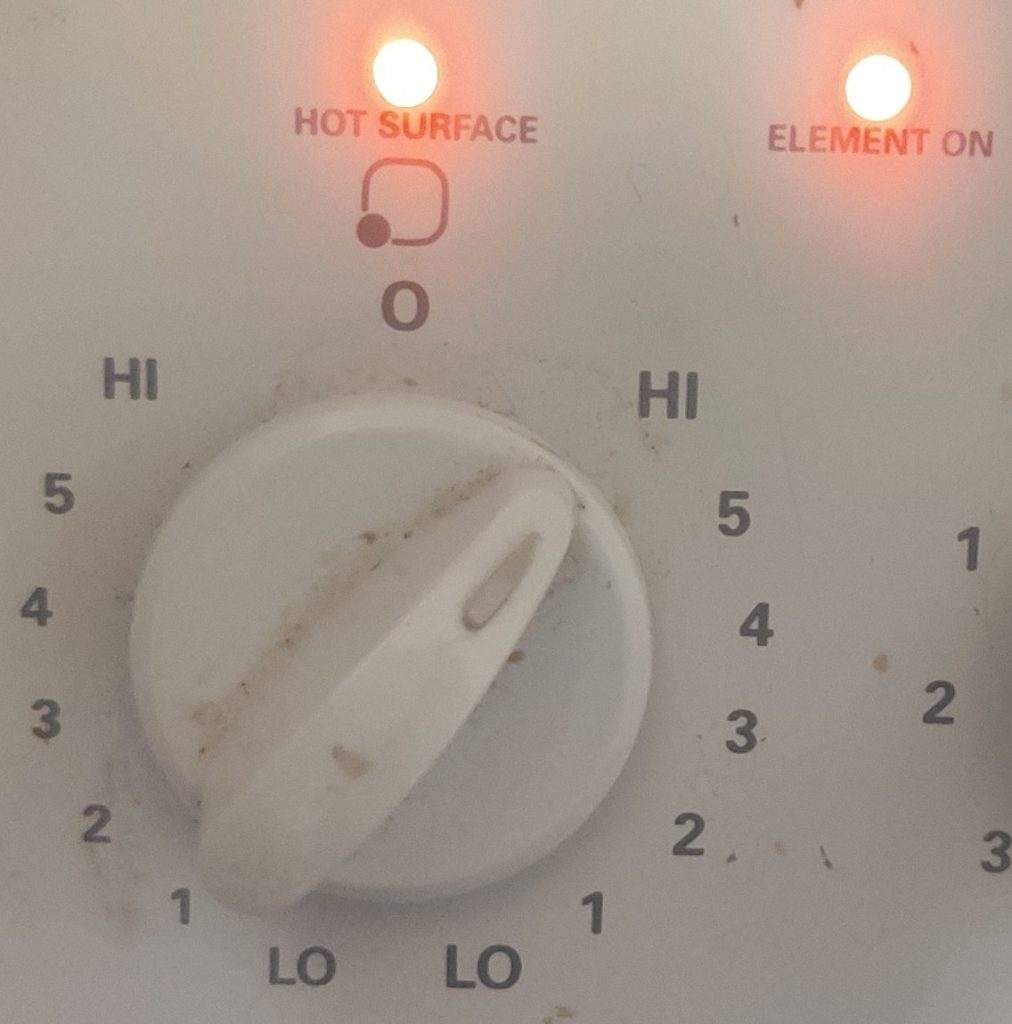
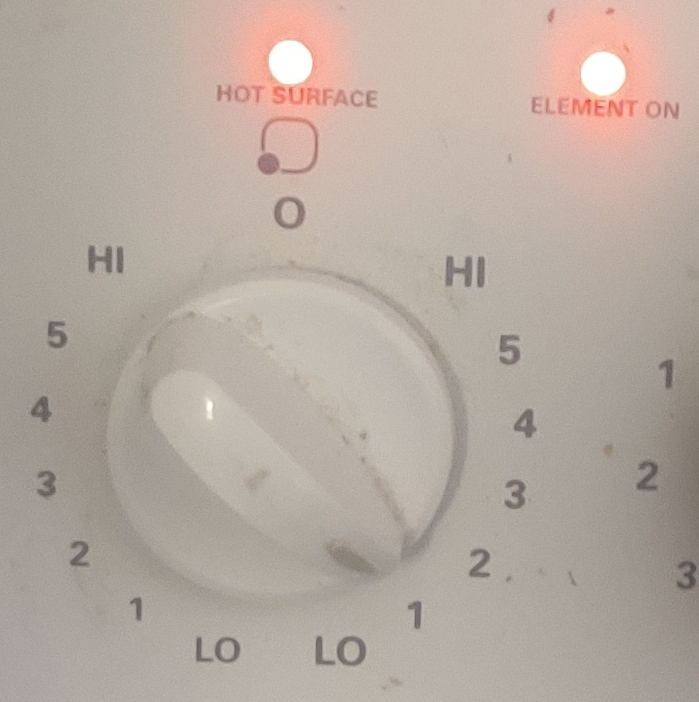
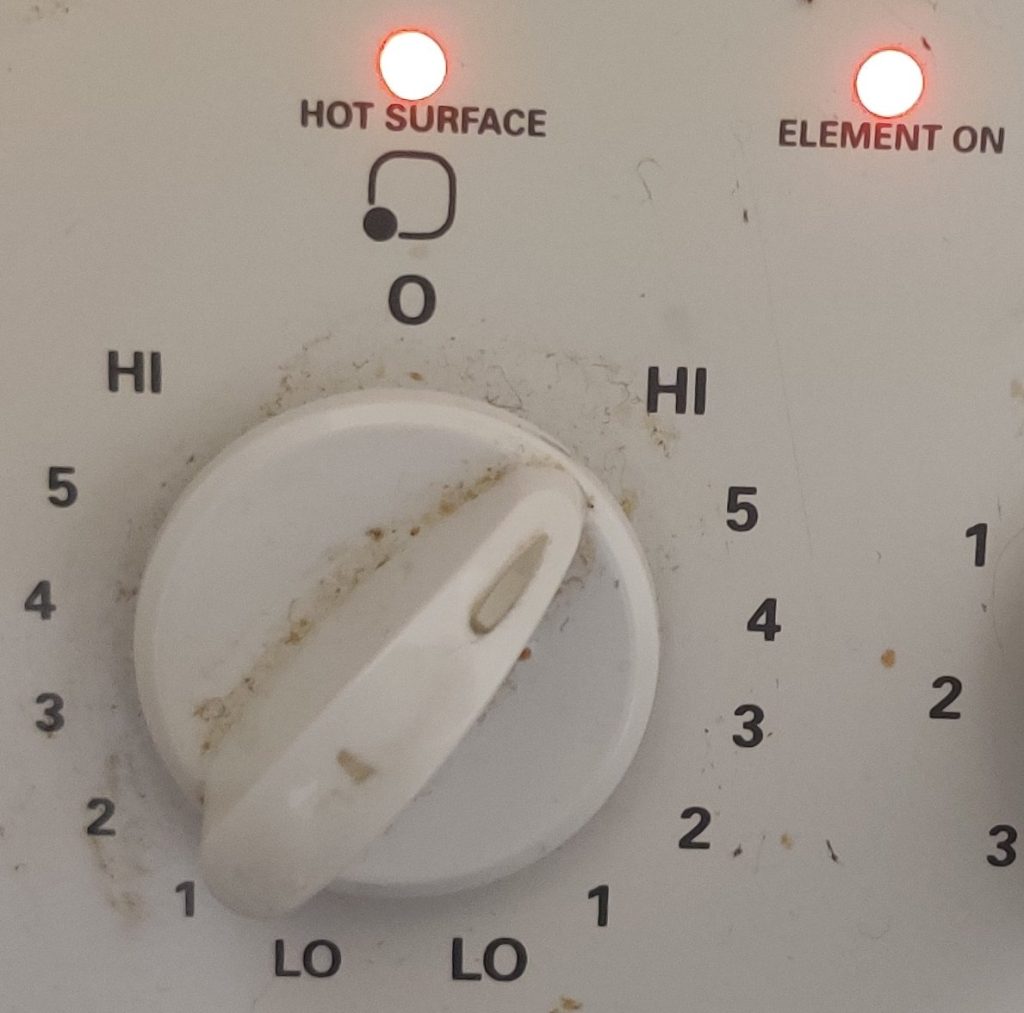
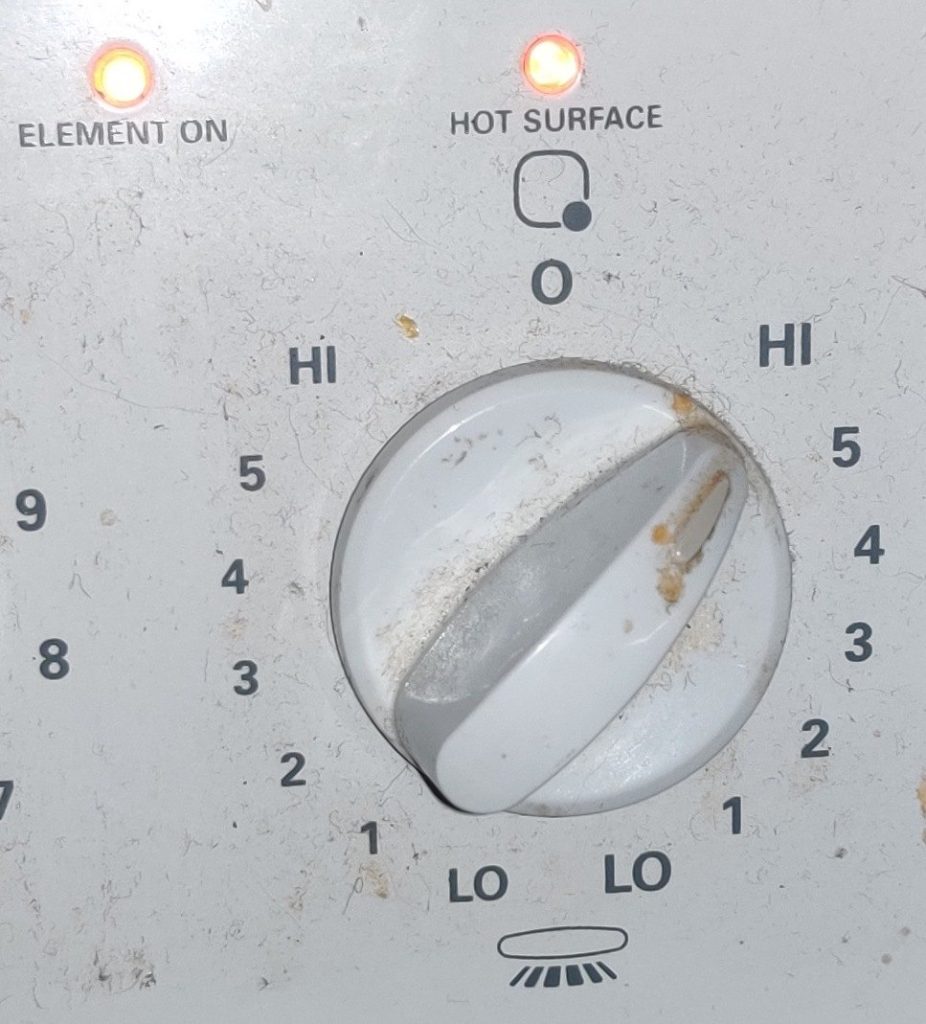
At this point, the stove burner was turned up to maximum:

Stove burner turned to maximum

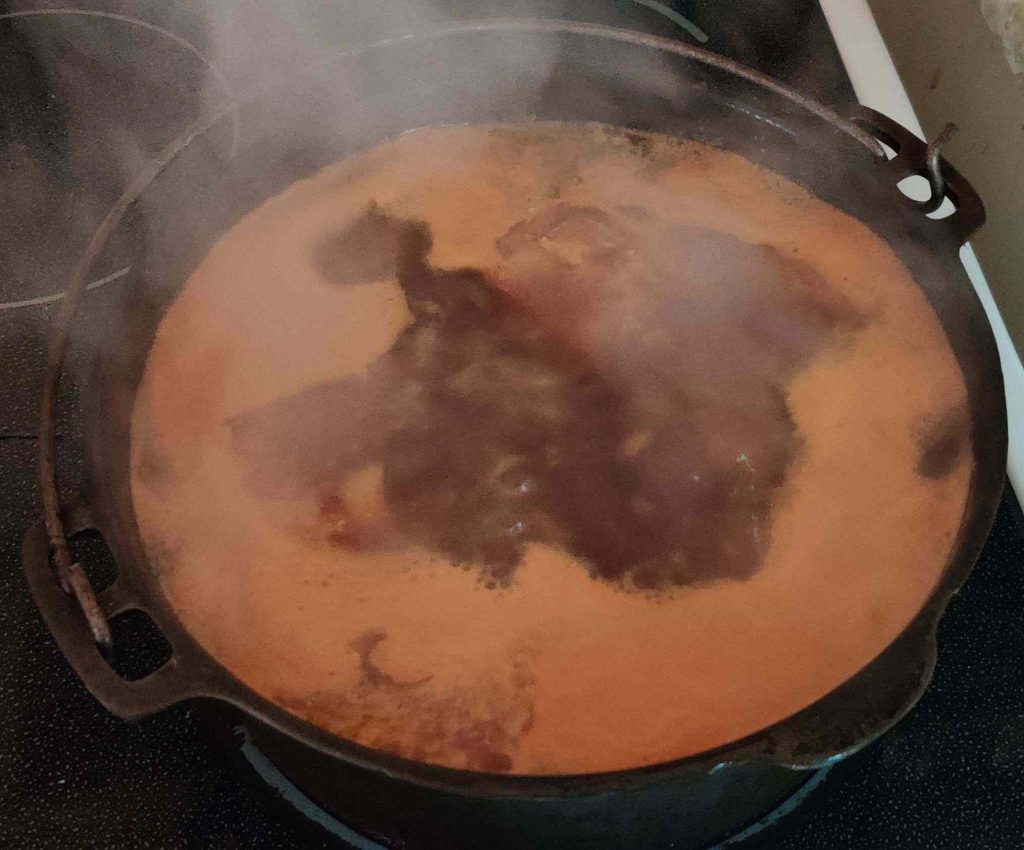
The pot was brought to a boil:

Pot brought to a boil

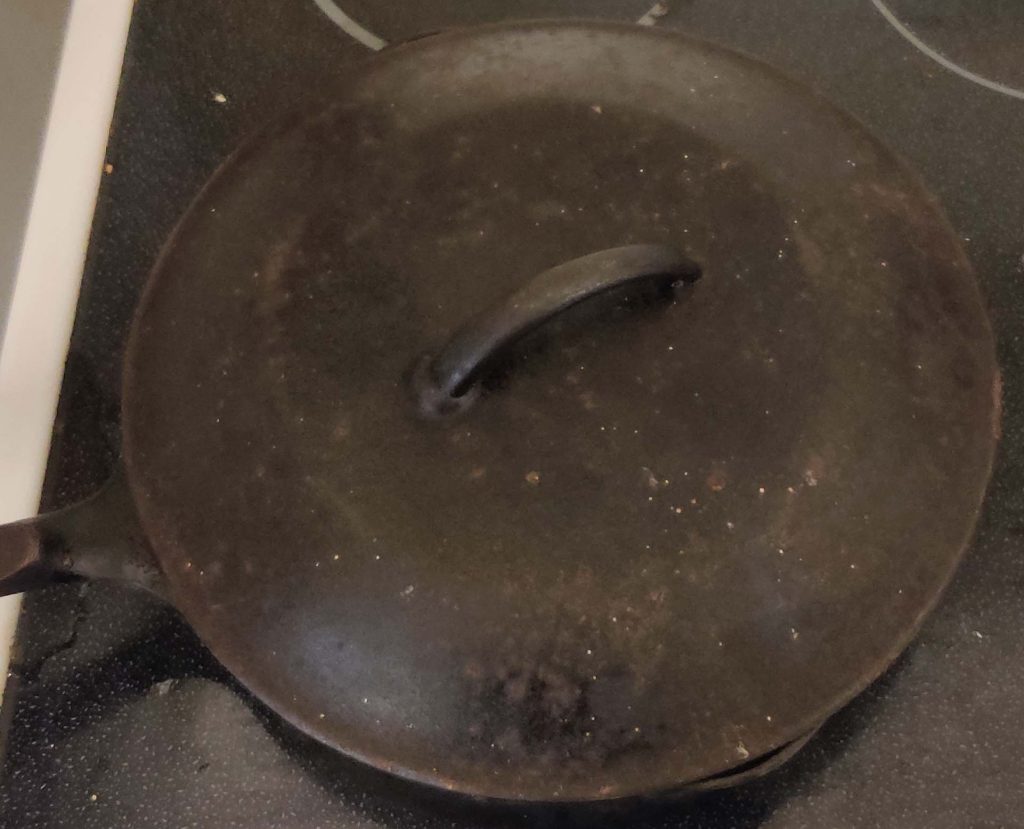
The lid was placed on the pot:

Lid placed on pot

The pot was placed into the countertop convection oven — the pot just fits!

Pot placed in countertop convection oven

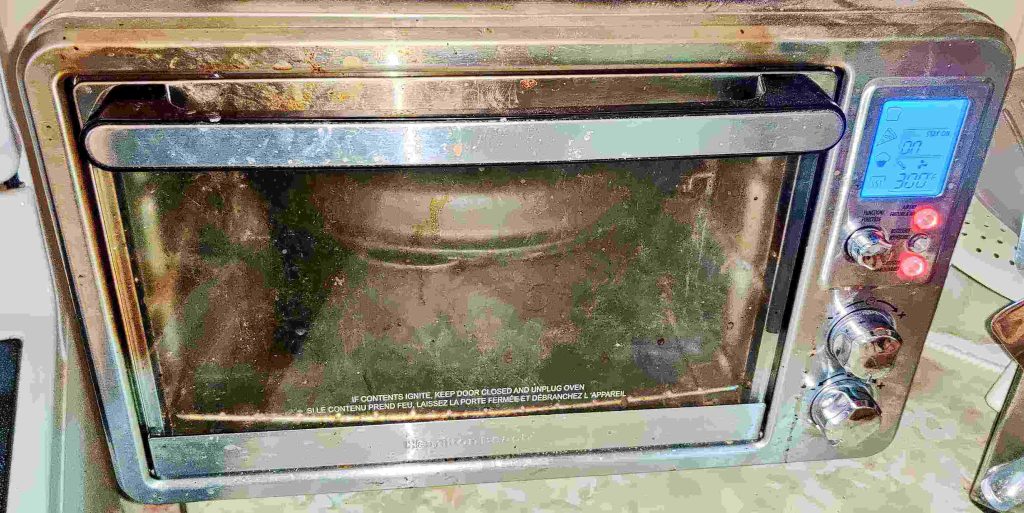
The door to my countertop convection oven was closed — and again I noticed something that needed a cleaning!

Oven door closed

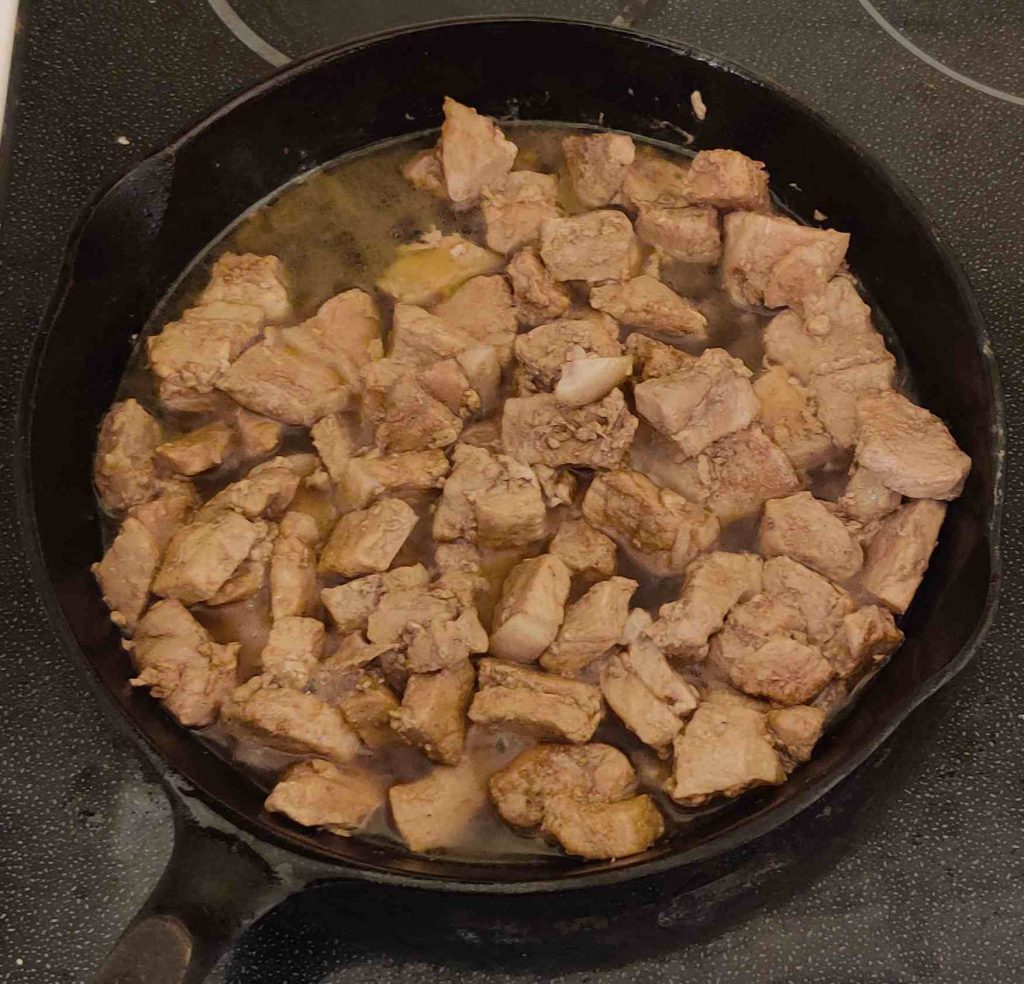
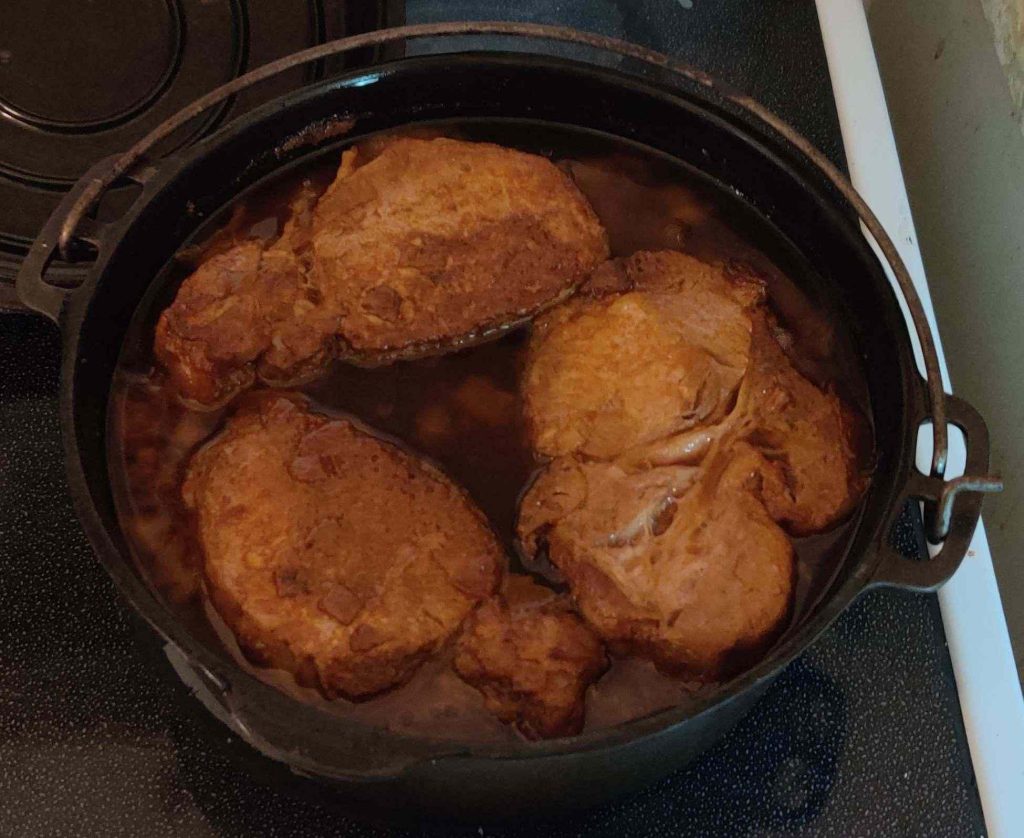
After about an hour, the pot was taken out and checked, and the liquid was indeed just bubbling:

Liquid in pot just at the point of bubbling

A timer was set to an hour and a half:

Timer set to an hour and a half

While the pot with the pork and braising liquid was returned to the countertop convection oven:

Pot returned to oven

Shortly before the timer was to run out, a heatproof container was taken out:

Heatproof container taken out

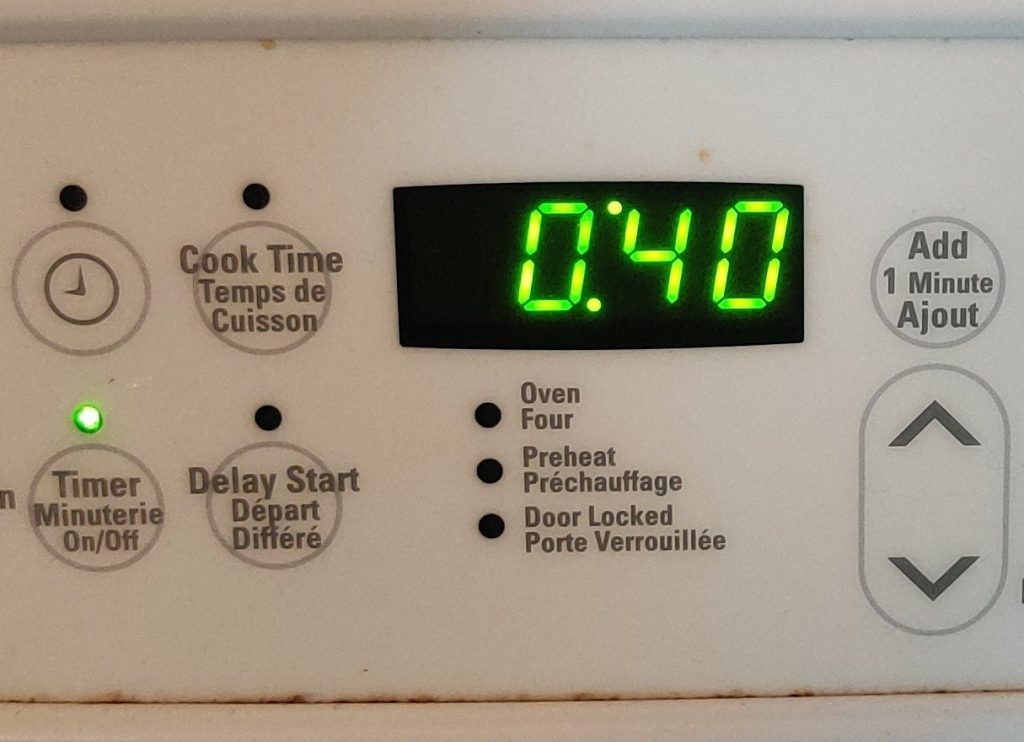
And at less than a minute before the timer ran out …

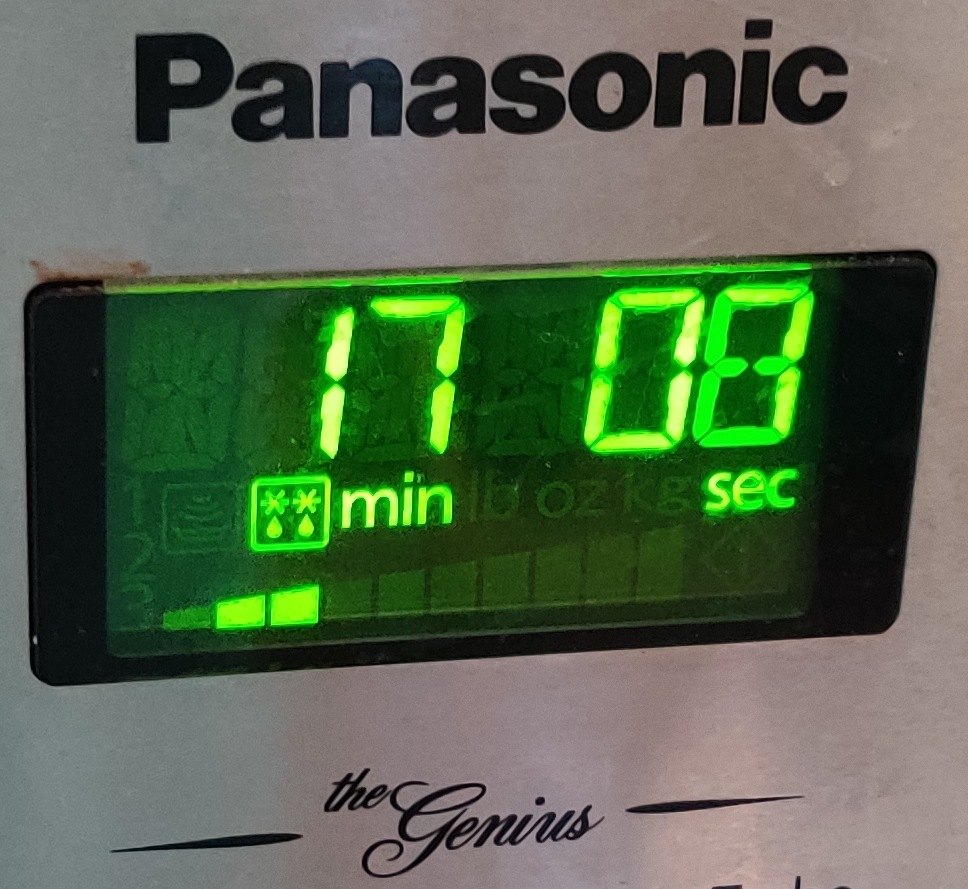
Timer running out at 40 seconds left

The pot was taken out and placed on the stove beside the counter:

Pot taken out of oven

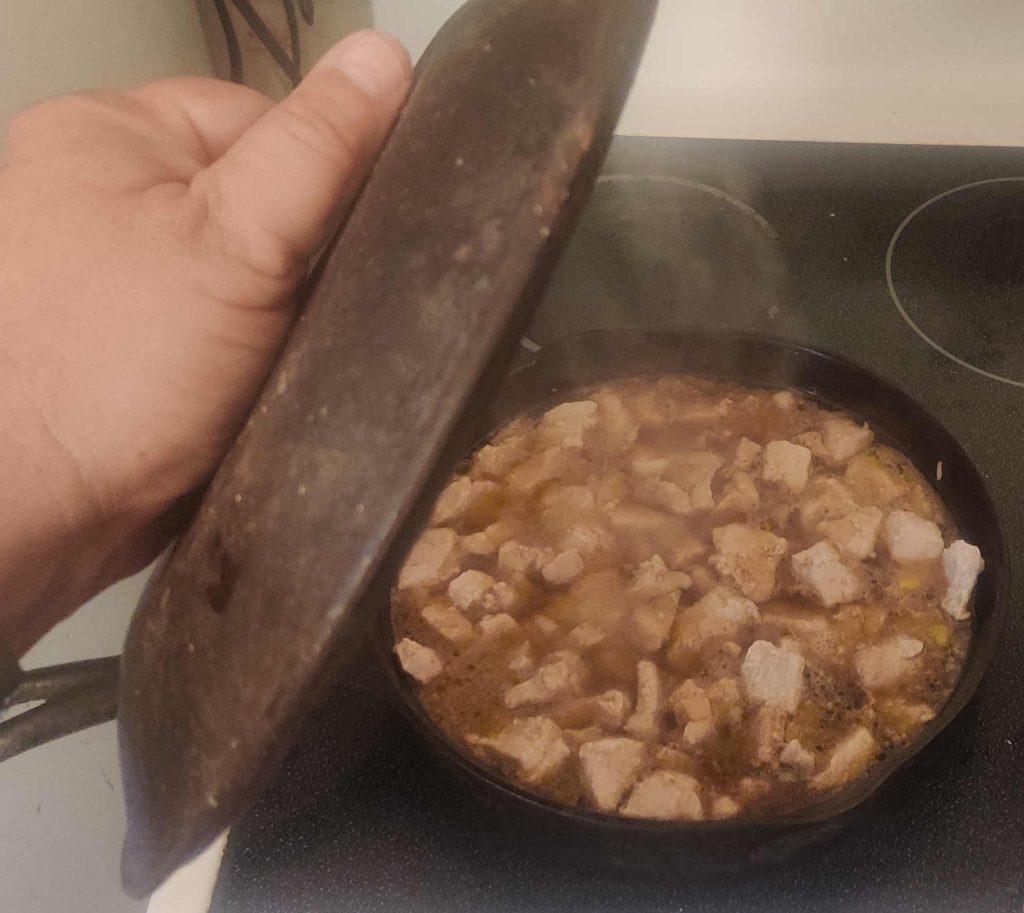
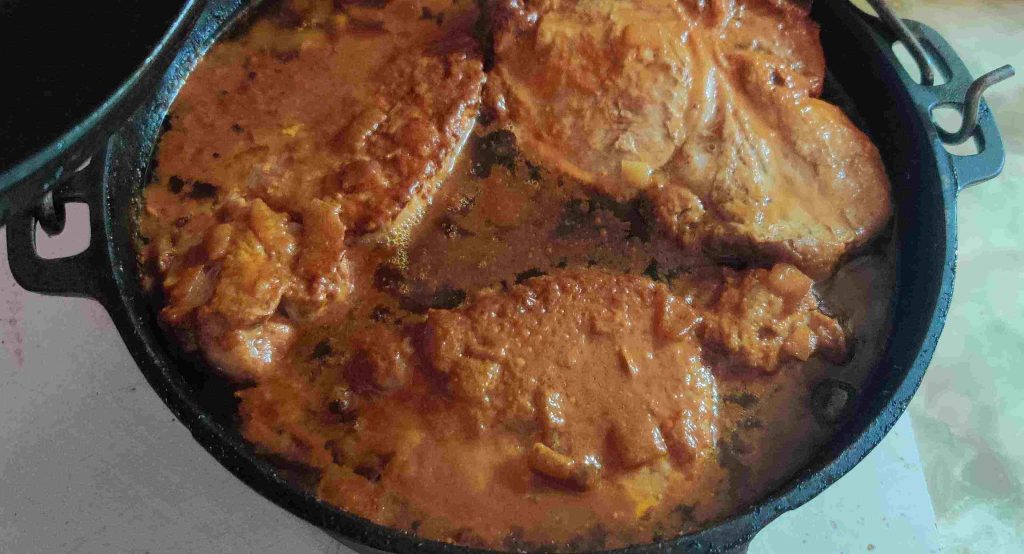
The lid was taken off the pot:

Lid taken off pot

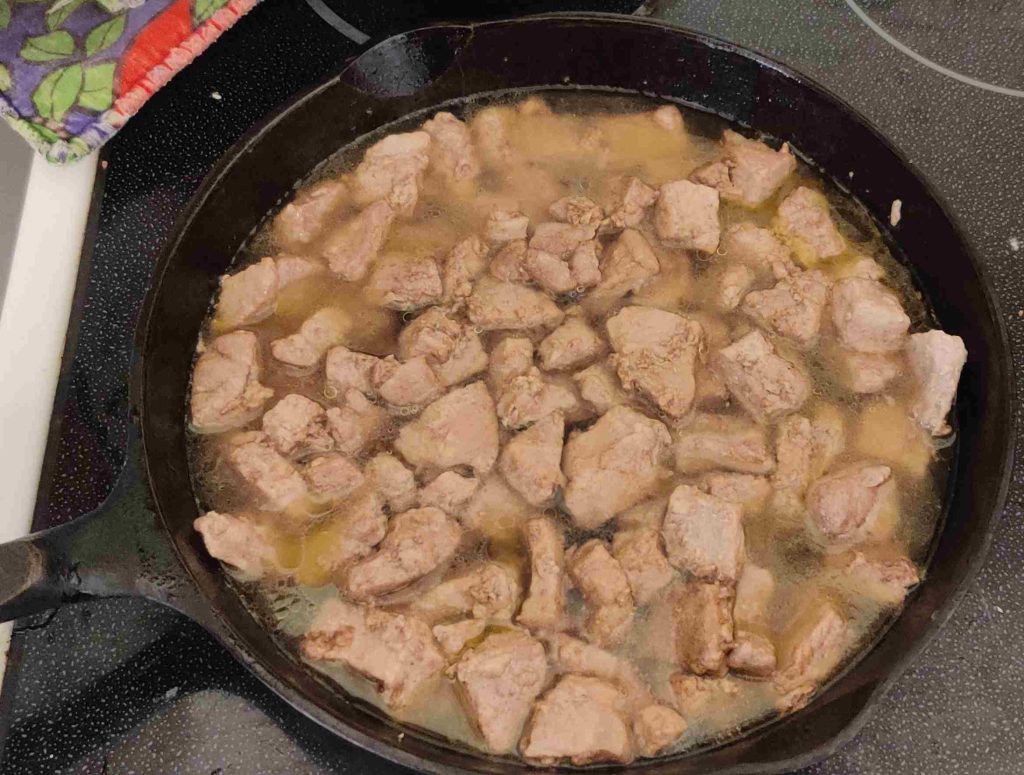
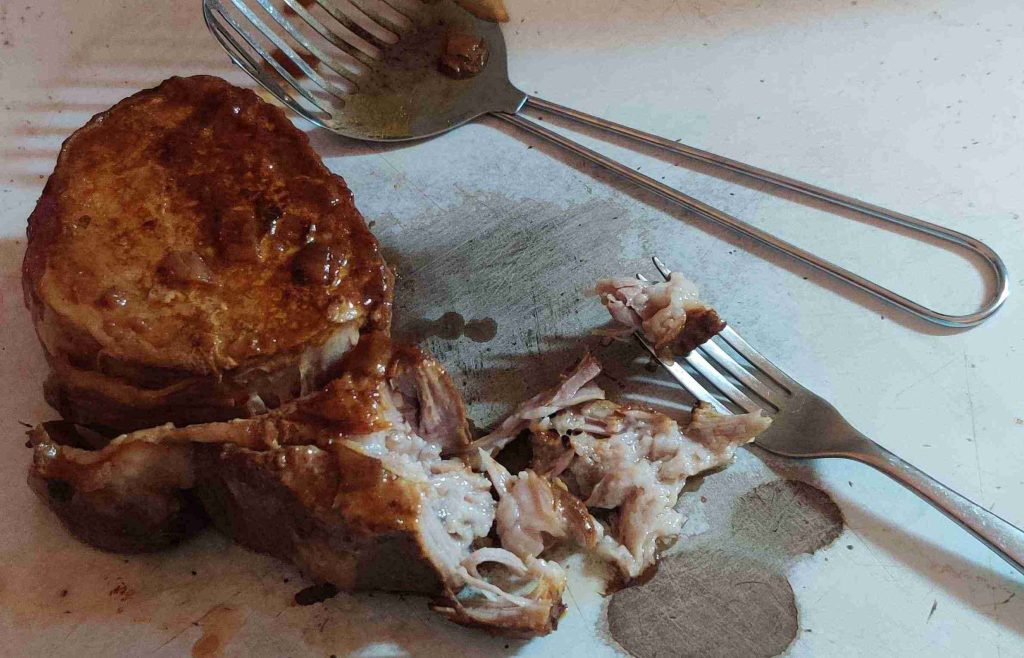
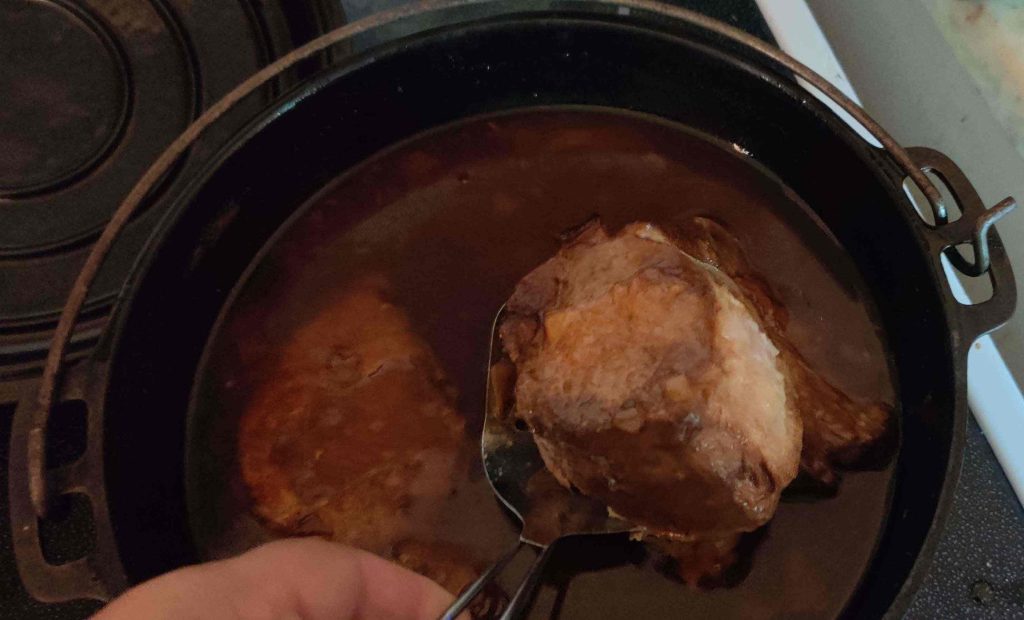
A piece of pork was taken out of the pot with a slotted spoon, and its tenderness was tested: The pork definitely pulled apart easily with a fork!

Pork taken out and tested with a fork

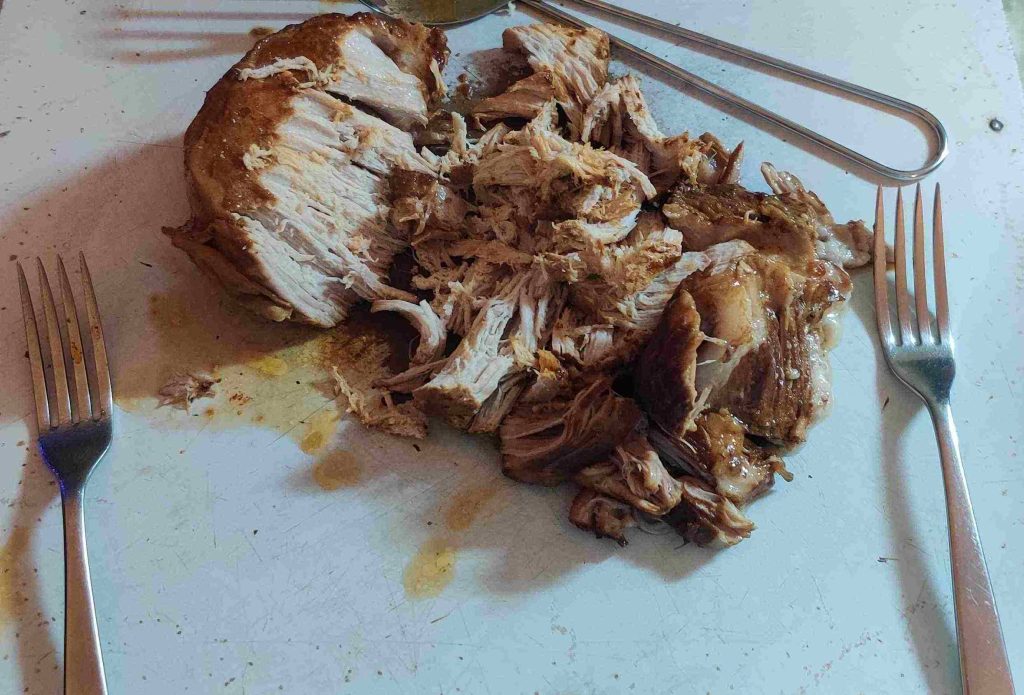
So I continued “pulling” — shredding if you prefer — the pork with some forks:

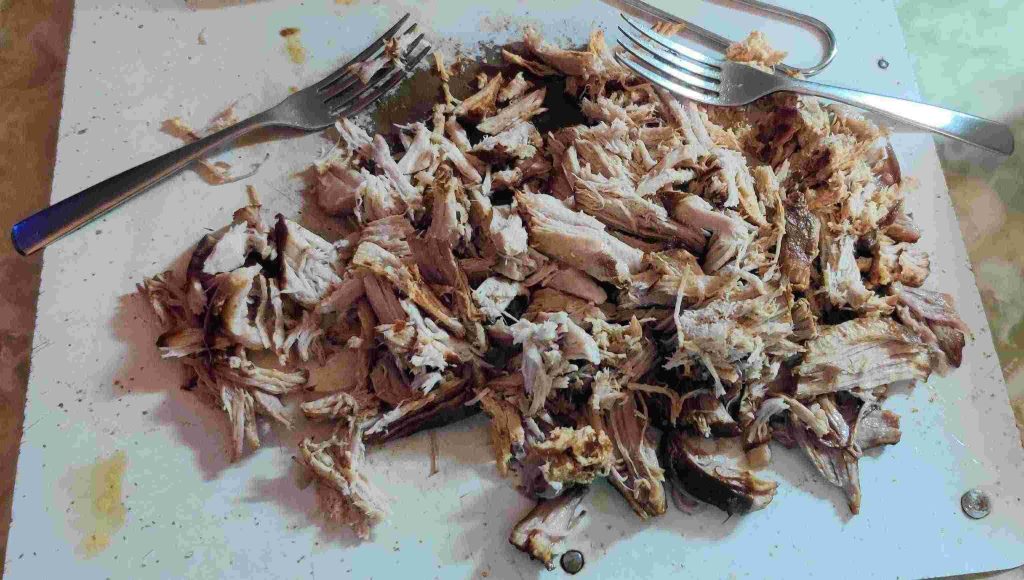
Pork shredded with forks

The shredded pork was transferred to the heat proof container, and another piece of pork was removed from the pot and braising liquid using a slotted spoon:

Another piece of pork removed from pot

The piece of pork taken out, as well as the other piece of pork, were both shredded with the forks, and transferred to the heatproof container:

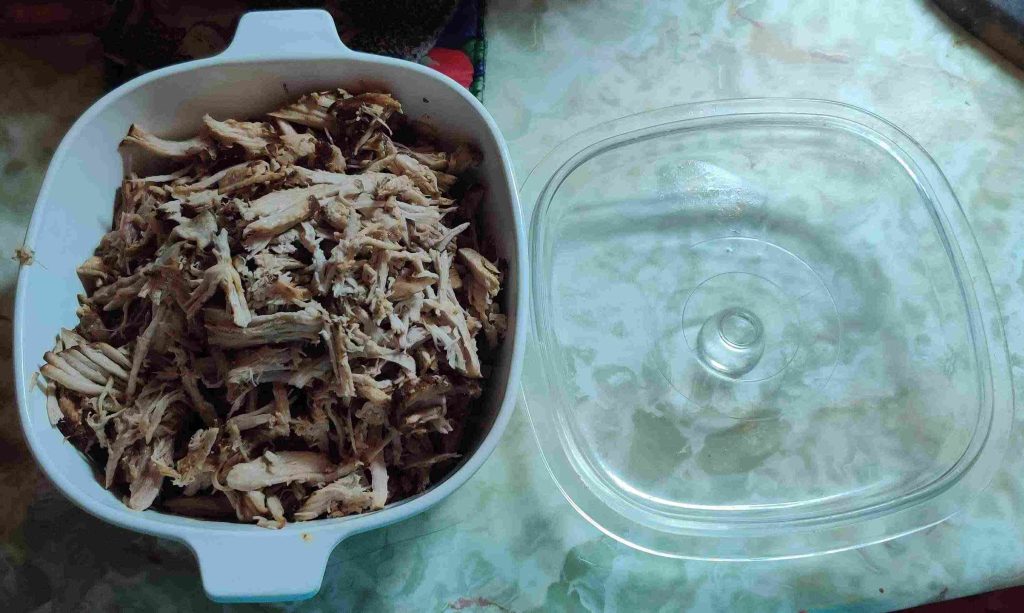
Pulled pork transferred to heatproof container

Throughout the pulling / shredding of the pork, bits of fat and grissol were separated out and put aside, to be put into a bucket for disposal through the municipal curbside composting programme:

Fat and grissol separated for disposal in composting programme

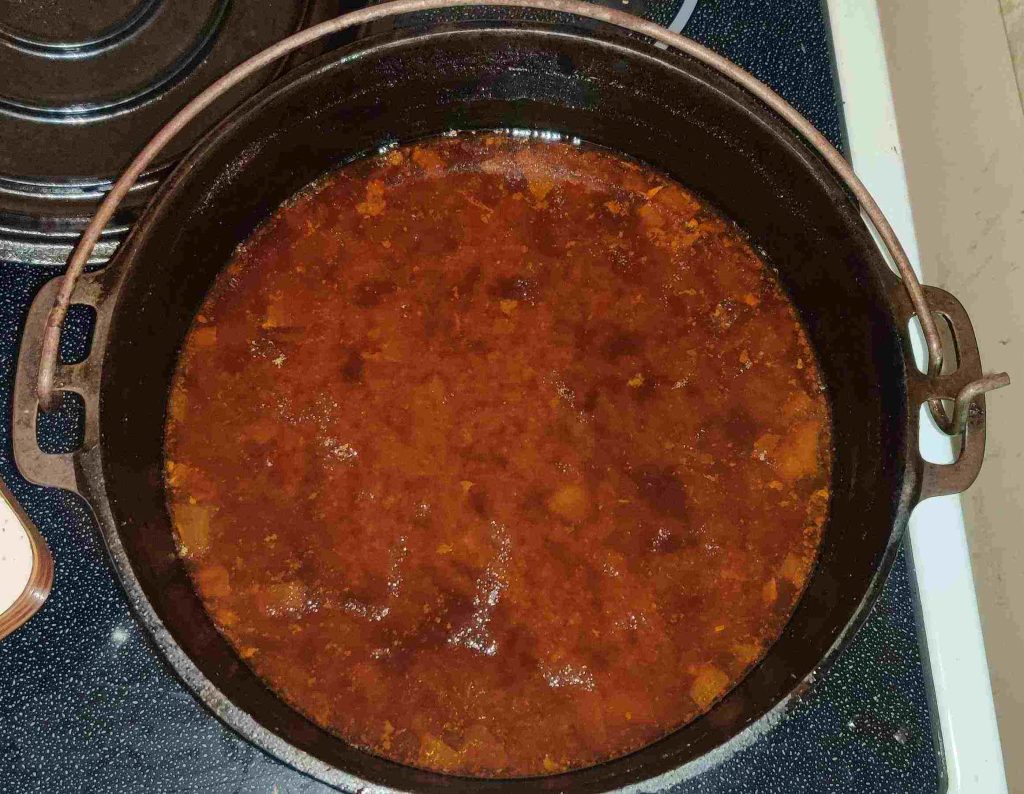
In the braising pot, a layer of rendered fat had risen to the surface:

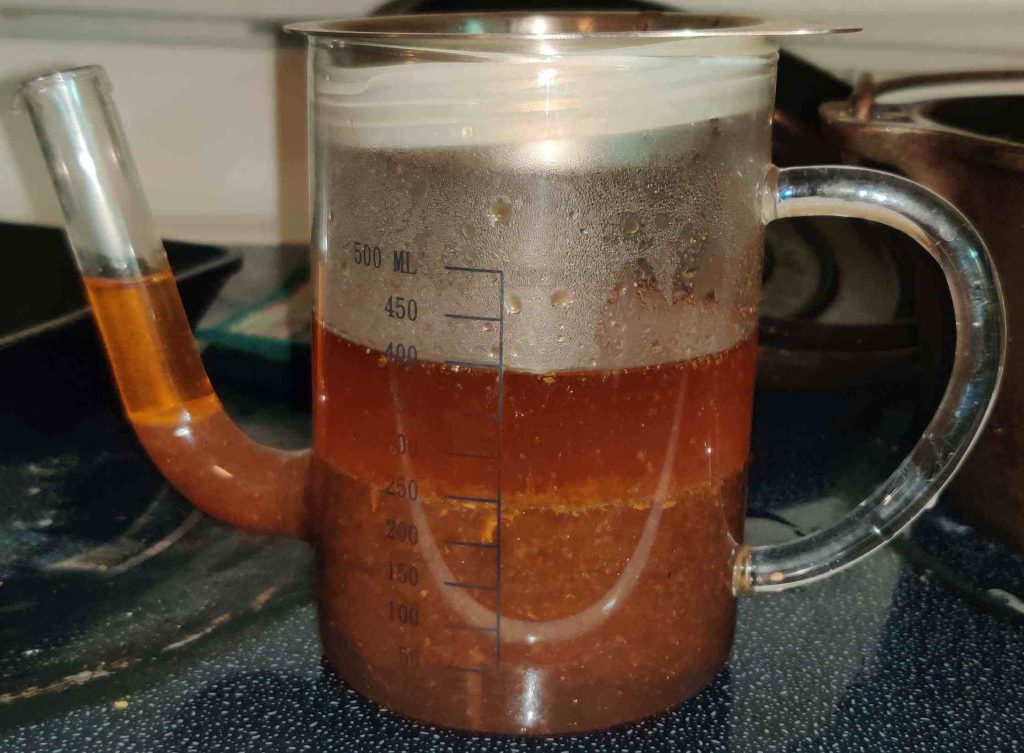
Braising liquid with layer of rendered fat on top

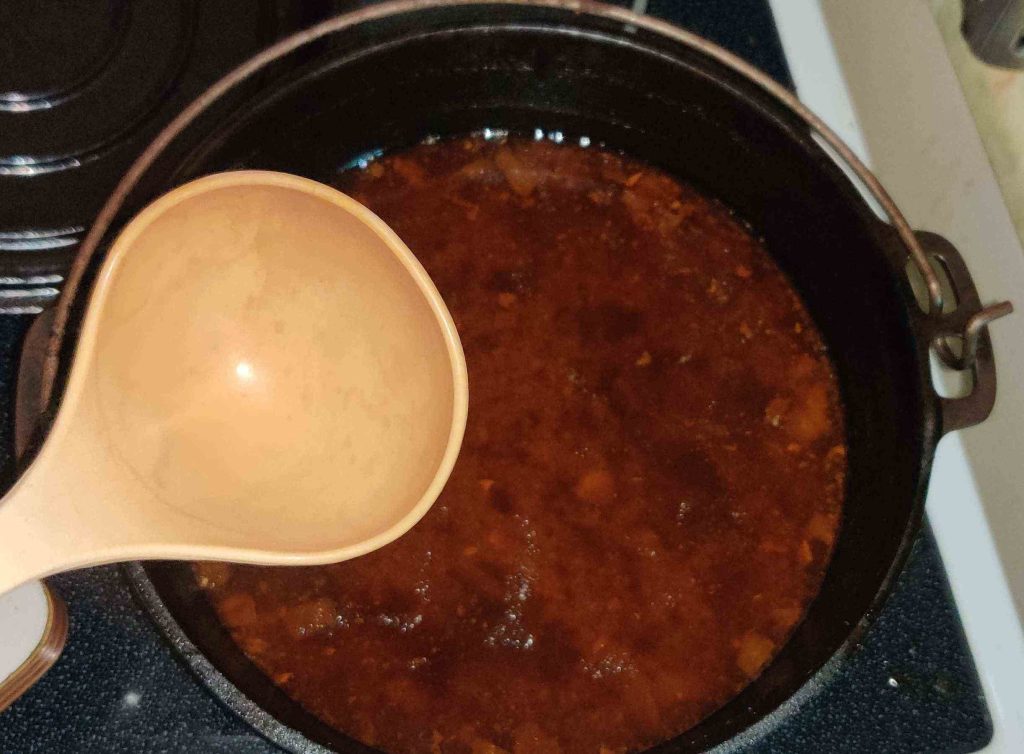
A soup ladle was taken out to skim off the rendered fat:

Ladle taken out

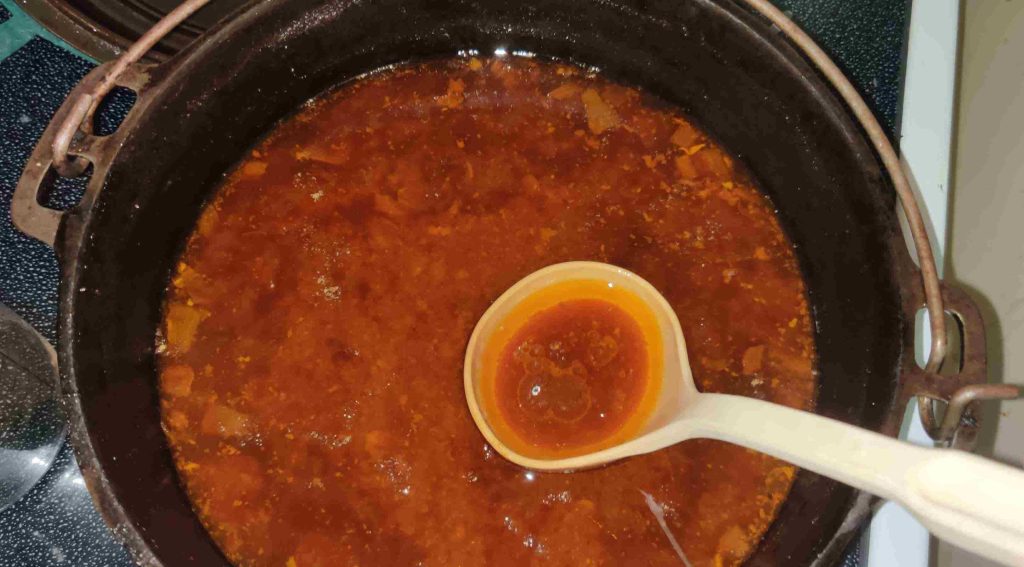
The rendered fat was skimmed off the top of the braising liquid:

Rendered fat skimmed off top of braising liquid

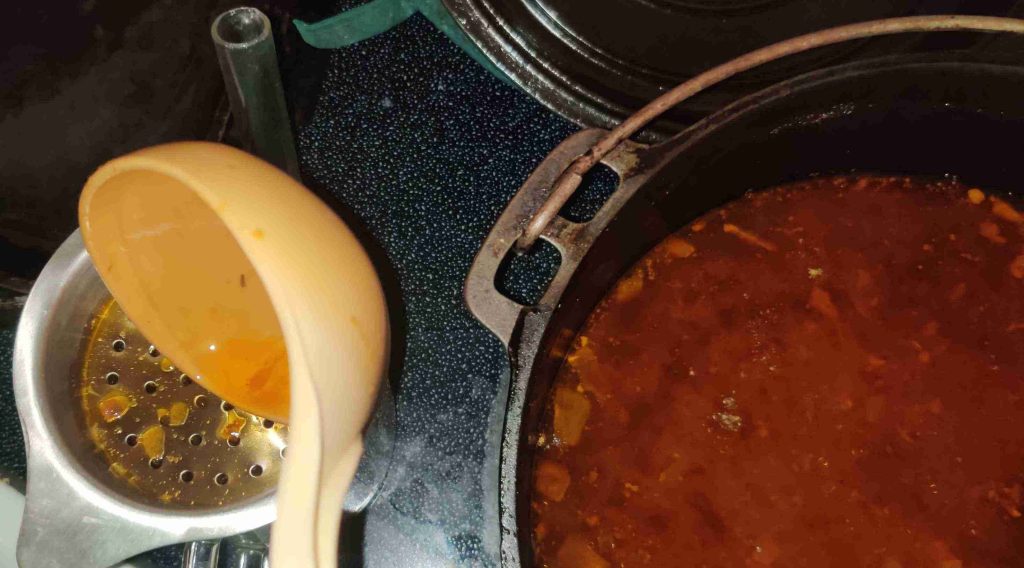
The skimmed rendered fat was transferred to a fat separator with a slotted top:

Skimmed fat transferred to fat separator
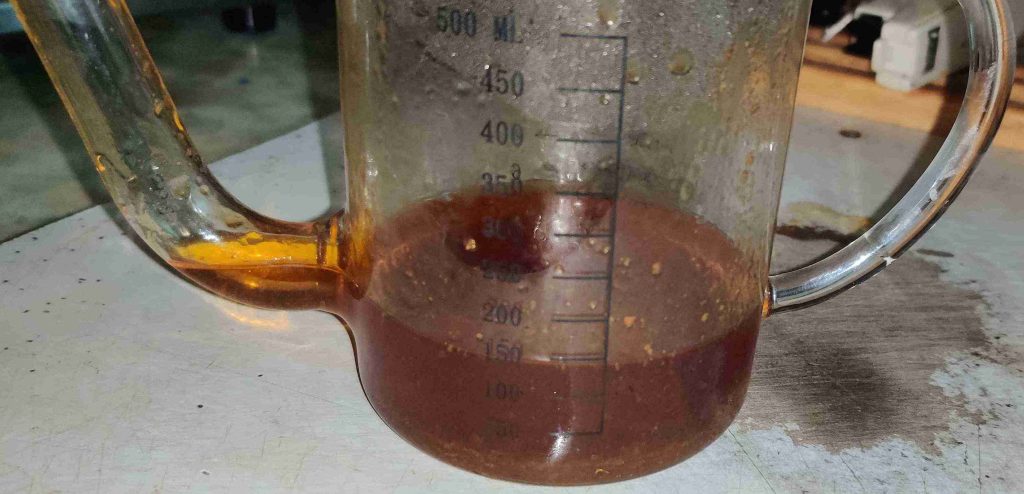
Rendered fat in fat separator

The braising liquid at the bottom of the fat separator was poured off:

Braising liquid poured off

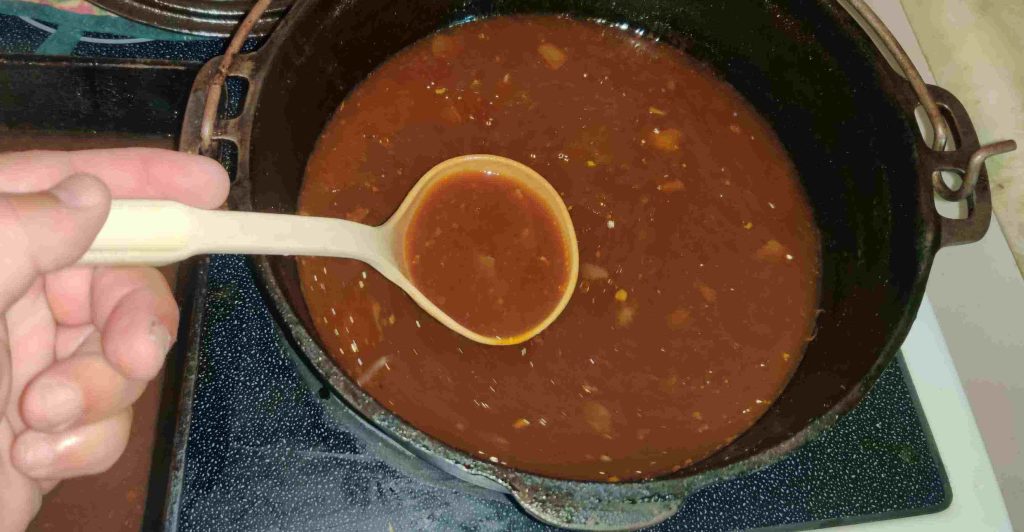
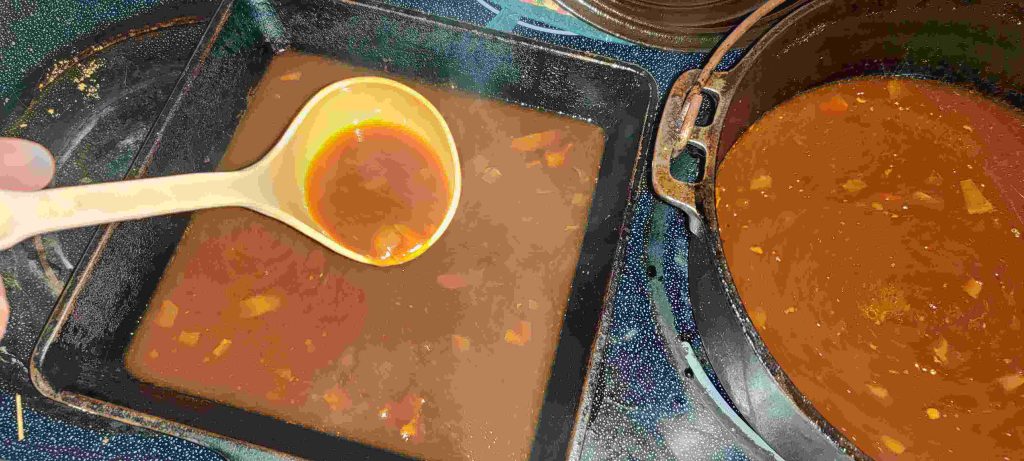
The ladle was then used again, this time to transfer some of the braising liquid from the cast iron pot …

Braising liquid transferred from pot

… to a frypan, in order to help reduce / thicken the liquid more quickly than all at once just in the pot:

Braising liquid transferred to pan for reducing / thickening

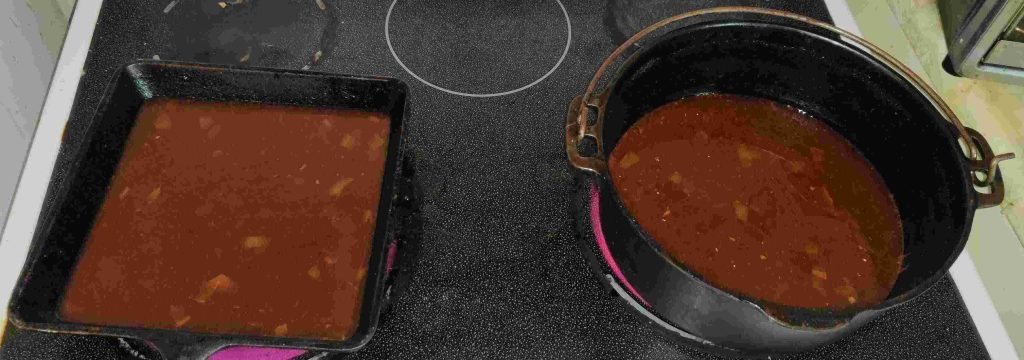
Two stove burners were turned on to maximum:

Stove burners turned on to maximum
Stove burners turned on to maximum under frypan and pot

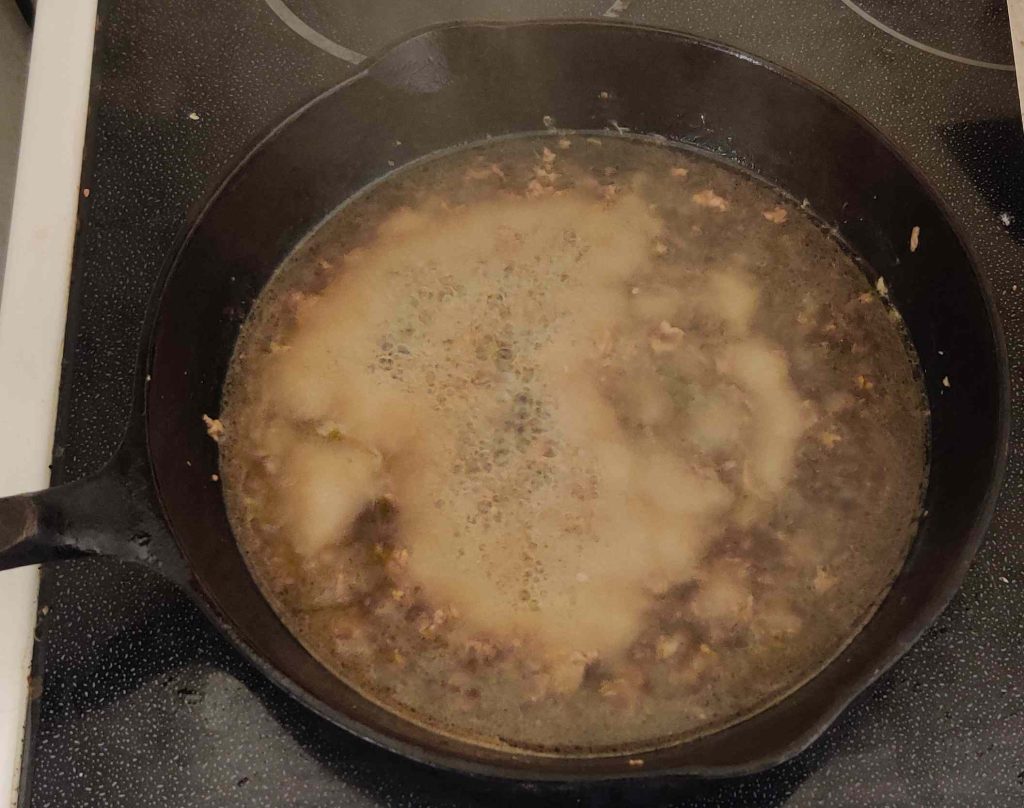
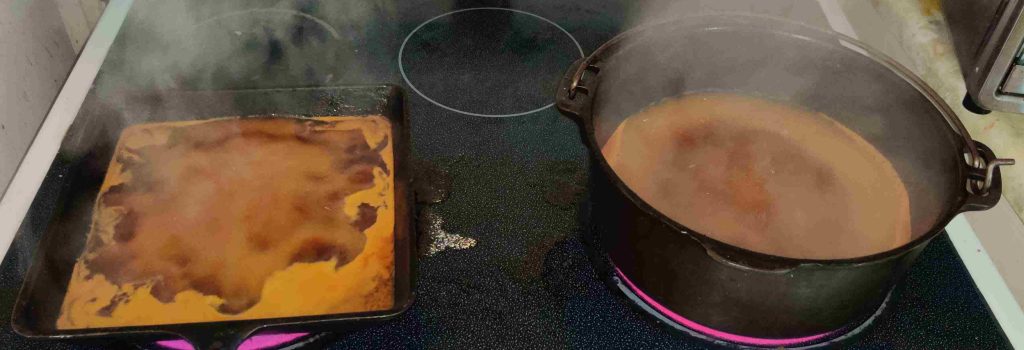
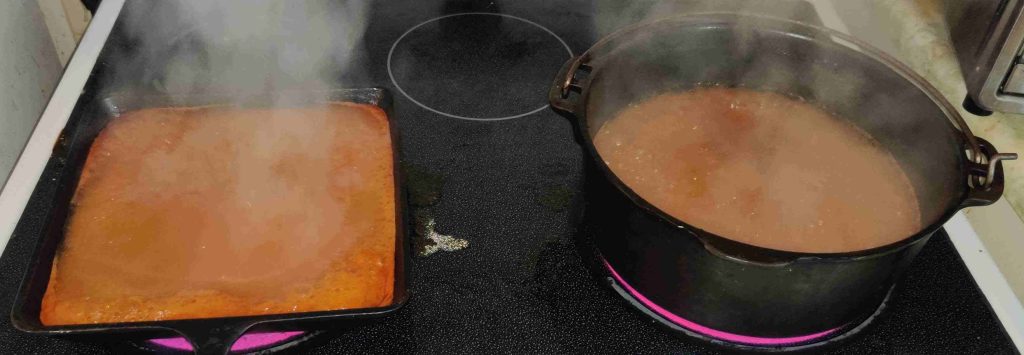
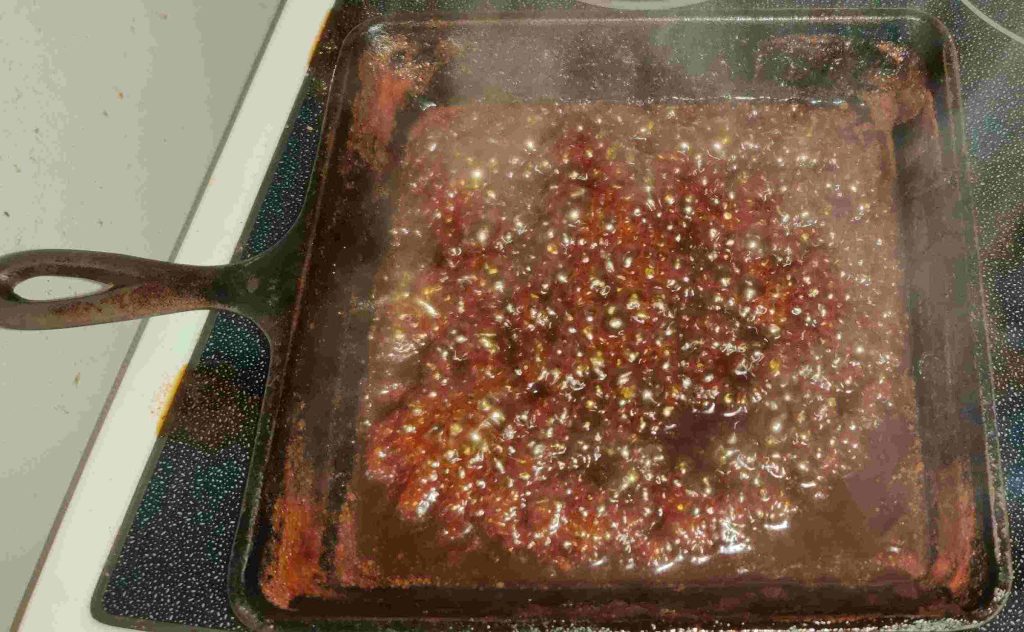
The frypan and pot were brought to a boil to reduce the volume and concentrate the ingredients, by evaporating off excess water:

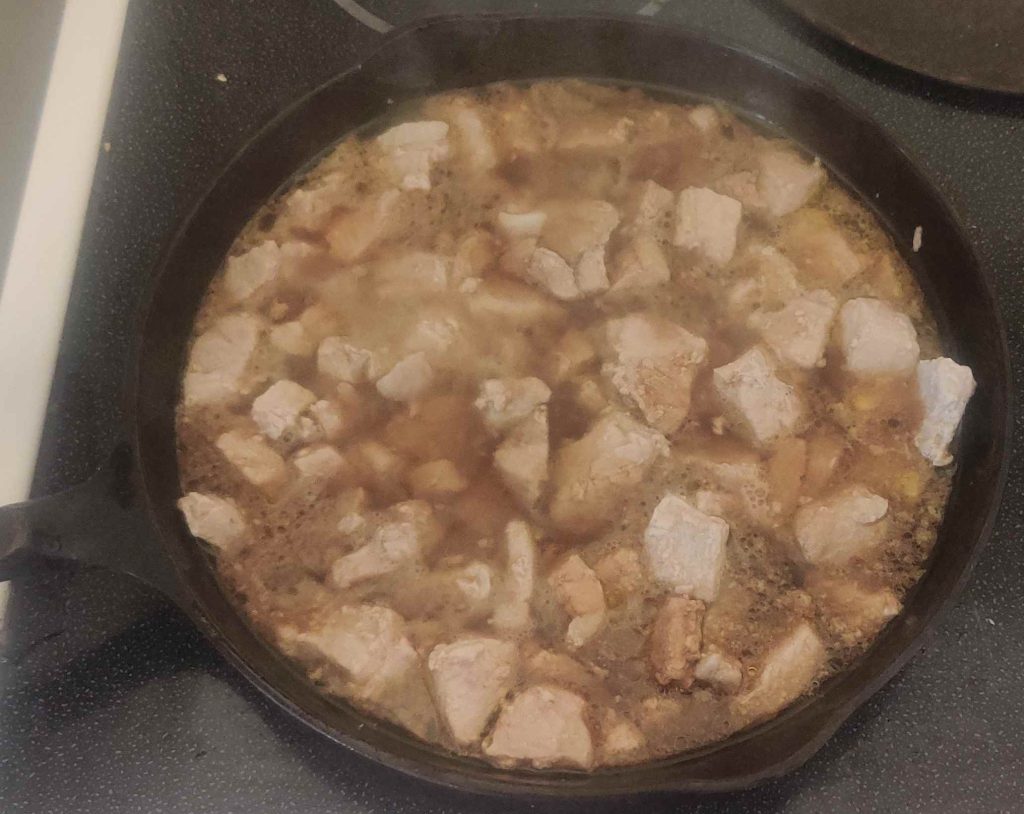
Frypan and pot brought to a boil
Boiling braising liquid to reduce the volume and concentrate the ingredients

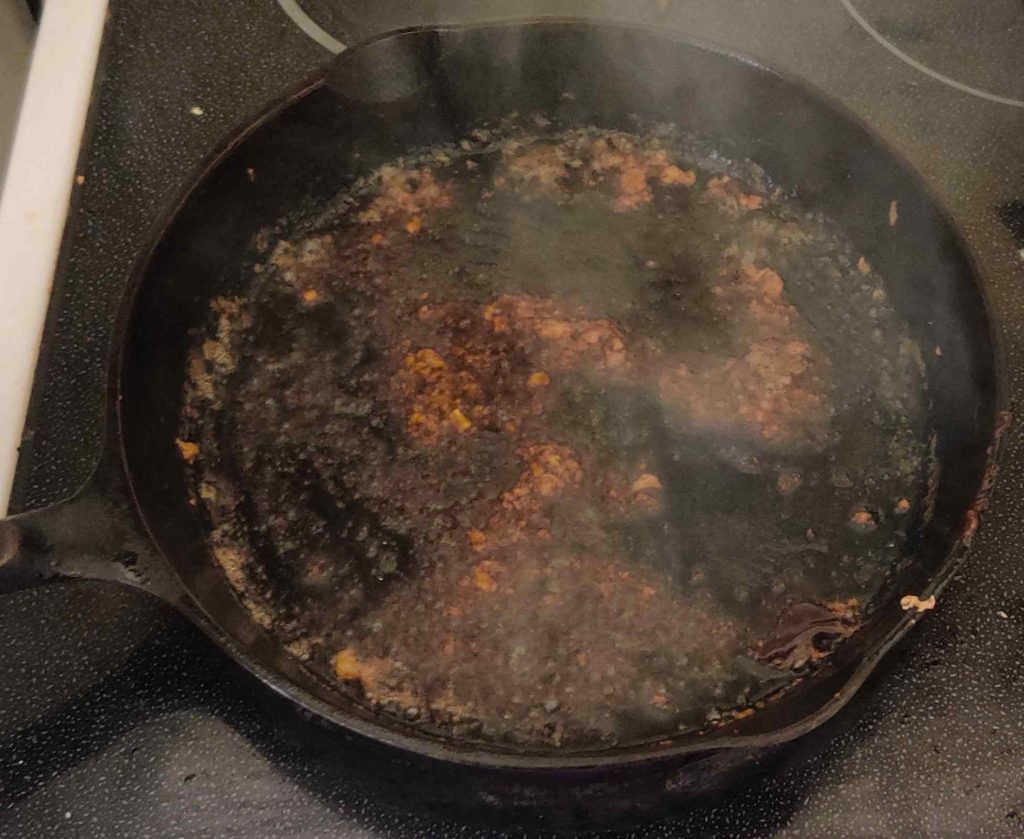
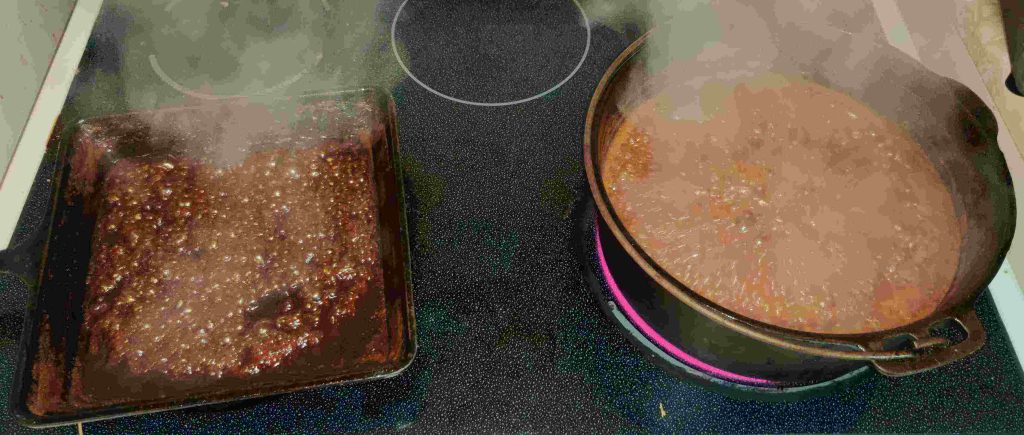
After a time, as can especially be seen in the pan on the left, the reduced liquid with become what I will characterize as “gloopy”, and the bubbling will be more audible:

Braising liquid especially on the left thickened
Thickened braising liquid becoming a sauce

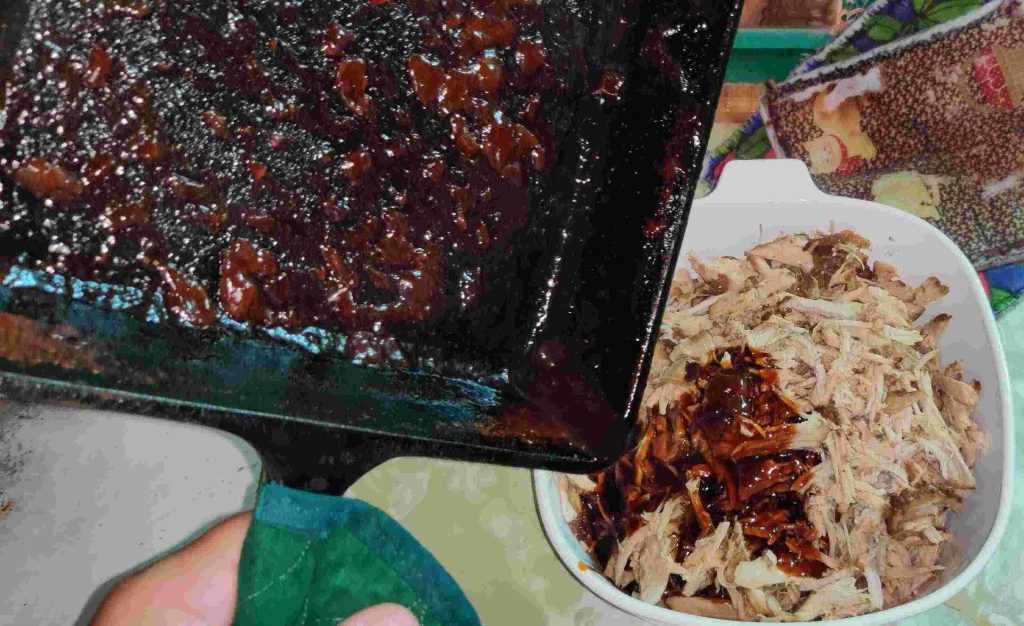
The now thickened sauce in the pan was transferred to the pork in the heatproof container:

Sauce transferred to pork

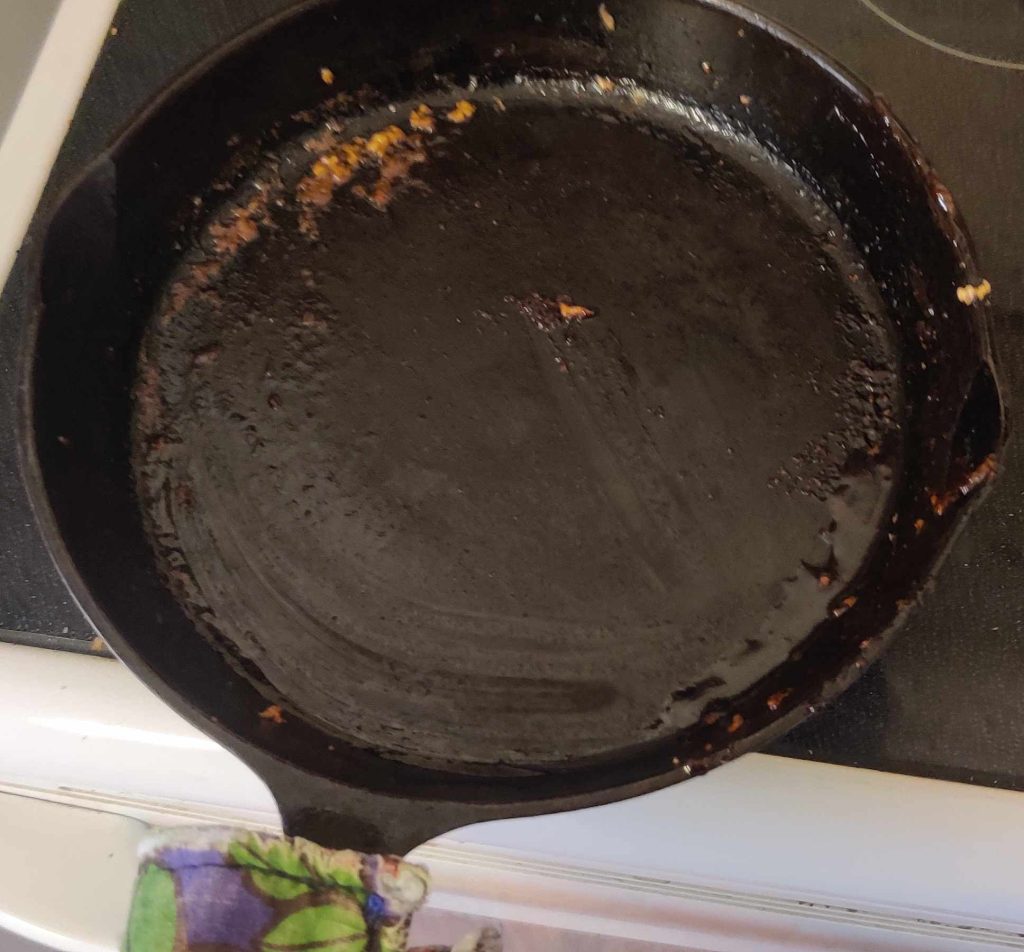
Of course, the pan was scraped to get all of that goodness to put on the pulled / shredded pork!

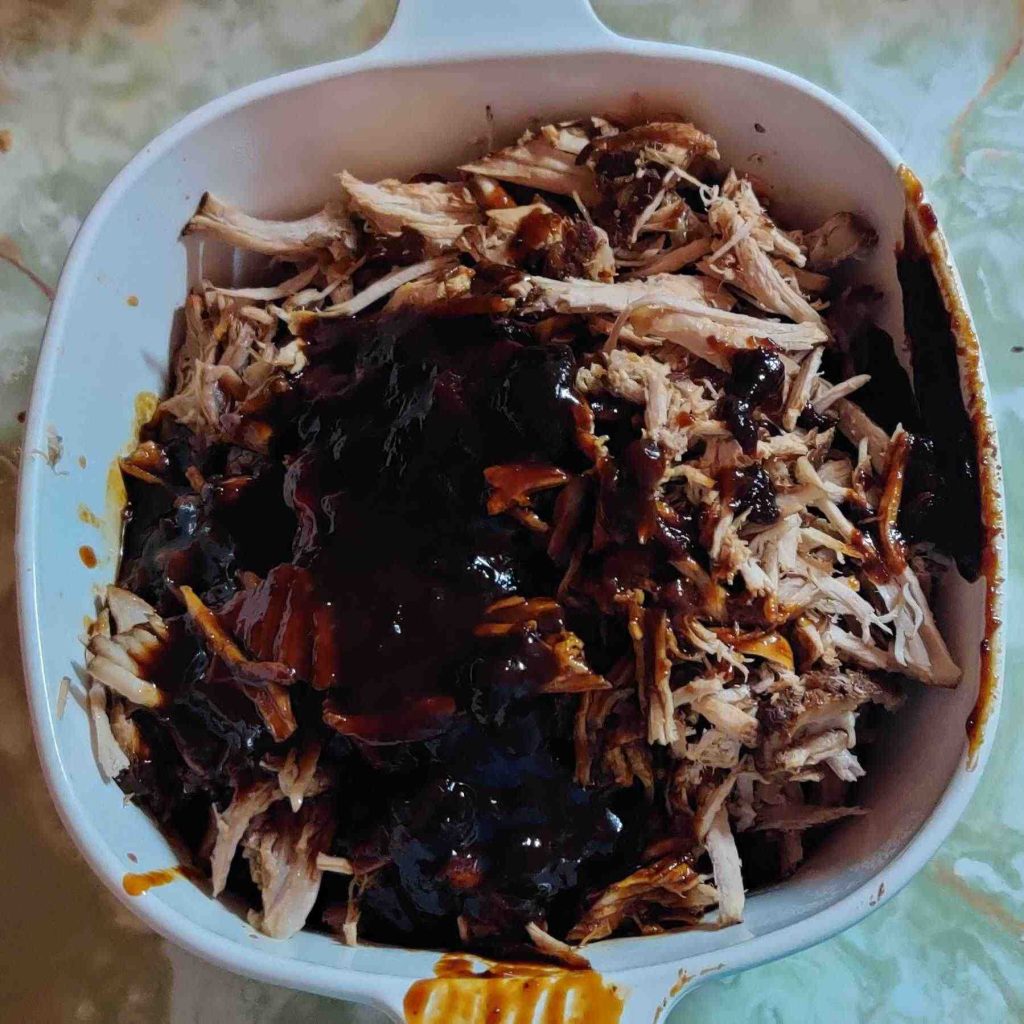
The rest of the braising liquid was reduced to the desired thickness and transferred to the container with the pulled / shredded pork:

All sauce transferred to container of shredded pork

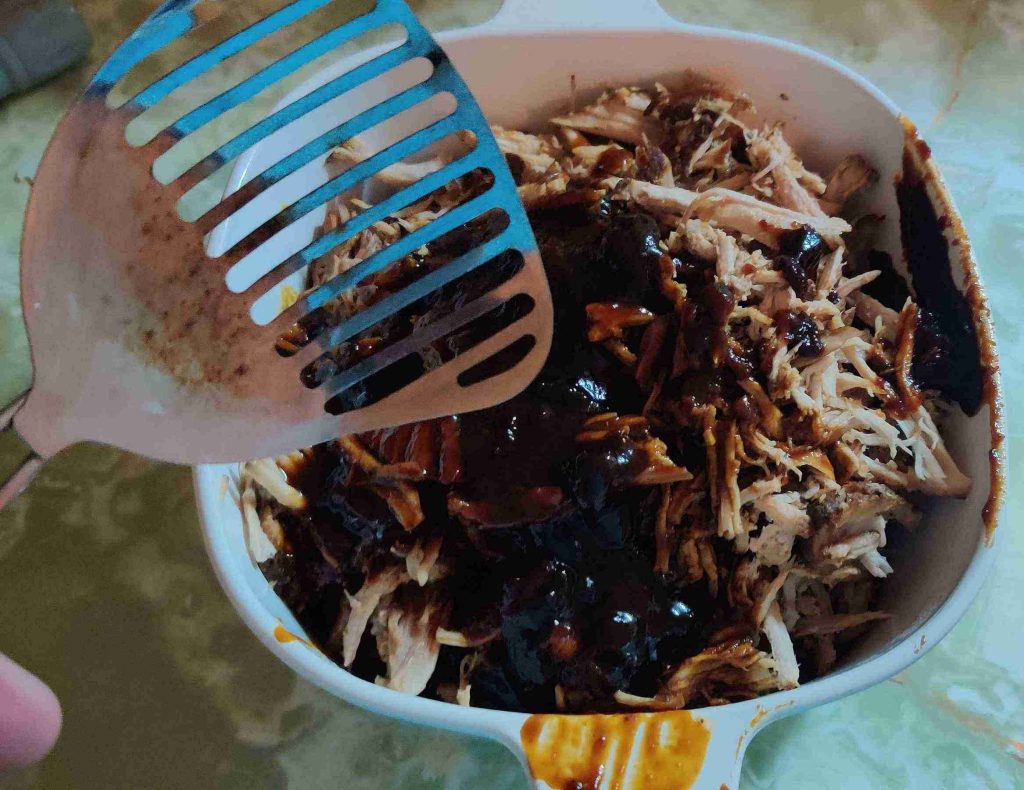
The (now cleaned) slotted spoon was taken out to distribute the sauce throughout all the pulled pork:

Slotted spoon taken out to redistribute the sauce in the container
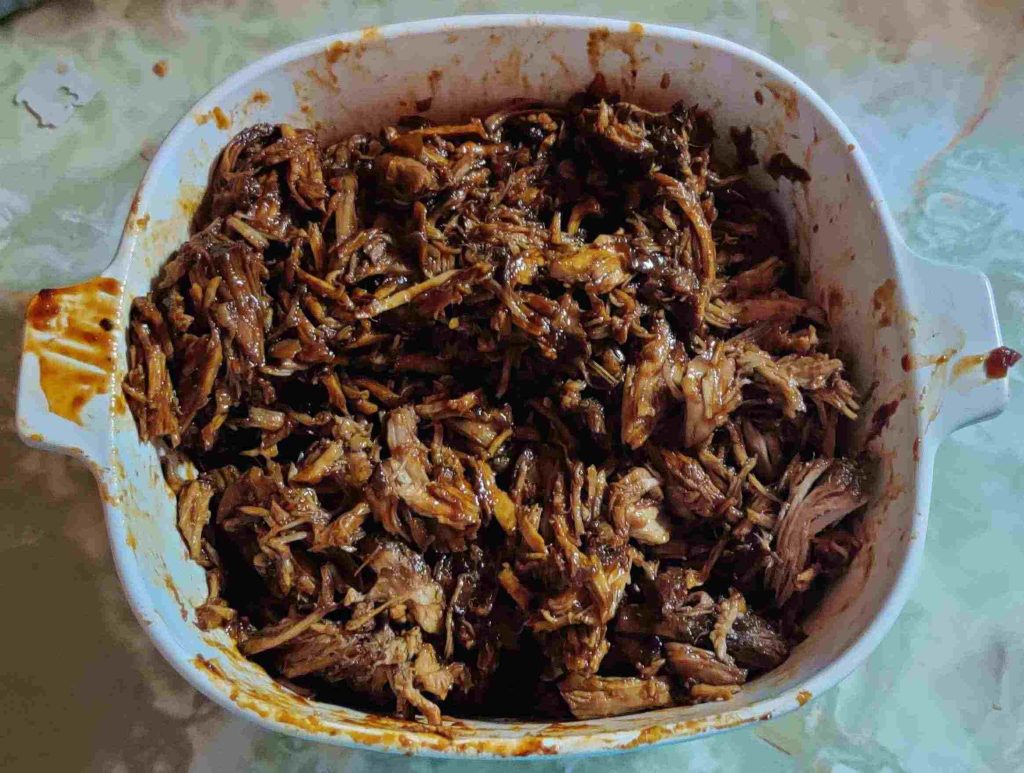
Pulled pork fully “sauced”

Plastic containers of a one-cup capacity were taken out (this is the recreated photo):

Plastic containers taken out

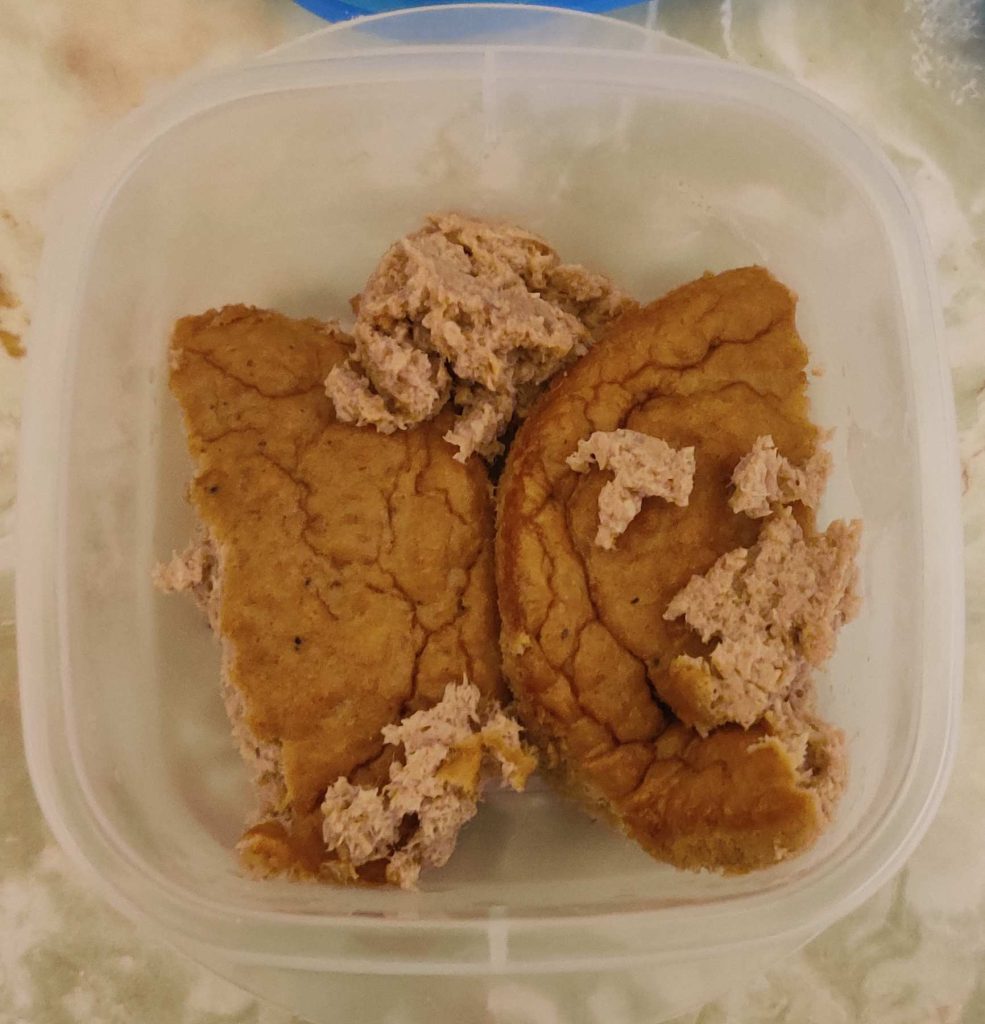
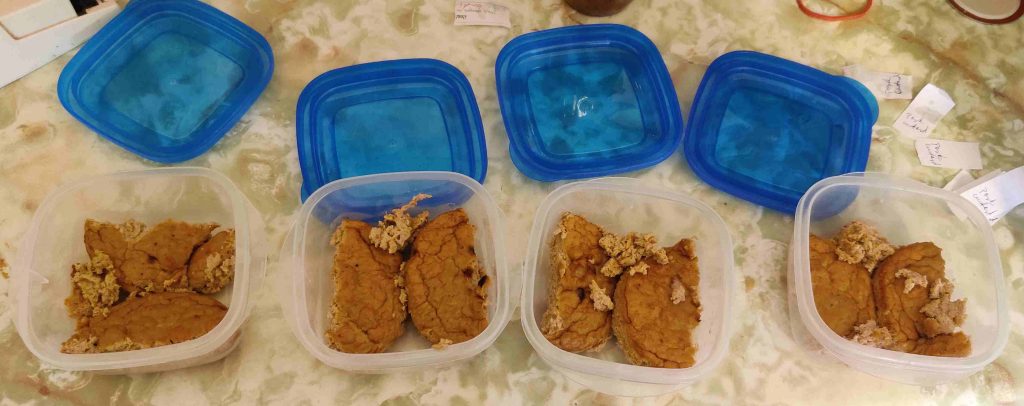
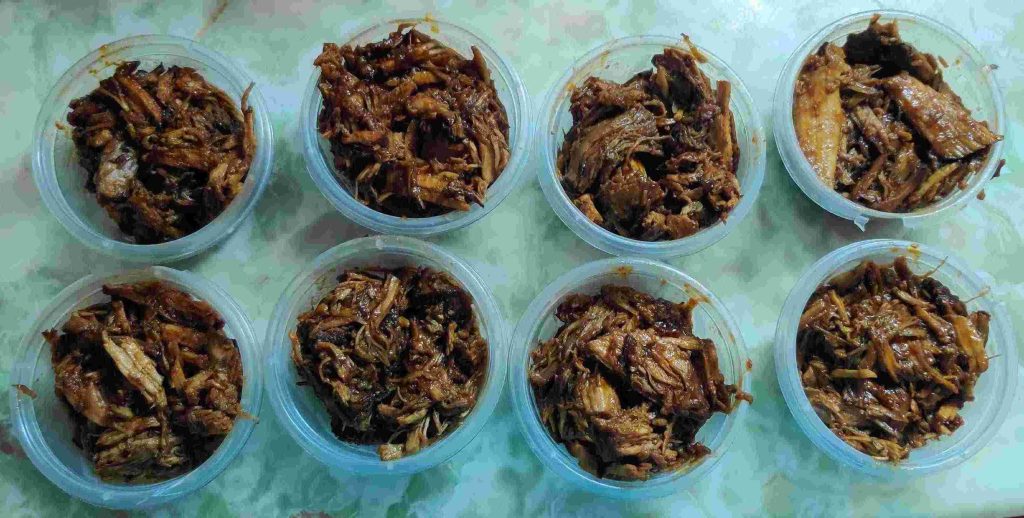
The pulled pork was transferred to the plastic containers:

Pulled pork transferred to containers

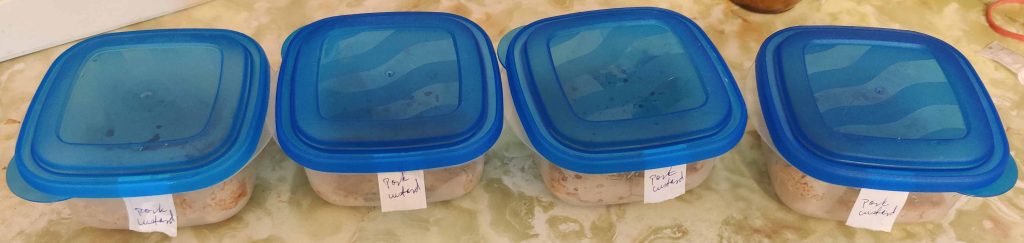
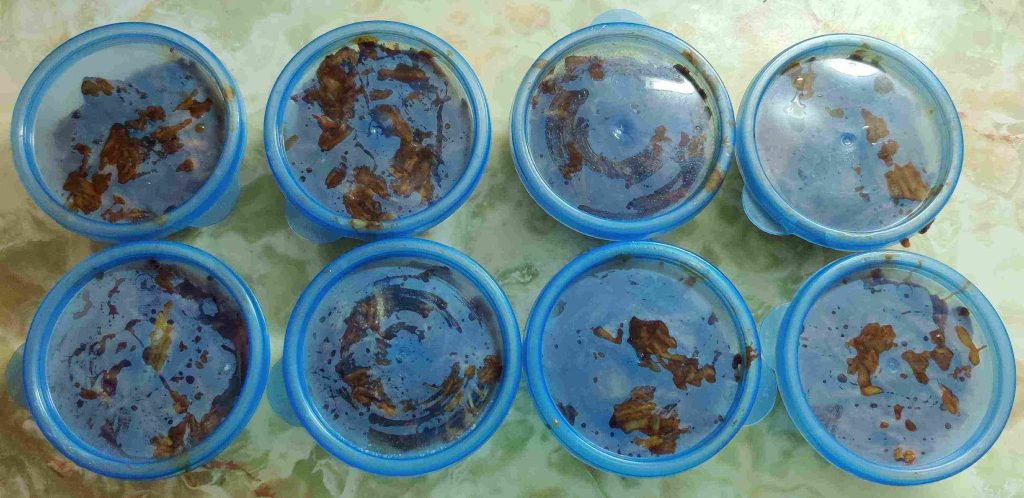
And lids were placed on the containers:

Lids placed on containers

The containers were placed in the freezer for my future enjoyment:

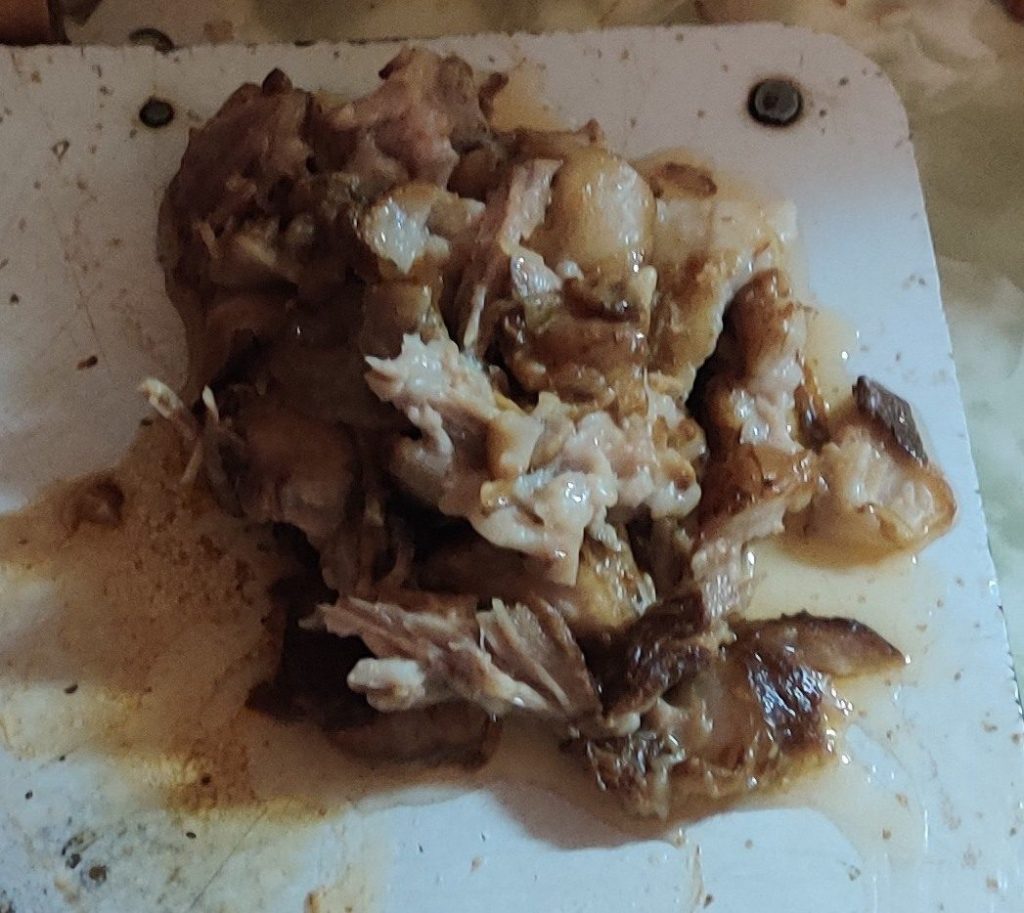
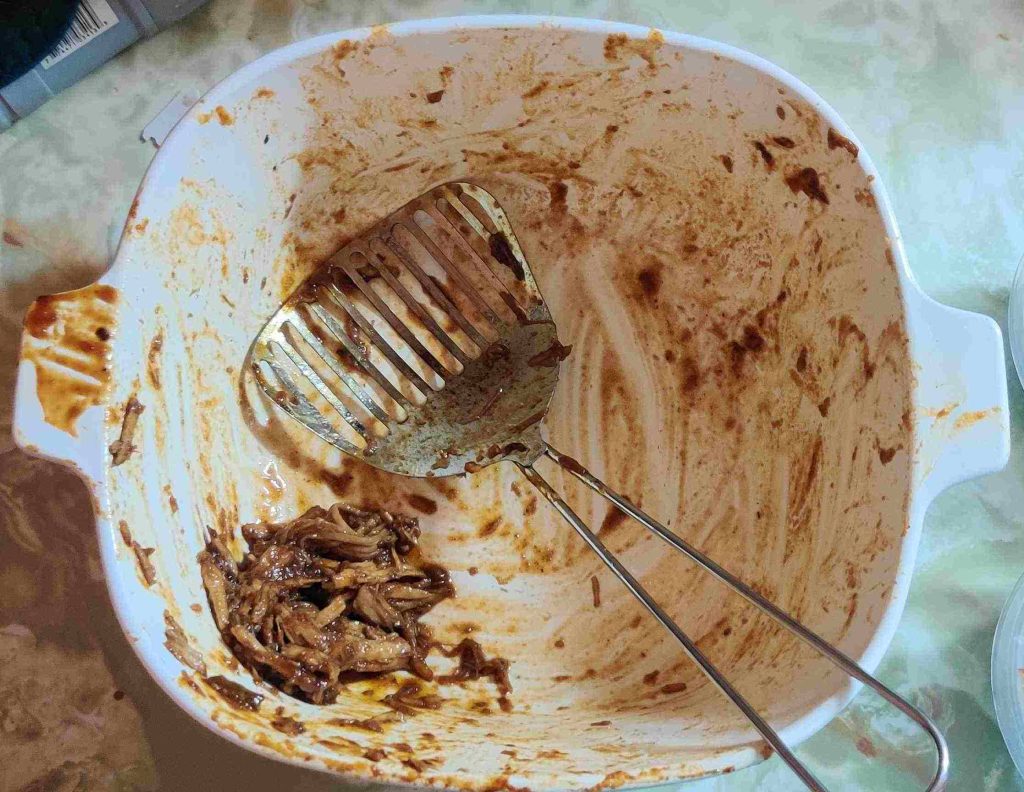
Fortunately, there was a taste, albeit small, of pulled pork left in the container:

A tasty bit of pulled pork left over

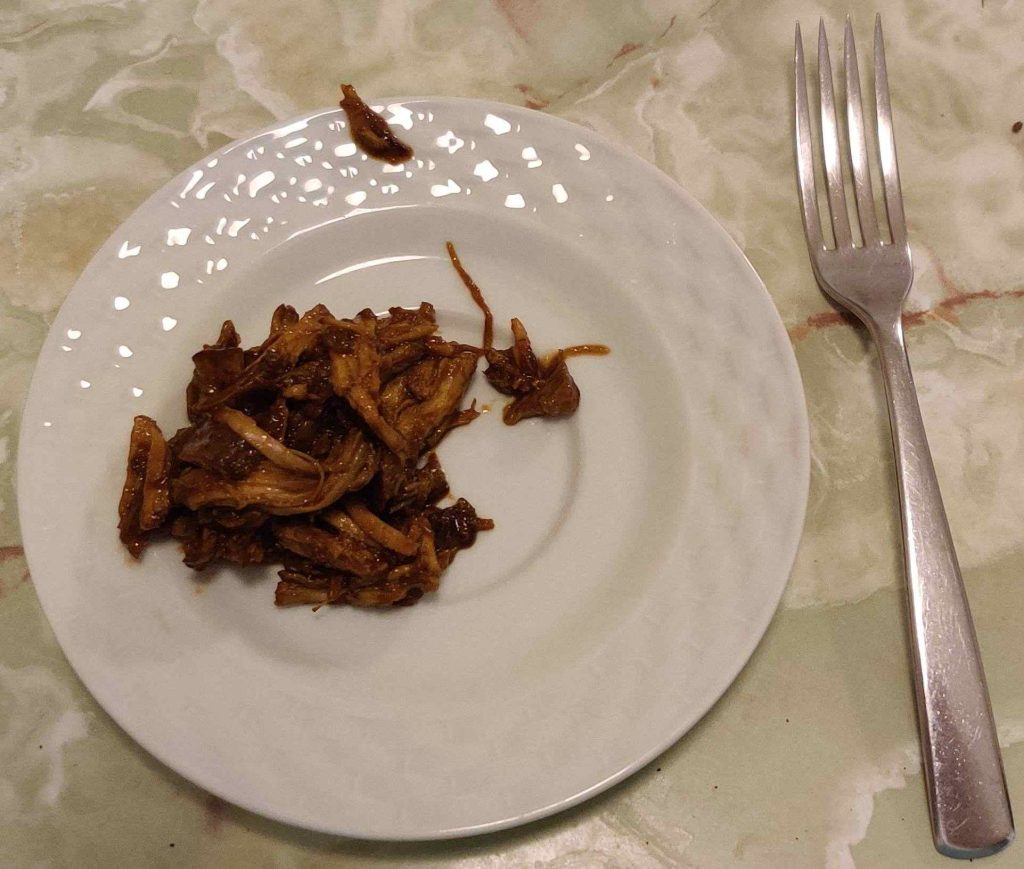
The tasty leftover bits were served on a plate, ready to eat:

A taste of pulled pork — enjoyed!

Yummy!
And as an extra note … I have been asked to bring my pulled pork again to the next church pot luck meal, along with one of my tiramisu cakes!
Making Tiramisu Layer Cake — Photos

Since I don’t care much for coffee, I have perhaps tried tiramisu once or twice in my life, although I am struggling to recall said occasion(s).

That being said, I was very interested in a “quick tiramisu” (here’s my archive) I saw being made on a “30-minute meal” TV show. The “easy shortcut” of using a store-bought loaf cake as well as the recipe in general completely captivated me, and I decided that I must make it. Of course, I sidestepped the defining shortcut of the recipe by realizing that “I know how to make a loaf cake!” (loaf cake recipe here). As such, I make my own loaf cake “in-house” for this recipe.

This last part being said, in this post I won’t show the making and baking of the loaf cake for two reasons:

For the record: Yes, I indeed licked the utensils and the bowls used for the coffee cream and whipped cream. 👨‍🍳

Making the tiramisu cake:

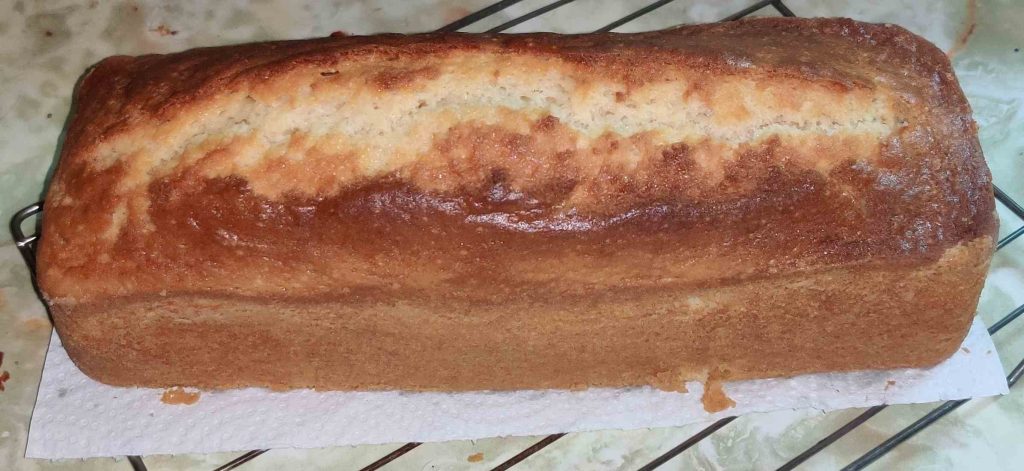
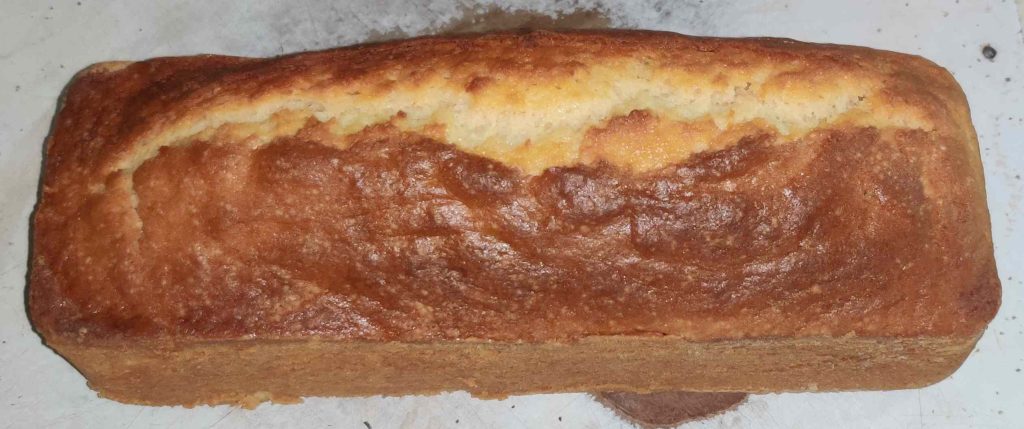
First, I baked a plain vanilla loaf cake earlier in the day, and I let it cool:

Plain loaf cake baked earlier in the day

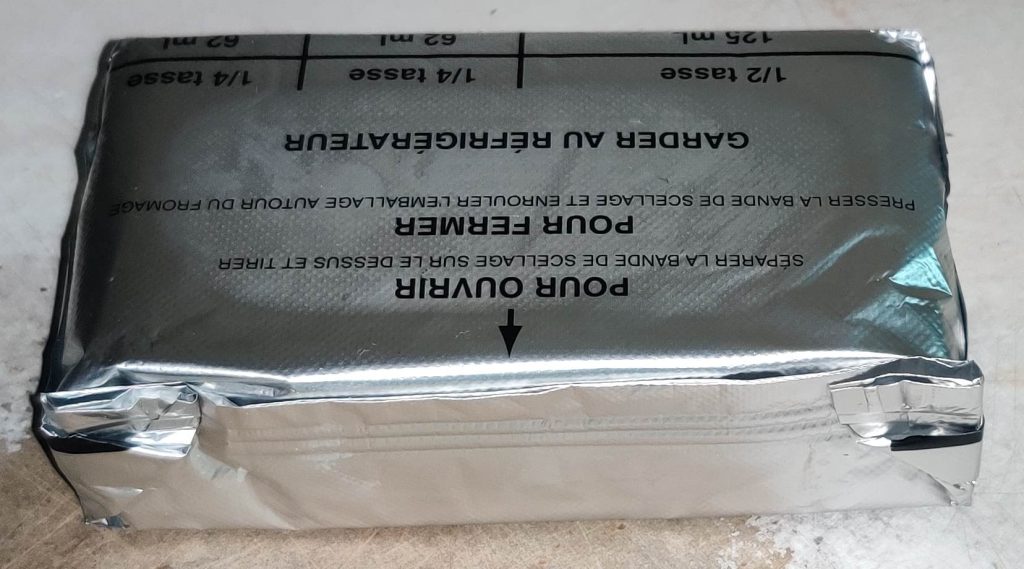
Also, cream cheese was taken out soon after baking the cake so that the cream cheese could warm up to room temperature or thereabouts:

Cream cheese taken out to warm up

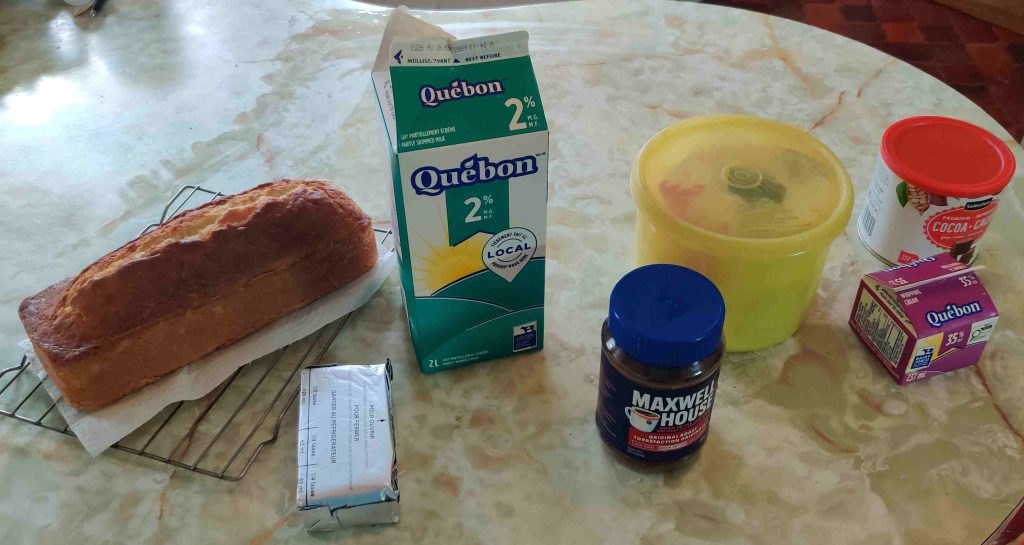
Later, when I was beginning to make the tiramisu layer cake, all the ingredients — loaf cake, cream cheese, milk, instant coffee crystals, icing sugar, whipping cream, and cocoa powder — were taken out:

Ingredients taken out

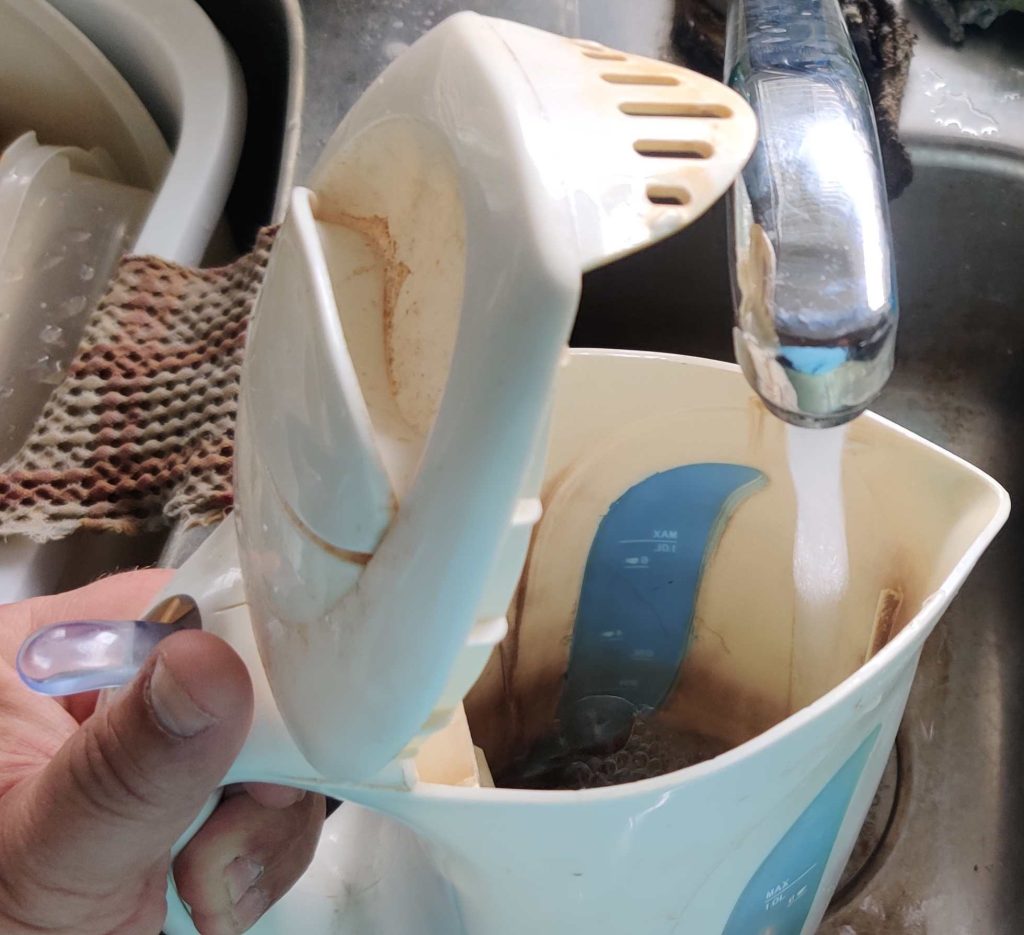
Water was quickly drawn into a kettle to boil to make the strong coffee:

Water drawn to make coffee

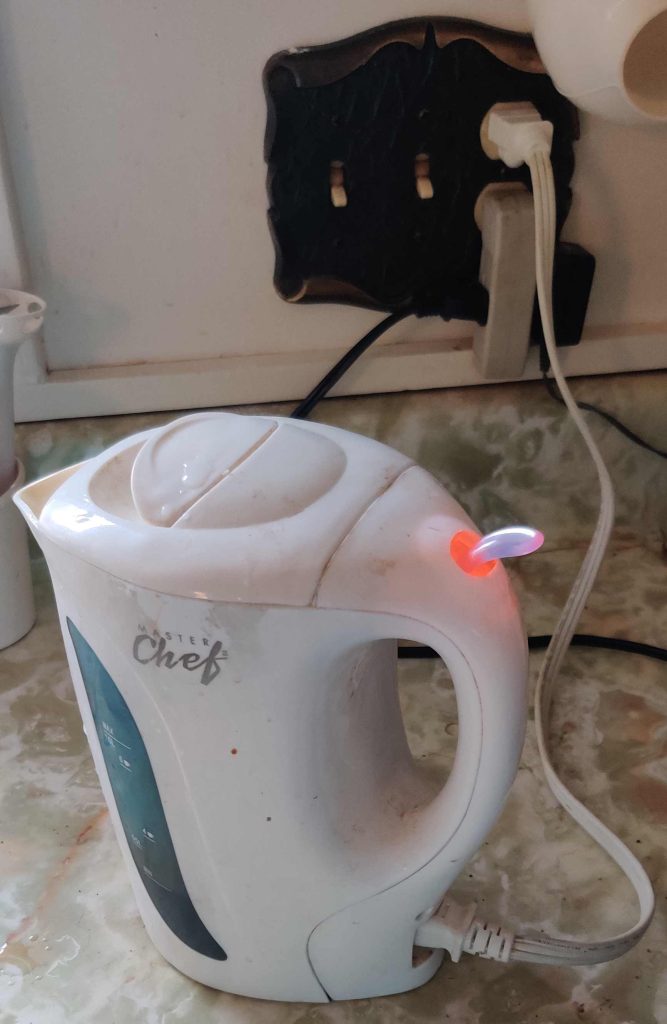
The kettle was plugged in and turned on, so as to boil the water:

Kettle plugged in and turned on

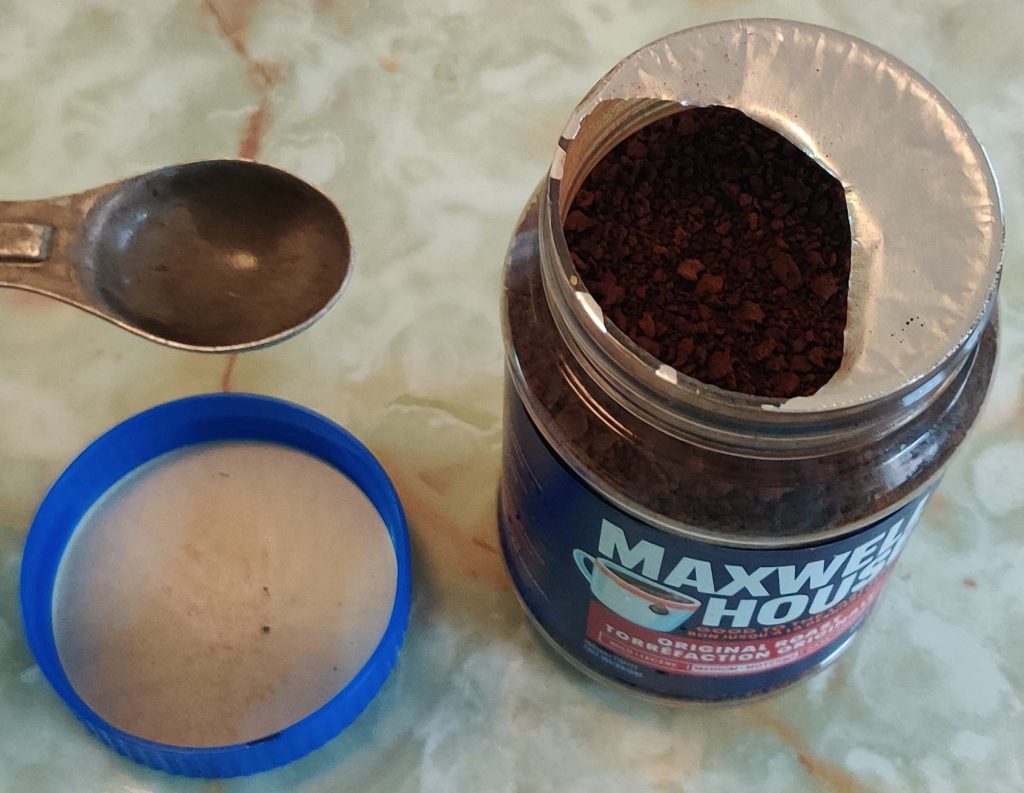
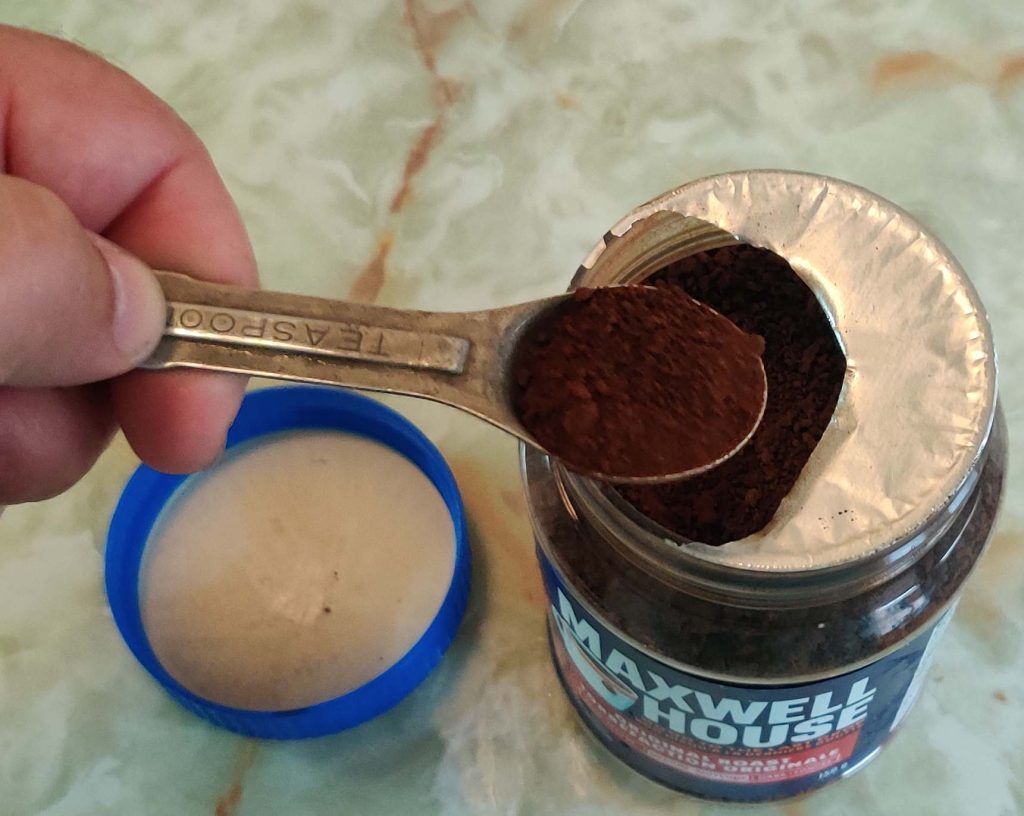
While the water was boiling, instant coffee crystals and a measuring spoon were taken out:

Instant coffee crystals taken out

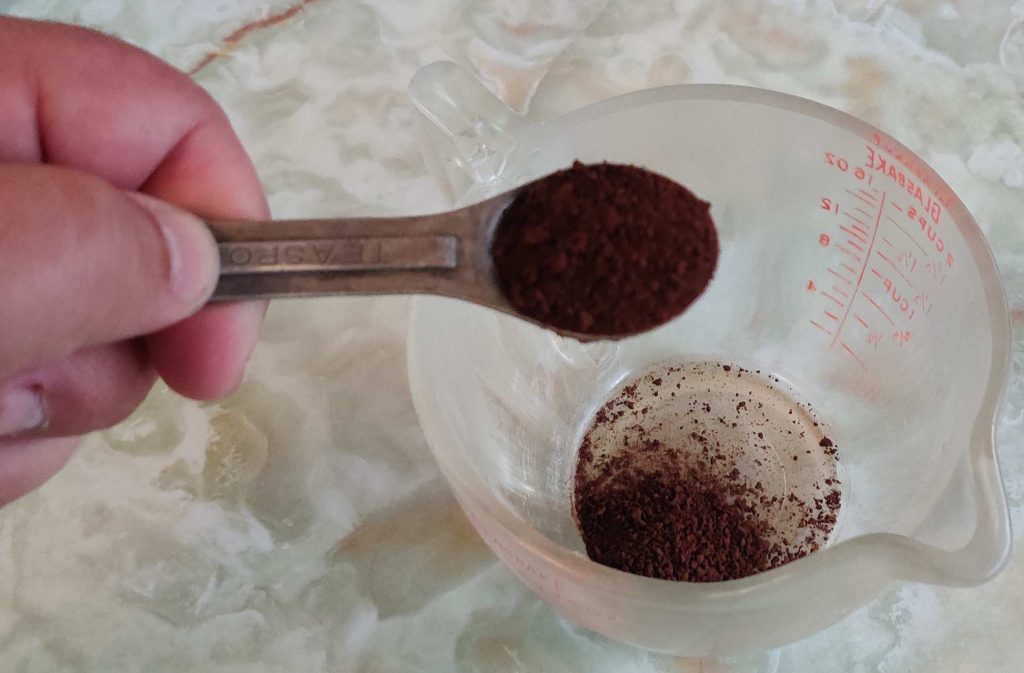
Two teaspoons of instant coffee crystals were measured out:

Instant coffee crystals measured out

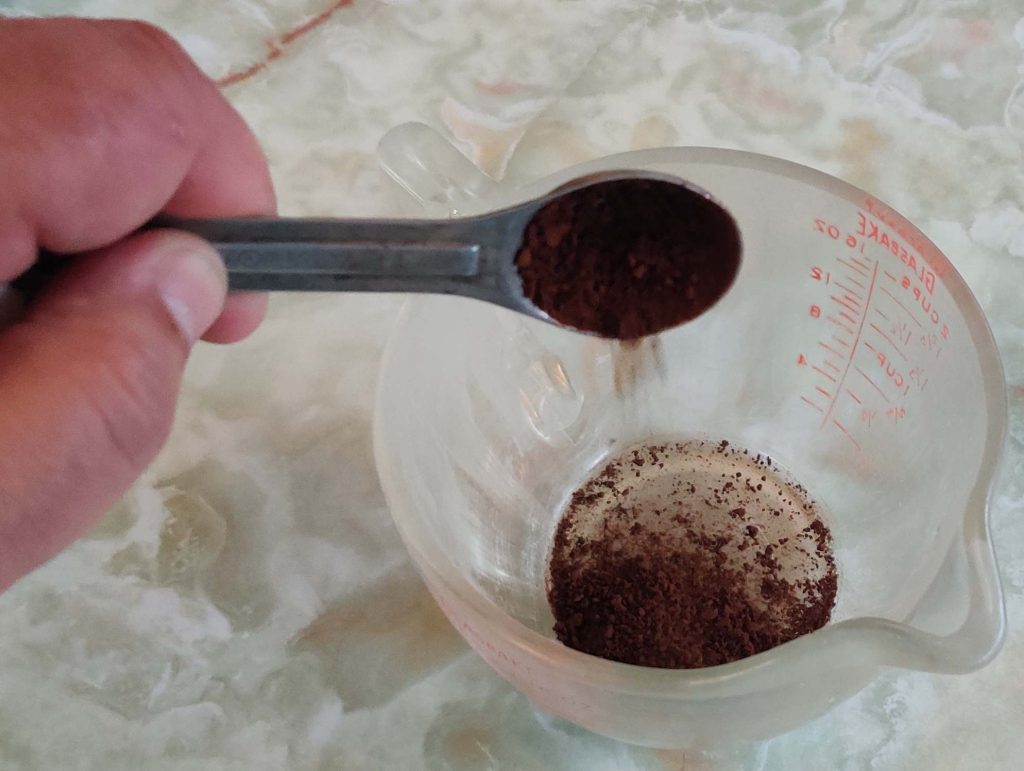
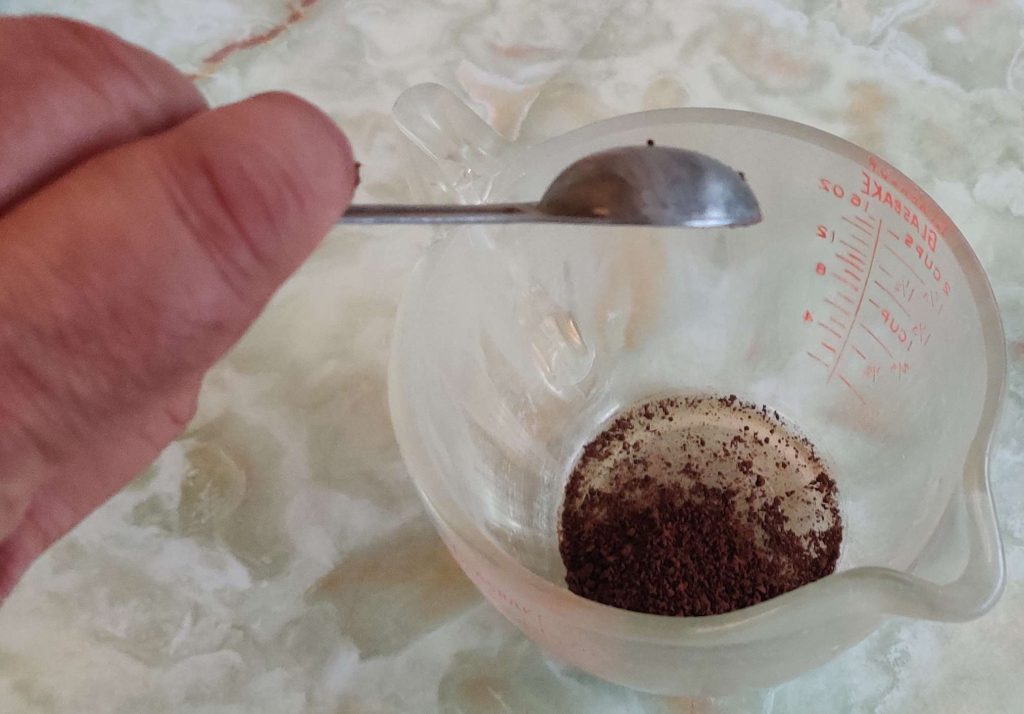
The instant coffee crystals were transferred to a heat-proof measuring cup:

Coffee crystals transferred to measuring cup

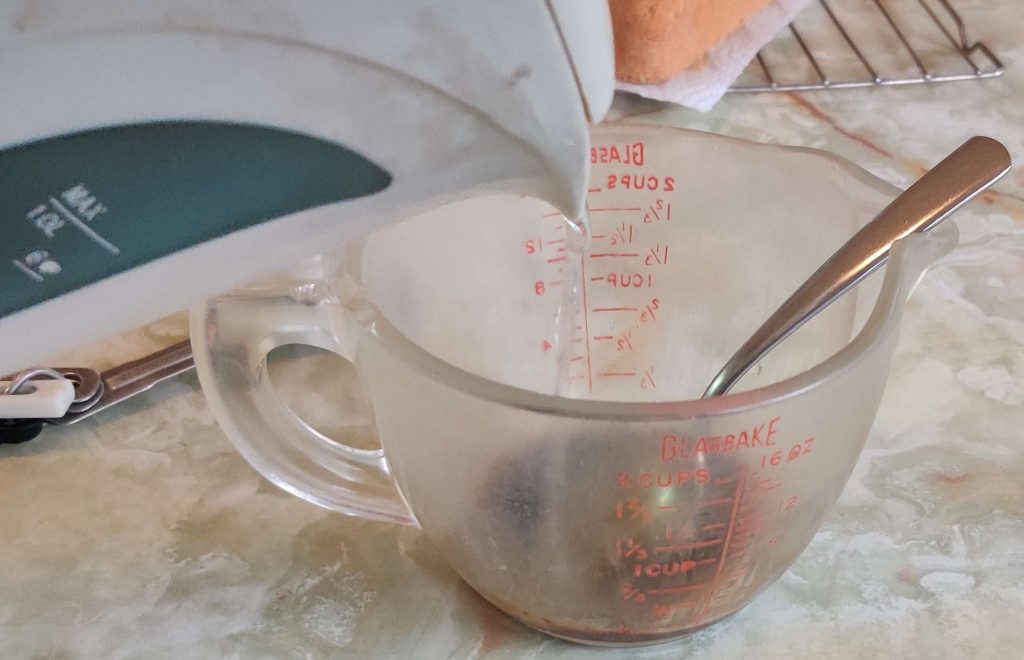
At this point, the kettle of boiling water was brought to the measuring cup, and water was transferred to the measuring cup:

Boiling water added to measuring cup
Boiled water added to measuring cup

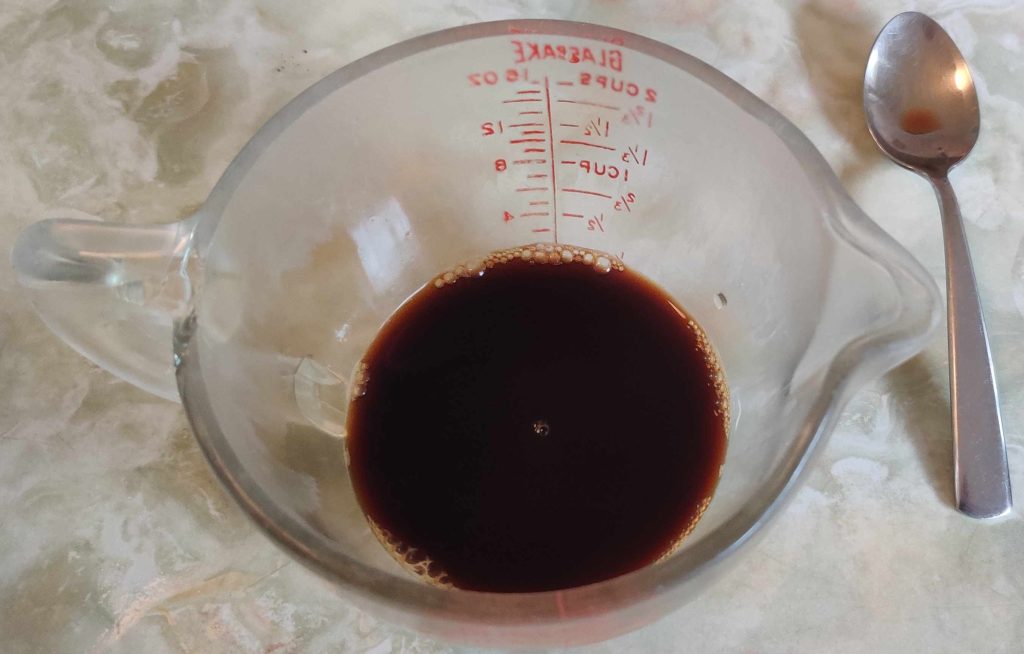
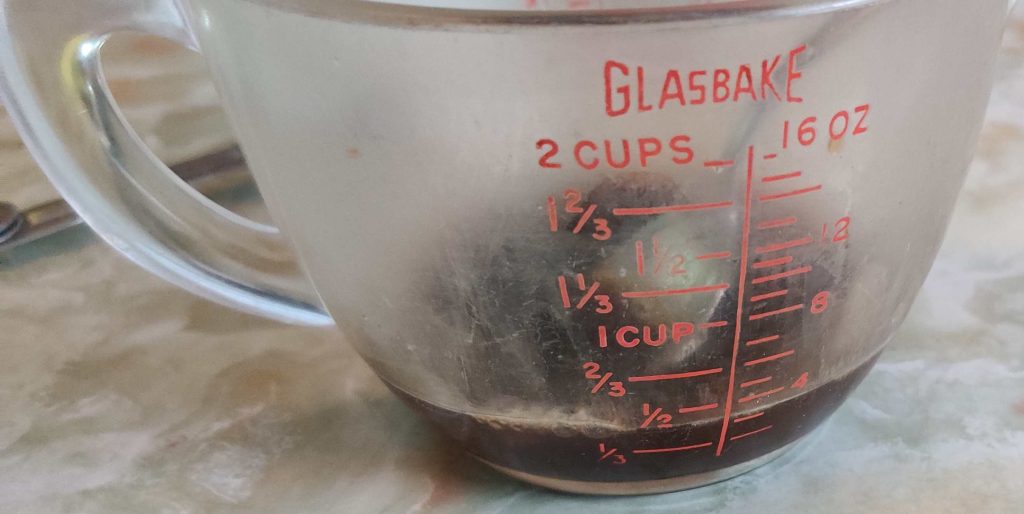
I noticed that I poured out three ounces of boiling water instead of two ounces of water:

Ooops! A bit too much water was added … but don’t worry, it’s not a disaster
A bit of commentary: The thing to remember here is that in this case, a fixed amount of instant coffee was used instead of fresh espresso, so the water is doing two things: While the water is dissolving the instant coffee so that it distributes more evenly than the dry powder alone would, the coffee taste and intensity in the final product come from the fixed amount of two teaspoons of instant coffee in the recipe, and obviously not that the crystals were dissolved in three ounces of water instead of two). And, secondly, the water is also affecting the liquid balance in the recipe to smooth out the cream cheese in the mix; since a bit too much water was added to dissolve the otherwise fixed amount of instant coffee, the amount of milk added in the upcoming step was reduced. (Were fresh espresso be used instead, the liquid balance issue would remain; however, an even stronger coffee flavour would be brought to the dessert, which may be either a good or not so good thing, depending on your perspective and preference — or what you might want to do with the extra ounce, like top up your own cup of espresso! 🙂 )

The hot strong coffee was placed in the freezer to cool it down quickly:

Hot coffee placed in freezer to cool down

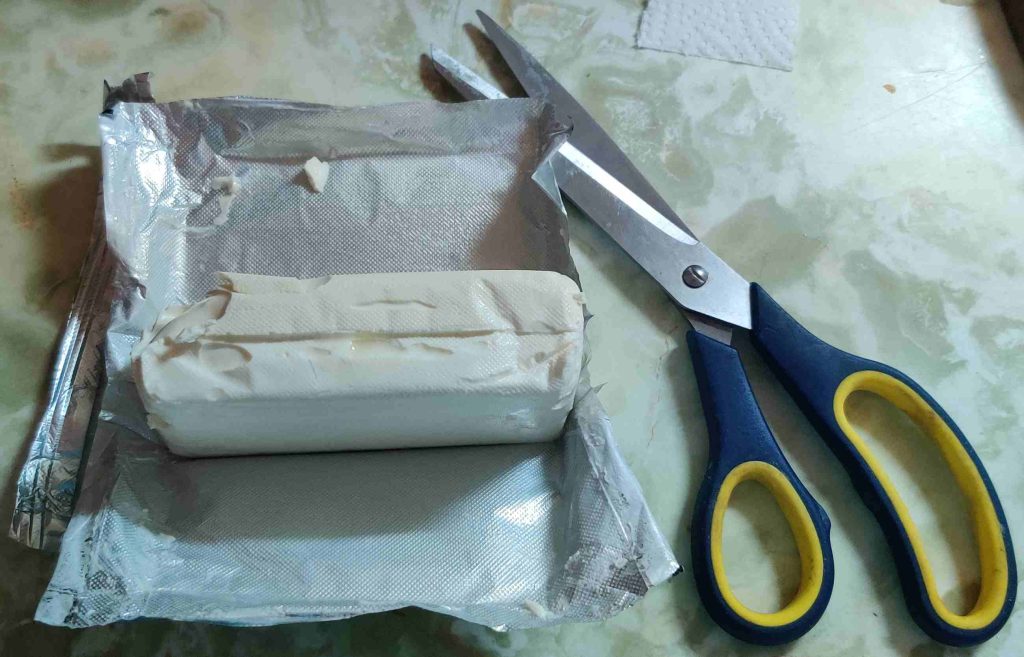
The package of cream cheese was opened with a pair of scissors:

Package of cream cheese opened

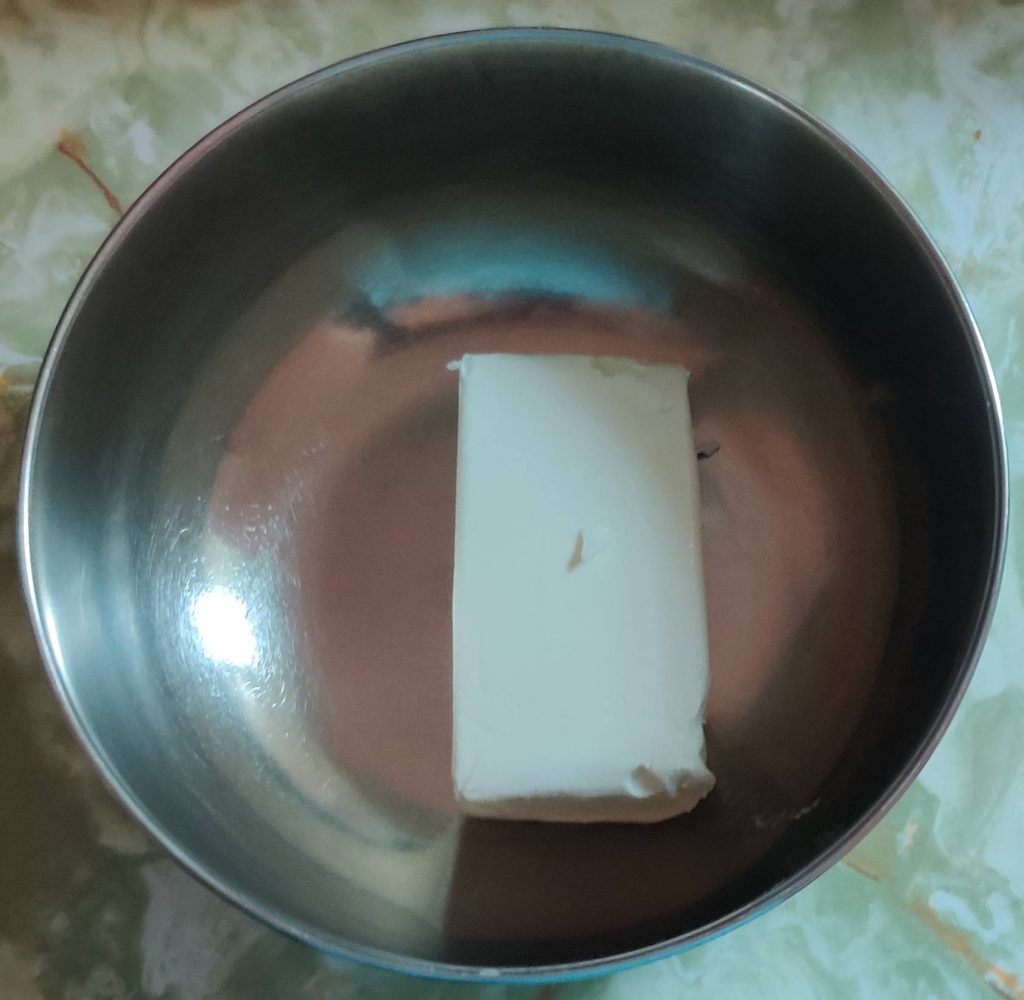
The cream cheese was transferred to a mixing bowl:

Cream cheese transferred to mixing bowl

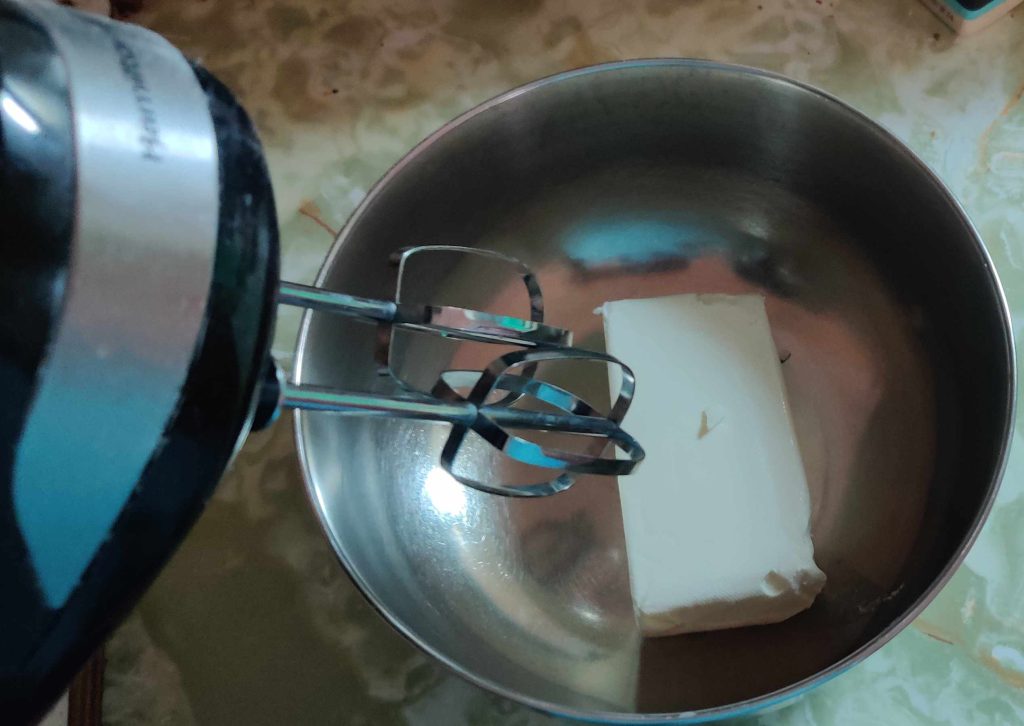
An electric beater was brought over in order to cream the cream cheese:

Electric beater brought to mixing bowl

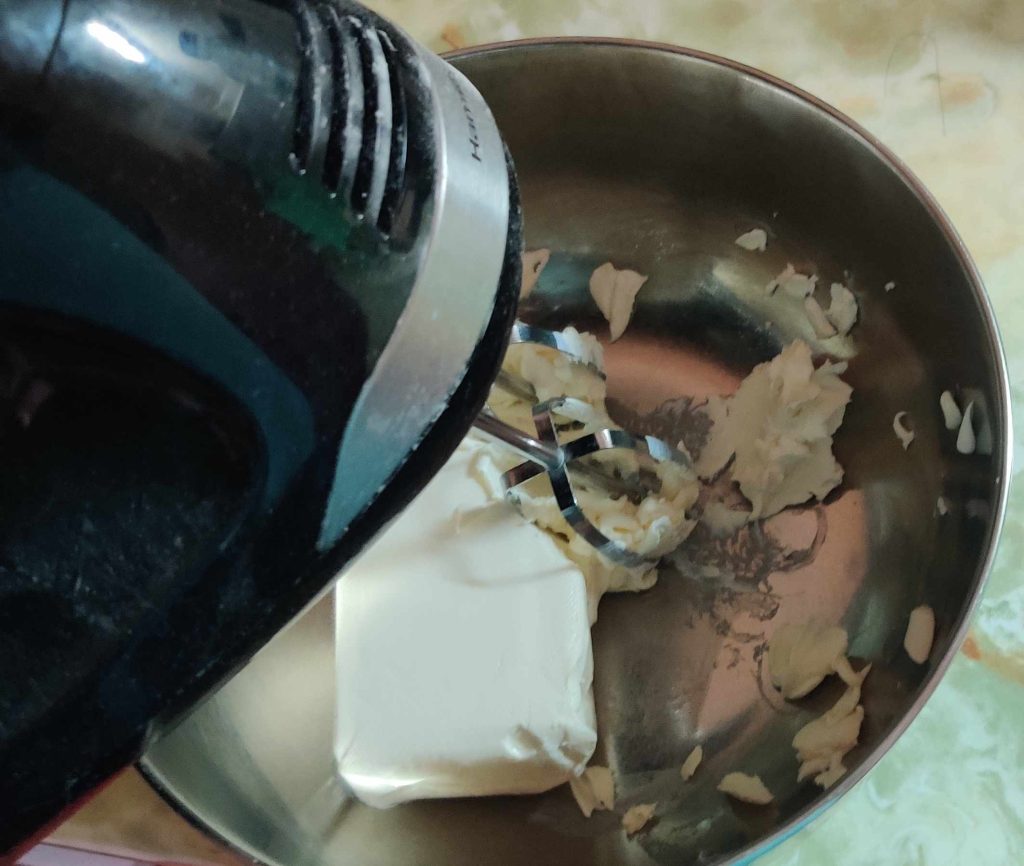
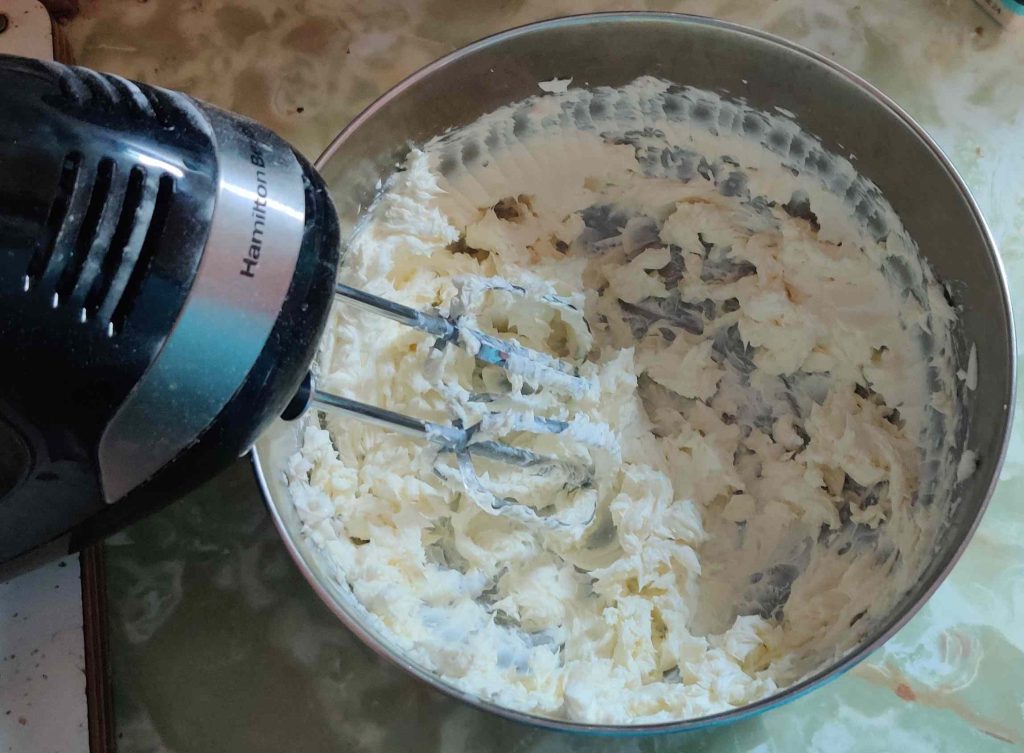
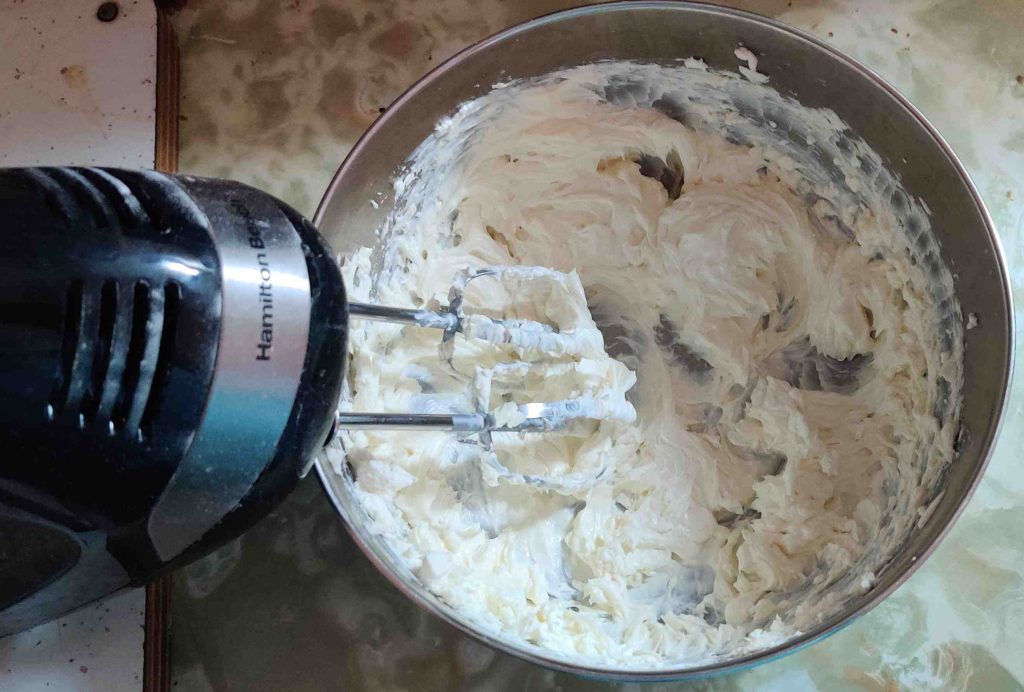
The cream cheese was creamed with the electric beater:

Creaming the cream cheese
Creamed cream cheese

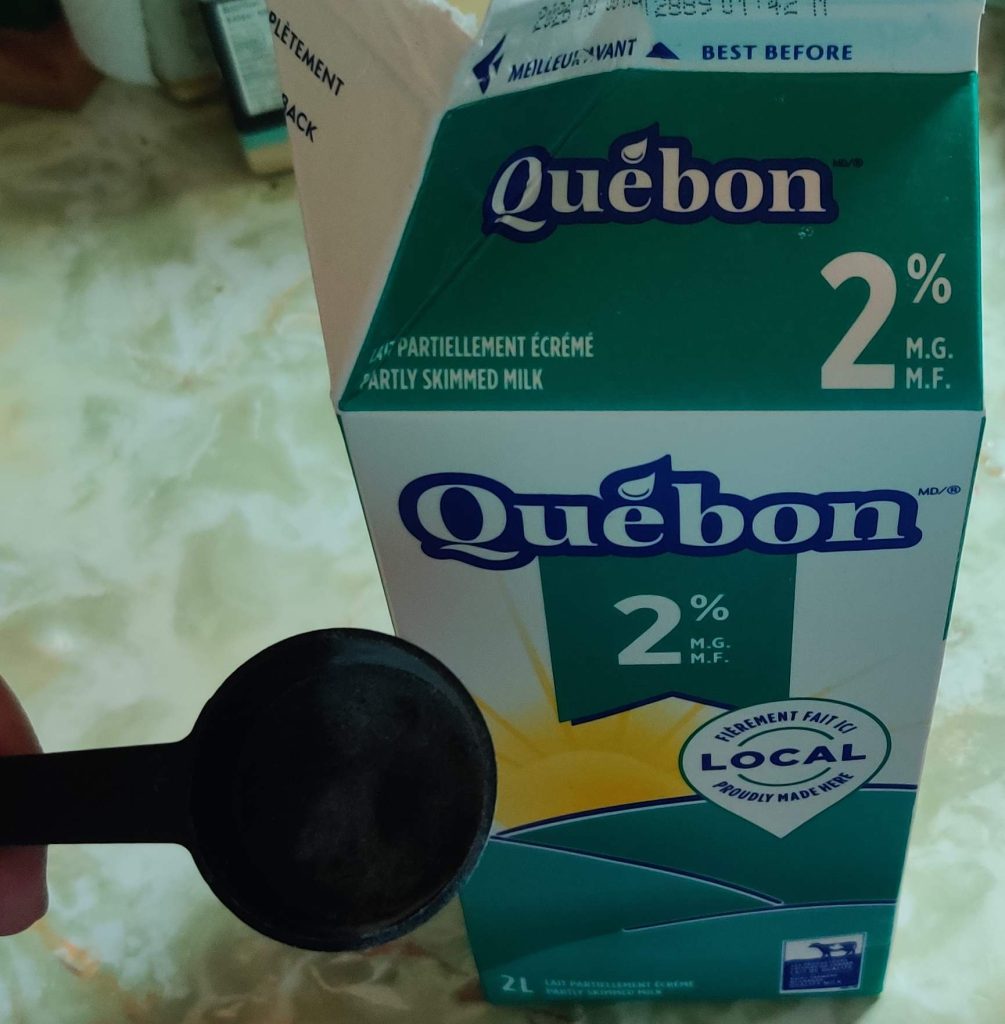
Milk and a measuring spoon were taken out:

Milk and measuring spoon taken out

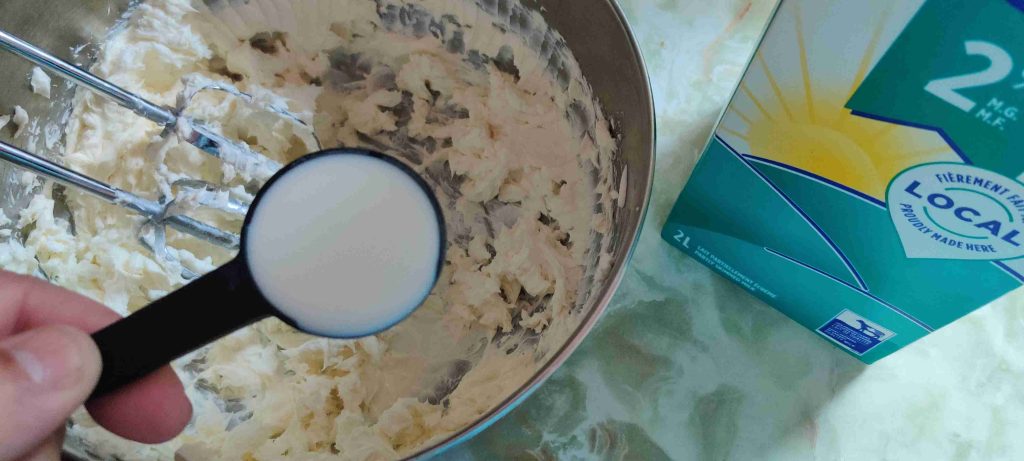
As mentioned earlier, one less tablespoon than specified in the recipe (to compensate for the extra water added to the instant coffee crystals) was measured out:

Milk measured out and added to mixing bowl

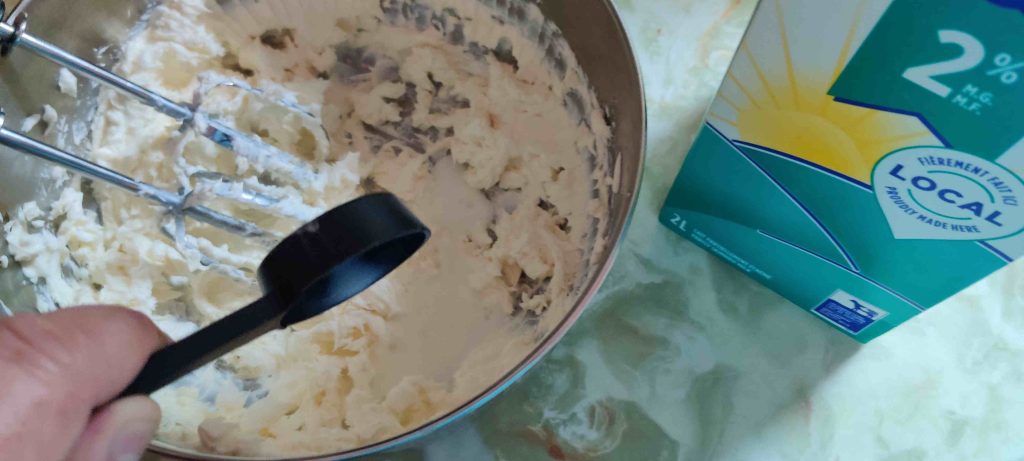
… and the milk was transferred to the bowl with the creamed cream cheese:

Milk transferred to mixing bowl

The milk and cream cheese were briefly mixed with the electric beater:

Cream cheese and milk mixed together

Icing sugar and a measuring cup were taken out:

Icing sugar and measuring cup taken out

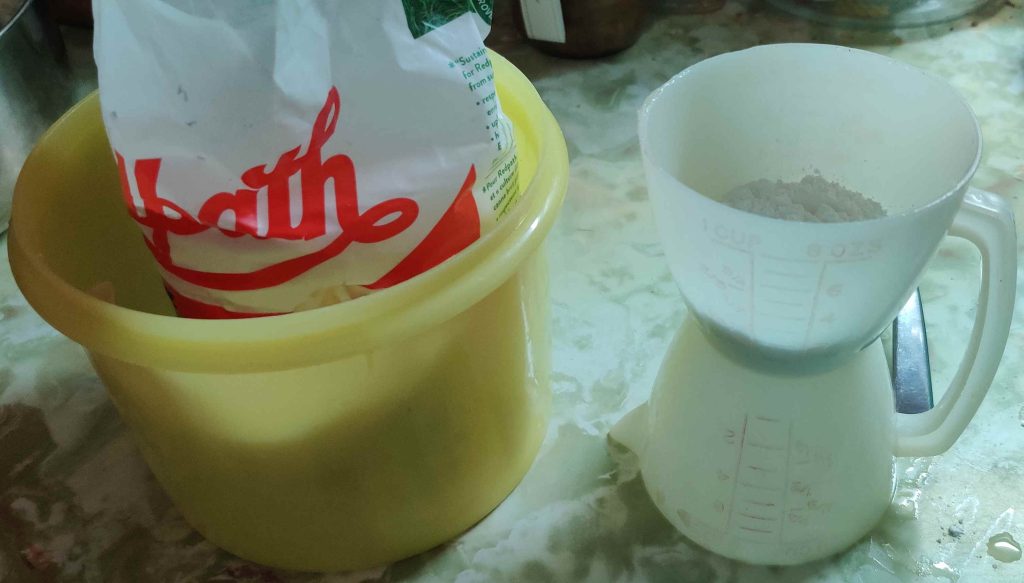
Icing sugar was measured out:

Icing sugar measured out:

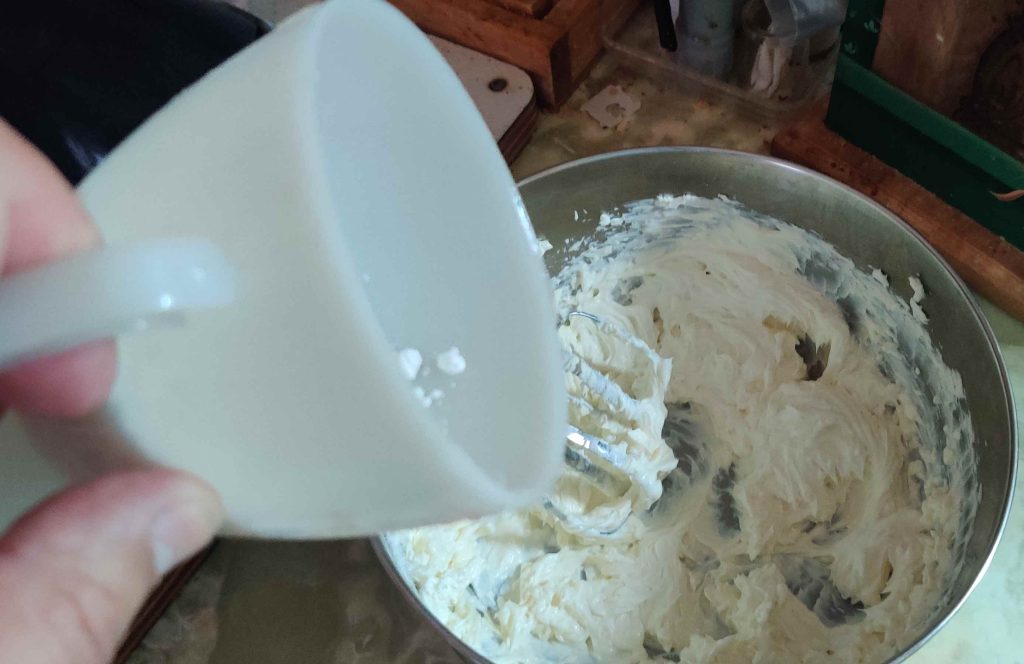
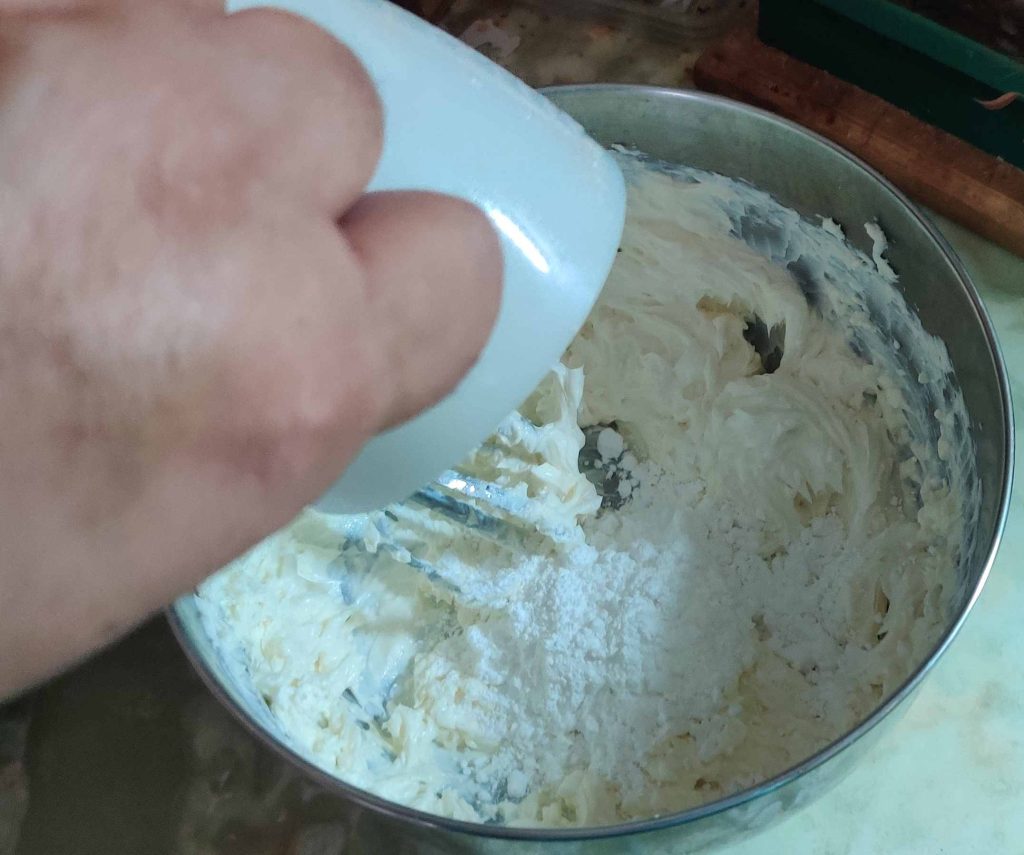
The icing sugar was transferred to the bowl with the cream cheese mixture:

Icing sugar transferred to bowl

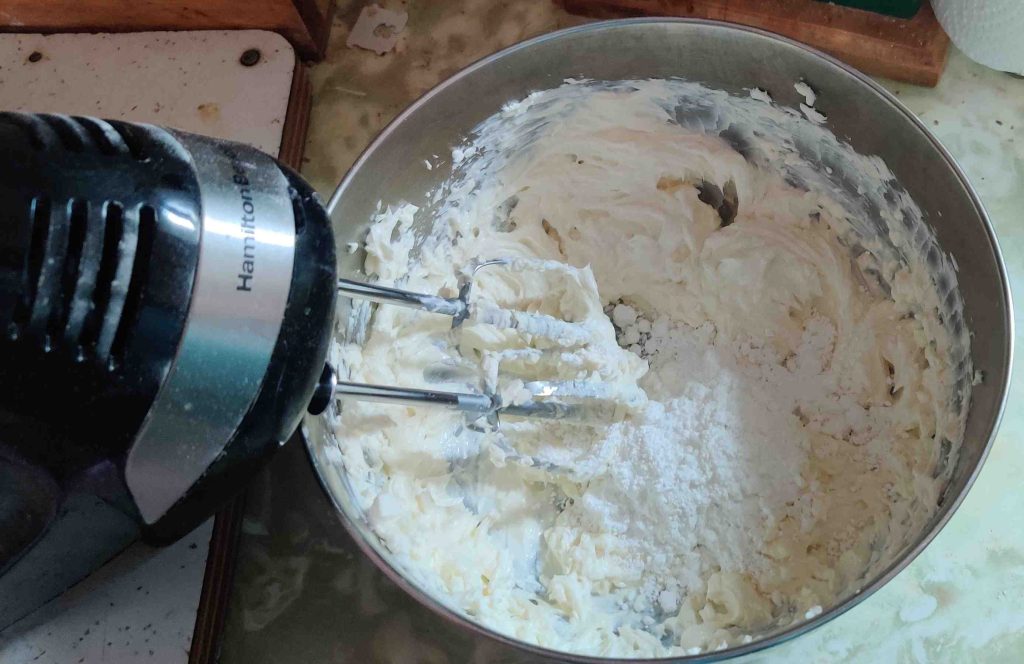
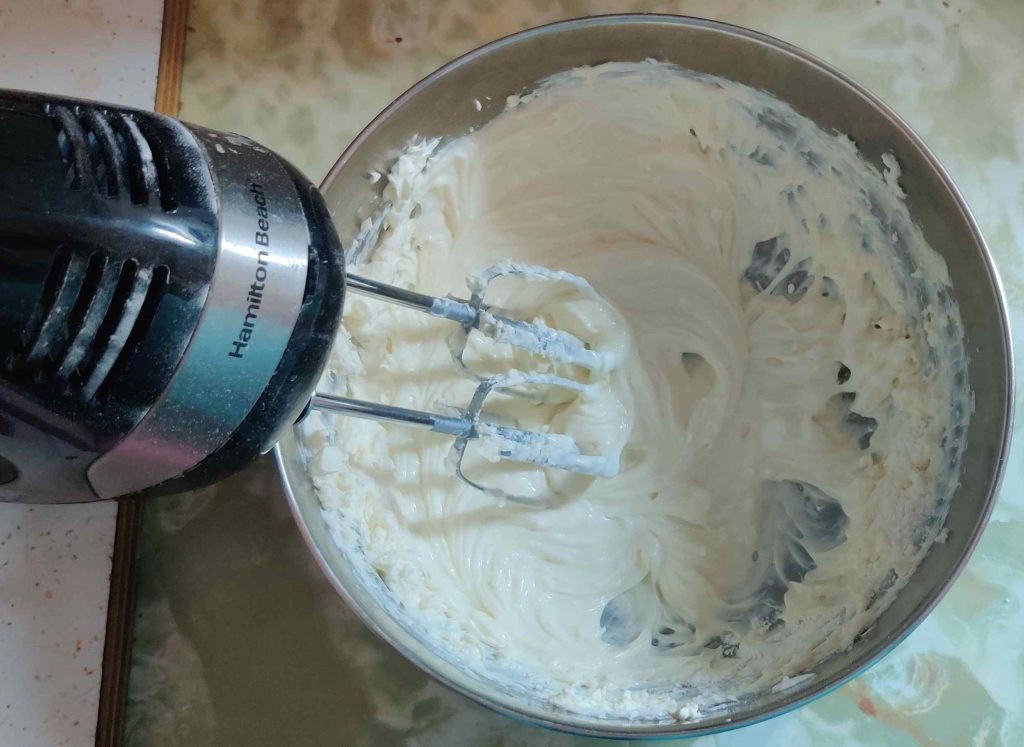
The cream cheese mixture and the icing sugar were blended together with the electric beater:

Icing sugar blended into cream cheese mixture

The cooled coffee was taken out of the freezer:

Cooled coffee taken out

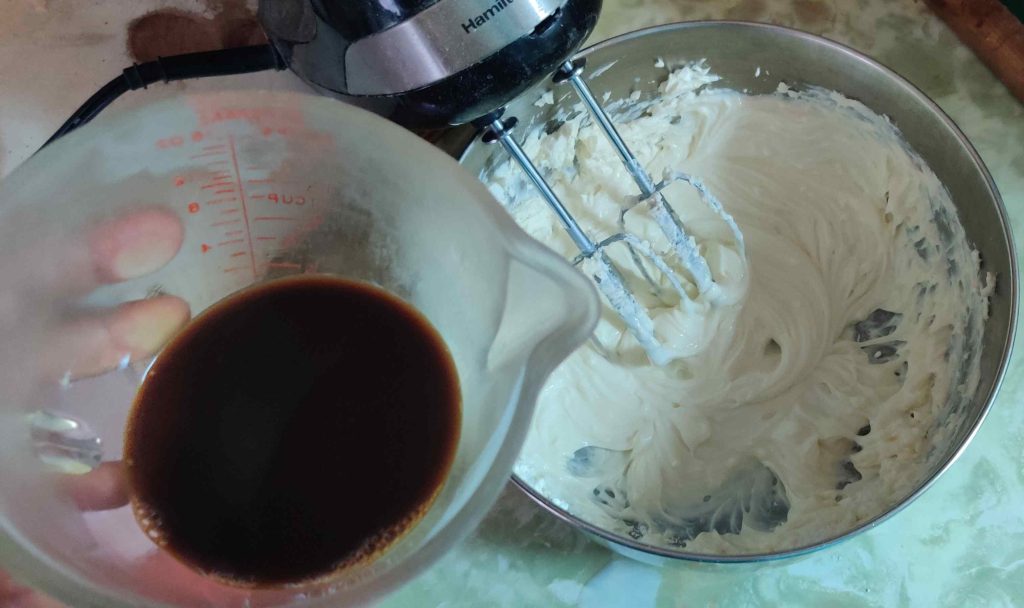
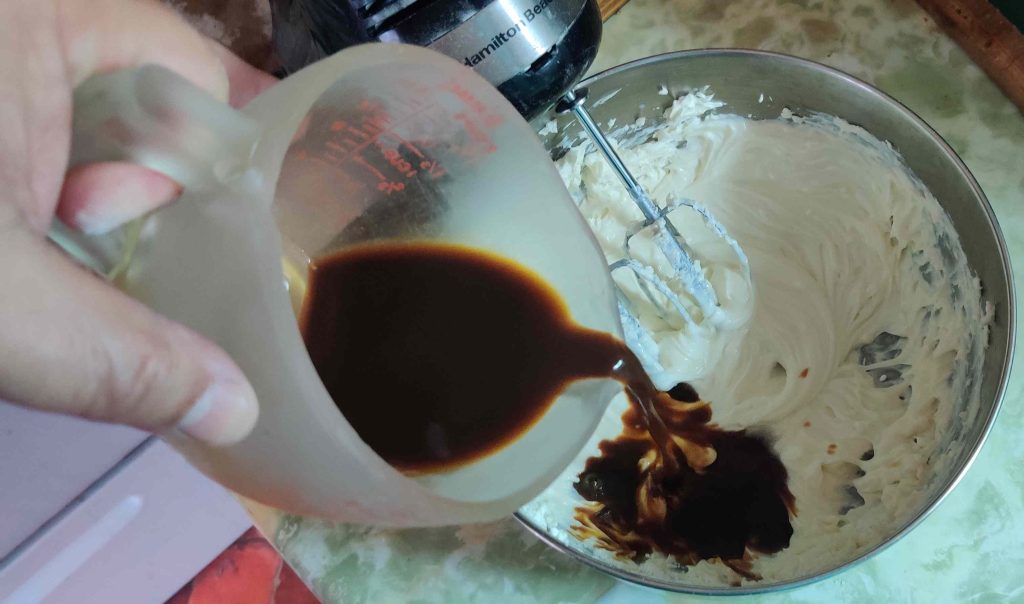
The cooled coffee was transferred to the cream cheese mixture:

Cooled coffee transferred to cream cheese mixture

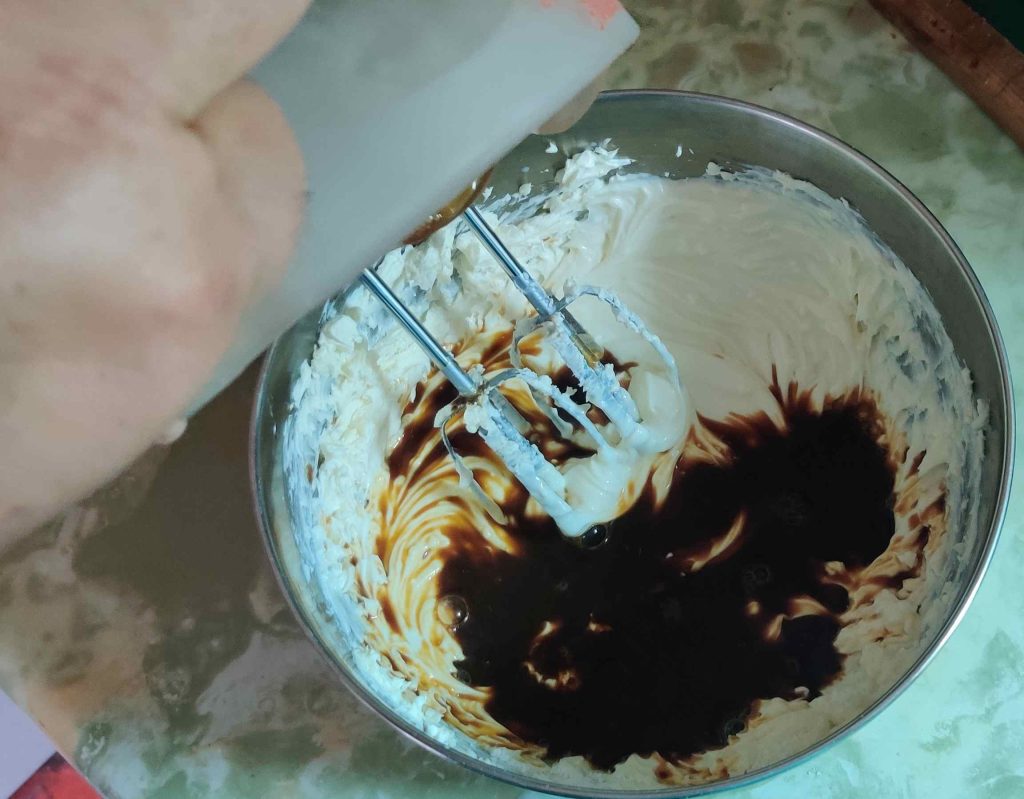
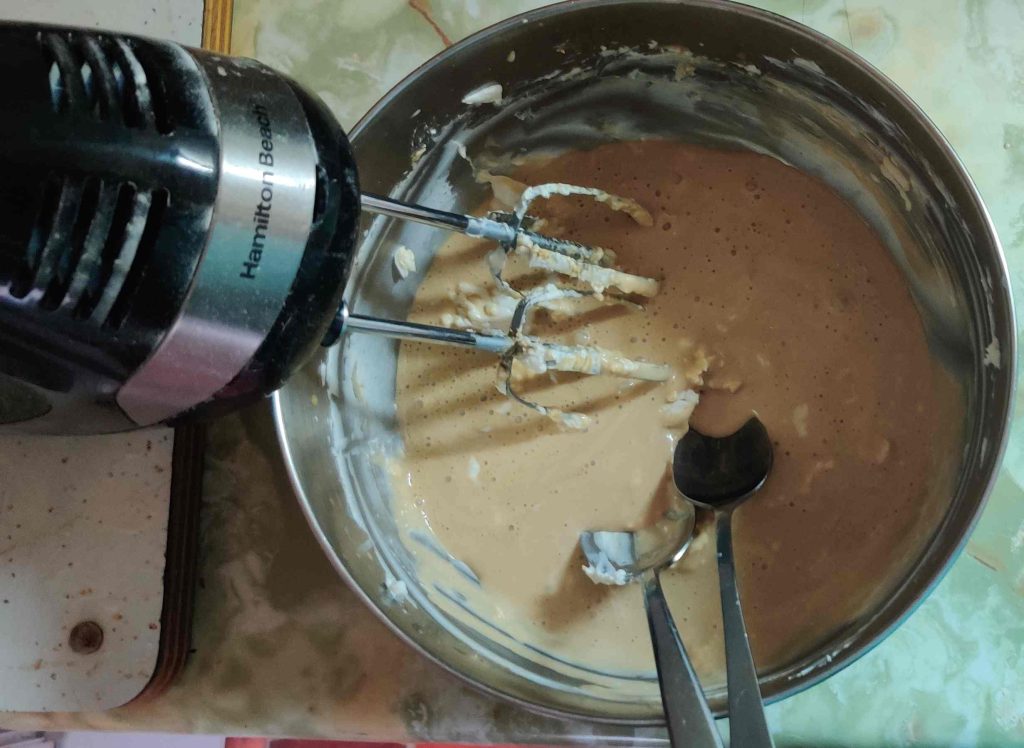
All the ingredients were mixed again with the electric beater, and a couple of spoons were used to scrape the edges of the bowl:

Ingredients mixed, using spoons to scrape edges of the bowl
Ingredients mixed

The cream cheese, milk, icing sugar, and coffee mixture was put aside for a few moments.

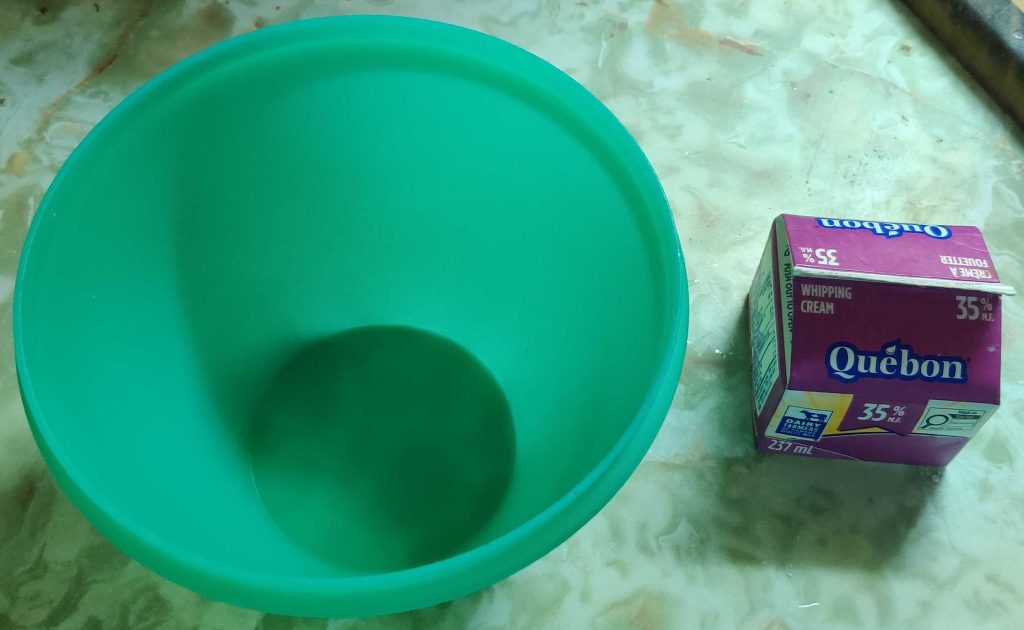
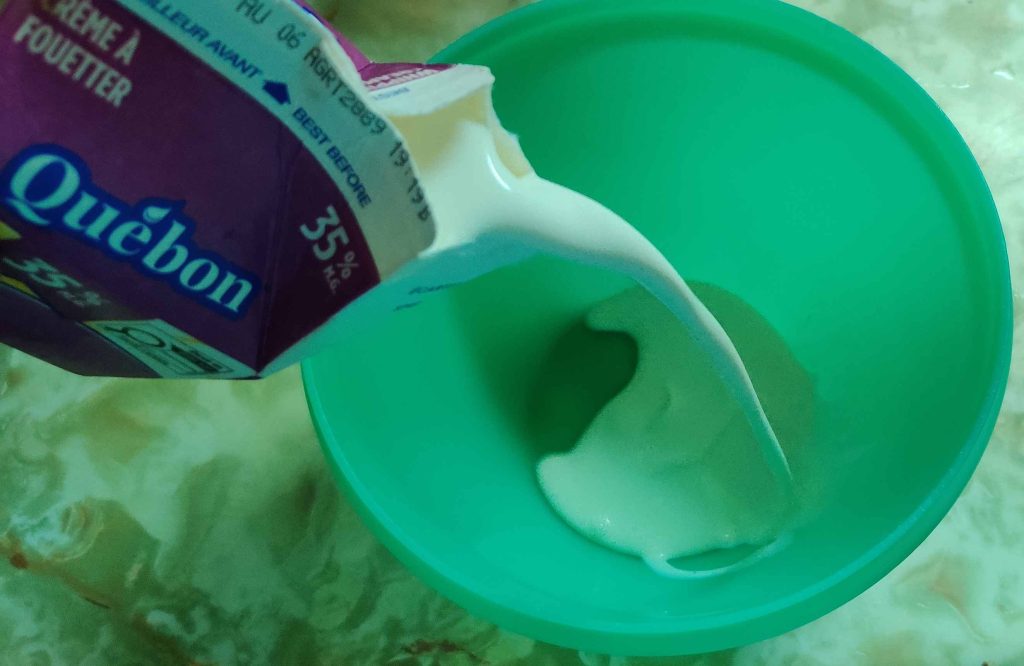
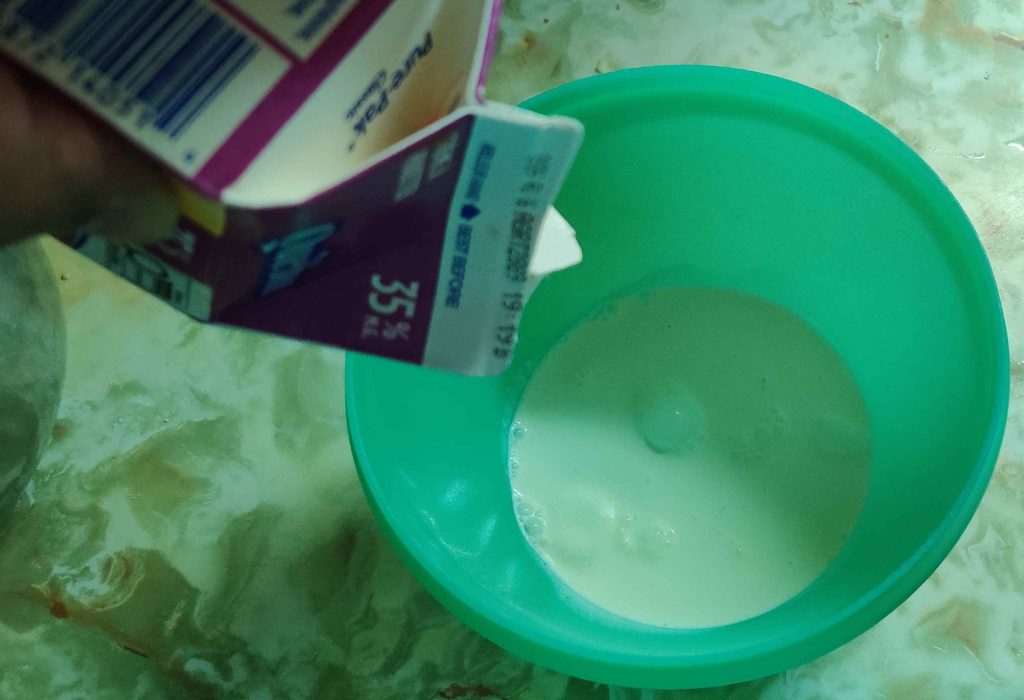
Another bowl and some whipping cream (237mL, about a cup) were taken out:

Bowl and whipping cream taken out

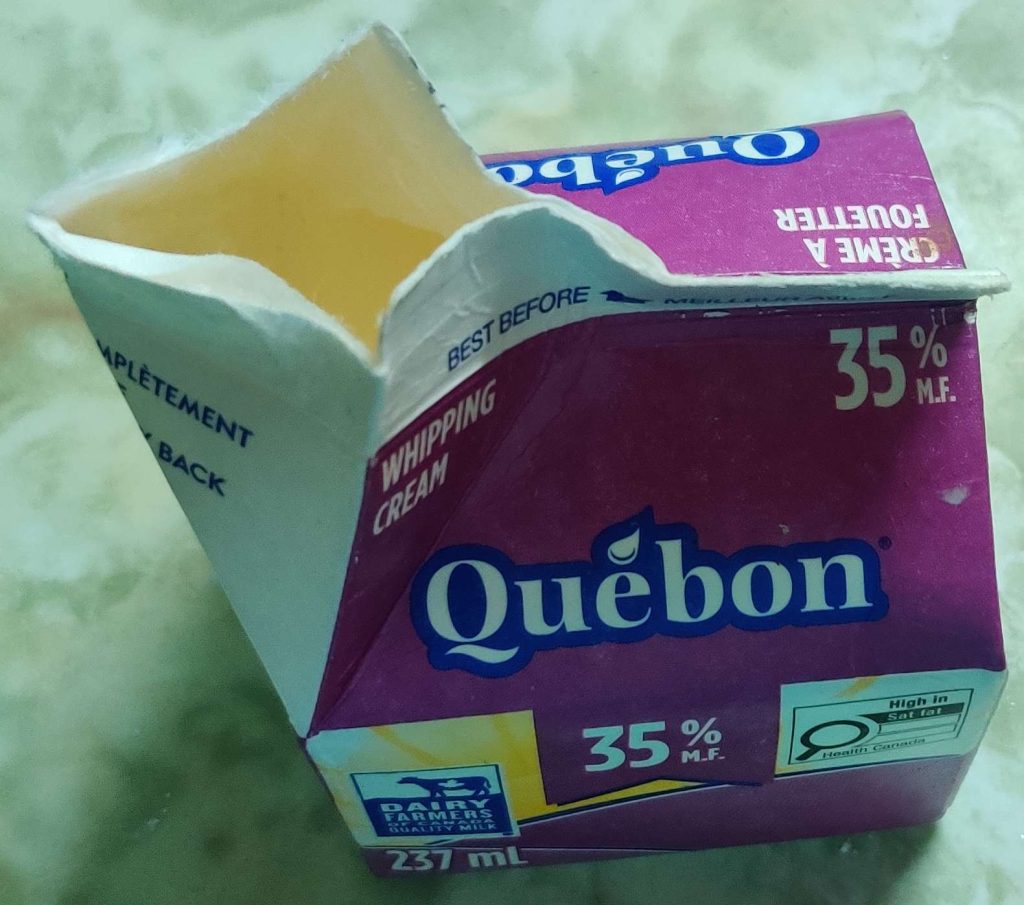
The carton of whipping cream was opened:

Carton of whipping cream opened

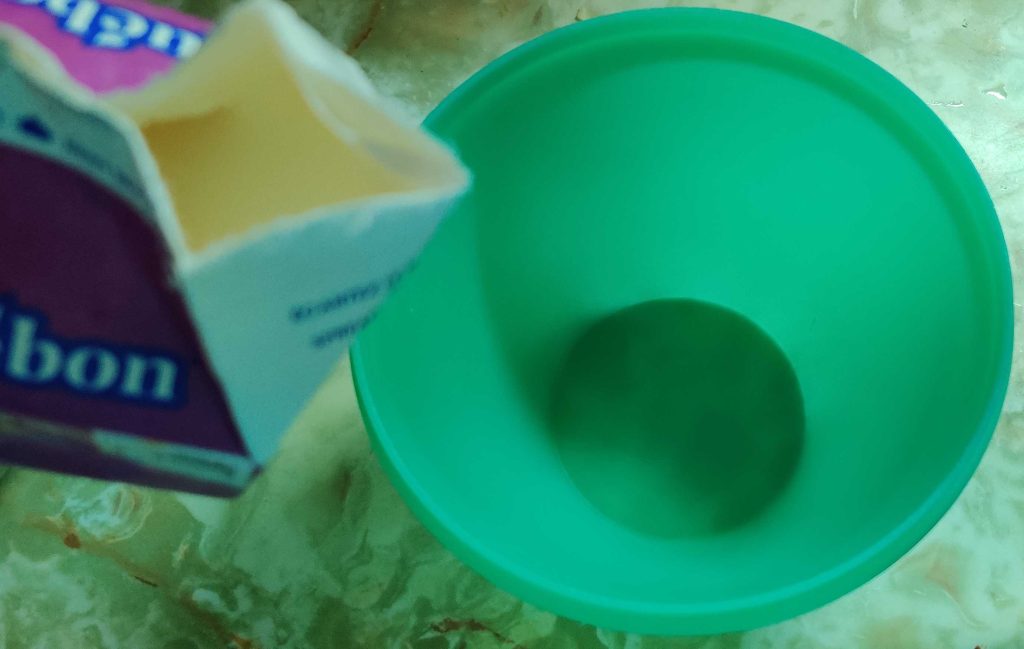
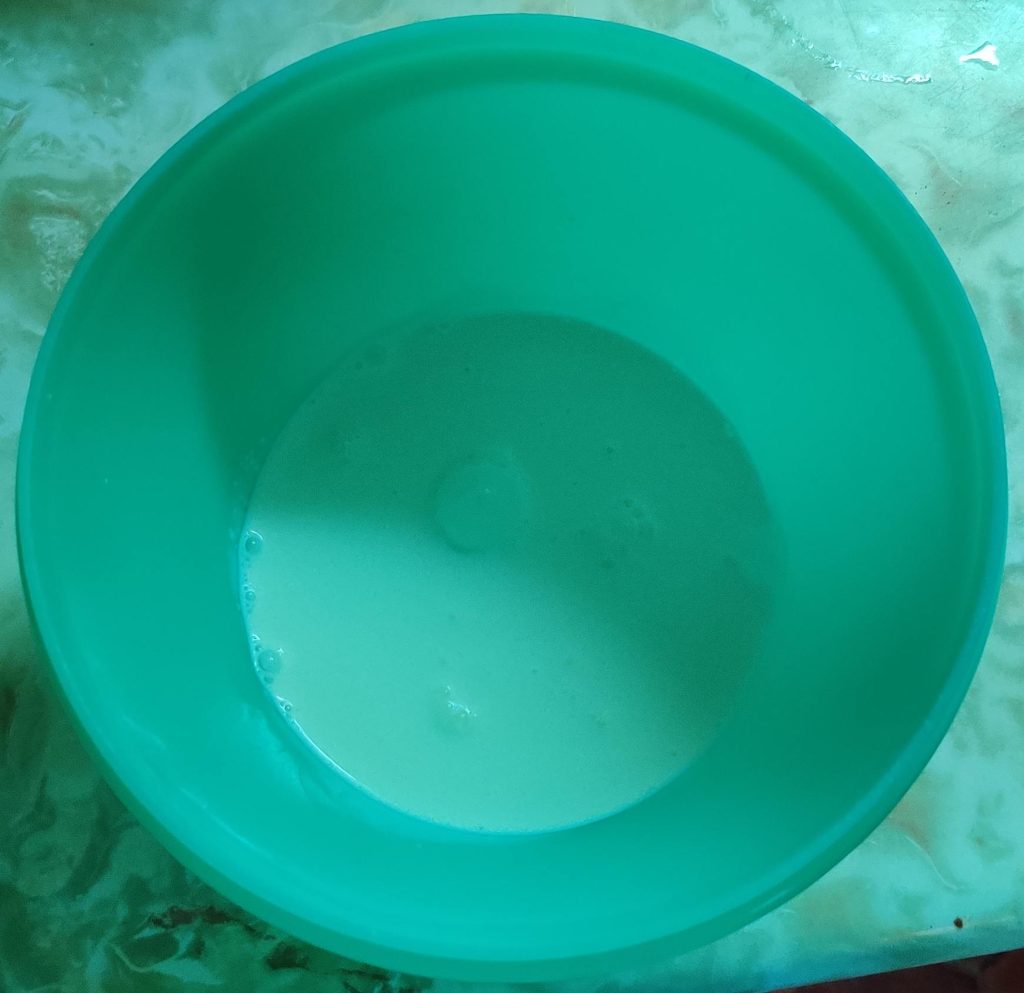
The whipping cream was transferred to the bowl:

Whipping cream transferred to bowl

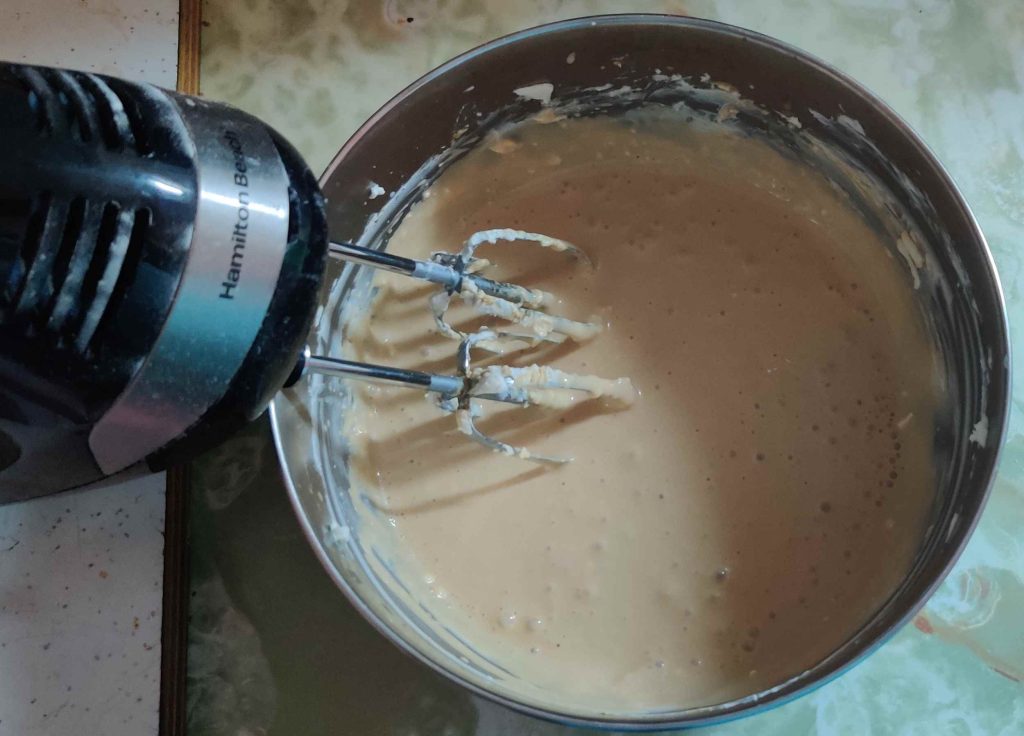
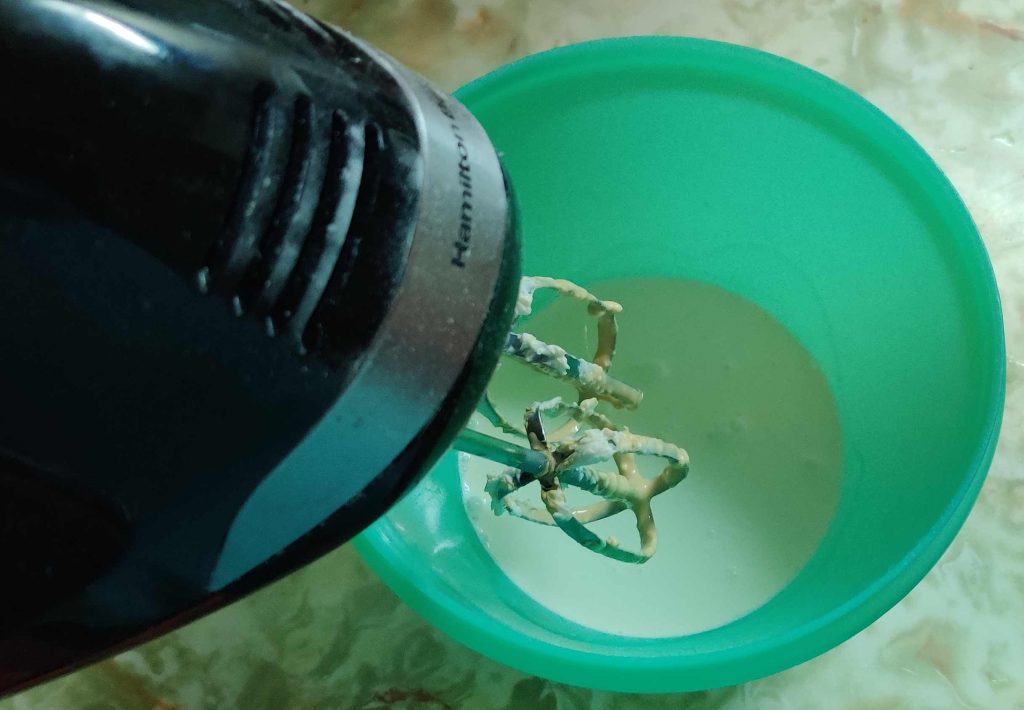
The electric beater was brought to the bowl with the whipping cream:

Electric beater brought to bowl

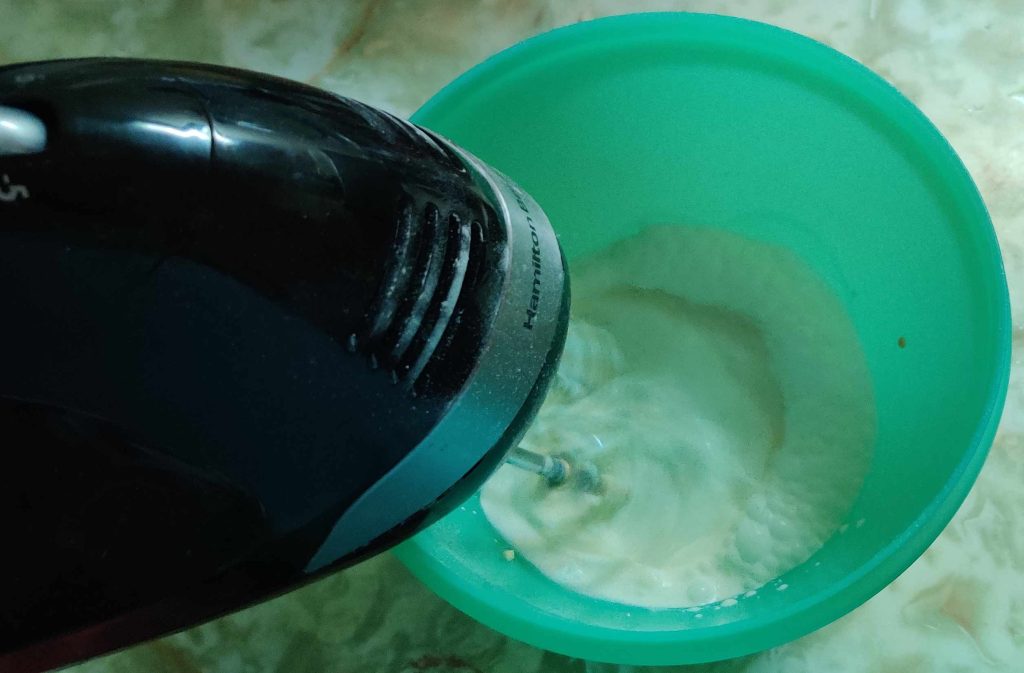
The whipping cream was whipped using the electric beater …

Whipping cream whipped with electric beater

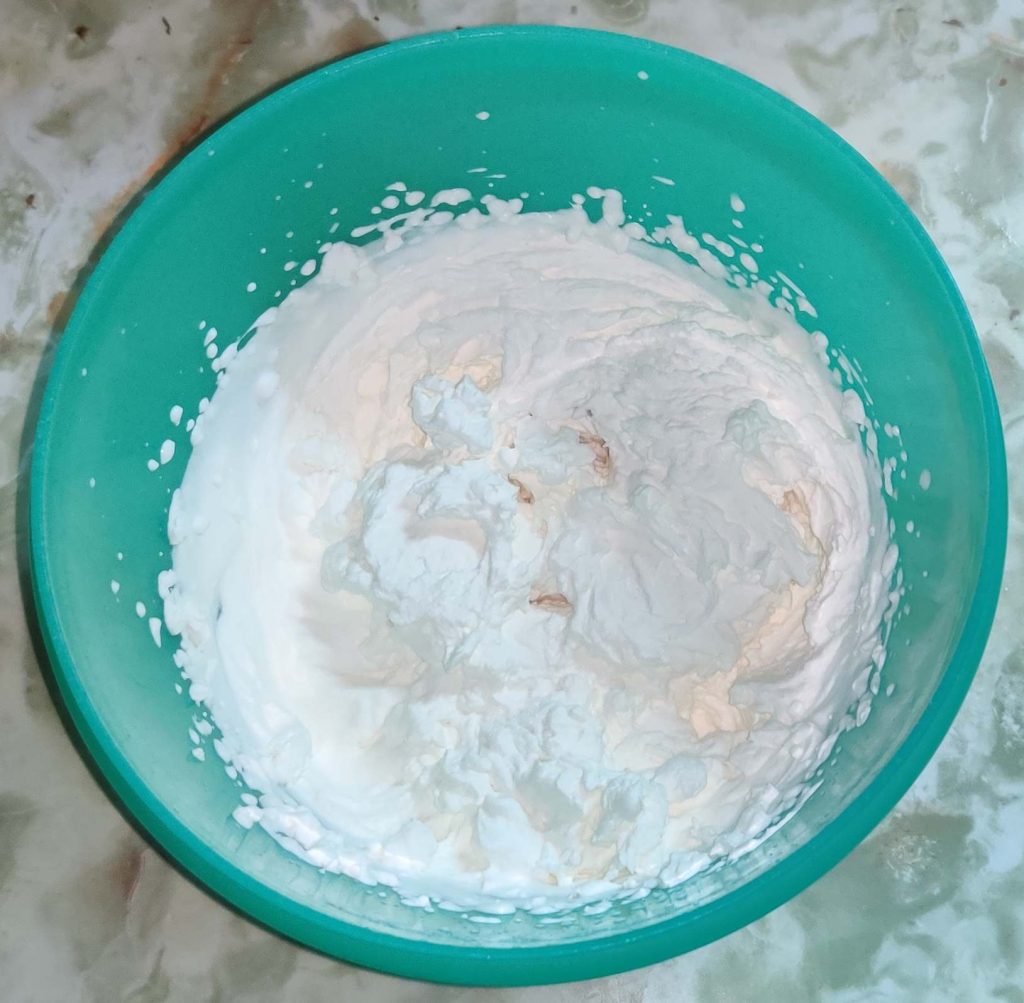
… until I had stiff peaks in the whipped cream:

Whipped cream with stiff peaks

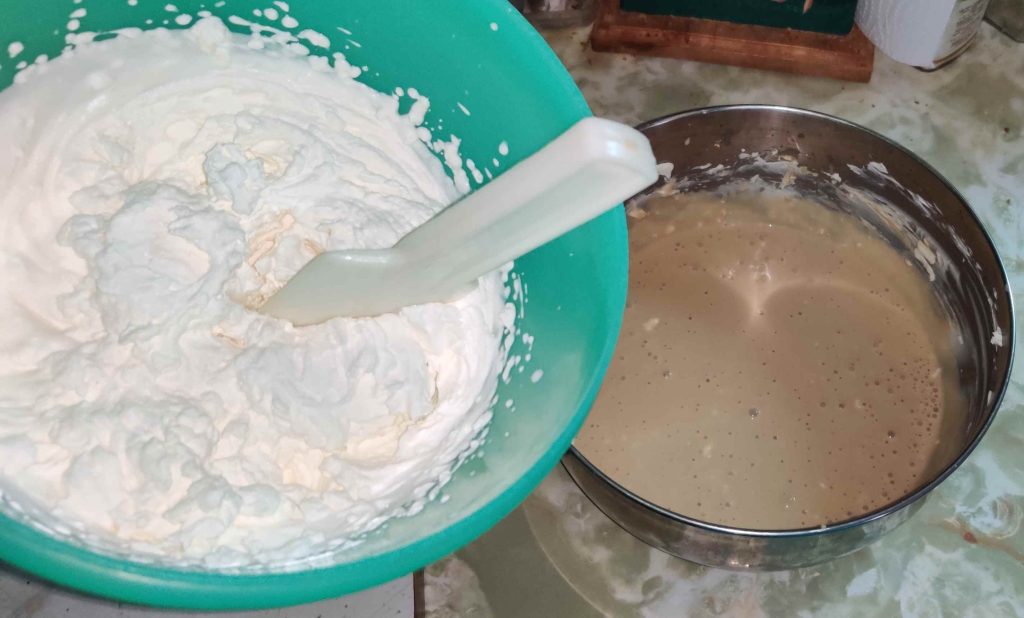
A bowl scraper / spatula was taken out, and the bowl of whipped cream brought over to the bowl with the cream cheese, milk, icing sugar, and coffee mixture:

Whipped cream brought over to cream cheese / coffee mixture

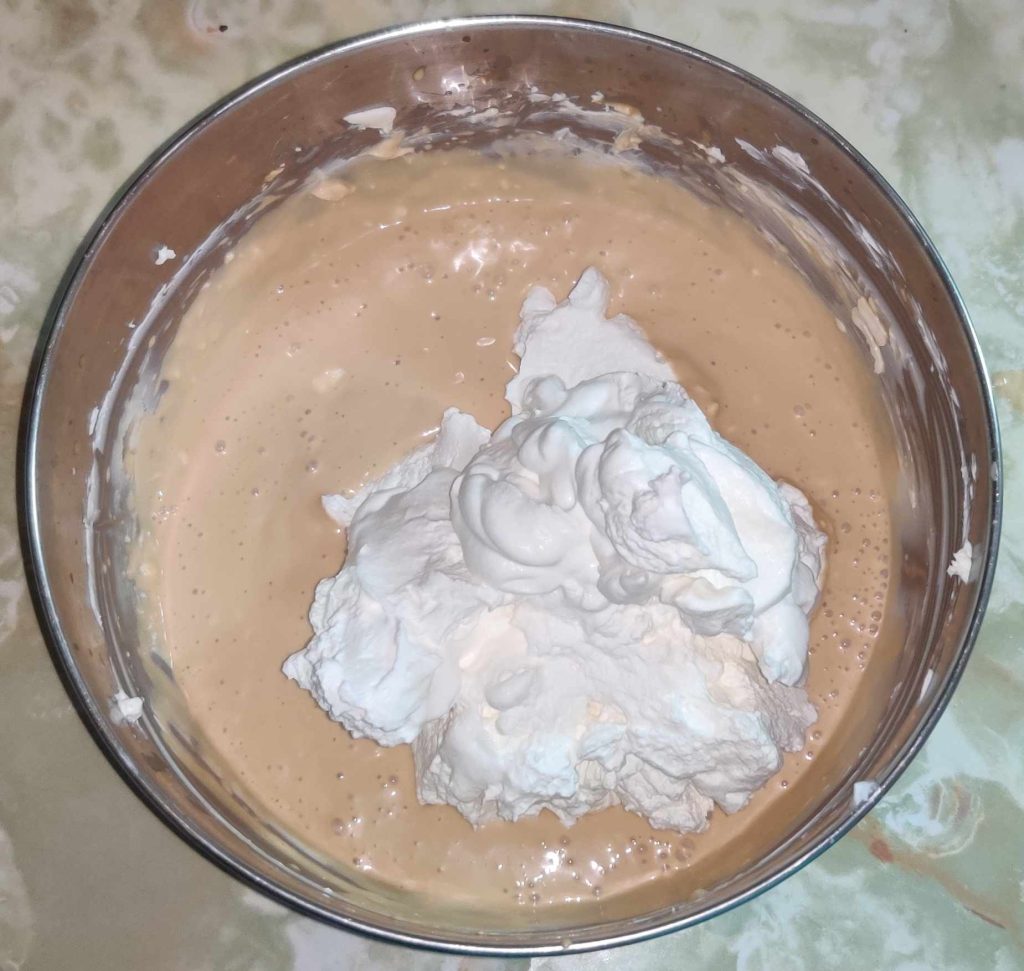
The whipped cream was transferred to the bowl with the cream cheese, milk, icing sugar, and coffee mixture:

Whipped cream added to cream cheese / coffee mixture

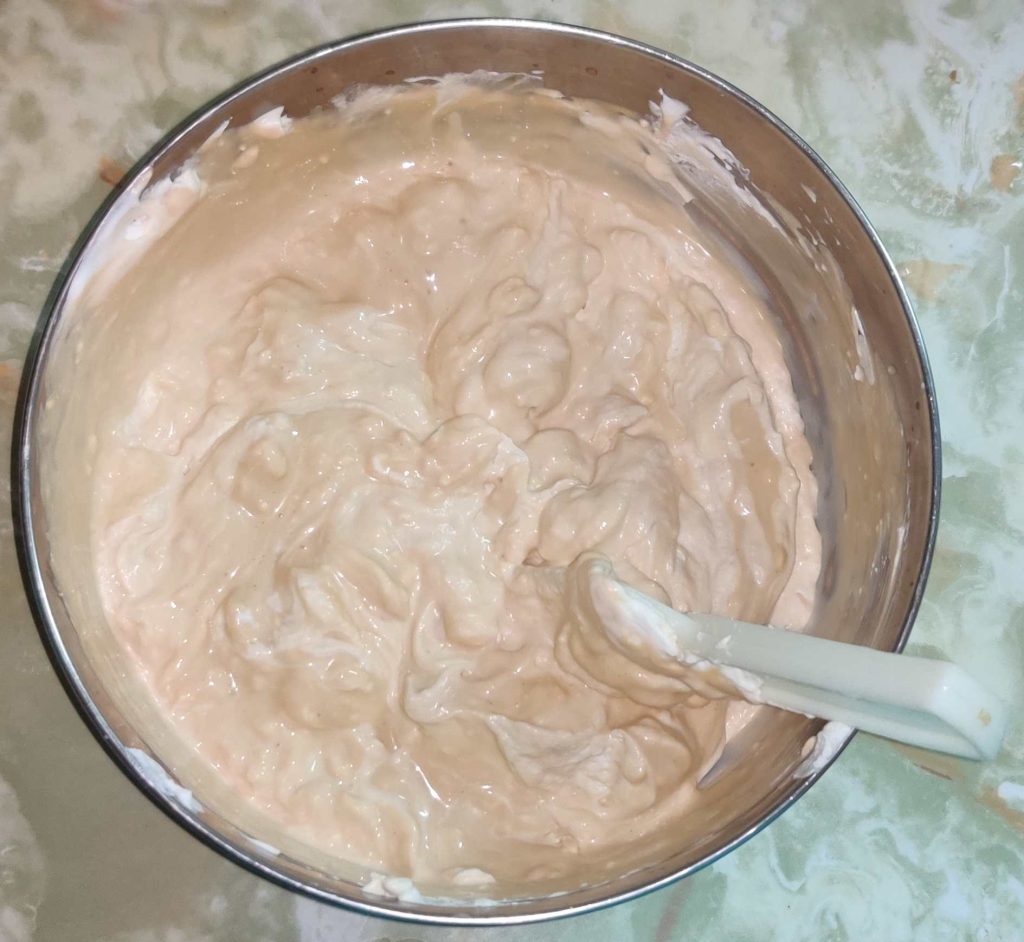
The whipped cream was gently folded into the cream cheese, milk, icing sugar, and coffee mixture, henceforth called the “coffee cream”:

Whipped cream folded into the coffee cream

The bowl of coffee cream was put aside again for a few moments.

At this point, the cooled loaf cake I baked earlier was taken out:

Cooled loaf cake

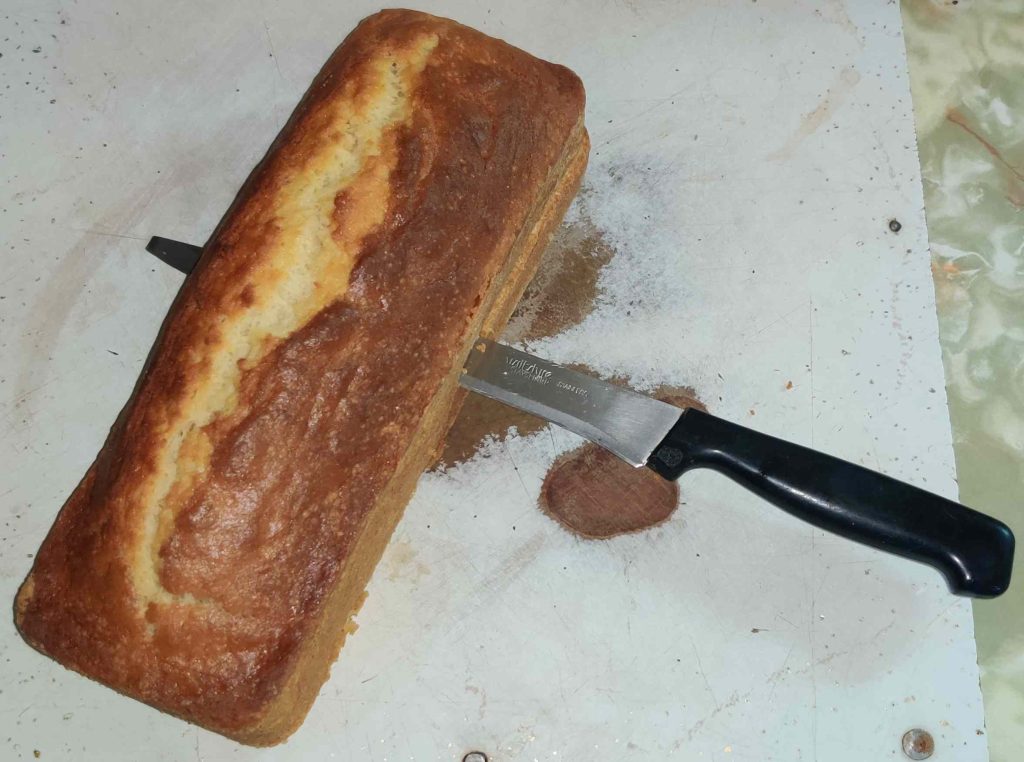
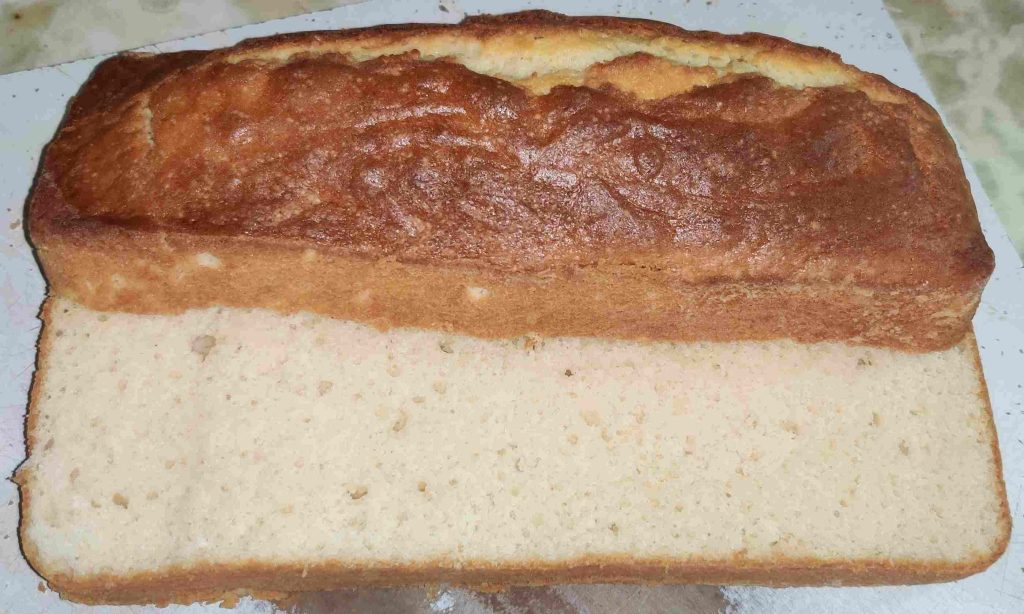
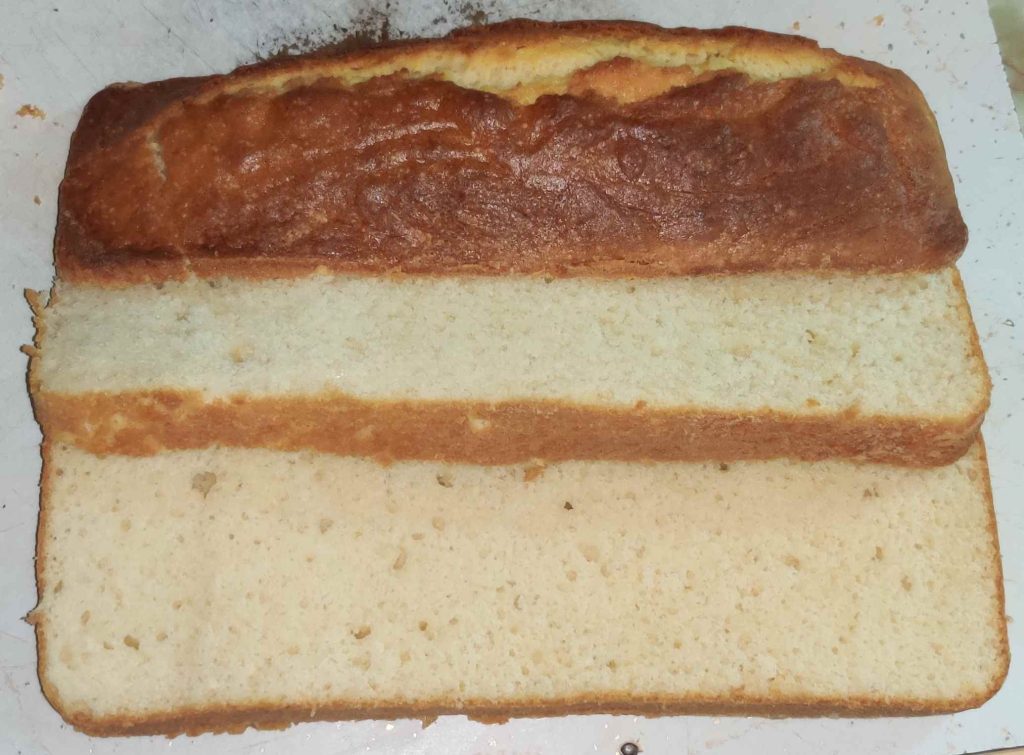
I sliced the loaf cake horizontally along its length with a sharp knife about an inch above its base:

Slicing loaf cake horizontally along its length
Loaf cake sliced horizontally along its length

The loaf cake was sliced horizontally along its length again with the sharp knife, creating three layers of cake:

Loaf cake sliced horizontally along its length again

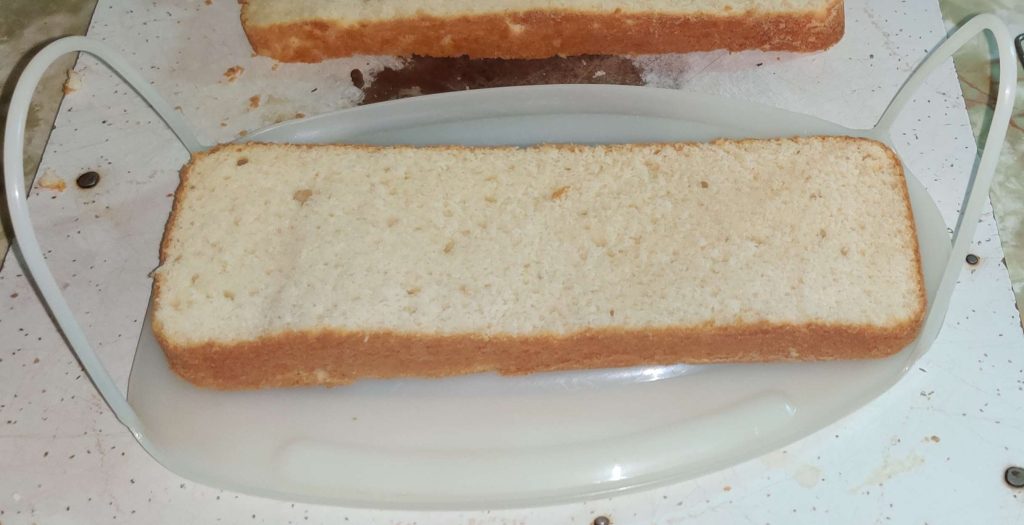
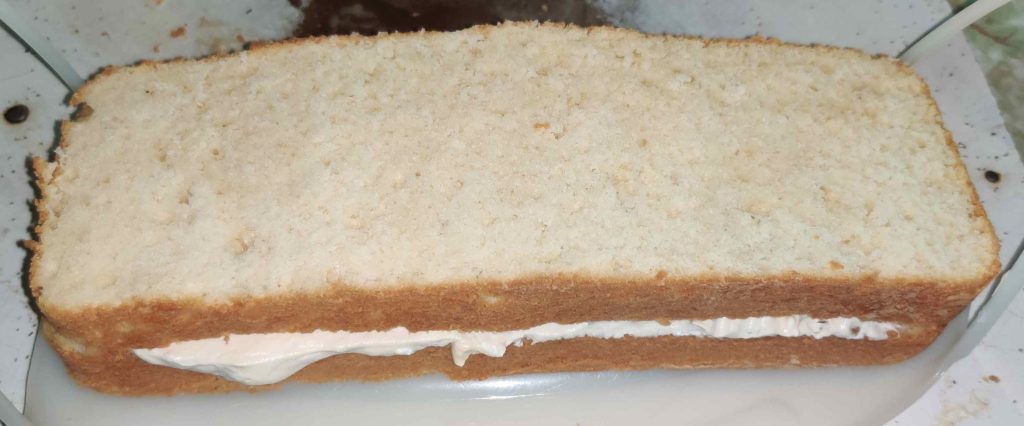
The base slice was placed onto a removable tray for a poultry / meat transport container (see below):

Base of cake placed on movable tray

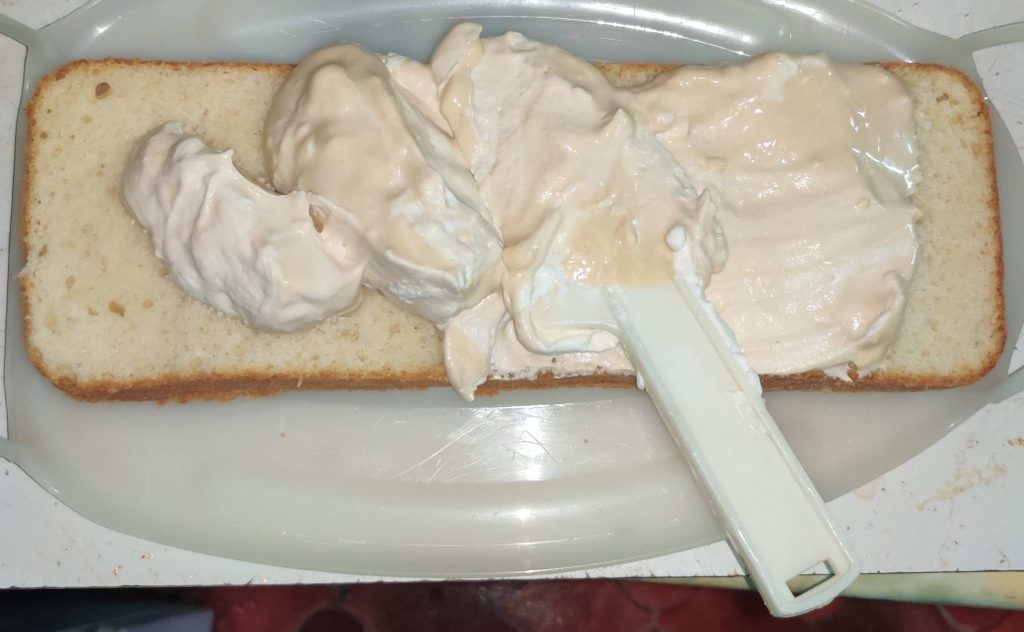
A layer of coffee cream was transferred to the sliced cake:

Coffee cream transferred to cake slice

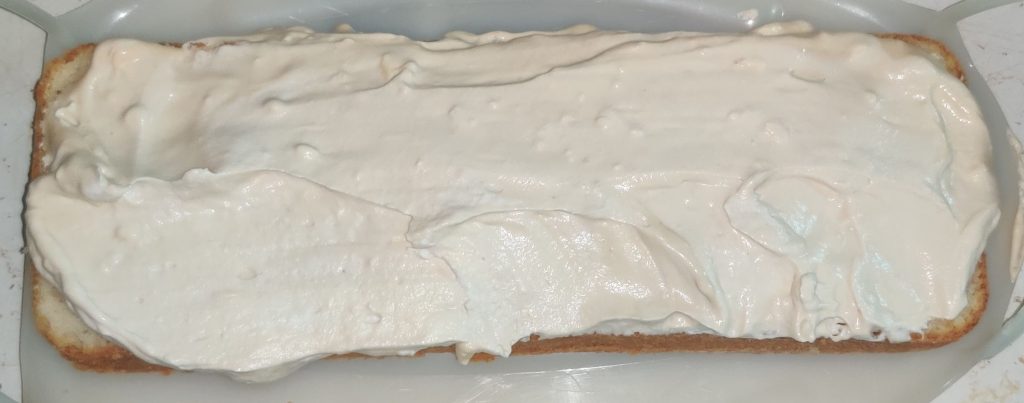
The coffee cream was spread over the whole surface of the cake slice:

Coffee cream spread over the slice of cake

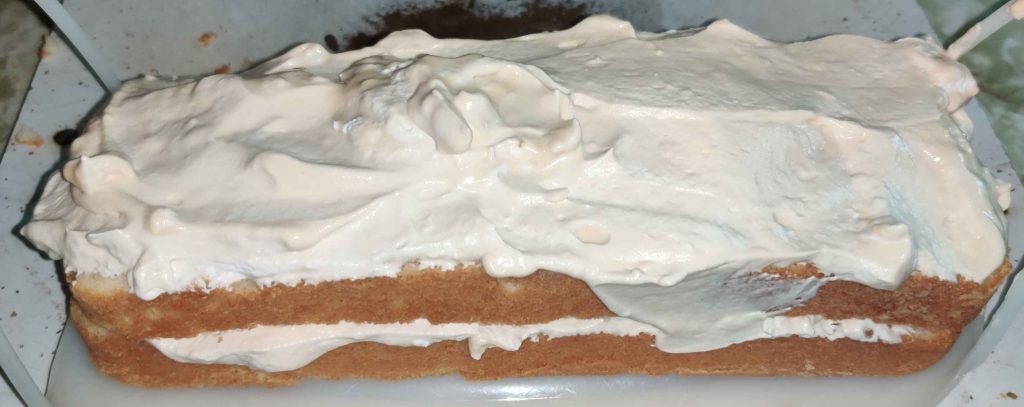
The middle slice of cake was placed on top of the coffee cream:

Middle slice of cake placed on top of the coffee cream

More coffee cream was transferred to the top of the middle slice of cake, and spread over the whole surface of the cake:

Coffee cream spread over middle slice of cake

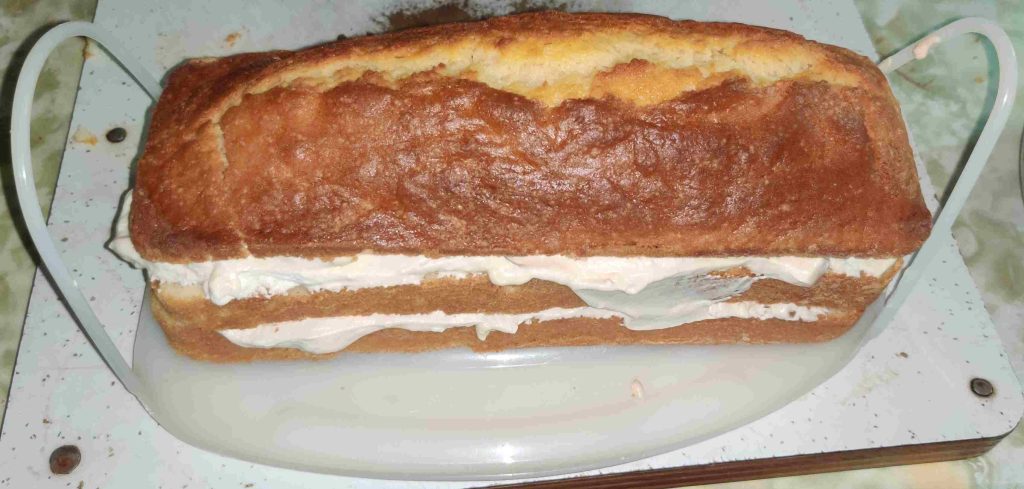
The top of the cake was placed on top of the coffee cream:

Top of cake placed over coffee cream

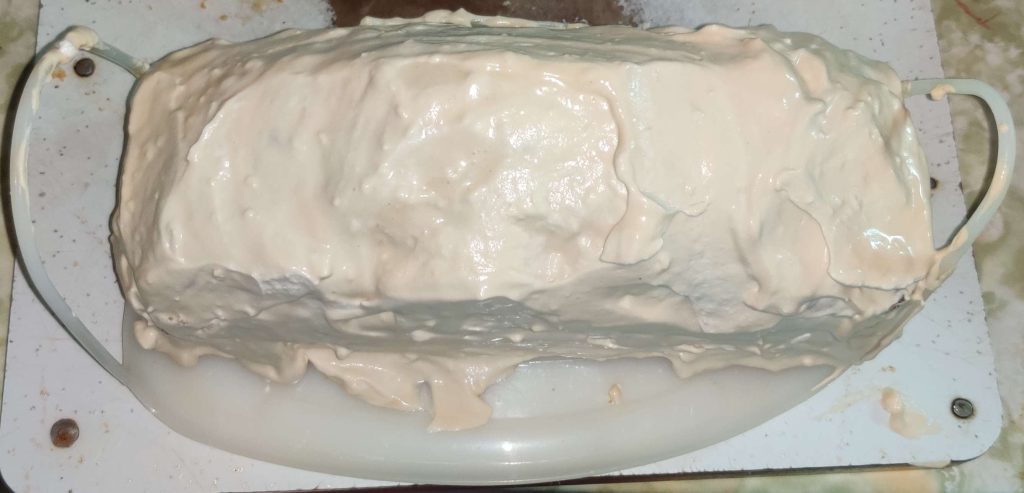
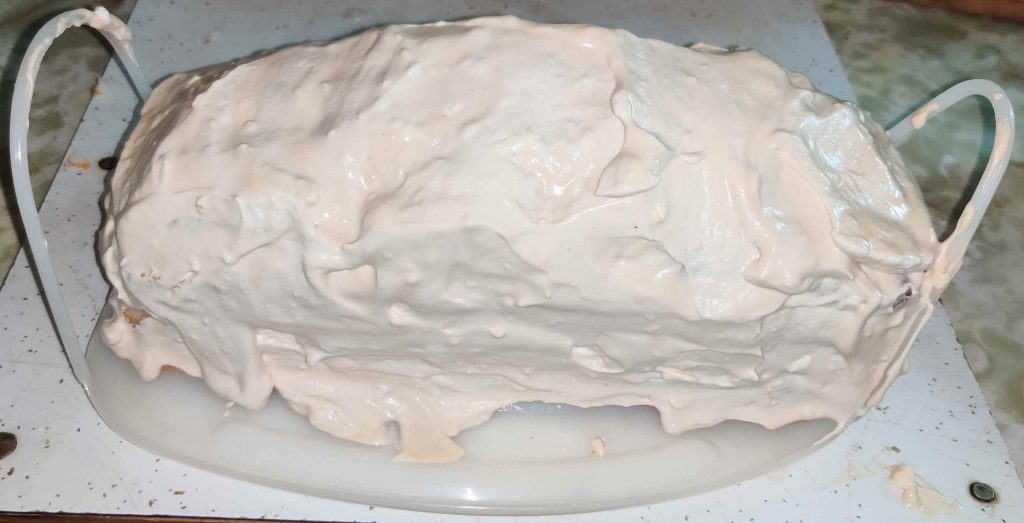
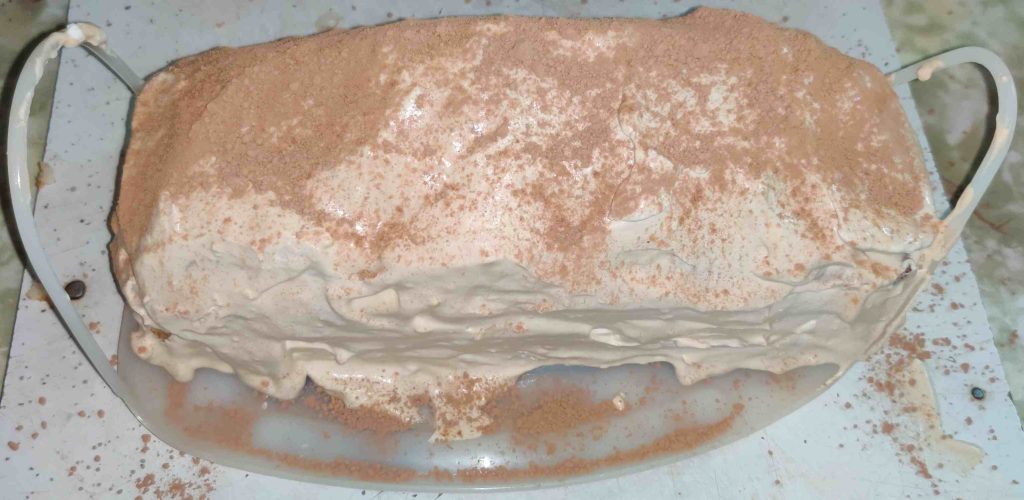
The rest of the coffee cream was transferred to the cake, and spread over all surfaces:

Balance of coffee cream spread over whole of cake, top view
Balance of coffee cream spread over whole of cake, side view

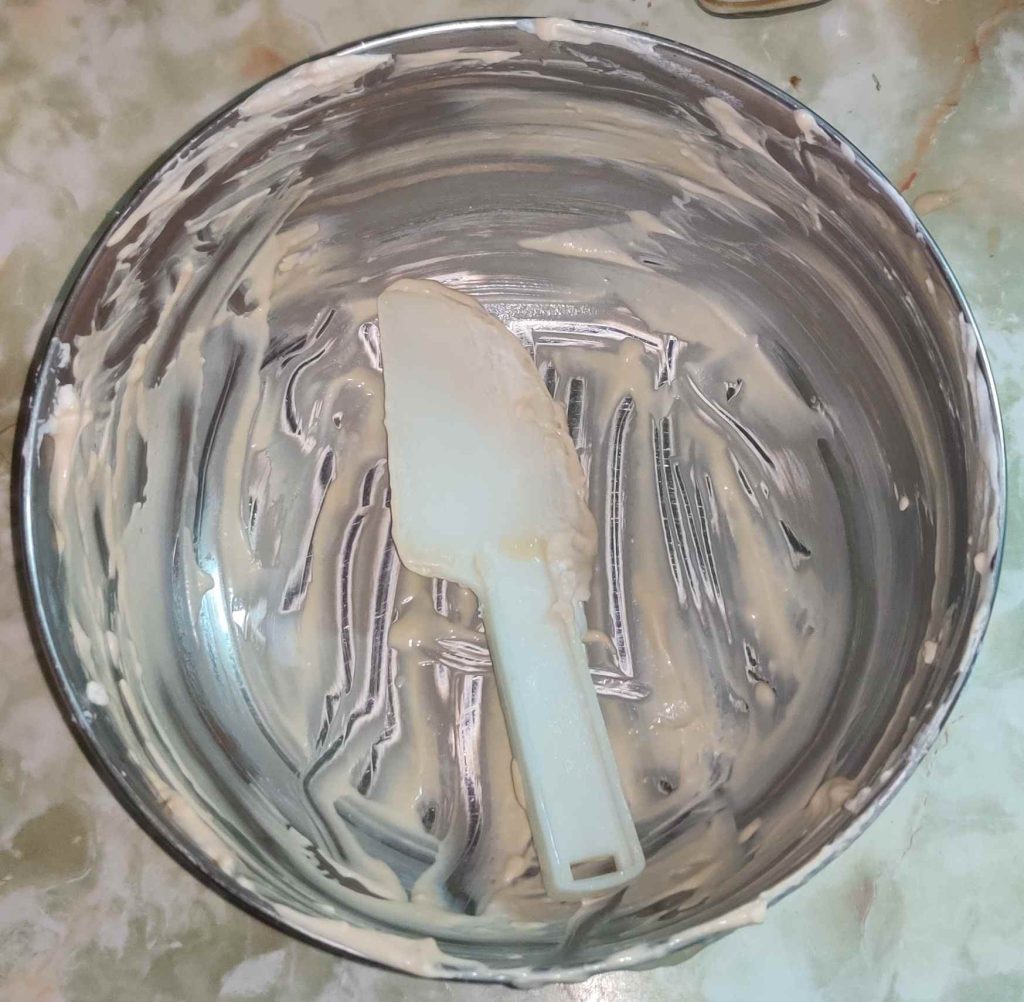
Here’s the empty bowl from the coffee cream:

Empty mixing bowl for coffee cream

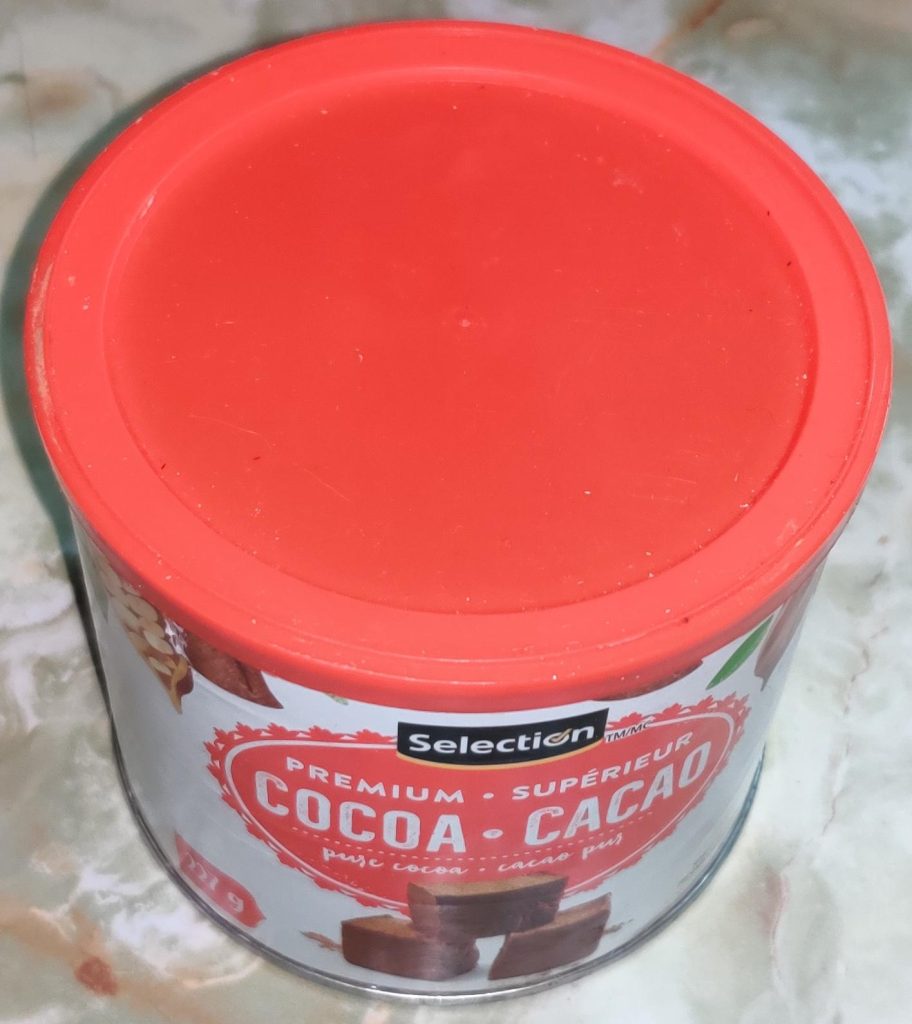
Cocoa taken out:

Cocoa taken out

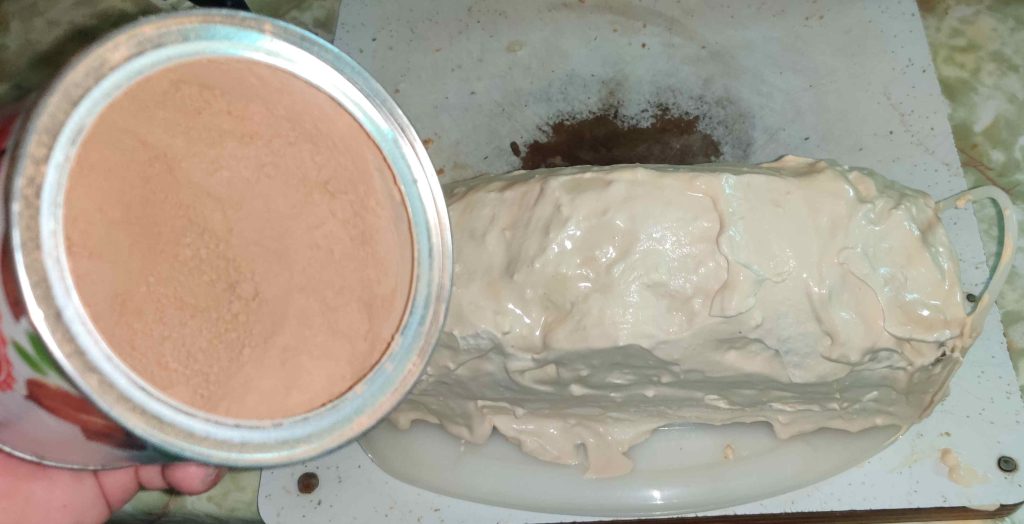
Cocoa powder sprinkled onto the cake directly from the container of cocoa:

Cocoa sprinkled on cake

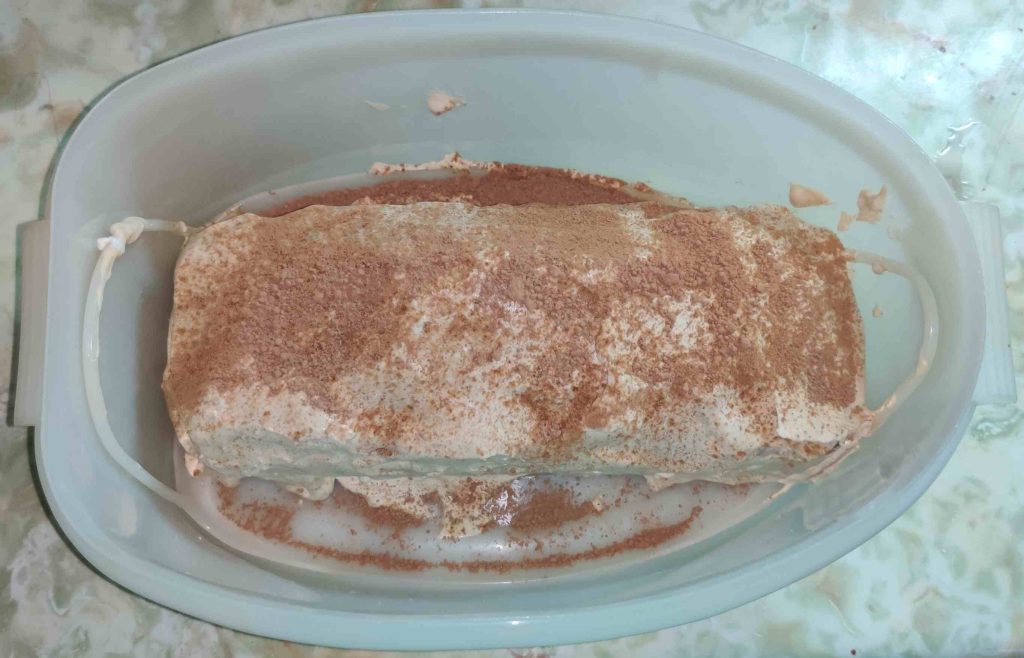
The cake and tray were lowered into the container:

Cake lowered into container

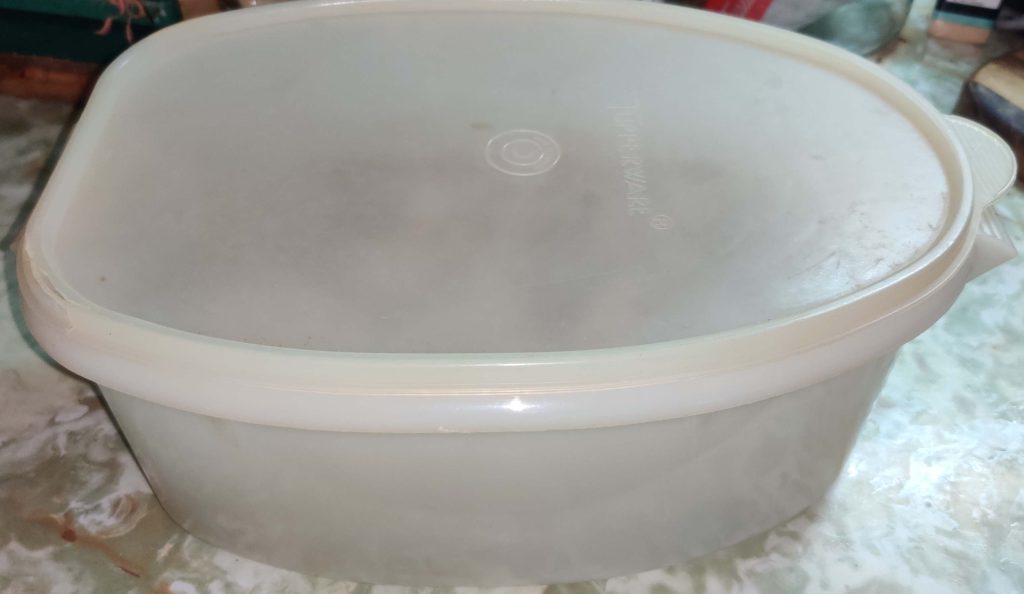
The lid was placed on the container with the cake:

Lid placed on container with cake

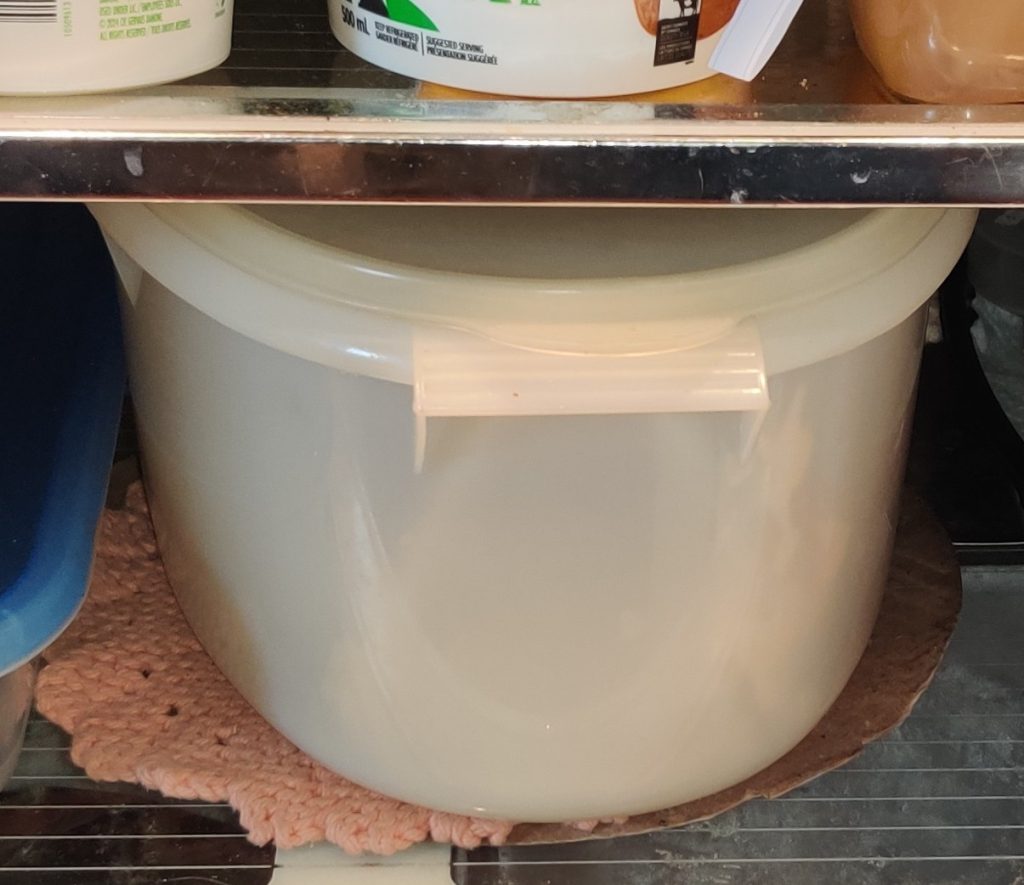
The cake was placed in the fridge to gel the coffee cream:

Cake in container placed in fridge

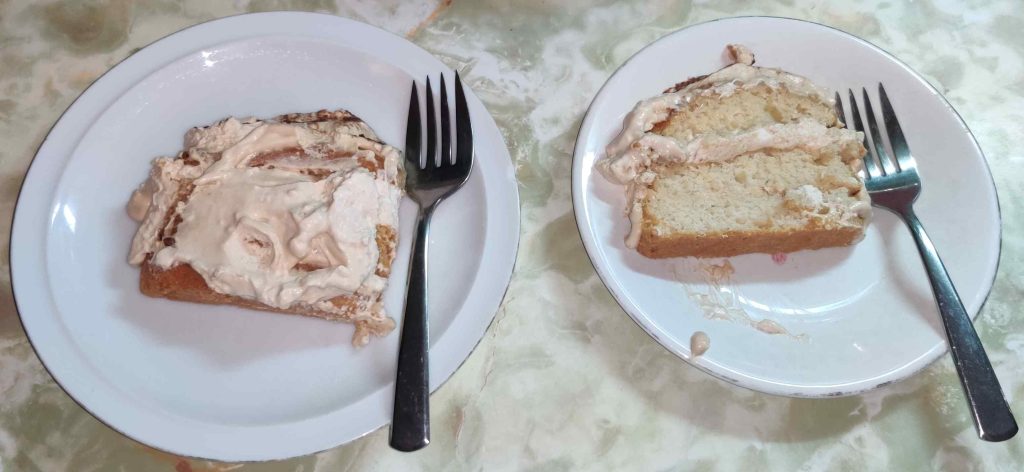
Later when the coffee cream had largely gelled in the fridge for a few hours, a couple of slices were cut off the cake, ready to be served for dessert!

Dessert is served!

Mom is over the moon with this cake, effectively having declared it her new favourite dessert!

(And, I’ve been asked to bring it to the next church potluck I attend, along with my pulled pork!)

I’m a lumberjack … — Part Deux

Further to my first post from my holidays that covered as much if not more of the aftermath of a tornado landing near my cottage while I was on holidays as outright lumberjack activities, I have put together this post … to concentrate on the rest of the “I’m a lumberjack …” (here’s my archive) part of the story which I had left to the implied, as in “well of course I cut up all that wood and piled it up in my wood shed.”

The first part of this story is to tell about my chainsaw: I have a Husqvarna 55cc gas powered chainsaw that was a Christmas gift from about 2007. After the usual question of “What do you want for Christmas”, I was initially told that a chainsaw was a bit too expensive an ask — an answer I completely knew, and which I fully expected to receive — so I followed up with “a beer concentrate kit and a wine concentrate kit” instead. When I was asked again a couple of weeks later about “What do you want for Christmas?” I responded with “I already told you!” meaning, in my mind, the beer kit and the wine kit. Was I ever surprised on Christmas morning!

During the initial cleanup of the fallen tree across the road after the tornado, I took out my chainsaw for the first time in the season, started it up, and helped cut up the tree — of course, to help clear the road and allow people to pass. A couple of days later during further cleanup operations, my chainsaw wouldn’t start up. I went through opening up the chainsaw and doing some cleaning with a neighbour the next day, and we used some high-flammability spray directly into the air intake to test the unit again. I even spent a morning the day after that hunting down a new spark plug for my chainsaw — the unit still wouldn’t start up. Yet another couple of days after that, I hunted down a local small engine tool repair shop, and left the chainsaw there along with said neighbour’s chainsaw for servicing — for an estimated turnaround time of “around up to two weeks.” Sigh, so much for my lumberjack dreams during my holidays being dashed.

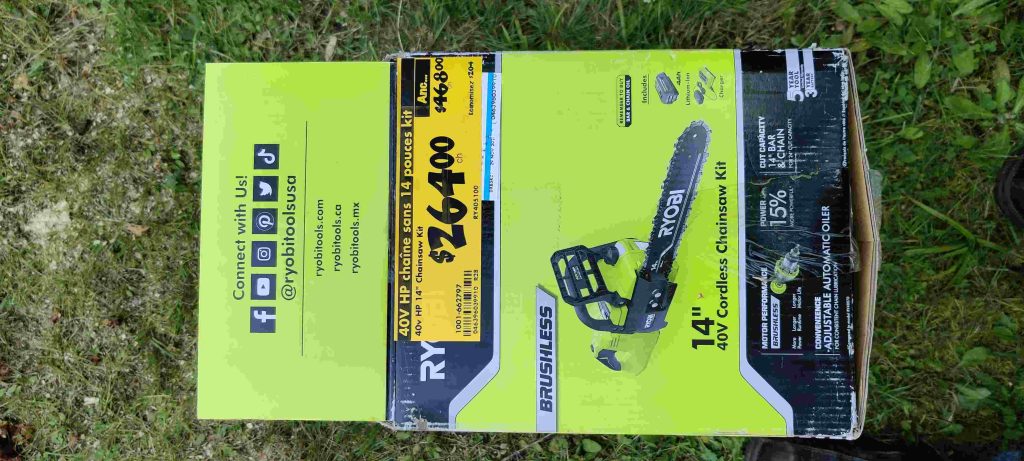
A few days later, I was back in Montreal for a quick trip to the dentist for a planned teeth cleaning, and I realized that — given that on the battery powered side of power tools, I use Ryobi tools — a big box store that distributes Ryobi was a mere few blocks away from the dentist’s office. I went there, got the least expensive weed whacker for the Ryobi 18V battery system (finally, Mom will be happy that the lawn edges will be done!) and I had designs on a Ryobi 10″ chainsaw for the Ryobi 40V batteries I own. Note that the idea wasn’t to replace the 55cc Husqvarna chainsaw, just to have a convenient to use tool for smaller jobs — which, frankly, is a lot of what I do with a chainsaw to begin with. After hunting down the 10″ chainsaw in the store, while going to the checkout, I passed by a display of Ryobi tools on sale. There was a 14″ chainsaw that came with a 40V x 4Ah battery and charger that was deeply discounted for about $75ish more than the regular price on the 10″ tool only chainsaw.

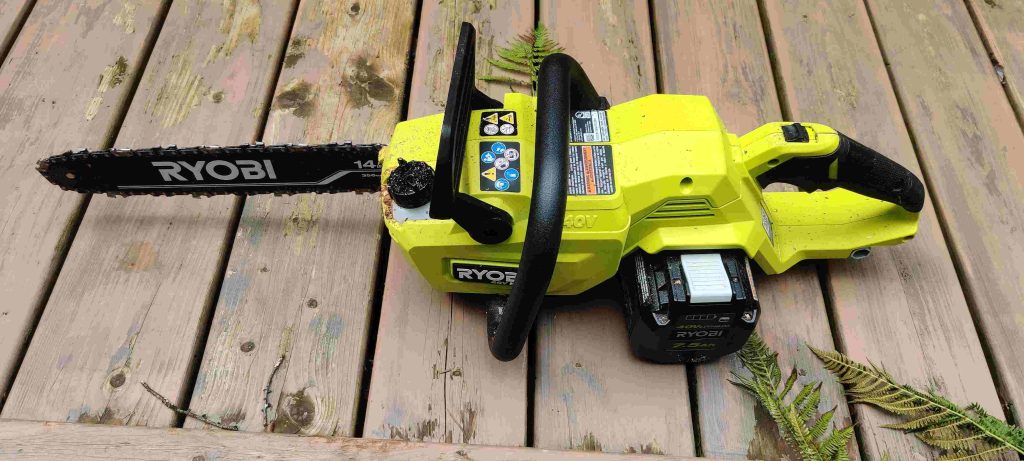
New 14″ Ryobi 40V chainsaw, with one of my 7.5Ah Ryobi batteries in the battery bay
Deeply discounted Ryobi 14″ chainsaw with 4Ah battery and charger

So I purchased the 14″ unit instead, obviously. In the process, I became pleased with myself and my good luck; much as I like the 14″ model, it is just at and arguably even noticeably below the lower end of my occasional heavy-duty needs. As such, I know that I would have regretted having purchased the 10″ model, even had I never discovered the deeply discounted sale.

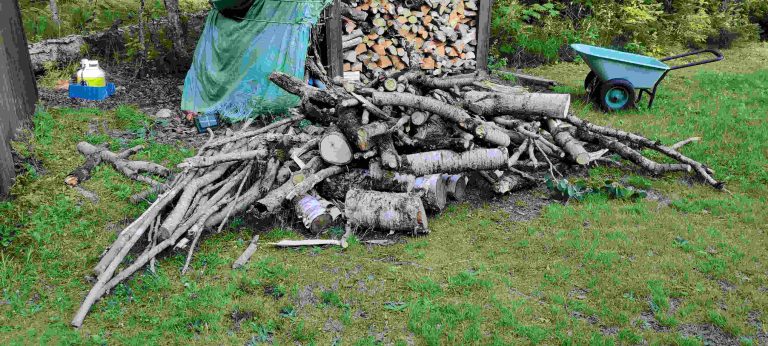
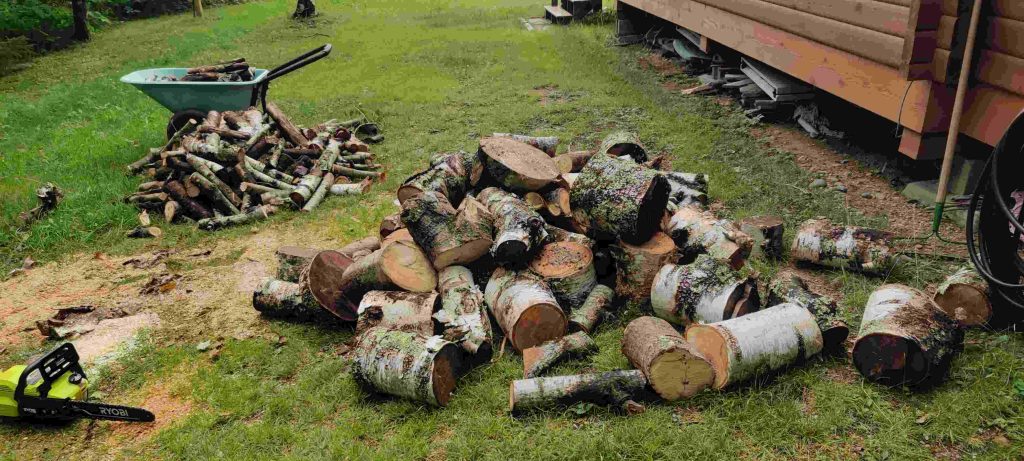
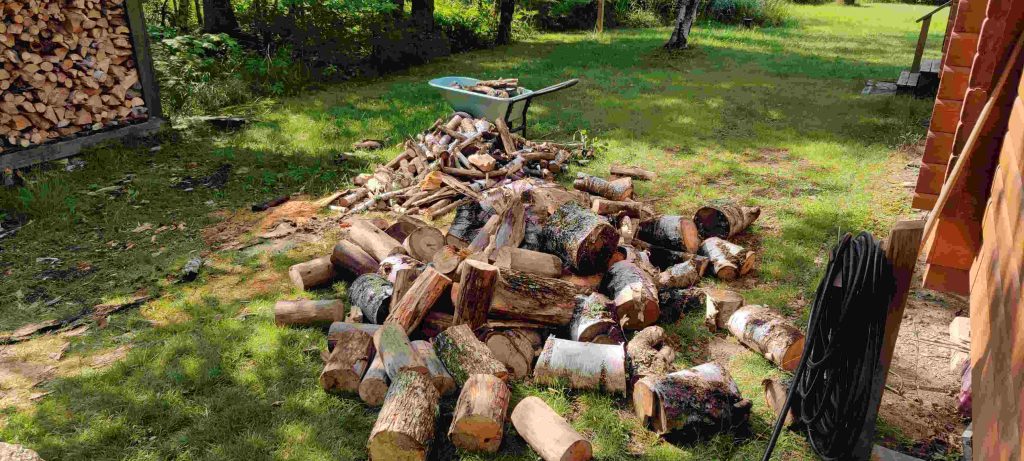
So back at the cottage, I eventually faced my pile of wood to cut up again, which I had shown at the end of the previous post about the tornado:

Pile of wood and branches to be cut up

The pile of wood was cut up, and to my pleasant surprise, about as easily as with my gas powered chainsaw, perhaps even more so:

Wood cut up
Pile of wood all cut up

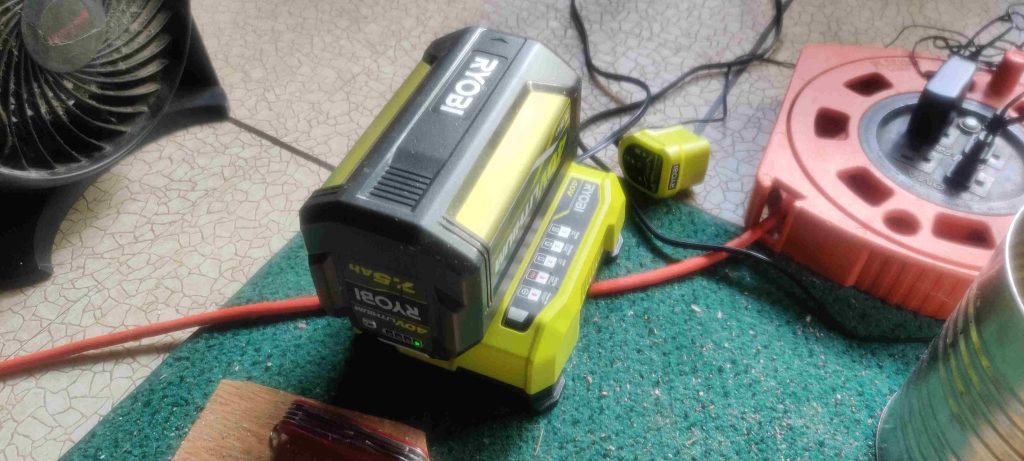
This used up just short of a full charge from one of my Ryobi 40V 7.5Ah battery from my lawnmower.

At this point, I already had ideas brewing in my head to go get the cut up eight foot log section leftover from the fallen tree across the road after the tornado because the lead person clearing up the wood and the road wasn’t interested in this piece; its centre was rotten enough, and therefore wouldn’t have provided, in his estimation, more than one or two planks of wood for the effort:

Eight foot length of wood leftover from the tornado cleanup

At the same time, there was an old very dead tree partly left standing, and partly knocked over but still precariously standing up several feet away, both parts of which I also decided to retrieve and cut up:

Part of dead tree still standing, roughly left of centre of the photo
The other part of dead tree knocked over but still standing, roughly centre in the photo

I proceeded to cut up the eight foot log and the dead tree, and I got about half a cut through the eight foot log which was about a foot and a half thick from the end of the charge in the 7.5Ah battery in the chainsaw. The operation, involving cutting the log eight foot log into eight pieces, and the knocked over dead tree into transportable lengths of roughly four fireplace sized logs, went through the full charge of the 4Ah battery that came with the chainsaw, the full charge from another 7.5Ah battery, and “one light”‘s worth (out of four) from the other 7.5Ah battery that had been recharged in the meantime. I also had to sharpen the chain, using a manual file with a fixed sharpening guide.

7.5Ah x 40V Ryobi battery being charged … again!

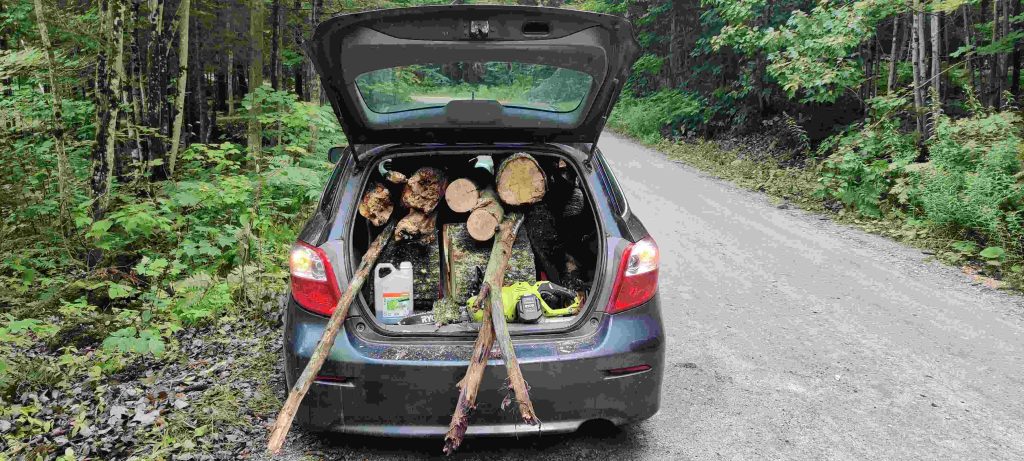
All of the wood was loaded into my car, effectively replicating a similar photo from the previous tornado post.

Car filled with more wood as well as my Ryobi chainsaw on the right and some biodegradable chain oil from Stihl on the left

(As an aside: Am I still going to contact Toyota with pictures to tell them one of the ways I use my 2012 manual transmission Toyota Matrix? Who knows? I’m still quite enjoying making the blog posts!)

The wood in the car was transported all of perhaps 100 feet to the side of the cottage where I was working, and unloaded from the car:

Wood unloaded from car

The first thing I did next was to cut up the branches and the logs that I had collected:

Branches and logs cut up
Branches and logs cut up and added to the piles of wood to either stack or split and then stack

At this point I should mention that last summer when I was playing lumberjack, our handyman with whom we are also just plain friendly stopped by and noticed all the wood to be split, and offered to lend me his six-ton electric wood splitter, with a comment to the effect of “you’ll never want to go back to splitting wood with an axe!” Sure enough, he was right, and over the winter, he sent me a link by email for a five ton electric wood splitter that had a substantially discounted sale price compared to its regular price; I immediately purchased a unit.

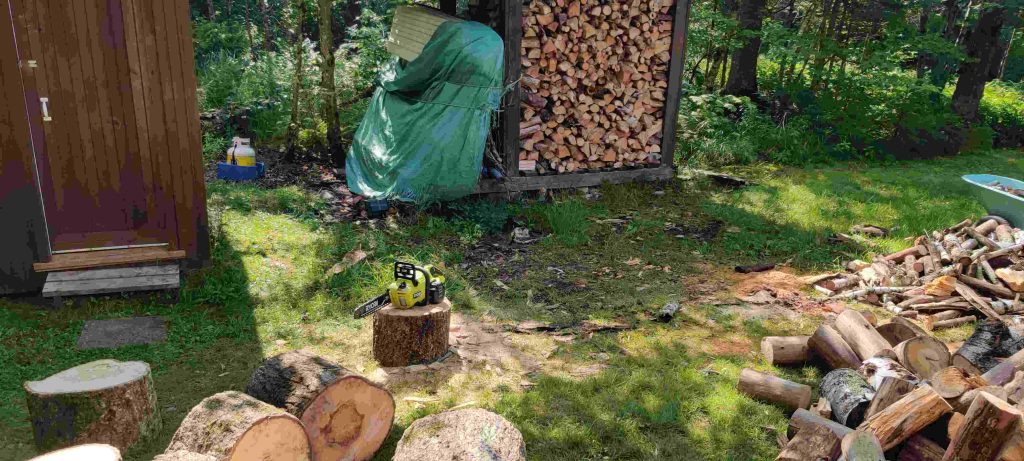
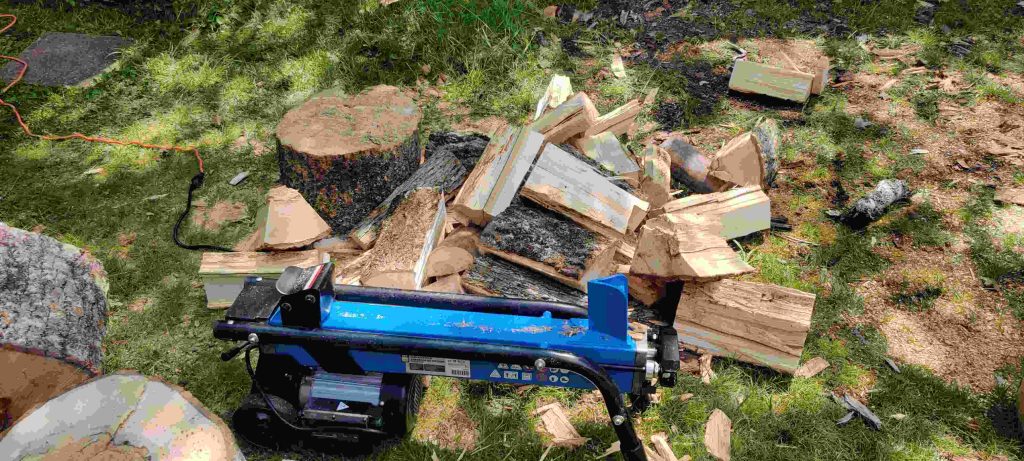
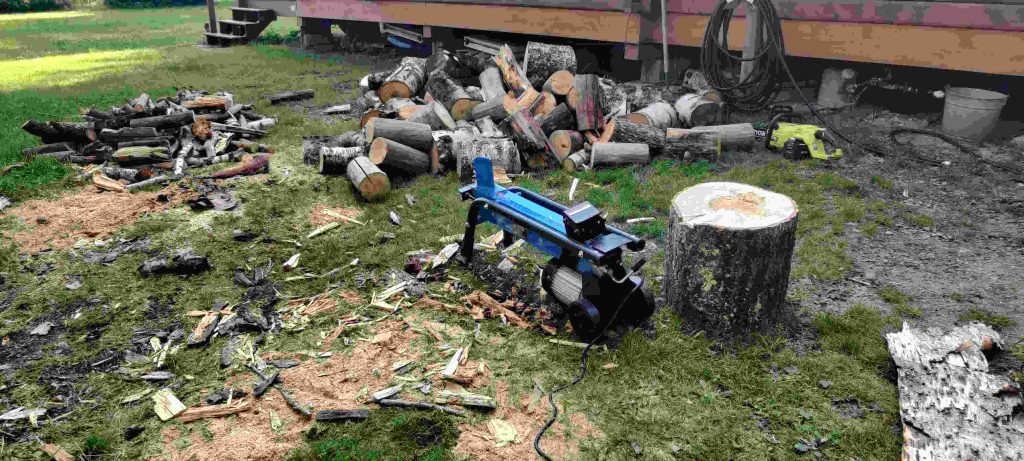
Fast forward to this past week, I had the necessary testing grounds for another one of my new toys; at this point, the new wood splitter was taken out, and I started splitting some logs:

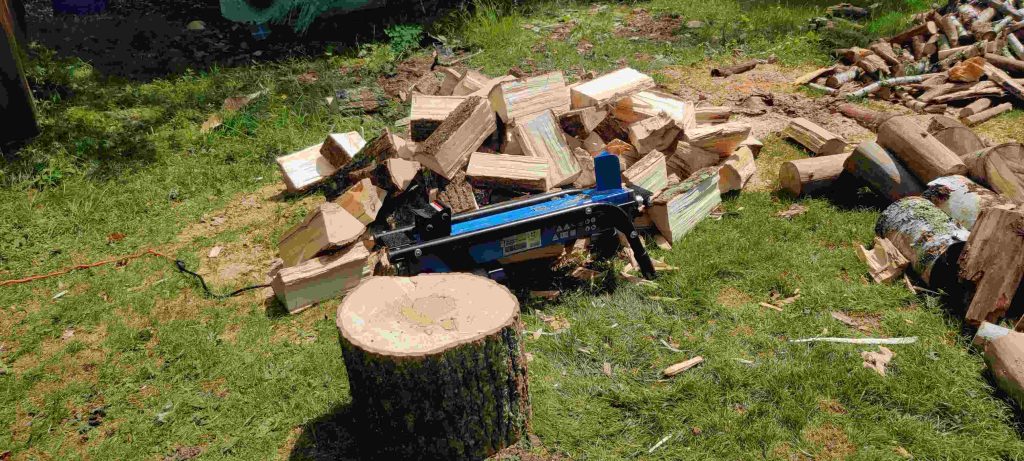
Log splitter taken out and some logs split

While I was learning how to use the unit, since it had been a year since I’d used the borrowed splitter, and that my splitter operates slightly differently from our handyman’s unit, I discovered the joys of having to hold down the power button with one hand while operating the ram lever with the other hand. This process essentially requires one to either to crouch down to ground level and use a support for one arm to balance oneself — in my case, one of the logs cut from the tree trunk fallen during the tornado — or, a hypothetical situation of lifting the “I have no idea how heavy this back-breakingly heavy beast is” to a level at which I’d be able to stand while operating it, and which would therefore require commensurately higher lifting of the logs to be split.

After splitting seven of the eight pieces from the roadside, I decided to start piling the wood to clear space for more wood to be split:

Split wood from roadside log

I piled said split wood on my woodpile, beginning with some of the cut up branches at the top of the third row:

Third row of woodpile finished with cut branches

… and then beginning a fourth row of split wood:

Fourth row of woodpile begun with split logs from roadside

Of course here is a photo of the work area, showing that the split logs from the roadside tree trunk had been moved away:

Chopped wood from roadside log moved away

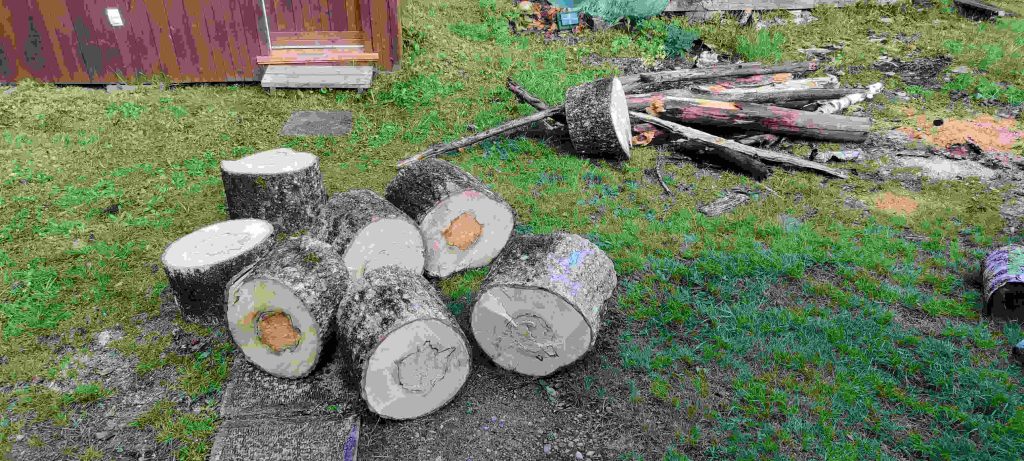
I continued splitting all the logs of wood until I ran out, only having a few hard-to-split or otherwise odd logs left over:

All logs chopped

I also continued to pile the split wood until I ended up finishing the fourth row of wood:

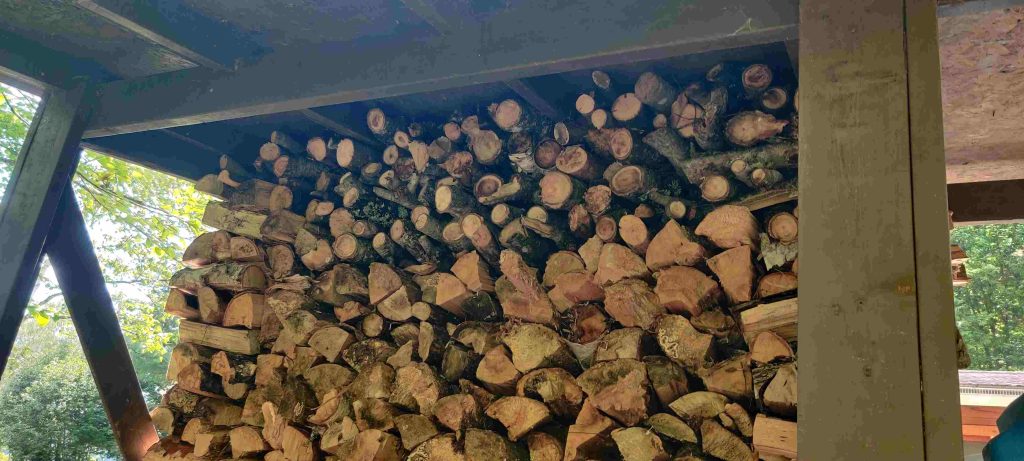
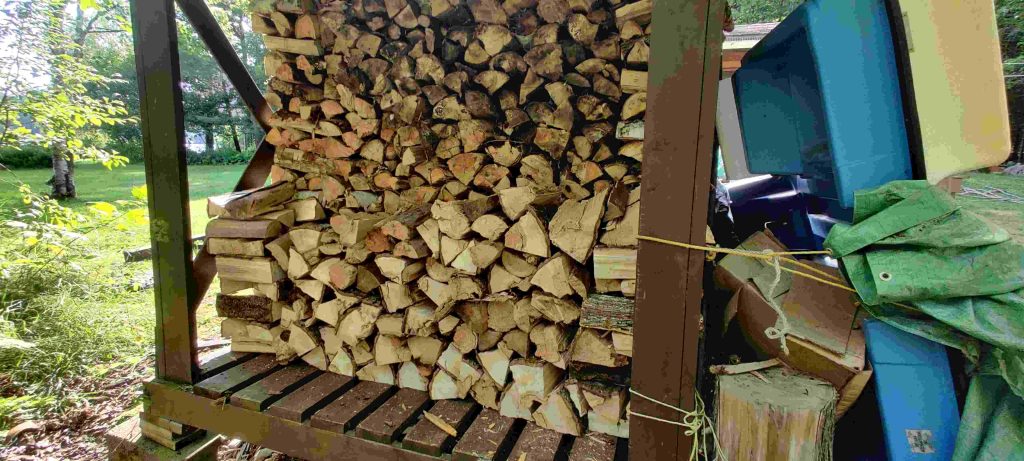
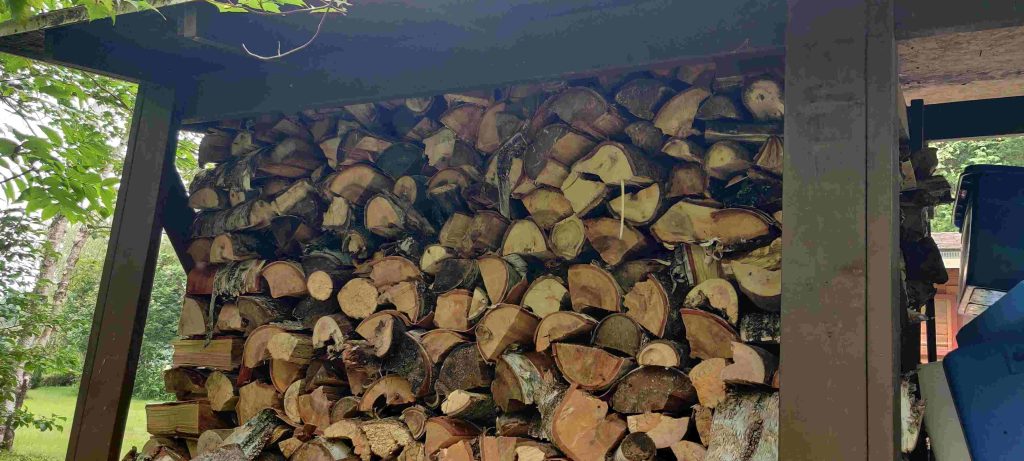
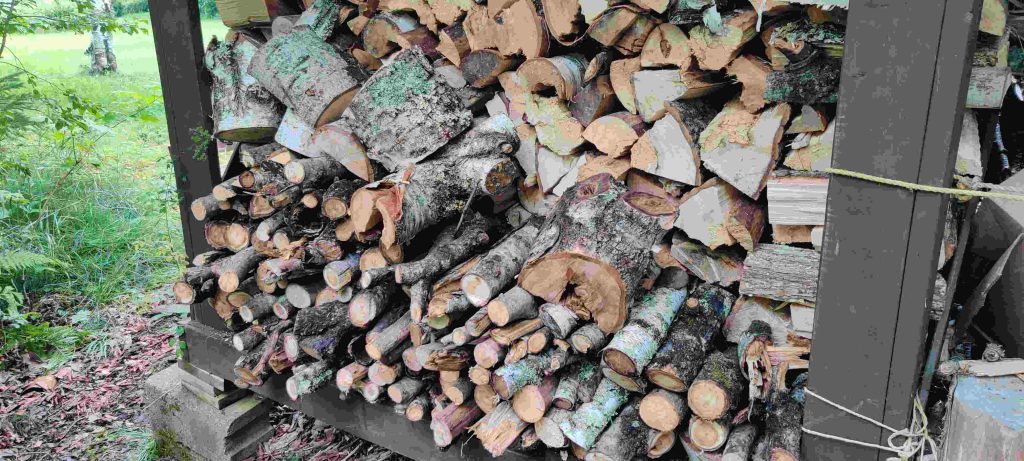
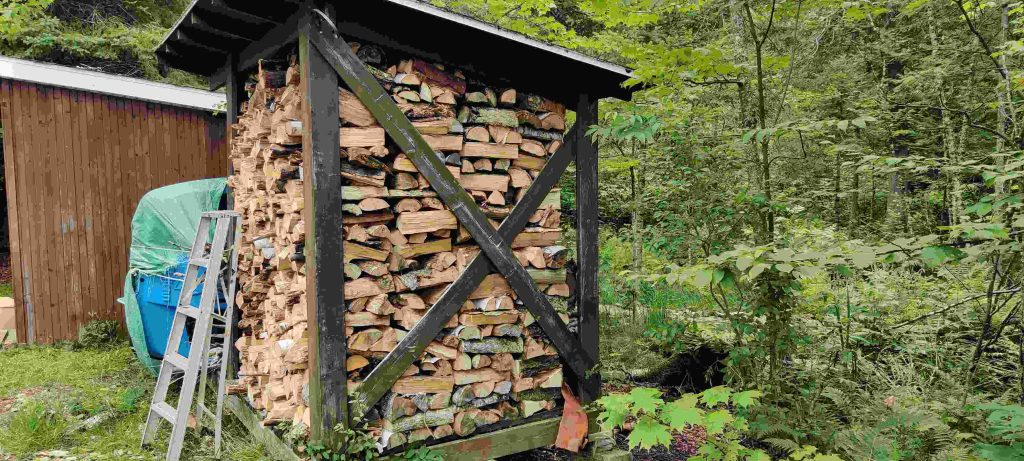
Fourth row of wood piled up to the roof of the wood shed

I even had so much wood to pile that I started a fifth row with the rest of the cut up branches and the hard-to-split pieces, waiting for the next time:

Fifth row of wood consisting of cut up limbs and hard to split pieces

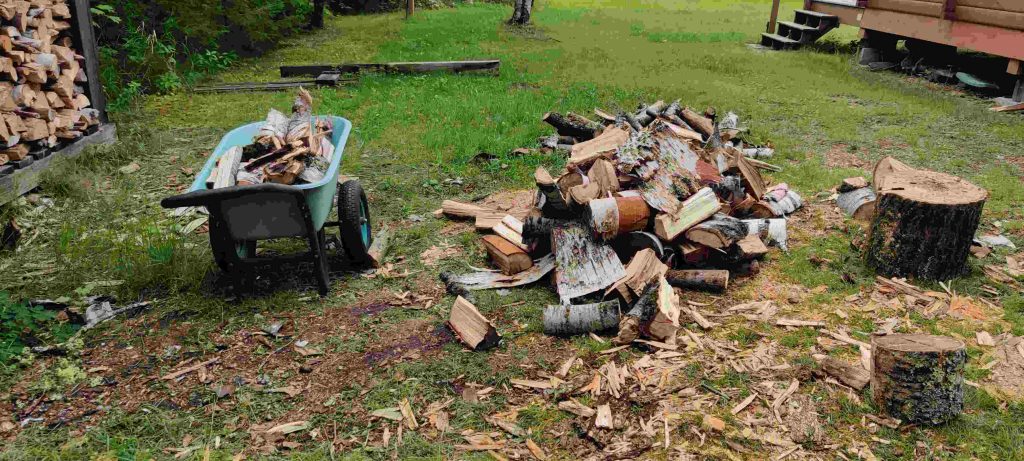
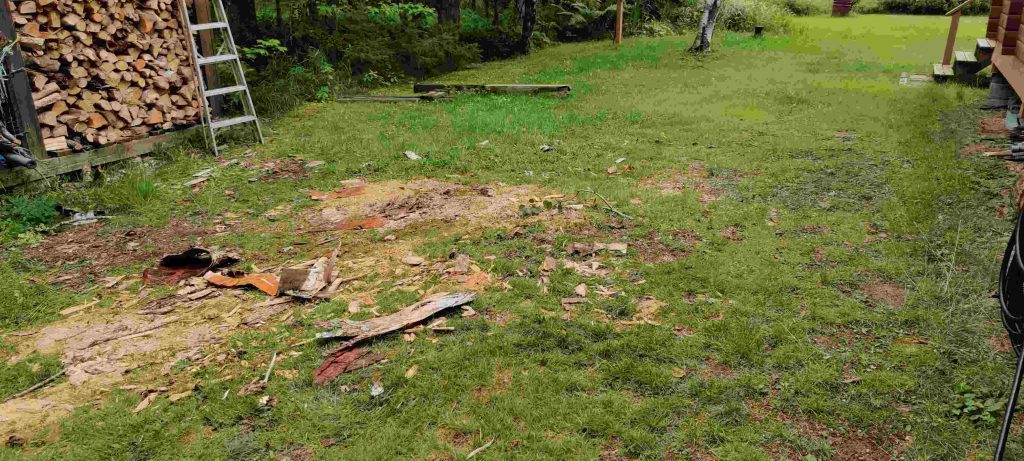
Of course, having piled up all the wood, the work area was cleared, only leaving behind some scraps to be cleaned up another time:

All cut up wood picked up from the work area

Here’s an overall view on the back of the wood shed:

View of back of full wood shed

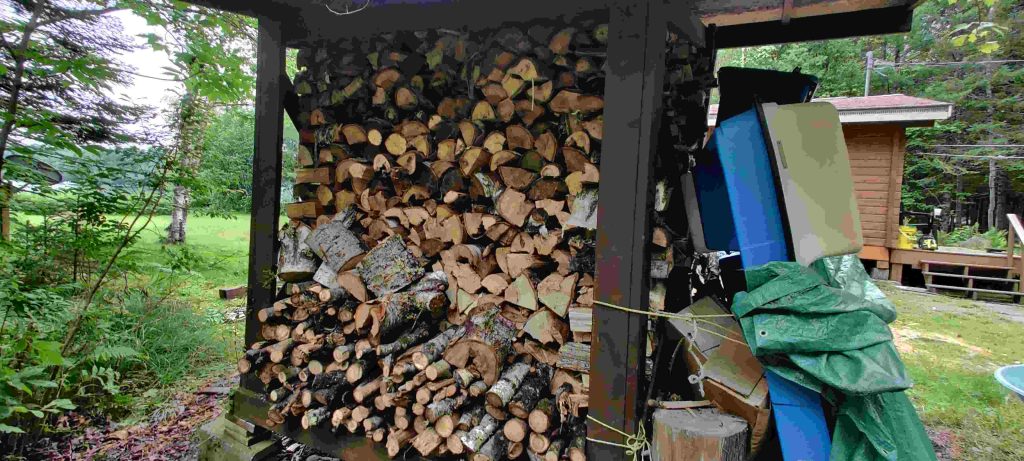
And of course a view of the side where you can see that all four rows are filled up:

View of side of the wood shed and all four rows of split firewood

Now I just have to go to the cottage often enough this coming winter to burn through hopefully a row and a half, or more, of wood from the woodpile in the wood burning stove to heat the cottage!

… And that all still leaves me with the birch trees I was originally figuring I’d be cutting up over my holidays this summer:

Birch trees still not cut up and waiting for next year!

Depending on when I get my gas chainsaw back, when I get up to the cottage again this summer and fall, and a bunch of other “ifs” and “whens”, I may end up cutting up some of those tree trunks this fall and pulling them out of the woods to winter and spring in hopefully slightly less wet and marshy conditions, ready for next summer.

And did I really get to play lumberjack in the end? My aching legs, hips and lower back certainly think I did!

And yes, “I’m okay!” with that! (here’s my archive)