I normally keep cooked meatballs in the freezer for use with pasta dishes such as spaghetti, or eat them on their own along with other foods.
I have no recollection of why I chose to add peas, corn, or rice to the mix when I began making these meatballs many years ago, other than presumably at the time I thought that their addition was a good idea, and that incidentally doing so helped make more meatballs with the same amount of ground beef; as for the onions and egg, I have always liked onions with ground beef, and the egg acts as a binding agent to help keep the meatballs together, especially while cooking.
Making the meatballs:
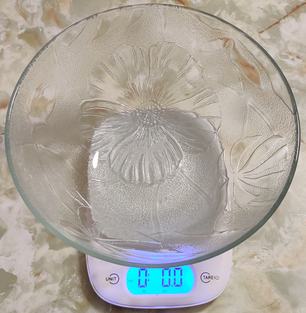
A mixing bowl was placed on a kitchen scale, and the kitchen scale was set to zero:
Mixing bowl on a kitchen scale, which was set to zero
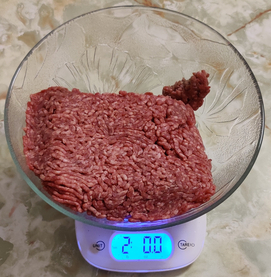
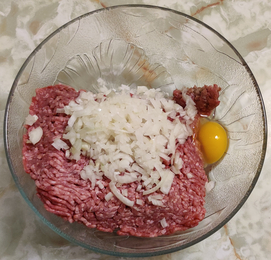
Two pounds of ground beef were measured out:
Two pounds of ground beef measured out
The bowl of ground beef was put aside for a moment.
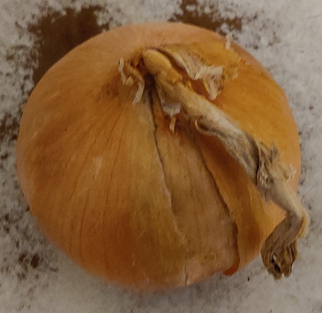
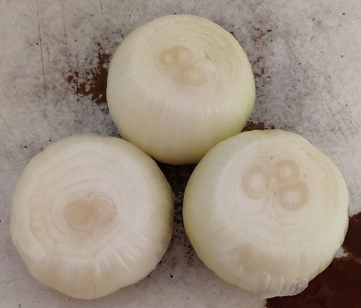
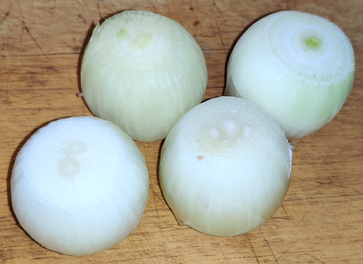
An onion was taken out:
Onion taken out
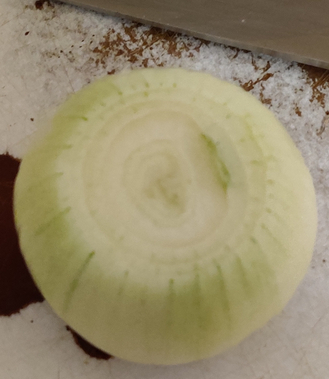
The onion was cleaned and trimmed:
Onion cleaned and trimmed
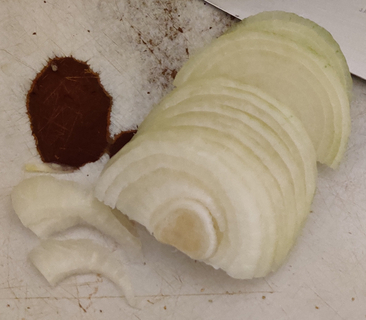
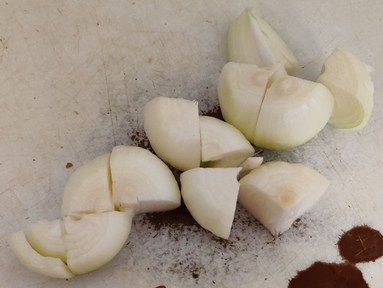
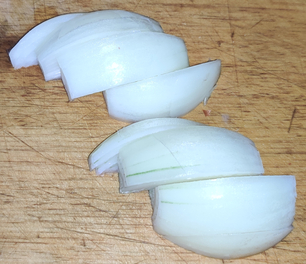
The onion was sliced thinly:
Onion sliced thinly
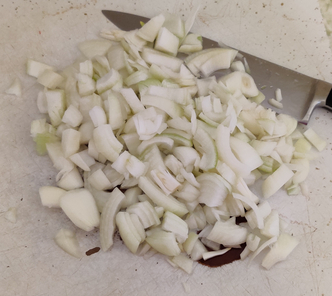
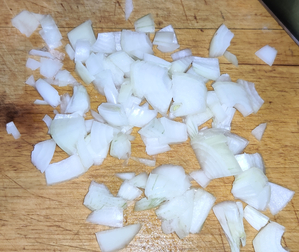
The onion was then chopped somewhat finely:
Onion chopped somewhat finely
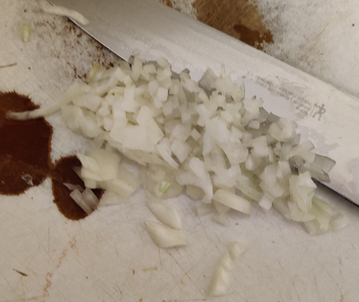
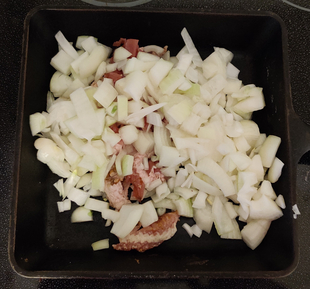
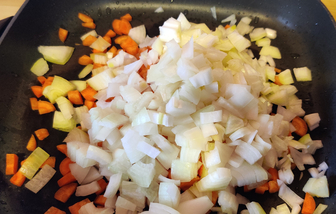
The chopped onion was transferred to the mixing bowl with the ground beef:
Chopped onion added to the mixing bowl with the ground beef
Chopped onion added to the mixing bowl with the ground beef
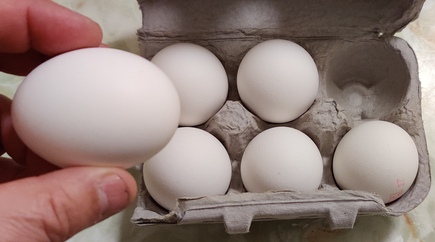
An egg was taken out:
Egg taken out.
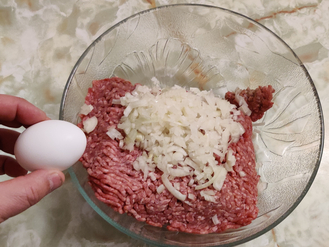
The egg was cracked into the mixing bowl:
Egg cracked into the mixing bowl
Egg cracked into the mixing bowl
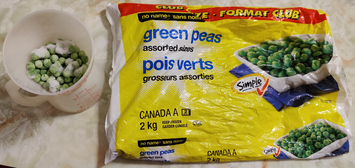
Frozen peas were measured out:
Frozen peas measured out
The frozen peas were added to the mixing bowl:
Frozen peas added to the mixing bowl
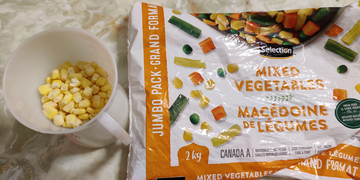
Since I didn’t have any frozen corn kernels on hand, I separated out some corn kernels from a bag of frozen mixed vegetables:
Frozen kernel corn measured out
The frozen kernel corn was added to the mixing bowl:
Frozen kernel corn added to mixing bowl
Frozen kernel corn added to mixing bowl
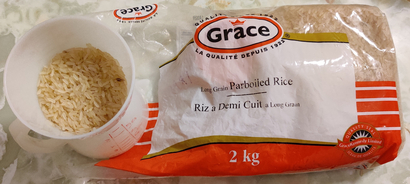
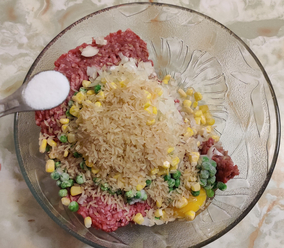
Rice was measured out:
Rice measured out
The rice was added to the mixing bowl:
Rice added to the mixing bowl
Rice added to the mixing bowl
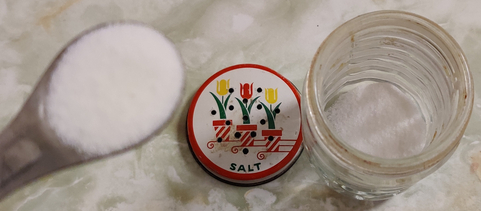
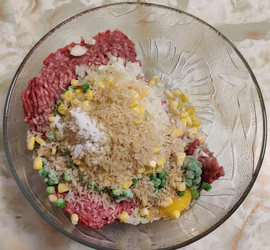
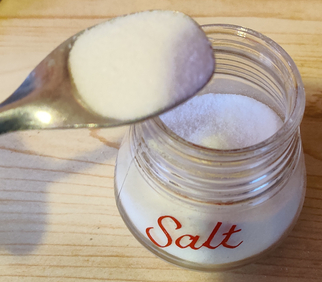
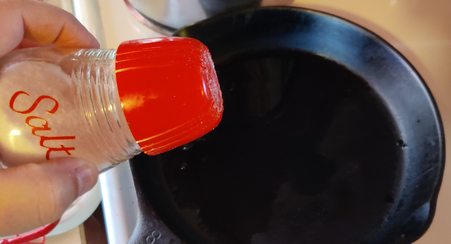
Salt was measured out:
Salt measured out
…. and the salt was added to the mixing bowl:
Salt added to the mixing bowl
Salt added to the mixing bowl
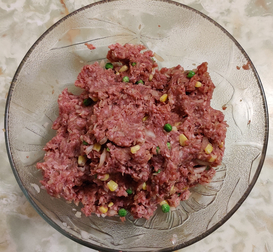
The ingredients were thoroughly mixed together by hand:
Ingredients mixed by hand
An electric skillet was turned on (as well as a stove burner for my cast iron skillet for the meatballs that wouldn’t fit in the electric skillet):
Electric skillet turned on
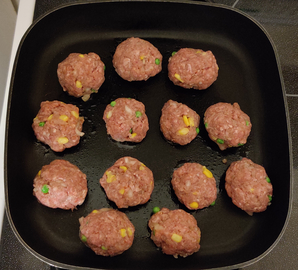
The meat mix was formed into balls from 1-1/2″ to 2″ in diameter, which were placed in the electric skillet (as well as a cast iron skillet off camera), with enough spacing between them to allow for easier manipulation later when turning them over:
Balls of meat mix formed and placed in an electric skillet
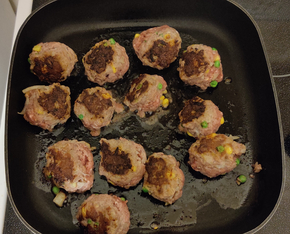
As each side of the meatballs were cooked, the meatballs were turned over to cook on another side …
Meatballs turned over to cook on another side
… and the meatballs were turned over again to cook yet on another side:
Meatballs tuned over yet again; note second skillet of cooking meatballs
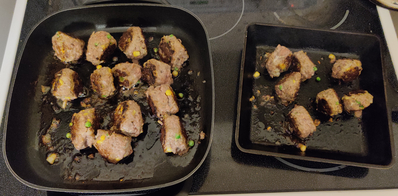
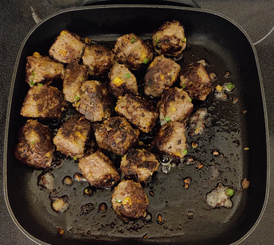
When the meatballs were fully cooked …
Fully cooked meatballs
… the meatballs were transferred to a cookie baking sheet, somewhat spread apart from each other to allow for quicker cooling in the freezer …
Cooked meatballs placed on cookie baking sheet
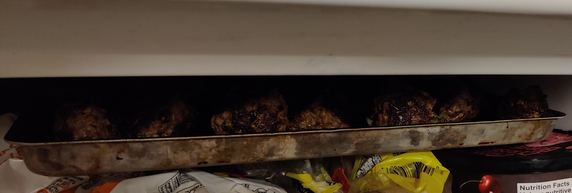
… and the cookie baking sheet with the meatballs was placed in the freezer to cool the meatballs and begin to freeze the meatballs:
Cookie baking sheet of meatballs placed in freezer
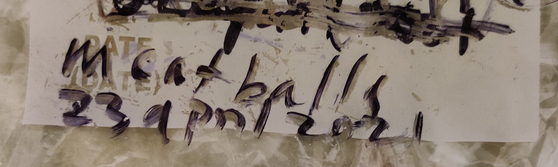
A clean, resealable freezer bag was re-labeled to reflect the new contents, meatballs of course:
Freezer bag re-labelled
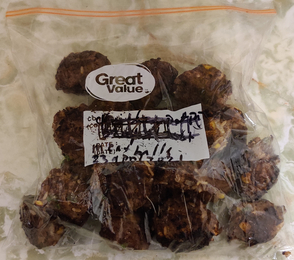
Once partly frozen, the meatballs were placed in the freezer bag:
Meatballs placed in freezer bag
… and the bag of yummy meatballs was placed in the freezer for future eating.
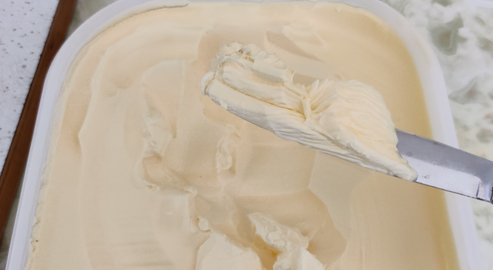
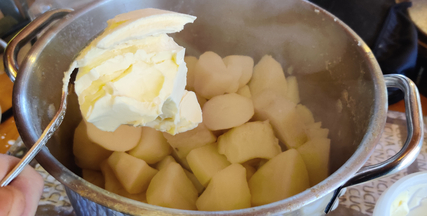
Margarine was taken out and some taken up with a knife:
Margarine on a table knife
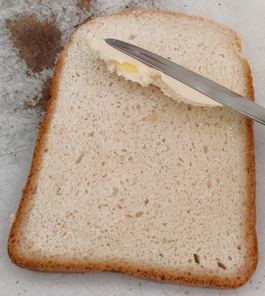
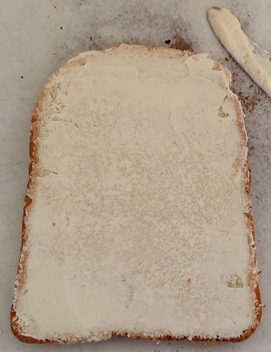
A frozen slice of bread — not two as called for in my recipe, because the bread I make in a bread machine is tall enough to justify cutting it in half when making sandwiches (see below) — was taken out, and the margarine was spread on it:
Margarine spread on a frozen slice of bread
Margarine spread on a frozen slice of bread
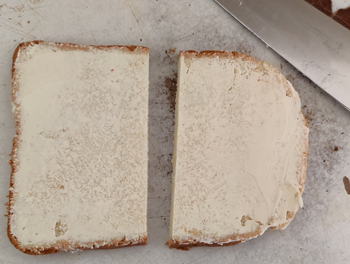
The slice of bread was cut into two halves:
Slicing bread into two halves
Slice of bread with margarine cut into two halves
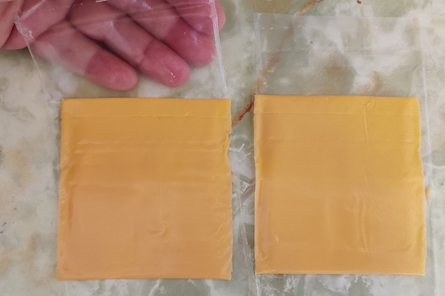
Two slices of processed cheese (or “American cheese” slices) were taken out and unwrapped, and placed on the counter to warm up to room temperature (note that natural cheese sliced off the block may be used):
Two slices of processed cheese taken out and unwrapped
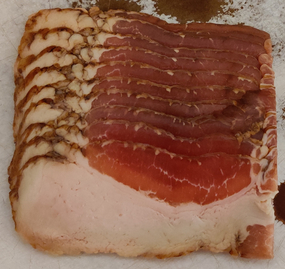
Every once in a while, I buy a large 2kg case of breakfast sausages, cook them all up at once, and then I keep them in the freezer for future eating. I do the same thing with bacon for my mom. If you don’t do so, at this point and according to your preference, cook up some breakfast sausage(s) and/or some bacon.
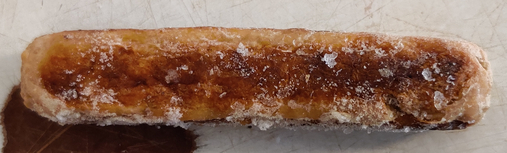
I then took out a frozen cooked breakfast sausage, and let it warm up a few minutes on the counter:
Cooked (and frozen) breakfast sausage taken out
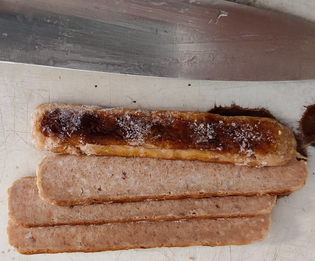
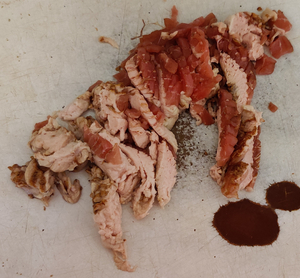
The sausage was then sliced into four strips along its length:
Cooked sausage sliced along its length four times
The sausage was put aside for a few moments.
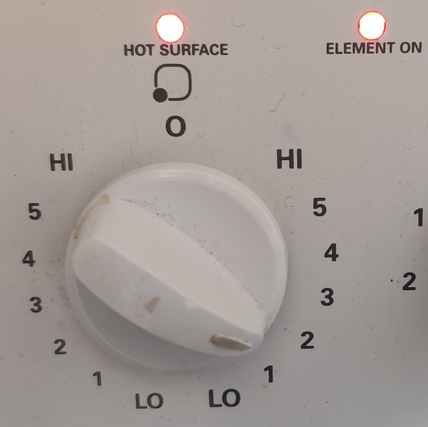
A burner on my stove was turned on to a low to medium heat:
Stove turned on to a low to medium heat
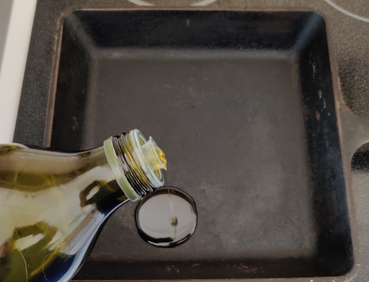
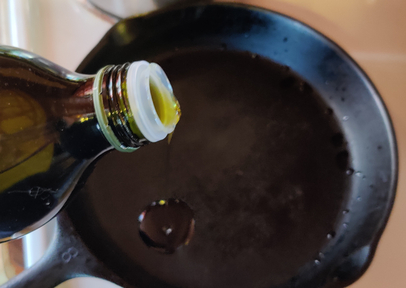
A cast iron skillet was placed on the stove, and a bit of olive oil was poured into the cast iron skillet:
Olive oil poured into the cast iron skillet:
The olive oil was then spread over a part of the cast iron skillet:
Olive oil spread in the cast iron skillet
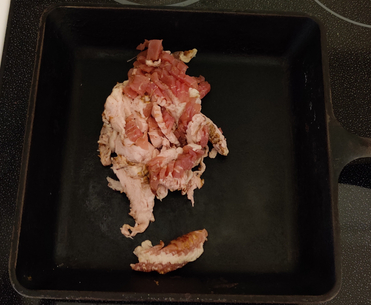
At this point, I placed the slices of breakfast sausage in the cast iron skillet:
Sausage slices placed in the cast iron skillet
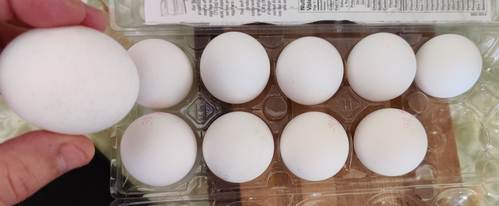
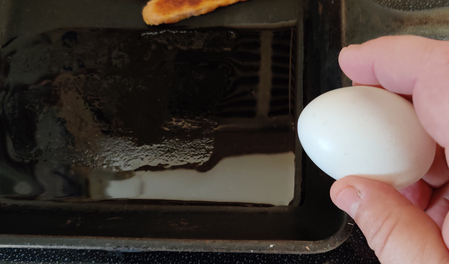
An egg was taken out:
Egg taken out
… and the egg was cracked into the cast iron skillet:
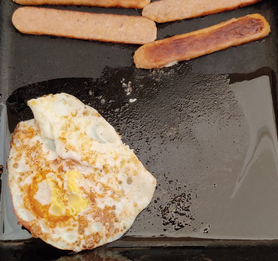
Egg cracked into the cast iron skillet
Egg cracked into the cast iron skillet
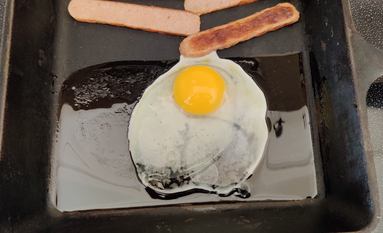
The egg was fried, and — I like eggs over — when it was ready to be turned over …
Fried egg ready to be turned over
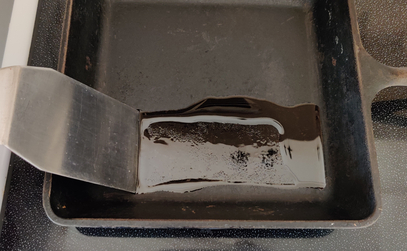
… the cast iron skillet was somewhat re-positioned, and I lifted the fried egg with a flipper …
Fried egg being lifted up with a flipper
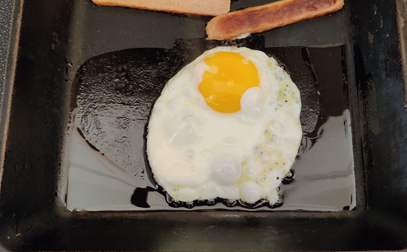
… and the egg was turned over and fried on the other side:
Fried egg turned over in cast iron skillet
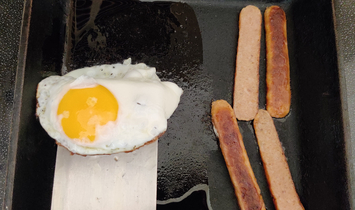
When the fried egg was finished cooking, it was transferred to a plate:
Fried egg transferred to a plate
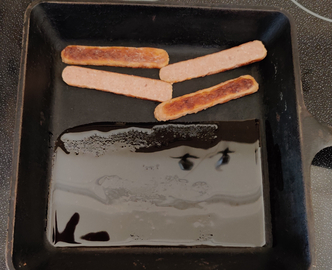
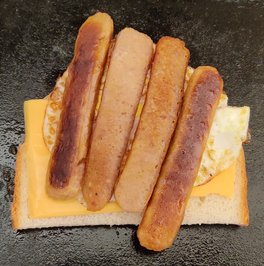
… and the fried sausage slices were also transferred on top of the fried egg:
Fried sausage slices transferred to the top of the fried egg
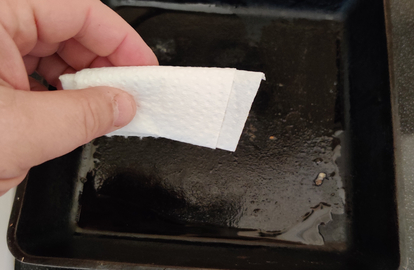
The free oil and grease in the cast iron skillet were wiped up with a paper towel (watch out, the cast iron skillet is hot!):
Hot oil and grease wiped up with a paper towel
A slice of the bread with the margarine was placed in the hot cast iron skillet, margarine side down:
Slice of bread placed in cast iron skillet, margarine side down
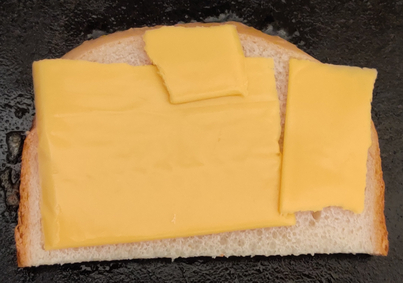
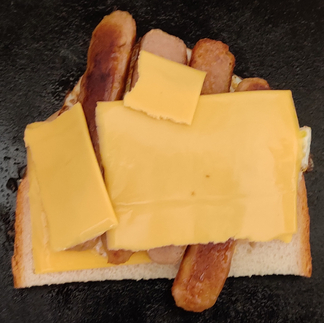
One of the slices of processed cheese was placed on the slice of bread, and “made to fit”:
Slice of processed cheese placed on the slice of bread
The fried egg and sausage were placed on top of the slice of processed cheese:
Fried egg and sausage placed on top of the slice of processed cheese
The second slice of processed cheese was placed on the slice of bread, and “made to fit”:
Slice of processed cheese placed on the slice of fried egg and sausage
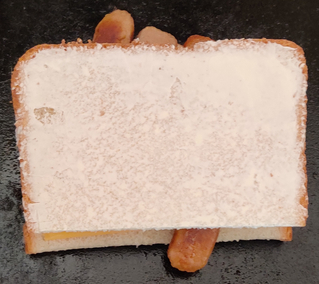
… and finally, the second slice of bread with margarine on it was placed on top of the slice of processed cheese, margarine side up:
Slice of bread placed on top of the slice of processed cheese, margarine side up
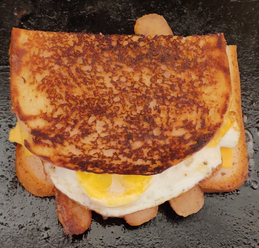
After a few moments, the sandwich was flipped over, and the bottom side, now the top, had been nicely browned:
Sandwich turned over to brown the other side
After a few more moments, the sandwich was lifted out of the cast iron skillet and served on a plate:
Back in the mid 1990’s, my church published a cookbook with recipes from the membership. I began making a zucchini with bacon and onion sauce dish submitted by a fellow parishioner in the mid- to late-2000’s, and, besides finding it tasty, I was pleasantly surprised both at how easy it was to make, and, even more surprisingly, how it immediately came across as a restaurant-quality dish. In fact, shortly after, I happened to be at a restaurant, and ordered a similar dish as an appetizer!
Note that the amounts of some of the ingredients shown below are sometimes greater than listed in the recipe, in order to have some of the sauce leftover.
First, bacon was taken out (in this case, half slices):
Bacon taken out
The bacon was sliced crosswise / diced:
Bacon sliced crosswise / diced
The bacon was then placed in a cast iron skillet:
Bacon placed in a cast iron skillet
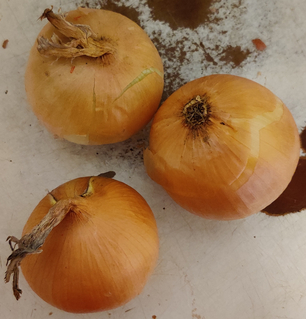
Onions were taken out:
Onions taken out
The onions were cleaned and trimmed:
Onions cleaned and trimmed
The onions were quartered:
Onions quartered
The onions were then chopped coarsely:
Onions chopped coarsely
The onions were then placed in the cast iron skillet with the bacon:
Onions placed in cast iron skillet with the bacon
The stove was turned on to a low to medium heat:
Stove turned on to low to medium heat
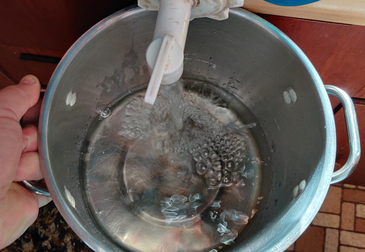
A pot was filled with water:
Pot filled with water
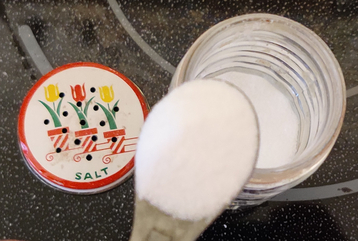
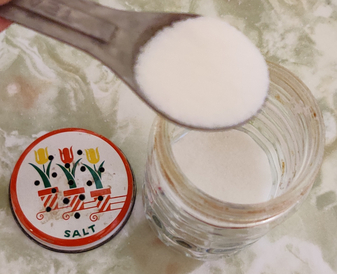
Salt was measured out:
Salt measured out
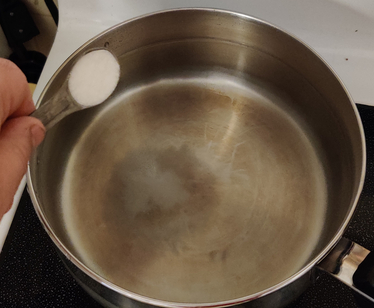
The salt was added to the pot of water:
Salt added to the pot of water
The stove under the pot was turned on high to boil the water in the pot:
Stove under the pot of water turned on
The water was brought to a boil, and put aside.
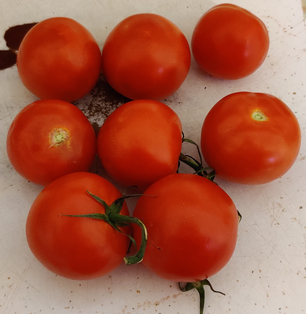
Tomatoes were taken out:
Tomatoes taken out
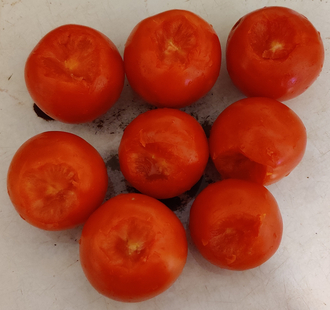
The tomatoes were cleaned and trimmed:
Tomatoes cleaned and trimmed
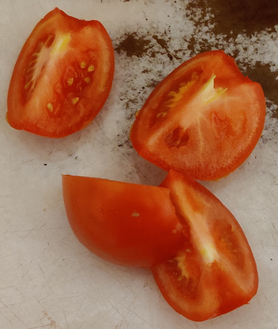
The tomatoes were quartered …
Tomatoes quartered
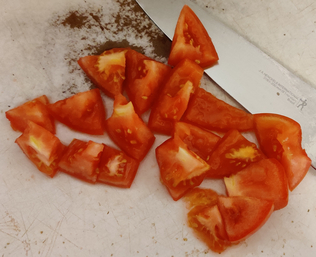
… the tomatoes were further chopped:
Tomatoes further chopped
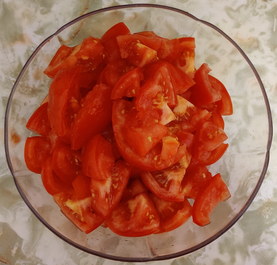
… and the chopped tomatoes were placed in a mixing bowl:
Tomatoes placed in a mixing bowl
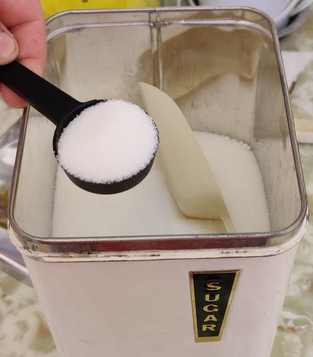
Sugar was measured out:
Sugar measured out
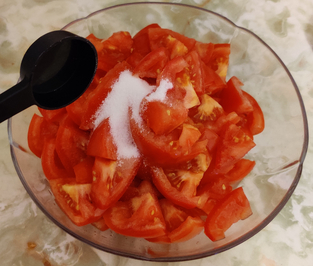
The sugar was added to the mixing bowl with the tomatoes:
Sugar added to tomatoes
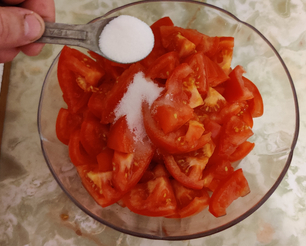
More salt was measured out:
Salt measured out
The salt was added to the bowl with the tomatoes and the sugar:
Salt added to tomatoes and sugar
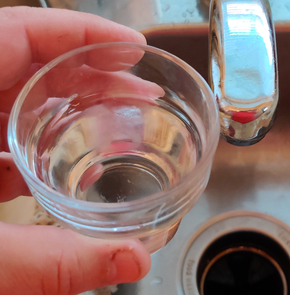
Water was measured out:
Water measured out
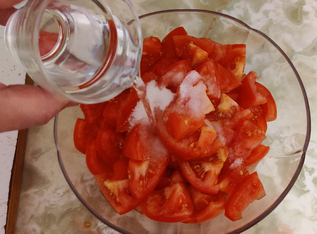
The water was added to the bowl with the tomatoes, sugar, and salt:
Water added to the bowl with the tomatoes, sugar, and salt
… and the bowl with the tomatoes, sugar, salt, and water was put aside.
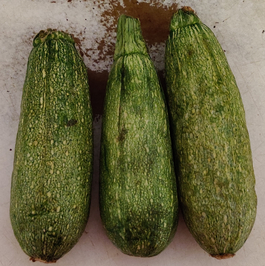
Three zucchinis (in this case, grey zucchinis) were taken out:
Zucchinis taken out
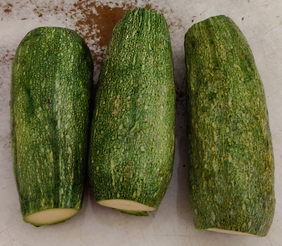
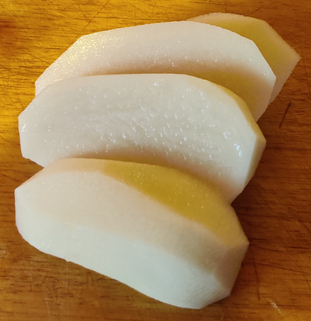
The zucchinis were cleaned and trimmed:
Zucchinis cleaned and trimmed
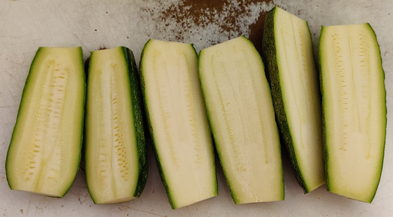
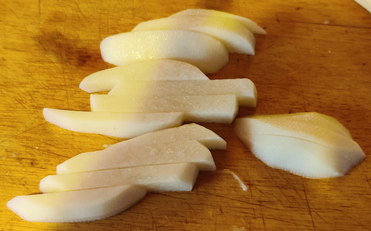
The zucchinis were cut in half along their length:
Zucchinis cut in half along their lengths
… and the zucchinis were put aside.
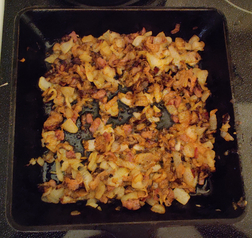
Soon, the bacon and onions were beginning to be cooked and caramelized:
Cooked bacon and caramelized onions
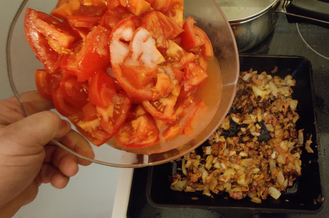
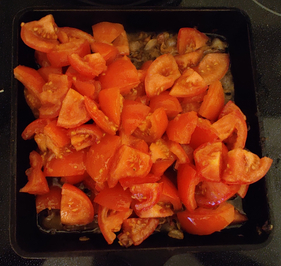
… and the tomato mix was added to the bacon and onions in the cast iron skillet:
Tomato mix added to the cast iron skillet
Tomato mix added to the cast iron skillet
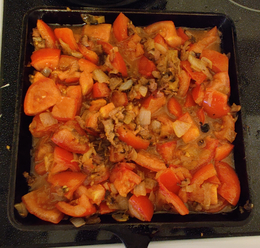
… and the ingredients in the cast iron skillet were mixed together:
Ingredients mixed together in the cast iron skillet
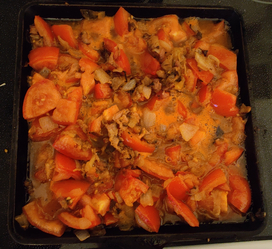
The ingredients were brought to a simmer:
Ingredients brought to a simmer
The ingredients were reduced, during which the tomatoes also disintegrated into the sauce
Sauce reduced
At this point, the salted water was brought back to a boil:
Salted water brought back to a boil
… and the zucchini halves were added to the boiling water …
Zucchini halves added to the boiling water
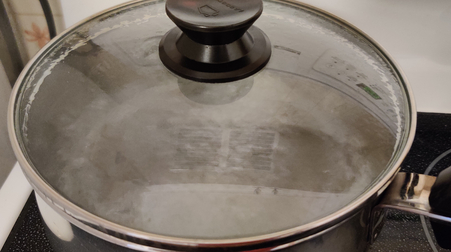
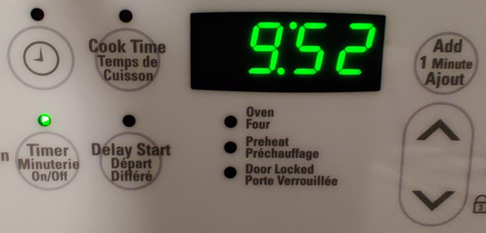
… and the zucchini halves were boiled for ten minutes (obviously, the photo was taken about eight seconds after the timer was set):
Timer set to 10 minutes
Zucchini being boiled for ten minutes
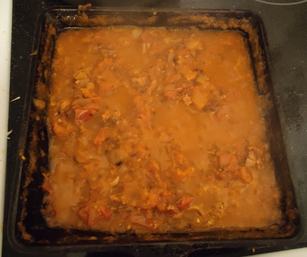
At this point, the sauce had sufficiently reduced to my liking, and was ready for serving:
Sauce ready for serving
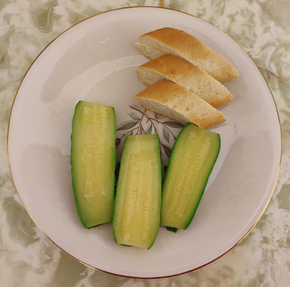
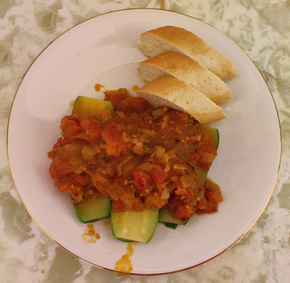
The zucchini were served onto two plates:
Boiled zucchini served on a plate, with sliced baguette bread
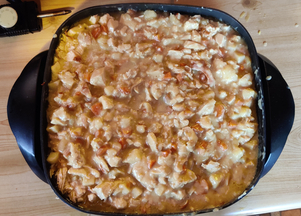
I made chicken pot pies (a family favourite) this past weekend, along with crisped rice squares, two batches of bran muffins for mom, and some cooked ground beef and onions frozen in ice cube trays in the freezer. The chicken pot pies I make are more chicken cottage pies than what most people consider to be chicken pot pies, because there is a potato topping instead of a flaky crust; additionally, the sauce in the filling is somewhat less liquid than most people would expect from a chicken pot pie.
This recipe was added to my collection of recipes in the mid to late 2000’s as another making-a-lot-in-advance freezer food project, based on a recipe I’d found on the internet and adjusted for amounts to make freezer quantities, and using commercial chicken broth instead of making my own.
Note that below, while there may appear to be a distinct sequence of steps to be taken, presented as such for the sake of the narrative, many steps were actually performed simultaneously and / or overlapping with each other as given steps were finished and new steps begun. Also, note that I was again cooking at the cottage, using water from containers, because the water system is turned off during the winter.
First, water was put in a large pot:
Water poured into a large pot
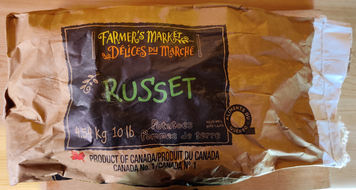
Then, ten pounds of potatoes were taken out …
Ten pound bag of potatoes taken out
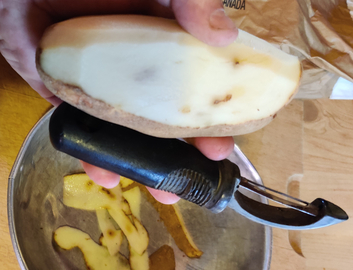
The potatoes were peeled …
Peeling potatoes
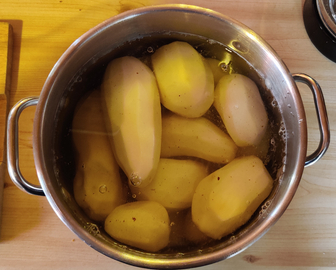
… and the peeled potatoes were placed in the pot with the water:
Peeled potatoes in the pot of water
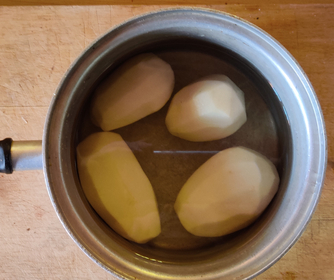
Four peeled potatoes were put aside for later use in the filling:
Four potatoes put aside for later use in the filling
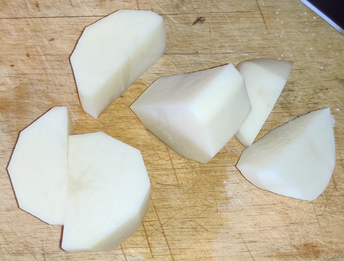
The rest of the potatoes were quartered …
Potatoes quartered
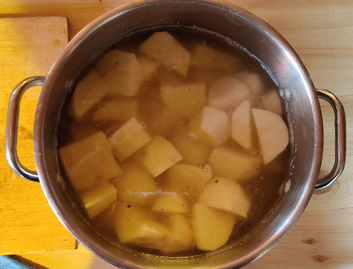
… and placed back in the pot of water:
Quartered potatoes placed in pot of water
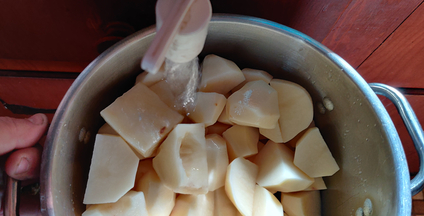
The water was drained from the pot, and fresh water was added to the pot, covering the potatoes:
Fresh water being added to the drained pot of quartered potatoes
Quartered potatoes covered with fresh water
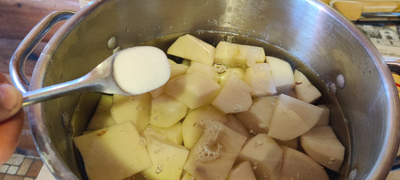
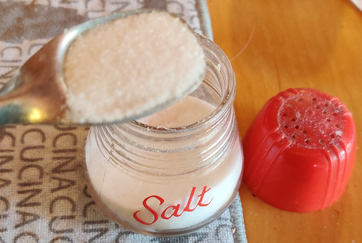
Salt was measured out:
Salt measured out
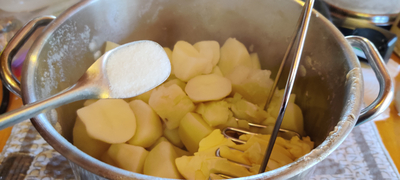
… and the salt was poured into the pot with the quartered potatoes:
Salt poured into the pot with the quartered potatoes
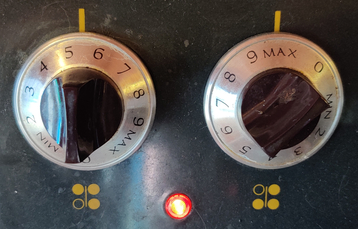
The stove was turned on for boiling the potatoes (rear burner), as well as frying the chicken breasts (front burner) (see next section):
Front and rear burners on stove turned on
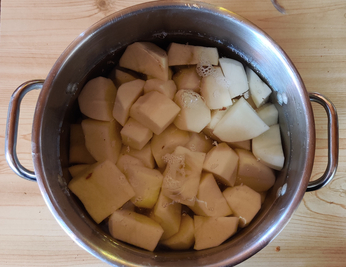
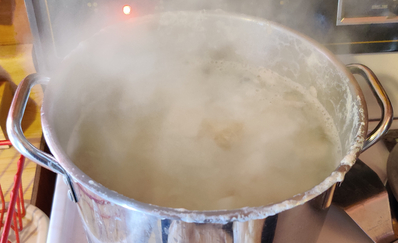
… and the potatoes were brought to a boil …
Potatoes brought to a boil
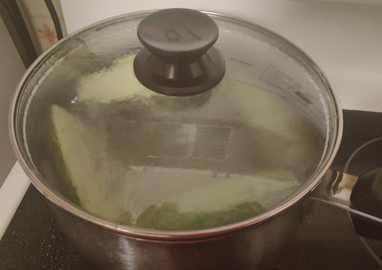
… and kept boiling for twenty (20) minutes:
Timer set to about 20 minutes
In the meantime, chicken breasts were taken out …
Chicken breasts taken out
Olive oil was lightly poured into a cast iron skillet …
Olive oil poured lightly into a cast iron skillet
… salt was added to the cast iron skillet …
Salt added to the cast iron skillet
… and the chicken breasts were placed in the cast iron skillet and salted, to be slowly pan fried:
Chicken breasts added to the skillet
While the chicken breasts were cooking, occasionally being turned over several times in order to avoid burning on the outside while leaving the centres under-cooked, vegetables were prepared.
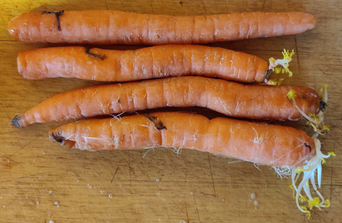
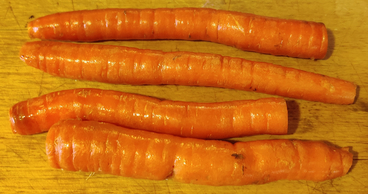
Carrots were taken out:
Carrots taken out
The carrots were cleaned and trimmed:
Carrots taken out
The carrots were then cut along their length twice, quartering them and creating spears:
Carrots sliced into spears
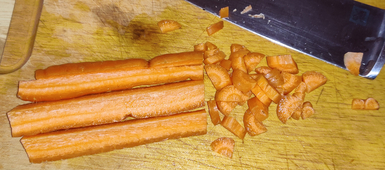
The carrots were then chopped coarsely:
Carrots chopped coarsely
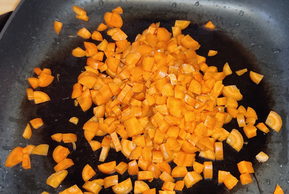
… and finally, the chopped carrots were placed in an electric skillet, and put aside:
Chopped carrots in electric skillet
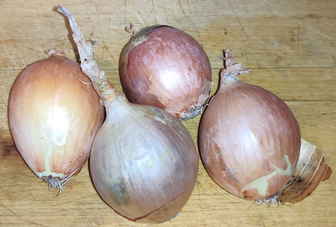
Onions were taken out:
Onions taken out
The onions were cleaned and trimmed:
Cleaned and trimmed onions
The onions were roughly quartered:
Quartered onions
… and then the onions were chopped coarsely:
Coarsely chopped onions
… and finally, the chopped onions were placed in the electric skillet with the carrots, and put aside:
Chopped onions placed in electric skillet
The peeled potatoes put aside earlier were taken out:
Peeled potatoes from earlier taken out
The potatoes were sliced along their length:
Potatoes sliced along their length
The potatoes were again sliced along their lengths, crosswise, in order to make spears:
Potatoes sliced into spears
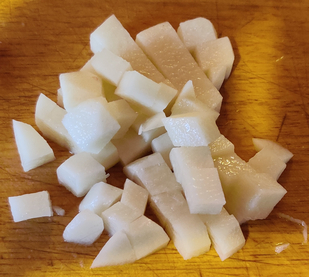
The potatoes were sliced into small cubes, about half an inch:
Potatoes sliced into cubes
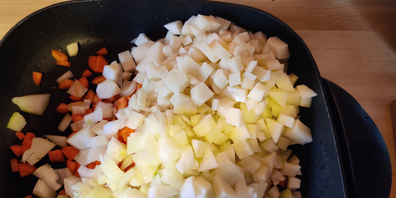
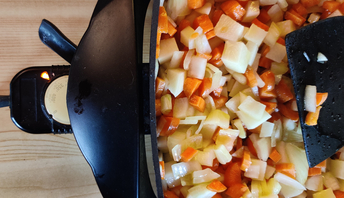
… and finally, the cubed potatoes were placed in the electric skillet with the carrots and onions:
Potatoes added to carrots and onions
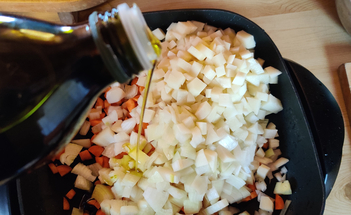
Olive oil was added to the carrots, onions, and potatoes in the electric skillet:
Olive oil added to the vegetables
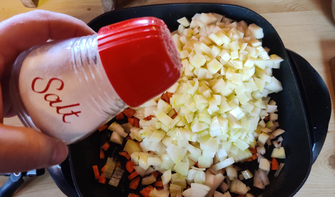
Salt was added to the vegetables and olive oil:
Salt added to vegetables and olive oil
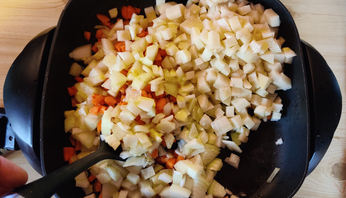
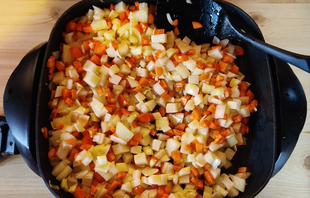
The vegetables, olive oil, and salt, were mixed together:
Mixing vegetables, olive oil, and salt
Vegetables, olive oil, and salt thoroughly mixed
The vegetable mix and electric skillet were put aside until after the next step (mashing potatoes).
At this point, I turned my attention back to the potatoes, which were almost finished boiling.
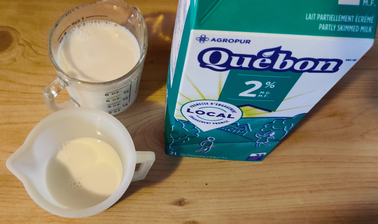
Milk was taken out and measured:
Milk measured out
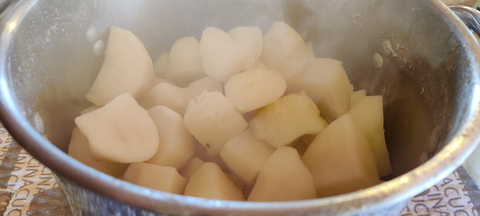
The boiled potatoes were drained:
Drained potatoes
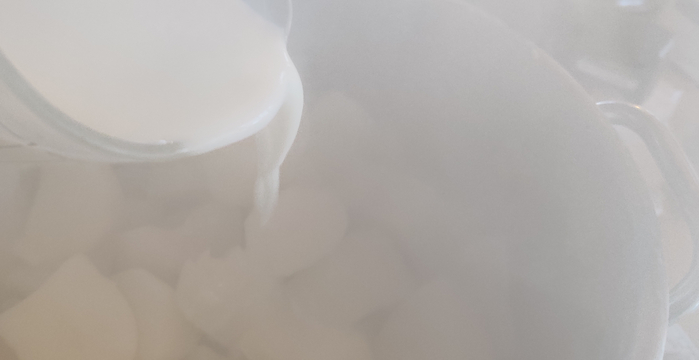
… and the milk was poured into the pot of still steaming boiled potatoes:
Milk poured into the pot of boiled potatoes
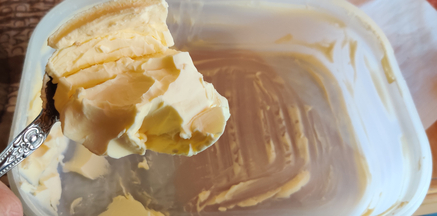
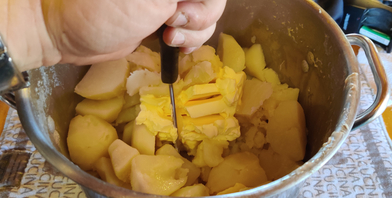
Margarine was taken out, and a couple of dollops of margarine were measured out:
Dollops of margarine measured out
… and the margarine was added to the potatoes and milk:
Margarine added to the potatoes and milk
Salt was measured out again:
Salt measured out
… and the salt was added to the pot of boiled potatoes, milk, and margarine:
Salt added to boiled potatoes, milk, and margarine
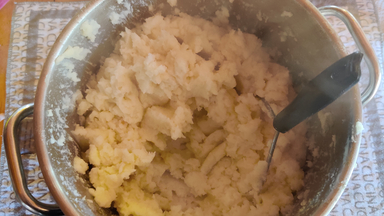
The potatoes were mashed with a hand-held masher:
Mashing the potatoes, milk, margarine, and salt together
Mashed potatoes
The mashed potatoes were covered and put aside for later.
Back to the mixed chopped vegetables, the electric skillet was turned on …
Electric skillet turned on
… and the mixed chopped vegetables were fried.
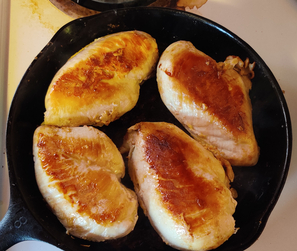
In the meantime, the chicken breasts had become nicely cooked and browned:
Cooked and browned chicken breasts
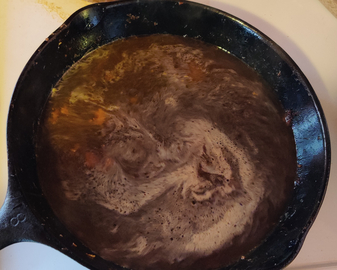
The chicken was removed from the cast iron skillet, and put aside on a plate for a few moments.
Water was poured into the cast iron skillet to deglaze the pan:
Water added to pan to deglaze it
The cast iron skillet with the deglazing liquid were put aside for a few moments.
During this time, the vegetables began frying nicely:
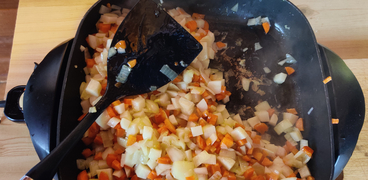
Frying chopped vegetables
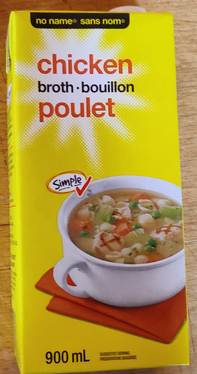
A box of commercial chicken broth was taken out …
Chicken broth taken out
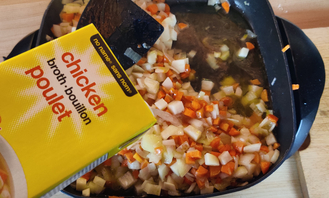
… and the chicken broth was poured over the frying vegetables:
Chicken broth poured over frying vegetables
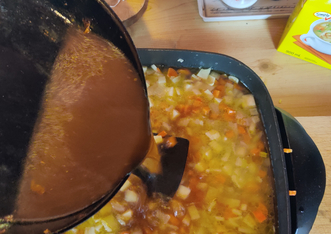
The deglazing liquid from the cast iron skillet was poured into the electric skillet with the vegetables and chicken broth:
Pouring deglazing liquid from the cast iron skillet into the electric skillet
The liquid in the electric skillet was brought to a boil:
Liquid in the electric skillet brought to a boil
The vegetables and liquid were covered and simmered for about 20 minutes.
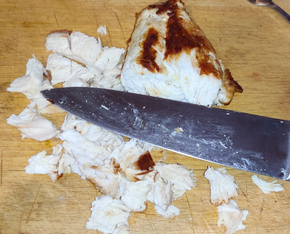
In the meantime, back to the cooked chicken breasts, the chicken breasts were cut into rough cubes and smaller:
Cooked chicken breasts cut into small pieces
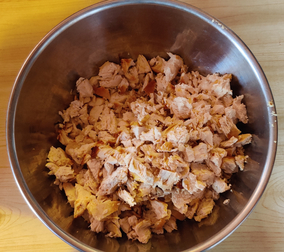
The chopped cooked chicken was then placed in a bowl, and put aside for a few moments:
Chopped cooked chicken
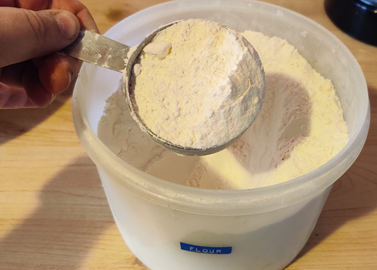
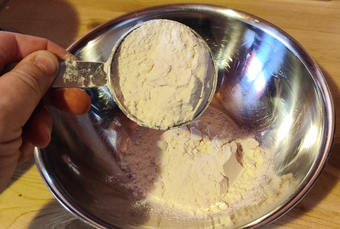
A cup of flour was measured out …
Flour measured out
… and poured into a mixing bowl:
Flour poured into a mixing bowl
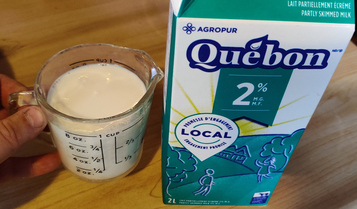
Two more cups of milk were measured out:
Milk measured out
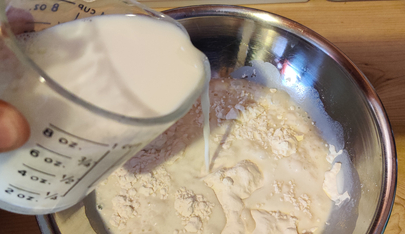
… and poured over the flour in the mixing bowl:
Milk poured over flour in mixing bowl
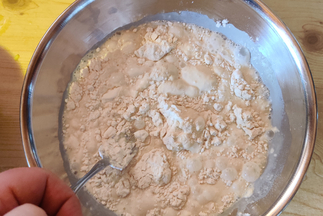
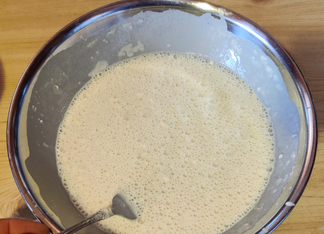
The flour and milk were thoroughly mixed with a fork:
Mixing flour and milk with a fork
Flour and milk thoroughly mixed
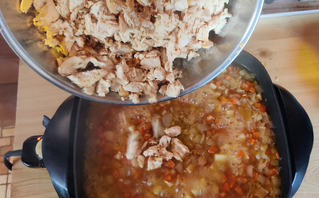
At this point, the vegetables and broth had been simmering for 20 minutes, and the chopped chicken was transferred to the electric skillet with the chopped vegetables and broth:
Chopped chicken being added to the electric skillet
Chopped chicken added to the electric skillet
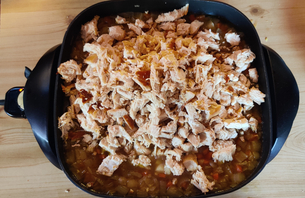
The ingredients were mixed together with a large serving spoon:
Ingredients mixed with a large serving spoon
At this point, timing becomes important in order to mix things properly, before heat thickens the milk and flour mixture too much, making proper mixing more difficult.
The flour and milk mixture was added to the rest of the ingredients in the electric skillet:
Flour and milk mixture being added to the ingredients in the electric skillet
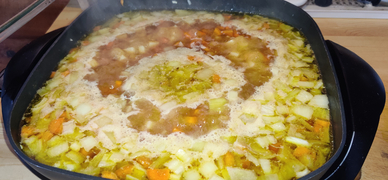
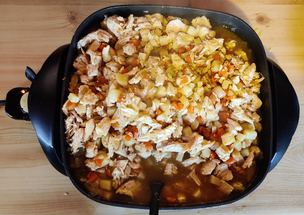
The electric skillet was unplugged, and quickly, the ingredients were all mixed together, fully mixing all the liquids as well as the rest of the ingredients:
All ingredients fully mixed
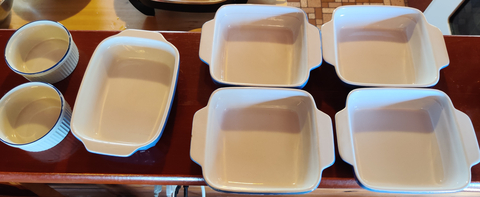
Previously, a number of baking containers were laid out:
Baking containers laid out
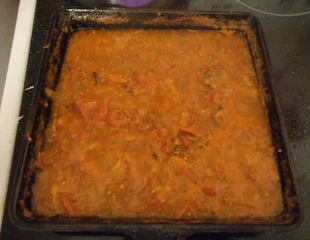
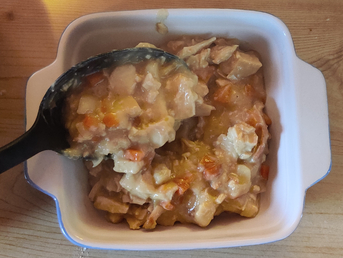
The filling was spooned into the baking pans, to about half the depth of the baking pans:
Filling spooned into baking pans
Baking pans filled with chicken / vegetable / sauce filling
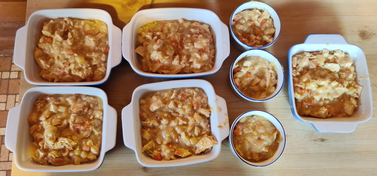
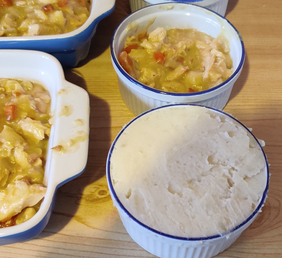
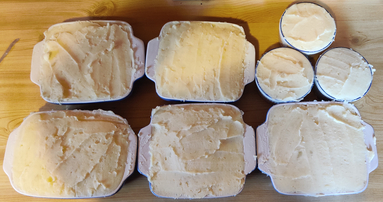
The still warm mashed potatoes were spread on top of the chicken / vegetable / sauce filling in the baking pans:
Mashed potatoes were spread on top of the chicken / vegetable / sauce filling
All baking pans with mashed potato topping and filling
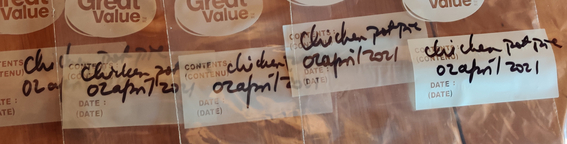
Sealable freezer bags were identified:
Identified freezer bags
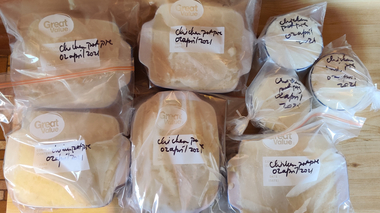
The chicken pot pies were placed in individual bags:
Chicken pot pies in individual bags
And finally, the chicken pot pies were placed in the freezer for freezing, and of course future eating!