Making Plain Cake (With Lemon Sauce) — Photos

This weekend’s cooking projects from my collection of recipes included more chocolate buttecrunch, more bran muffins, and the subject of this post, plain cake, with the addition of a lemon sauce as an experiment.

I came about to learning to make plain cake from scratch after I attempted to make a New York crumble cake I’d seen being made on a Martha Stewart cooking show. Not only was the cake not as expected — we were expecting mostly cake with a modest but tasty crumble crust, instead of the actual small amount of cake and a sizable crumble crust — the cake did not bake well, and I was very disinclined to try it again. The next day, I looked for a plain cake recipe on the internet and found one, which I adapted to my format.

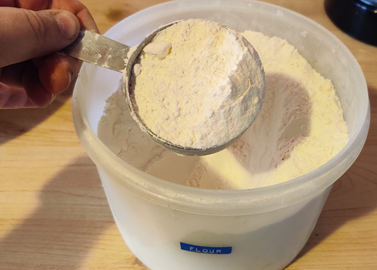
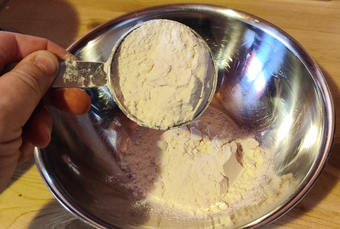
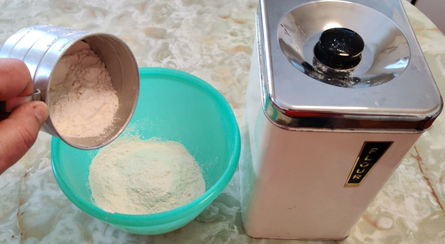
First, two cups of flour were placed in a mixing bowl:

Two cups of flour added to a mixing bowl

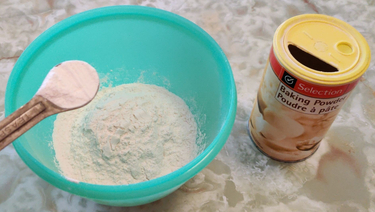
… to which two teaspoons of baking powder were added:

Baking powder added to the flour

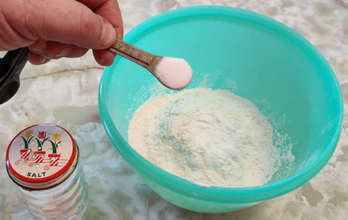
… as well as a quarter teaspoon of salt:

Quarter teaspoon salt added to flour and baking powder

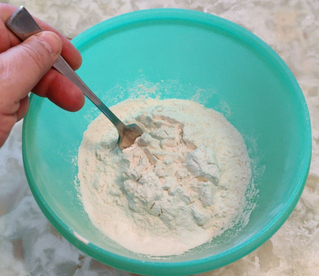
The flour, baking powder, and salt were blended with a fork:

Blending flour, baking powder, and salt

The bowl was then put aside until later.

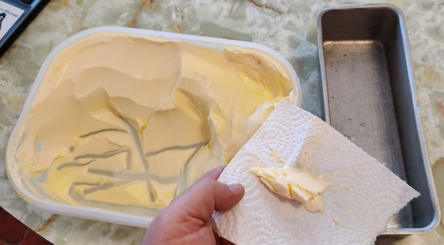
Margarine was picked up on a piece of paper towelling:

Margarine on a piece of paper towel

… in order to coat the interior surfaces of the baking pan:

Inner surfaces of baking pan coated with margarine

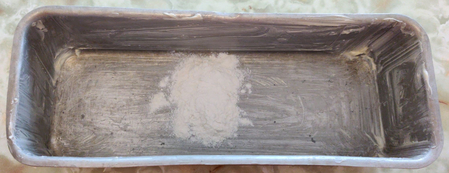
Then, a bit of flour was put in the pan …

Flour put into pan

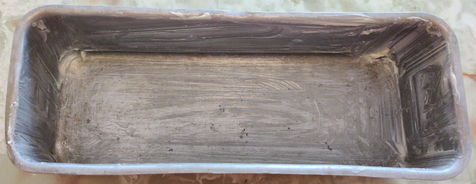
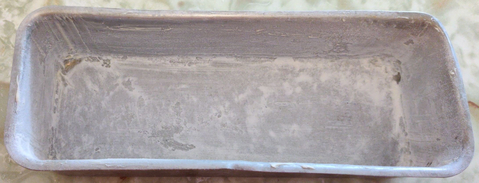
… and spread around to coat the margarine:

Baking pan coated with flour and margarine

The baking pan was also put aside until later.

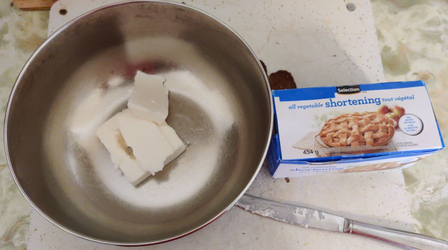
In another mixing bowl, a quarter cup of shortening was added:

A quarter cup of shortening in a mixing bowl

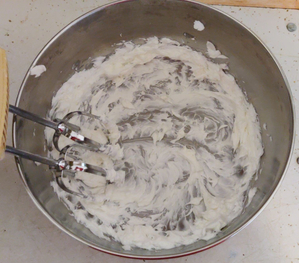
The shortening was creamed with an electric mixer:

Creamed shortening

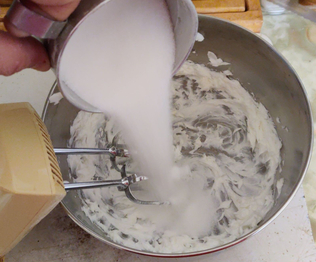
A cup of sugar was added to the creamed shortening:

Adding a cup of sugar to the creamed shortening

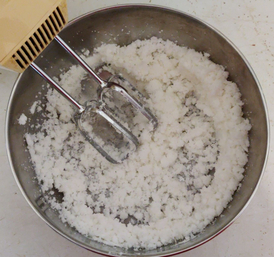
… and the sugar and shortening were blended:

Sugar and shortening blended

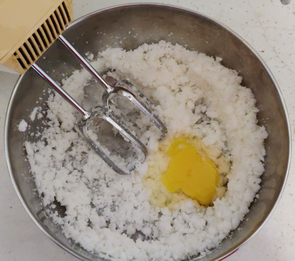
An egg was added to the mixing bowl:

Egg added to mixing bowl

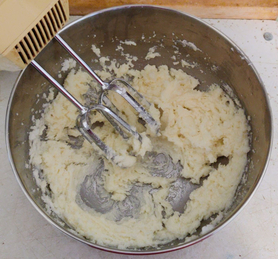
… and the ingredients were again blended:

Egg, sugar, and shortening blended

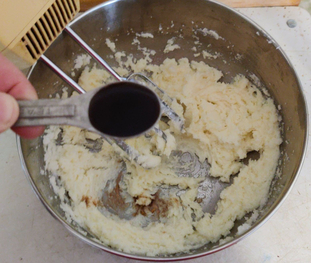
A teaspoon of vanilla extract was added to the mix:

A teaspoon of vanilla extract being added to the mix
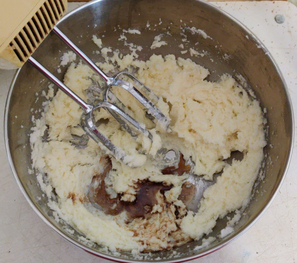
A teaspoon of vanilla extract added to the mix

… and again, the ingredients were blended.

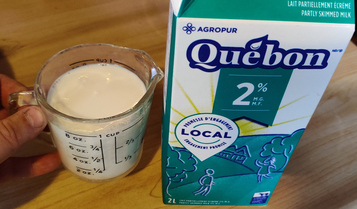
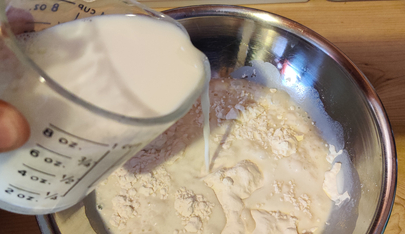
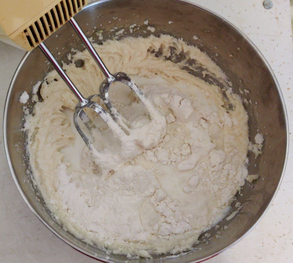
About a third of the flour mix prepared earlier, and about a third of a cup of milk, were added to the ingredients:

A third of the flour mix and a third of a cup of milk added to the ingredients

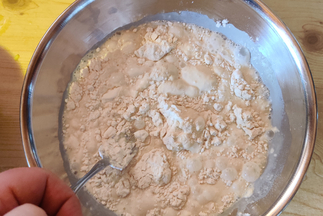
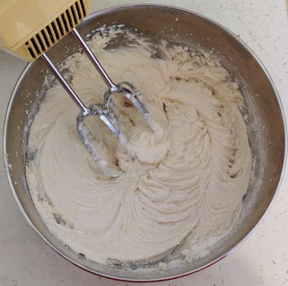
… and completely blended:

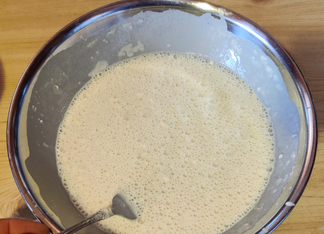
Cake batter thoroughly mixed

The previous two steps were repeated twice until all the milk and flour mix were blended into the batter.

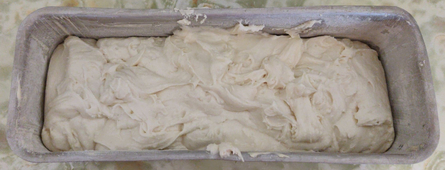
The batter was then transferred to the floured baking pan:

Batter transferred to baking pan

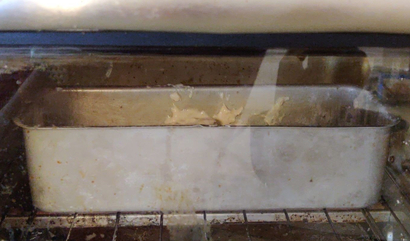
… and placed in a countertop convection oven preheated to 350F:

Cake pan in countertop convection oven

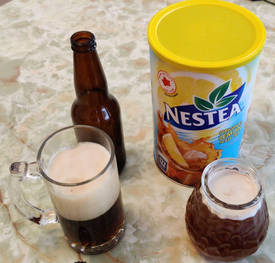
At this point, I was getting rather thirsty, so I poured myself some iced tea, and a bottle of my homebrew, a Belgian-style brown ale, made with water from filtered, melted ice from the lake at my cottage:

Some of my homebrew, and some iced tea
Aaahhhhh …

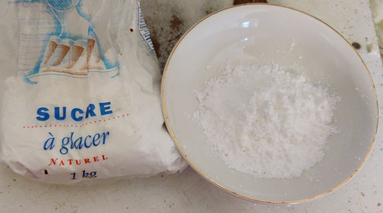
Since my mom suggested that a lemon drizzle be added to the cake, first a few tablespoons of icing sugar were placed in a bowl:

Icing sugar added to a bowl

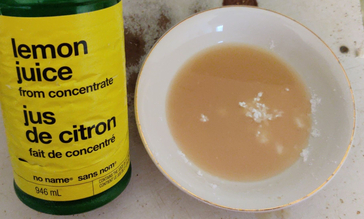
… to which half the number of teaspoons of lemon juice were added:

Lemon juice added to the icing sugar

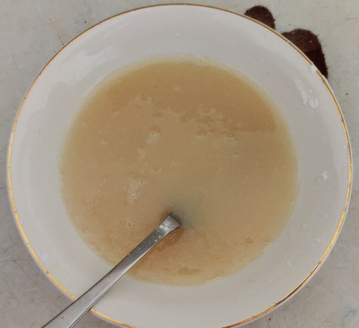
… and the ingredients were mixed, then put aside for later:

Icing sugar and lemon juice mixed together

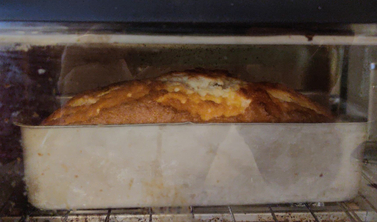
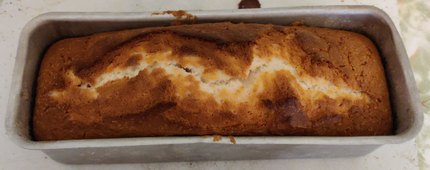
Soon, the cake in the oven was puffing up and browning:

Cake baking in the oven

… and was taken out of the oven after 55 minutes of baking:

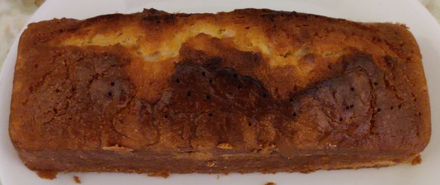
Fully baked cake

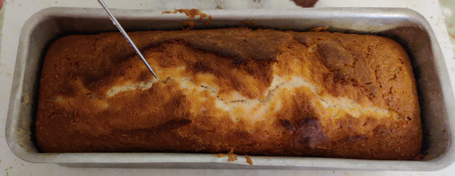
The cake was pricked multiple times with a thick needle …

Pricking the cake

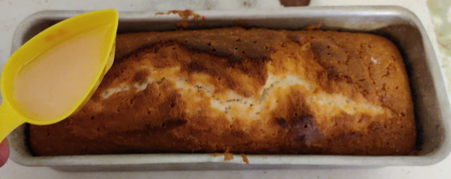
… to allow for some absorption of the lemon sauce which was poured over the cake with a small plastic scoop:

Pouring the lemon sauce on the cake

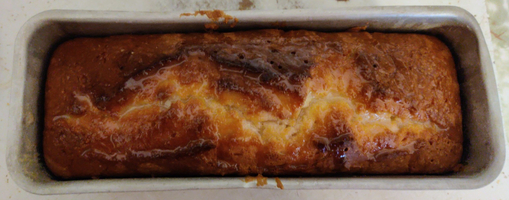
… at which point, the cake looked like follows:

Baked cake with lemon sauce

When cooled, a knife was used to loosen the cake around its edges in the baking pan, and the cake was taken out of the baking pan:

Cake removed from baking pan

A few slices of cake were cut from the cake:

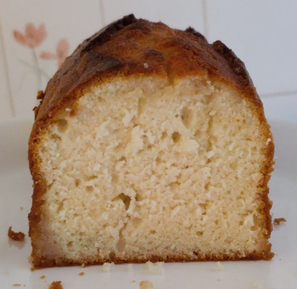
Cake with some pieces sliced off

And, of course, the cake was yummy! And mom said “Delicious!”

Making Chicken Soup — Photos

This week’s cooking project from my collection of recipes is my recipe for chicken soup. Originally, I put together the recipe to make soup on one of the occasions I did so for the coffee and social hour at my church (a different kind of soup from the vegetable soup I initially, and usually, make on such occasions), hence a volume of eight quarts; normally at home, I make four quarts of this soup. However, today I decided I would make the full eight quart recipe and test out how well it freezes, never having tried to freeze this soup before. (Update 20210407: I have since made another eight quarts of the soup, it having been gobbled up rather quickly, and for both batches, it froze and defrosted quite nicely.)

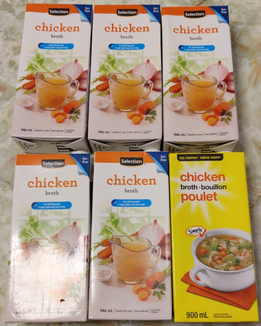
First, I emptied six 900ml boxes of store-bought chicken broth …

Six – 900mL boxes of chicken broth

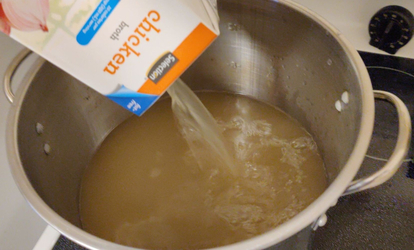
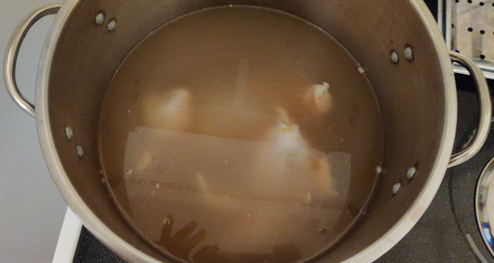
… into my 16 quart stock pot:

Chicken broth transferred to a pot

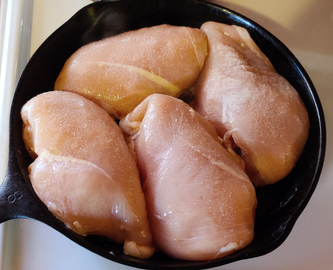
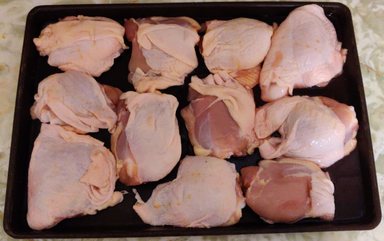
Then, four pounds of chicken pieces …

Four pounds of chicken

… were placed into the chicken broth …

Chicken pieces placed in the chicken broth

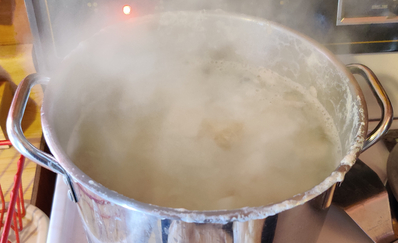
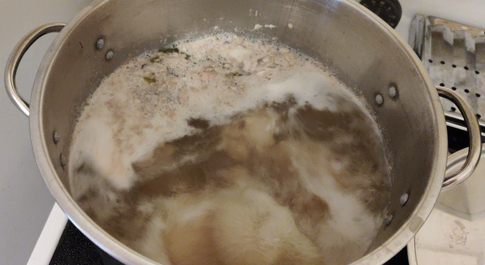
… and brought to a boil:

Broth and chicken brought to a boil

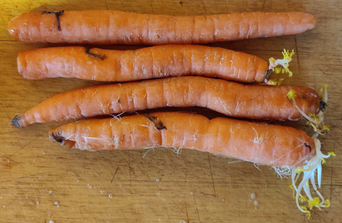
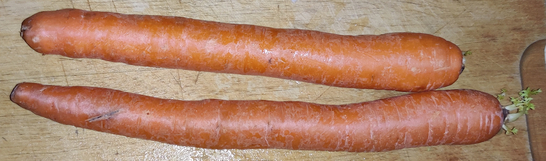
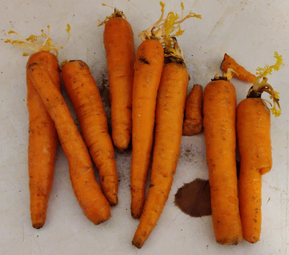
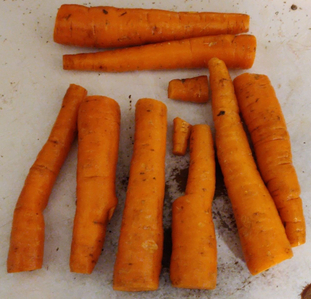
While the broth and chicken were heating up and boiling for about 30 minutes, carrots were taken out (yes, these were a bit on the old side):

Carrots taken out

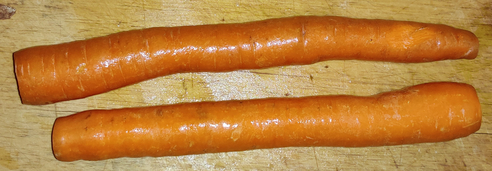
The carrots were cleaned and trimmed:
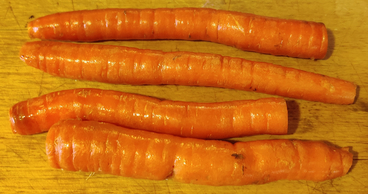
Cleaned and trimmed carrots

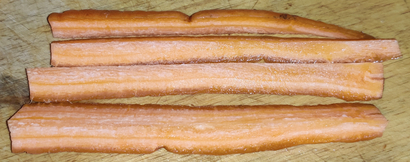
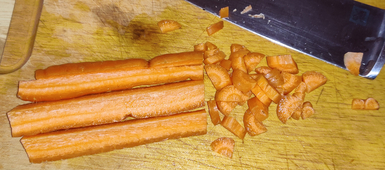
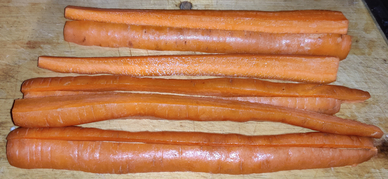
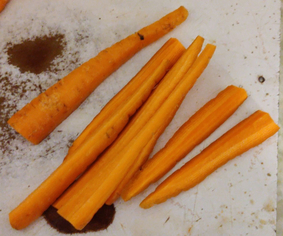
Then, they were quartered, length-wise:

Quartered carrots

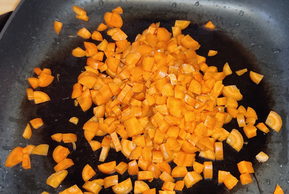
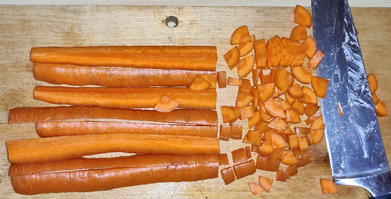
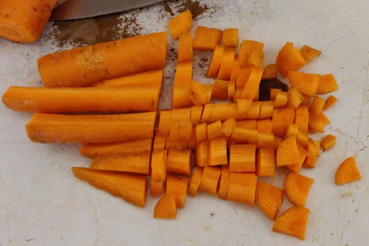
… and then the carrots were chopped coarsely:

Chopped carrots

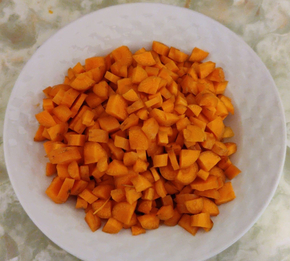
The chopped carrots were placed in a bowl, and put aside for later:

Chopped carrots in a bowl and put aside

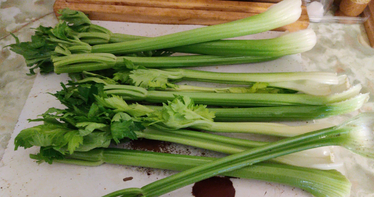
Then, celery (a bit more than called for in my recipe) was taken out and cleaned:

Cleaned celery sticks

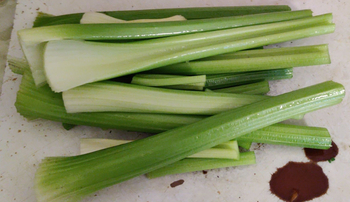
The celery stalks were trimmed:

Trimmed celery stalks

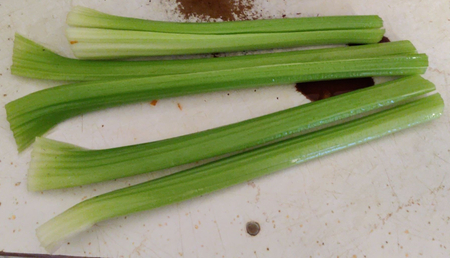
Then the celery stalks were were sliced lengthwise:

Celery stalks sliced lengthwise

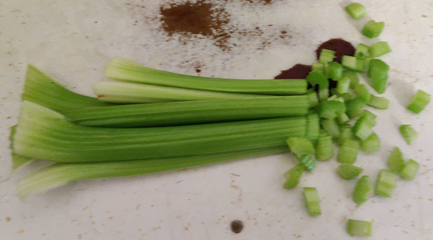
… and then the celery stalks were chopped coarsely:

Chopping the celery

The chopped celery was placed in a bowl, and put aside for later:

Chopped celery in a bowl and put aside

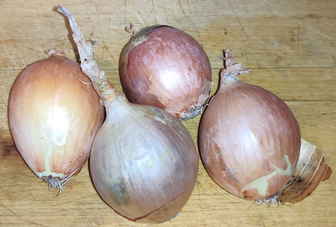
About two pounds of onions were then taken out …

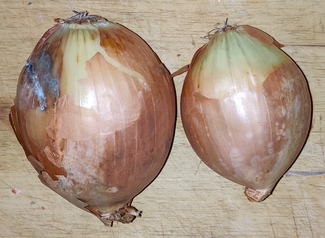
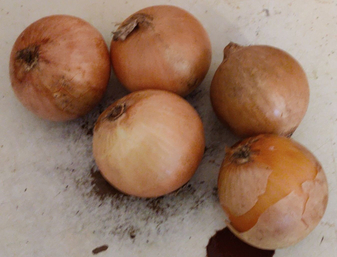
About two pounds of onions

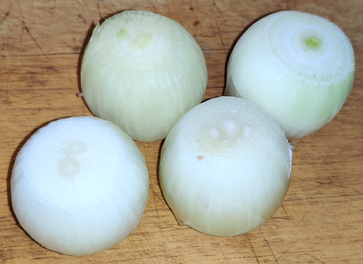
… trimmed …

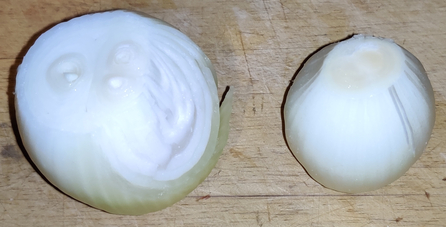
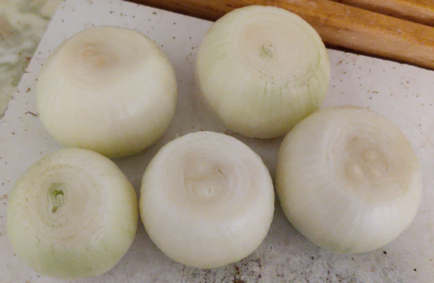
Trimmed onions

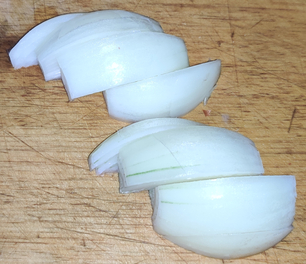
… quartered …

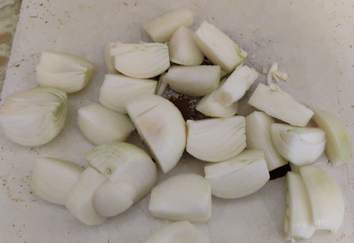
Quartered onions

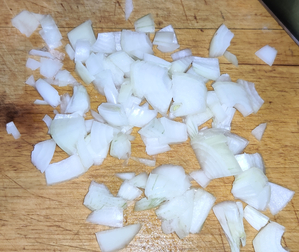
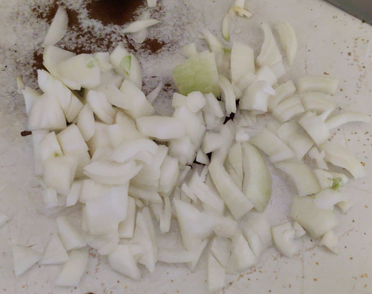
… and chopped coarsely:

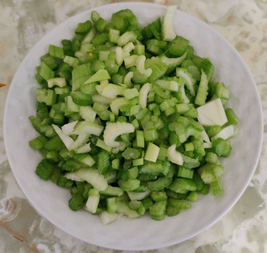
Chopped onions

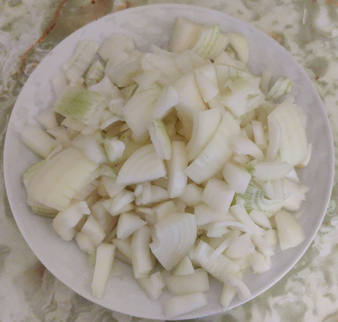
The chopped onions were placed in a bowl, and put aside for later:

Chopped onions in a bowl and put aside

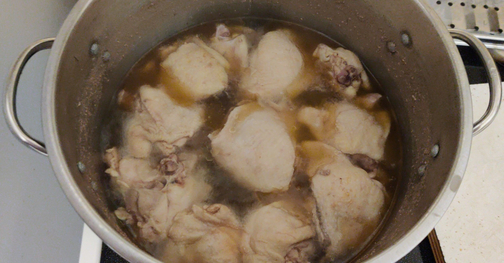
At this point, the chicken and broth had been boiling for about 30 minutes:

Cooked chicken after boiling for 30 minutes

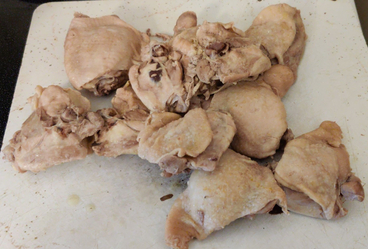
… and the chicken pieces were taken out of the broth, and placed on a cutting board:

Cooked chicken taken out of the broth and placed on a cutting board

The heat under the broth was turned off for the time being, and the chicken put aside for a few moments to allow some cooling.

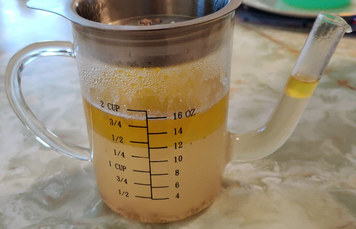
In the meantime, the chicken fat was skimmed off the top of the broth and placed in a fat separator:

Skimmed chicken fat in a fat separator

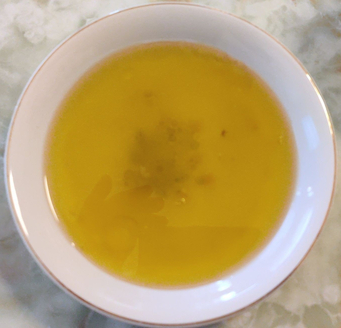
The soup fraction at the bottom was transferred back to the soup pot, and the fat was transferred to a bowl to solidify:

Liquid chicken fat transferred to a bowl

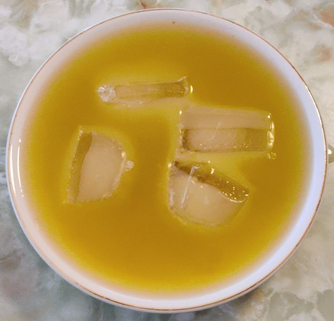
Should one not have a fat separator, the skimmed fat can be placed in a large bowl or pot, and ice can be added to more quickly solidify the fat, allowing for its easy removal so that the (now diluted) soup fraction underneath can be returned to the soup pot:

Ice added to the chicken fat to solidify it and recover the liquid soup underneath

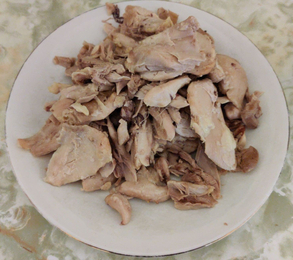
Returning to the soup ingredients, I separated the somewhat cooled chicken meat …

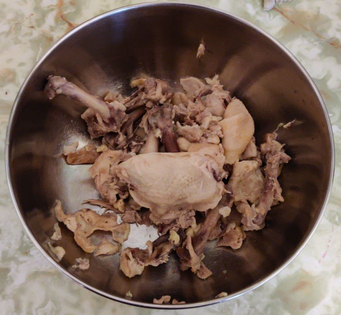
Chicken meat separated from bones, skin, and cartilage

… from the bones, skin, and cartilage:

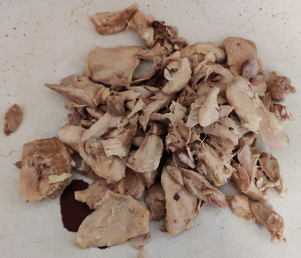
Bones, skin, and cartilage separated from the chicken meat

The bones, skin, and cartilage were wrapped up in paper along with the solidified chicken fat, and the trimmings from the carrots, celery, and onions, to be placed in my curbside brown box for pickup for municipal composting.

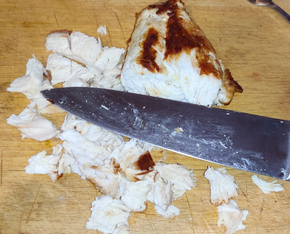
The chicken meat was placed back on the cleaned cutting board:

Chicken meat placed back on the cutting board

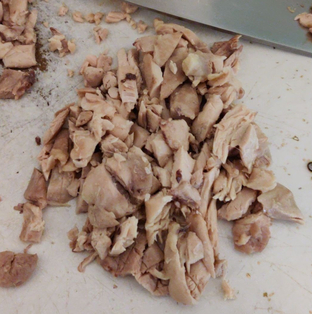
… and the chicken meat was chopped coarsely:

Coarsely chopped chicken

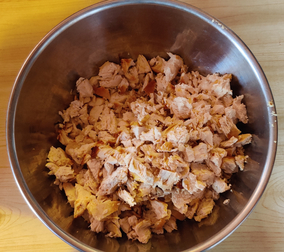
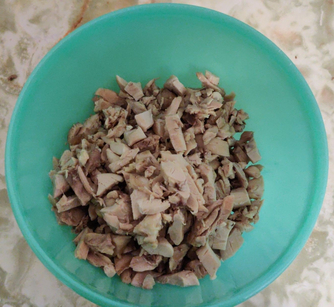
The chopped chicken was placed in a bowl, and put aside for later:

Chopped chicken

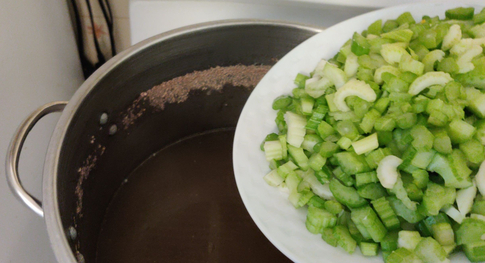
At this point, I started “assembling” the soup, by adding the chopped celery to the still-hot broth:

Adding chopped celery to the chicken broth

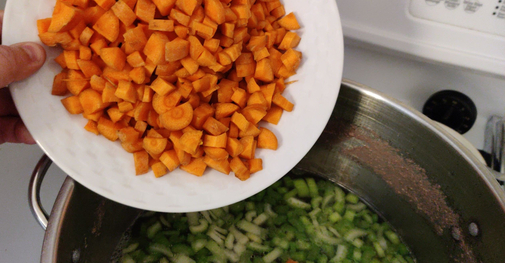
… then the chopped carrots:

Adding chopped carrots to the chicken broth

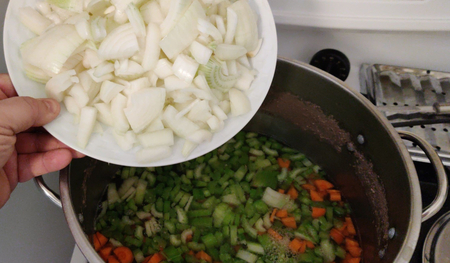
… then the chopped onions:

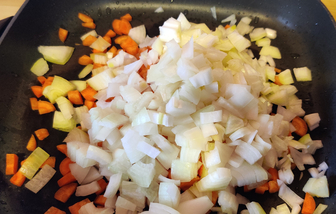
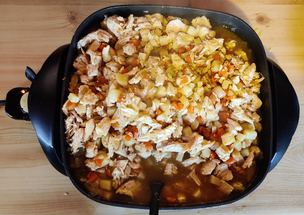
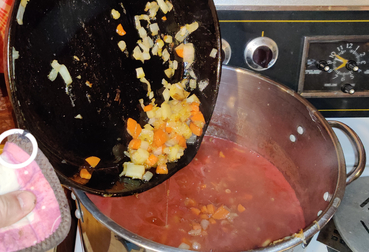
Adding chopped onions to the chicken broth

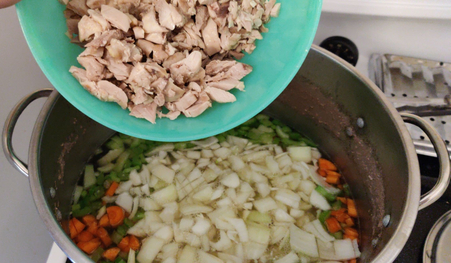
… and finally the chopped chicken meat:

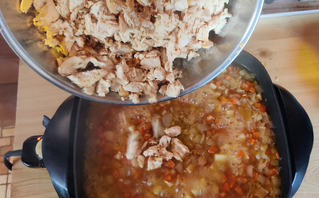
Adding chopped chicken to the chicken broth

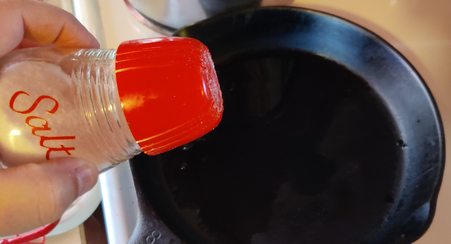
Given that the commercial broth purchased for today’s cooking had sufficient salt content for my liking, barely a shake of extra salt was added to the pot.

The soup was brought to a boil again, and boiled for another thirty minutes:

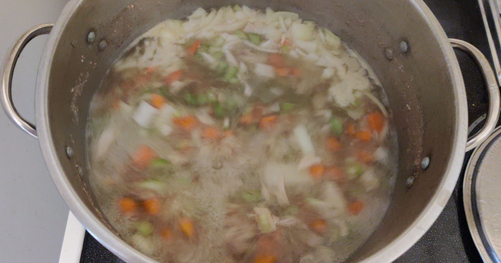
Soup boiling again

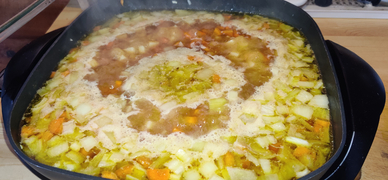
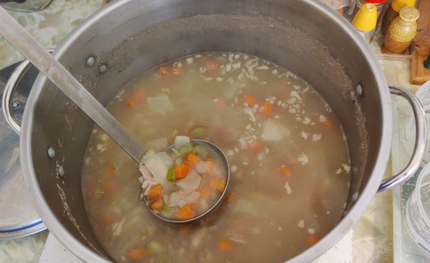
Here’s the soup after boiling all the ingredients together for thirty minutes:

Cooked chicken soup. Yummy!
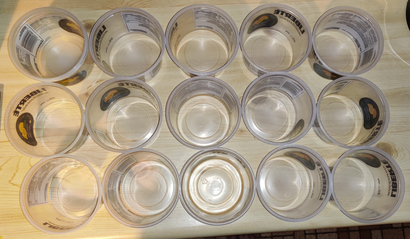
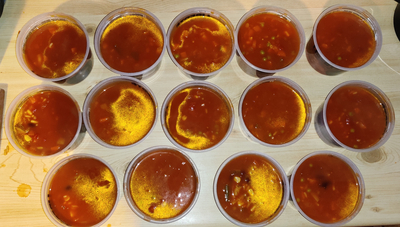
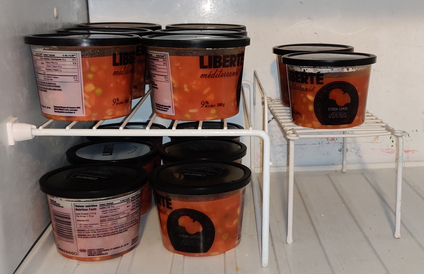
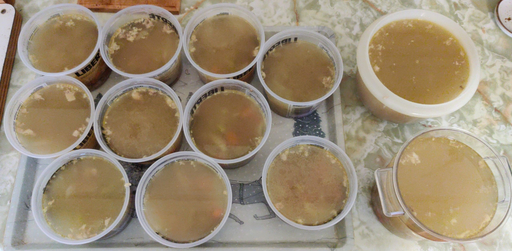
The cooked chicken soup was transferred to ten used yoghurt containers for freezing, and two more slightly larger containers (on the right) to put in the fridge for supper later on in the day:

Ten containers of soup for freezing, and two more slightly larger containers for supper

The soup for supper was great, and the individual containers are already in the freezer for future eating.

Making Stuffed Potato Skins — Photos

This weekend’s cooking plans from my collection of recipes included making stuffed potato skins (along with more bran muffins for my mom, and some chocolate buttercrunch.)

My recipe for stuffed potato skins is a bit of a no-brainer, whose formal existence as a recipe lies more in the documenting the amounts of ingredients required so as to minimize waste and leftovers, or scrambling about to prepare extra ingredients to use up other already-prepared ingredients. Originally, making the stuffed potato skins was both an effort to add to my collection of recipes that could be used to fill the freezer, as well as a response to a desire to make stuffed potato skins, critically, using items I normally have on hand (potatoes, cheese, and in this case, frozen cooked breakfast sausages); however, yummy as they are, there was no pretense to attempt to replicate some mythically great potato skins eaten at some hypothetical pub.

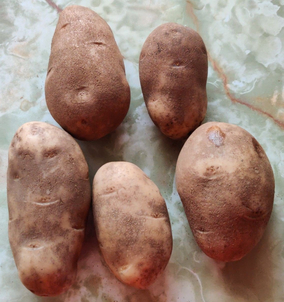
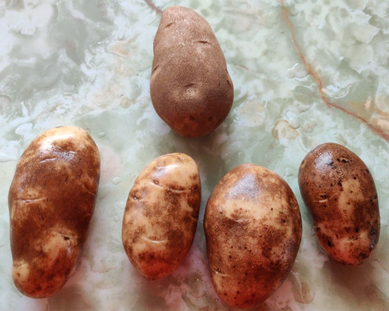
First, five potatoes were taken out …

Five potatoes

… and then washed — in this picture, save one, to show the comparison between cleaned and not (although the bag of potatoes does say “washed potatoes”).

Washed potatoes

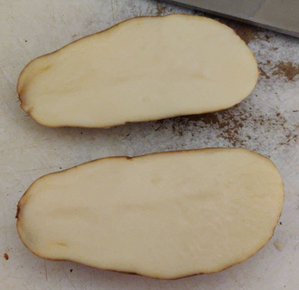
Potatoes were halved along their length:

Potato cut along its length

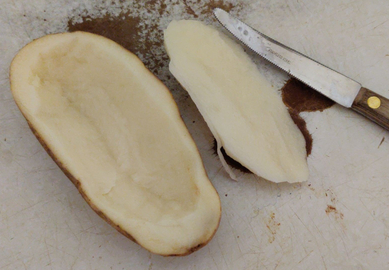
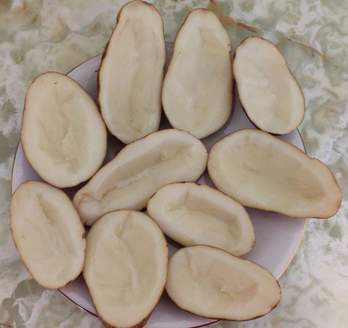
The potatoes were then somewhat hollowed out (before cooking, instead of after, as mentioned in my recipe, so that I could boil the removed pulp later to make mashed potatoes), while leaving a generous amount of the potato pulp in the skins:

Hollowed out potato skin and removed pulp

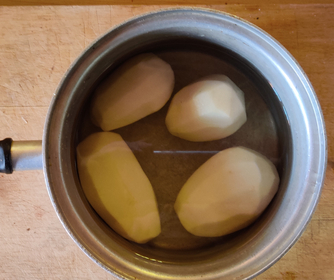
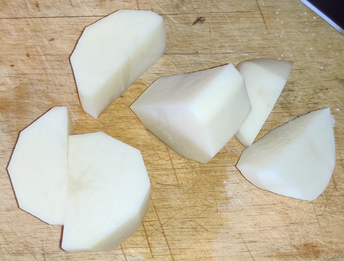
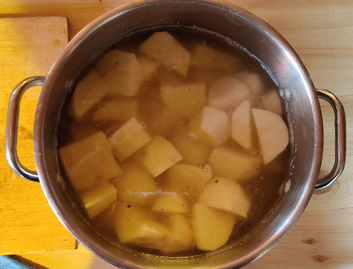
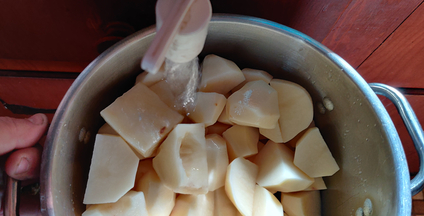
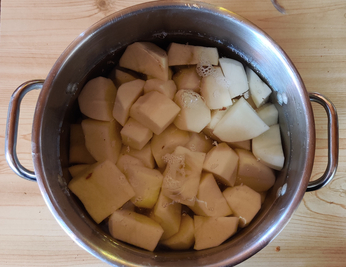
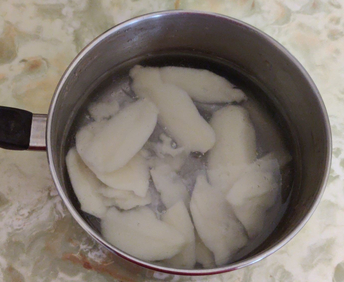
The pulps from the potatoes were placed in water, to boil later …

Pieces of potato pulp hollowed out from the skins, to be boiled later

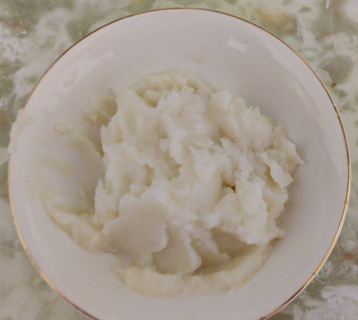
… and with which to ultimately make a bit of mashed potatoes to be used in a lunch in the next couple of days:

The mashed potatoes made from the pulp parts of the five potatoes used today, to be eaten at an upcoming meal

Back to the potato skins: The hollowed out potatoes were placed on a microwave-safe plate:

Hollowed out potatoes on a plate

The plate of hollowed out potatoes were placed in the microwave oven (1200 watts) for 10 minutes:

Hollowed out potatoes in the microwave oven

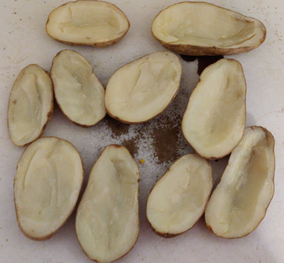
Once cooked (a few skins needed another couple of minutes to finish cooking), the hollowed out potatoes were placed on a flat surface (a cutting board), ready for stuffing with sausage cubes:

Cooked potato skins with plenty of potato flesh

Earlier, three frozen, pre-cooked breakfast sausages were placed on a cutting board:

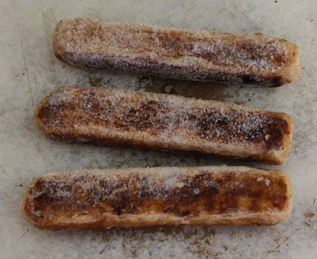
Three frozen, pre-cooked breakfast sausages

The sausages were sliced lengthwise …

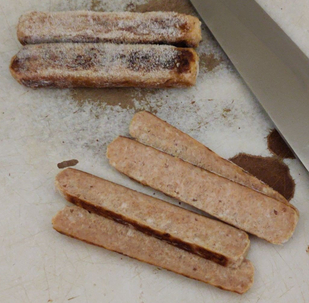
Sausage sliced lengthwise

… and sliced again lengthwise, making spears:

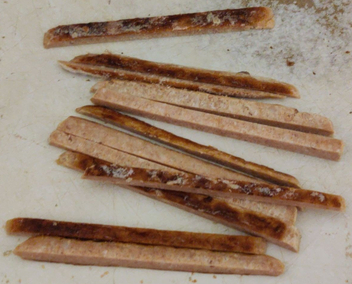
Breakfast sausage cut into spears

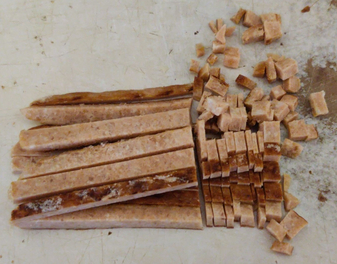
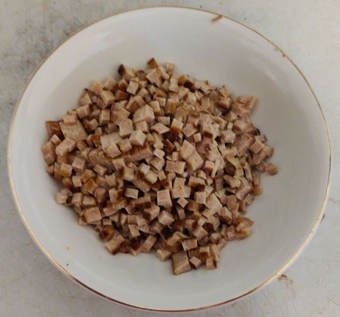
The spears were sliced cross-wise in order to make little cubes …

The spears were sliced to make little cubes

… which were then transferred to a bowl …

Sausage cubes placed in a bowl and put aside

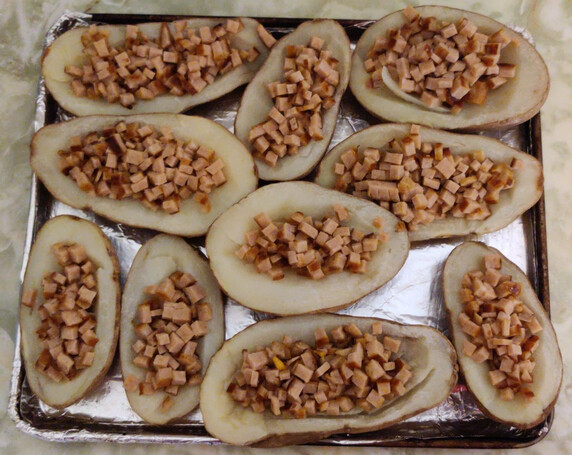
… and which was put aside to be used at the point at which the cooked potato skins were to be stuffed:

Potato skins filled with sausage cut into little cubes

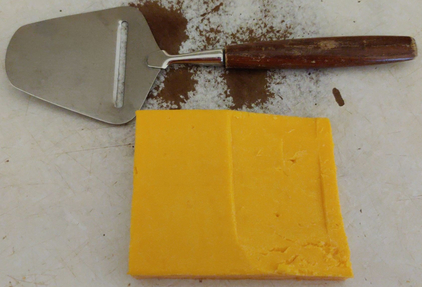
A block of cheese (cheddar in this case) was taken out, along with a cheese slicer:

Block of cheddar cheese and a cheese slicer

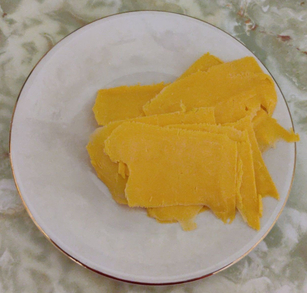
About 100g of slices of cheese were cut off of the block …

Cheese slices

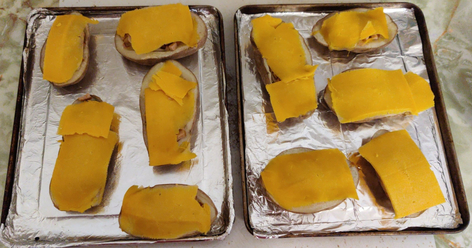
… and placed on top of the potato skins filled with sausage cubes:

Cheese slices placed on top of the potato skins filled with sausage cubes

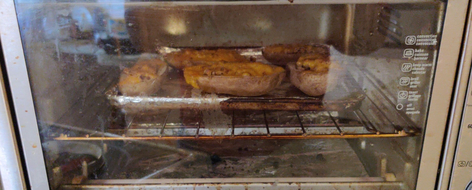
The potato skins were placed in a countertop convection oven preheated to 350F for 15 minutes:

Stuffed potato skins cooked in a countertop convection oven

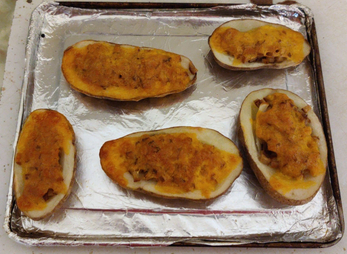
The first batch of cooked potato skins were taken out of the oven, smelling yummy!
Cooked stuffed potato skins

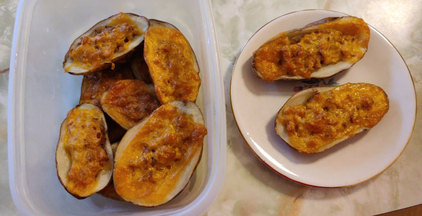
Once all the stuffed potato skins were cooked and cooled, a couple of them were put aside for supper, while the other eight stuffed potato skins were placed in a container for freezing:

Cooked stuffed potato skins in a container for freezer as well as a plate for supper

Yes, they were yummy!
Making Bacon-Wrapped Chicken — Photos

Today’s cooking project from my recipe collection was bacon-wrapped chicken pieces, something I originally started making a couple of years ago for their value as an easy enough to make last minute hors d’oeuvres contribution for a party; now I principally make them for the value of having them pre-made in the freezer, including to possibly use at a later time as hors d’oeuvres at a party.

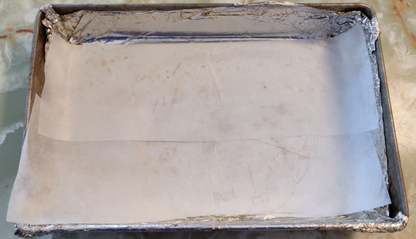
To begin, parchment paper was placed in a baking pan:

Placing parchment paper in a baking pan

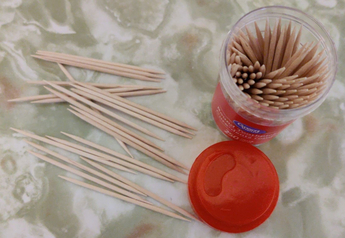
Wooden toothpicks were also taken out:

Wooden toothpicks prepared

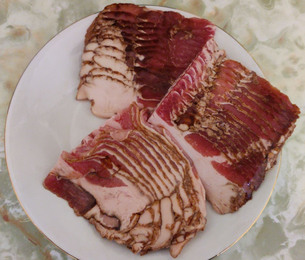
I cut a package and a half’s worth (375g each package, for a total of about 560g) of bacon into half-lengths, which worked out to 40 half-slices, the amount of pieces I target in my recipe.

40 half-slices of bacon, from a pack and a half of bacon (each pack 375g)

The rest of the bacon was placed in a bag and frozen, for later use.

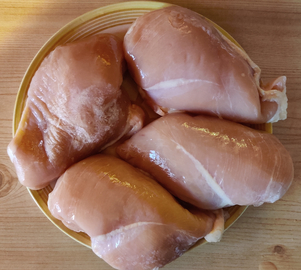
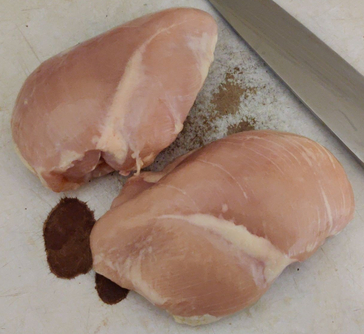
Two chicken breasts were placed on a cutting board:

Two chicken breasts placed on a cutting board, beside a kitchen knife

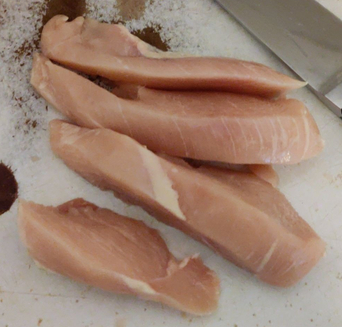
The chicken breasts were sliced along their length …

A chicken breast cut along its length

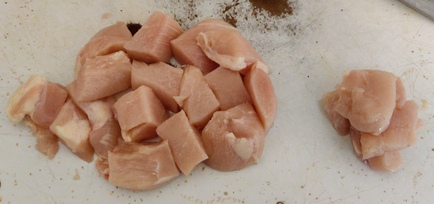
… and then each chicken breast was cut into approximately 20 cubes:

Chicken breast cut into cubes

In this case, the pile on the left are the cubes to be used directly, while the pile on the right are smaller pieces which were bundled together two or three pieces at a time in half-slices of bacon as though they were full pieces of chicken.

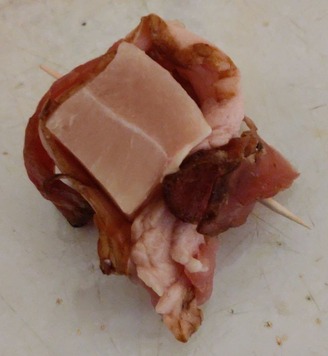
The cubes were individually wrapped in a half-slice of bacon, and skewered with a wooden toothpick:

Cube of chicken wrapped in bacon, and skewered with a wooden toothpick, to keep them together

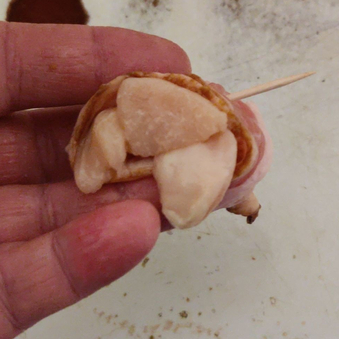
Smaller pieces of chicken were bundled together, two or three pieces at a time, and wrapped in bacon, then skewered with a wooden toothpick:

Smaller pieces of chicken bundled together

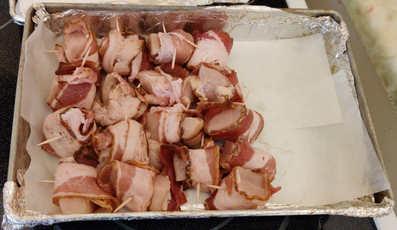
As each piece of bacon was wrapped in bacon and skewered, they were placed on the parchment paper in a baking pan:

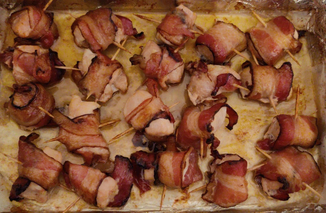
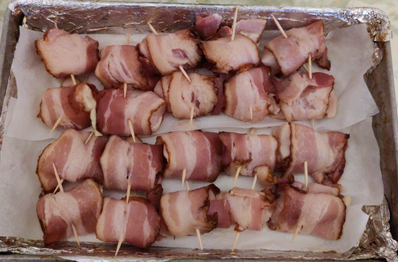
Bacon-wrapped chicken pieces placed in a baking pan

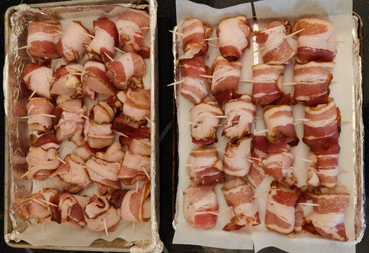
Once all the pieces of chicken were wrapped, they were equally divided between two baking pans that fit (one tray at a time) in my countertop convection oven:

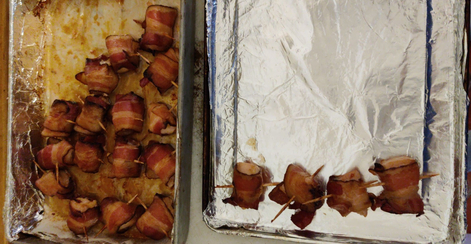
40 pieces of bacon-wrapped chicken divided between two baking pans

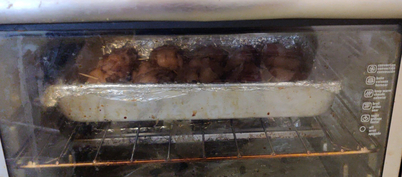
The first tray was placed in my countertop convection oven (and yes, the glass door was dirty, and was cleaned afterwards):

Tray of bacon-wrapped chicken pieces in the oven

Partway through the cooking (after about 25 minutes), the pieces were turned over (in this case, the three columns on the left):

Turning over the pieces of bacon-wrapped chicken

When the pieces were fully cooked after about 50 minutes, they were taken out of the oven:

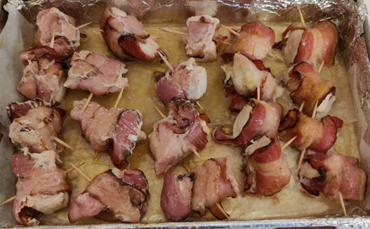
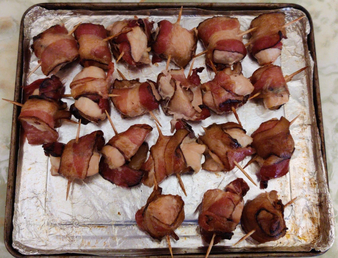
Cooked pieces of bacon-wrapped chicken directly out of the oven

Cooked pieces were transferred to a clean tray to be placed in the freezer:

Cooked pieces were transferred to a clean tray

The first tray of cooked bacon-wrapped chicken was placed in the freezer to cool and freeze.

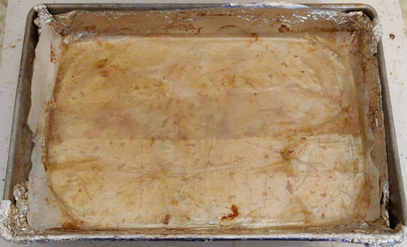
Meanwhile, the grease and drippings in the baking pan …

Grease and drippings in the baking pan

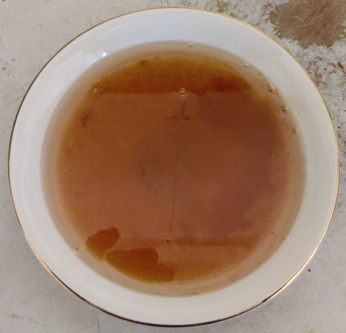
… were drained into a bowl, cooled and solidified, and then wrapped in paper, to be placed in the municipal brown box for composting.

Grease and drippings transferred to a bowl

The second tray’s worth of raw bacon-wrapped chicken pieces was transferred to the first baking pan, because of its deep sides and all the grease and drippings produced:

Second tray’s worth of bacon-wrapped chicken transferred to the first baking pan with its deep sides

The pieces of bacon-wrapped chicken were cooked the same way as the first tray, and once taken out of the drippings, looked like the first tray of cooked pieces:

Cooked bacon-wrapped chicken pieces on a tray, ready to place in the freezer before transferring to a plastic container

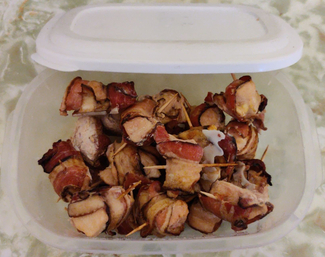
After the second tray of bacon-wrapped chicken had cooked, the frozen pieces from the first tray were transferred to a plastic container:

Frozen pieces of bacon-wrapped chicken placed in a plastic container to be placed in the freezer

Those from the second tray, once cooked, were also transferred to a separate tray, frozen, and then transferred to a plastic container.

All the bacon-wrapped chicken pieces are now in the freezer again, waiting to be eaten — some of them tomorrow!

Of course, the pieces were tasty (I tasted one to make sure they were good!)

Making Bran Muffins — Photos

Here is the next entry in my series of photo posts of me making the various recipes in my recipe collection.

This week, I took photos while I made more bran muffins for my mom, using a recipe I’d found on allrecipes.com and which so far I have not yet which I have now (20210214) converted into my own format. As a side note, I should I have now converted it to my usual recipe format, because when I make them, I use regular milk instead of buttermilk, and I normally make a major change: Instead of placing the batter into twelve muffin papers in a twelve-welled baking tin, I bake the batter in a six-welled baking tin (with slightly larger wells), lined with coffee filter papers, and the baking time was adjusted to 22 minutes.

This batch of muffins had a further deviation from the recipes above, which was the intentional omission of raisins for reasons beyond the scope of this post.

First, I measured out a cup and a half of wheat bran into a mixing bowl:

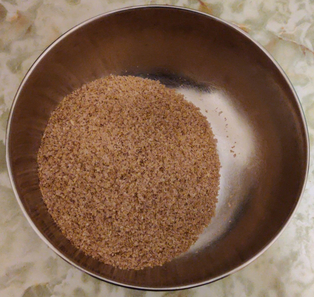
A cup and a half of wheat bran

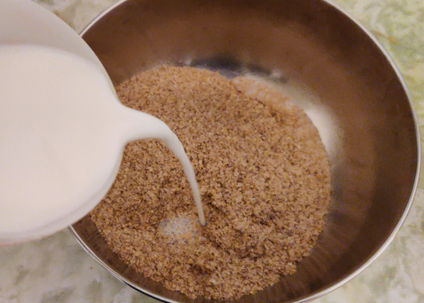
A cup of milk was added to the bran:

A cup of milk added to the bran

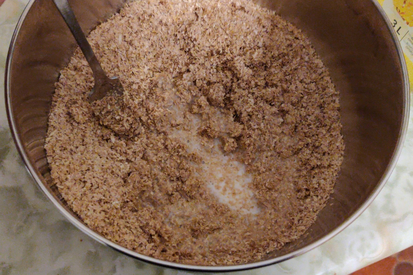
The bran and milk were mixed with a fork, and put aside:

Mixing the bran and milk

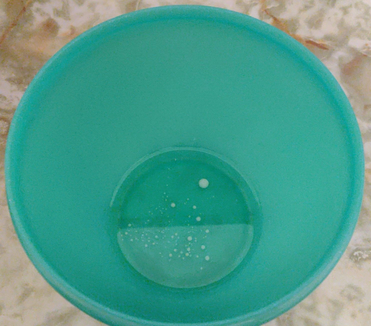
A third of a cup of vegetable oil was measured out and placed in a separate bowl (the white dots are milk leftover in the measuring cup):

1/3 cup vegetable oil measured out

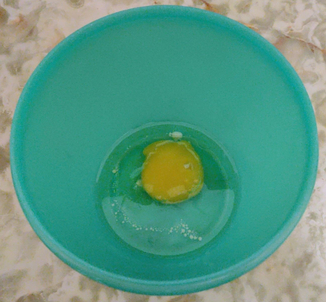
A large egg was added to the vegetable oil:

A large egg added to the vegetable oil

Two thirds of a cup of packed brown sugar were added to the oil and egg:

2/3 cup (packed) brown sugar added to the vegetable oil and egg

A teaspoon of vanilla extract was added to the vegetable oil, egg, and brown sugar:

A teaspoon of vanilla extract added to oil, egg, and brown sugar

The vegetable oil, egg, brown sugar, and vanilla extract were blended with a fork:

Blending of vegetable oil, egg, brown sugar, and vanilla extract

The vegetable oil, egg, brown sugar, and vanilla extract were added to the bran and milk mix:

Vegetable oil, egg, brown sugar, and vanilla extract added to the bran and milk mix

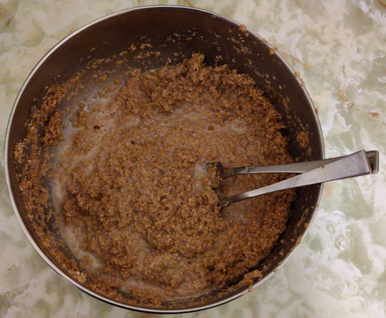
All the ingredients were blended together with a fork:

The ingredients were blended together

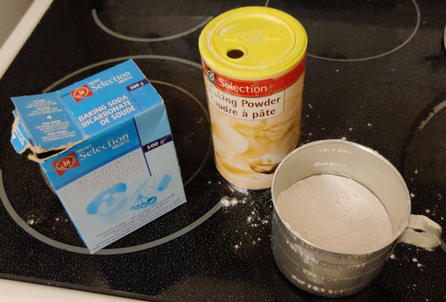
A teaspoon each of baking powder and baking soda were added to a cup of flour — unfortunately, I forgot to add the quarter teaspoon of salt, to no apparent ill effect.

A teaspoon each of baking powder and baking soda added to a cup of flour; salt was forgotten

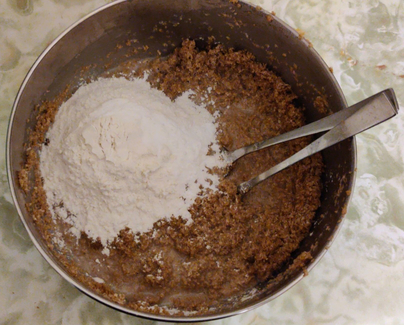
The flour, baking powder, and baking soda were mixed together in the cup, and added to the rest of the ingredients:

Flour, baking powder, and baking soda mix were added to the rest of the ingredients, and then blended together

Again, all the ingredients were blended together with a fork. At this point, I would normally have added three quarters of a cup of raisins, which I didn’t do this time.

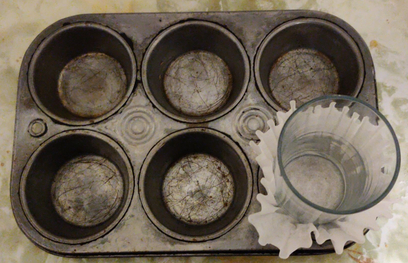
I make double sized muffins for my mom, so I use coffee filter papers, for which I use a glass to help form within the baking tin:

Forming the coffee filter paper in the baking tin wells

The batter was spooned into each of the wells:

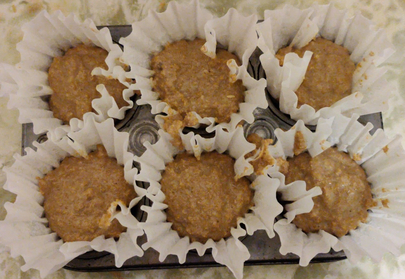
Muffin batter spooned into each of six baking tin wells

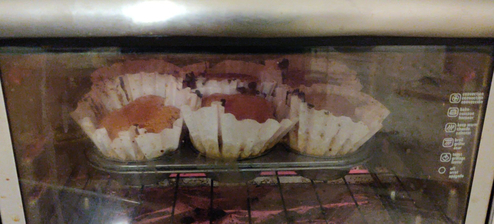
The muffin tin was placed in a counter-top convection oven preheated to 350F, and baked for 22 minutes (rotated 180 degrees part way through):

Muffins baking in a counter-top convection oven.

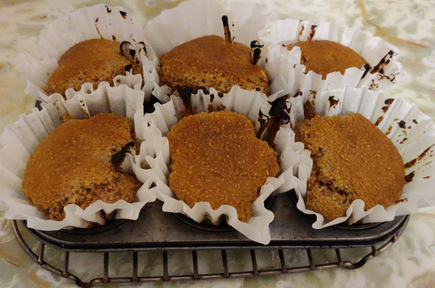
The muffins were taken out of the oven after 22 minutes and placed on a cooling rack:

Baked muffins placed on a cooling rack

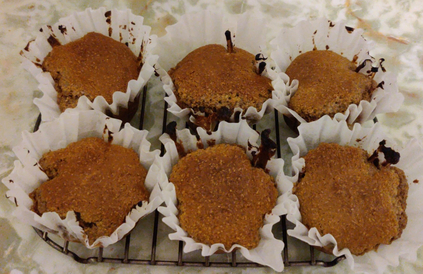
After a few minutes, the still cooling muffins were taken out of the baking tin, and returned to the cooling rack to continue cooling:

Baked muffins placed on a cooling rack

Once cooled, I placed the muffins in a sealed container.

Mom was so impressed, she said that the following morning, she would have one from this batch, before eating the last muffin from the last batch!

I Made “Blondies” Today — Photos

I made two batches of “blondies” today, and as has been somewhat of my wont over the past few months, I took a lot of pictures while I was cooking.

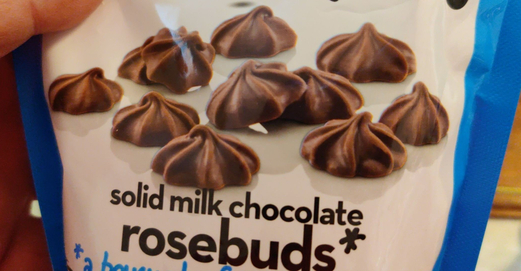
I started by taking some chocolates I received for Christmas from Santa Claus:

Chocolates received for Christmas

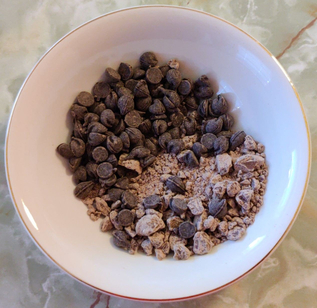
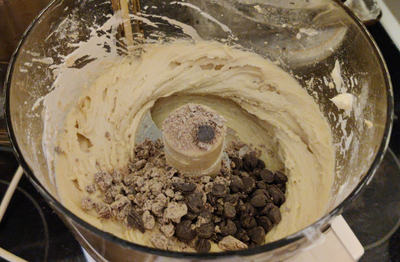
… which were partly pulverized in a food processor, and to which the same amount of chocolate chips were added:

One of two bowls of pulverized chocolates and chocolate chips

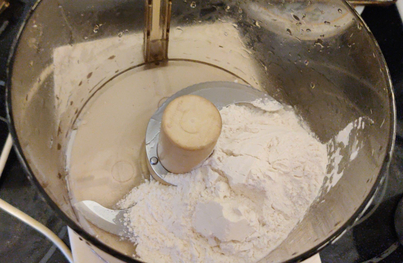
The chocolates were put aside. Then, flour was added to a food processor:

1 cup of flour added to a food processor

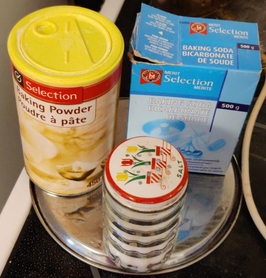
Baking powder, baking soda, and salt, were added:

Baking powder, baking soda, and salt, were added (not the boxes, of course!)

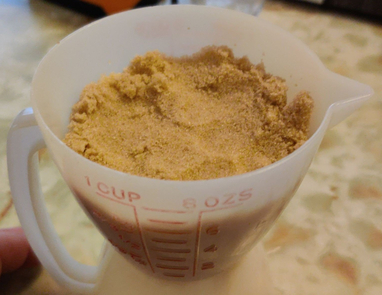
Brown sugar was measured out …

3/4 cup of brown sugar (packed)

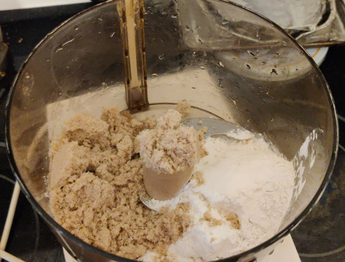
… and added to the food processor.

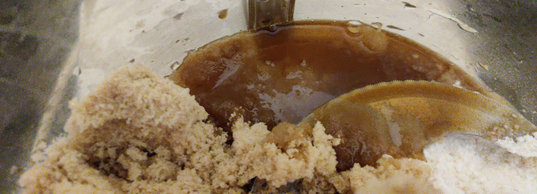
Brown sugar added to the food processor

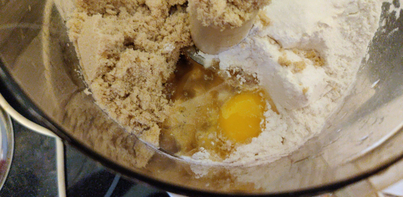
A large egg was added:

Egg added to the food processor

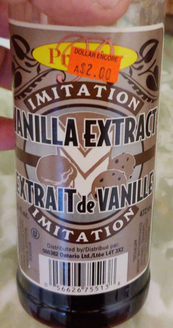
Vanilla extract was measured …

Vanilla extract

… and added to the food processor:

Vanilla extract added to the food processor

Margarine was measured out and added to the food processor:

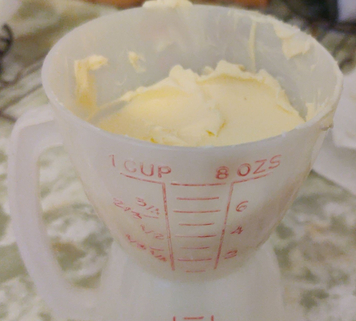
1/2 cup margarine measured and added to the food processor

The ingredients were mixed with the food processor:

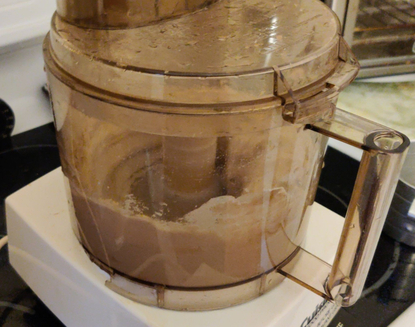
Mixing of the ingredients in the food processor

The mix of pulverized Christmas chocolates and chocolate chips was added to the dough …

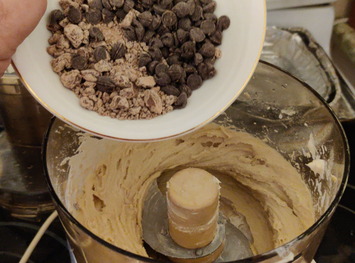
Adding the chocolate to the mix
Chocolates added to the mix

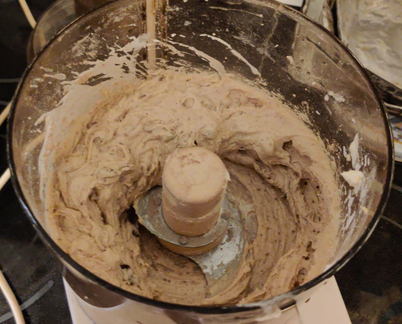
… and the dough was blended again.

The ingredients and chocolates were blended

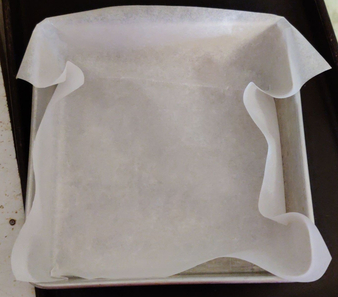
An 8″ x 8″ baking pan was lined with parchment paper …

Baking pan lined with parchment paper

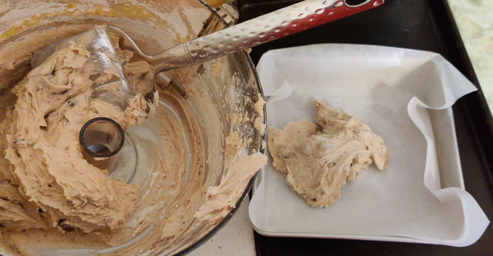
… and the dough was transferred to the baking pan:

Transferring the dough to the baking pan

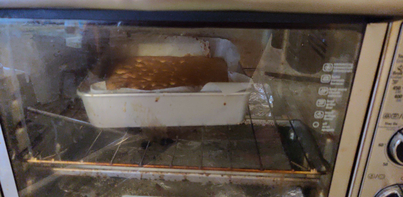
The baking pan and dough were placed on the centre rack in a countertop convection oven set to 350F:

The blondies being baked in a countertop convection oven

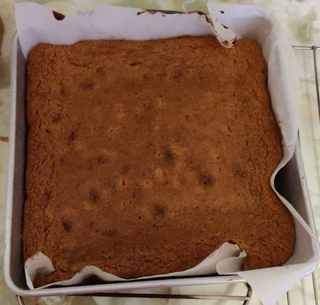
The blondies were taken out of the oven after baking, and cooled for a few minutes on a cooling rack:

Baked blondies cooling on a rack

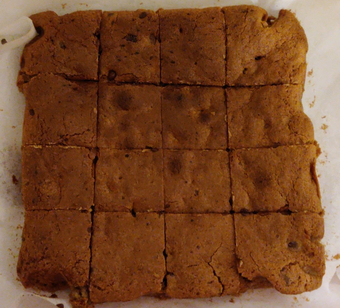
The blondies were lifted out of the baking pan, and once completely cooled, the blondies were cut into 2″ x 2″ pieces:


Blondies cut into 2″ x 2″ pieces

Unfortunately, the two batches I made today did not fully solidify into a fluffy cake consistency during the baking process, and fell a bit, creating a consistency like brownies.

But were they tasty? Of course!

Cooking Beef Manicotti — Photos

A relatively long time ago, a neighbour brought over some stuffed pasta rolls au gratin, and they were rather tasty. I liked them so much that I decided to replicate them, and added the recipe to my repertoire of personal recipes.

I recently made a batch of my manicotti, and I took a lot of pictures.

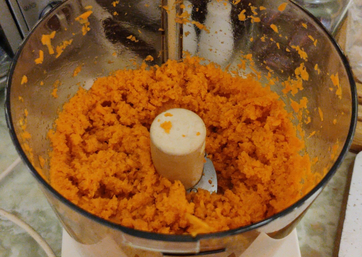
First, I finely ground some carrots in a food processor:

Finely ground carrots

As a side note, I use carrots because I love carrots, and at the time it seemed perfectly natural to me add ground carrots to the filling mix.

I also add ground onions, which to me are also a natural pairing with the beef. The two ingredients extend the beef used in order to stuff more manicotti shells, or conversely, as tasty fillers, reduce the amount of ground beef required.

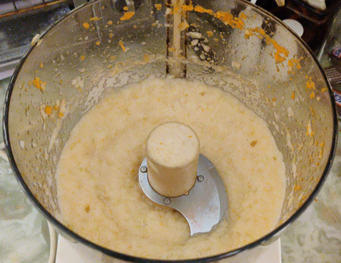
Then I ground some onions, effectively rendering them liquid:

Ground onions, at this point in near-liquid form

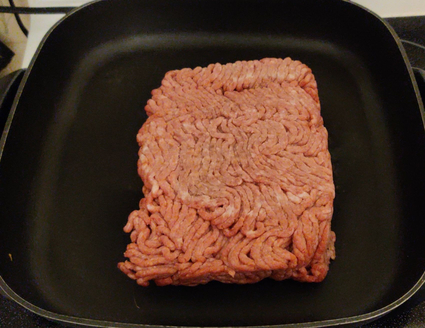
Ground beef was placed in an electric skillet:

Ground beef placed in an electric skillet

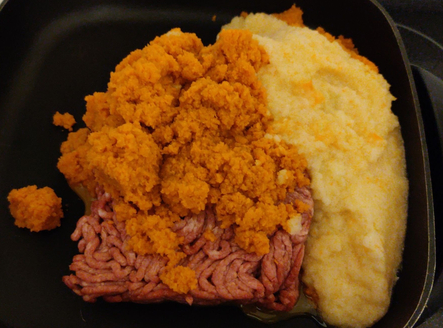
The ground carrots and ground onions were added to the beef in the electric skillet:

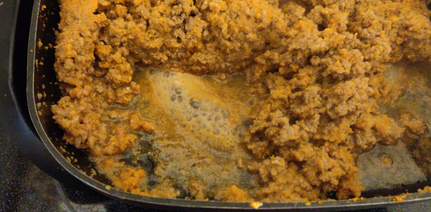
The mixture of beef, ground carrots, and ground onion placed in an electric skillet

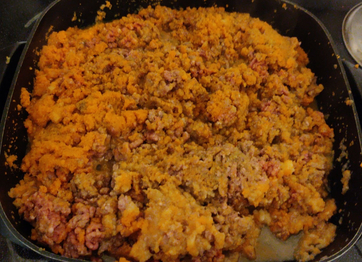
The ground beef was broken up with a spatula, and mixed together with the ground carrots and ground onions.

Ground beef broken up and mixed together with the ground carrots and ground onions

The mixture was fried, while being constantly mixed:

The mixture of beef, ground carrots, and ground onion frying

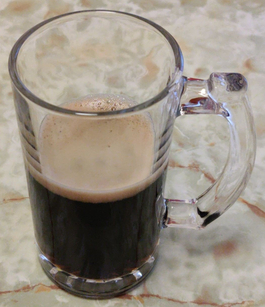
At this point, I was getting a little thirsty, so I served myself some homebrew (an Irish Stout):

A serving of some of my homebrew, an Irish Stout

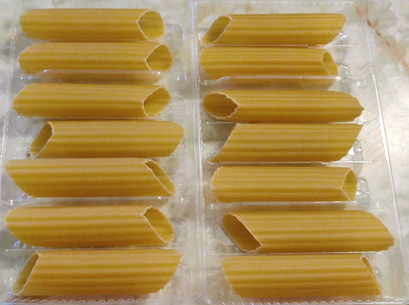
Next, some manicotti shells were taken out of their box:

Manicotti shells in the plastic trays from the box bought at a store.

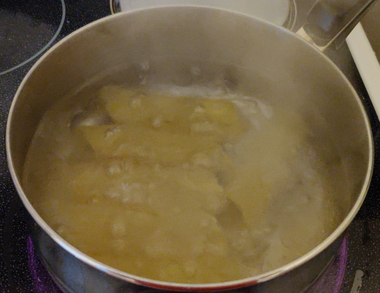
The manicotti shells were then boiled, six at a time, in salted water with olive oil for five minutes:

Six manicotti shells in boiling water

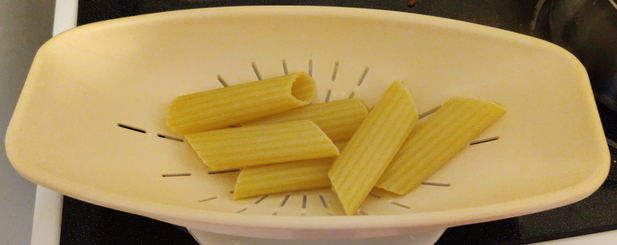
The manicotti shells were then drained:

Manicotti shells in a strainer

At this point, I stuffed the manicotti shells, six at a time, with the cooked meat, carrot, and onion mixture, holding a cooling manicotti shell in one hand, while transferring the meat mixture using a small dessert spoon.

Unfortunately, I didn’t take a picture of me filling the shells — my hands were dirty and greasy, and I didn’t ask for a photographer’s helper. 🙁

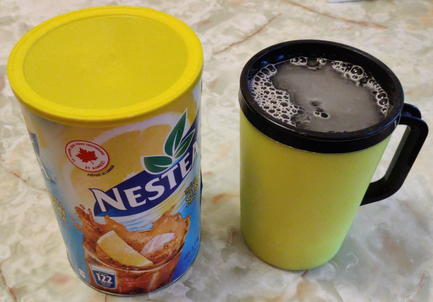
At this point, I may have been getting a bit tipsy from my beer, so I drank some iced tea to help deal with the effects of the beer.

I drink lots and lots and lots of iced tea every day!
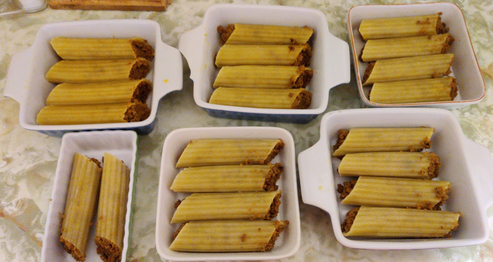
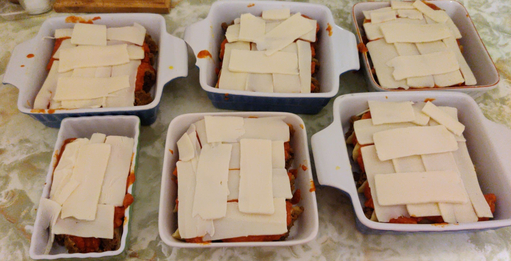
I stuffed a total of 22 manicotti shells. The stuffed manicotti shells were then placed in oven-proof and microwave-safe containers:

22 stuffed manicotti shells

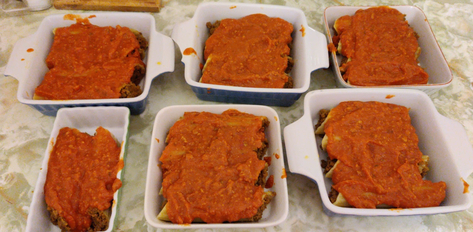
Tomato sauce — in this case, a commercial beef and pork tomato sauce — was spread on top of the stuffed manicotti shells.

Tomato sauce spread on top of the manicotti

Mozzarella cheese was sliced off the block and laid on top of the manicotti.

Sliced mozzarella cheese laid on top of the manicotti

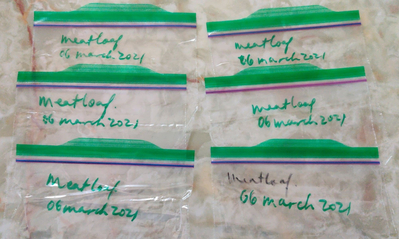
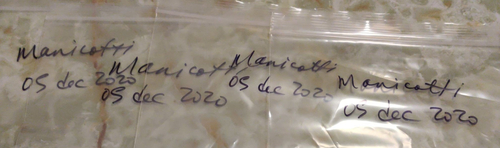
Freezer bags were identified with the intended contents and the date.

Freezer bags identified with contents and date

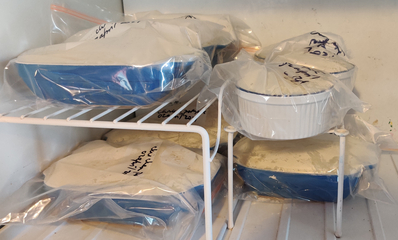
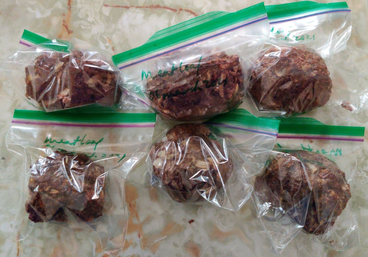
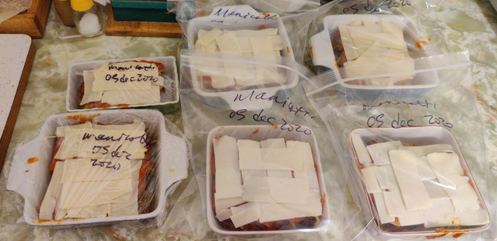
The manicotti containers were then placed in the bags, and then frozen.

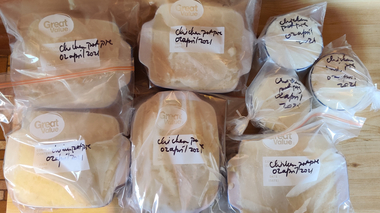
Beef manicotti in freezer bags, ready to place in the freezer

When cooking, I defrost the manicotti, sometimes add a bit more cheese on top, start to reheat the manicotti in a microwave oven while preheating a countertop oven to 350F, and bake the manicotti until the cheese on the top is a desired level of browned and the sauce is bubbling up on the sides.

Are they tasty? Of course they are!
I Cooked a Lot of Little Recipes Today

During this past week and looking forward to the weekend, I put together a list of four relatively easy cooking jobs for the weekend:

I say “relatively easy” since a good number (though hardly all) of my recipes are geared toward making large batches in advance meant to be frozen, and the making of which I treat as all afternoon affairs, often with a large bottle of very premium beer. The above cooking jobs, however, are individually of the smaller amounts variety, each being able to be made easily and quickly.

Today, I put my cooking plans into a bit of overdrive, and, by mid afternoon, my main cooking plans for the day were complete, with a few extras beyond the list to boot. The whole list was somewhat more ambitious than the lemon squares which I’d made at the beginning of the week during a spare afternoon I’d had.

An 8″ x 8″ pan’s worth of lemon squares made earlier in the week. They were delicious!

I started all this process somewhere around 09:30 in the morning.

Breakfast was first, consisting of my breakfast sandwiches, which are essentially a grilled cheese sandwich with a fried egg and, in my sandwich, sliced breakfast sausages, while in my mom’s, bacon.

My breakfast sandwhich with sausage (this is an old picture taken several years ago, not this morning). The photos following this one were all taken today, of the foods I made today.

At the same time, I started by setting the bread machine to replenish my supply of bread slices in the freezer for sandwiches and the like. Three hours later, the bread came out of the machine, and was later sliced and frozen.

A loaf of bread fresh out of my bread machine
The bread sliced and on a tray between sheets of food grade plastic, for freezing

One of the things I now normally keep in the freezer is a cooked mixture of ground beef and chopped onions, cooked in advance and frozen in ice cube trays. The cubes are used for putting into the likes of tomato sauces for spaghetti and other recipes calling for cooked ground beef, or instead of chopped bacon in my pizza recipe. Cooked, two pounds of ground beef with onions will fill two ice cube trays:

Cooked ground beef and chopped onions in a couple of ice cube trays, for freezing
Frozen cubes of cooked ground beef and chopped onions in a freezer bag, ready for use in future meals

Next, I cooked a single 375g package of bacon (“mild sugar cured bacon”, each slice cut in half lengthwise), for the freezer, for my mom (I prefer cooked breakfast sausages for myself):

Some of the package of bacon cooking

My next cooking job was oatmeal raisin squares, which I learned from one of Jamie Oliver’s TV shows. They’re nice enough, but I make them for my mom.

An 8″ x 8″ pan’s worth of oatmeal raisin squares, before being cut into squares
A container with today’s oatmeal raisin squares

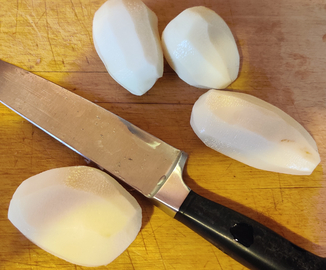
While the oatmeal raisin squares were baking, I peeled a few pounds of potatoes for roast potatoes for tomorrow’s Sunday Lunch.

A few pounds of peeled potatoes for tomorrow’s Sunday Lunch

After that, I made blondies for myself. They’re supposed to be similar to brownies, but I add baking powder, giving them more of a cake consistency and height; they are of a tan or caramel colour, and with chocolate chips in it; I cut them into small bite-sized squares.

An 8″ x 8″ pan’s worth of blondies, before being cut into squares
A container with some of today’s blondies

Finally, I made crisped rice squares.

A 9″ x 13″ pan’s worth of crisped rice squares
A container with today’s crisped rice squares

I was finished up by about 15:00.

What’s for supper tonight?

Shepherd’s pie / Pâté chinois, of which I made and froze a half batch a couple of weeks ago!

My shepherd’s pie / pâté chinois, in its freezer bag and defrosting on the counter

Supper was tasty, as usual, and now I have added to the desserts I have in the freezer to eat over the next few weeks.

Updated recipes

I have been adding my personal recipes to malak.ca since the beginning of December, 2017.

It has been a sort of starting from fresh to create my personal cookbook, a project I started, I think, long before 2011 — as early as 2007-ish, as I recall.  (I remember discussing the cookbook with someone somewhere around 2012, and said conversation could not have occurred before 2011.)

Several years ago, I’d put together a personal cookbook, but at a certain point during its construction, somehow the main file either got corrupted, or I had several copies which I didn’t manage properly (and presumably, in this scenario, began overwriting previously entered recipes with newer versions of other versions.)  However it all happened, I became disillusioned and lost interest on a practical level to reconstruct it all, let alone finish it, despite a certain allure it had.

Back in December, I decided to start from scratch, doing a rather 90’s thing — or perhaps even an 80’s, or 70’s, or 60’s thing — I used a basic text editor and started retyping each recipe, sometimes using what I did still have as a reference, and in at least four cases, just reusing the recipe as I’d entered it back a few years ago, with the remnants of the original cookbook file.

In the case of some of recipes I’ve been typing in, I’ve actually been able to tune the text based on recent memory of just having made the items in the last couple of weeks (as in, as I was making the item in question, going over to my computer to make adjustments), or up to a couple of months ago.

I started posting pdf’s on my website.  And, I’ve been using a “post early, post often” approach to each recipe, as in, check recipes, fine tune them, repost the update, and, fine tune them again, adding sections like “equipment” as I’d start to be using that in other recipes, and so on.  I even have been recalling a lightning talk I rather liked at a linux conference I attended in 2011 which, ironically, used baking and recipes as a way to demonstrate the need to developers the importance of clear, concise, and complete instructions and documentation in order to encourage others to join their software projects.

And, fun fun fun, today I took advantage of another day of holidays, er, waiting for the garage to call me back and say that my car, in for servicing, was ready:  I went through all my recently-typed recipes and did some basic editing.  Lists and sentences / semi-sentences were capitalized.  Lists received dash points.  Instructions which hadn’t already been fleshed out, were fleshed out.  Sentences with multiple steps were broken up into discrete instruction lists.  A number received sections “do this part, then while that cooks, do this part”, etc.  (And then, transferring the updates to my webserver, to my laptop as a backup, and to my backup server which is also my webserver.)

Obviously, the likes of “cooking sausages” isn’t there, even though apparently when I make them for a Santa’s Breakfast, they are highly rated beyond the fact that I’m the only volunteer who actually relishes in making 200+ sausages at home in advance.  And, that having the sausages pre-cooked so that they only need to be reheated in the oven is quite convenient when you’re serving 100+ people.

Eventually, if you look at the eggplant, first meatball, cheese biscuit and zucchini dish recipes, I may update them in the style of the newly retyped recipes as above, while converting the texts of the newly retyped recipes to that format (the original format for my “personal cookbook”), and take photos.

Finally!  My recipes are now documented, accessible, shared, sharable, and, if I ever get around to it, ready for transfer into a “cookbook”.