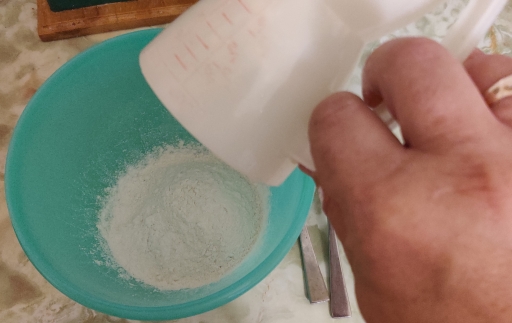
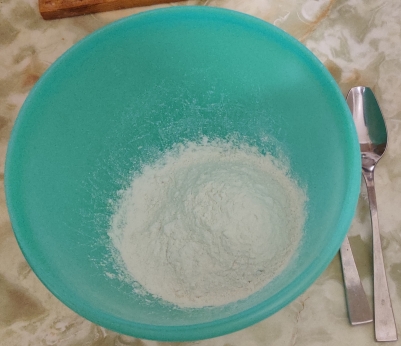
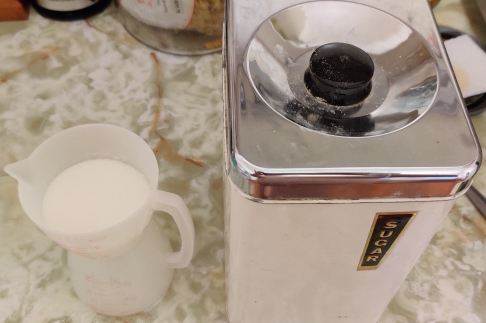
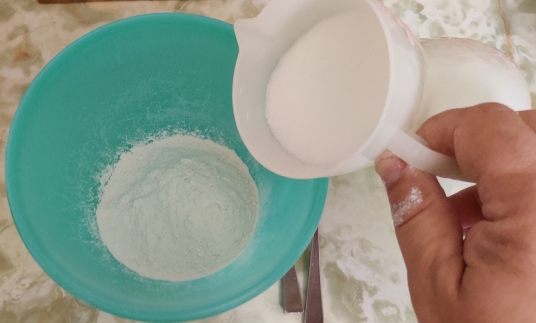
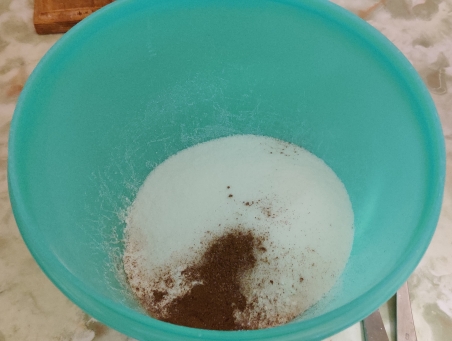
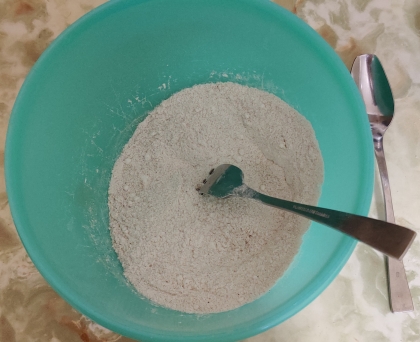
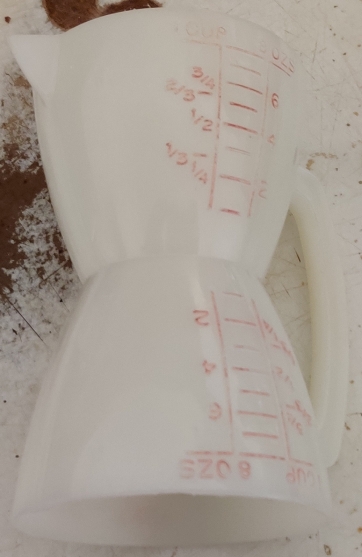
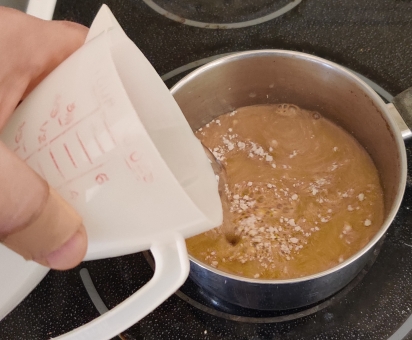
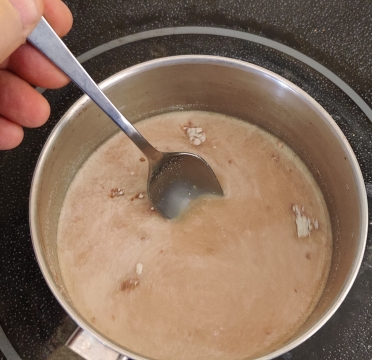
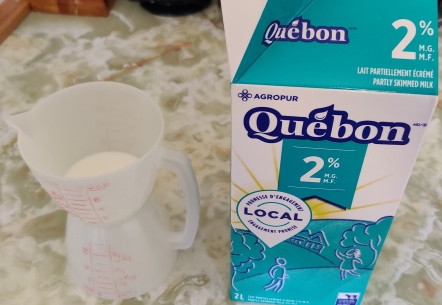
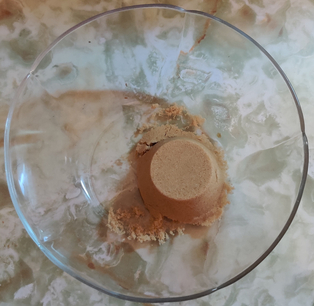
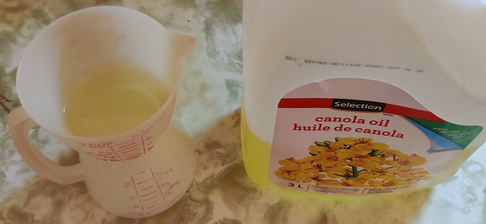
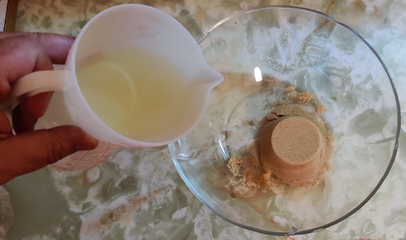
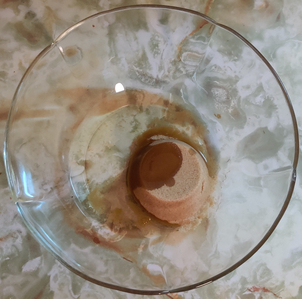
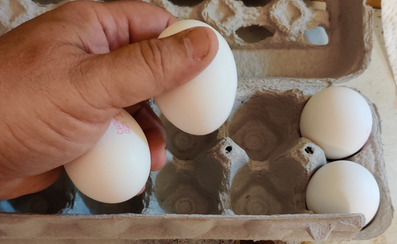
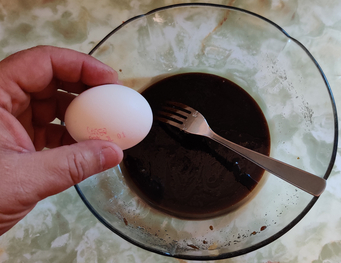
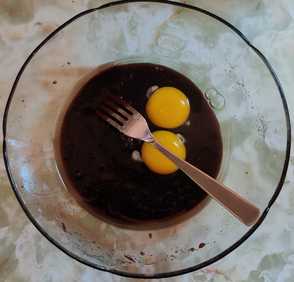
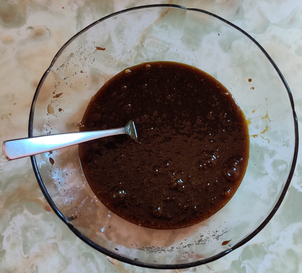
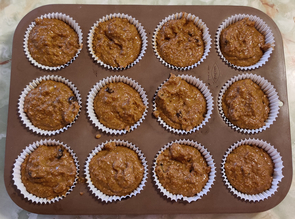
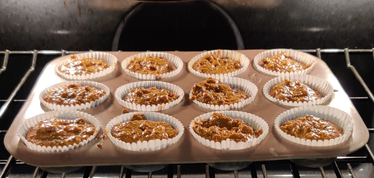
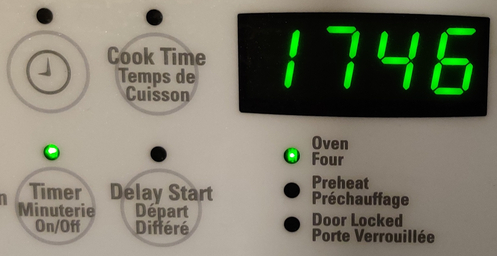
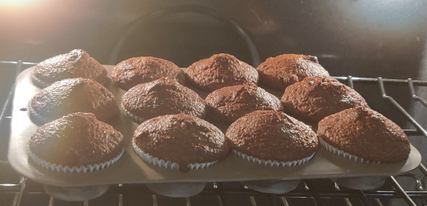
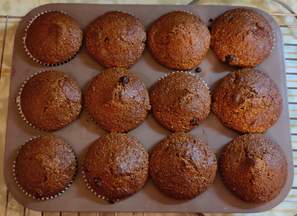
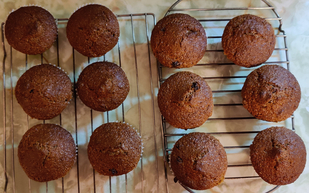
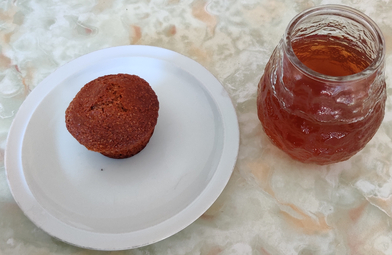
Note that while this recipe can be easily multiplied several times to make more muffins at once, this recipe is intentionally tailored to a half dozen muffins instead of the usual custom of a dozen muffins, since the original recipe on which it was based allows it to be halved and therefore be baked in a countertop convection oven.
In addition to this recipe, the following recipes can (usually, depending on oven size and specific dimensions) be made directly without adjustment in a countertop convection oven:
As well, here are a number of my other recipes which allow for adjusting by half to be made, or can otherwise easily be made (sometimes in shifts), in a countertop convection oven:
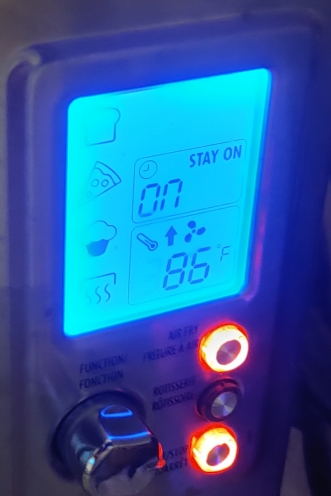
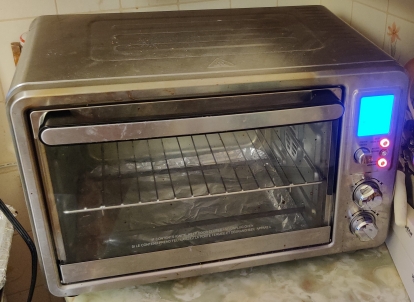
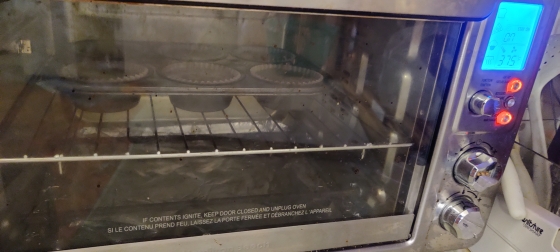
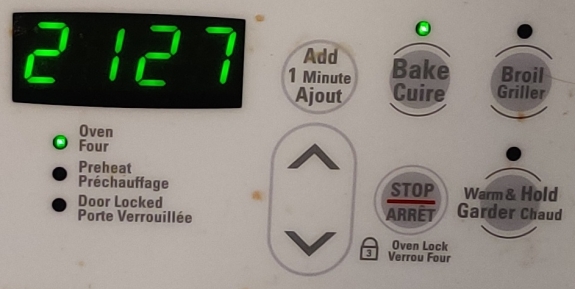
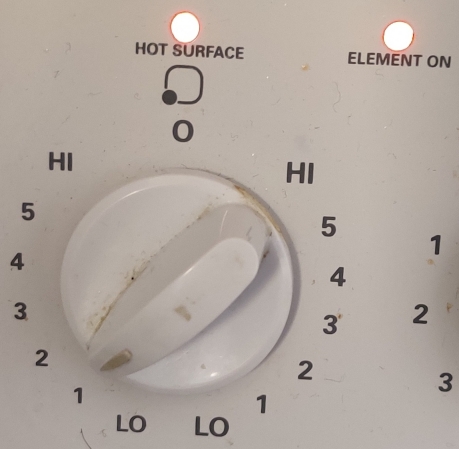
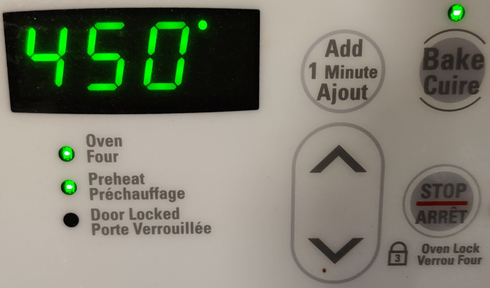
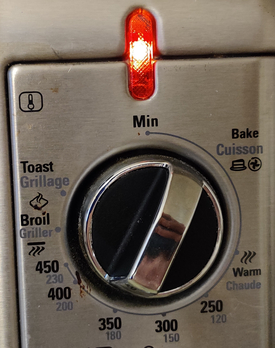
First, my countertop convection oven was turned on and set to 350F (yes, the photo says 86F, it’s preheating!):
Countertop convection oven turned on to be preheated
Countertop convection oven turned on to be preheated
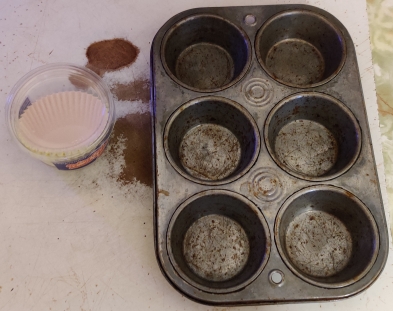
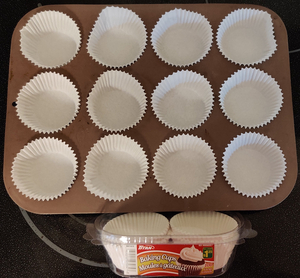
A muffin baking tin and some paper muffin liners were taken out:
Muffin baking tin and paper muffin liners taken out
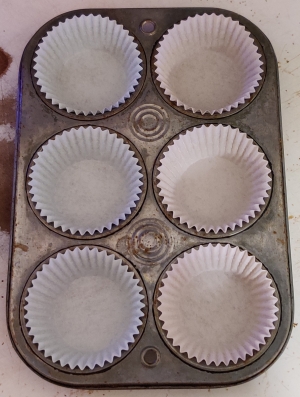
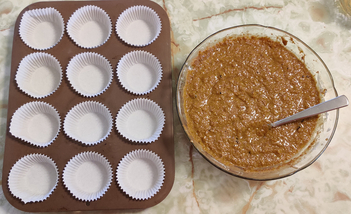
Paper muffin liners were placed in each of the wells of the muffin baking tin:
Paper muffin liners placed in muffin baking tin wells
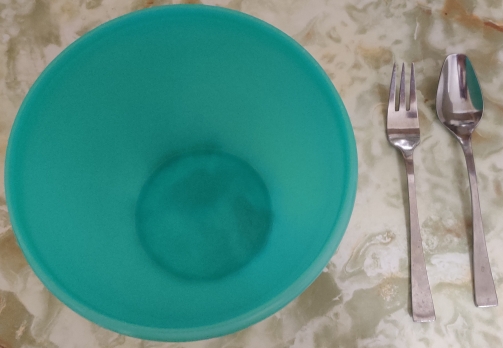
A mixing bowl, a fork, and a spoon were taken out:
Mixing bowl, fork, and spoon taken out
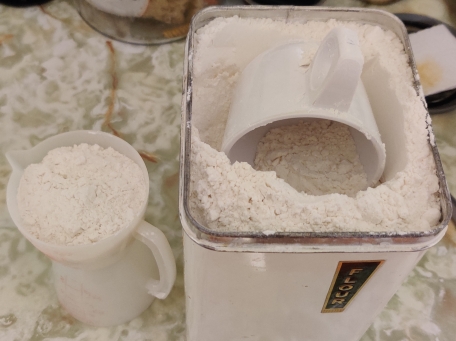
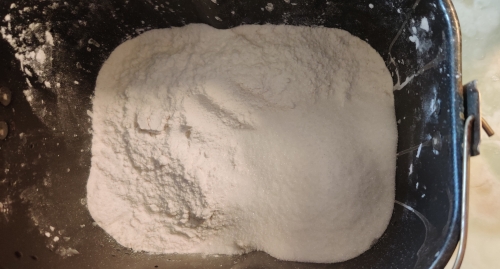
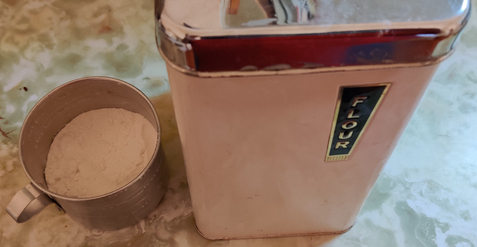
Flour and a measuring cup were taken out, and some flour was measured out:
Flour taken out and measured out
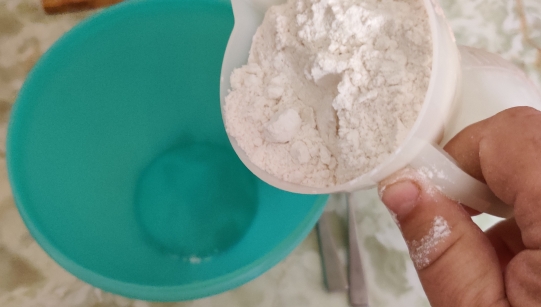
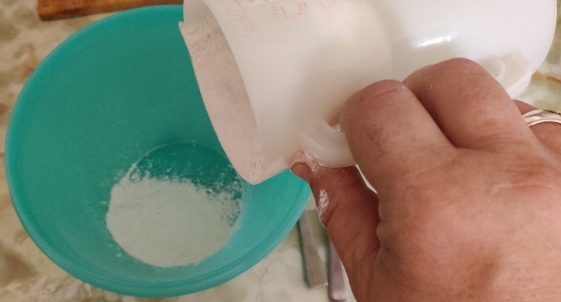
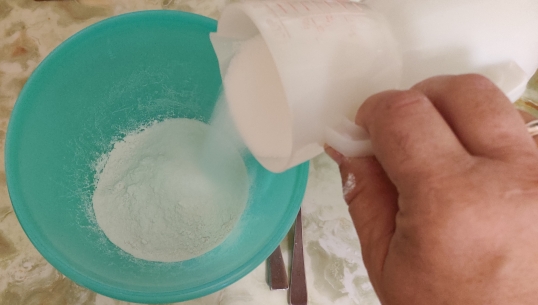
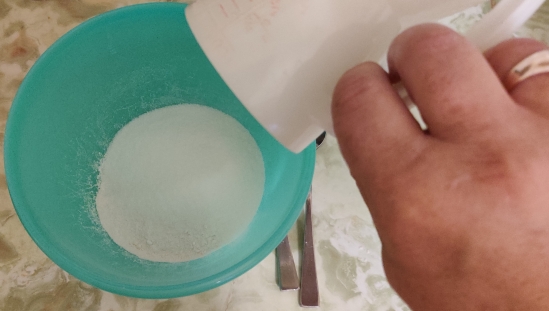
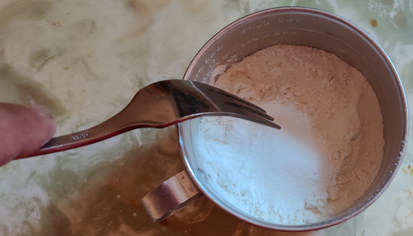
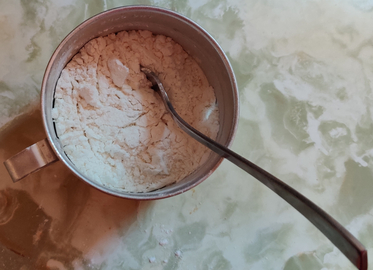
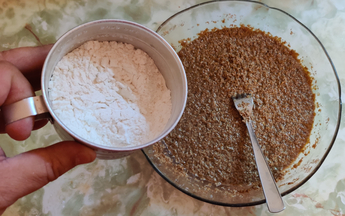
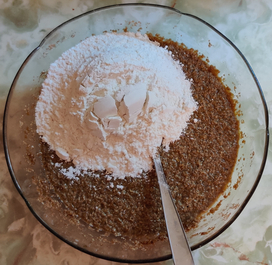
The flour was transferred to the mixing bowl:
Flour transferred to mixing bowl
Flour transferred to mixing bowl
Flour transferred to mixing bowl
Flour transferred to mixing bowl
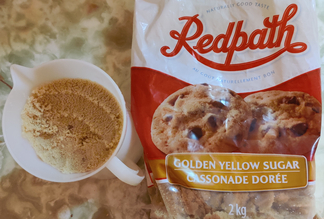
Sugar and a measuring cup were taken out, and some sugar was measured out:
Sugar taken out and measured out
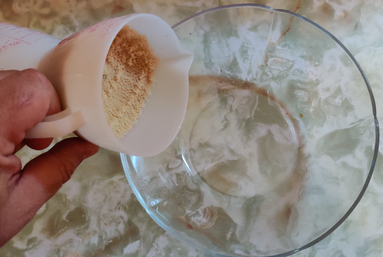
The sugar was transferred to the mixing bowl with the flour:
Sugar transferred to mixing bowl
Sugar transferred to mixing bowl
Sugar transferred to mixing bowl
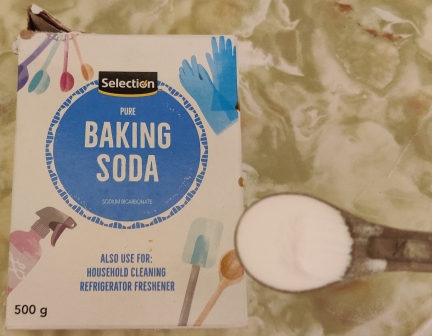
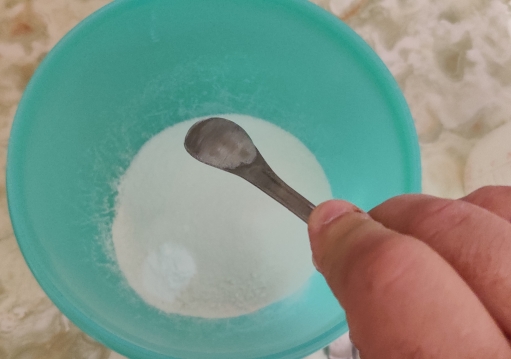
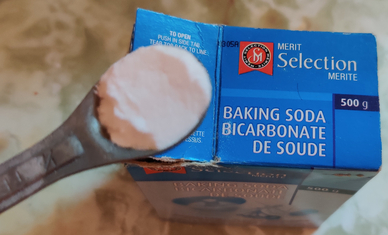
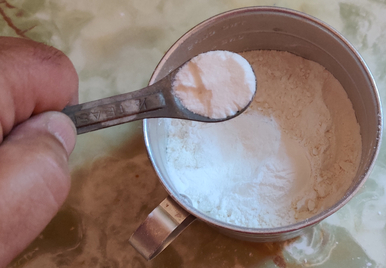
Baking soda and a measuring spoon were taken out, and some baking soda was measured out:
Baking soda taken out and measured out
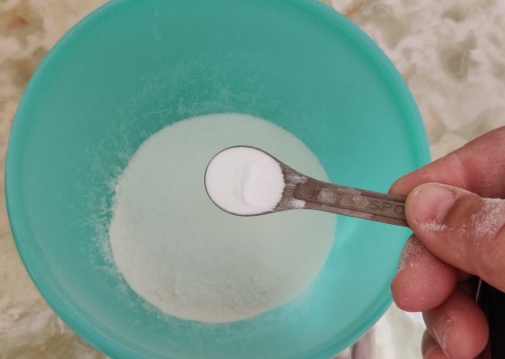
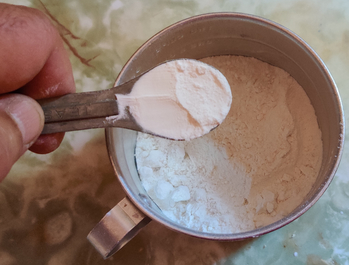
The baking soda was transferred to the mixing bowl with the flour and the sugar:
Baking soda transferred to mixing bowl
Baking soda transferred to mixing bowl
Baking soda transferred to mixing bowl
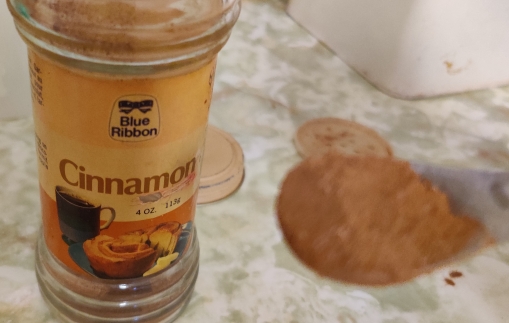
Cinnamon and a measuring spoon were taken out, and some cinnamon was measured out:
Cinnamon taken out and measured out
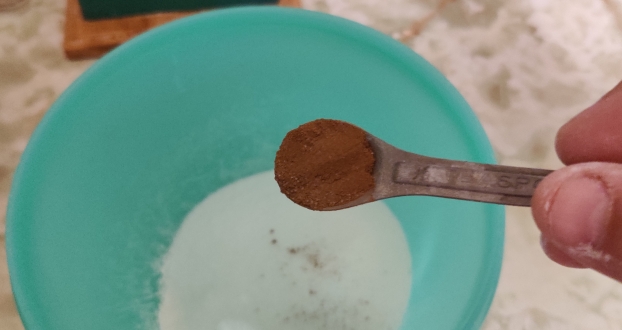
The cinnamon was transferred to the bowl with the flour, sugar, and baking soda:
Cinnamon transferred to mixing bowl
Cinnamon transferred to mixing bowl
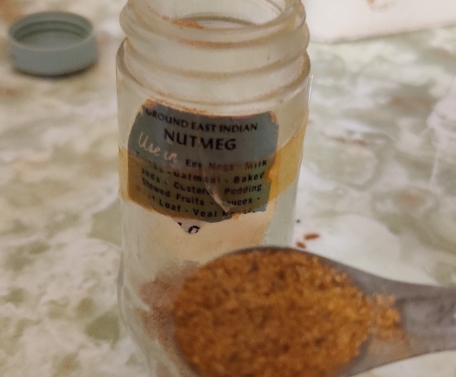
Nutmeg and a measuring spoon were taken out, and some nutmeg was measured out:
Nutmeg taken out and measured out
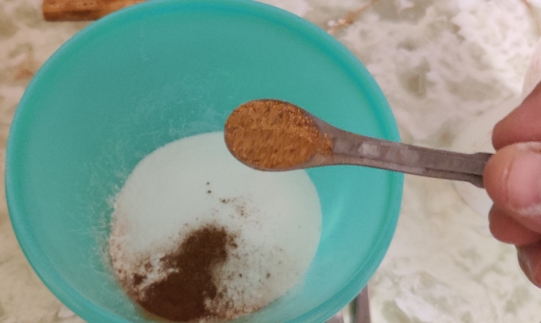
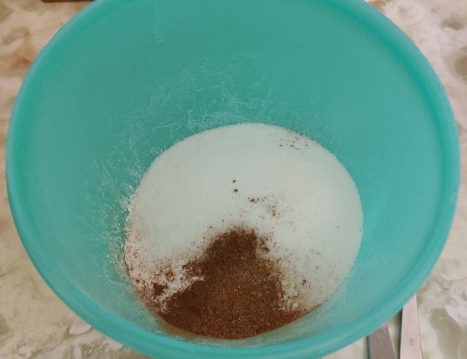
The nutmeg was transferred to the mixing bowl with the flour, sugar, baking soda, and cinnamon:
Nutmeg transferred to mixing bowl
Nutmeg transferred to mixing bowl
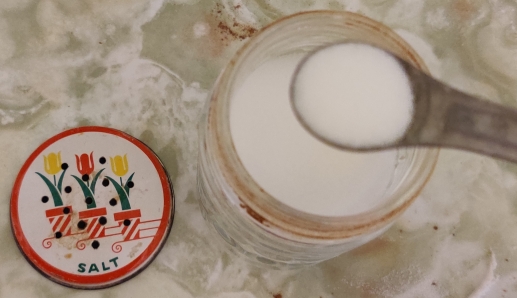
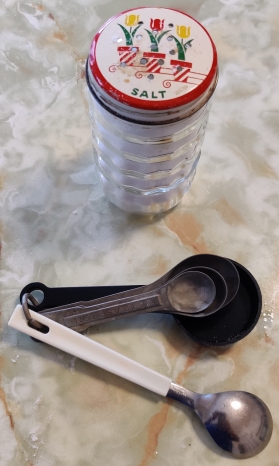
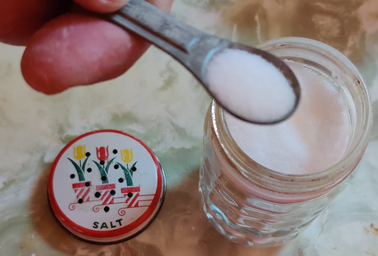
Salt and a measuring spoon were taken out, and some salt was measured out:
Salt taken out and measured out
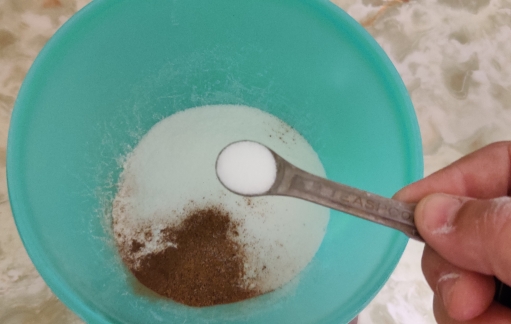
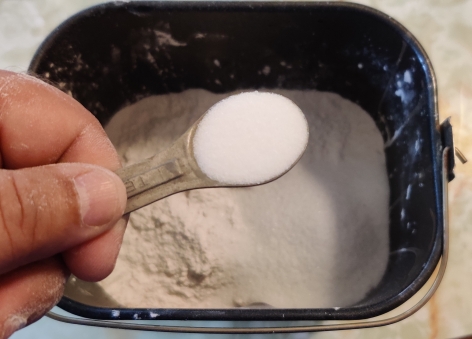
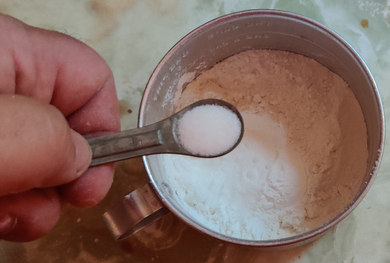
The salt was transferred to the mixing bowl with the flour, sugar, baking soda, cinnamon, and nutmeg:
Salt transferred to mixing bowl
Salt transferred to mixing bowl
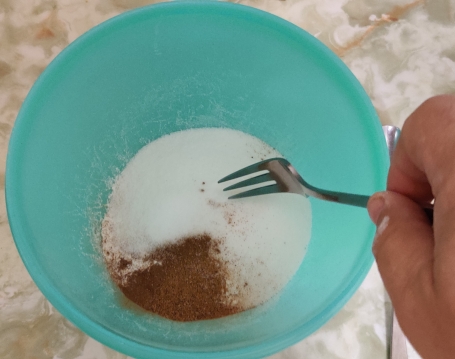
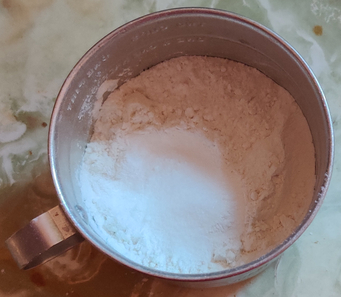
A fork was taken out and used to mix the dry ingredients:
Dry ingredients mixed with a fork
Dry ingredients mixed with a fork
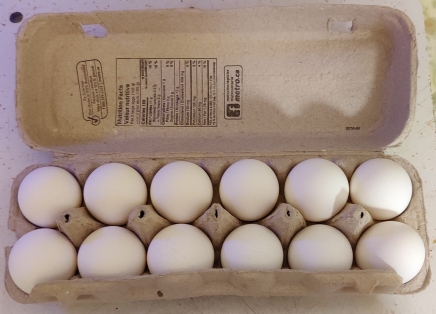
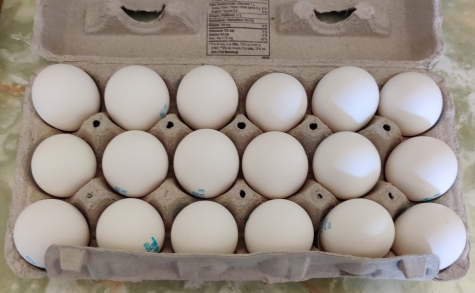
A box of eggs was taken out:
Eggs taken out
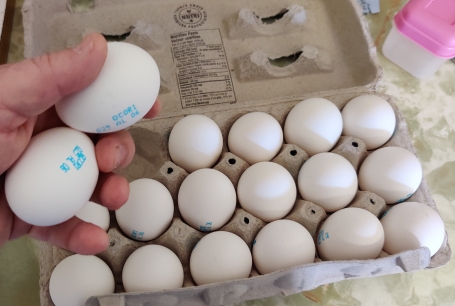
An egg was taken out of the box of eggs:
Egg taken out
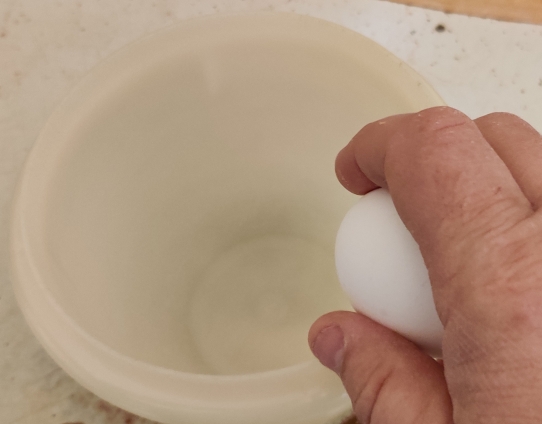
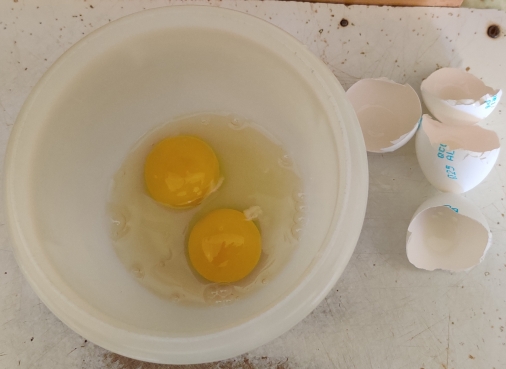
The egg was cracked on the edge of the mixing bowl with the dry ingredients:
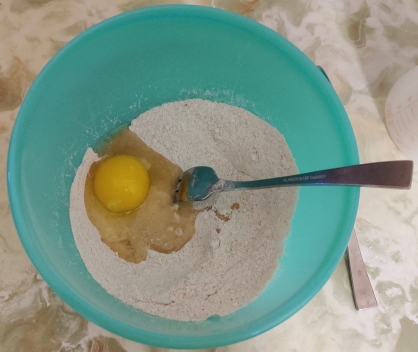
Egg cracked into mixing bowl
Egg cracked into mixing bowl
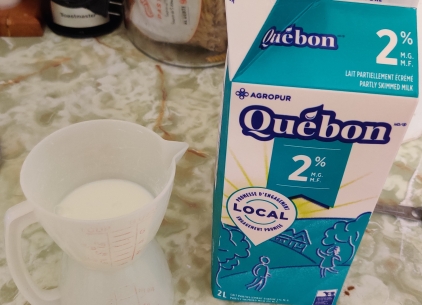
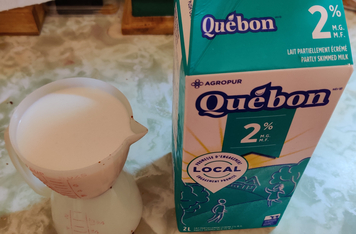
Milk and a measuring cup were taken out, and some milk was measured out, but the milk was not yet transferred to the mixing bowl:
Milk taken out and measured out but not yet transferred to mixing bowl
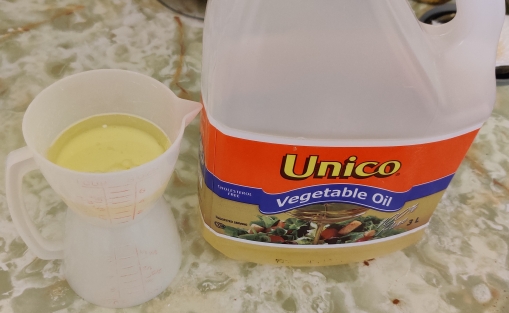
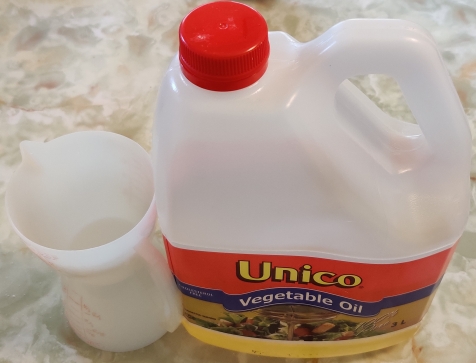
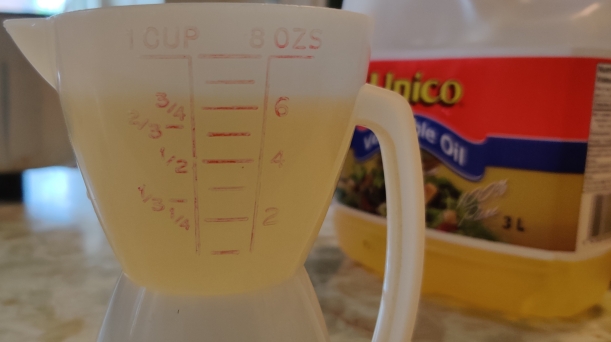
Vegetable oil was taken out, and some oil was measured out in the measuring cup while the milk was still in it, but the milk and oil were not yet transferred to the mixing bowl:
Oil taken out and measured out but not yet transferred to mixing bowl
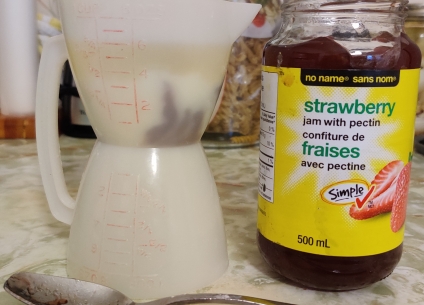
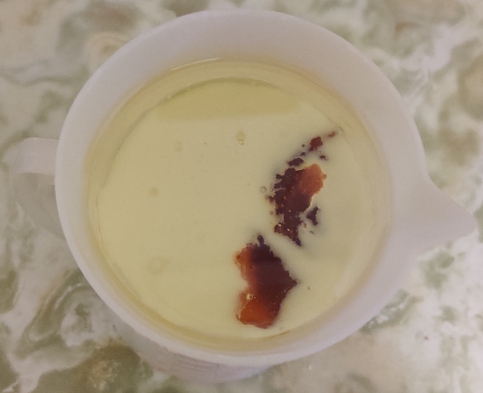
Strawberry jam was taken out, and some strawberry jam was measured out into the measuring cup with the milk and vegetable oil:
Strawberry jam taken out and measured out
Strawberry jam measured out
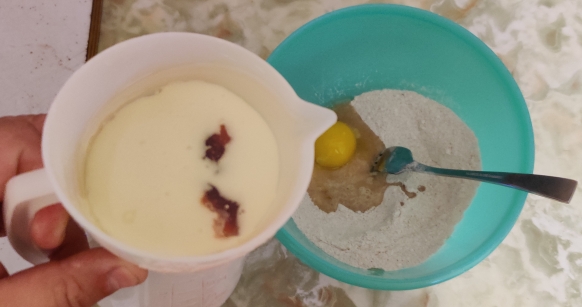
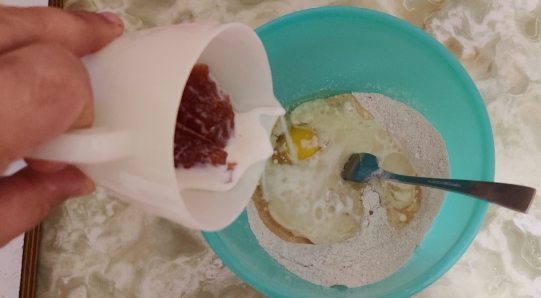
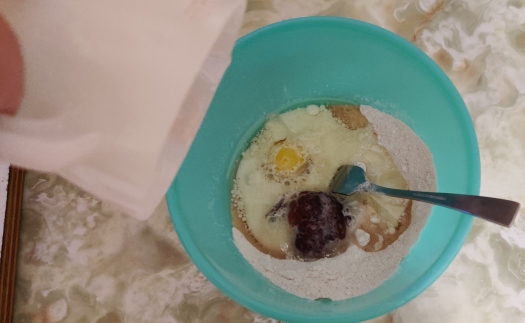
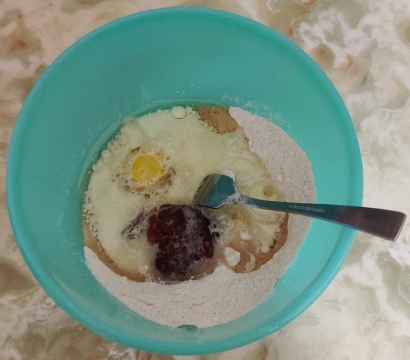
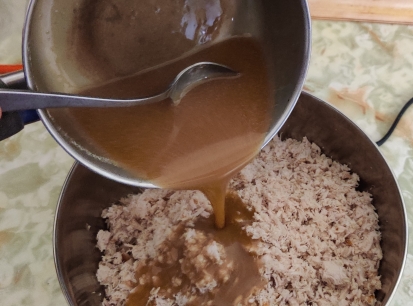
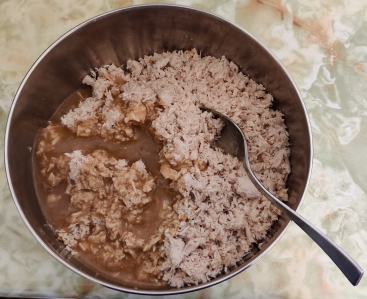
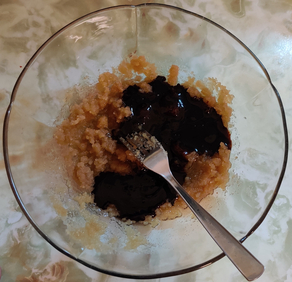
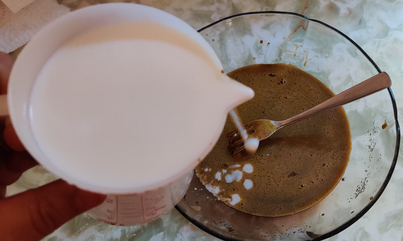
The milk, vegetable oil, and the strawberry jam were transferred to the mixing bowl with the dry ingredients and the egg:
Milk, oil, and strawberry jam transferred to mixing bowl
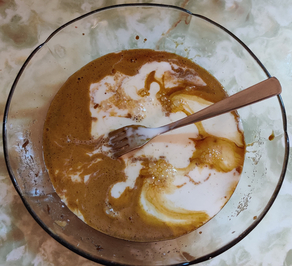
Milk, oil, and strawberry jam transferred to mixing bowl
Milk, oil, and strawberry jam transferred to mixing bowl
Milk, oil, and strawberry jam transferred to mixing bowl
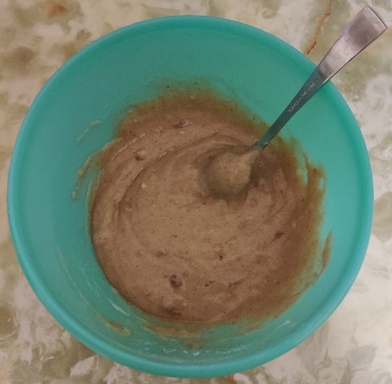
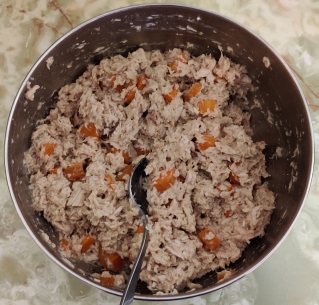
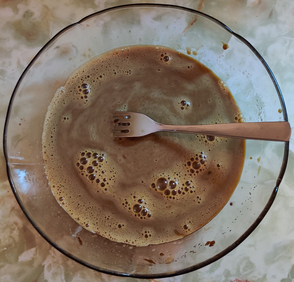
The ingredients were mixed together with the fork:
Ingredients mixed with a fork
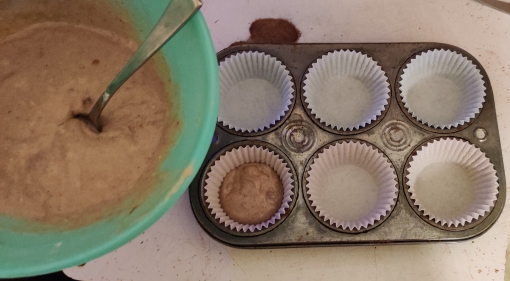
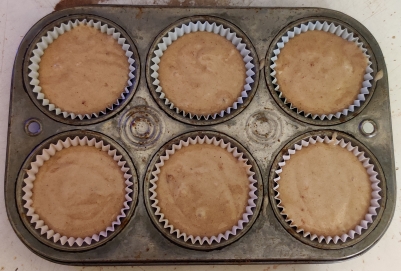
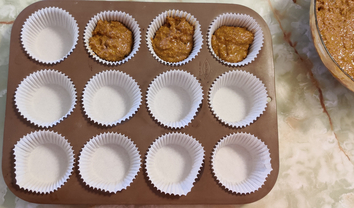
The batter was transferred to the paper liners in the muffin baking tin, using a spoon:
Batter transferred to paper liners in muffin baking tin
Batter transferred to paper liners in muffin baking tin
The filled muffin baking tin was transferred to the pre-heated countertop convection oven:
Muffin baking tin with batter placed in countertop convection oven
A timer was set to 23 minutes:
Timer set to 23 minutes
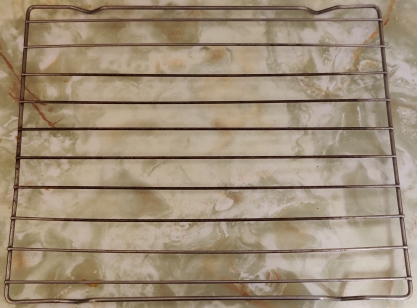
While the muffins were baking, a cooling rack was taken out:
Cooling rack taken out
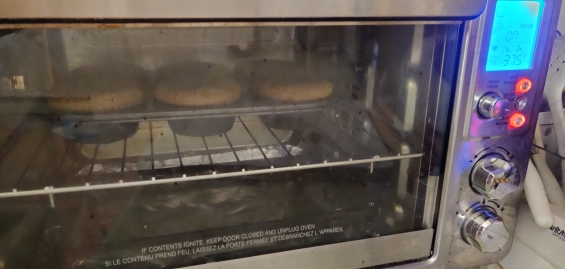
Here’s a picture of the muffins rising while baking:
Muffins rising while baking
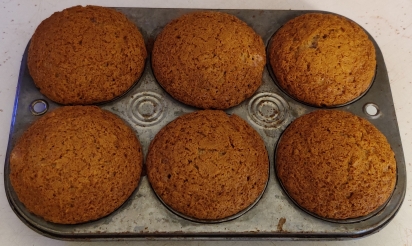
At the end of the 23 minutes when the muffins were baked, the muffin baking tin with the muffins were taken out of the countertop convection oven:
Muffins taken out of countertop convection oven
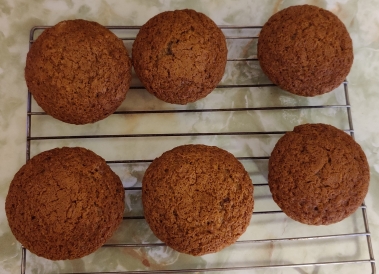
The muffins were taken out of the muffin baking tin and placed on the cooling rack:
Muffins placed on cooling rack
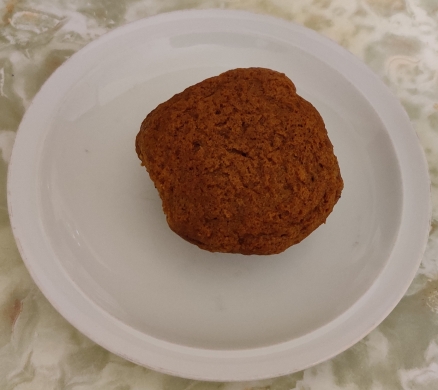
A muffin (in the case of this photo, from a subsequent batch) was taken out to serve to mom:
A delicious muffin is served!
Mom loves these delicious muffins a lot these days!
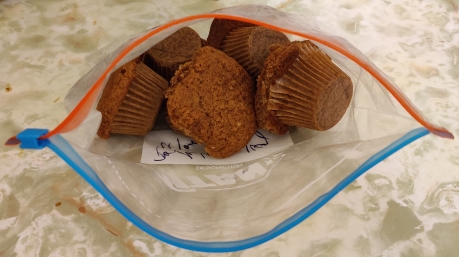
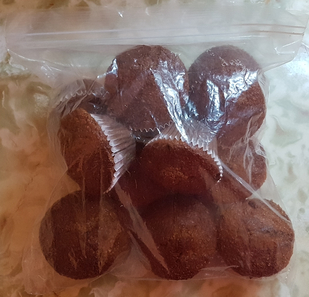
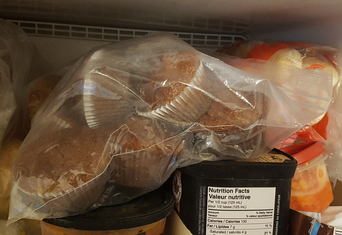
… and I froze the rest of muffins in a freezer bag, as I did with muffins from a subsequent batch:
I came to enjoy a type of convenience frozen pizza in the early 1990’s while in residence at university; of course I enjoyed them then, and continue to occasionally enjoy them to this day. However, what really fascinated me was how the manufacturer managed to produce what amounted to a bun stuffed with a filling, in this case pizza toppings, without an apparent seam or other apparent entry point for the contents (such as the small hole one would see on the size of a jelly doughnut). While said fascination remained, it was not strong enough for me to actually try to figure it out.
Fast forward to late 2023, and a snacks table offered bierocks (here’s my archive), which immediately caught my attention. Before I even picked one up and looked at it, including inspecting its bottom, I immediately realized how they had been made. I definitely ate some, and asked the person who had made them for the recipe. Due to delays in setting up a cooking lesson with said person, I eventually just followed the recipe instead of waiting to be shown how to make them.
(And, I am assuming, the manufacturer of the commercial pizza treats uses some kind of mechanical method analogous to the relevant section(s) below, or, a precisely timed continuous dual extrusion system that minimizes seams, and in either case a dough recipe tuned to be susceptible to the process; ultimately, whichever process is used appears to assure that the edges stay sealed, and the filled units are moved along an Archemides’ screw or the like to the next step, in such a way that smooths out any seams.)
Note that in the following narrative, while the photos are principally from a single session, a few are from two other sessions in order to complete the narrative.
Making the bierocks:
One of the common ingredients in bierocks is chopped cabbage; so cabbage was taken out:
Cabbage taken out
A piece of cabbage was cut off to make chopping easier:
Piece of cabbage placed on a cutting board
The cabbage was chopped up somewhere between coarsely to finely:
Cabbage chopped
As the cabbage was chopped, it was placed in a bowl:
Chopped cabbage placed in bowl
I continued to chop cabbage, and froze the excess for future use, since a typical cabbage is far larger than the roughly half pound needed for this recipe.
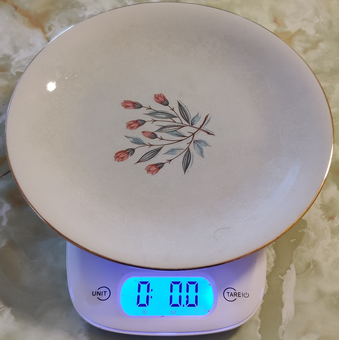
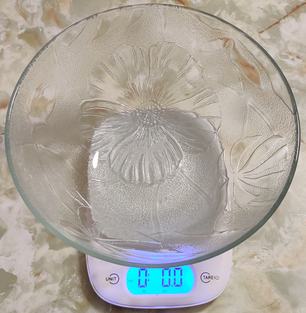
In the case of this session, frozen cabbage from a previous chopping session was used; as such, a plate was placed on a kitchen scale, and the latter set to zero, so as to only be measuring the cabbage:
Bowl placed on kitchen scale, which was set to zero
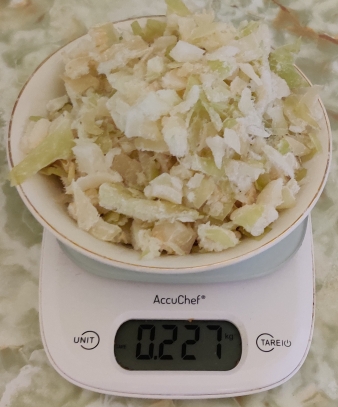
About half a pound (about 227g) of frozen chopped cabbage was placed in the bowl:
Cabbage weighed
The cabbage was put aside in order to allow it to defrost.
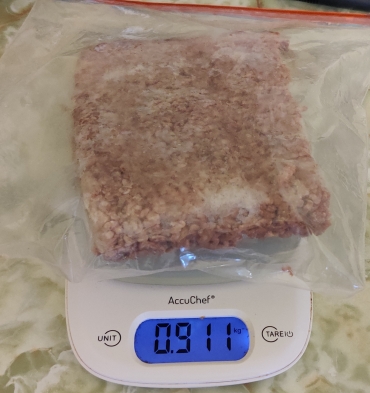
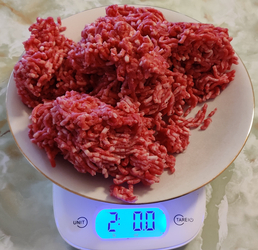
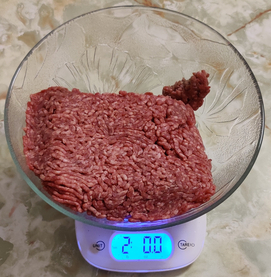
Frozen ground beef was taken out, and weighed to make sure that the appropriate amount of two pounds (911g) would be used:
Ground beef weighed
The ground beef was put aside to allow it to defrost.
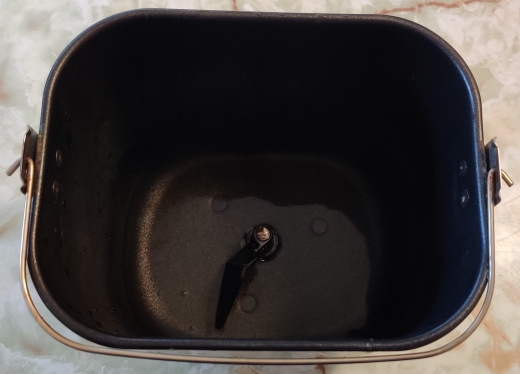
The basket from my bread machine was taken out and cleaned:
Clean bread machine basket taken out
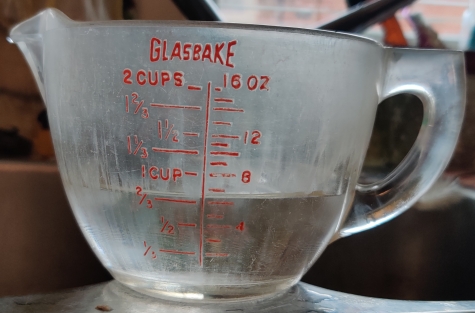
Six ounces of water were measured out:
Water measured out
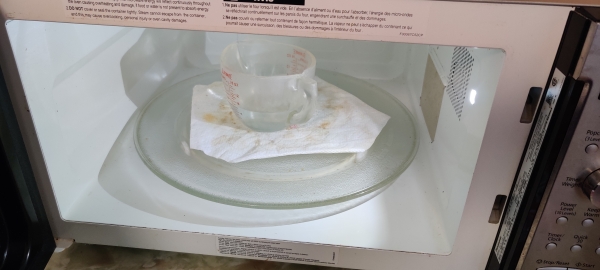
The water was placed in the microwave oven (1100 watts) …
Water placed in microwave oven
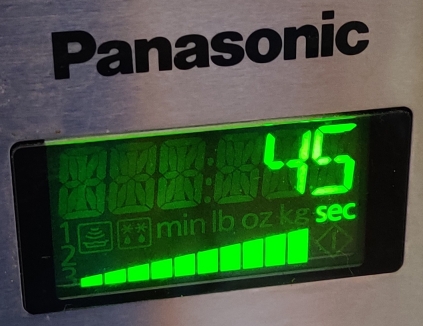
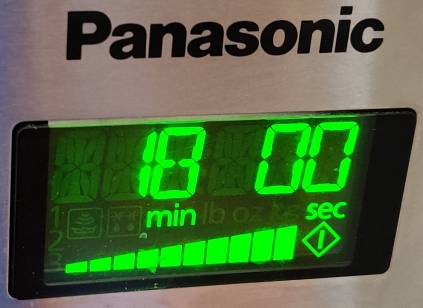
… and heated for 45 seconds.
Timer on microwave oven set
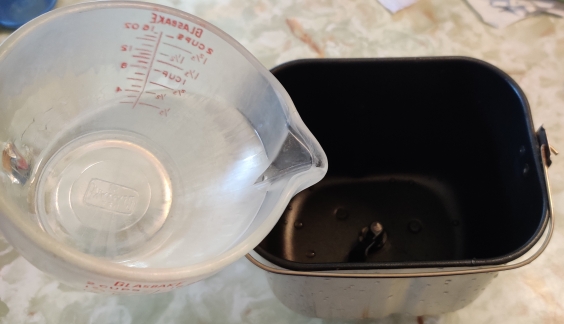
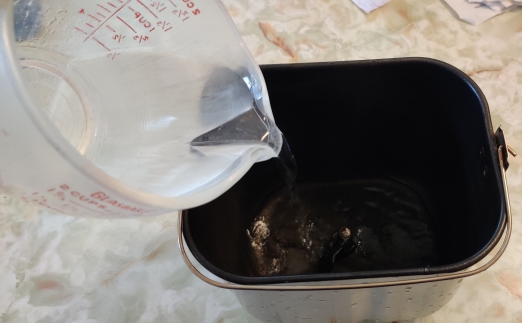
The warmed water was poured into the bread machine basket:
Warmed water poured into bread machine basket
Warmed water poured into bread machine basket
Warmed water poured into bread machine basket
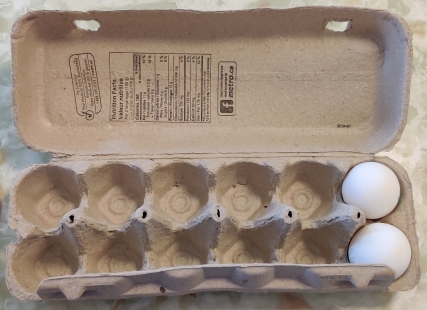
Eggs were taken out:
Eggs taken out
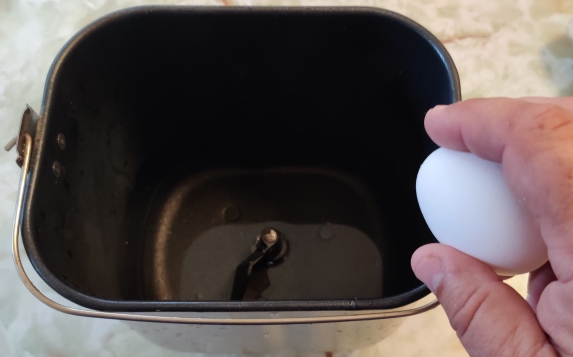
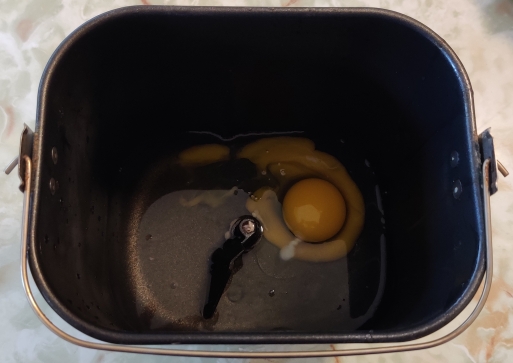
The eggs were cracked into the bread machine basket with the warmed water:
Egg cracked on edge of bread machine basket
Eggs cracked on edge of bread machine basket
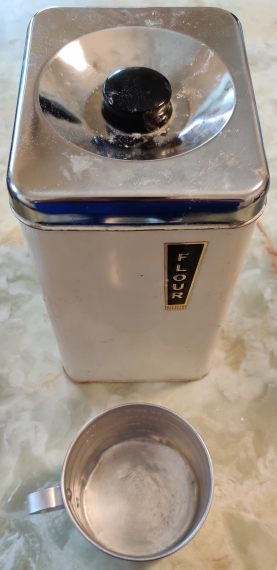
Flour and a measuring cup were taken out:
Flour and measuring cup taken out
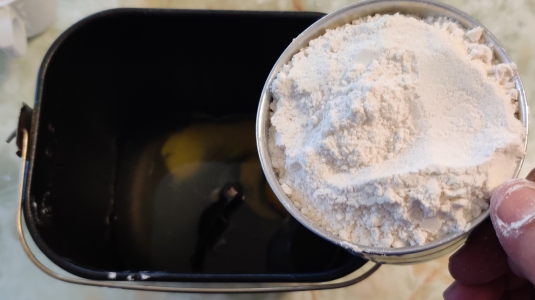
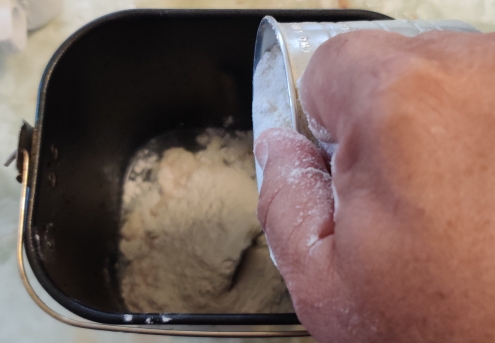
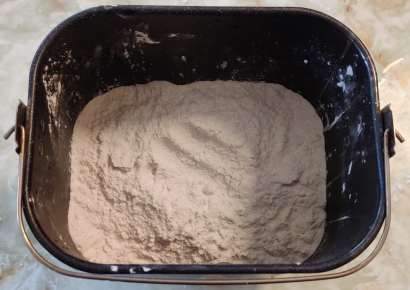
The measured out flour was transferred to the bread machine with the warmed water and the eggs:
Flour transferred to bread machine basket
Flour transferred to bread machine basket
Flour transferred to bread machine basket
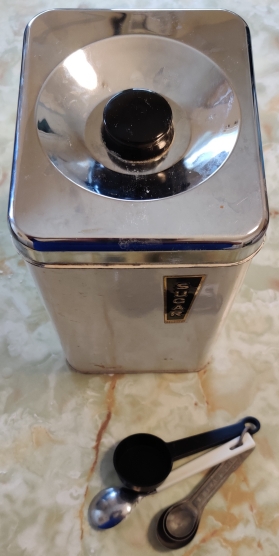
Sugar and measuring spoons were taken out:
Sugar and measuring spoons taken out
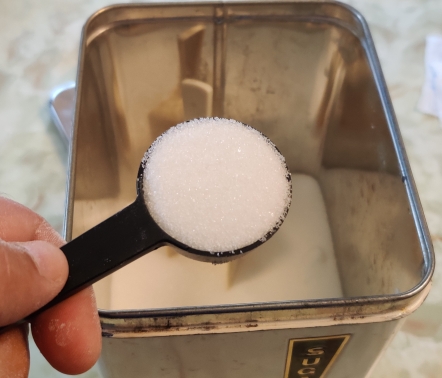
Six tablespoons of sugar were measured out …
Sugar measured out
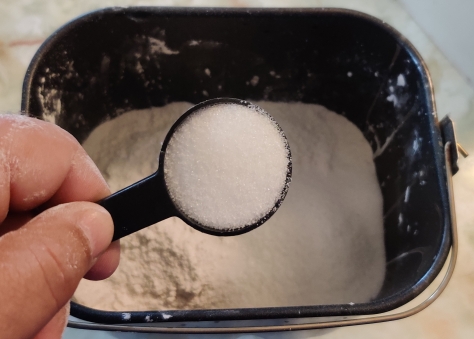
… and transferred to the bread machine basket with the water, eggs, and flour:
Sugar transferred to bread machine basket
Sugar transferred to bread machine basket
Salt and measuring spoons were taken out:
Salt and measuring spoons taken out
The salt was measured out and transferred to the bread machine basket with the water, eggs, flour, and sugar:
Salt transferred to bread machine basket
Oil and a measuring cup were taken out:
Oil and measuring cup taken out
The oil was measured out (oops twice as much as I should have used):
Oil measured out
The oil was transferred to the bread machine basket with the water, eggs, flour, sugar, and salt:
Oil transferred to bread machine basket
Oil transferred to bread machine basket
A little note at this point: Since this recipe calls for using a bread machine, I strongly recommend using bread machine yeast; standard bread yeast behaves differently — although not necessarily badly — and in a bread machine, will produce a strong yeasty odour and taste, no doubt due to different timing required for it to act properly. Should you be making bread dough another way, including using standard bread yeast, of course I do not have any advice on that front. 🙂
Bread machine yeast and measuring spoons were taken out:
Bread machine yeast and measuring spoons taken out
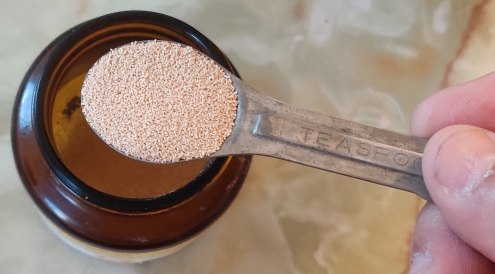
Two teaspoons of bread machine yeast were measured out:
Bread machine yeast measured out
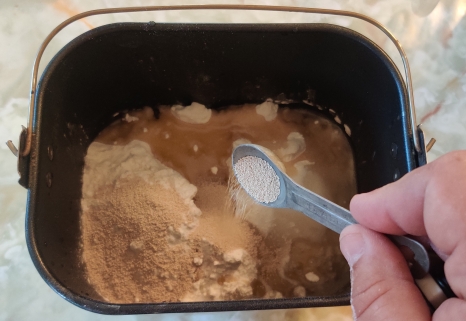
The bread machine yeast was added to the bread machine basket with the water, eggs, flour, sugar, salt, and oil:
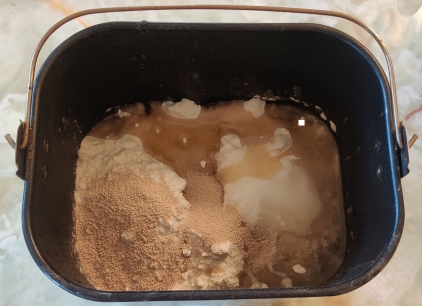
Bread machine yeast transferred to bread machine basket
Bread machine yeast transferred to bread machine basket
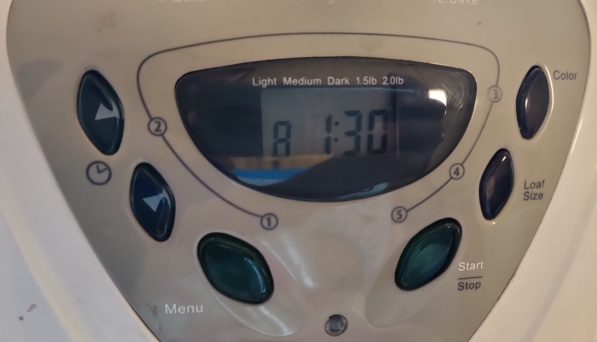
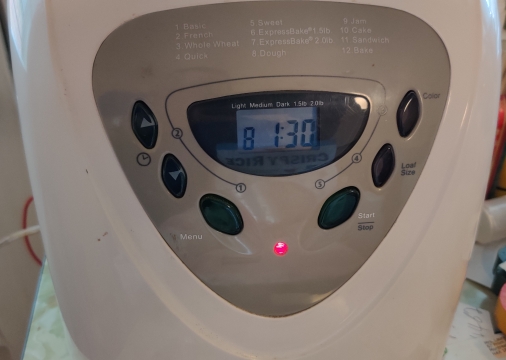
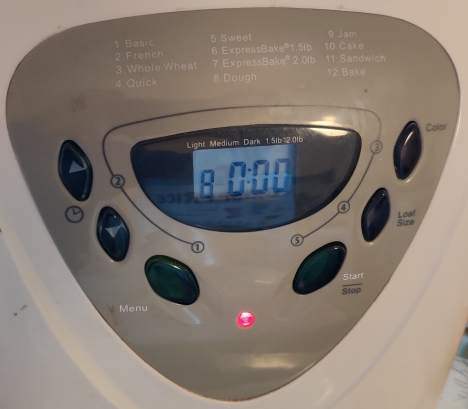
The bread machine basket with all the ingredients was placed in the bread machine, and the unit was set to the dough only cycle, which in the case of my bread machine is setting #8, with a cycle time of 1h30:
Bread machine set to dough cycle
The bread machine was turned on:
Bread machine turned on
While the bread machine was preparing the dough, baking trays were taken out:
Baking trays taken out
Parchment paper was taken out:
Parchment paper taken out
Sheets of parchment paper were cut off the roll and placed on the baking sheets:
Parchment paper placed on the baking sheets
The baking sheets were put aside for later.
An electric frypan was taken out:
Electric frypan taken out
The electric frypan was plugged in, and the ground beef was placed in the electric frypan:
Ground beef placed in electric frypan, and electric frypan plugged in
The chopped cabbage was placed in the electric frypan:
Chopped cabbage placed in electric frypan
Salt was added to the electric frypan:
Salt added to electric frypan
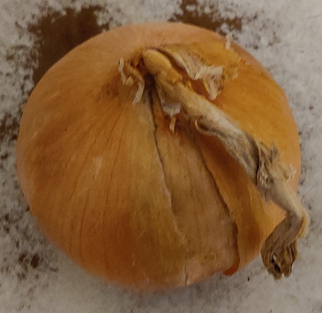
An onion was taken out and weighed to be sure it was enough (“about” a quarter pound of chopped onion in the end):
Onion taken out and weighed
The onion was placed on the cutting board:
Onion placed on cutting board
The onion was trimmed:
Onion trimmed
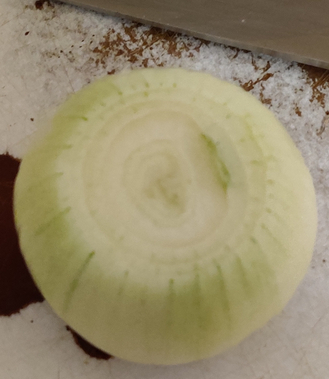
The onion was cut in half:
Onion cut in half
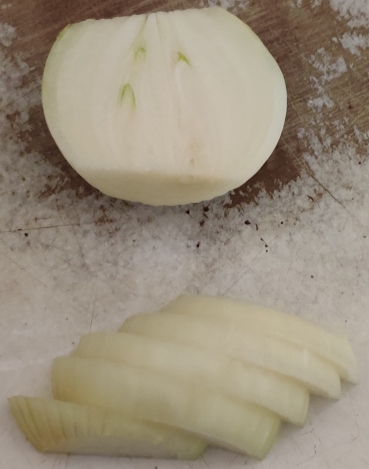
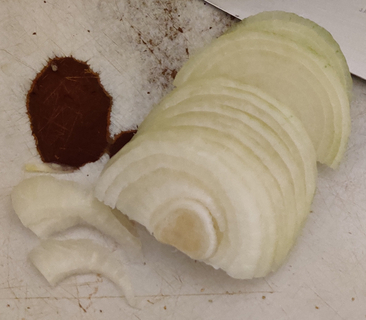
The onion half was sliced into half coins:
Onion sliced
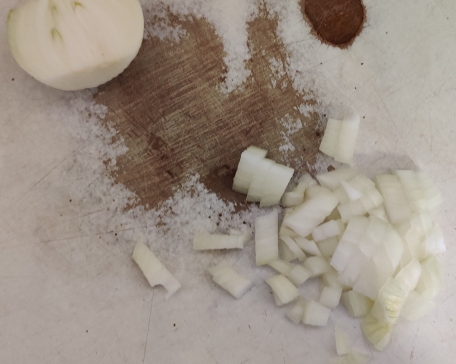
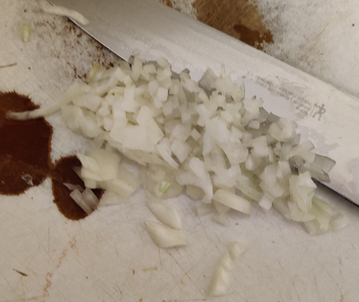
The onion slices were chopped:
Onion chopped
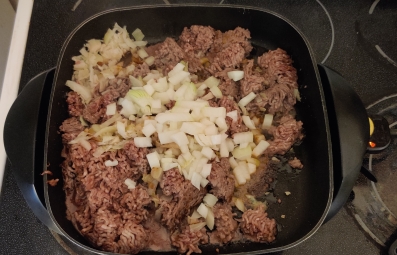
The rest of the onion was chopped, and the chopped onion was transferred to the electric frypan, and the ground beef was cut up with an egg flipper:
Onion added to electric frypan
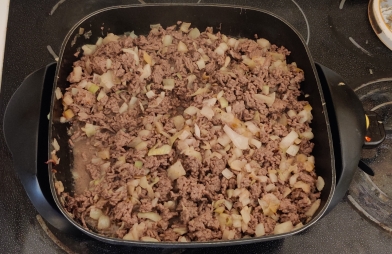
The ground beef was broken up further, and the ground beef, cabbage, and onions were mixed together:
Ingredients broken up and mixed together
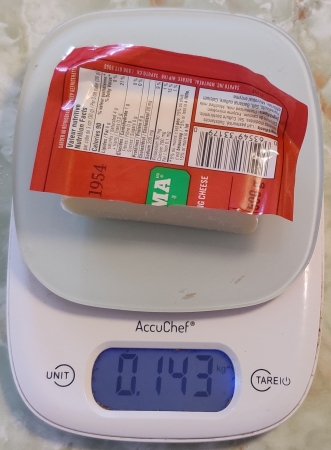
Cheese was weighed out:
Cheese weighed
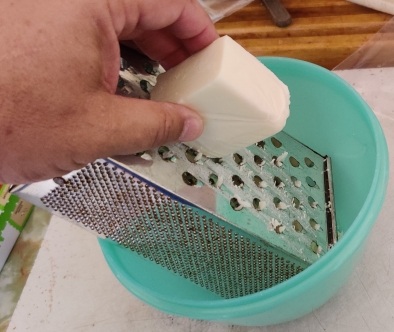
The cheese was grated:
Cheese grated
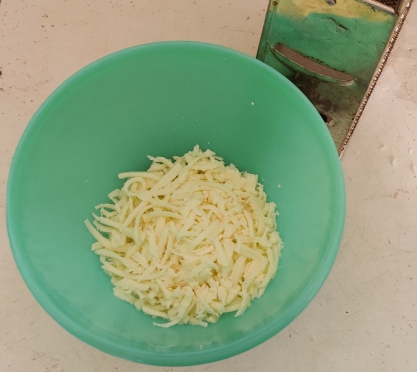
The grated cheese was transferred to a bowl, and put aside for later:
Grated cheese transferred to bowl
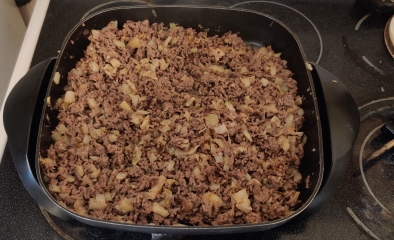
Once the meat mix was cooked, the electric frypan was unplugged:
Fried ingredients cooked
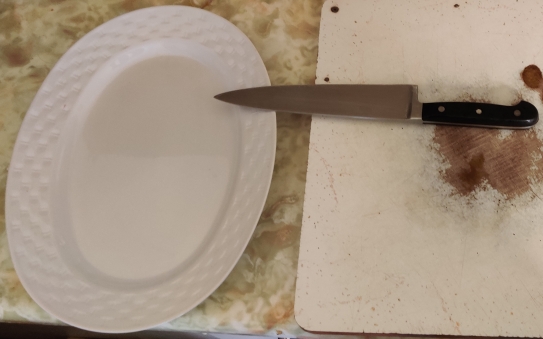
At this point, I took out a large serving plate and a kitchen knife in anticipation of the bread machine dough cycle completing:
Large plate and kitchen knife taken out
The bread machine finished its dough cycle:
Bread machine dough cycle complete
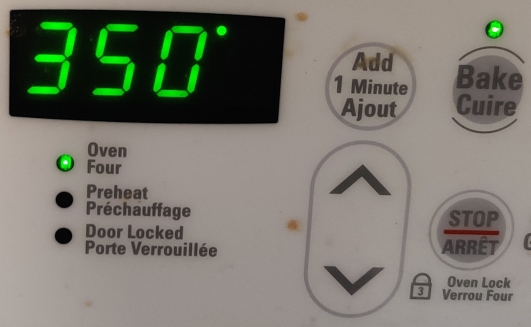
At this point, I started to preheat the oven, set to 350F, and one of the racks was placed in the top position (photo taken after preheating):
Oven preheated to 350F
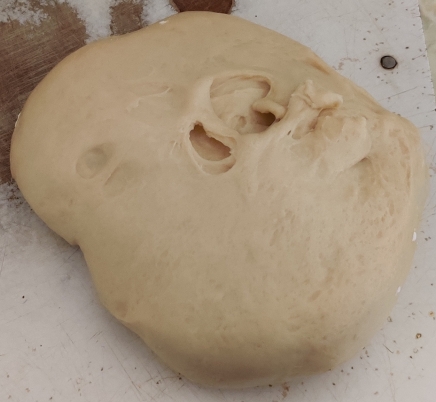
The dough was taken out of the bread machine basket:
Dough taken out of bread machine
At this point, to get 24 roughly similarly sized balls of dough, I am using what I call the “Jamie Oliver Method” because I saw Jamie Oliver use this method on one of his shows with bread dough:
Cut the dough in half (2 pieces);
Cut each half into three pieces (2 x 3 = 6 pieces);
Cut each “third of a half” into four pieces (6 x 4 = 24).
I concede that Jamie Oliver would have you roll the dough into a long log first to further help with estimating making the sizes relatively even.
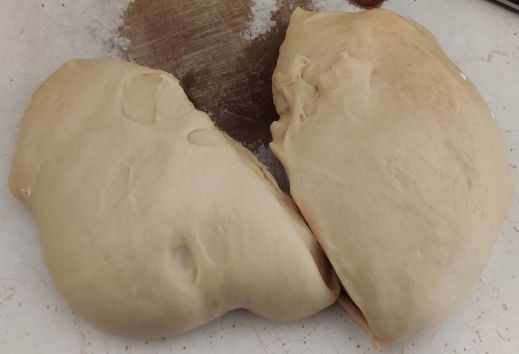
The dough was cut in half:
Dough cut in half
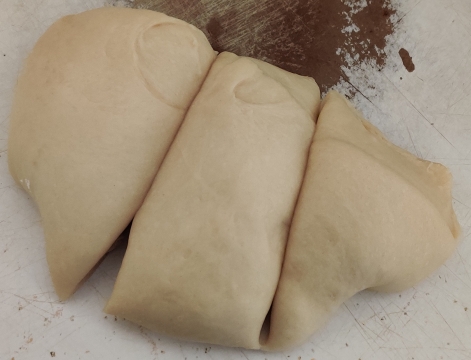
One of the dough halves was cut in three:
Dough half cut into three pieces
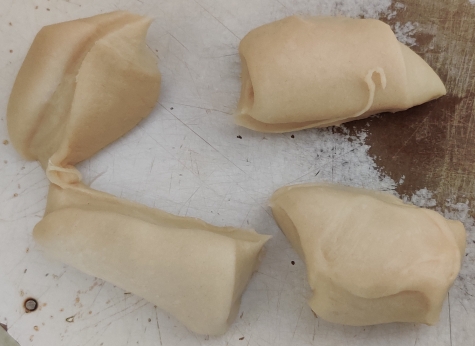
One of the pieces was cut in four:
Dough piece cut into four pieces
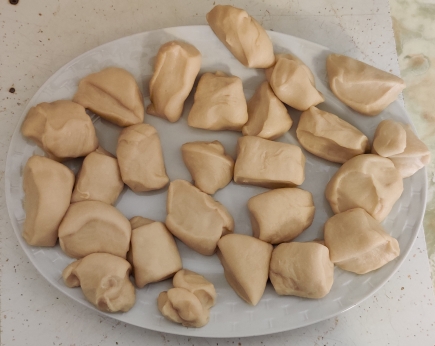
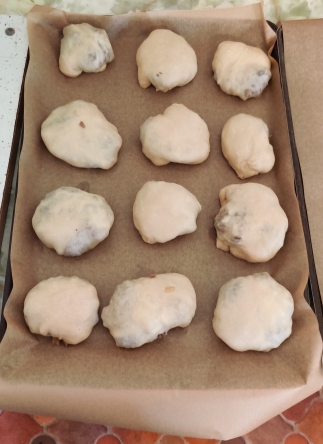
The rest of the bread dough pieces were cut up, resulting in 25 pieces, which eventually were reduced to 24 pieces:
25 bread dough pieces (which will be integrated into 24)
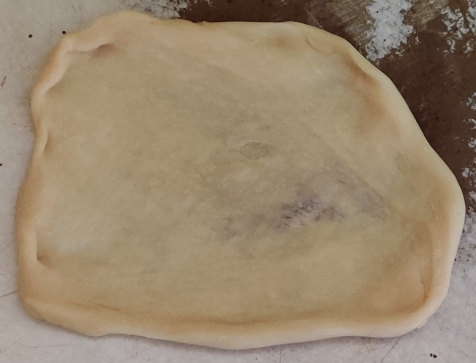
A bread dough pieces was placed on the cutting board, and flattened and stretched out:
Bread dough piece flattened on cutting board
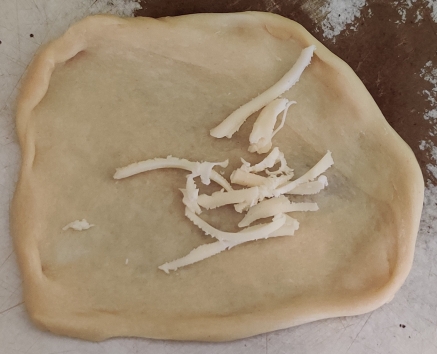
Some shredded cheese was placed in the centre of the piece of flattened bread dough:
Shredded cheese placed on flattened bread dough
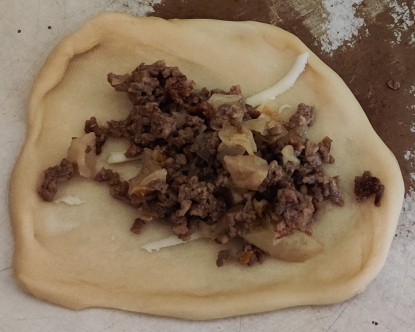
Some cooked meat mix was placed on top of the shredded cheese on the piece of flattened bread dough:
Cooked meat mix placed on flattened bread dough
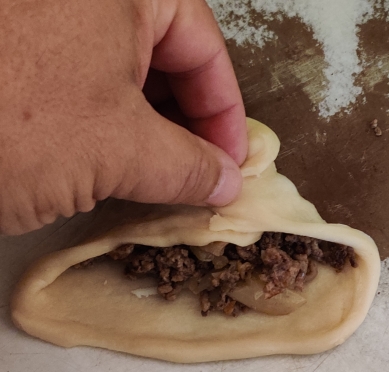
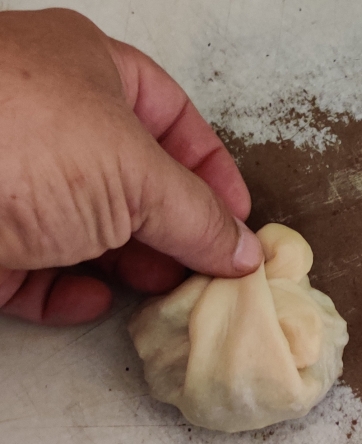
I began to stretch the edges of the flattened bread dough, pulling them together and covering the filling:
Bread dough edges stretched and brought together
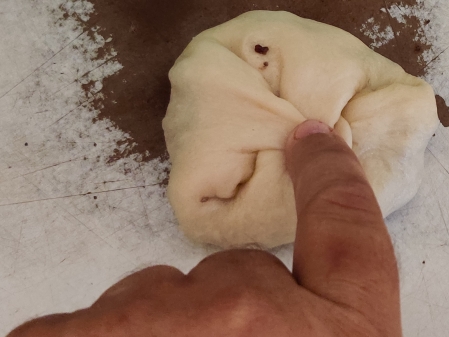
All of the edges were brought together and the edges were pinched together:
Stretched bread dough edges brought together
Stretched bread dough edges brought together
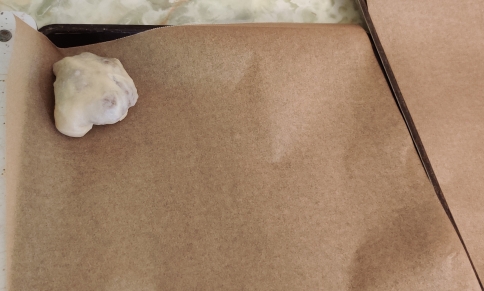
The resulting ball of stuffed bread dough was placed on the parchment paper on one of the trays, pinched edges face down:
Stuffed bread dough ball placed edges down on baking tray
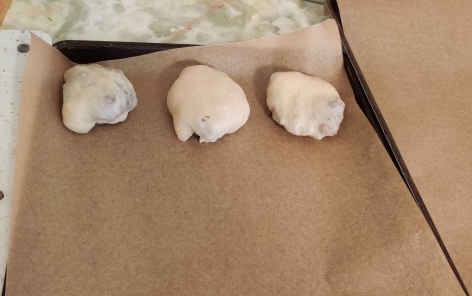
The process was repeated with more pieces of bread dough and more cooked meat mix and shredded cheese:
Stuffed bread dough balls placed edges down on baking tray
Stuffed bread dough balls placed edges down on baking tray
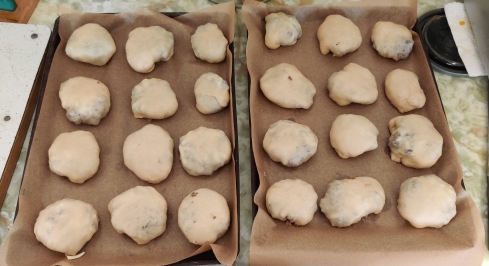
The process was continued until there were 24 units:
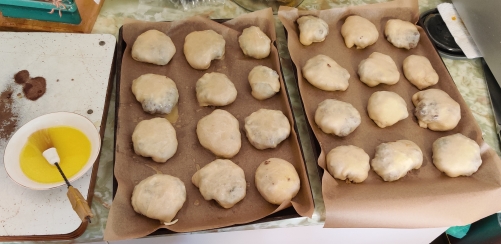
24 units on baking trays
Margarine, a bowl, and a spoon were taken out:
Margarine, bowl, and spoon taken out
The empty bowl was placed on the kitchen scale, which was set to zero:
Kitchen scale set to zero with bowl on it
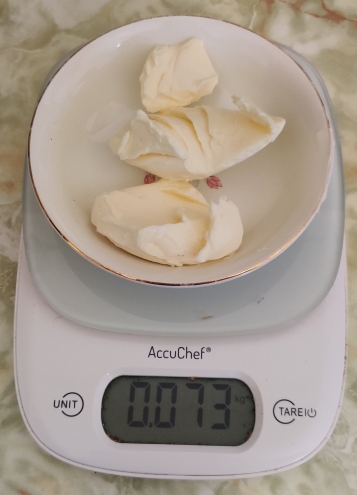
Margarine was weighed out, about five tablespoons’ worth, in the area of about 70g to 73g:
Margarine weighed out
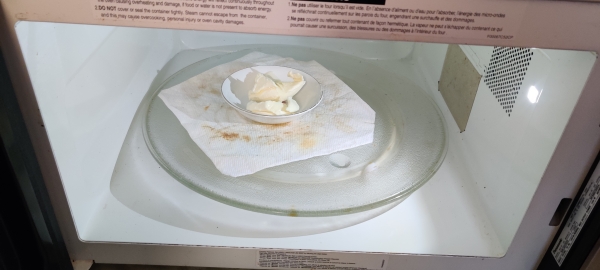
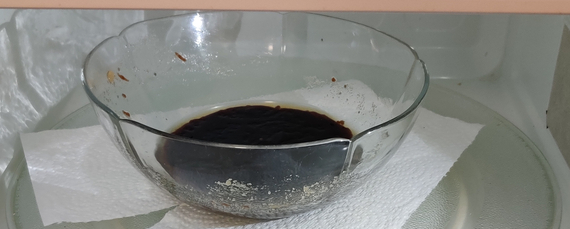
The bowl of margarine was placed in the microwave oven (1100 watts):
Margarine placed in microwave oven
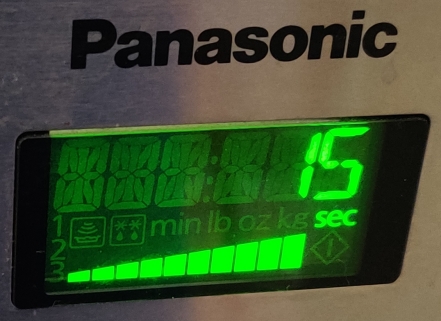
The microwave oven was set to 15 seconds:
Microwave set to 15 seconds
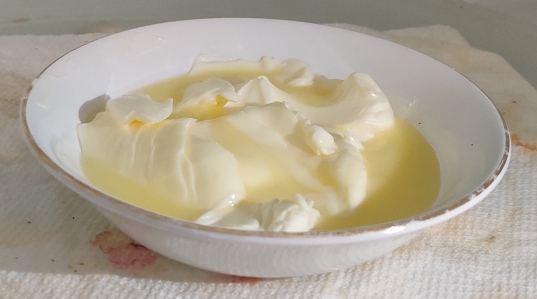
The margarine was partly melted:
Margarine partly melted
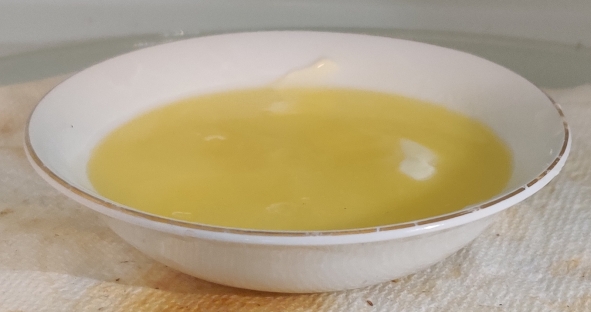
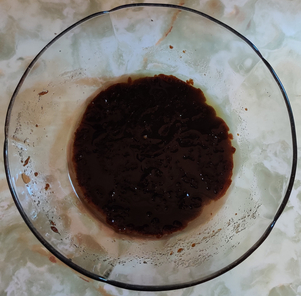
The microwave oven was set again for 15 seconds, and the margarine was mostly melted:
Margarine melted
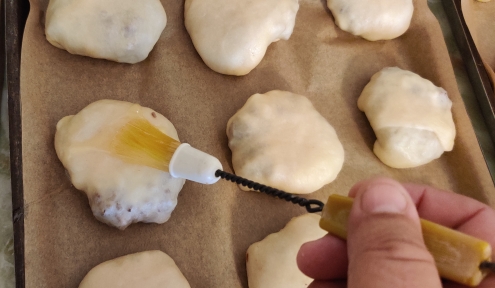
A food brush was used to brush the melted margarine on to the bierocks …
Melted margarine brushed onto bierocks
Melted margarine brushed onto bierocks
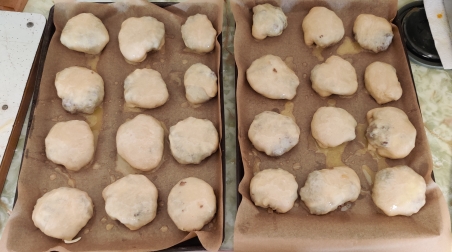
… until all units had been basted and all the melted margarine had been used:
Melted margarine brushed onto bierocks
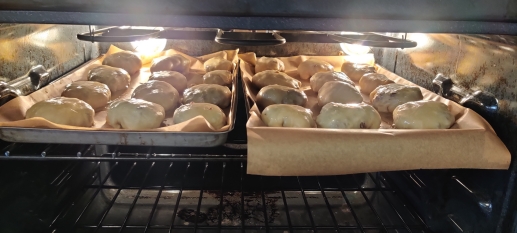
The trays of bierocks were placed in the oven:
Baking trays with bierocks placed in oven
The stove timer was set to 22 minutes:
Timer set to 22 minutes
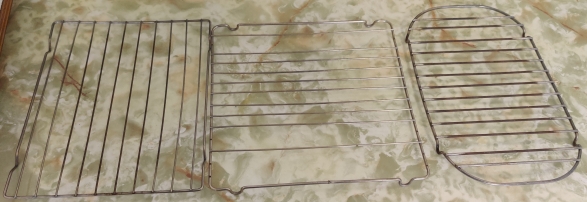
Cooling racks were taken out while the bierocks were baking:
Cooling racks taken out
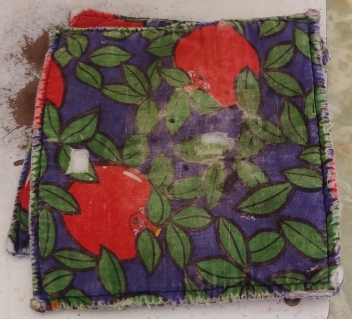
Pot holders were taken out:
Pot holders taken out
At about halfway through the baking, the trays with the bierocks were rotated back to front within the oven:
Baking trays rotated back to front part way through baking
At the end of the baking period, I turned on the broiler to brown the tops of the bierocks:
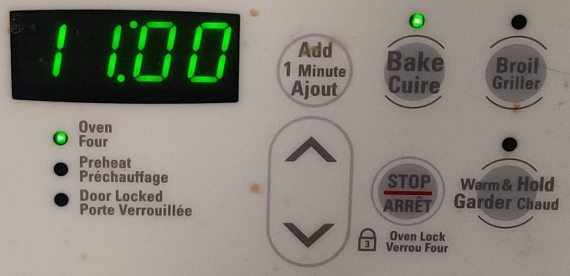
Broil cycle turned on at end of baking
… and the oven timer was set to two minutes:
Timer set to 2 minutes of browning
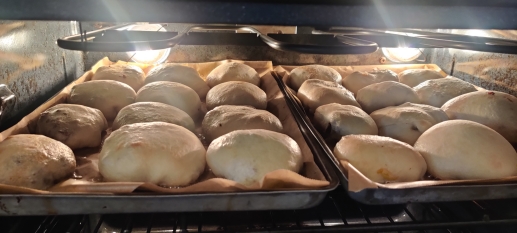
Here’s a photo of the bierocks as they were browning under the broiler:
Bierocks browning under broiler
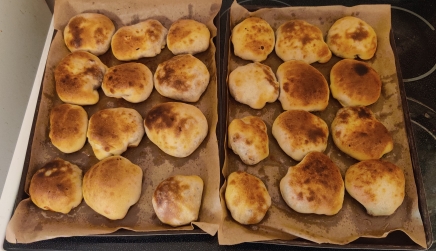
After the two minutes under the broiler, the bierocks were taken out of the oven:
Baking trays with bierocks taken out of oven
The bierocks were transferred to the cooling racks:
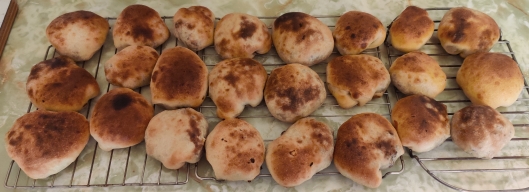
Bierocks placed on cooling racks
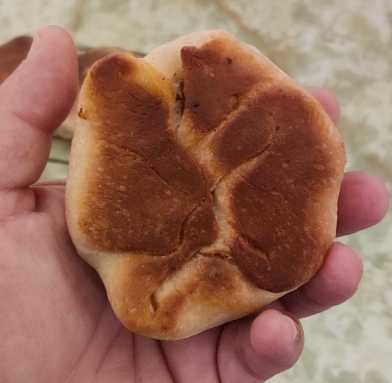
A bierock was picked up to check the bottom where the pinched edges of the dough had been brought together to show how it baked (but … not seamlessly! 🙂 )
Underside of a bierock
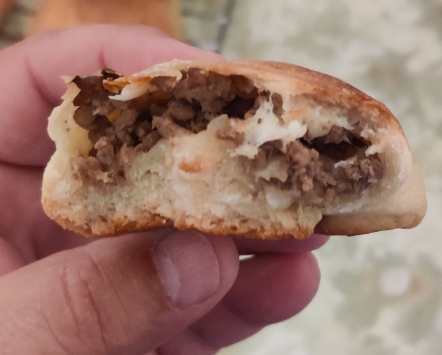
I bit into the fresh bierock … yummy!
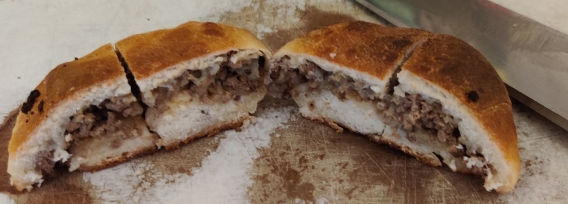
Inside of a bierock — Yummy!!!
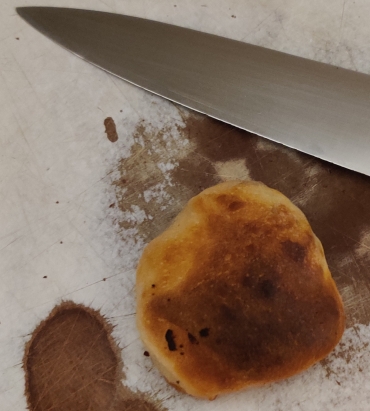
A bierock was placed on a cutting board with a kitchen knife:
Bierock and knife placed on cutting board
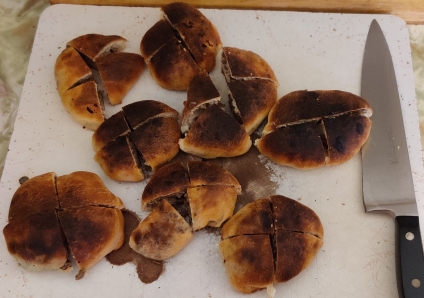
The bierock was cut into four pieces:
Bierock sliced into four pieces for freezing
Several bierocks were cut up into quarters, because bierock pieces have become part of my usual breakfasts:
Bierocks sliced into four pieces for freezing
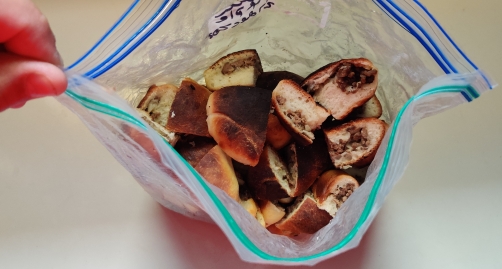
… and the cut up bierocks were placed in a freezer bag for freezing:
Bierock pieces placed in freezer bag
The bag of bierock pieces was placed in a freezer for future eating as part of my daily breakfasts.
This post is a bit of a gratuitous post to pass the time during my holidays, while showing a bit how I leverage freezers as useful tools for day to day cooking and eating, and highlight how, beyond the strictly obvious (or conversely, as an example of the obvious, whichever you prefer 🙂 ), my cooking efforts actually do fit into and serve everyday life — literally!
Yes, the breakfast shown at the end of this post is a very typical daily breakfast for me these days, barring the days, often on weekends or holidays, when I might choose to make other breakfast foods from my collection of recipes (or of course, something else completely.)
After coming home from the store and having bought bagels and a cream cheese spread flavoured with “herbs” and roasted garlic, I took out a cutting board:
Cutting board taken out
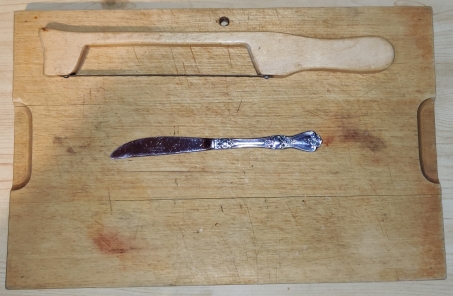
A bagel slicer, basically a serrated edge attached to a wooden guide, and a table knife, were taken out:
Bagel slicer and knife taken out
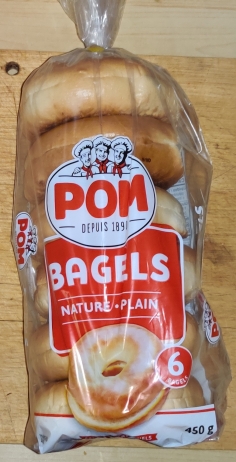
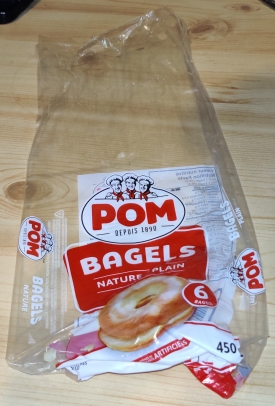
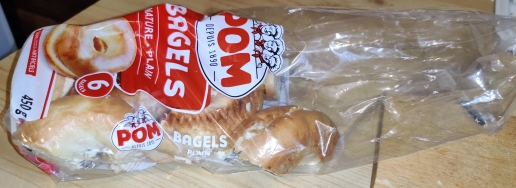
A bag of commercially produced bagels, purchased earlier in the day, was taken out:
Bag of bagels taken out
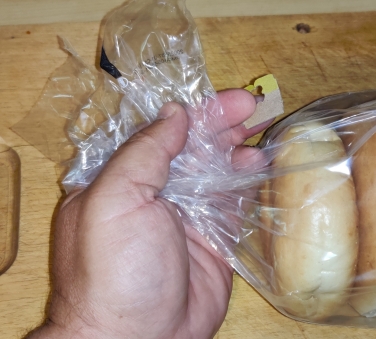
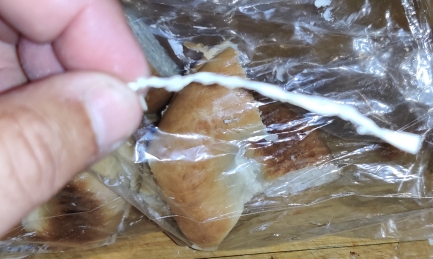
The bag clip was taken off the bag in order to open the bag of bagels:
Bag clip removed from bag
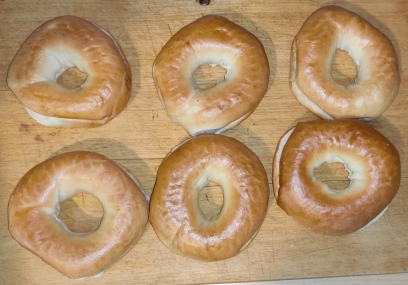
The bagels were taken out of the bag:
Bagels taken out of bag
The empty bag was kept and put aside:
Bag kept and put aside
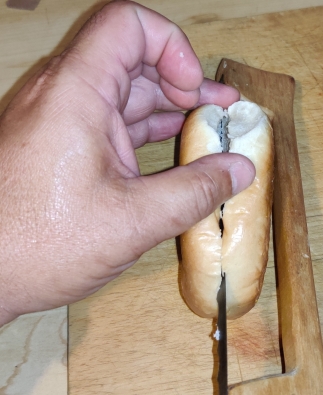
A bagel was sliced (be careful, some industrially produced bagels may be partly pre-sliced):
Bagel being sliced
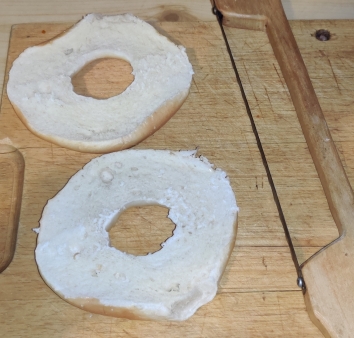
Sliced bagel
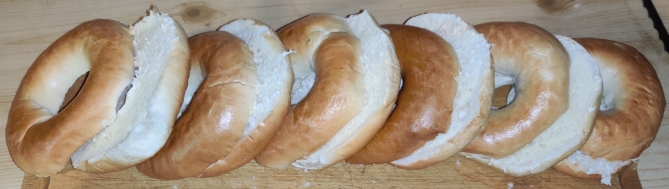
… and the rest of the bagels were sliced:
Bagels sliced
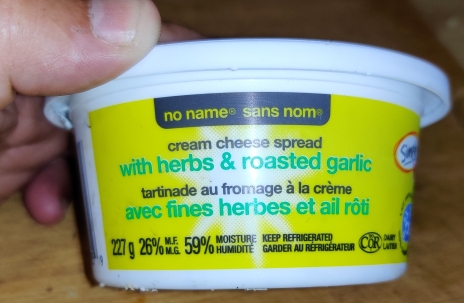
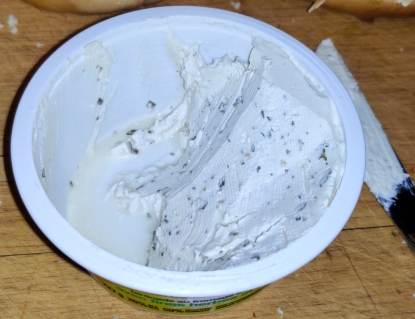
A 227g (8oz) container of a commercially prepared cream cheese spread, in this case flavoured with “herbs” and roasted garlic, purchased earlier in the day, was taken out:
Flavoured cream cheese spread taken out
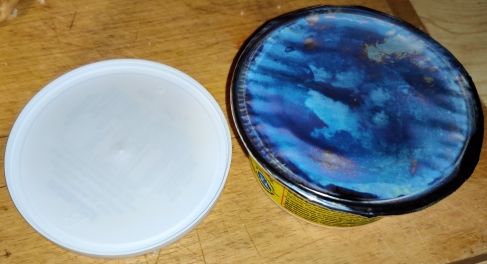
The lid was removed from the cream cheese container …
Plastic seal to be removed from container
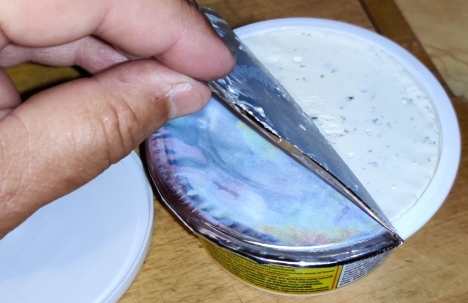
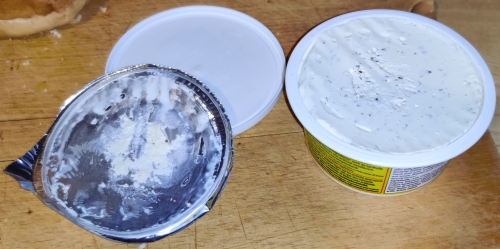
… and the plastic seal was also removed from the container:
Plastic seal removed from container
Plastic seal removed from container
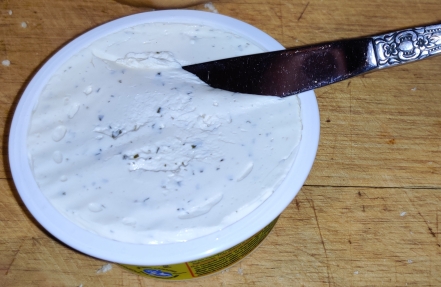
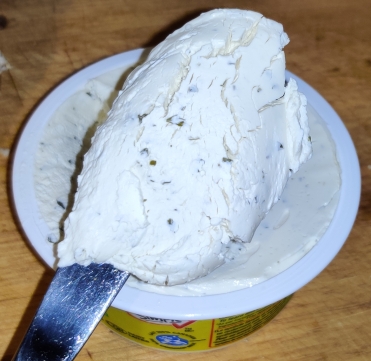
The knife was used to pick up some of the cream cheese:
Picking up cream cheese with knife
Cream cheese picked up with knife
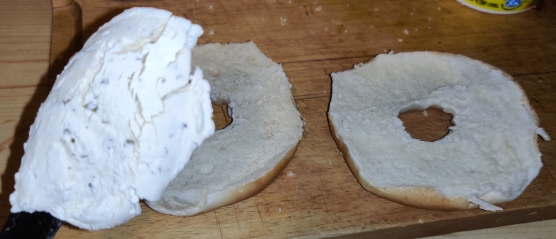
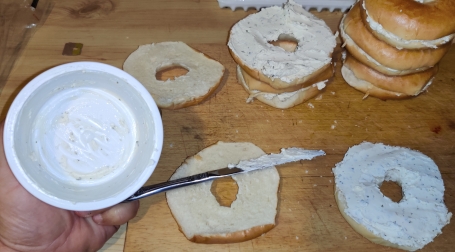
A couple of bagel halves were placed on the cutting board, and the knife holding the cream cheese was brought to them …
Cream cheese brought to bagel halves
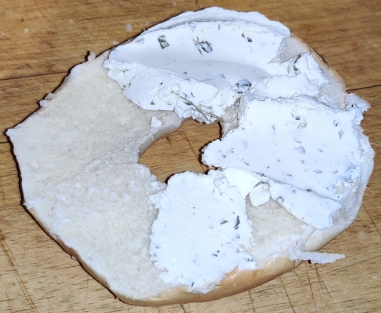
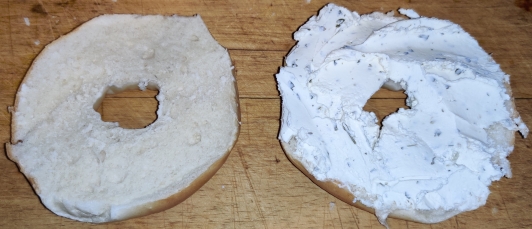
… and cream cheese was spread on one of the bagel halves:
Cream cheese spread on bagel half
Cream cheese spread on bagel half
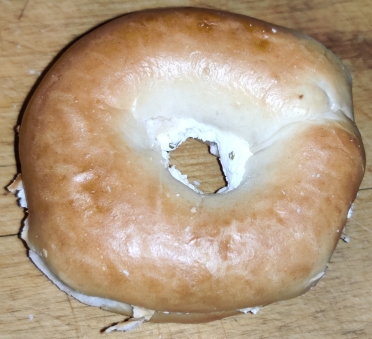
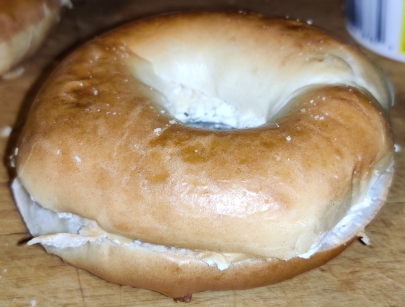
The two bagel halves were put back together:
Bagel halves joined back together
Bagel halves joined back together
Cream cheese was spread on a few more bagels, and after spreading cream cheese on half of the bagels, the container was about half empty:
I continued to spread cream cheese on the rest of the bagels; I scraped the last of the cream cheese out of the container, and I spread the last of the cream cheese onto the last of the six bagels:
Scraping the last of the cream cheese from the bottom of the container and spread onto last bagel
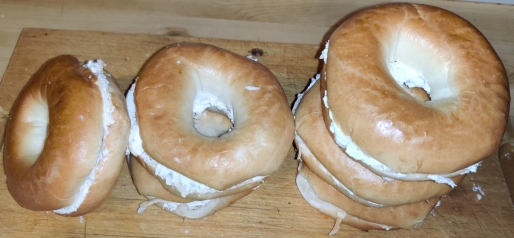
At this point, all six bagels were filled with cream cheese:
Bagels filled with cream cheese
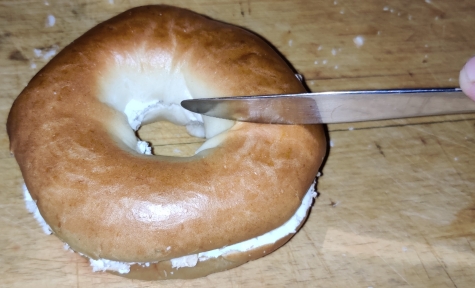
At this point, a clean knife was taken out, and a bagel was cut at a single point:
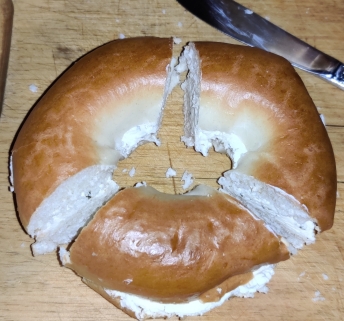
… and then the bagel was cut in two other places, resulting in three pieces:
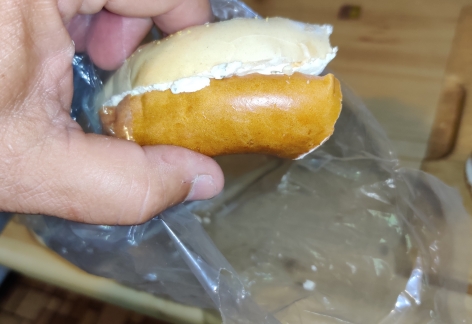
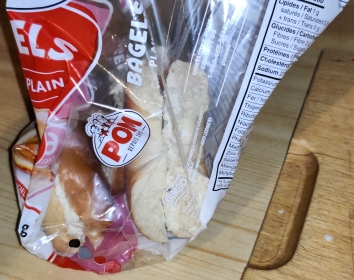
The bagel pieces were placed back in the bag:
Piece of bagel placed in bag
Three bagel pieces placed in bag
… and as I continued cutting up the rest of the bagels, I placed the bagel pieces in the bag:
Half the bagel pieces in the bag
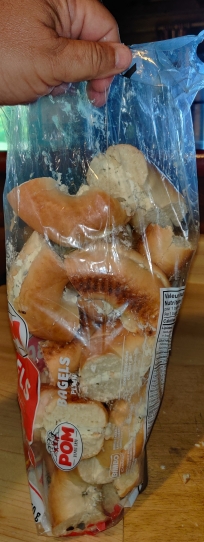
… until all the bagel pieces were in the bag:
All bagel pieces in bag
A tie wrap was taken out:
Tie wrap taken out
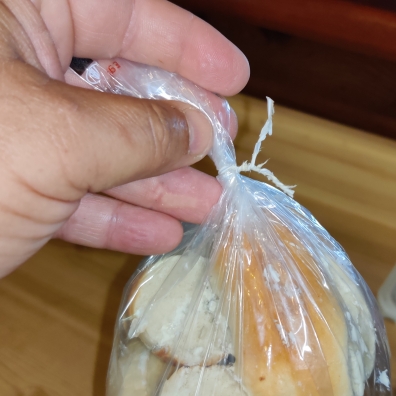
The tie wrap was used to seal up the bag again:
Bag sealed with tie wrap
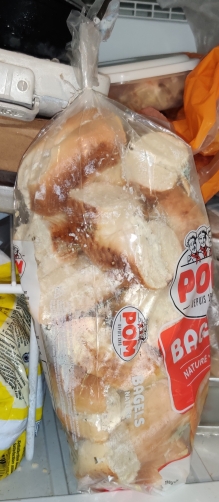
The bag of bagel and cream cheese pieces was placed in the freezer:
Bag of bagel and cream cheese pieces placed in freezer
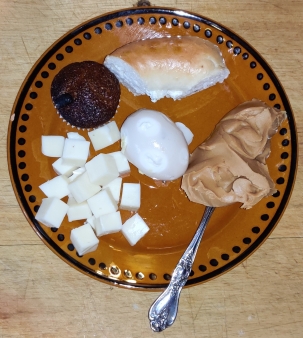
The next morning, I took out a bagel and cream cheese bite, and defrosted it along with a mini raisin bran muffin, made earlier in the week using my mom’s bran muffin recipe, a pickled egg, some cheese, and some peanut butter scooped from the jar:
This is a relatively new addition to my collection of recipes, after having looked through an old community cookbook given to me by a neighbour. It is based on a near-identical recipe obviously (and expressly) intended to use up leftovers from a roast pork Sunday dinner; however, after trying the original recipe, which called for the use of brown sugar and apple slices, I decided to omit the sugar, which made the dish too sweet, and the apples, which didn’t suit us, and replaced them with cooked carrots.
This cooking session occurred in early April, 2023; for a variety of reasons, including the sheer number of photos to organize and prepare for this post — I went into overdrive! — it has taken a bit more than three weeks for me to build this blog post. Also, for the sake of the narrative, the photo progression presented here occasionally differs from the precise progression of when the photos were taken, either because of some mise-en-place activities, actual progression of the food preparation, photo shooting (and occasionally its impact on progression), several operations occurring concurrently, and the like.
Preparing the dish:
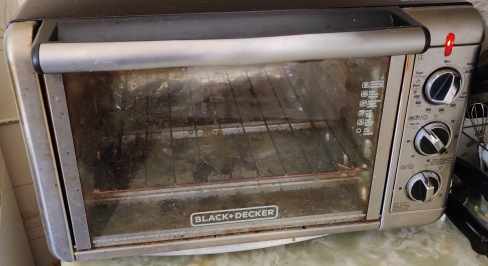
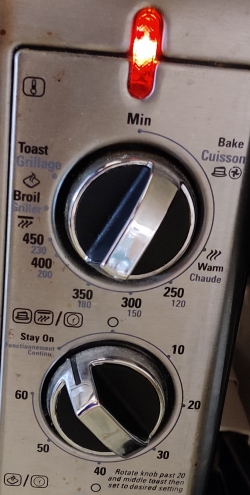
Firstly, a countertop convection oven was turned on:
Countertop oven turned on
Countertop oven turned on
A roasting tray was taken out:
Roasting tray taken out
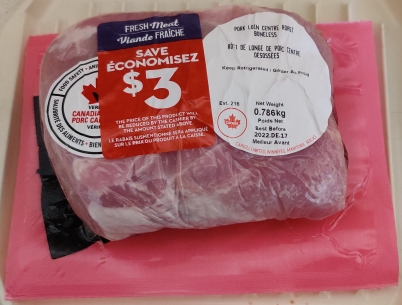
A package of (frozen) pork loin, defrosted prior to the cooking session, was taken out:
Defrosted pork loin taken out
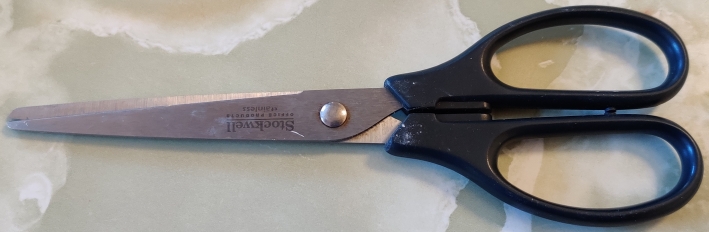
Scissors were taken out to open the vacuum pack sealing the pork:
Scissors taken out
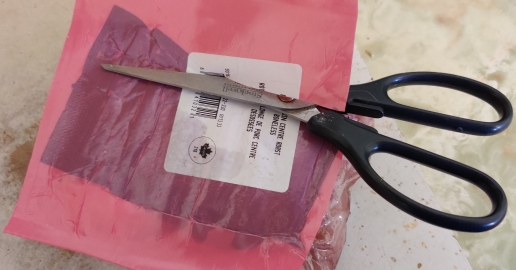
The pork loin’s vacuum pack was cut open:
Packaging cut open
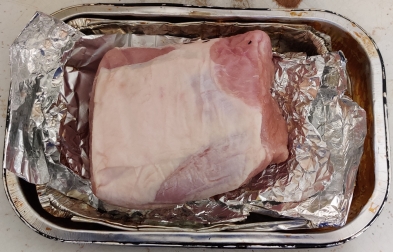
The pork loin, removed from the vacuum pack, was placed in the roasting tray:
Pork placed in roasting tray
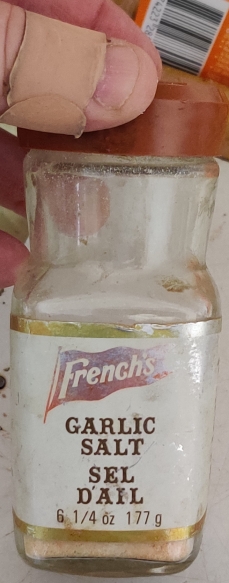
Garlic salt was taken out:
Garlic salt taken out
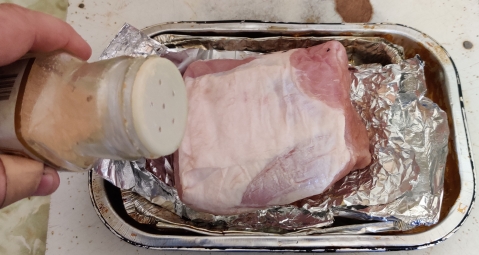
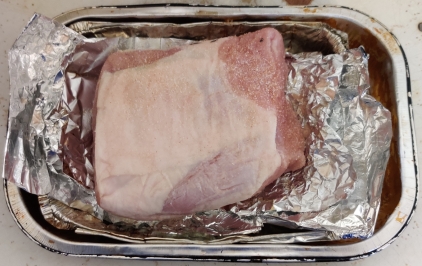
Garlic salt was liberally shaken on top of the pork loin:
Garlic salt shaken onto pork
Garlic salt shaken onto pork
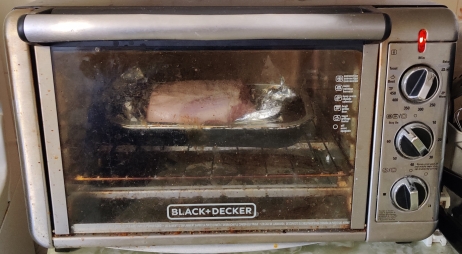
The pork loin was placed in the countertop convection oven:
Pork placed in countertop convection oven
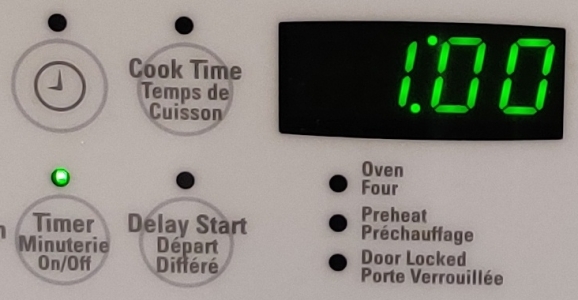
A timer was set for an hour as a reminder for how long to cook the pork loin:
One hour set on timer
A pot was taken out for boiling carrots:
Pot taken out for boiling carrots
A scale was taken out to know roughly measure out the right amount of carrot:
Scale taken out to measure carrots
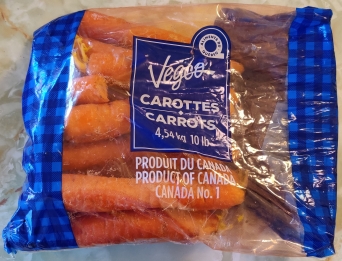
Carrots were taken out:
Carrots taken out
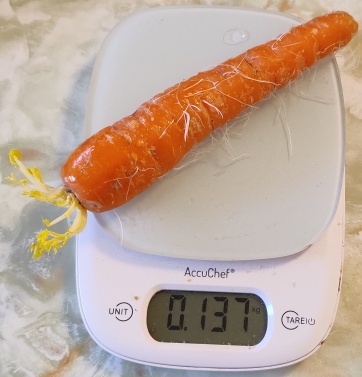
About a quarter pound of carrot — in this case, a single carrot — was taken out of the bag:
Quarter pound of carrot measured out
The carrot was cleaned and rinsed:
Carrot rinsed
The cleaned carrot was placed on a cutting board:
Cleaned carrot placed on cutting board
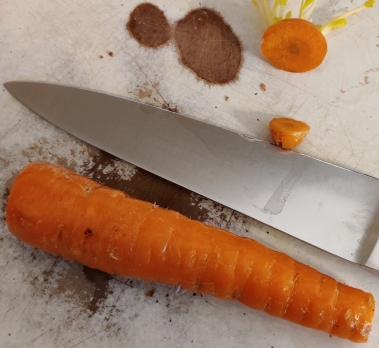
The carrot was trimmed:
Carrot trimmed
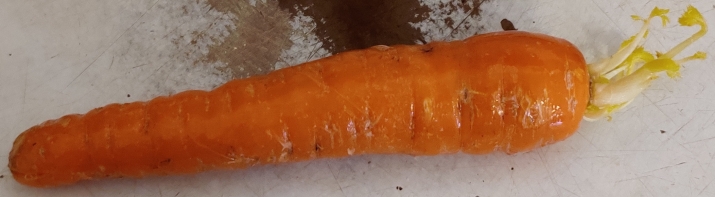
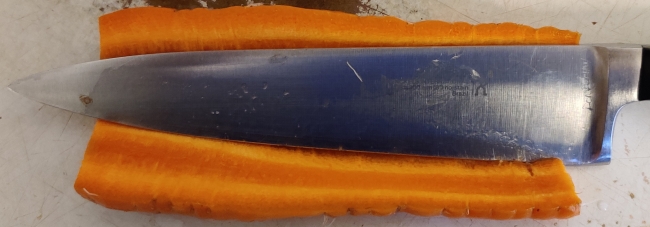
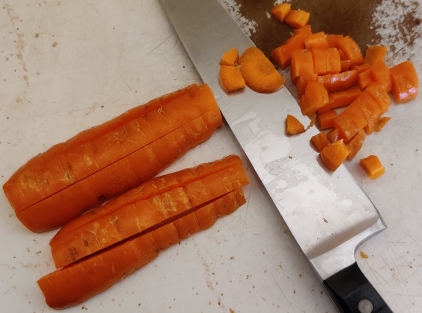
The carrot was sliced lengthwise:
Carrot sliced lengthwise
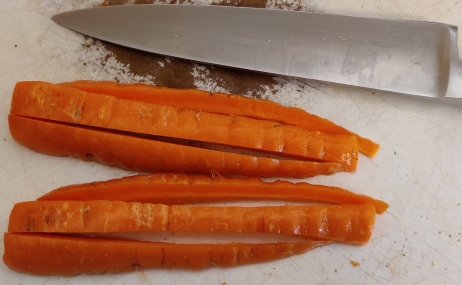
… and again sliced a few more times to make carrot spears:
Carrot sliced lengthwise to create spears
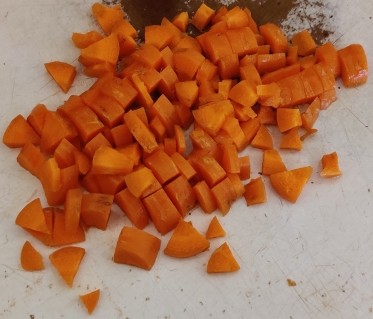
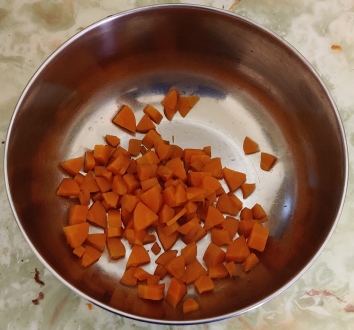
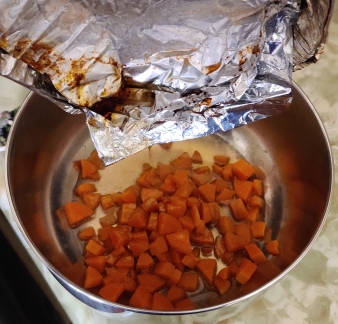
The carrot spears were chopped:
Carrots chopped
Carrots chopped
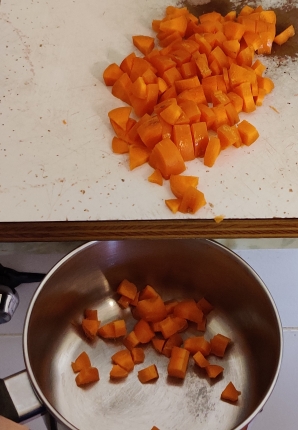
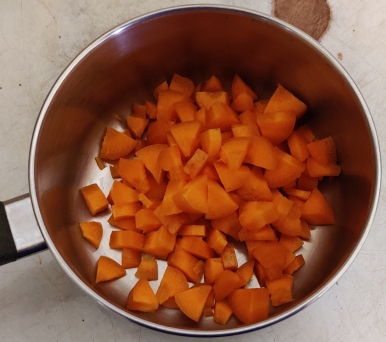
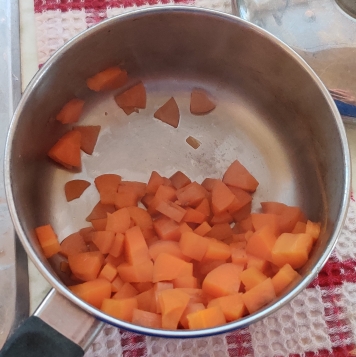
The chopped carrots were transferred to the pot:
Chopped carrots transferred to pot
Chopped carrots transferred to pot
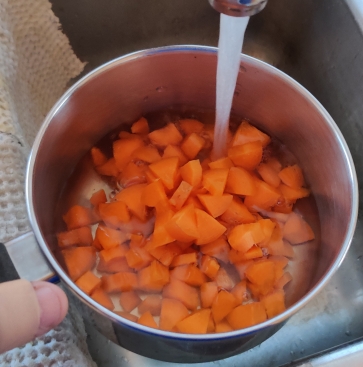
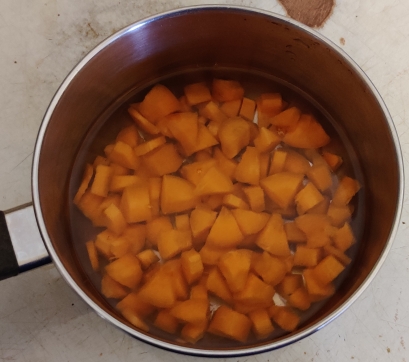
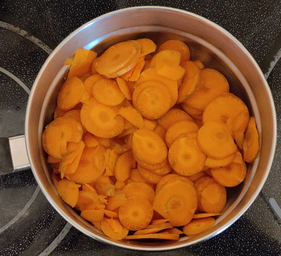
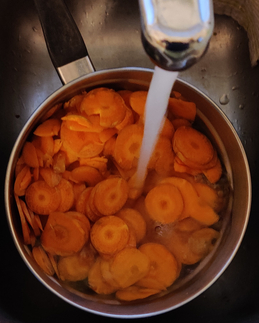
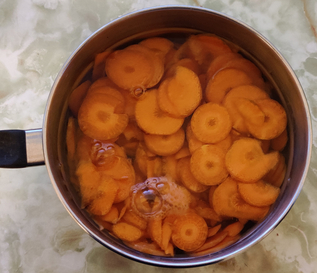
Water was added to the pot of chopped carrots until the carrots were covered:
Water added to pot of carrots
Water added to pot of carrots
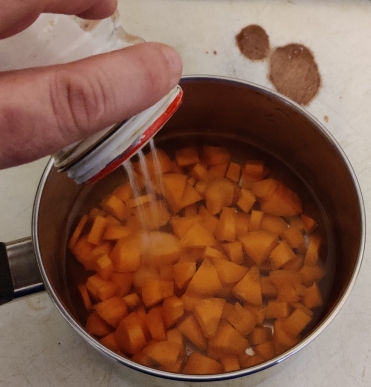
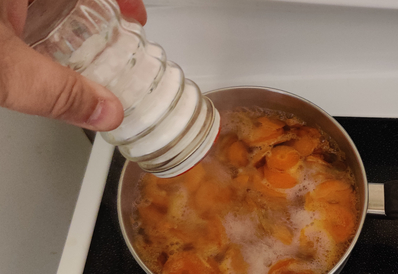
Salt was added to the carrots and water:
Salt added to water and carrots
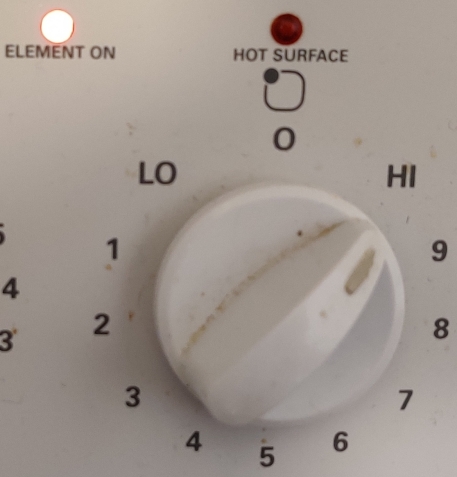
A stove burner was turned on:
Stove burner turned on
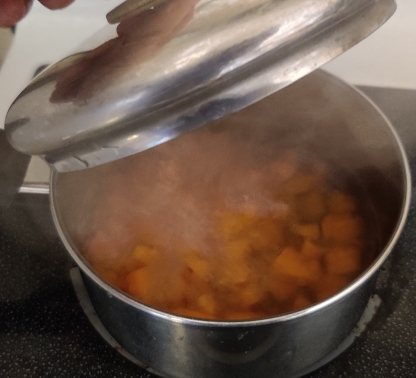
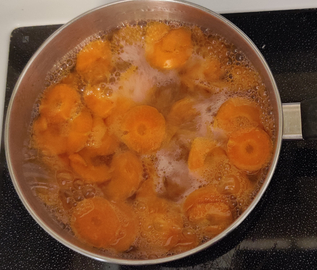
The carrots were brought to a boil …
Carrots brought to a boil
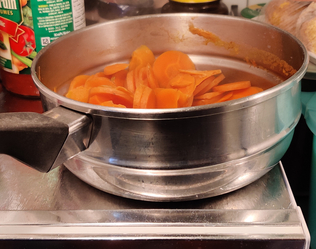
Once the carrots were boiled for about ten minutes, the boiling water was drained off:
Boiling water drained from pot
A mixing bowl was taken out in which to transfer the carrots:
Mixing bowl taken out
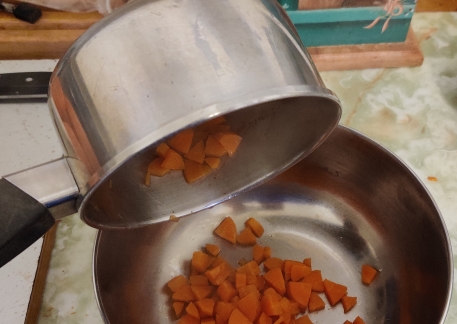
The boiled carrots were transferred to the mixing bowl:
Boiled carrots transferred to mixing bowl
Boiled carrots transferred to mixing bowl
The carrots were put aside for a bit.
A microwave-safe cooking vessel was taken out, ready for a few moments later when the sweet potatoes would be peeled:
Microwave-safe cooking vessel taken out
Microwave-safe cooking vessel taken out
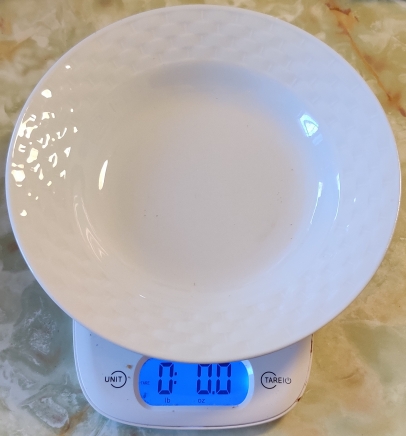
A bowl was placed on the scale, and the scale set to zero:
Bowl placed on scale, scale set to zero
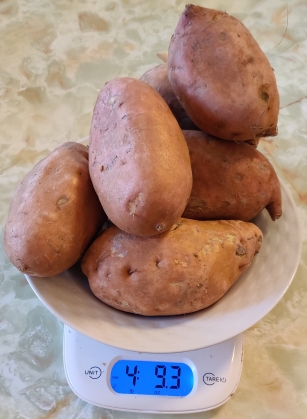
A bit more than four pounds of sweet potatoes were measured out:
Sweet potatoes taken out
A potato peeler was taken out:
Potato peeler taken out
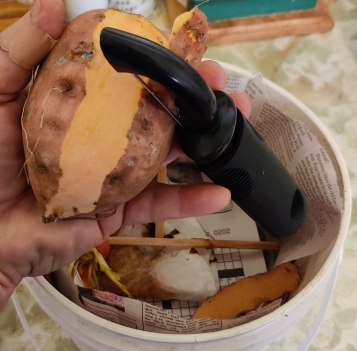
The sweet potatoes were peeled, with the peels placed in a bucket to keep for later disposal in a municipal composting programme:
Sweet potatoes peeled
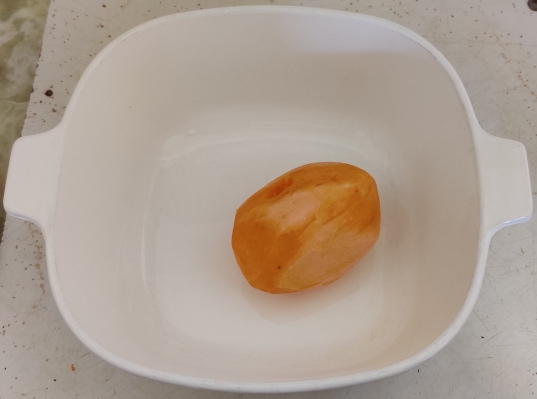
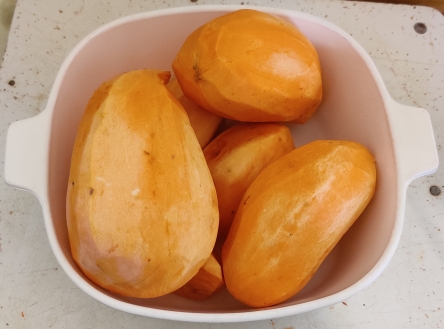
Peeled sweet potatoes were placed in the microwave-safe cooking vessel:
Peeled sweet potato placed in cooking vessel
Peeled sweet potato placed in cooking vessel
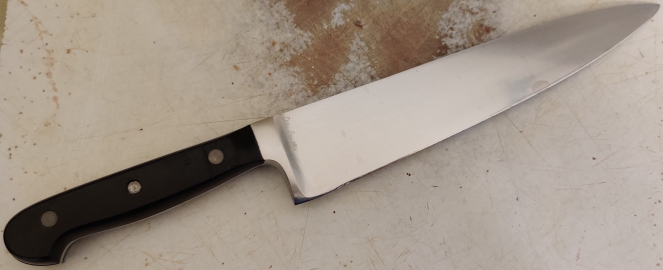
A kitchen knife was taken out:
Kitchen knife taken out
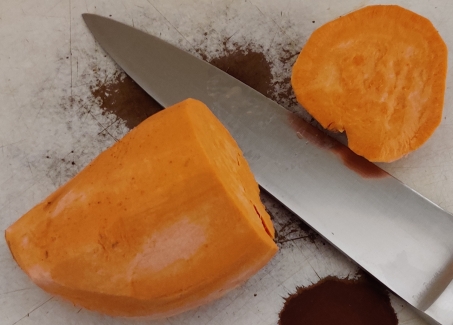
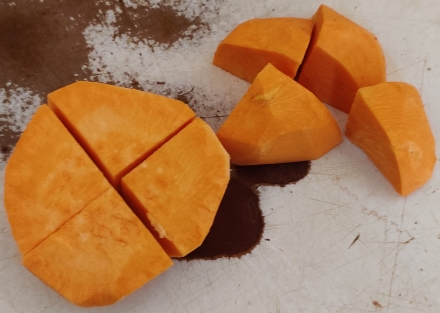
The sweet potatoes were sliced and quartered:
Sweet potatoes sliced and quartered
Sweet potatoes sliced and quartered
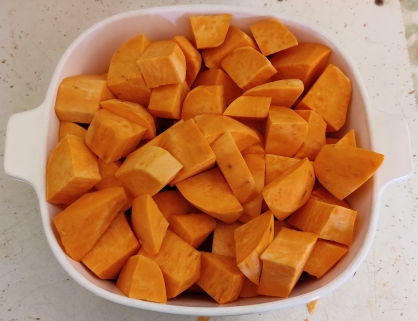
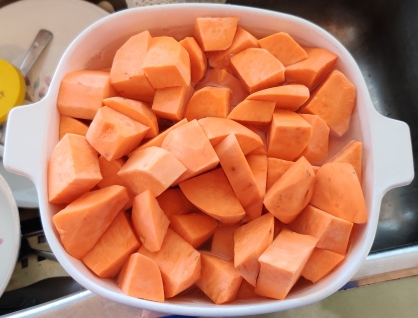
… and placed back in the microwave-safe cooking vessel:
Sweet potato quarters placed in cooking vessel
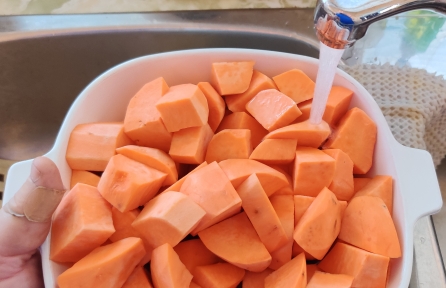
Water was added to the cooking vessel …
Water added to cooking vessel
… to about a bit below the surface of the sweet potatoes:
Water added to cooking vessel
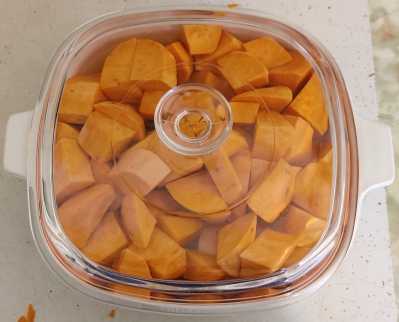
The vessel was covered …
Sweet potatoes covered
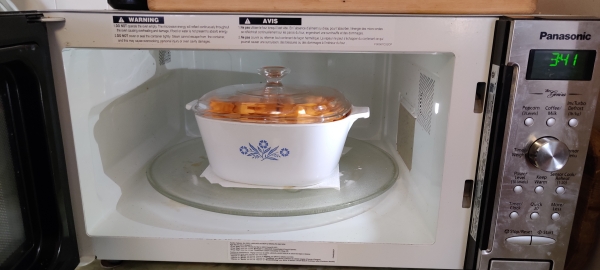
… and placed in the microwave oven:
Sweet potatoes placed in microwave oven
The microwave oven (1200 watts) was set to 18 minutes:
Microwave oven set to eighteen minutes
… and the microwave oven was turned on:
Microwave oven turned on
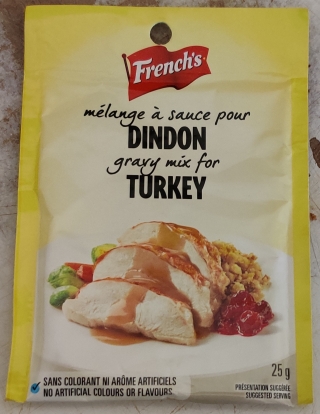
While the sweet potatoes were cooking, a package of dried gravy mix — turkey gravy, which is what I had on hand, and in a package that makes a cup’s worth of gravy, as called for in the recipe, was taken out:
Gravy mix taken out
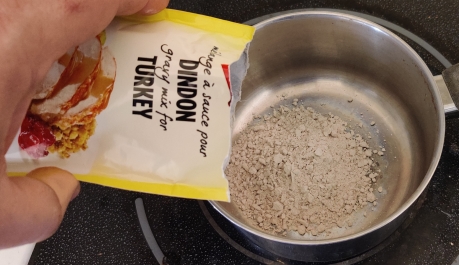
The gravy packet was opened and its contents transferred to another pot that was taken out:
Gravy mix added to pot
A measuring cup was taken out:
Measuring cup taken out
A cup of water was measured out:
Water measured out
The water was added to the pot:
Water added to gravy mix
The gravy mix and water were mixed with a spoon:
Gravy mix and water mix
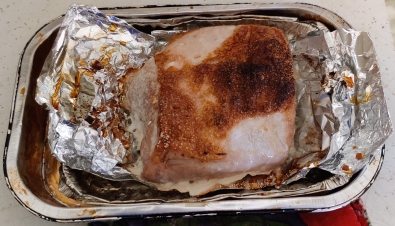
The gravy was put aside, since the time on the roast pork ran out:
Pork taken out of oven
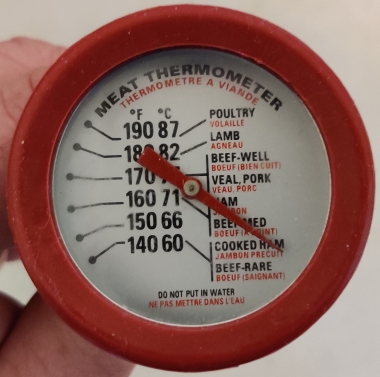
A meat thermometer was taken out …
Meat thermometer taken out
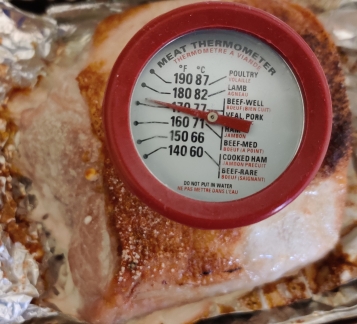
… and stuck into the pork, giving a temperature reading just right for fully cooked pork:
Meat thermometer reading of cooked pork
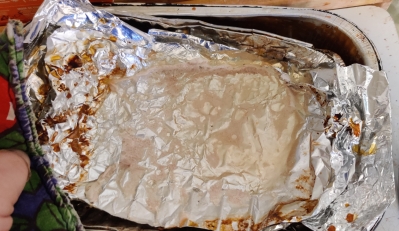
The pork was removed from the roasting pan:
Pork removed from roasting pan
… and the juices in the roasting pan were drained into the bowl with the cooked carrots
Pork juices drained into bowl with cooked carrots
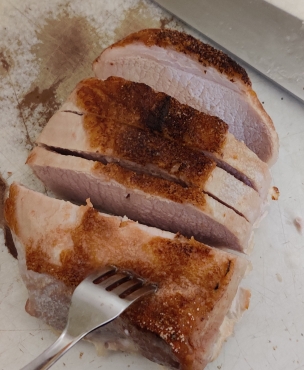
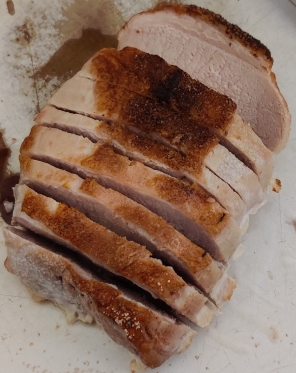
The roast pork was sliced thickly:
Pork sliced thickly
Pork sliced thickly
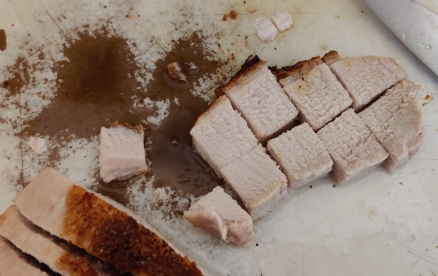
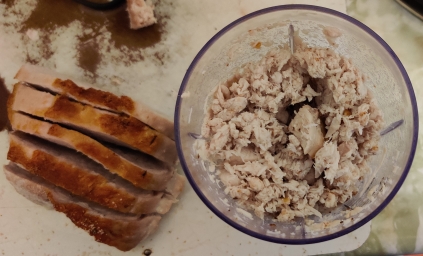
The roast pork was cut into cubes:
Pork cut into cubes
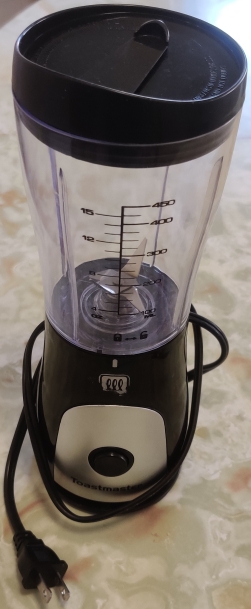
A small blender with chopping blades was taken out …
Blender with chopping blades taken out
… and the blender was plugged in:
Blender plugged in
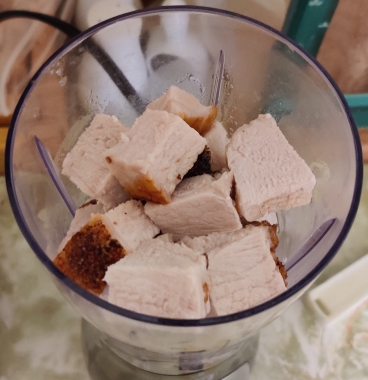
Cubes of roast pork were placed in the blender …
Cubes of pork placed in blender
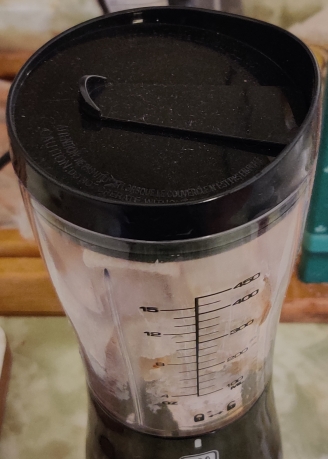
… and the lid placed on top of the blender:
Blender lid installed
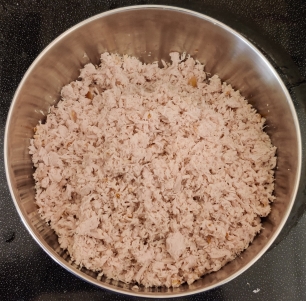
The pork was ground finely without creating a mush:
Pork ground
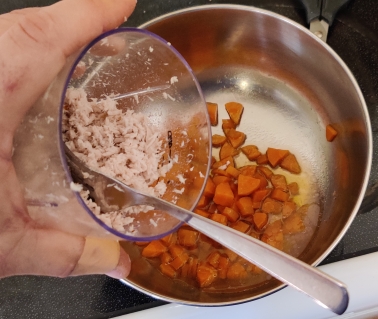
The chopped pork was transferred to the bowl with the cooked carrots and pork juices:
Ground pork transferred to bowl with carrots
Ground pork transferred to bowl with carrots
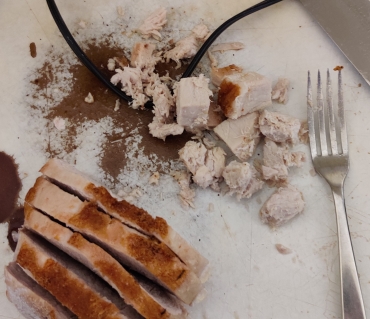
Larger bits of pork which did not get ground finely enough were removed from the bowl, to be ground again with more pork cubes:
Larger bits of pork removed from bowl to be reground with the rest of the pork
The rest of the pork was ground and transferred to the mixing bowl.
Returning to the gravy, a burner on the stove was turned on, in this case, the smaller inner part of a larger burner which has two settings:
Stove burner turned on
Gravy being heated
The gravy was constantly mixed while being heated, to avoid burning:
Gravy constantly mixed
Once the gravy came to a boil, the timer was set to a minute …
One minute set on timer once gravy boiling
… while the burner setting was reduced to just about minimum to only allow for simmering:
Stove burner setting reduced
Once the minute ran out, the gravy was poured over the ground pork and carrots:
Gravy poured into bowl with pork and carrots
Gravy poured into bowl with pork and carrots
The gravy, ground pork, and carrots were mixed with the spoon:
Pork, carrots, and gravy mixed
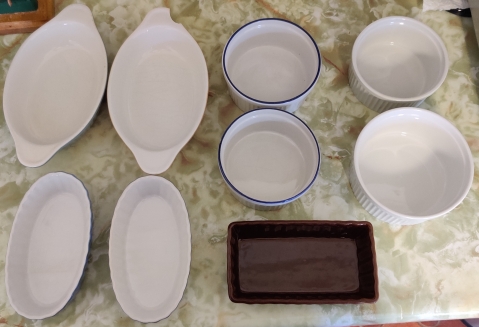
At this point, oven-proof dishes were taken out, for filling:
Oven-proof dishes taken out
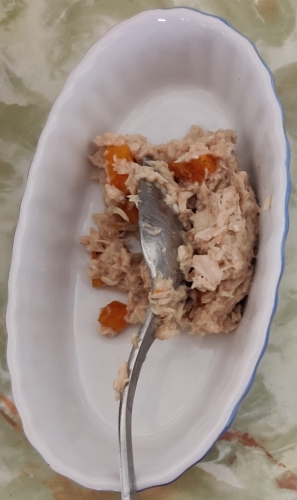
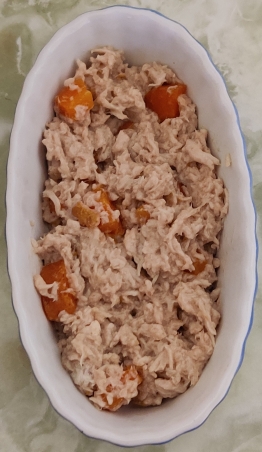
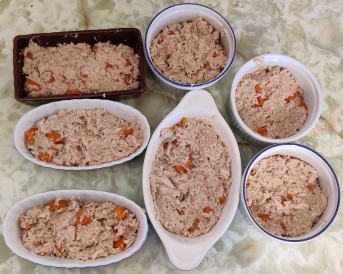
The meat mix was spooned into containers to about half full, and spread out evenly:
Meat mix transferred to oven-proof dish
Meat mix transferred to oven-proof dish
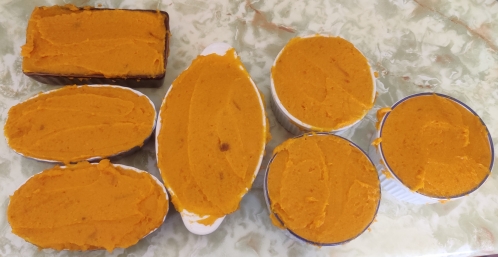
Oven-proof dishes filled with meat mix
At this point, I came back to the sweet potatoes, which had long since finished cooking in the microwave oven:
Cooked sweet potatoes taken out of microwave oven
The sweet potatoes were checked with a fork to see if they were properly cooked through, which they were:
Cooked sweet potatoes checked for degree of cooking
The water was drained off of the sweet potatoes:
Cooking water drained
A container of margarine was taken out and opened:
Margarine container taken out
Margarine container opened
A dollop of margarine was taken from the margarine container with a spoon:
Dollop of margarine taken from container
The margarine was added to the sweet potatoes:
Margarine added to sweet potatoes
Margarine added to sweet potatoes
A measuring cup and milk were taken out:
Milk and measuring cup taken out
Milk was measured out:
Milk measured out
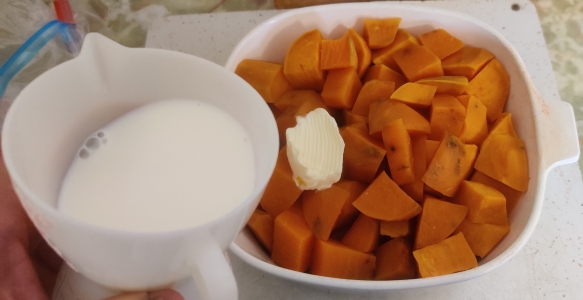
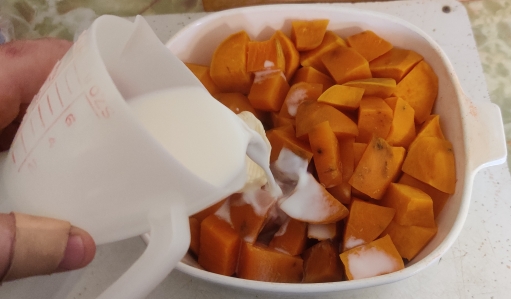
The milk was added to the sweet potatoes and margarine:
Milk added to sweet potatoes
Milk added to sweet potatoes
Measuring spoons were taken out:
Salt was taken out:
Salt taken out
Salt was measured out:
Salt measured out
The salt was added to the sweet potatoes:
Salt added to sweet potatoes
Salt added to sweet potatoes
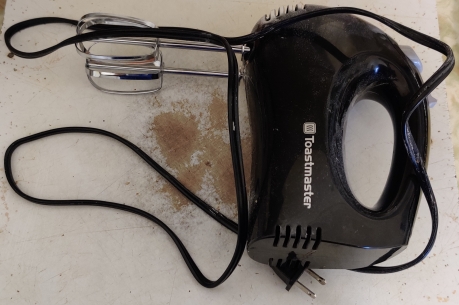
An electric mixer was taken out, to mash the sweet potatoes:
Electric mixer taken out
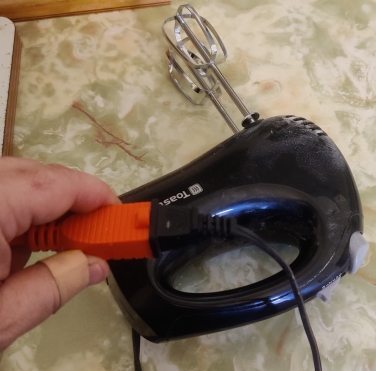
The electric mixer was plugged in:
Electric mixer plugged in
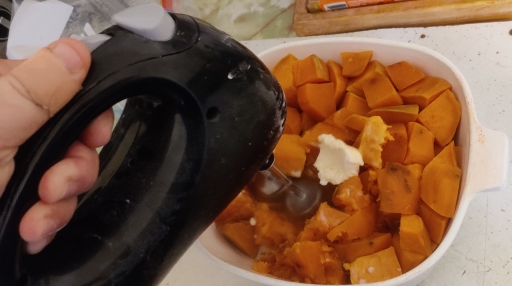
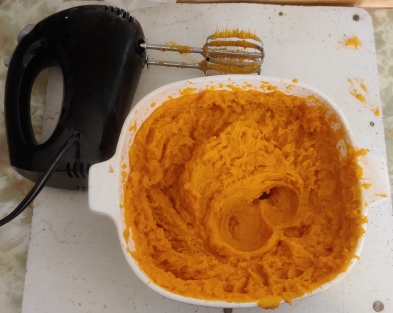
The sweet potatoes were mashed with the electric mixer:
Mashing sweet potatoes with electric mixer
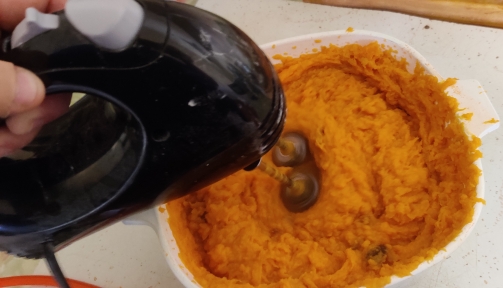
Mashing sweet potatoes with electric mixer
Sweet potatoes mashed
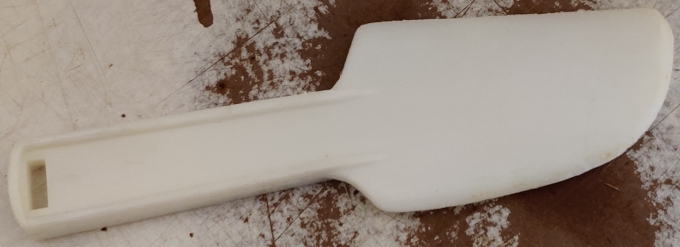
A plastic icing spreader was taken out:
Plastic icing spreader taken out
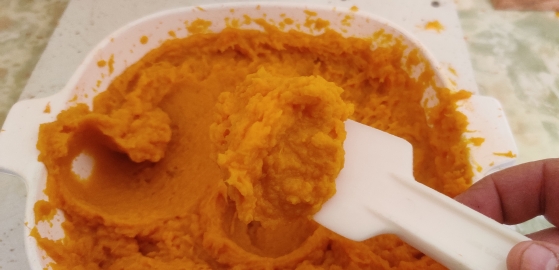
Mashed sweet potatoes were picked up with the icing spreader …
Mashed sweet potato picked up with icing spreader
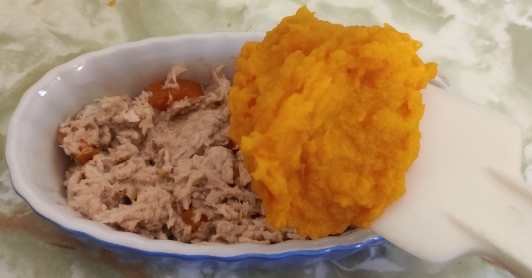
… and, back to the containers with the pork, gravy, and carrots mix, the mashed sweet potatoes were spread on top of the meat mix :
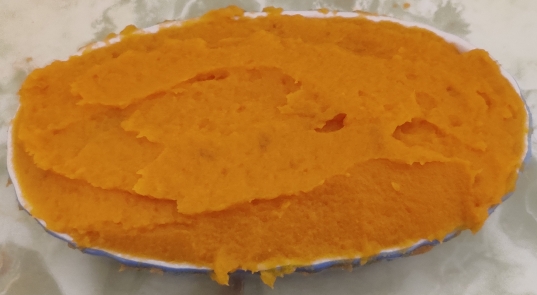
Mashed sweet potatoes spread on top of meat mix
Mashed sweet potatoes spread on top of meat mix
Mashed sweet potatoes spread on top of meat mix
Mashed sweet potatoes spread on top of meat mix
Plastic bags were taken out and identified and dated:
Bags taken out and identified
The dishes were placed in the individual bags:
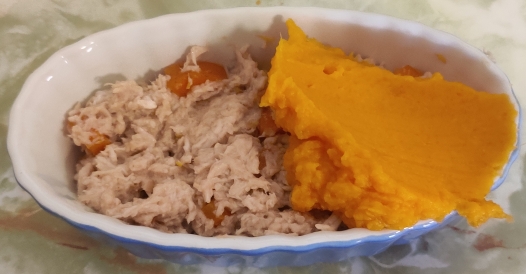
Dishes placed in bags
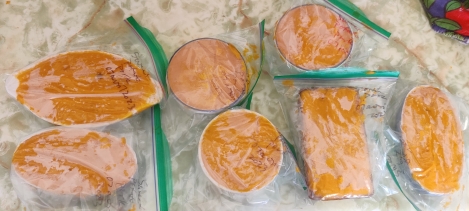
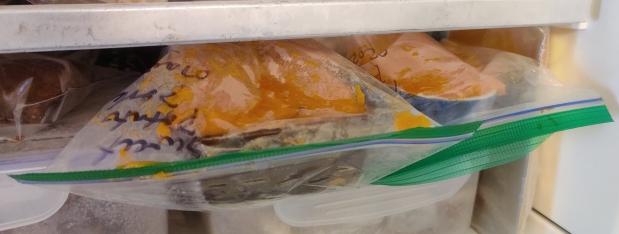
And finally, the bagged dishes were placed in the freezer:
I picked up making omelettes for Mom a few months ago out of the blue, because they’re easy to make, and Mom seemed to appreciate them right off the bat. As of this post’s writing, I don’t have a formal recipe written up, but I imagine I could soon; hence for the moment, this post *is*The recipe can now be found here! 🙂 (20240128)
Making the omelette:
I normally keep ground ham in the freezer, divided into serving sizes in small containers, so I took some out, about 15g to 20g (about half to three quarters of an ounce):
Ground ham taken out from freezer
Should you not have ground ham on hand, here’s how I make the ground ham:
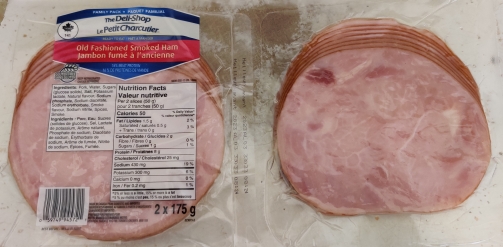
Deli-style sliced “old-fashioned smoked ham”, in this case purchased at the grocery store in the pre-packaged deli meats counter, was taken out:
Deli-style sliced “old fashioned smoked ham”
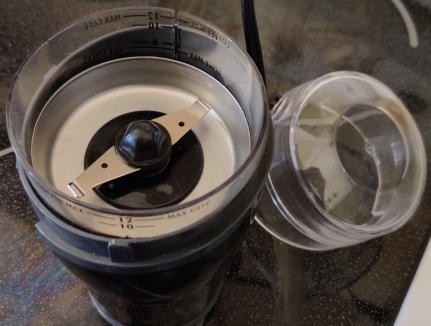
… and a coffee grinder was taken out:
Coffee grinder taken out
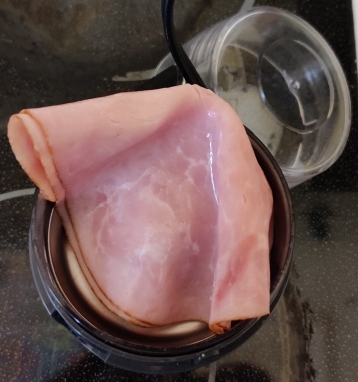
The package was opened up, and a couple of slices of ham were placed in the coffee grinder …
Ham placed in coffee grinder
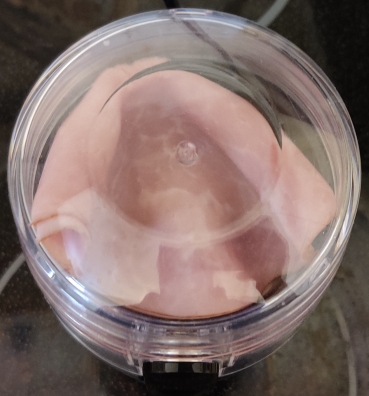
… the coffee grinder was closed …
Lid placed on coffee grinder
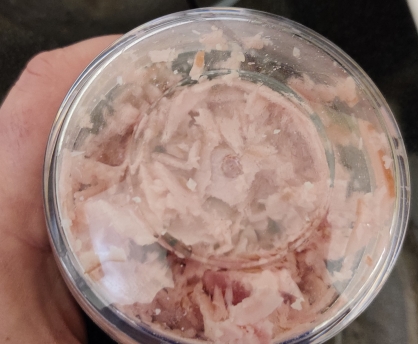
… and the ham was coarsely ground (though not turned to mush!) a few pulses at a time:
Ham being ground
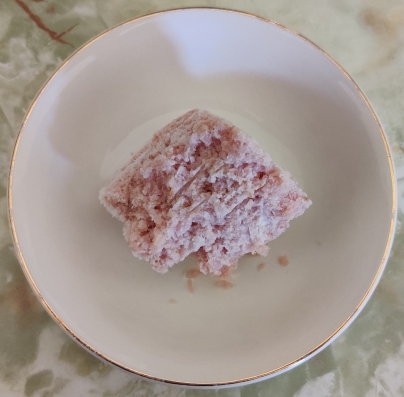
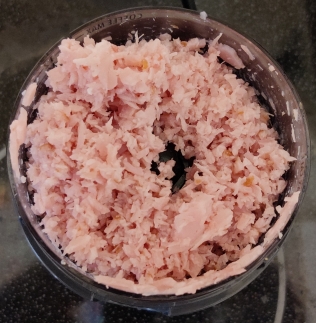
Coarsely ground ham
(… and, the rest of the ham in the package was similarly ground and placed in a couple of containers, divided up into individual serving sizes, and frozen.)
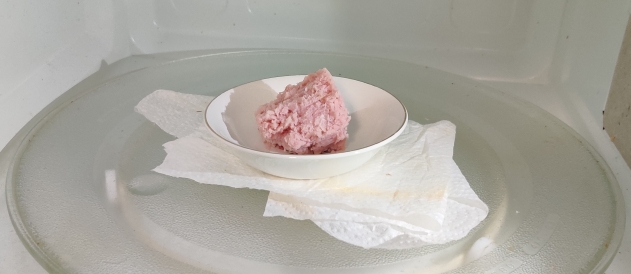
The frozen ham taken out earlier was placed in the microwave oven to defrost it:
Frozen ground ham placed in microwave oven
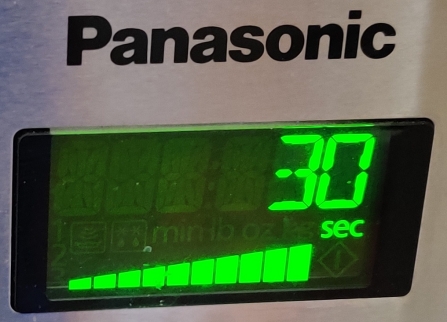
… and the microwave oven (1100 watts) was set to about 30 seconds, just enough to mostly defrost the ham:
Microwave oven set to 30 seconds (1100 watts)
The microwave oven was turned on:
Chopped ham defrosting in microwave oven
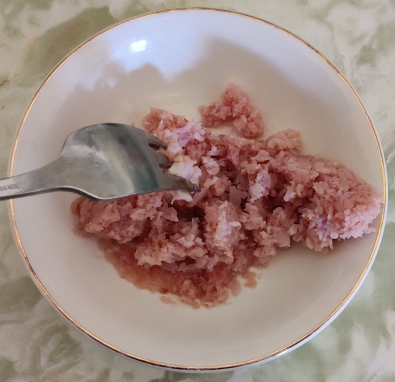
Finally, the defrosted chopped ham was broken up with a fork:
Defrosted chopped ham broken up with fork
The chopped ham was put aside for a few moments.
Again, normally, I keep cheddar cheese sliced off the block in the fridge, so I took some out:
Container of cheddar cheese sliced off block
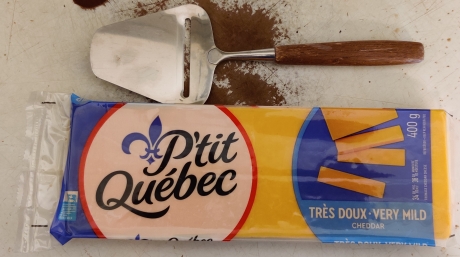
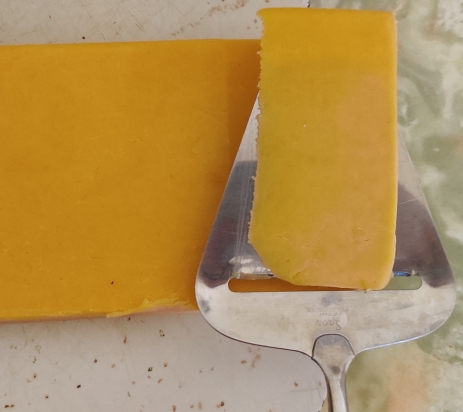
Should you not have sliced cheese on hand, here’s how I slice the cheese: A block of cheddar cheese and a cheese slicer in the form of a slotted lifter, where were the slot has an edge intended for slicing the likes of cheese off of a block, were taken out; normally we like mild cheddar, but you can choose any kind of cheese you like that will slice, shred, or crumble nicely:
Block of cheddar cheese with cheese slicer
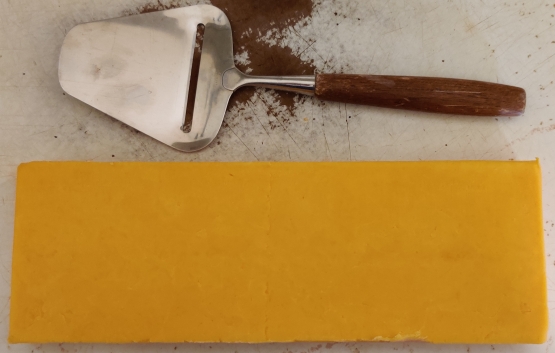
The block of cheese was unwrapped:
Unwrapped block of cheddar cheese with cheese slicer
Cheese was sliced off the block:
Cheese sliced off block
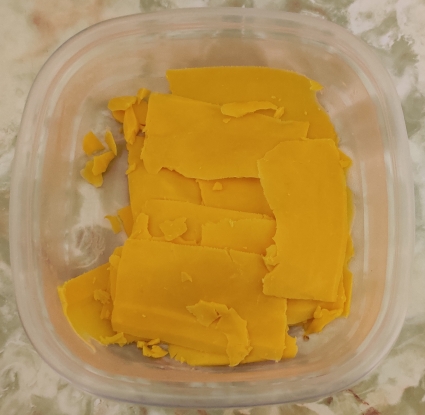
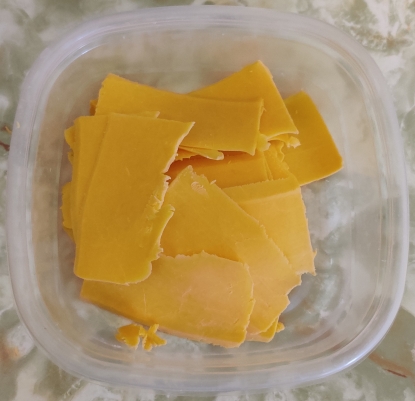
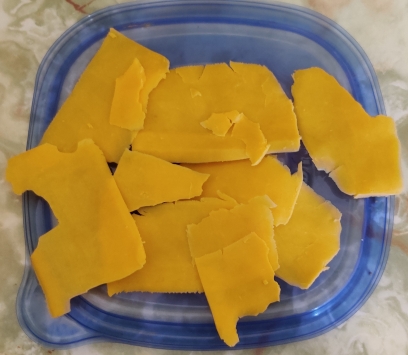
… and as the cheese was sliced, it was placed in a container:
Cheese slices placed in container
The cheese slices which were produced for this demonstration were put away in the fridge, while the cheese slices taken out earlier were put aside on the counter for a few moments.
Back to the omelette, a mixing bowl was taken out:
Mixing bowl taken out
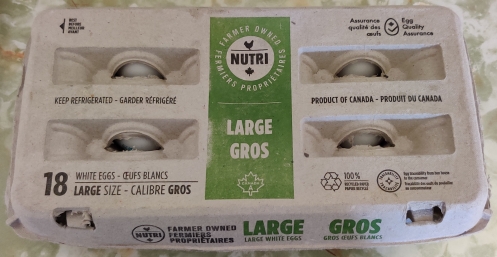
Two eggs were taken out:
Eggs taken out
Eggs taken out
Two eggs taken out
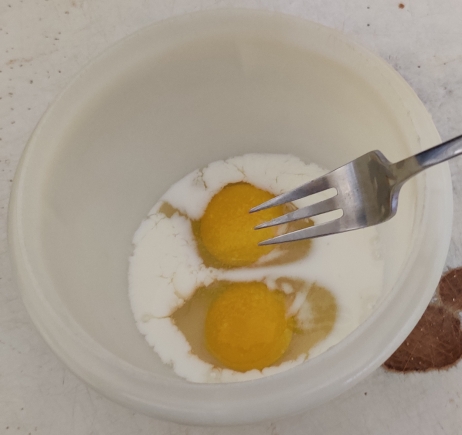
Two eggs were cracked in the mixing bowl:
Eggs cracked in mixing bowl
Eggs cracked in mixing bowl
Milk was taken out, and about an ounce of milk was measured out:
Milk taken out and measured
The milk was added to the eggs:
Milk added to eggs
Milk added to eggs
A bit of salt was added to the eggs and milk:
Salt added to eggs and milk
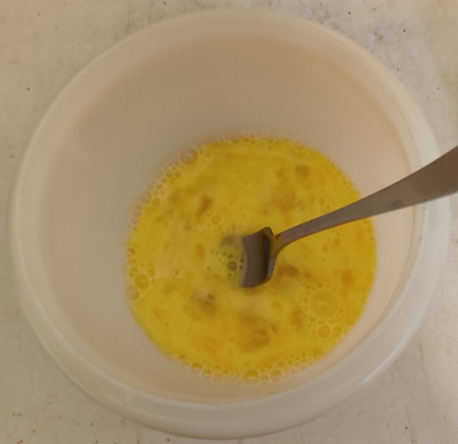
The mixture was beaten with a fork:
Beating eggs and milk and salt with fork
Ingredients beaten with fork
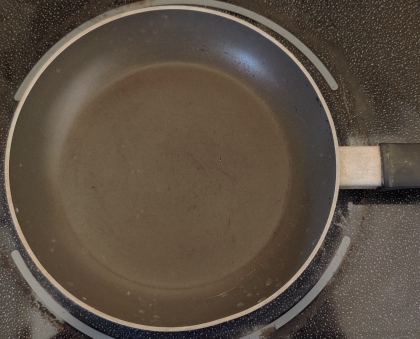
For this amount of egg mixture, I use a 6 inch / 15 centimetre non-stick frypan:
6 inch / 15 centimetre non-stick frypan
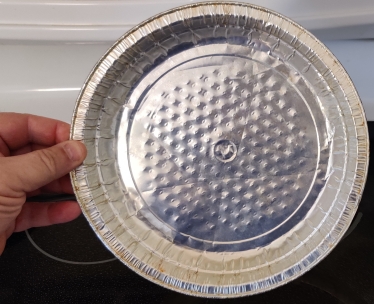
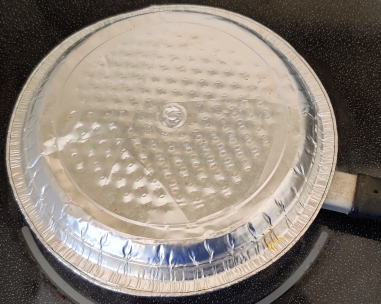
Also, an aluminum pie plate was taken out:
Aluminum pie plate take out
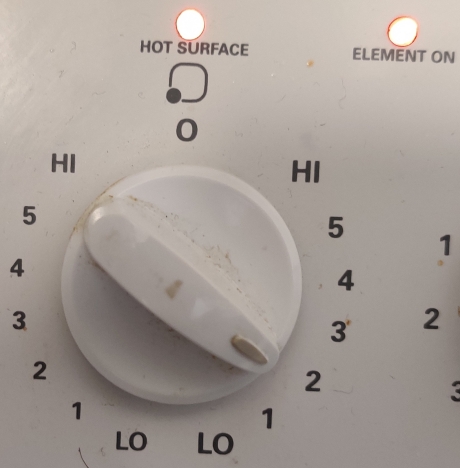
The stove was turned on to a low setting, but, crucially, given that I was using a larger burner and that this burner can be set to only use a smaller, inner circle, I should have only set it to that smaller, inner circle.
Stove set to low setting
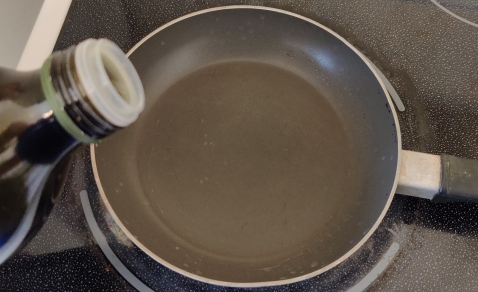
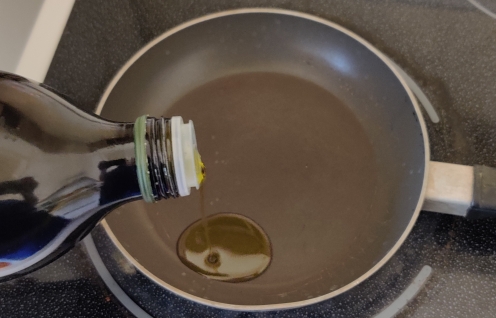
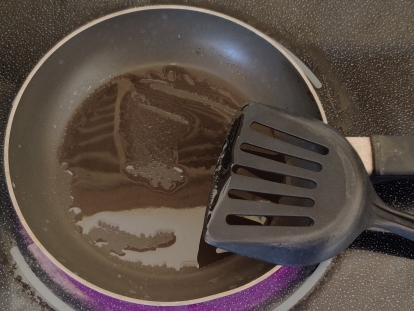
Cooking oil, in this case olive oil, was taken out and added to the frypan:
Olive oil added to frypan
Olive oil added to frypan
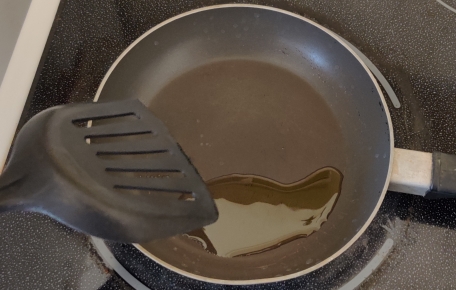
The olive oil was spread over the cooking surface of the frypan:
Olive oil spread over cooking surface
Olive oil spread over cooking surface
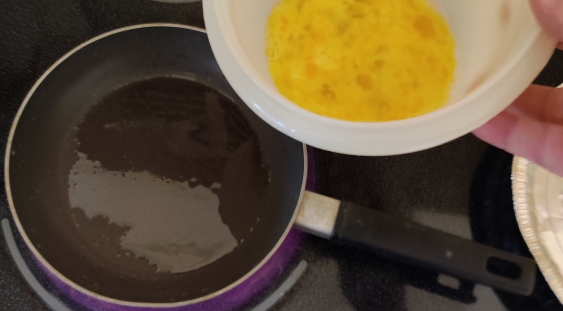
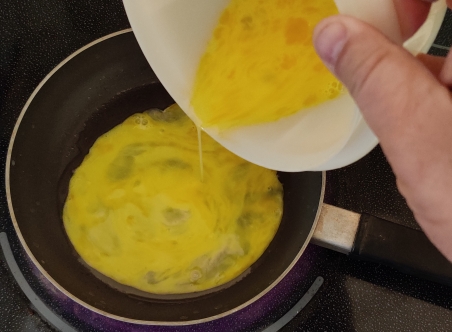
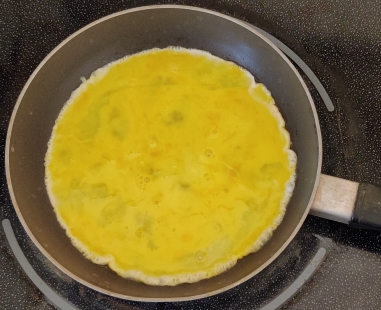
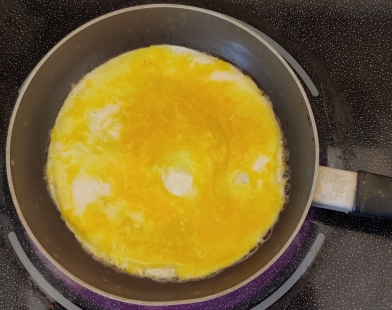
The beaten egg mixture was poured into the frypan:
Egg mixture poured into frypan
Egg mixture poured into frypan
Egg mixture poured into frypan
The aluminum pie plate was placed over the frypan as a means to cook the top of the egg mixture somewhat more quickly:
Pie plate placed on top of frypan
A few slices of the cheese was taken out of the container, about enough just to cover half the surface of the omelette, twice, with a not too thick layer of cheese, especially since there will be two layers (see below):
Cheese taken out of container
The aluminum pie plate was taken off the frypan, revealing that the egg mixture was cooking through:
Aluminum pie plate removed from frypan
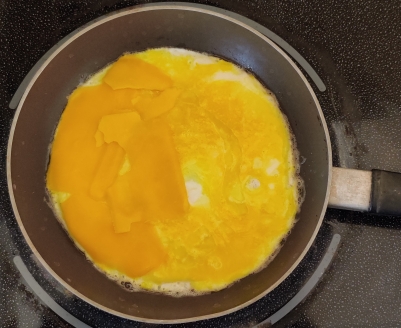
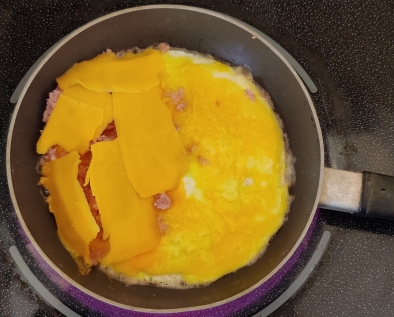
About half the cheese slices were placed on half of the omelette (in this case, on the left hand half of the omelette!):
Cheese placed over half omelette
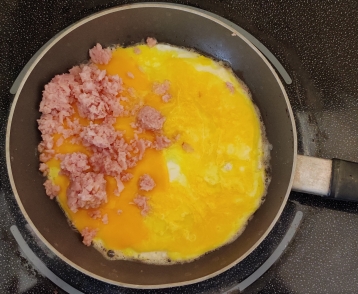
The ground ham was spread over the cheese on the omelette:
Ground ham spread over cheese
The rest of the cheese slices were placed on top of the ground ham:
Cheese placed on top of ham
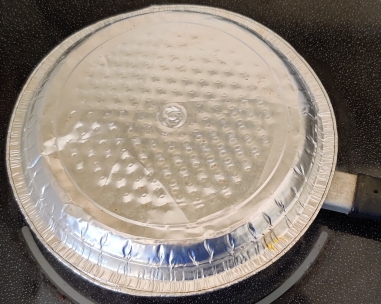
The aluminum pie plate was again placed on top of the frypan, in order to help melt the cheese and warm the ham:
Aluminum pie plate placed over frypan
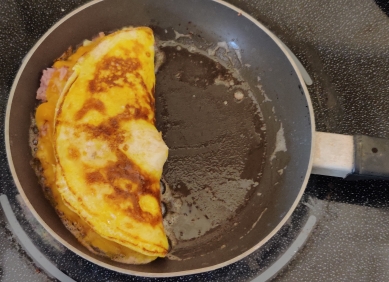
A few moments later, the pie plate was removed, and half the omelette was flipped over onto the other half:
Omelette flipped over on itself
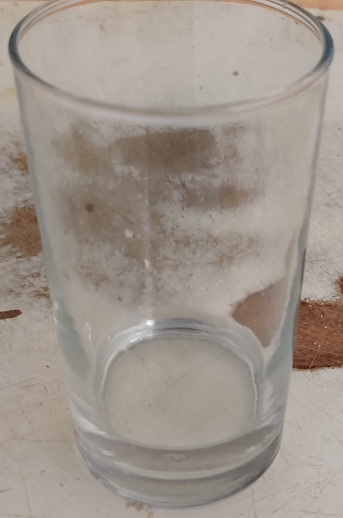
A bit of water was drawn from a tap and into a glass …
Water drawn from tap
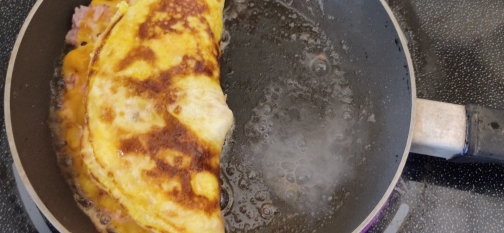
Some water was poured into the frypan, in order to create some steam:
Water poured into the frypan to create steam
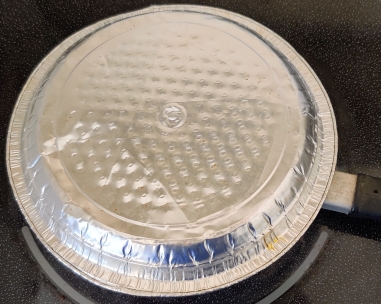
The aluminum pie plate was again placed on top of the frypan to capture the steam to continue cooking the omelette:
Aluminum pie plate placed on top of frypan
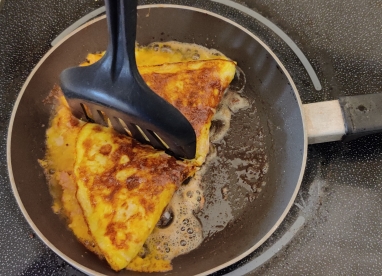
The aluminum pie plate was again removed from the frypan, and the omelette cut in two:
Cutting the omelette in two
At this point, the two halves were quickly turned over (oops, I forgot to take a picture) and cooked for another very small moment.
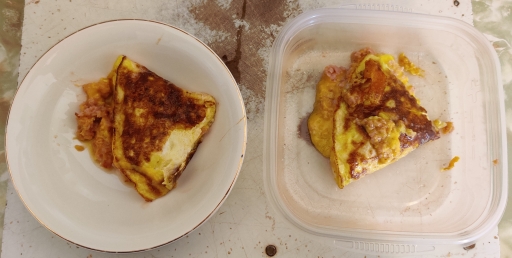
Half the omelette was served on a plate for Mom to have right away, and the other half was placed in a container to place in the fridge, for Mom to have at a later time:
Omelette split in two
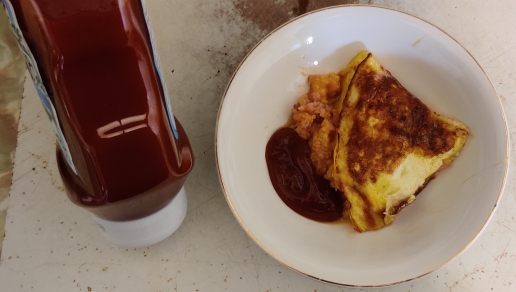
Ketchup was added, and the omelette was served to Mom:
Omelette served with ketchup
To my pleasure, Mom yet again found it to be tasty!
In mid-2006, my employer at the time was acquired by another company, and my new employers required me – rightfully so – to take some basic training that I should have taken several years earlier. The training was after work hours, two evenings a week, for a few weeks.
Normally, my eating habits were (and still are) such that a given day’s lunch was composed of leftovers from the previous evening’s supper; in fact, normally supper meal plans at the time and still to this day usually intentionally include cooking for one more serving than the meal would call for, so that I would have a lunch the following day.
The training course, however, had the effect of not only requiring me to improvise for my supper plans, such as eating fast food, but also required me to improvise for the following day’s lunch too. My memory of this period is that there was a snowball effect on much of the week’s meals, although it probably was not quite as dramatic as what my mind has woven into my memory.
One of the solutions I came up with — but never quite fully implemented at the time — was the idea of a cooking weekend, targeted at being done at the cottage. My ambition at that point was to stock the freezer with a variety, as well as a large stock, of dishes and prepared meals, including lunches, so that the above situation wouldn’t be a problem moving forward. I had notions that were fairly ambitious, both in terms of the variety of meals to be made during the weekend, as well as the sheer amount of food that I suppose I expected to make over such a hypothetical weekend.
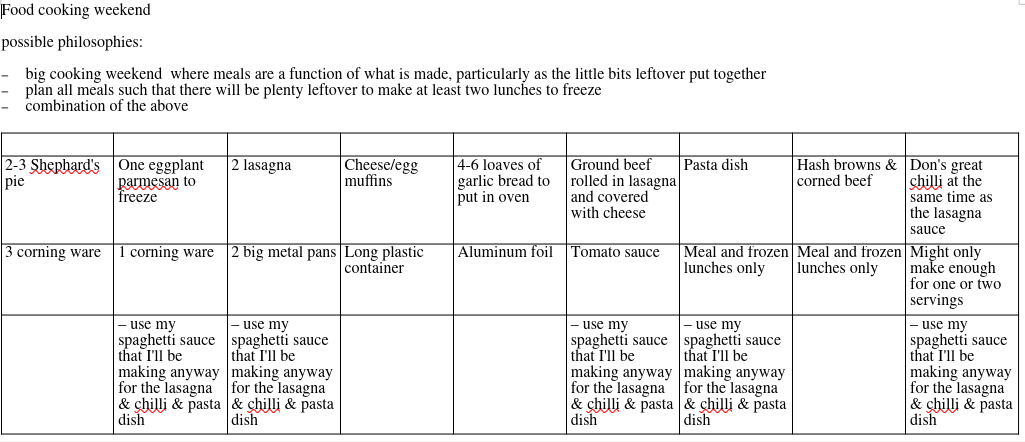
I developed the following planning table:
The table I created with basic plans for such a cooking weekend
As can be seen, one of the goals was to make a number of dishes based on a common ingredient, my spaghetti sauce, which I had begun making in the early 1990’s.
As also can be seen, although there were a few numbers of dishes to produce, overall the list is rather vague in what I would end up with in terms of numbers. Among other things, while I did have rough ideas of how much of most of the items I would make (or at least envisioned making), for instance, I didn’t start planning out the required amounts of each of the ingredients and sub-ingredients needed to make the dishes and components.
Overall, it seemed — and still seems to this day — rather vague and all over the place, and overly ambitious to the point of being daunting. Critically, although I knew that I would be making about seven to eight quarts of my spaghetti sauce, I didn’t plan out its ingredients, determine just how many of each of the other dishes for which it would be used would be produced from the seven to eight quarts, or whether some of the “larger” dishes were to be prepared for their own sake and the freezer, or to be ultimately cooked and divided up into lunch containers. Except as an afterthought, I just about didn’t even insert the making of the spaghetti sauce into the weekend’s already ambitious cooking plans!
Before coming to this last realization, I realized that my plan would only produce two or three servings’ or meals’ worth of each, which might all be eaten in short order.
Unsurprisingly, the planned weekend was never executed, and after a few weeks, my evenings freed up, and my regular lunches returned.
Years later, I realized despite the usefulness of the intentions behind my plans for the cooking weekend, at least for me, it suffered from not only being too ambitious in its own right, but from being even more ambitious than I thought. At the same time, the overall plan suffered from being a bit too wide in its intended scope given what would be a limited amount of base (the spaghetti sauce). As such, the plan was likely to produce — should I accomplish it all in such a weekend — merely an amount of food, especially the lunches, that would be consumed far more quickly than I had hoped.
My spaghetti sauce — and what I do now for tomato sauce based dishes
My spaghetti sauce was a bit of a marathon sauce to make. Based on canned tomatoes, it also included an inordinate variety and amount of chopped vegetables for a spaghetti sauce, and — especially the end product — was not unlike my current vegetable soup recipe, which I have been making since about 2013. I had a prideful joy in making it, partly as a result of it being so chock-full of vegetables, but, to a degree than I didn’t care to admit at the time, also borne of a stubborn pride resulting from it being a showcase of all the vegetables it contained and a desire to show off a certain (naïve) cooking acumen.
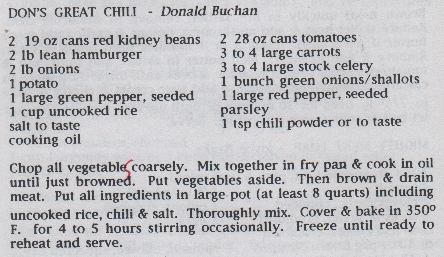
My chili recipe recipe from the early 1990’s, which is essentially my spaghetti sauce with the addition of the red kidney beans and the chili powder (image scanned from my church’s cookbook, published in 1996)
However, one of the things I realized in looking at my big cooking weekend, both early on without realizing it, as well as more formally just recently, was that I just wanted to make, say, lasagna, chilli, beef rolls, pasta dishes, or my eggplant dish (as well as a few lunches not involving my sauce). The “without realizing it” part (early on) was overshadowed by the prideful notion that it made sense at the time to want to use my spaghetti sauce to then make all these other dishes.
Except … I have come to realize that the effort to make the sauce to begin with, as well as my pride in wanting to use it, was perhaps core to the difficulty in implementing the cooking weekend. While the dishes were meant to be a showcase to myself for my spaghetti sauce and as well as my cooking in general, I realized that all these dishes were about showcasing the whole dishes, and not so much meant to showcase my spaghetti sauce.
As such, for a long time now, many of the tomato sauce dishes I make call for commercially prepared tomato / spaghetti sauces, as opposed to, specifically, my home-made sauce.
(As a side thought, were to I make spaghetti sauce again, I have a few vague notions about simplifying it somewhat, as well as chopping the vegetables much more finely, to the point of grinding them, instead of the coarse chopping I favoured for the “sauce” in the 1990’s.)
How things have evolved to today:
Despite the fact that the above weekend plan never materialized, I soon took to often planning cooking weekends when I went to the cottage, especially during the off-season (it’s a family cottage, so there always have been occasional scheduling issues which haven’t always allowed me to do what I would like, when I would like. 🙂 )
However, the first thing that should be mentioned, since this post is at least partly predicated on a period of time in which having ready-made lunches handily available in the freezer was essential, but was not the case, is that … I haven’t since planned out cooking weekends dedicated to cooking ready-made lunches for the freezer, or form a cooking club with a few friends in which we fastidiously make a week’s worth (or more) of lunches and other meals every Saturday, or otherwise come up with a systematic method of stocking the freezer with ready-made lunches.
In the intervening years, the principal approach I have taken to rectify unforeseen needs for prepared lunches is to hoard lunches and leftovers in the freezer; in addition to routinely making extra food for the following day’s lunch, I would occasionally also, at random opportunities, zealously make an extra lunch to place in the freezer. As such, my supply of extra lunches at any given time ebbs and swells according to how many lunches I have managed to hoard at that point in time, versus how many I have needed to eat recently. Fortunately, some of my recipes somewhat ease mounting full lunches in the freezer by being pair-able with odds-and-ends leftovers, such as bacon wrapped chicken, meatballs, and stuffed potato skins.
What I do do is plan “big” cooking weekends many times while I am up at the cottage, including quite often during the off season in winter, incidentally without running water. This is done in conjunction with weekend afternoons in the city with similar objectives (including a cook-through-my-collection-of-recipes project I did mostly in 2021, accessible off my home page at https://www.malak.ca ). Depending on my desires and ambitions, I usually concentrate on single projects, per day anyway; during a week over Christmas to New Year’s, for instance, I usually plan for almost as many large cooking projects as there are days – to cook various large cooking projects to fill the freezer.
I had begun large, more focused, cooking weekends not too long after my above planned weekend should have taken place, continuing a certain tradition I had started years earlier of occasionally making large quantities of my recipes, from a then-limited recipe répertoire, typically focusing on large freezer quantities of one, or perhaps two, recipes from my collection.
Therefore, early on — at this point, exactly “when” being lost to the sands of time and the multiple computer upgrades over the years, during which dates of creation, or at least the last edit, have been lost several times over — I had put the following list together. I tried to write down what my aims and guidelines had become. Note that the text of the list has been slightly edited to fit the current narrative:
A dish needs to be just as easy to make several units of the recipe as one unit – if not easier, and as such not more difficult to make because it’s in quantity (barring the extra time and labour merely due to extra quantity – taking advantage of economies of scale);
A dish needs to be easy to make in large quantities, using a repetitive production line process;
A dish must be appropriate for freezing – for instance, my zucchini dish is not appropriate for freezing, although its sauce is appropriate for freezing!
A dish should be something that just needs to be defrosted and reheated / cooked in toaster oven or regular oven;
A dish should be “convenience food” — the operative notion being “convenient because it’s made in advance and ready to eat” (or brown and serve), not as in “junk food” or like industrially produced, store bought frozen lunches;
A dish should not be something at its core easy enough to make any day of the week fresh (looking back, I suppose that this is barring a notion to make multiple units of otherwise easy to make lunches to stock the freezer, were that have been a priority at the time);
A cooking project should not just be components for other dishes – ie. projects should be to make full meals, not just cooked hamburgers or burger meat, nor just cooked chicken pieces, etc.
Given that over the years, my objectives have evolved, changed, and widened, I have long since abandoned at least a part of the guideline regarding making meal components or single items, because I now regularly cook large quantities of breakfast sausages for freezing, have in the past cooked whole packages or more of bacon for my mom, and I regularly make bacon wrapped chicken, meatloaf, meatballs, stuffed potato skins, as well as cooked ground beef frozen in ice cube trays to keep in the freezer for other times calling for small amounts of cooked ground beef.
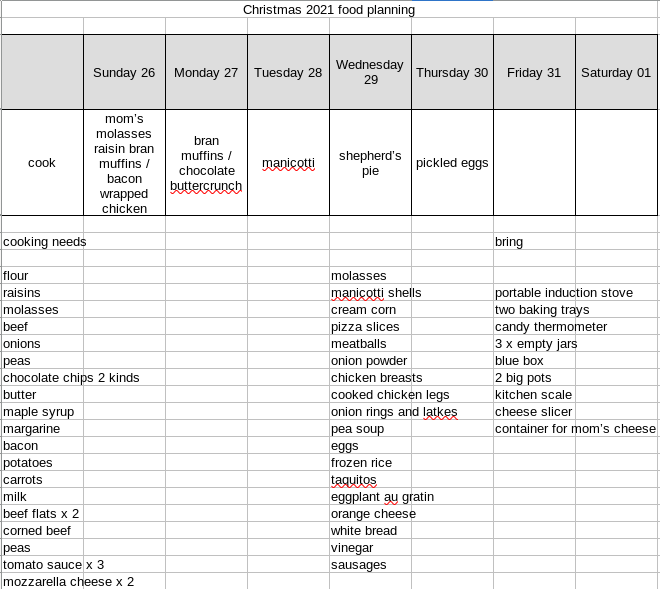
Of course, it would only be appropriate to show a recent planning table for a week’s stay at the cottage over Christmas , 2021 (regular meal planning blocked out):
Yes, there are still a lot of details missing here from this list, such as specific numbers, arguably allowing for somebody besides myself to look at both lists and wonder, beyond the more relaxed pace and the specific list of foods and ingredients to bring, what the difference between this 2021 table and the 2006 table are. However, each entry is based on, normally, the standard amounts in my various recipes, plus often slight excesses. And, according to my notes, I also made stuffed potato skins, bran muffins for my mom twice instead of once, and the chocolate buttercrunch twice, as well as, as intimated in the “bring” list, a container of cheese sliced off of the block for my mom to consume the following week.
These days, my freezers are usually full of many tasty dishes from my collection of recipes, individual servings of many foods both from and beyond my collection of recipes, and various lunches made up of leftovers, some consisting of components from multiple meals and cooking sessions. This is actually served by a certain hoarding instinct; I often fill containers with bits of leftovers from a given meal to freeze, and as possible I add to them with other little bits already in the freezer as they are produced.
And … do I run out of lunches? Usually not! However … managing the freezer is a work in progress and a continuous project, sometimes a daily project beyond simply preparing tomorrows lunch; I sometimes grab opportunities to make a second lunch or portion thereof!
This past week was again a busy week with no cooking projects from my collection of recipes; however, I took advantage of this past weekend to both develop my version of a favourite dish my mom continues to this day to make for me, a corned beef hash, but for which, strictly speaking, she doesn’t have a formal recipe, and, prepare a future post on firestarters. 🙂
I am therefore posting the photos I’d taken of cooking sausages a few weeks ago at the cottage and which I’d kept in reserve. The subject of cooking sausages would normally not qualify for a post in this cooking series, since I am “only” highlighting the cooking of (admittedly somewhat large quantities of) commercially prepared breakfast sausages — for which I of course do not have a recipe — as opposed to highlighting a non-existent hypothetical recipe for making sausage from scratch. However, I am including this post since several of my recipes call for cooked breakfast sausages, such as my stuffed potato skins, my breakfast sandwiches, and my english muffin breakfast sandwiches.
Note that these photos were taken in the month of May 2021, at the cottage, not this past weekend.
Cooking the sausages:
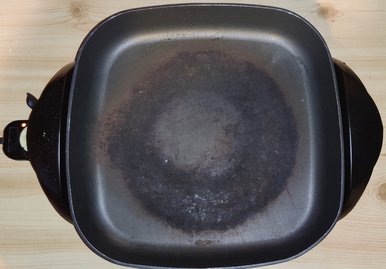
First, an electric skillet was taken out:
Electric skillet taken out
The electric skillet was turned on:
Electric skillet on
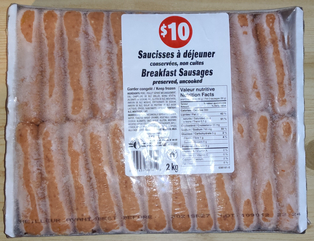
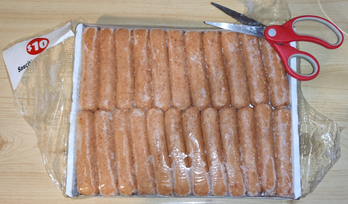
A frozen, two kilogram store-bought flat of breakfast sausages was taken out:
Package of commercial breakfast sausages taken out
The package of sausages was unsealed:
Package of sausages unsealed
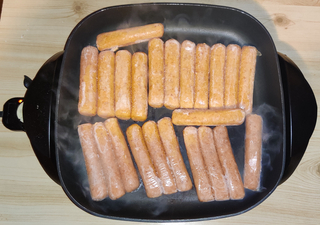
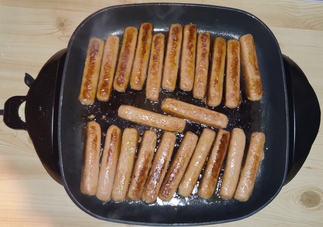
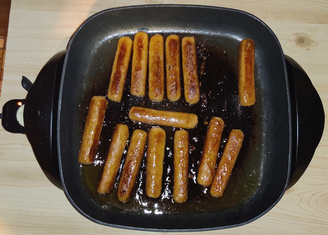
Sausages were taken out and placed in the electric skillet — in this case, half of the package, or the top layer of two layers of sausages:
Sausages placed in the electric skillet
I turned over the sausages after a few minutes:
Sausages turned after a few minutes
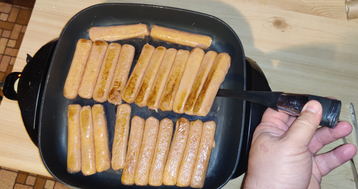
Sometimes, a flipper is needed to loosen the sausages in order to turn them over:
Using a flipper to lift and turn over sausages
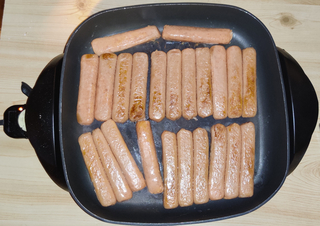
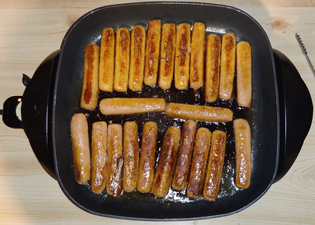
The sausages were turned again and were beginning to brown:
Sausages turned again after a few minutes
The sausages were turned yet again and continued to brown:
Sausages turned yet again after a few minutes
At this point, a cookie baking tray was taken out:
Cookie baking tray taking out
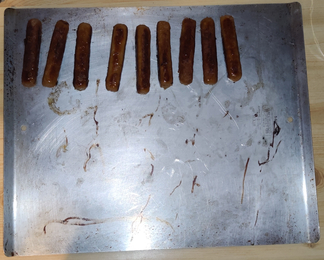
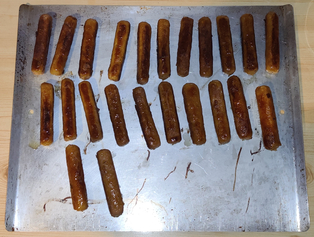
As the sausages began to be cooked, they were taken out of the electric skillet and placed on the cookie baking tray …
Cooked sausages placed on cookie baking tray
… while the rest of the sausages were kept in the skillet to continue cooking …
Finishing cooking the rest of the sausages
… and once all of the sausages were cooked, they were all placed on the cookie baking tray:
First half of the cooked sausages on the cookie baking sheet
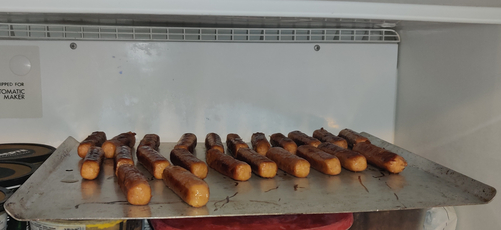
The cookie baking tray of sausages were placed in the freezer:
Cookie tray of cooked sausages placed in freezer
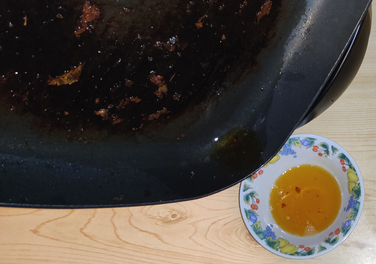
The grease was drained from the electric skillet:
Grease drained from electric skillet
The process was repeated and the rest of the package of sausages was also cooked in the skillet the same way.
The grease was allowed to cool, and when it had solidified, it was wrapped up with the other kitchen wastes from the weekend’s other cooking projects, and brought home to place in the curbside kitchen waste brown box for municipal composting:
Grease allowed to solidify
A plastic container was taken out:
Plastic container taken out
The first round of cooked sausages, now partly frozen, were placed in the plastic container, and placed back in the freezer:
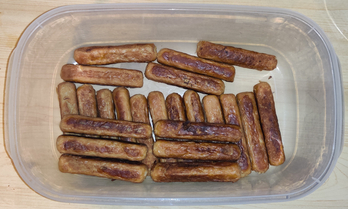
Cooked sausages placed in plastic container
When the second half of the sausages were all cooked and frozen, they too were placed in the plastic container, and placed back in the freezer:
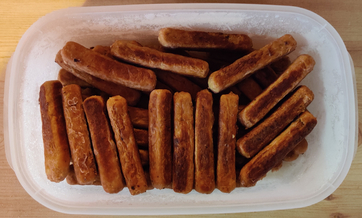
Cooked sausages placed in plastic container
I now have several months’ worth of yummy, cooked sausages in the freezer, and I have indeed already eaten some!
This week’s cooking project from my collection of recipes was a half-batch of my version of what in English-speaking Canada we call shepherd’s pies, while in French-speaking Canada, we call it paté chinois; in the UK, it would be properly considered a cottage pie.
I developed this version in the very early 1990’s after working in a summer camp kitchen, where we made camp-sized quantities of a basic version with cooked ground beef, cream-style corn, and mashed potatoes; I liked the dish but added onions, ketchup, peas, and carrots, and kept to the spirit of large quantities in order to cook for the freezer.
Note that in the text below, while there may appear to be a distinct sequence of separate steps to be taken one after the other, presented as such for the sake of the narrative, many steps were actually performed simultaneously and / or heavily overlapping with each other as given steps were finished and new steps begun. This was all the more the case given that I had performed a number of mise-en-place activities in advance: Ground beef was measured out and bagged separately, a week in advance on the day that I’d bought several packages of ground beef on sale, and before all of it was put in the freezer; potatoes were measured out, peeled, and cubed the night before the main cooking day; and carrots were prepared and sliced the night before the main cooking day.
Making the pies:
Last week, after stocking up on ground beef on sale, I set up my kitchen scale, putting a plate on the scale and setting the scale to zero:
Plate on kitchen scale and scale set to zero
I measured out two pounds of ground beef …
Two pounds of ground beef measured out
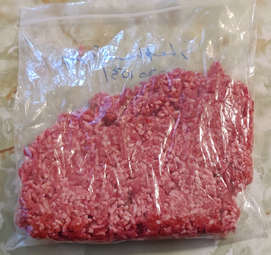
… and the ground beef was placed in a separate bag and placed in the freezer, ready for this week’s cooking project:
Measured out ground beef in a freezer bag
The night before I did the main cooking, I set a pot on the kitchen scale, and set the scale to zero:
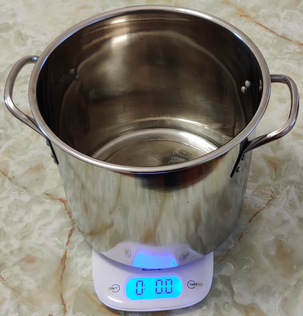
Pot placed on kitchen scale and scale set to zero
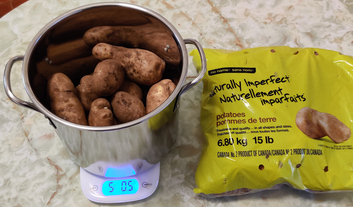
Five pounds of potatoes were measured out:
Five pounds of potatoes measured out
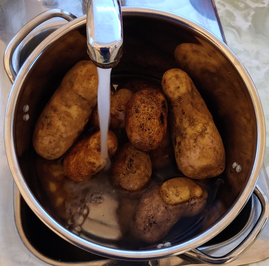
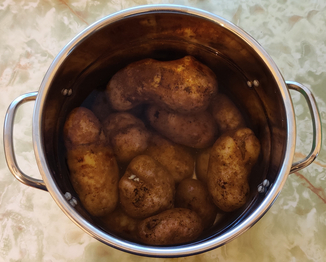
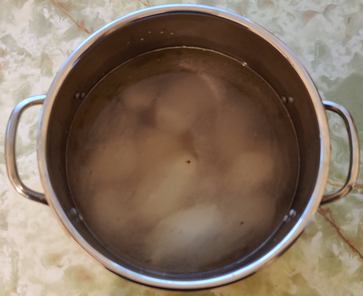
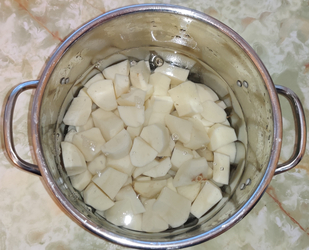
The pot of potatoes was filled with water:
Pot of potatoes filled with water
Pot of potatoes filled with water
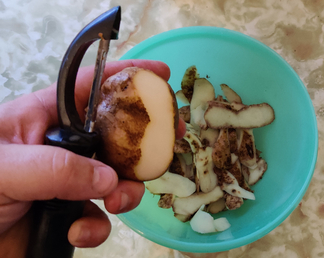
The potatoes were peeled:
Potatoes peeled
As the potatoes were peeled, they were placed back into the pot of water:
Peeled potatoes placed back in pot of water
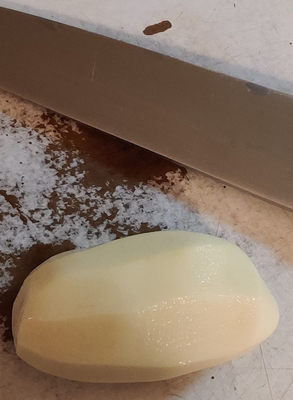
The peeled potatoes were then individually taken out and placed on a cutting board:
Peeled potato taken out for slicing
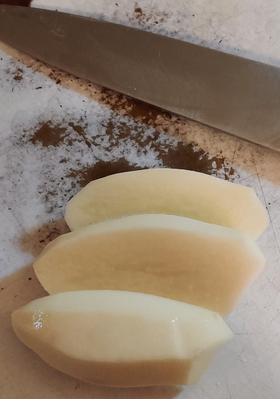
The peeled potatoes were sliced lengthwise:
Sliced potato sliced lengthwise
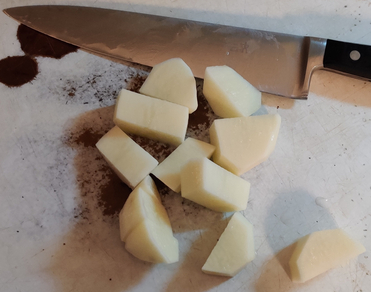
… the potatoes were then cut into large cubes:
Potatoes cut into large cubes
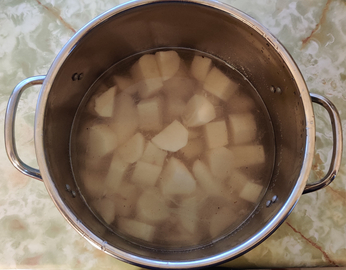
… and the potato cubes were placed back into the pot of water as they were cut:
Potato cubes placed back in the pot of water
The water in the pot of potato cubes was drained:
Water in pot drained
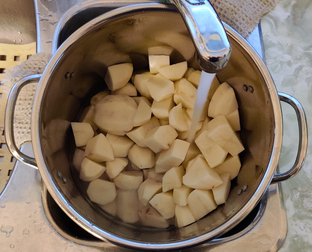
Fresh water was put in the pot of potato cubes to rinse the potato cubes:
Rinse water put in pot of potato cubes
The rinse water was drained, and the pot filled again with fresh water, covering the potato cubes:
Third round of fresh water covering the potato cubes
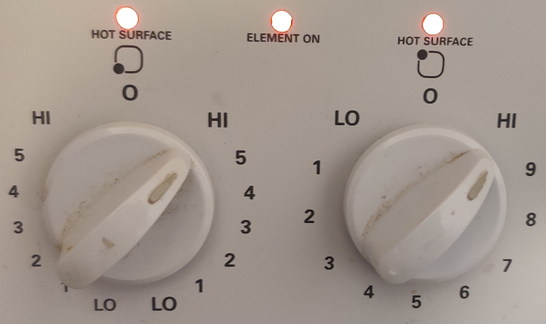
On the main cooking day, the stove was turned on:
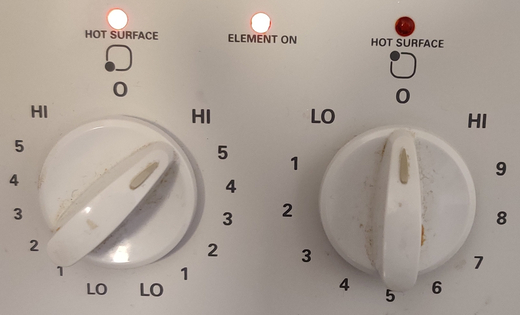
Stove turned on (dial on the left)
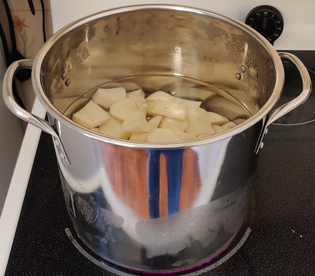
… the pot of potatoes was placed on the stove:
Pot of potatoes placed on stove
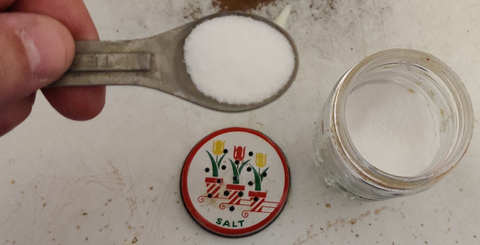
Salt was measured out:
Salt measured out
… and put into the pot of potatoes being brought to a boil:
Sat added to the pot of potatoes being brought to a boil
The potatoes were brought to a boil:
Potatoes brought to a boil
A timer was set to 20 minutes, the time the potatoes were boiled:
Potatoes boiled for 20 minutes
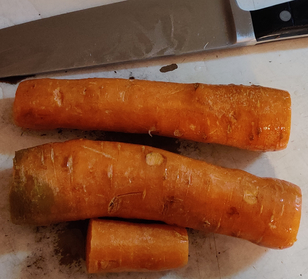
The night before I did the main cooking, carrots were taken out:
Carrots taken out
The carrots were cleaned and trimmed:
Carrots cleaned and trimmed
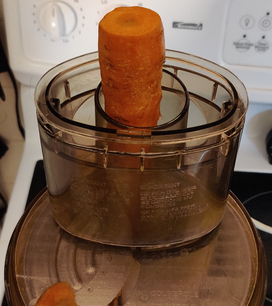
The carrots were run through a food processor with the slicing blade tool:
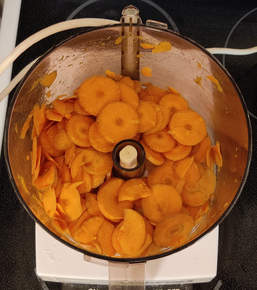
Carrots run through food processor with slicing tool
Sliced carrots
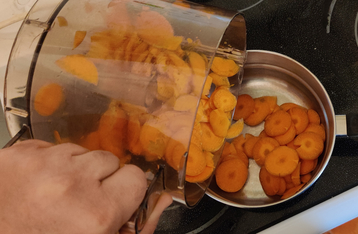
The sliced carrots were transferred to a pot:
Sliced carrots transferred to a pot
Sliced carrots transferred to a pot
Water was added to the pot of carrots, covering the carrots:
Water added to the pot of carrots
Water covering carrots in pot
On the main cooking day, a second burner on the stove was turned on:
Second burner on the stove turned on (dial on the right)
The carrots were put on the stove and brought to a boil:
Carrots brought to a boil
A timer was set to five minutes:
Sliced carrots boiled for five minutes
… and at this point I remembered to add salt to the pot of boiling carrots:
Salt added to pot of boiling carrots
After five minutes of boiling, the carrots were drained, and the pot was placed in the fridge to help cool down the carrots:
Carrots cooling in the fridge
On cooking day, onions were taken out:
Onions taken out
The onions were trimmed:
Onions trimmed
The onions were chopped coarsely:
Coarsely chopped onions
The onions were placed in an electric skillet:
Onions placed in electric skillet
The ground beef, which was measured out and frozen last week, and defrosted beginning the day before cooking day, was placed in the electric skillet with the chopped onions:
Ground beef placed in electric skillet with the onions
The electric skillet was turned on:
Electric skillet turned on
Salt was added to the beef and onions in the electric skillet:
Salt added to beef and onions
Salt added to beef and onions
The beef was broken up and mixed together with the onions and salt, while all the ingredients were frying:
Beef broken into smaller pieces and mixed with onions
Part way through the cooking of the beef and onions, ketchup was taken out …
Ketchup taken out
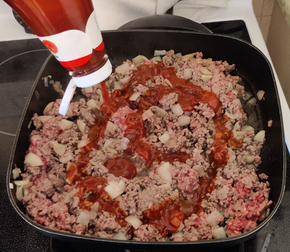
… and ketchup was added to the frying beef and onion mixture part way through:
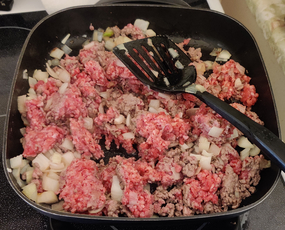
Ketchup added to frying beef and onion mix
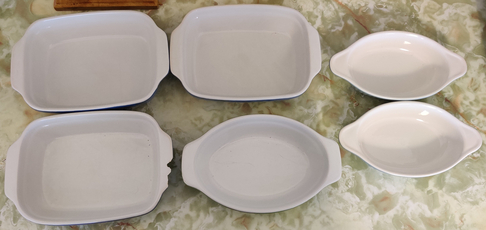
At this point, some oven proof baking pans were laid out:
Baking pans laid out
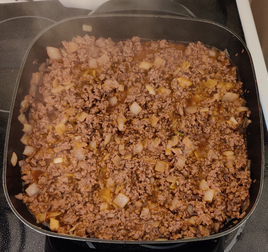
And once the beef, onion, and ketchup mixture was fully cooked …
Fully cooked beef, onion, and ketchup mixture
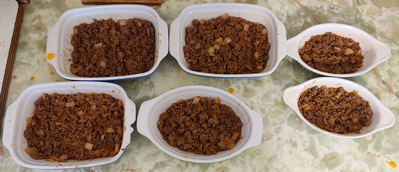
… the cooked beef, onion, and ketchup mixture was transferred to the various oven-proof baking pans:
Cooked beef, onion, and ketchup mixture transferred to the baking pans
The baking pans with cooked beef, onion, and ketchup mixture were put aside until later.
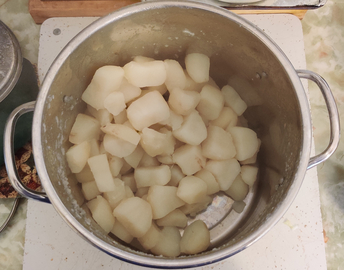
At this point, the potatoes had been boiling for twenty minutes, and the pot was drained:
Drained boiled potatoes
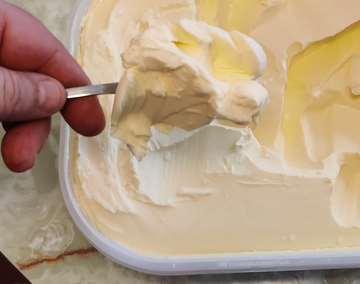
Margarine was taken out, and a dollop of margarine was scooped out with a spoon:
Dollop of margarine scooped out with a spoon
The margarine was added to the boiled potatoes:
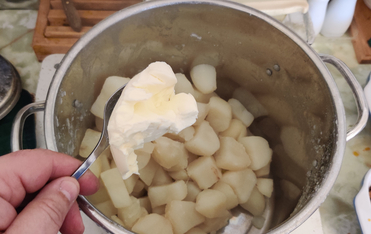
Margarine added to the boiled potatoes
Salt was again measured out:
Salt measured out
And the salt was added to the boiled potatoes and margarine:
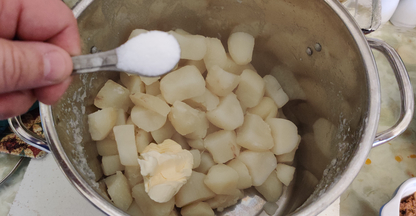
Salt added to boiled potatoes and margarine
Milk was measured out:
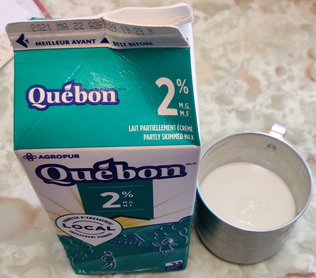
Milk measured out
And the milk was added to the boiled potatoes, margarine, and salt:
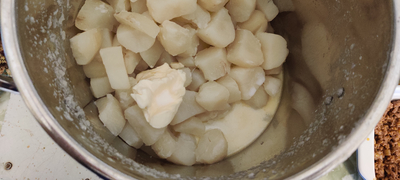
Milk added to boiled potatoes, margarine, and salt
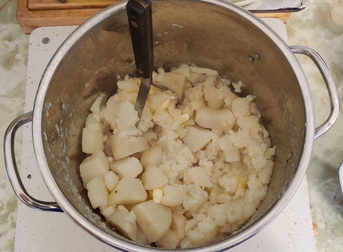
The boiled potatoes, margarine, salt, and milk were mashed together with a hand masher:
Boiled potatoes, margarine, salt, and milk mashed together
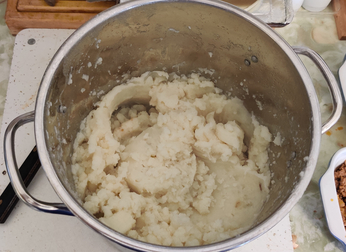
Mashed potatoes
The mashed potatoes were put aside until later.
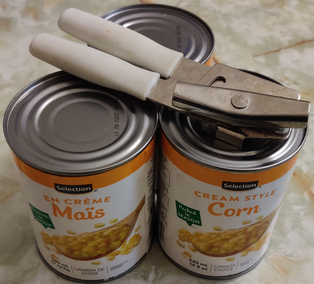
The night before, cans of cream style corn and a can opener were taken out:
Cream style corn and can opener taken out
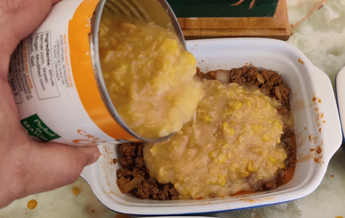
On cooking day, the cream-style corn cans were opened, and the cream style corn was spread over the cooked beef, onion, and ketchup mixture in the baking pans:
Cream-style corn poured over the cooked beef, onion, and ketchup mixture
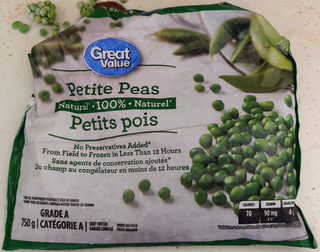
Frozen peas were taken out:
Frozen peas taken out
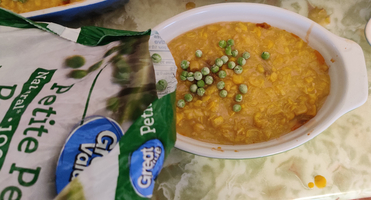
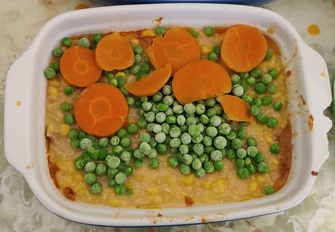
Frozen peas were sprinkled over the cream corn layer in the baking pans:
Frozen peas were sprinkled over the cream corn layer
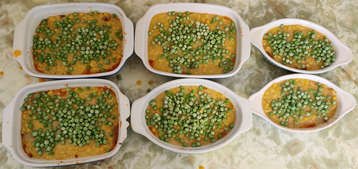
Frozen peas were sprinkled over the cream corn layer in the baking pans
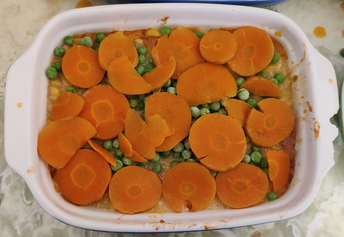
The pot of cooled carrots was taken out of the fridge, and the carrot slices were layered on top of the peas:
Carrots layered on top of the peas
Carrots layered on top of the peas
Carrots layered on top of the peas
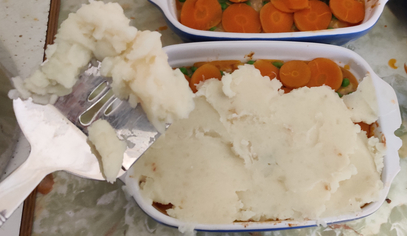
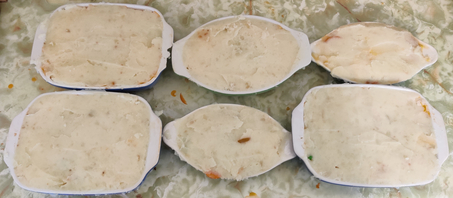
The still warm mashed potatoes were spread on the top of the pies in the baking pans:
Mashed potatoes spread on the top of the ingredients in the baking pans
Mashed potatoes spread on the top of the ingredients in the baking pans
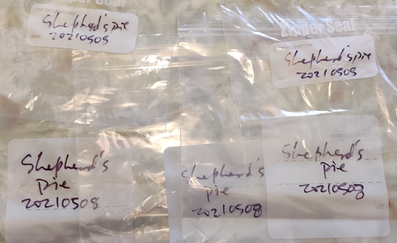
Freezer bags were labelled:
Freezer bags labelled
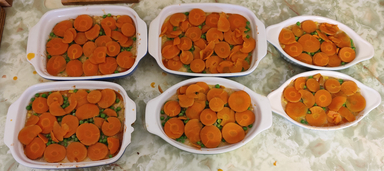
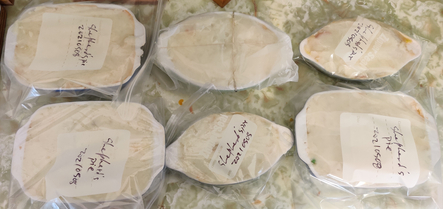
The shepherd’s pies were placed in the freezer bags, save one (top row, centre), which was covered in wax paper so that I could put it in the fridge for supper later in the day:
Casseroles placed in freezer bags
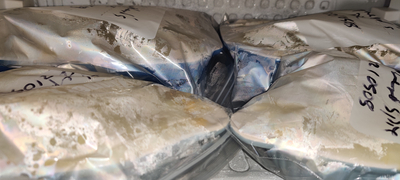
The shepherd’s pies destined for the freezer were placed in a freezer:
Casseroles placed in the freezer
Later on, when it was time to make supper, my countertop convection oven was set to 350F:
Countertop convection oven set to 350F
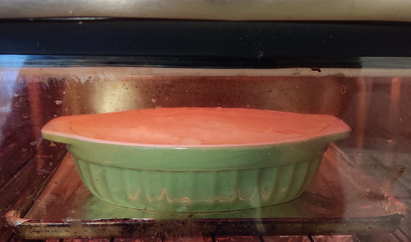
The shepherd’s pie which was put aside earlier was placed in the countertop convection oven:
Shepherd’s pies placed in the countertop convection oven
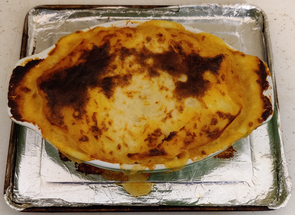
Once the shepherd’s pie was baked and the mashed potato top browned, the shepherd’s pie was taken out of the countertop convection oven:
Cooked shepherd’s pie taken out of countertop convection oven
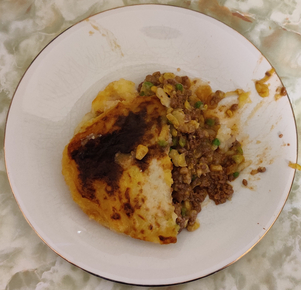
And finally, the yummy shepherd’s pie was served and eaten!
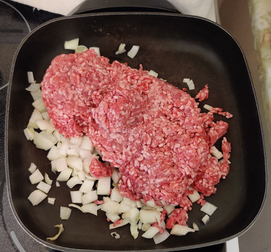
I normally keep cooked meatballs in the freezer for use with pasta dishes such as spaghetti, or eat them on their own along with other foods.
I have no recollection of why I chose to add peas, corn, or rice to the mix when I began making these meatballs many years ago, other than presumably at the time I thought that their addition was a good idea, and that incidentally doing so helped make more meatballs with the same amount of ground beef; as for the onions and egg, I have always liked onions with ground beef, and the egg acts as a binding agent to help keep the meatballs together, especially while cooking.
Making the meatballs:
A mixing bowl was placed on a kitchen scale, and the kitchen scale was set to zero:
Mixing bowl on a kitchen scale, which was set to zero
Two pounds of ground beef were measured out:
Two pounds of ground beef measured out
The bowl of ground beef was put aside for a moment.
An onion was taken out:
Onion taken out
The onion was cleaned and trimmed:
Onion cleaned and trimmed
The onion was sliced thinly:
Onion sliced thinly
The onion was then chopped somewhat finely:
Onion chopped somewhat finely
The chopped onion was transferred to the mixing bowl with the ground beef:
Chopped onion added to the mixing bowl with the ground beef
Chopped onion added to the mixing bowl with the ground beef
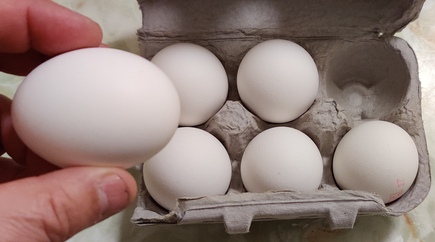
An egg was taken out:
Egg taken out.
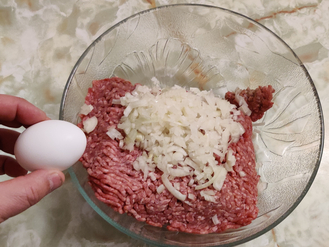
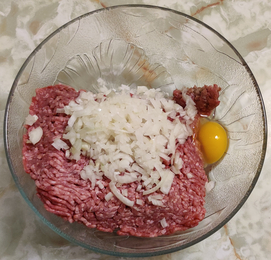
The egg was cracked into the mixing bowl:
Egg cracked into the mixing bowl
Egg cracked into the mixing bowl
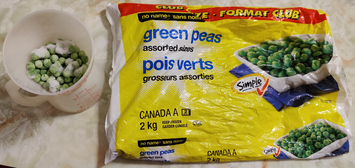
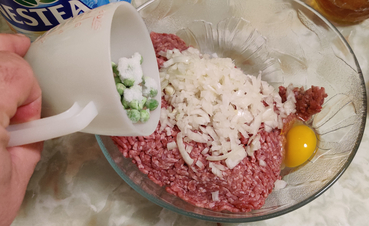
Frozen peas were measured out:
Frozen peas measured out
The frozen peas were added to the mixing bowl:
Frozen peas added to the mixing bowl
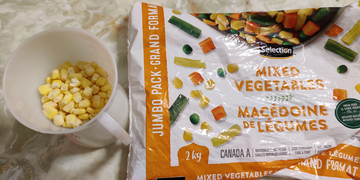
Since I didn’t have any frozen corn kernels on hand, I separated out some corn kernels from a bag of frozen mixed vegetables:
Frozen kernel corn measured out
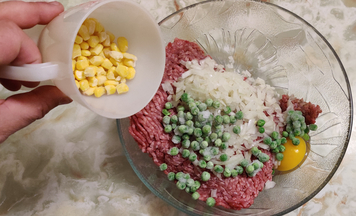
The frozen kernel corn was added to the mixing bowl:
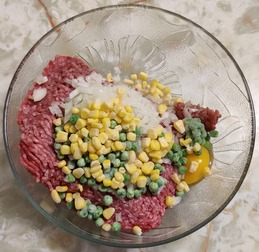
Frozen kernel corn added to mixing bowl
Frozen kernel corn added to mixing bowl
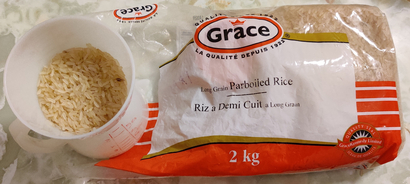
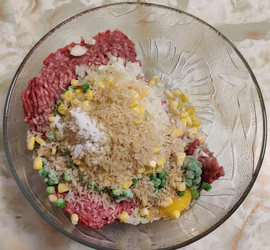
Rice was measured out:
Rice measured out
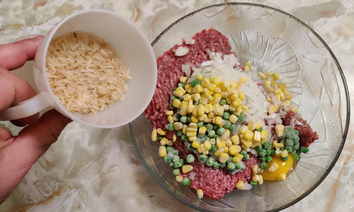
The rice was added to the mixing bowl:
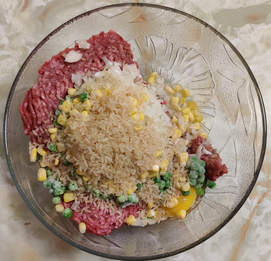
Rice added to the mixing bowl
Rice added to the mixing bowl
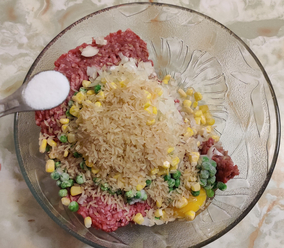
Salt was measured out:
Salt measured out
…. and the salt was added to the mixing bowl:
Salt added to the mixing bowl
Salt added to the mixing bowl
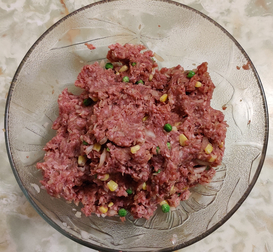
The ingredients were thoroughly mixed together by hand:
Ingredients mixed by hand
An electric skillet was turned on (as well as a stove burner for my cast iron skillet for the meatballs that wouldn’t fit in the electric skillet):
Electric skillet turned on
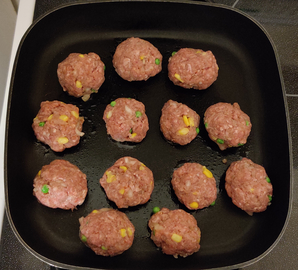
The meat mix was formed into balls from 1-1/2″ to 2″ in diameter, which were placed in the electric skillet (as well as a cast iron skillet off camera), with enough spacing between them to allow for easier manipulation later when turning them over:
Balls of meat mix formed and placed in an electric skillet
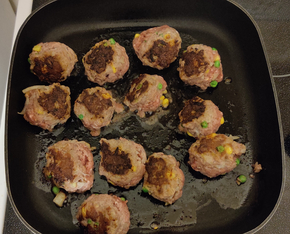
As each side of the meatballs were cooked, the meatballs were turned over to cook on another side …
Meatballs turned over to cook on another side
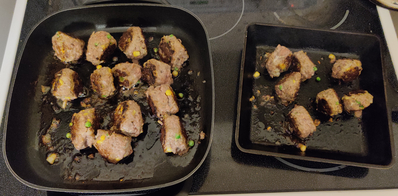
… and the meatballs were turned over again to cook yet on another side:
Meatballs tuned over yet again; note second skillet of cooking meatballs
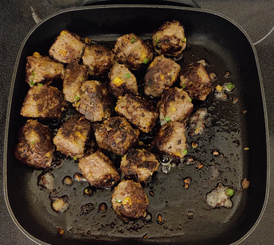
When the meatballs were fully cooked …
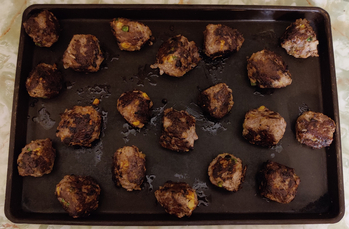
Fully cooked meatballs
… the meatballs were transferred to a cookie baking sheet, somewhat spread apart from each other to allow for quicker cooling in the freezer …
Cooked meatballs placed on cookie baking sheet
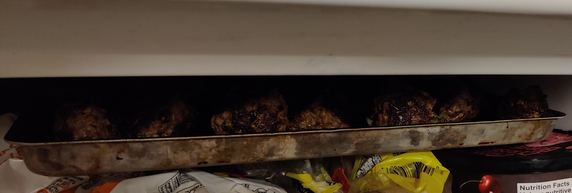
… and the cookie baking sheet with the meatballs was placed in the freezer to cool the meatballs and begin to freeze the meatballs:
Cookie baking sheet of meatballs placed in freezer
A clean, resealable freezer bag was re-labeled to reflect the new contents, meatballs of course:
Freezer bag re-labelled
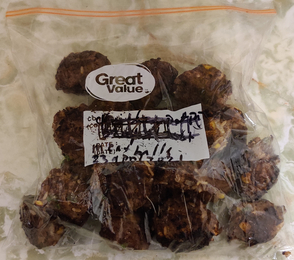
Once partly frozen, the meatballs were placed in the freezer bag:
Meatballs placed in freezer bag
… and the bag of yummy meatballs was placed in the freezer for future eating.