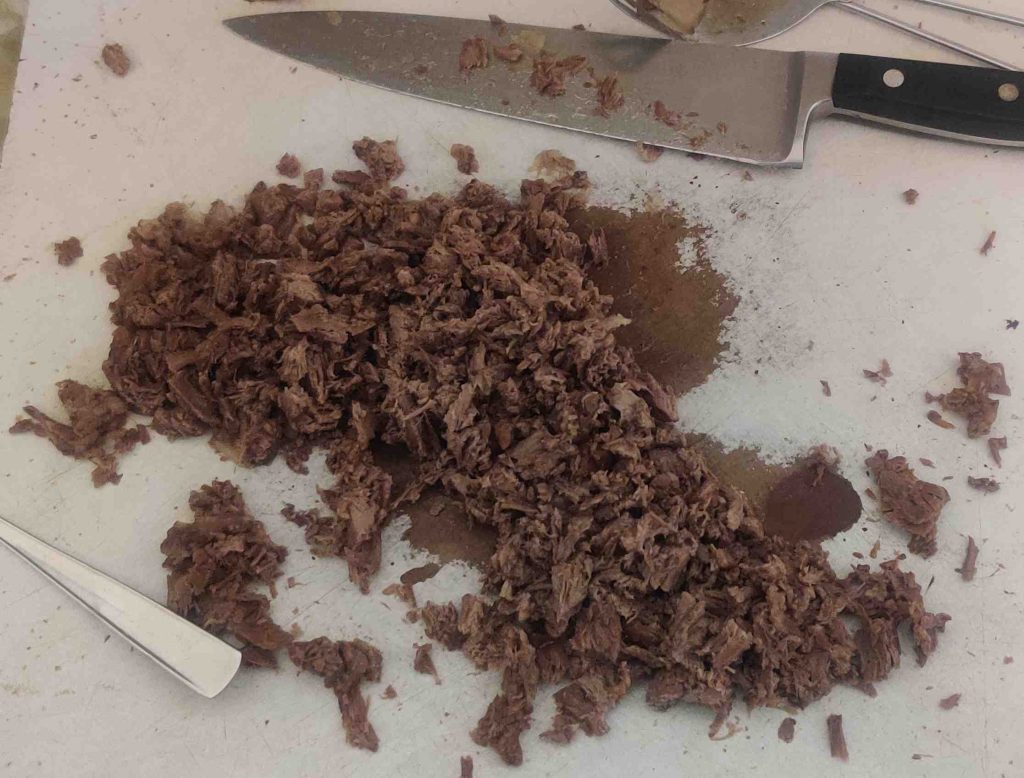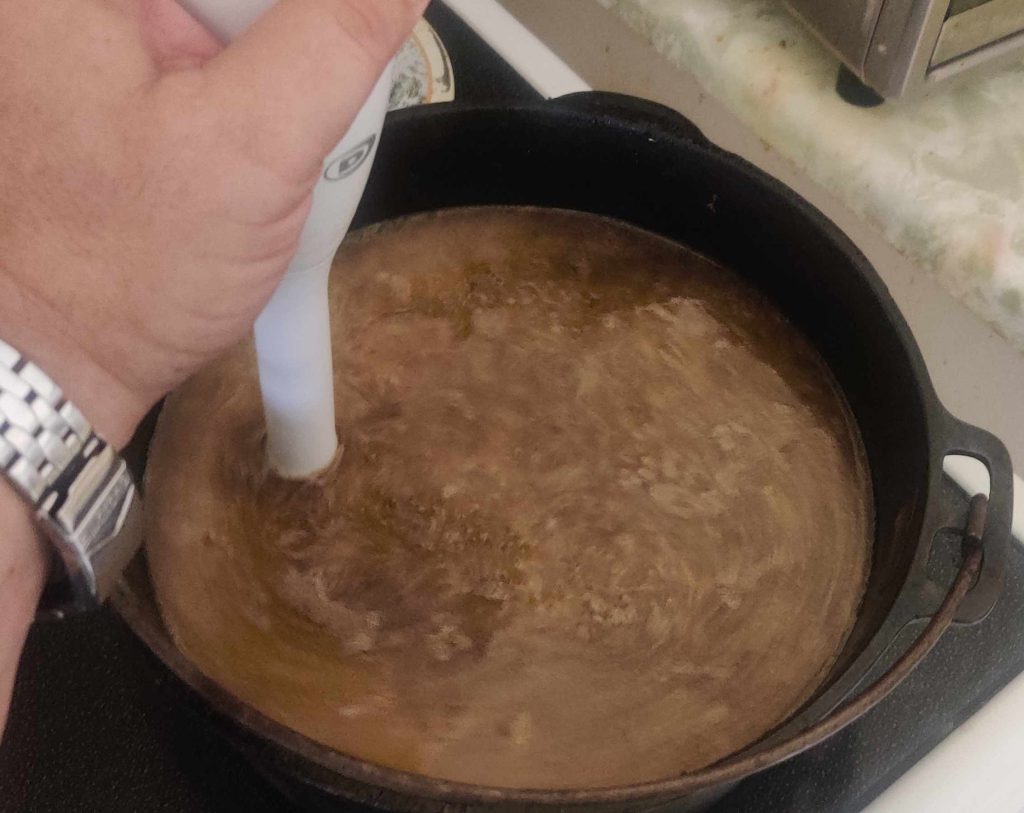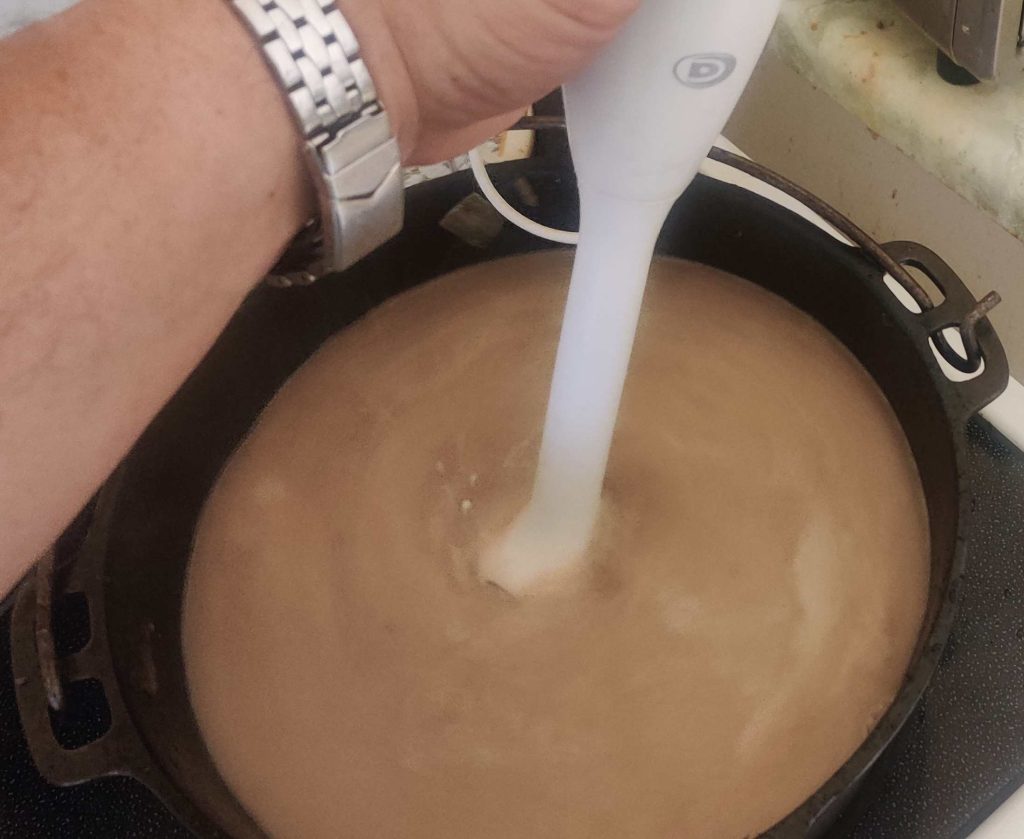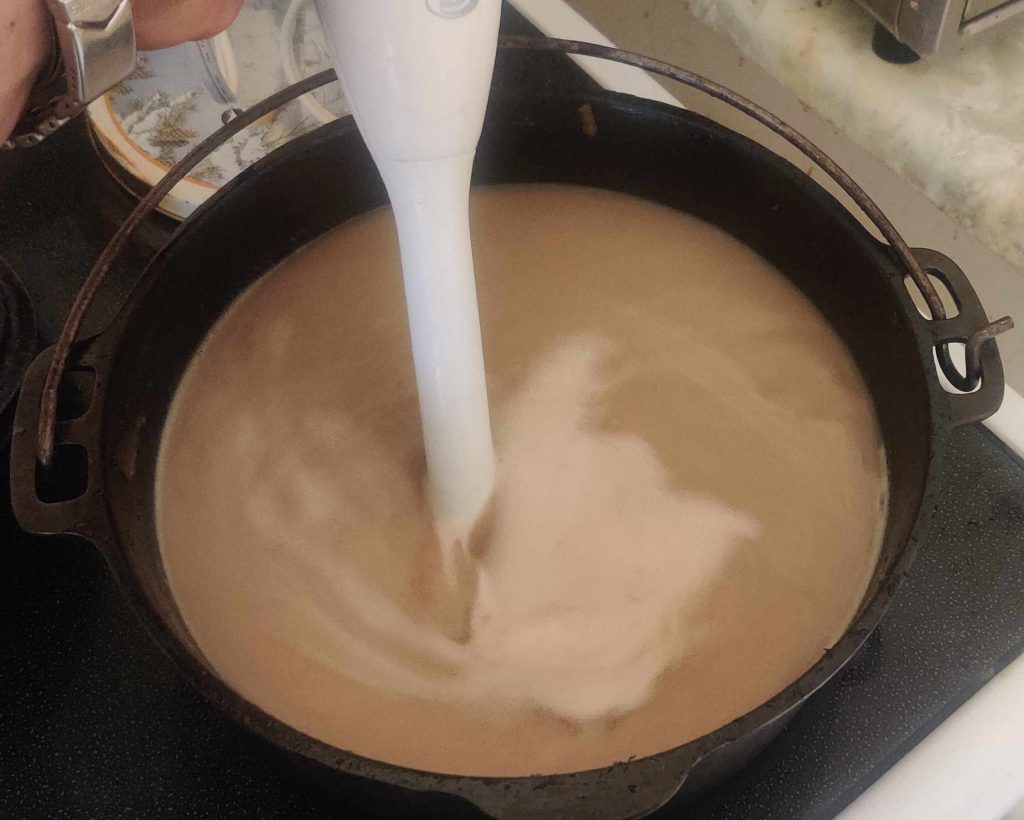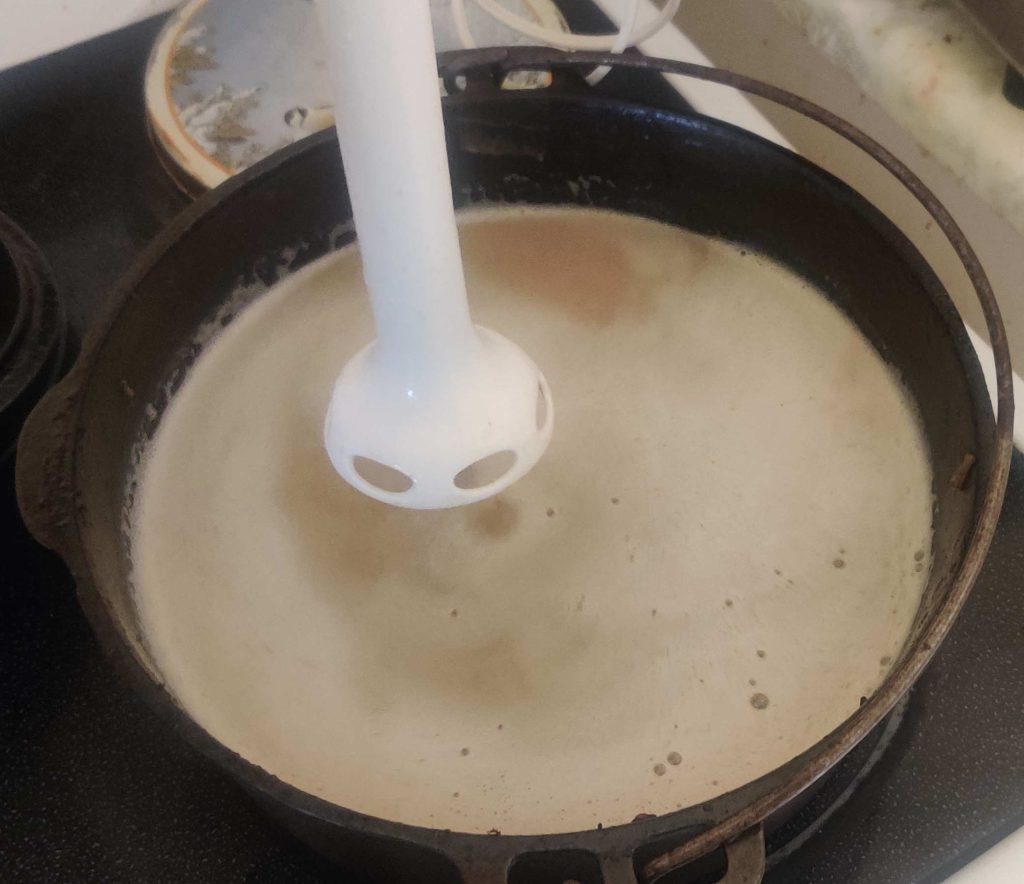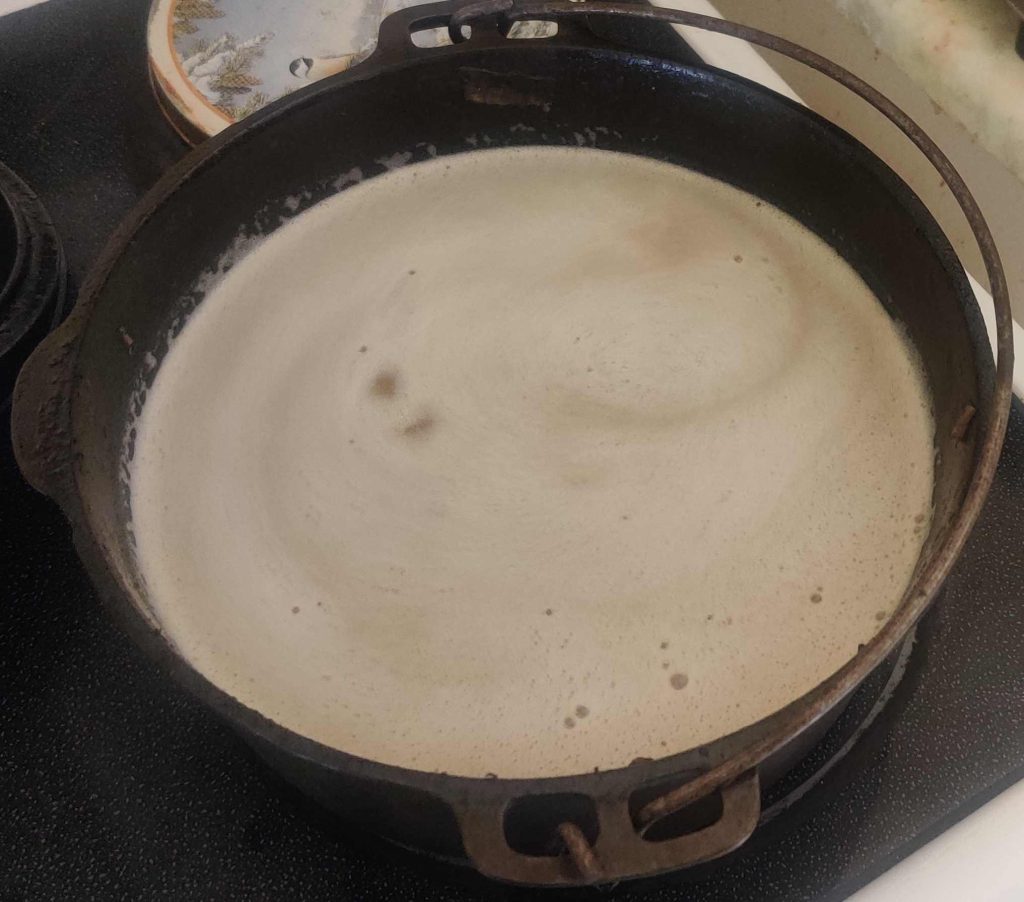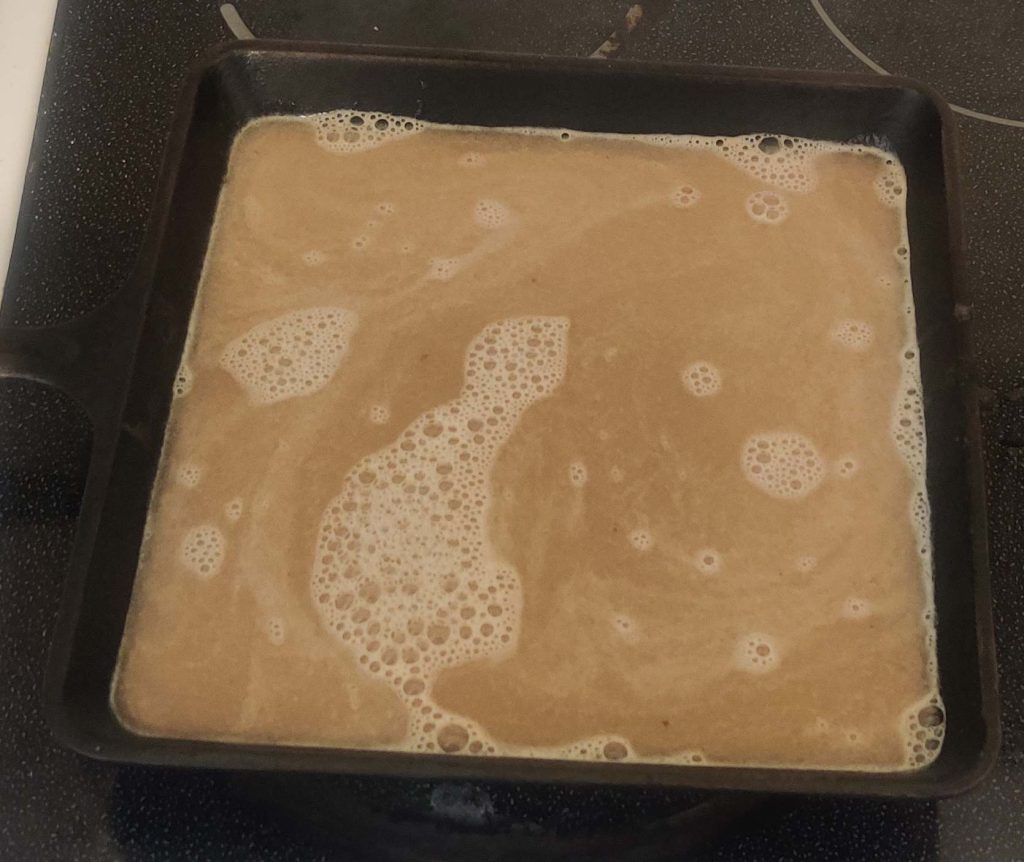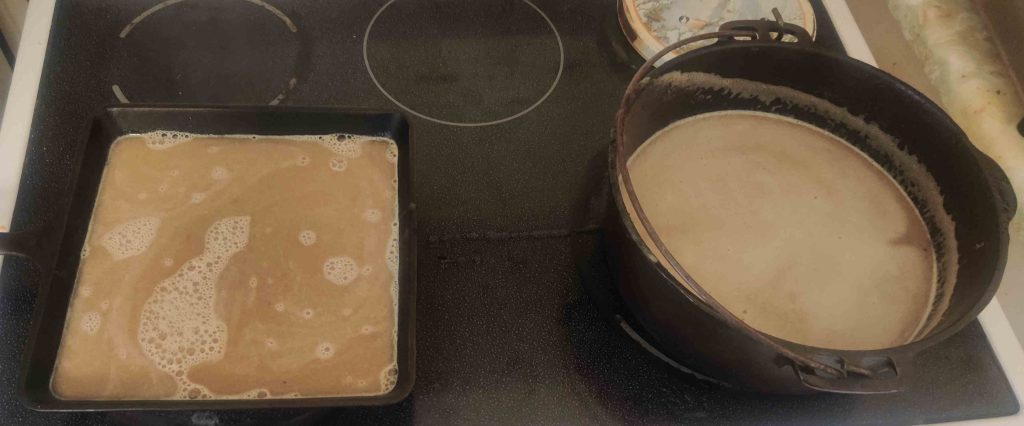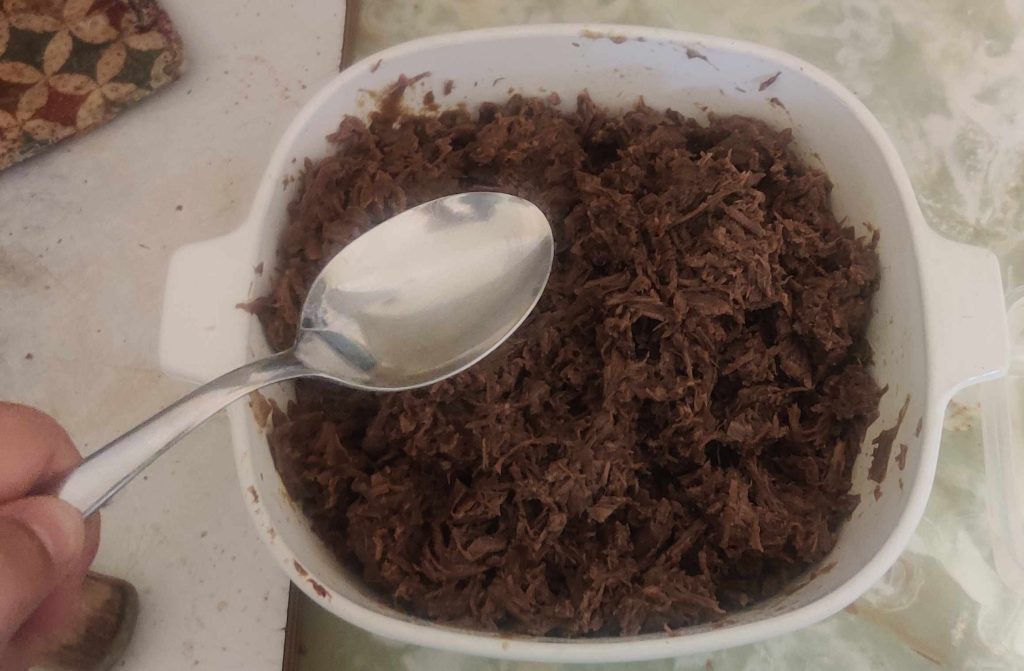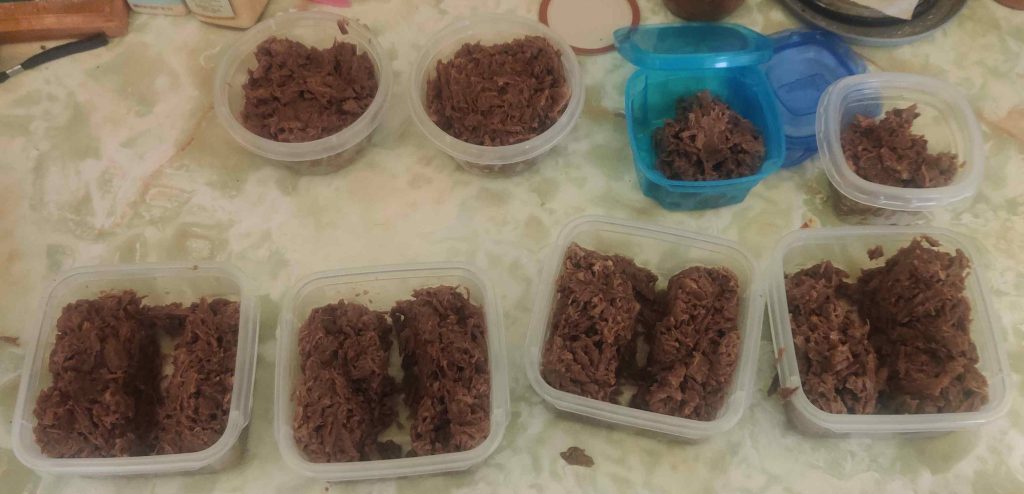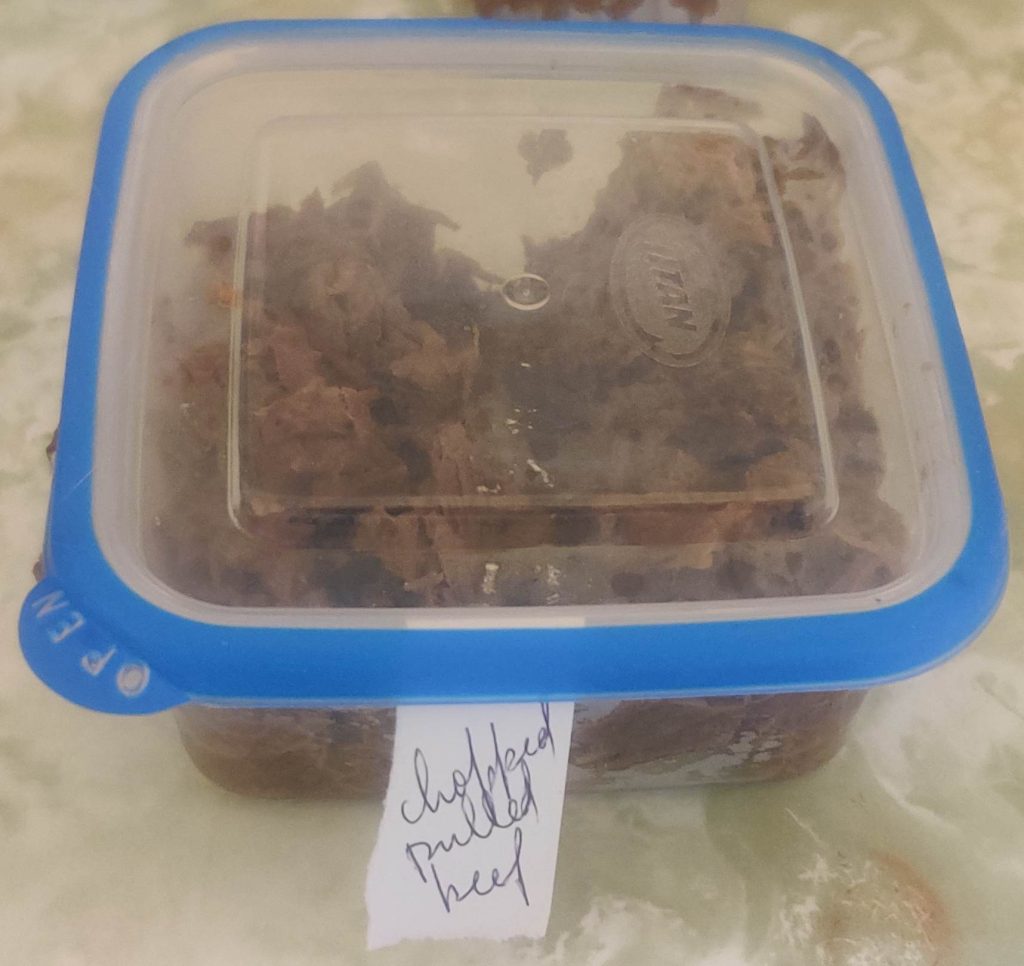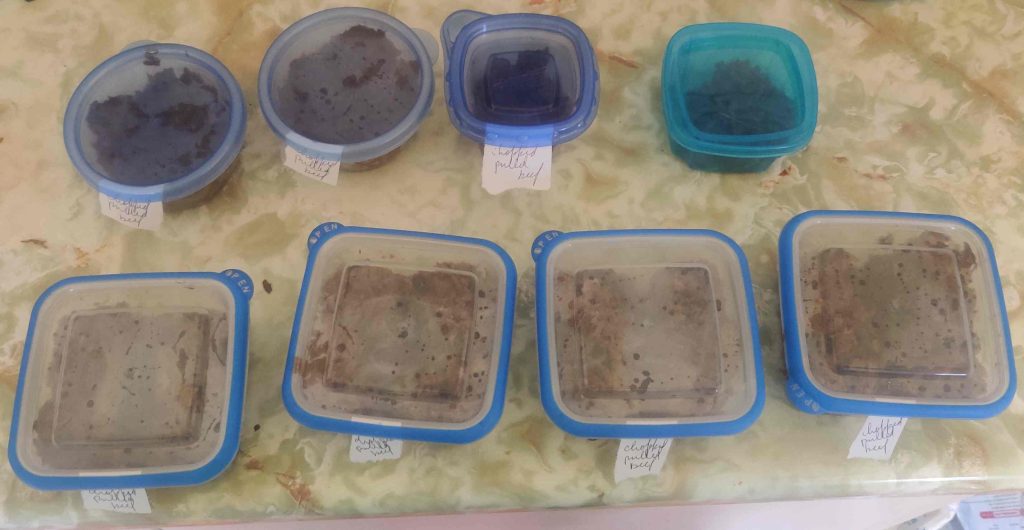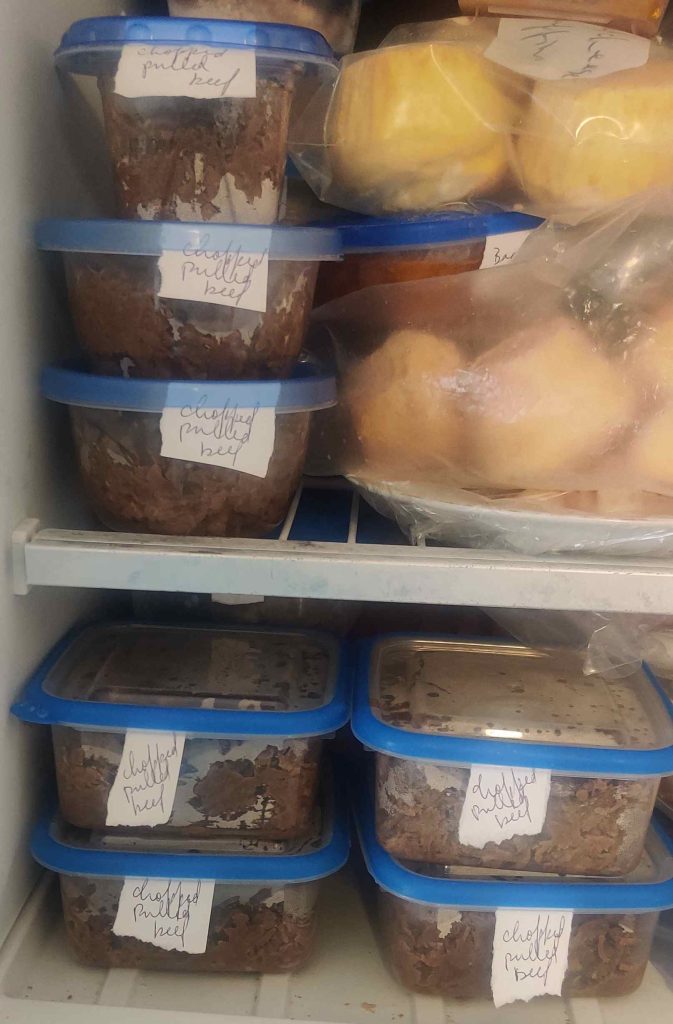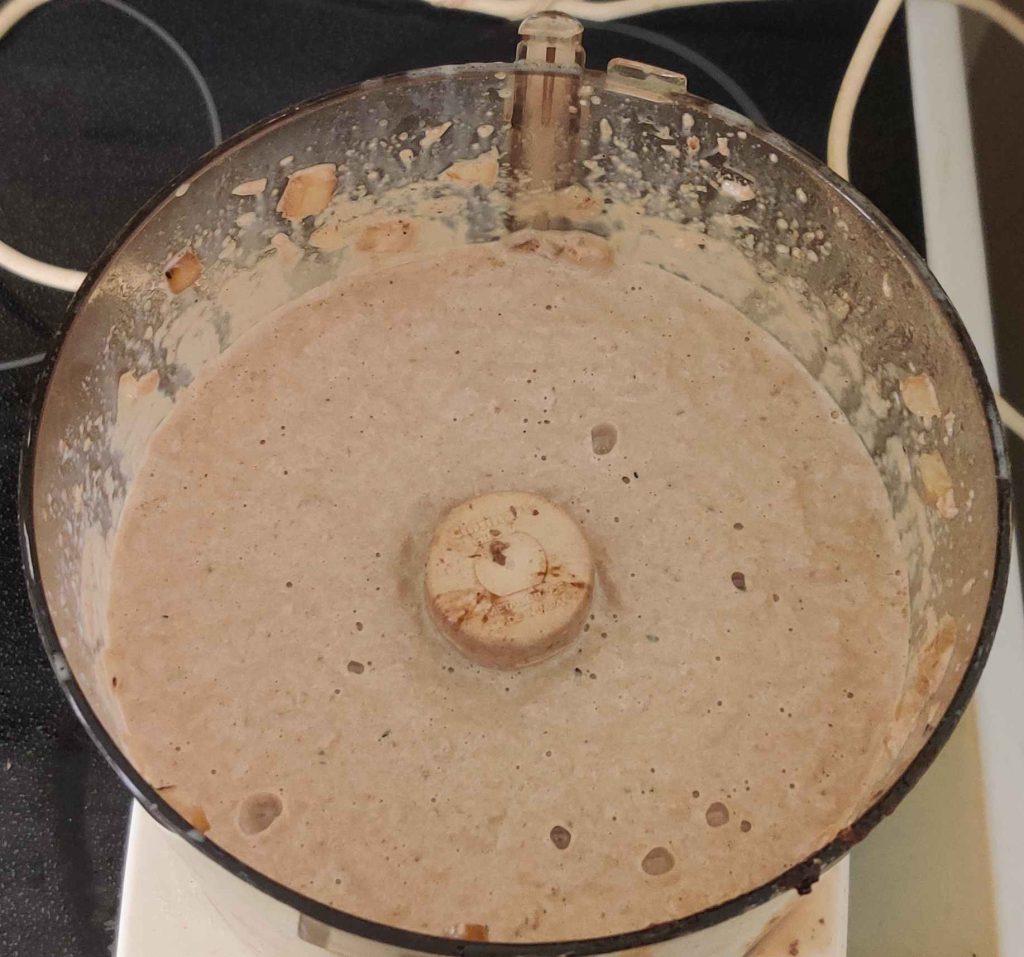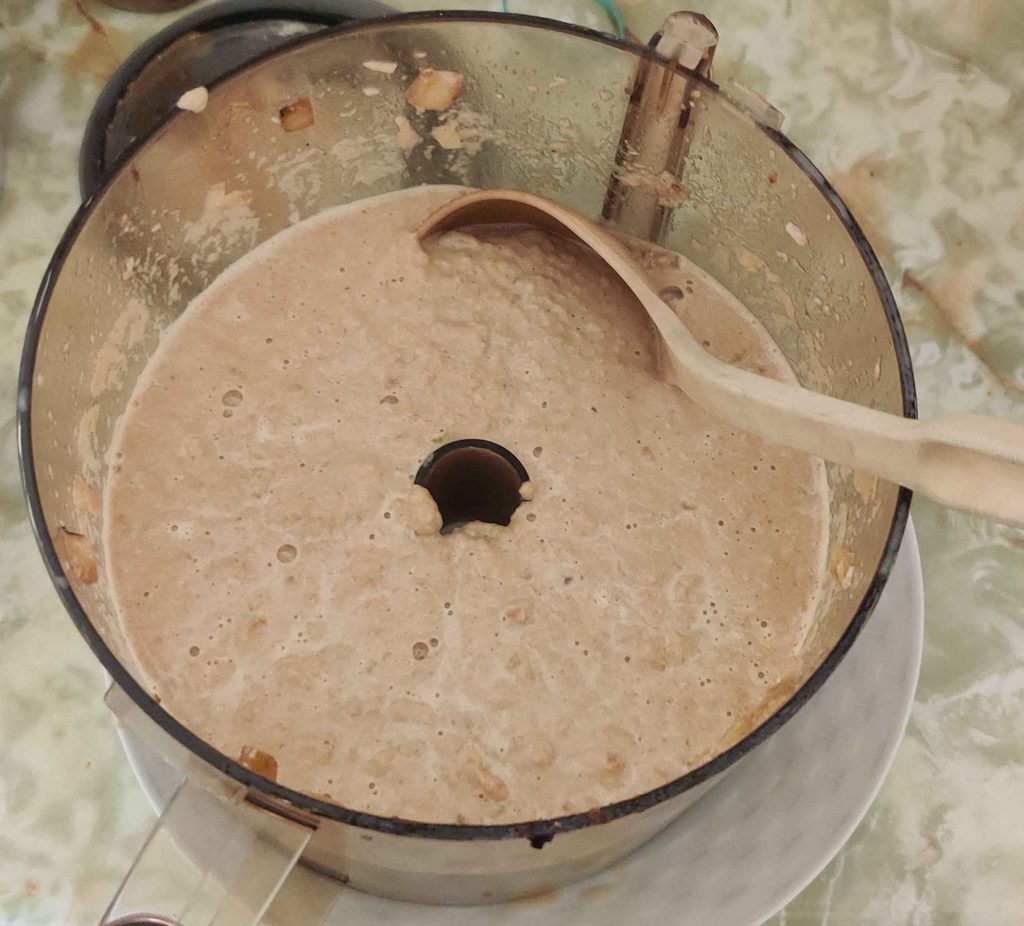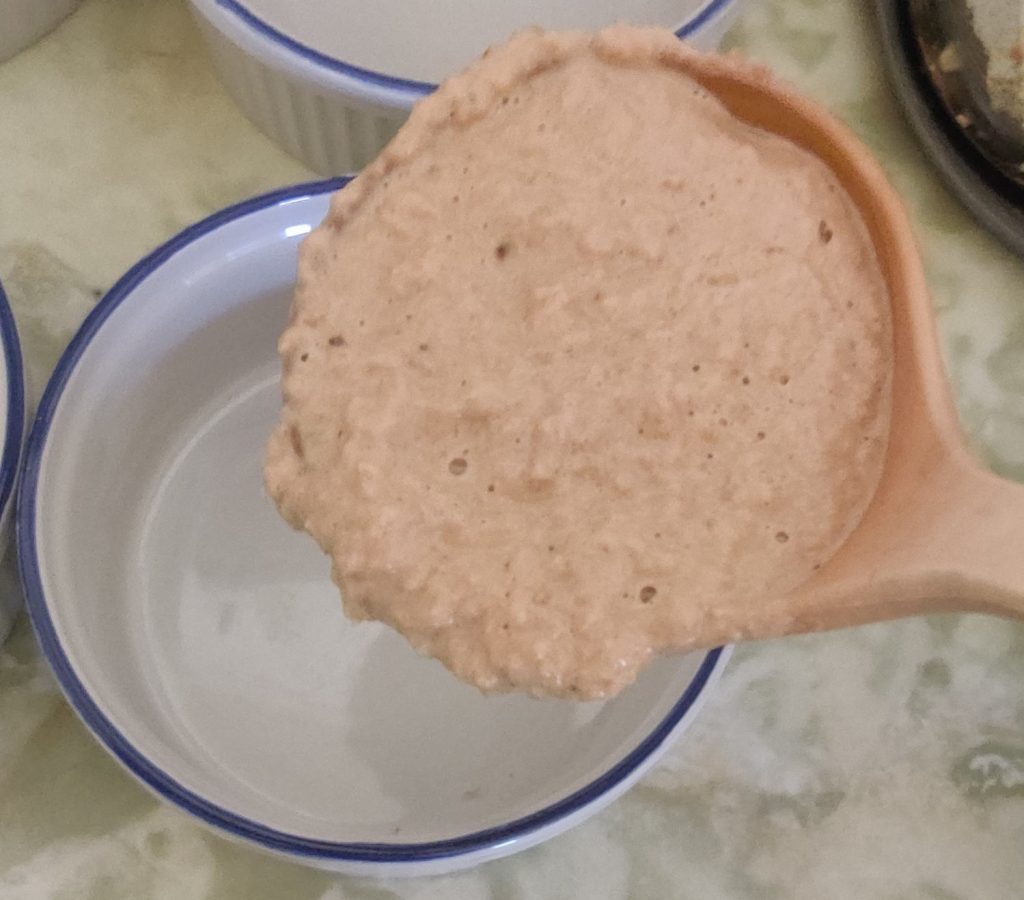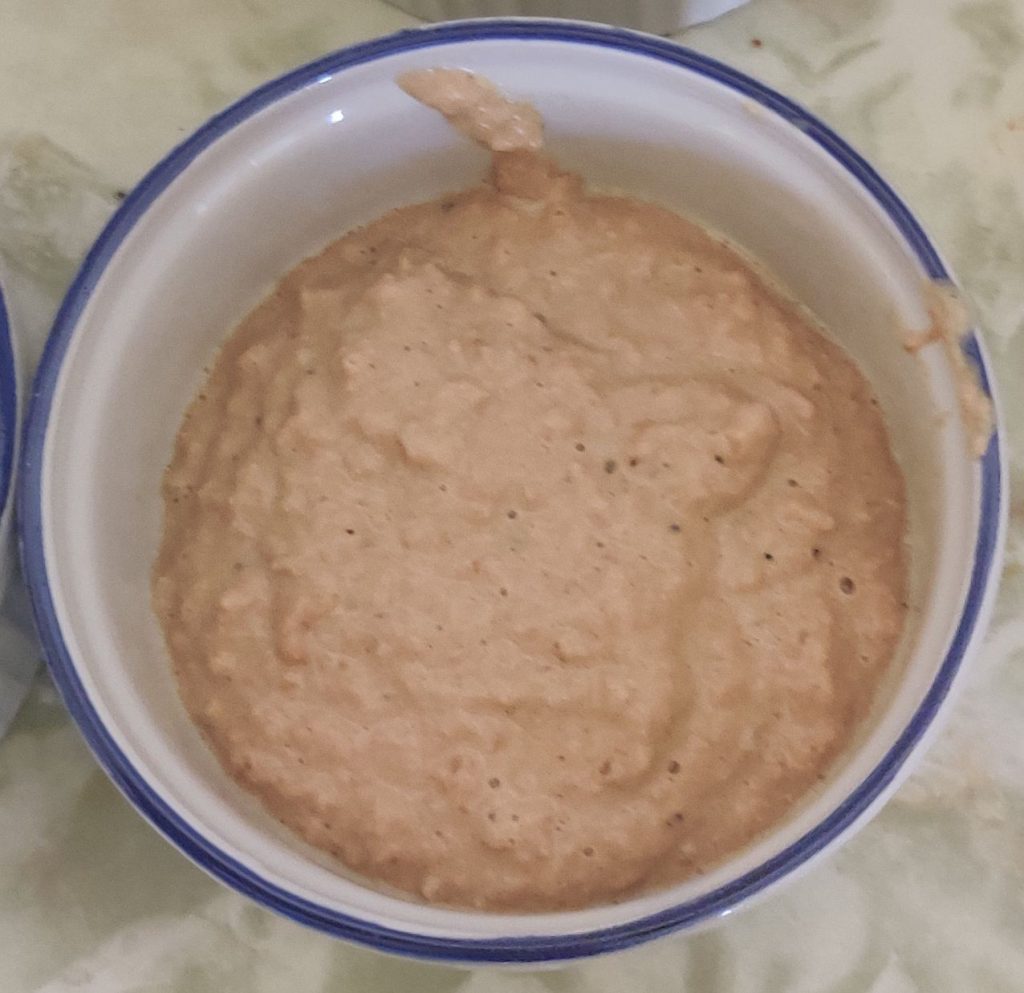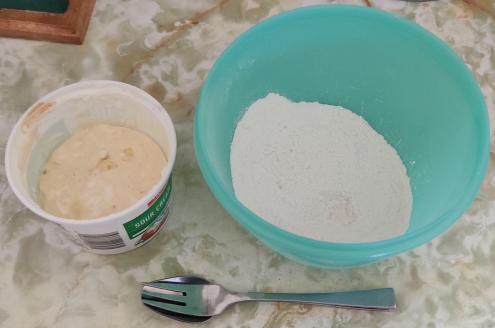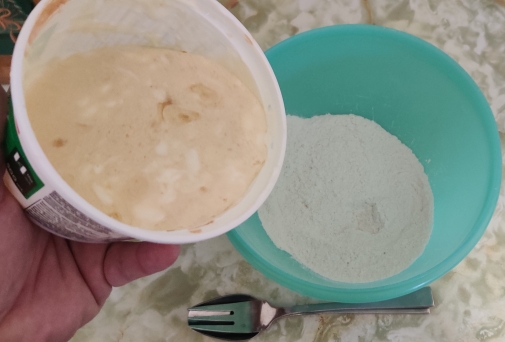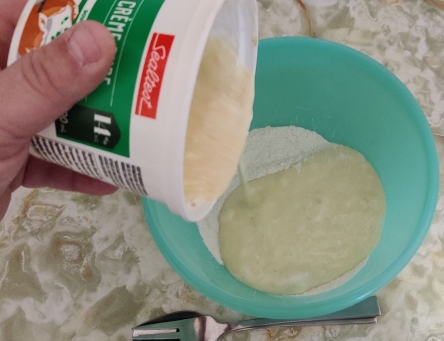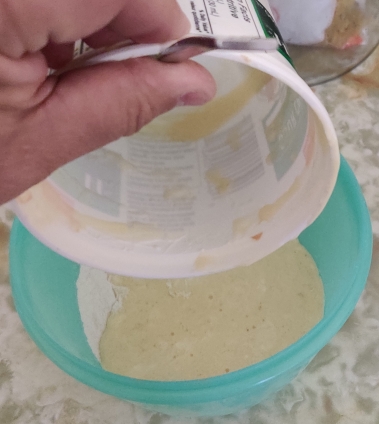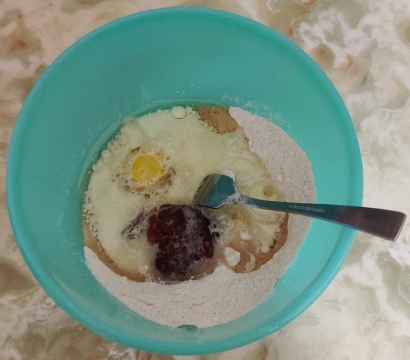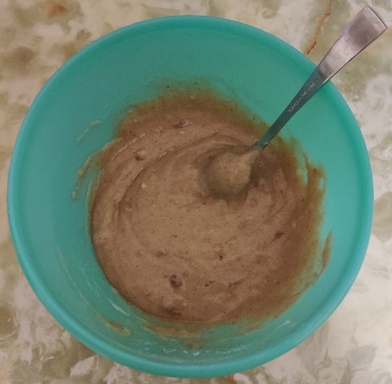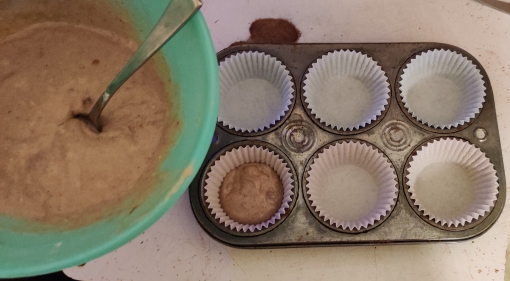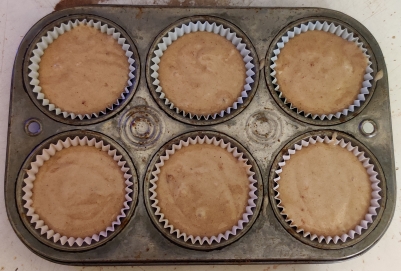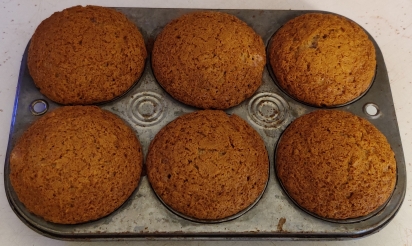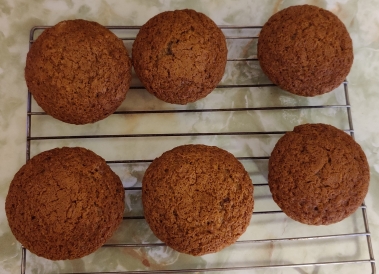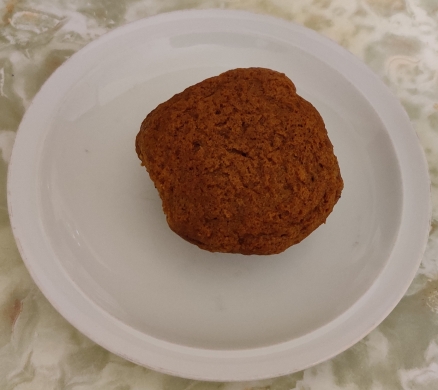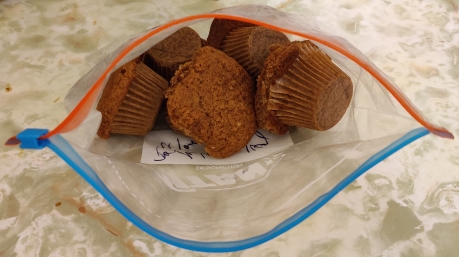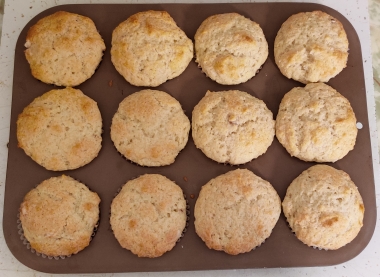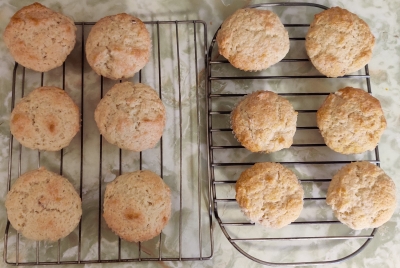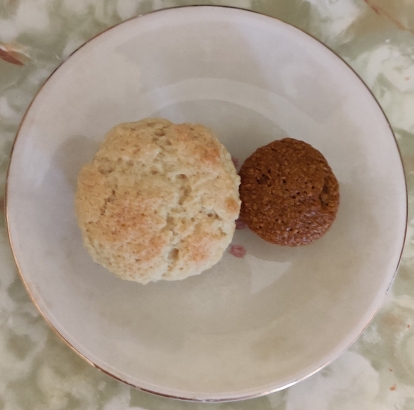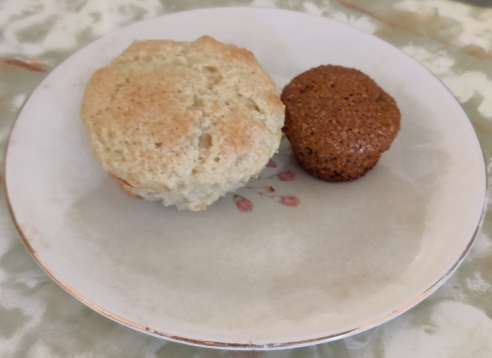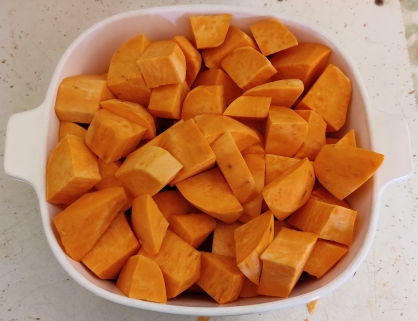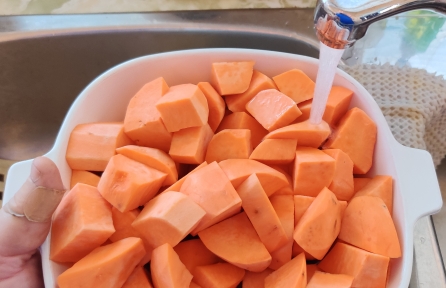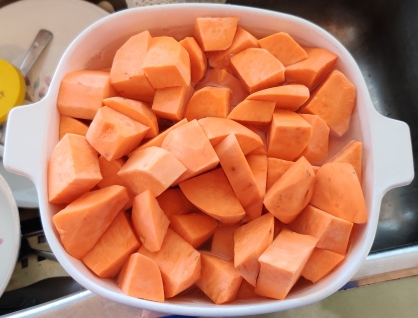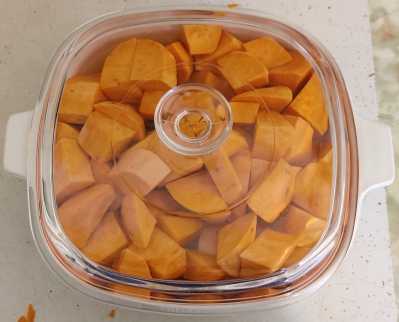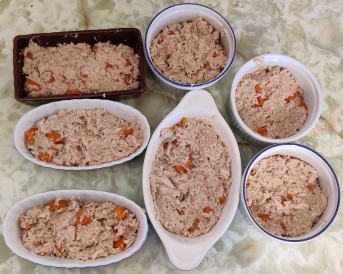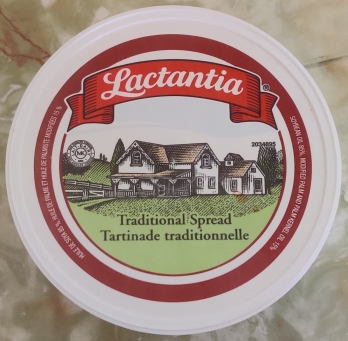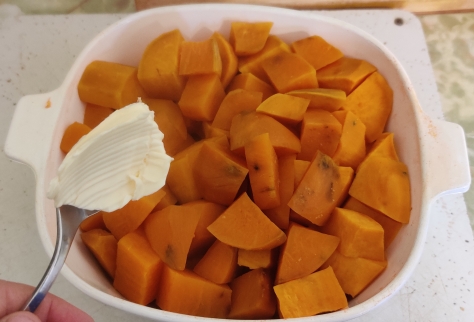
Making Pork Custards — Photos

This recipe came about after another conversation with ChatGPT about easy-to-chew foods, and the recipe was suggested by the chatbot. To my pleasure, it’s tasty, and Mom likes it!

To be clear, this is a savoury, main meal component, not a dessert that might elicit a reaction of “I’m not having that for dessert!”, or at least cause you to scratch your head and wonder to why it was being offered for dessert! (As in, usually, custards are sweet desserts.)

Making the Pork Custards:

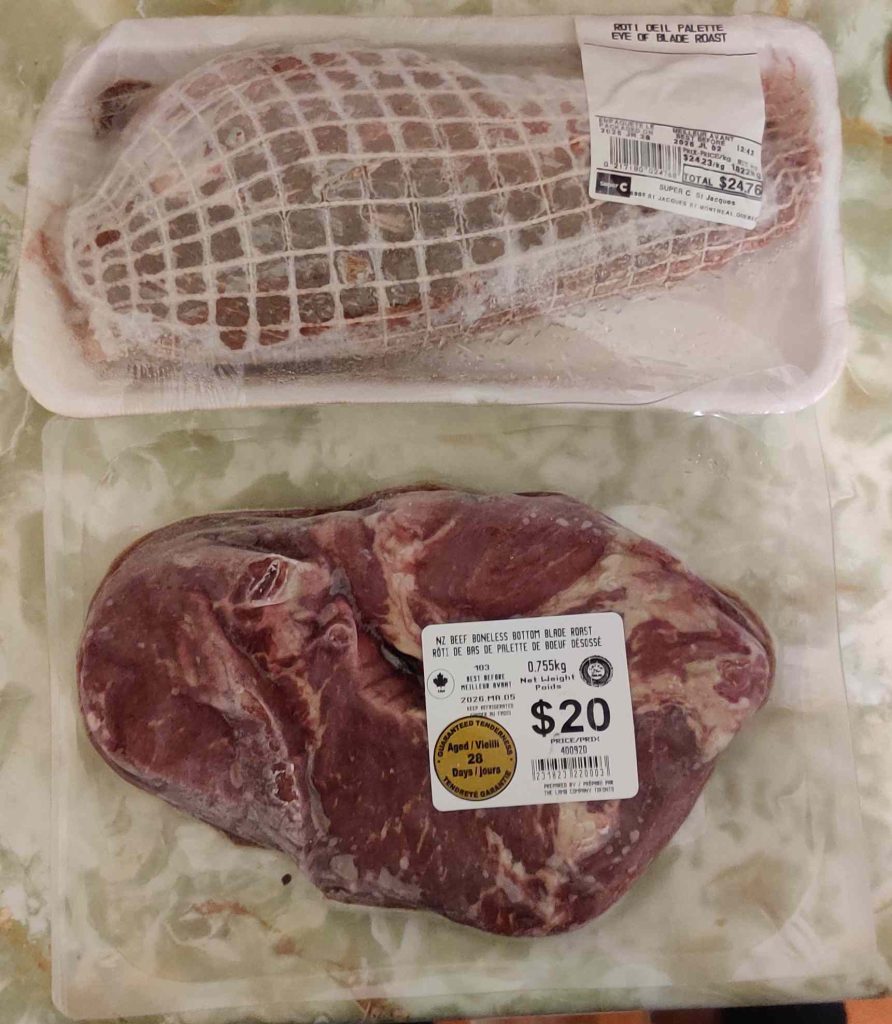
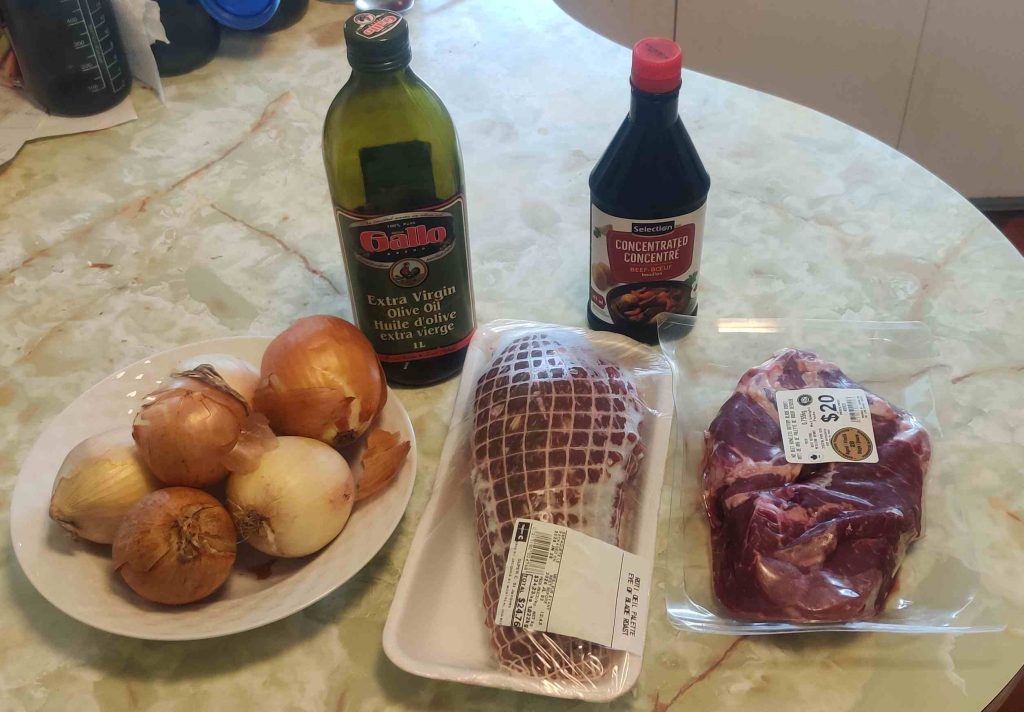
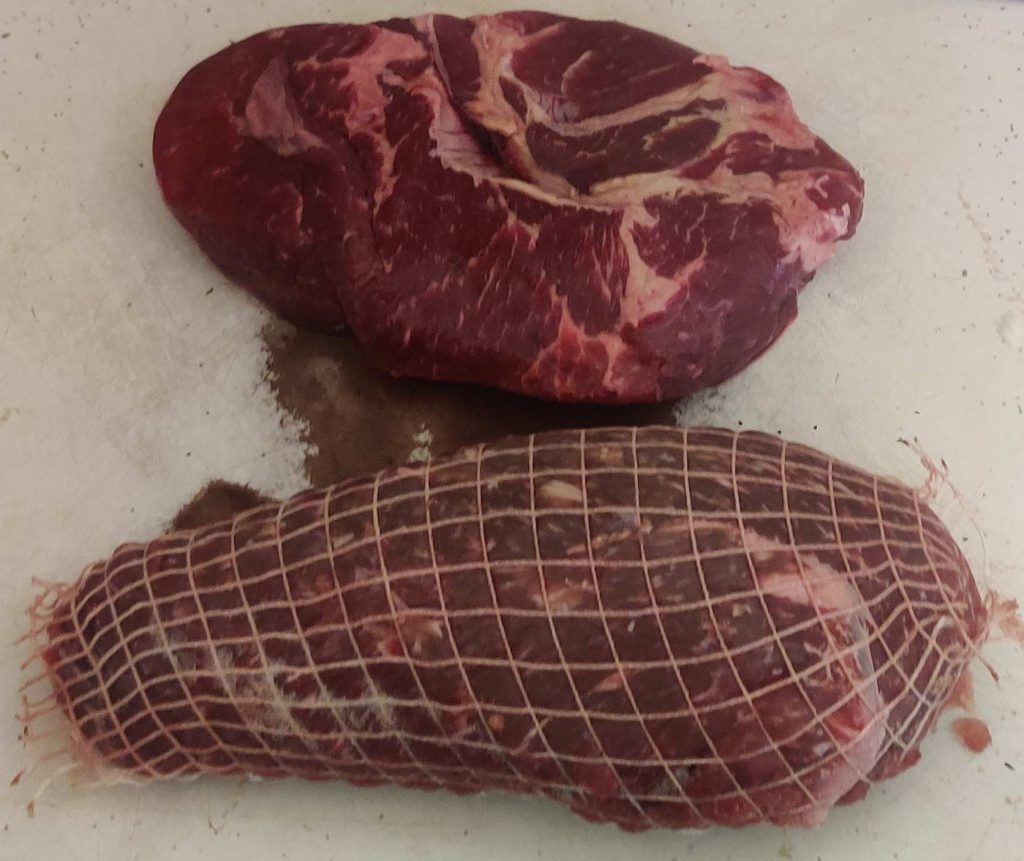
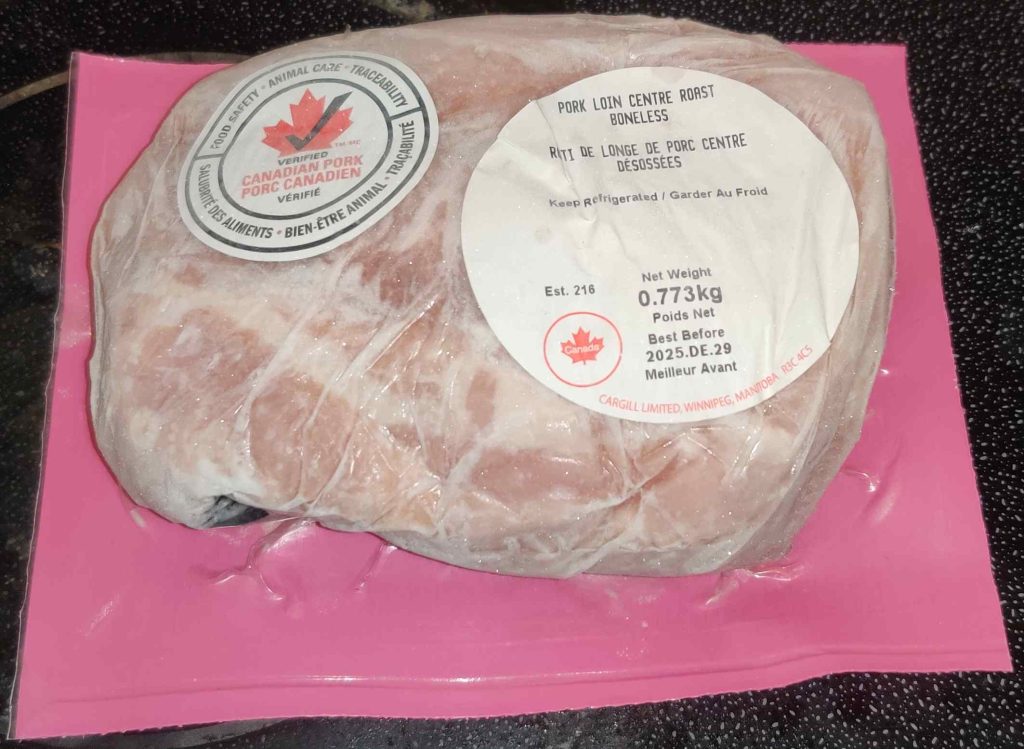
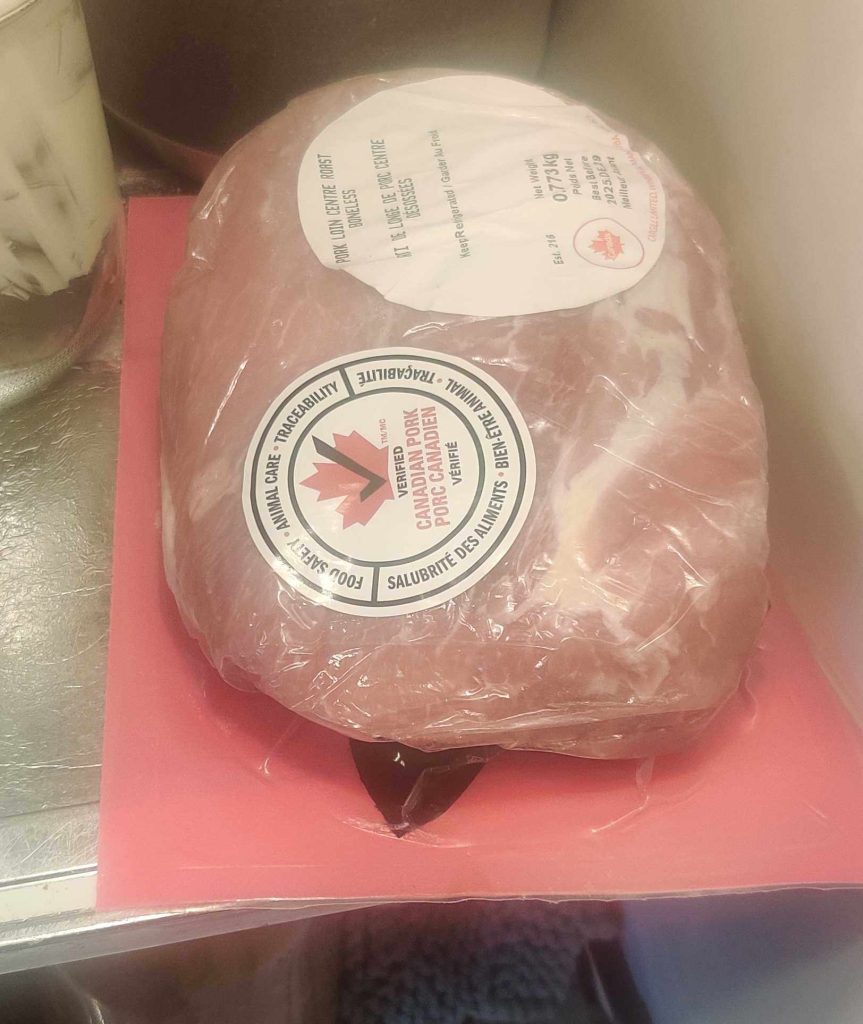
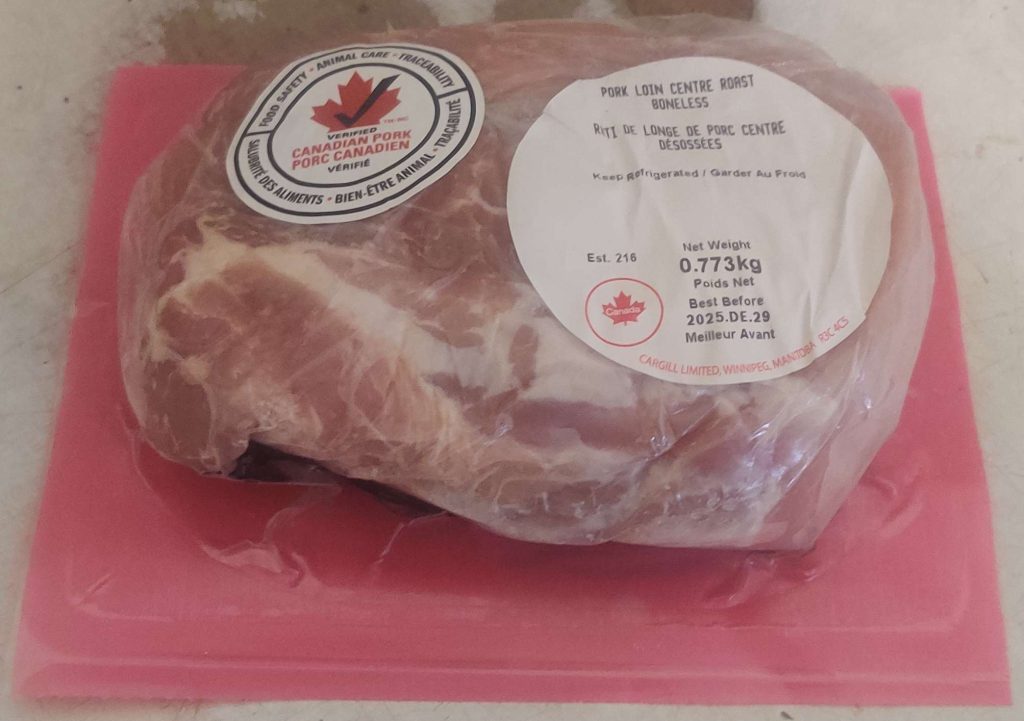
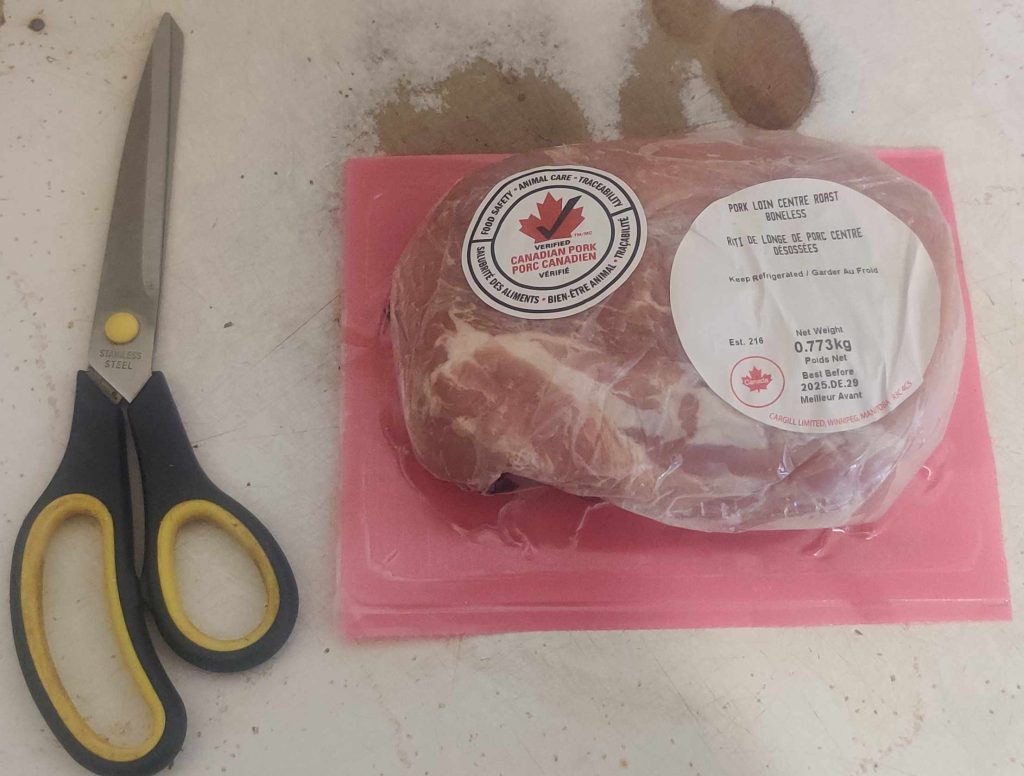
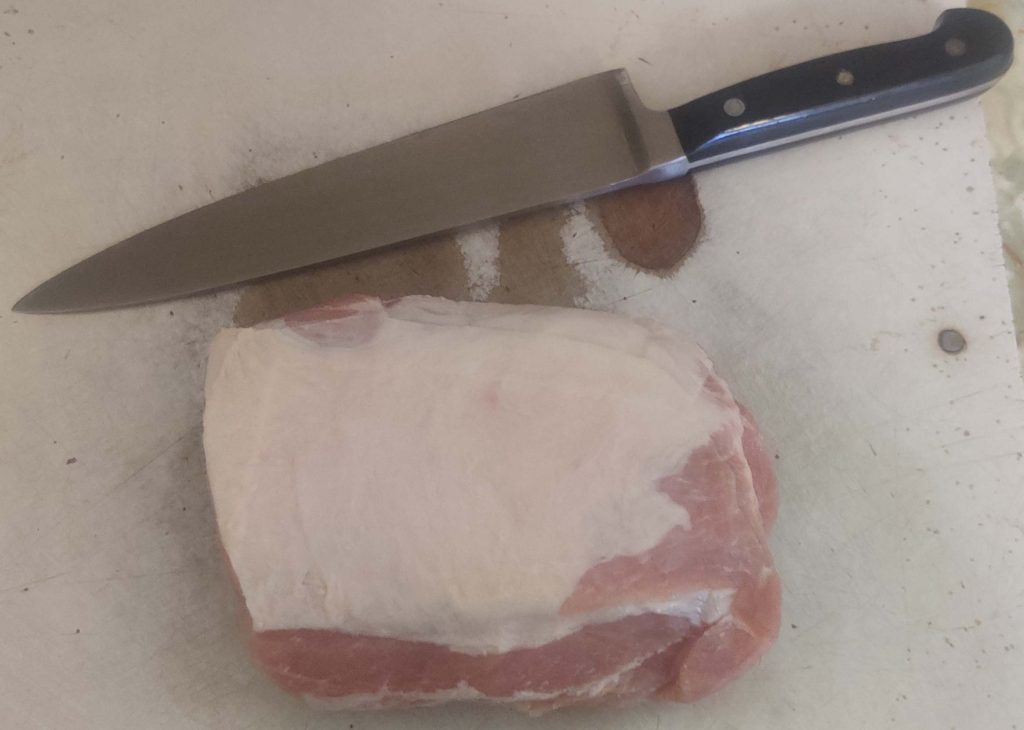
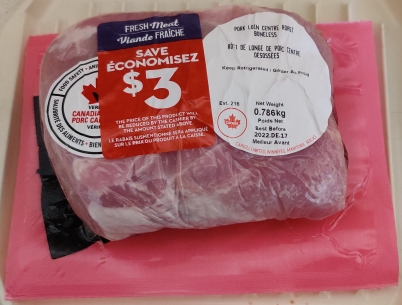
First, a pork roast, which had been purchased last December on special and frozen right away, was taken out of the freezer the night before the cooking project, and kept in the fridge to defrost overnight:

Frozen pork roast taken out of freezer

Note that the weight of the pork roast is about half as much larger than my base recipe, so as I was preparing the dish, I adjusted measures upwards accordingly.

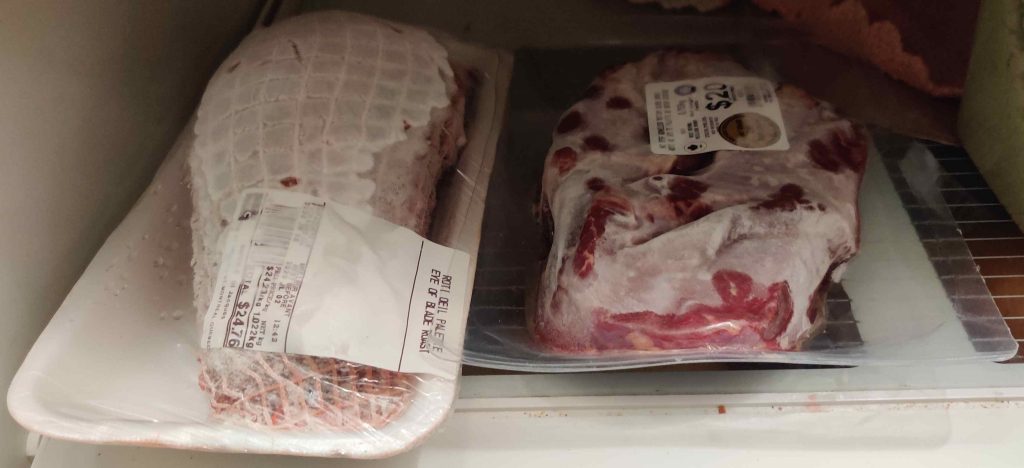
The roast was left on the counter for a couple of hours to begin defrosting, and then it was placed in the refrigerator to continue defrosting overnight:

Pork roast placed in refrigerator to defrost overnight

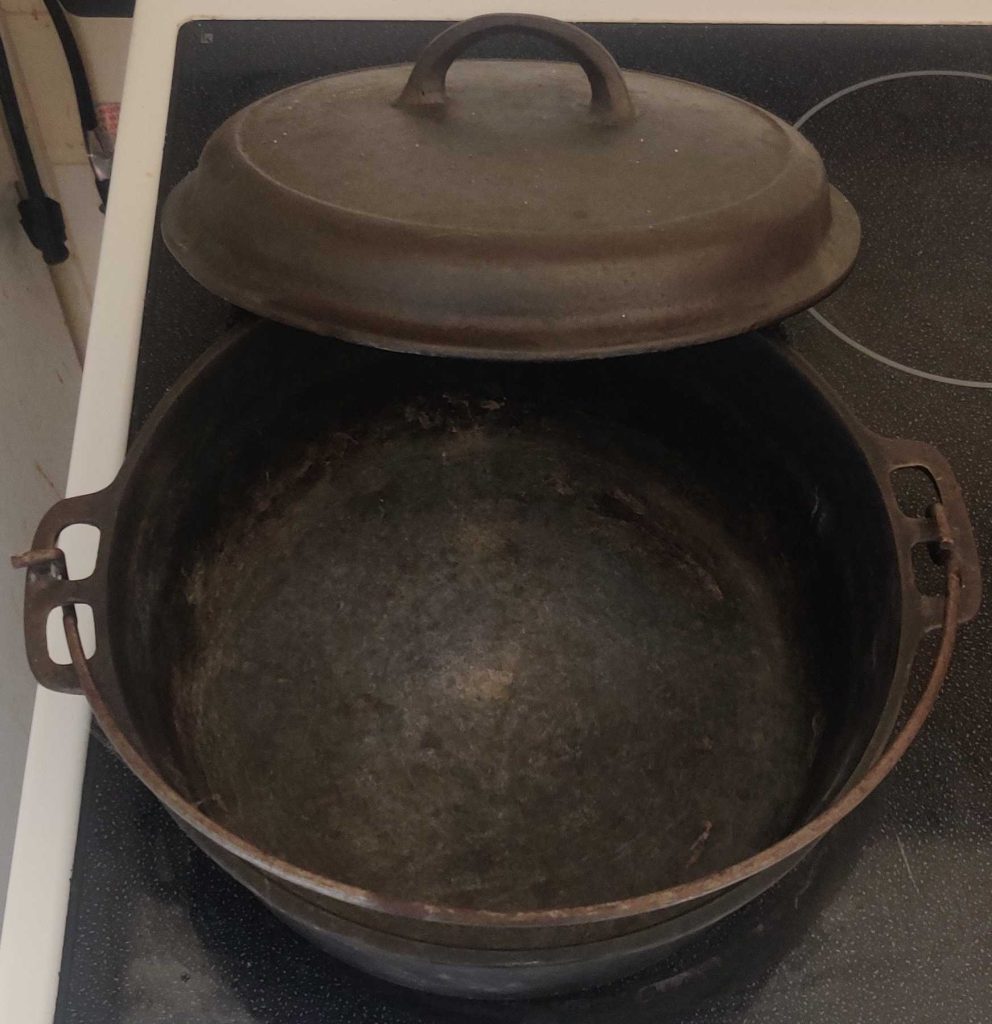
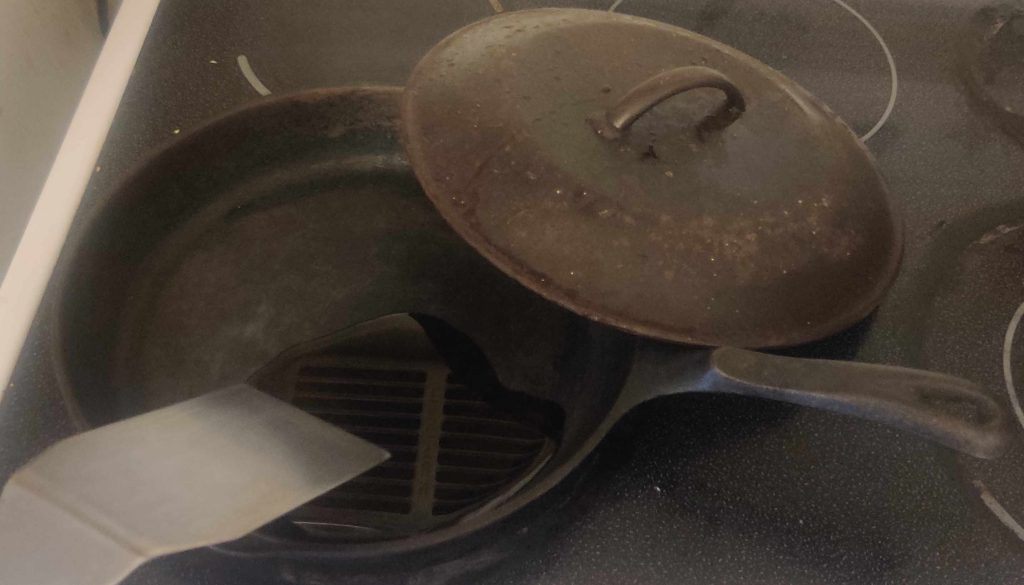
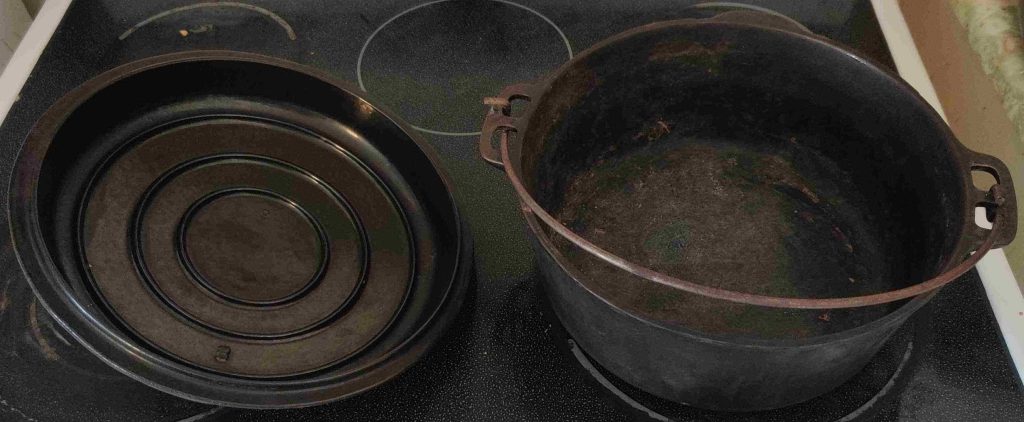
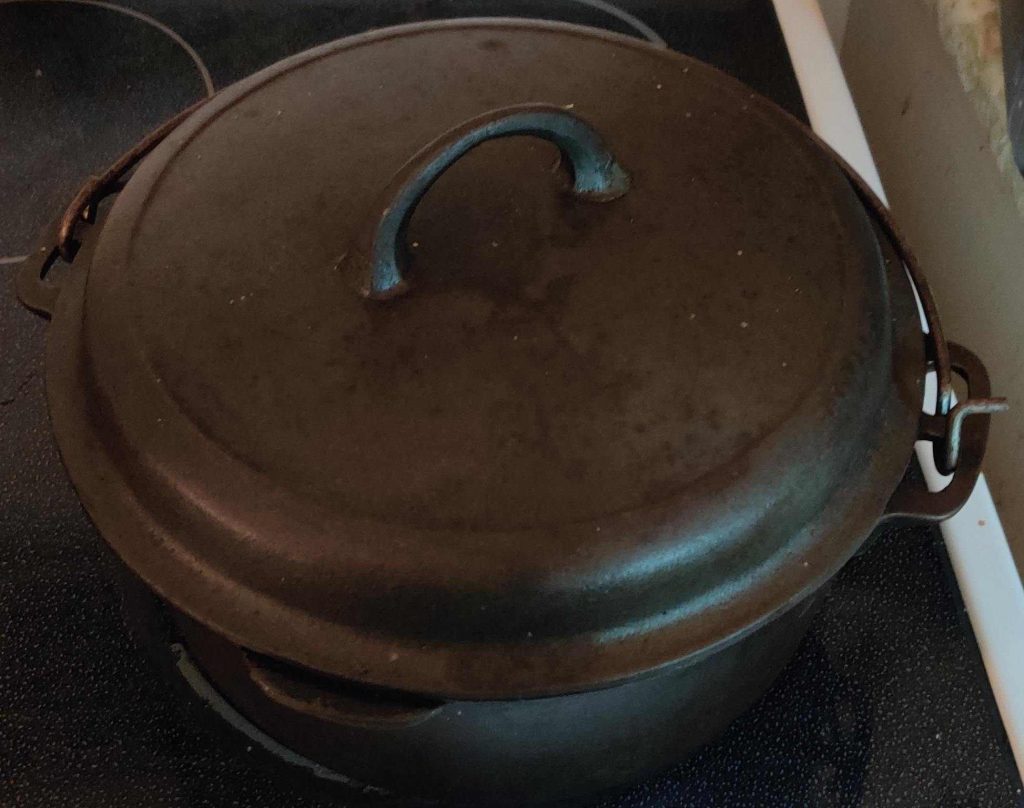
When I began the cooking project the next day, a cast iron frypan and a braising lid were taken out:

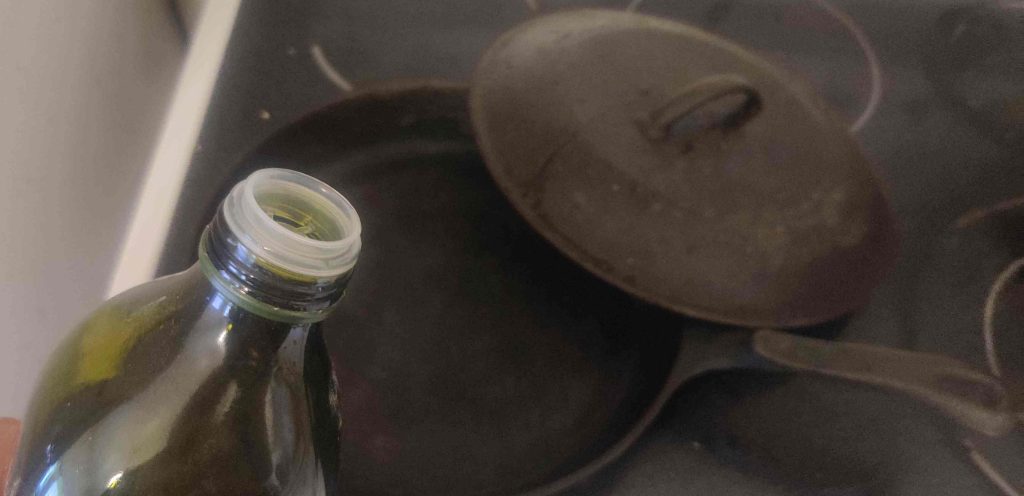
Cast iron frypan and lid taken out

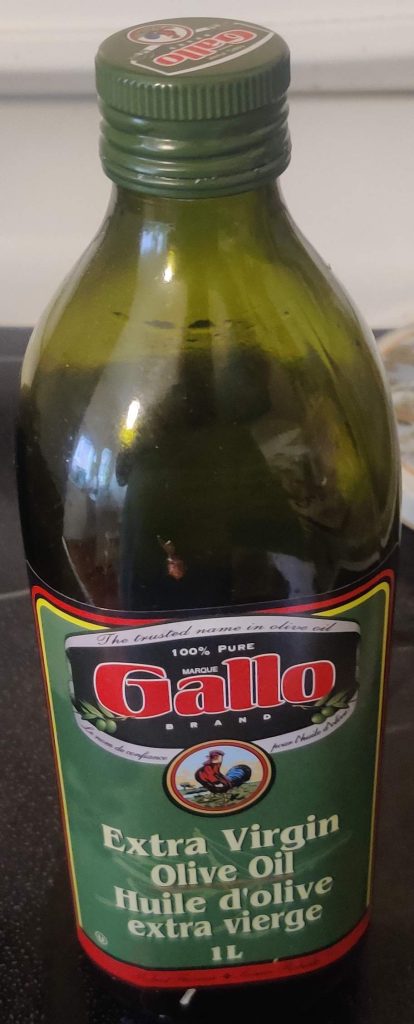
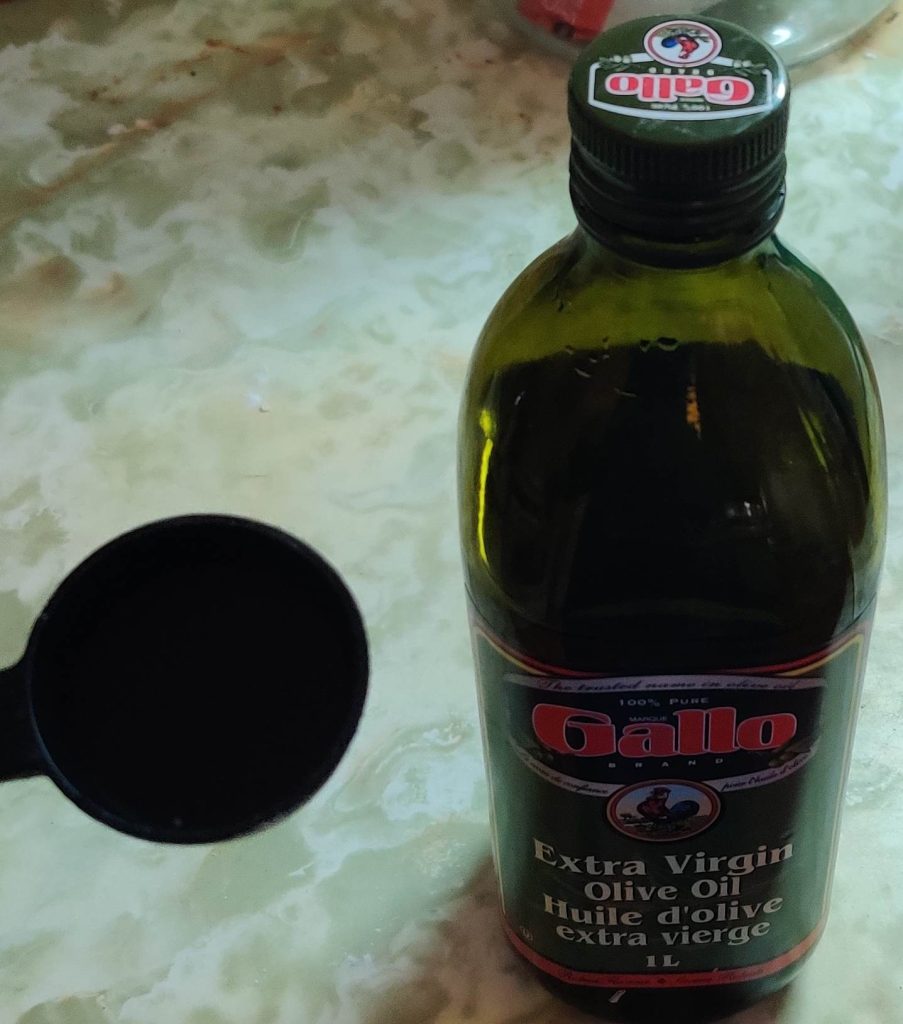
A bottle of olive oil was taken out:

Olive oil taken out

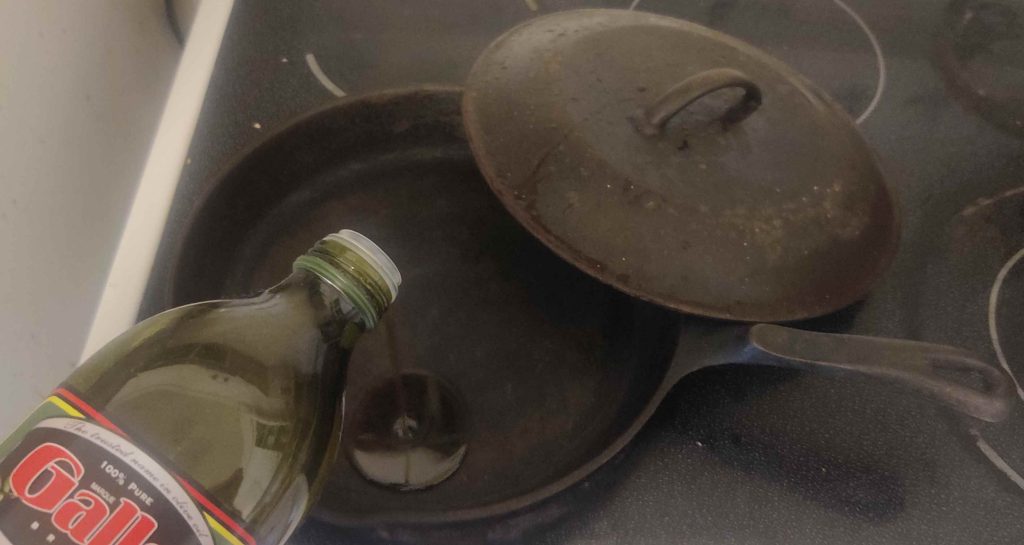
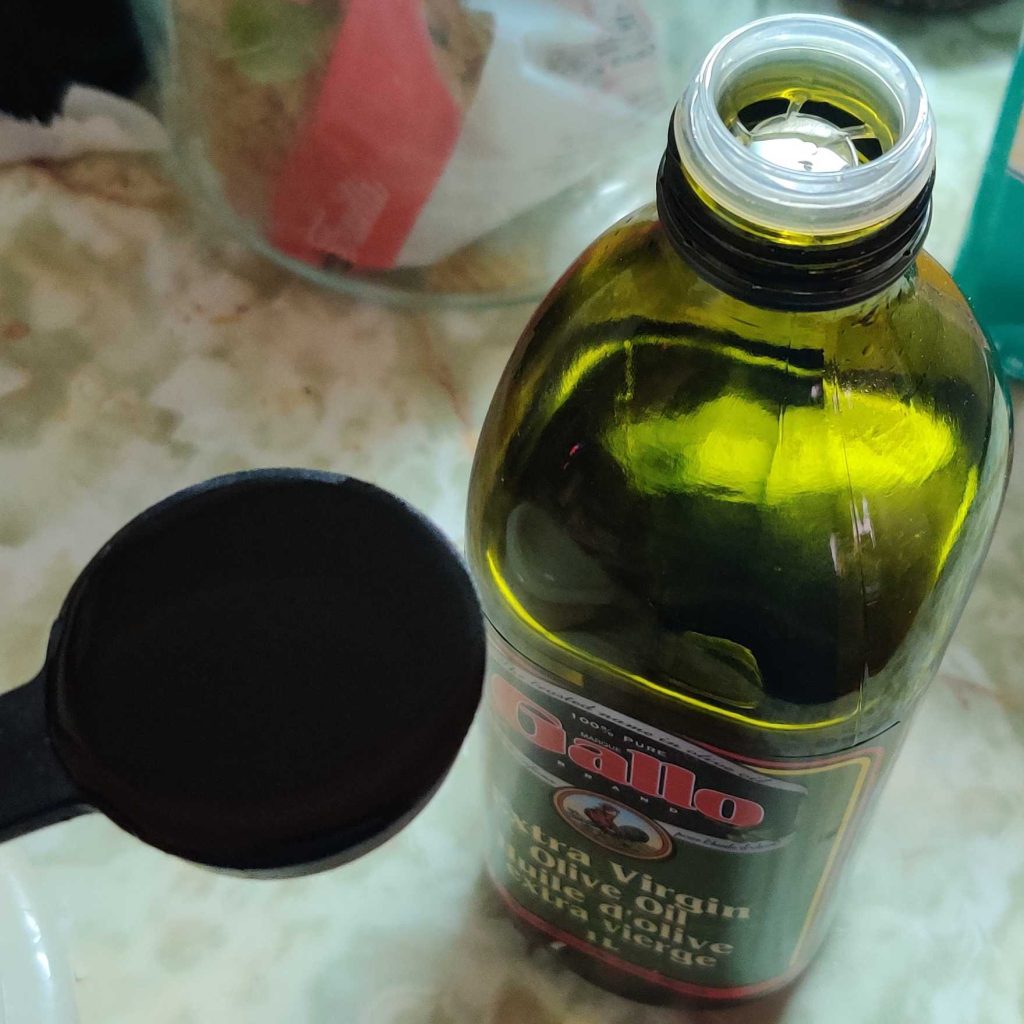
The bottle of olive oil was opened:

Olive oil bottle opened

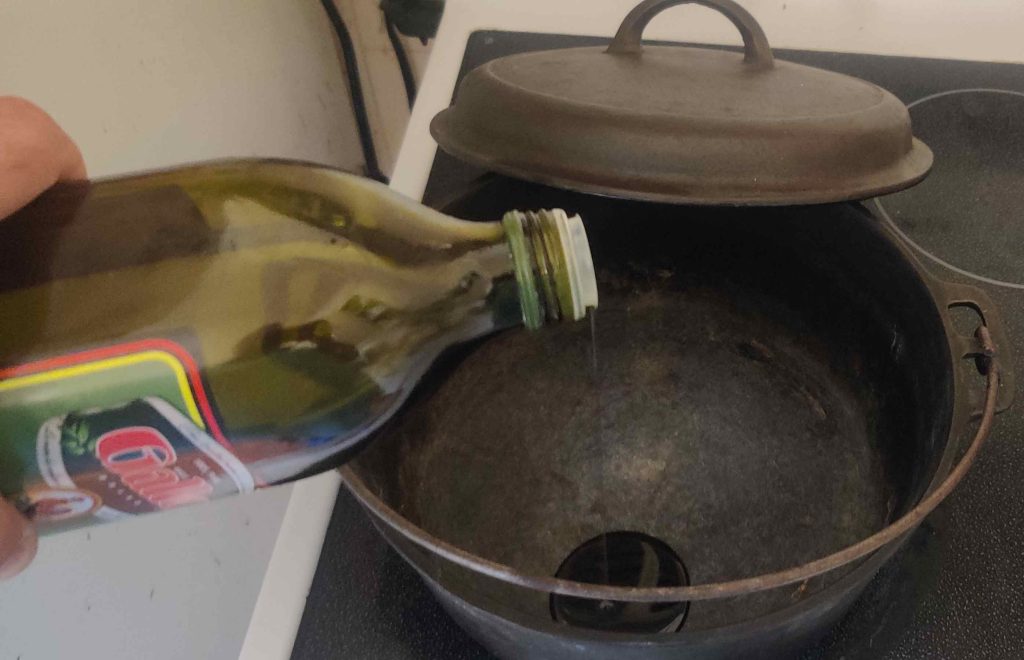
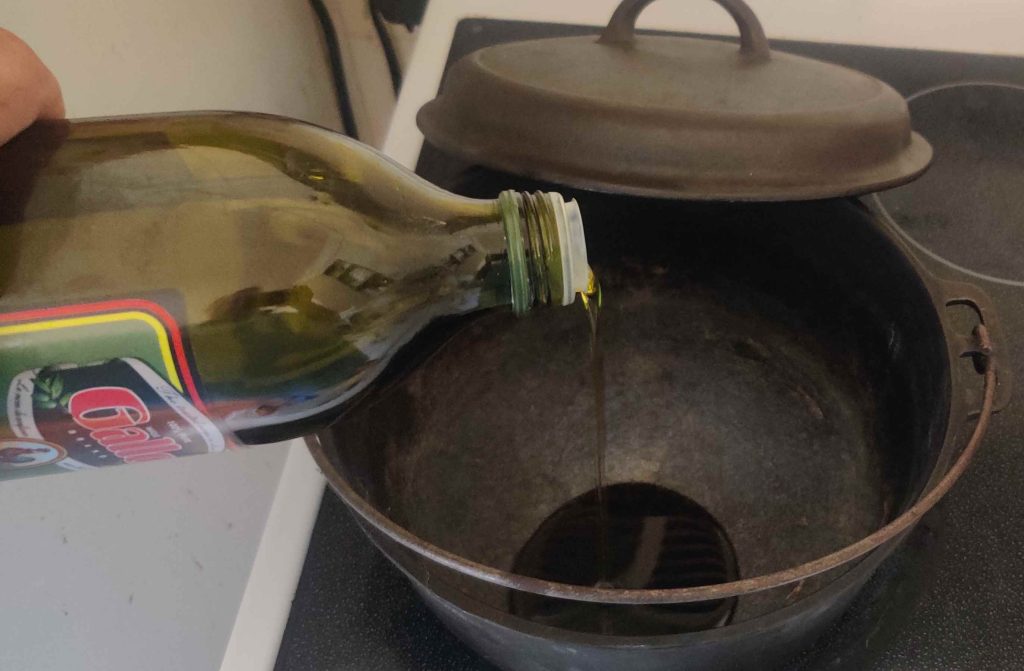
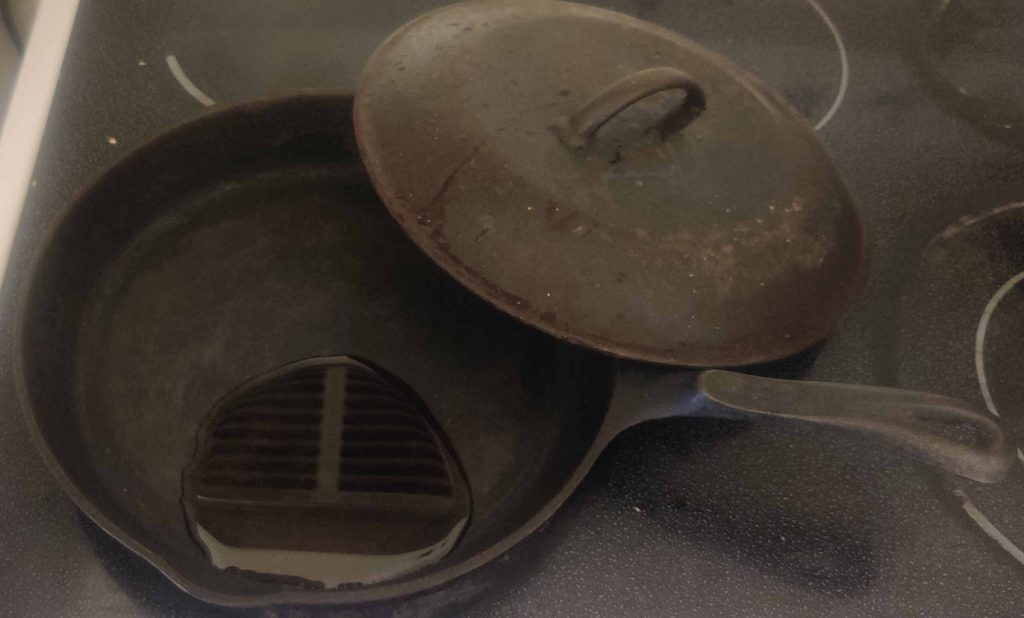
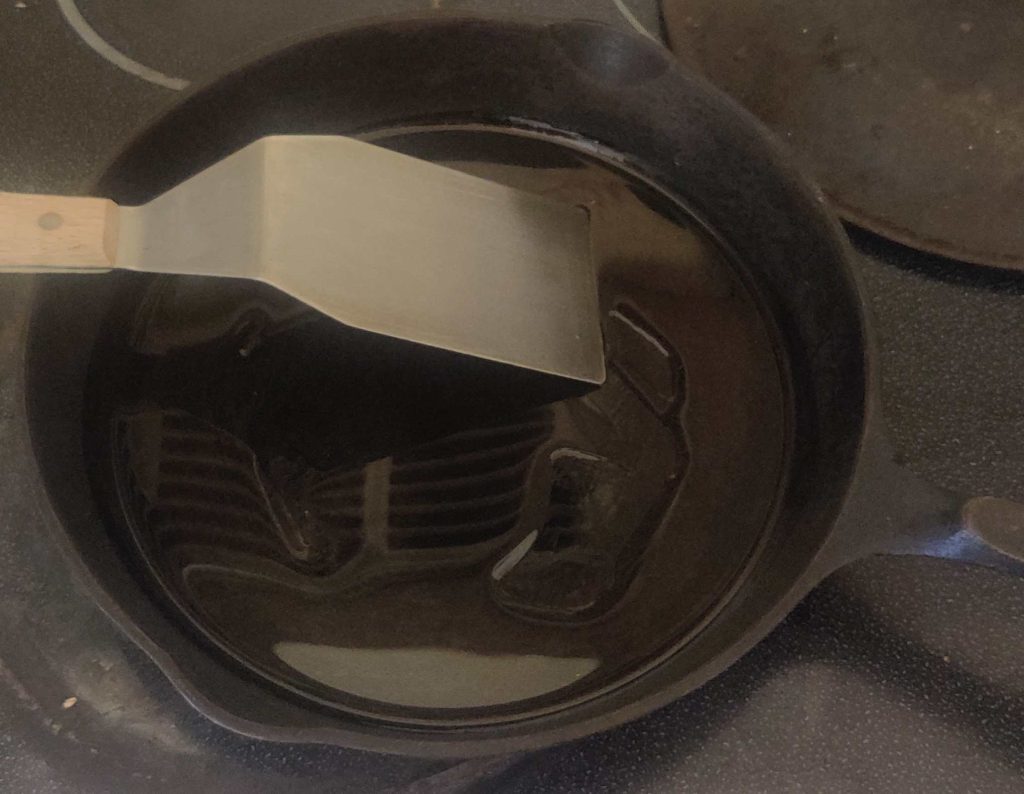
Olive oil was poured into the frying pan:

Olive oil poured into frying pan
Olive oil poured into frying pan — yes, you can see a reflection of the extraction fan above the stove in the oil!

A spatula / egg flipper was taken out:

Spatula / egg flipper taken out

The oil in the frying pan was spread around with the egg flipper:

Oil spread around pan

The oiled pan was put aside for a few moments.

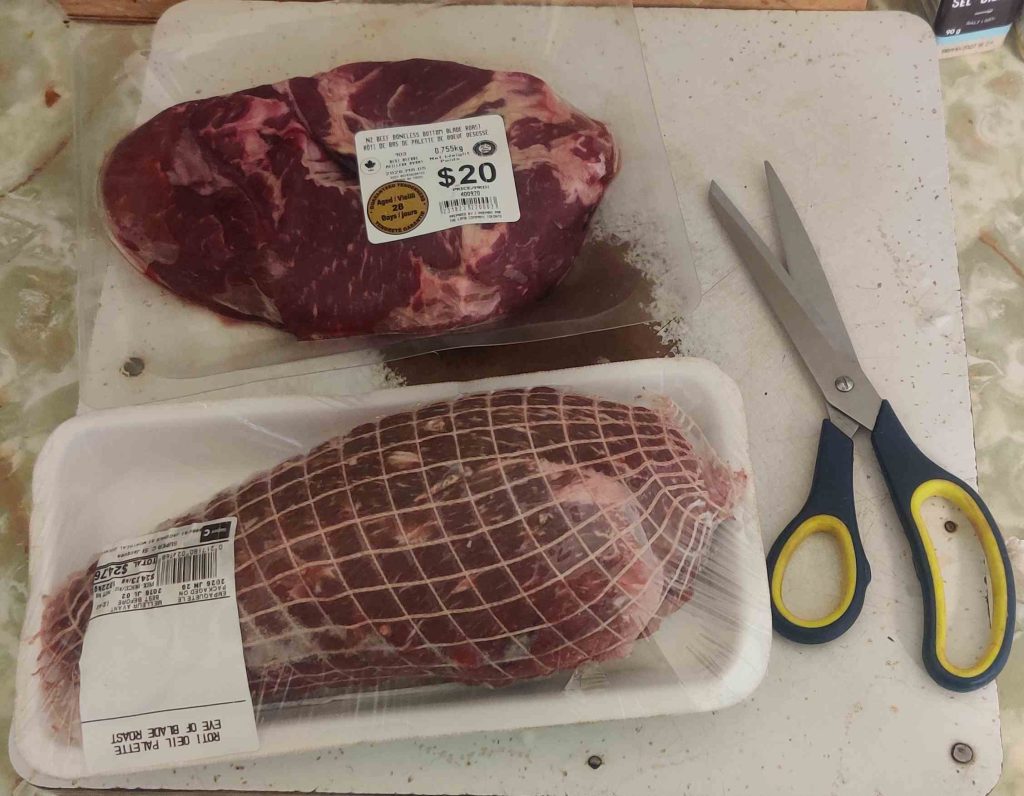
The defrosted pork roast was taken out of the refrigerator:

Pork roast taken out of refrigerator

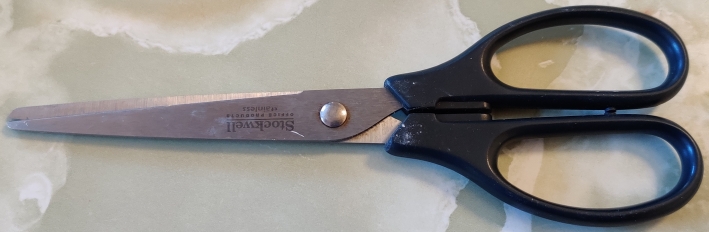
Scissors were taken out, to open the packaging:

Scissors taken out

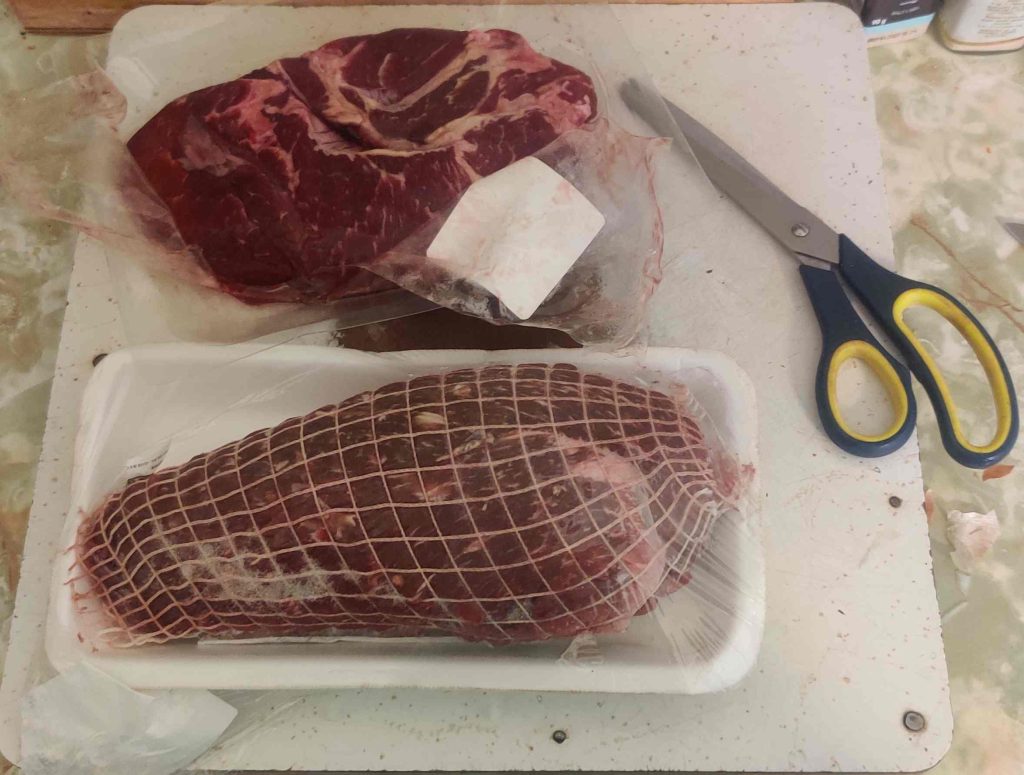
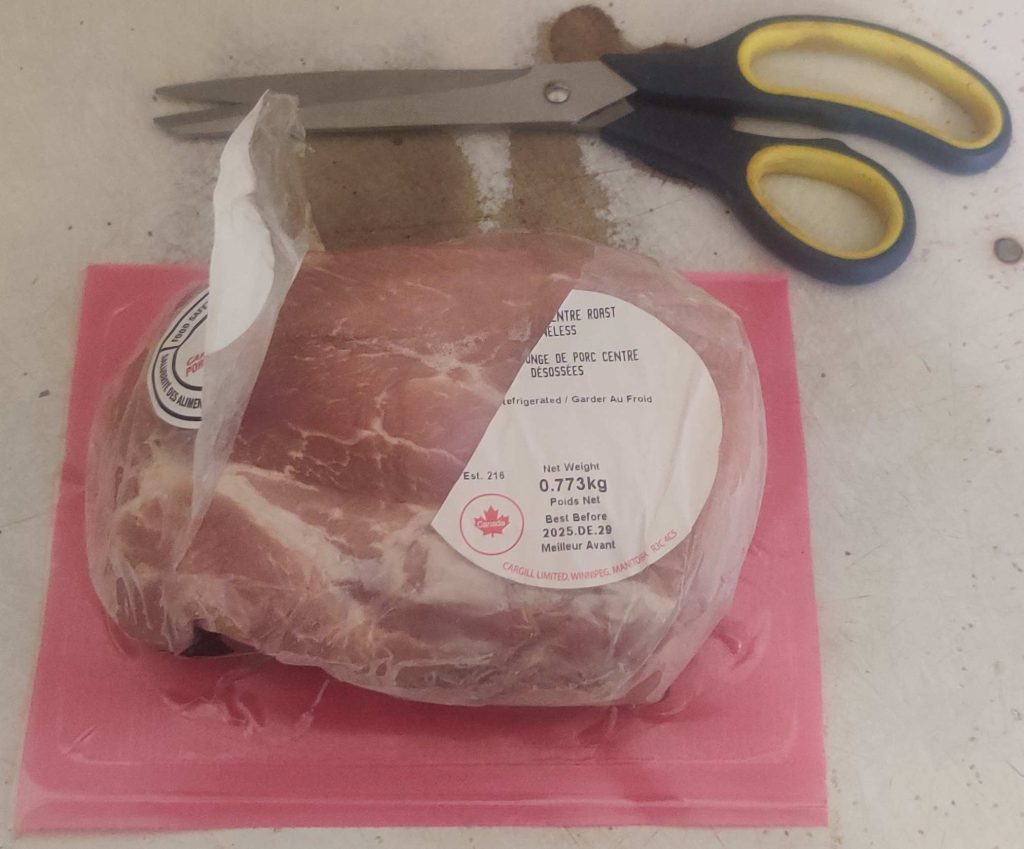
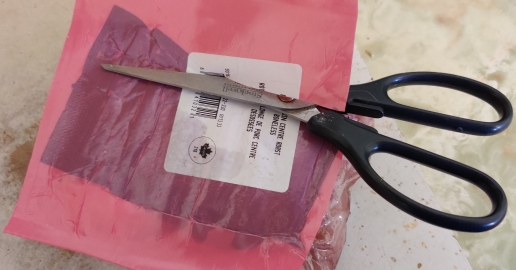
The packaging was opened up with the scissors:

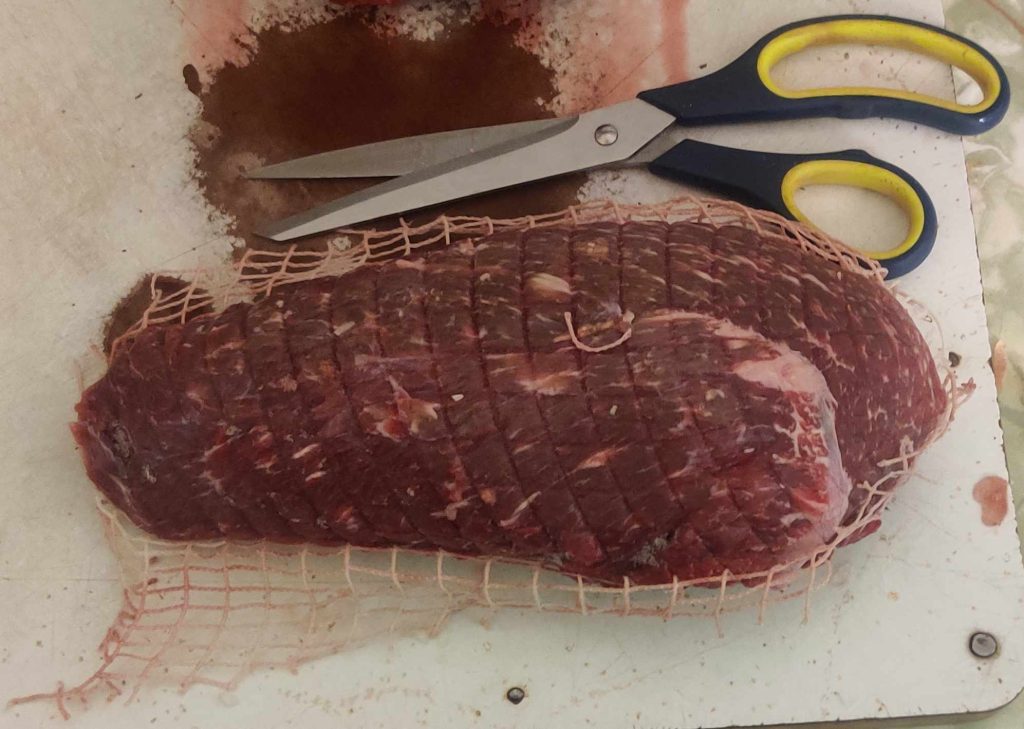
Packaging opened with scissors

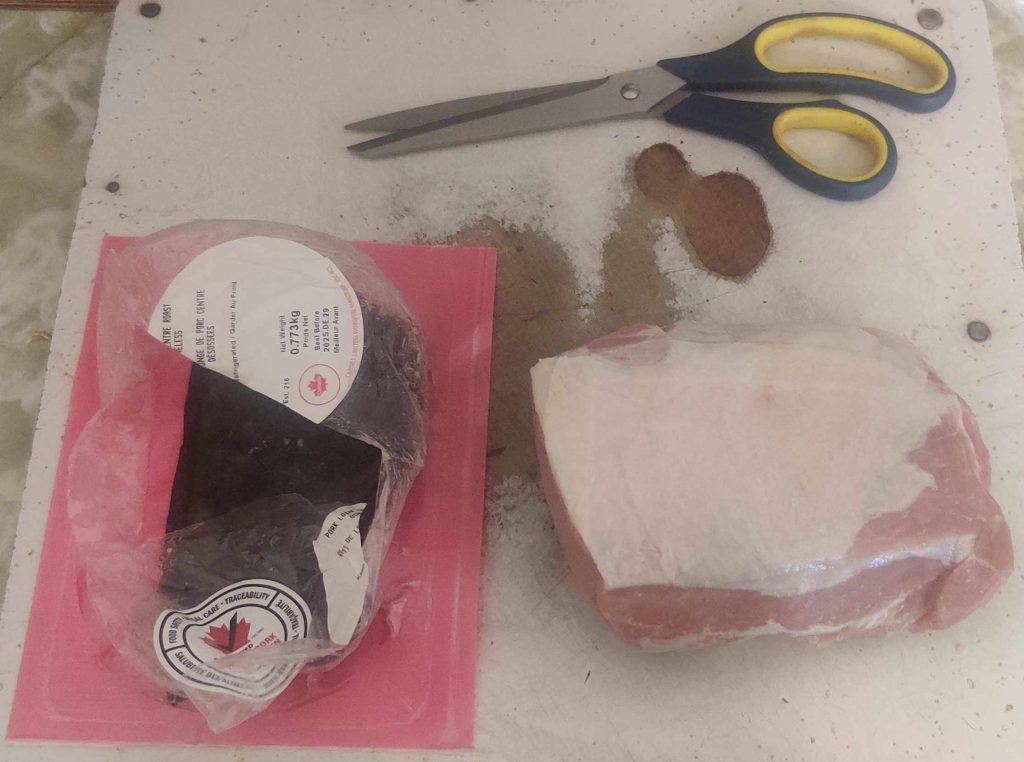
And the pork roast was removed from the packaging:

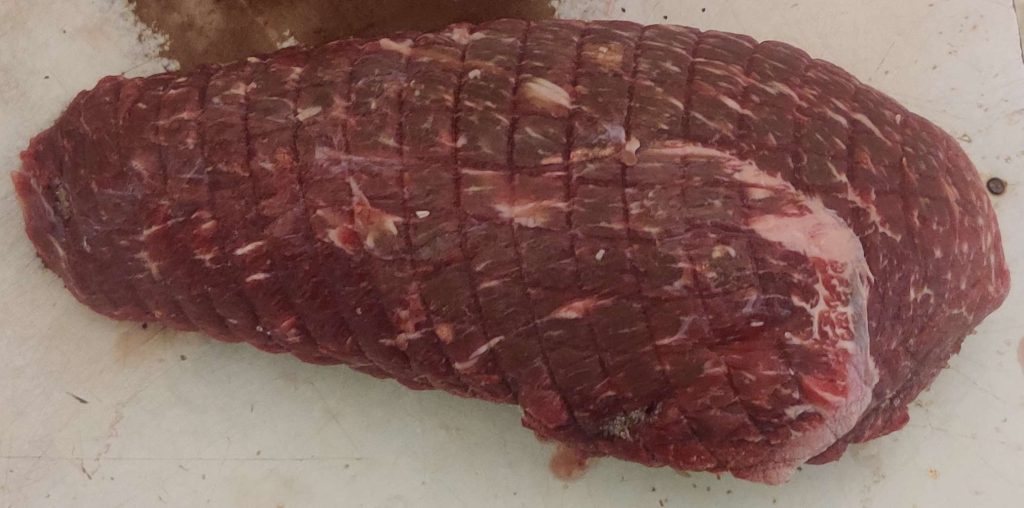
Pork roast removed from packaging

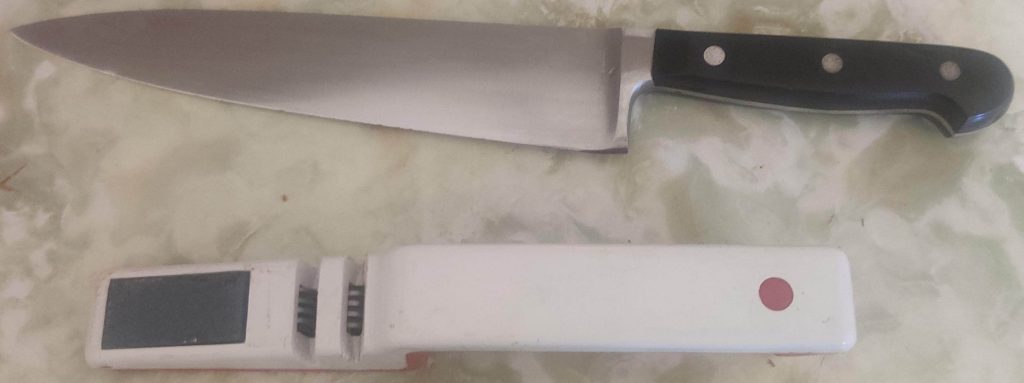
A kitchen knife and knife sharpener were taken out, and the knife was sharpened:

Kitchen knife and knife sharpener taken out

The sharpened knife was brought over to the pork roast:

Kitchen knife brought to pork roast

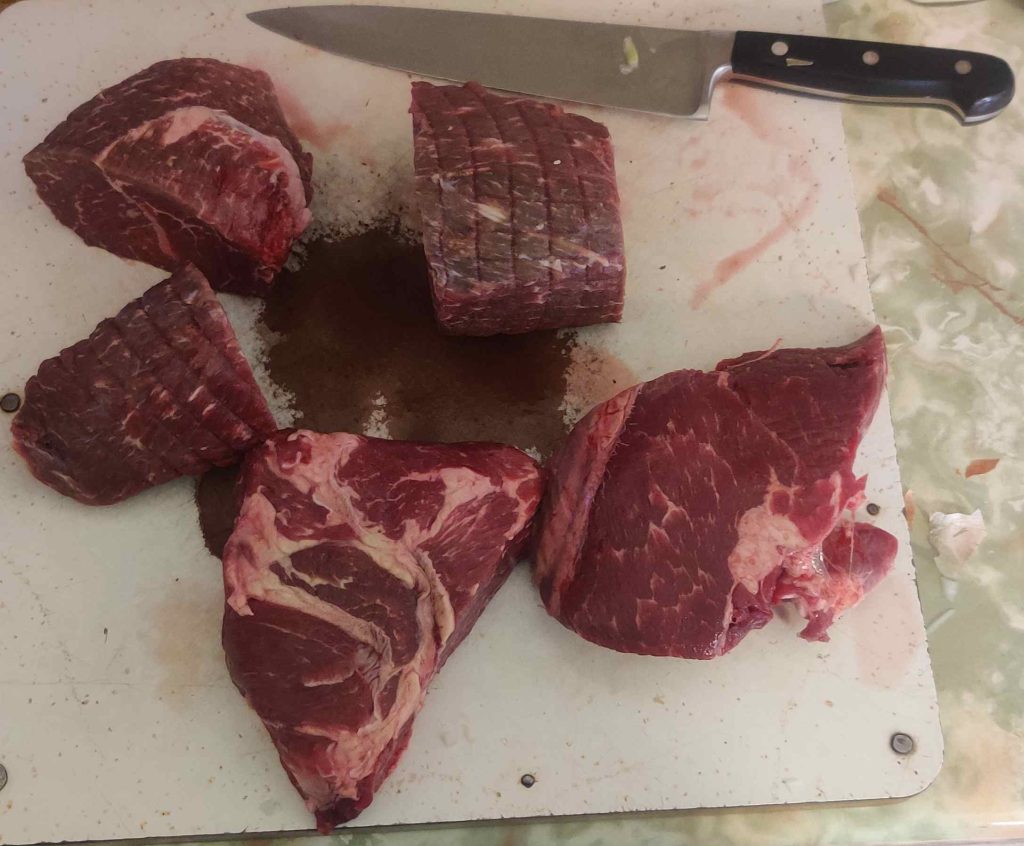
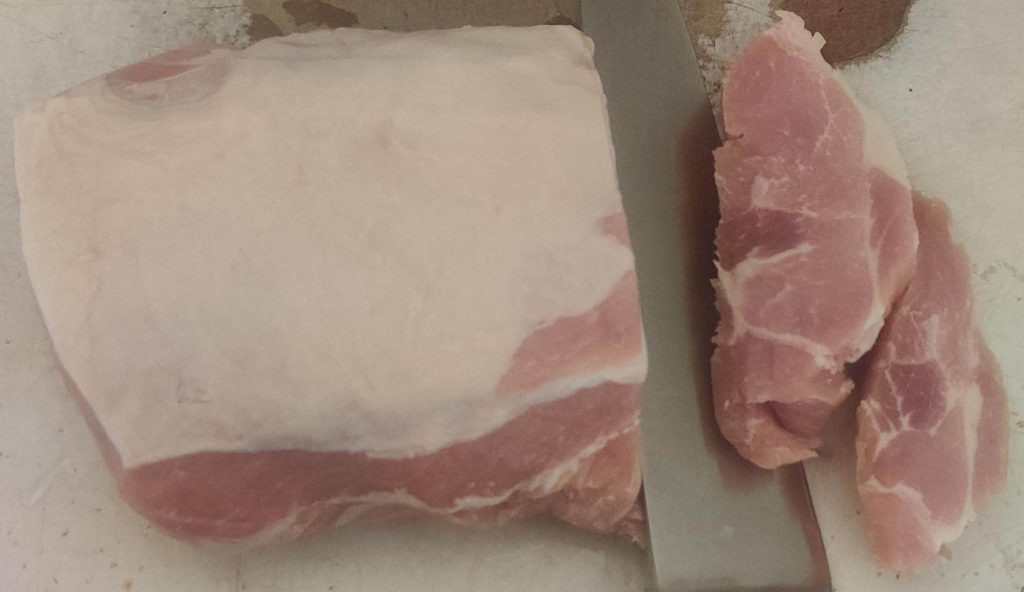
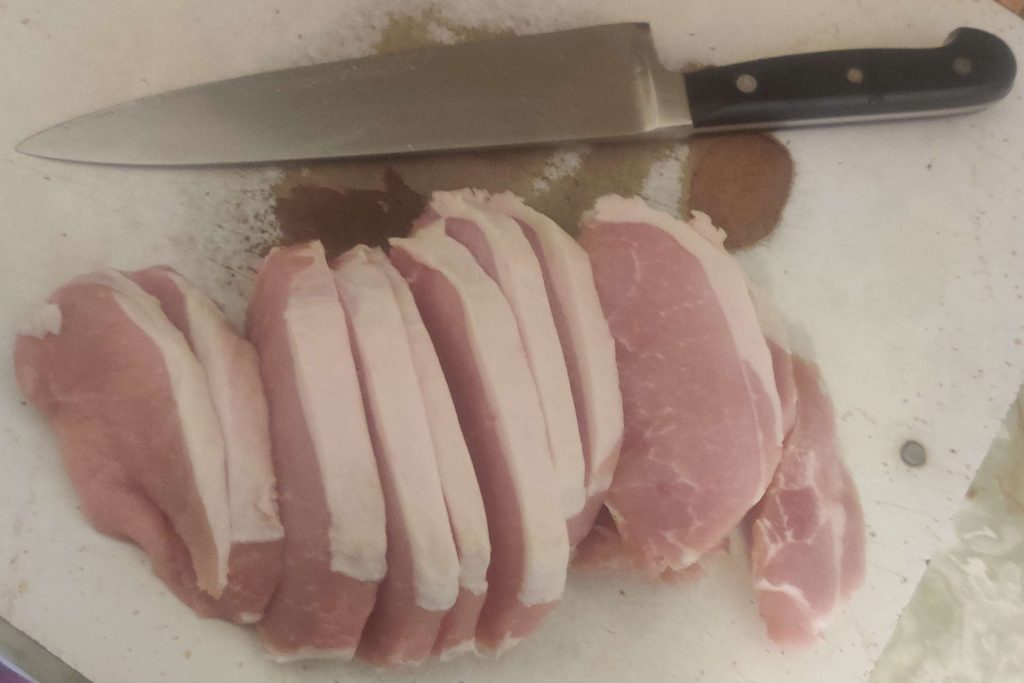
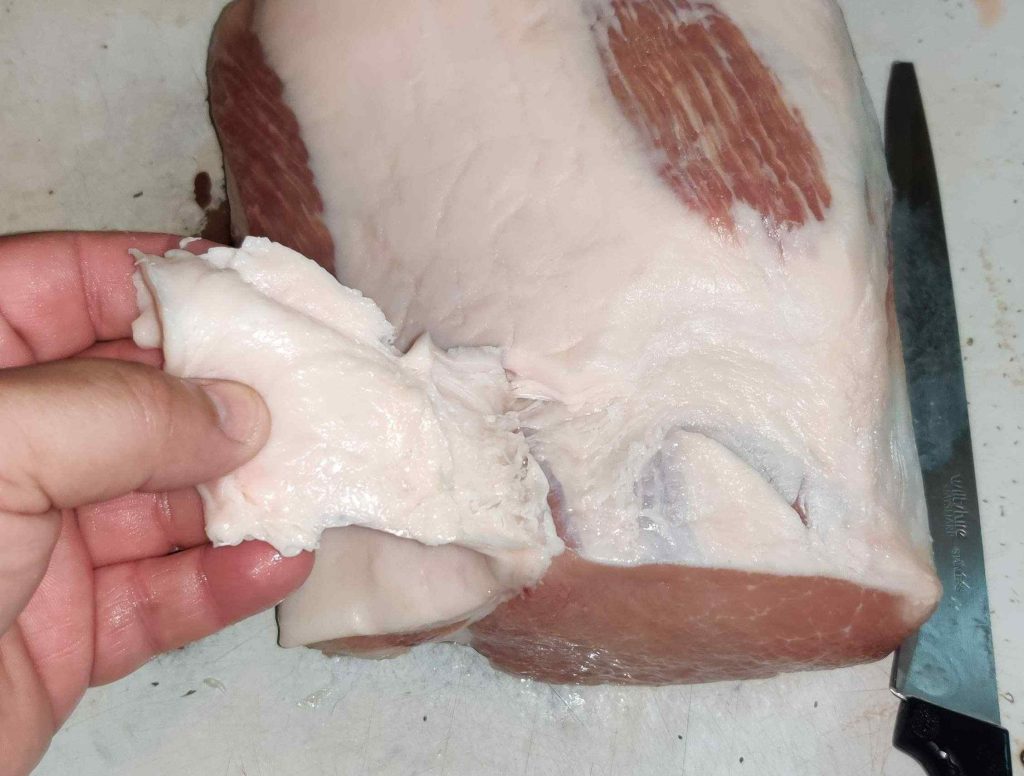
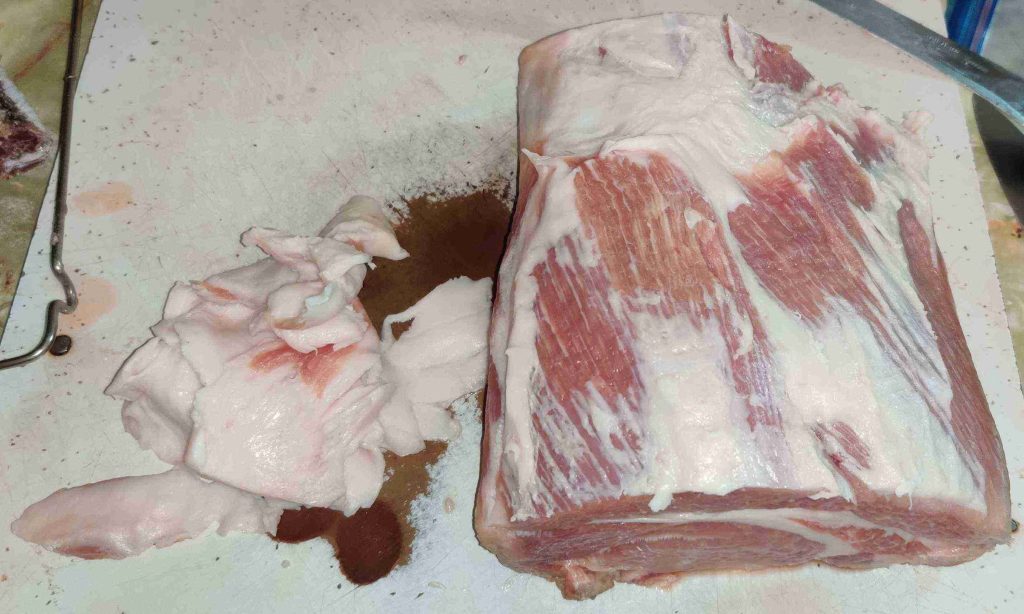
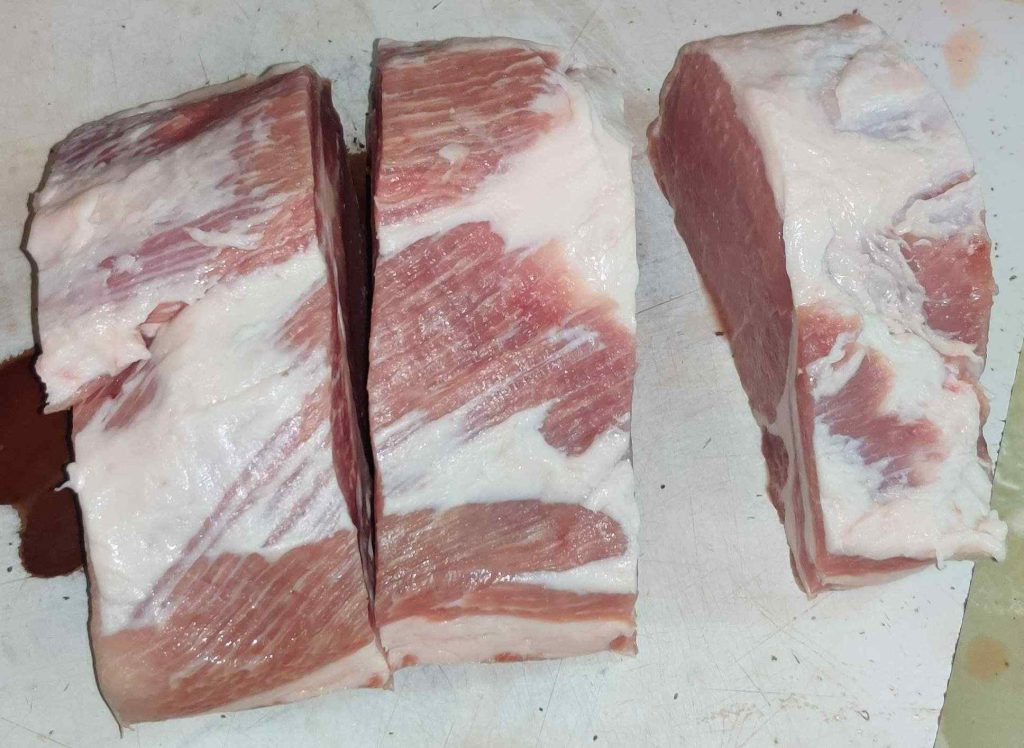
The pork roast was sliced into pork chops:

Pork roast sliced
Pork roast sliced

Note that I intentionally did not trim off the fat, since it will be integrated into the custards later.

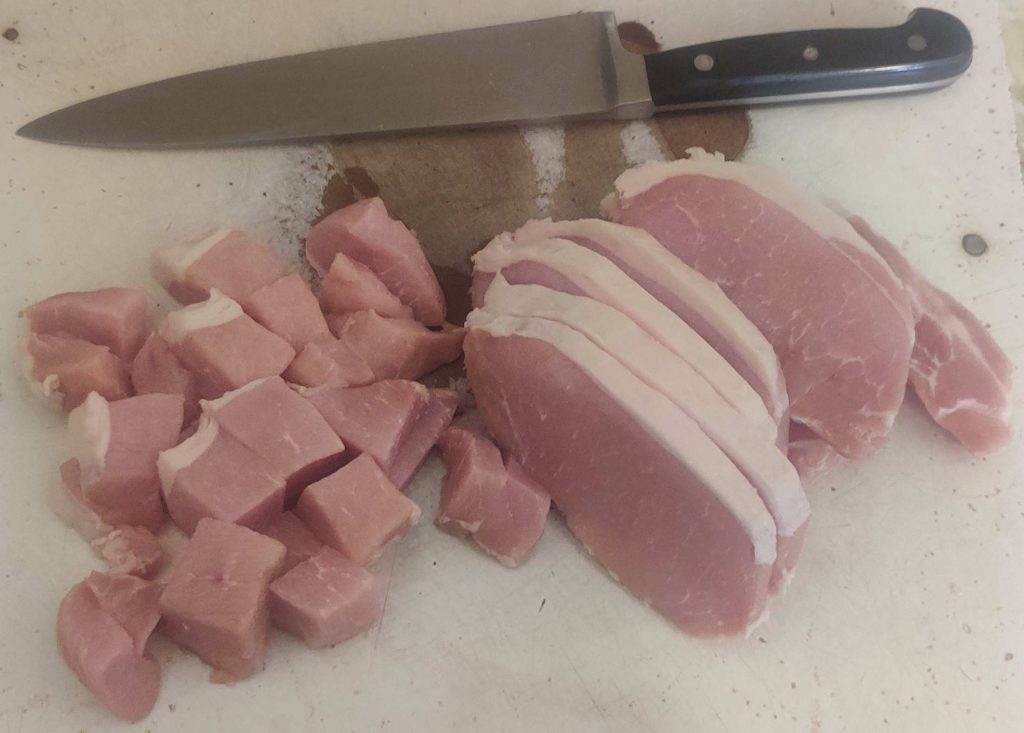
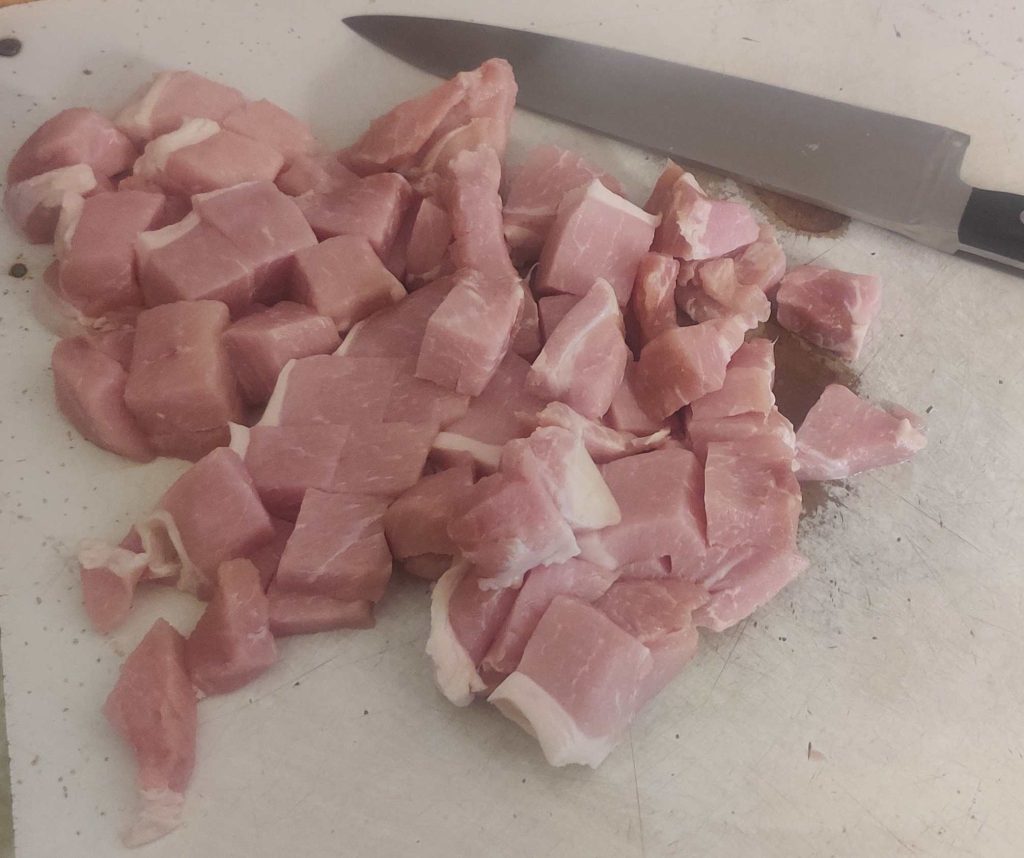
The pork slices were then cut into cubes:

Pork slices cut into cubes

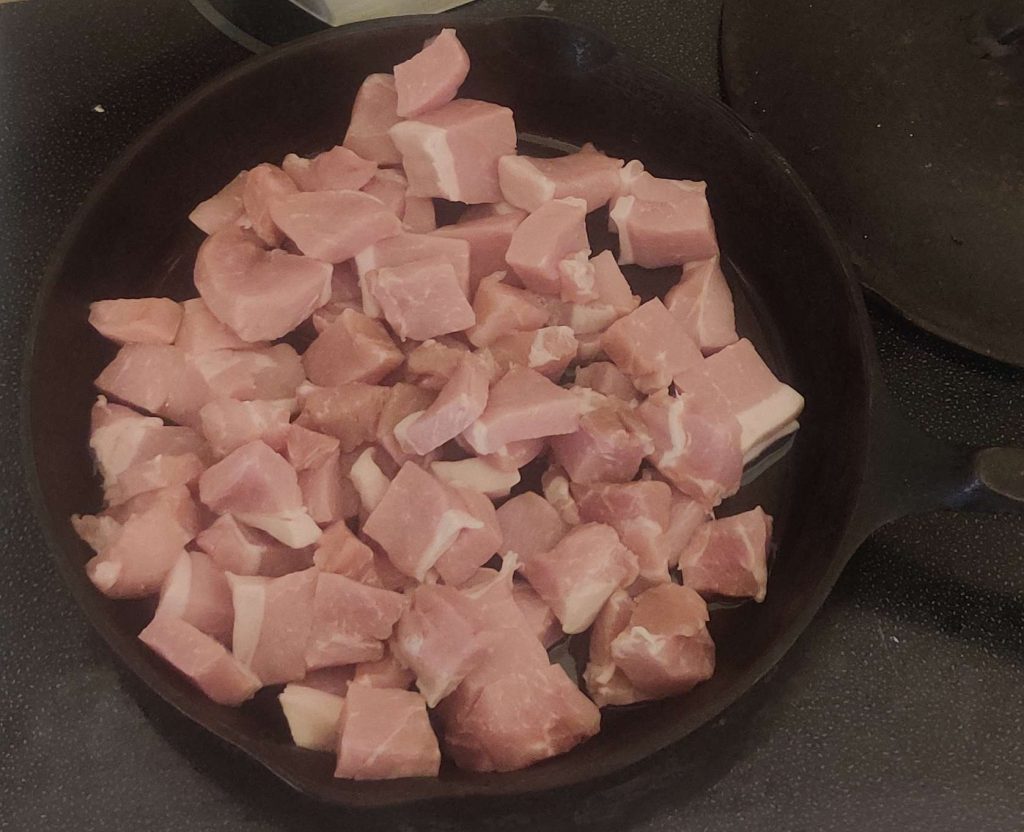
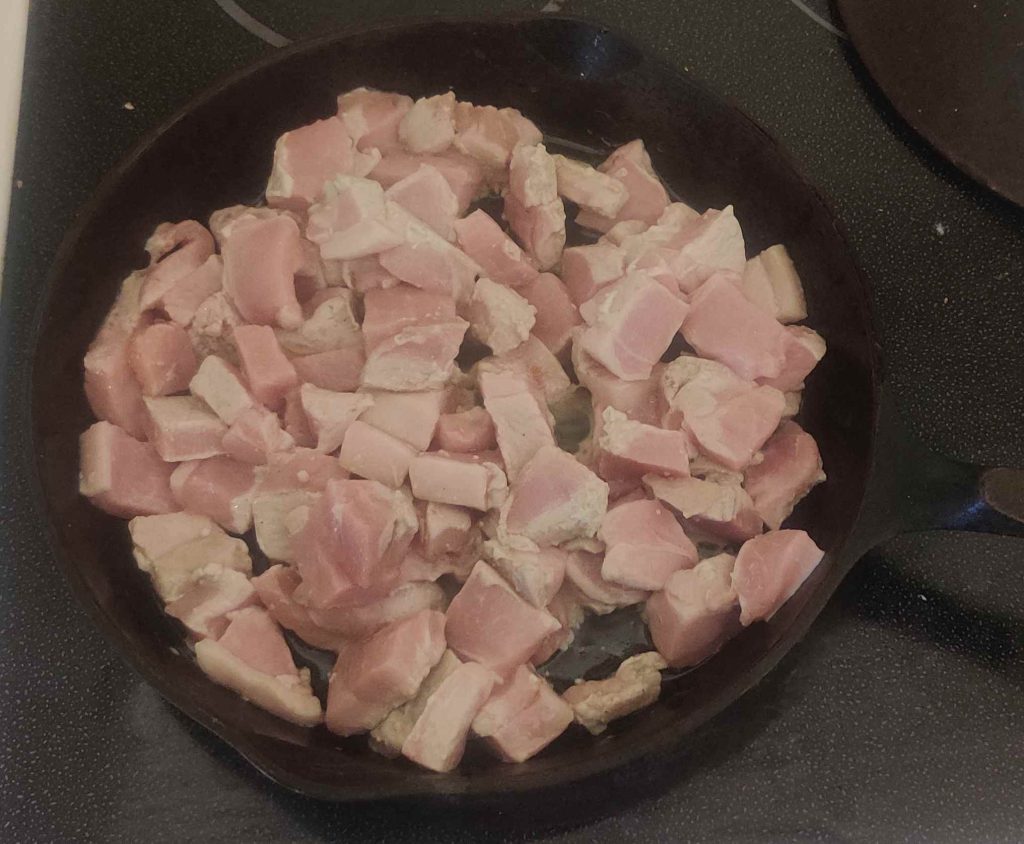
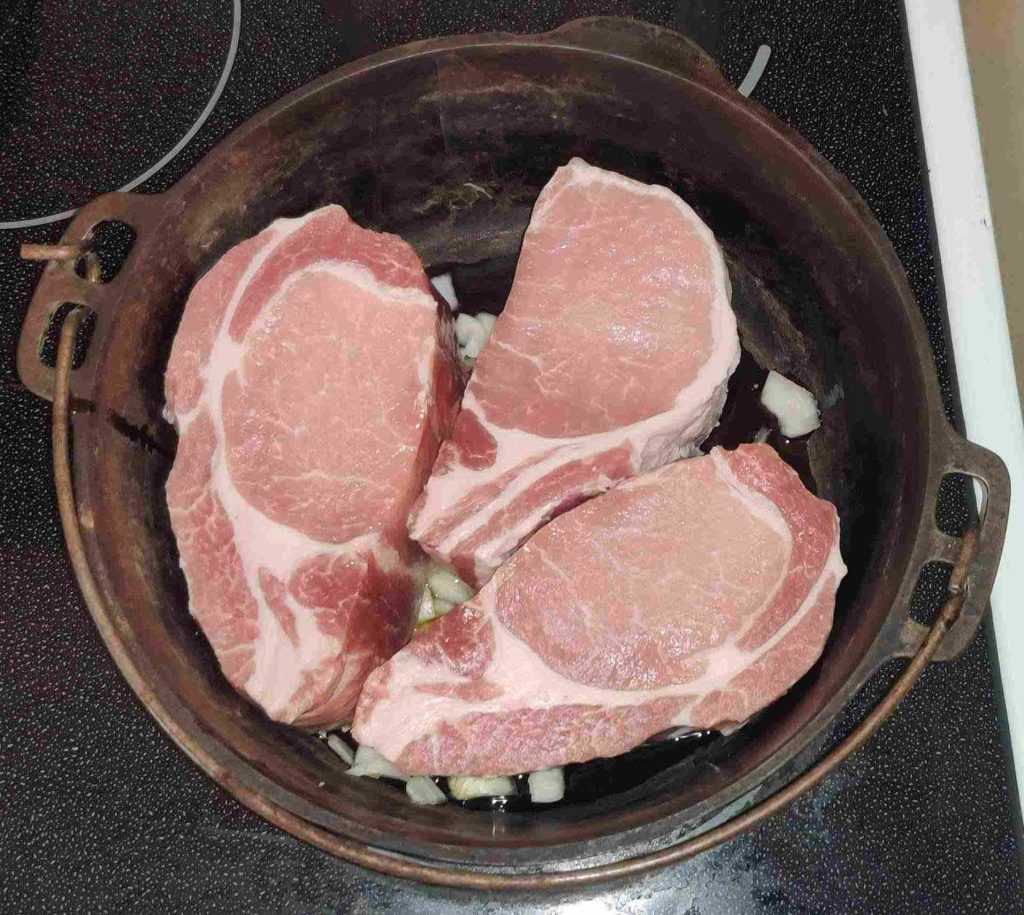
The pork cubes were transferred to the oiled pan:

Pork cubes transferred to oiled pan

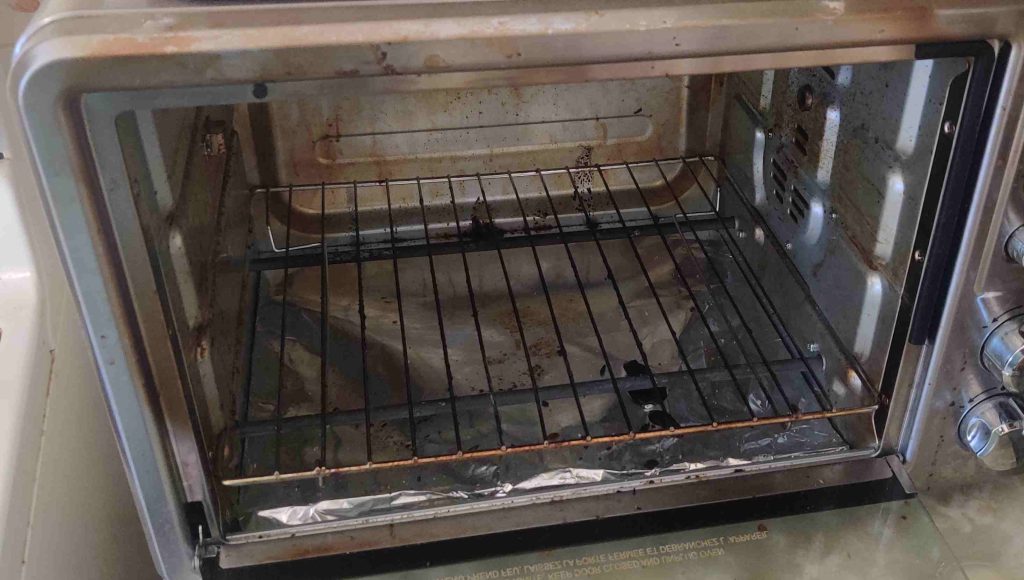
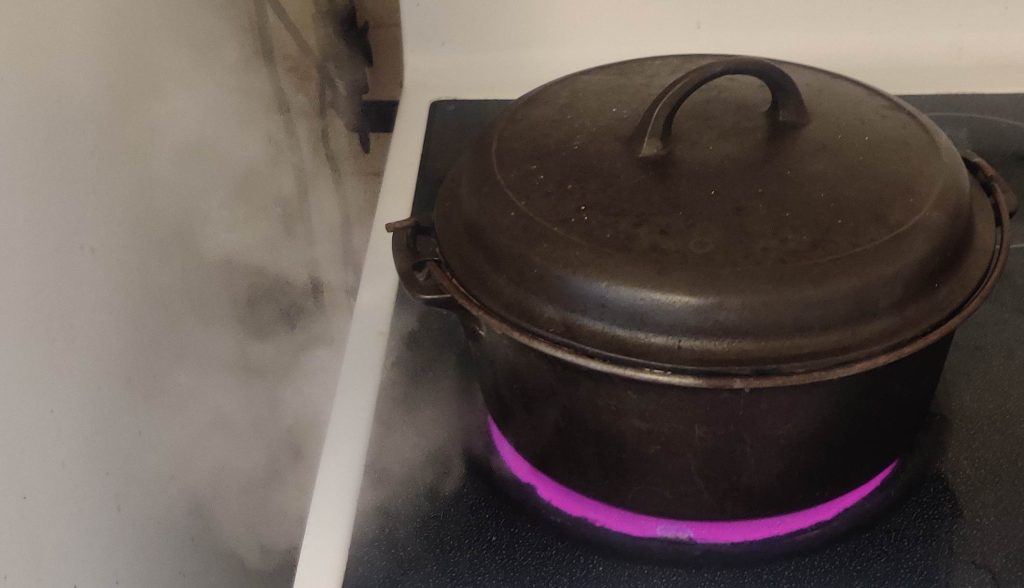
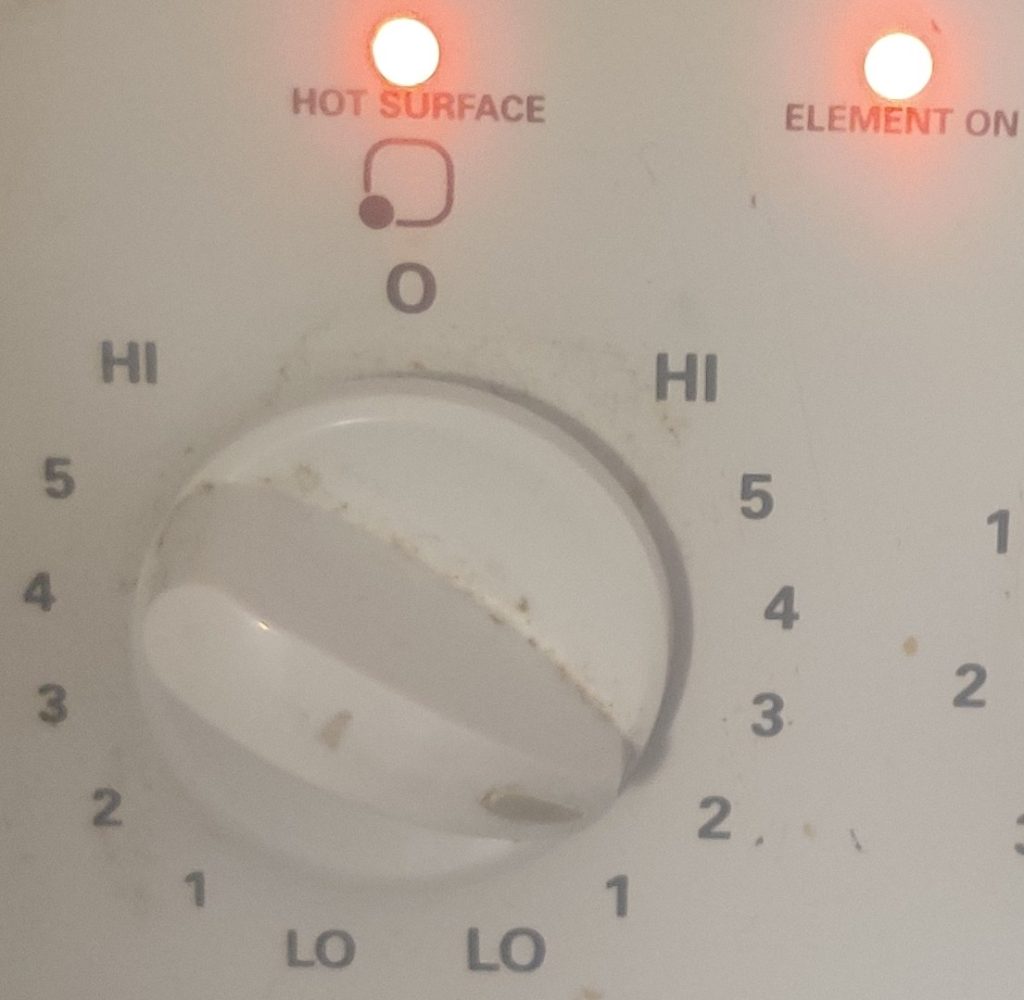
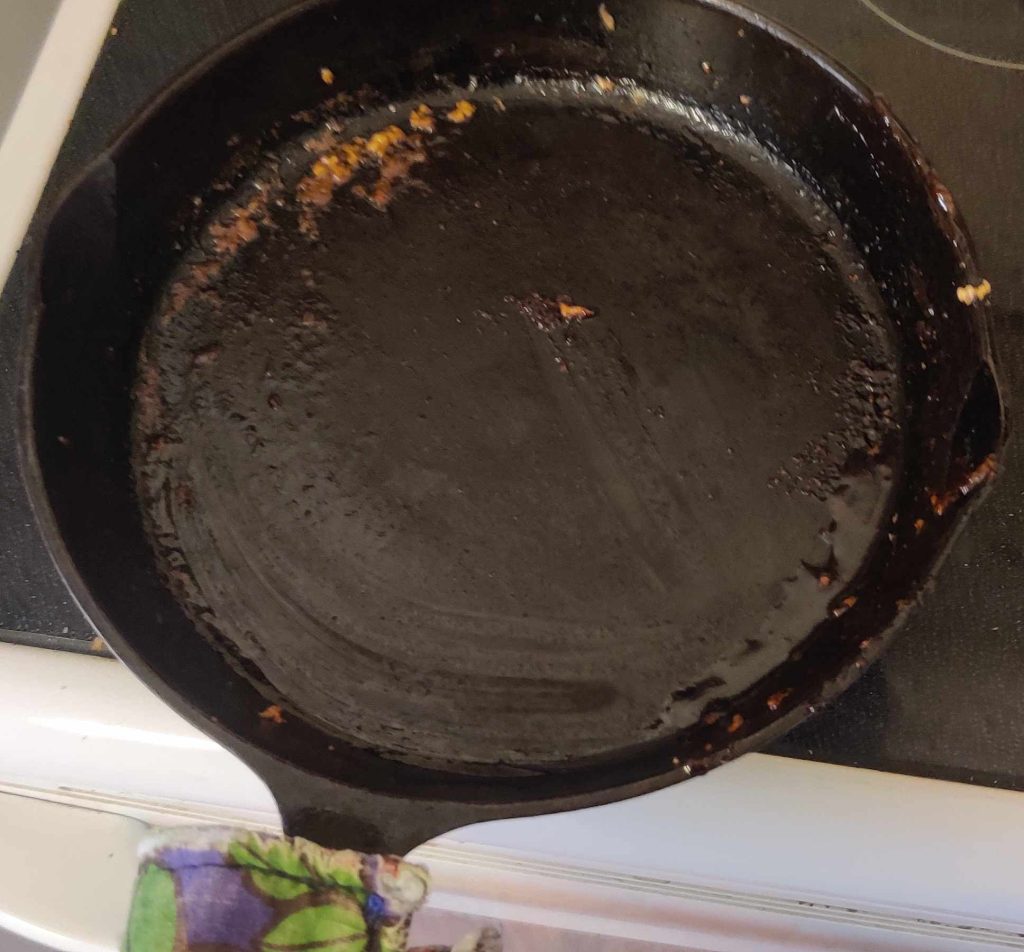
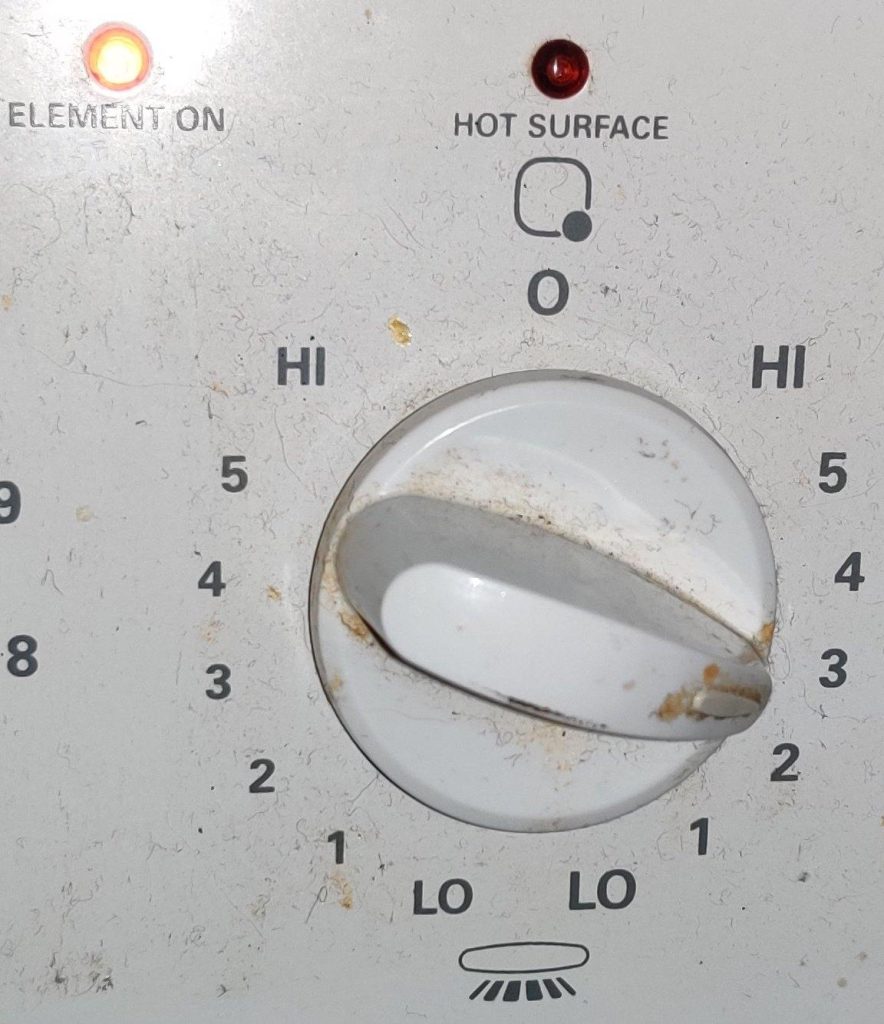
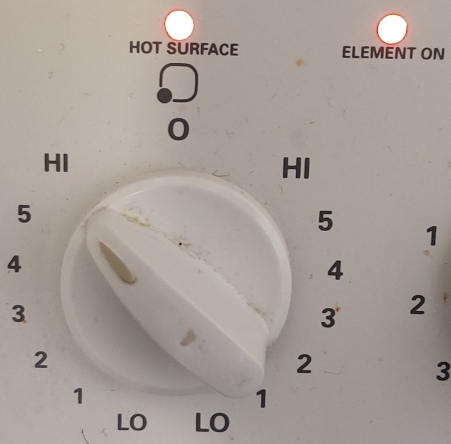
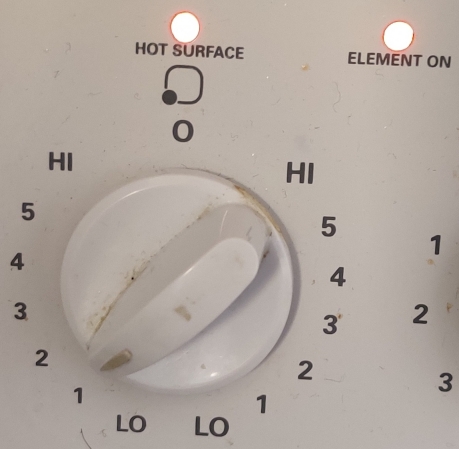
The stove burner was turned on to a low setting — and oh, my! the cleaning work I had done two weeks ago while making pulled pork was obviously inadequate! (And yes, during the mounting of this post, I started cleaning again!)

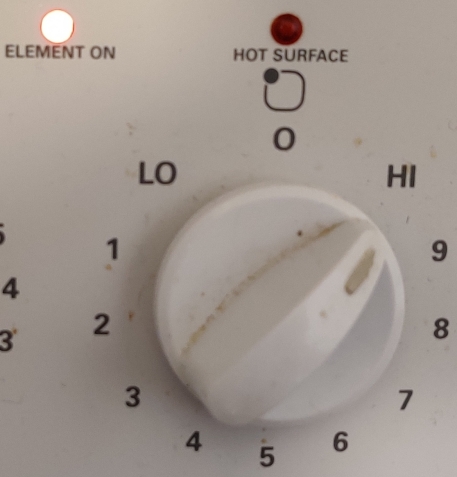
Stove turned on

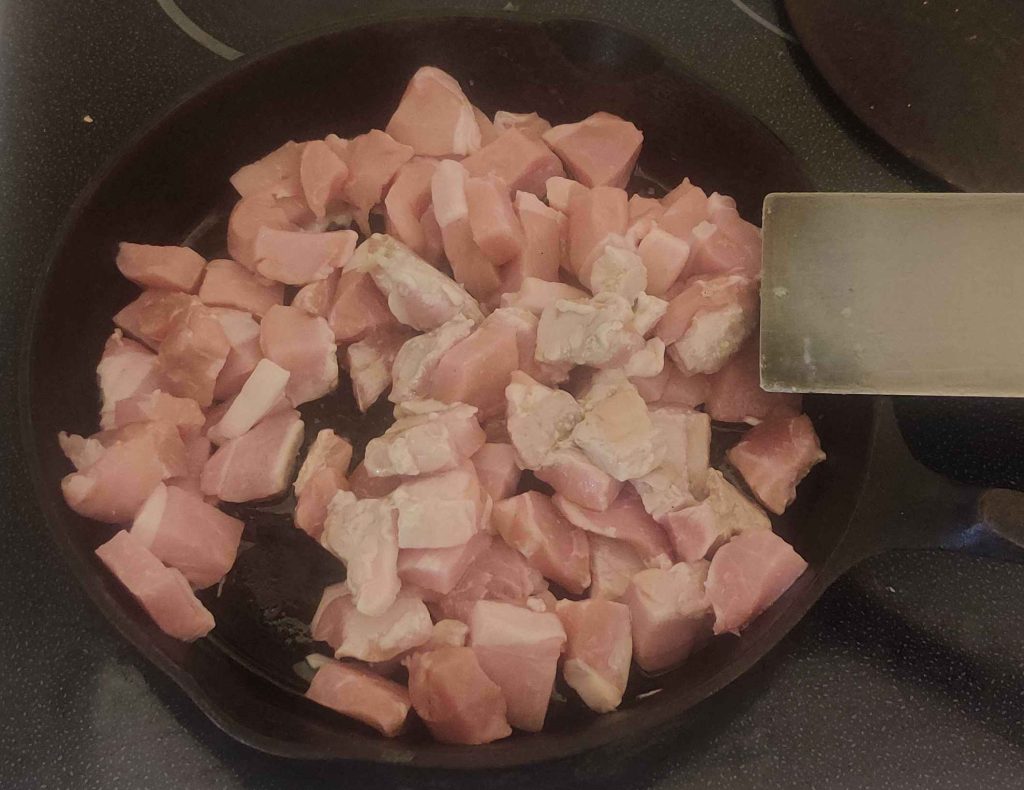
As the pork began to cook, I started turning it over:

Turning over cooking pork cubes
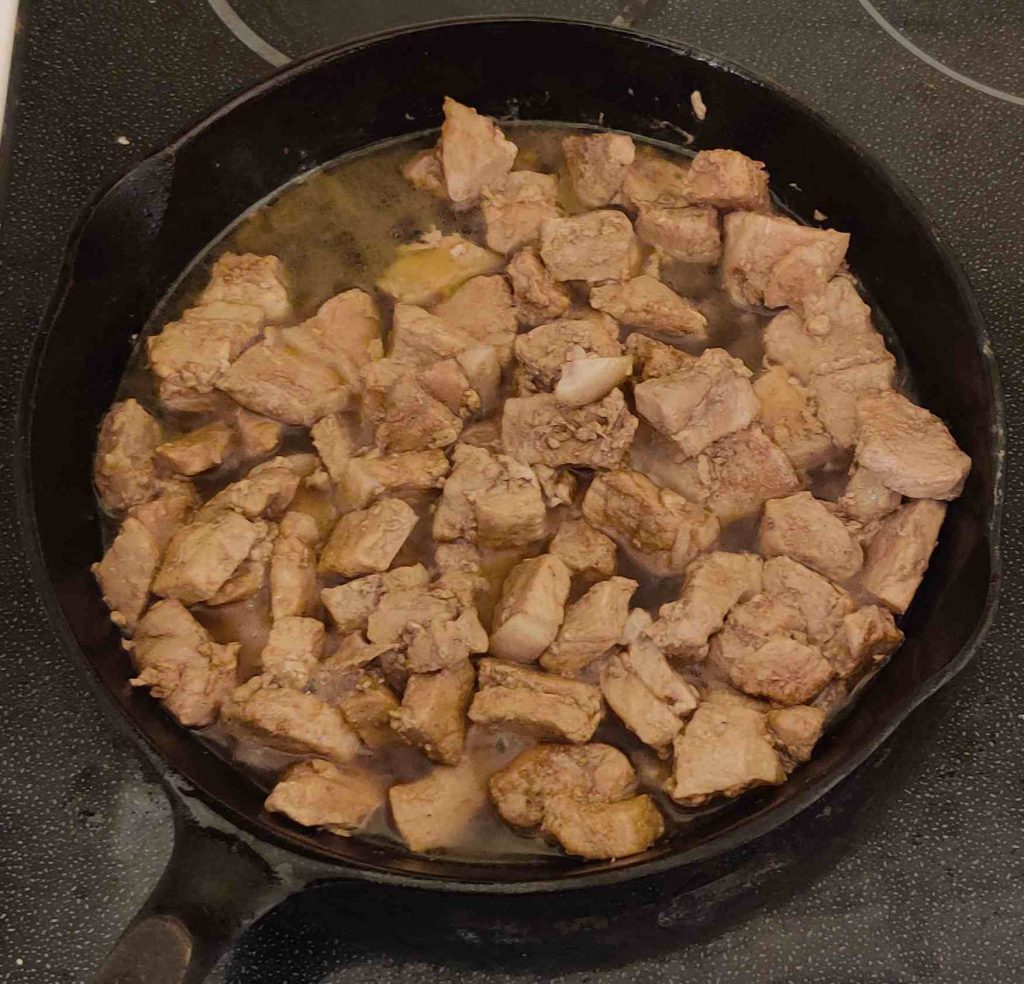
Pork cubes cooking

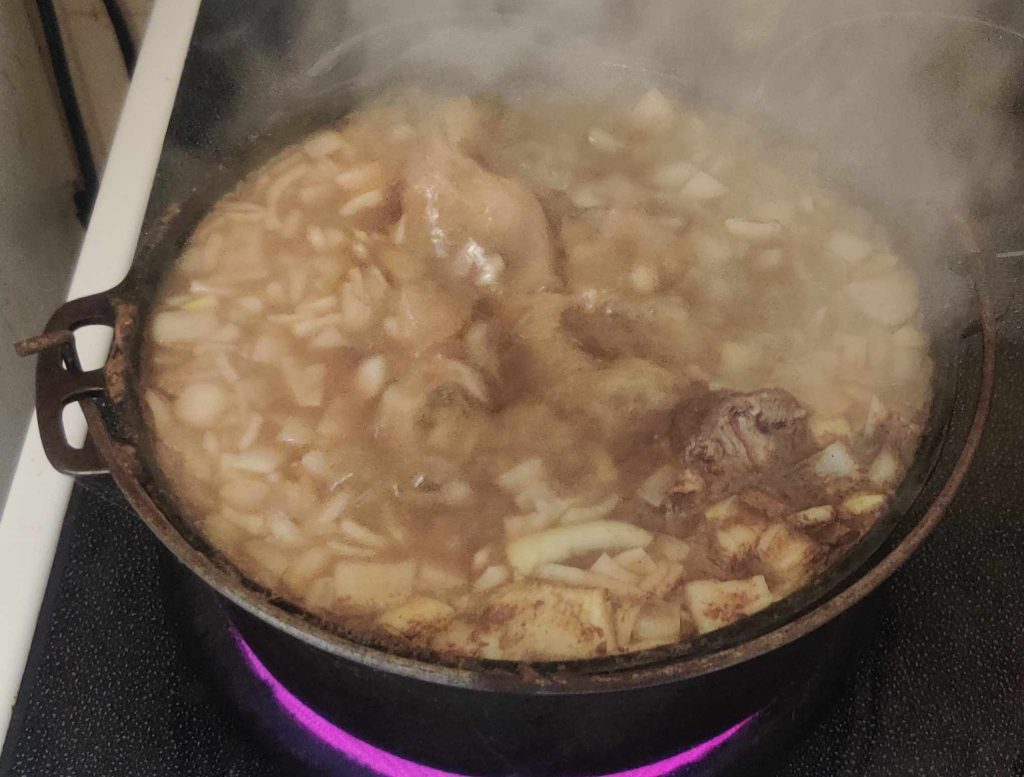
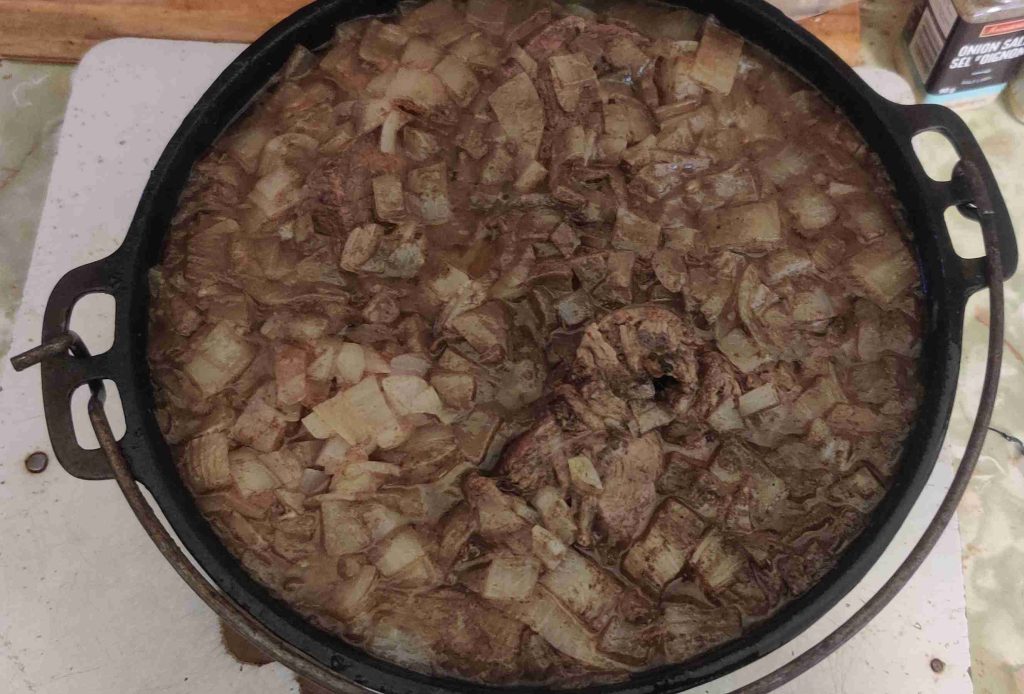
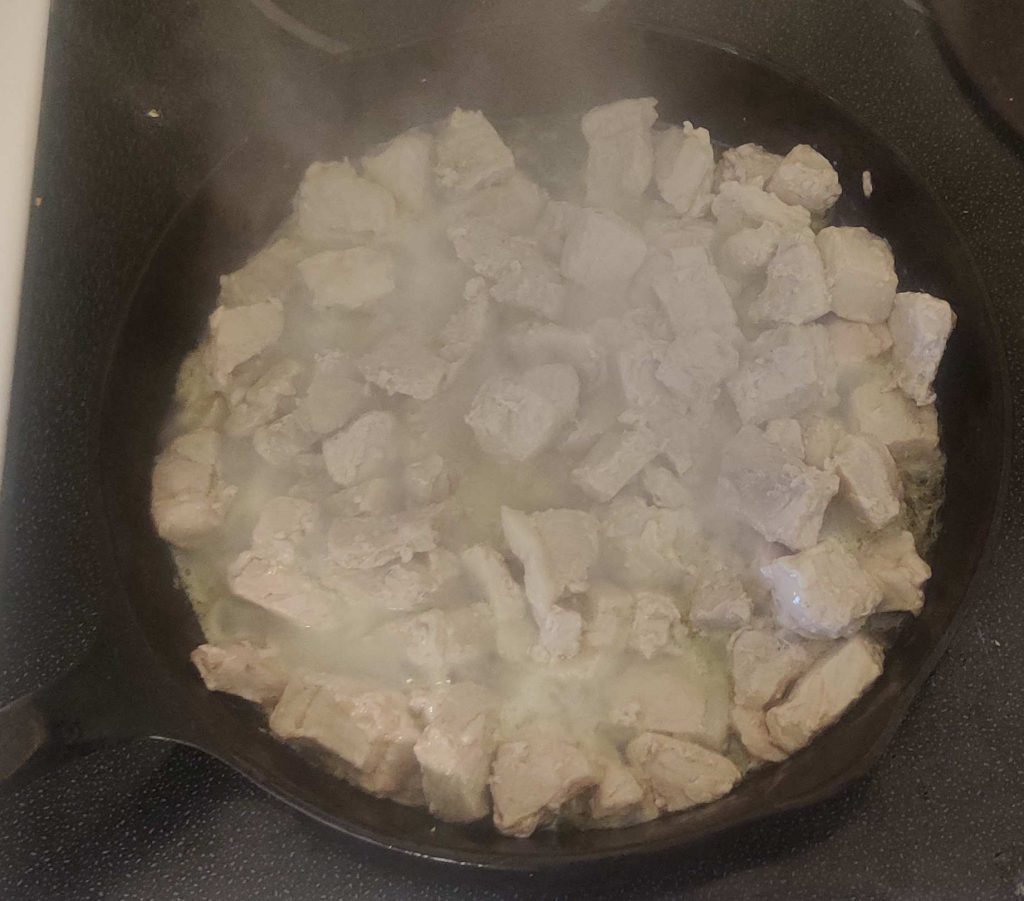
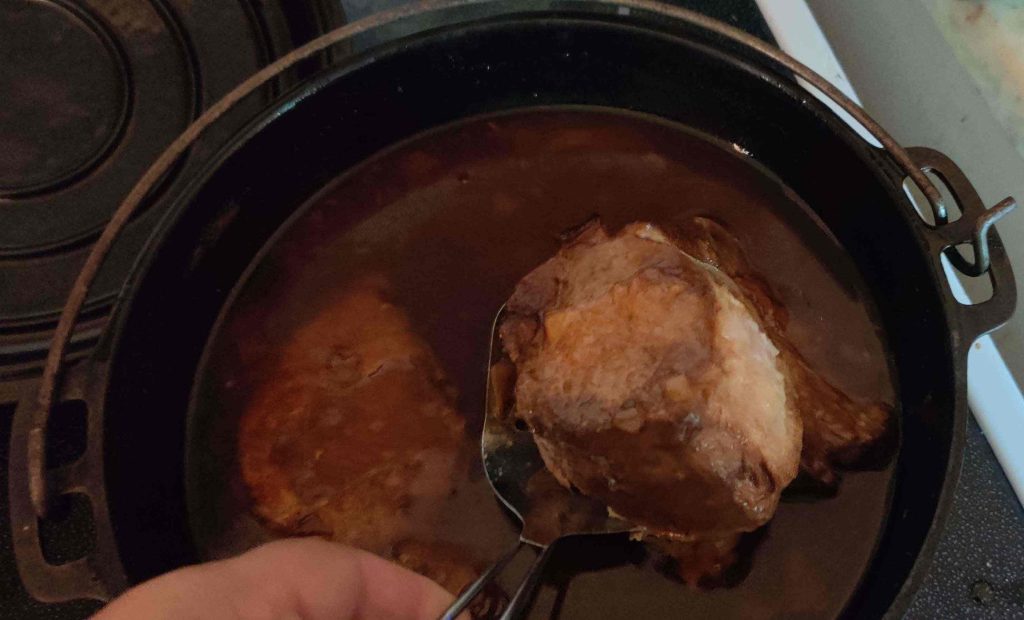
During the heating up process, a good amount of liquid was rendered — but, of course, not thrown out:

Pork cubes cooking, with rendered liquid

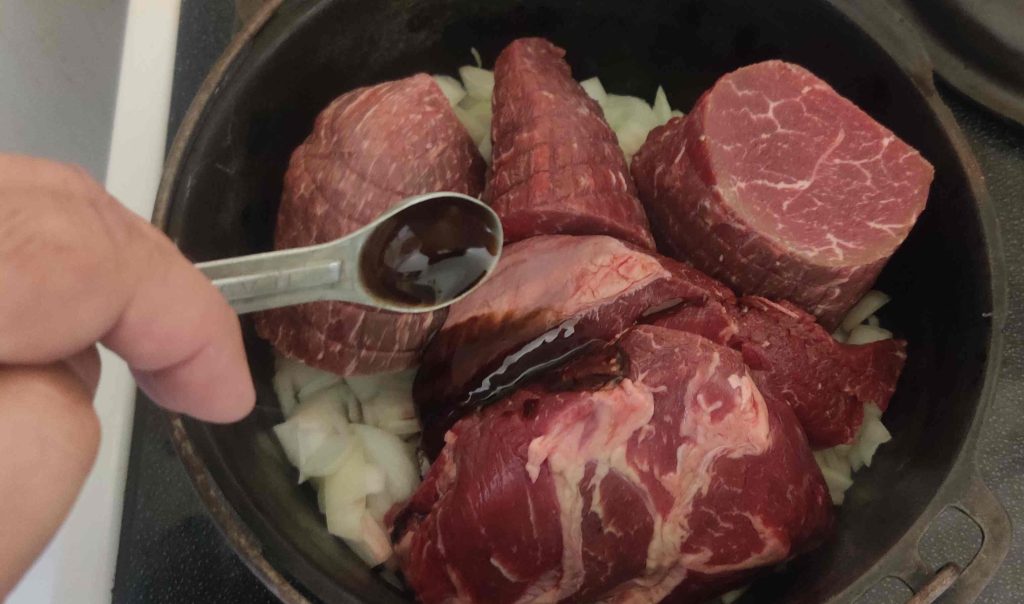
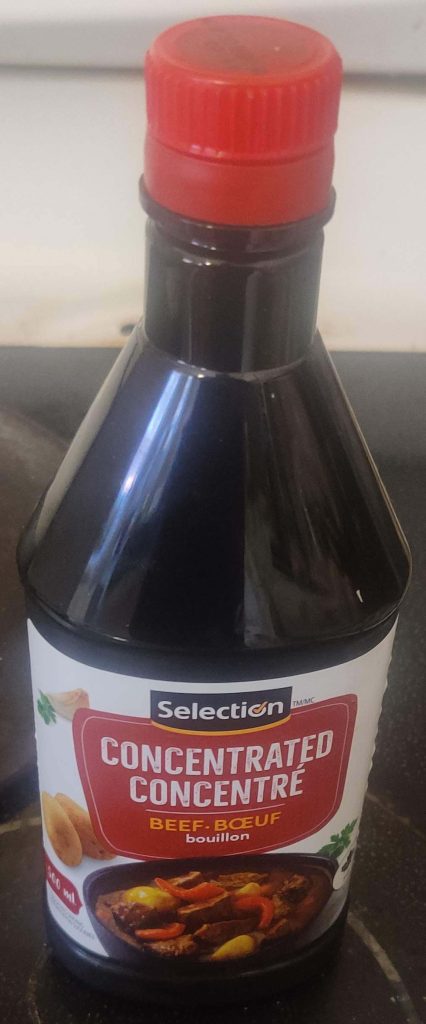
Broth concentrate was taken out, in this case, beef broth, instead of the vegetable broth suggested in the recipe, simply because that’s what I had on hand:

Broth concentrate taken out

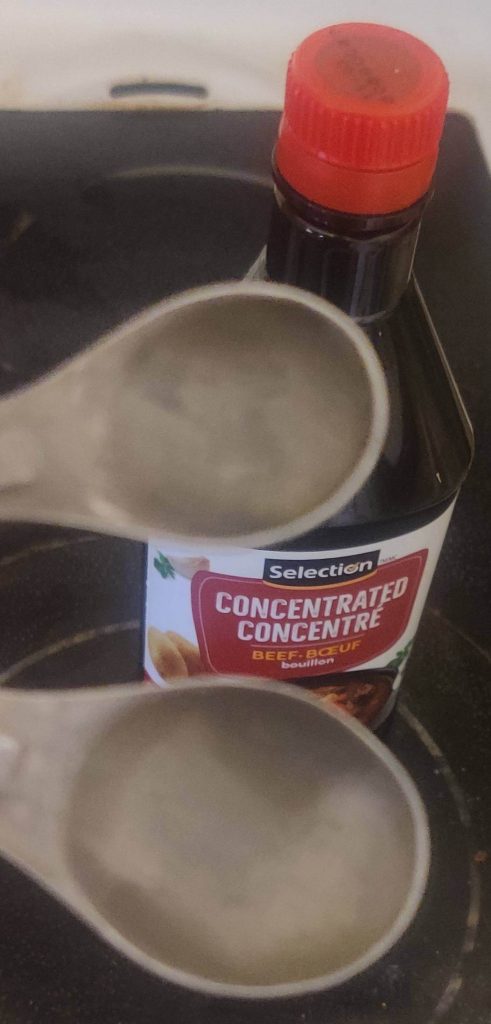
Measuring spoons were taken out:

Measuring spoons taken out

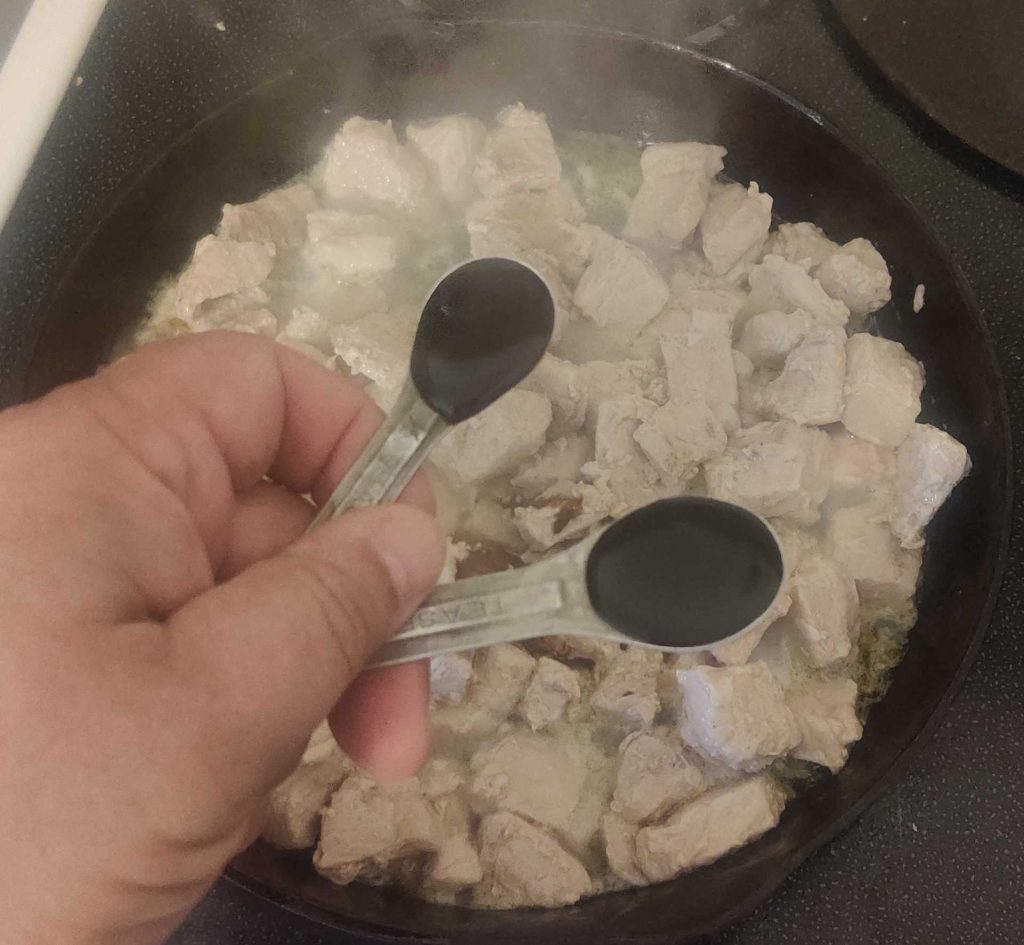
The broth concentrate was measured out, and transferred to the cooking pork:

Concentrated broth measured out and brought to cooking pork

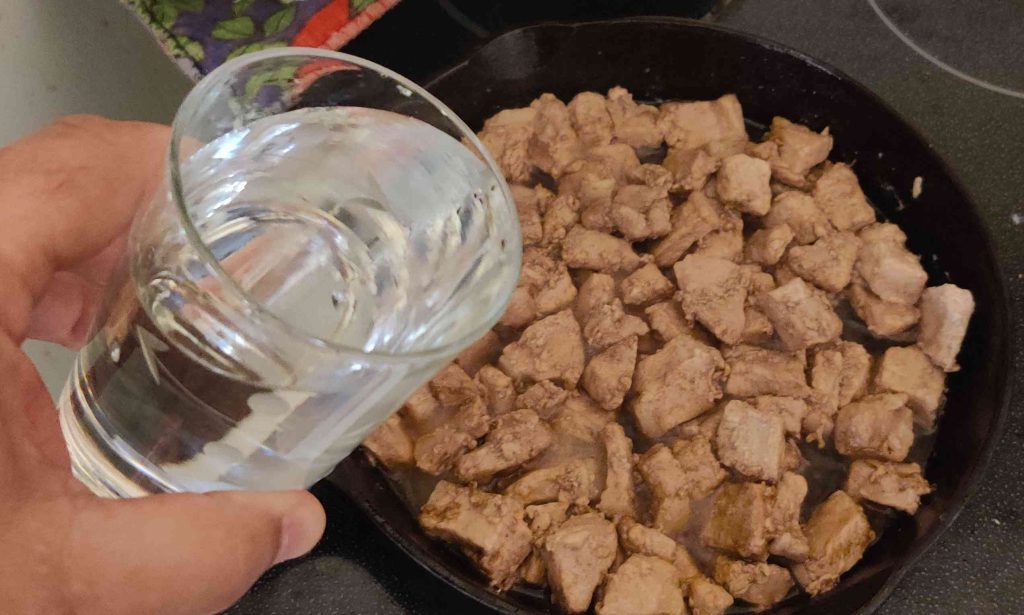
Water was drawn into a glass:

Water drawn
Water drawn

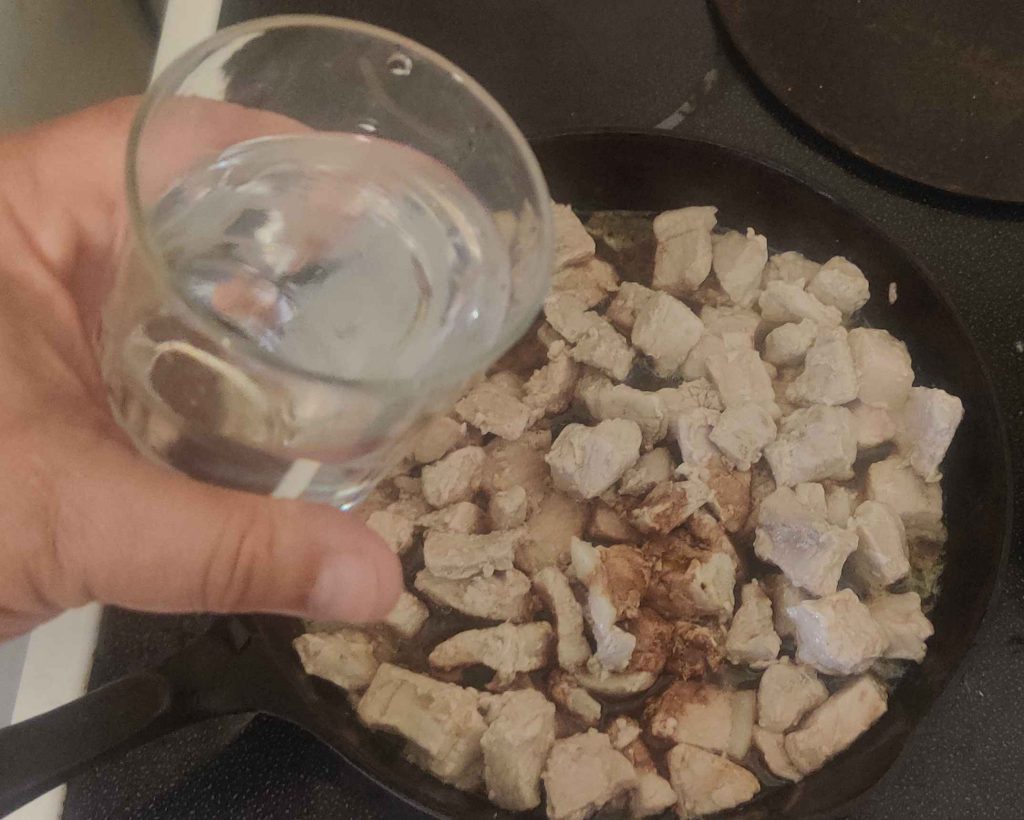
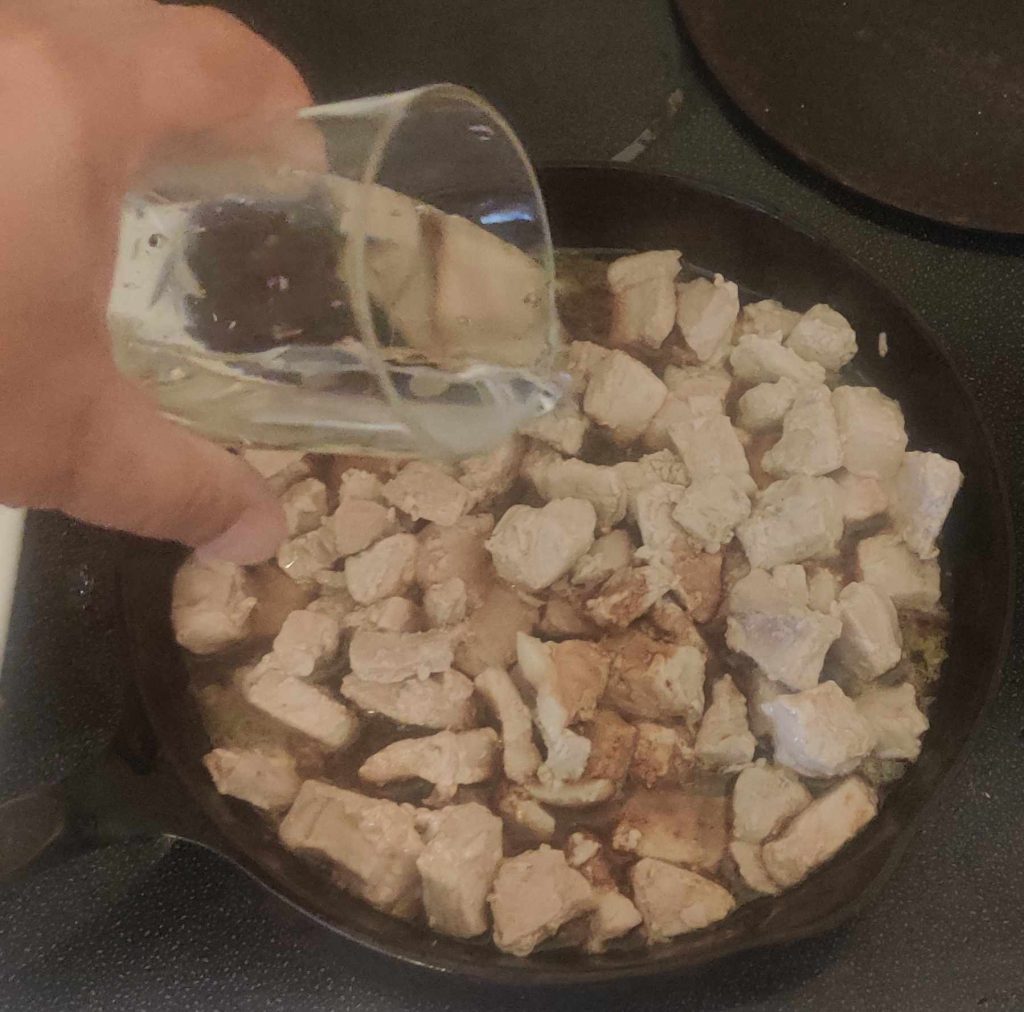
The water was brought to the pan of cooking pork and broth:

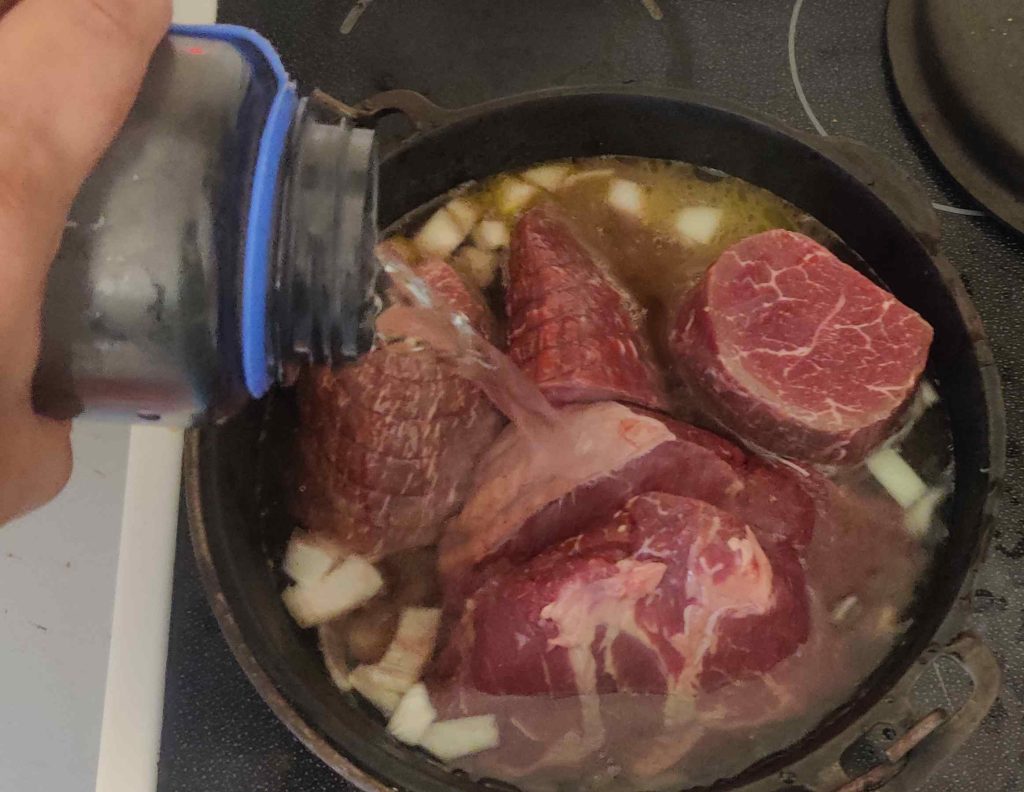
Water brought to pan of cooking pork

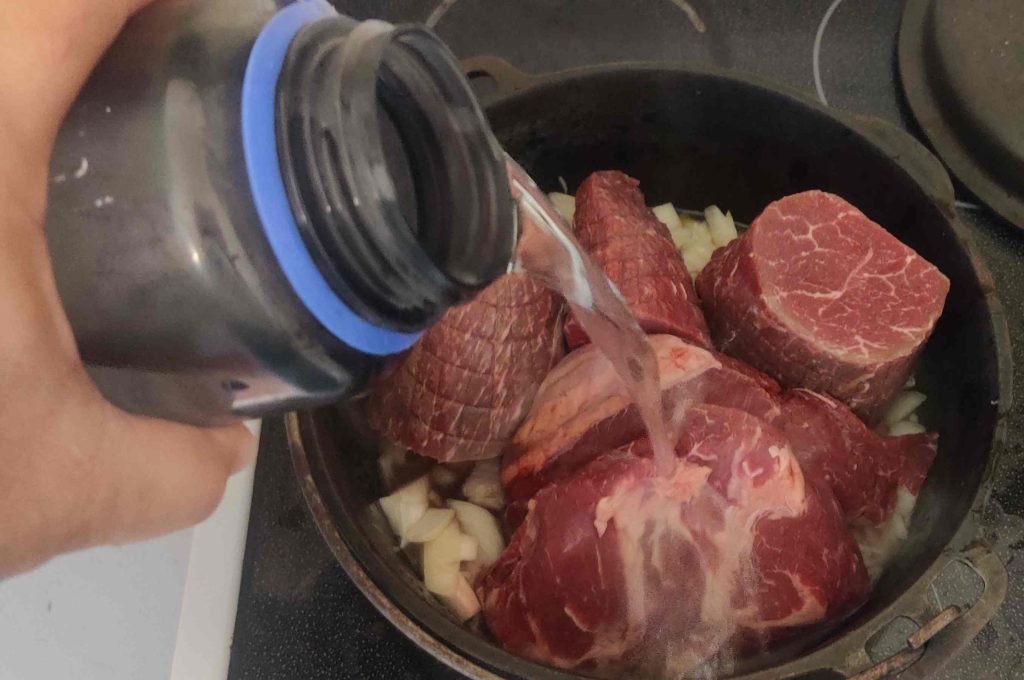
The water was transferred to the pan with the cooking pork:

Water transferred to pan of cooking pork

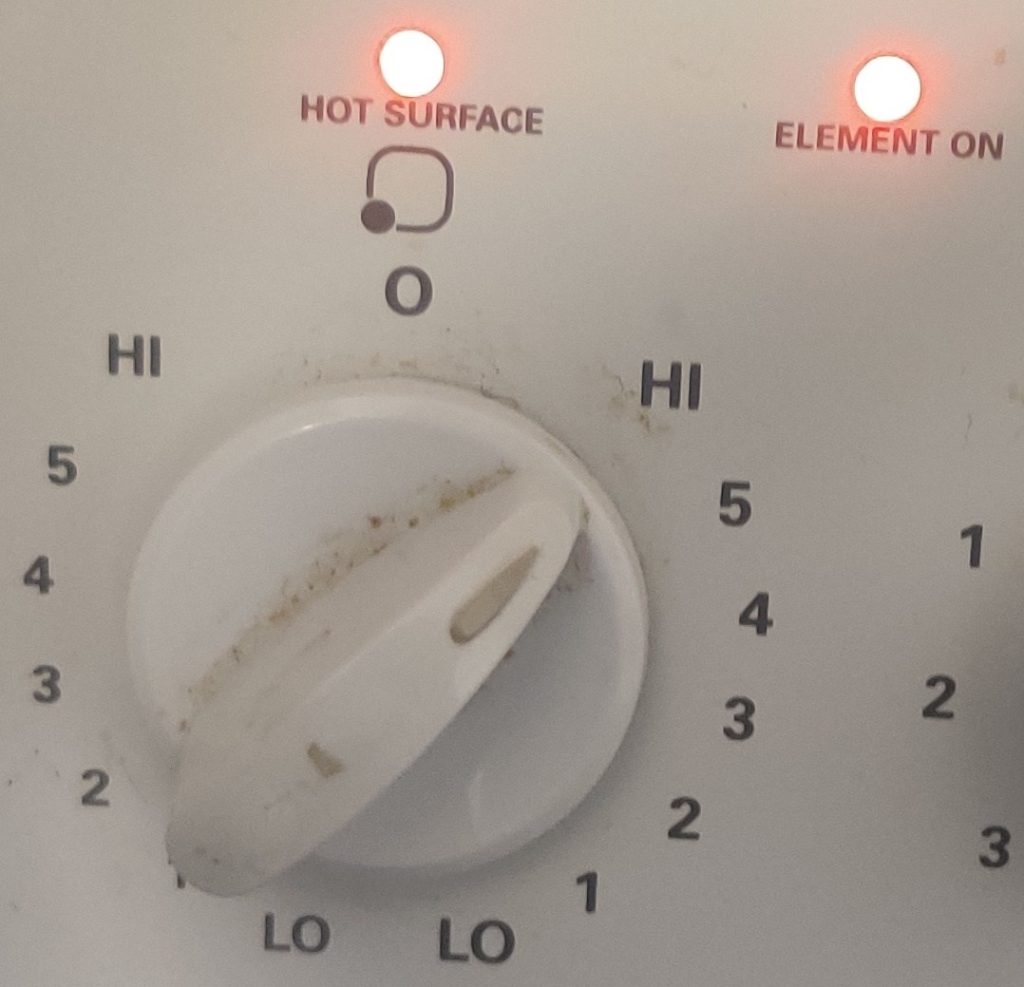
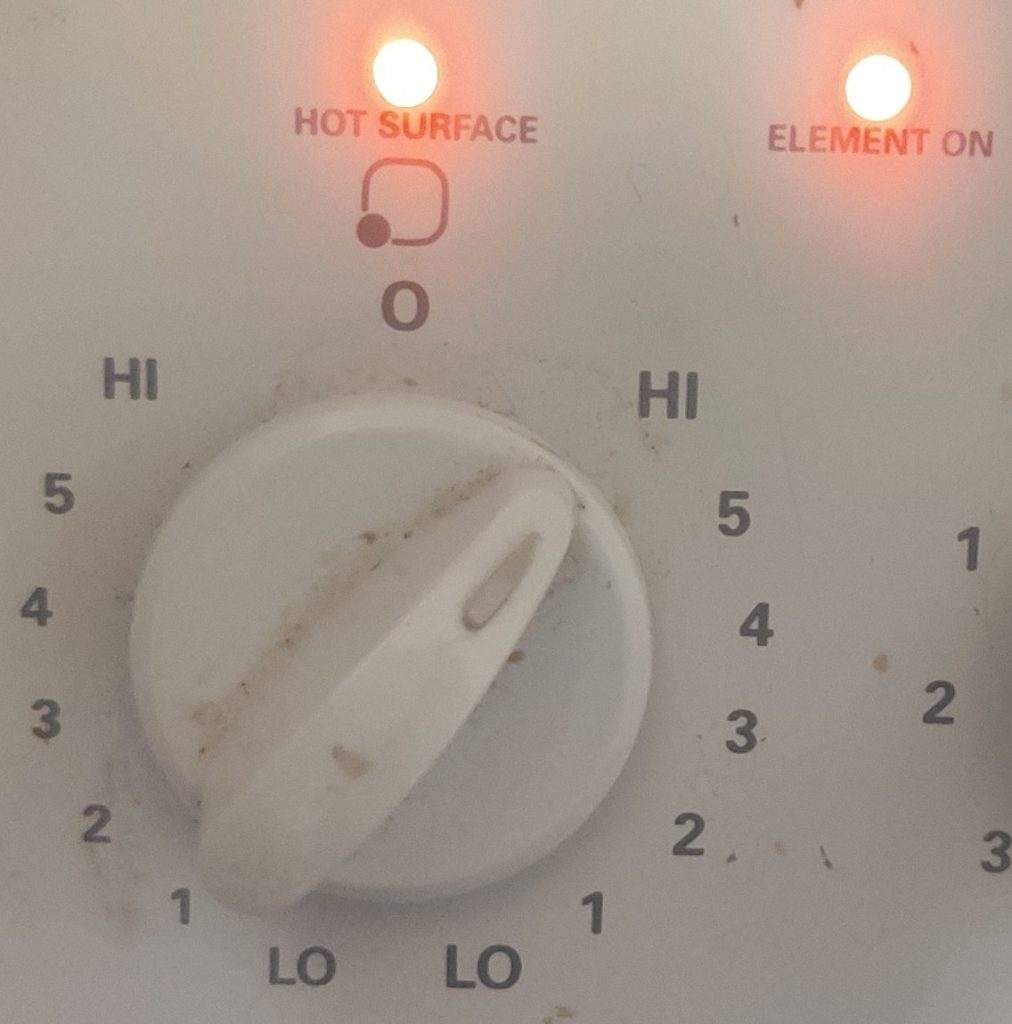
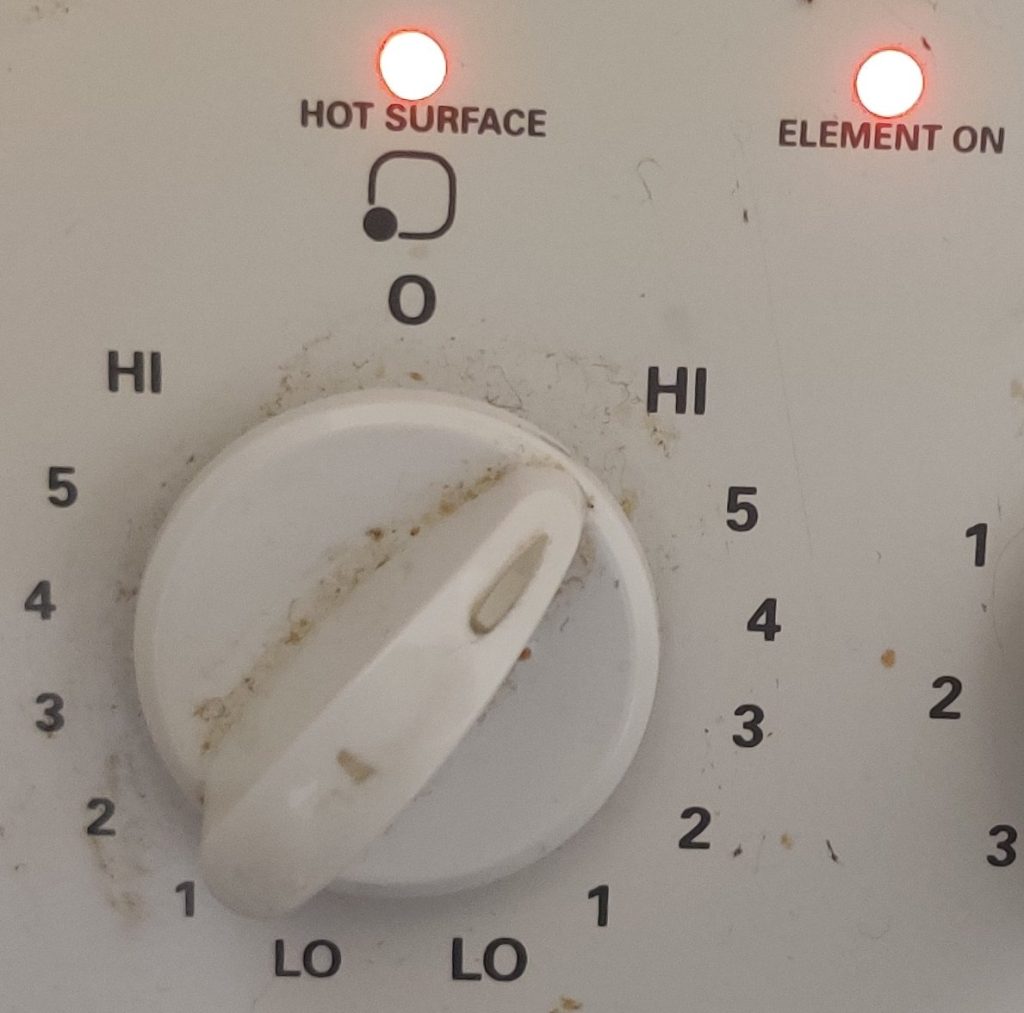
The burner was set to maximum:

Stove burner set to high

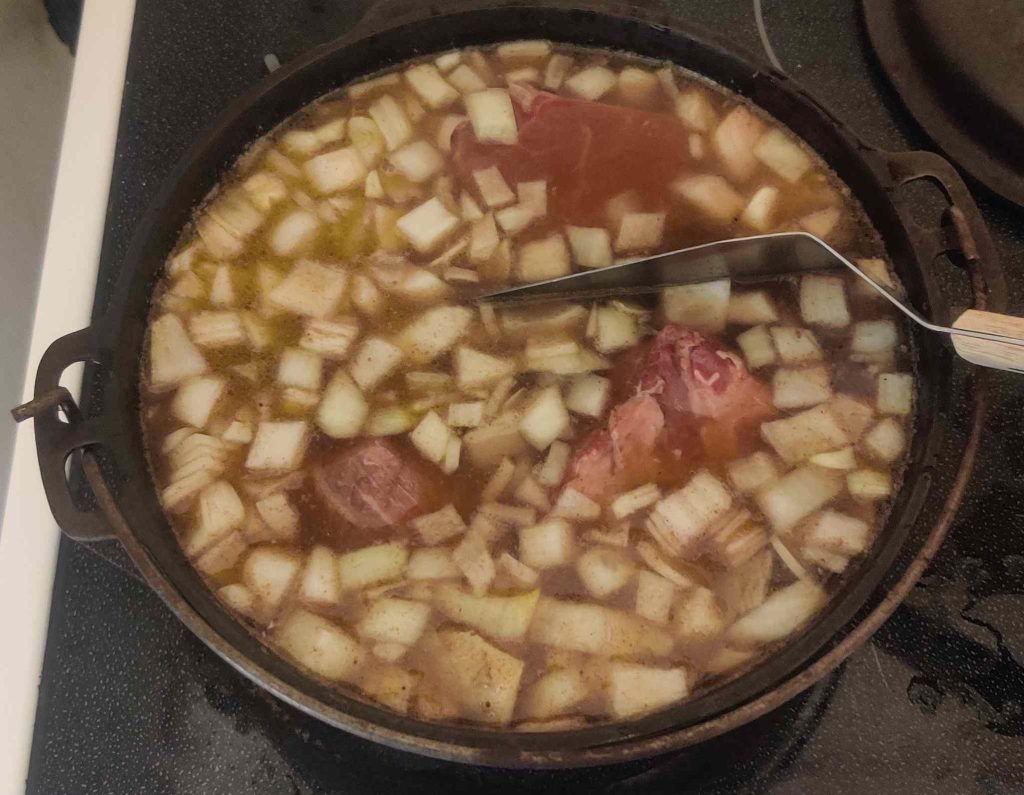
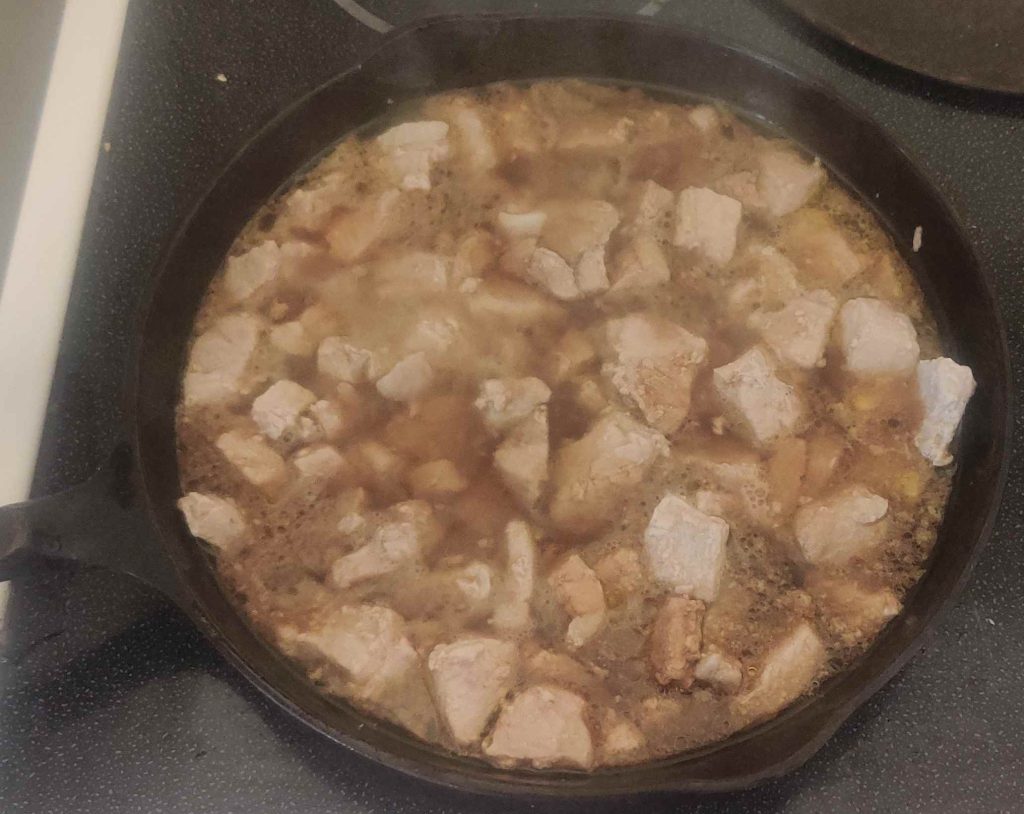
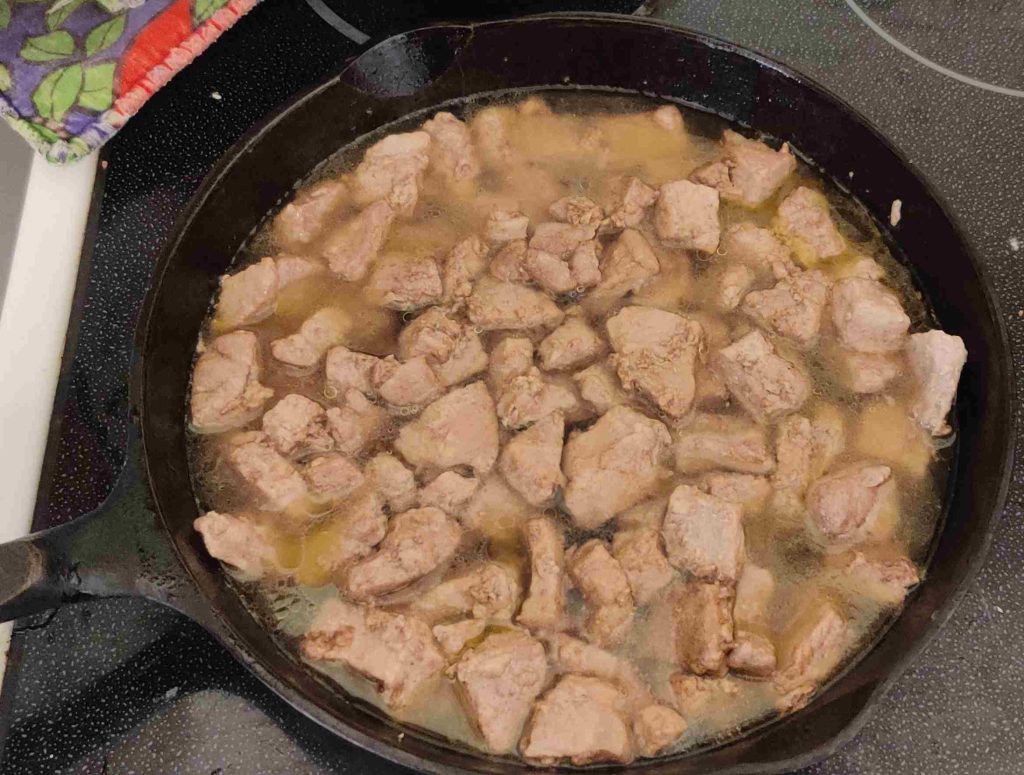
The liquid in the pan was brought to a boil:

Liquid brought to a boil

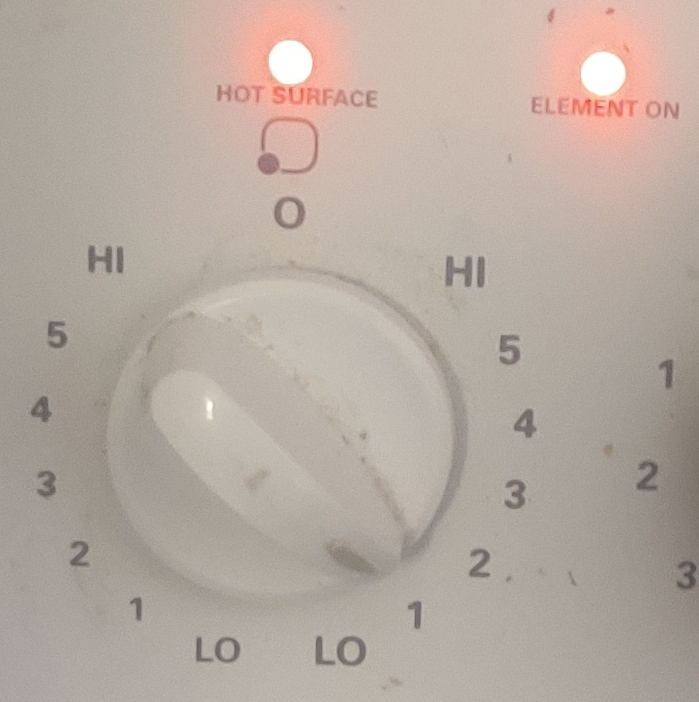
The stove burner was turned back down to a low setting:

Stove burner turned down to a low setting

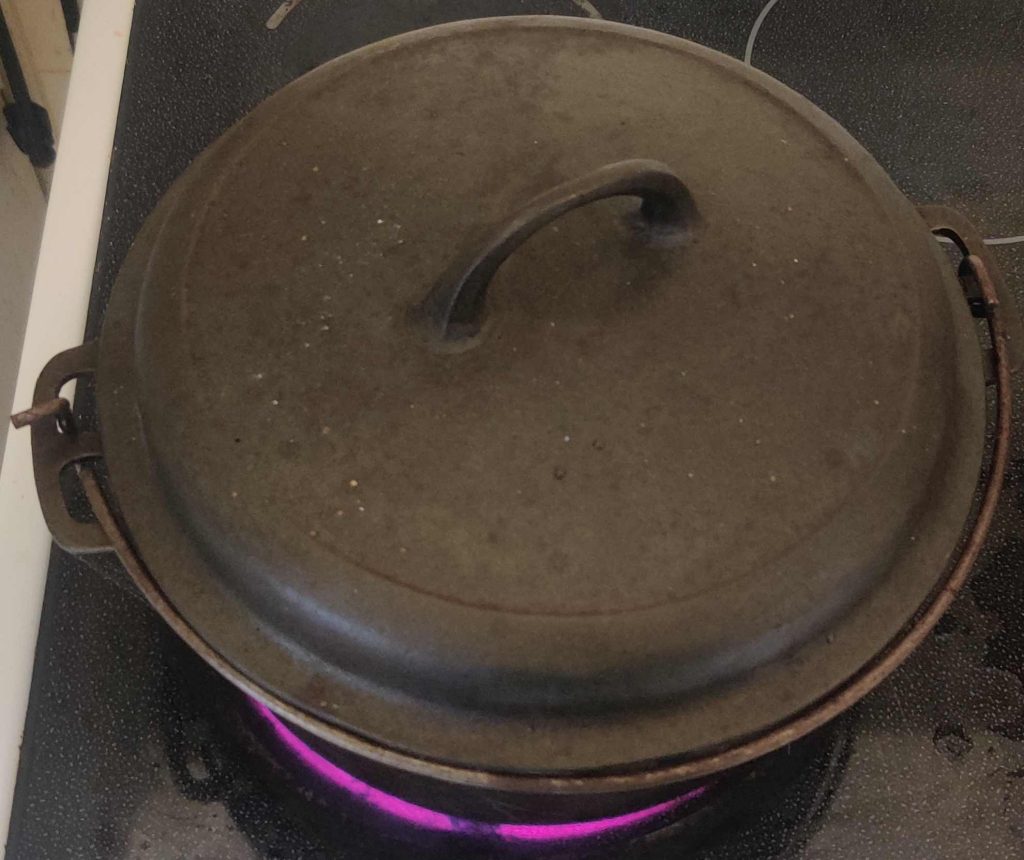
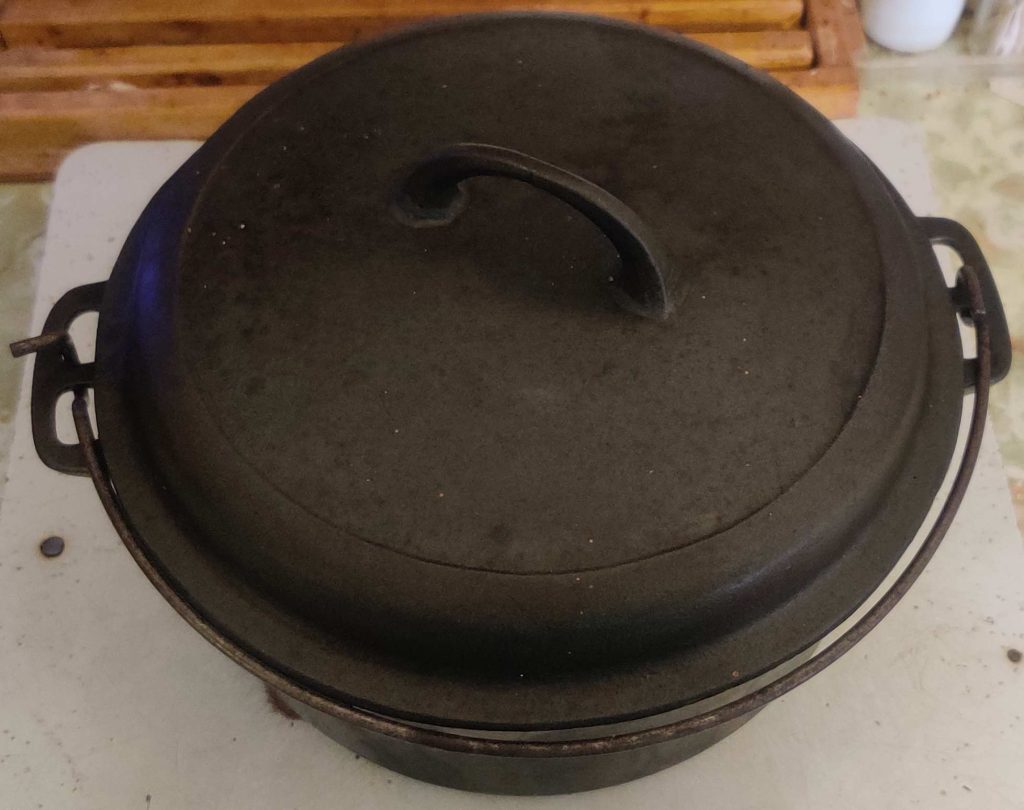
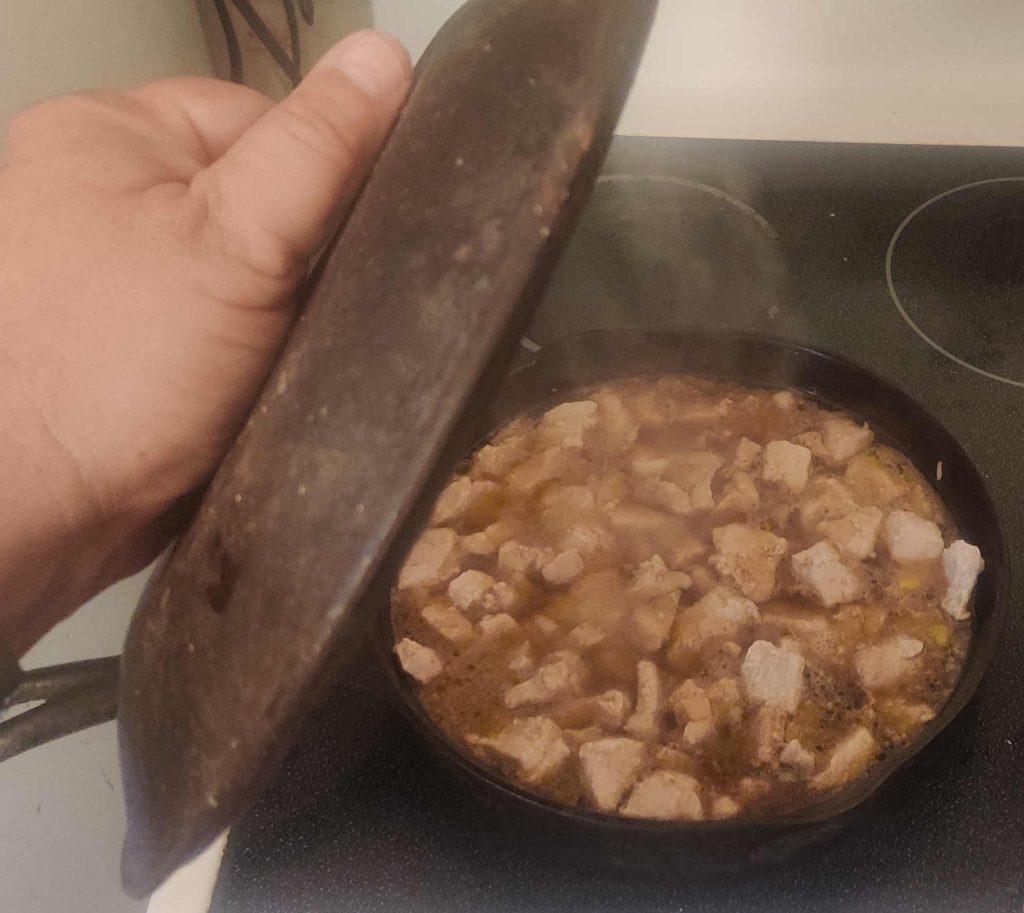
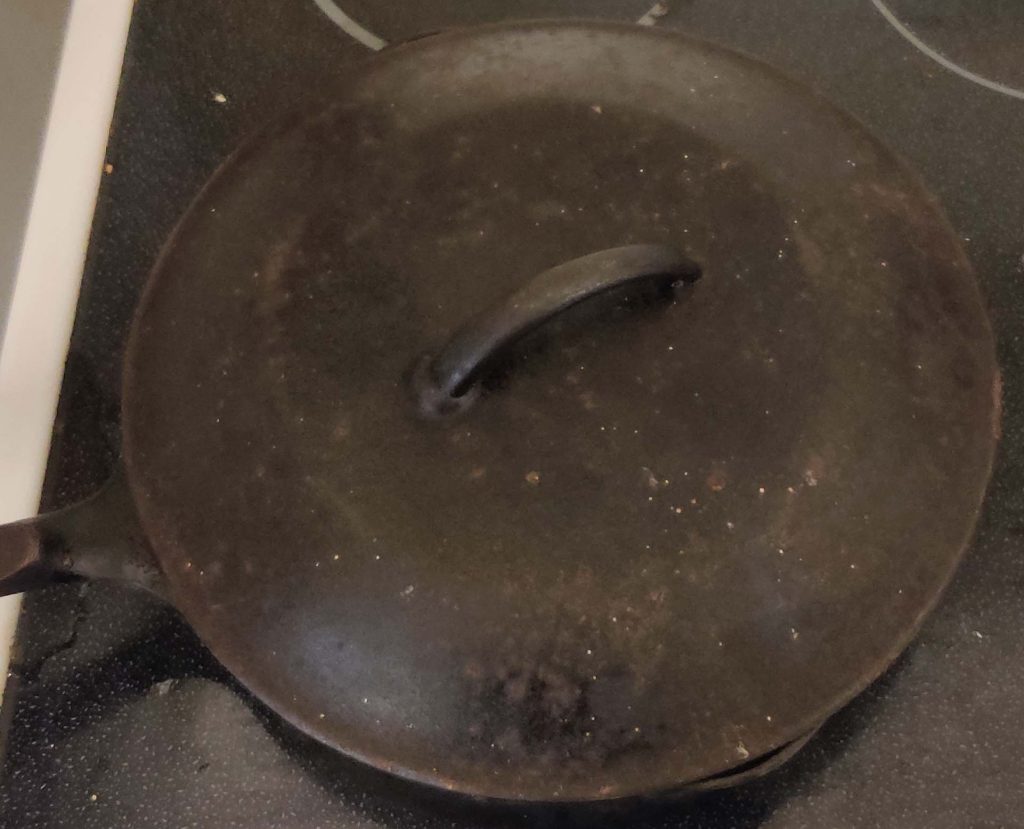
The braising lid was placed on the pan:

Lid placed on pan
Lid placed on pan

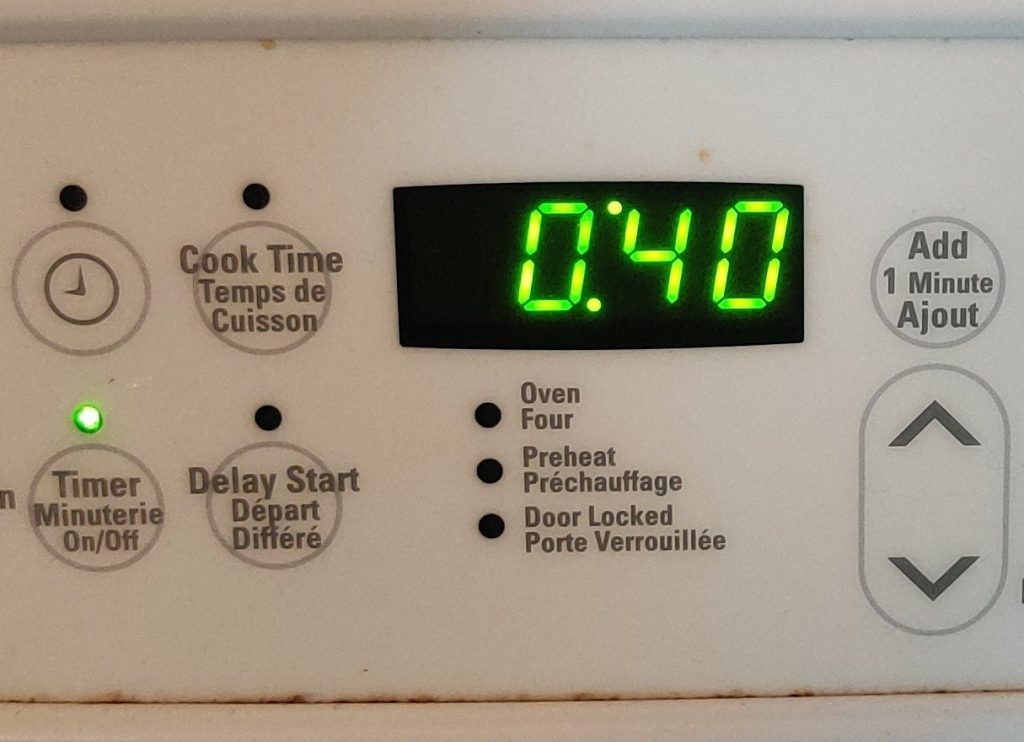
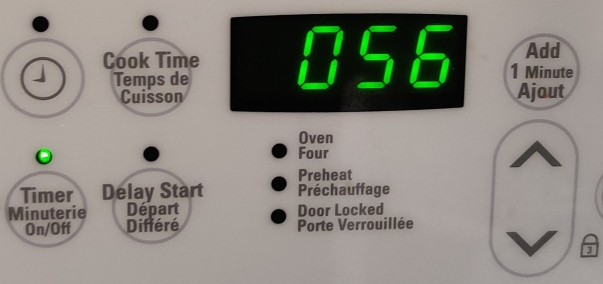
The timer on the stove was set to 60 minutes:

Timer set to 60 minutes

About halfway through the braising of the pork …

About half of braising time elapsed

… the lid was removed and the liquid level checked:

Liquid level checked — lower, as expected

Given the (expected) loss of liquid via evaporation, more water was transferred to the pan:

Water transferred to frypan
More water added to pan

The lid was placed back on the pan:

Lid placed back on pan

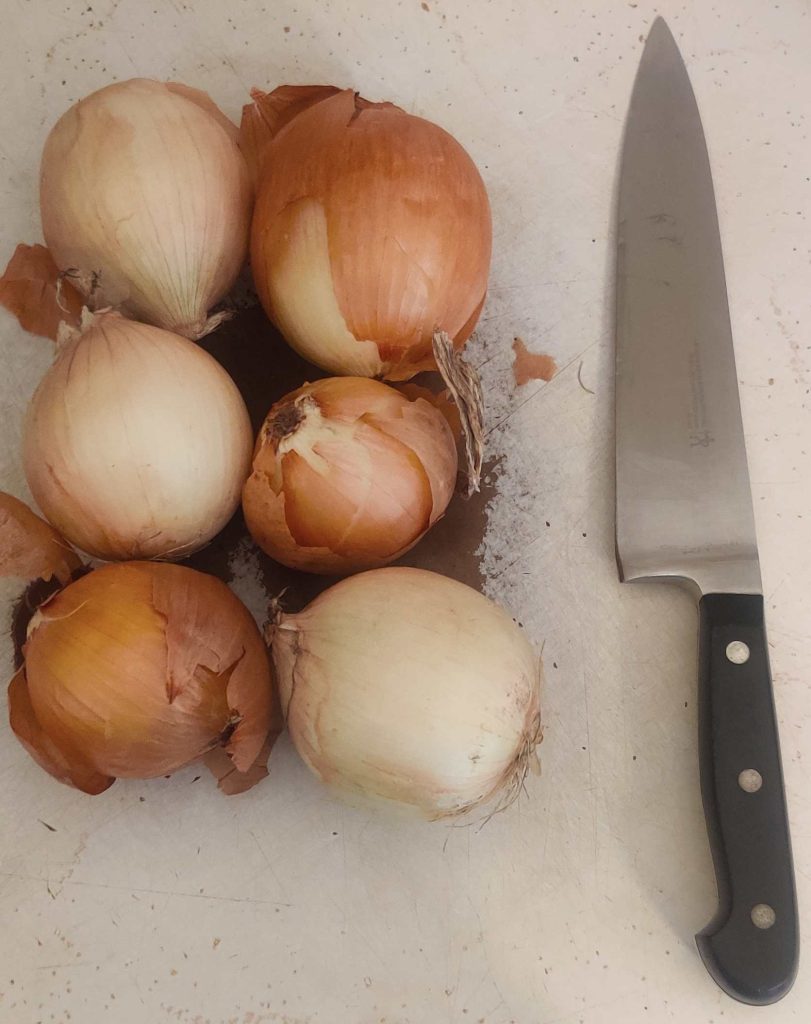
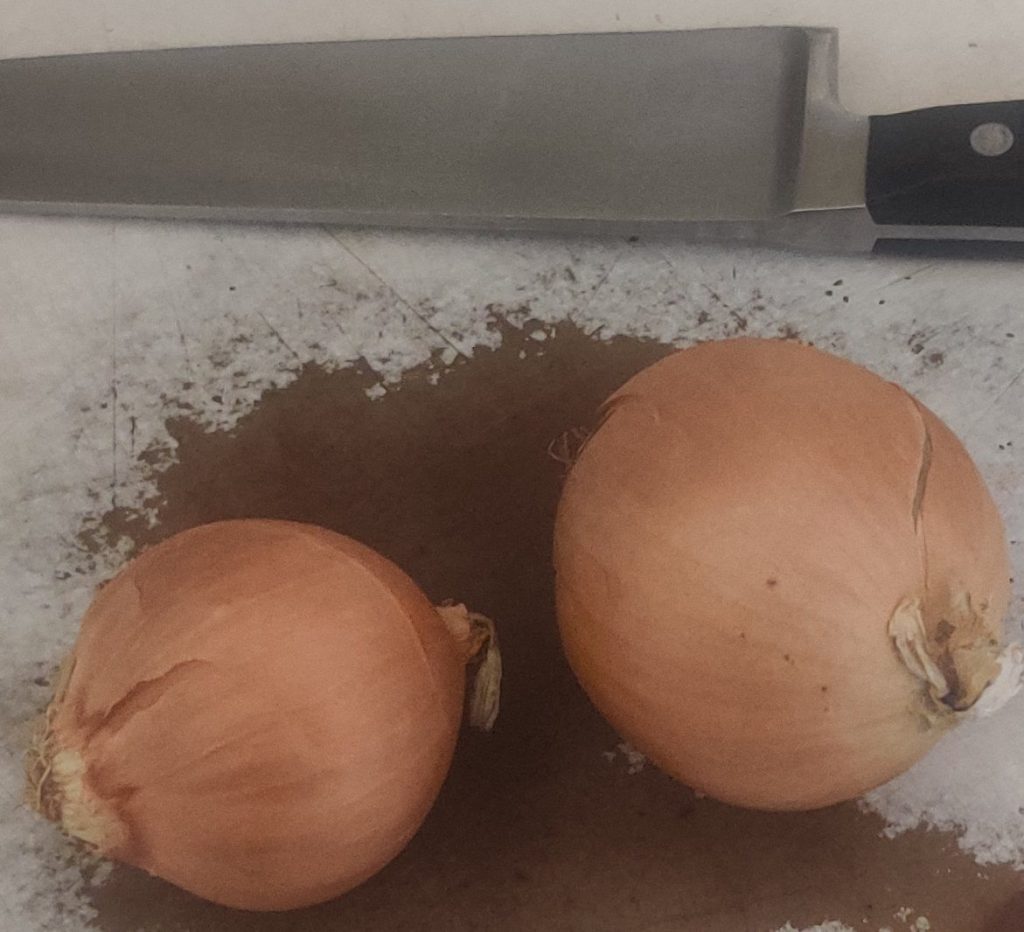
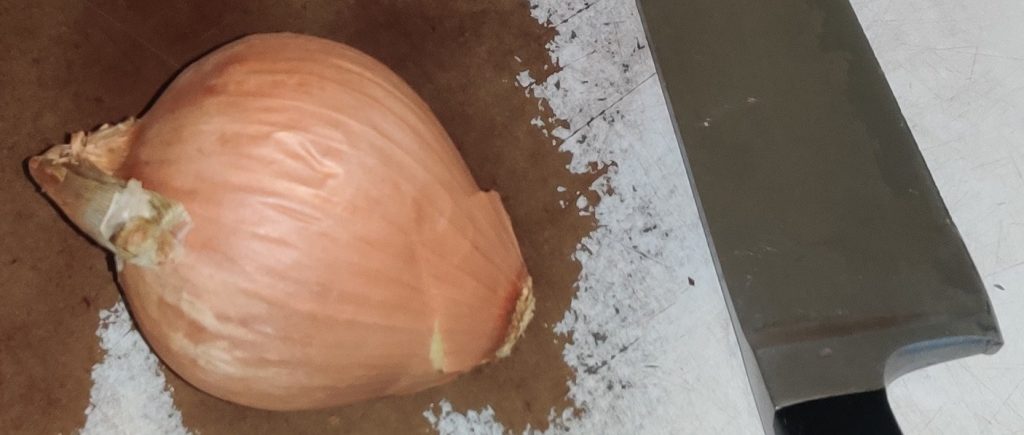
At this point, while waiting for the pork cubes to finish cooking, onions were taken out:

Onions taken out

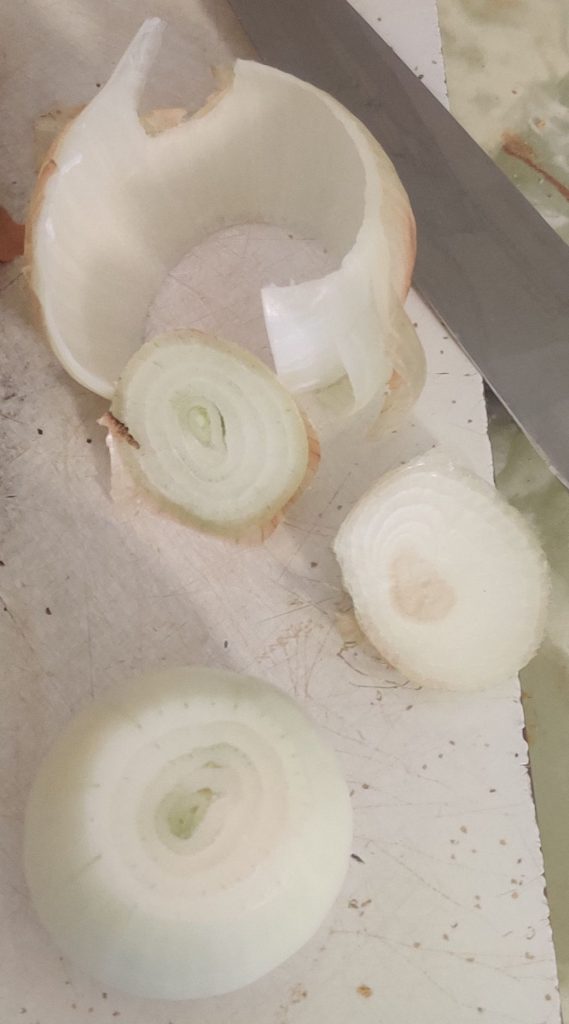
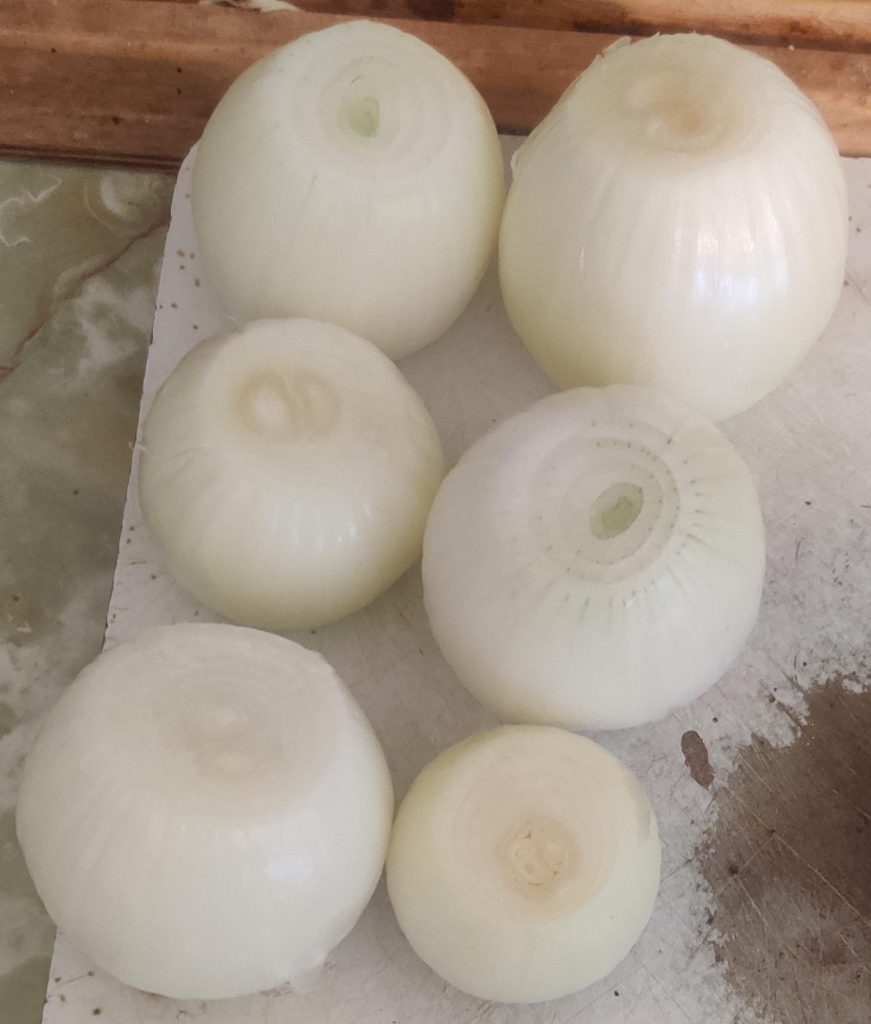
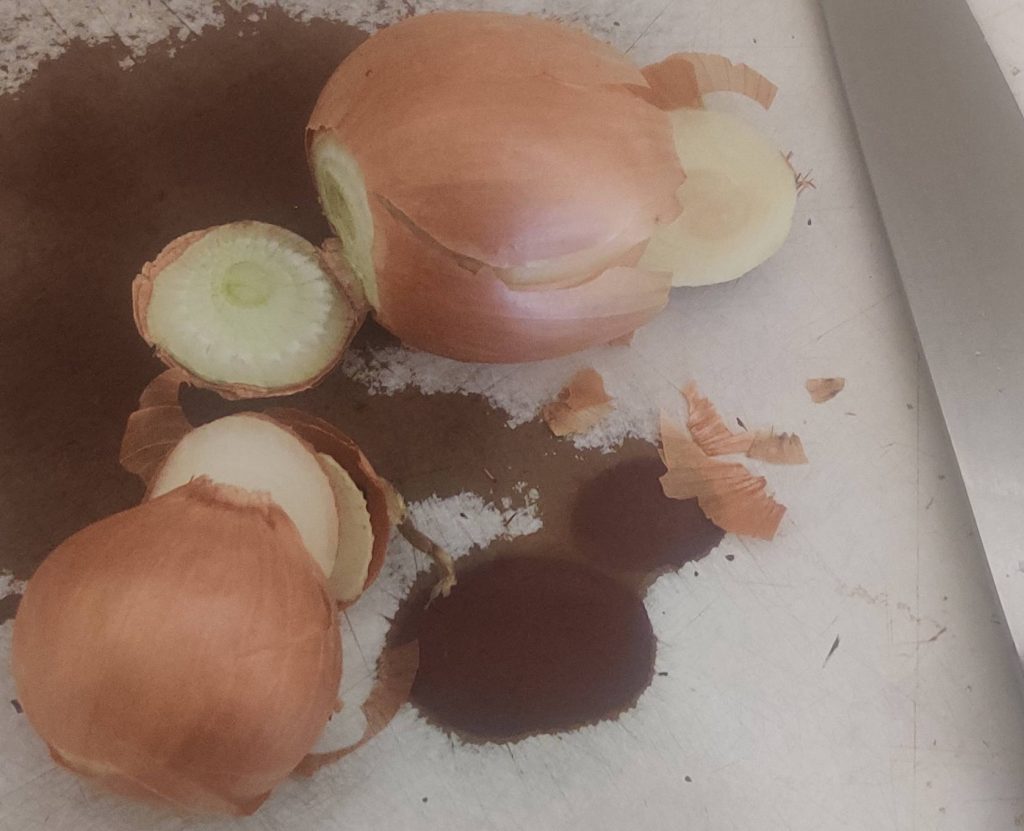
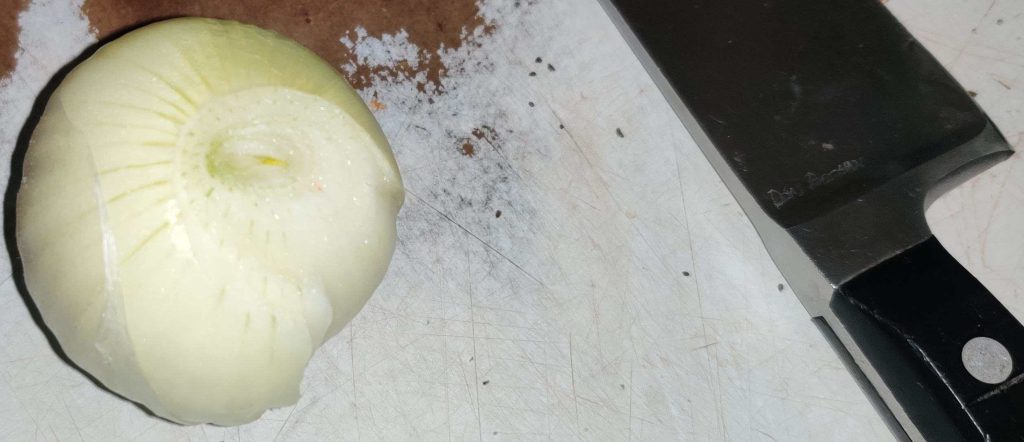
The onions were trimmed:

Onions trimmed
Onions trimmed

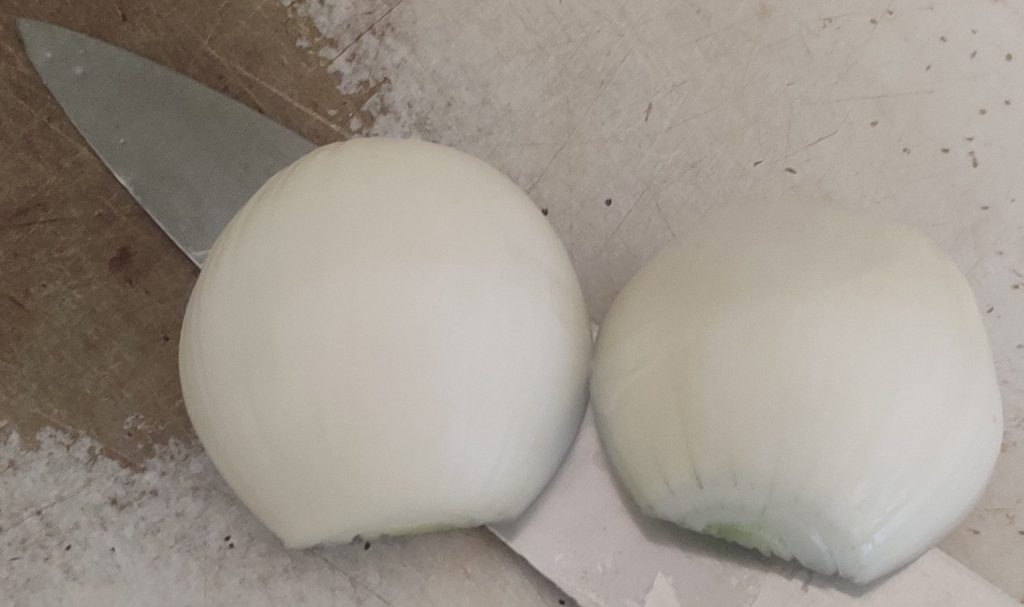
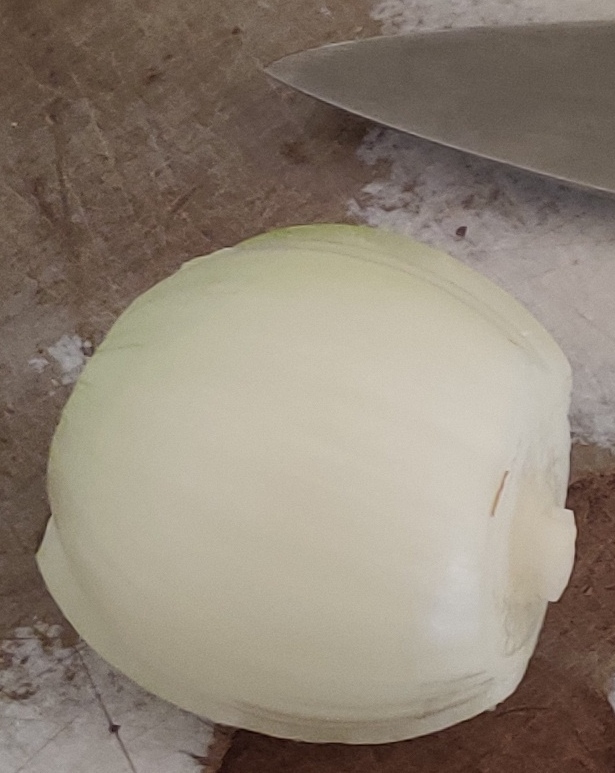
The onions were sliced in half:

Onions sliced in half

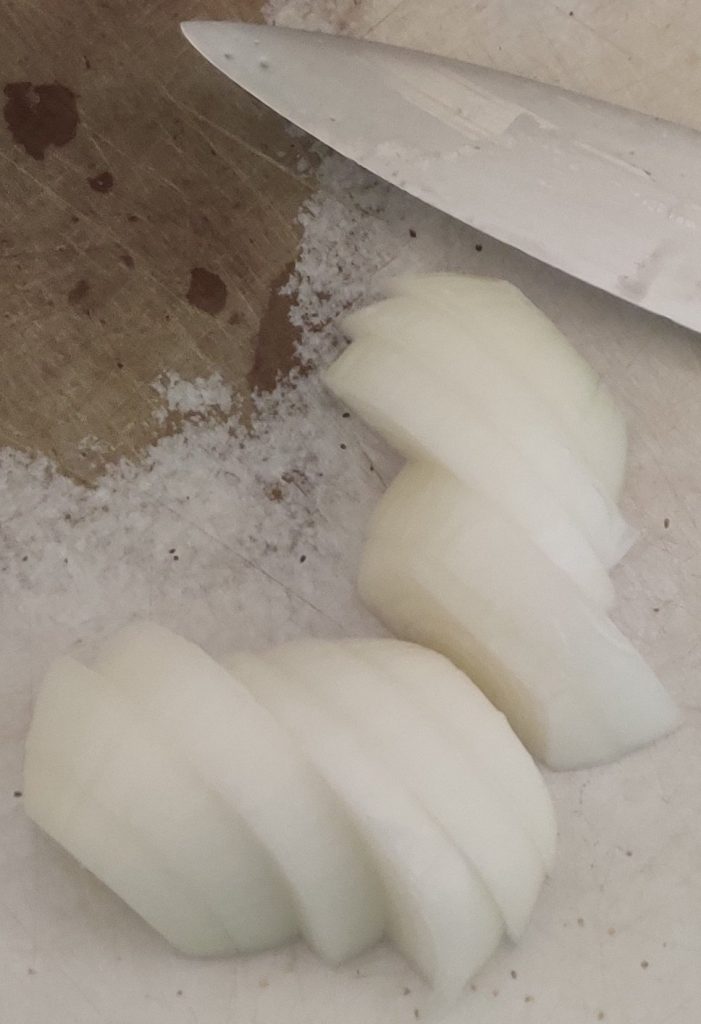
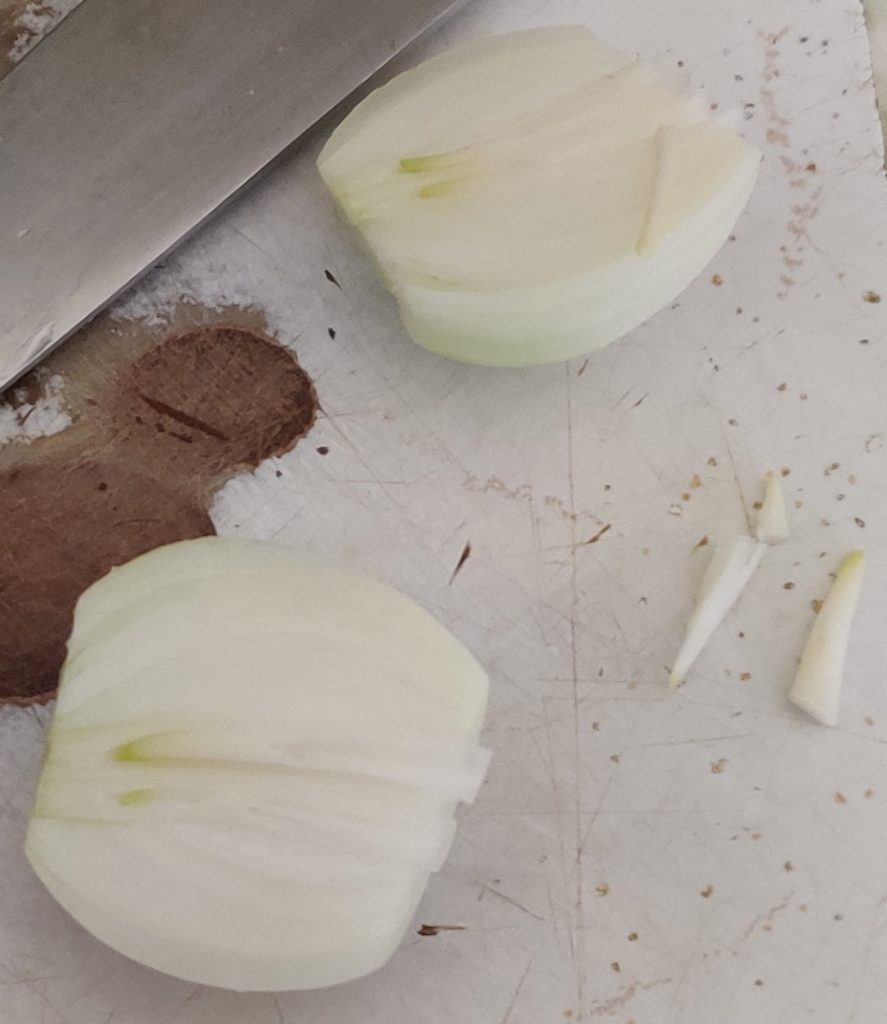
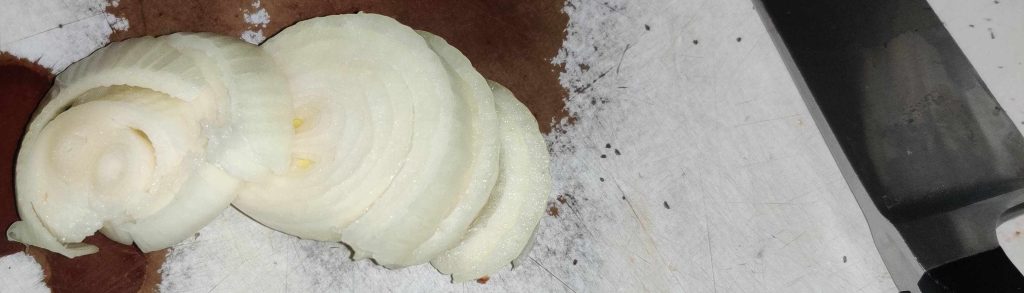
The onion halves were sliced into half coins:

Onions sliced into half coins

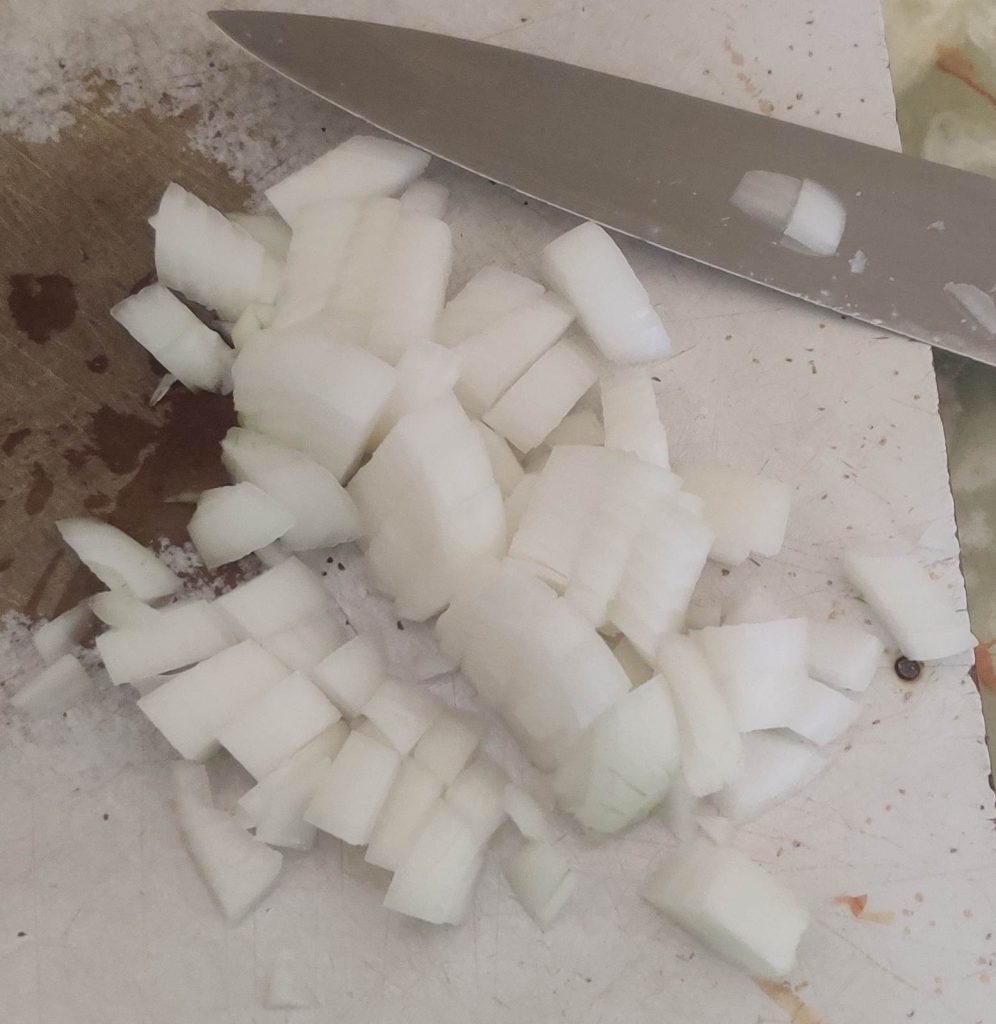
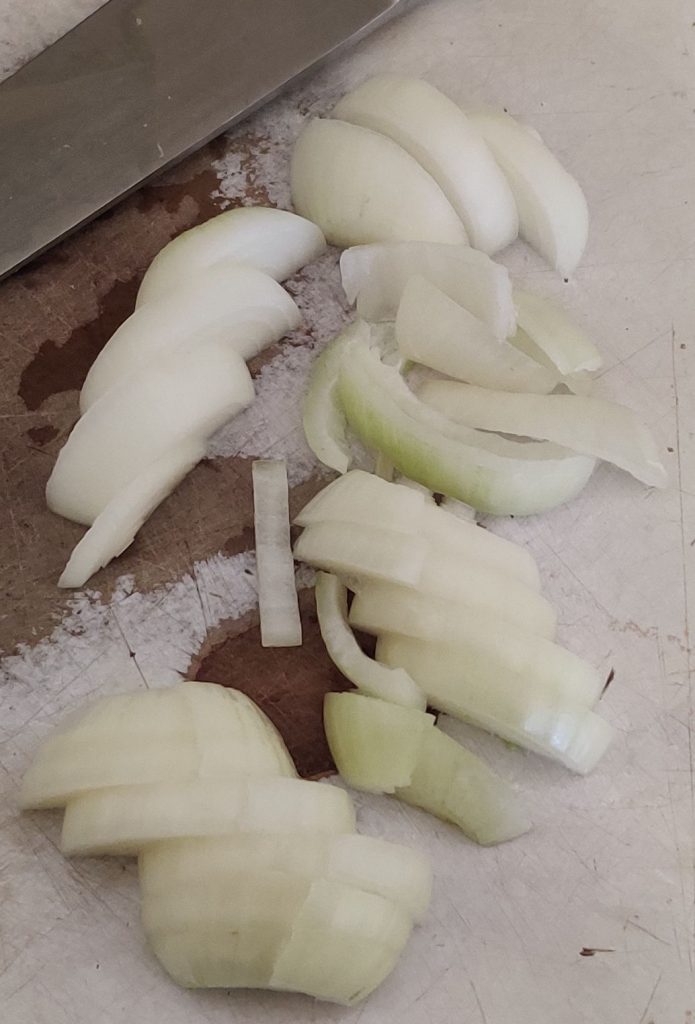
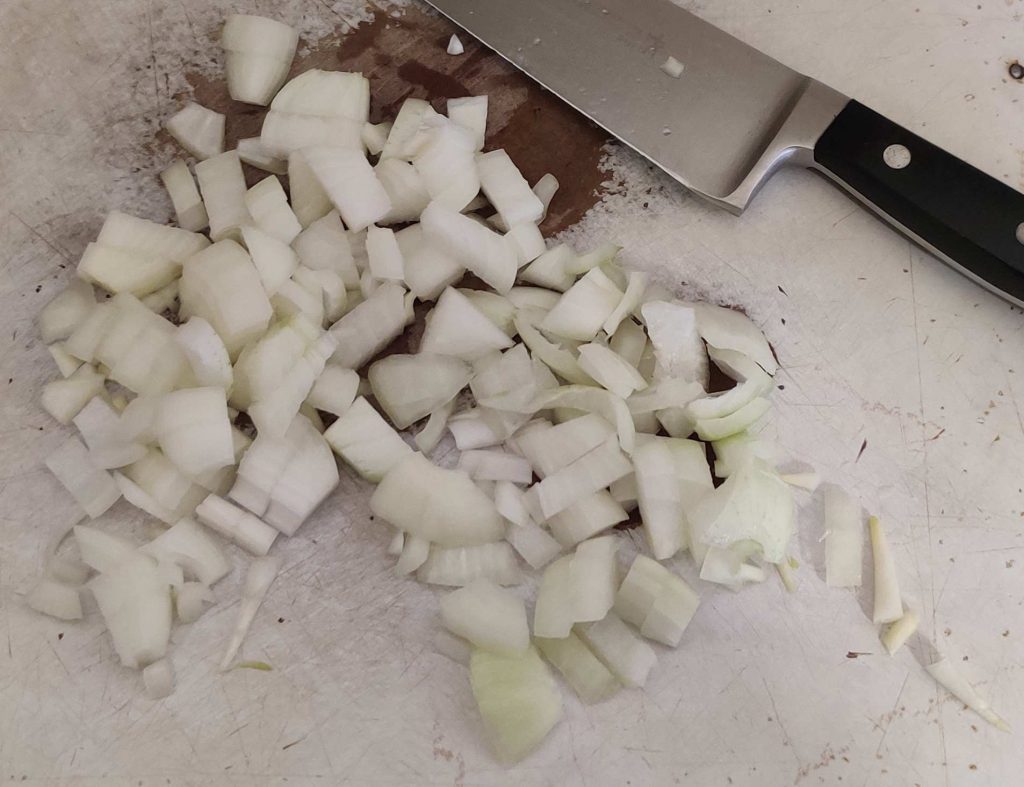
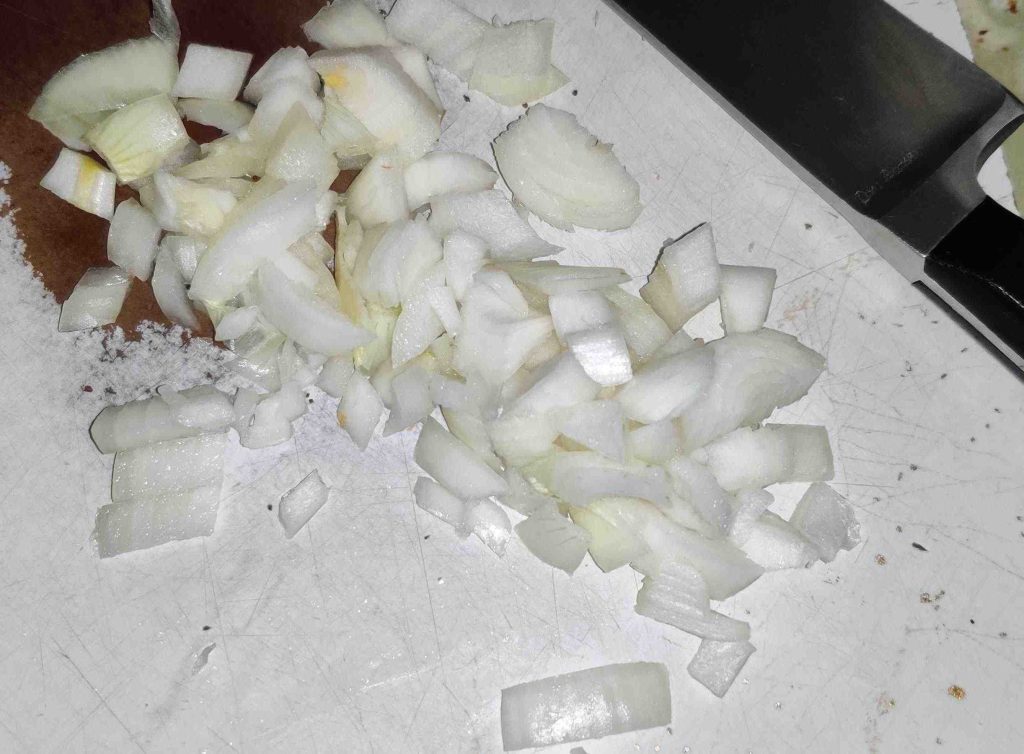
The onions were coarsely chopped:

Onions chopped

The onions were momentarily put aside.

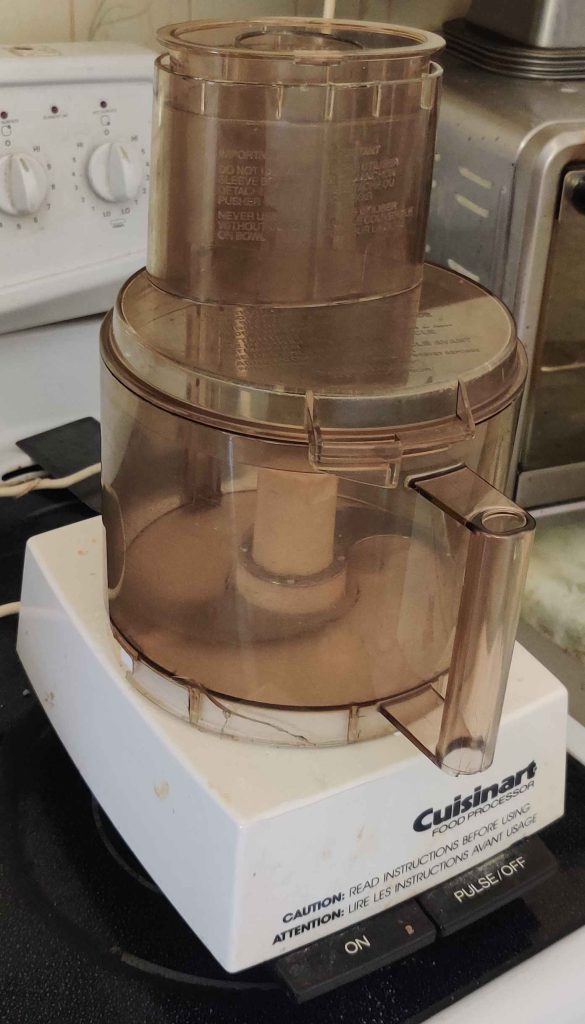
A food processor with a chopping blade was taken out:

Food processor taken out

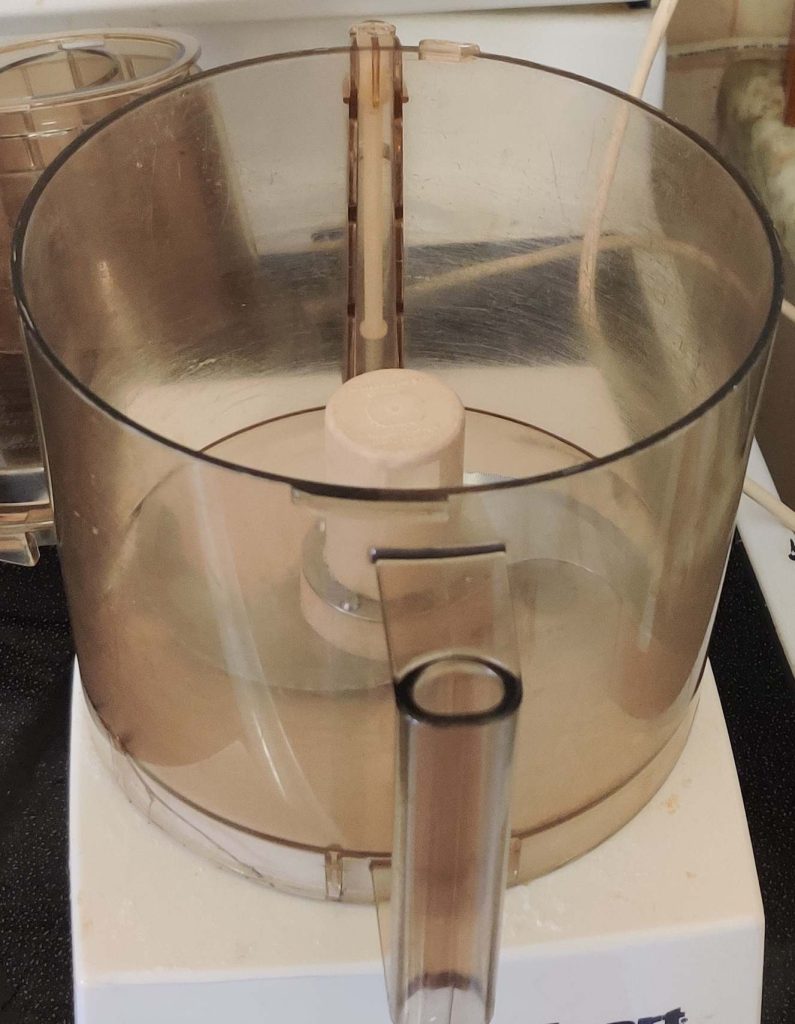
… and its lid was removed:

Lid removed from food processor

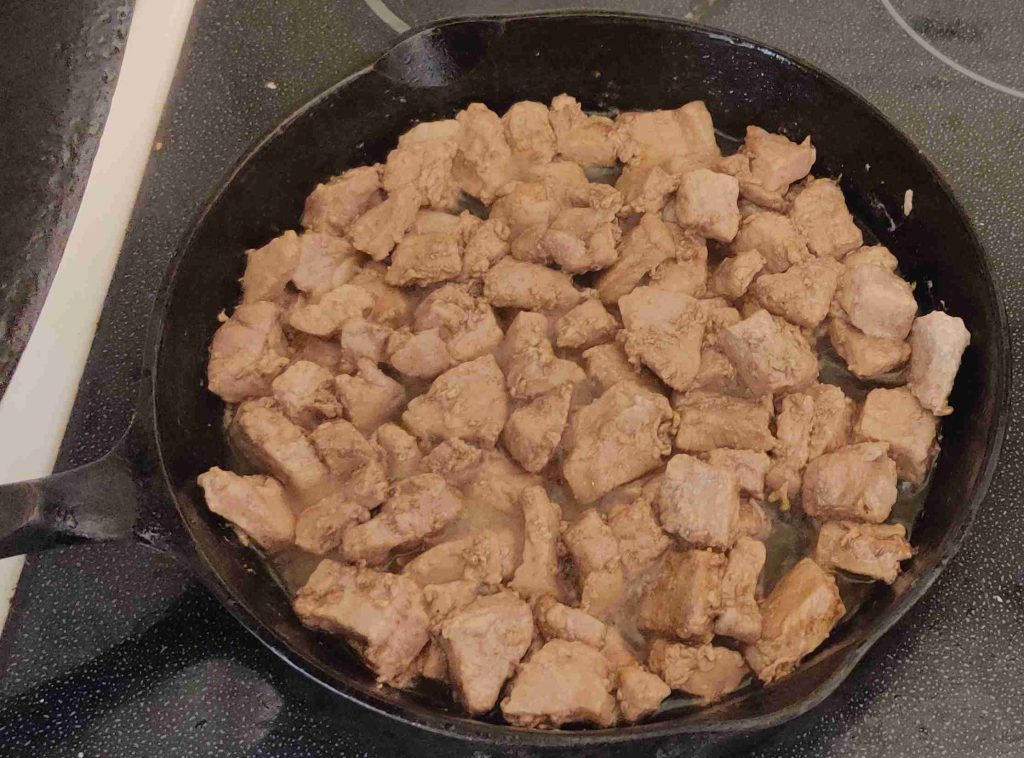
At this point, the timer on the cooking pork had run out:

Pork cooking time completed

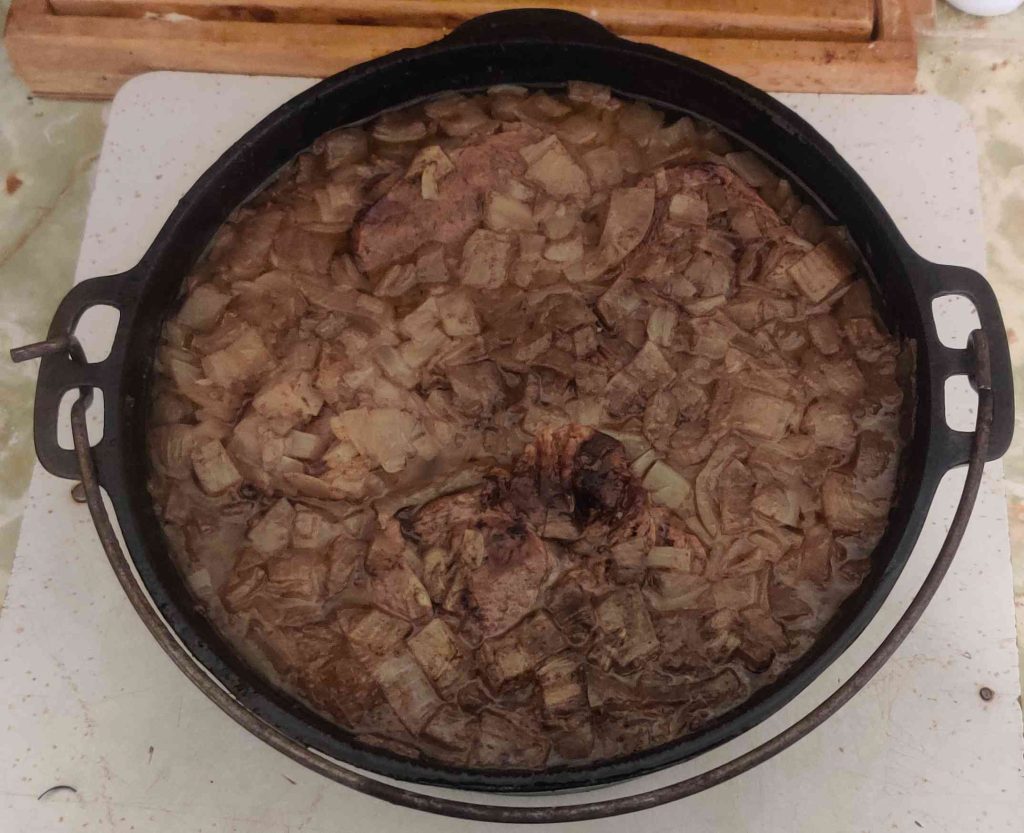
The lid was removed from the pan:

Lid removed from pan

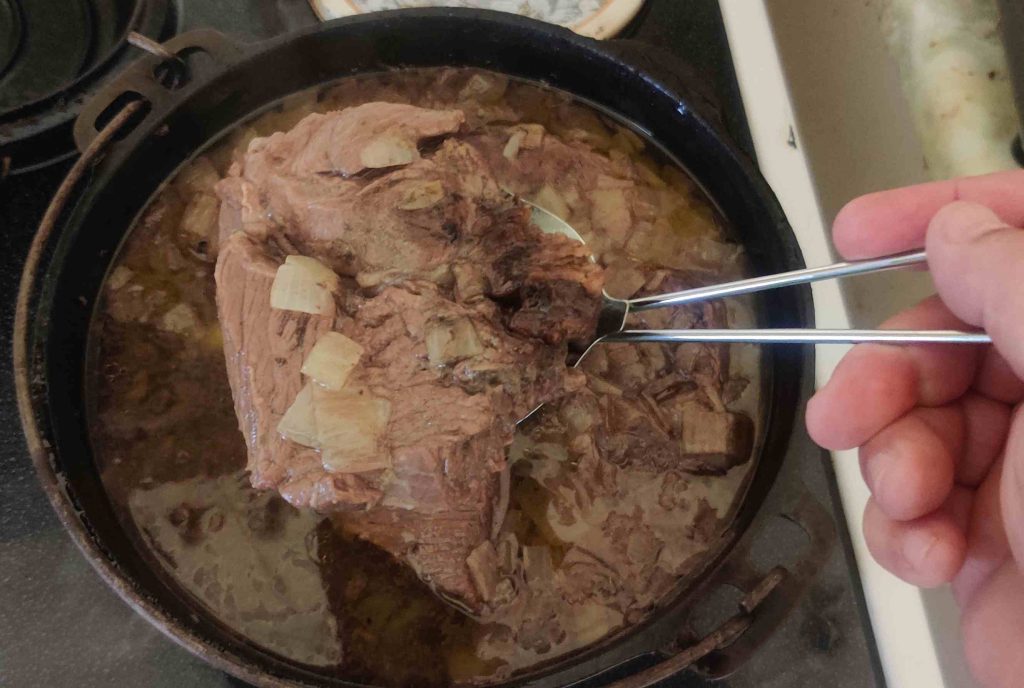
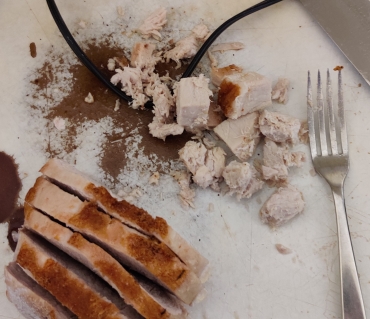
Yes, I tasted the pork — it was tasty, and importantly, it was tender!

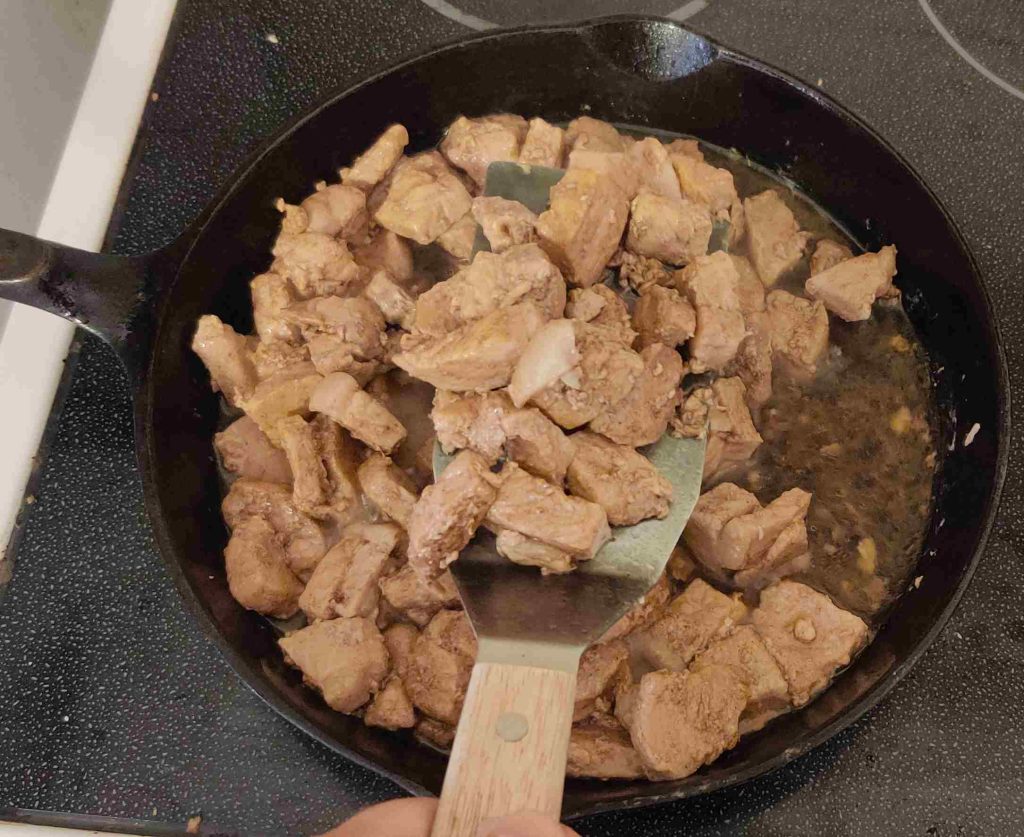
The pork cubes were lifted with the cleaned egg flipper:

Pork lifted with egg flipper

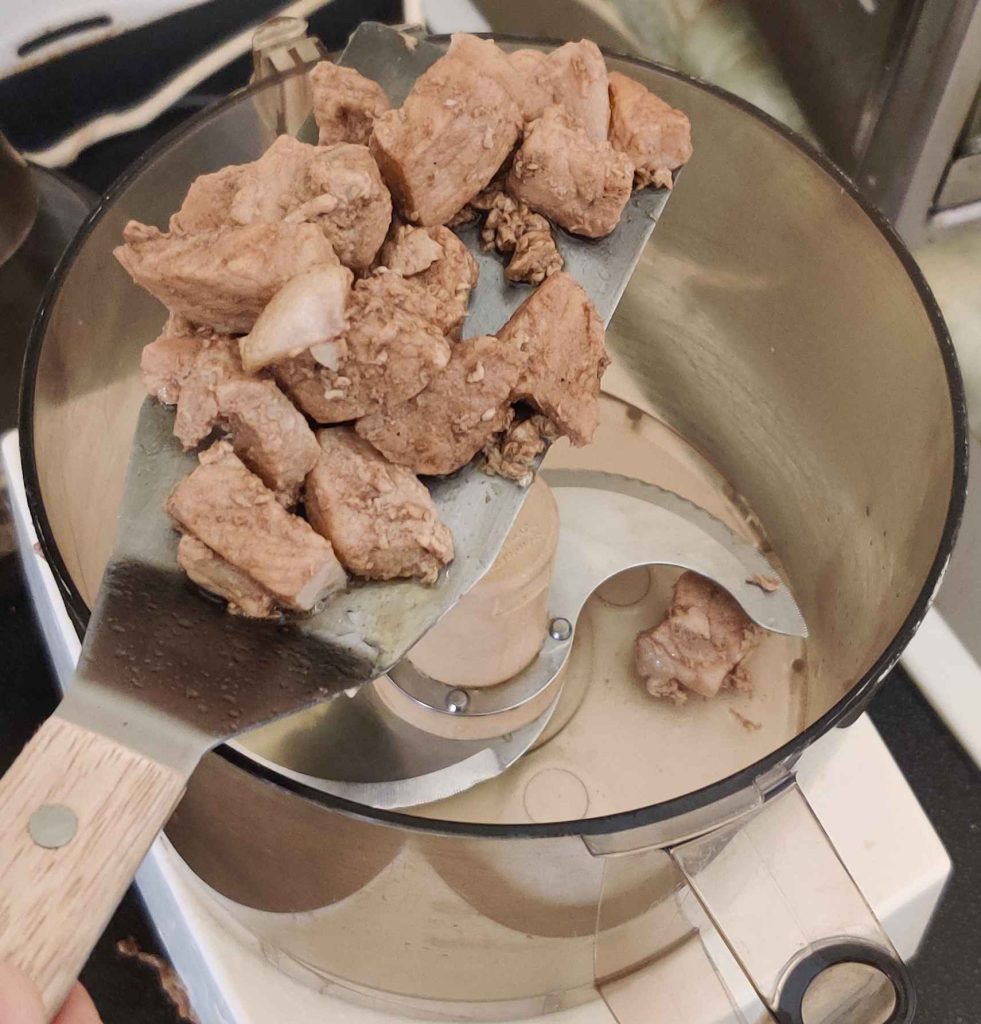
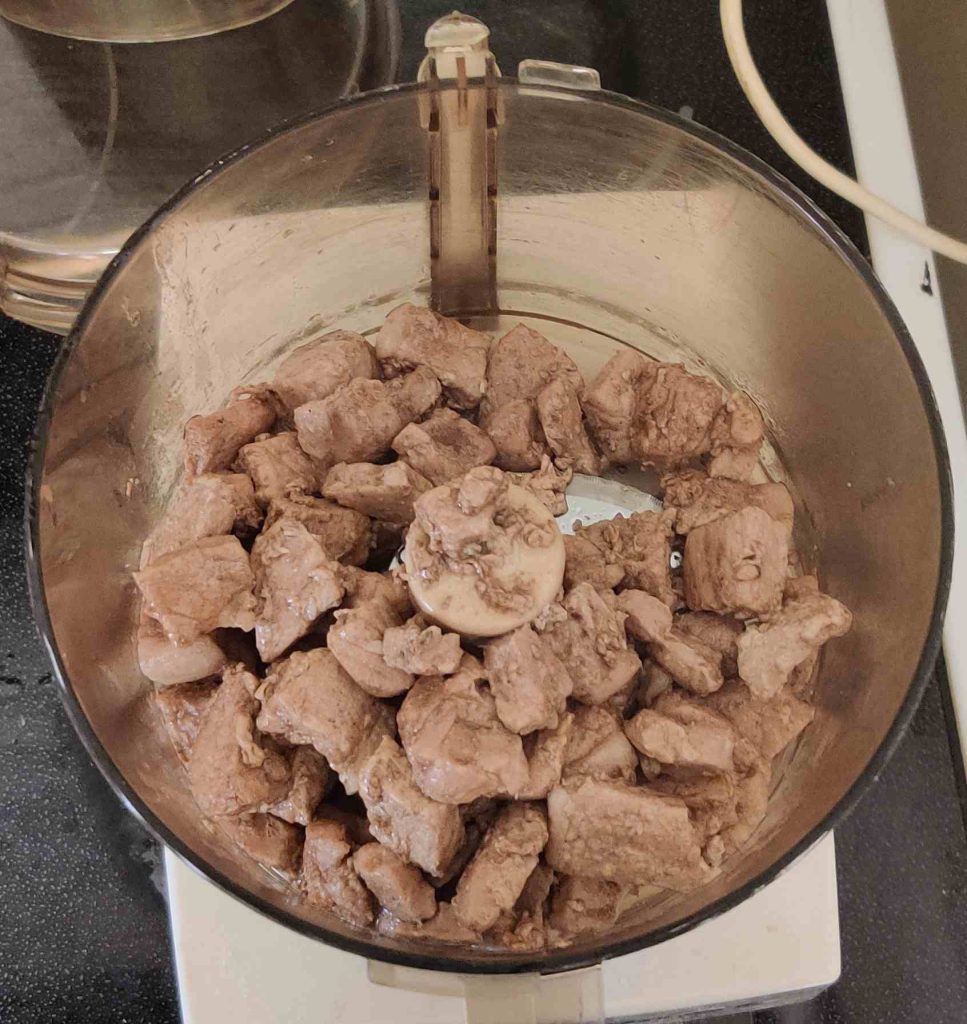
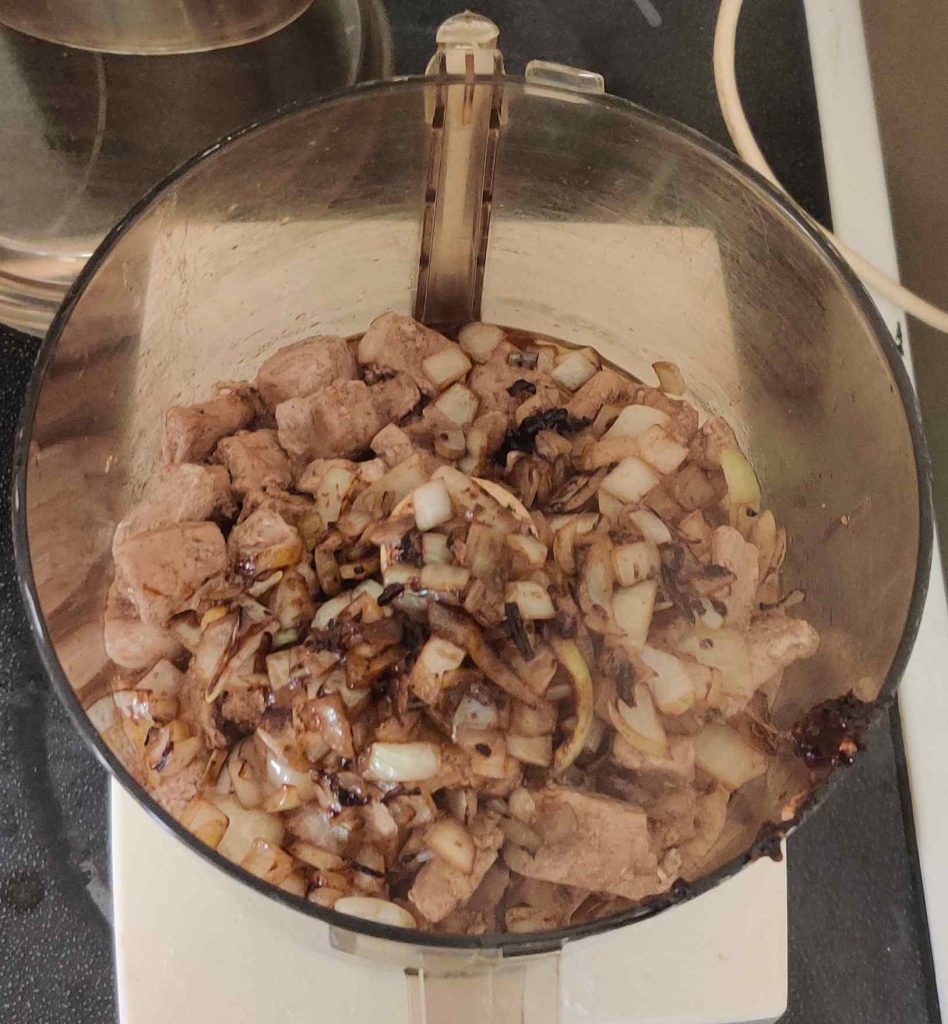
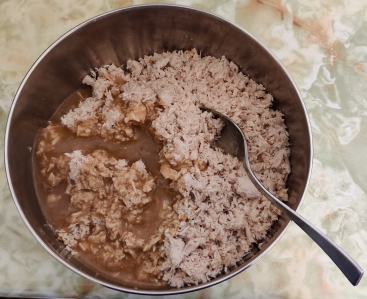
The cooked pork cubes were transferred to the food processor:

Pork cubes transferred to food processor

The braising liquid was kept in the frying pan:

Braising liquid kept

The stove burner was again turned to high — and oh, my, when I was handling the photos, I could really see the need for another cleaning here:

Stove burner turned to high, and it was obvious how much another cleaning was needed!

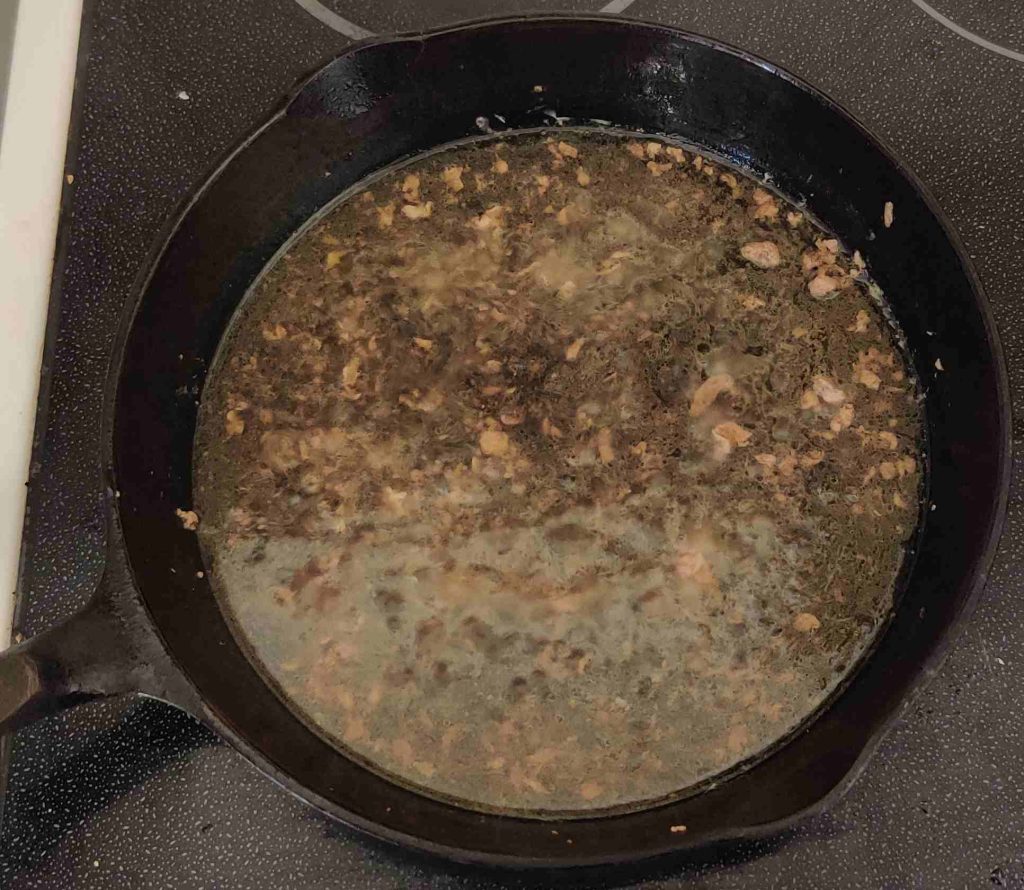
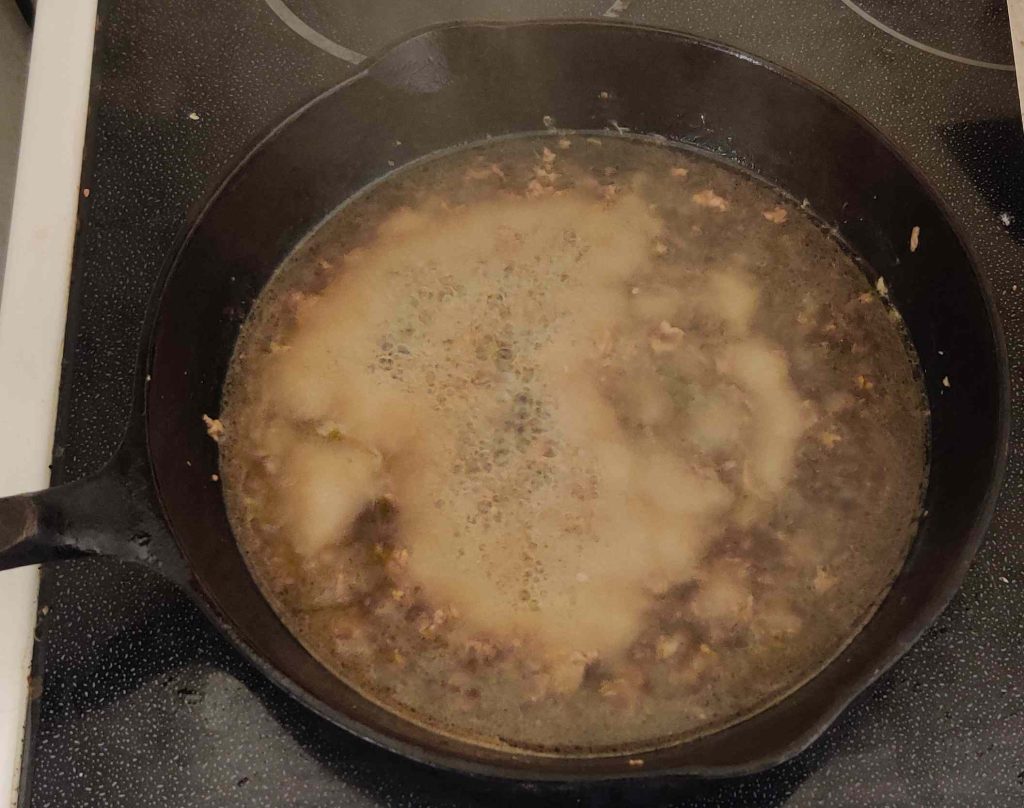
The braising liquid was brought to a boil in order to reduce it:

Braising liquid brought to a boil

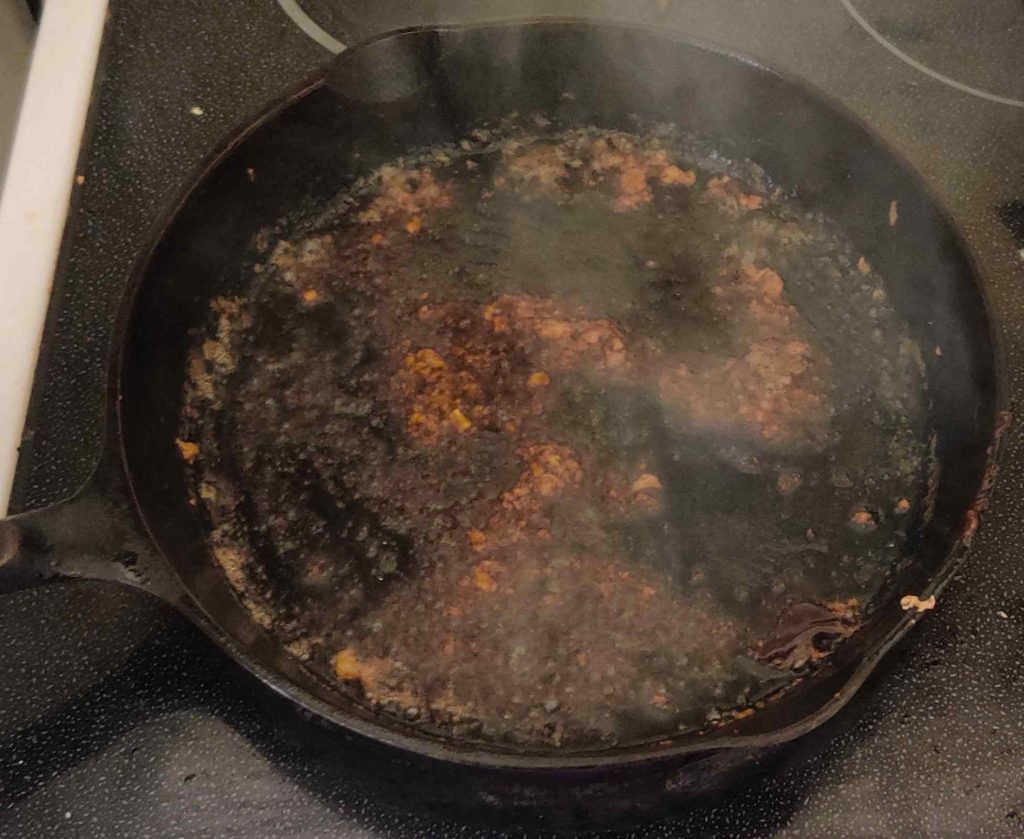
Oops I perhaps reduced it a bit too much — but without burning it:

Braising liquid reduced

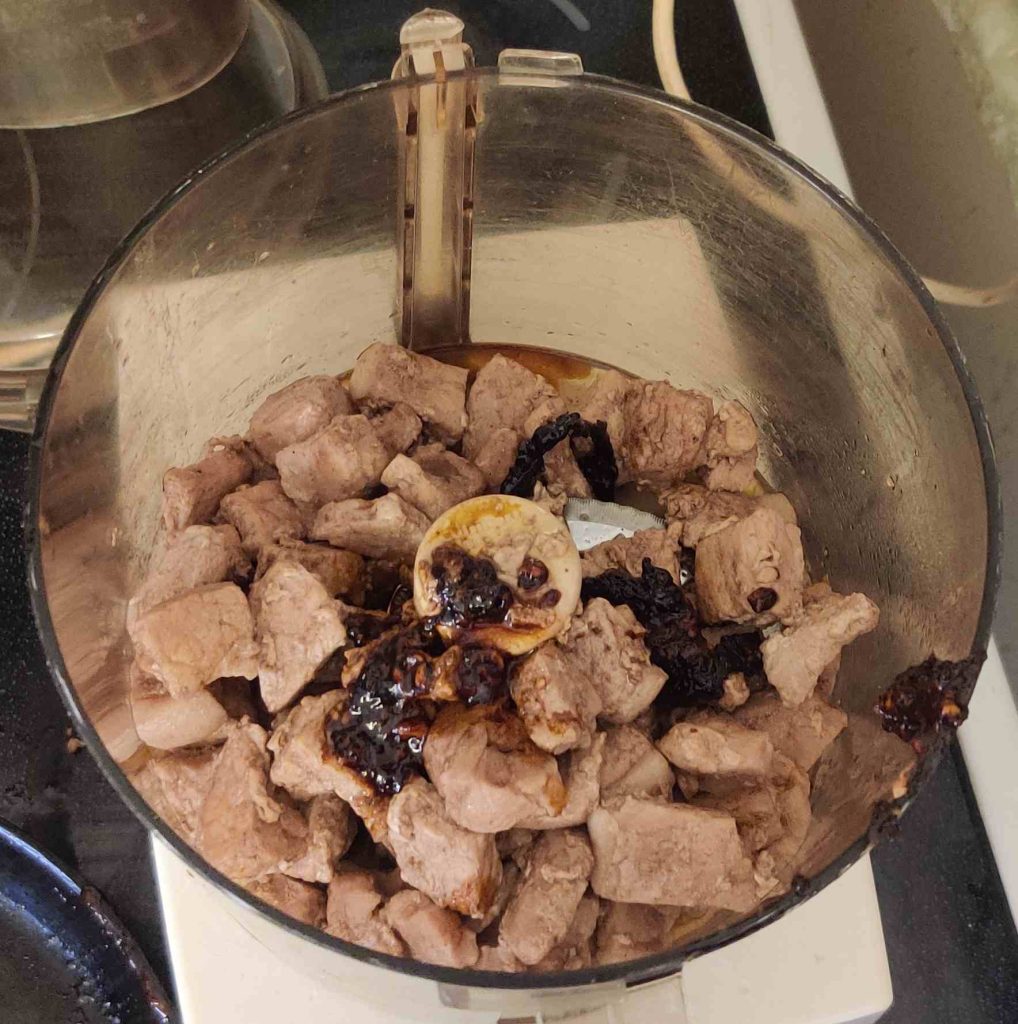
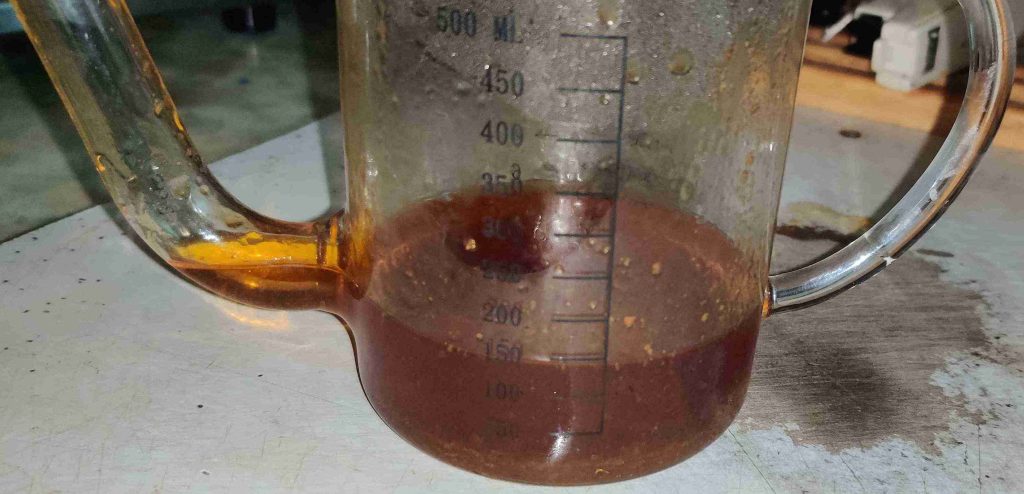
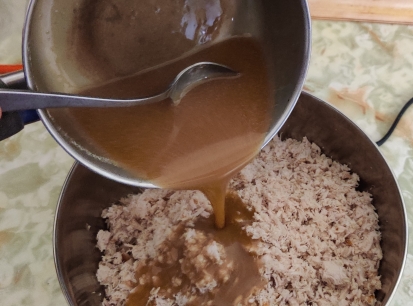
The reduction was transferred to the food processor, and the frypan was deglazed with a bit of water:

Reduction transferred to food processor and pan deglazed
Reduction transferred to food processor

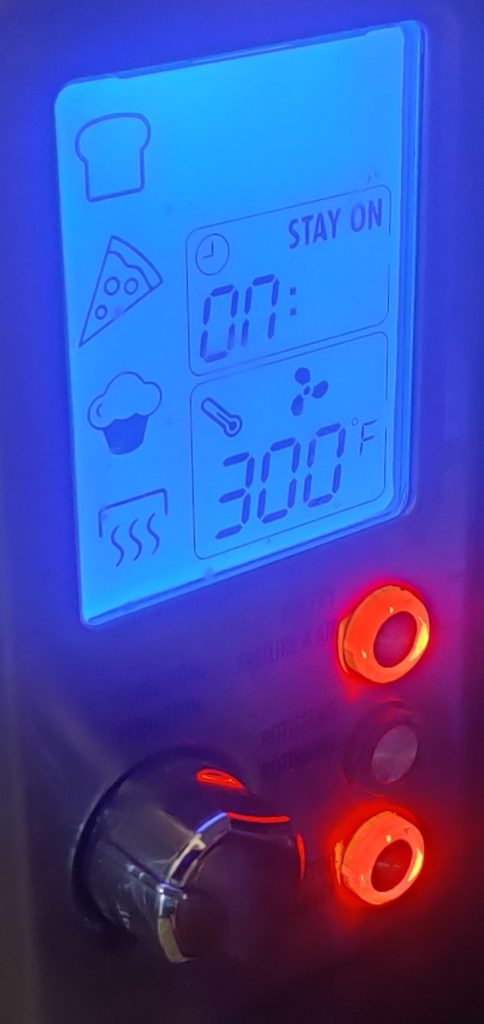
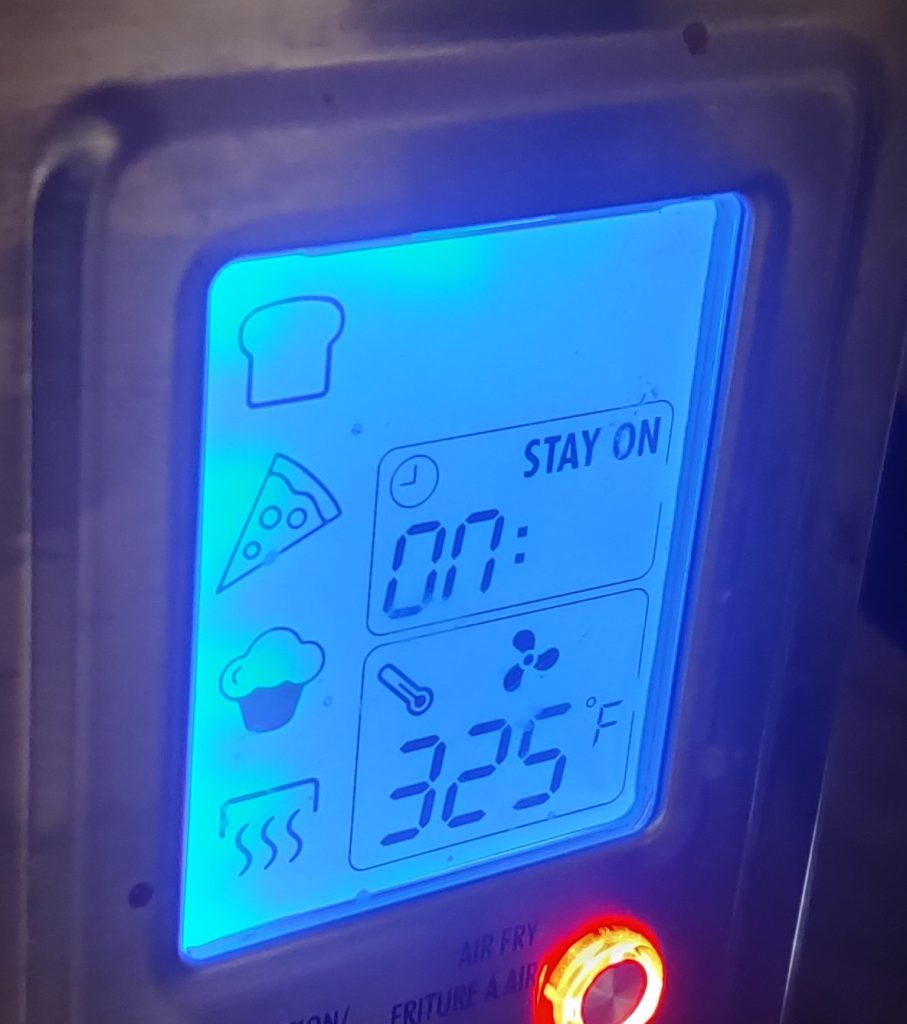
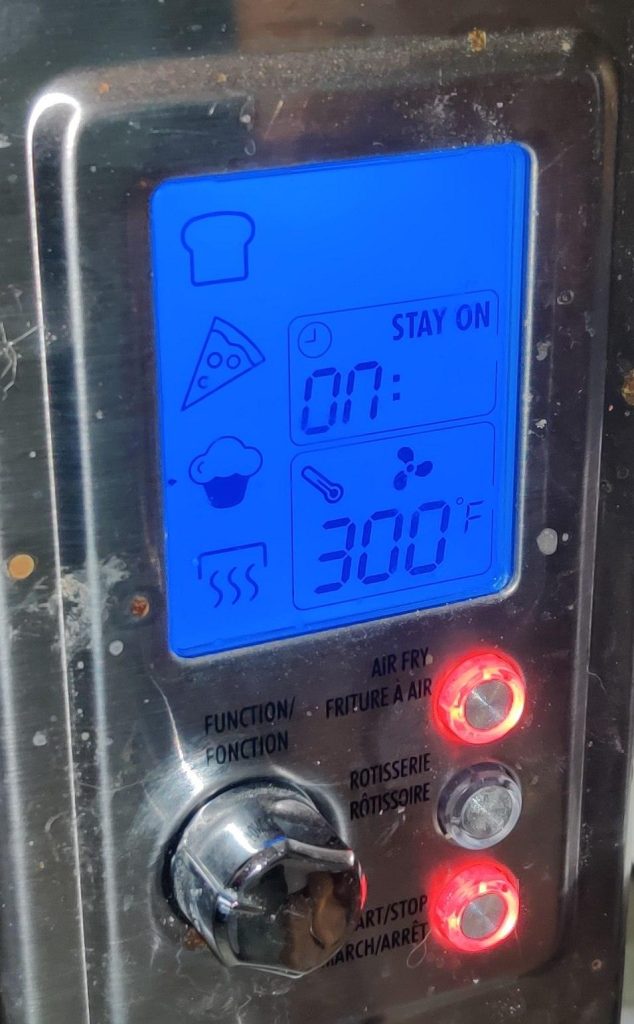
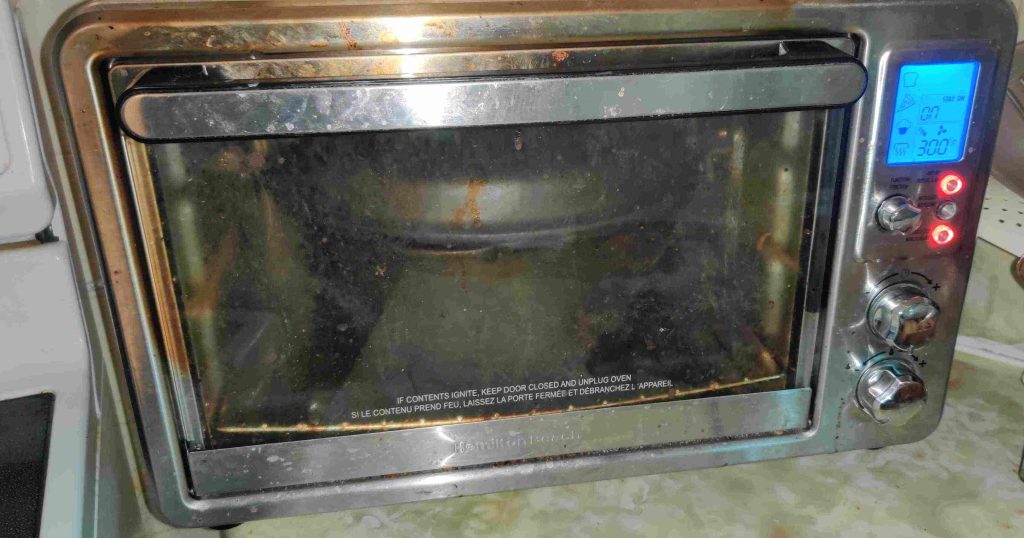
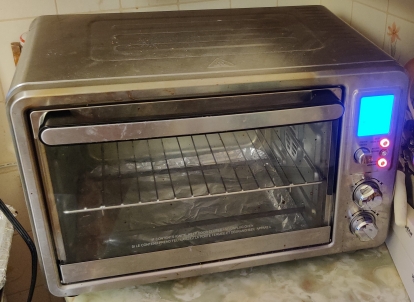
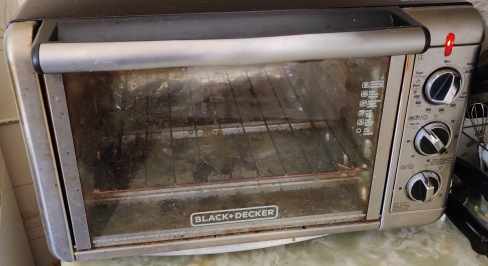
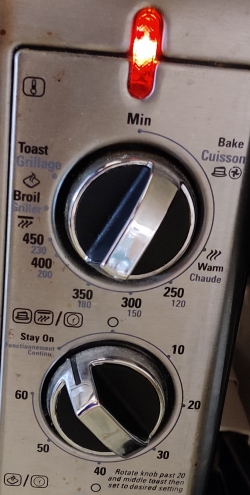
This is a good time to turn on the oven, in this case a countertop convection oven:

Countertop convection turned on

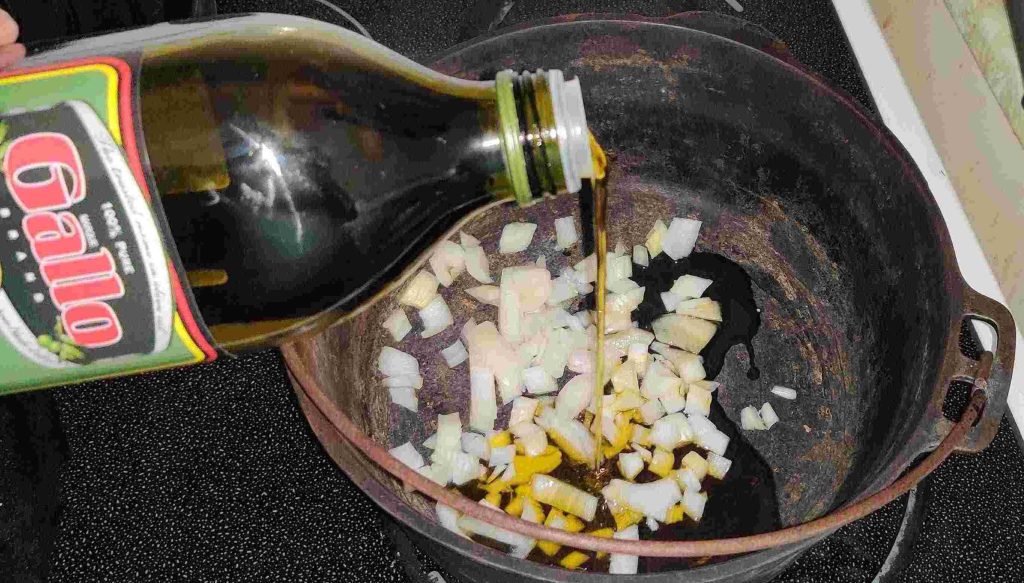
More olive oil was transferred to the fry pan:

Olive oil transferred to the frypan

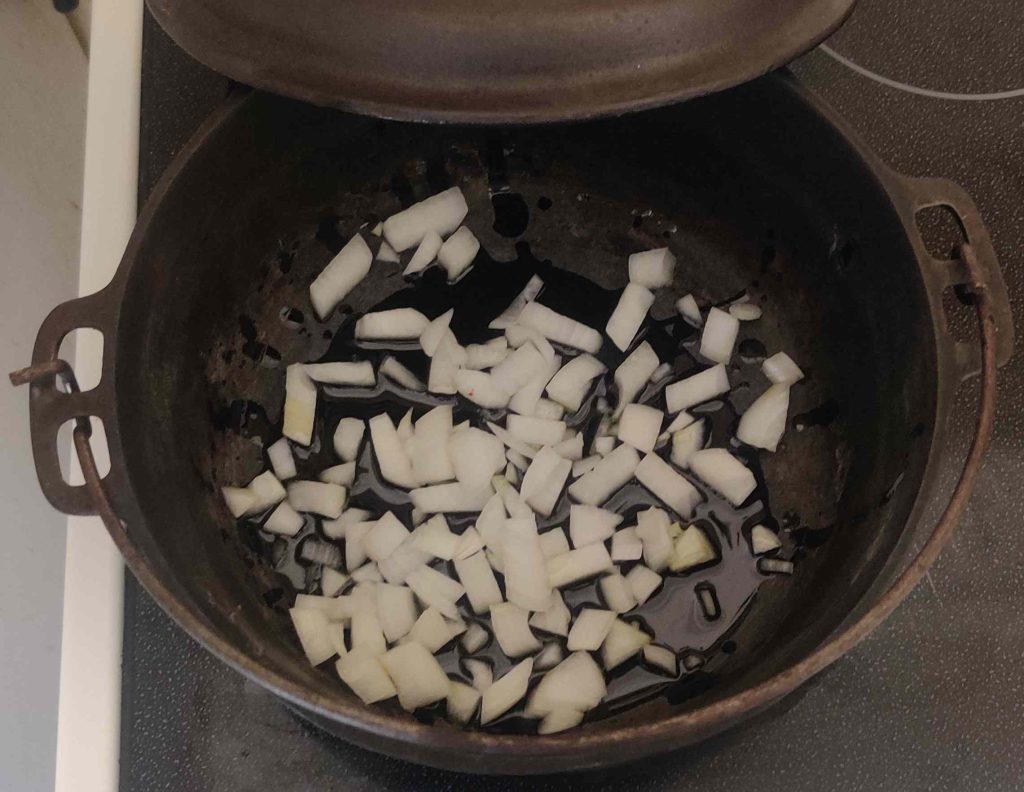
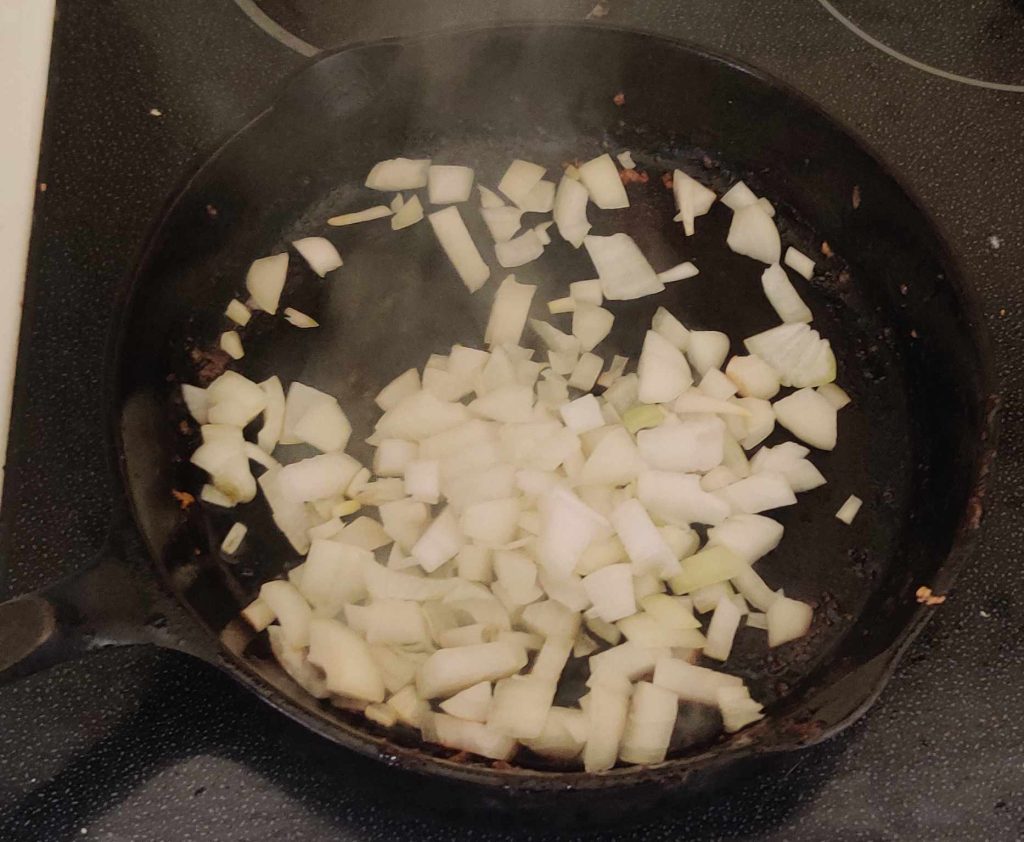
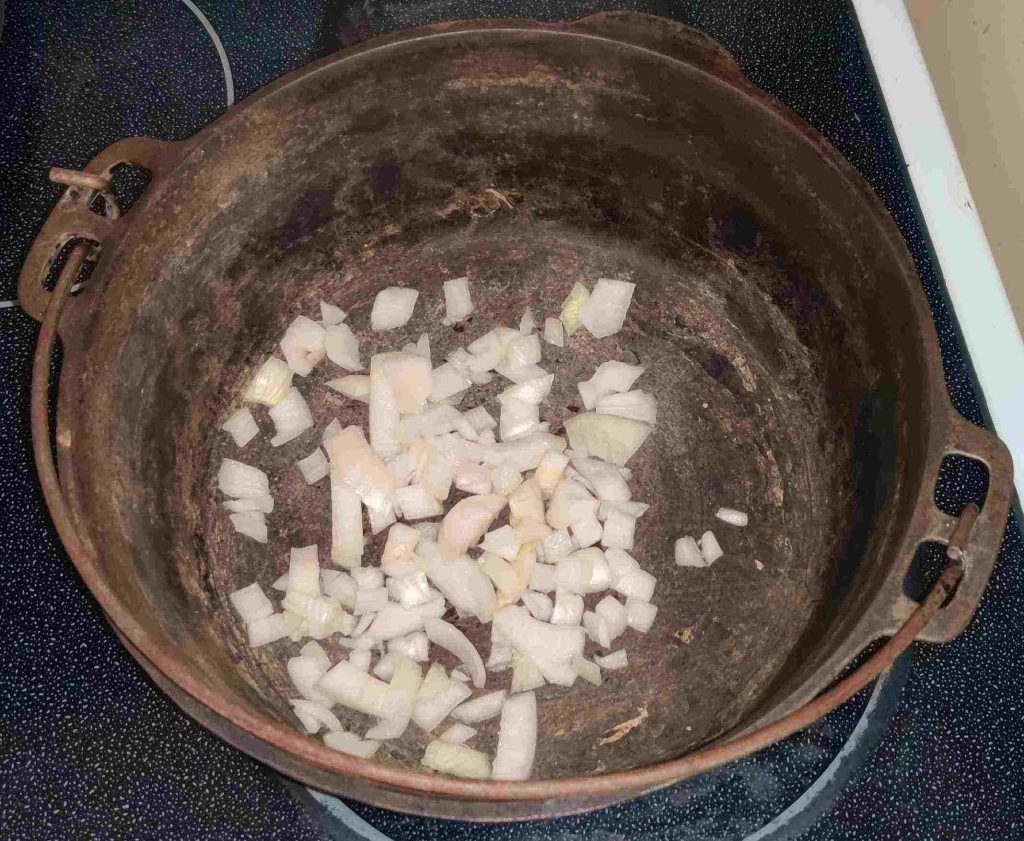
The onions that were chopped earlier were transferred to the frypan:

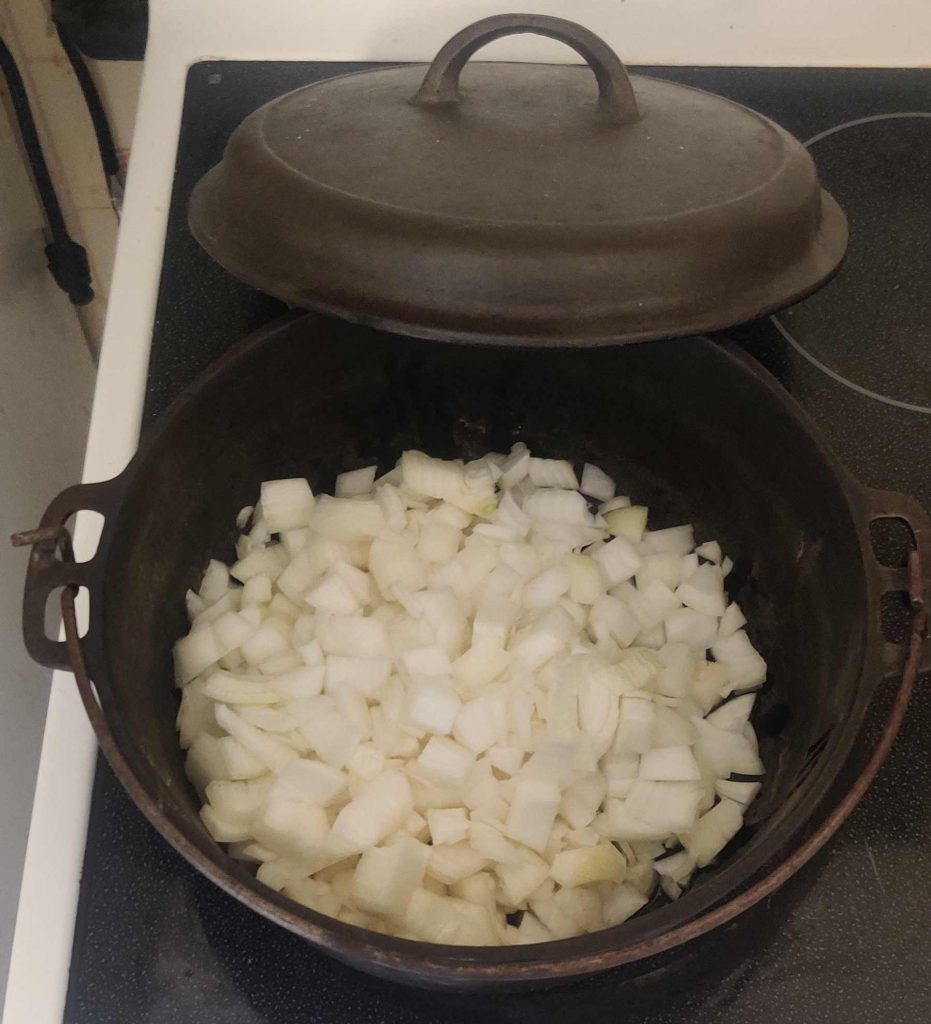
Chopped onions transferred to frypan

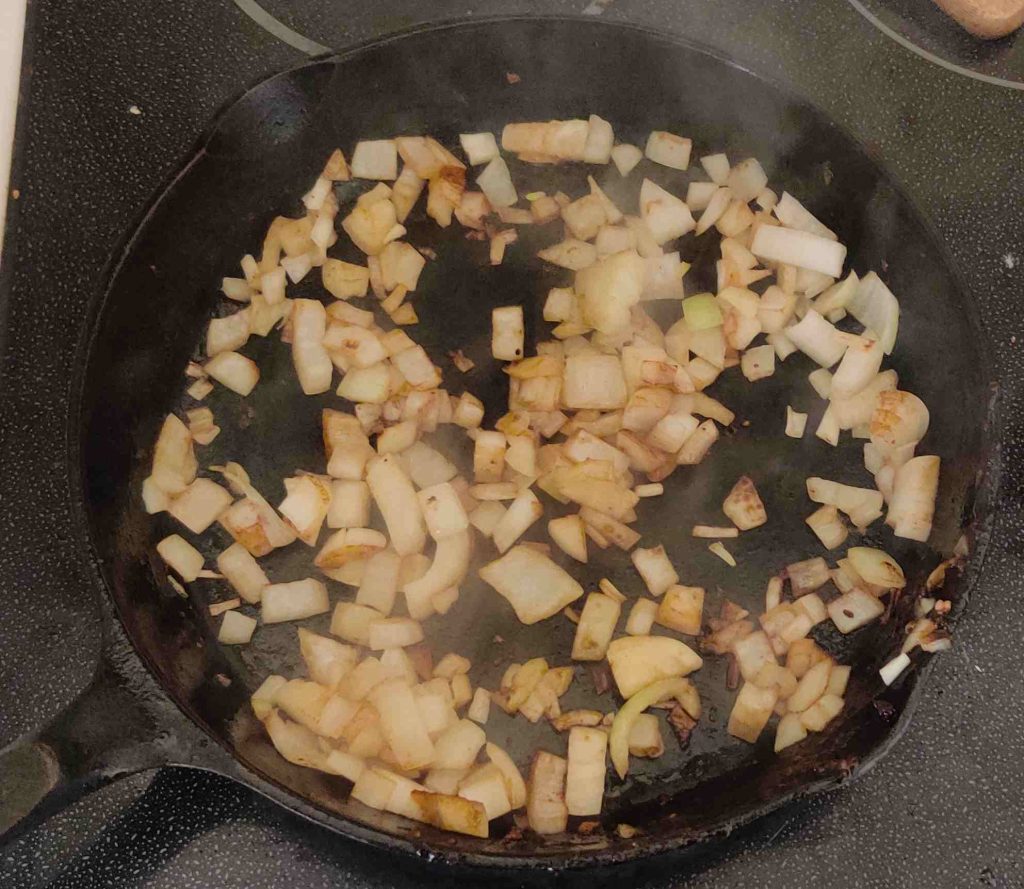
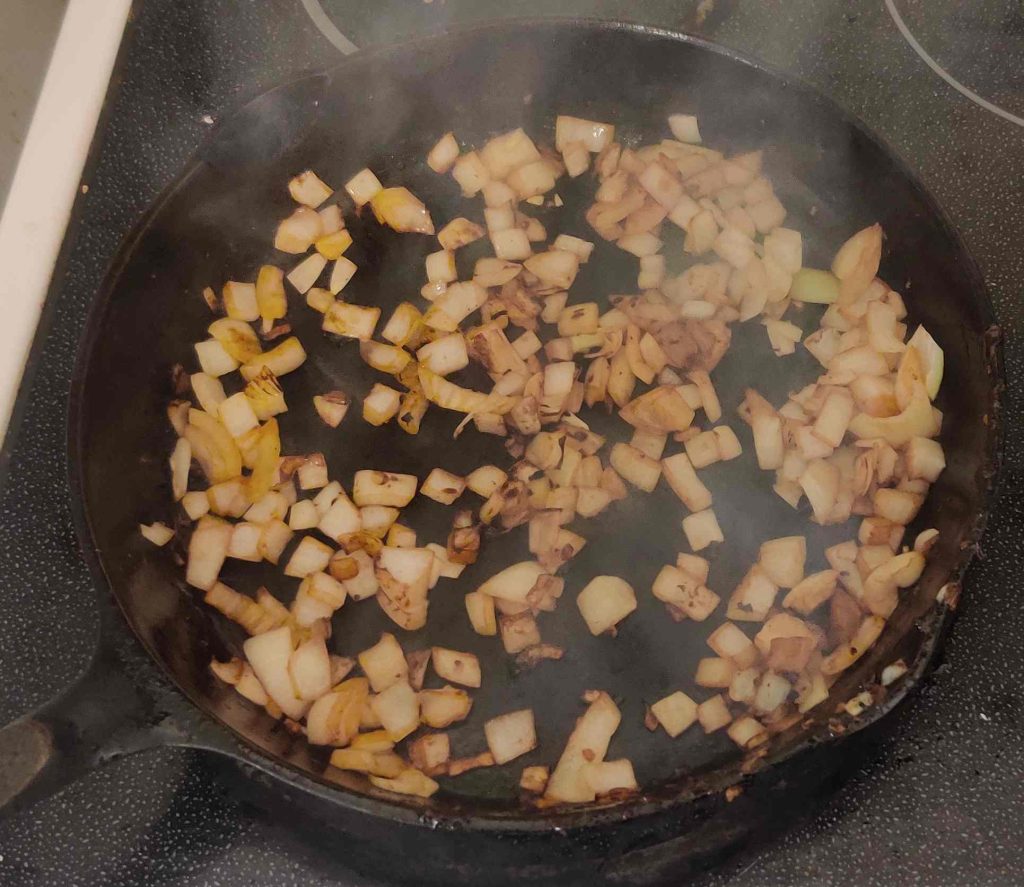
The chopped onions were fried — quickly, it seems, since I’d forgotten to reduce the heat from the liquid reduction!

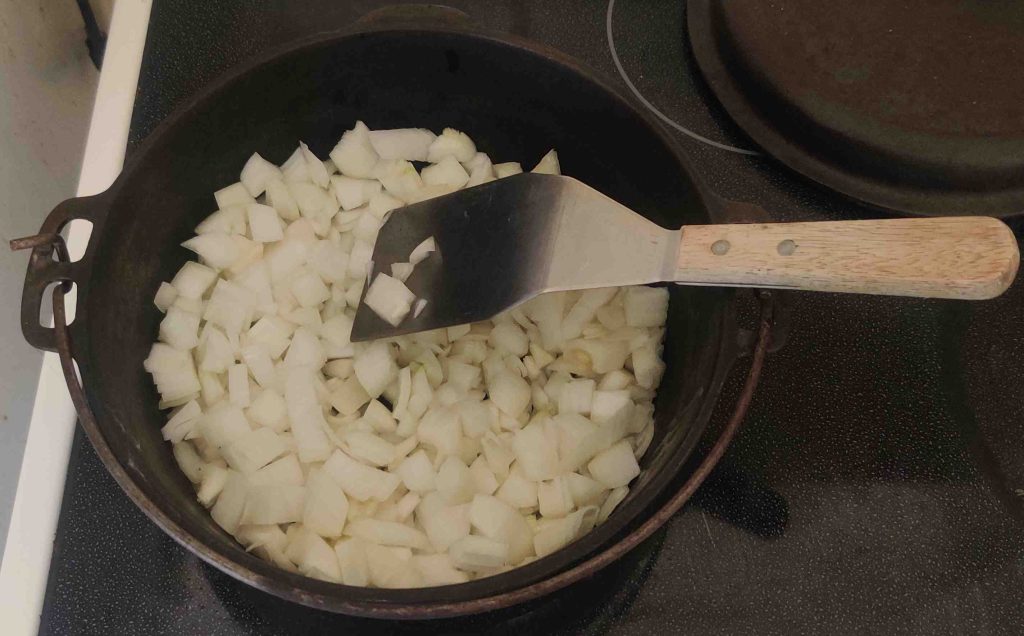
Chopped onions fried
Onions fried

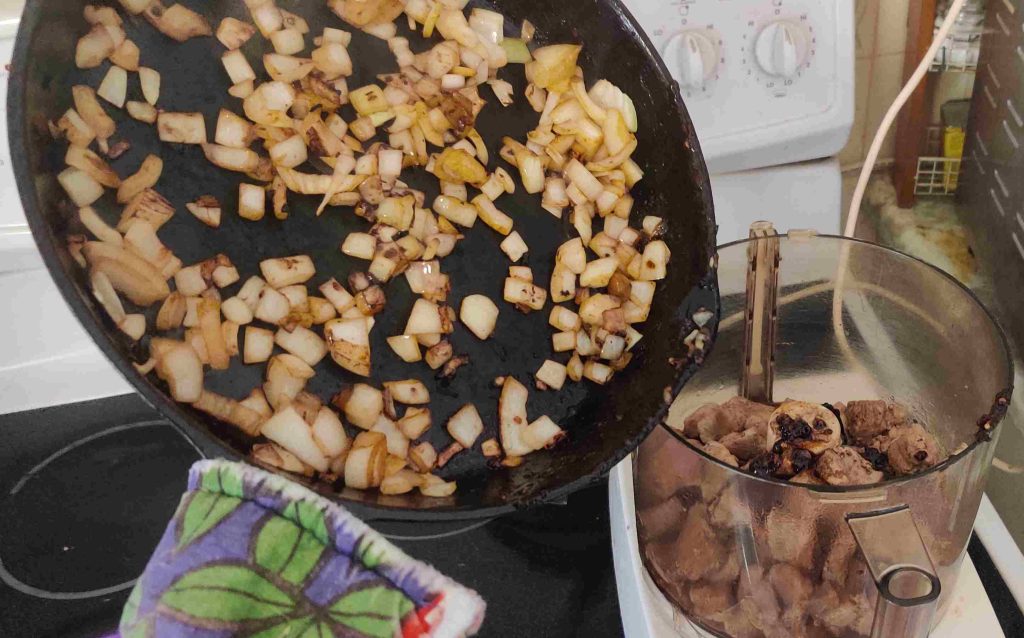
The fried onions were transferred to the food processor:

Fried onions transferred to food processor

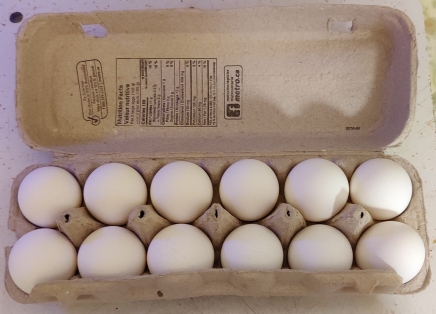
Eggs were taken out:

Eggs taken out

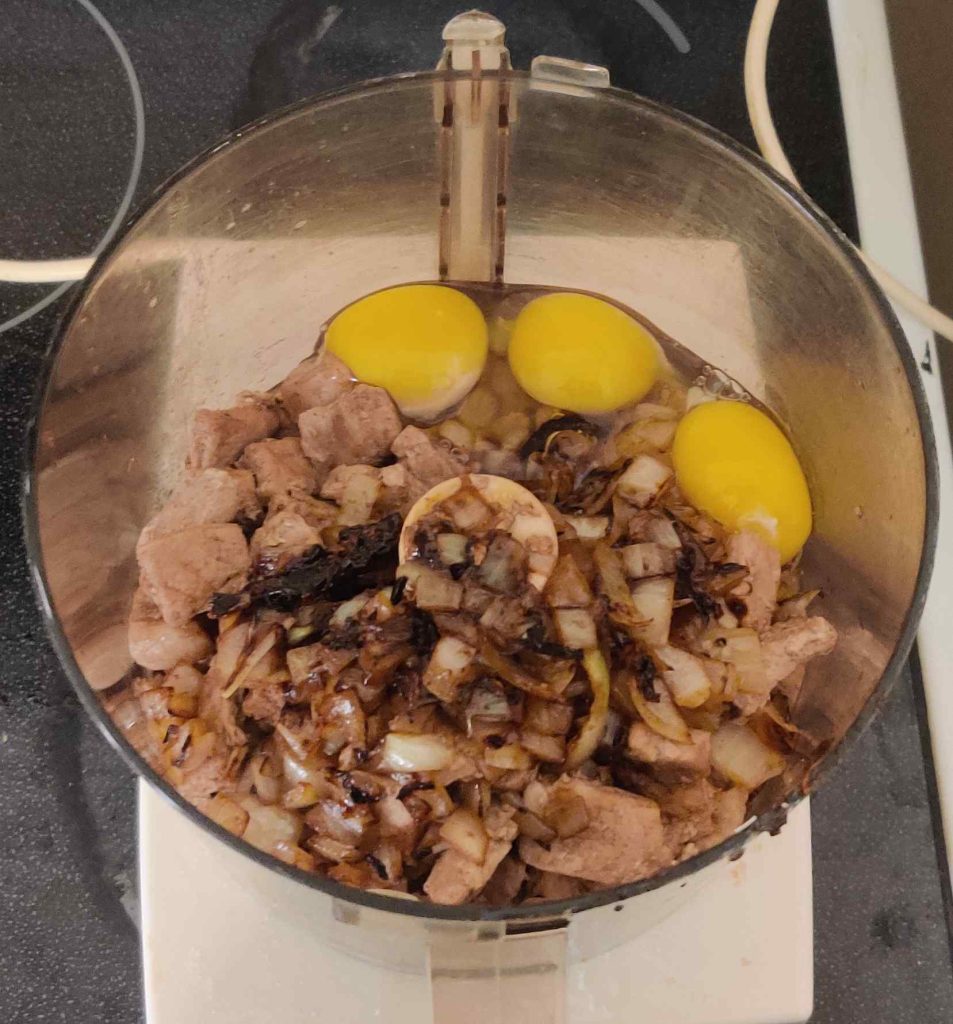
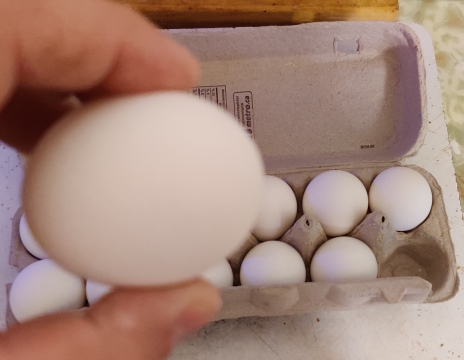
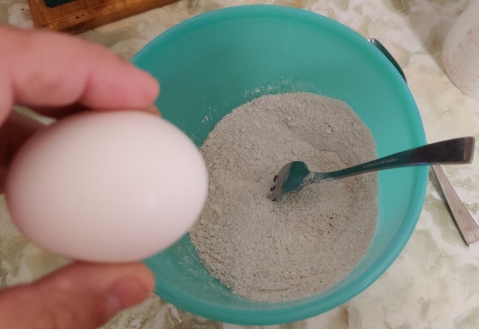
The eggs were cracked on the edge of the food processor:

Eggs cracked on edge of food processor
Eggs cracked into food processor

Milk was taken out:

Milk and measuring cup taken out

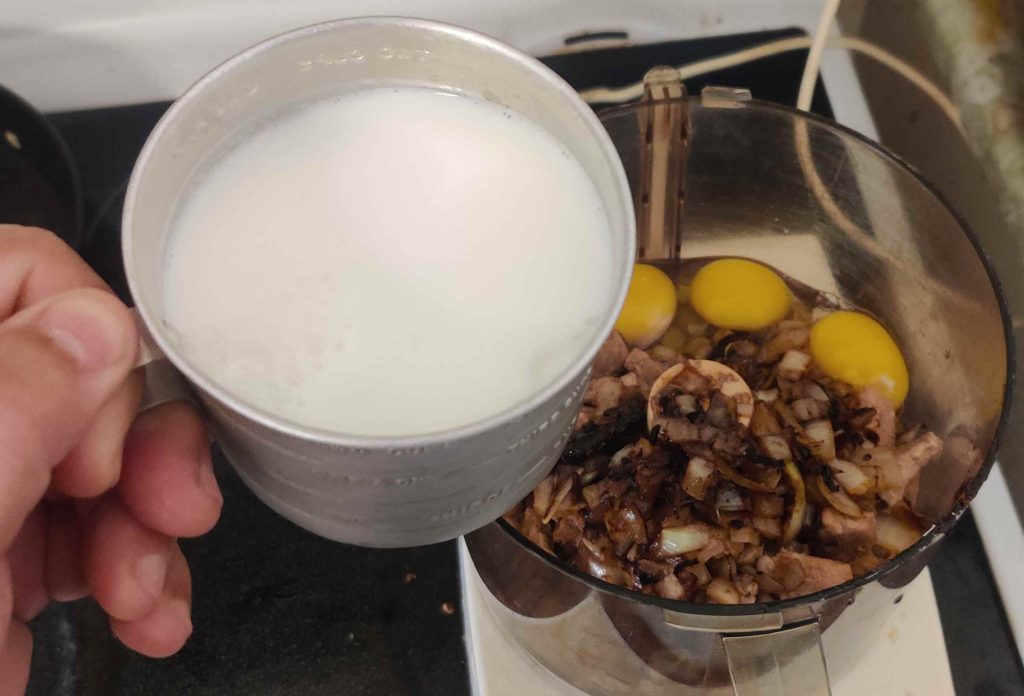
The milk was measured out:

Milk measured out

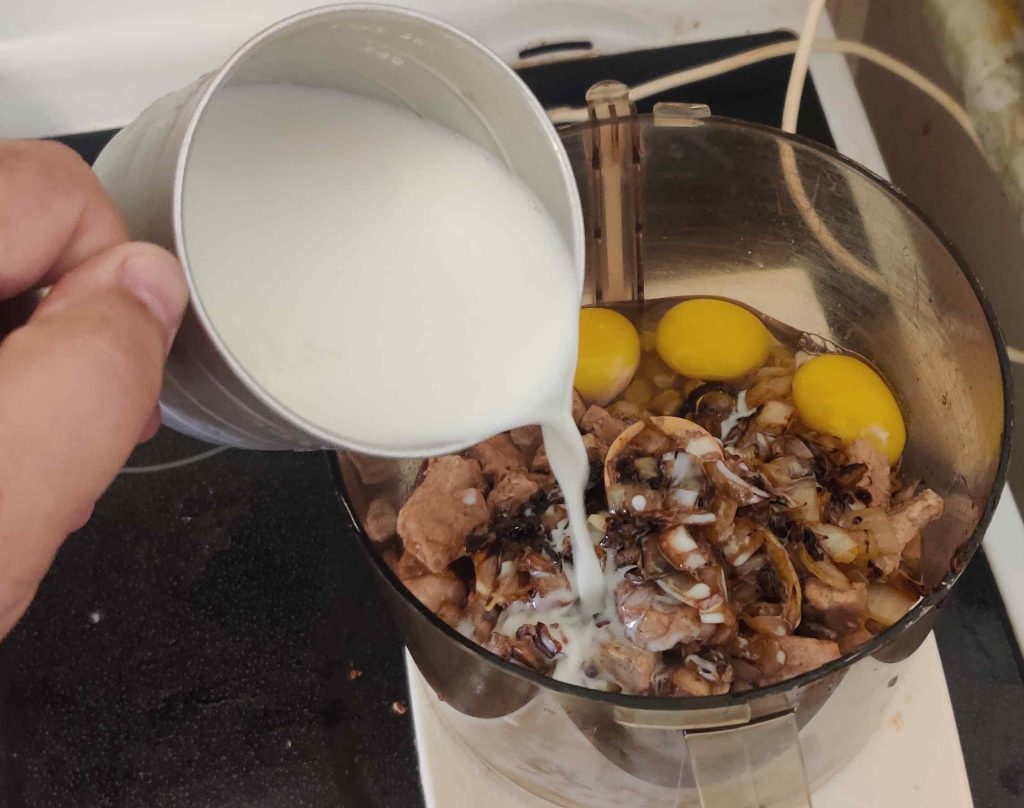
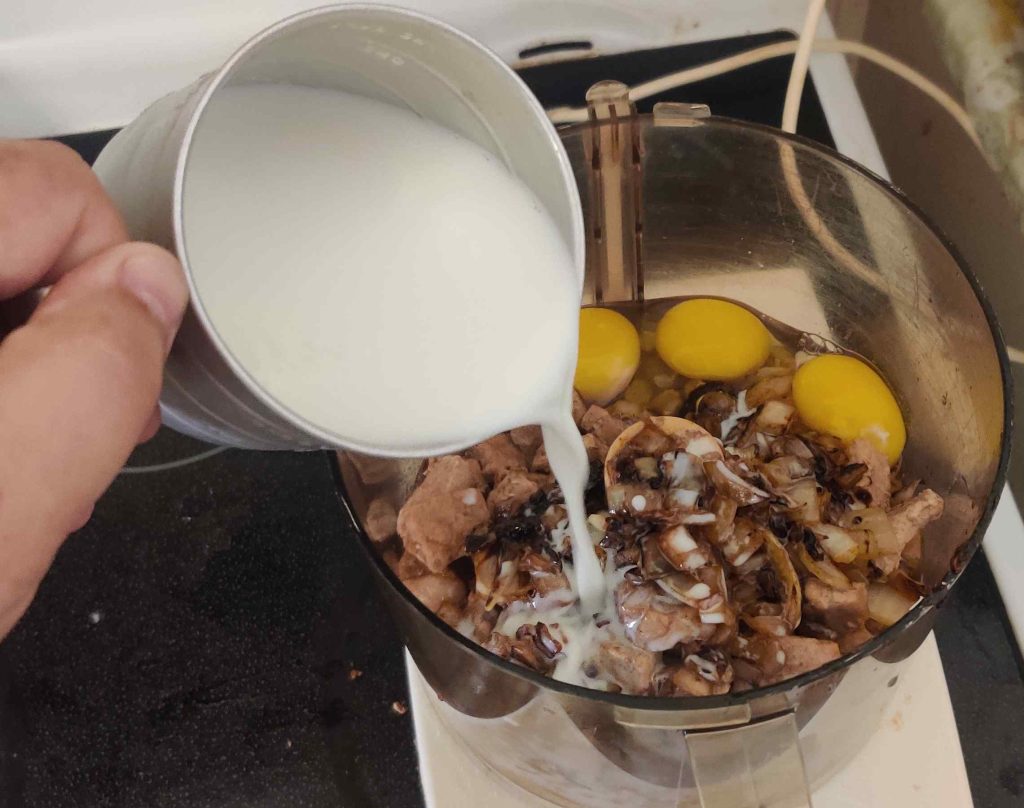
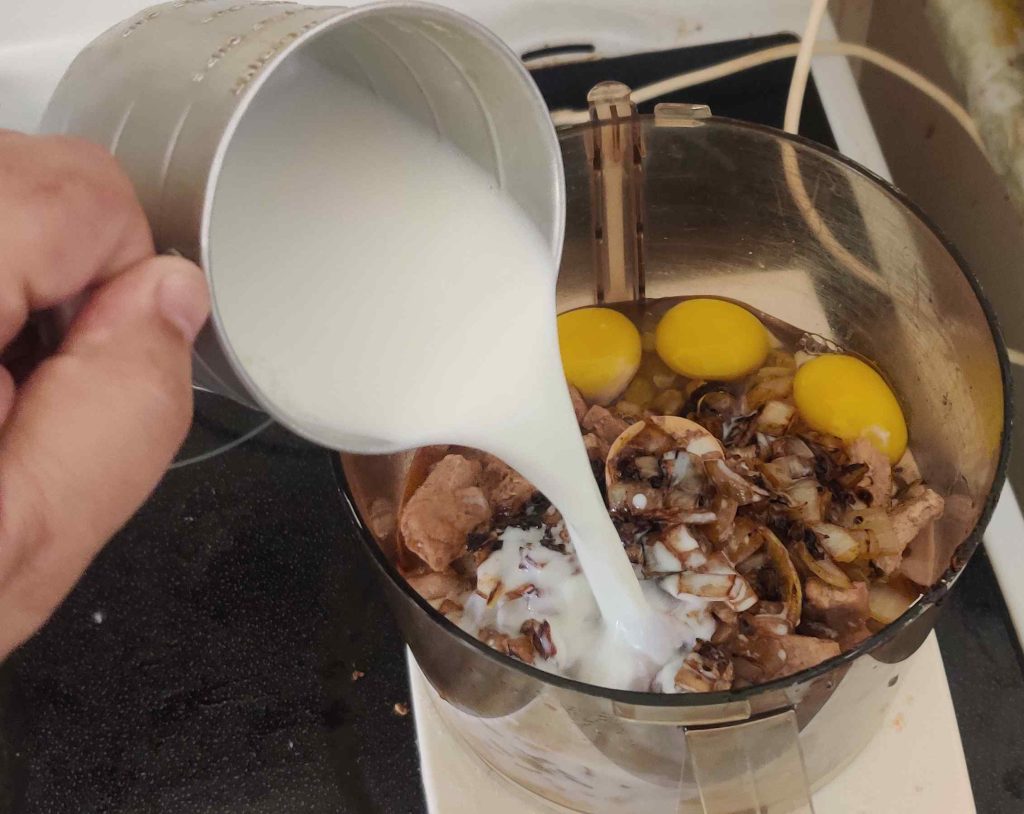
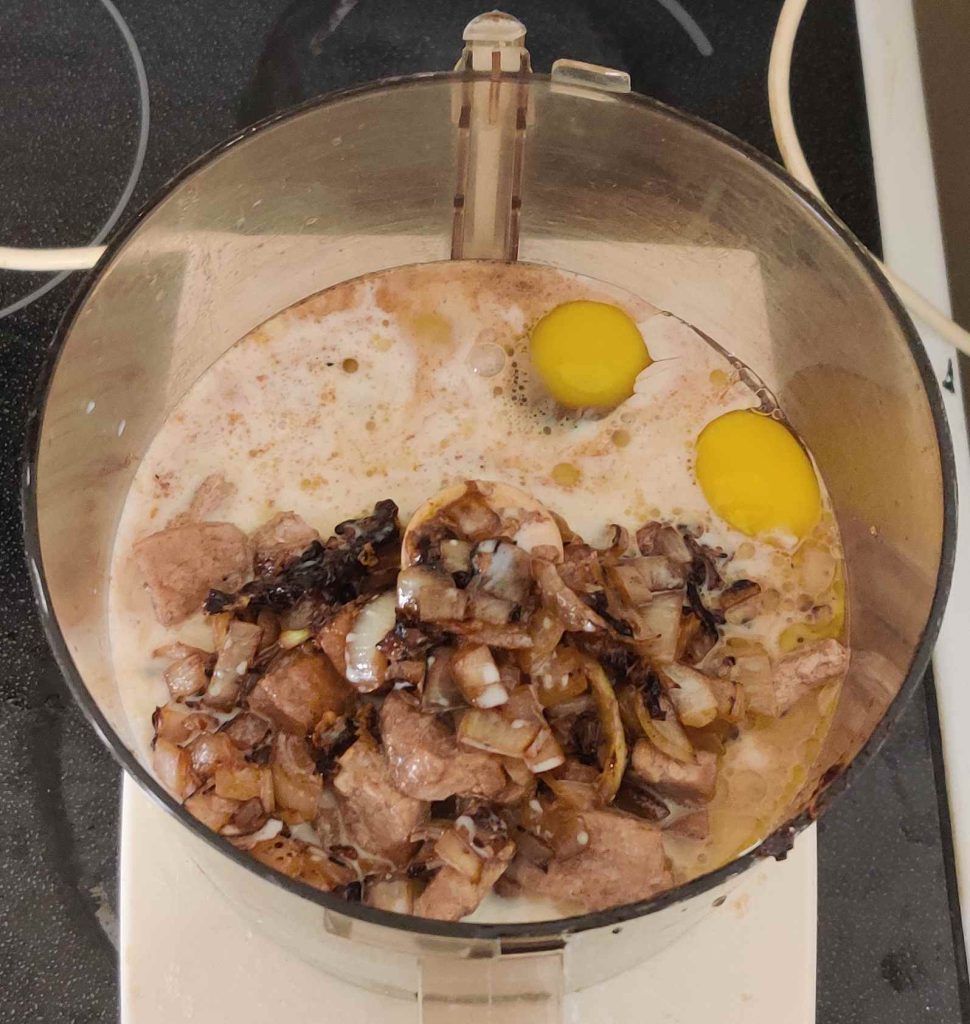
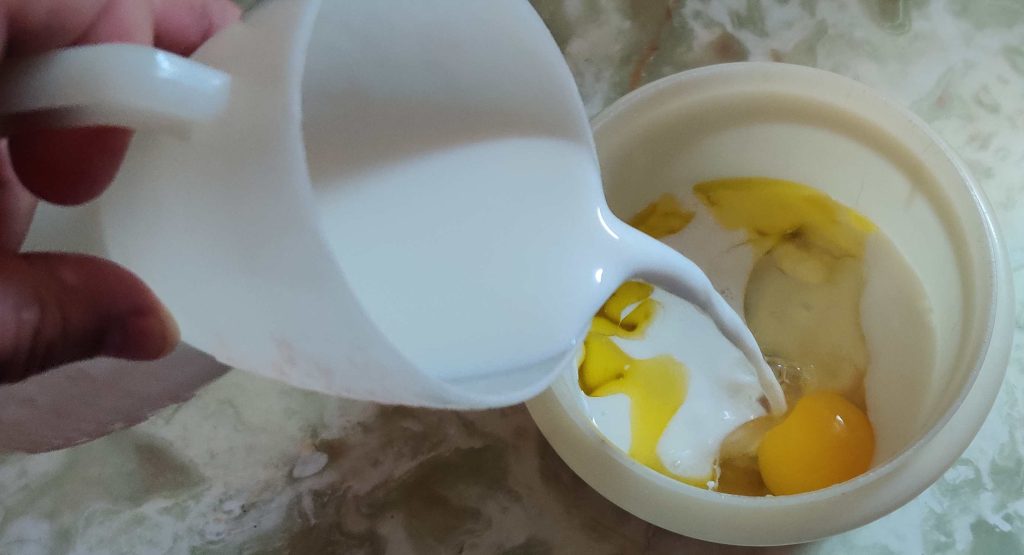
The milk was transferred to the food processor:

Milk transferred to food processor

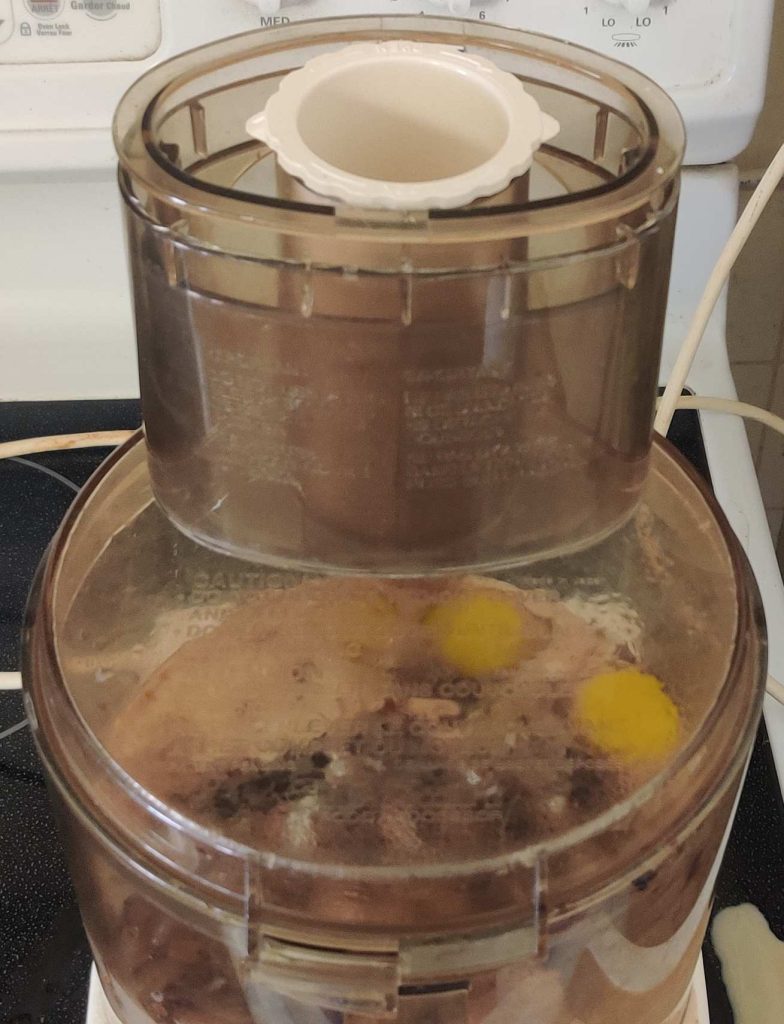
The lid was placed back on the food processor (yes, in the lower right hand corner, you can see that a bit of liquid spilled through the middle hole in the food processor):

Lid placed on food processor

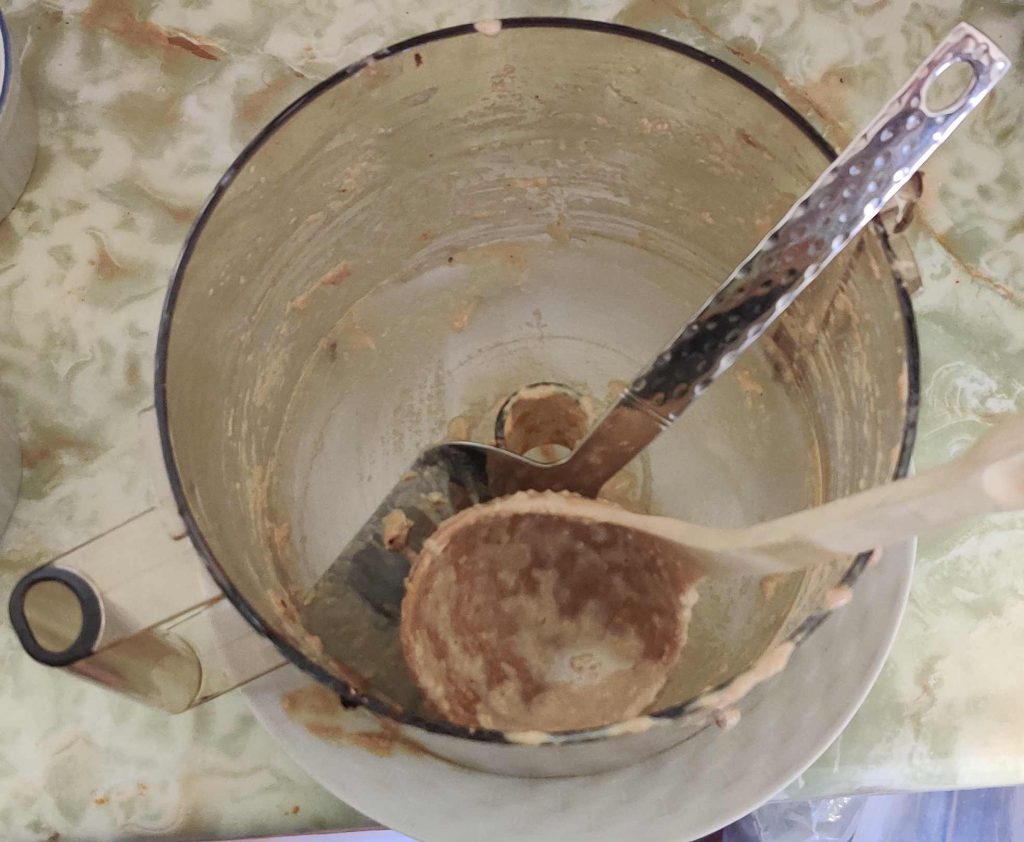
The food processor was turned on, and all the ingredients were liquidized:

Ingredients liquidized

A soup ladle was taken out:

Soup ladle taken out

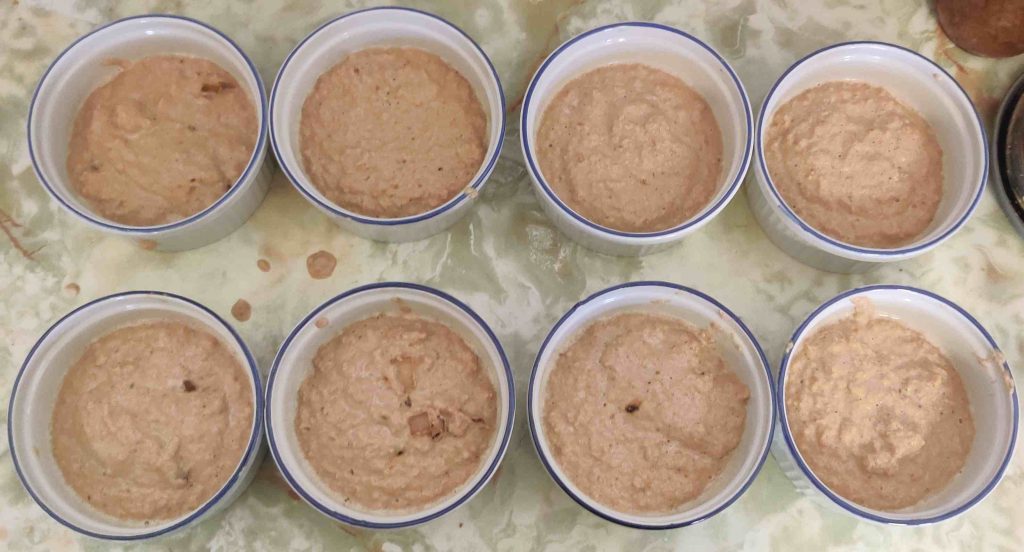
Some of the liquid was picked up with the ladle and the liquid was transferred to a ramekin, filling it to about an inch or so high:

Liquid transferred to a ramekin
Liquid transferred to ramekins
All the liquid transferred to ramekins

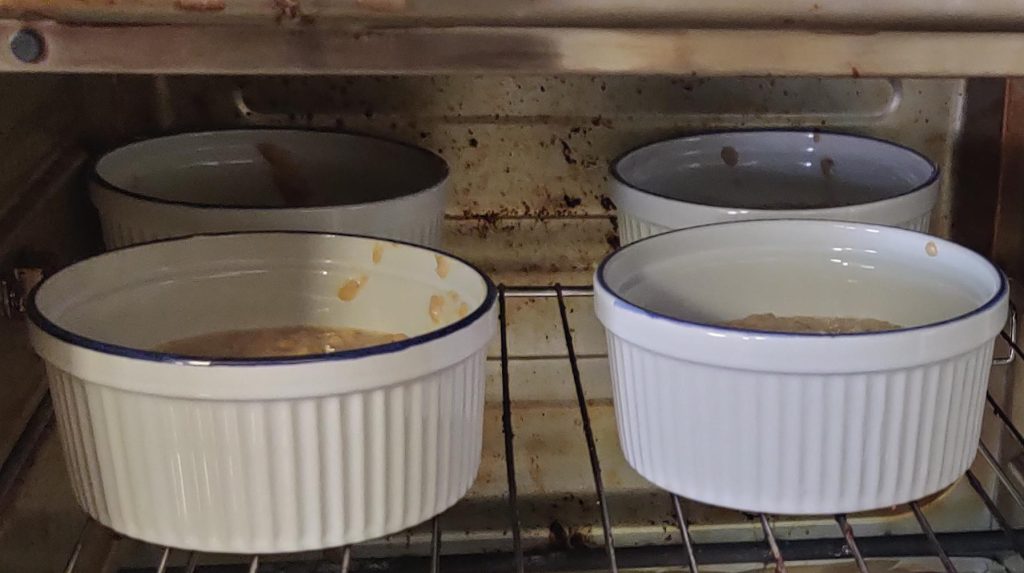
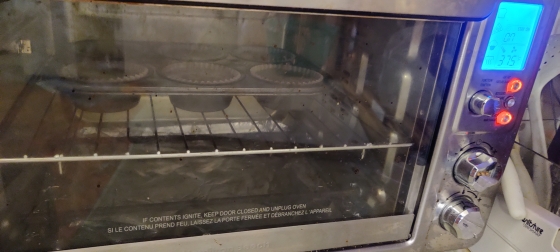
Four — half — of the filled ramekins were transferred to the hot oven:

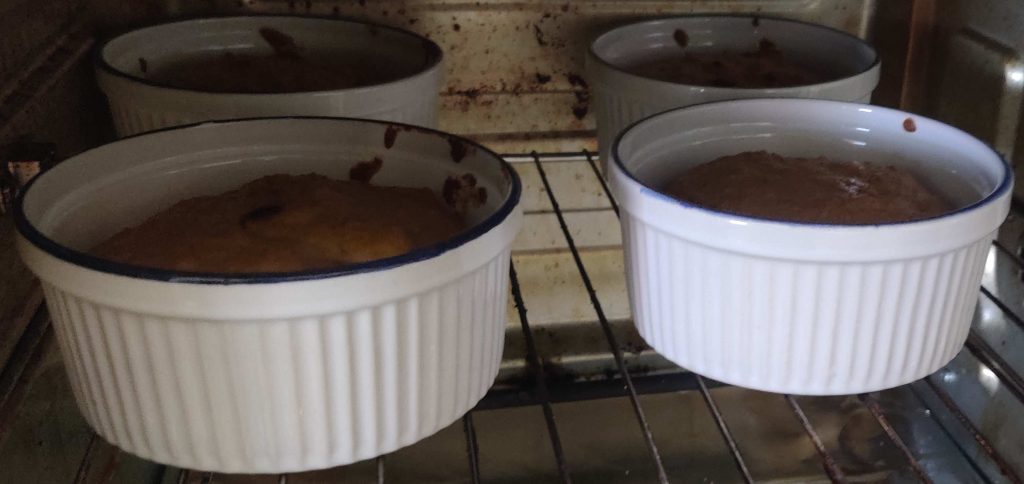
Ramekins transferred to hot oven

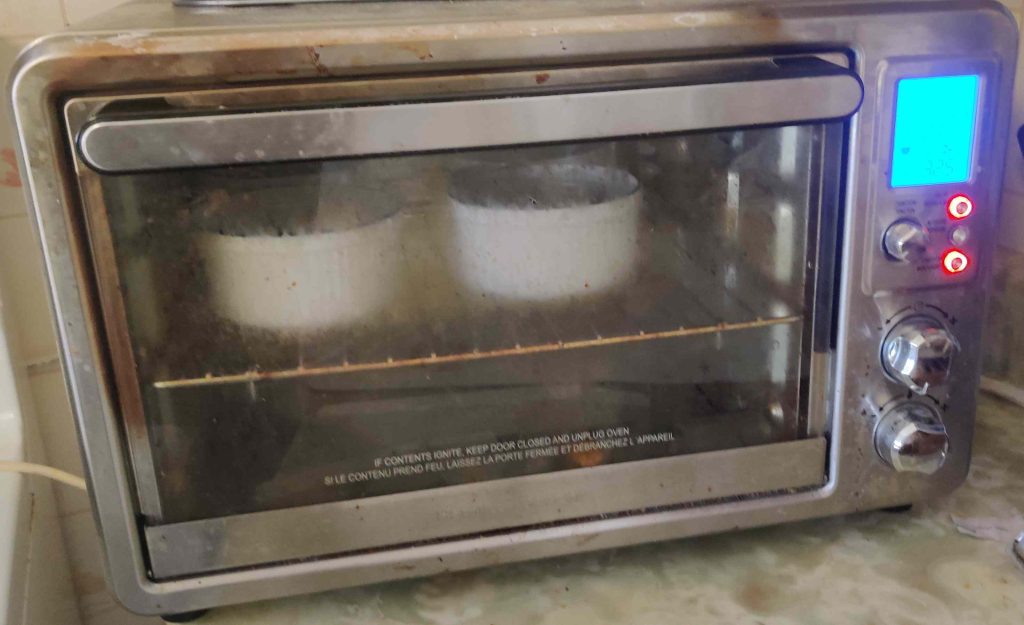
A timer was set to 35 minutes:

Timer set

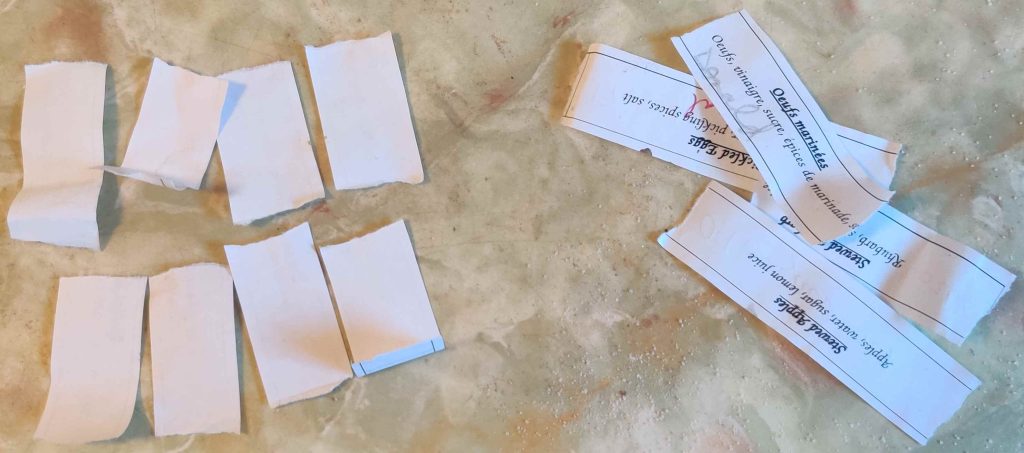
While the custards were baking, strips of paper were cut off from some old, used labels from my other food projects (in this case, picked eggs, stewed apples, and stewed rhubarb) in order to create some labels for when I place the custards in containers:

Strips of paper reclaimed from old labels

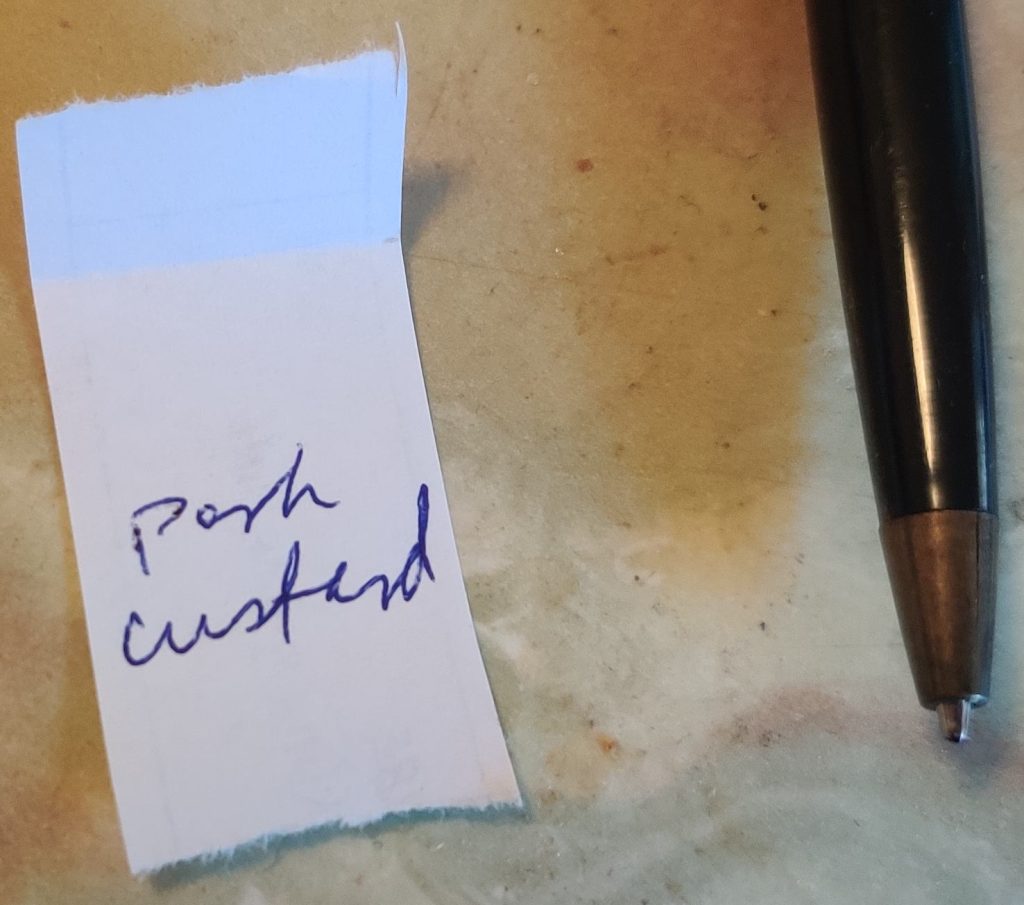
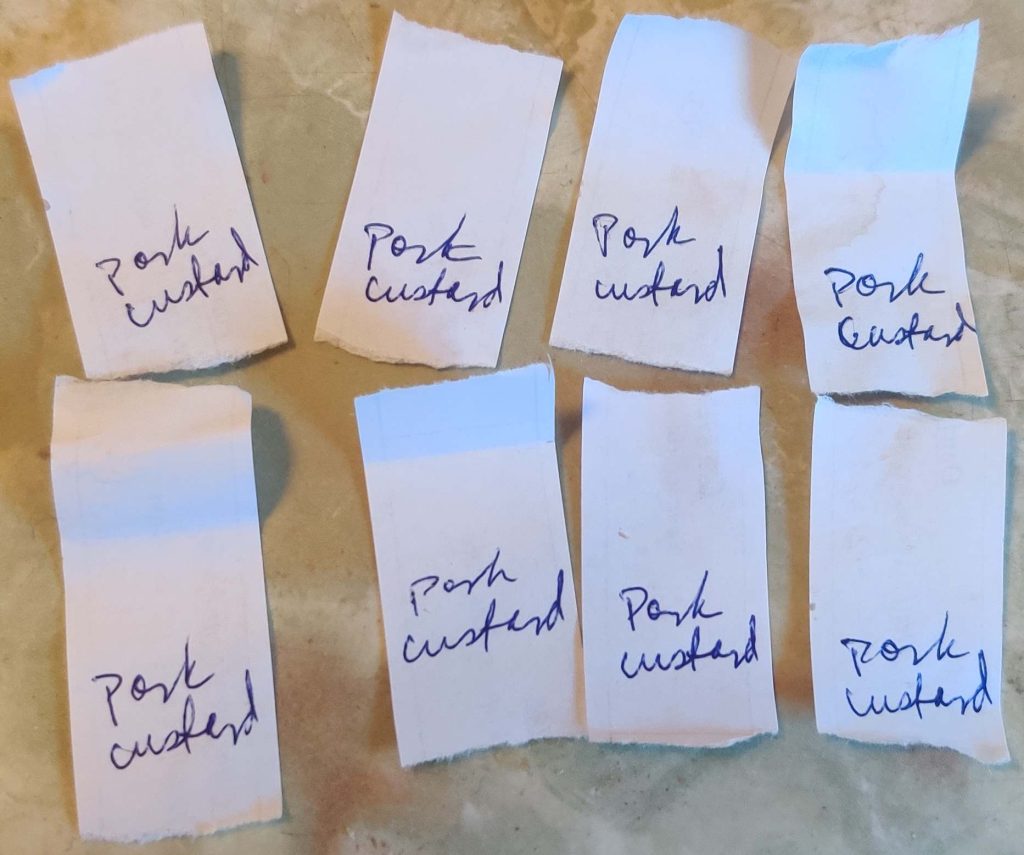
The strips of paper were identified:

Strips of paper identified

The timer ran out on the baking of the pork custards:

Baking of custards finished
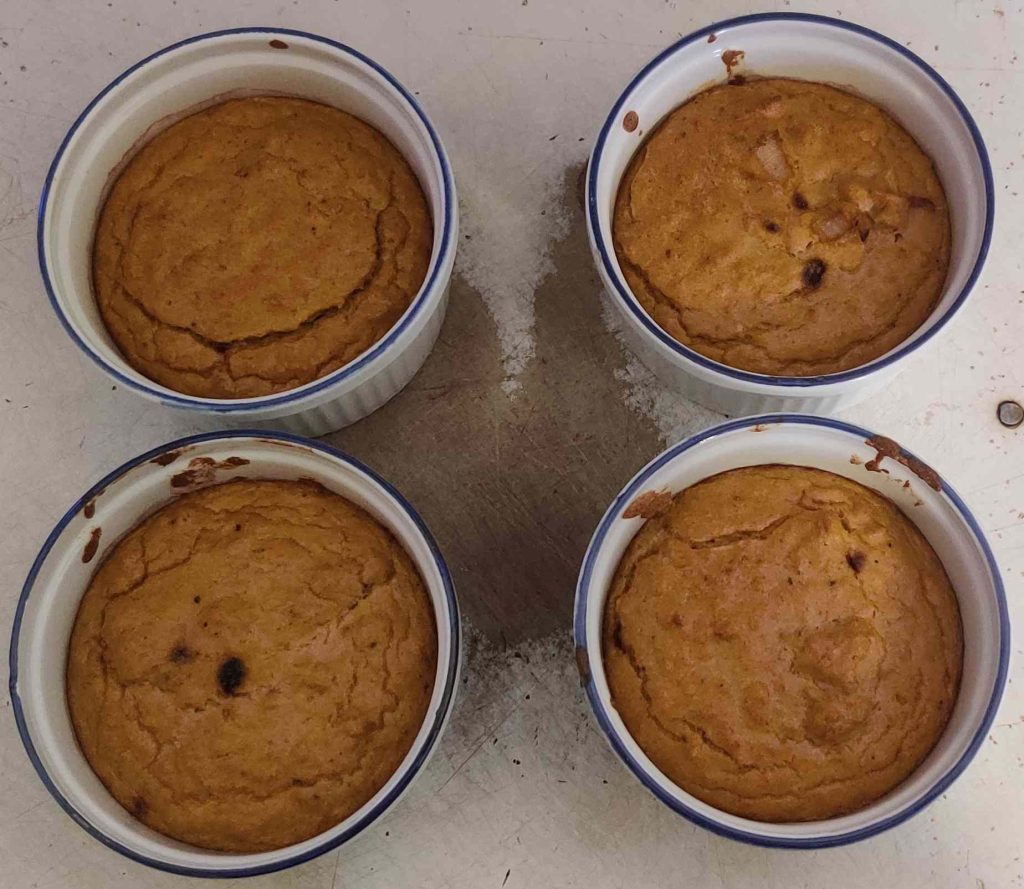
Baked custards

The baked custards were taken out of the countertop convection oven:

Baked custards taken out of oven

The other four custards were placed in the hot oven and were baked the same way and for the same amount of time.

The edges of the custards were released from the ramekins for cooling:

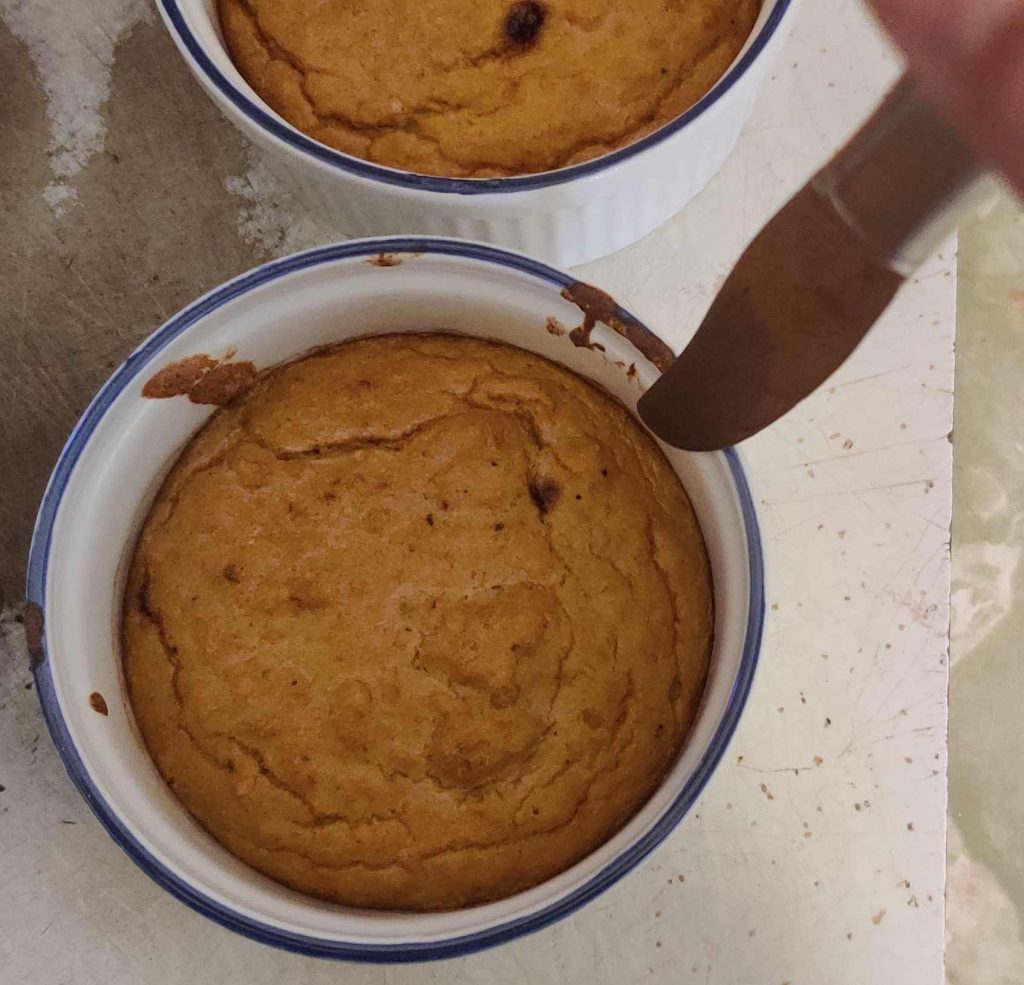
Edges released from ramekin

The cooled custards were cut in two:

Custard cut in two

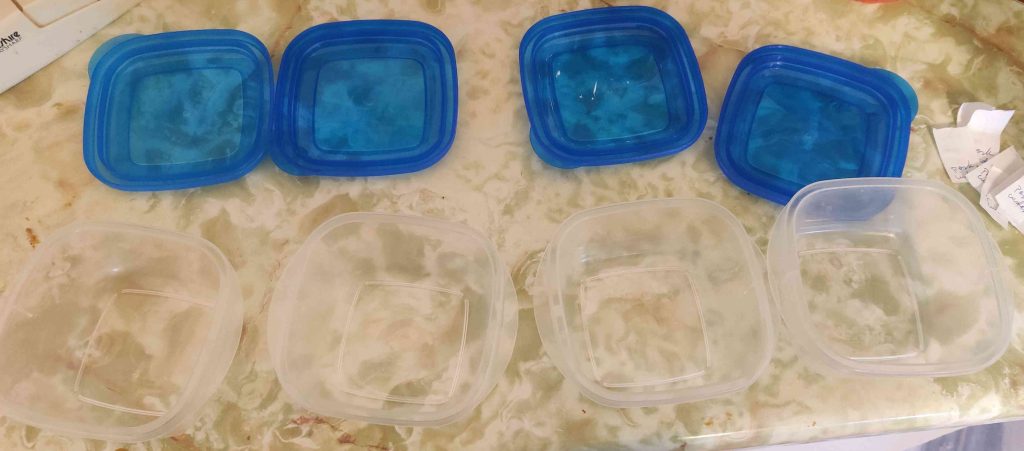
Plastic food containers were taken out:

Plastic containers taken out

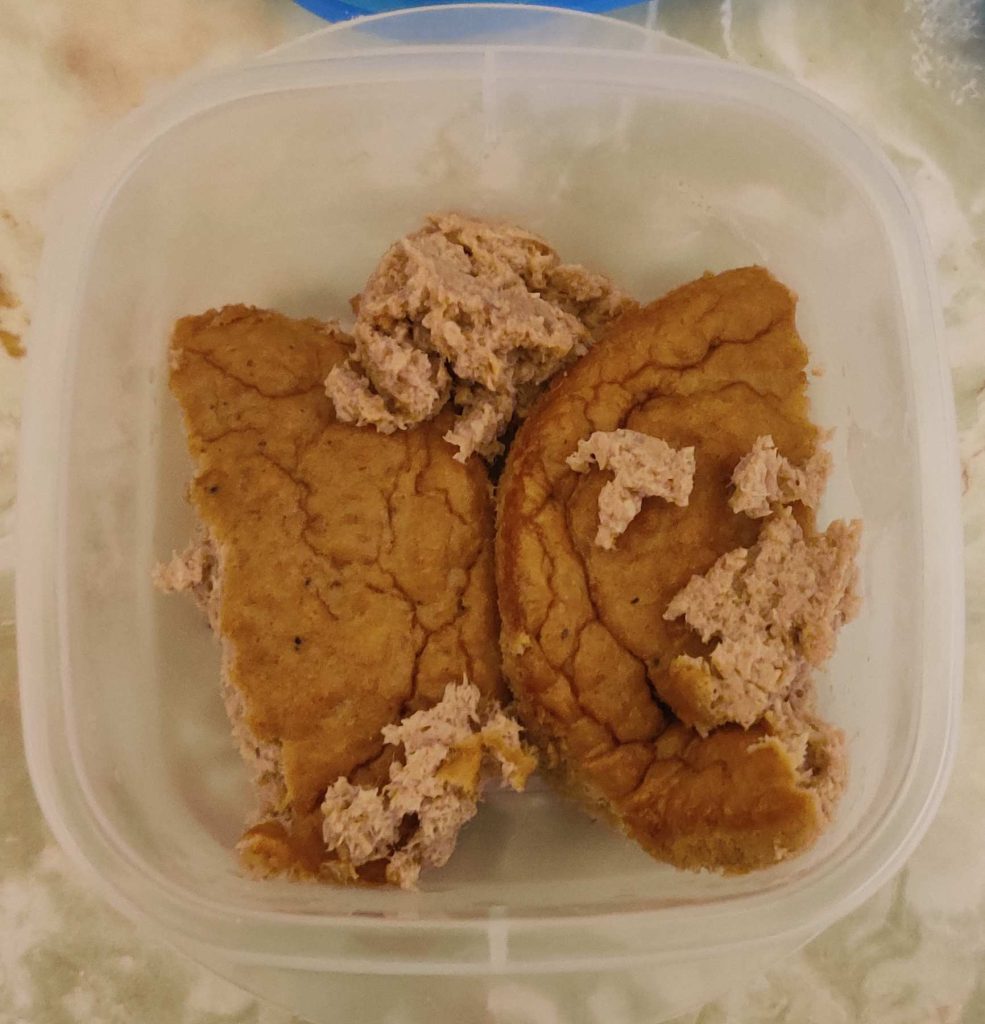
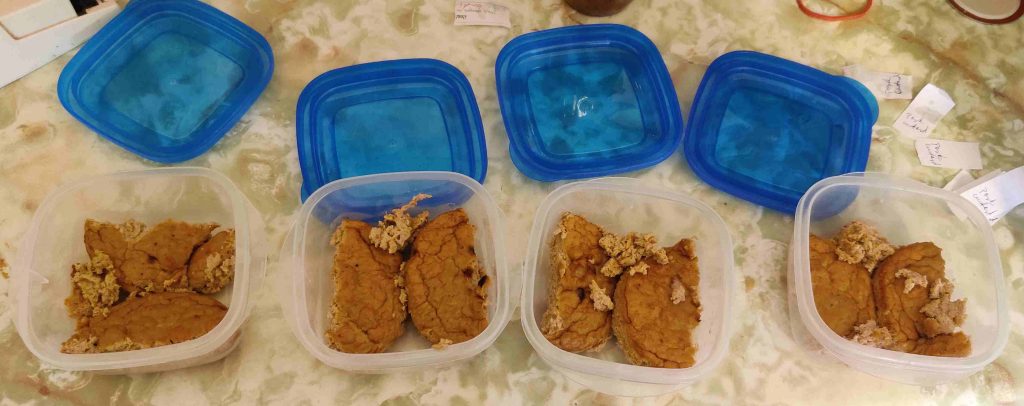
When the pork custards had cooled, I scooped them out of the ramekins with a spoon and transferred them to the containers (as you can see, I probably should have used a bit of oil as a release agent while cooking):

Pork custard transferred to container
Pork custard transferred to containers

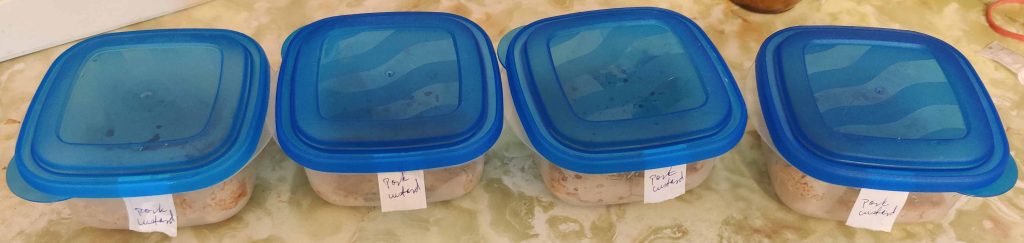
The covers were placed on the containers, along with the labels made earlier:

Covers placed on containers, as well as labels put in place

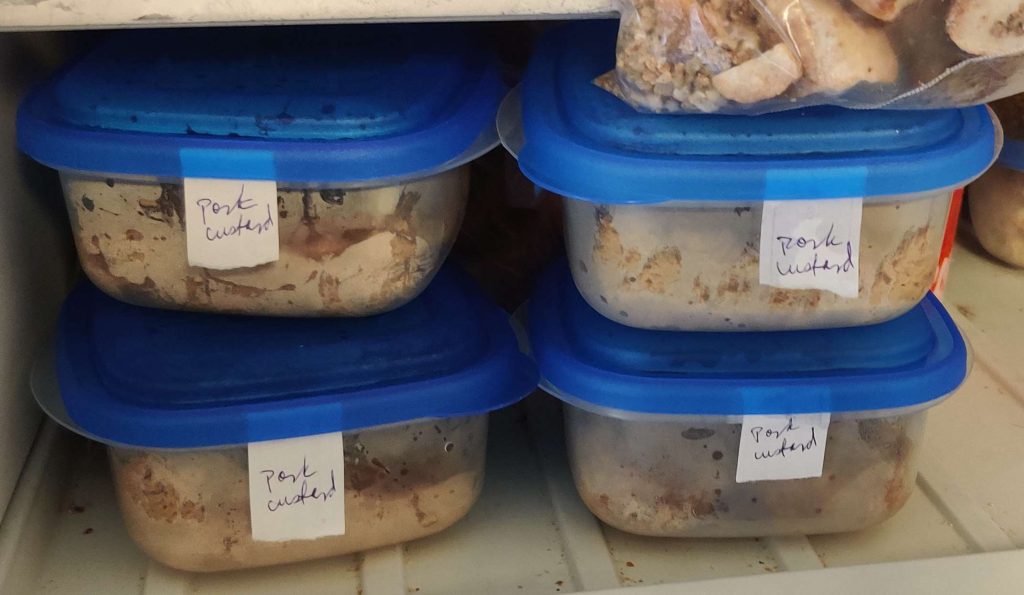
The containers were placed in the freezer, where you can see a bag of my cut up bierocks hanging over an edge!

Containers of pork custards placed in freezer

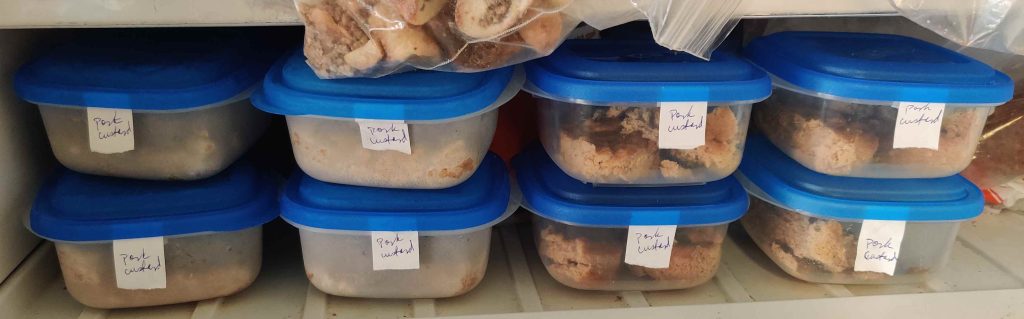
When the rest of the custards were baked, they were transferred to containers as well, and the containers were placed in the freezer beside the other containers:

Containers of pork custards placed in freezer

That evening, a piece of pork custard was a part of Mom’s supper! Yummy!

Making Goat Cheese Muffins — Photos

This recipe is another recipe in my muffin collection that has been developed over time — in this case, with the help of chatgpt.com (AI chatbot) to provide my mom with some variety. Interestingly, this recipe started as a goat cheese omelette — which I occasionally make for Mom — but which came about as a result of Mom asking last year “Can you make it less eggy and with more flour?” I still have no idea if she was providing raw, unfiltered, and candid feedback regarding taste and texture, or if she was employing some dry humour to ask me to come up with another kind of muffin using goat cheese. 🙂 Either way, Mom was pleased with the result!

Conveniently, this recipe is also tailored to making six muffins at a time (instead of the customary dozen muffins) and in a countertop convection oven. This avoids turning the making and baking of these tasty muffins into a grand affair by not having to heat up a conventional oven, which might well create a strong temptation to give in to notions of “well, the big oven is heated up … what else should I bake while I’m at it?” (Of course, should you want to make more, or otherwise engage in such a grand affair, all you need to do is scale it up to 12, 18, 24 or more units!)

Note that a small handful of the photos were taken out of order, and that in sorting the photos there are also some minor jumps in my file numbering; all is presented as below for the sake of the narrative.

Making the goat cheese muffins:

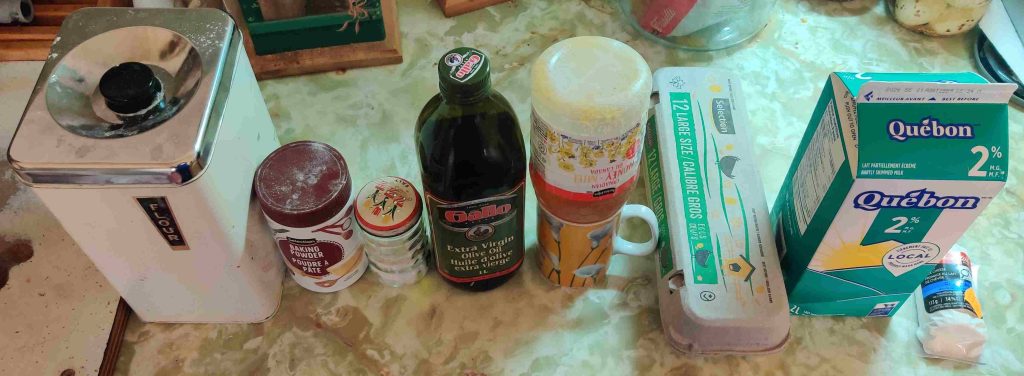
All the ingredients were taken out:

Ingredients taken out

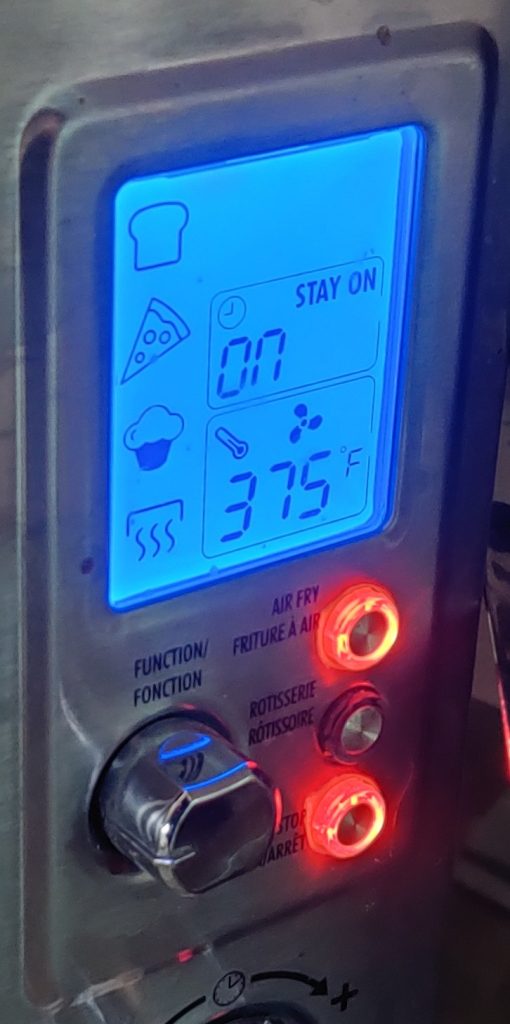
I believe that I performed the following slightly later, but now is a good time to turn on the countertop convection oven:

Countertop convection oven turned on

A mixing bowl was taken out:

Mixing bowl taken out

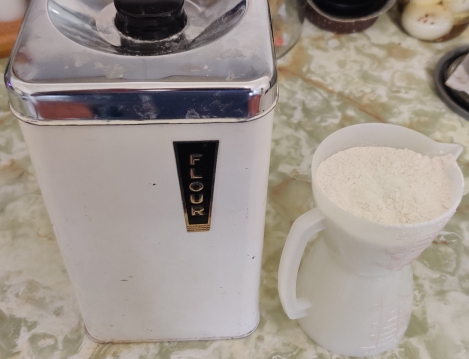
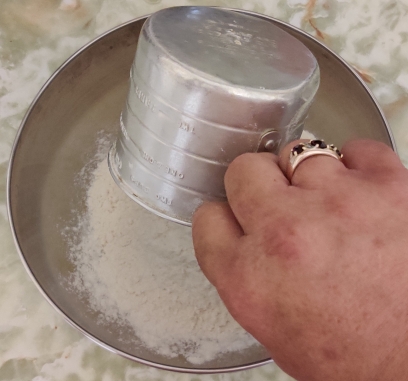
Flour and a measuring cup were taken out:

Flour and measuring cup taken out

Flour was measured out:

Flour measured out

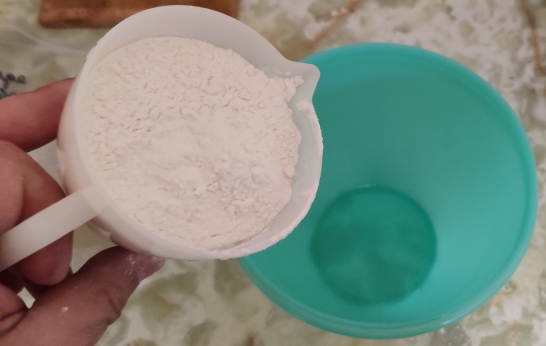
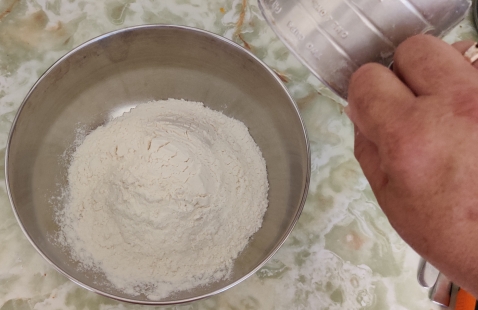
The flour was transferred to the mixing bowl:

Flour transferred to mixing bowl

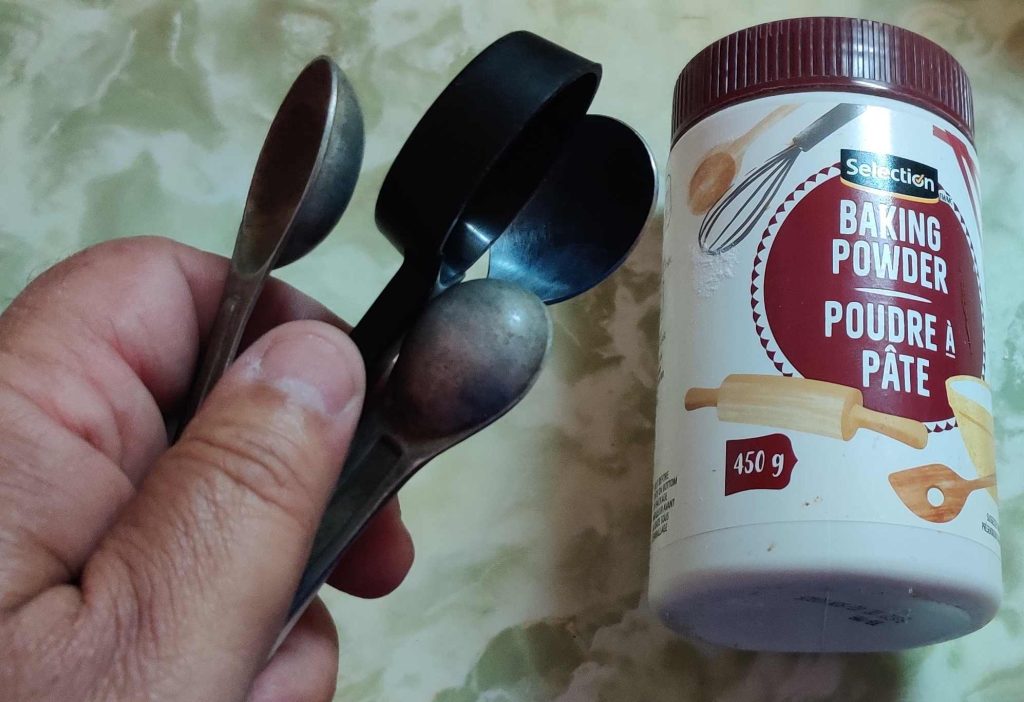
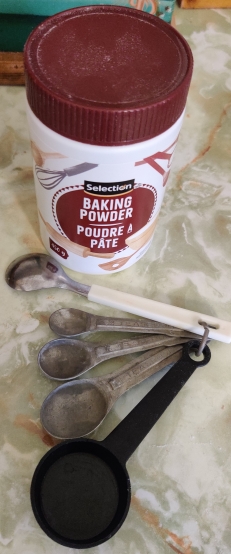
Baking powder and measuring spoons were taken out:

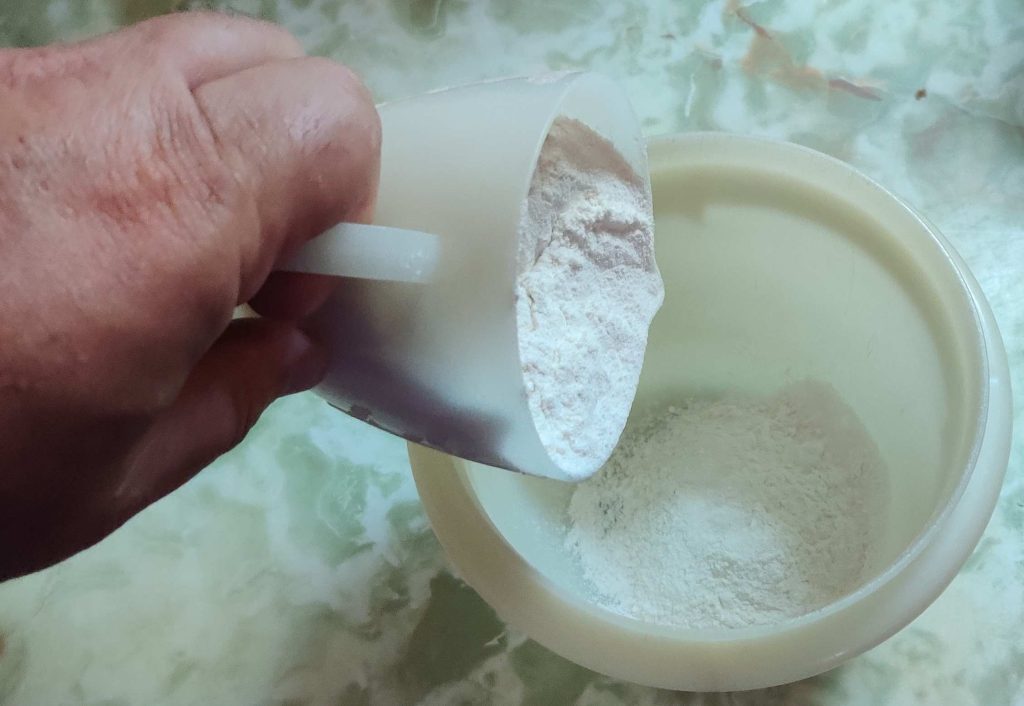
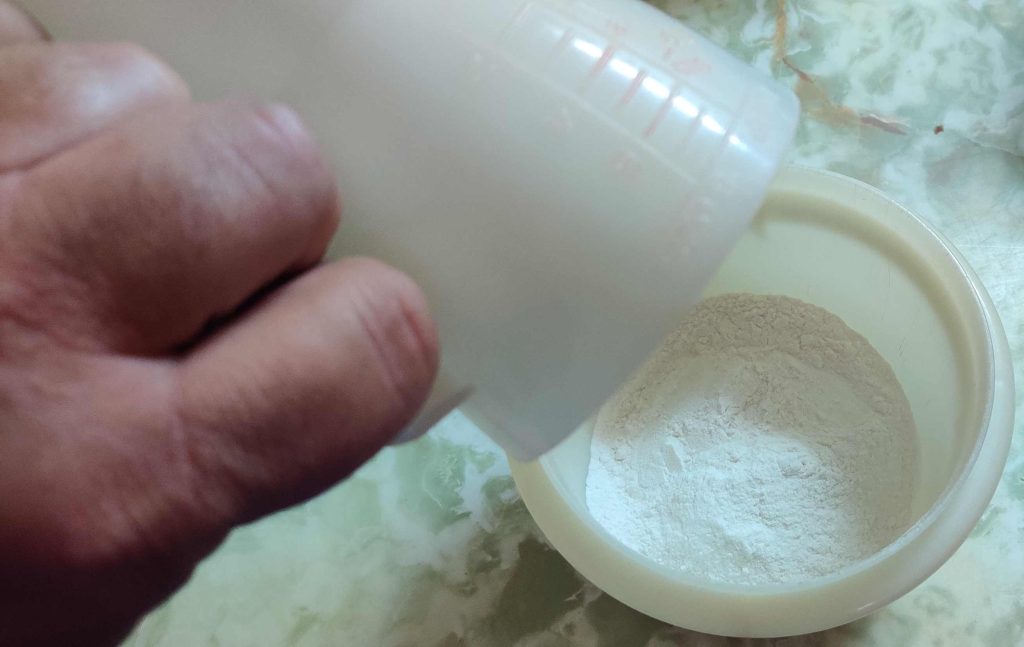
Baking powder and measuring spoons taken out

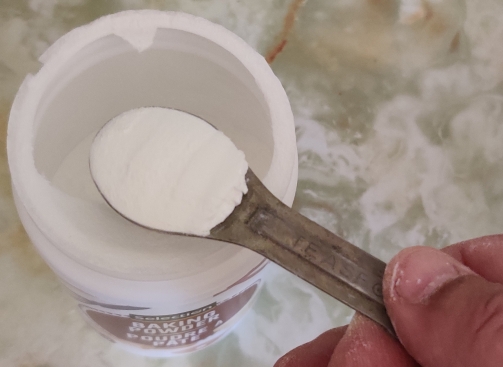
Baking powder was measured out:

Baking powder measured out

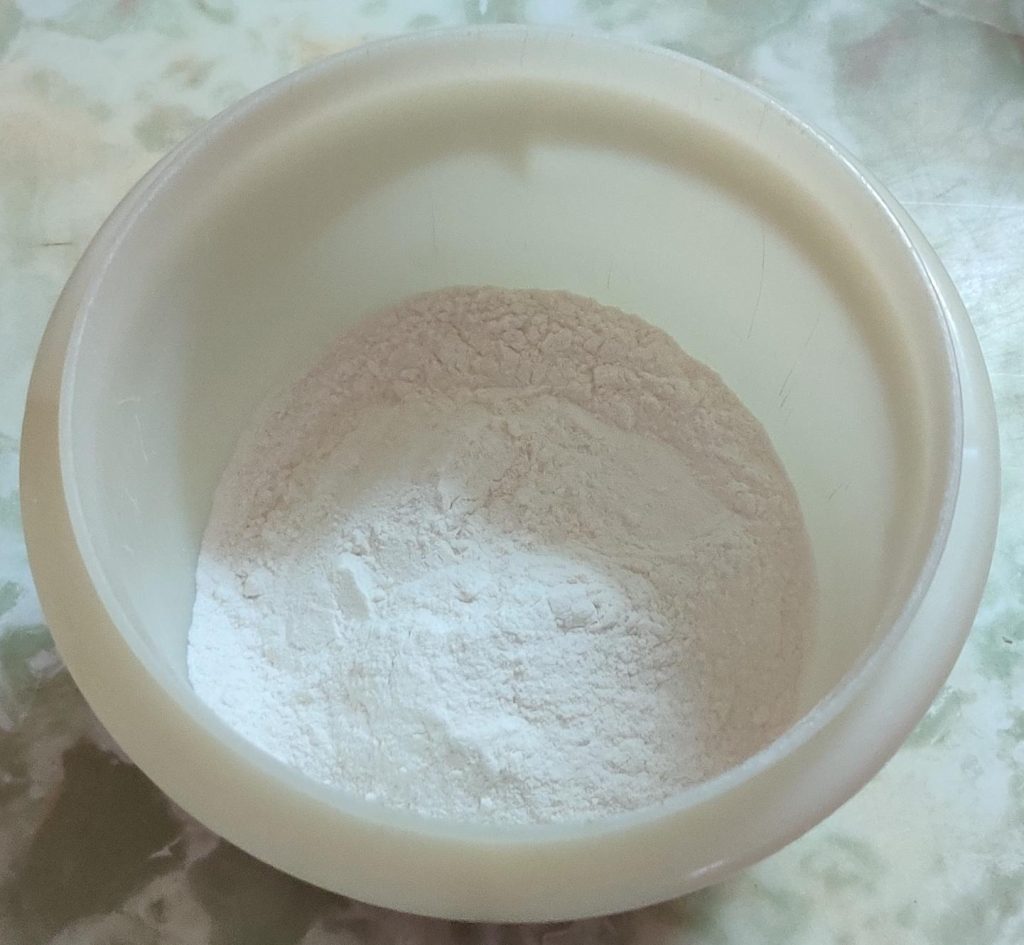
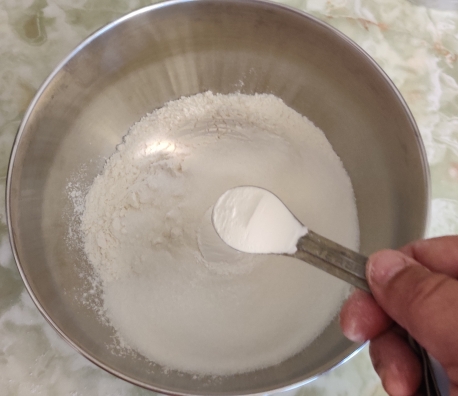
The baking powder was transferred to the mixing bowl with the flour:

Baking powder transferred to mixing bowl

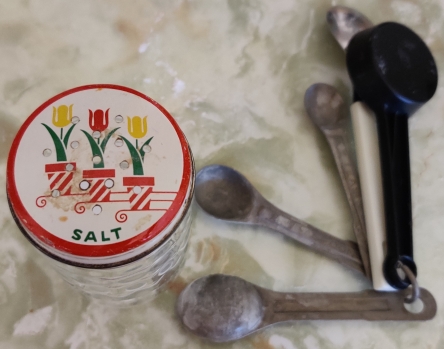
Salt and a measuring spoon were taken out (oh my — yet another surface in the kitchen to clean!):

Salt and measuring spoon taken out

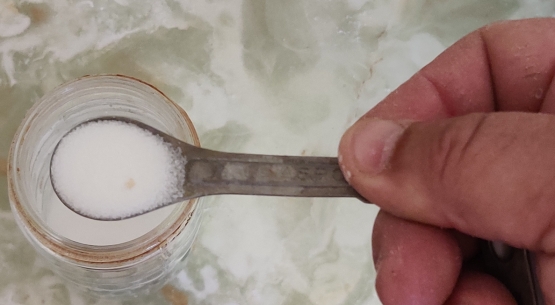
Salt was measured out:

Salt measured out

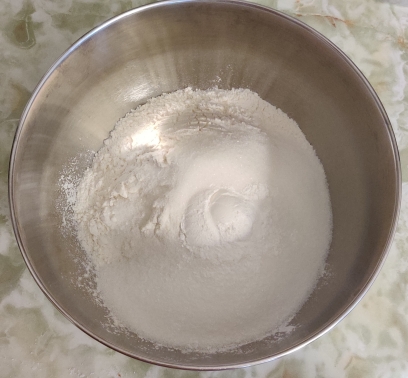
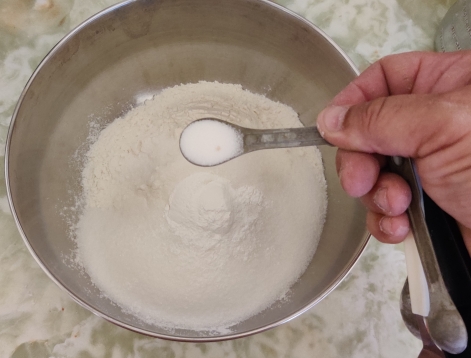
The salt was transferred to the mixing bowl with the flour and the baking powder:

Salt transferred to mixing bowl

Olive oil and a measuring spoon were taken out:

Olive oil and measuring spoon taken out

The olive oil was measured out:

Olive oil measured out

The olive oil was transferred to the bowl with the flour, the baking powder, and the salt:

Olive oil transferred to bowl

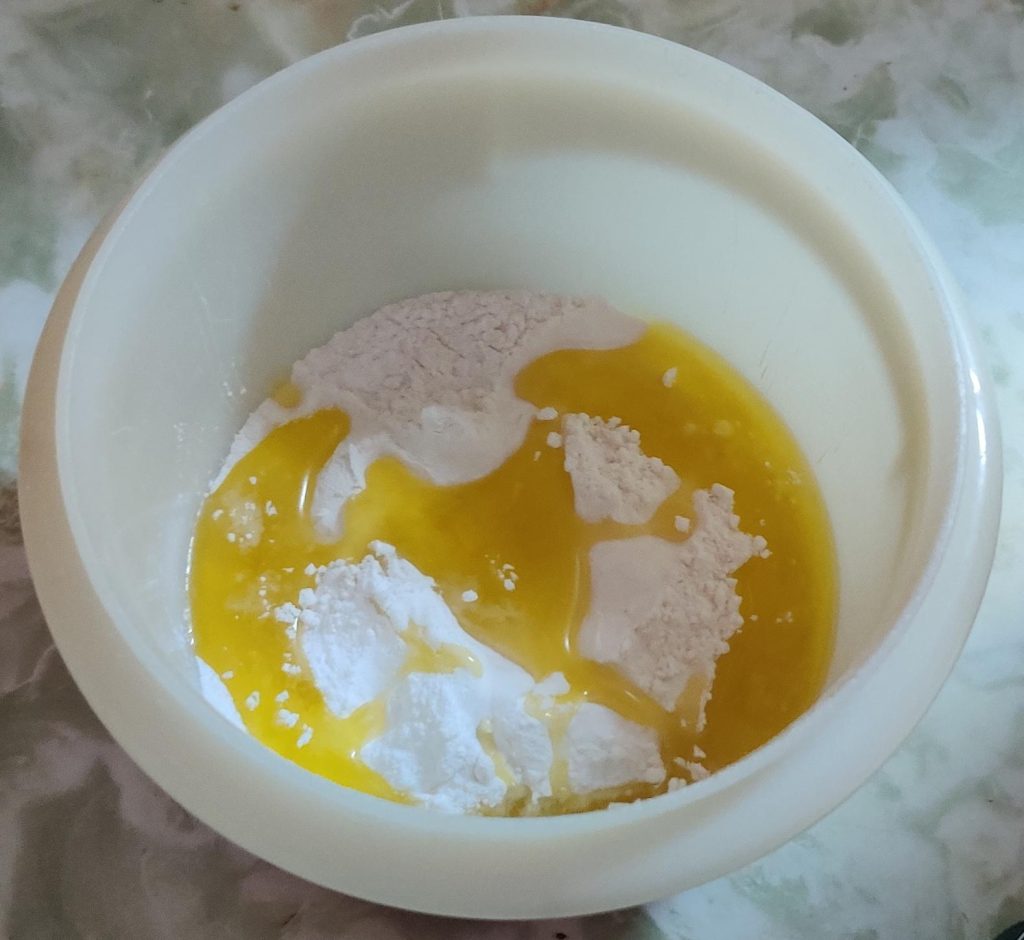
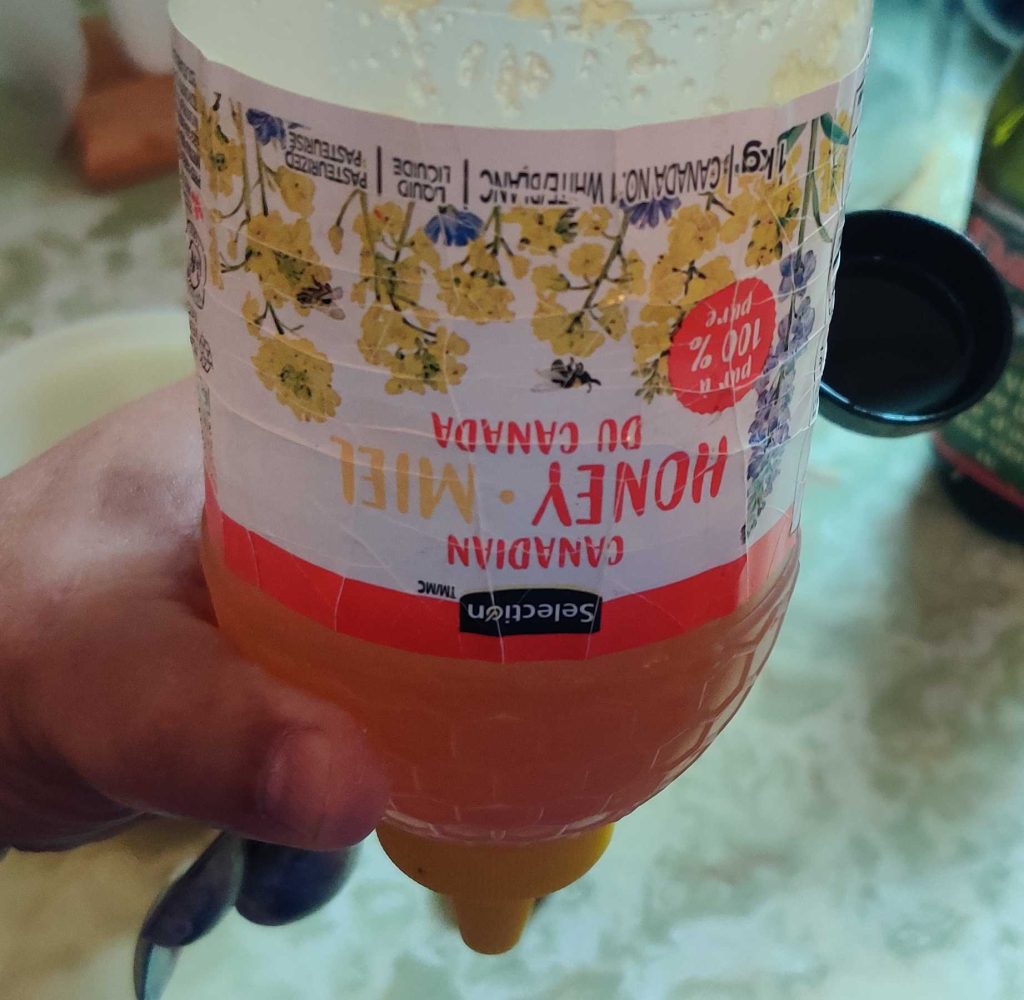
A bottle of honey, which was starting to crystallize and kept upside down to aid in being able to squeeze it out of the bottle, was taken out, along with a measuring spoon:

Honey and measuring spoon taken out

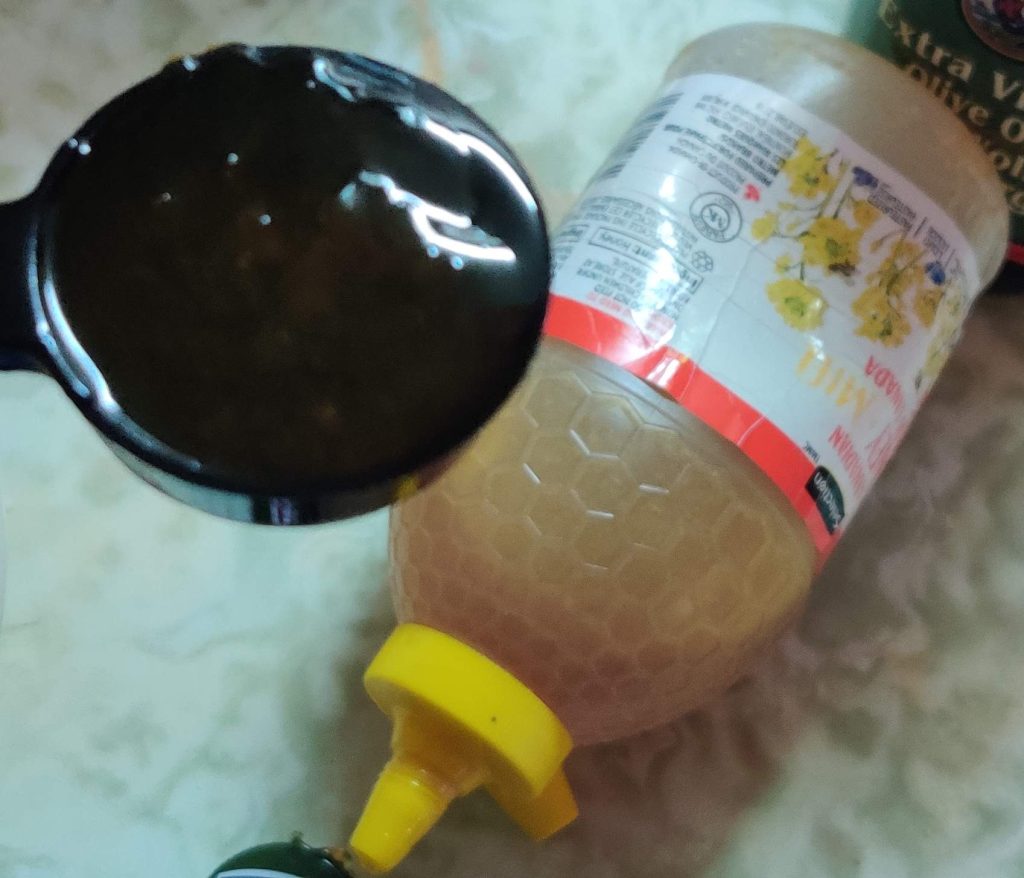
The honey was measured out:

Honey measured out

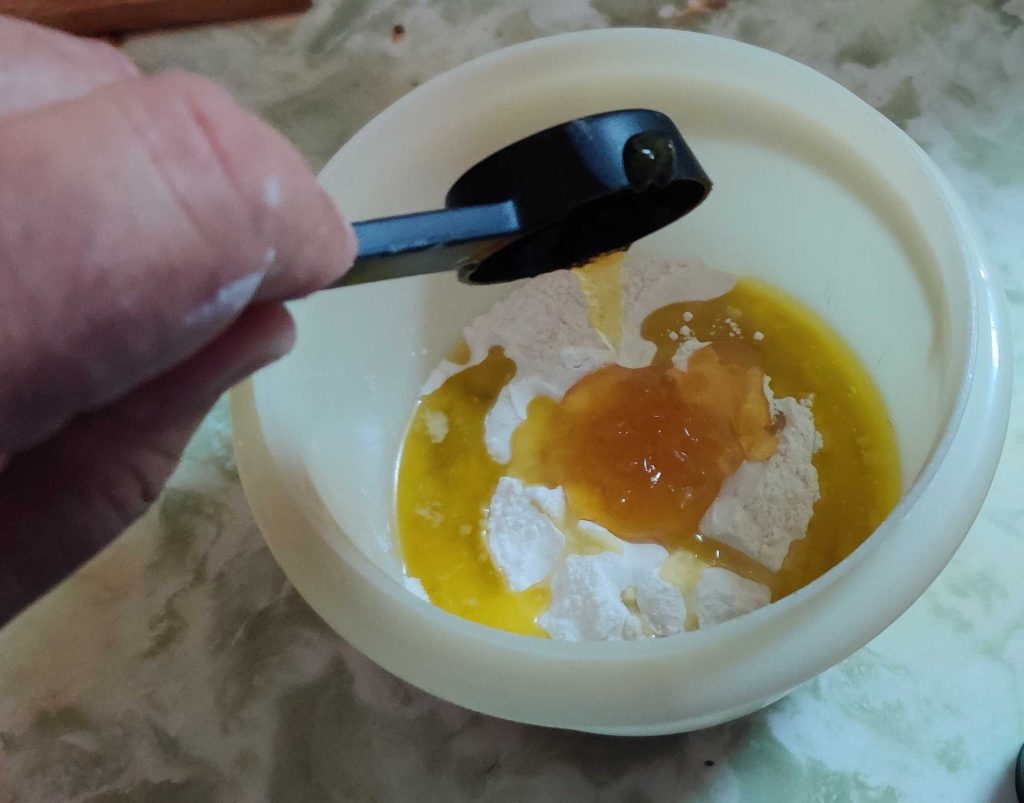
The honey was transferred to the mixing bowl with the flour, the baking powder, the salt, and the olive oil:

Honey transferred to bowl

(By the time I’d finished measuring out the honey, I decided it best to re-liquify the honey in the microwave oven over several short 15 second heating bursts.)

Next, an egg was taken out:

Egg taken out

The egg was cracked on the side of the mixing bowl:

Egg cracked on edge of bowl

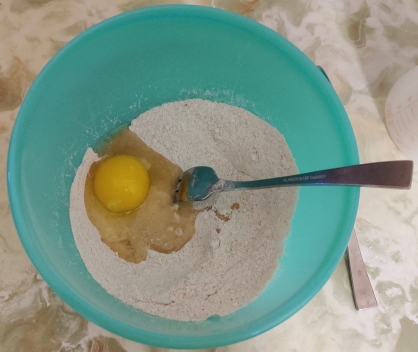
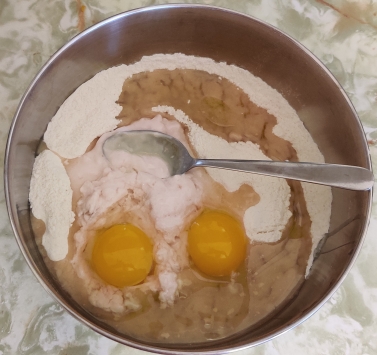
The egg was transferred to the mixing bowl with the flour, the baking powder, the salt, the olive oil, and the honey:

Egg transferred to bowl

Milk and a measuring cup were taken out:

Milk and measuring cup taken out

The milk carton was opened up:

Milk carton opened

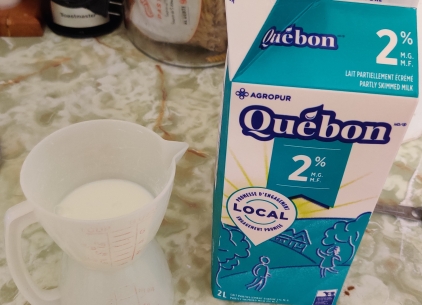
Milk was measured out:

Milk measured out

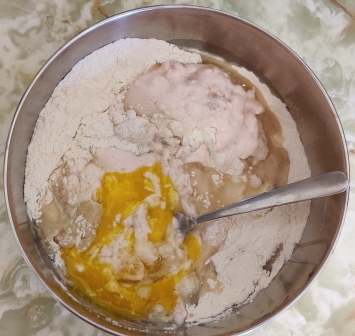
The milk was transferred to the bowl with the flour, the baking powder, the salt, the olive oil, the honey, and the egg:

Milk transferred to bowl

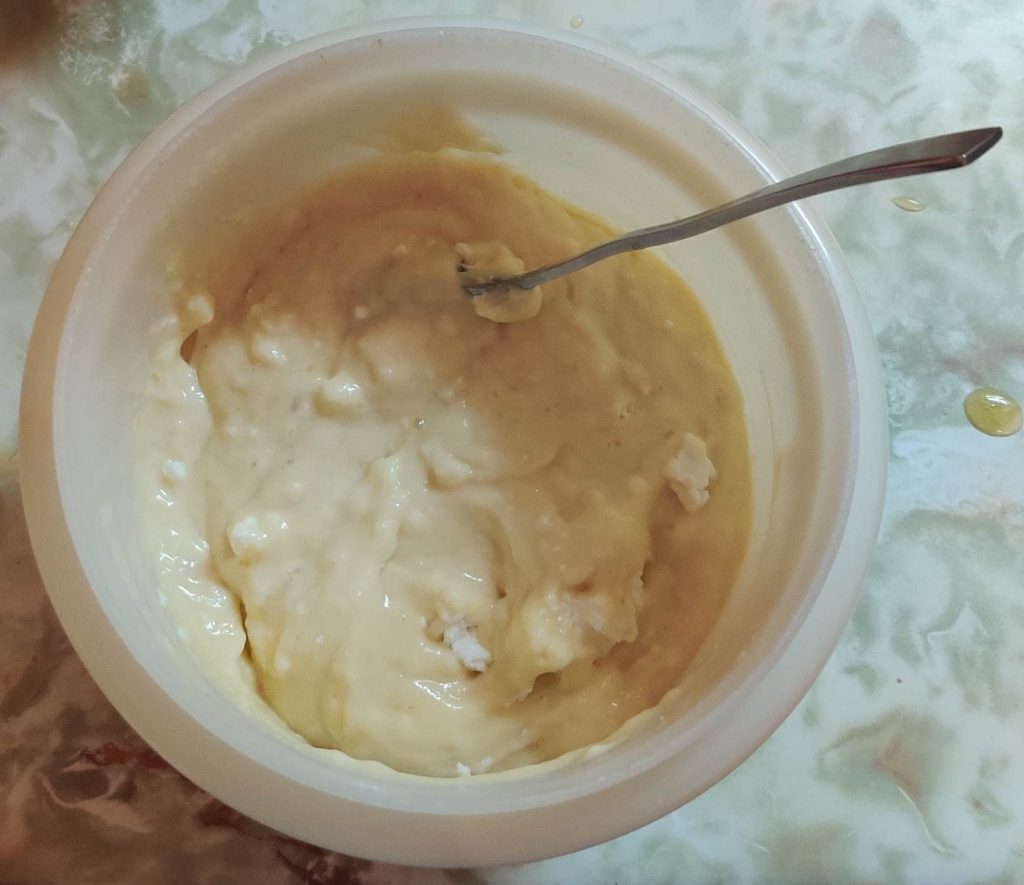
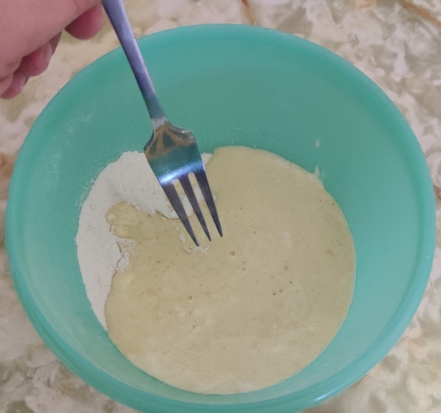
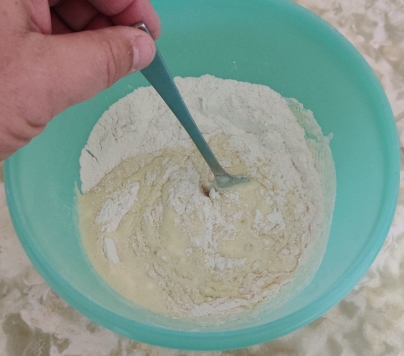
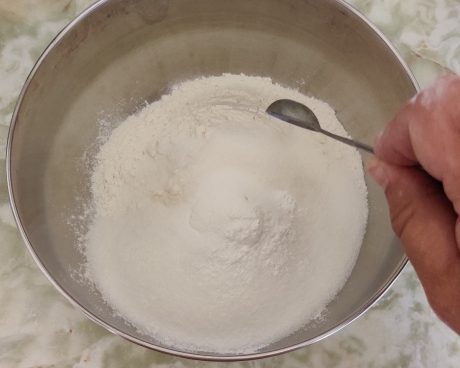
A fork was brought to the bowl in order to mix the ingredients:

Fork brought to bowl for mixing

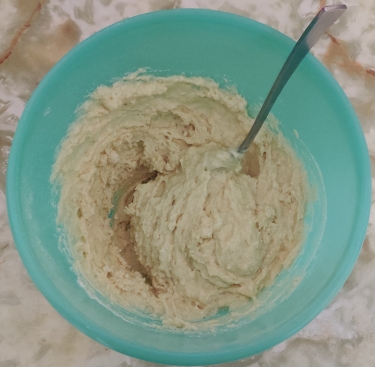
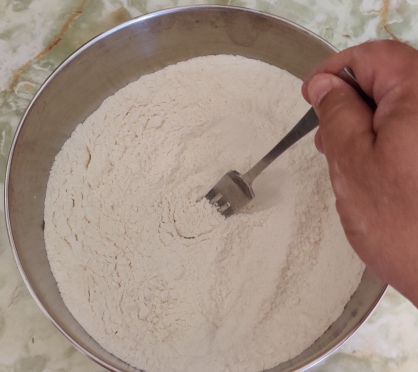
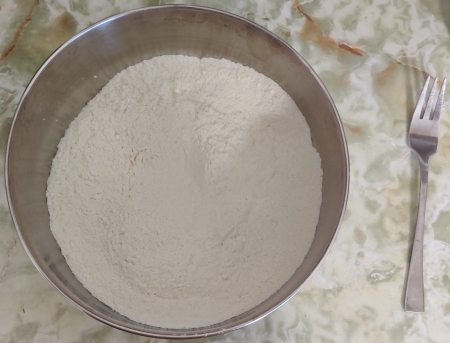
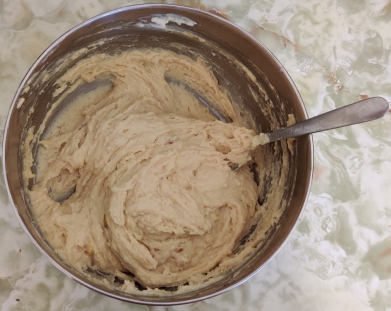
The ingredients were thoroughly mixed:

Ingredients thoroughly mixed

The mixing bowl with the muffin batter was put aside for a moment.

A bowl was taken out; yes, I seem to have taken the photo at a funny angle.

Bowl taken out

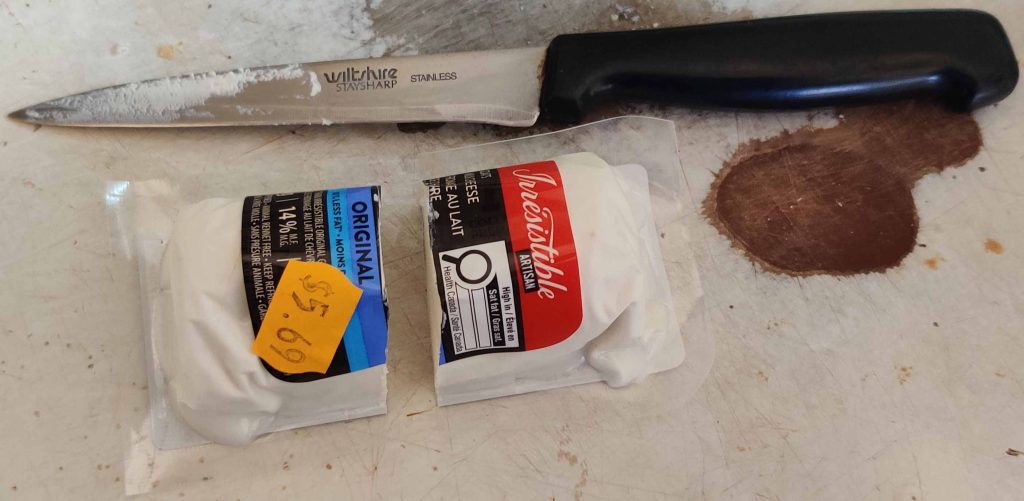
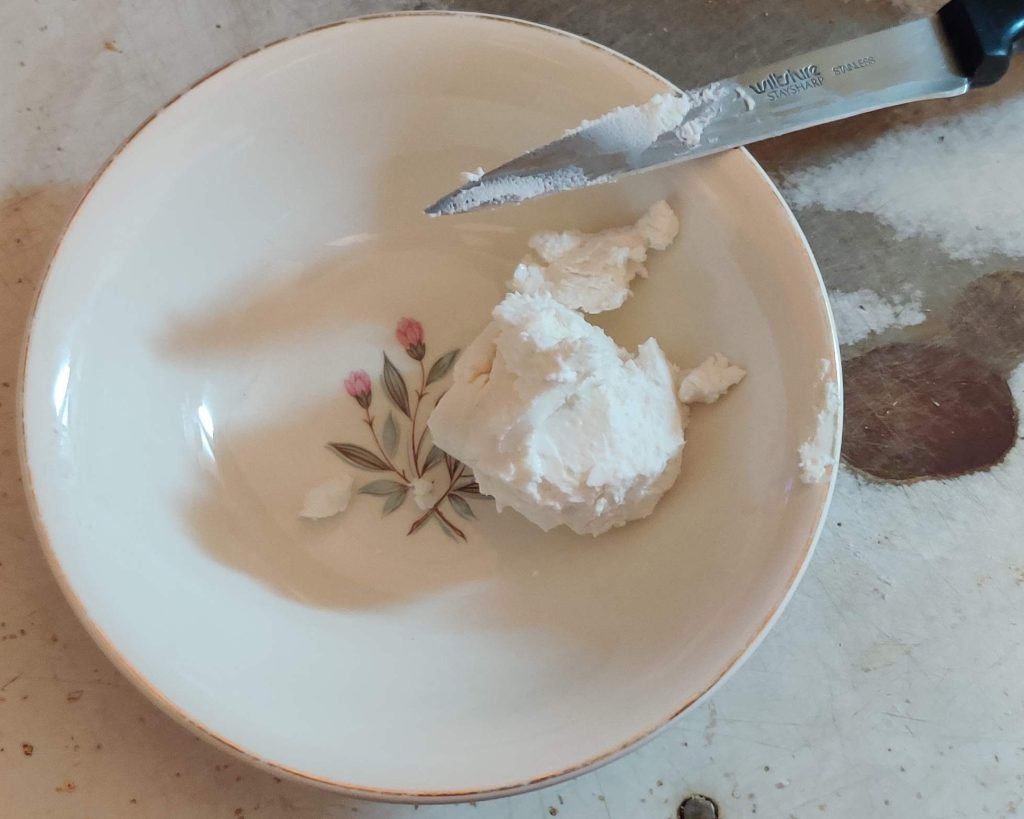
A package of goat cheese and a very sharp knife were taken out, and cut in two in order to have two roughly 56g (2oz) pieces; the other piece was placed in a bag, returned to the fridge, and in fact was used the following morning for a second batch of goat cheese muffins:

Goat cheese and sharp knife taken out, and cheese divided in two

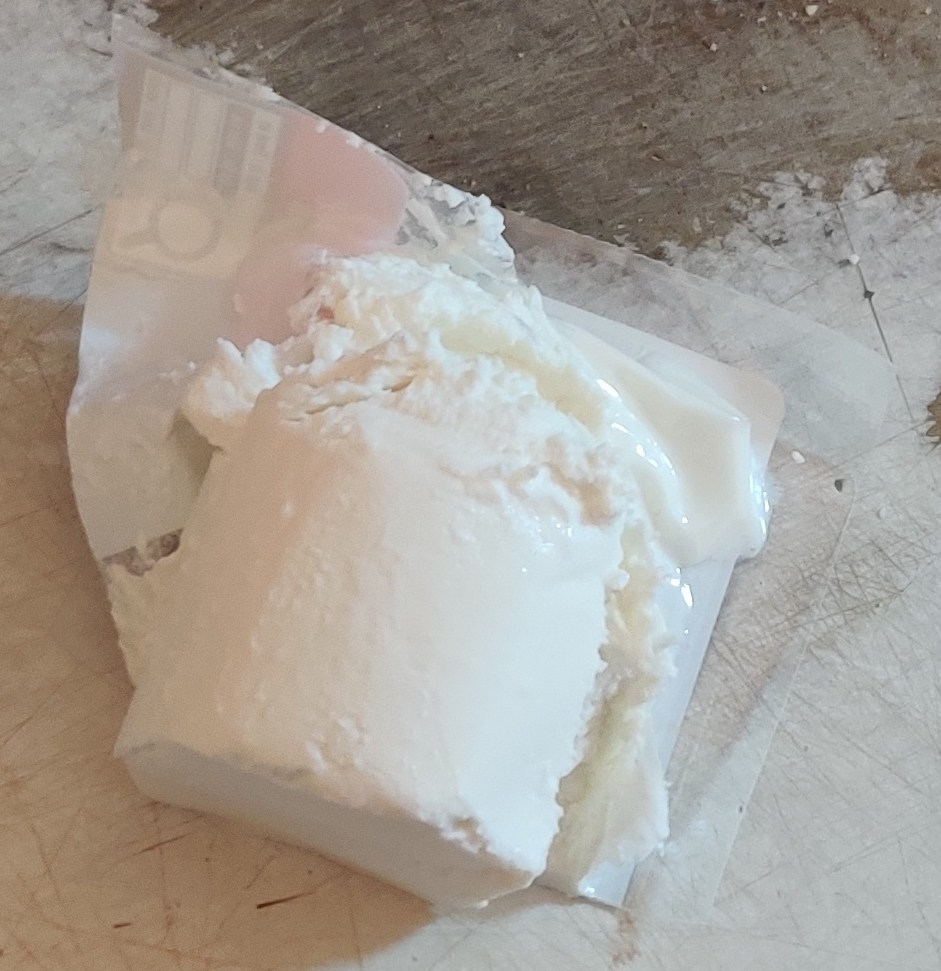
The goat cheese’s packaging was opened in order to allow for the use of the cheese:

Cheese package opened up

The goat cheese was transferred to the bowl:

Goat cheese transferred to bowl

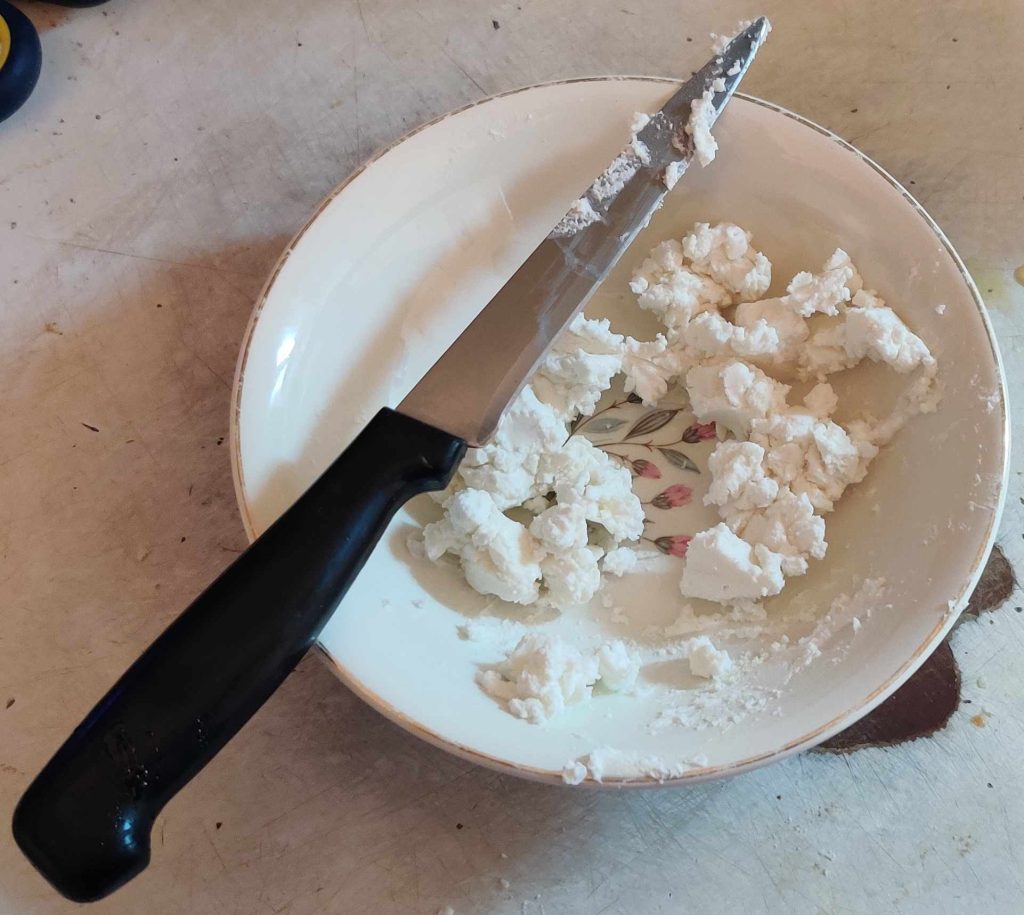
The goat cheese was cut up into small chunks with a knife:

Goat cheese cut up into chunks

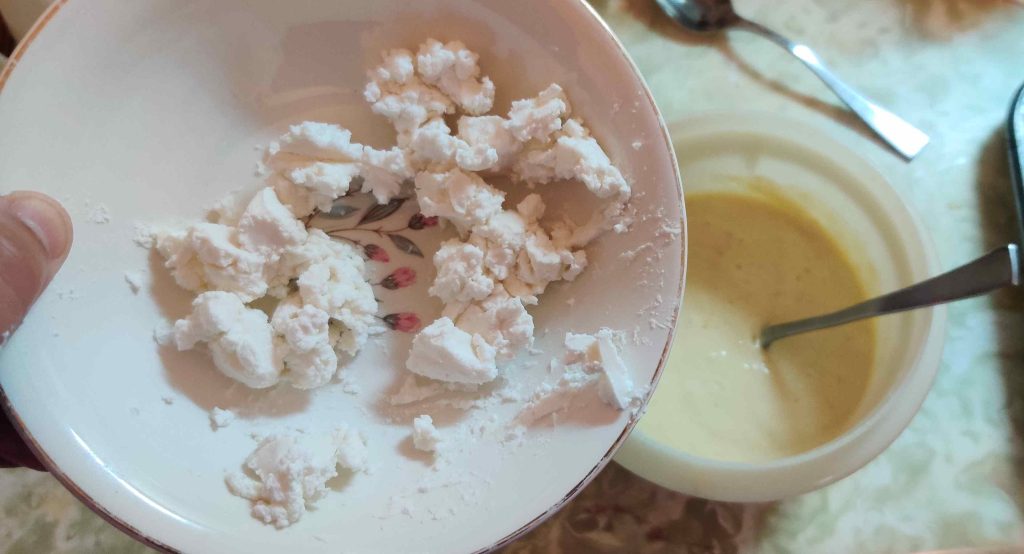
The bowl of goat cheese chunks was brought over to the bowl of muffin batter:

Chunks of goat cheese brought to bowl of muffin batter

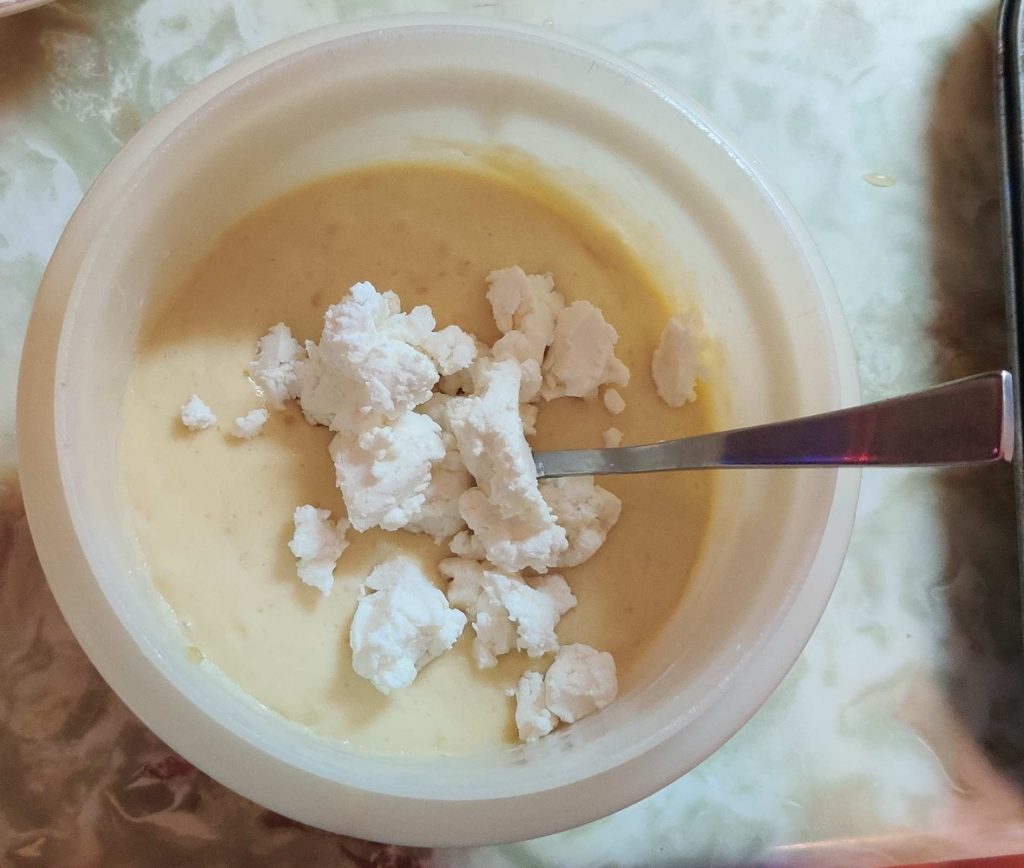
… and the goat cheese chunks were transferred to the bowl with the muffin batter:

Goat cheese transferred to bowl of muffin batter

The goat cheese was folded into the batter:

Goat cheese folded into muffin batter

The goat cheese muffin batter was again put aside for a moment.

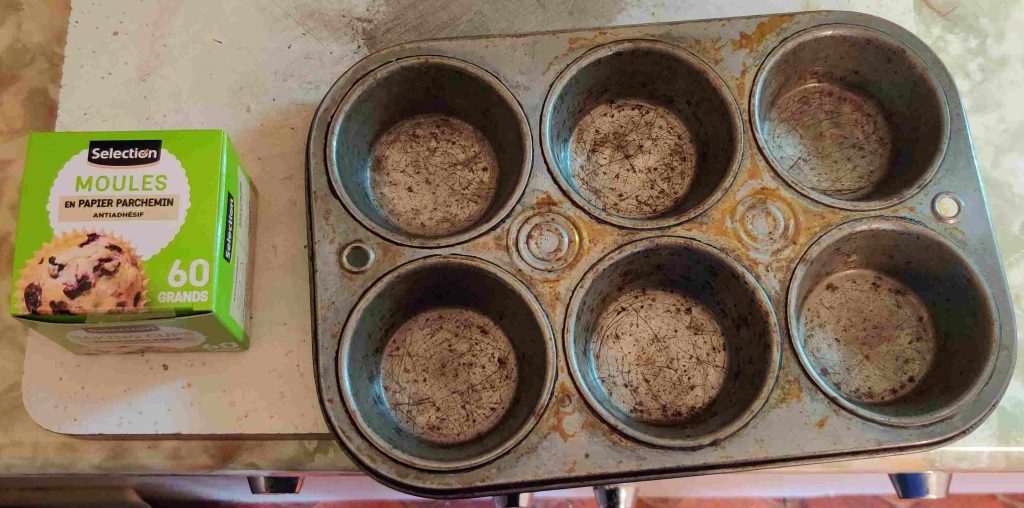
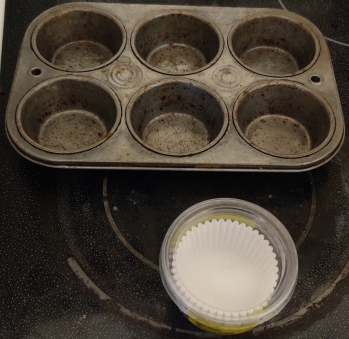
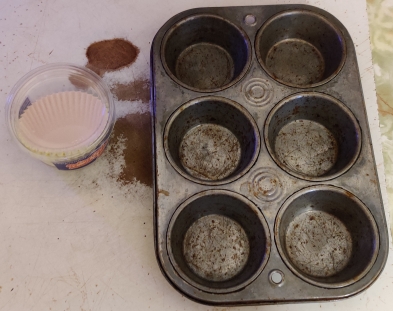
Muffin paper liners and a muffin baking tin were taken out:

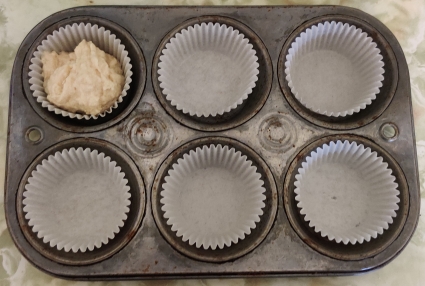
Muffin liners and muffin baking tin taken out

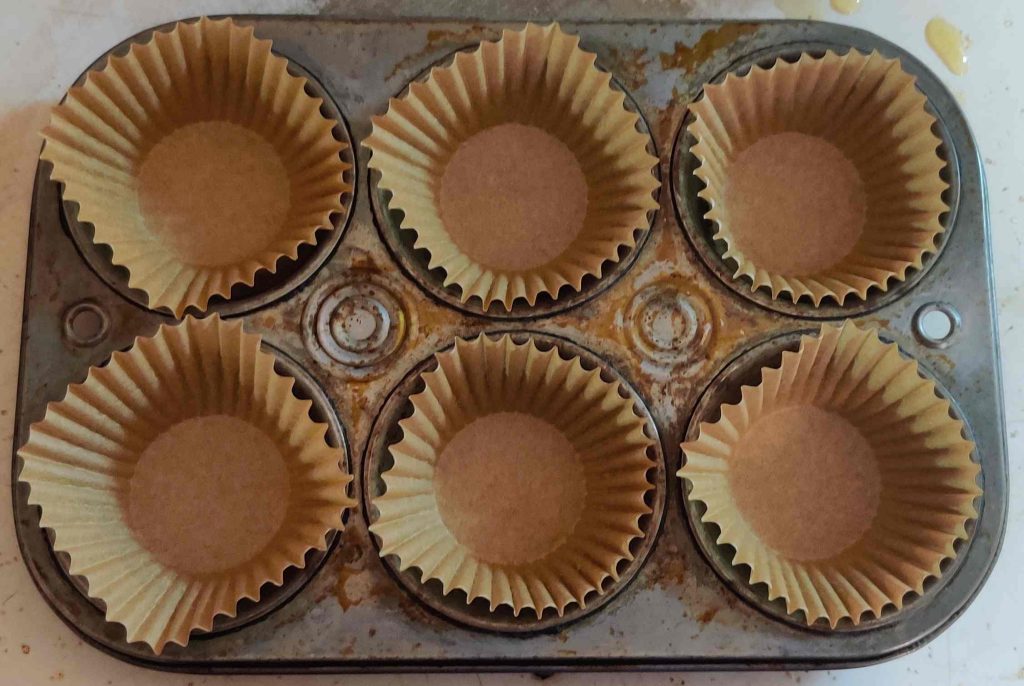
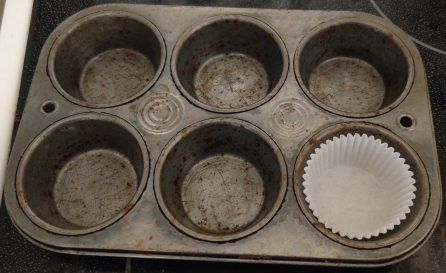
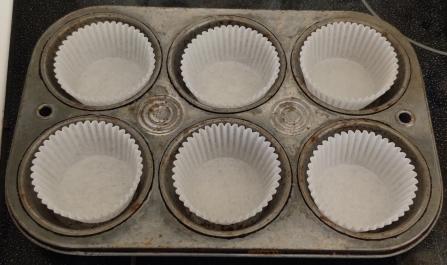
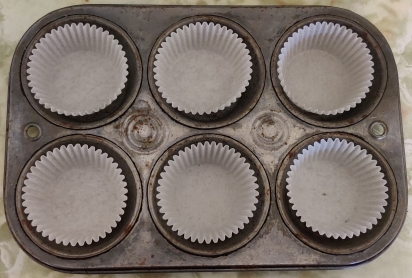
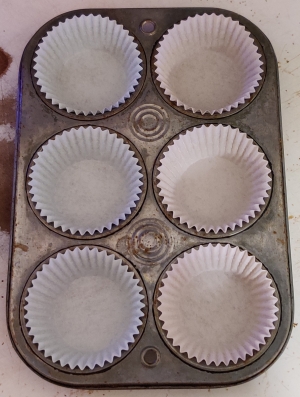
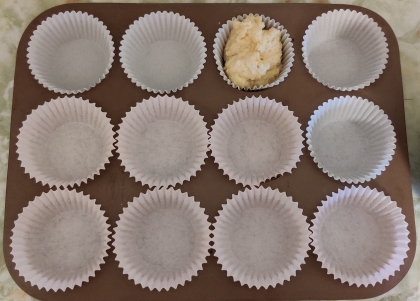
Paper muffin liners were placed in the muffin tin wells:

Paper muffin liners placed in muffin tin wells

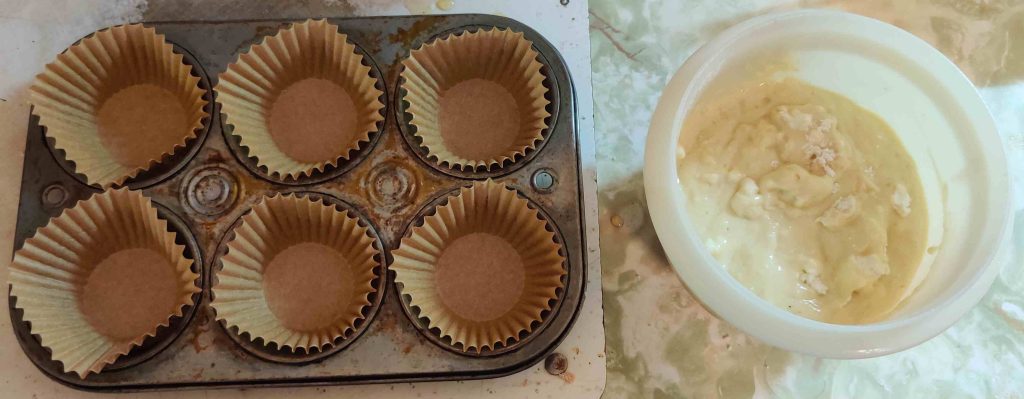
The bowl of goat cheese muffin batter was brought over to the muffin tin with the muffin liner papers:

Bowl of goat cheese muffin batter brought to the muffin tin with paper muffin liners

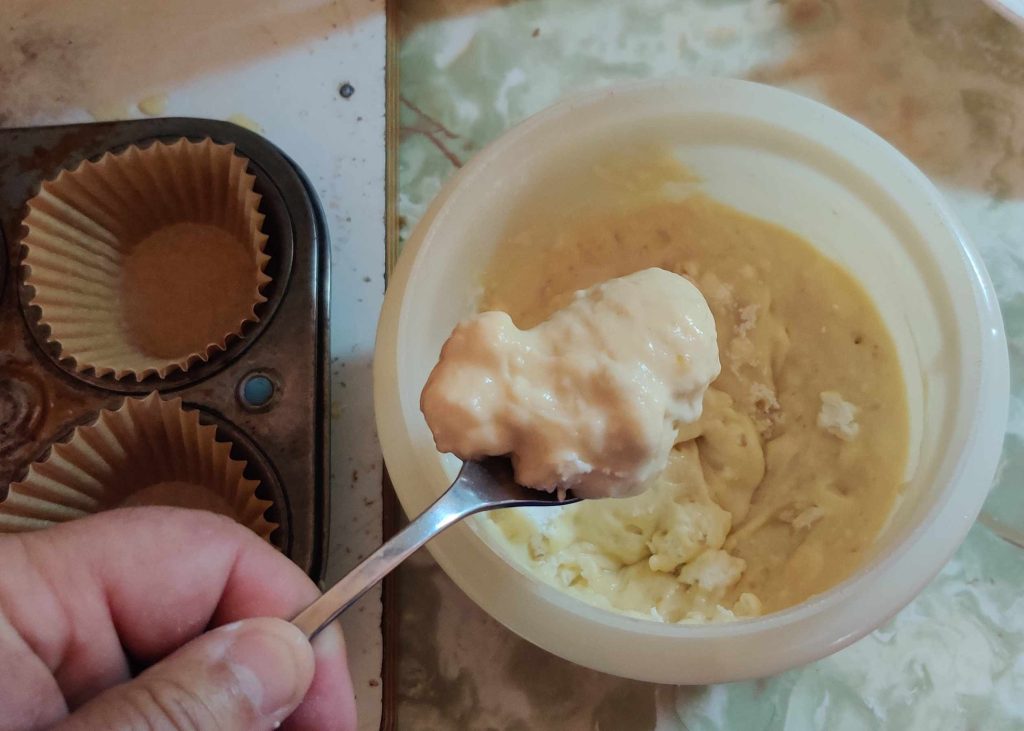
Goat cheese muffin batter was picked up with a spoon:

Goat cheese batter scooped up for transfer to muffin baking tin

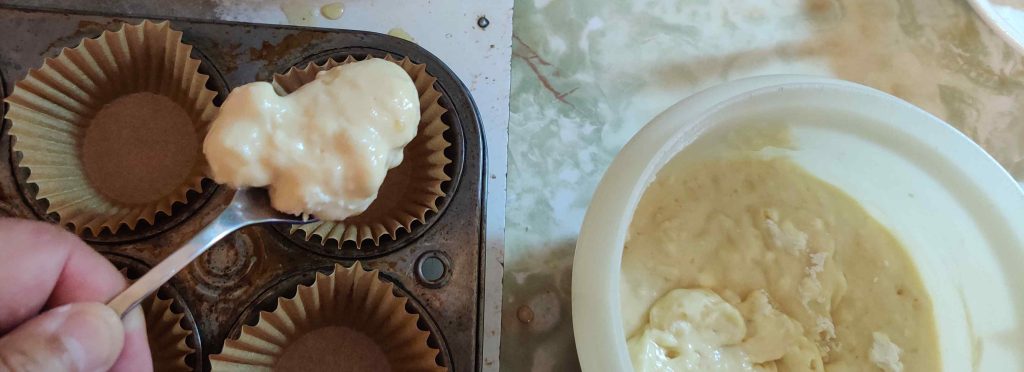
Goat cheese muffin batter was transferred to one of the paper muffin liners:

Goat cheese muffin batter transferred to muffin liner

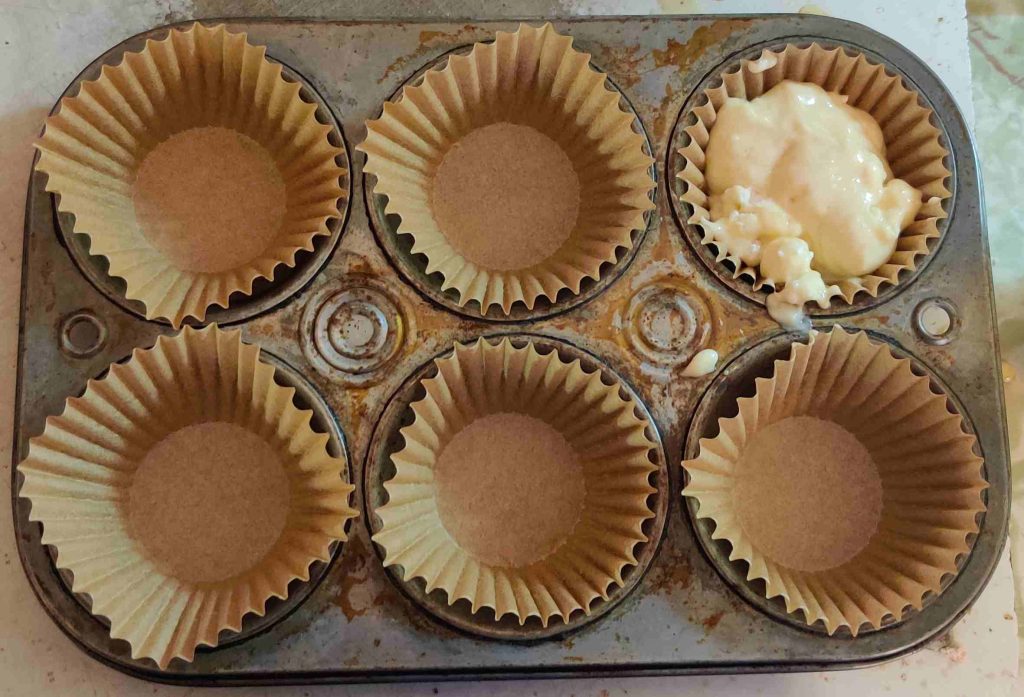
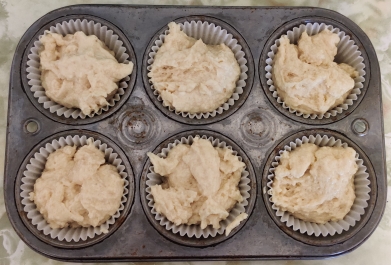
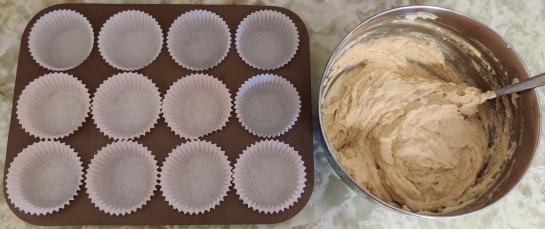
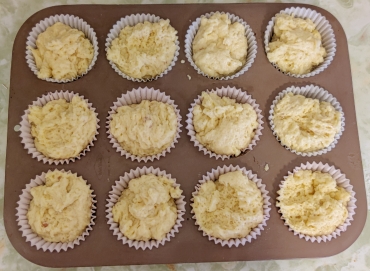
The goat cheese muffin batter was divided roughly equally amongst the muffin paper lined wells:

Goat cheese muffin batter transferred to muffin liners

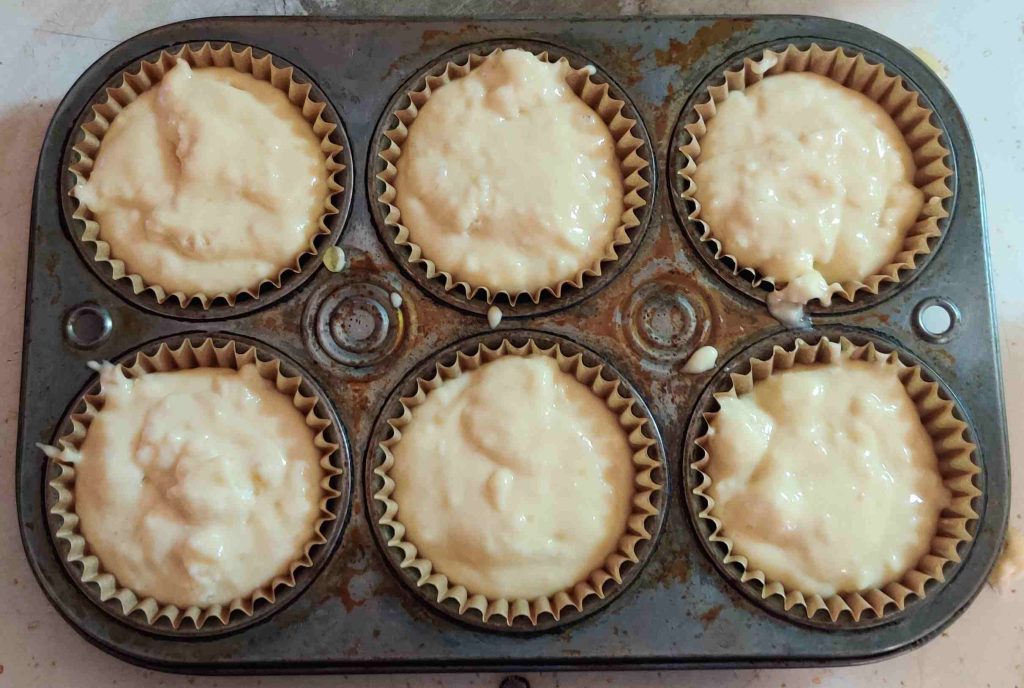
Once the muffin tin wells and paper liners were filled, the goat cheese muffin batter mixing bowl was empty:

Mixing bowl empty

The door to the now-preheated countertop convection oven was opened …

Countertop convection oven door opened

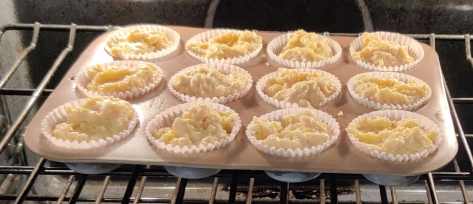
… and the filled muffin baking tin was placed in the countertop convection oven:

Filled baking tin placed in countertop convection oven

The countertop convection oven door was closed, and a timer was set for 17 minutes:

Timer set for 17 minutes

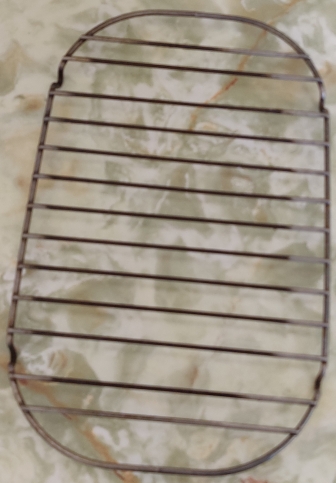
While I was waiting for the muffins to bake, I took out a cooling rack, and placed it on the counter:

Cooling rack taken out

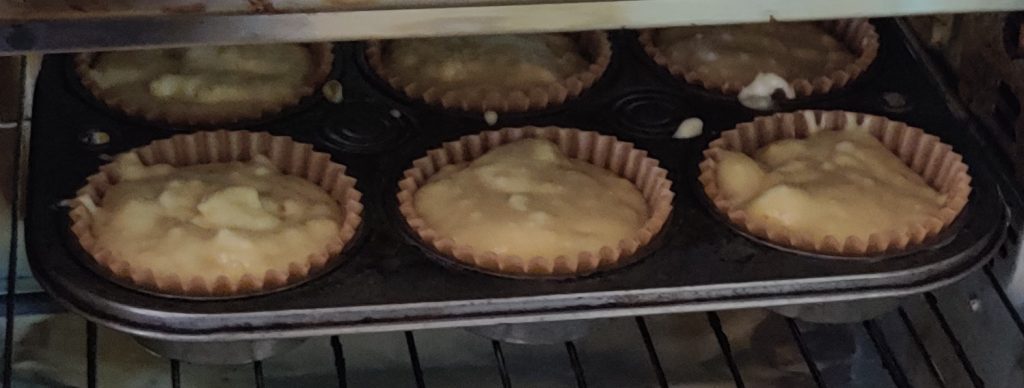
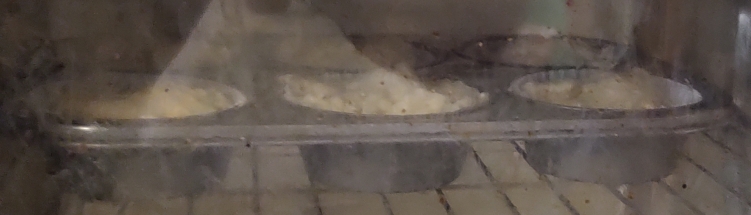
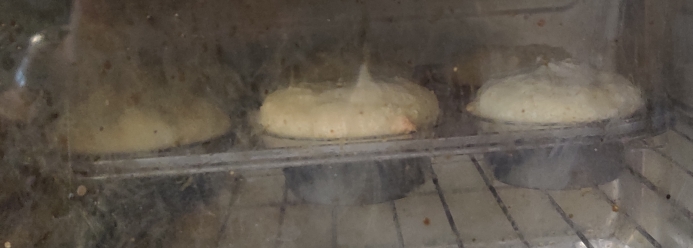
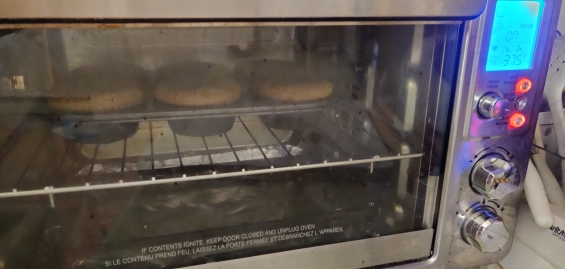
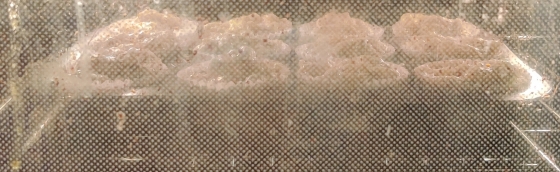
While the muffins were baking, I could see them rising in the countertop convection oven — and a reflection of the cooling rack in the window!

Muffins rising while baking

When the timer ran out …

17 minute timer finished

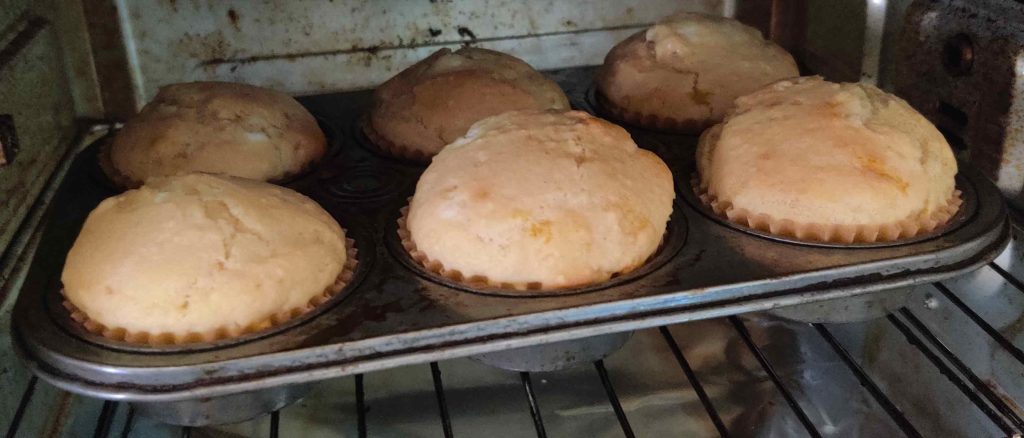
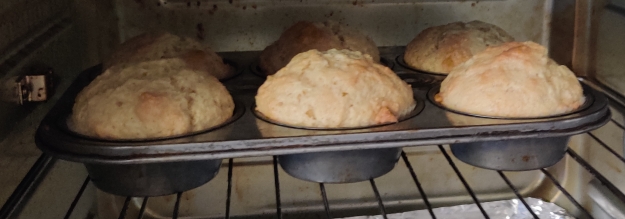
… the goat cheese muffins were nicely baked!

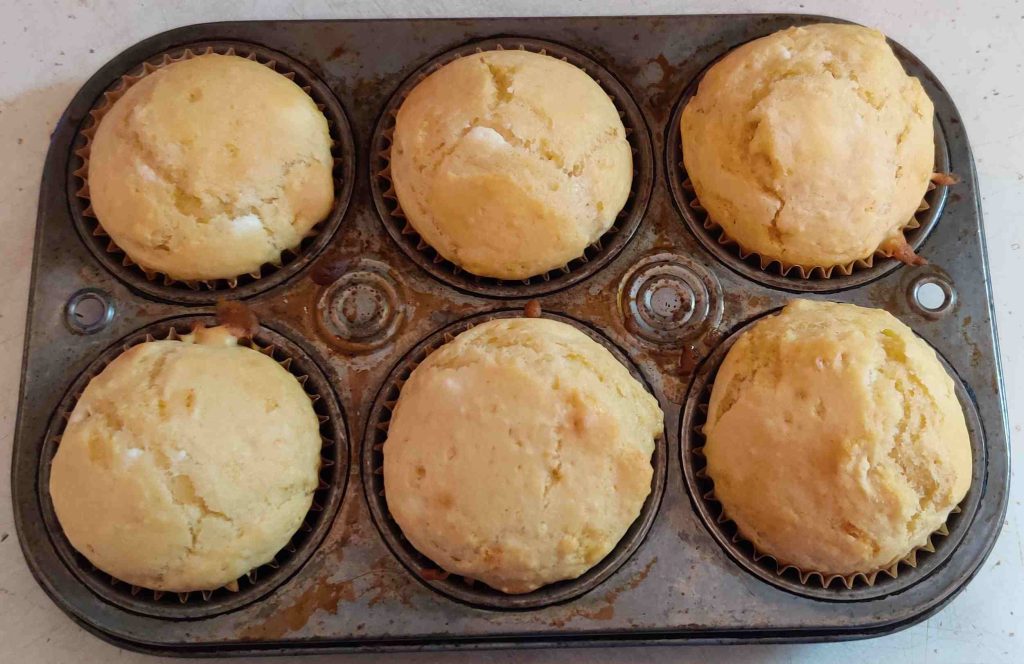
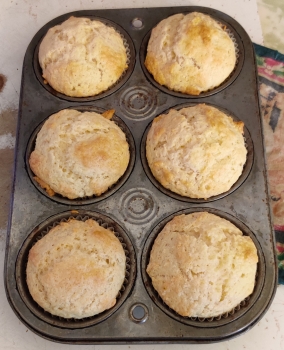
Goat cheese muffins baked

The baked goat cheese muffins were taken out of the countertop convection oven, and placed on a cutting board on the counter:

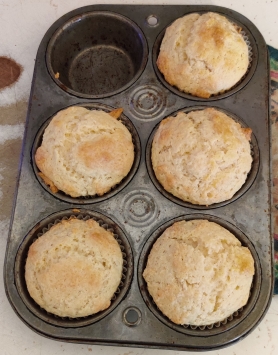
Goat cheese muffins taken out of countertop convection oven

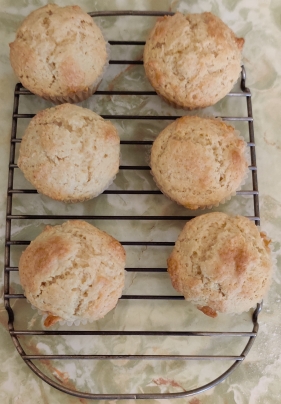
While they were still warm to hot, the fresh goat cheese muffins were taken out of the muffin baking tin and placed on the cooling rack:

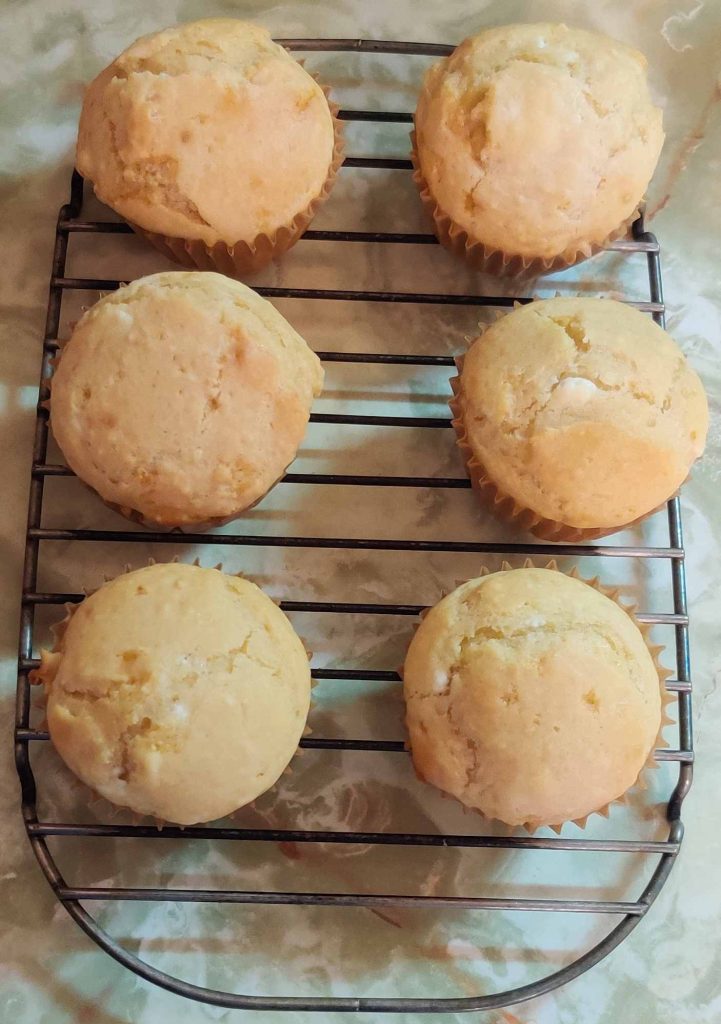
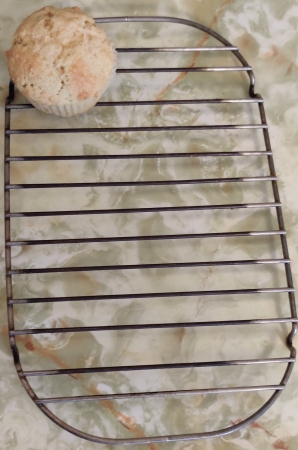
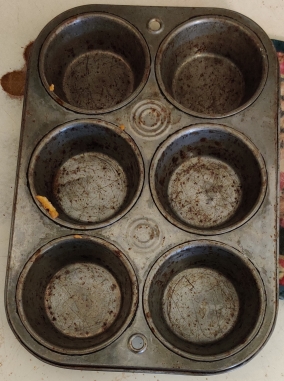
Goat cheese muffins placed on cooling rack

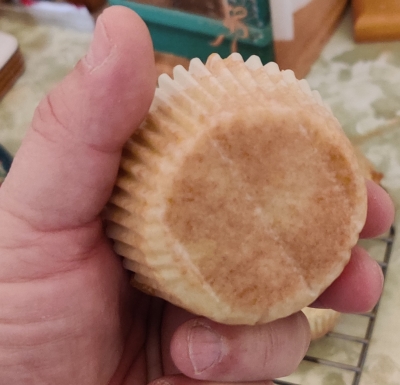
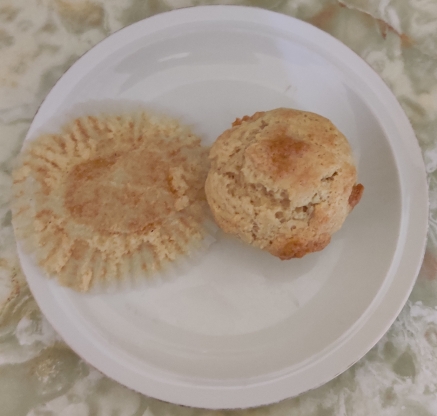
After a bit of cooling, a fresh muffin was taken from the cooling rack, and the paper muffin liner was removed from the goat cheese muffin:

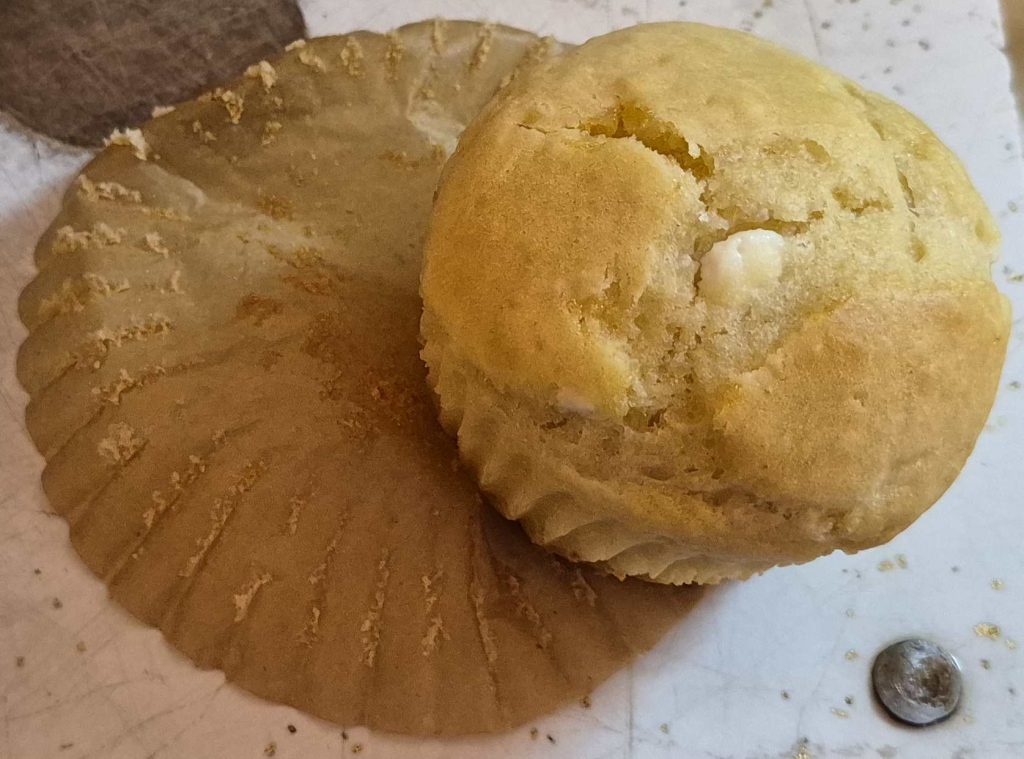
Paper muffin liner removed from goat cheese muffin

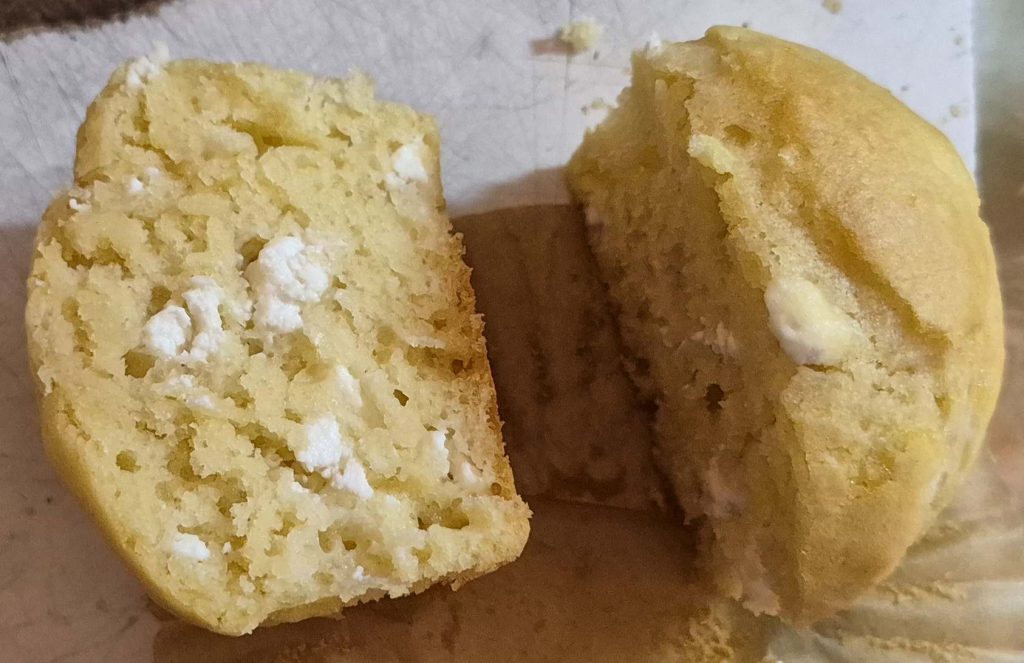
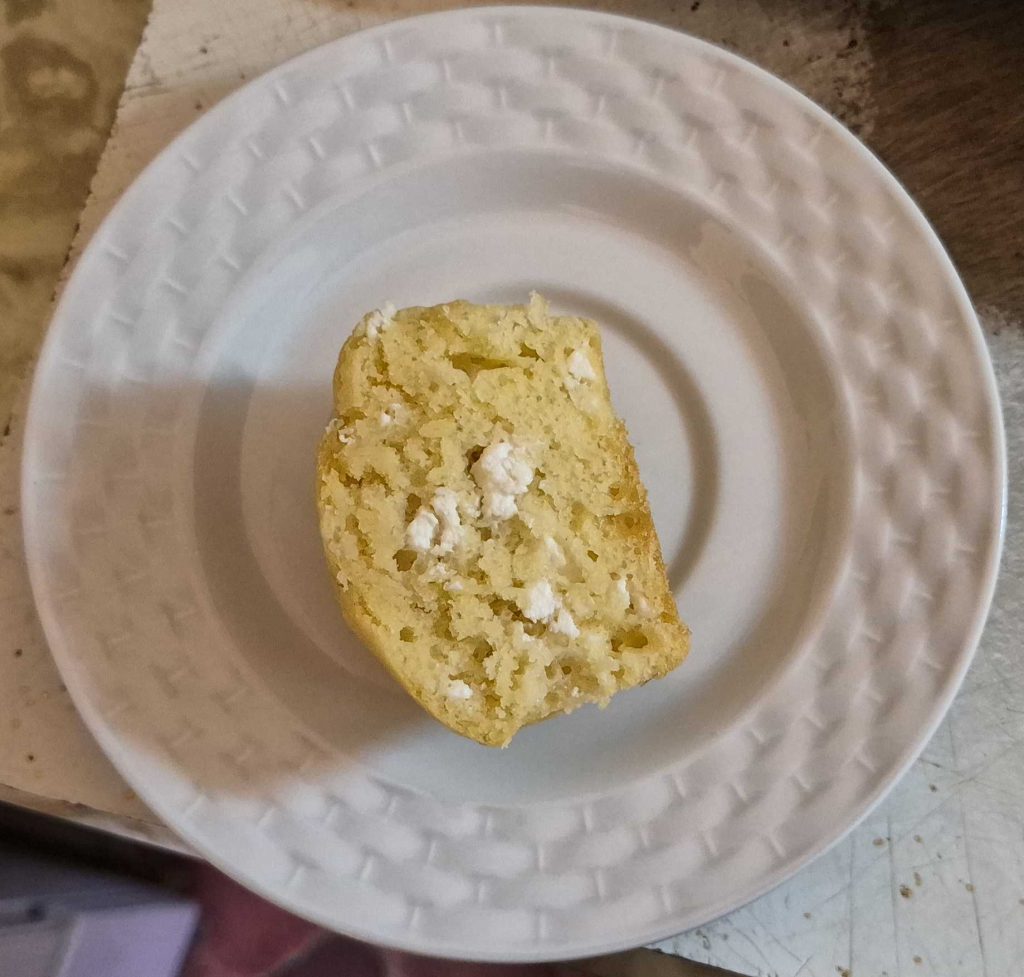
The goat cheese muffin was sliced in half, exposing the chunks of goat cheese inside:

Goat cheese muffin sliced in half, exposing chunks of goat cheese inside

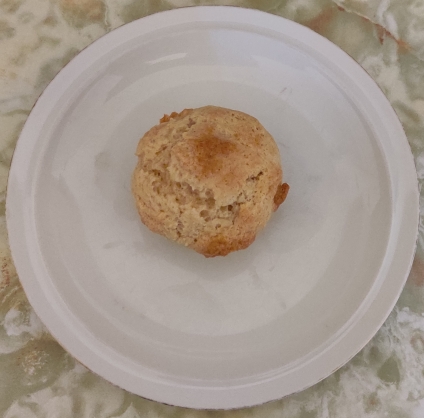
The piece of goat cheese muffin was placed on a plate, and served to Mom:

Goat cheese muffin piece placed on plate for serving

A short while after Mom had eaten the still warm and fresh out of the oven goat cheese muffin piece, she told me that she had been dreaming of having another goat cheese muffin with her supper. High praise indeed!

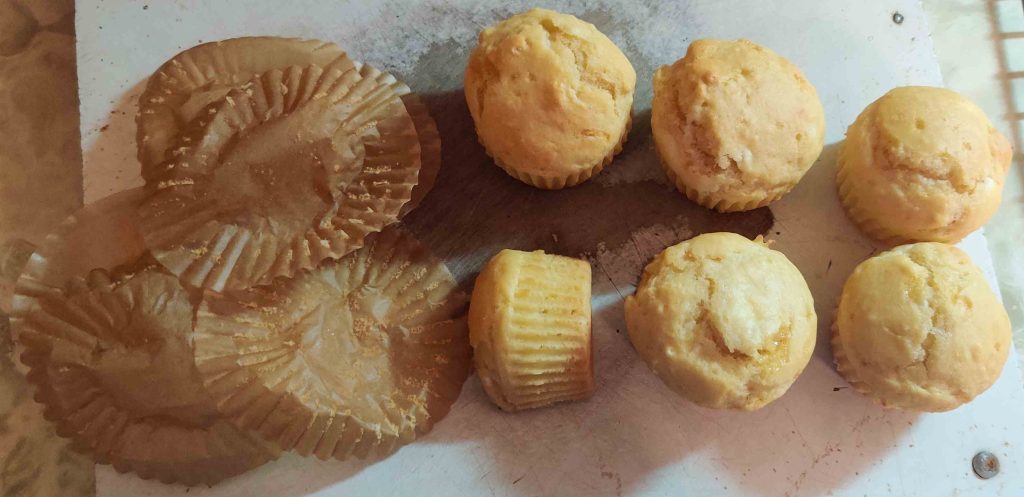
As for the rest of the muffins — five whole goat cheese muffins and the unserved half goat cheese muffin, their paper liners were removed:

Paper muffin liners removed from goat cheese muffins

At this point, a whole goat cheese muffin was put aside for Mom’s supper; she later told me that she had indeed fully enjoyed the goat cheese muffin during her supper!

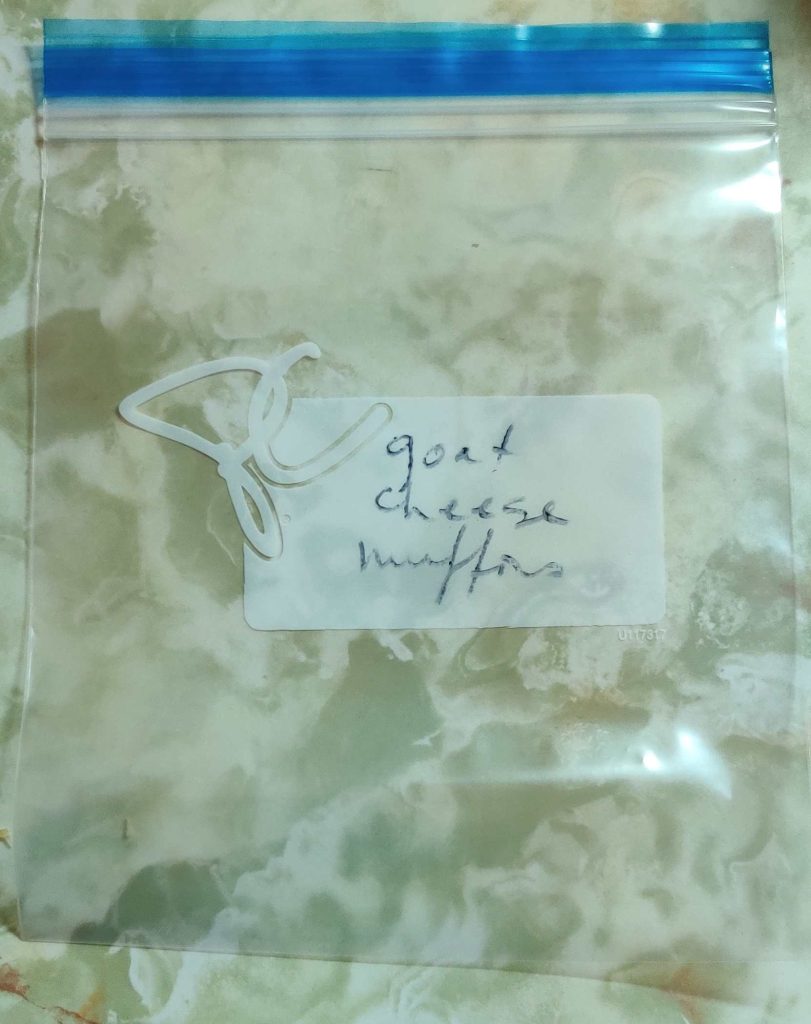
A freezer bag was taken out and identified:

Freezer bag taken out and identified

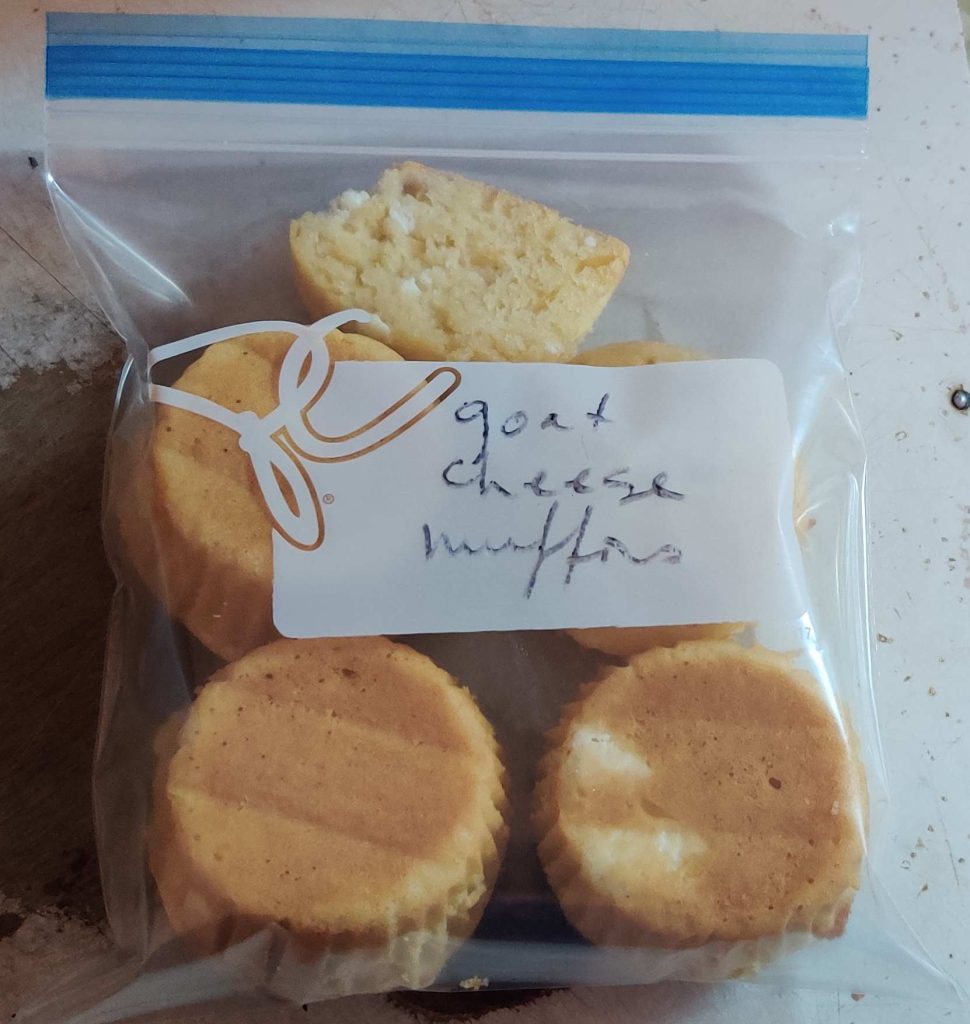
The bag was filled with the remaining four and a half goat cheese muffins:

Goat cheese muffins placed in freezer bag

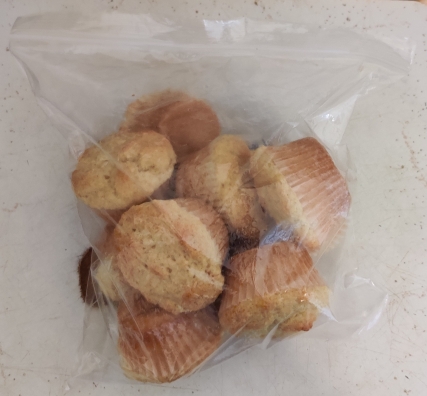
And finally, the bag of goat cheese muffins was placed in the freezer, by happenstance alongside two other kinds of muffins — bran muffins, and strawberry jam muffins, both made earlier in the week:

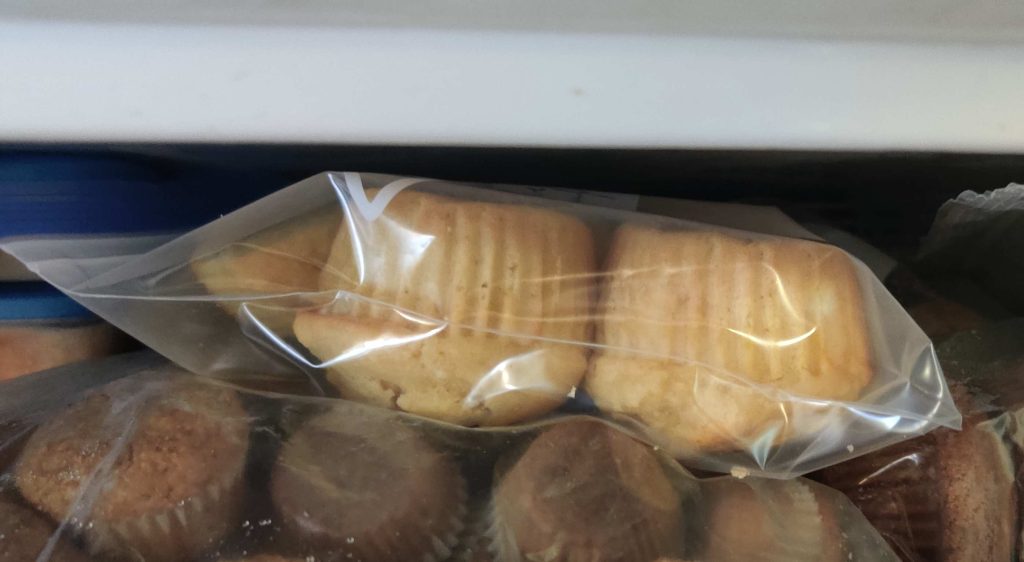
Goat cheese muffins placed in the freezer alongside other muffins

And as for the rest of the goat cheese package? Mom got more freshly baked goat cheese muffins the following morning!

Making (Braised) Pulled Pork — Photos

Following having enjoyed a friend’s pulled pork a few times at church functions over the years, I asked her for her recipe in late 2023 / early 2024. I successfully made her pulled pork … and shelved the idea, because her recipe featured star anise — meaning, there was what I considered a weird black licorice taste to the otherwise tasty pulled pork. Also, I asked my friend “what do you do with the braising liquid afterwards?” to which she responded “Oh keep it in the freezer for the next time, or add corn starch to some of it to add to the pork.” These responses didn’t sit well with me either. I resigned myself to enjoying pulled pork whenever my culinary adventures happened to meet with it at restaurants and the like.

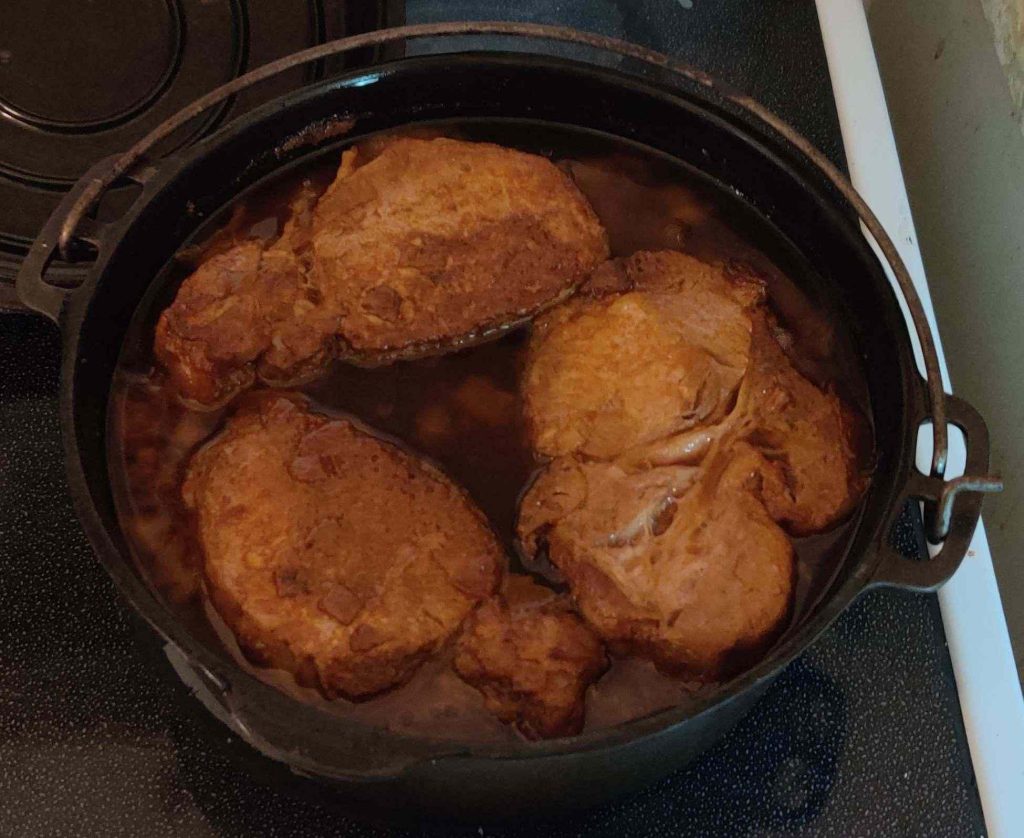
In early 2026, I saw pork shoulder on sale, and decided to buy some “so that one day I can try again to make pulled pork.” A couple of months later, I looked up pulled pork recipes on the internet, did my own experimentation on the spot, and decided upon keeping my friend’s basic method; but instead using a 2:1 mix of commercial BBQ sauce (I settled on Kraft) and molasses for the flavour base to the braising liquid, to which I have kept ever since. Once exception was to have found a generic taste-alike recipe for Kraft BBQ sauce on the internet, which I integrated into the recipe, and which I used to partly make up the BBQ sauce portion in this session. (As a side note, I did *not* show extra photos for this makeup, in keeping with the spirit of the recipe that intentionally simply calls for “barbecue sauce” — meaning, you should use your favourite barbecue sauce.) And, as shown below, I reduce the braising liquid down to a sauce to mix in with the pulled pork. 🙂

Extra note: In a few instances, my photos from the session have shown some kitchen surfaces that were in need of some cleaning, and the aluminum foil lining at the bottom of my countertop convection oven needing changing. All the “extra cleaning” and foil replacement were performed after the cooking session, and during the course of mounting this post. I think I’m going to claim “Welcome to real life!”

Extra note #2: “A photo or two” may have been slightly presented out of order compared to their having been taken, and at least one make-up photo was staged after the cooking session, both for the sake of the narrative.

Making the pulled pork:

First, some frozen pork was taken out — in this case, some pork loin (instead of pork shoulder, which I concede is still more appropriate for the job — but pork loin does well too) — because I had bought a lot of pork loin a few months ago at a not-as-great-as-I-thought-but-still-good sale price given how thick the fat layers were in some cases:

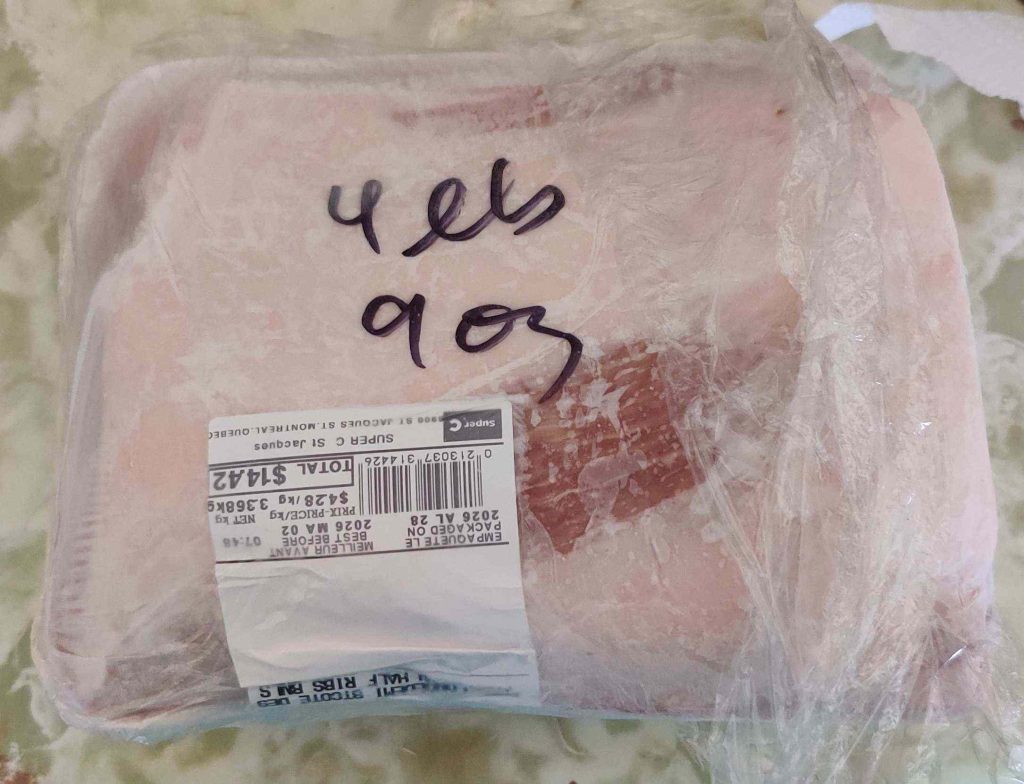
Frozen pork taken out

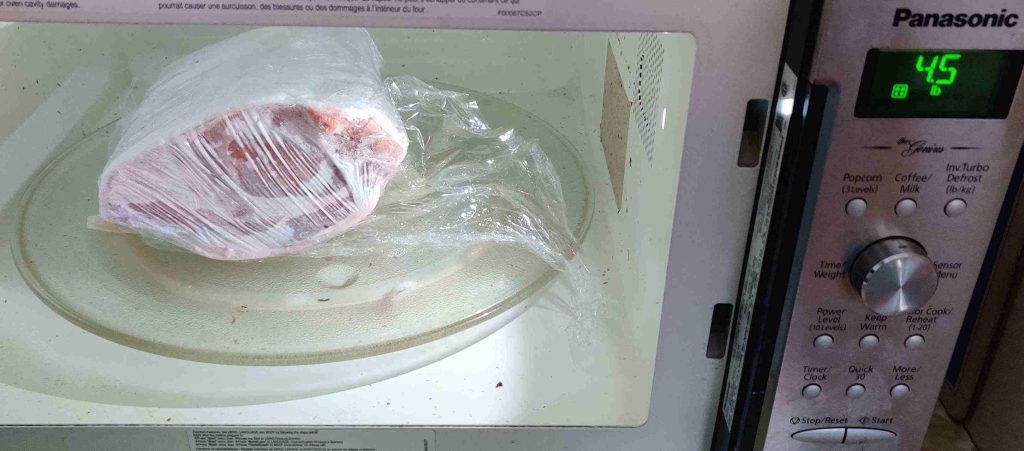
The pork was placed in my microwave oven using the “defrost” function, entering the pork weight that I had marked on the plastic wrap before freezing:

Frozen pork placed in microwave oven for defrosting

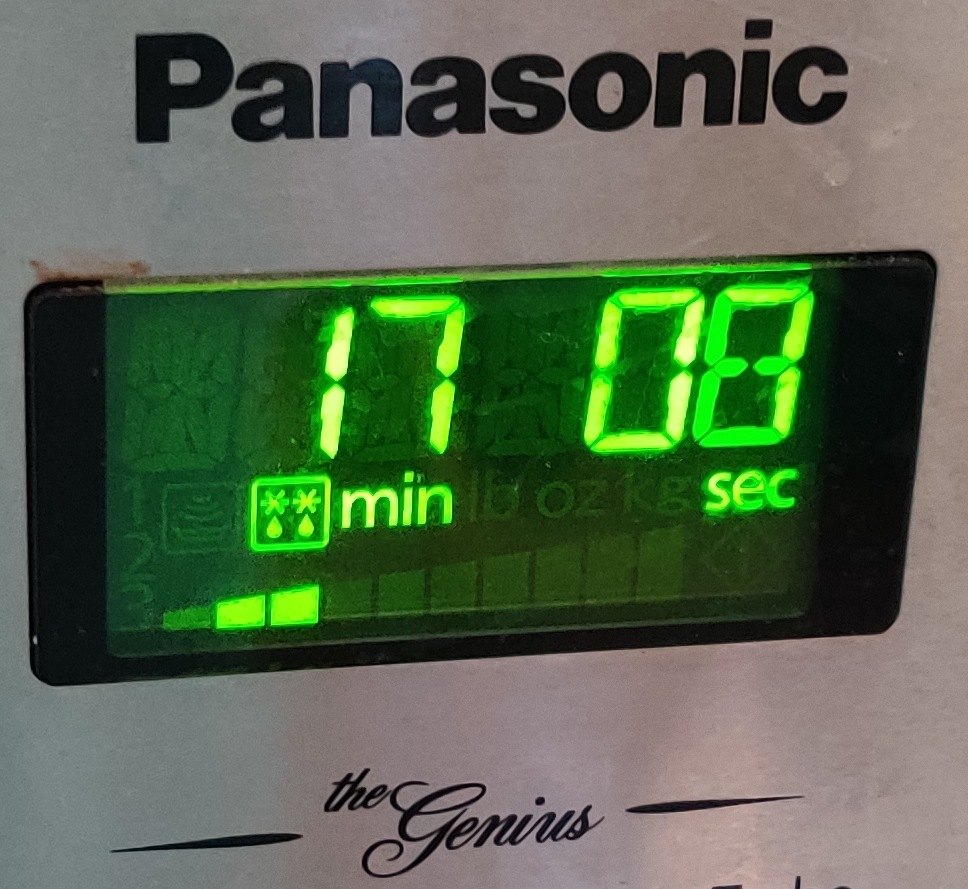
The time for defrosting was automatically set based on the weight I’d entered:

Defrosting time automatically set based on weight

In the meantime, an oven-proof cast iron pot with a lid was taken out:

Oven proof pot taken out

Critically, the use of an oven-proof pot that can be covered, be it with a lid, or aluminum foil, is important — in my case, I use a cast iron pot with a lid that happens to fit in my countertop convection oven, and which allows for pre-heating on the stove.

An onion and a kitchen knife were taken out:

Onion and kitchen knife taken out

The onion was trimmed:

Onion trimmed

The onion was cut into rounds:

Onion cut into rounds

The onion rounds were then chopped coarsly:

Onion chopped coarsely

The chopped onion was transferred to the pot:

Chopped onion placed in pot

Olive oil was taken out and added to the pot:

Olive oil taken out and added to pot

Once the pork had defrosted, I started trimming off excess fat with a particularly sharp knife:

Fat layer trimmed off of pork

The pieces of fat trimmed off the pork were put into a bucket for disposal through the municipal curbside composting programme.

The pork was cut into three pieces, which would fit into my pot:

Pork cut into pieces to fit in pot

The pieces of pork were placed in the pot with the chopped onion and olive oil:

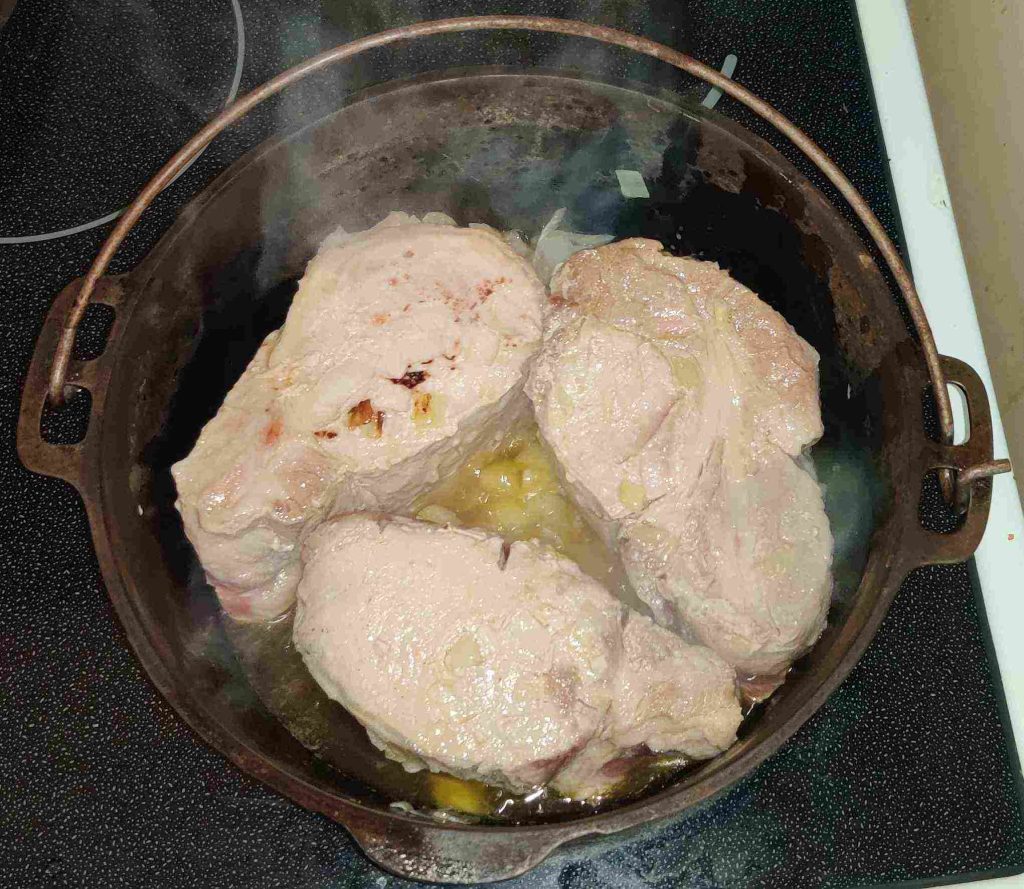
Pork pieces placed in pot with onion and olive oil

The stove burner was turned on — and oh my, it’s a bit dirty:

Stove burner turned on

I also turned on my countertop convection oven:

Countertop convection oven turned on

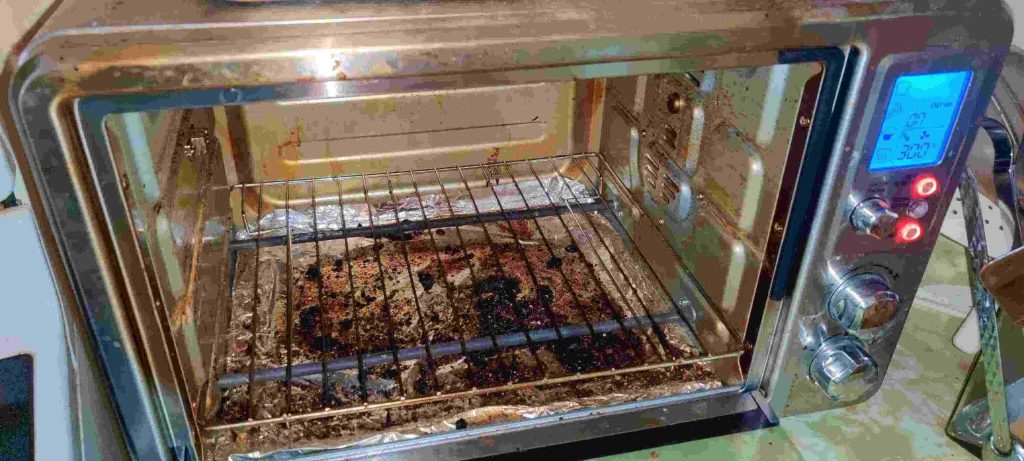
The oven rack was placed on the bottom level of the oven — and oh my! again, a bit of cleaning is needed, including replacing the aluminum foil at the bottom of the oven:

Countertop oven turned on

Back to the pork on the stove, the pork was turned over:

Pork turned over

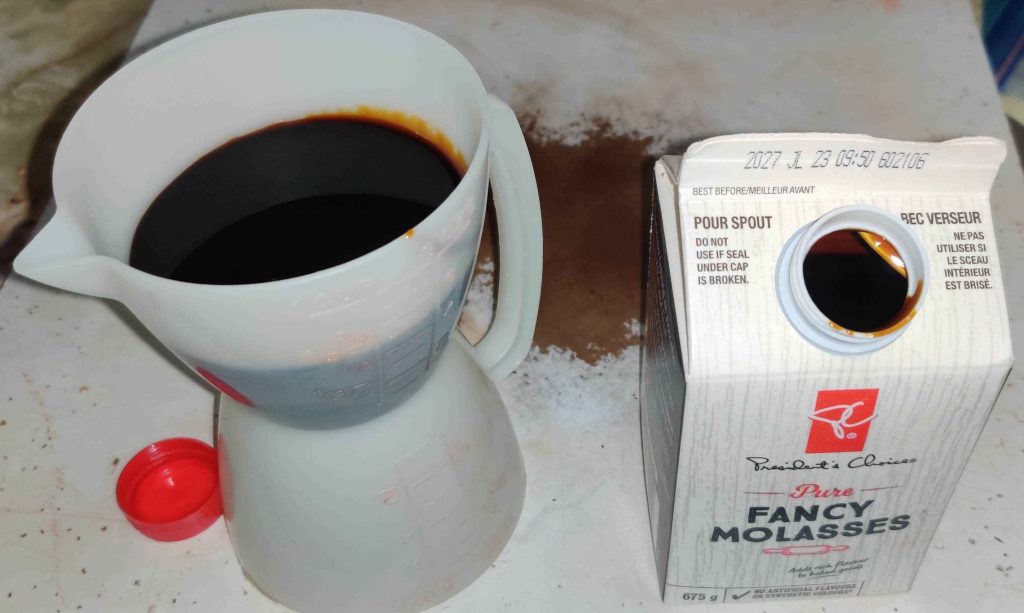
Molasses was taken out and measured out:

Molasses measured out

The molasses was transferred to the pot with the pork and chopped onion:

Molasses transferred to pot with pork and onion

Some barbecue sauce as well as some ketchup to help make up the volume were measured out:

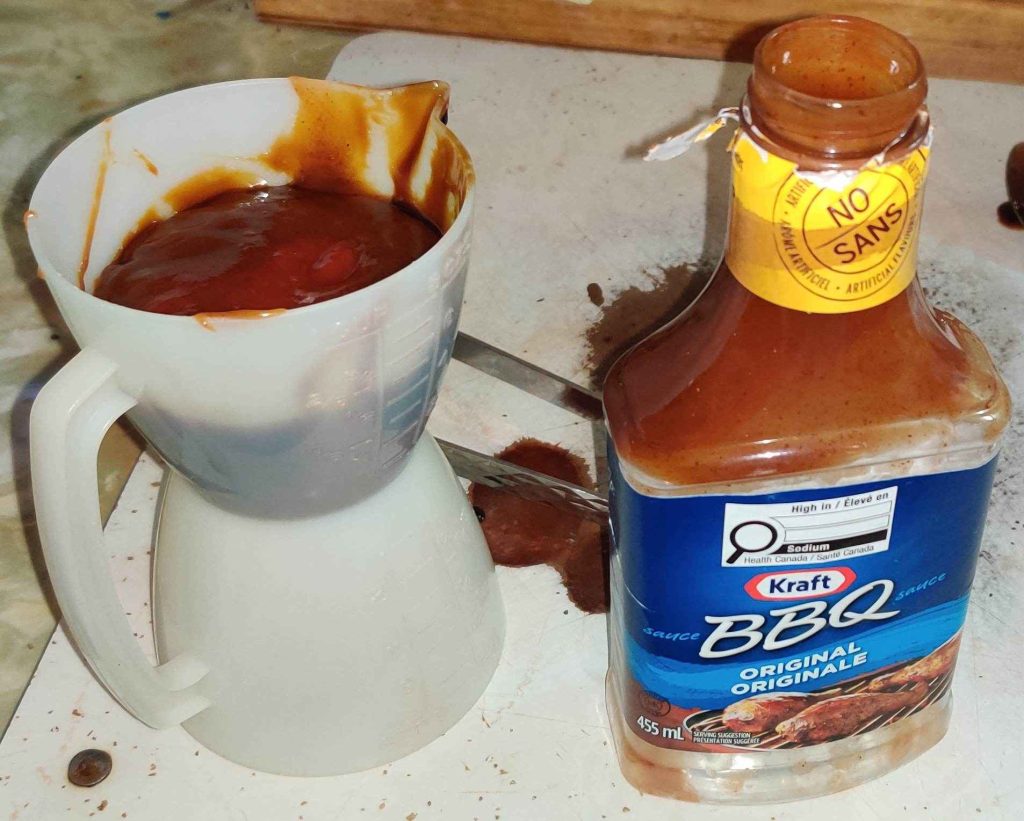
BBQ sauce and ketchup measured out

The barbecue sauce was added to the pot with the pork, onions, and molasses:

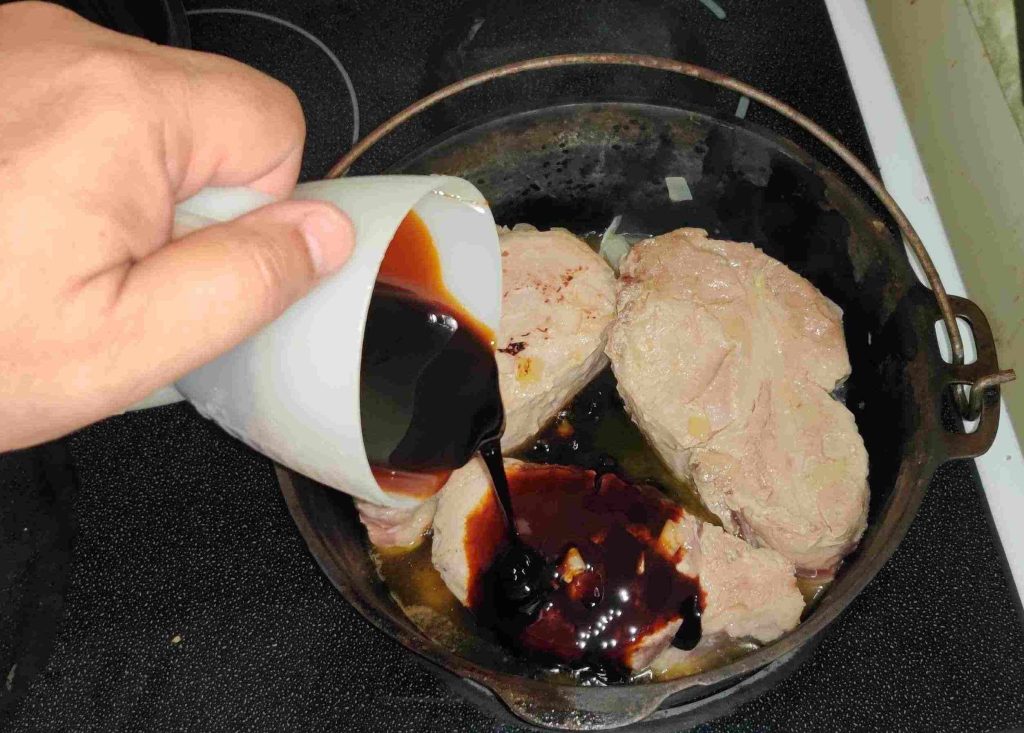
Barbecue sauce added to pot

Just a reminder here: Since my recipe for pulled pork and this post are predicated on the notion of “use the barbecue sauce you want to use”, although the ingredients for a taste-alike replacement of Kraft BBQ sauce are in my recipe for pulled pork, showing the makeup ingredients won’t be done here. Also to note, the apparent measure above takes into account the following steps, which washed out the rest of the barbecue sauce and ketchup clinging to the insides of the bottles used.

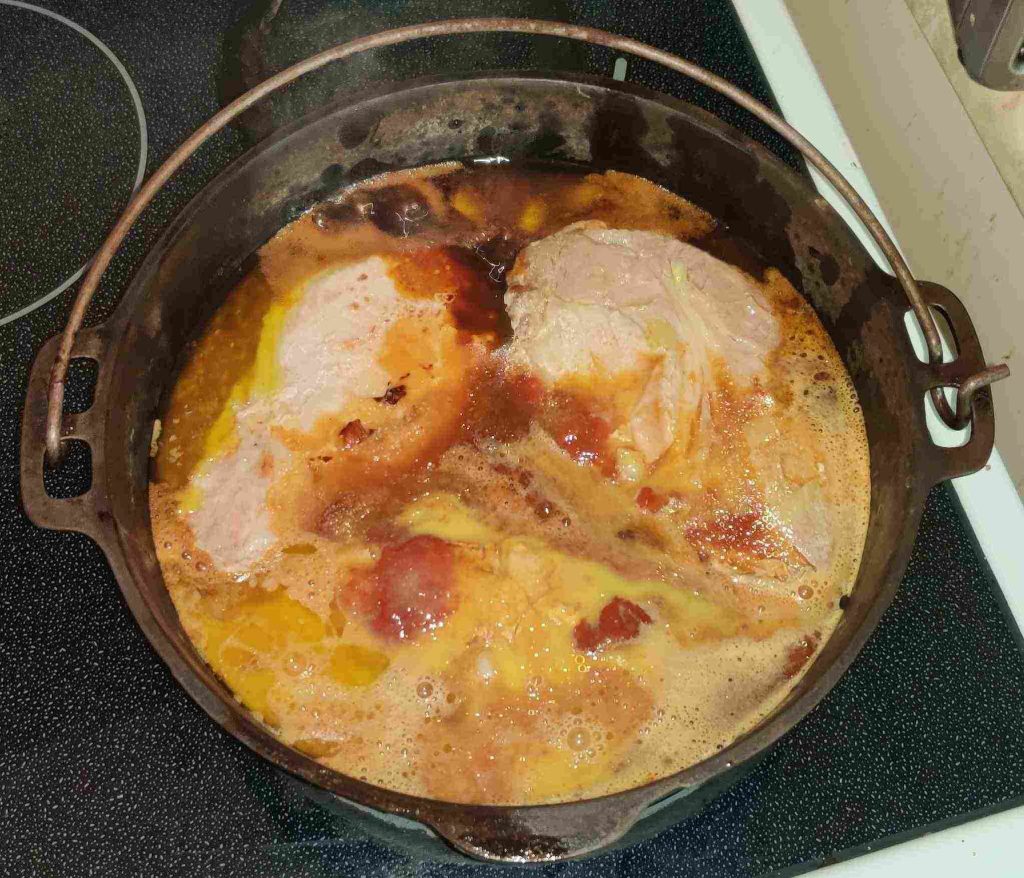
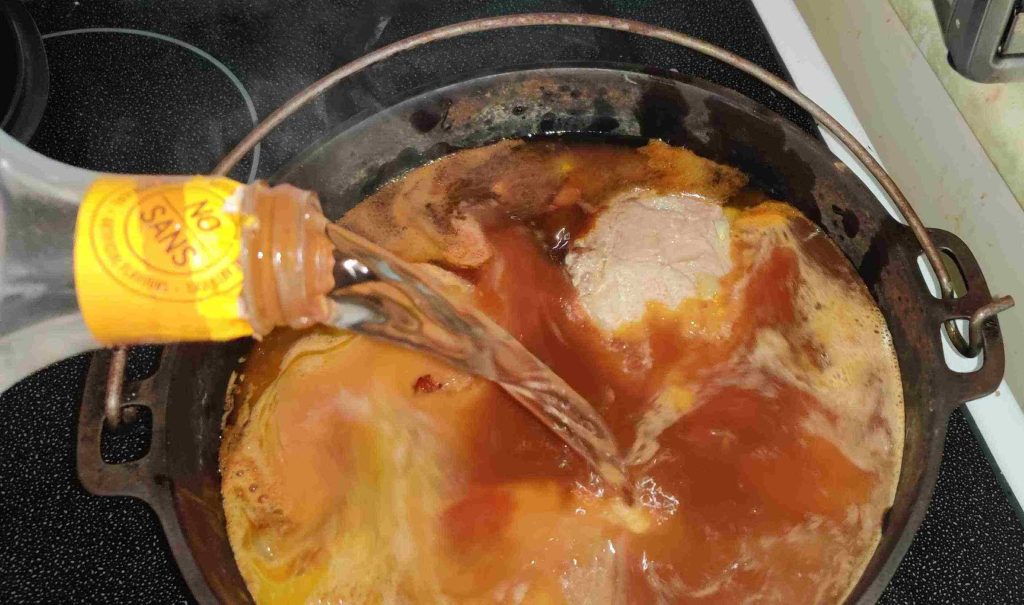
Water was added to the pot with the other ingredients, enough to cover the pork pieces:

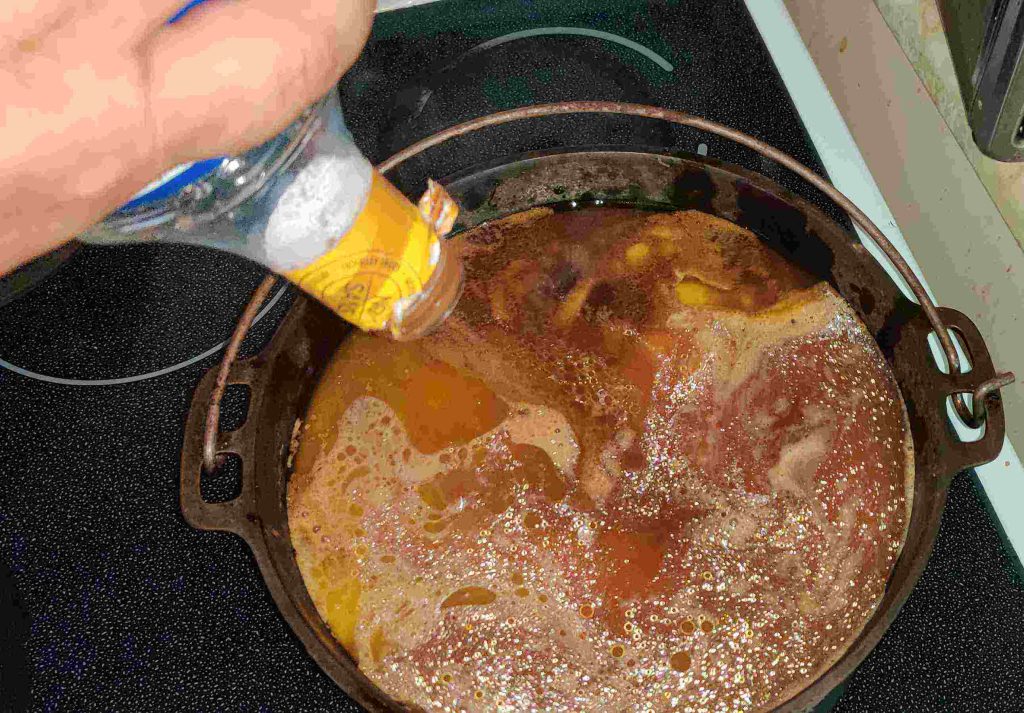
Water added to pot with the other ingredients

At this point, the stove burner was turned up to maximum:

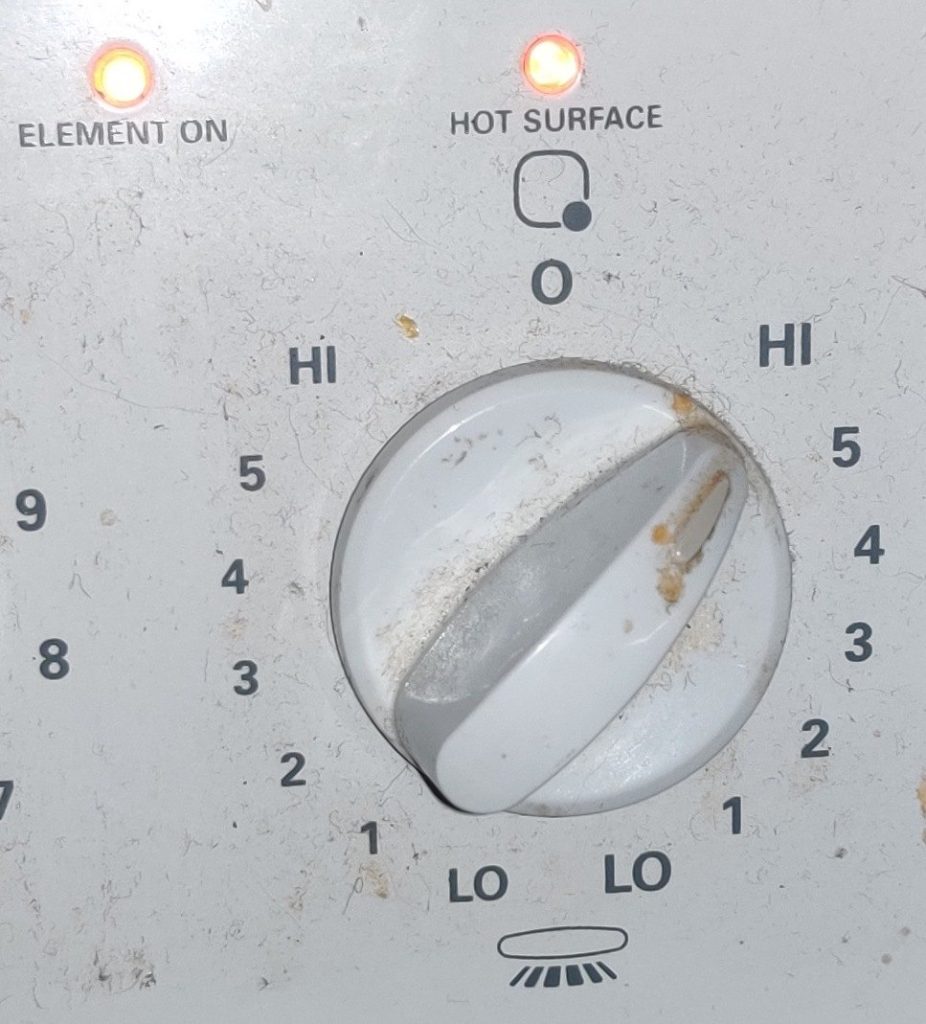
Stove burner turned to maximum

The pot was brought to a boil:

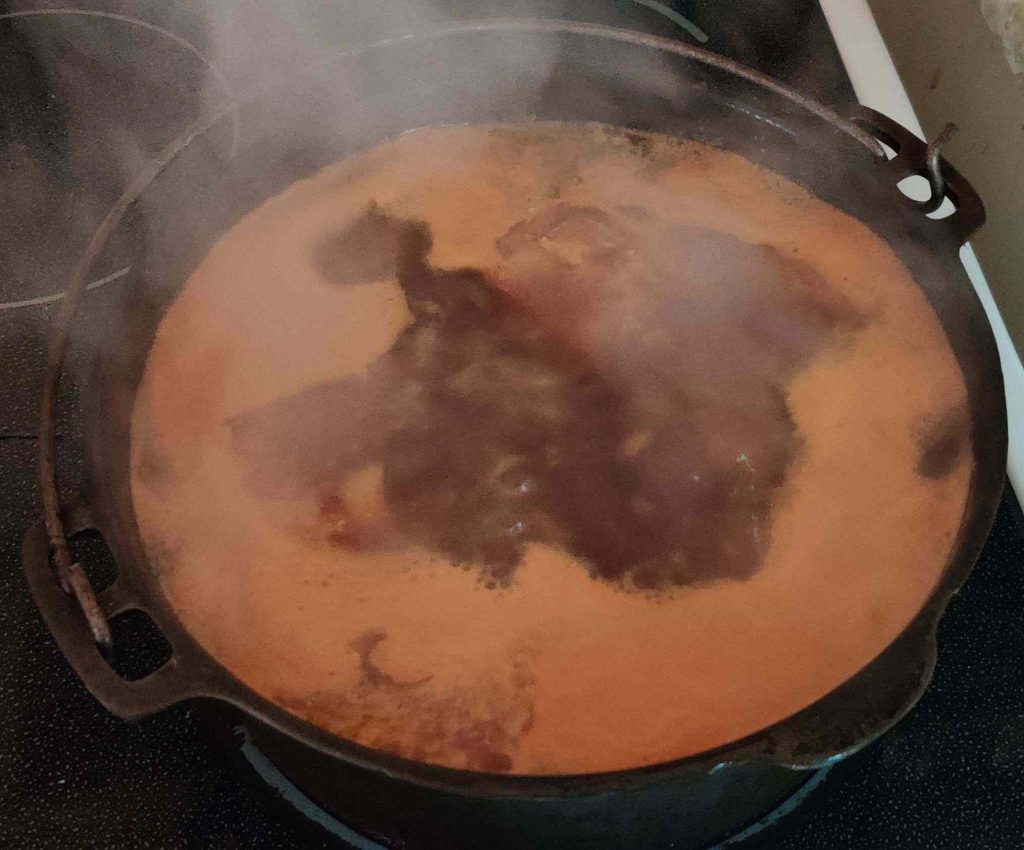
Pot brought to a boil

The lid was placed on the pot:

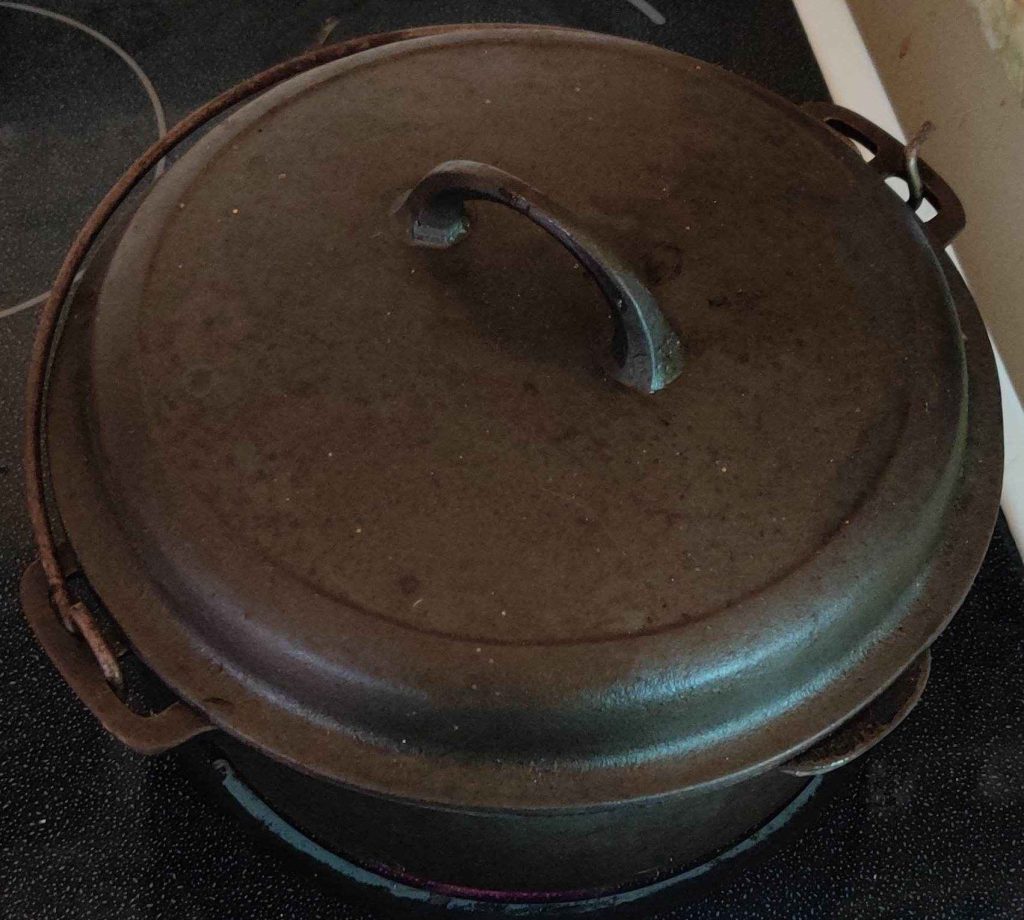
Lid placed on pot

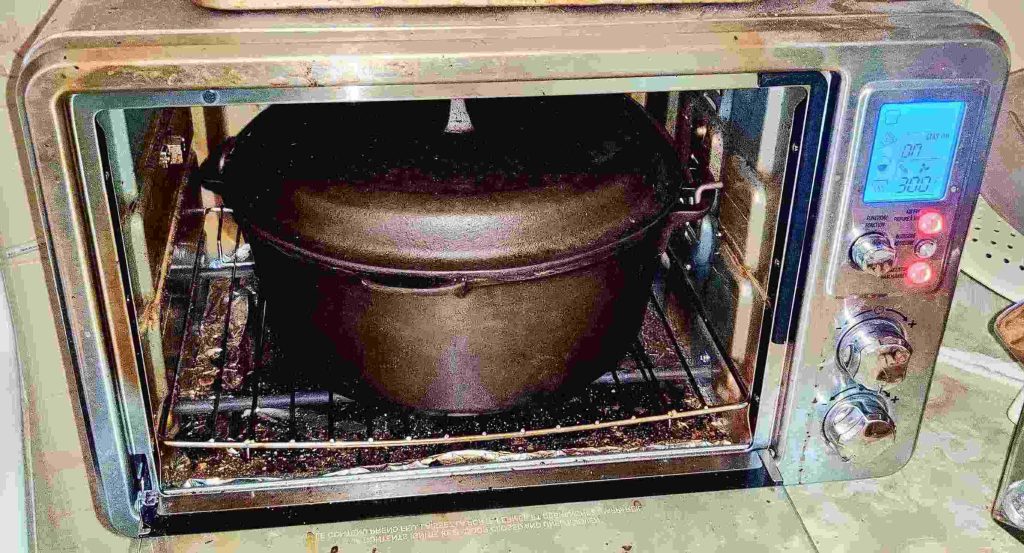
The pot was placed into the countertop convection oven — the pot just fits!

Pot placed in countertop convection oven

The door to my countertop convection oven was closed — and again I noticed something that needed a cleaning!

Oven door closed

After about an hour, the pot was taken out and checked, and the liquid was indeed just bubbling:

Liquid in pot just at the point of bubbling

A timer was set to an hour and a half:

Timer set to an hour and a half

While the pot with the pork and braising liquid was returned to the countertop convection oven:

Pot returned to oven

Shortly before the timer was to run out, a heatproof container was taken out:

Heatproof container taken out

And at less than a minute before the timer ran out …

Timer running out at 40 seconds left

The pot was taken out and placed on the stove beside the counter:

Pot taken out of oven

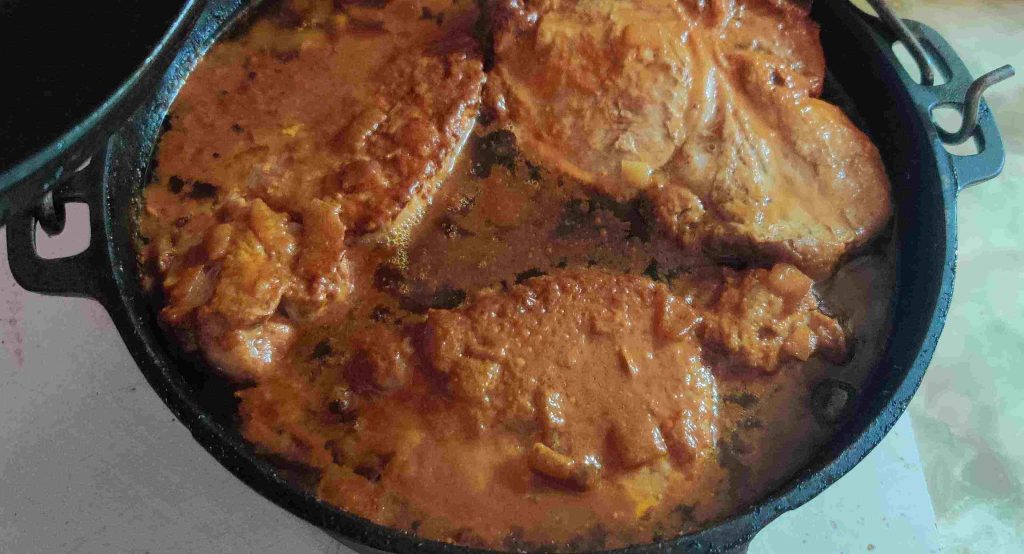
The lid was taken off the pot:

Lid taken off pot

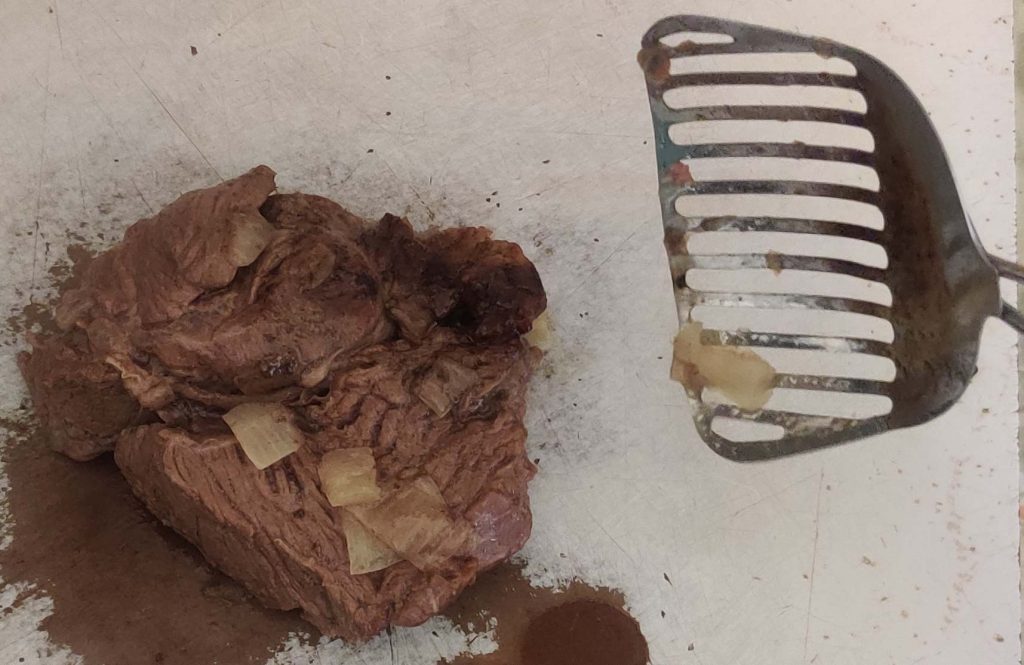
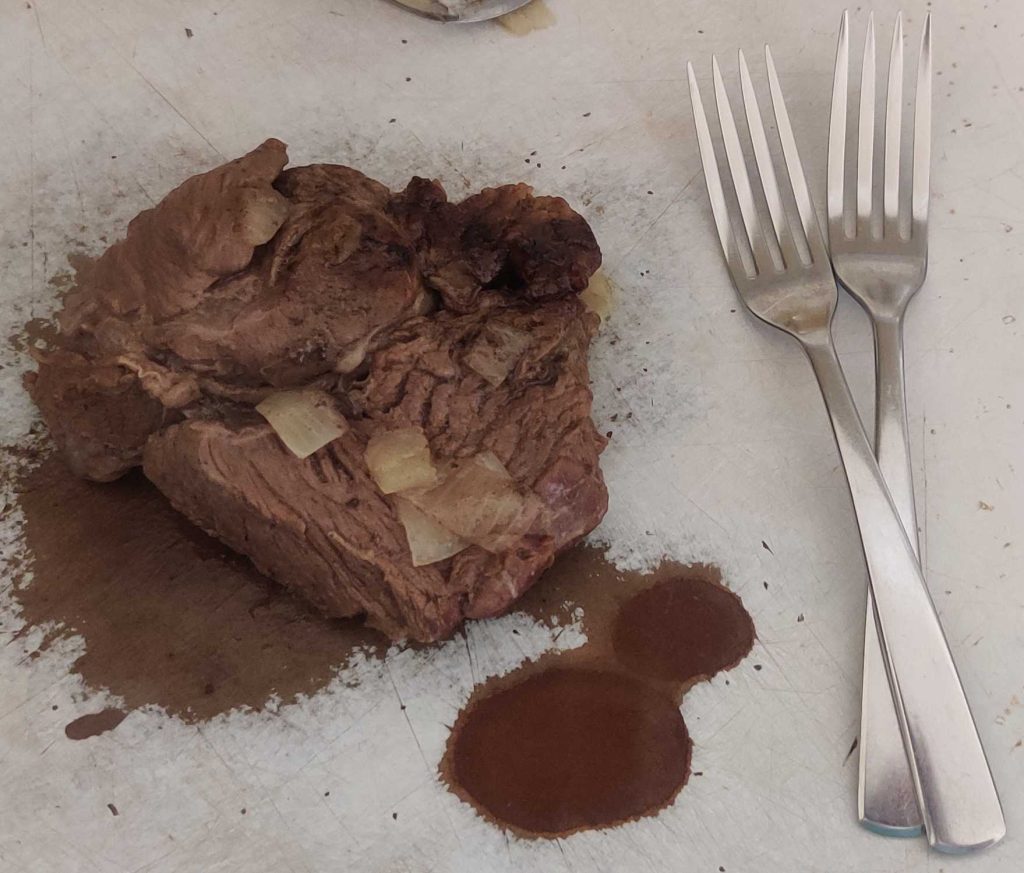
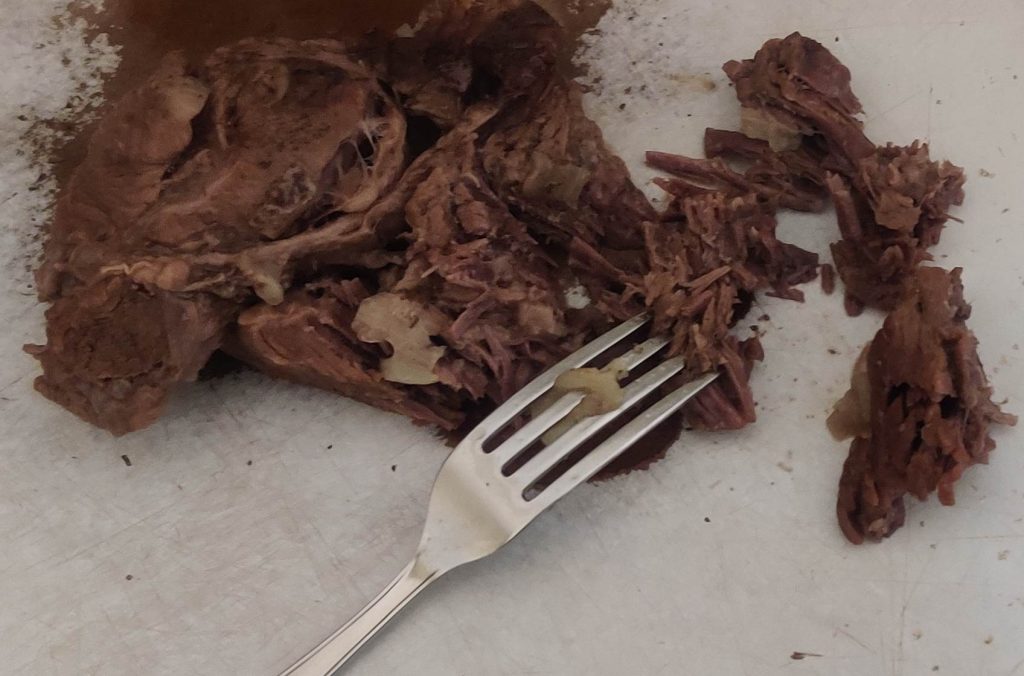
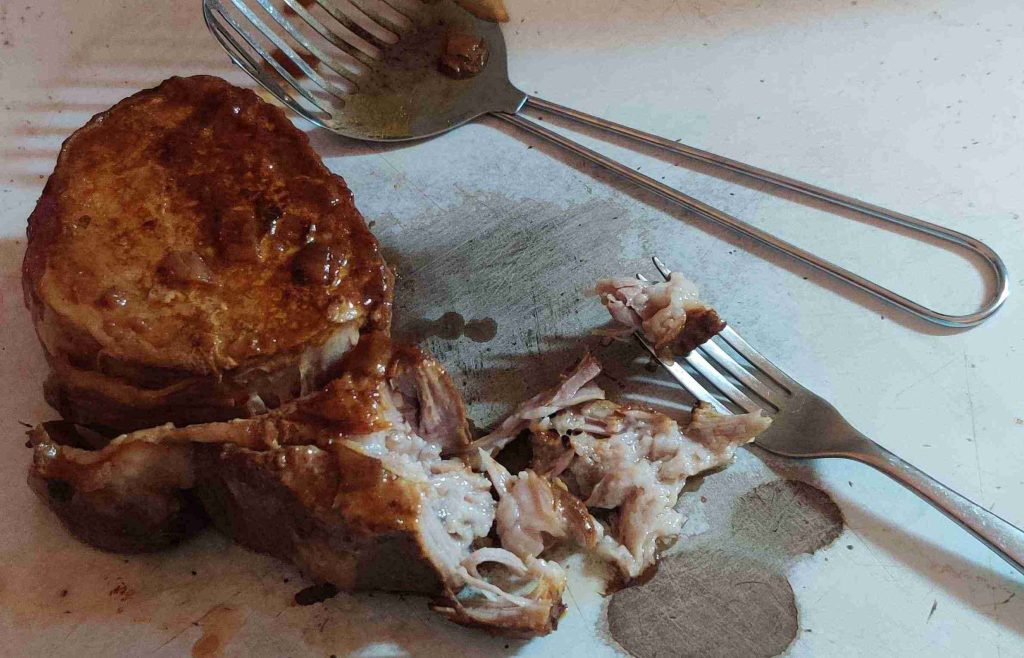
A piece of pork was taken out of the pot with a slotted spoon, and its tenderness was tested: The pork definitely pulled apart easily with a fork!

Pork taken out and tested with a fork

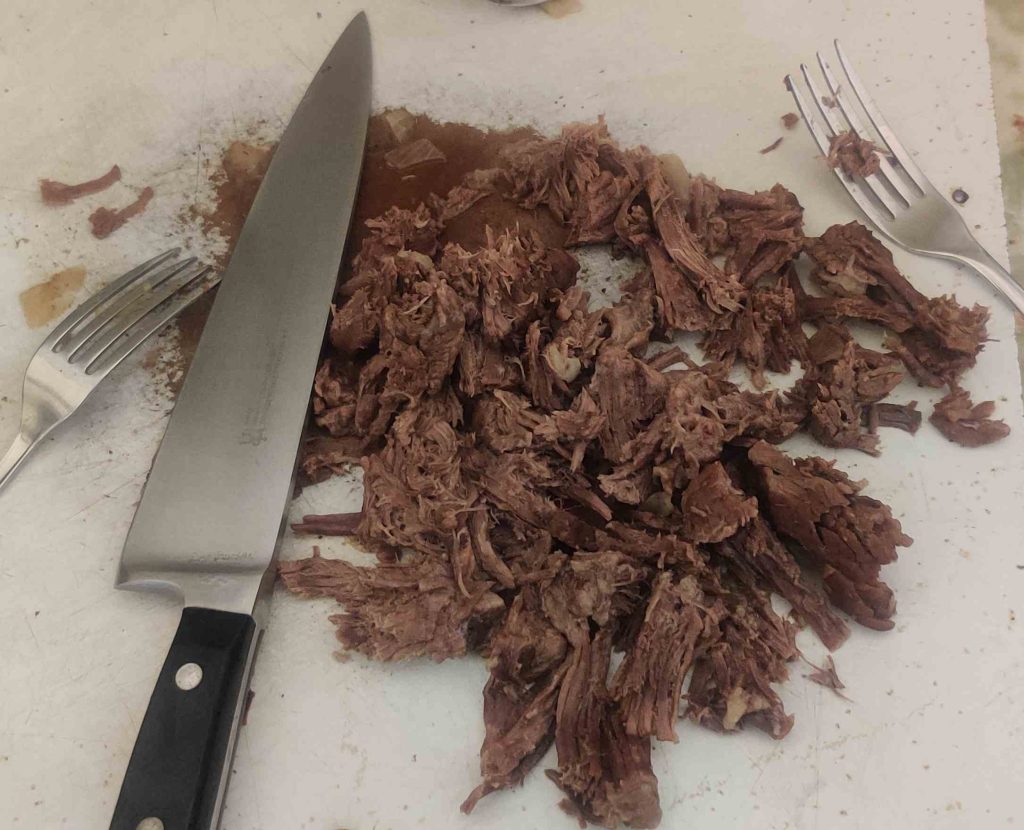
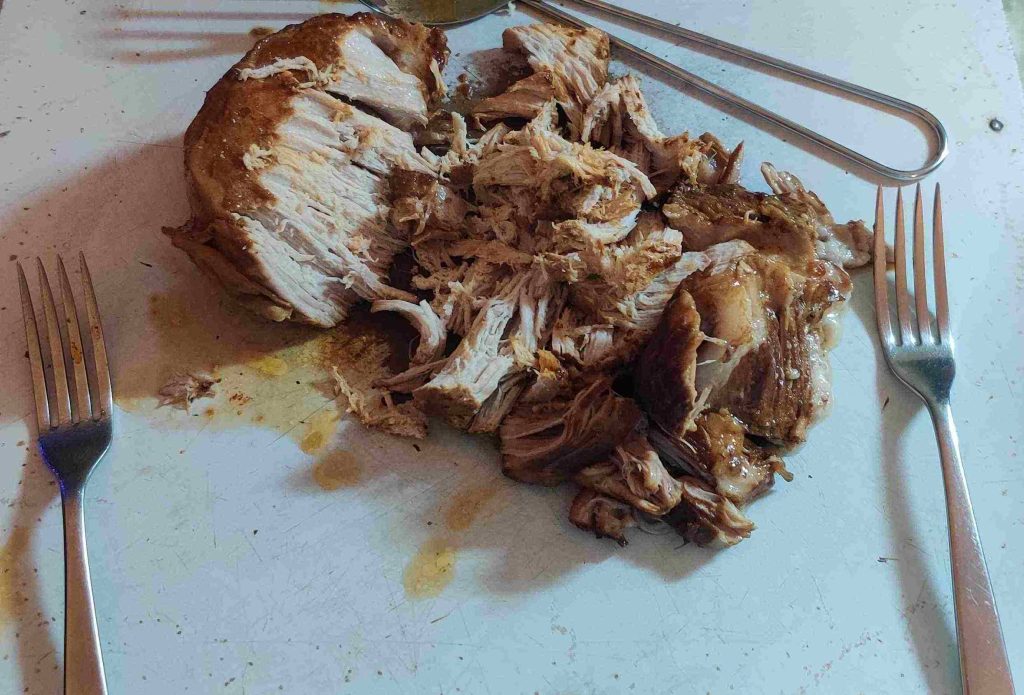
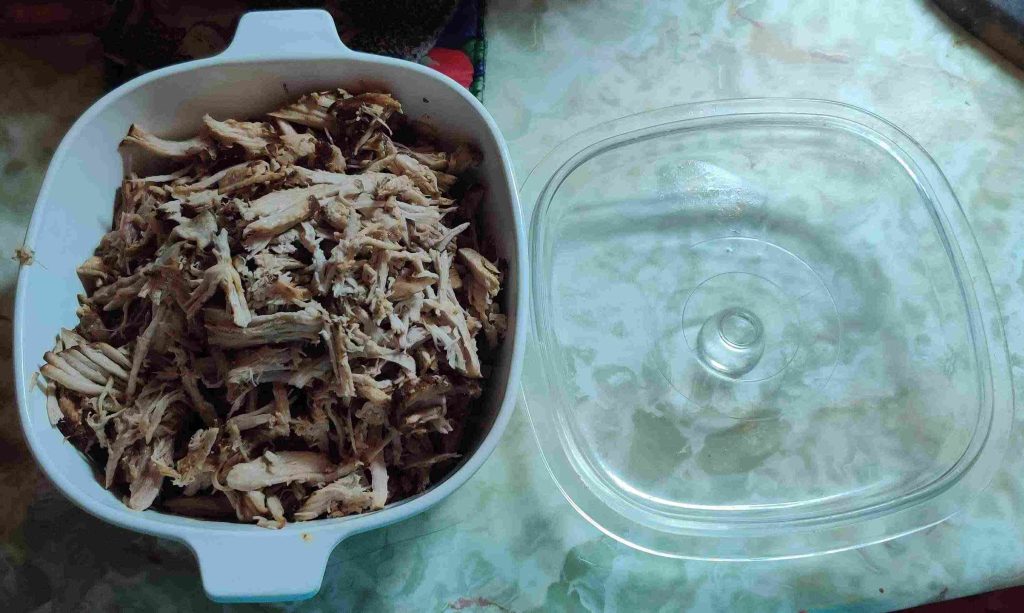
So I continued “pulling” — shredding if you prefer — the pork with some forks:

Pork shredded with forks

The shredded pork was transferred to the heat proof container, and another piece of pork was removed from the pot and braising liquid using a slotted spoon:

Another piece of pork removed from pot

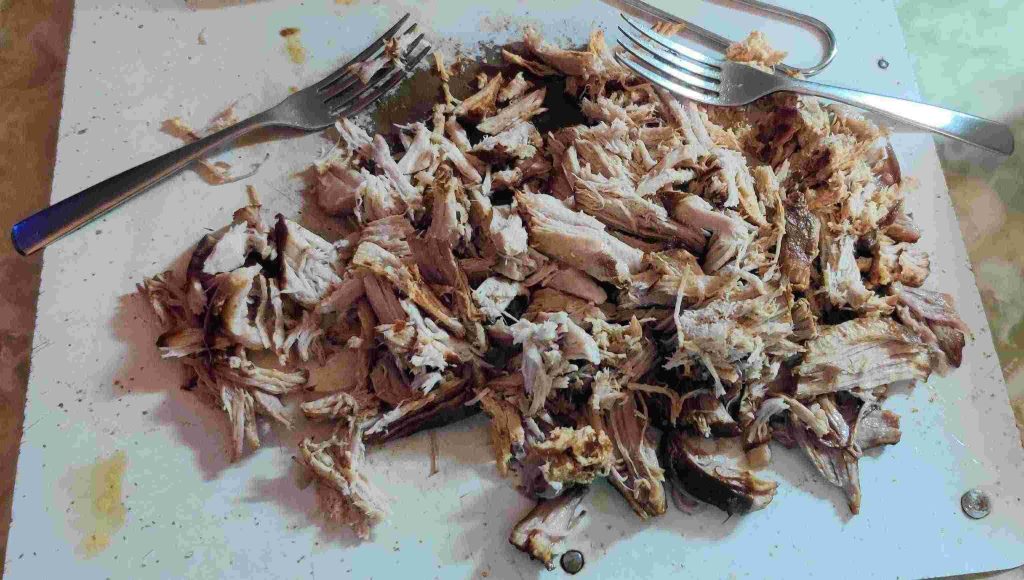
The piece of pork taken out, as well as the other piece of pork, were both shredded with the forks, and transferred to the heatproof container:
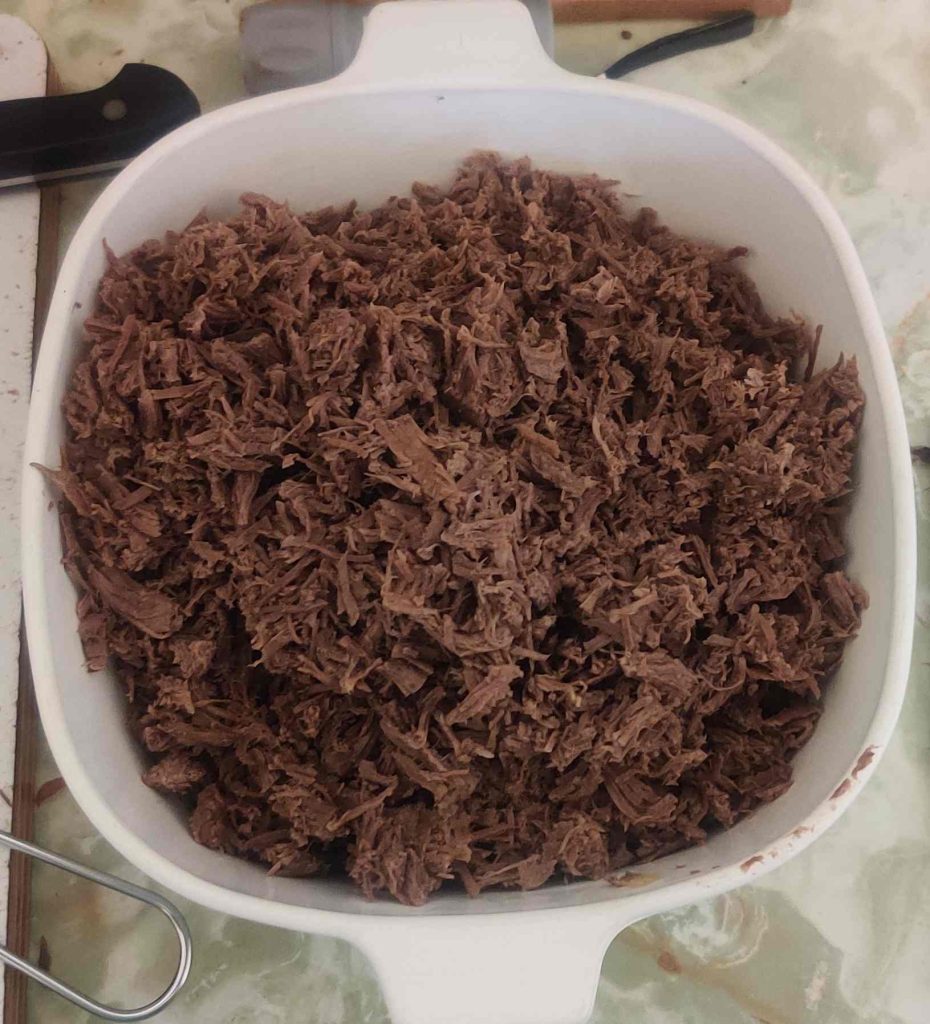
Pulled pork transferred to heatproof container

Throughout the pulling / shredding of the pork, bits of fat and grissol were separated out and put aside, to be put into a bucket for disposal through the municipal curbside composting programme:

Fat and grissol separated for disposal in composting programme

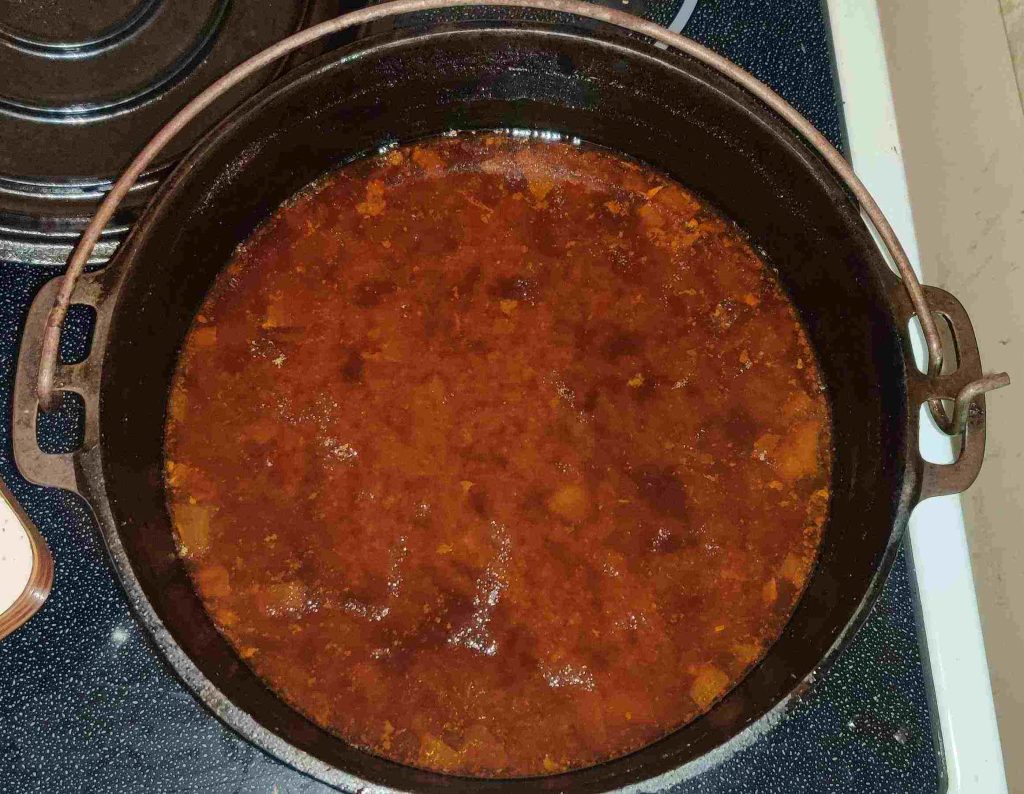
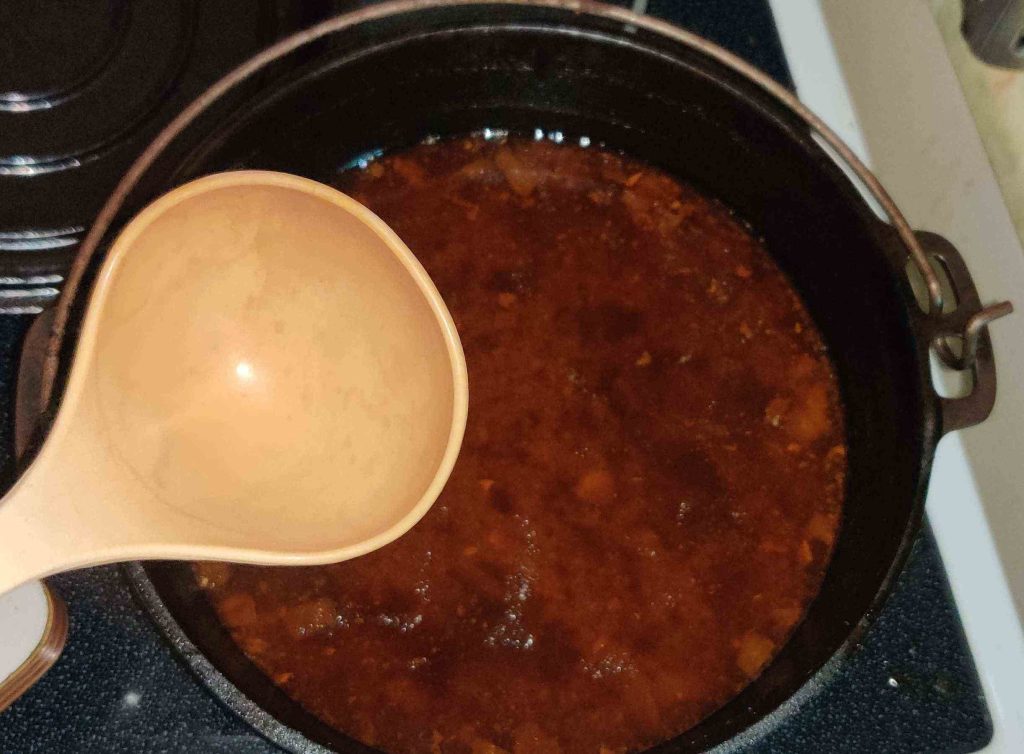
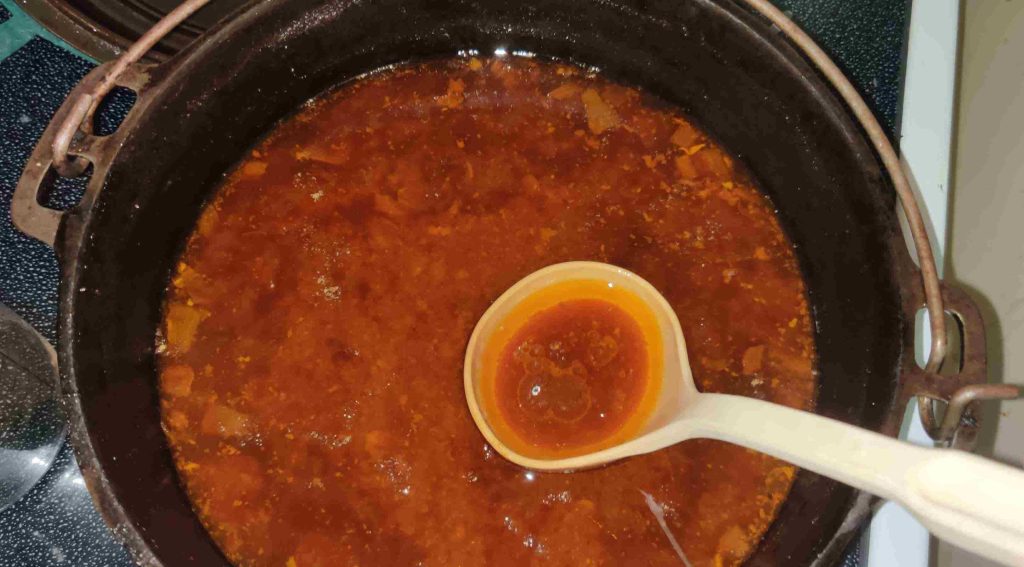
In the braising pot, a layer of rendered fat had risen to the surface:

Braising liquid with layer of rendered fat on top

A soup ladle was taken out to skim off the rendered fat:

Ladle taken out

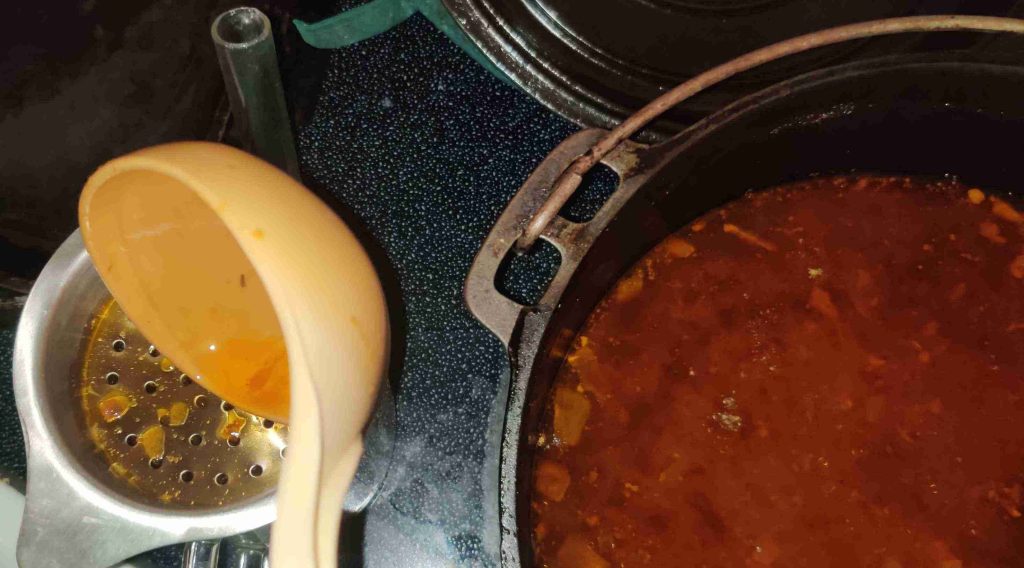
The rendered fat was skimmed off the top of the braising liquid:

Rendered fat skimmed off top of braising liquid

The skimmed rendered fat was transferred to a fat separator with a slotted top:

Skimmed fat transferred to fat separator
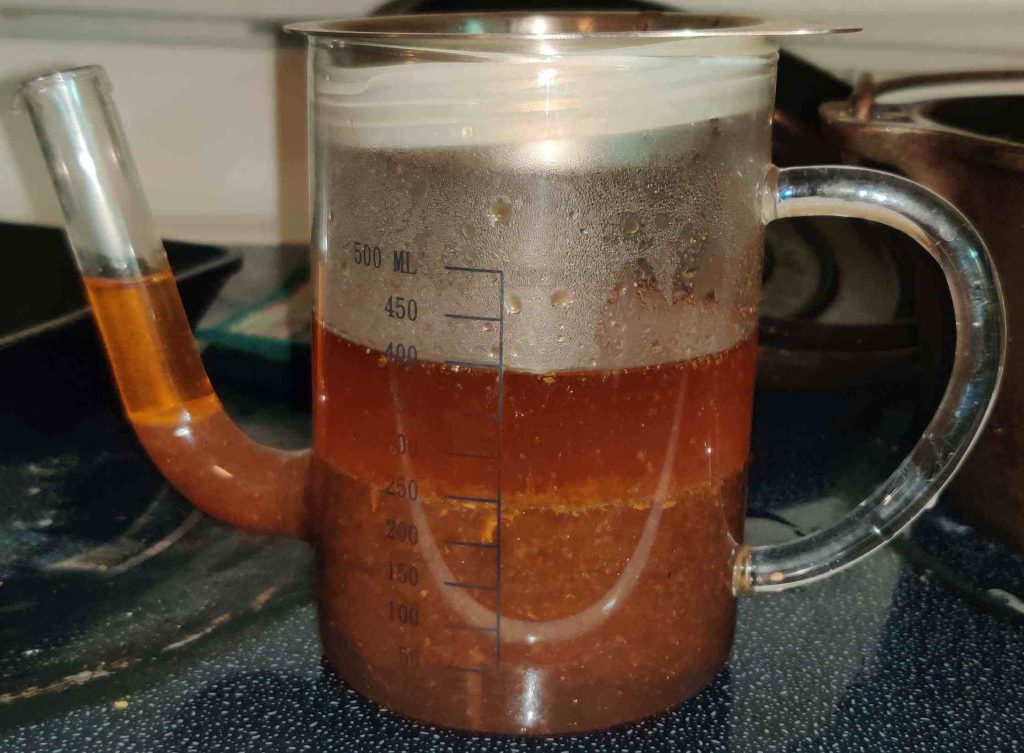
Rendered fat in fat separator

The braising liquid at the bottom of the fat separator was poured off:

Braising liquid poured off

The ladle was then used again, this time to transfer some of the braising liquid from the cast iron pot …

Braising liquid transferred from pot

… to a frypan, in order to help reduce / thicken the liquid more quickly than all at once just in the pot:

Braising liquid transferred to pan for reducing / thickening

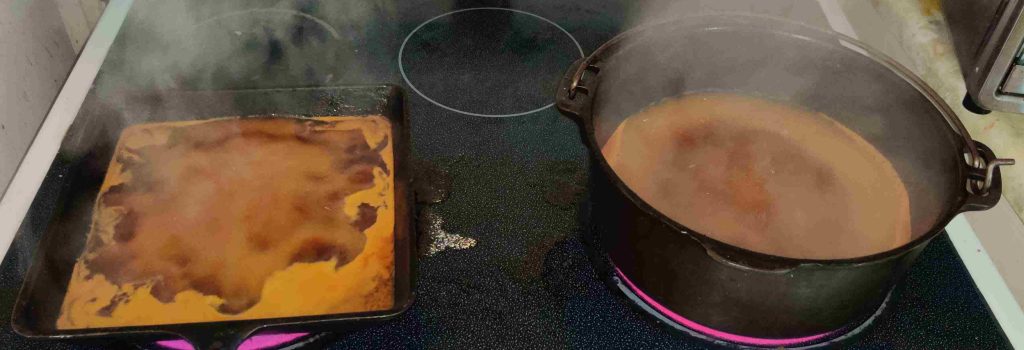
Two stove burners were turned on to maximum:

Stove burners turned on to maximum
Stove burners turned on to maximum under frypan and pot

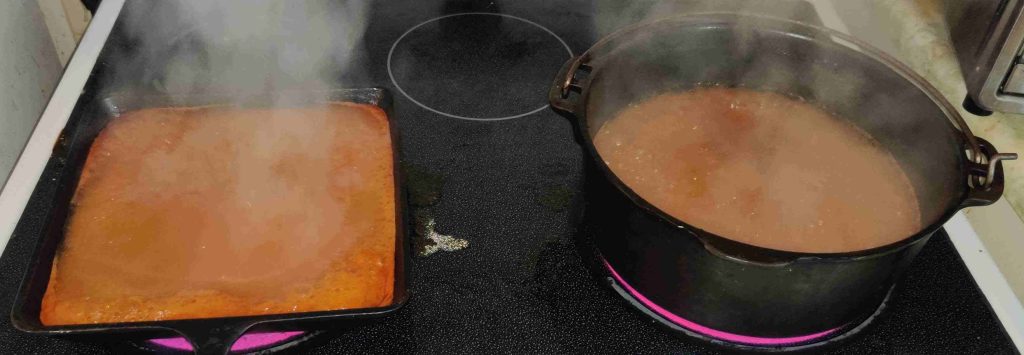
The frypan and pot were brought to a boil to reduce the volume and concentrate the ingredients, by evaporating off excess water:

Frypan and pot brought to a boil
Boiling braising liquid to reduce the volume and concentrate the ingredients

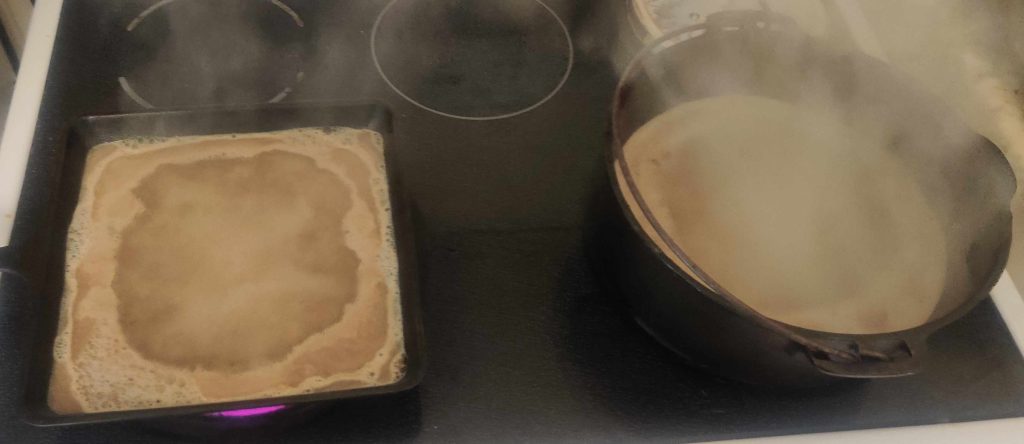
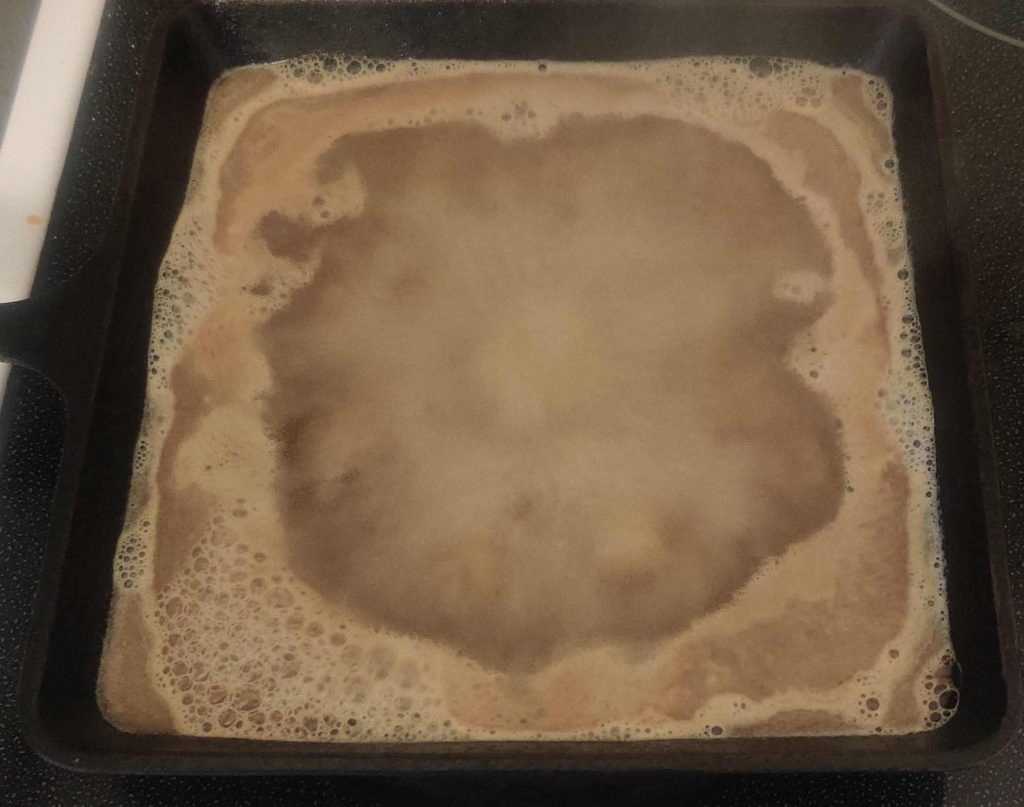
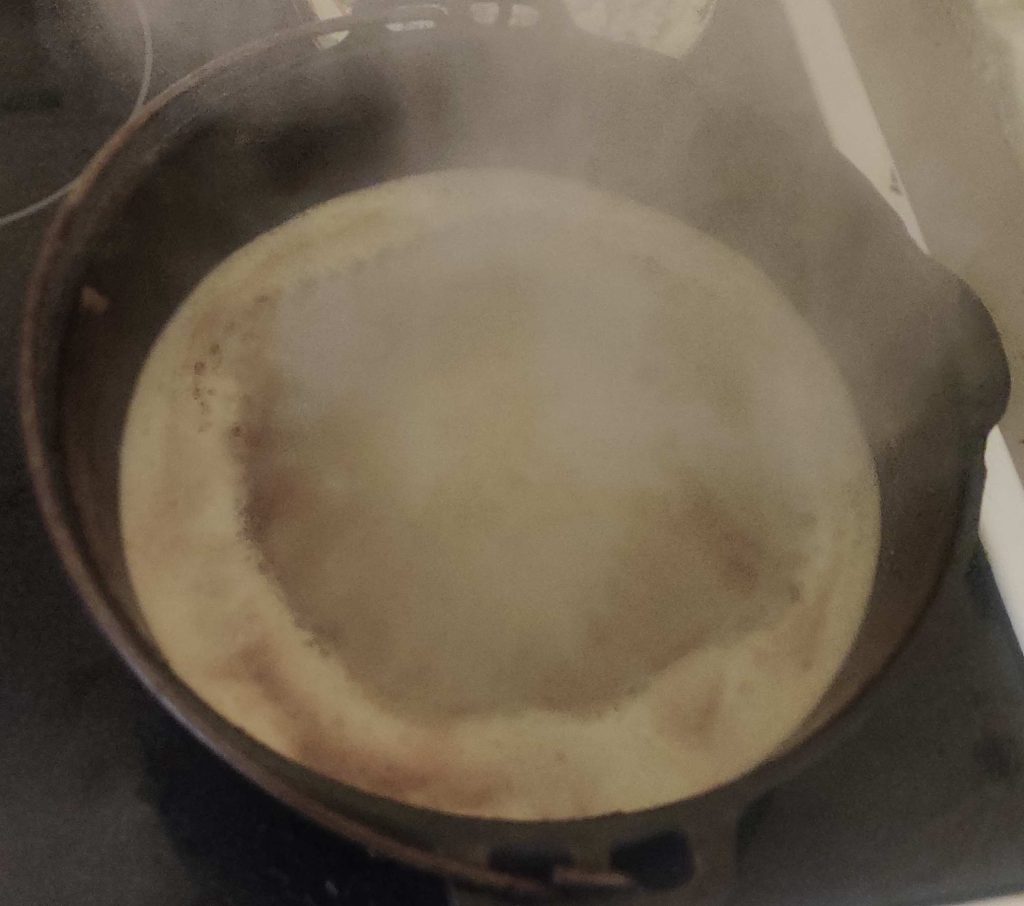
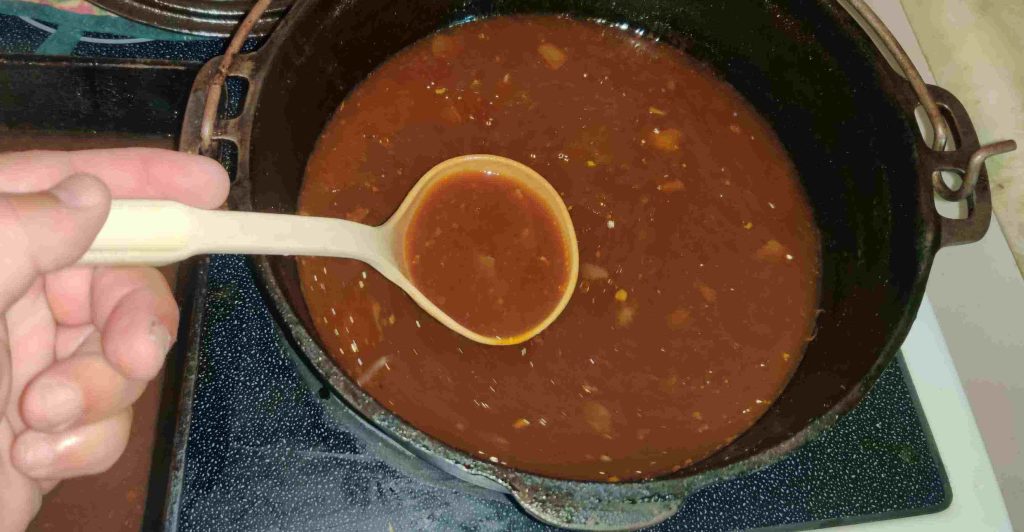
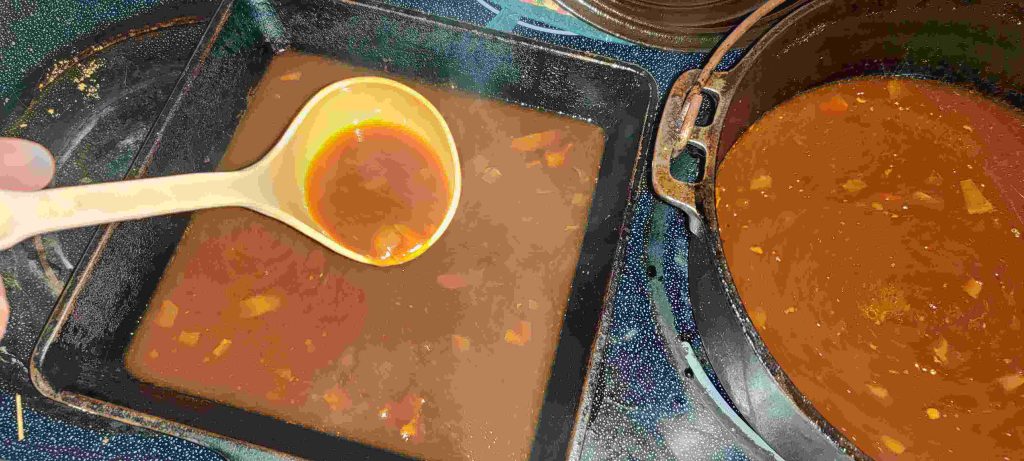
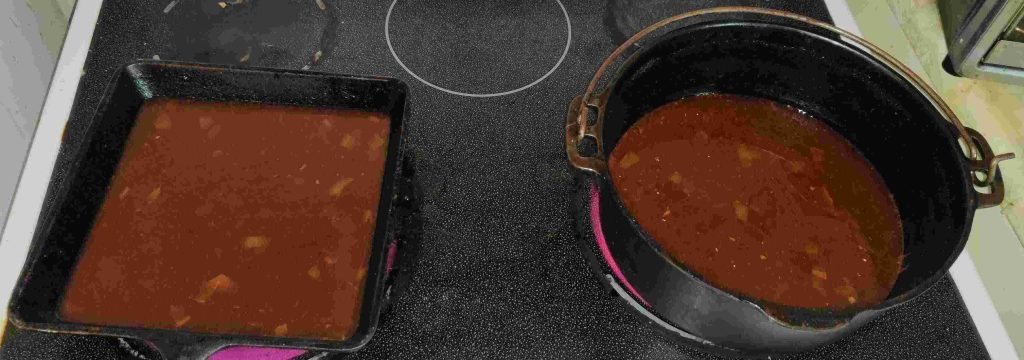
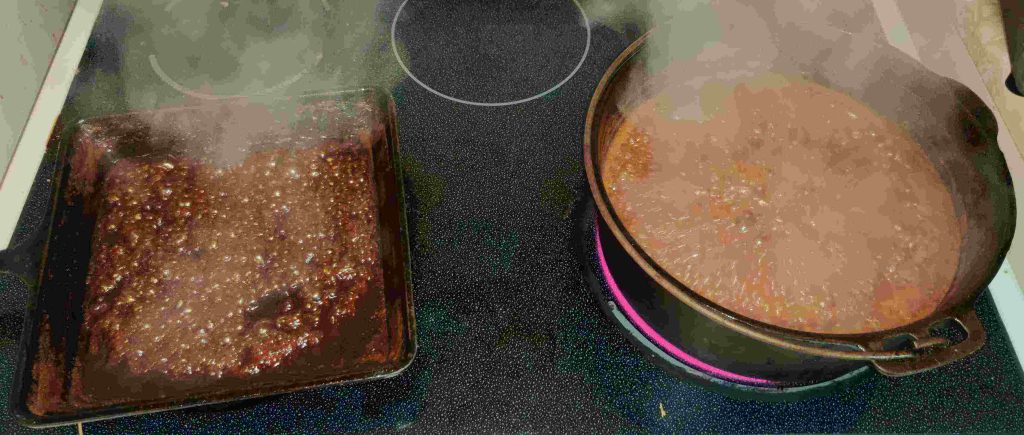
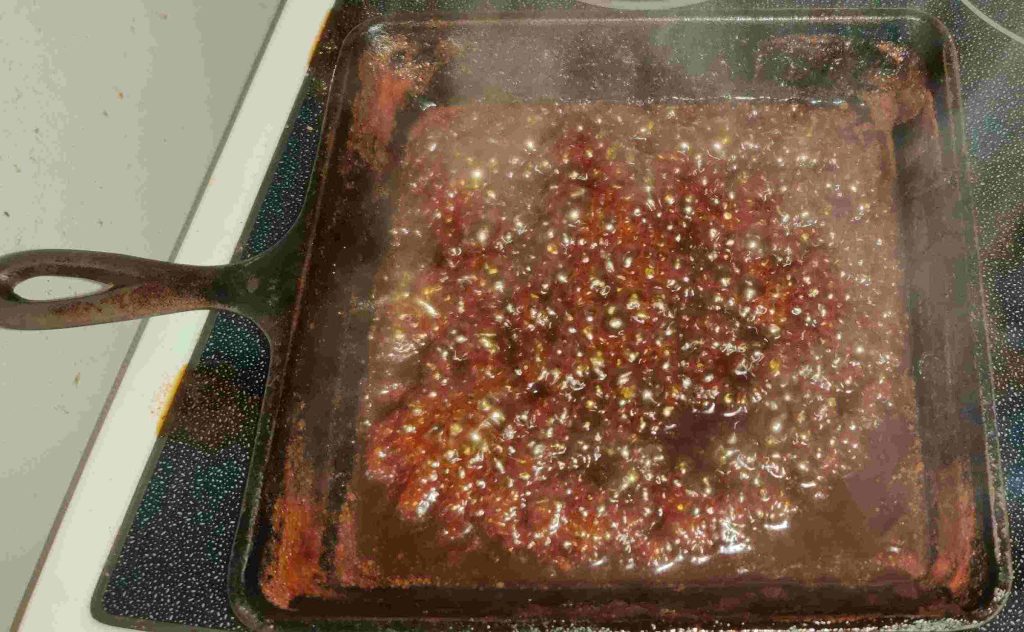
After a time, as can especially be seen in the pan on the left, the reduced liquid with become what I will characterize as “gloopy”, and the bubbling will be more audible:

Braising liquid especially on the left thickened
Thickened braising liquid becoming a sauce

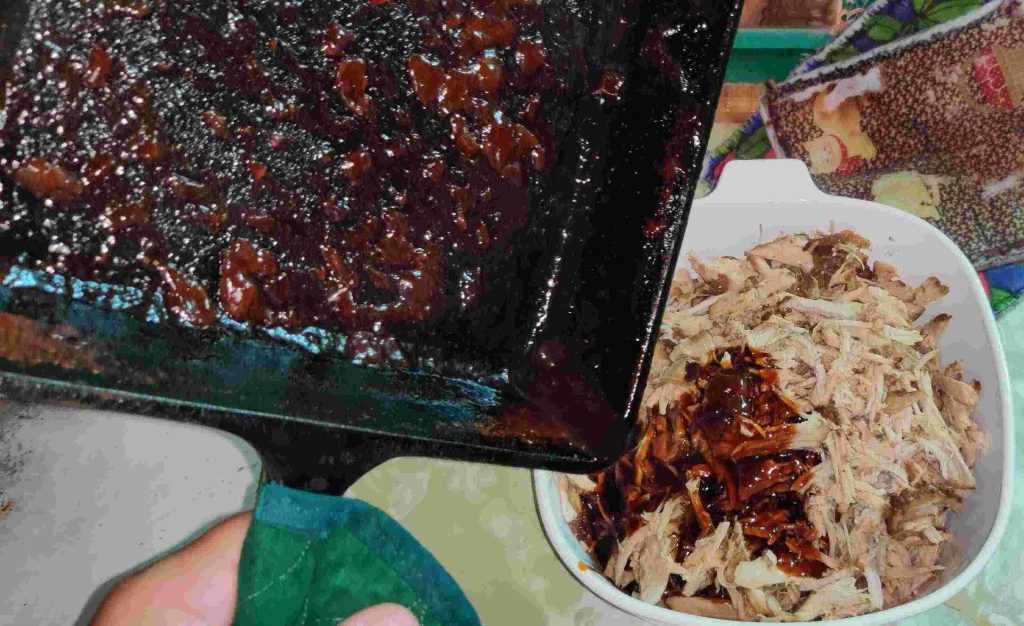
The now thickened sauce in the pan was transferred to the pork in the heatproof container:

Sauce transferred to pork

Of course, the pan was scraped to get all of that goodness to put on the pulled / shredded pork!

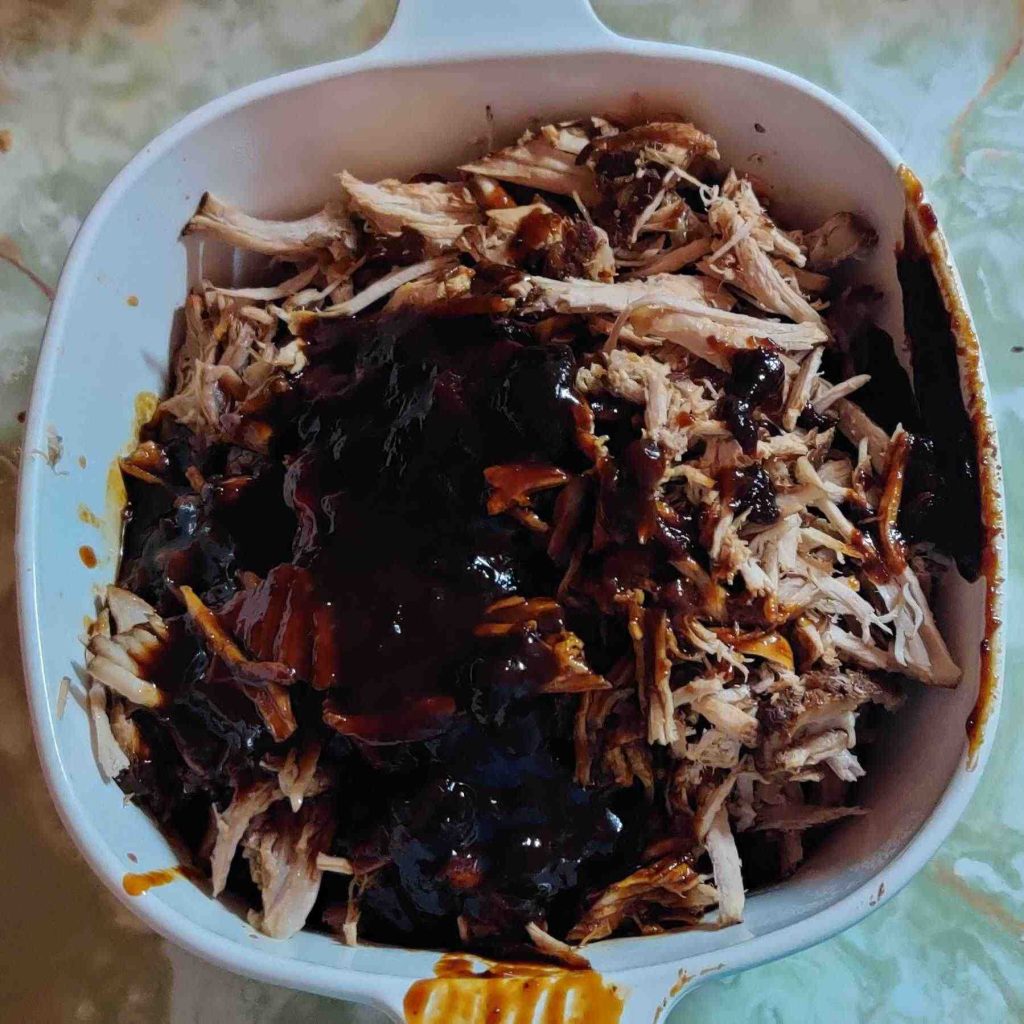
The rest of the braising liquid was reduced to the desired thickness and transferred to the container with the pulled / shredded pork:

All sauce transferred to container of shredded pork

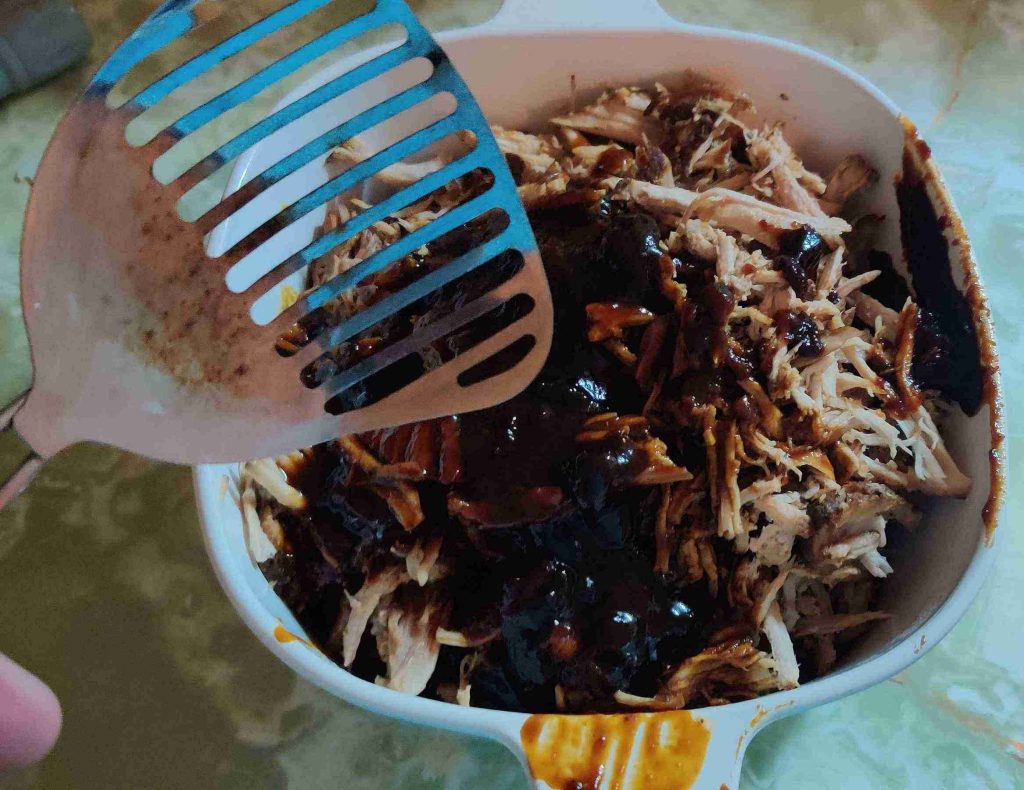
The (now cleaned) slotted spoon was taken out to distribute the sauce throughout all the pulled pork:

Slotted spoon taken out to redistribute the sauce in the container
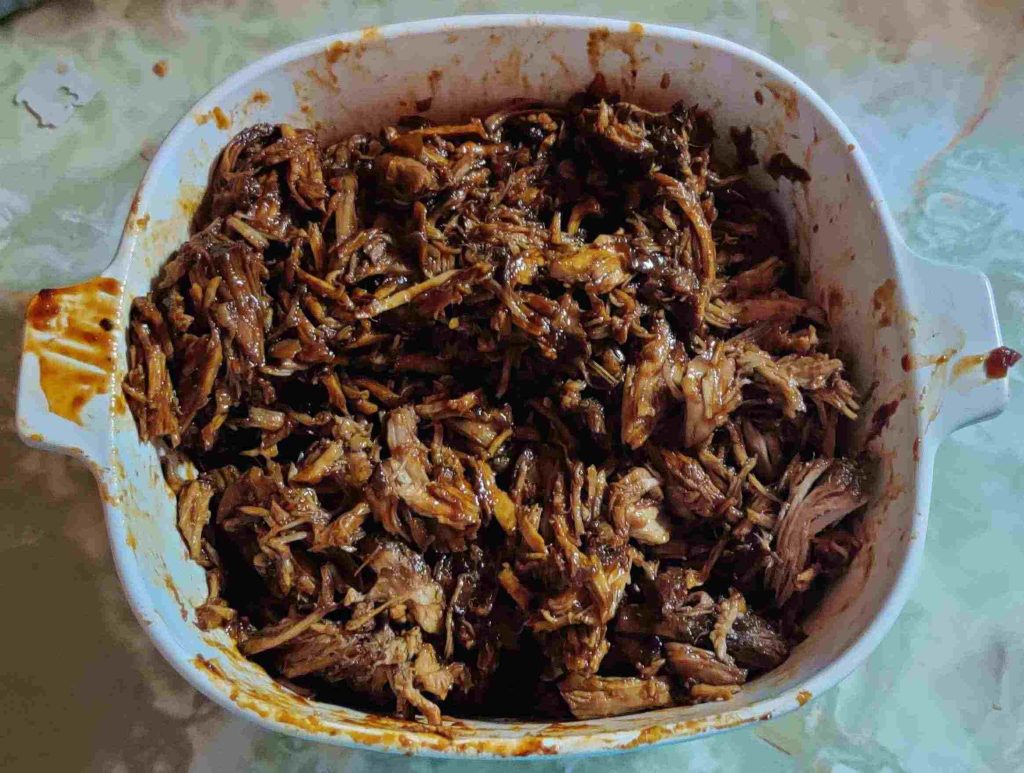
Pulled pork fully “sauced”

Plastic containers of a one-cup capacity were taken out (this is the recreated photo):

Plastic containers taken out

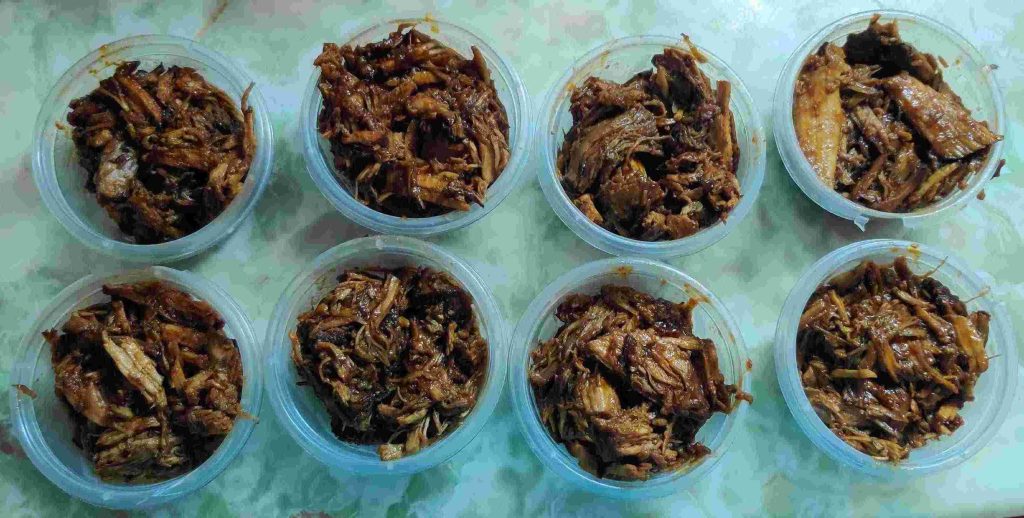
The pulled pork was transferred to the plastic containers:
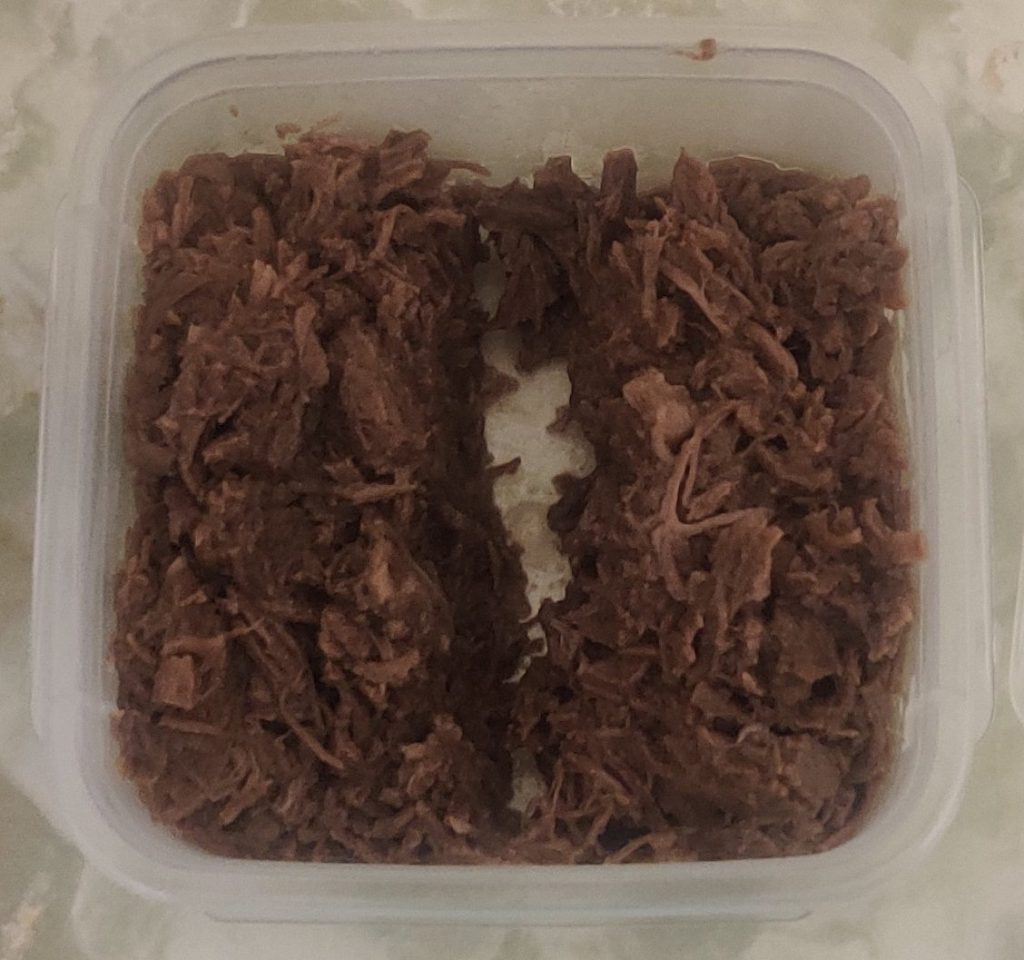
Pulled pork transferred to containers

And lids were placed on the containers:

Lids placed on containers

The containers were placed in the freezer for my future enjoyment:

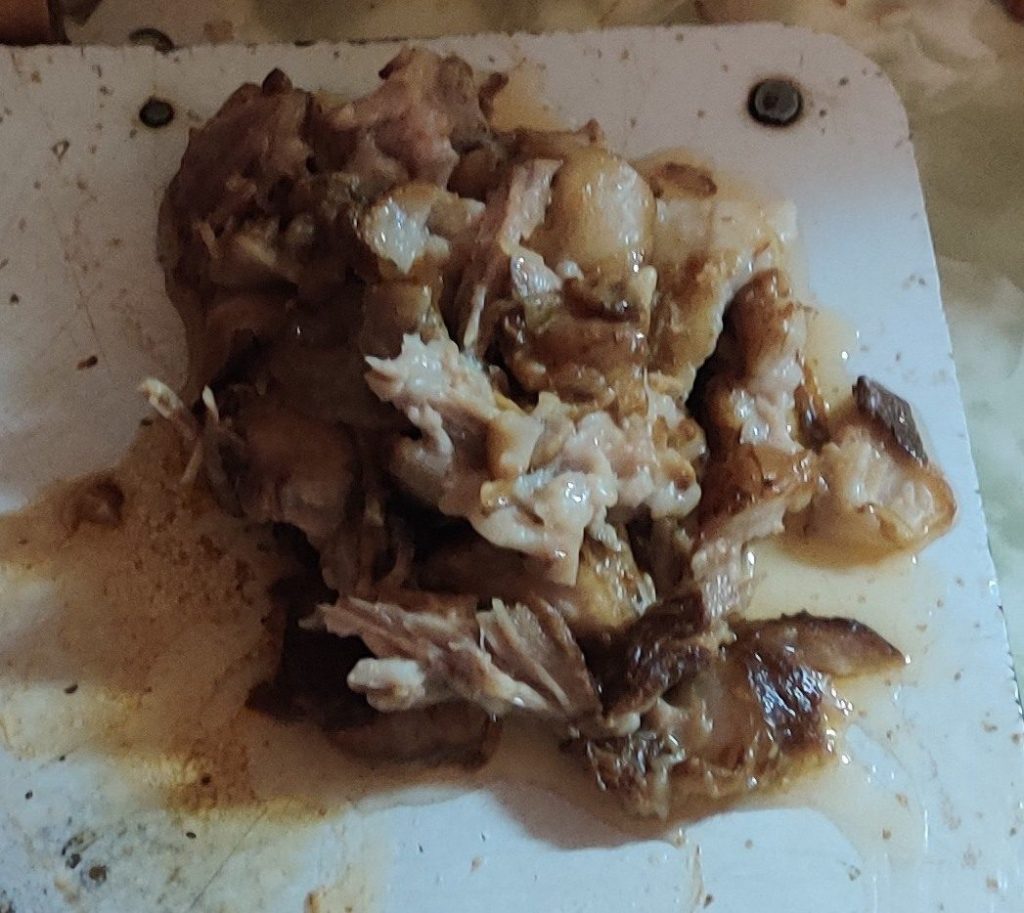
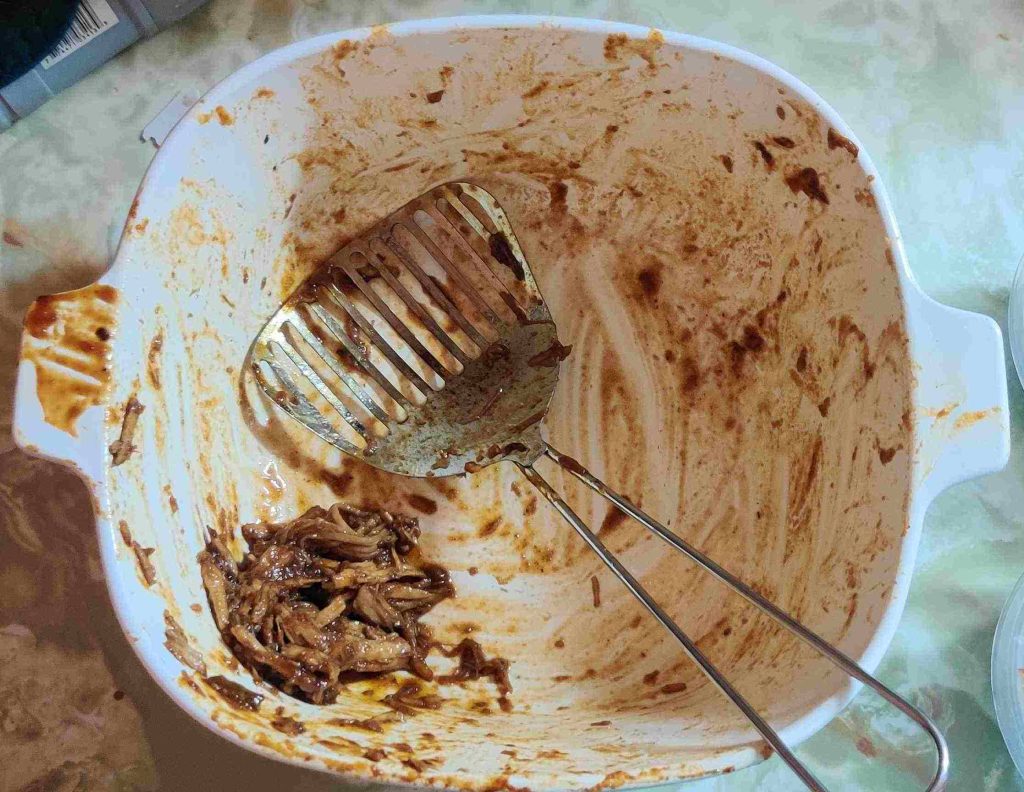
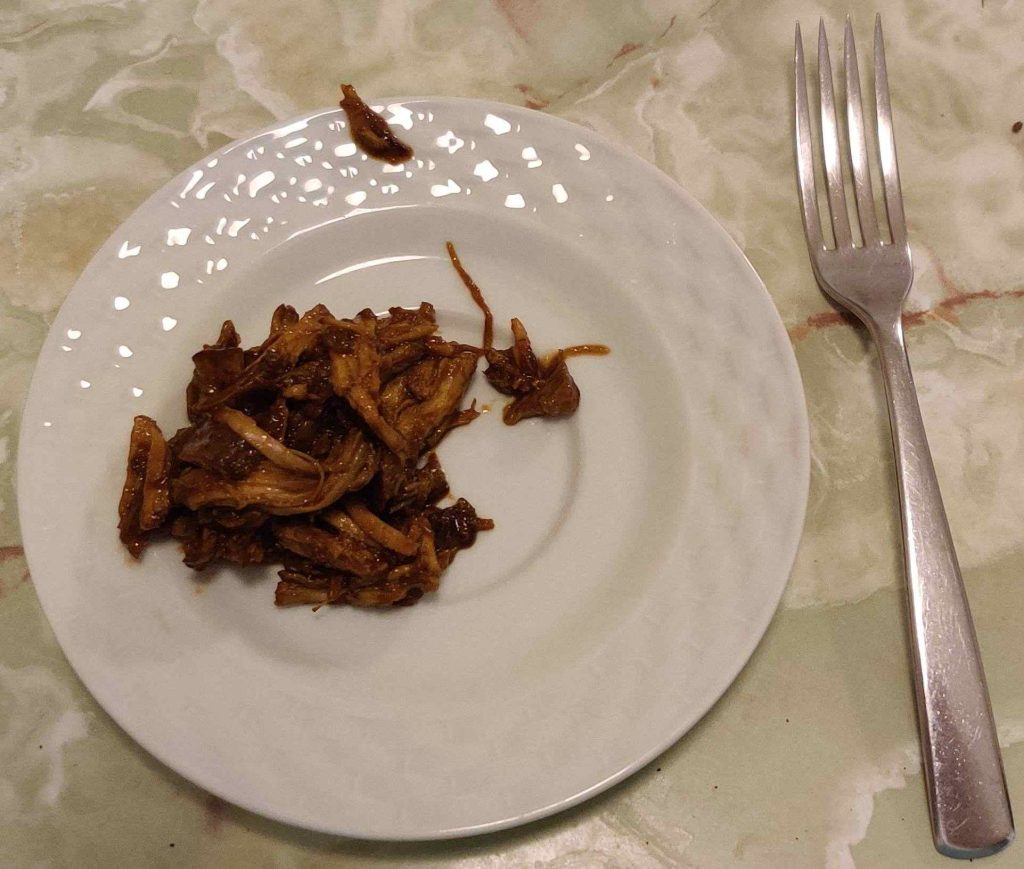
Fortunately, there was a taste, albeit small, of pulled pork left in the container:

A tasty bit of pulled pork left over

The tasty leftover bits were served on a plate, ready to eat:

A taste of pulled pork — enjoyed!

Yummy!

And as an extra note … I have been asked to bring my pulled pork again to the next church pot luck meal, along with one of my tiramisu cakes!

Making Date Squares — Photos

This recipe was developed and added to my collection of recipes as a result of chatting with an online AI chatbot discussing church culture, during which the chatbot listed at one point some typical desserts to be found at church potluck luncheons. It listed the item which is the subject of this post as “Matrimonial Squares”. My interest was piqued because I did not know what “Matrimonial Squares” were, as well as said name telling me nothing of what the dessert was. As such, I bemusedly asked whether it was a dessert to be typically served as part of a wedding feast, or if there was something somewhat more prurient to them along the lines of being considered an aphrodisiac! I got a response along the lines of their description — date squares! — and how the name was a florid and traditional name meaning how well all the parts “marry together to make an ideal dessert”, an absolutely church-safe name. 🙂
Incidentally, this recipe is vegetarian tending toward vegan if you use margarine (as I did) instead of butter.

This batch was the second batch made at the cottage during my holidays, and will likely be served at the lake association BBQ later this week.

Setting up:

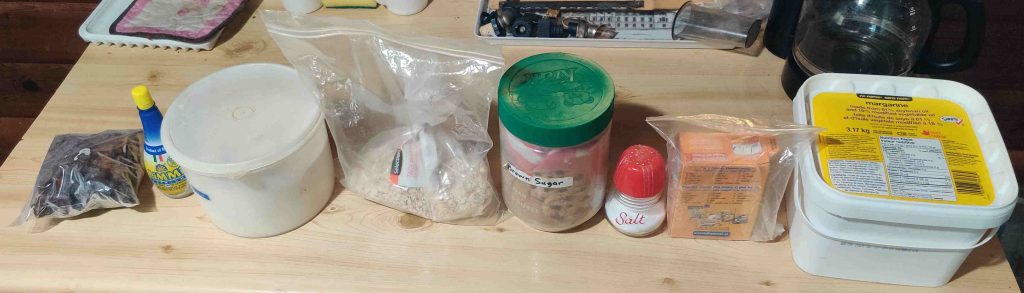
First, I decided to take out all the ingredients:

Ingredients taken out

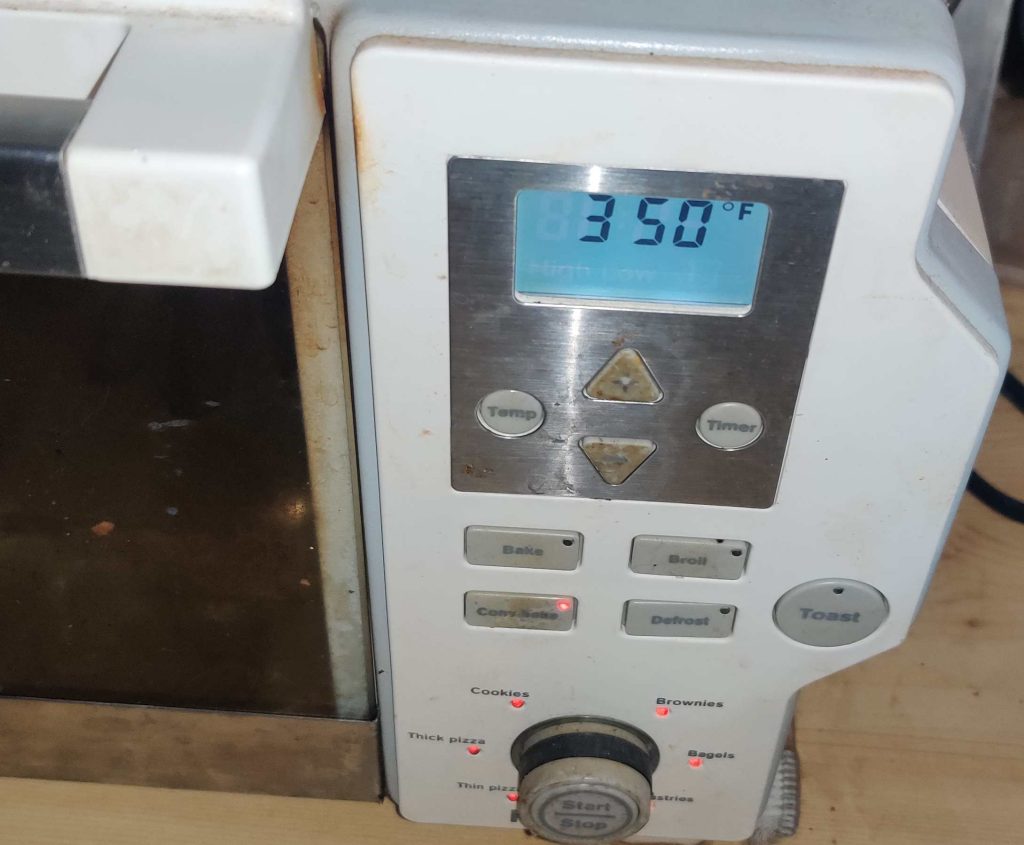
Although I actually did this a little later, now is a good time to preheat the oven:

Preheating oven

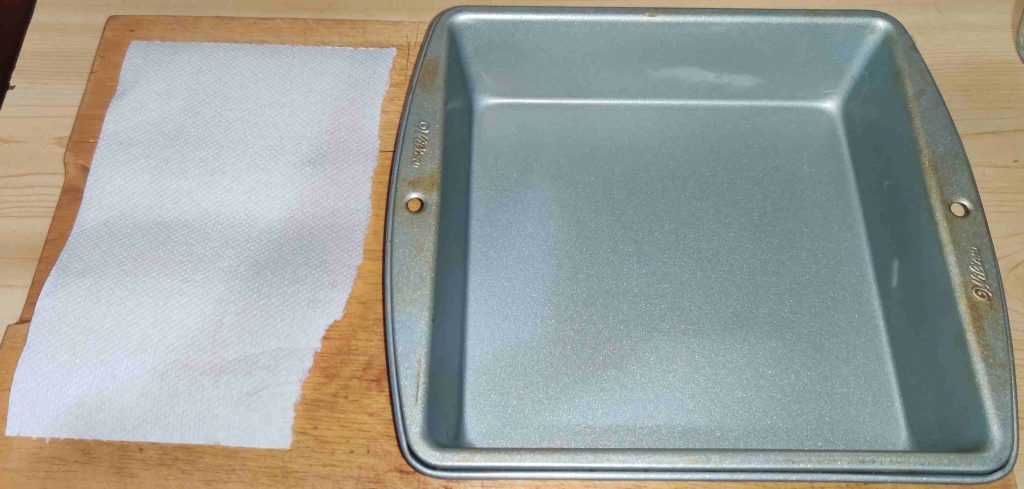
An 8″ x 8″ baking pan and a piece of paper towelling were taken out:

Paper towelling and baking pan taken out

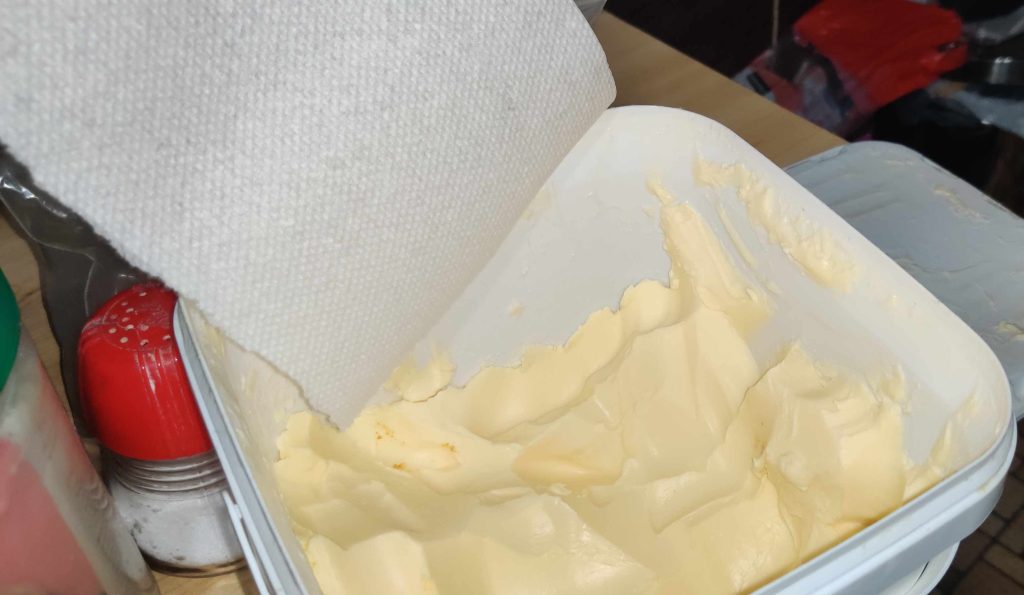
The paper towel was taken over to the tub of margarine, and some margarine was scooped up with my hand and the paper towel:

Paper towel taken over to tub of margarine

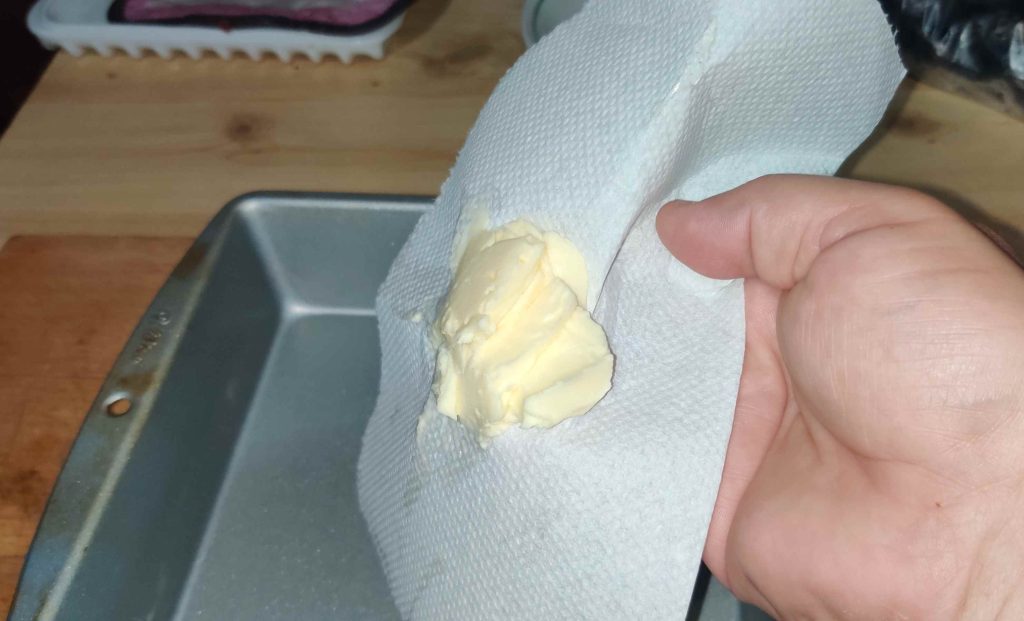
The paper towel and margarine were taken over to the baking pan:

Paper towel and margarine taken over to the baking pan

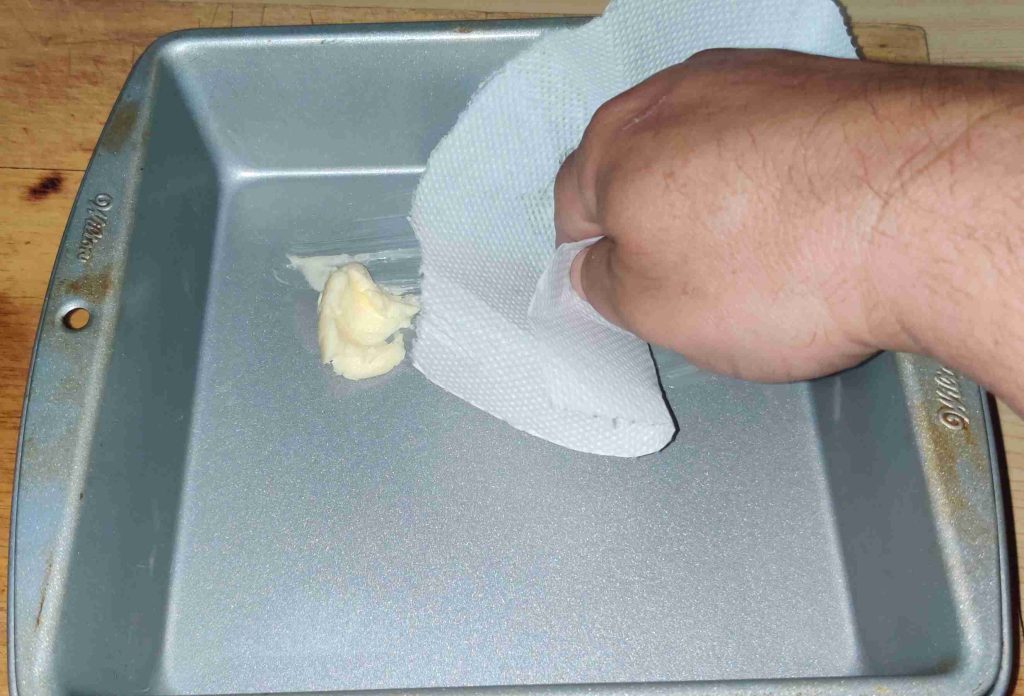
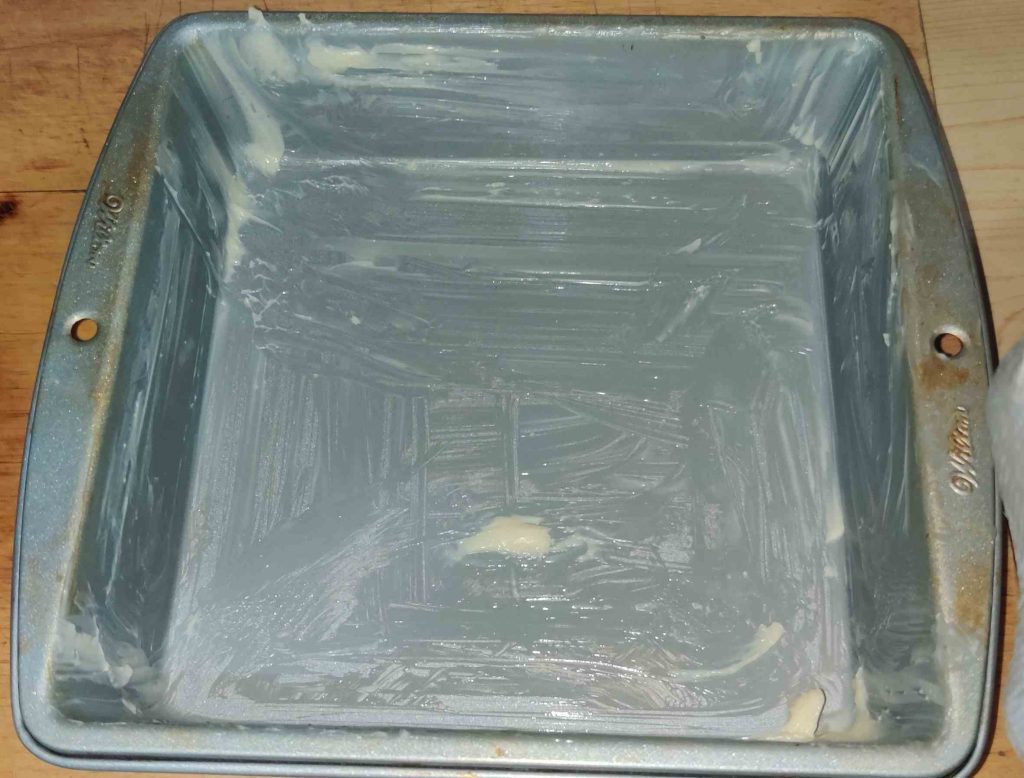
… and the margarine was slathered onto the surfaces of the baking pan:

Margarine slathered over all surfaces in the baking pan

The baking pan was put aside.

Preparing the date filling:

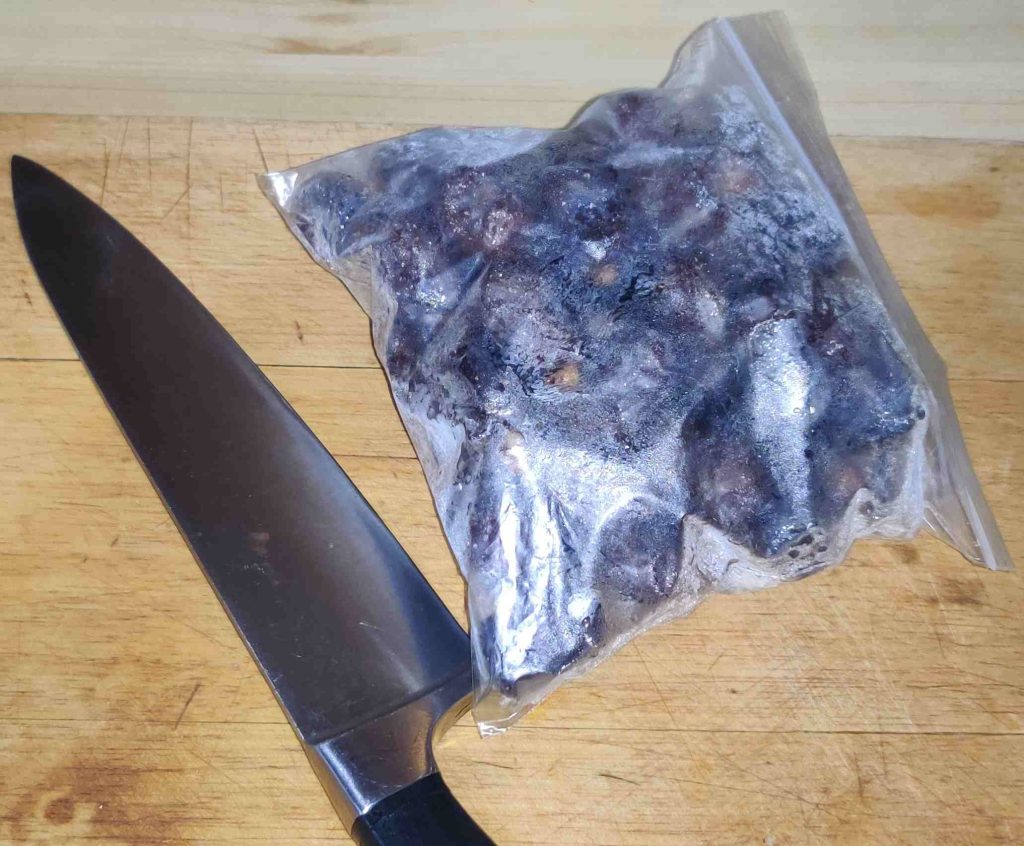
Dates and a knife were taken out — in this case dates I had been keeping in the freezer, hence the fuzzy condensation on the bag:

Dates and a knife taken out

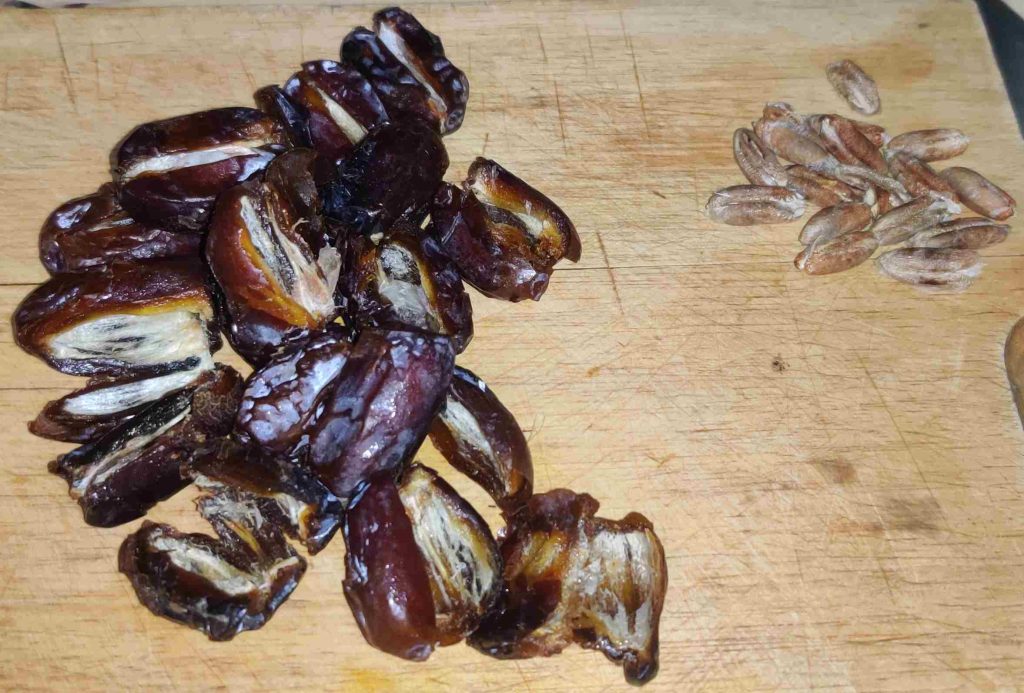
The dates were pitted:

Pitted dates

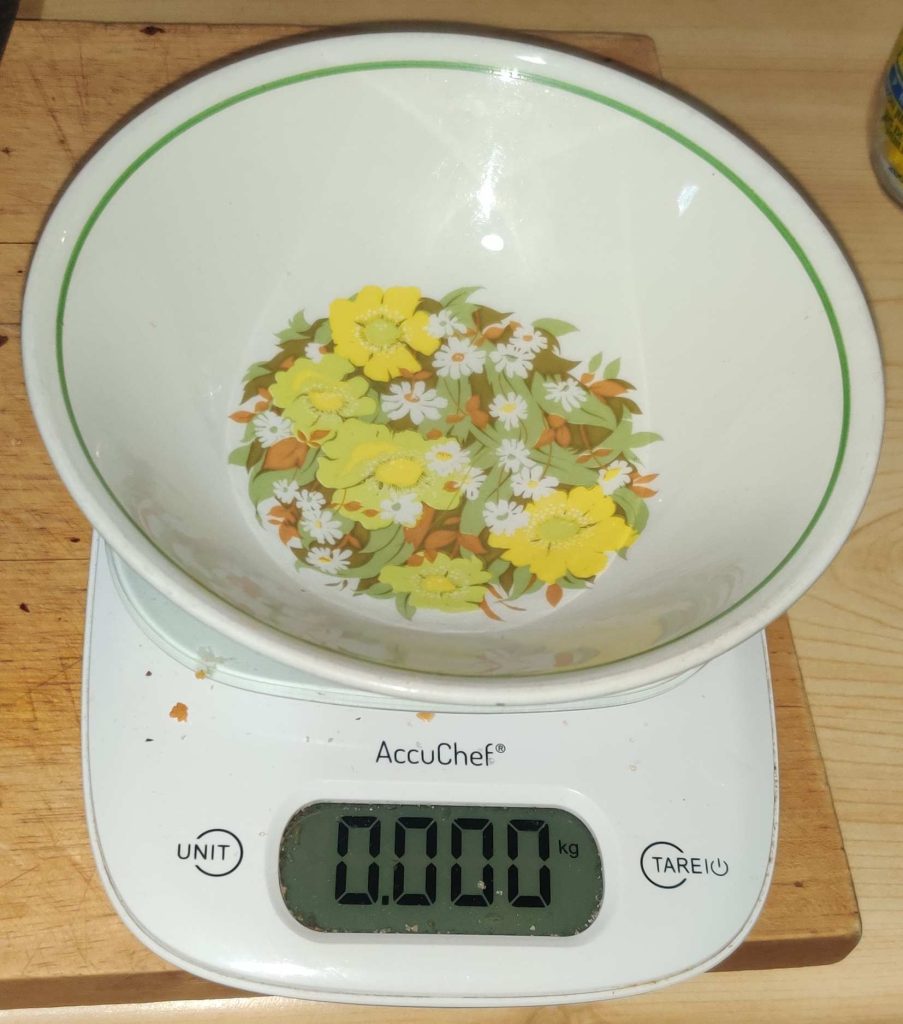
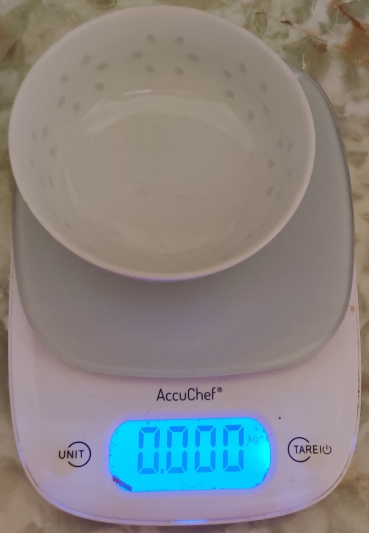
At this point, I took out a kitchen scale and a bowl, and set the reading to zero with the bowl on the scale …

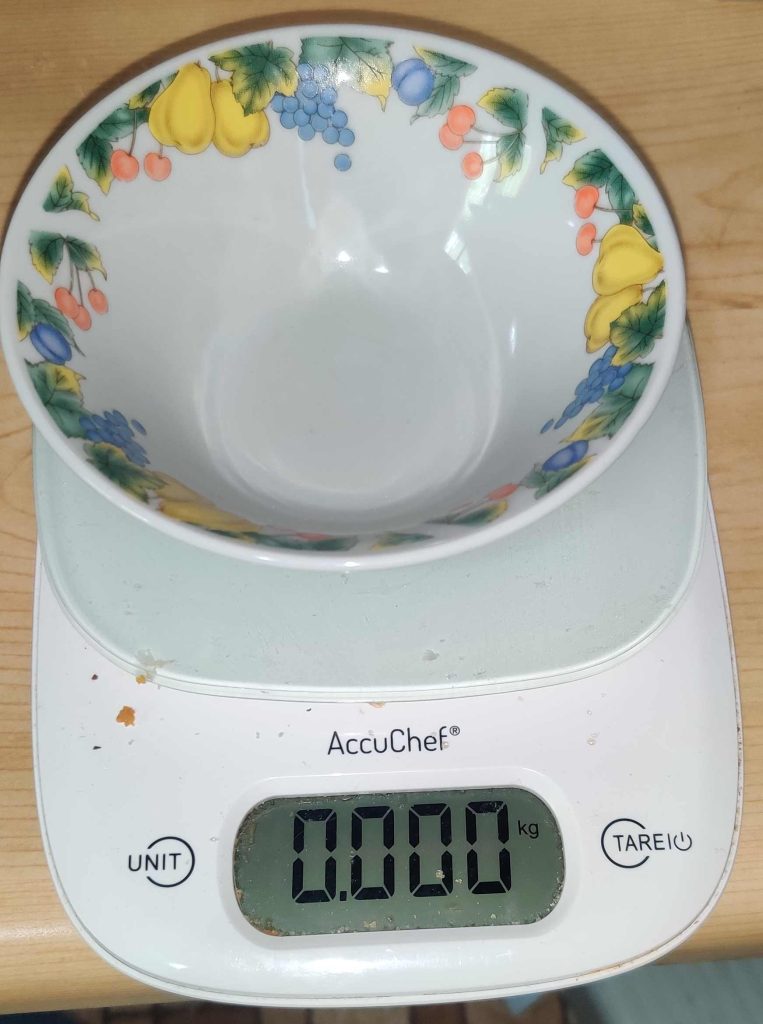
Tare weight of bowl on scale

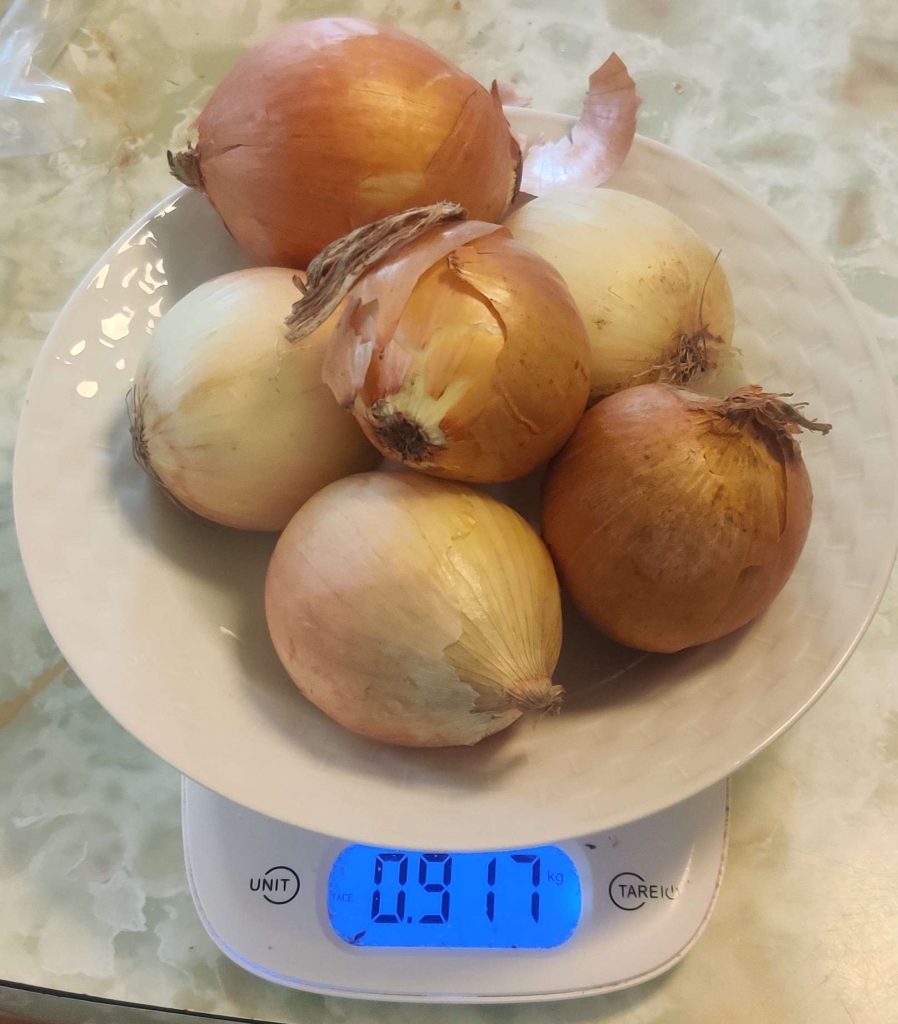
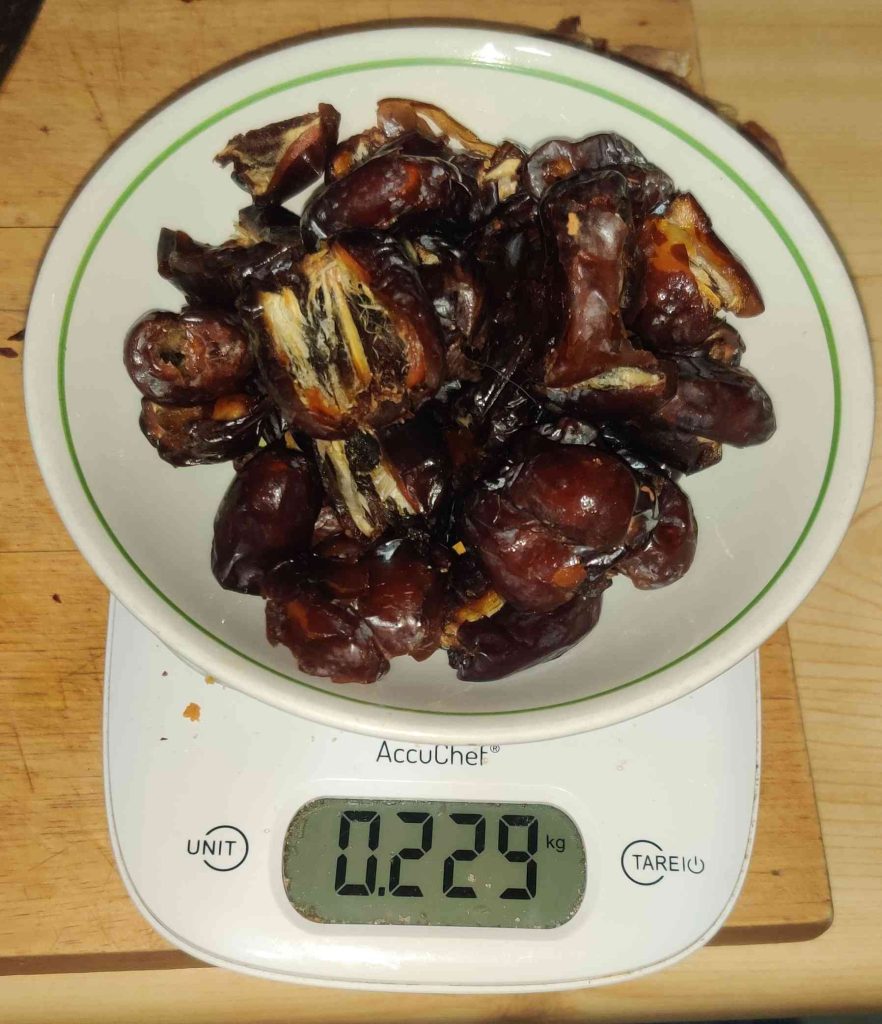
… so that I could weigh out the required amount of pitted dates, which I kept on pitting until I had enough pitted dates:

Weighed out pitted dates

At this point, I should have chopped the dates up a bit, but I forgot, and no matter.

The pitted dates were transferred to a pot:

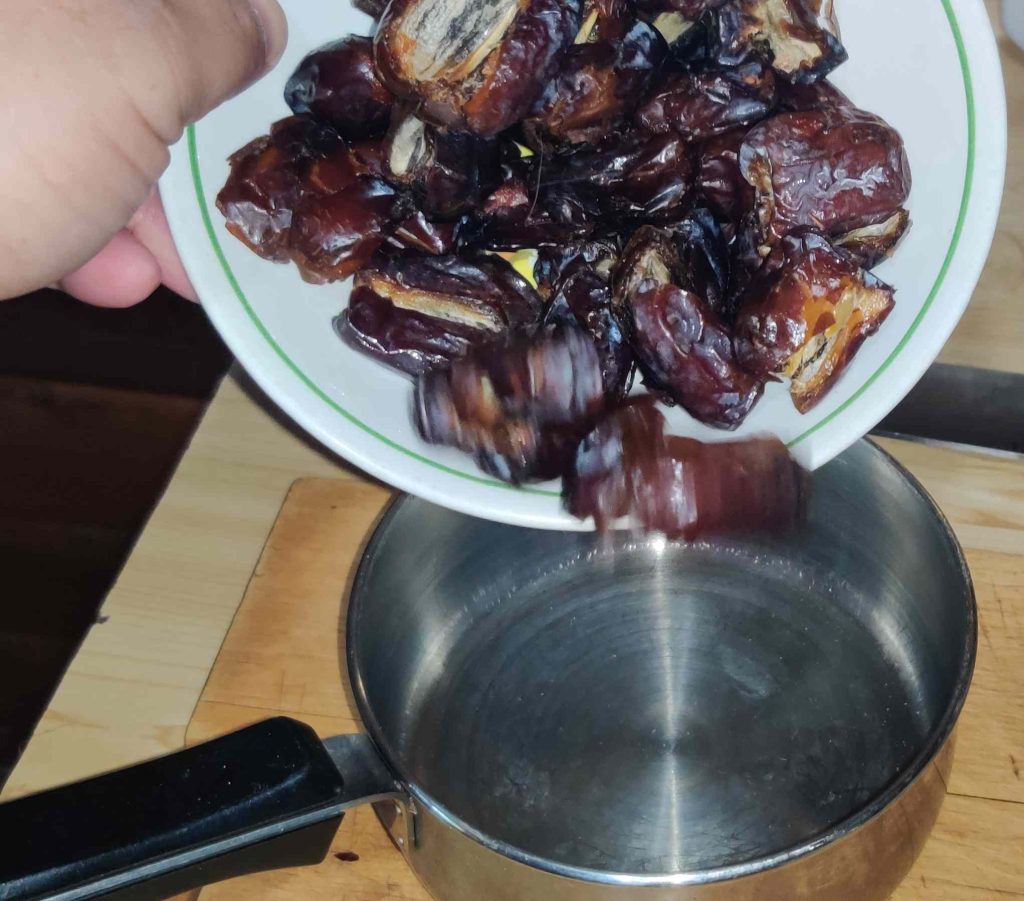
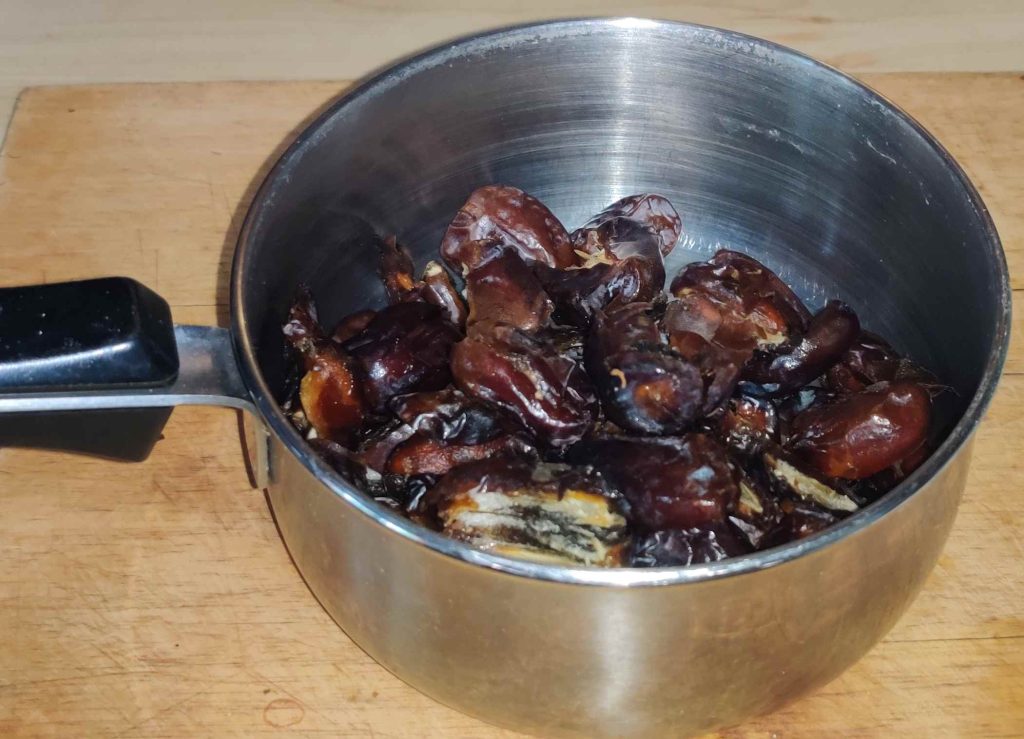
Transferring the pitted dates to the pot
Pitted dates transferred to pot

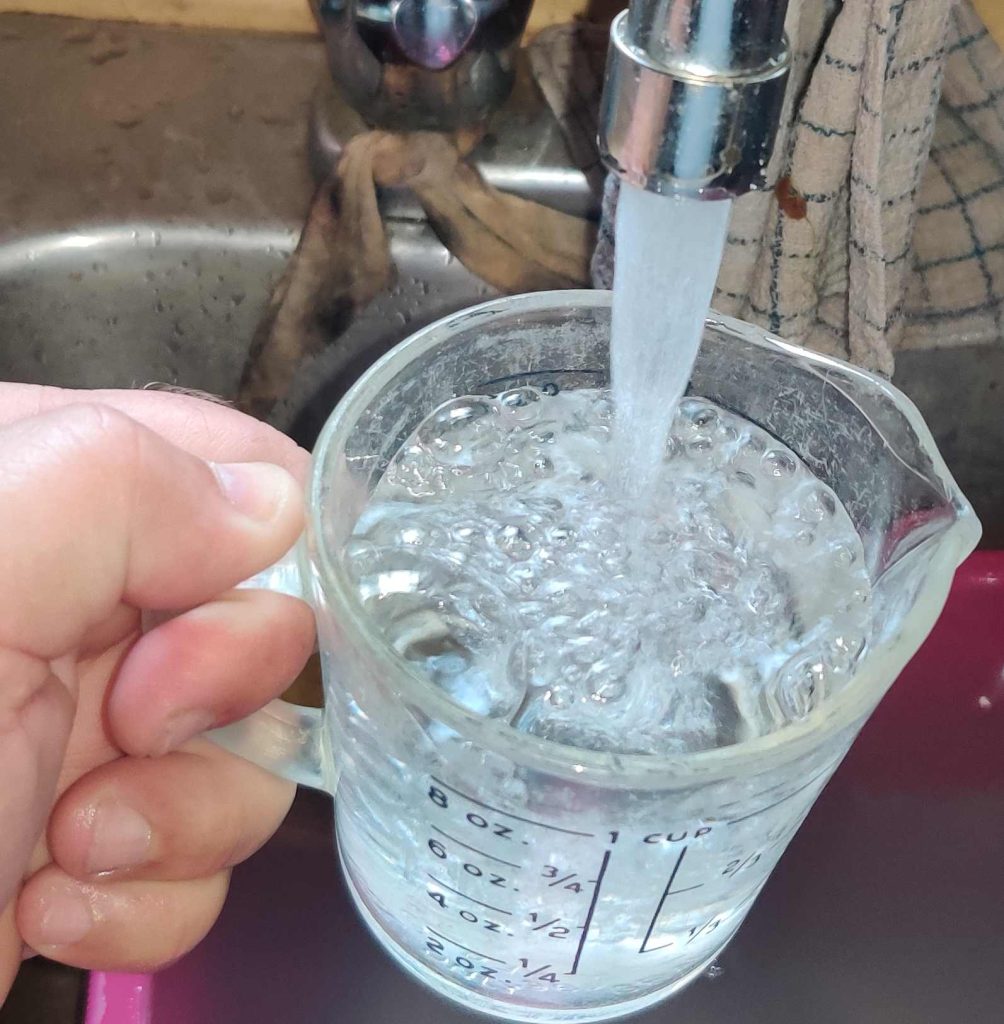
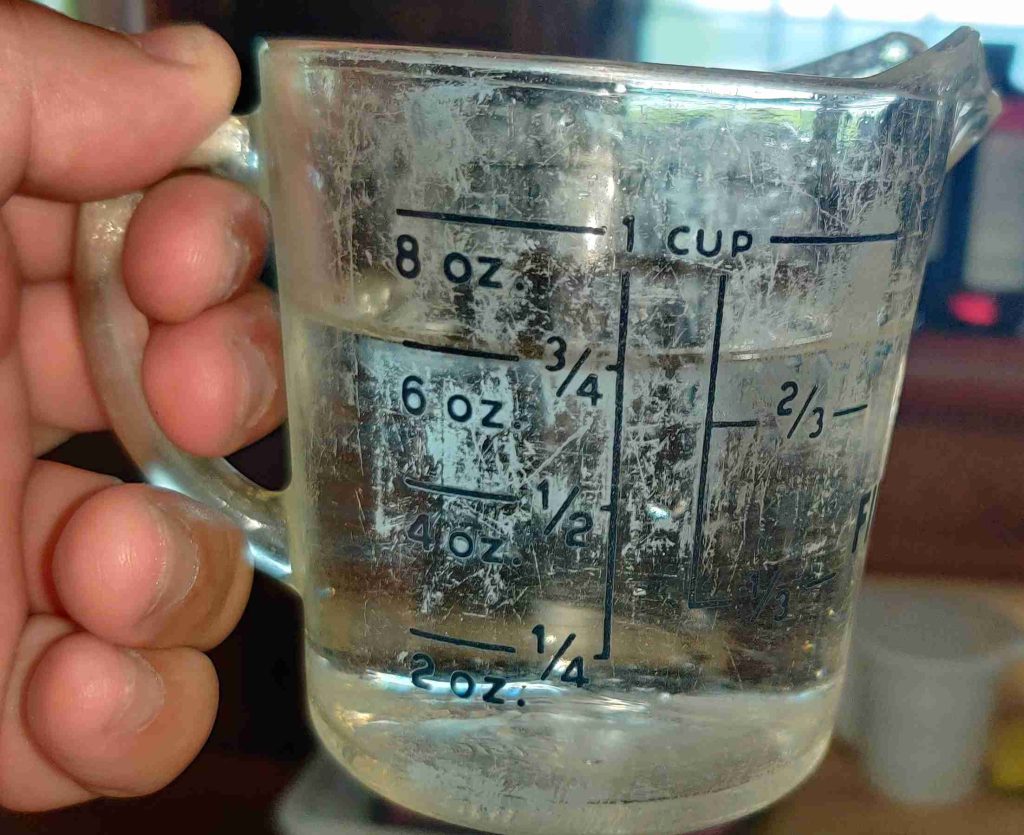
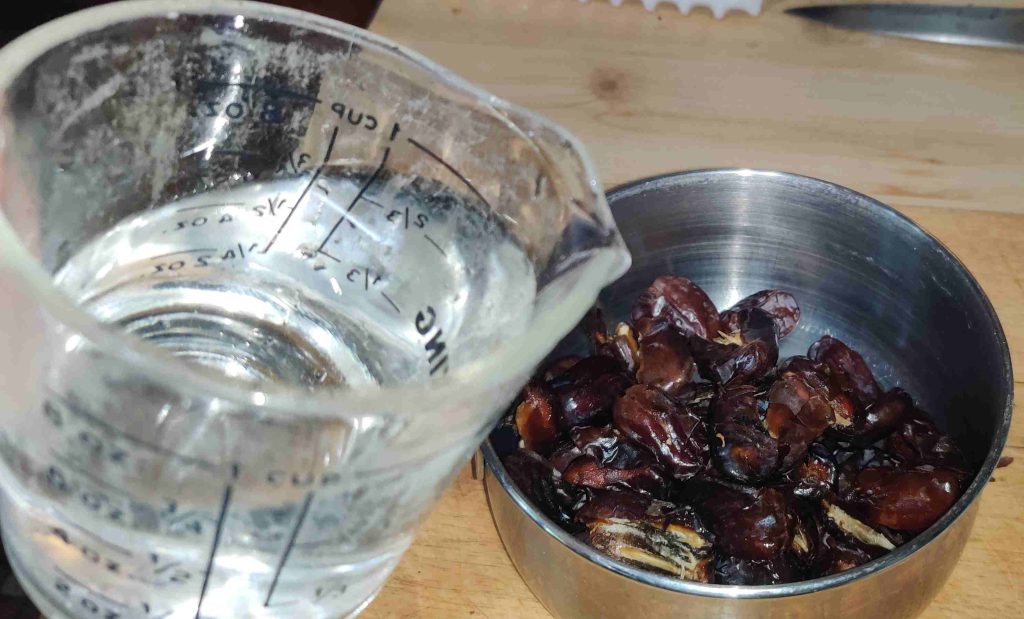
Water was measured out:

Drawing water into measuring cup
Water measured out

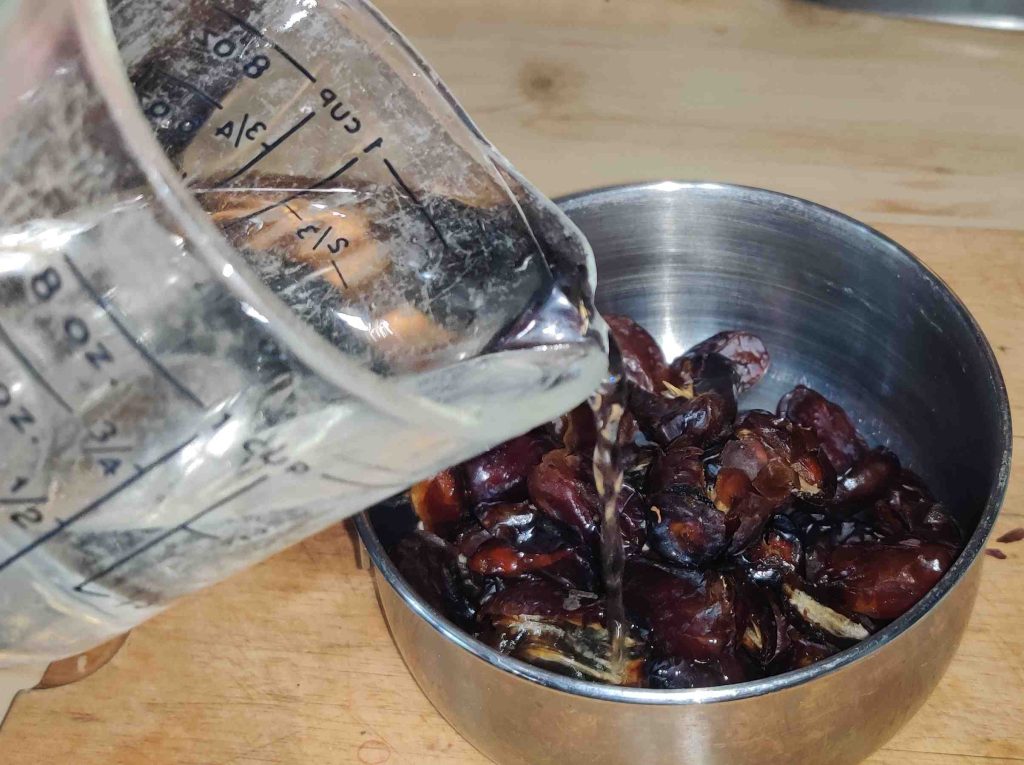
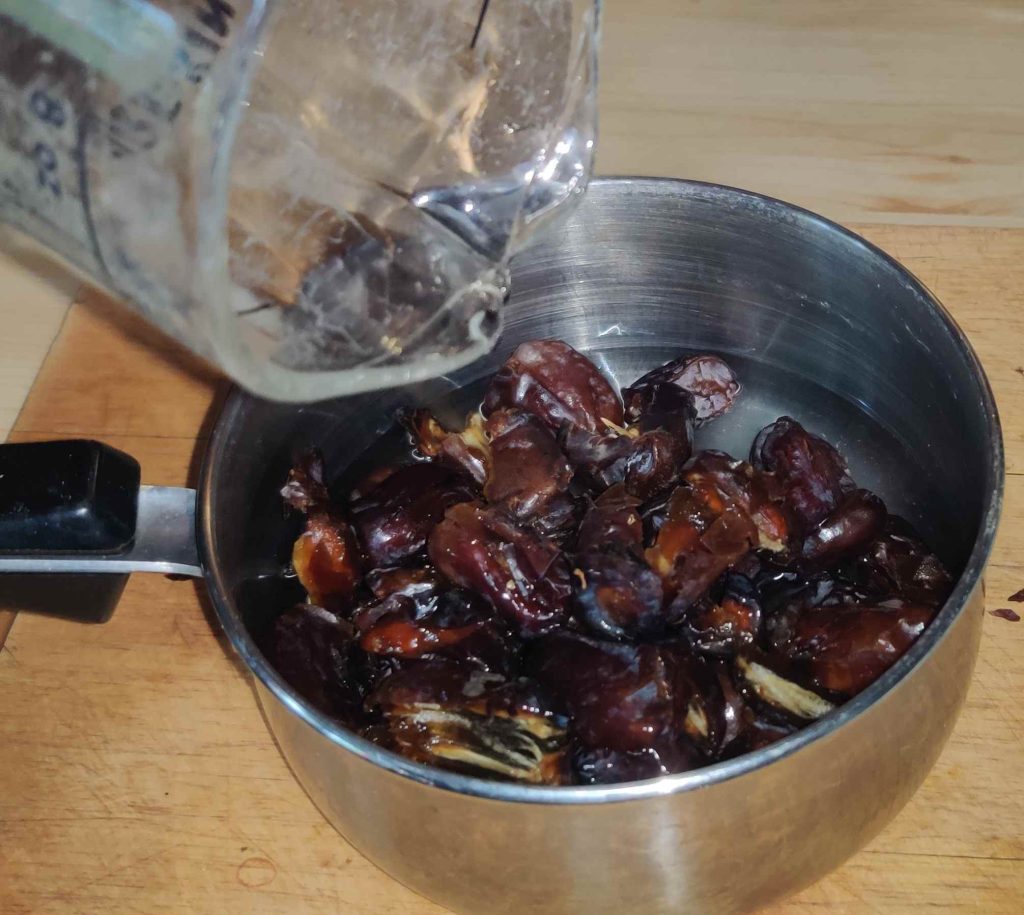
The water was transferred to the pot with the pitted dates:

Transferring water to pot with pitted dates

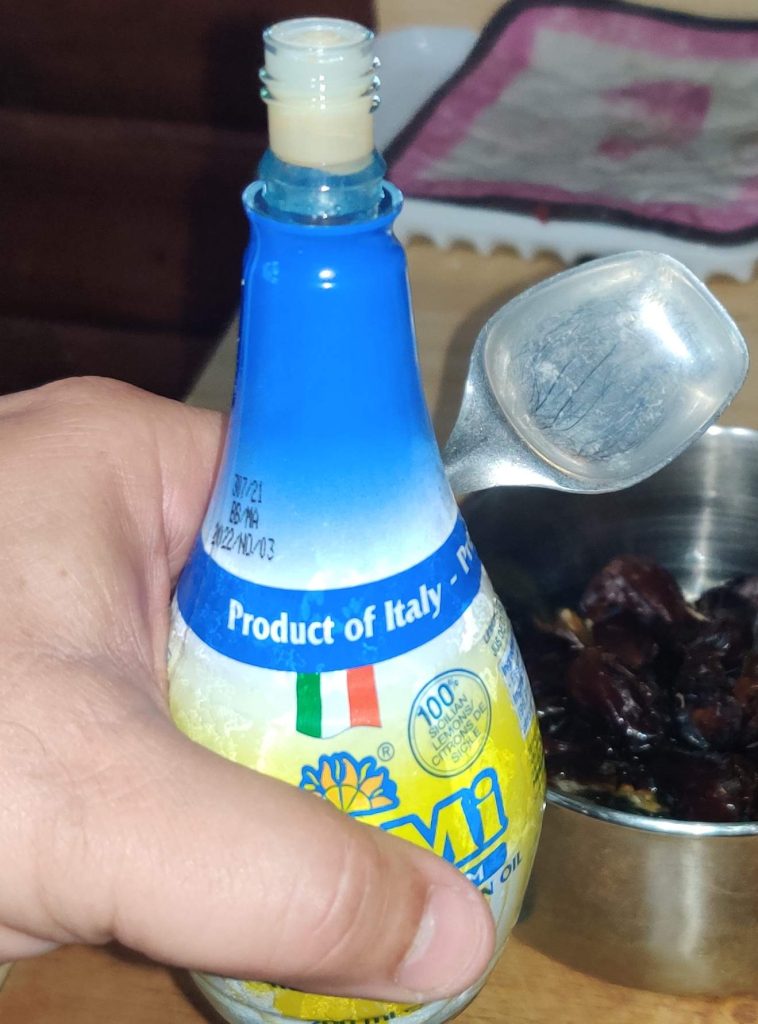
Lemon juice was taken out:

Lemon juice taken out

The lemon juice was measured out:

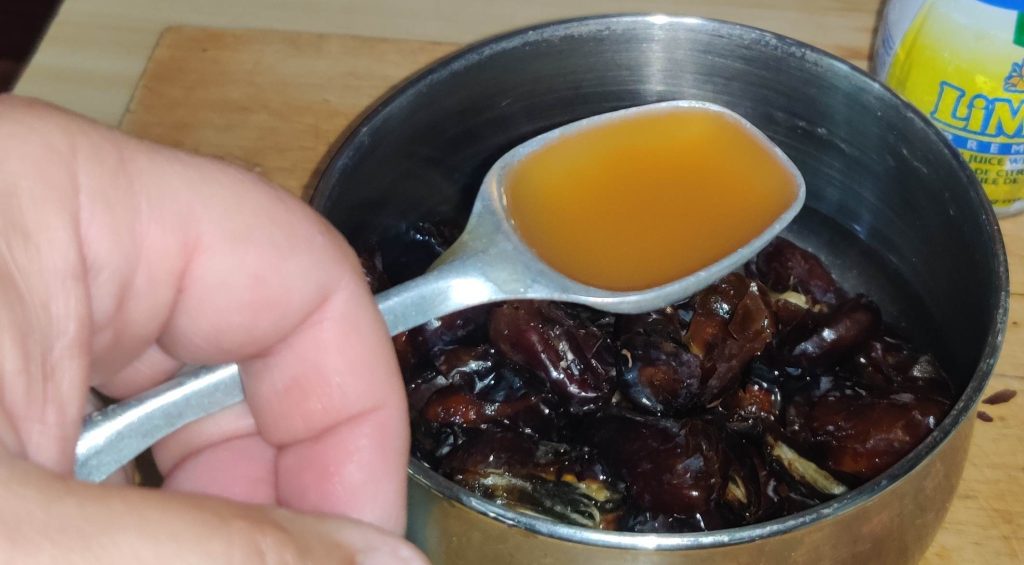
Lemon juice measured out

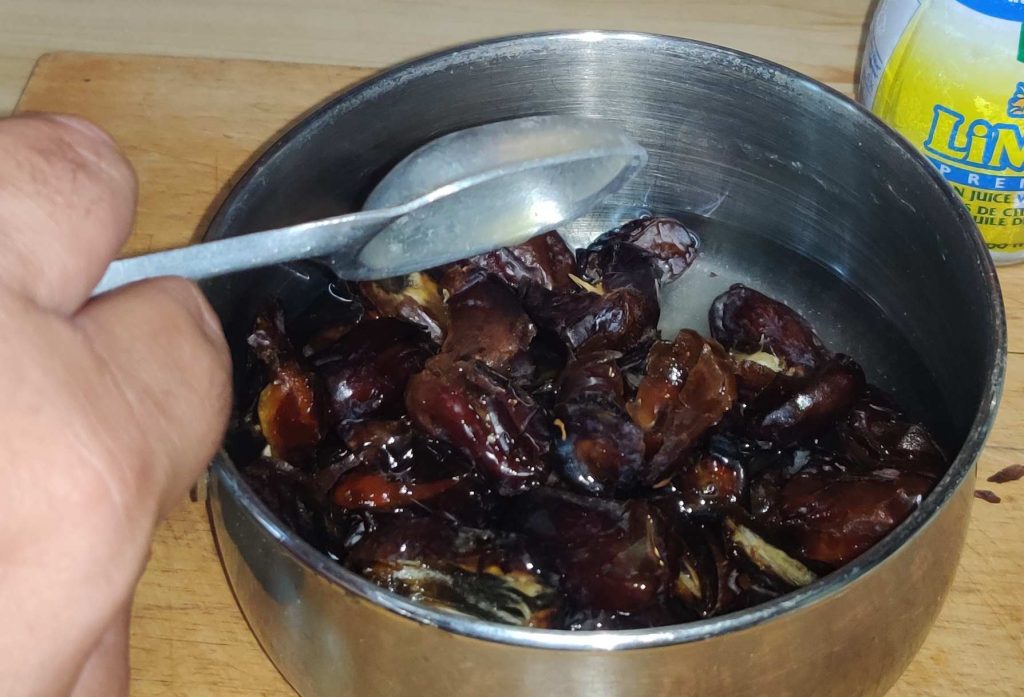
The lemon juice was transferred to the pot with the pitted dates and water:

Lemon juice transferred to pot with pitted dates and water

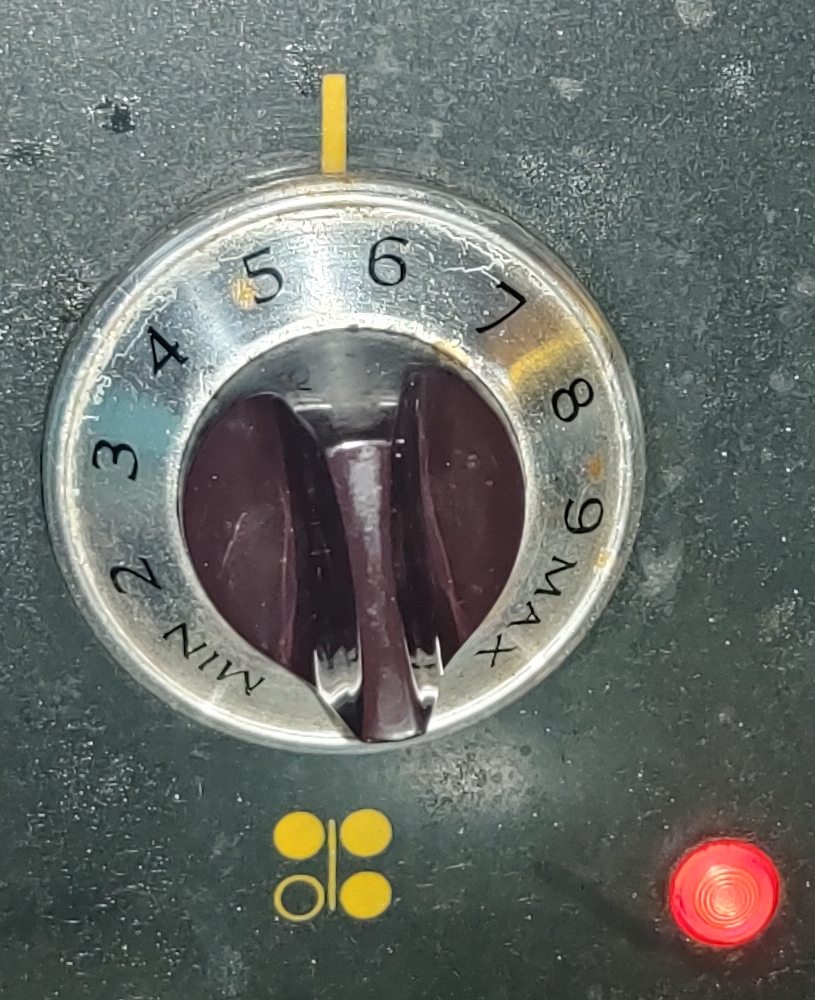
A burner on the stove was turned on to medium heat:

Stove turned to medium heat

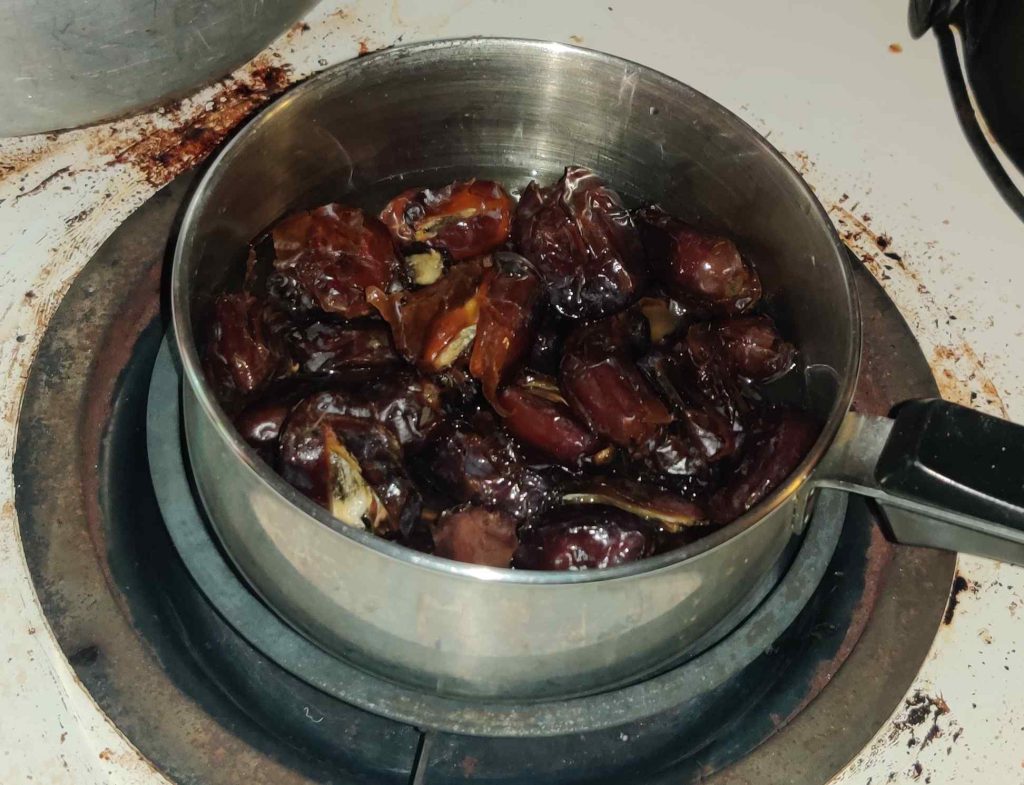
The pot of pitted dates, water, and lemon juice was placed on the burner:

Pot of pitted dates, water, and lemon juice

The pitted dates were largely left alone for the next several minutes, although I kept an eye on the pot and occasionally stirred it.

Making the oat crumble base and topping:

Flour was taken out:

Flour taken out

Flour was measured out:

Flour measured out

The flour was transferred to a mixing bowl:

Flour transferred to mixing bowl

Oats were taken out:

Oats taken out

Oats were measured out:

Oats measured out

The oats were transferred to the mixing bowl with the flour:

Oats transferred to mixing bowl with flour

Brown sugar was taken out:

Brown sugar taken out

Brown sugar was measured out:

Brown sugar measured out

The brown sugar was transferred to the mixing bowl with the flour and the oats:

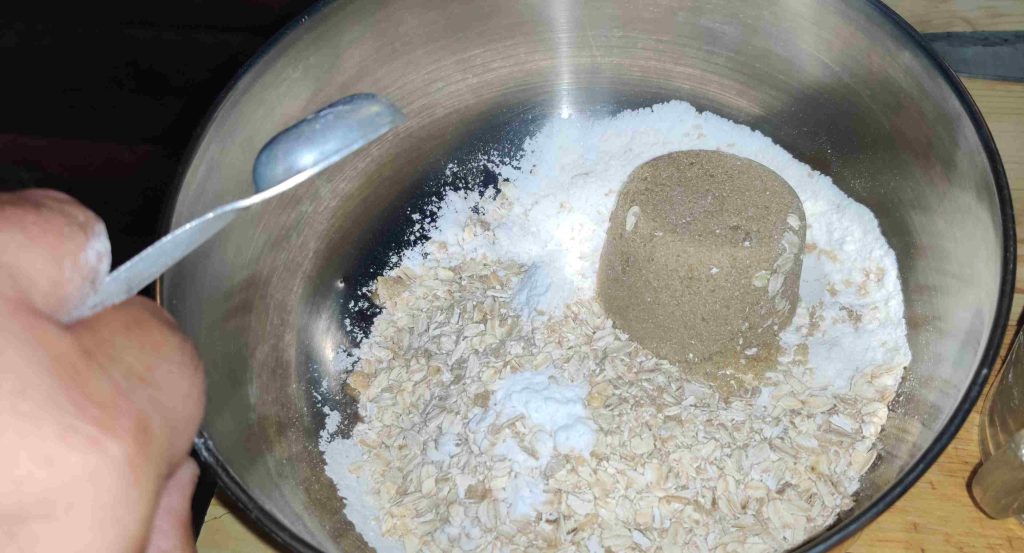
Brown sugar transferred to mixing bowl

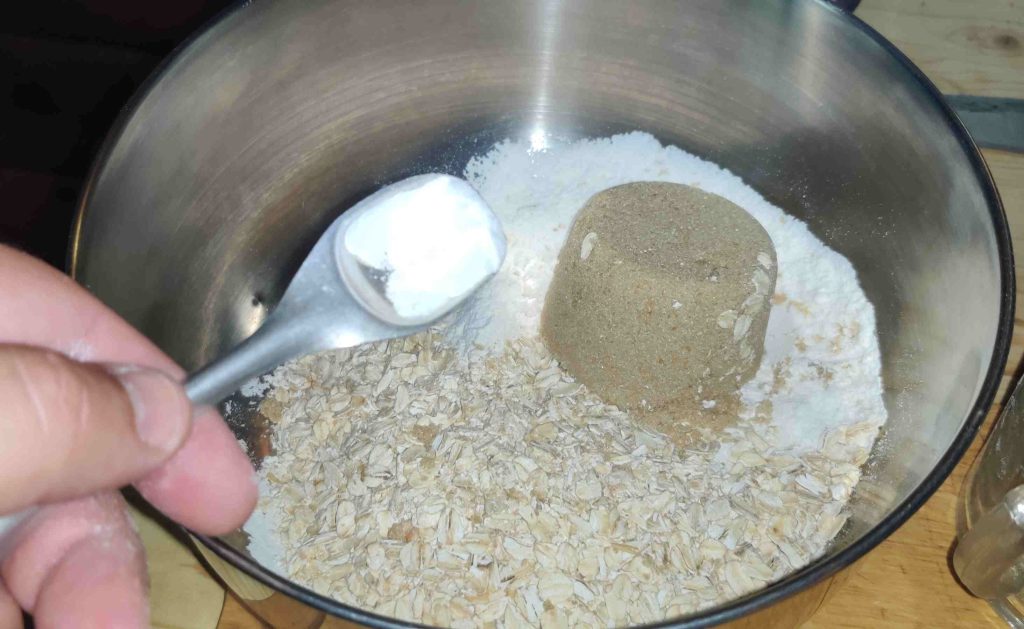
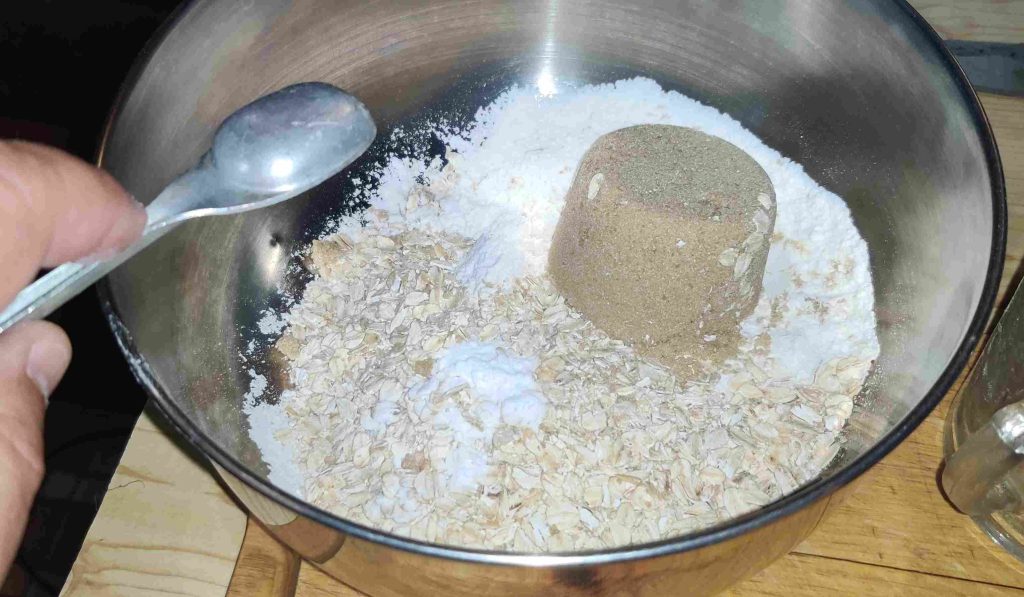
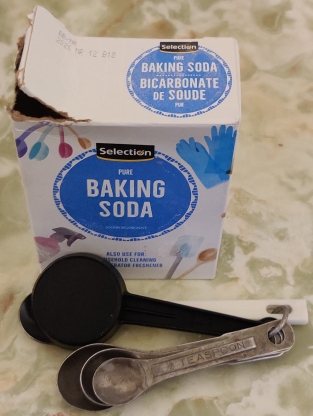
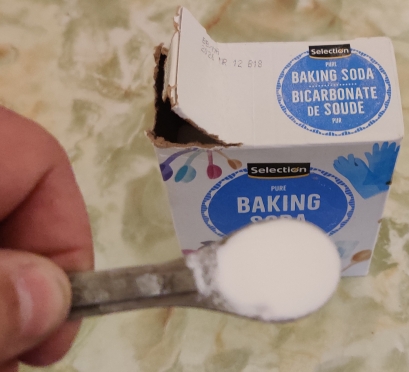
Baking soda was taken out and measured out:

Baking soda measured out

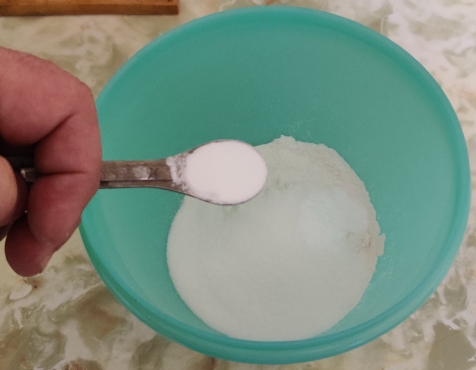
The baking soda was transferred to the mixing bowl with the flour, oats, and brown sugar:

Baking soda transferred to mixing bowl

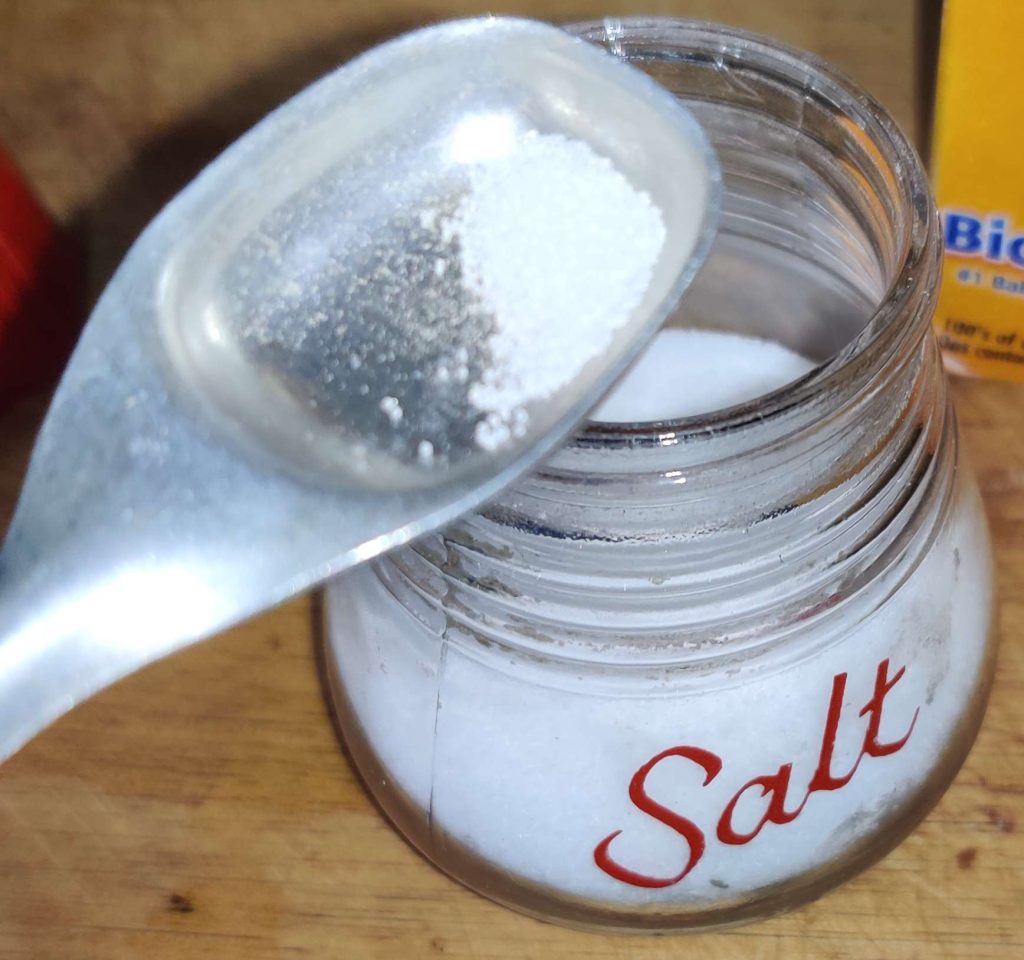
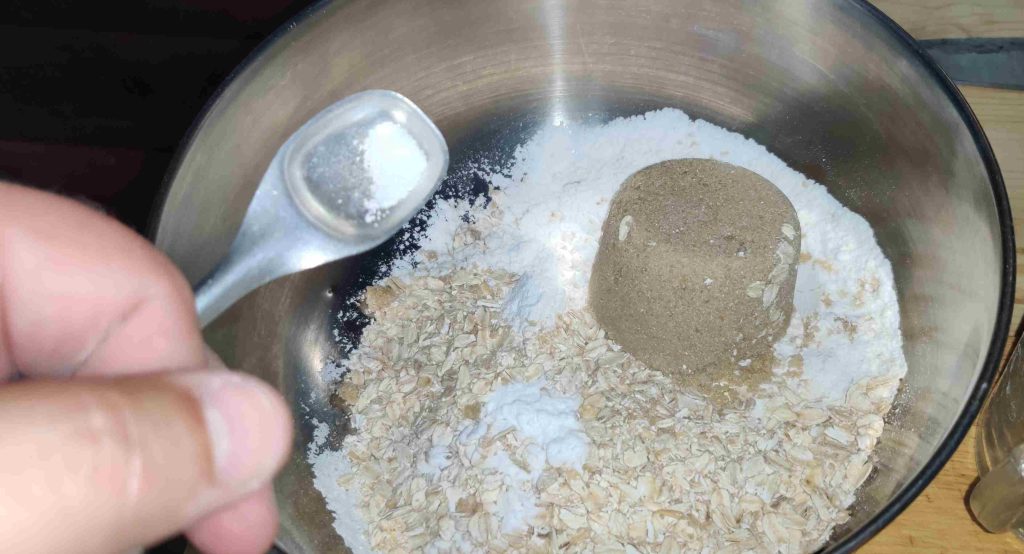
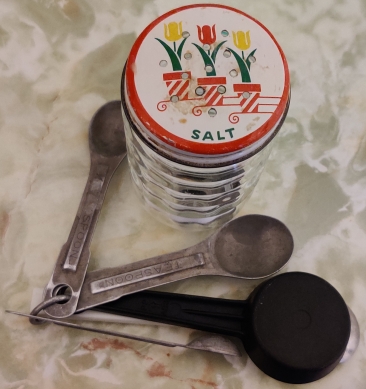
Salt was taken out and measured out:

Salt measured out

The salt was transferred to the mixing bowl with the flour, oats, brown sugar, and baking salt:

Salt transferred to mixing bowl

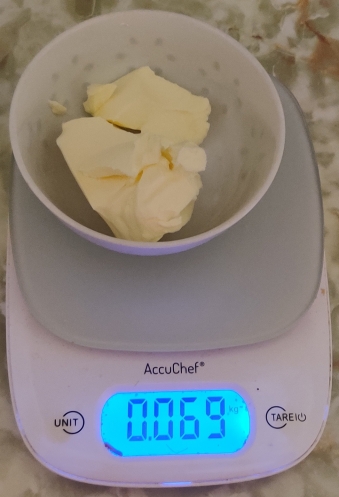
Another bowl was placed on my kitchen scale, and the display set to zero:

Bowl placed on scale and tare weight set

Margarine was measured out:

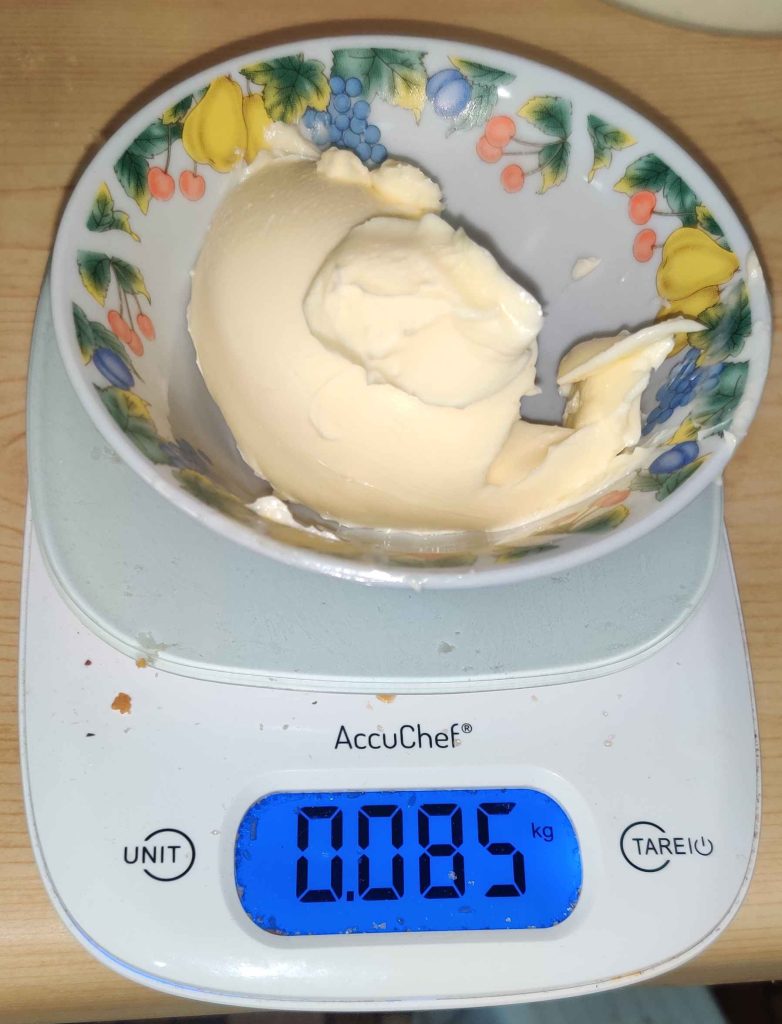
Margarine measured out

The margarine was transferred to the mixing bowl with the flour, oats, brown sugar, baking soda, and salt:

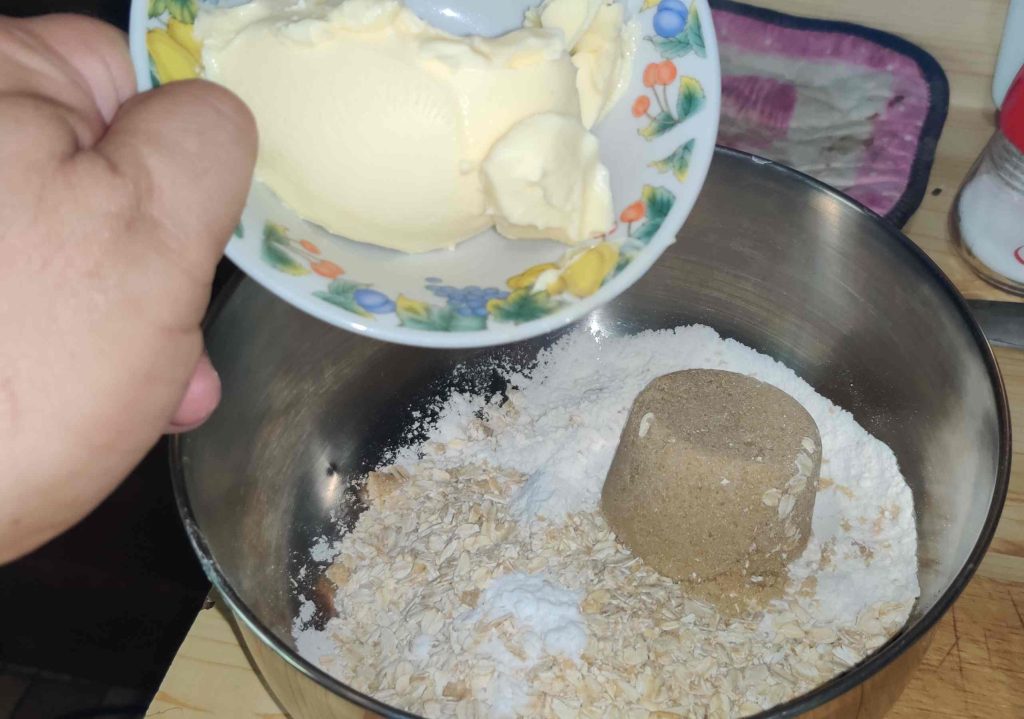
Margarine transferred to mixing bowl

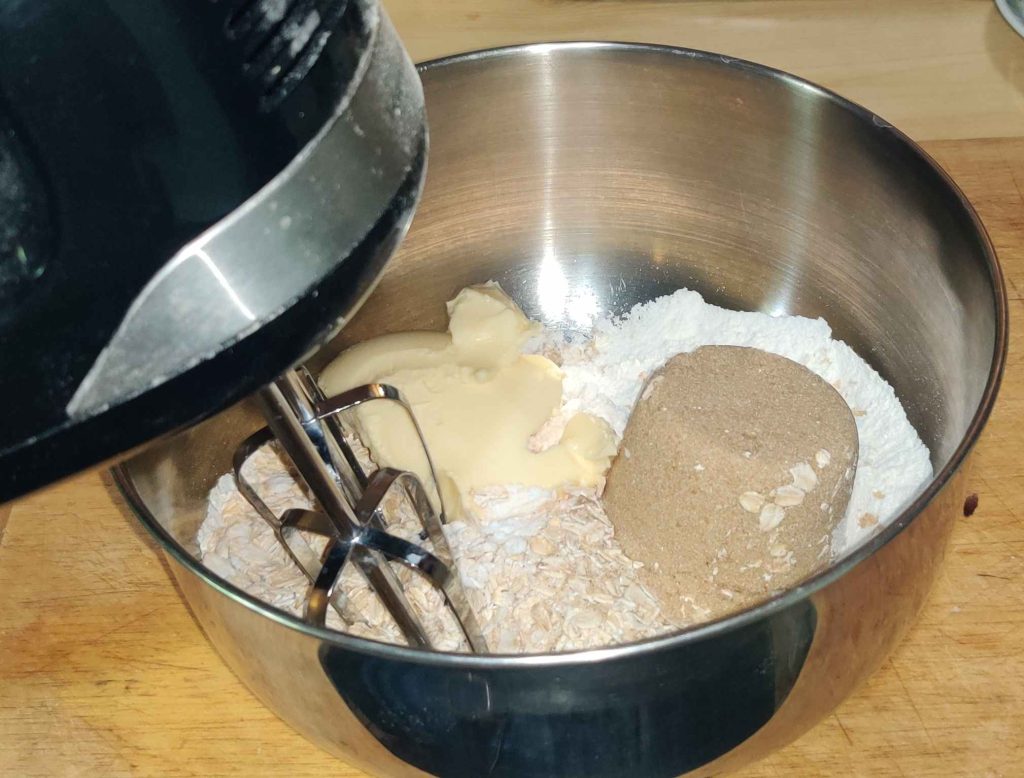
An electric mixer was brought to the mixing bowl:

Electric beater brought to mixing bowl

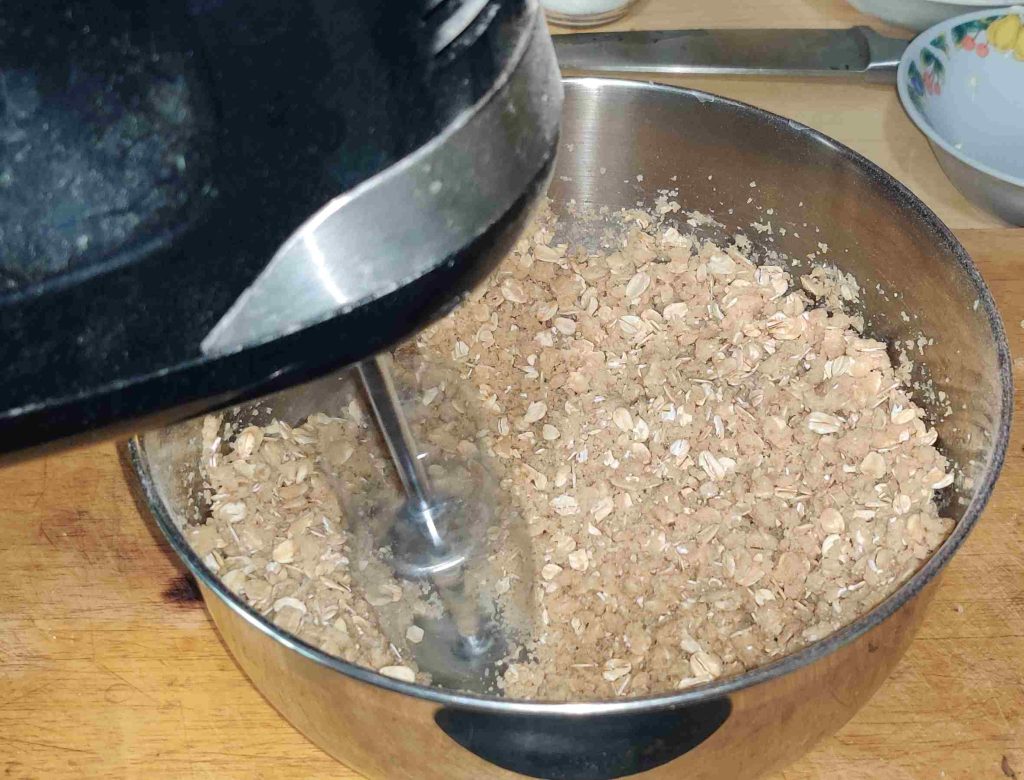
The ingredients were mixed thoroughly:

Ingredients thoroughly mixed

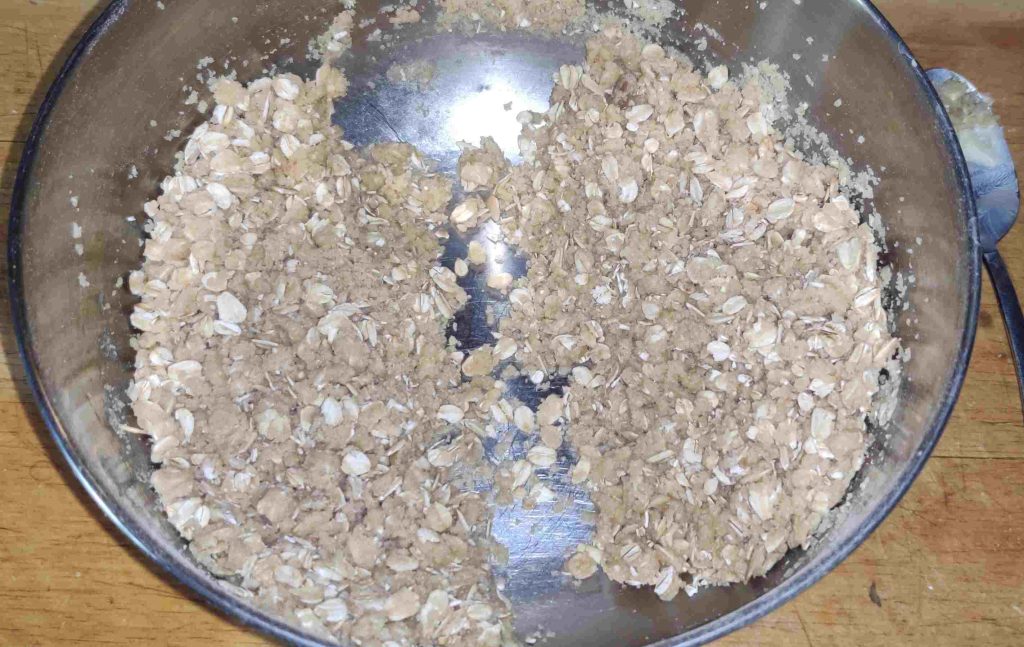
The ingredients in the bowl were roughly divided into two parts:

Ingredients in bowl divided into two parts

Mounting the date squares:

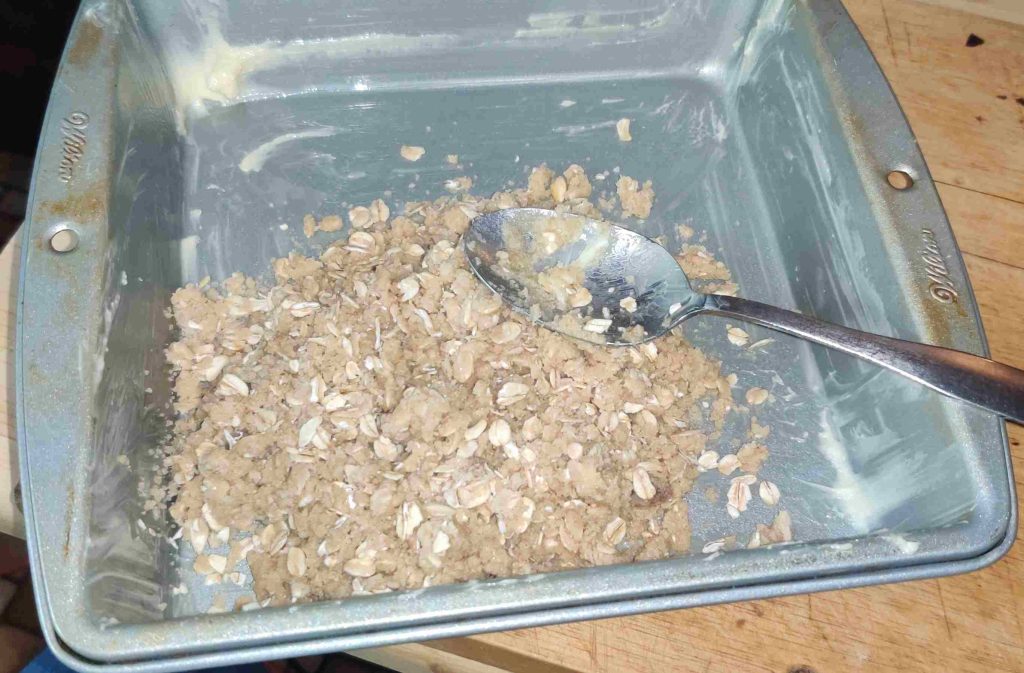
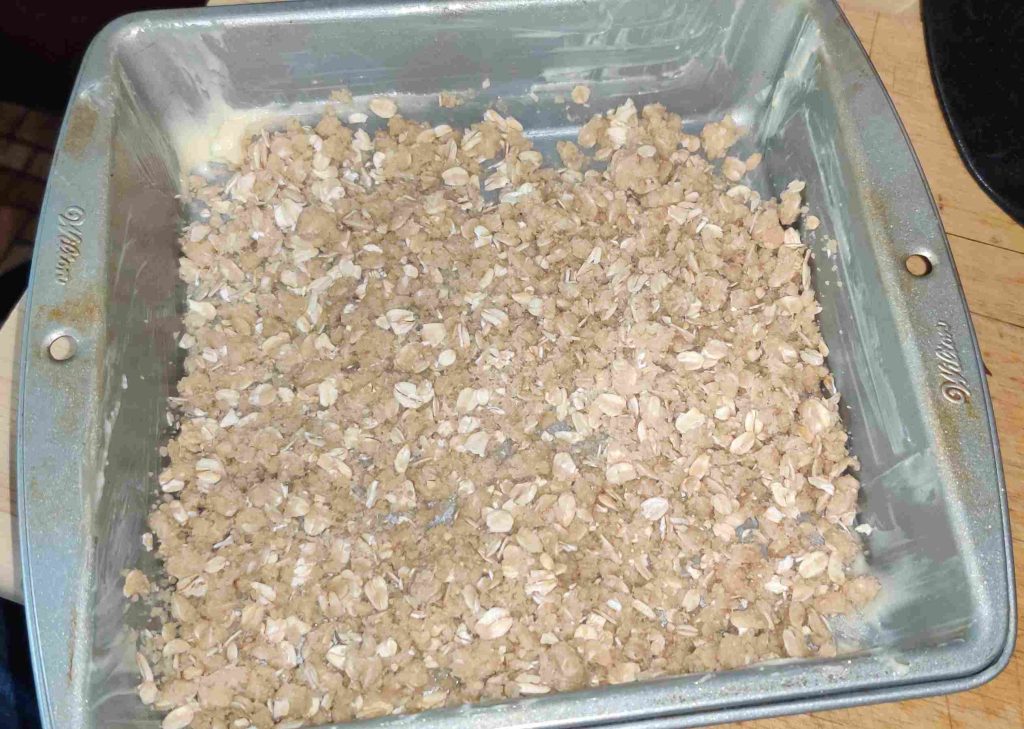
About half of the oat crumble mix was transferred to the baking pan:

Oat crumble transferred to baking pan

The oat crumble base was spread out over the whole surface of the baking pan:

Oat crumble spread over base of baking pan

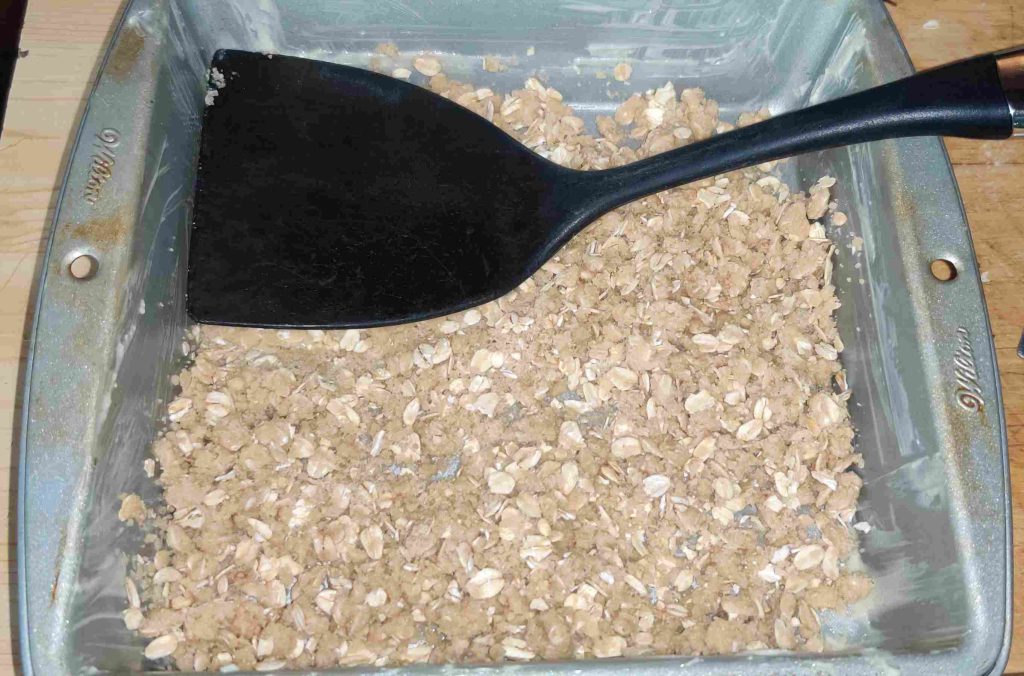
The oat crumble base was flattened with an egg flipper:

Oat crumble base flattened

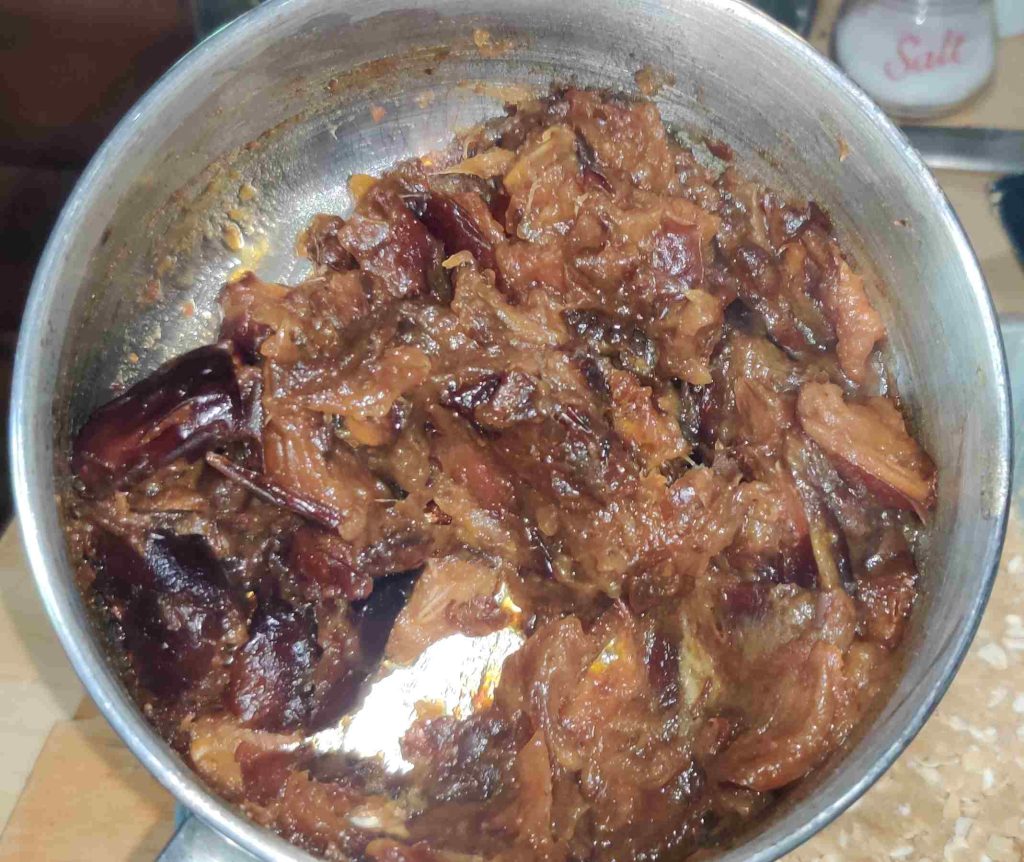
At this point, after having only occasionally glanced at and stirring the dates in the pot on the stove, I took the pot off the stove, the mix having turned into a nice jammy consistency:

Cooked date filling with a jammy consistency

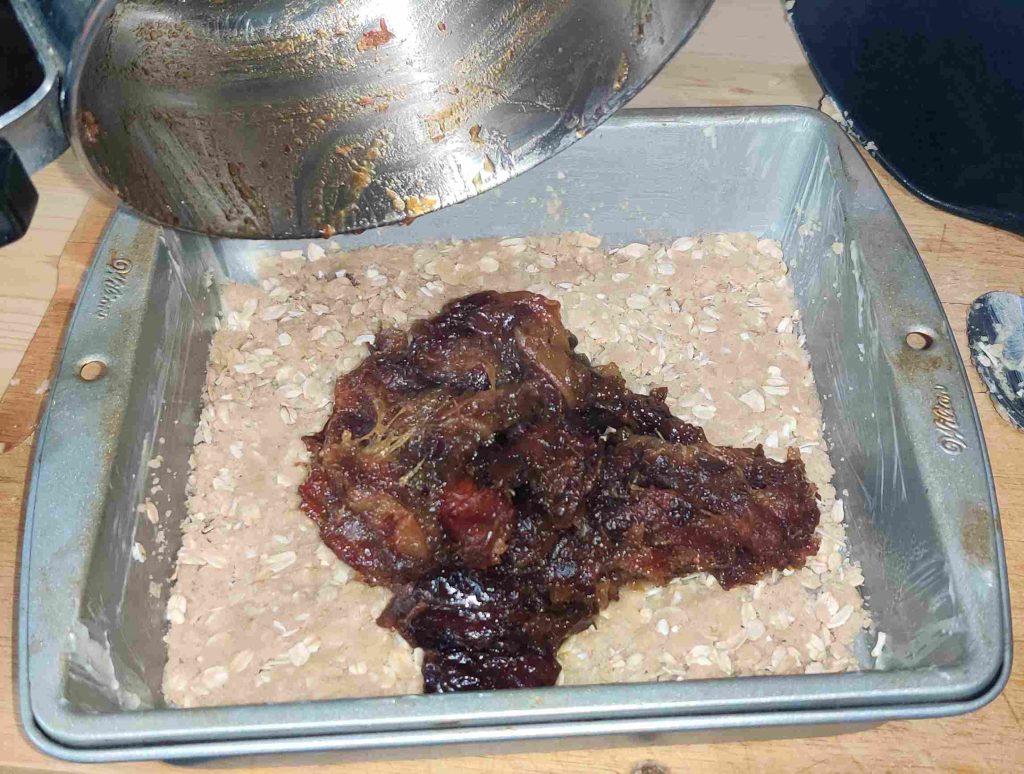
The cooked date filling was transferred to the pan with the oat crumble base:

Cooked date filling transferred to pan with oat crumble base

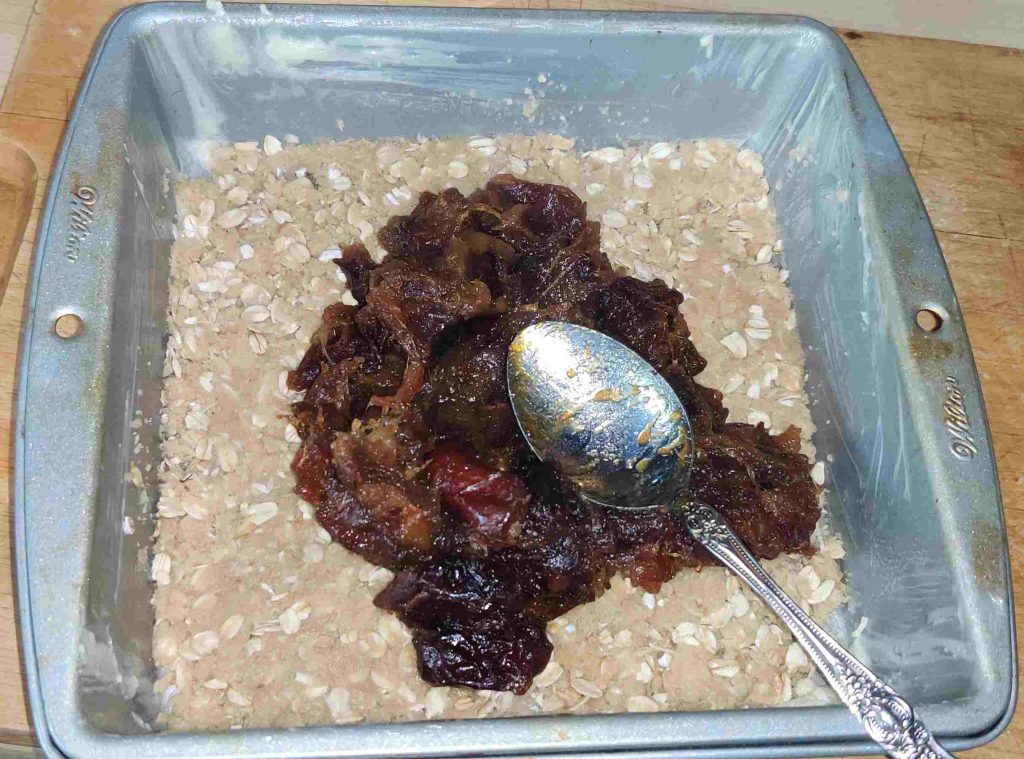
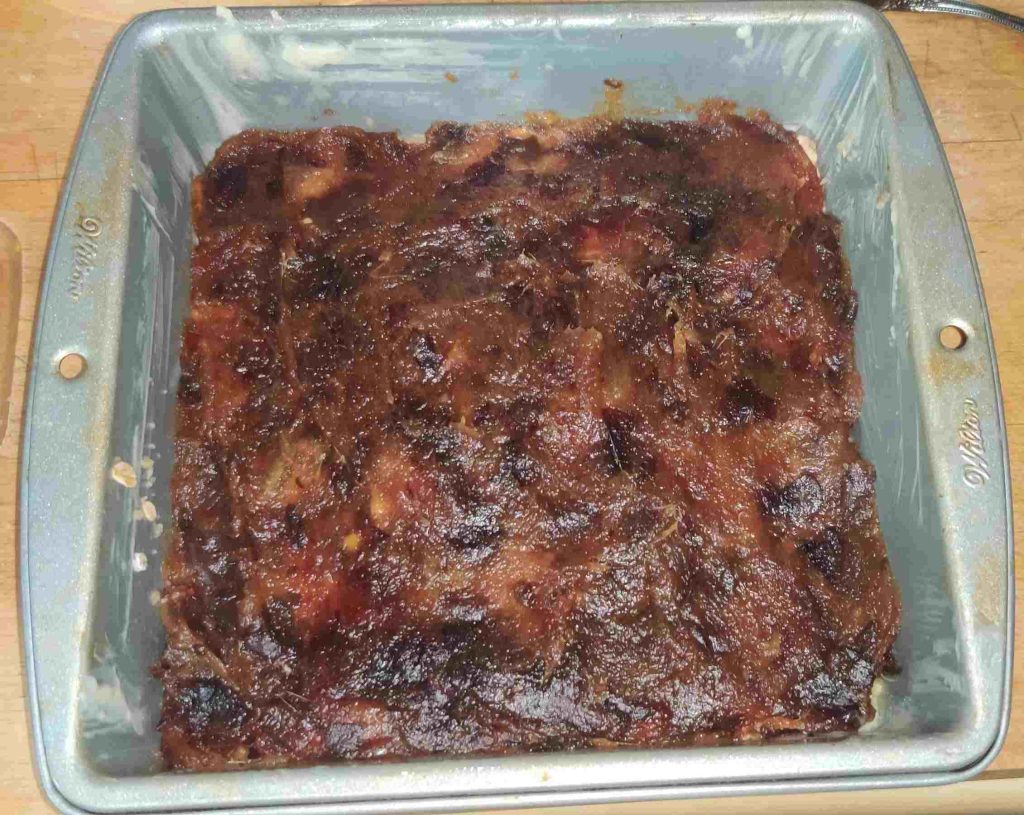
The date filling was spread roughly evenly over the base with a spoon:

Spreading the date filling with a spoon

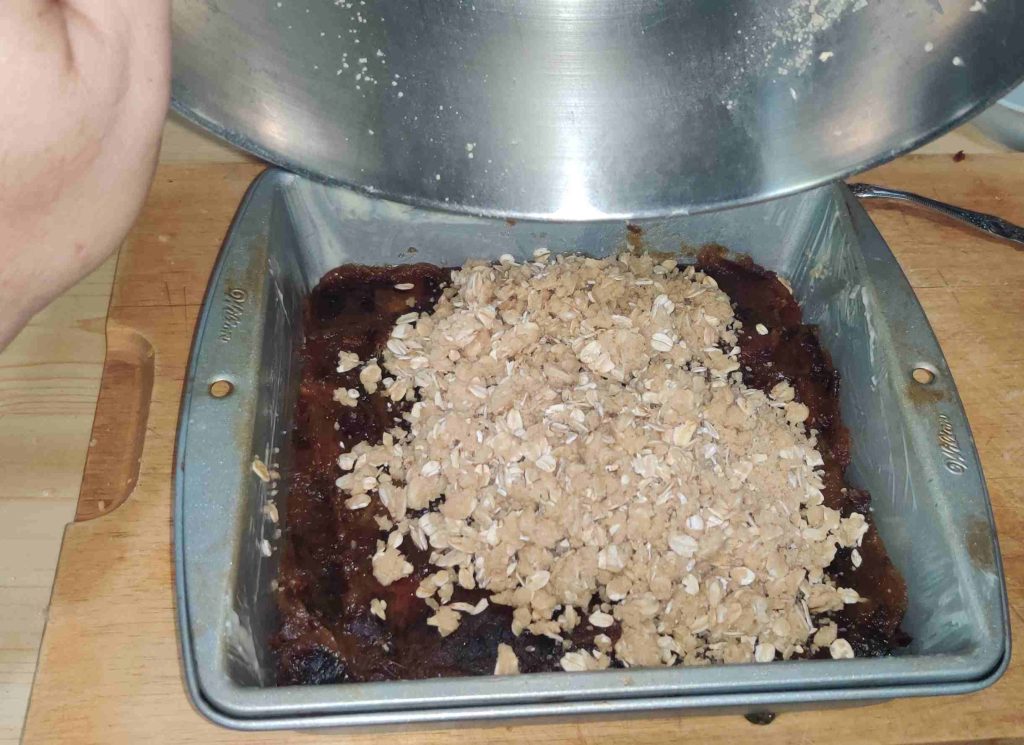
The rest of the oat crumble was transferred on top of the date filling:

Second half of oat crumble transferred to baking pan

The oat crumble topping was spread roughly evenly over the date filling:

Oat crumble spread over date filling

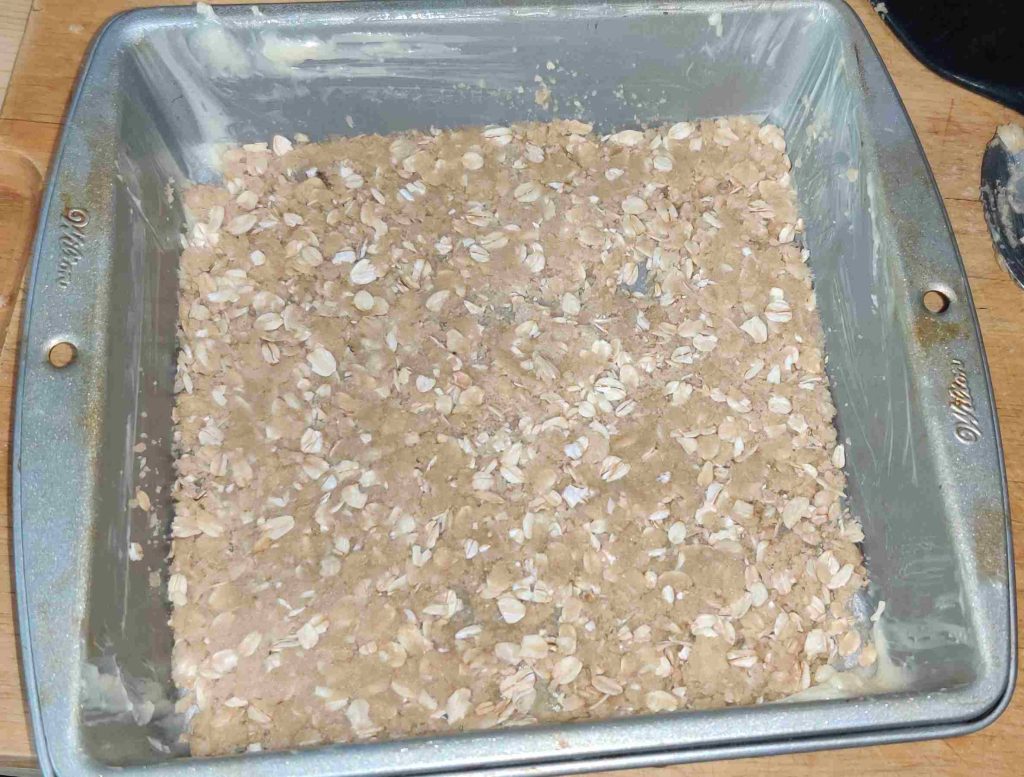
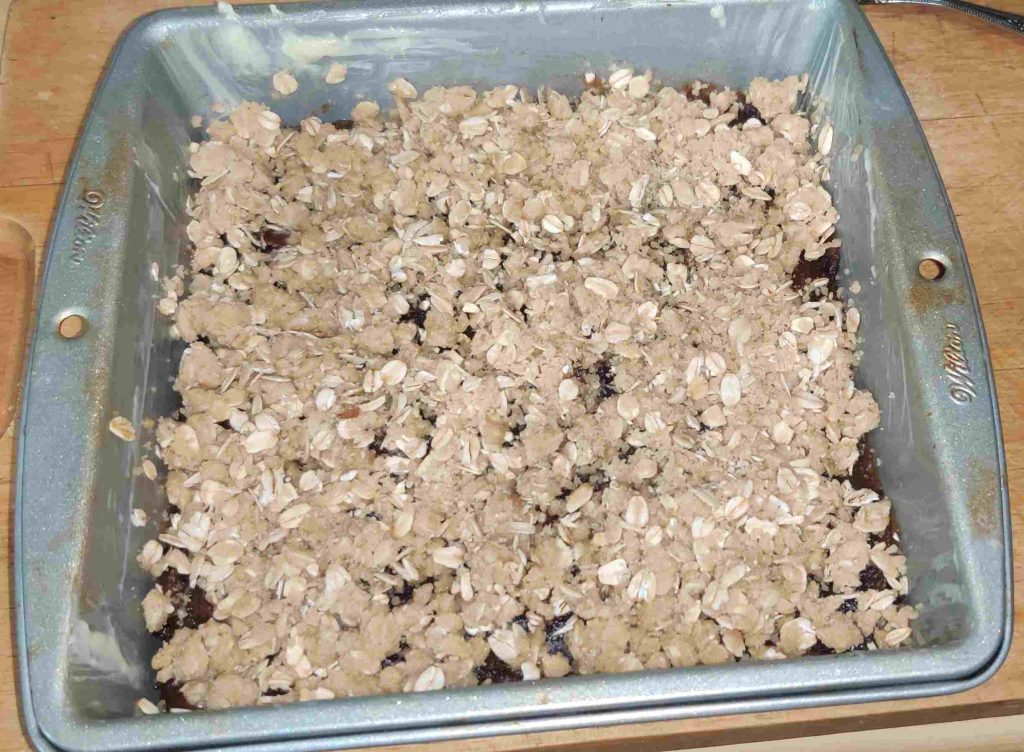
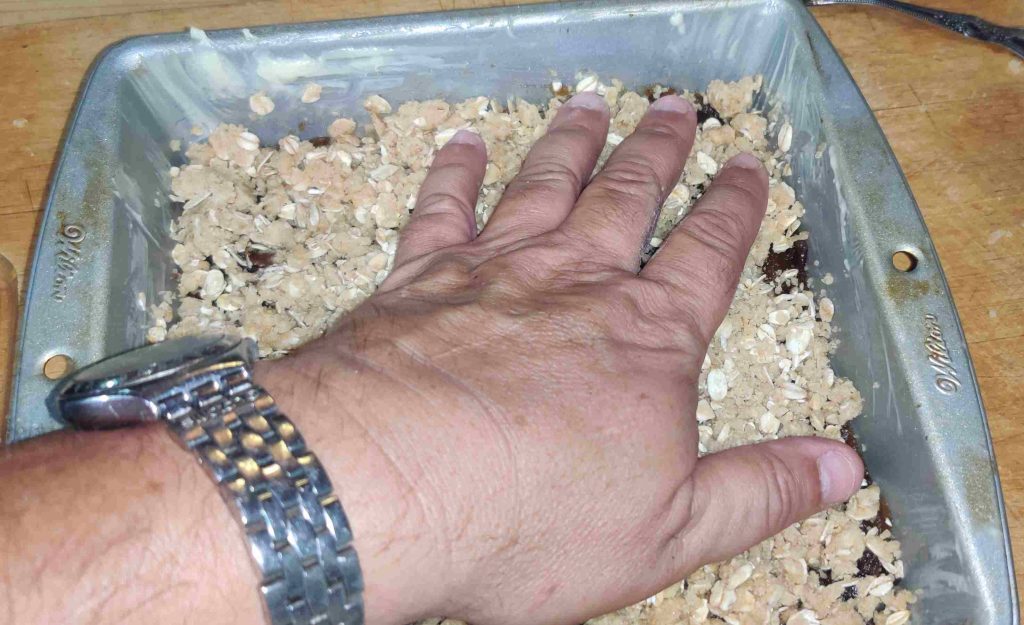
I gently patted down the topping with my hand; note that I said “gently”:

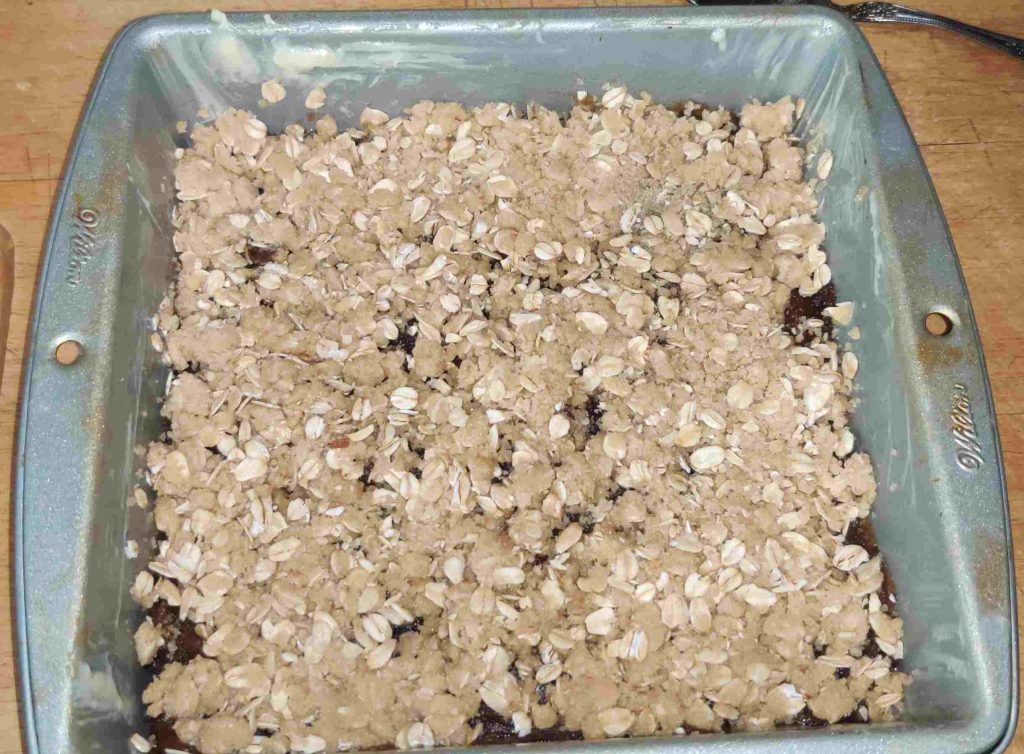
Gently patting down the oat crumble topping
Patted down oat crumble topping

Baking the date squares:

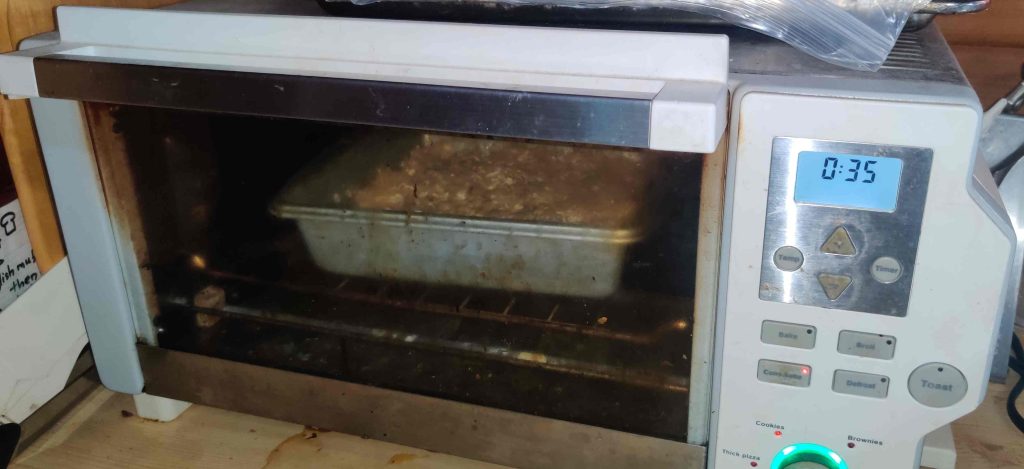
The pan was placed in the preheated countertop oven, and a timer was set to about 35 minutes:

Baking pan placed in countertop oven and timer set to 35 minutes

When the baking was finished, the baking pan was taken out of the oven and placed on a cooling rack:

Baking pan placed on cooling rack

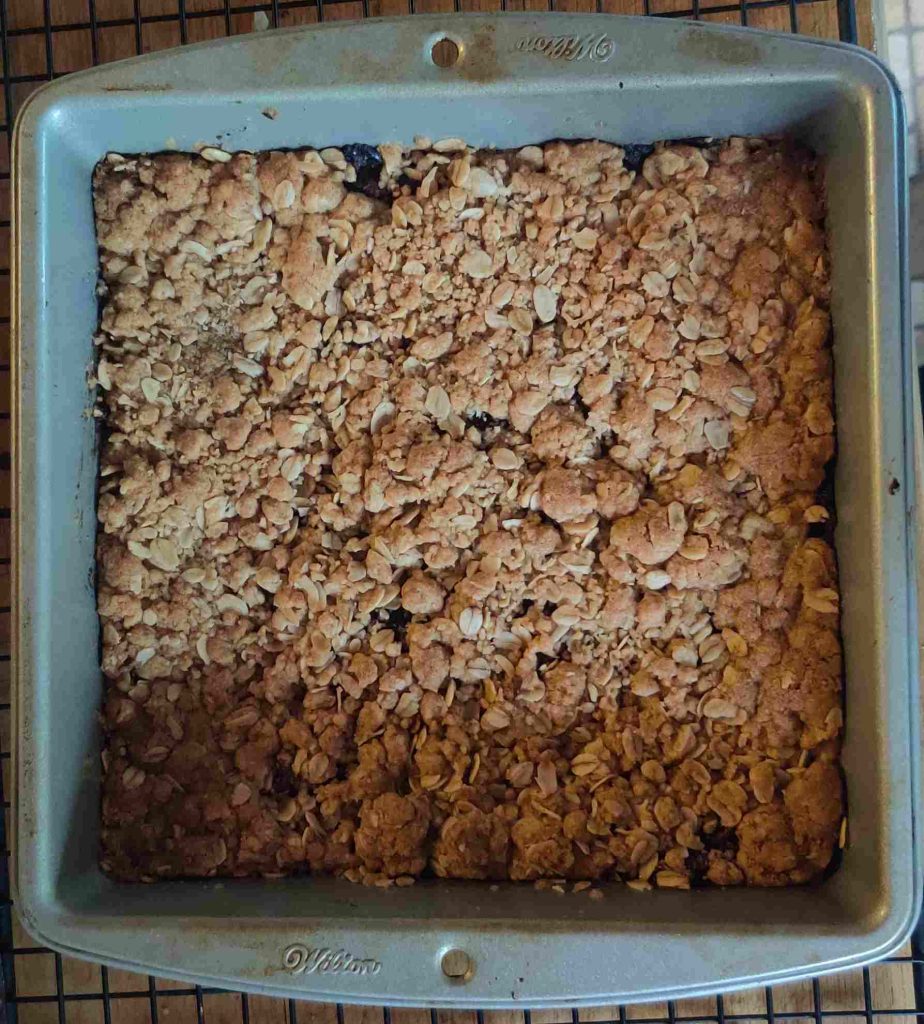
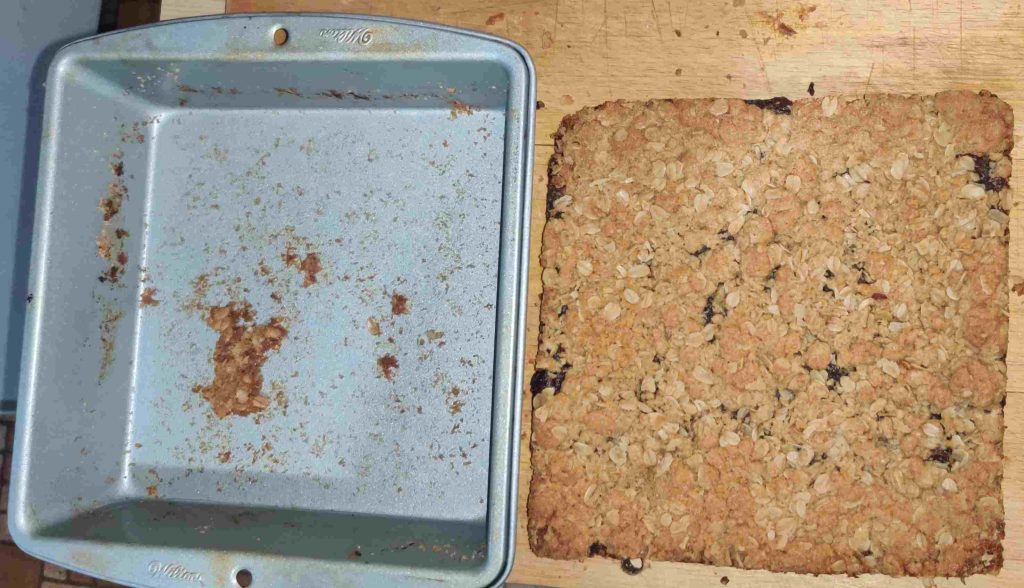
Once cooled (I did move the cooling along by placing the pan in the fridge for a while), the whole large date square was removed from the pan. Yes I tasted the bit of the base that was left behind: It was yummy!

Large date square removed from baking pan

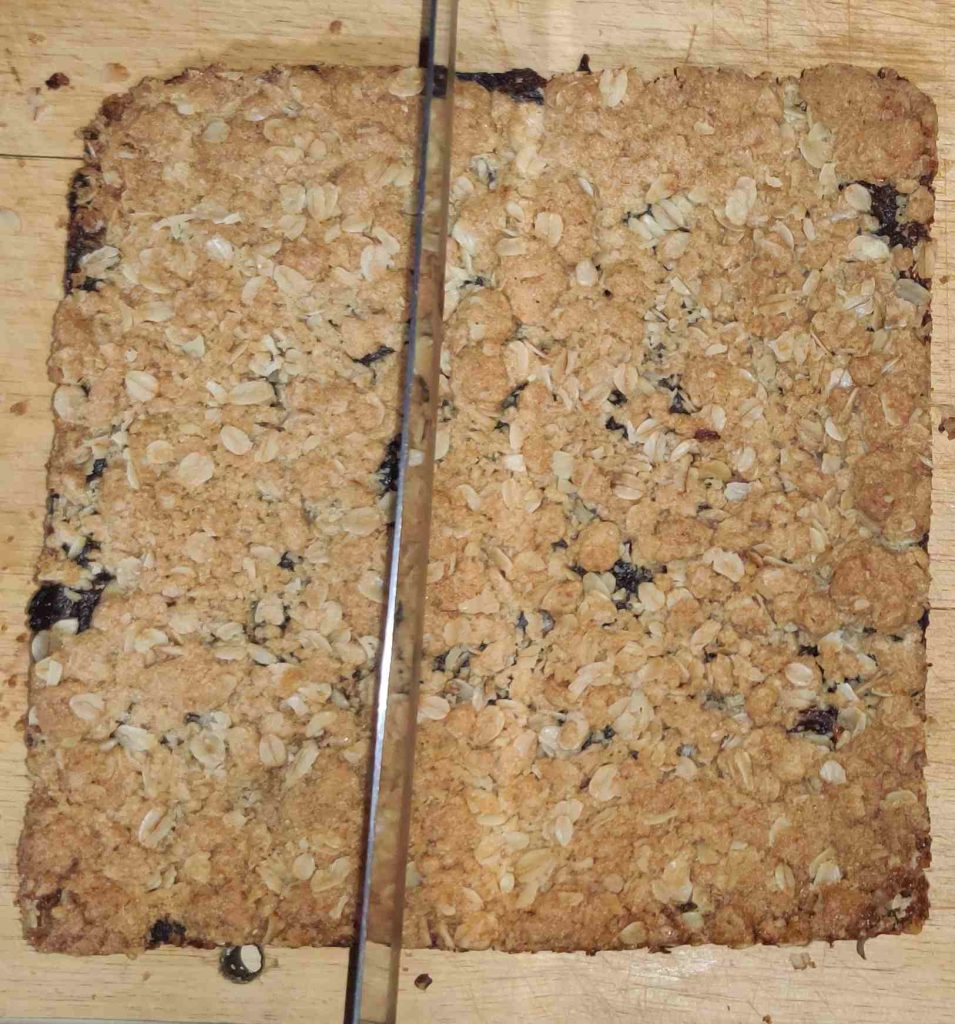
I began cutting the large piece off-center, with a goal of cutting a 5 x 5 grid for a total of 25 pieces:

Cutting the date squares, starting from off-centre

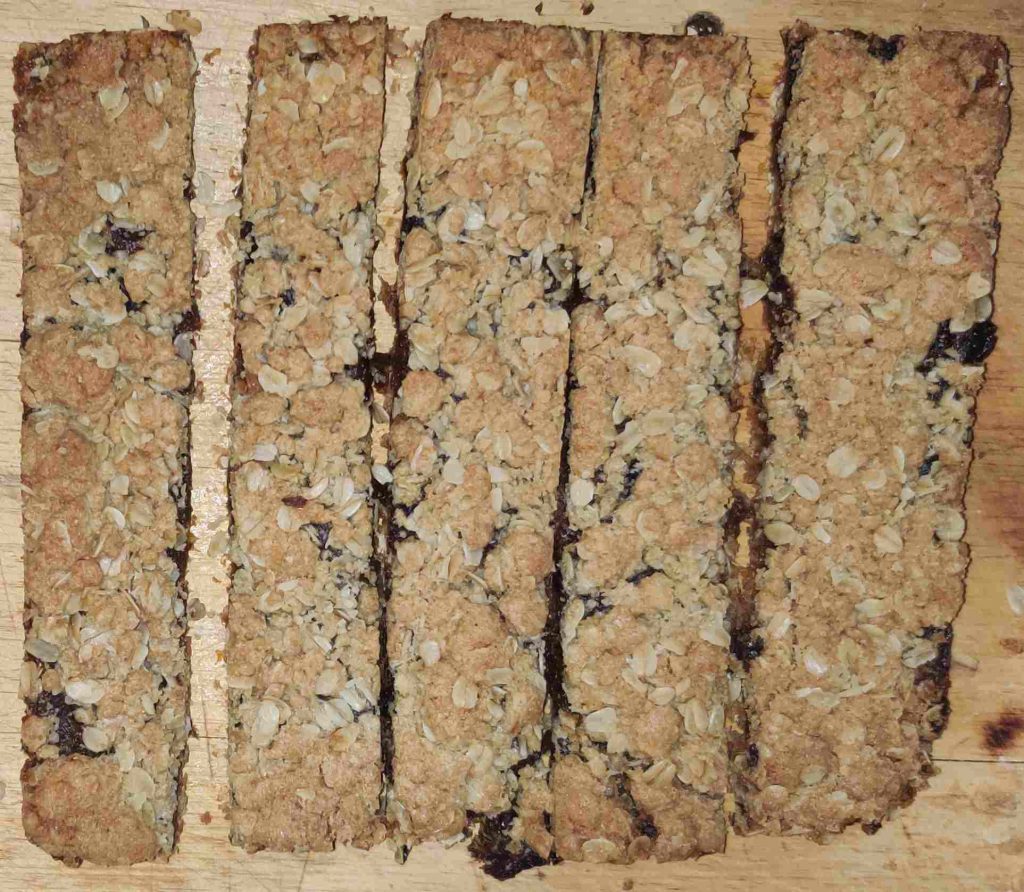
Three more slices were made, in order to have five long bars:

Five long bars

The cutting board was rotated 90 degrees so as to continue with four more cuts, to have a total of 25 squares:

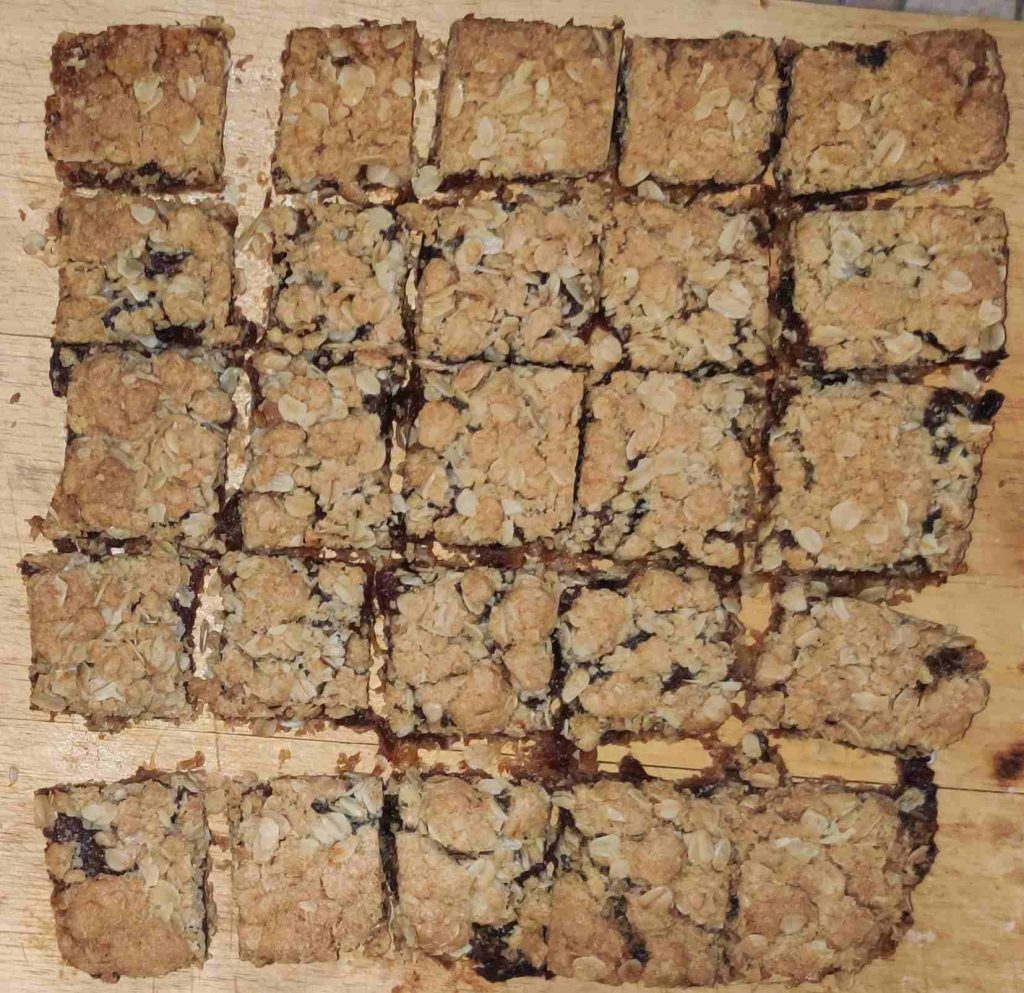
25 date squares!

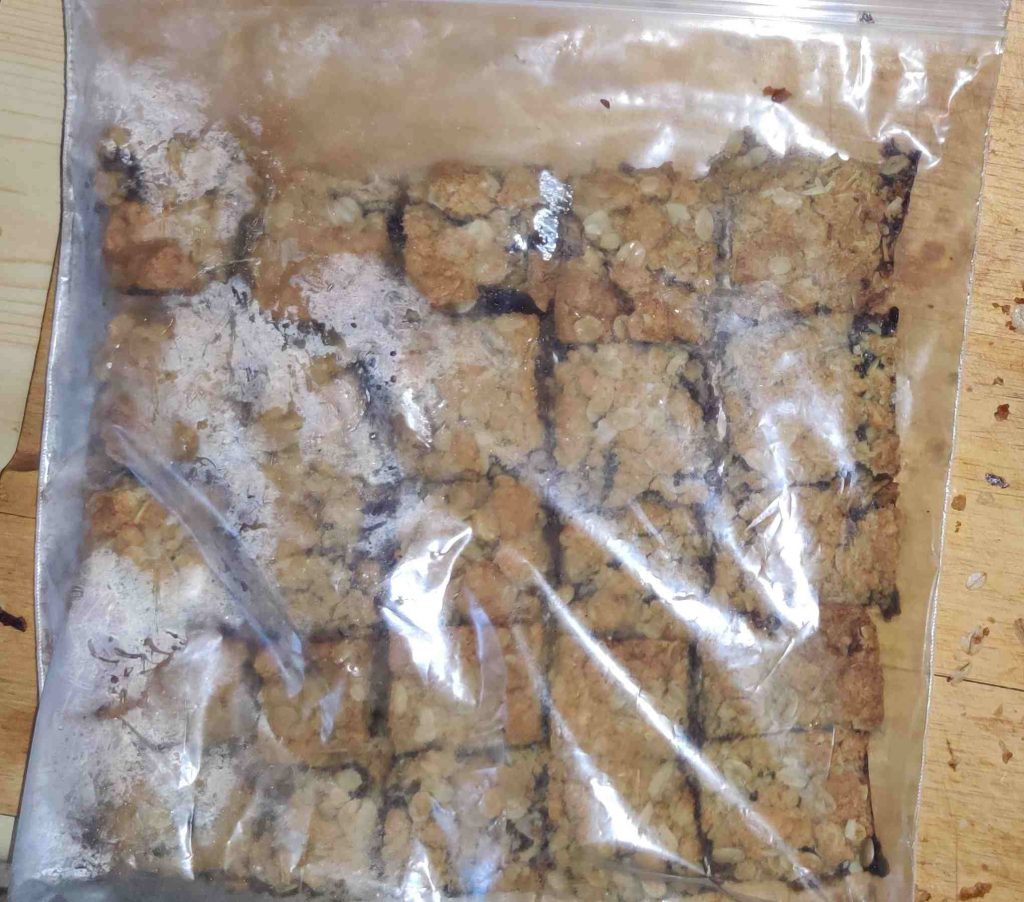
… and since I implied that I still had a few leftover from last week, and that I outright suggested that this batch would be placed on a dessert table at this week’s lake association BBQ, I bagged up the freshly-baked date squares, and placed them in the freezer for later in the week:

Date squares bagged

And yes, of course they’re yummy — I got to taste a bunch of crumbs while I was cleaning up!

Making Plain and Easy Sour Cream Muffins — Photos

I started making these tasty and easy to make muffins as a result of trying to make another kind of muffin (here’s my archive) for my mom, to add a bit more variety to the muffins I make for her. The story to the recipe, for me, had an alluring appeal that seemed to fit the bill. They turned out mostly nicely; however, the experience unfortunately taught me that when a recipe calls for unsalted butter — such as for the topping, especially since it also calls for a “pinch of kosher salt” — one should use unsalted butter. The resulting topping had just enough saltiness, however mild that it was, such that while of course the muffins were really nice, the slight saltiness was a distraction that did not appeal to my mom. (I enjoyed the rest of the muffins, but I agreed with her regarding the distraction.) In the process, I decided that the amount of effort required to execute the recipe was a bit more than I cared for.
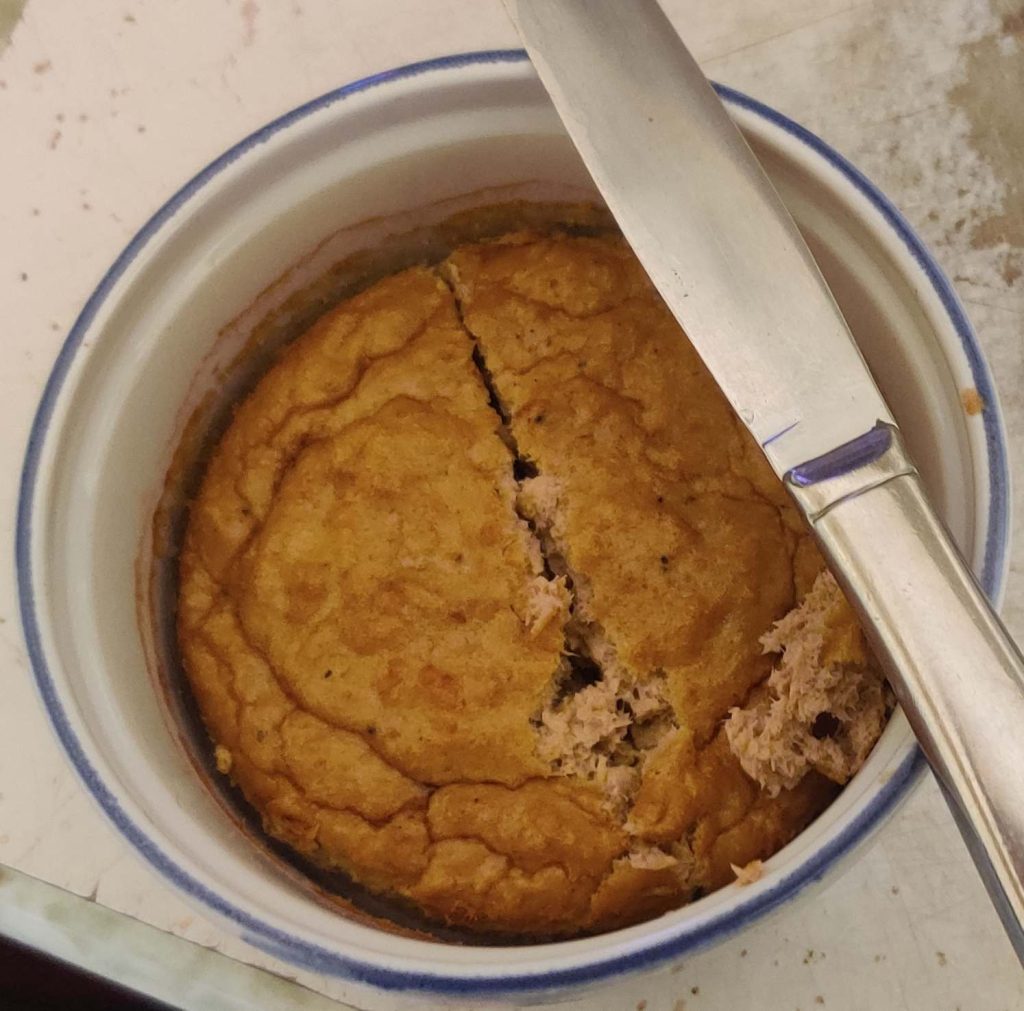
As a result though, I had some sour cream for which I had no further use, since I don’t have a taste for sour cream by itself, nor does my mom ask for it for other dishes. And, I was still in the position of needing another muffin recipe to add a bit of variety for Mom. I looked up “sour cream muffins” or somesuch on the internet, and I landed on a recipe here (here’s my archive), which I adjusted down to a half-batch of six muffins that can be easily and quickly made in a countertop convection oven, and which of course scales up to a dozen or more muffins at a time.

Note: Some of the photos were taken somewhat or a bit more out of order, or were outright recreations — albeit all during the preparation of, or immediately after baking, the same batch of muffins, including separately preparing the wet and dry ingredients the night before baking them fresh the morning of for breakfast for Mom — but are presented here in the order presented below for the sake of the narrative.

Making the muffins:

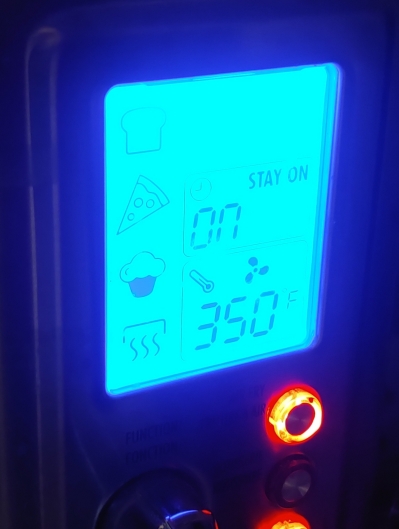
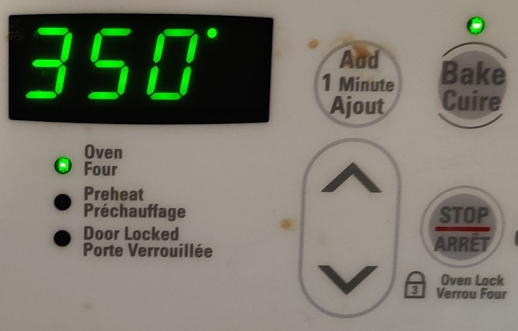
The countertop convection oven was preheated to 350F:

Countertop convection oven turned on
Countertop convection oven set to 350F

A baking tin and paper muffin liners were taken out:

Baking tin and paper muffin liners taken out

Paper muffin liners were placed in the wells:

Paper muffin liner placed in baking tin well
Paper muffin liners placed in baking tin wells

Flour and a measuring cup were taken out:

Flour and measuring cup taken out

Flour was measured out:

Flour measured out

The flour was transferred to a mixing bowl:

Flour transferred to mixing bowl

Sugar and a measuring cup were taken out, and sugar was measured out::

Sugar taken out and measured out

The sugar was transferred to the mixing bowl with the flour:

Sugar transferred to mixing bowl with flour

Baking soda and measuring spoons were taken out:

Baking soda and measuring spoons taken out

Baking soda was measured out:

Baking soda measured out

The baking soda was transferred to the mixing bowl with the flour and sugar:

Baking soda transferred to bowl with flour and sugar

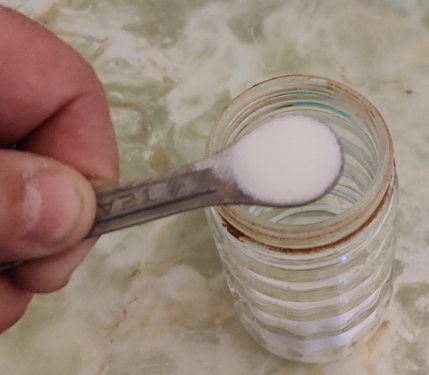
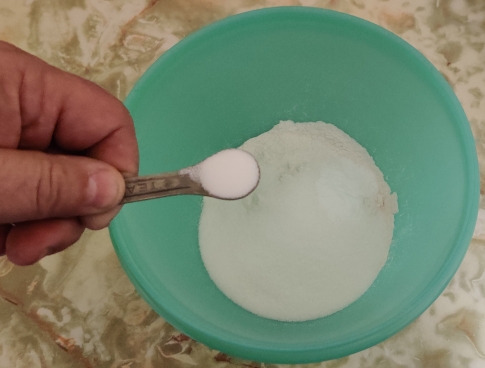
Salt and measuring spoons were taken out:

Salt and measuring spoons taken out:

Salt was measured out:

Salt measured out

The salt was transferred to the bowl with the flour, sugar, and baking soda:

Salt transferred to bowl with flour, sugar, and baking soda

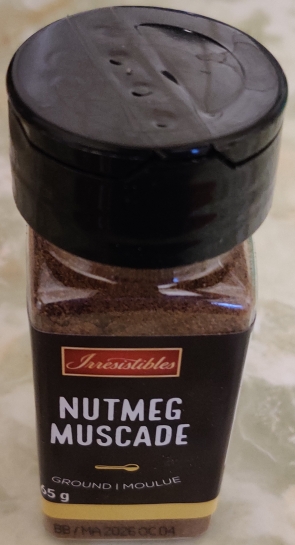
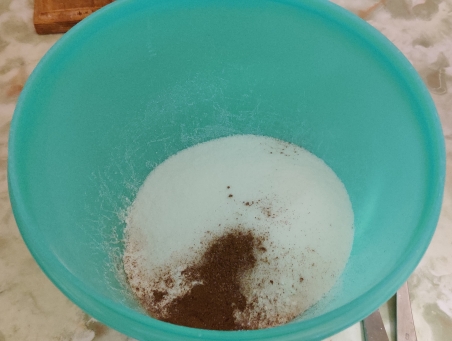
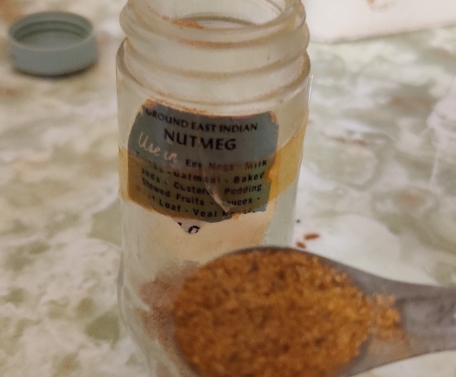
Nutmeg was taken out:

Nutmeg taken out

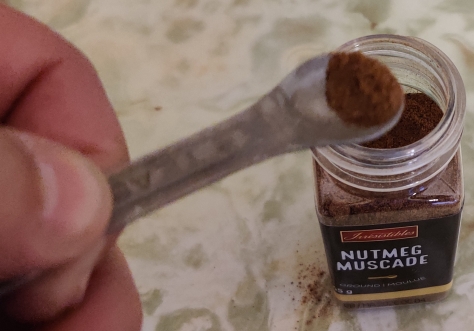
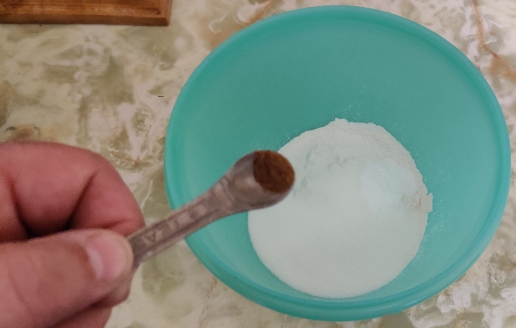
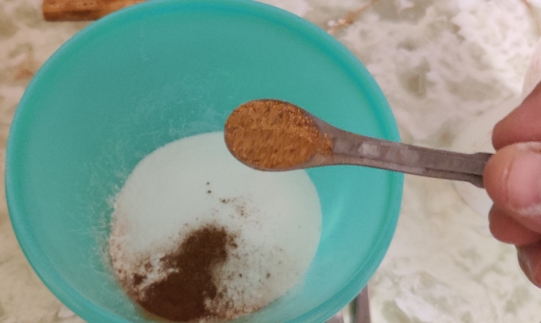
Nutmeg was measured out:

Nutmeg measured out

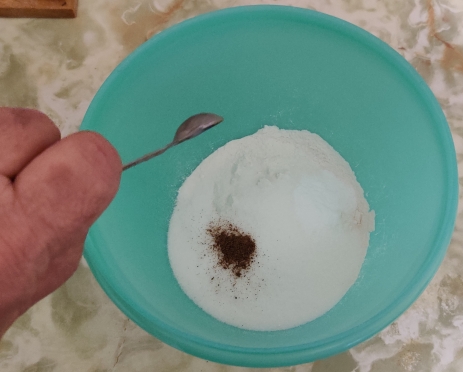
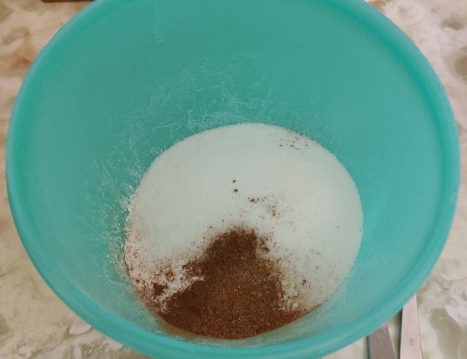
Nutmeg was transferred to the bowl with the flour, sugar, baking soda, and salt:

Nutmeg added to bowl with flour, sugar, baking soda, and salt

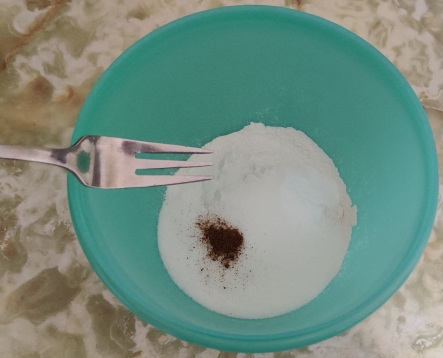
A fork was taken out:

Fork taken out

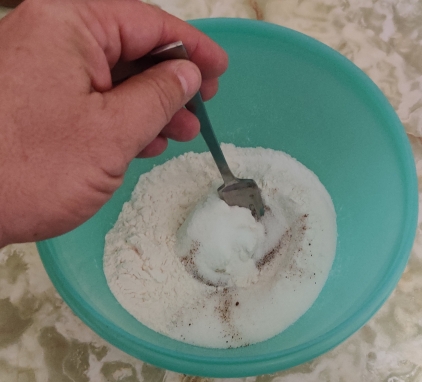
The dry ingredients were mixed with the fork:

Dry ingredients mixed with fork

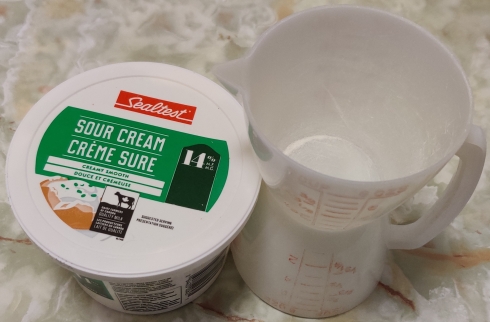
Sour cream and a measuring cup were taken out:

Sour cream and measuring cup taken out

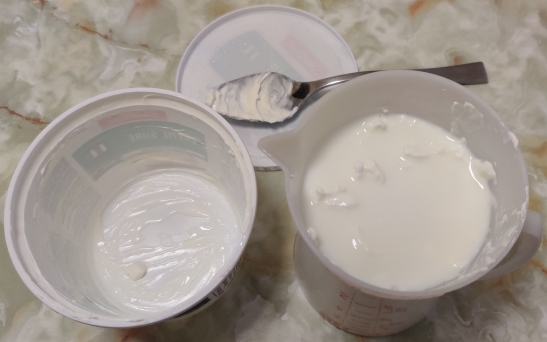
The sour cream was measured out, and since I was missing a very small amount, I topped it up with a bit of milk:

Sour cream measured out and slightly topped up with milk

The sour cream was transferred back to the plastic container:

Sour cream transferred back to plastic container

Vegetable oil and a measuring cup were taken out, and the oil was measured out:

Vegetable oil and measuring cup taken out, and oil measured out

The vegetable oil was transferred to the container with the sour cream:

Oil transferred to container with sour cream

Eggs were taken out:

Eggs taken out
Egg taken out

The egg was cracked with a spoon:

Egg cracked

The egg was transferred to the container with the sour cream and vegetable oil

Egg transferred to container with sour cream and oil

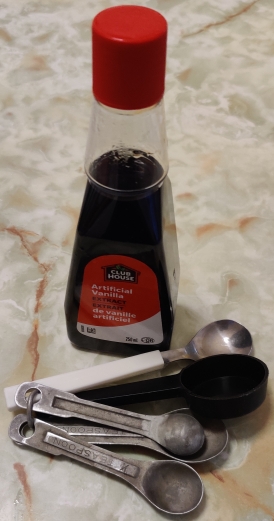
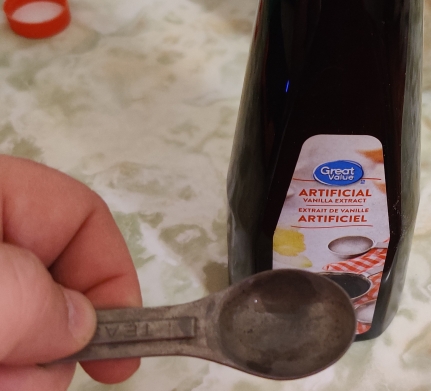
Vanilla extract and measuring spoons were taken out:

Vanilla extract and measuring spoons taken out

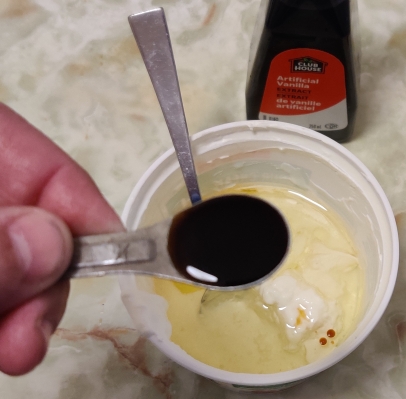
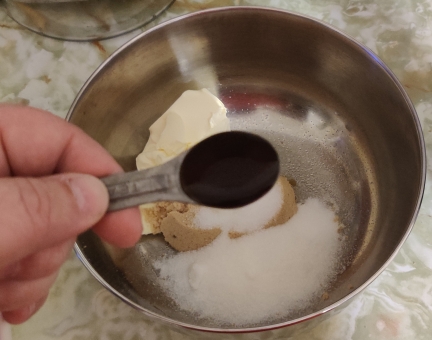
The vanilla extract was measured out:

Vanilla extract measured out

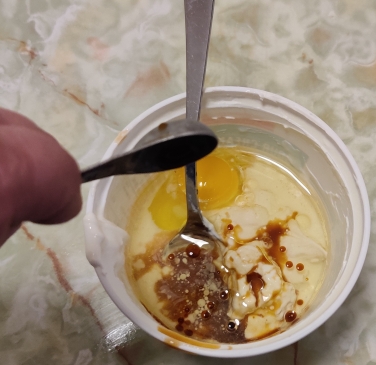
The vanilla extract was transferred to the container with the sour cream, vegetable oil, and egg:

Vanilla extract added to container with sour cream, vegetable oil, and egg

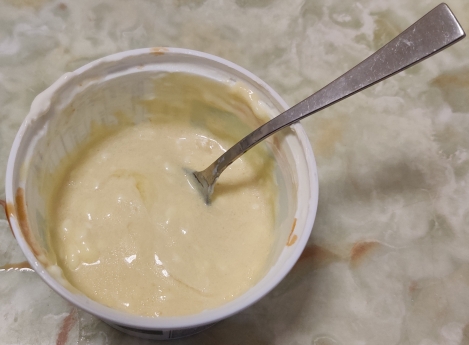
The wet ingredients were mixed together:

Wet ingredients thoroughly mixed

(As mentioned earlier, at this point, the container had been sealed and placed in the refrigerator overnight, and the dry ingredients had been sealed and kept on the counter overnight; as well, immediately prior to the next step listed below is when the countertop convection oven had actually been turned on and preheated.)

The wet ingredients were brought over to the dry ingredients, and a clean fork and spoon were taken out:

Wet ingredients brought to the dry ingredients

The wet ingredients were transferred to the bowl with the dry ingredients:

Wet ingredients transferred to bowl with dry ingredients

The last bits of the wet ingredients were scraped into the bowl using a spoon:

Wet ingredients transferred to bowl with dry ingredients, and last bits scraped into bowl using spoon

A fork was taken out to start mixing the wet and dry ingredients:

Fork taken out to mix wet and dry ingredients

The wet and dry ingredients were mixed together with the fork:

Wet and dry ingredients mixed with fork

The baking tin with the paper muffin liners was brought over to the bowl with the mixed ingredients:

Baking tin with paper muffin liners taken out

The muffin dough was transferred to the paper muffin liners in the baking tin:

Muffin dough transferred to paper muffin liners

The muffin tin filled with muffin dough was placed in the preheated countertop convection oven …

Muffin tin placed in preheated countertop convection oven

… and a timer was set to 22 minutes:

Timer set to 22 minutes

While the muffins were baking, a cooling rack was taken out:

Cooling rack taken out

At about half-way (after about 11 minutes), the baking tin was rotated in the countertop convection oven, to help ensure even baking:

Almost 11 minutes passing, the rough halfway point during baking

… and at this point, the muffins had clearly begun to rise:

Muffins rising at roughly halfway point in baking

At the end of the baking period, here are the fully baked muffins, which had begun to brown:

Fully baked muffins while still in the countertop convection oven — note the light browning

The muffin tin was taken out of the countertop convection oven and placed on a board, ready for the muffins to be removed from the baking tin, and placed on the cooling rack:

Fully baked muffins taken out of countertop convection oven

The muffins were immediately — hot! hot! hot! — removed from the muffin baking tin …

Hot muffin removed from muffin tin

… and placed on the cooling rack:

Hot muffin placed on cooling rack

… which was continued until all the muffins …

All muffins removed from baking tin

… had been transferred to the cooling rack:

All muffins transferred to cooling rack

Here’s the bottom of a muffin that had sufficiently cooled in order to safely handle it:

Browning on bottom of cooled muffin

A still warm and definitely fresh! muffin was placed on a plate, and the paper liner was carefully removed (so as to not tear off pieces from the muffin):

Muffin paper liner removed from fresh muffin

… and the muffin was ready to serve to Mom, along with a cup of coffee:

Fresh, still warm muffin ready to be served

Of course, Mom said that the muffin was tasty!

After the muffins had completely cooled, a plastic freezer bag that was previously used for freezing sour cream muffins was taken out:

Freezer bag taken out and identified

The bag was opened, and a cooled muffin was placed inside the bag:

Cooled muffin placed in identified freezer bag

… and the rest of the cooled muffins were placed inside the bag:

Cooled muffins placed in freezer bag

The freezer bag was sealed, and placed in the freezer, for future enjoying by Mom!

Bag of cooled muffins placed in freezer

Making Strawberry Jam Muffins — Photos

As an effort to diversify my offerings of muffins for my mom, I learned how to make these delicious muffins containing strawberry jam, cinnamon, and nutmeg. Mom likes them so much that she declared that she likes them a lot better than both the bran muffins and the yoghurt muffins I make for her!

Note that while this recipe can be easily multiplied several times to make more muffins at once, this recipe is intentionally tailored to a half dozen muffins instead of the usual custom of a dozen muffins, since the original recipe on which it was based allows it to be halved and therefore be baked in a countertop convection oven.

In addition to this recipe, the following recipes can (usually, depending on oven size and specific dimensions) be made directly without adjustment in a countertop convection oven:

As well, here are a number of my other recipes which allow for adjusting by half to be made, or can otherwise easily be made (sometimes in shifts), in a countertop convection oven:

Making the muffins:

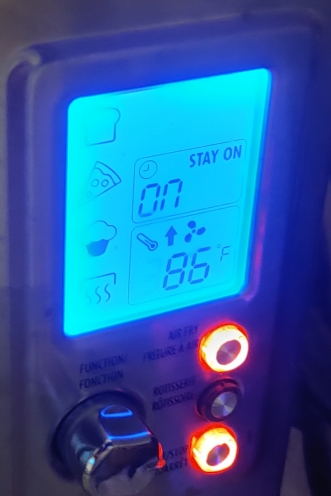
First, my countertop convection oven was turned on and set to 350F (yes, the photo says 86F, it’s preheating!):

Countertop convection oven turned on to be preheated

A muffin baking tin and some paper muffin liners were taken out:

Muffin baking tin and paper muffin liners taken out

Paper muffin liners were placed in each of the wells of the muffin baking tin:

Paper muffin liners placed in muffin baking tin wells

A mixing bowl, a fork, and a spoon were taken out:

Mixing bowl, fork, and spoon taken out

Flour and a measuring cup were taken out, and some flour was measured out:

Flour taken out and measured out

The flour was transferred to the mixing bowl:

Flour transferred to mixing bowl

Sugar and a measuring cup were taken out, and some sugar was measured out:

Sugar taken out and measured out

The sugar was transferred to the mixing bowl with the flour:

Sugar transferred to mixing bowl

Baking soda and a measuring spoon were taken out, and some baking soda was measured out:

Baking soda taken out and measured out

The baking soda was transferred to the mixing bowl with the flour and the sugar:

Baking soda transferred to mixing bowl

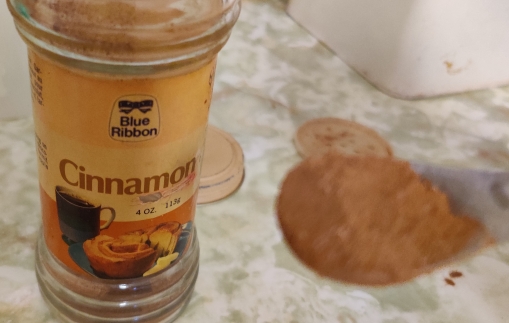
Cinnamon and a measuring spoon were taken out, and some cinnamon was measured out:

Cinnamon taken out and measured out

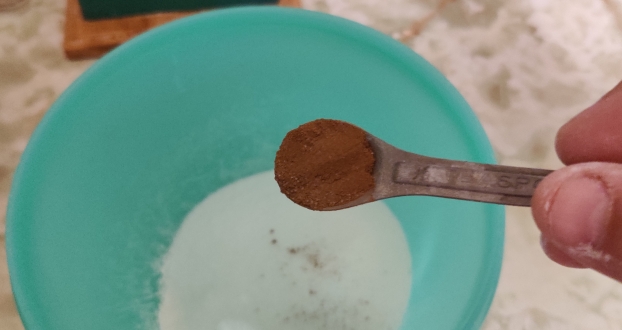
The cinnamon was transferred to the bowl with the flour, sugar, and baking soda:

Cinnamon transferred to mixing bowl

Nutmeg and a measuring spoon were taken out, and some nutmeg was measured out:

Nutmeg taken out and measured out

The nutmeg was transferred to the mixing bowl with the flour, sugar, baking soda, and cinnamon:

Nutmeg transferred to mixing bowl

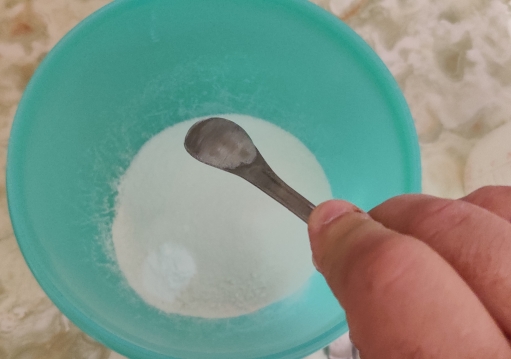
Salt and a measuring spoon were taken out, and some salt was measured out:

Salt taken out and measured out

The salt was transferred to the mixing bowl with the flour, sugar, baking soda, cinnamon, and nutmeg:

Salt transferred to mixing bowl

A fork was taken out and used to mix the dry ingredients:

Dry ingredients mixed with a fork

A box of eggs was taken out:

Eggs taken out

An egg was taken out of the box of eggs:

Egg taken out

The egg was cracked on the edge of the mixing bowl with the dry ingredients:

Egg cracked into mixing bowl

Milk and a measuring cup were taken out, and some milk was measured out, but the milk was not yet transferred to the mixing bowl:

Milk taken out and measured out but not yet transferred to mixing bowl

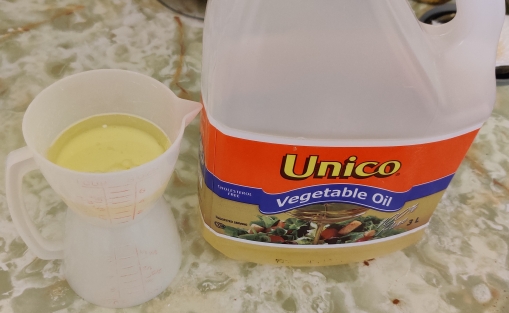
Vegetable oil was taken out, and some oil was measured out in the measuring cup while the milk was still in it, but the milk and oil were not yet transferred to the mixing bowl:

Oil taken out and measured out but not yet transferred to mixing bowl

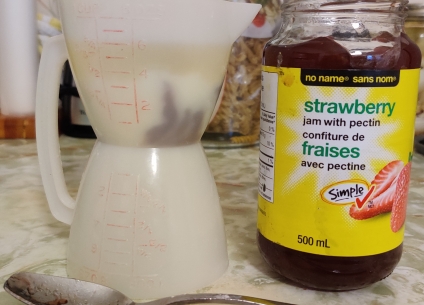
Strawberry jam was taken out, and some strawberry jam was measured out into the measuring cup with the milk and vegetable oil:

Strawberry jam taken out and measured out
Strawberry jam measured out

The milk, vegetable oil, and the strawberry jam were transferred to the mixing bowl with the dry ingredients and the egg:

Milk, oil, and strawberry jam transferred to mixing bowl

The ingredients were mixed together with the fork:

Ingredients mixed with a fork

The batter was transferred to the paper liners in the muffin baking tin, using a spoon:

Batter transferred to paper liners in muffin baking tin

The filled muffin baking tin was transferred to the pre-heated countertop convection oven:

Muffin baking tin with batter placed in countertop convection oven

A timer was set to 23 minutes:

Timer set to 23 minutes

While the muffins were baking, a cooling rack was taken out:

Cooling rack taken out

Here’s a picture of the muffins rising while baking:

Muffins rising while baking

At the end of the 23 minutes when the muffins were baked, the muffin baking tin with the muffins were taken out of the countertop convection oven:

Muffins taken out of countertop convection oven

The muffins were taken out of the muffin baking tin and placed on the cooling rack:

Muffins placed on cooling rack

A muffin (in the case of this photo, from a subsequent batch) was taken out to serve to mom:

A delicious muffin is served!

Mom loves these delicious muffins a lot these days!

… and I froze the rest of muffins in a freezer bag, as I did with muffins from a subsequent batch:

Extra muffins placed in freezer bag for freezing

Mom now says that these are her favourites!

Making (Simple) (and Relatively) Plain Yoghurt Muffins — Photos

These easy to make muffins are fairly straightforward, tasty, and, despite being labeled as “plain”, the term is used somewhat loosely since the yoghurt used may be any kind of flavoured yoghurt, which will come across lightly but distinctly in the final product. As well, small amounts of fruits or other flavouring agents could be added without substantial changes.

I had originally researched the recipe to allow me to serve a different kind of muffin to my mom, in order to contrast the bran muffins she likes as well; as noted elsewhere, she enjoys the bran muffin recipe I found on the internet more than her own bran muffin recipe.

Note that this yoghurt muffin recipe lends itself well to half batches (one egg only), as well as easy and quick baking in countertop toaster-ovens.

Update 20241008: Using the Google NotebookLM podcast generator, two podcasts were produced about this post, and, I made a blog entry about the podcasts. Podcast1 Podcast2

Making the muffins:

First, the oven was pre-heated to 350F:

Oven preheated to 350F

A tray of muffin moulds, and correspondingly sized paper liners, were taken out:

Muffin moulds and paper liners taken out

The moulds were each lined with paper muffin liners:

Lining moulds with paper muffin liners

The lined baking tray was put aside, and a mixing bowl, a spoon, and a fork were taken out:

Mixing bowl, spoon, and fork taken out

Flour and a measuring cup were taken out:

Flour and measuring cup taken out

The measuring cup was filled with flour:

Measuring cup filled with flour

The flour was transferred to the mixing bowl:

Flour transferred to mixing bowl

Sugar was taken out, and the measuring cup was taken out again:

Sugar and measuring cup taken out

Sugar was measured out:

Sugar measured out

The sugar was transferred to the mixing bowl with the flour:

Sugar transferred to mixing bowl with flour

Baking powder and measuring spoons were taken out:

Baking powder and measuring spoons taken out

Baking powder was measured out:

Baking powder measured out

The baking powder was added to the flour and sugar in the mixing bowl:

Baking powder added to flour and sugar

Salt and measuring spoons were taken out:

Salt and measuring spoons taken out

Salt was measured out:

Salt measured out

The salt added to the flour, sugar, and baking powder:

Salt added to the flour, sugar, and baking powder

Using the fork, the flour, sugar, baking powder, and salt were thoroughly mixed:

Flour, sugar, baking powder, and salt thoroughly mixed with fork

A tub of yoghurt and a measuring cup were taken out:

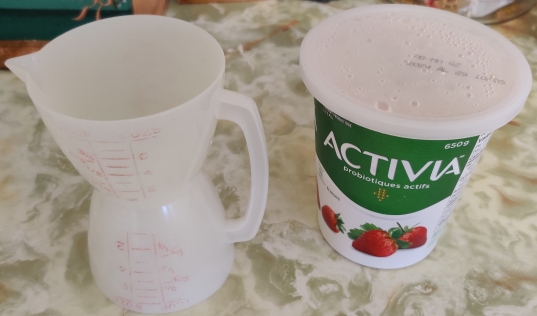
Yoghurt and measuring cup taken out

Yoghurt was measured out:

Yoghurt measured out

The yoghurt was transferred to the bowl with the flour, sugar, baking powder, and salt:

Yoghurt transferred to bowl of flour, sugar, baking powder, and salt
Yoghurt transferred to bowl of flour, sugar, baking powder, and salt, with spoon added

Vegetable oil was taken out, and the measuring cup used for the yoghurt was reused, without needing to clean it since I’d only just used it moments before for the yoghurt :

Vegetable oil and measuring cup taken out

The vegetable oil was measured out:

Vegetable oil measured out

The vegetable oil was transferred to the bowl with the flour, sugar, baking powder, salt, and yoghurt:

Vegetable oil transferred to bowl

Eggs were taken out:

Eggs taken out
Eggs taken out
Eggs taken out

The eggs were cracked into the bowl with the flour, sugar, baking powder, salt, yoghurt, and vegetable oil:

Eggs cracked into bowl

All the ingredients were mixed together with a spoon:

Ingredients mixed with spoon

… creating a thick paste dough:

Ingredients mixed with spoon

The muffin mould tray prepared earlier was taken out:

Prepared muffin mould tray taken out

The dough was spooned into the paper muffin moulds:

Muffin moulds filled with muffin dough

The filled muffin tray was placed in the preheated oven:

Filled muffin tray placed in oven

A timer was set to 21 minutes:

Timer set to 21 minutes

Looking through the oven window (which admittedly could use a cleaning!), the muffins began to rise:

Muffins baking and rising
Muffins baking and tops beginning to brown
Muffins baking and tops browning

While the muffins were baking, cooling racks were taken out:

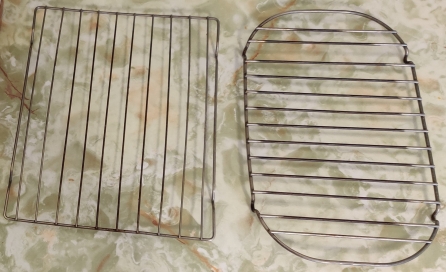
Cooling racks taken out

After the timer ran out and the muffins had baked, the muffins were taken out of the oven, and the tray placed on a cutting board:

Baked muffins taken out of oven

The muffins were transferred from the muffin tray moulds to the cooling racks to cool down:

Freshly baked muffins transferred to the cooling racks

A yummy fresh muffin was served to my mom with another mini-muffin, with the paper linings removed:

Muffins served
Muffins served

… and the rest of the cooled muffins were placed in a sealable freezer bag, to be placed in the freezer:

Cooled muffins placed in a sealable freezer bag

Yummy!

Making Chocolate Chip Cookie Dough Cheesecake Squares — Photos

This decadently rich and scrumptious dessert is another relatively new addition to my collection of recipes. Mom loves it!

Making the squares:

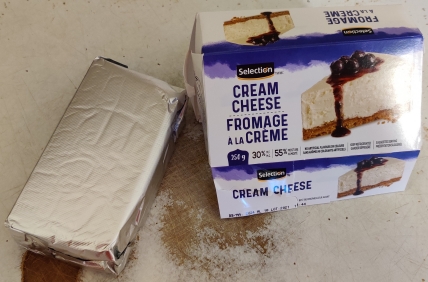
Before beginning, some cream cheese was taken out of the fridge and put on the counter to warm up to room temperature:

Cream cheese taken out before beginning in order to soften it

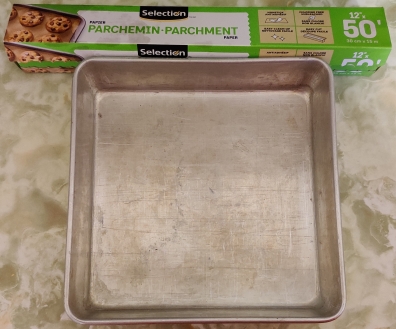
Parchment paper and an 8″ baking pan were taken out:

Parchment paper and baking pan taken out

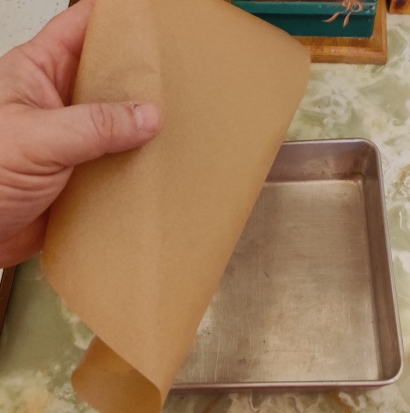
A parchment paper larger than the baking pan was torn off the roll …

Parchment paper cut off of roll

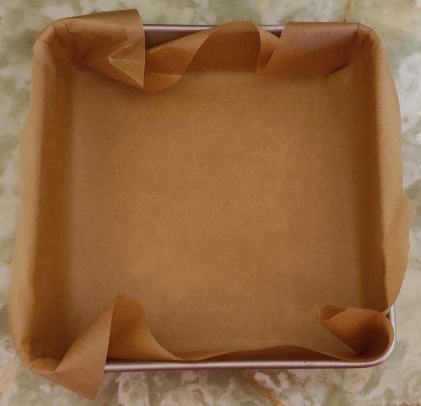
… and the baking pan was lined with the parchment paper, with a little bit left over the edges of the pan:

Baking pan lined with parchment paper

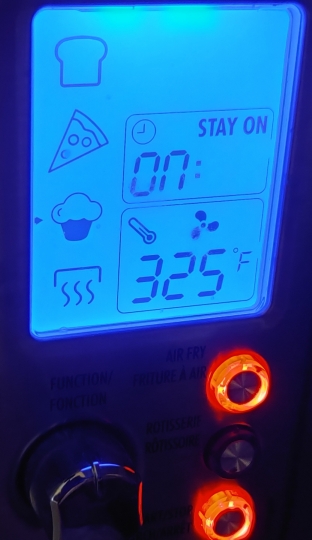
The pan was put aside for a few moments, and a countertop convection oven was set to 325F and turned on:

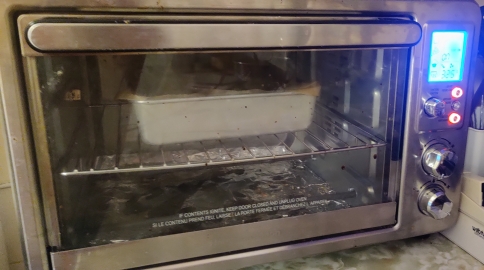
Countertop convection oven turned on
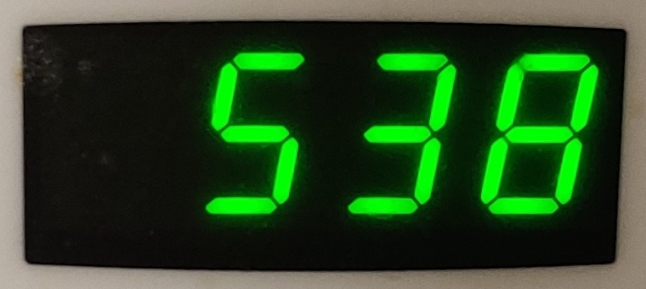
Oven set to 325F

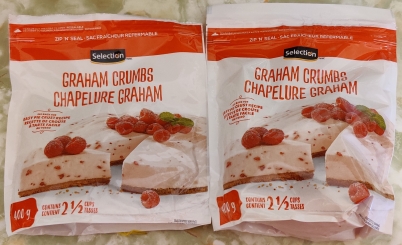
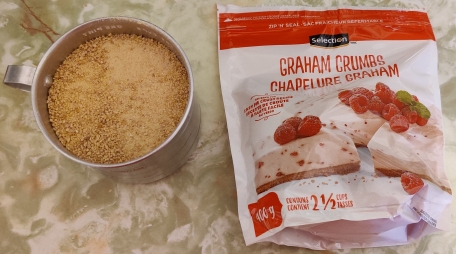
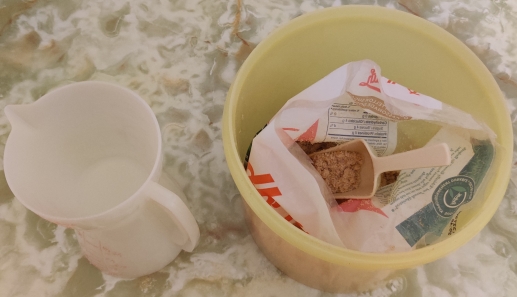
Graham cracker crumbs were taken out:

Graham cracker crumbs taken out

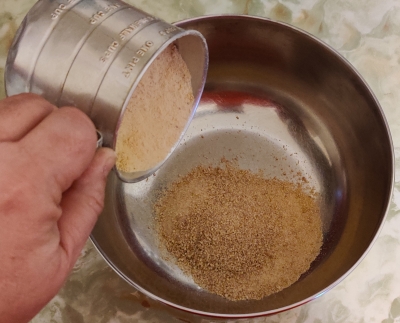
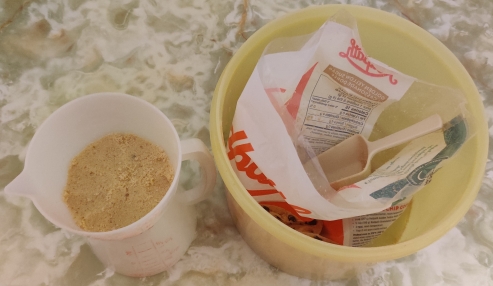
A cup and a half of graham cracker crumbs were measured out:

Graham cracker crumbs measured out

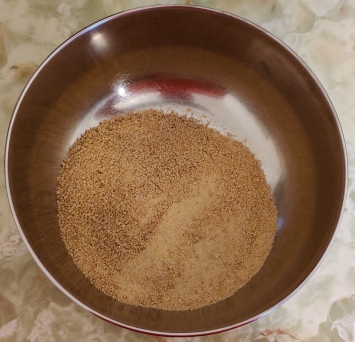
The graham cracker crumbs were transferred to a mixing bowl:

Graham cracker crumbs transferred to mixing bowl

Margarine was taken out:

Margarine taken out

Margarine was scooped out of the tub:

Margarine scooped out of tub

The margarine was placed in a bowl, previously placed on the scale and the tare set to zero:

Margarine measured out

The margarine was melted in the microwave oven, 15 seconds at a time:

Microwave oven set to 15 seconds
Margarine being melted 15 seconds at a time in microwave oven

Once fully melted, the margarine was taken out of the microwave oven:

Melted margarine taken out of the microwave oven

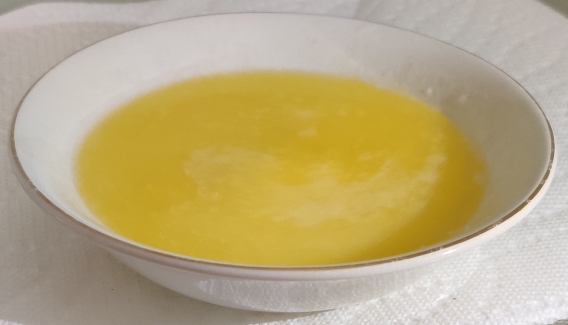
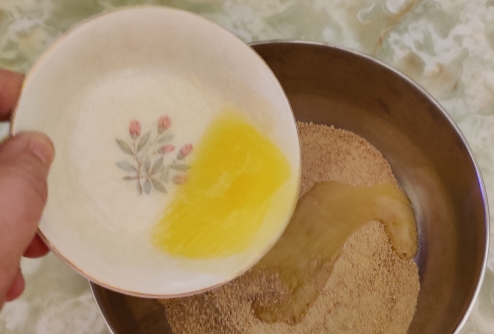
The melted margarine was poured over the graham cracker crumbs in the mixing bowl:

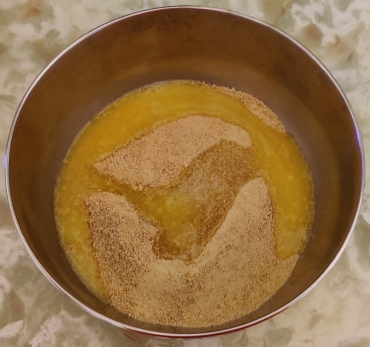
Melted margarine poured over graham cracker crumbs

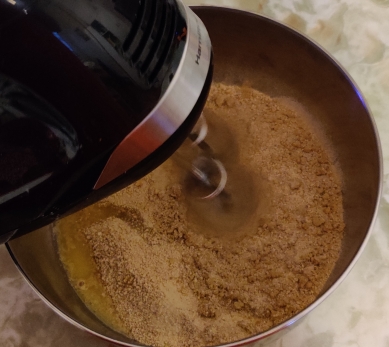
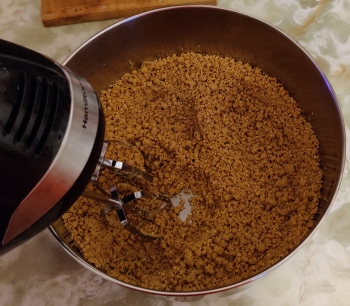
An electric blender was taken out and used to fully mix the graham cracker crumbs and the melted margarine:

Graham cracker crumbs and melted margarine mixed with electric blender

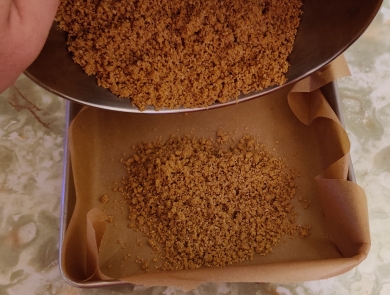
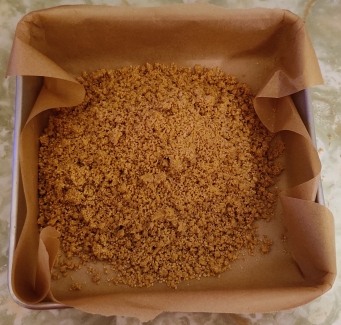
The baking pan with the parchment paper lining was brought back and the fully blended graham cracker crumbs and melted margarine were transferred to the baking pan.

Graham cracker mix transferred to baking pan

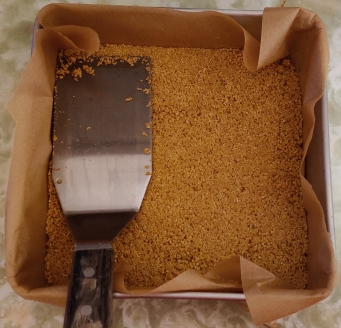
The graham cracker mix was flattened with an egg flipper:

Graham cracker mix flattened with an egg flipper

The baking pan with the graham cracker crust was placed in the pre-heated countertop oven:

Graham cracker crust placed in oven

A timer was set for six minutes:

While the graham cracker crust was baking, a cooling rack was taken out (and placed on my stove):

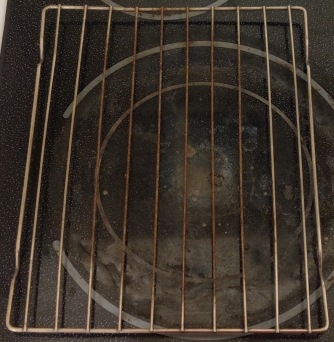
Cooling rack taken out

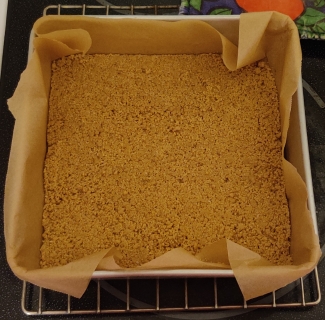
After baking for six minutes, the graham cracker crust was taken out of the oven and placed on the cooling rack:

Graham cracker crust placed on cooling rack

Another bowl was placed in the scale and the tare set to zero:

Small bowl placed on scale and scale set to zero

More margarine was taken out and measured out:

Margarine measured out

The mixing bowl had been washed while the graham cracker base was baking, and the margarine was transferred to the mixing bowl:

Margarine transferred to clean mixing bowl

Brown sugar and a measuring cup were taken out:

Brown sugar and measuring cup taken out

The brown sugar was measured out:

Brown sugar measured out

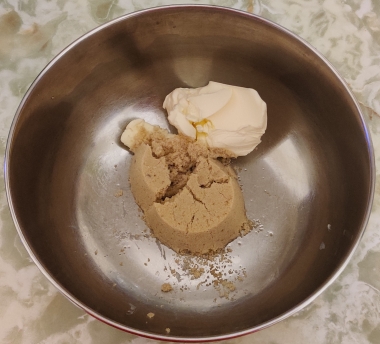
The brown sugar was transferred to the mixing bowl with the margarine:

Brown sugar transferred to mixing bowl

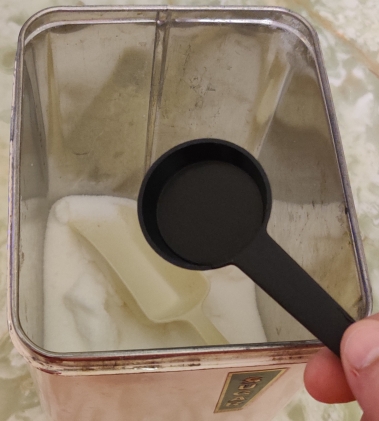
Table sugar and a measuring spoon were taken out:

Sugar and measuring spoon taken out

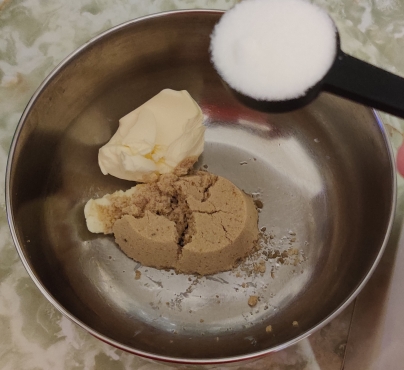
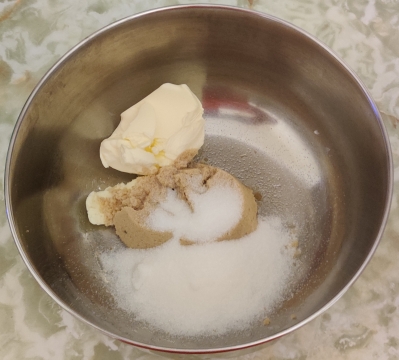
Table sugar was measured out and poured into the mixing bowl with the brown sugar and margarine:

Table sugar added to mixing bowl

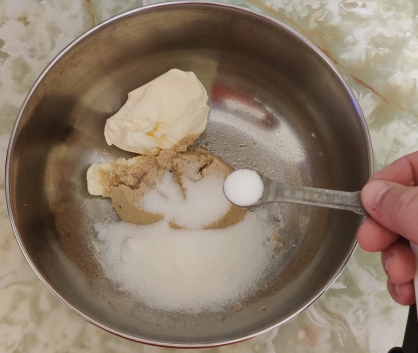
Salt was taken out and measured out:

Salt measured out

The salt was added to the mixing bowl with the two kinds of sugar and margarine:

Salt added to mixing bowl

Vanilla extract and a measuring spoon were taken out:

Vanilla extract

The vanilla extract was measured out and added to the mixing bowl with the two kinds of sugar, margarine, and salt:

Vanilla extract added to mixing bowl

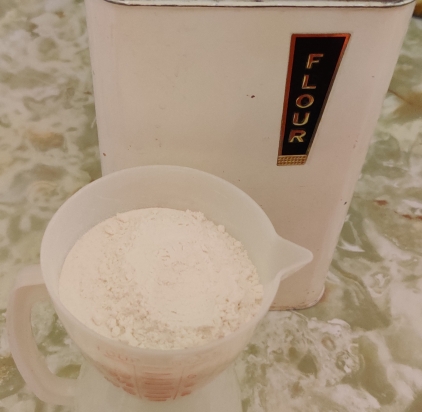
Flour and a measuring cup were taken out:

Flour taken out

The flour was measured out:

Flour measured out

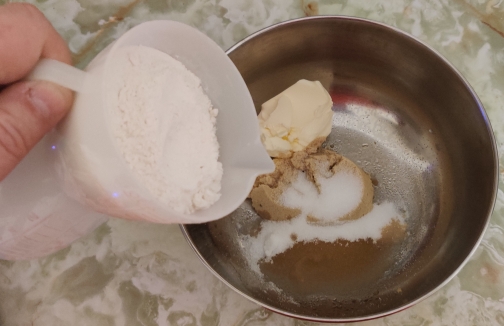
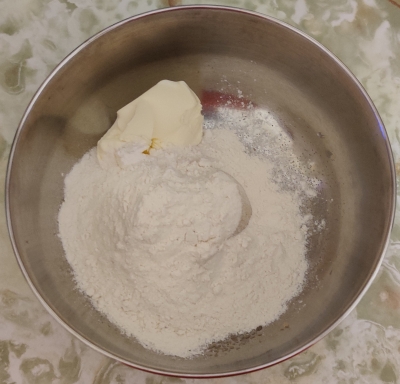
The flour was transferred to the bowl with the two kinds of sugar, margarine, salt, and vanilla extract:

Flour added to mixing bowl

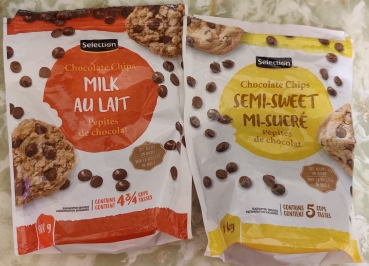
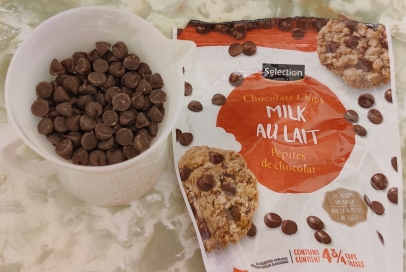
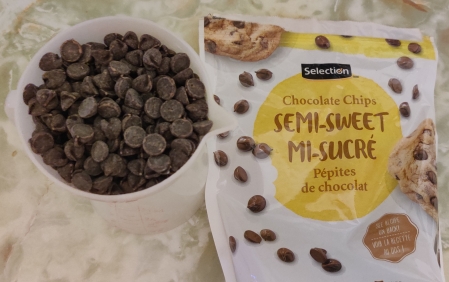
Two kinds of chocolate chips were taken out:

Two kinds of chocolate chips taken out

Half a cup of milk chocolate chips were measured out:

Half a cup of milk chocolate chips measured out

… and half a cup of semi-sweet chocolate chips were measured out:

Half a cup of semi-sweet chocolate chips measured out

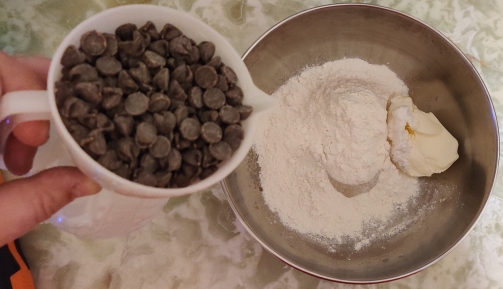
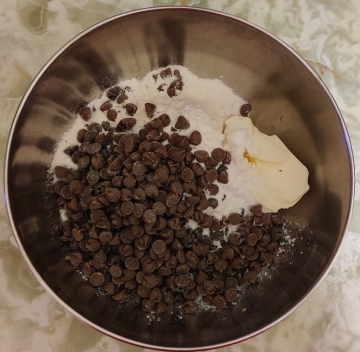
The chocolate chips were added to the mixing bowl with the other ingredients:

Chocolate chips added to mixing bowl

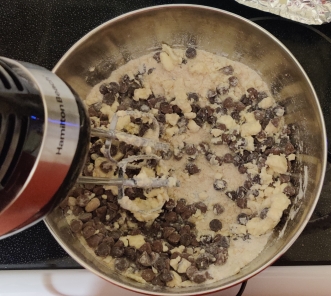
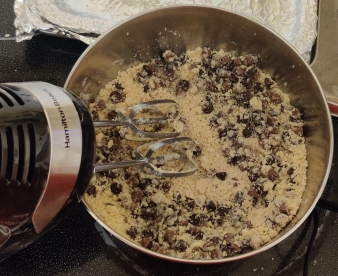
A hand held electric mixer was taken out and the ingredients mixed to make a powdery dough:

Ingredients mixed with electric mixer

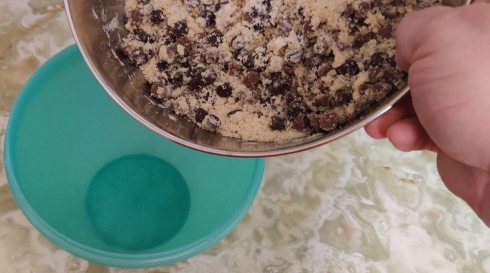
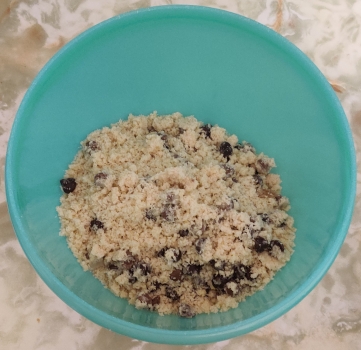
The cookie dough was transferred to another bowl and put aside:

Cookie dough transferred to another bowl
Cookie dough transferred to another bowl and put aside

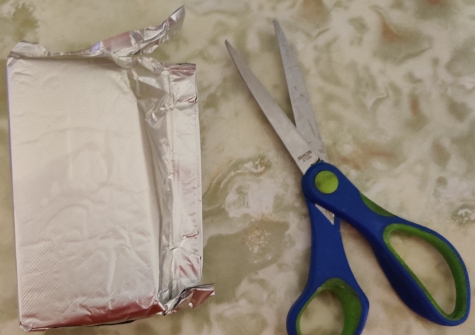
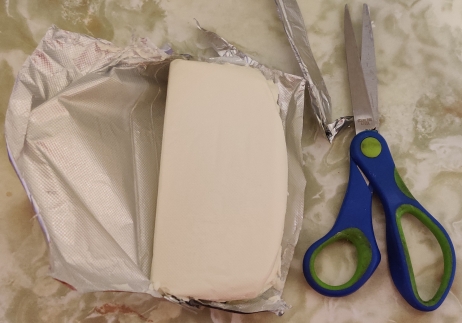
The package of cream cheese placed on the counter earlier to warm up to room temperature was taken out and opened with a pair of scissors:

Package of cream cheese opened

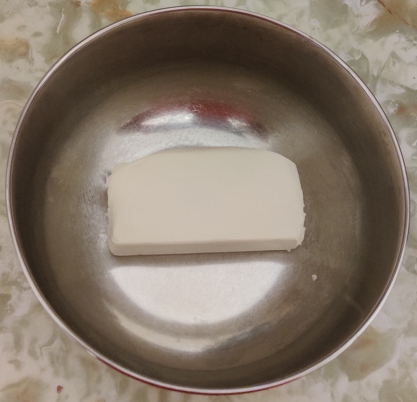
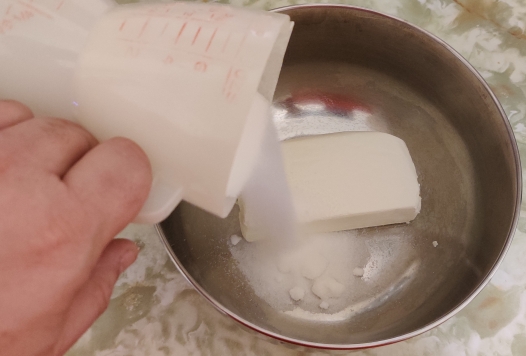
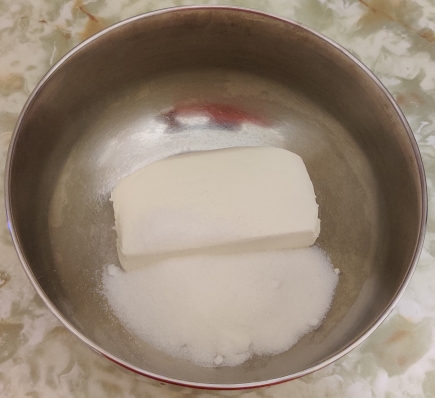
The cream cheese was transferred to the mixing bowl, the latter of which again was washed in between mixing jobs.

Cream cheese placed in mixing bowl

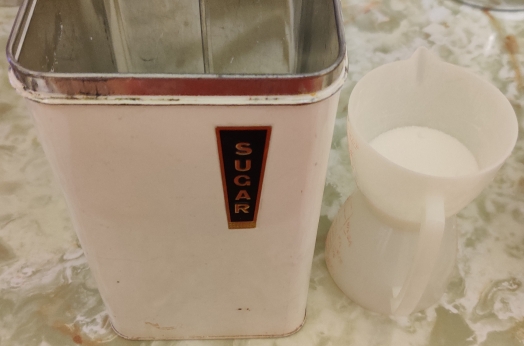
The table sugar was taken out again and measured out:

Sugar measured out

The table sugar was transferred to the mixing bowl with the cream cheese:

Table sugar placed in mixing bowl

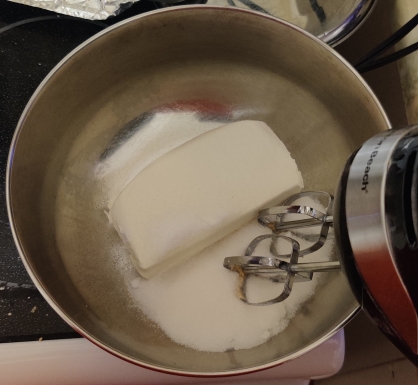
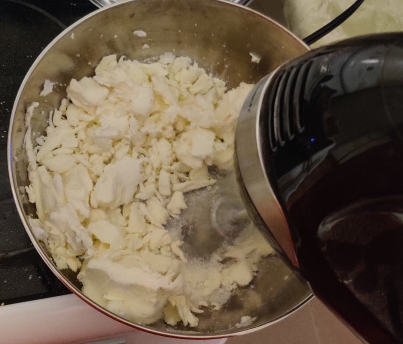
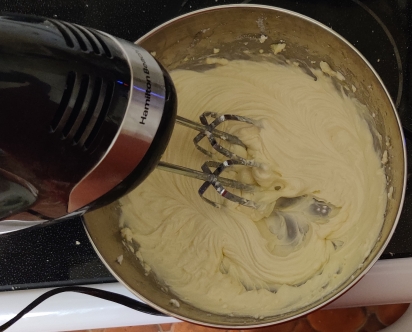
The electric mixer was taken out again to cream the cream cheese and table sugar together:

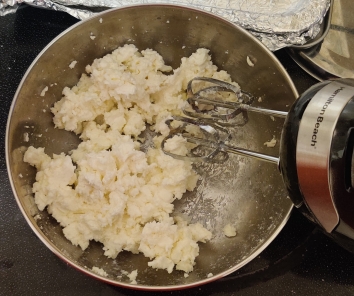
Creaming cream cheese and sugar

Eggs were taken out:

Eggs taken out
Last egg taken out

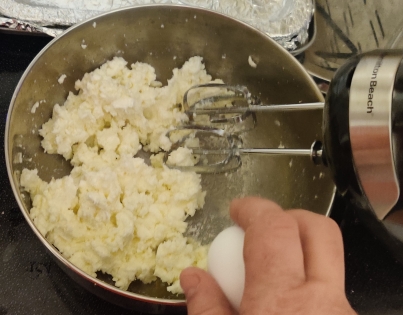
The egg was cracked into the bowl with the cream cheese and sugar:

Egg cracked in bowl with cream cheese and sugar

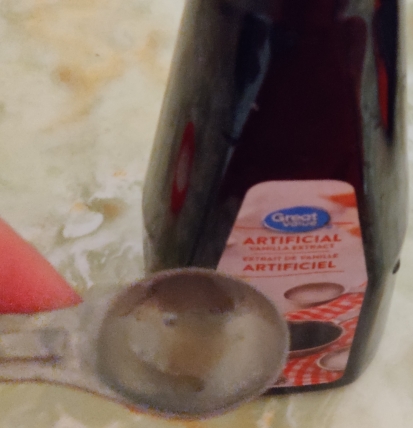
Vanilla extract was taken out again:

Vanilla extract taken out

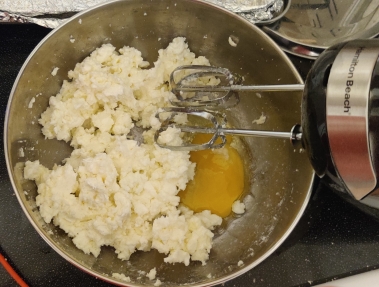
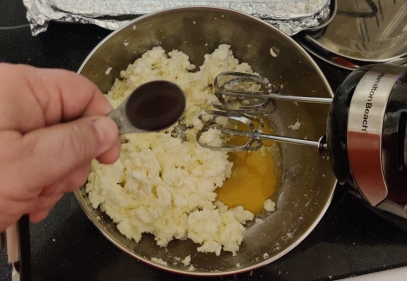
The vanilla extract was measured out and was added to the bowl with the cream cheese, sugar, and egg:

Vanilla extract added to bowl

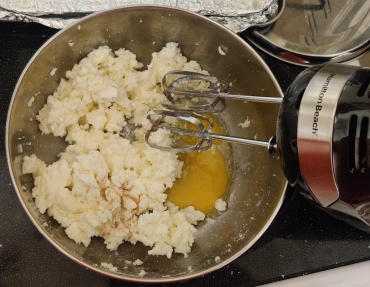
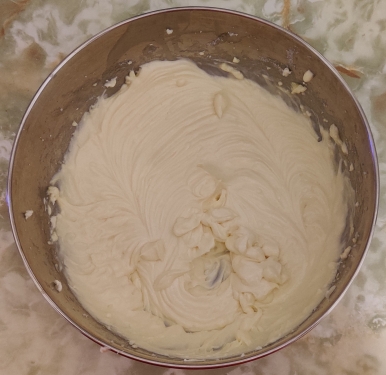
The egg and vanilla extract were mixed into the cream cheese and sugar:

Egg and vanilla extract mixed into cream cheese and sugar

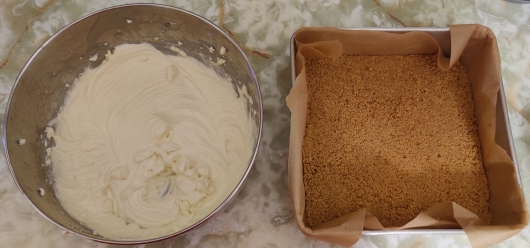
The now-cooled graham cracker crumb base was taken out:

Cooled graham cracker crumb base taken out

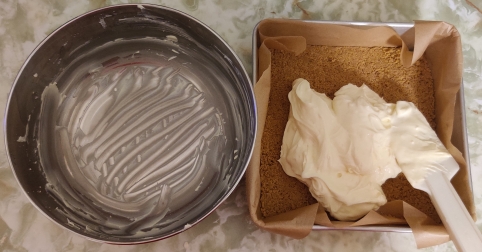
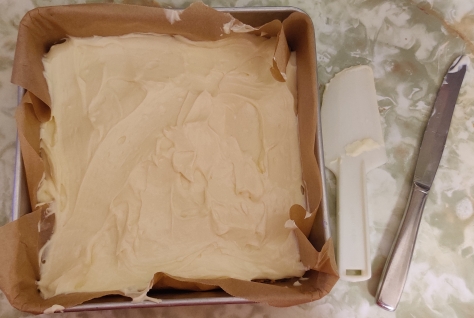
The cream cheese mix was transferred on top of the graham cracker crumb crust:

Cream cheese mix transferred to base

The cream cheese mix was spread evenly over the graham cracker crumb crust:

Cream cheese mix spread evenly over base

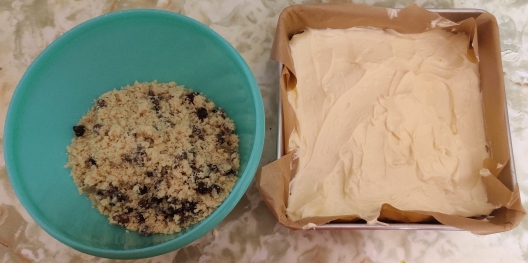
The chocolate chip cookie dough was taken out:

Cookie dough taken out

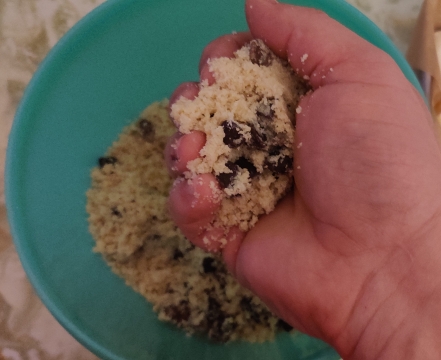
A bit of the cookie dough was picked up in my hand …

Cookie dough picked up

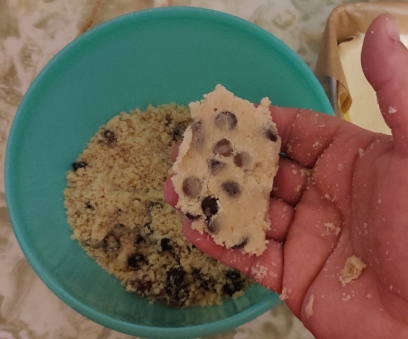
… and the ball of dough was flattened between my two hands:

Cookie dough flattened

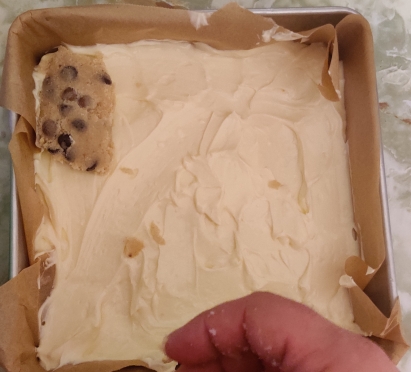
The flattened cookie dough was placed on top of the cream cheese mix:

Flattened cookie dough placed on top of cream cheese mix

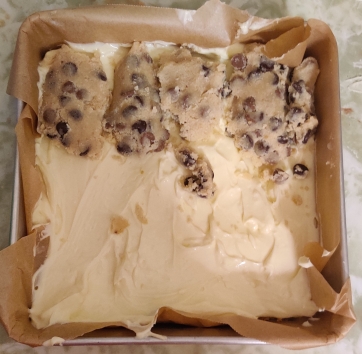
… and repeated with more cookie dough:

Flattened cookie dough pieces placed on top of cream cheese mix

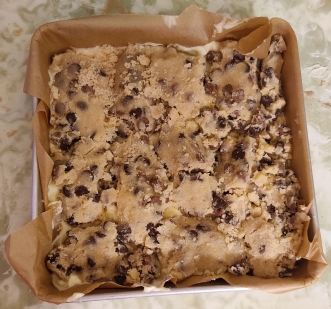
… until all the cookie dough was used and the whole surface of the cream cheese mix was covered:

Flattened cookie dough pieces fully covering cream cheese mix

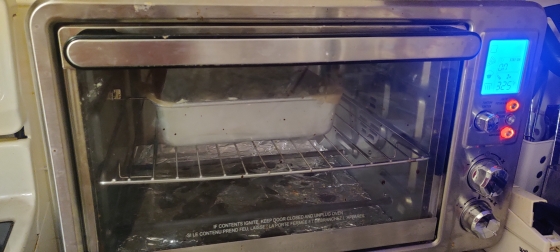
The baking pan was placed in the still-hot countertop convection oven:

Baking pan placed in oven

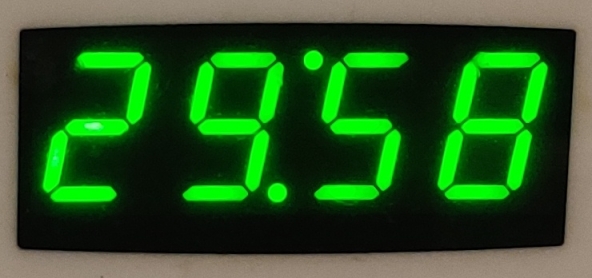
A timer was set for 30 minutes:

Timer set for 30 minutes

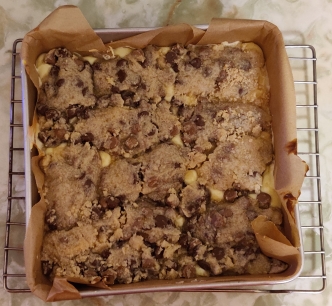
After the 30-minute baking period, the baking pan was taken out of the oven and placed on a cooling rack:

Baking pan placed on cooling rack

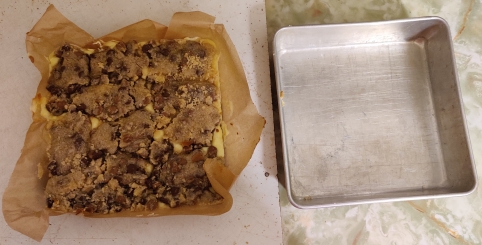
Once the dessert had cooled enough, it was removed from the baking pan using the edges of the parchment paper:

Dessert removed from baking pan

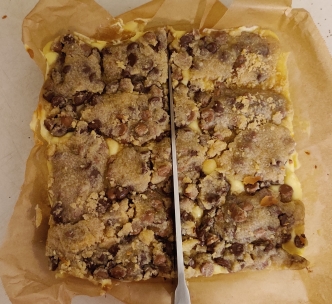
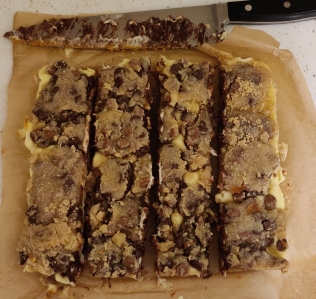
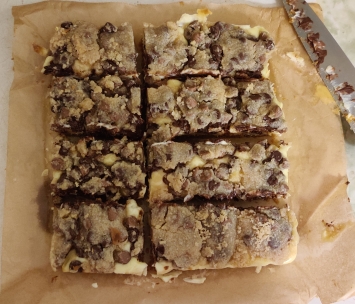
The dessert was first cut in half:

Dessert cut in half

The dessert was cut into quarters:

Dessert sliced into four strips

The dessert was rotated 90 degrees, and sliced just left of centre (so that it can be cut five ways):

Dessert rotated and sliced left of centre

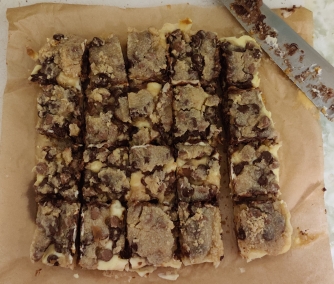
The slicing of dessert was completed (five slices along this axis), making twenty (20) pieces:

Dessert sliced into 20 pieces

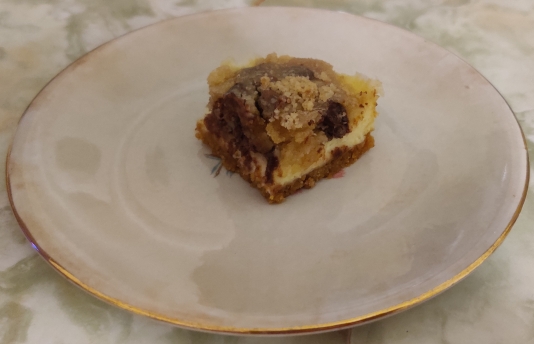
And a yummy piece of dessert was served!

Yummy piece of dessert served

Making Mashed Sweet Potato and Ground Roast Pork Casseroles — Photos

This is a relatively new addition to my collection of recipes, after having looked through an old community cookbook given to me by a neighbour. It is based on a near-identical recipe obviously (and expressly) intended to use up leftovers from a roast pork Sunday dinner; however, after trying the original recipe, which called for the use of brown sugar and apple slices, I decided to omit the sugar, which made the dish too sweet, and the apples, which didn’t suit us, and replaced them with cooked carrots.

This cooking session occurred in early April, 2023; for a variety of reasons, including the sheer number of photos to organize and prepare for this post — I went into overdrive! — it has taken a bit more than three weeks for me to build this blog post. Also, for the sake of the narrative, the photo progression presented here occasionally differs from the precise progression of when the photos were taken, either because of some mise-en-place activities, actual progression of the food preparation, photo shooting (and occasionally its impact on progression), several operations occurring concurrently, and the like.

Preparing the dish:

Firstly, a countertop convection oven was turned on:

Countertop convection oven turned on
Countertop oven turned on
Oven turned on and set to 350F
Countertop oven turned on

A roasting tray was taken out:

Roasting tray taken out

A package of (frozen) pork loin, defrosted prior to the cooking session, was taken out:

Defrosted pork loin taken out

Scissors were taken out to open the vacuum pack sealing the pork:

Scissors taken out

The pork loin’s vacuum pack was cut open:

Packaging cut open

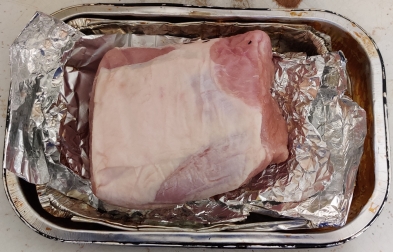
The pork loin, removed from the vacuum pack, was placed in the roasting tray:

Pork placed in roasting tray

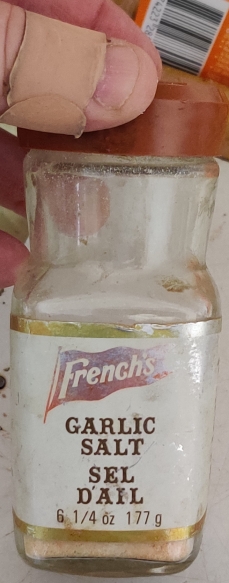
Garlic salt was taken out:

Garlic salt taken out

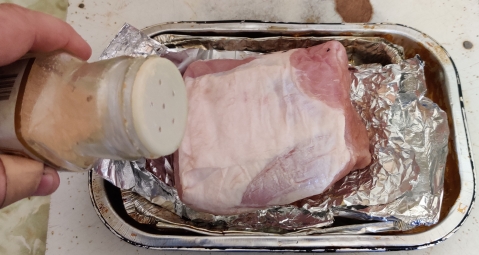
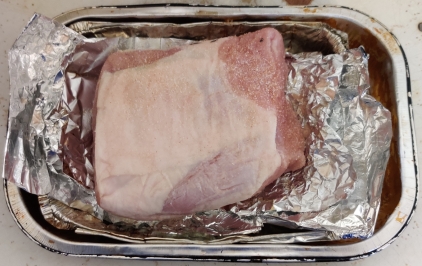
Garlic salt was liberally shaken on top of the pork loin:

Garlic salt shaken onto pork

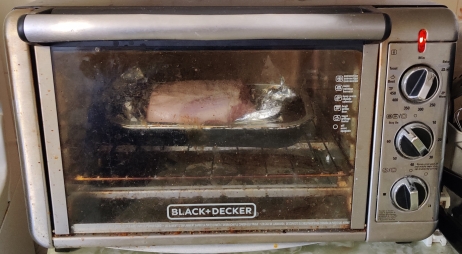
The pork loin was placed in the countertop convection oven:

Pork placed in countertop convection oven

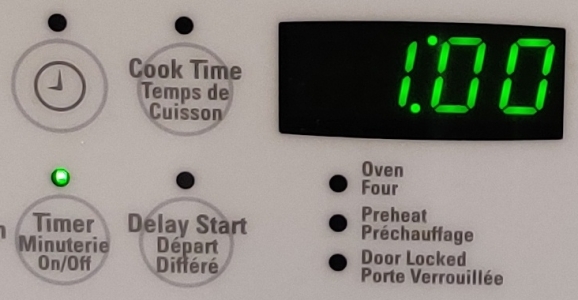
A timer was set for an hour as a reminder for how long to cook the pork loin:

One hour set on timer

A pot was taken out for boiling carrots:

Pot taken out for boiling carrots

A scale was taken out to know roughly measure out the right amount of carrot:

Scale taken out to measure carrots

Carrots were taken out:

Carrots taken out

About a quarter pound of carrot — in this case, a single carrot — was taken out of the bag:

Quarter pound of carrot measured out

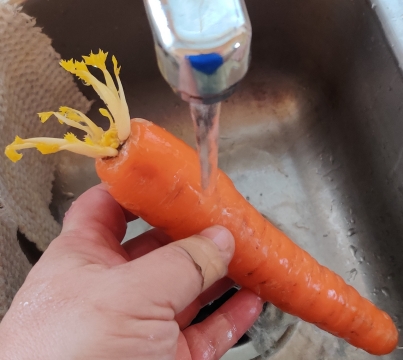
The carrot was cleaned and rinsed:

Carrot rinsed

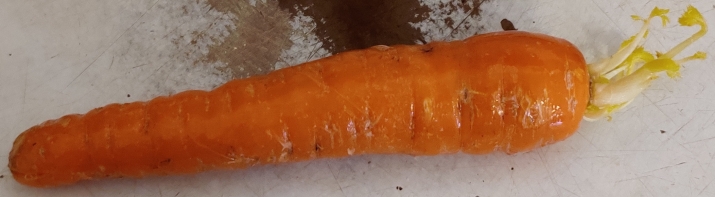
The cleaned carrot was placed on a cutting board:

Cleaned carrot placed on cutting board

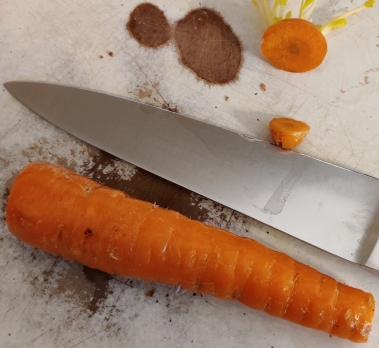
The carrot was trimmed:

Carrot trimmed

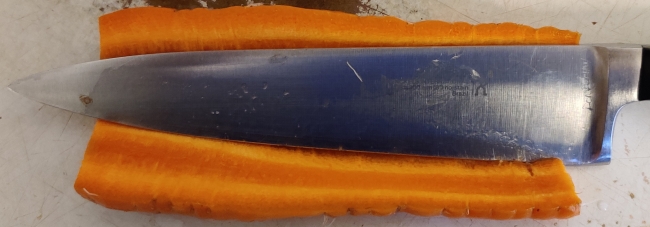
The carrot was sliced lengthwise:

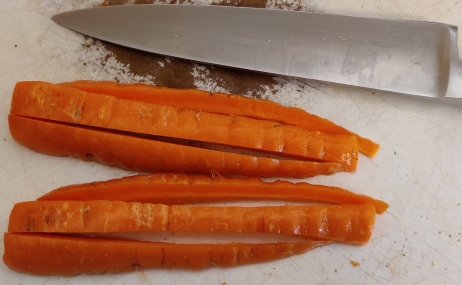
Carrot sliced lengthwise

… and again sliced a few more times to make carrot spears:

Carrot sliced lengthwise to create spears

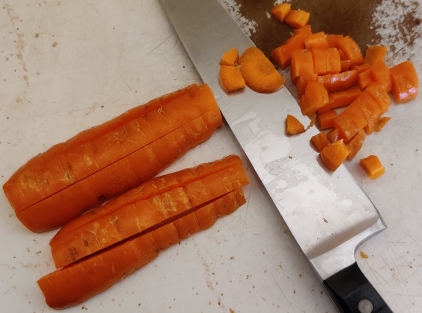
The carrot spears were chopped:

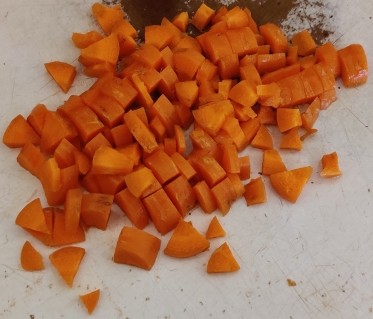
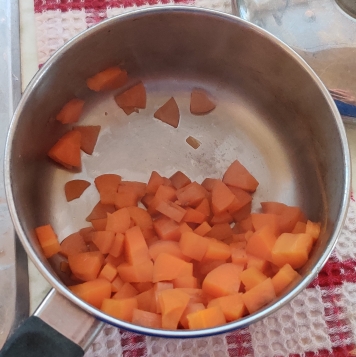
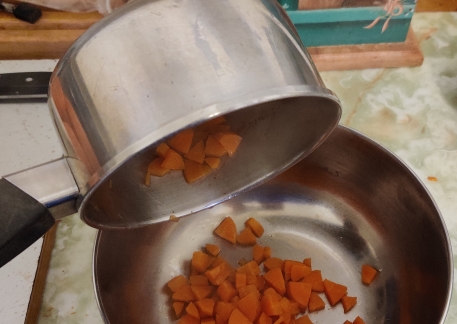
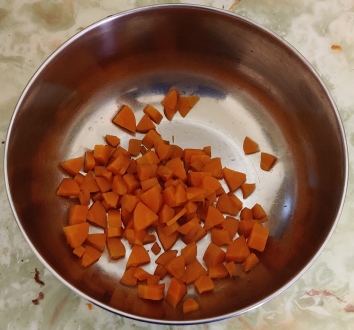
Carrots chopped
Carrots chopped

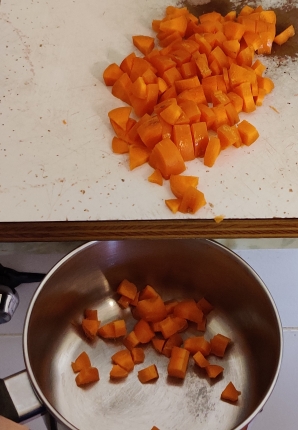
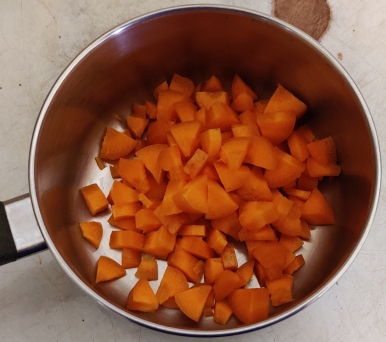
The chopped carrots were transferred to the pot:

Chopped carrots transferred to pot

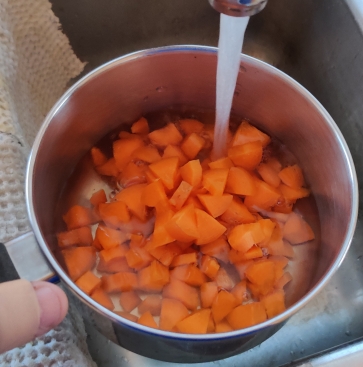
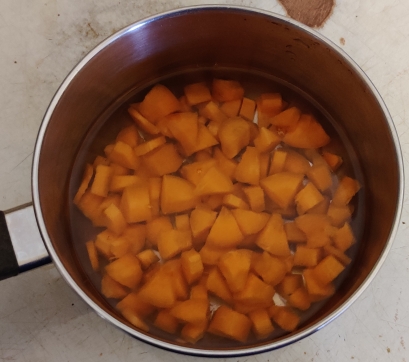
Water was added to the pot of chopped carrots until the carrots were covered:

Water added to pot of carrots

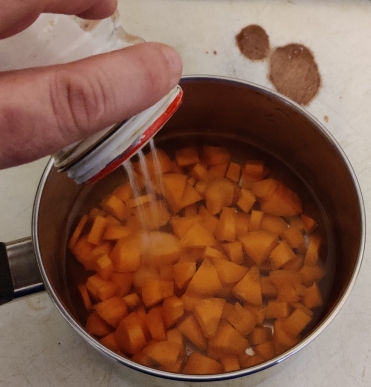
Salt was added to the carrots and water:

Salt added to water and carrots

A stove burner was turned on:

Stove burner turned on

The carrots were brought to a boil …

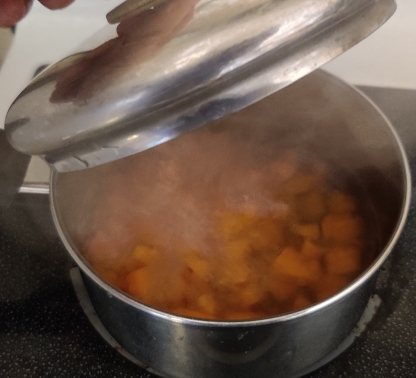
Carrots brought to a boil

Once the carrots were boiled for about ten minutes, the boiling water was drained off:

Boiling water drained from pot

A mixing bowl was taken out in which to transfer the carrots:

Mixing bowl taken out

The boiled carrots were transferred to the mixing bowl:

Boiled carrots transferred to mixing bowl

The carrots were put aside for a bit.

A microwave-safe cooking vessel was taken out, ready for a few moments later when the sweet potatoes would be peeled:

Microwave-safe cooking vessel taken out

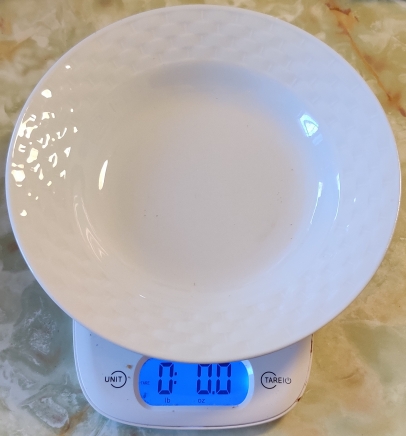
A bowl was placed on the scale, and the scale set to zero:

Bowl placed on scale, scale set to zero

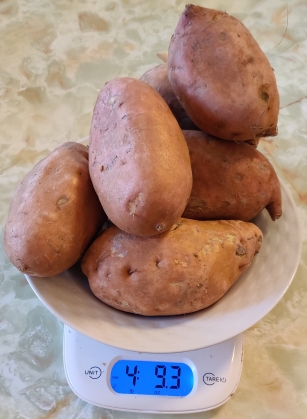
A bit more than four pounds of sweet potatoes were measured out:

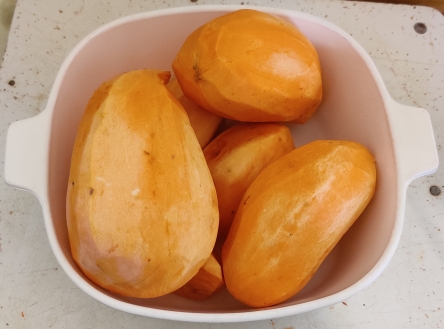
Sweet potatoes taken out

A potato peeler was taken out:

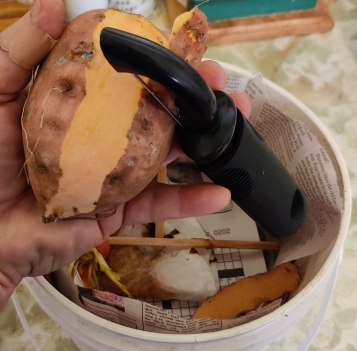
Potato peeler taken out

The sweet potatoes were peeled, with the peels placed in a bucket to keep for later disposal in a municipal composting programme:

Sweet potatoes peeled

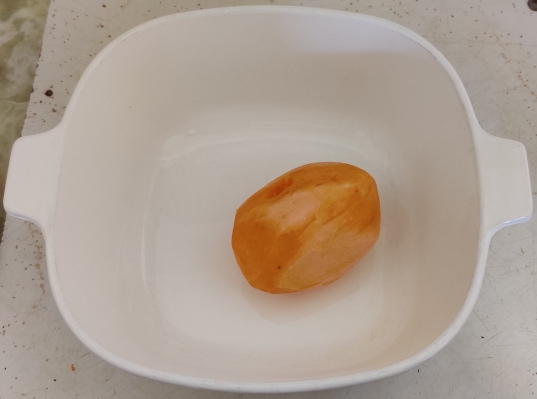
Peeled sweet potatoes were placed in the microwave-safe cooking vessel:

Peeled sweet potato placed in cooking vessel

A kitchen knife was taken out:

Kitchen knife taken out

The sweet potatoes were sliced and quartered:

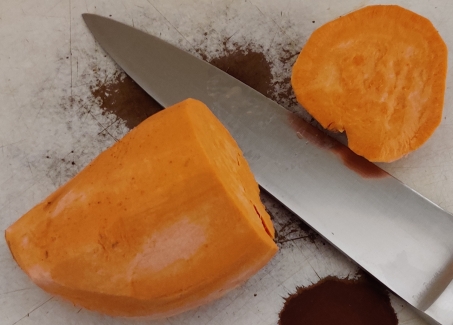
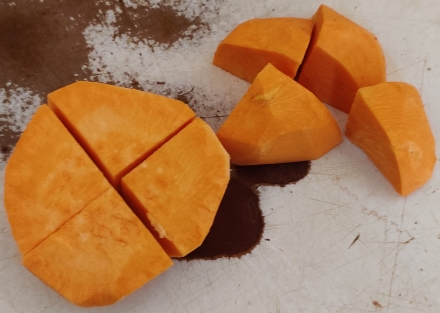
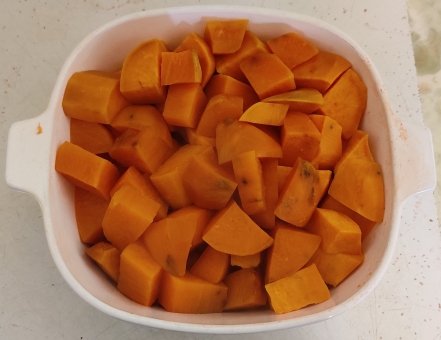
Sweet potatoes sliced and quartered

… and placed back in the microwave-safe cooking vessel:

Sweet potato quarters placed in cooking vessel

Water was added to the cooking vessel …

Water added to cooking vessel

… to about a bit below the surface of the sweet potatoes:

Water added to cooking vessel

The vessel was covered …

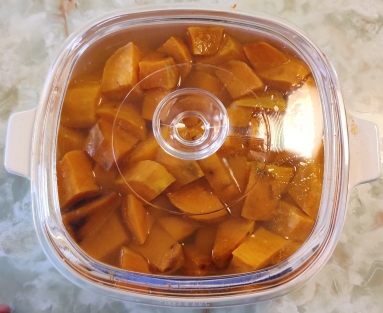
Sweet potatoes covered

… and placed in the microwave oven:

Sweet potatoes placed in microwave oven

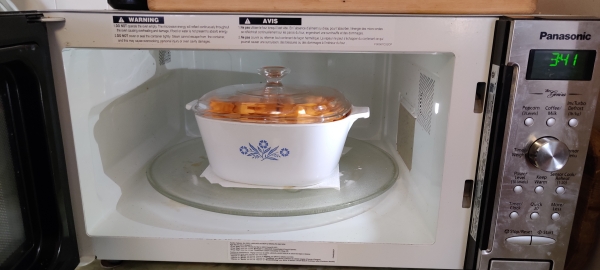
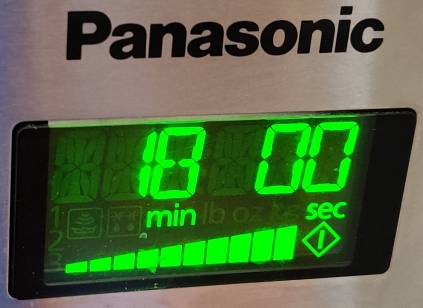
The microwave oven (1200 watts) was set to 18 minutes:

Microwave oven set to eighteen minutes

… and the microwave oven was turned on:

Microwave oven turned on

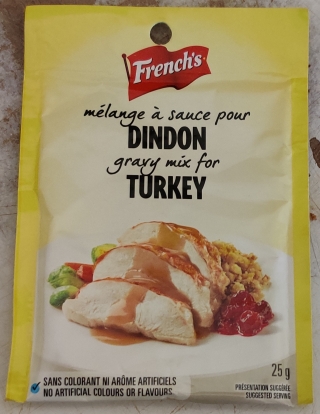
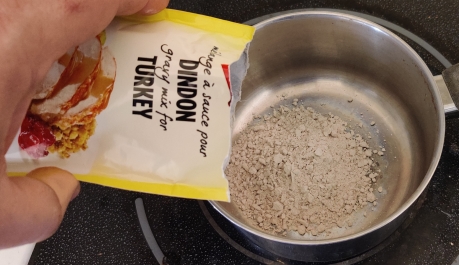
While the sweet potatoes were cooking, a package of dried gravy mix — turkey gravy, which is what I had on hand, and in a package that makes a cup’s worth of gravy, as called for in the recipe, was taken out:

Gravy mix taken out

The gravy packet was opened and its contents transferred to another pot that was taken out:

Gravy mix added to pot

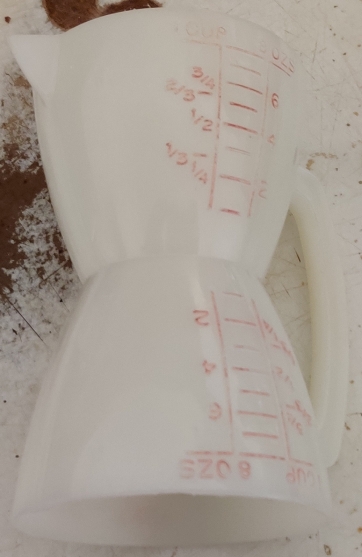
A measuring cup was taken out:

Measuring cup taken out

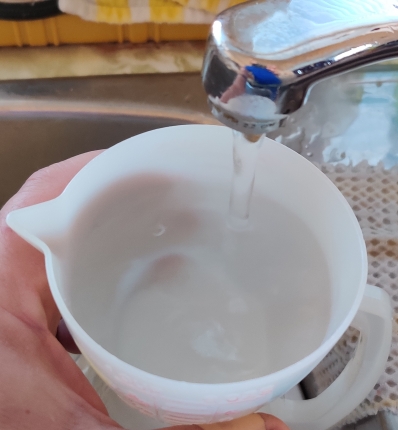
A cup of water was measured out:

Water measured out

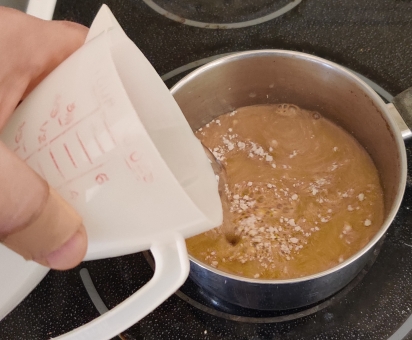
The water was added to the pot:

Water added to gravy mix

The gravy mix and water were mixed with a spoon:

Gravy mix and water mix

The gravy was put aside, since the time on the roast pork ran out:

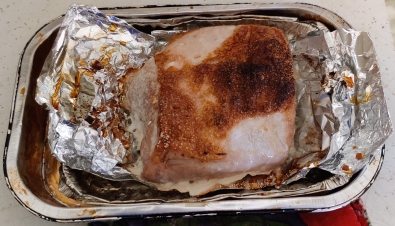
Pork taken out of oven

A meat thermometer was taken out …

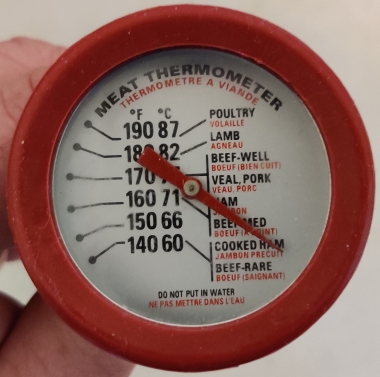
Meat thermometer taken out

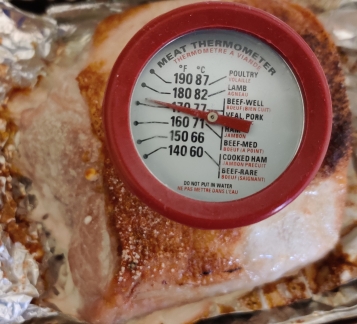
… and stuck into the pork, giving a temperature reading just right for fully cooked pork:

Meat thermometer reading of cooked pork

The pork was removed from the roasting pan:

Pork removed from roasting pan

… and the juices in the roasting pan were drained into the bowl with the cooked carrots

Pork juices drained into bowl with cooked carrots

The roast pork was sliced thickly:

Pork sliced thickly
Pork sliced thickly

The roast pork was cut into cubes:

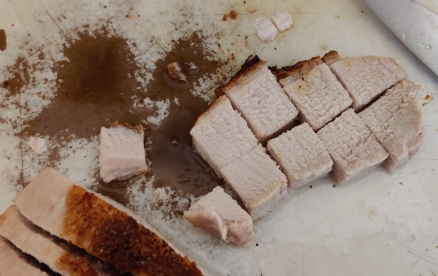
Pork cut into cubes

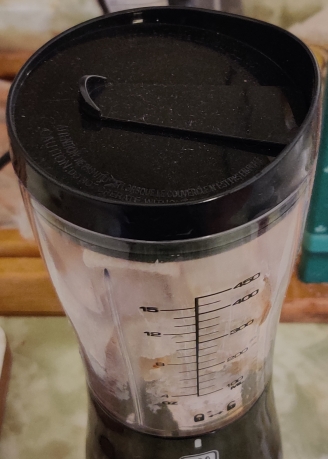
A small blender with chopping blades was taken out …

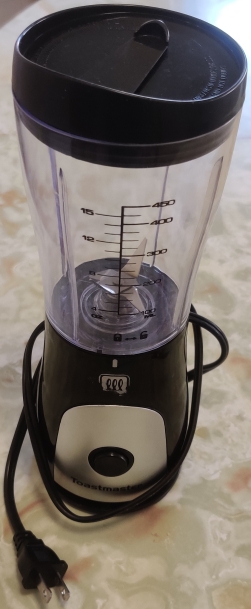
Blender with chopping blades taken out

… and the blender was plugged in:

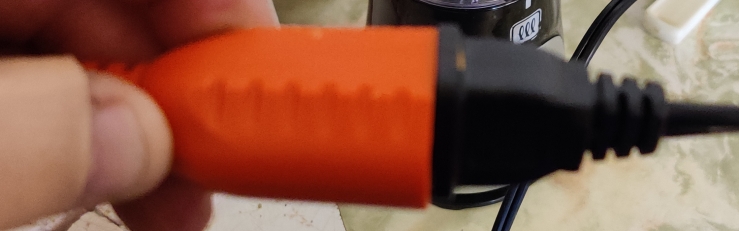
Blender plugged in

Cubes of roast pork were placed in the blender …

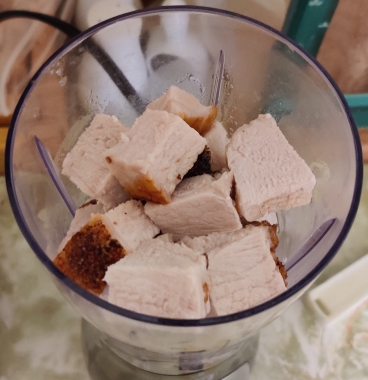
Cubes of pork placed in blender

… and the lid placed on top of the blender:

Blender lid installed

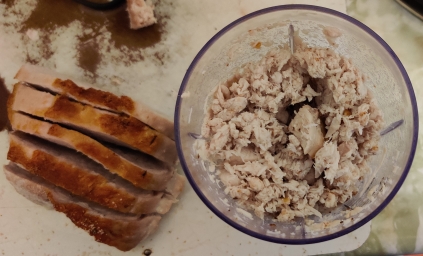
The pork was ground finely without creating a mush:

Pork ground

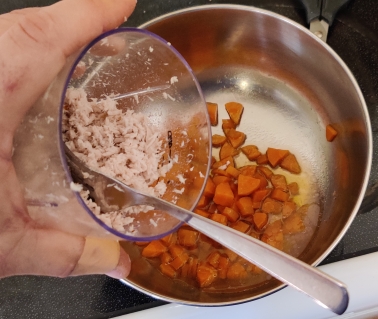
The chopped pork was transferred to the bowl with the cooked carrots and pork juices:

Ground pork transferred to bowl with carrots

Larger bits of pork which did not get ground finely enough were removed from the bowl, to be ground again with more pork cubes:

Larger bits of pork removed from bowl to be reground with the rest of the pork

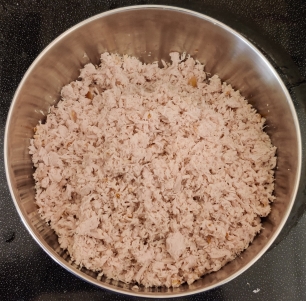
The rest of the pork was ground and transferred to the mixing bowl.

Returning to the gravy, a burner on the stove was turned on, in this case, the smaller inner part of a larger burner which has two settings:

Stove burner turned on
Gravy being heated

The gravy was constantly mixed while being heated, to avoid burning:

Gravy constantly mixed

Once the gravy came to a boil, the timer was set to a minute …

One minute set on timer once gravy boiling

… while the burner setting was reduced to just about minimum to only allow for simmering:

Stove burner setting reduced

Once the minute ran out, the gravy was poured over the ground pork and carrots:

Gravy poured into bowl with pork and carrots

The gravy, ground pork, and carrots were mixed with the spoon:

Pork, carrots, and gravy mixed

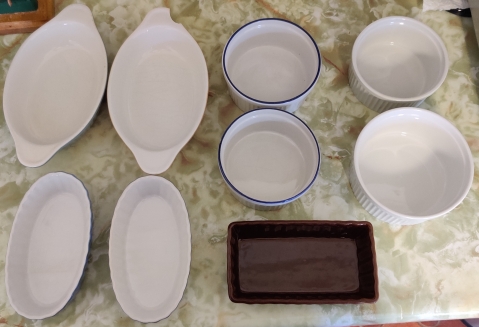
At this point, oven-proof dishes were taken out, for filling:

Oven-proof dishes taken out

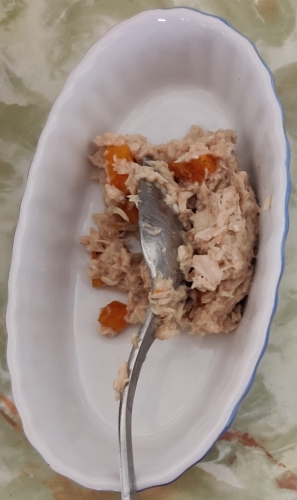
The meat mix was spooned into containers to about half full, and spread out evenly:

Meat mix transferred to oven-proof dish
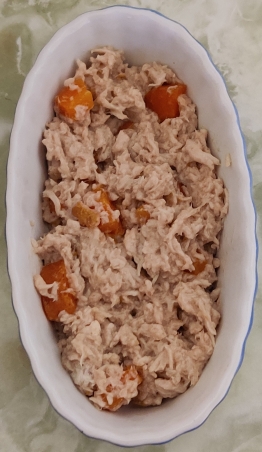
Oven-proof dishes filled with meat mix

At this point, I came back to the sweet potatoes, which had long since finished cooking in the microwave oven:

Cooked sweet potatoes taken out of microwave oven

The sweet potatoes were checked with a fork to see if they were properly cooked through, which they were:

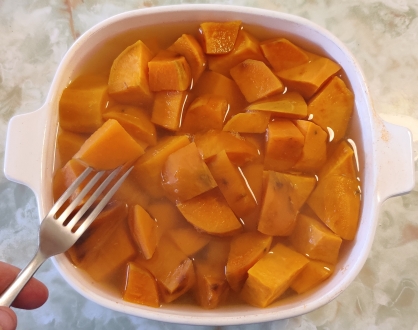
Cooked sweet potatoes checked for degree of cooking

The water was drained off of the sweet potatoes:

Cooking water drained

A container of margarine was taken out and opened:

Margarine container taken out
Margarine container opened

A dollop of margarine was taken from the margarine container with a spoon:

Dollop of margarine taken from container

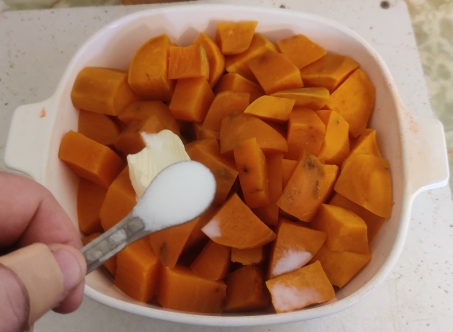
The margarine was added to the sweet potatoes:

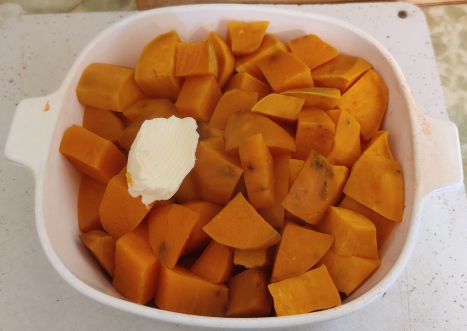
Margarine added to sweet potatoes

A measuring cup and milk were taken out:

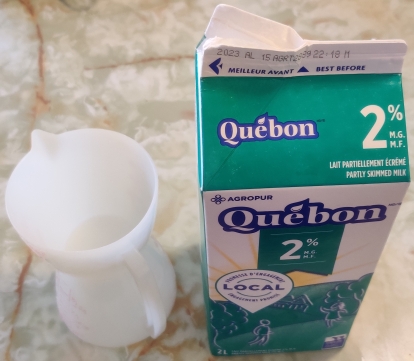
Milk and measuring cup taken out

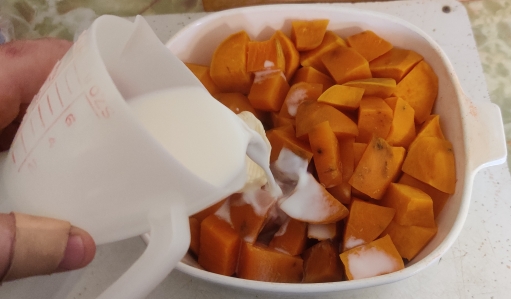
Milk was measured out:

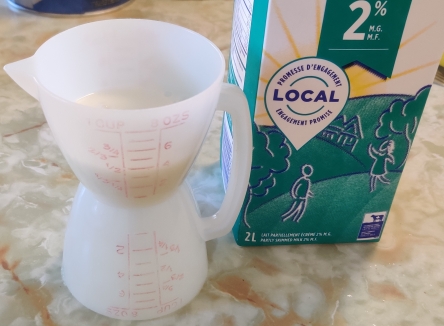
Milk measured out

The milk was added to the sweet potatoes and margarine:

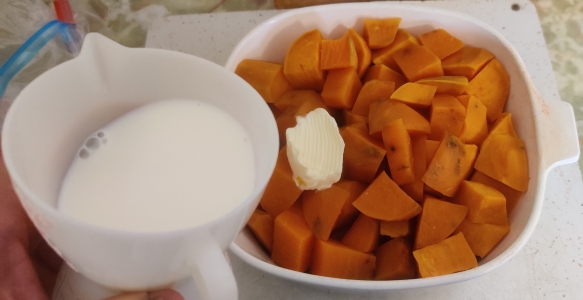
Milk added to sweet potatoes

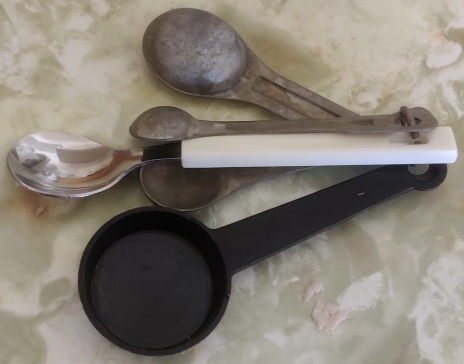
Measuring spoons were taken out:

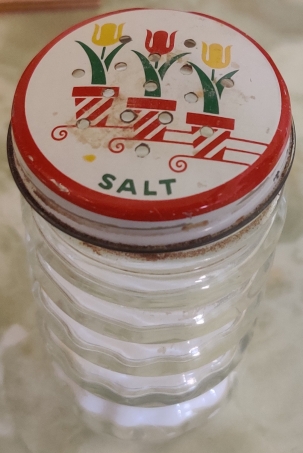
Salt was taken out:

Salt taken out

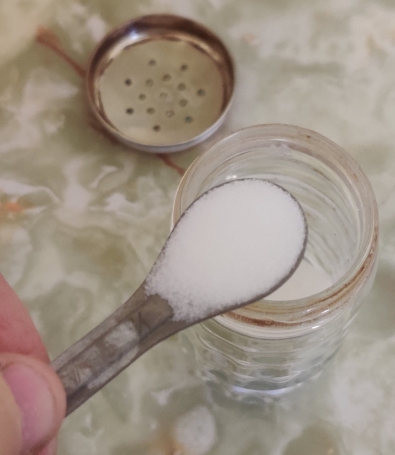
Salt was measured out:

Salt measured out

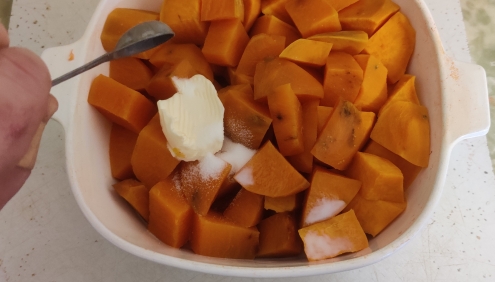
The salt was added to the sweet potatoes:

Salt added to sweet potatoes

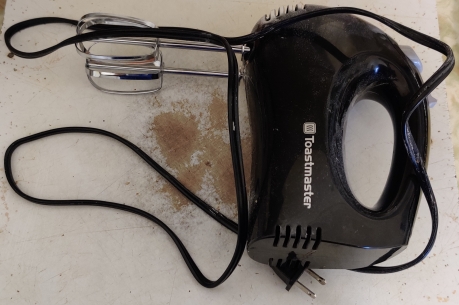
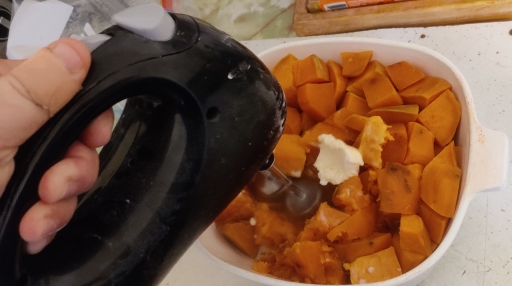
An electric mixer was taken out, to mash the sweet potatoes:

Electric mixer taken out

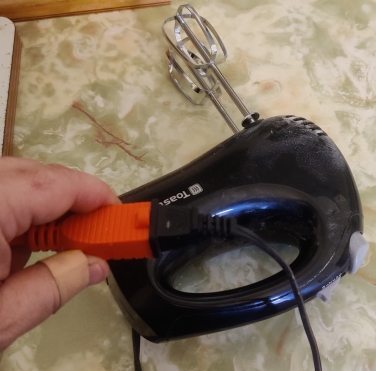
The electric mixer was plugged in:

Electric mixer plugged in

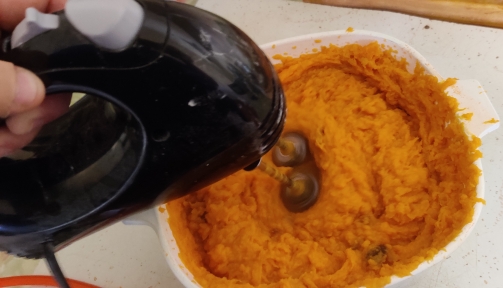
The sweet potatoes were mashed with the electric mixer:

Mashing sweet potatoes with electric mixer
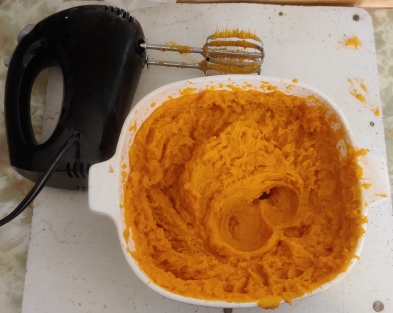
Sweet potatoes mashed

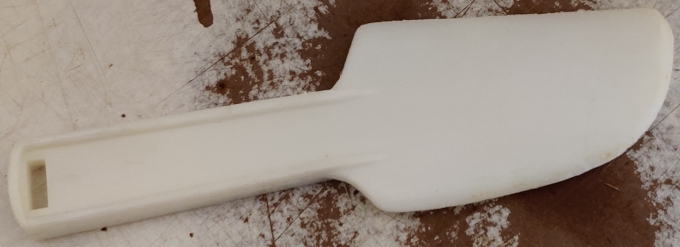
A plastic icing spreader was taken out:

Plastic icing spreader taken out

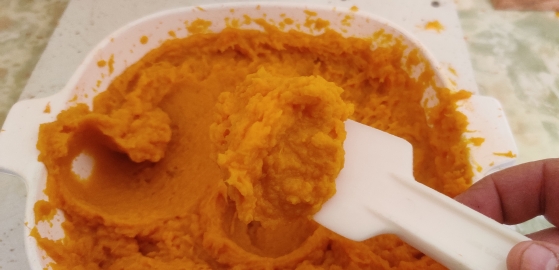
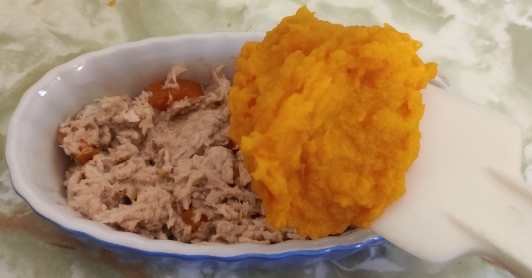
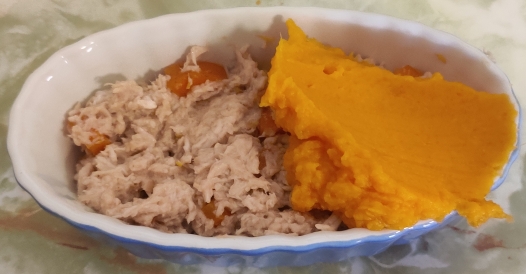
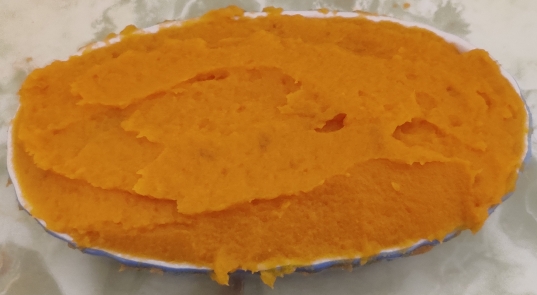
Mashed sweet potatoes were picked up with the icing spreader …

Mashed sweet potato picked up with icing spreader

… and, back to the containers with the pork, gravy, and carrots mix, the mashed sweet potatoes were spread on top of the meat mix :

Mashed sweet potatoes spread on top of meat mix

Plastic bags were taken out and identified and dated:

Bags taken out and identified

The dishes were placed in the individual bags:

Dishes placed in bags

And finally, the bagged dishes were placed in the freezer:

Bagged dishes placed in freezer

This tasty dish is now a favourite!

Making Roast Potatoes — Photos

One of my mom’s perennial holiday dinner treats was her roast potatoes, something I figured it was time to learn how to make. As such, I asked her how to do it — it is fairly easy — and adjusted the basic recipe to two generous servings, which can be multiplied and adjusted according to the number of people to be served.

Note that the recipe as presented can be easily made in a countertop convection oven — as was the case in the following series of photos at the cottage — but there may be some minor variations when scaling up to larger amounts cooked in a conventional oven.

Making the roast potatoes:

First, the oven was pre-heated to 400F:

Oven preheated to 400F
Oven preheating

Water was poured into a pot:

Water poured into a pot

Potatoes were taken out, in this case, about 400g or 3/4lb to 1lb of potatoes:

Potatoes taken out
Potatoes weighed

The potatoes were peeled:

Potatoes peeled

Peeled potatoes were placed in the water:

Peeled potatoes placed in water

Potato peels were collected, and in this case burned in the fireplace, since it was heating season:

Potato peels collected to place in the fireplace

Peeled potatoes were taken out one by one to slice:

Peeled potato to be sliced

Potatoes were sliced in half lengthwise:

Potato sliced in half lengthwise

… and then sliced into pieces:

Potato cut into pieces

The potato pieces were placed back into the water:

Potato pieces placed back into water

The rest of the potatoes were similarly cut up:

Potato pieces in water

The water was drained from the potatoes:

Water drained from potatoes

… and fresh water was poured in the pot to rinse the potatoes:

Fresh water poured into pot

A clean, dry towel was laid out on a cutting board:

Clean dry towel laid out

The drained potatoes were placed on the clean dry towel:

Drained potatoes placed in dry towel

The towel was folded over in order to pat dry the potatoes:

Towel folded over to pat dry the potatoes

Parchment paper was taken out:

Parchment paper taken out

An oven tray was taken out:

Oven tray taken out

The parchment paper was placed on the oven tray:

Parchment paper placed on oven tray

Margarine was taken out:

Margarine taken out

The kitchen scale was set to zero with an empty spoon on it, and then margarine was weighed out:

Margarine weighed out

A bit of margarine was picked up with my fingers:

Margarine picked up with fingers

Pat dried potato pieces were picked up one at a time and slathered with margarine and placed on the oven tray:

Potato pieces picked up and slathered with margarine
Potato pieces slathered with margarine and placed on baking tray

And as can be seen, the roughly 75g / 3oz of margarine were used up:

Measured out margarine used up

Onion salt was taken out:

Onion salt taken out

Onion salt was shaken somewhat liberally over the margarine covered potatoes:

Onion salt shaken over the potatoes

The timer on the oven was set to about 45 minutes:

Oven timer set

The tray of potatoes was placed in the oven:

Tray of potatoes placed in oven
Tray of potatoes in oven

Here is a shot of the roasting potatoes after about 25 minutes:

Partly roasted potatoes

The potatoes were turned over at this point:

Potatoes turned over

The potatoes were taken out just before 45 minutes, ready to eat:

Roast potatoes ready to eat

(Note that because of the excessive amount of parchment paper used, yes, I did have to deal with some burning parchment paper!)

Supper is served!

Supper is served

Yummy!