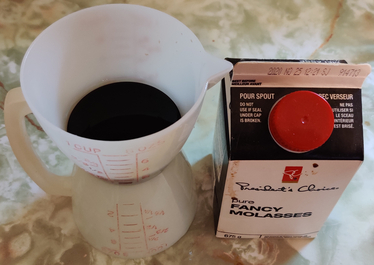
One of my mom’s perennial holiday dinner treats was her roast potatoes, something I figured it was time to learn how to make. As such, I asked her how to do it — it is fairly easy — and adjusted the basic recipe to two generous servings, which can be multiplied and adjusted according to the number of people to be served.
Note that the recipe as presented can be easily made in a countertop convection oven — as was the case in the following series of photos at the cottage — but there may be some minor variations when scaling up to larger amounts cooked in a conventional oven.
Making the roast potatoes:
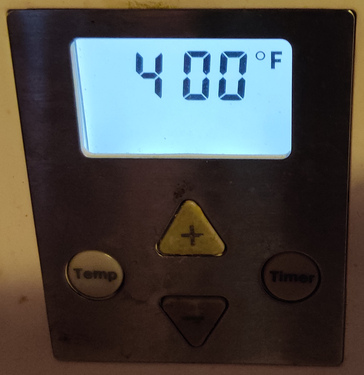
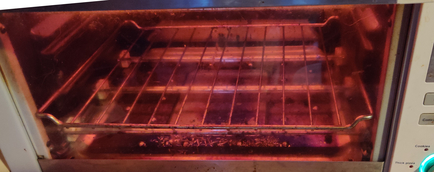
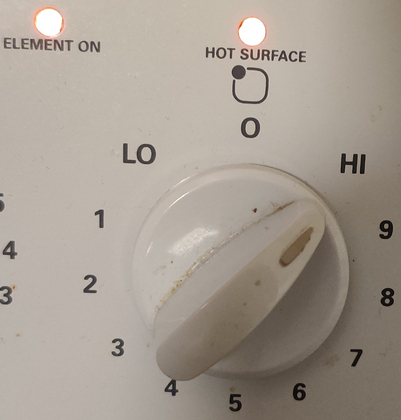
First, the oven was pre-heated to 400F:
Oven preheated to 400F
Oven preheating
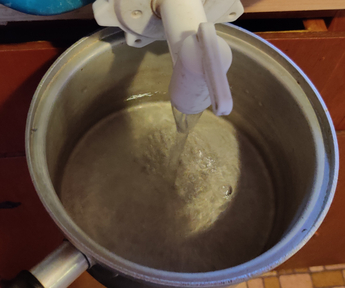
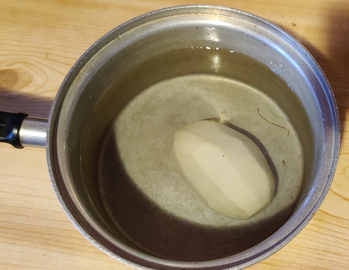
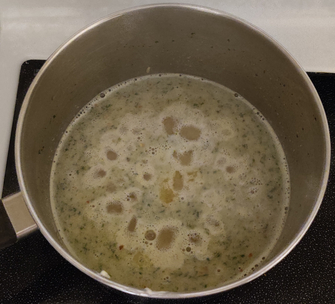
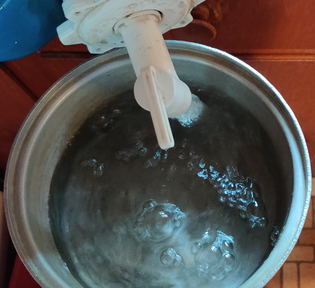
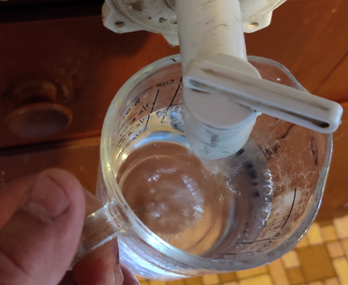
Water was poured into a pot:
Water poured into a pot
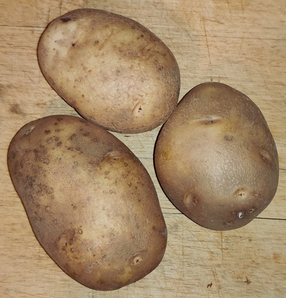
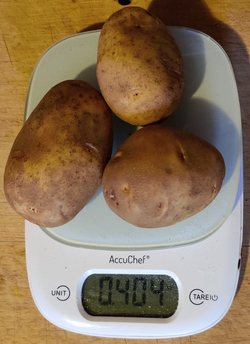
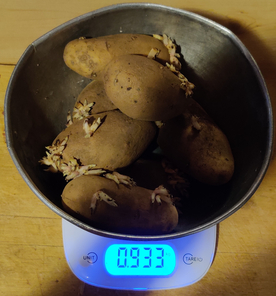
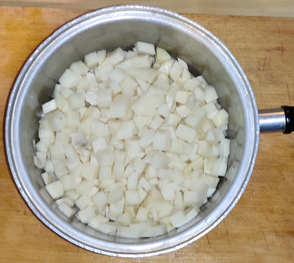
Potatoes were taken out, in this case, about 400g or 3/4lb to 1lb of potatoes:
Potatoes taken out
Potatoes weighed
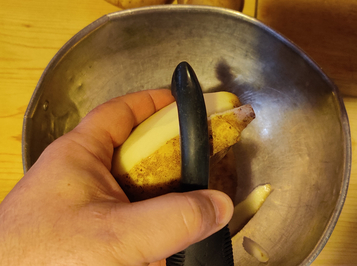
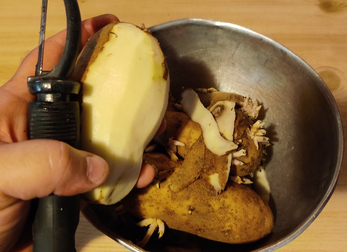
The potatoes were peeled:
Potatoes peeled
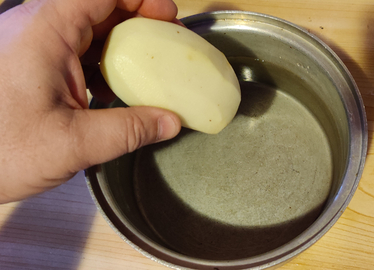
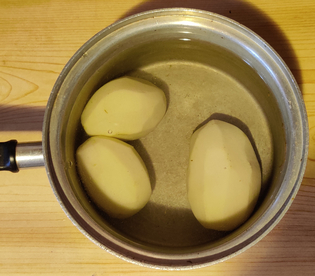
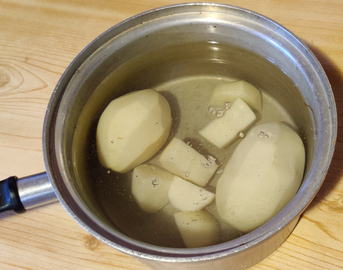
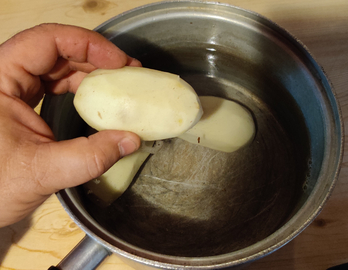
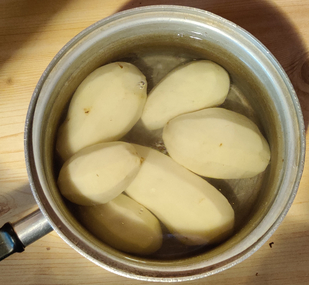
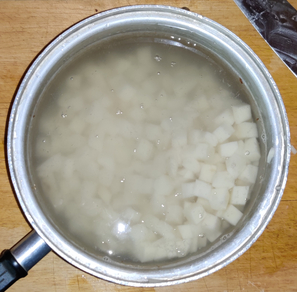
Peeled potatoes were placed in the water:
Peeled potatoes placed in water
Peeled potatoes placed in water
Peeled potatoes placed in water
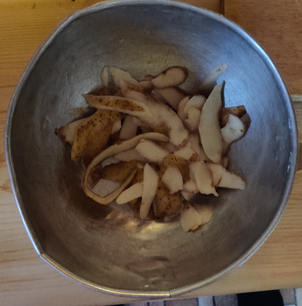
Potato peels were collected, and in this case burned in the fireplace, since it was heating season:
Potato peels collected to place in the fireplace
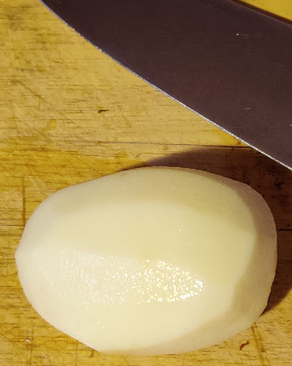
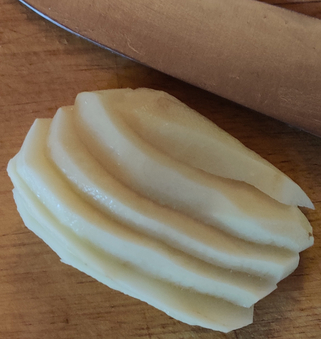
Peeled potatoes were taken out one by one to slice:
Peeled potato to be sliced
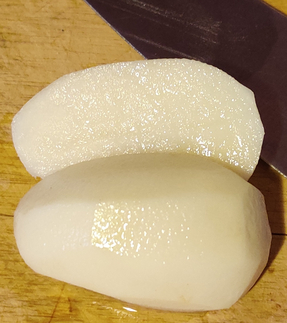
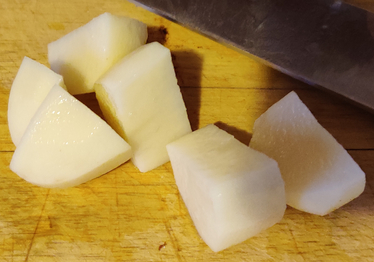
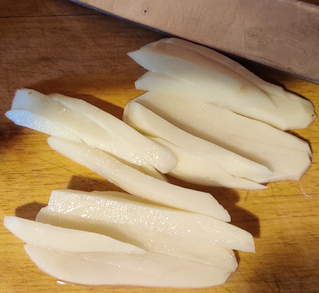
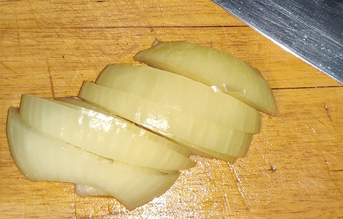
Potatoes were sliced in half lengthwise:
Potato sliced in half lengthwise
… and then sliced into pieces:
Potato cut into pieces
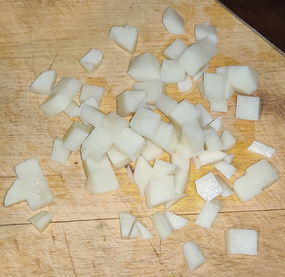
The potato pieces were placed back into the water:
Potato pieces placed back into water
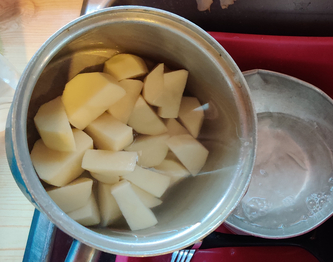
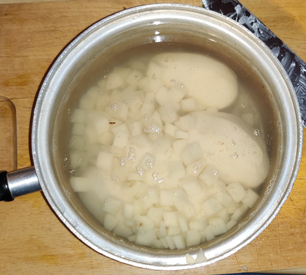
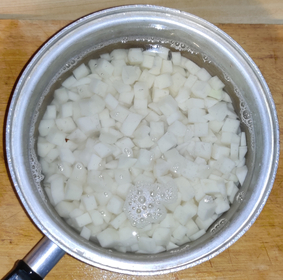
The rest of the potatoes were similarly cut up:
Potato pieces in water
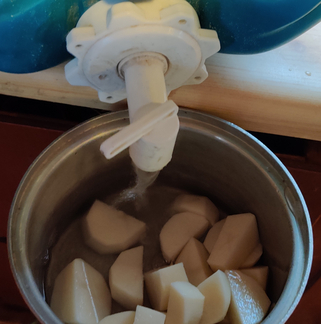
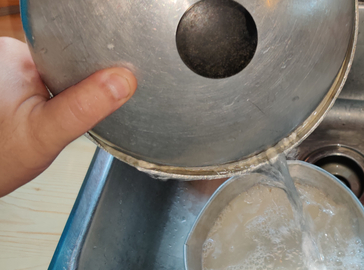
The water was drained from the potatoes:
Water drained from potatoes
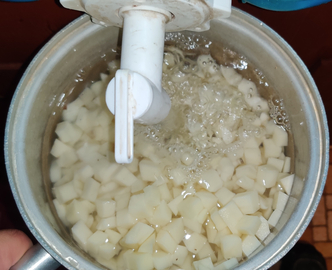
… and fresh water was poured in the pot to rinse the potatoes:
Fresh water poured into pot
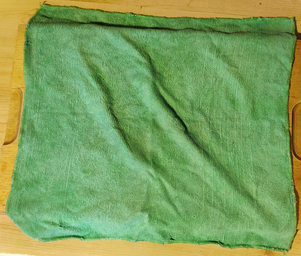
A clean, dry towel was laid out on a cutting board:
Clean dry towel laid out
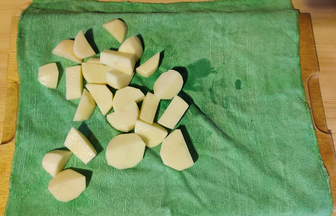
The drained potatoes were placed on the clean dry towel:
Drained potatoes placed in dry towel
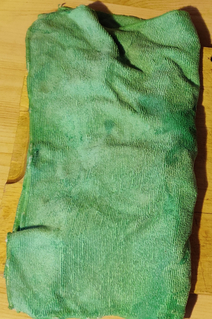
The towel was folded over in order to pat dry the potatoes:
Towel folded over to pat dry the potatoes
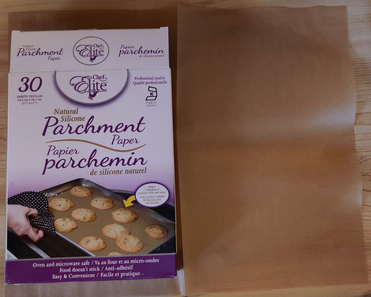
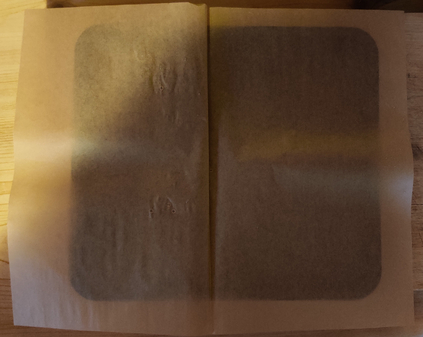
Parchment paper was taken out:
Parchment paper taken out
An oven tray was taken out:
Oven tray taken out
The parchment paper was placed on the oven tray:
Parchment paper placed on oven tray
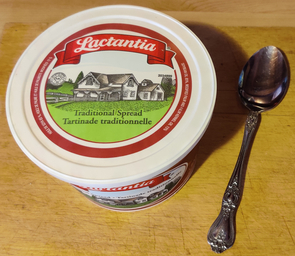
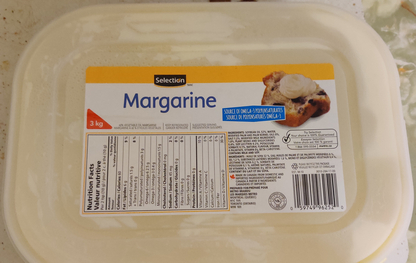
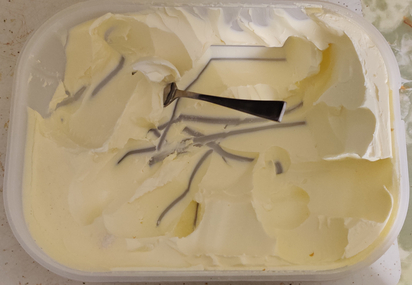
Margarine was taken out:
Margarine taken out
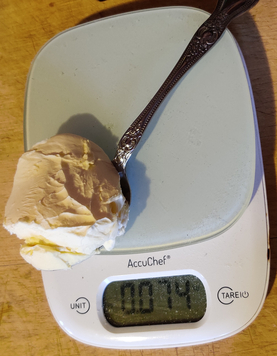
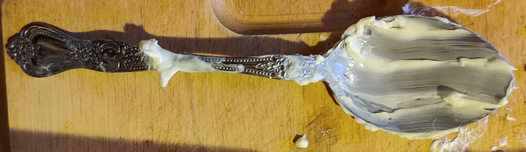
The kitchen scale was set to zero with an empty spoon on it, and then margarine was weighed out:
Margarine weighed out
A bit of margarine was picked up with my fingers:
Margarine picked up with fingers
Pat dried potato pieces were picked up one at a time and slathered with margarine and placed on the oven tray:
Potato pieces picked up and slathered with margarine
Potato pieces slathered with margarine and placed on baking tray
Potato pieces slathered with margarine and placed on baking tray
Potato pieces slathered with margarine and placed on baking tray
And as can be seen, the roughly 75g / 3oz of margarine were used up:
Measured out margarine used up
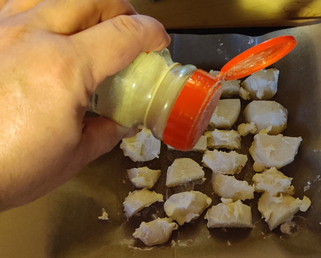
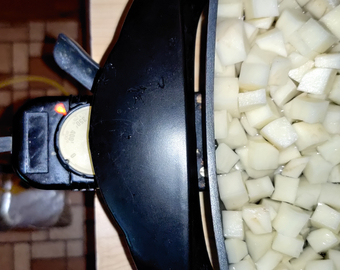
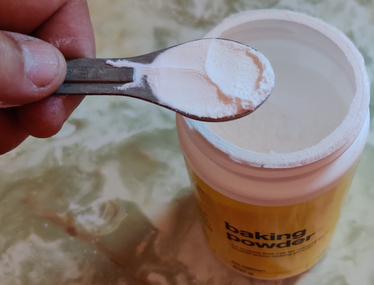
Onion salt was taken out:
Onion salt taken out
Onion salt was shaken somewhat liberally over the margarine covered potatoes:
Onion salt shaken over the potatoes
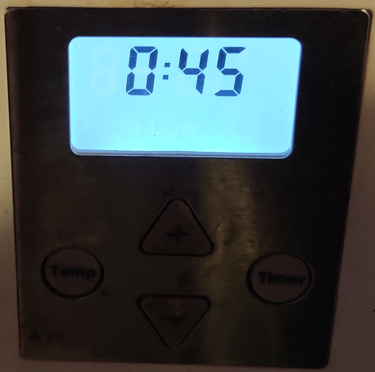
The timer on the oven was set to about 45 minutes:
Oven timer set
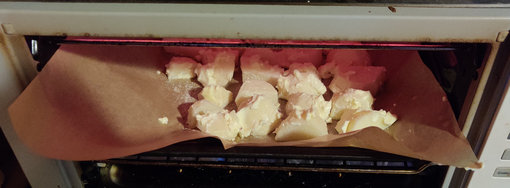
The tray of potatoes was placed in the oven:
Tray of potatoes placed in oven
Tray of potatoes in oven
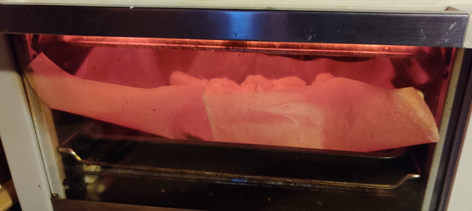
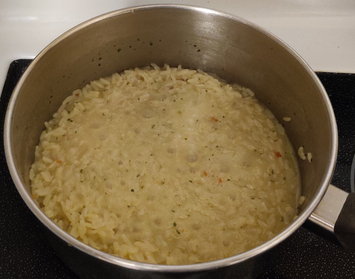
Here is a shot of the roasting potatoes after about 25 minutes:
Partly roasted potatoes
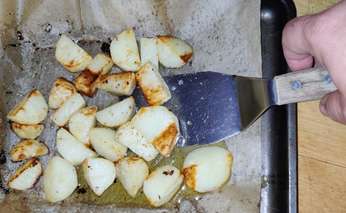
The potatoes were turned over at this point:
Potatoes turned over
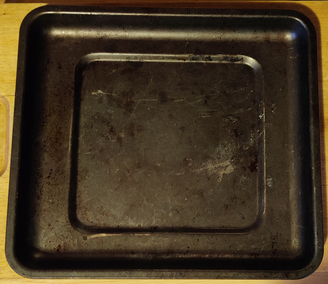
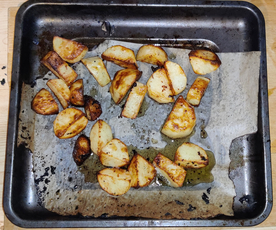
The potatoes were taken out just before 45 minutes, ready to eat:
Roast potatoes ready to eat
(Note that because of the excessive amount of parchment paper used, yes, I did have to deal with some burning parchment paper!)
My version of my mom’s stuffed butternut squash is a new addition to my collection of recipes, although it is a dish that my dear mom has been making for years. Yummilly, it very closely tracks my mom’s version.
It is actually a fairly easy recipe, and is fairly easy to scale up to feed a larger crowd than the two to four servings to which this recipe is tailored.
Beyond being a tasty dish, Mom used to make it as a way to use up rice she’d already made earlier in a larger, more conveniently sized batch, or as a way to have rice in the fridge to use later in the week; for this post, I show the photos making rice, to have more rice for later. Conversely, I do not show the cooking of the ground beef, already having some previously cooked and frozen ground beef on hand.
Also with regard to the rice used in the photos below, I used a commercial flavoured rice I like; however, the point of the recipe lies in using any rice that suits your tastes.
Note: This post uses photos from two separate cooking sessions, as I was working out some of the required specific amounts of each ingredient and techniques. As such, in some cases, one may notice slight discrepancies between two or more photos showing the progression of steps the narrative identifies as sequential, when in fact in some cases the photos may switch between two separate sessions which may have inadvertently involved slight differences.
Making the stuffed butternut squash:
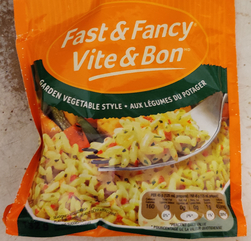
I began by taking out a commercial packet of a flavoured rice I like:
Flavoured rice package taken out
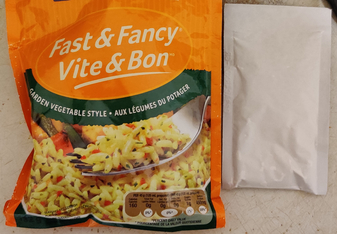
The flavouring packet was taken out of the package:
Flavour packet (on right) taken out
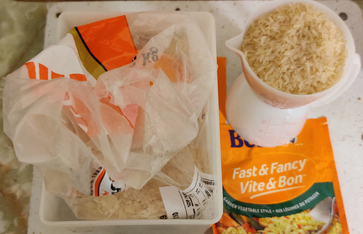
The rice in the packet was measured out, and a matching amount was measured out from a bag of plain rice, since I find the amount of flavouring in the packet too strong when the rice is made with the amount of rice as packaged:
Rice measured out
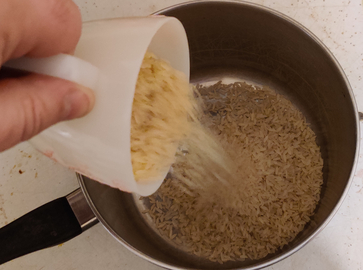
The rice was added to a pot:
Rice added to pot
Rice added to pot
Rice added to pot
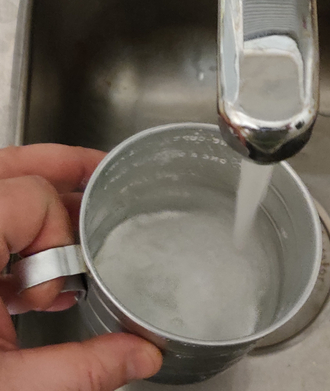
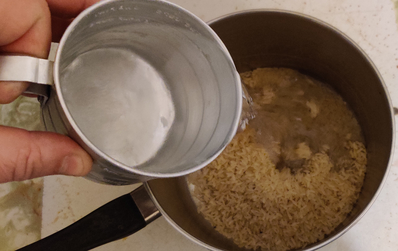
Water was measured out:
Water measured out
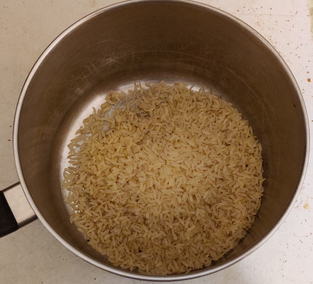
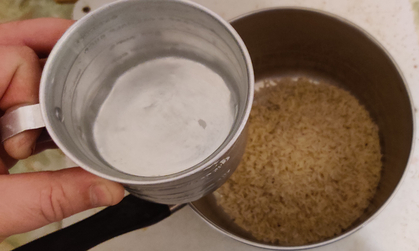
The water was added to the rice:
Water added to rice
Water added to rice
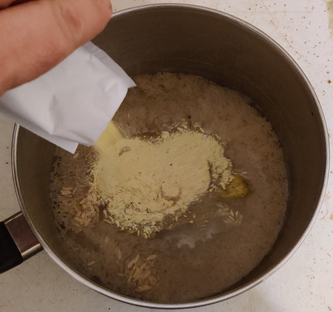
The contents of the flavour packet was added to the rice:
Flavour packet added to rice
Flavour packet added to rice
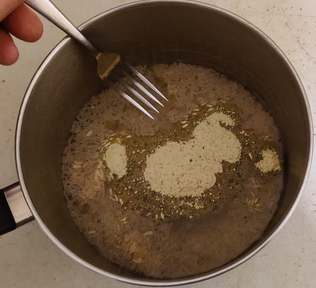
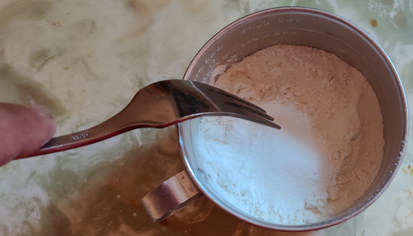
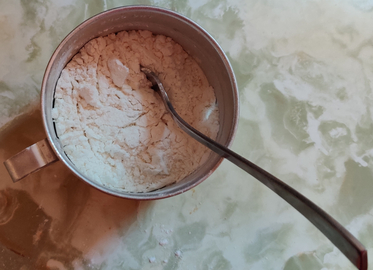
The rice, flavouring, and water were mixed with a fork:
Rice, water, and flavouring mixed with fork
Rice, water, and flavouring mixed with fork
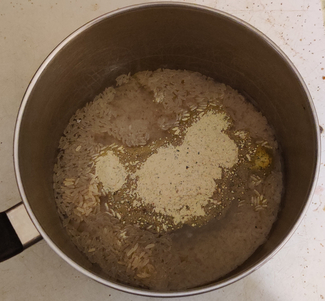
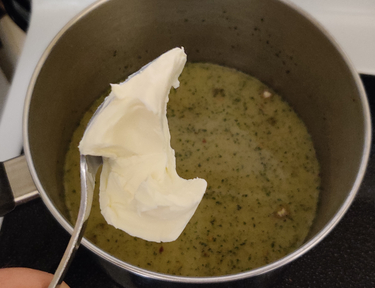
Margarine was taken out:
Margarine taken out
Margarine was spooned out of the tub …
Margarine spooned out
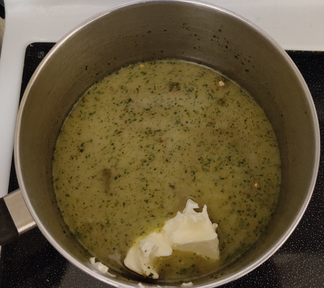
… and transferred to the pot with the rice:
Margarine transferred to pot of rice
Margarine transferred to pot of rice
The stove burner was turned on …
Stove turned on
… and the rice was brought to a boil …
Rice brought to a boil
… at which point the stove was turned down to a low setting …
Stove turned down to a low setting
… and a timer set to twenty minutes:
Timer set to 20 minutes
The rice was simmered for 20 minutes:
Rice simmering for 20 minutes, partway through
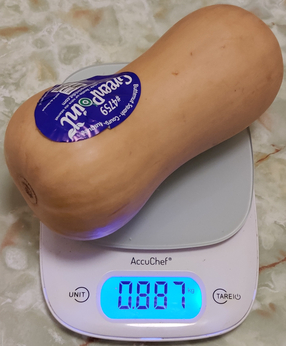
While the rice was still simmering, a butternut squash of approximately 2lbs was taken out:
(Approximately) 2lb squash taken out
Squash taken out
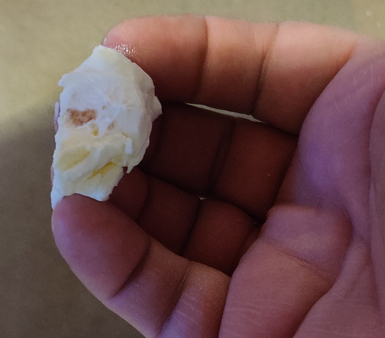
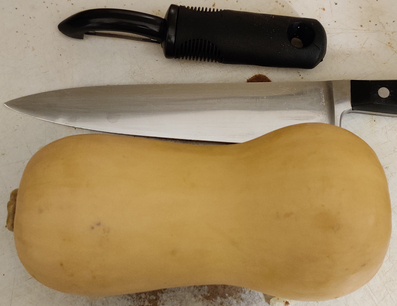
The squash was cut in half along its length:
Squash cut in half along its length
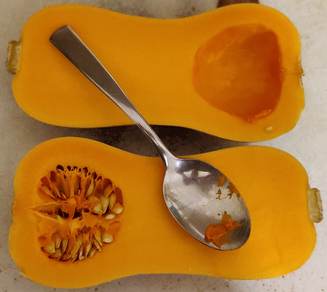
The seeds were removed from the squash:
Seeds removed from squash
Seeds removed from squash
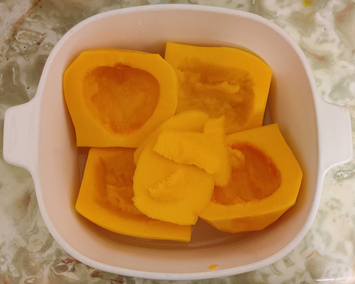
The squash halves were peeled and trimmed:
The squash halves were peeled
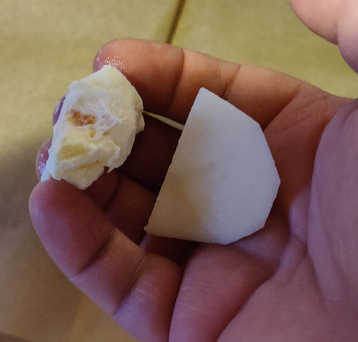
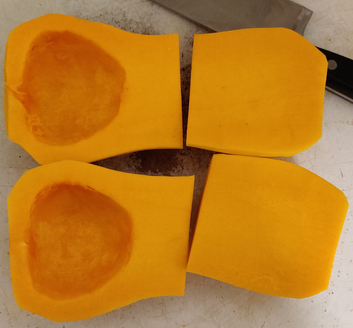
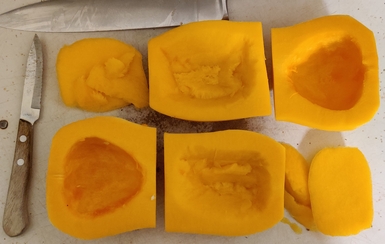
The squash halves were cut in two:
Squash halves cut in two
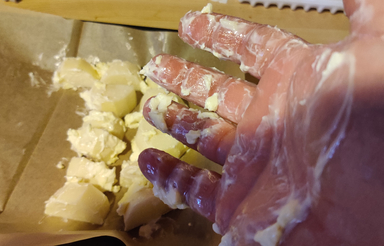
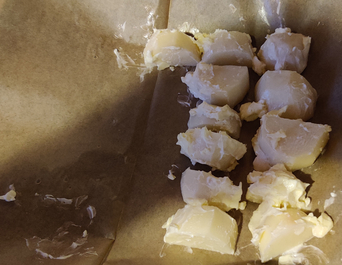
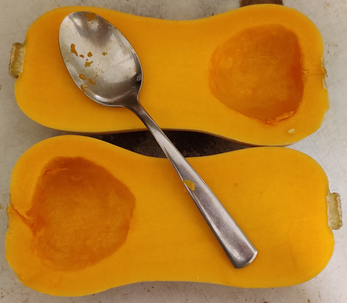
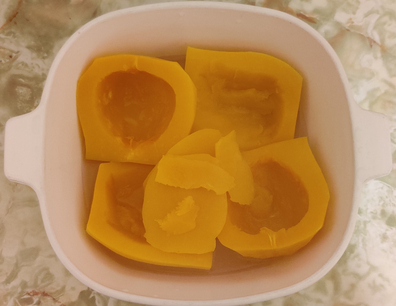
The halves without a natural hollow were hollowed out, and the extra kept:
Squash halves hollowed out
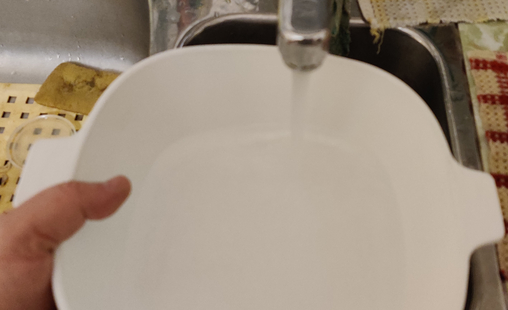
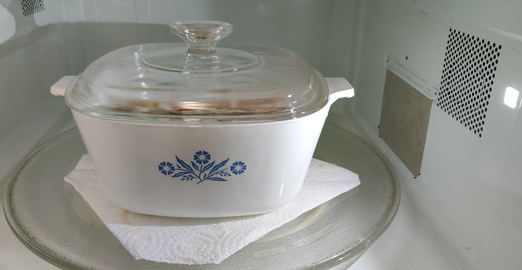
About an inch’s worth of water was added to the microwave-safe cooking vessel:
Water added to cooking vessel
The squash pieces, including those cut out from the solid pieces of squash, were placed in the cooking vessel:
Squash placed in cooking vessel
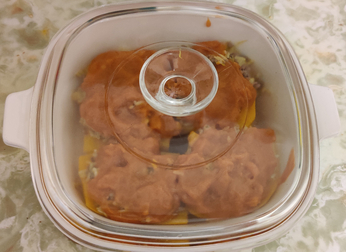
The squash was covered and placed in the microwave oven:
Squash placed in microwave oven
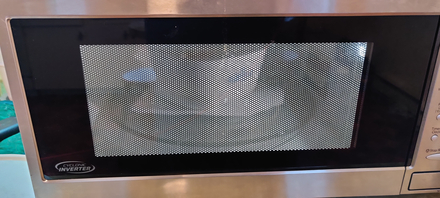
The microwave oven (1200 watts) was set to 10 minutes:
Microwave oven set to 10 minutes
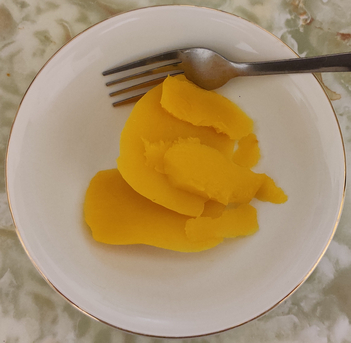
The cooked squash was taken out of the microwave oven:
Cooked squash taken out of the microwave oven
The water was drained from the cooking vessel, and the pieces cut out to hollow out two of the pieces were transferred to a bowl (while the rest was put aside for the moment) …
Cooked pieces transferred to bowl
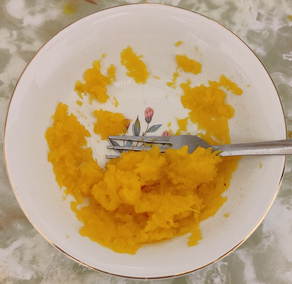
… and the squash pieces were mashed with a fork:
Squash pieces mashed with a fork
The mashed squash was put aside for a few moments.
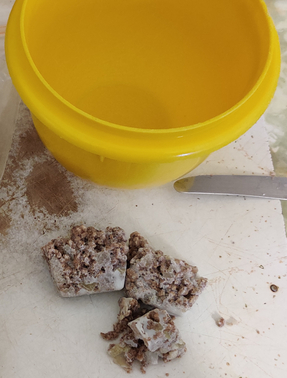
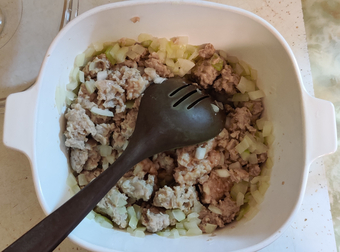
Normally, I cook ground beef and onions in advance, and freeze it in ice cube trays, which conveniently hold roughly an ounce in each well. Earlier, two and a half cubes, about two and half ounces, were taken out of the freezer, and allowed to defrost on the counter:
Cooked ground beef and onions taken out of freezer
Cooked ground beef and onions taken out of freezer
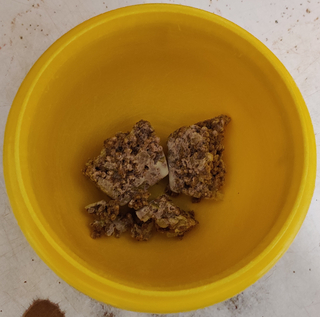
The ground beef cubes were broken up with a fork:
Cooked ground beef broken up with fork
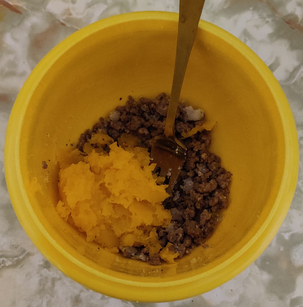
The mashed squash was added to the beef:
Mashed squash added to cooked ground beef
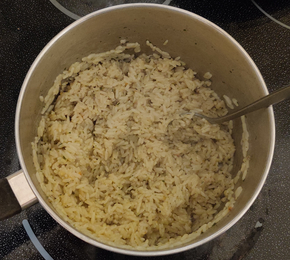
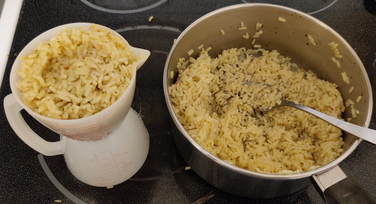
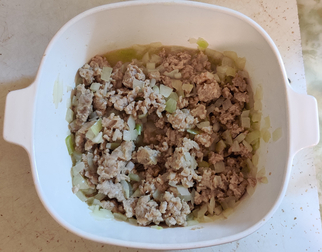
At this point, the rice was cooked:
Cooked rice
A cup of rice was measured out, while the rest was placed in a container to freeze and eat later:
Rice measured out
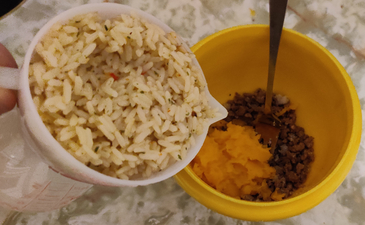
The cooked rice was added to the cooked beef and mashed squash:
Rice added to cooked ground beef and mashed squash
Rice added to cooked ground beef and mashed squash
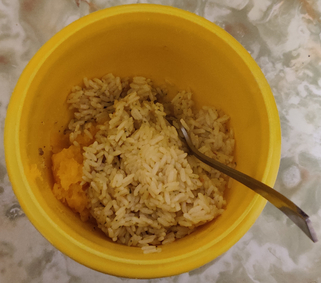
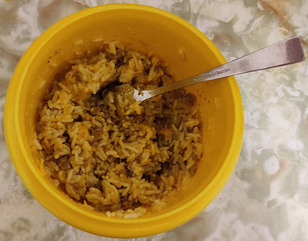
The cooked ground beef, mashed squash, and rice were mixed together with a fork:
Cooked ground beef, mashed squash, and rice mixed together
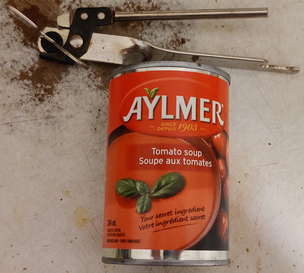
The rice mixture was put aside, and a can of condensed tomato soup was taken out:
Condensed tomato soup taken out
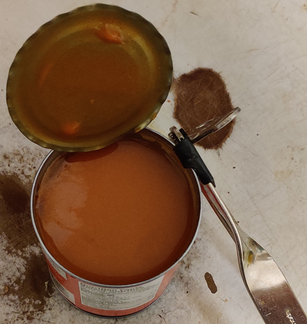
The can of condensed tomato soup was opened:
Condensed tomato soup opened
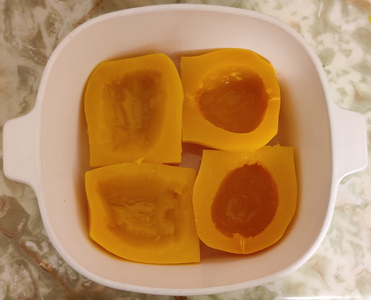
The cooked hollowed out squash pieces were taken out again:
Hollowed out cooked squash taken out
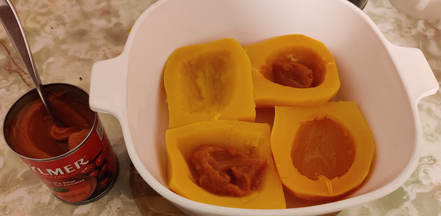
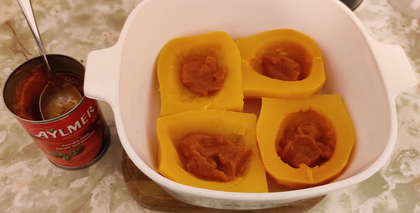
A small amount of the condensed tomato soup was placed in the bases of each hollowed-out piece of squash:
Condensed tomato soup spooned into hollowed-out squash
Condensed tomato soup spooned into hollowed-out squash
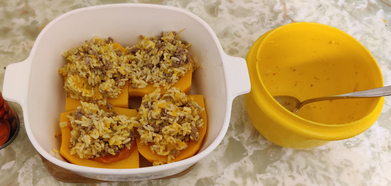
The rice, cooked ground beef, and mashed squash mix was spooned into the squash:
Rice, cooked ground beef, and squash mix added to squash
Rice, cooked ground beef, and squash mix added to squash
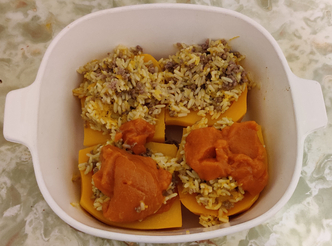
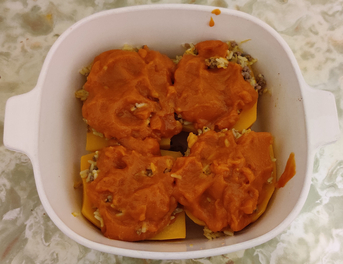
The rest of the condensed tomato soup was spooned onto the top of the rice, beef, and squash mix:
Condensed tomato soup spooned onto the rice, cooked ground beef, and squash mix
Condensed tomato soup spooned onto the rice, cooked ground beef, and squash mix
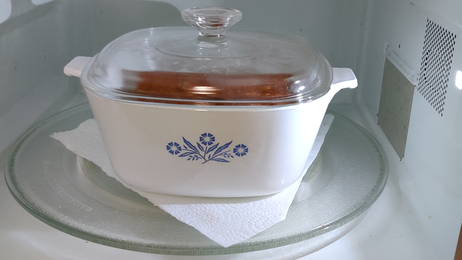
The cooking vessel was covered …
Dish covered
… and the dish was placed in the microwave oven again:
Dish placed in microwave oven again
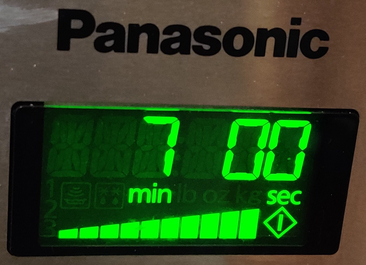
The microwave oven (1200 watts) was set to seven minutes:
Microwave oven set to seven minutes
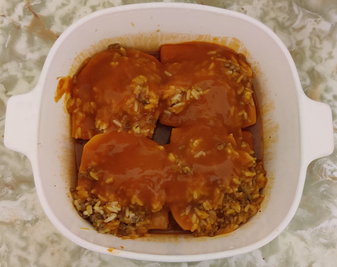
After seven minutes of cooking, the stuffed squash was ready to eat:
Cooked stuffed squash
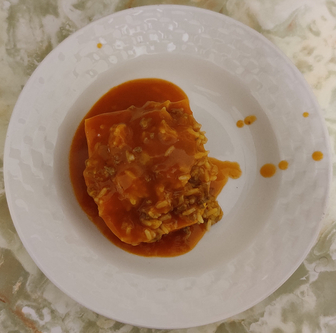
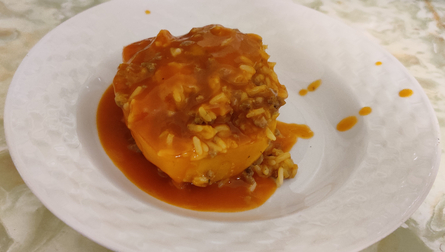
… and the stuffed squash was served:
Cooked stuffed squash served
Cooked stuffed squash served
It was, of course, yummy, and of course, Mom approved.
(… and, at the risk of sounding like I’m bragging, putting aside that, well, I *had* cooked it, I couldn’t tell whether I’d cooked it, or whether Mom had cooked it!)
The various steps were performed over several sessions during the week (mostly cubing and drying bread), however, for the sake of narrative, the photos are listed, largely, as though it could have been done in two sessions. And, despite stating in the recipe that its cooking in a turkey is beyond the scope of the recipe, I do indeed show at the end of this post the cooking of the stuffing with the Christmas turkey, in response to a conversation with, and comment from, my brother: “If you get a trailer, you want to see it hooked up to a truck.“
Making the turkey stuffing:
Although the following picture was taken this past week as part of preparing for making the stuffing, normally, throughout the year I collect bread bits and bread crusts …
Collected bread crusts
… and as I collect them I cube them and dry them, to add to a container of dried bread cubes:
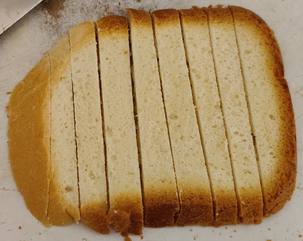
The loaf of bread was sliced for freezing, and some slices were put aside:
Bread slices taken out
Bread slices taken out
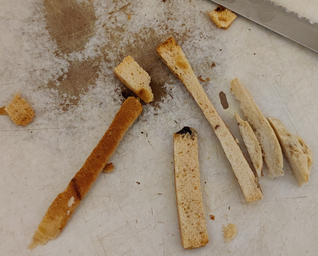
Bread slices were sliced into spears:
Bread sliced into spears
Bread sliced into spears
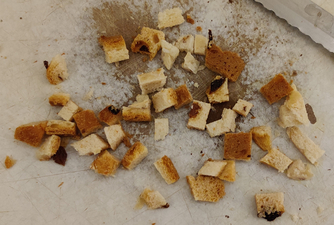
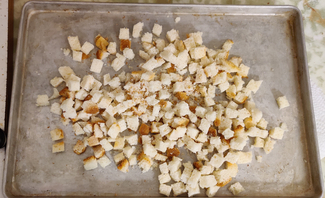
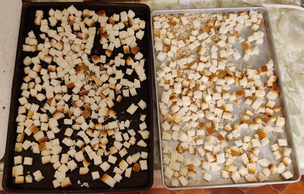
The bread spears were cut into cubes and placed on a tray to dry:
Bread cubes placed on a tray to dry
Bread cubes placed on trays to dry
Once dried, the bread cubes were placed in a container I fill over time with dried bread cubes:
Container with dried bread cubes
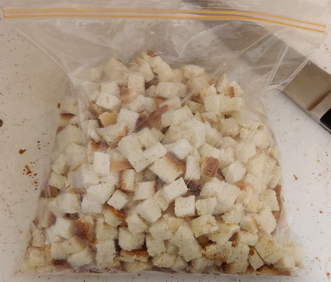
Fresh bread cubes were also put aside in a freezer bag and frozen, to be used later in the week when I made the turkey stuffing:
Fresh bread cubes in a freezer bag put aside for later in the week when I made the stuffing
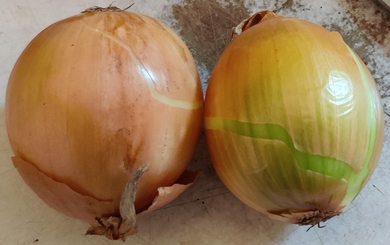
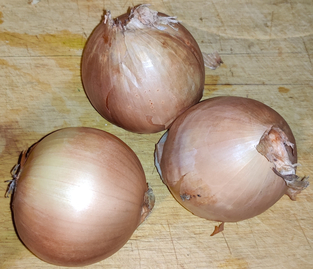
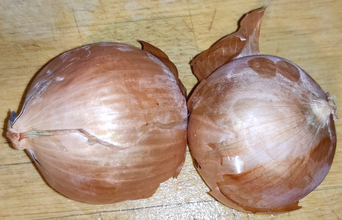
On the day I made the turkey stuffing, onions were taken out:
Onions taken out
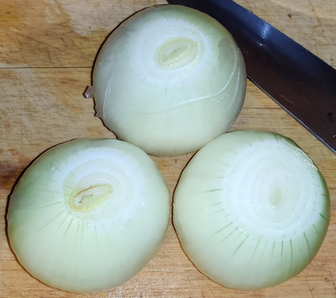
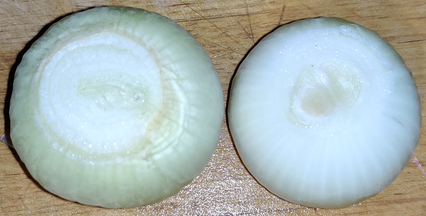
The onions were cleaned and trimmed:
Onions cleaned and trimmed
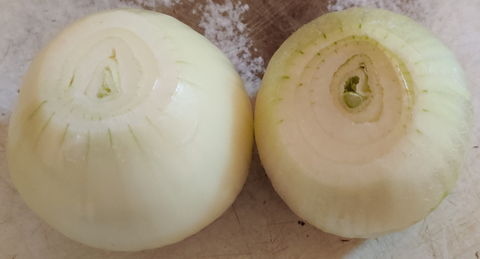
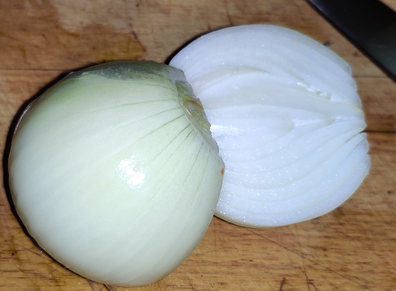
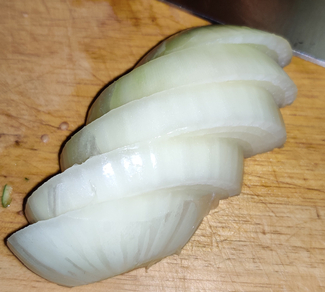
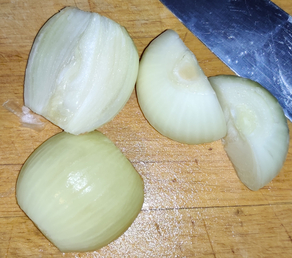
The onions were cut in half:
Onions cut in half
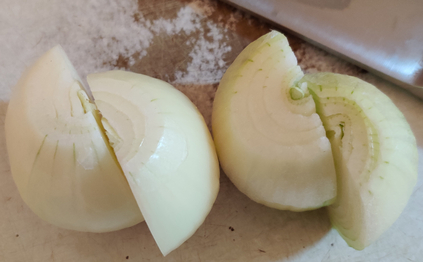
The onion halves were sliced into half coins:
Onions sliced into half coins
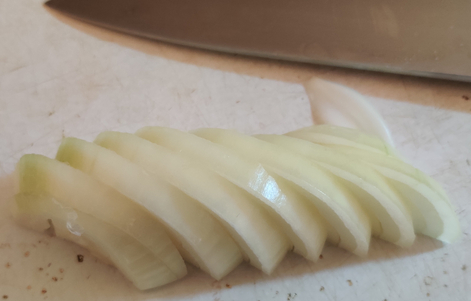
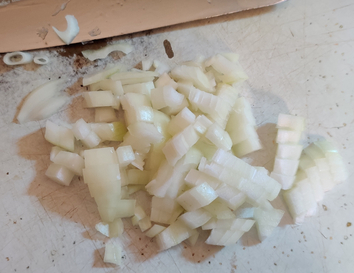
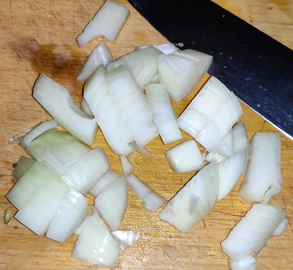
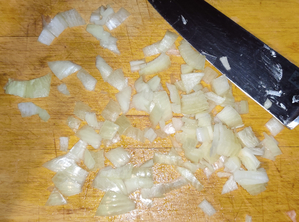
The onions were somewhat finely chopped:
Onions somewhat finely chopped
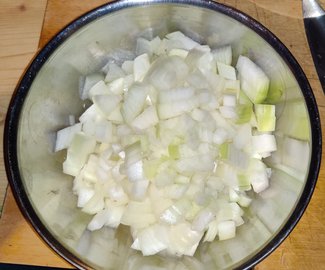
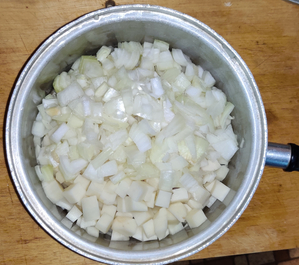
The chopped onions were transferred to a microwave oven safe cooking vessel, and put aside for a few moments:
Chopped onions transferred to microwave oven safe cooking vessel
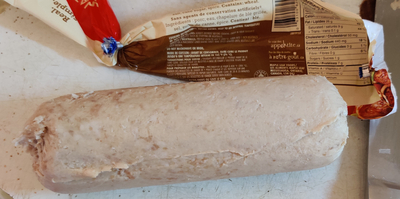
Bulk sausage meat was taken out:
Bulk sausage meat taken out
… and removed from its packaging:
Bulk sausage meat removed from its packaging
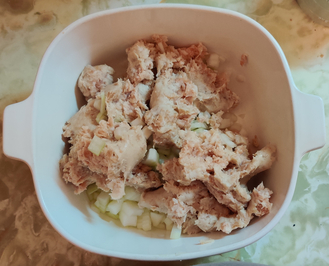
The sausage meat was broken up by hand and placed in the microwave oven safe cooking vessel along with the chopped onions:
Bulk sausage meat broken up by hand and placed in microwave oven safe cooking vessel along with chopped onions
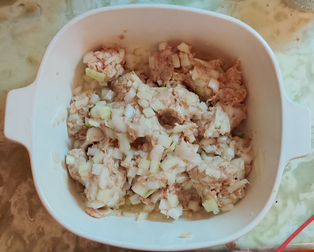
The sausage meat and onions were mixed together by hand:
Sausage meat and chopped onions mixed together
Time was set on my microwave oven:
Time set on microwave oven
The microwave oven safe cooking vessel was placed in the microwave oven:
Microwave oven safe cooking vessel placed in microwave oven
Microwave oven safe cooking vessel in microwave oven
Part way through cooking the sausage meat and onions, they were taken out and large pieces were broken up with a large spoon:
Sausage meat and onions broken up with large spoon
Mostly cooked sausage and onions:
Mostly cooked sausage meat and onions
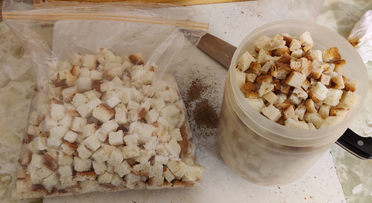
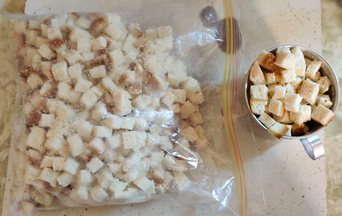
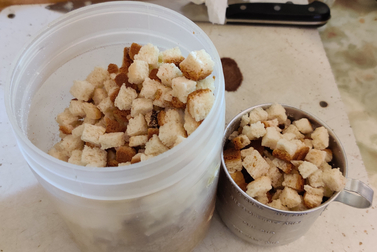
The fresh and dried bread cubes were taken out:
Fresh and dried bread cubes taken out
Fresh bread cubes were measured out:
Fresh bread cubes measured out
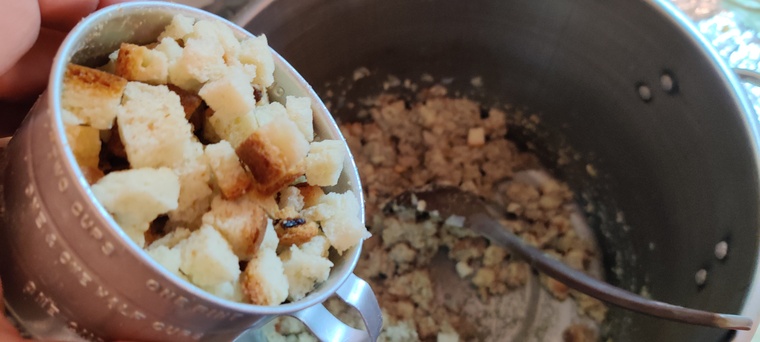
Fresh bread cubes were transferred to a large mixing vessel, in this case, my 16 litre soup pot:
Fresh bread cubes transferred to large mixing vessel
Fresh bread cubes in large mixing vessel
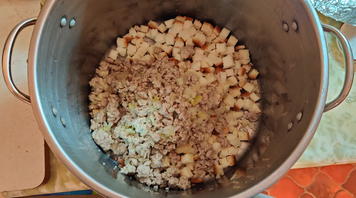
The cooked sausage meat and onions were added to the bread cubes
Cooked sausage meat and onions added to bread cubes
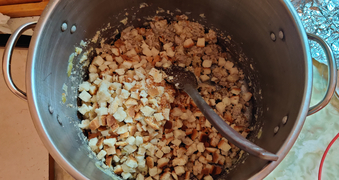
The bread cubes and the cooked sausage meat and onions were mixed with a large mixing spoon:
Ingredients mixed with large mixing spoon
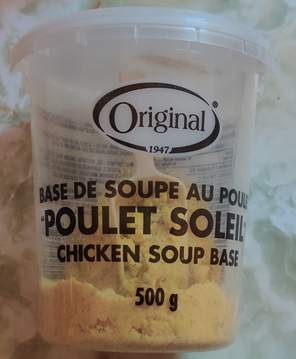
Chicken soup base was taken out:
Chicken soup base taken out
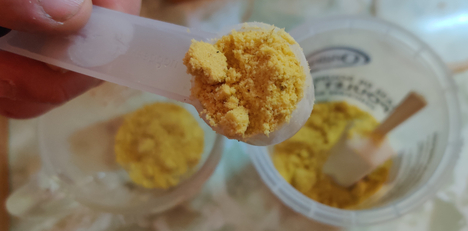
Chicken soup base was measured out:
Chicken soup base measured out
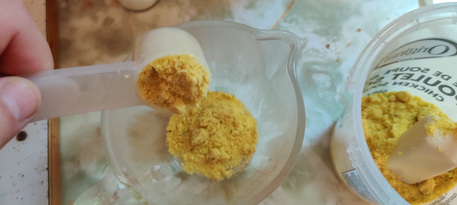
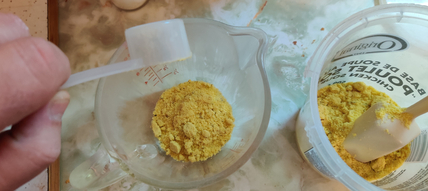
The chicken soup base was added to a measuring cup:
Chicken soup base added to measuring cup
Chicken soup base added to measuring cup
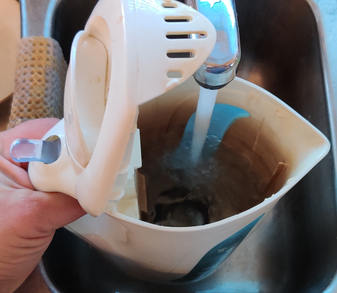
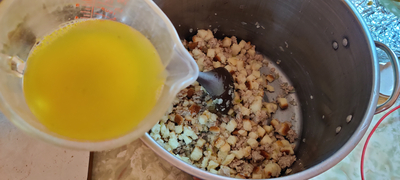
Water was added to an electric kettle:
Water added to electric kettle
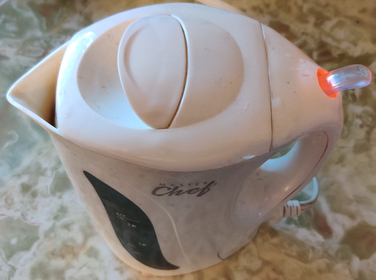
The kettle was turned on:
Kettle turned on
Kettle turned on
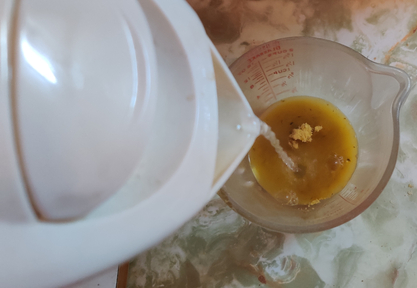
Once boiled, boiling water was added to the measuring cup with the chicken soup base:
Boiling water added to measuring cup with chicken soup base
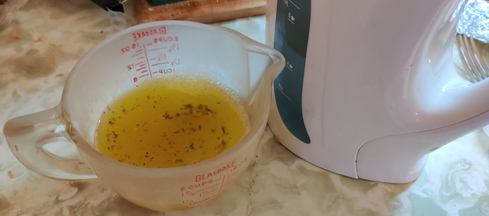
The chicken soup base and the boiling water were mixed together:
Chicken soup base and boiling water mixed together
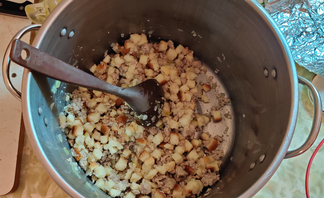
The chicken soup was added to the rest of the ingredients:
Chicken soup added to rest of ingredients
The ingredients were mixed together again with the large spoon:
Ingredients mixed with large spoon
Ingredients mixed with large spoon
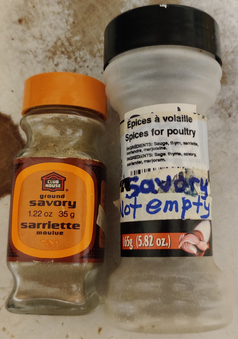
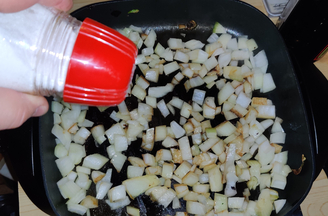
Savoury (spice) was taken out:
Savoury taken out
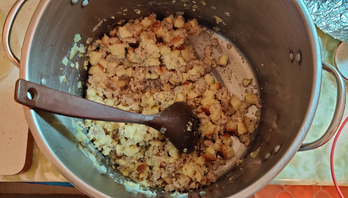
The savoury was sprinkled over the ingredients, and the ingredients were mixed again:
Savoury sprinkled over ingredients
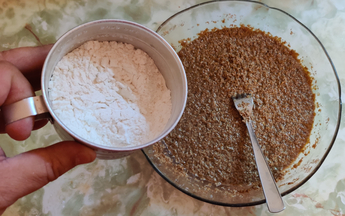
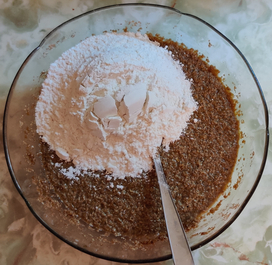
Dry bread cubes were measured out:
Dry bread cubes measured out
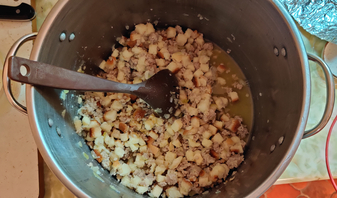
The dry bread cubes were added to the rest of the ingredients:
Dry bread cubes added to rest of ingredients
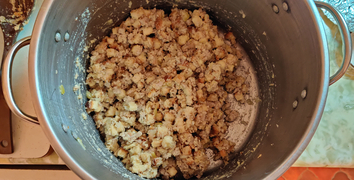
The ingredients were yet again mixed together with the large spoon:
Ingredients mixed again
Ingredients mixed again
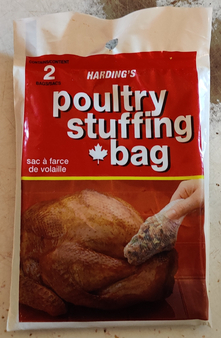
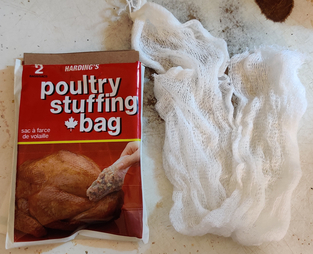
Gauze poultry stuffing bags were taken out:
Gauze poultry stuffing bags taken out
Gauze poultry stuffing bags taken out
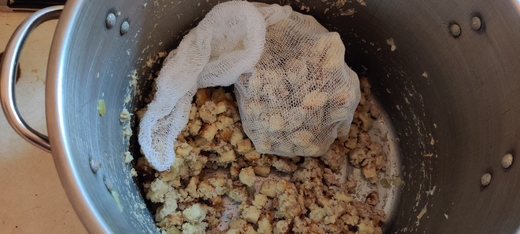
A gauze bag was filled with the stuffing:
Gauze bag filled with stuffing
Gauze bag filled with stuffing
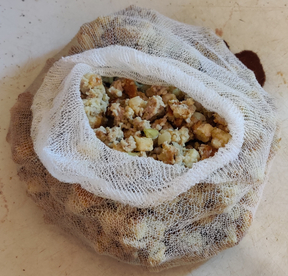
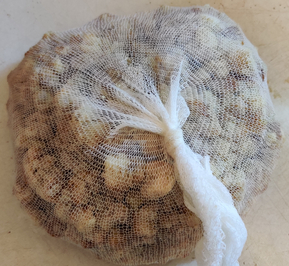
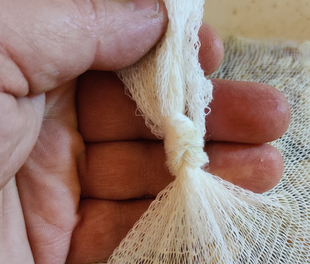
The gauze bag was tied off:
Gauze bag tied off
Gauze bag tied off
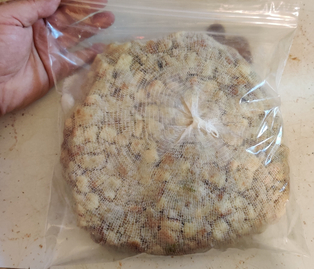
The gauze bag was placed in a sealable freezer bag and placed in a fridge for use later, on Christmas day:
Stuffing placed in a plastic bag for later use
And in the spirit of seeing the “trailer hooked up to a truck”, here are photos from Christmas day, cooking the turkey and stuffing:
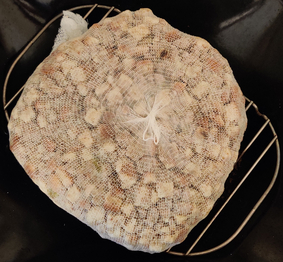
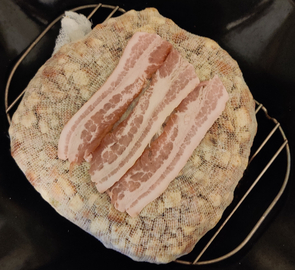
On Christmas day, the gauze bag with the stuffing was taken out of the freezer bag, and placed on a baking rack in a roasting pan:
Stuffing on baking rack in baking tray
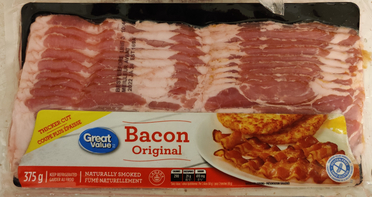
Bacon was taken out:
Bacon taken out
Slices of bacon were placed on top of the stuffing:
Bacon placed on top of stuffing
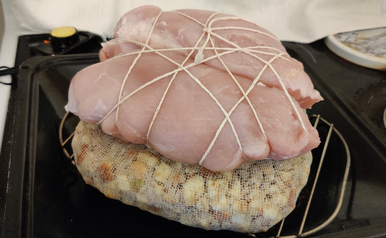
Two turkey breasts, tied together with butcher’s string, were placed on top of the stuffing:
Turkey breast place on top of stuffing
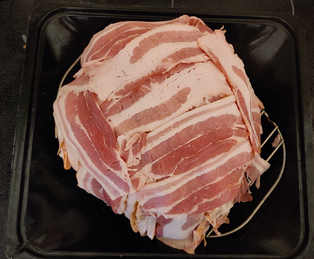
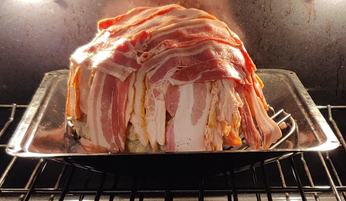
Bacon was liberally wrapped over and around the turkey and stuffing:
Turkey and stuffing wrapped with bacon
The Christmas turkey was placed in the oven:
Christmas turkey placed in oven
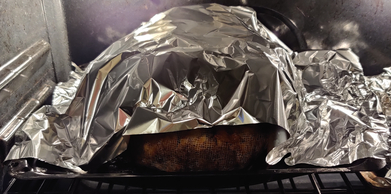
After some cooking, basting, and browning, aluminum foil was placed on top of the turkey partway through cooking the turkey in order to avoid burning on the outside and drying out of the turkey, while the inside of the turkey and stuffing continued to cook (a meat thermometer was critical):
Aluminum foil placed on top of turkey
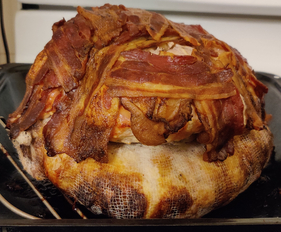
The fully cooked turkey and stuffing were taken out of the oven:
Fully cooked turkey and stuffing
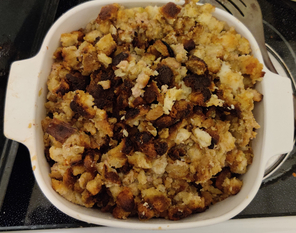
The turkey stuffing was taken out of the gauze bag and transferred to a serving vessel, ready for Christmas dinner:
Stuffing transferred to serving vessel ready for Christmas dinner
It has been several months since I’ve done an entry on a recipe from my collection of recipes, mostly just because last winter and spring, I’d run through most of the recipes that I regularly make and which at the time I had considered to be of “sufficient” note to highlight here, save for the recipe which is the subject of this post (but yes, there is a small number more which may eventually be featured!) As such, many of my recipes from my collection of recipes have since been made at least once, and in many cases, several times, over the past few months.
Over the past couple of weeks alone, I did a lot of cooking at the cottage while on holidays, making:
Yes, that’s a lot of potatoes, ground beef, chicken, onions, carrots, eggs, flour, cheese, olive oil, and other secondary ingredients prepared, as well as beer consumed, during the multiple cooking sessions! And, yes, this is how I like to spend winter holidays at the cottage!
Note that this recipe is vegetarian of the lacto-vegetarian variety (basically, meatless) if the tomato sauce used does not contain meat.
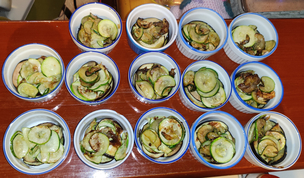
Making the Eggplant au gratin:
First, a nice beer was taken out — Brune d’Achouffe, a Belgian brown ale 8,5% alc/vol in a 750mL bottle, brewed under licence from the Brasserie d’Achouffe by Brasseurs RJ in Montréal, Québec.
Beef taken out
Next, the beer was poured into a glass:
Beer poured out
… and of course, right away I had to do a bit of quality control on the beer:
Yes, this is a good beer!
Now to the cooking of the eggplant au gratin, really, this time:
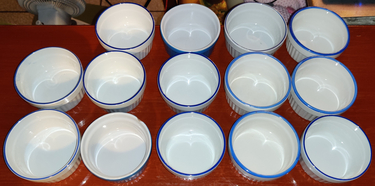
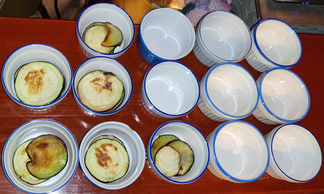
Ramekins were set out — as it turns out, another ramekin was needed to be added later on:
Ramekins set out
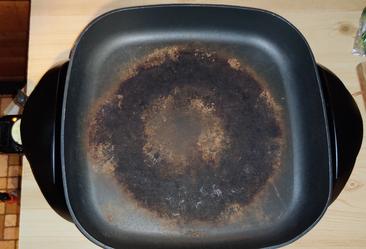
An electric skillet was taken out and plugged in:
Electric skillet taken out
The skillet was turned on
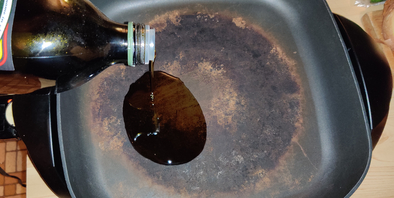
Olive oil was added to the skillet:
Olive oil added to skillet
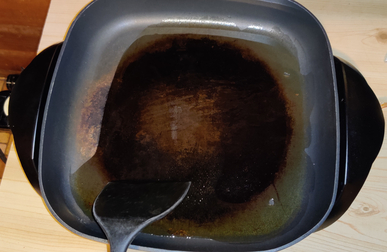
The olive oil was spread out in the skillet with a plastic spatula / egg flipper:
Olive oil spread out in skillet
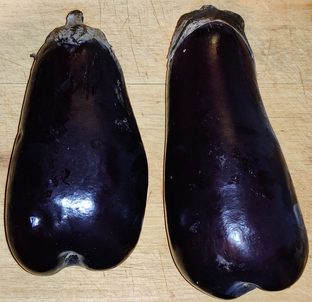
A couple of eggplants were taken out:
Eggplants taken out
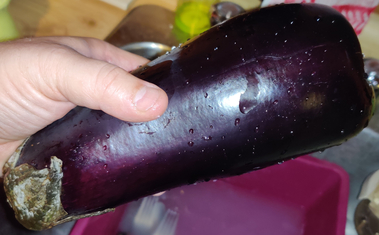
An eggplant was rinsed with water:
Eggplant rinsed with water
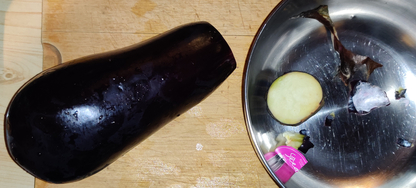
The eggplant was trimmed:
Eggplant trimmed
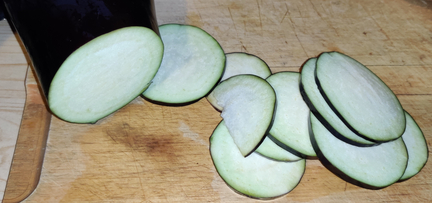
Coins were sliced off the eggplant:
Coins sliced off eggplant
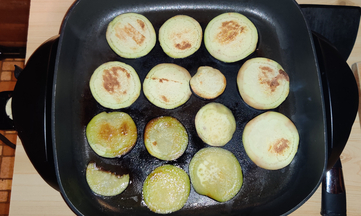
Slices of eggplant were placed in the hot skillet:
Eggplant slices in skillet
After a few minutes of frying, the slices of eggplant were turned over:
Eggplant slices turned over
The fried slices of eggplant were placed in ramekins:
Eggplant slices placed in ramekins
The rest of the first eggplant was sliced, the resulting eggplant slices fried, and the fried eggplant slices were placed in the rest of the ramekins, such that the fried eggplant slices were roughly equally distributed amongst the ramekins:
Eggplant equally distributed amongst the ramekins
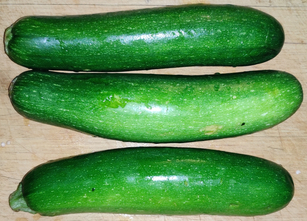
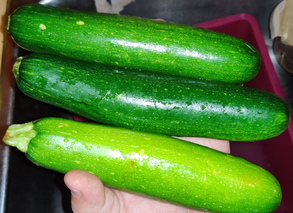
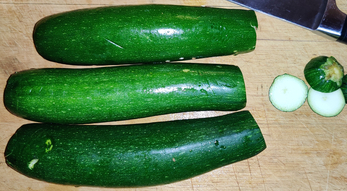
Half of the zucchinis were taken out:
Zucchini taken out
The zucchinis were rinsed with water:
Zucchinis rinsed with water
The zucchinis were trimmed:
Zucchinis trimmed
In order to quickly slice the zucchinis, a food processor with the slicing blade attachment was taken out:
Food processor with slicing blade taken out
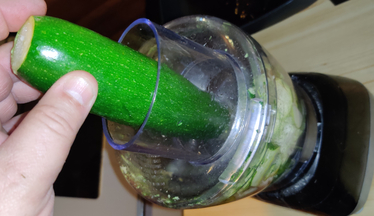
The zucchinis were fed into the running food processor in order to slice them:
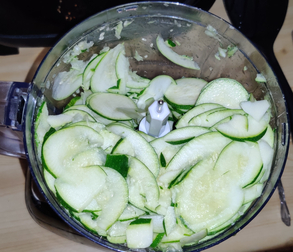
Zucchinis fed into food processor
Sliced zucchinis
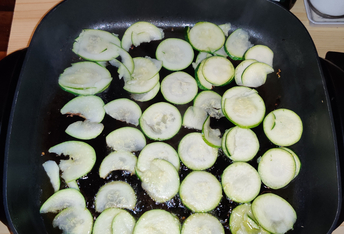
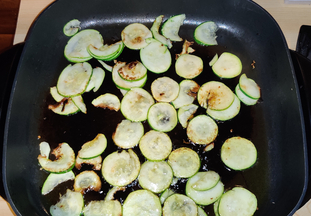
Zucchini slices were placed in the electric skillet with more olive oil:
Zucchini slices frying
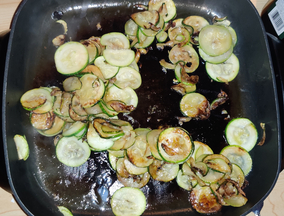
The zucchini slices were turned over:
Frying zucchini slices turned over
Fried zucchini slices were placed in ramekins:
Fried zucchinis placed in ramekins
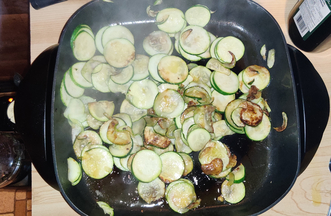
The rest of the first half of the zucchini slices were fried:
More zucchinis frying
More zucchinis frying
The rest of the fried zucchini slices were placed in the rest of the ramekins, such that the zucchini slices were roughly equally distributed amongst the ramekins:
Fried zucchinis placed in ramekins
Onions were taken out:
Onions take out
The onions were cleaned and trimmed:
Onions cleaned and trimmed
The onions were sliced in half:
Onions sliced in half
The onions were sliced into thick half coins:
Onion half sliced into thick half coins
The onions were roughly chopped:
Onions roughly chopped
The chopped onions were placed in a bowl:
Chopped onions placed in bowl
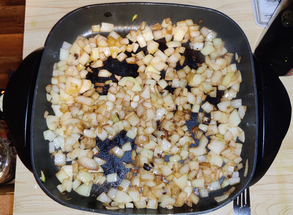
About half the chopped onions were placed in the electric skillet with more olive oil, and salt was added:
Chopped onions in skillet with more olive oil and salt
The chopped onions were fried:
Chopped onions fried
The fried chopped onions were roughly equally distributed amongst the ramekins:
Fried chopped onions spread in ramekins
At this point, my beer chalice was empty and needed refiling:
Beer chalice refilled
It was time to repeat the process, and the second eggplant was sliced and fried the same way. When the eggplant slices were placed in the ramekins, the contents were patted down with a fork, in order to get rid of deadspace in the ramekin:
Ramekin contents patted down with a fork
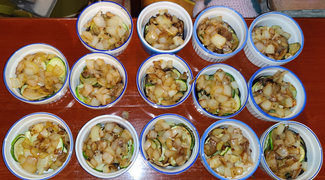
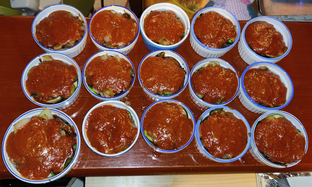
The rest of the steps were repeated with the zucchinis, and the chopped onions, and both were placed in the ramekins in the same order as above, after the second layer of fried eggplant. Note that at this point, another ramekin was added to accommodate what proved to be more ingredients than I originally estimated that I’d had:
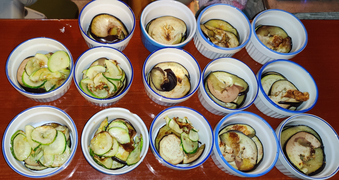
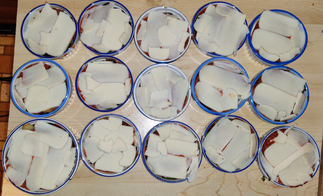
Ramekins filled with all fried ingredients
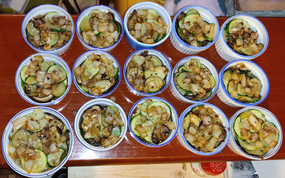
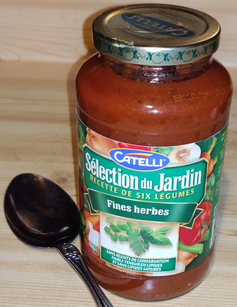
A jar of commercial (meatless) tomato sauce was taken out:
Tomato sauce taken out
The tomato sauce was spread over the ingredients in the ramekins:
Tomato sauce spread over ingredients in the ramekins
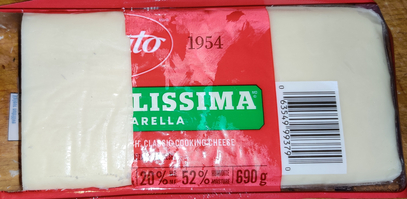
A block of mozzarella cheese was taken out:
Mozzarella cheese taken out
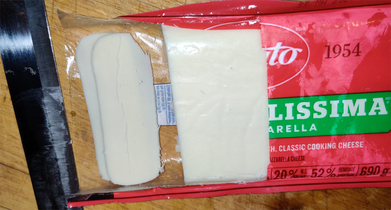
Mozzarella cheese was sliced off the block of cheese:
Mozzarella cheese sliced off the block
Cheese slices were placed on top of the ingredients in the ramekins:
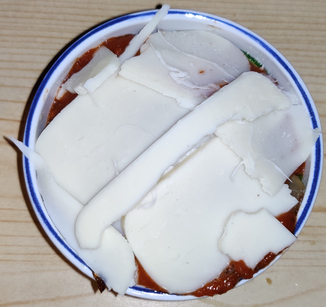
Mozzarella cheese slices placed on top of ingredients in the ramekins
Mozzarella cheese slices placed on top of ingredients in the ramekins
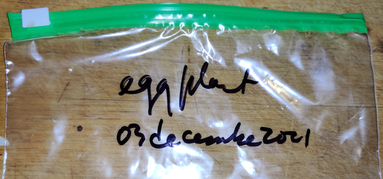
Zipper bags were taken out and identified:
Zipper bags taken out and identified
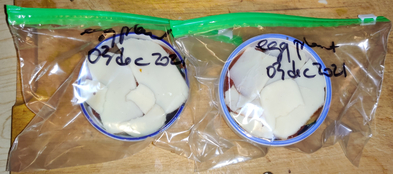
Filled ramekins were individually placed in bags for freezing:
Filled ramekins placed in identified zipper bags
The bags were placed in a freezer (in this case the freezer door) for future eating:
Bagged eggplant au gratin in the freezer
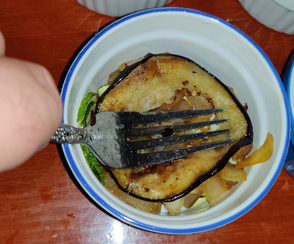
A few days later, an eggplant au gratin was taken out, defrosted, baked, and eaten; of course it was yummy!
I love halloween, and for over twenty years, I have been serving candies to the local ghosties and ghoulies.
Over the years, I have been trying to do my part to make my street a destination for ghosties and ghoulies, including marquis and costumes.
Over the past few years, inflatable decorations have become the rage in my area, and I’m no exception in having fallen for their charms.
This year, things on my street have gone into overdrive; maybe some people have been organizing with each other unbeknownst to me, and maybe the pandemic has had people wanting to do *anything* to raise spirits, no pun intended.
The first house to start decorating for Halloween started, best I could tell, on the last weekend of September. As of mid October, there are fourteen of the twenty two houses on the two block stretch I can see from my house (however, there is another block of street beyond my view, with some decorations too!)
I have taken pictures for your viewing pleasure:
This is the furthest house I can just see from home, and they are also the most decorated!
Most decorated house
This haunted house is easily visible from my house, despite being at the second furthest house from me.
Very visible haunted house decoration
The inflatables in this house have flickering lights, as well as other decorations on the other side of the house.
Inflatable decorations with flickering lights
More decorations at the same house
The ghost on this lawn is actually covering an old tree stump; there are also other decorations at the door on the side of the house, and in the windows out front.
Ghost covering an old tree stump
Here is another house needing two pictures for their decorations:
Ghosts up the stairs and a large spider’s web
Gravestones and skeletons
This is the house had the first decorations this year, first set up over the last weekend of September:
First house decorated for Halloween this year
At this house, Dracula is ready to welcome ghosties and ghoulies!
Dracula ready to welcome ghosties and ghoulies
This house has a piglet dressed as a witch inflatable, and a witch who can’t fly too well on her broom!
Piglet witch, and witch in tree
Here’s a baby Frankenstein, and an x-ray dinosaur!
Baby Frankenstein and x-ray dinosaur
I’m not sure is this a Halloween decoration, or just a cute fall / harvest themed garden decoration.
Garden decoration
Here is the lawn at my house — a ghost, a headless person holding up a pumpkin, an x-ray pumpkin head person, a funny Frankenstein, a cute monster, another ghost, a happy witch, and a frankenstein, and — UPDATED PHOTO 20211024 — a bat in the tree. Three Four are new this year!
Decorations at my house
Decorations at my house in the dark
Here is another house with their decorations:
One of my close neighbours likes zombies:
Zombies
And, so far the last house on the street (I live on a cul-de-sac), this house has an alien visiting, and being a little confused as to whom the real locals are:
Alien
UPDATE 20211024: Another house set up their decorations this weekend, and it merits three pictures!
Inflatables at one of my neighbours
Walkway up to their door
Walkway up to the door
UPDATE 20211025: Another house set up their decorations this weekend! Check the little lights around the tree, and the pumpkins on the steps up to the door.
Pumpkin and ghost lights around a tree, and pumpkins on the steps up to the door
More pics will be added if, as, and when other houses are decorated.
Although over the past few weeks I have continued cooking a number of dishes from my collection of recipes, for this post, I decided to highlight another obsessive hobby of mine: Making firestarters!
I make these firestarters in such large quantities over time that I have few hard numbers quantifying “how much wax” or “how long to allow cooling” or “melt to what temperature”; it is a matter of experience and “feel”, although it is a process which could easily lend itself to measured amounts.
The process allows for me to do many of the steps below separately, as well prepare “for the next batch”.
Although I used to regularly sell these at craft fairs and flea markets, I now just liberally give them out to my neighbours at the cottage, as well as of course using them myself to light fires in the fireplace at the cottage during heating season.
Preparing the egg carton wells:
Flats from eggs sold in bulk were taken out:
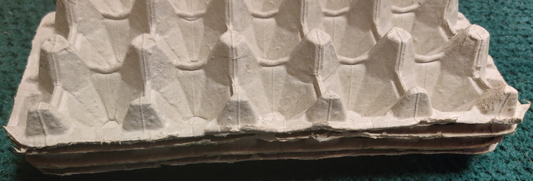
Egg carton flats taken out
Egg carton flats taken out
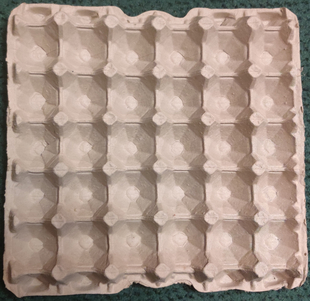
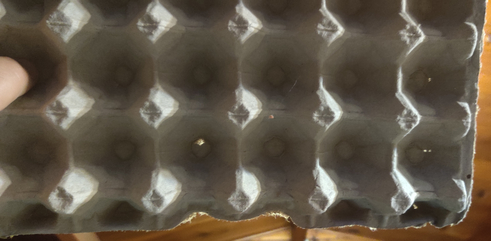
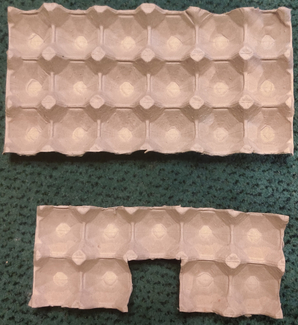
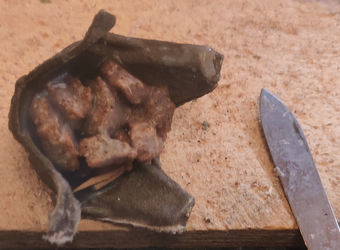
Each flat is brought up to the light and checked for holes:
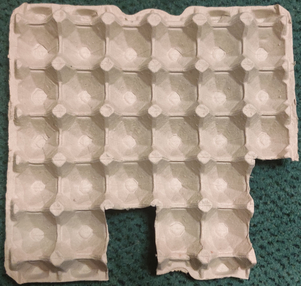
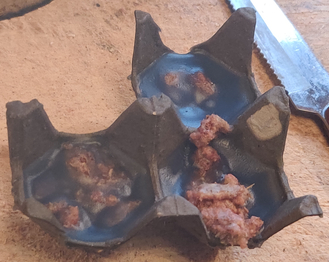
Flat checked for holes in the light. This flat has three wells with holes in them.
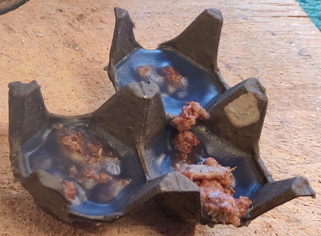
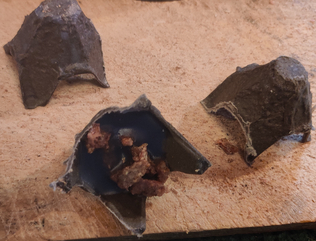
The wells with holes were cut out of the egg carton flat:
Wells with holes cut out
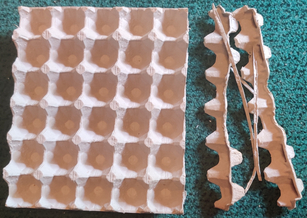
Flats were then trimmed around the edges:
Flat trimmed around the edges
Trimmed flats are stacked together for future cutting:
Trimmed flats stacked
Trimmed flats stacked
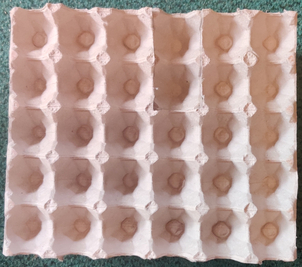
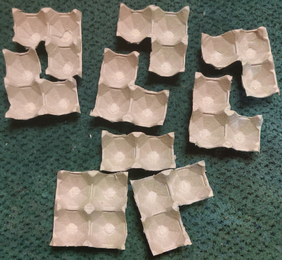
Flats were cut into pieces to be further cut:
Flat cut into pieces to be further cut into pieces
The flat pieces were again cut into manageable pieces:
Flat cut again into pieces
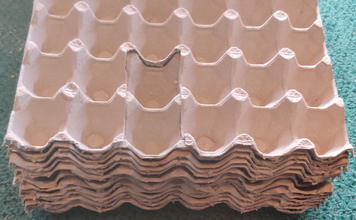
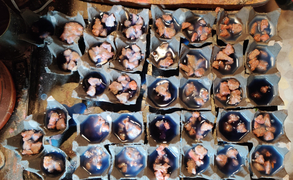
The pieces were cut into individual sets of wells of varying formats (2, 3, or 4 wells) for making the firestarters:
Flat cut into formats of 2, 3, and 4 wells
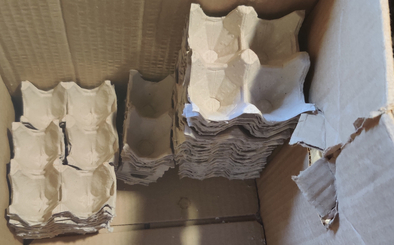
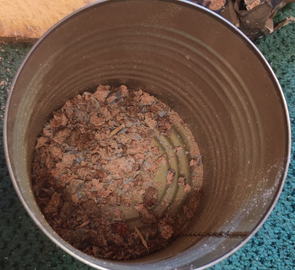
The cut wells are stored in a box:
Cut wells stored in box
Making the firestarters:
Melting the wax:
A portable electric countertop stove was turned on:
Stove turned on
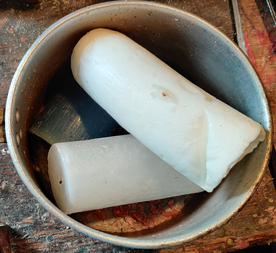
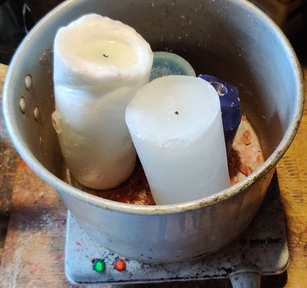
Some old candles were placed in a pot:
Old candles placed in a pot
The pot of old candles was placed on the stove:
Pot of candles placed on the stove
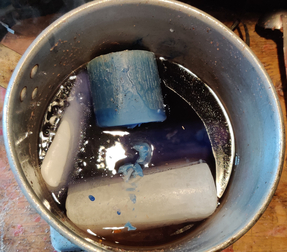
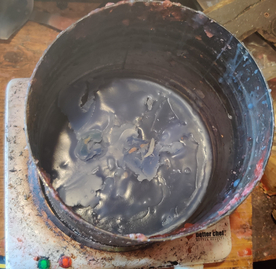
The wax was melted:
Melting wax
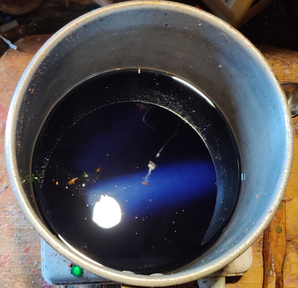
When “enough” wax was melted …
Melted wax
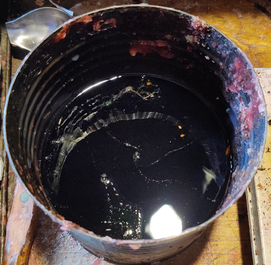
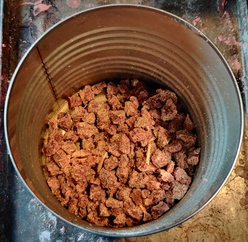
… liquid wax was poured off into a coffee can, which is a convenient size for dipping the filled egg carton wells and soaking them in wax:
Liquid wax poured into a coffee can
Liquid wax in coffee can
Large unmelted pieces of wax were put aside for the next batch, and some solids such as a metal wick base and a wick were transferred to another coffee can where solids from the melting of waxes is collected, to be later rendered for its wax value, and the solids burned in the fireplace:
Solids from candle meliting saved in a coffee can
Preparing the egg cartons:
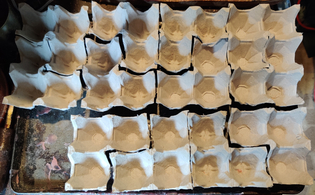
Cut egg carton wells were laid out on a tray:
Cut egg carton wells laid on a tray
Using a sawdust and wax filler:
At this point, a sawdust filler is used, which I normally create after the current step; hence here, I used sawdust filler made during a previous batch. If you have not done so , see the sections (lower down) on making the sawdust and wax filler.
Cubes of sawdust and wax
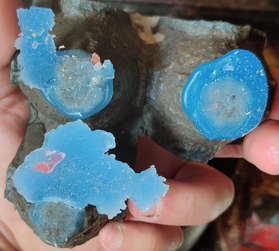
The wells of the cut egg cartons were filled with the sawdust and wax mixture:
Egg carton wells filled with sawdust and wax mix
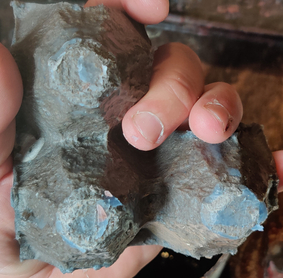
Dipping the filled egg carton wells in the melted wax:
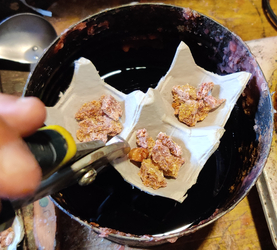
A grouping of egg carton wells filled with sawdust and wax mix was picked up with a pair of pliers, and brought over to the coffee can of liquid wax:
Egg carton wells with sawdust and wax picked up with pliers, brought to coffee can of liquid wax
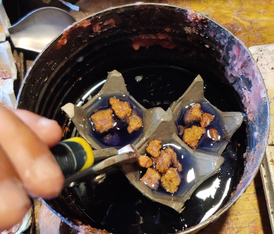
The wells were dipped in the liquid wax:
Wells dipped in liquid wax
The dipped wells were lifted out of the liquid wax:
Dipped wells lifted out of liquid wax
The dipped well was returned to the tray:
Dipped well returned to tray
The rest of the wells were dipped in the liquid wax:
All wells dipped in liquid wax
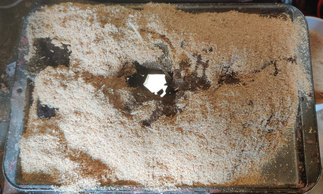
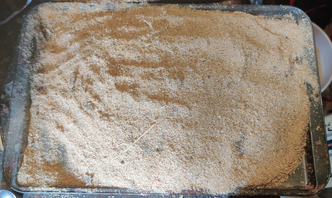
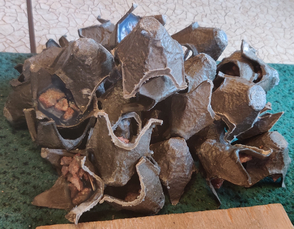
The tray of firestarters was placed on the lawn outside my shed where there was a light breeze to help cool the firestarters:
Firestarters placed in the breeze to cool
Trimming the firestarters:
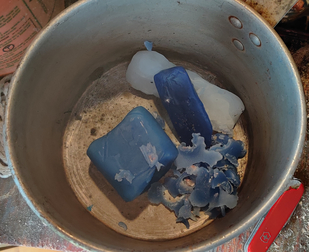
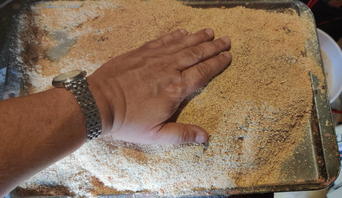
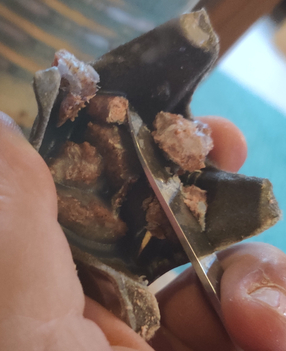
The mostly cooled firestarters were picked up, in order to trim the solidified wax from the bottoms:
Mostly cooled firestarters picked up, to trim solidified wax from bottoms
The solidified wax was trimmed off the bottoms of the firestarters:
Wax trimmed off bottoms of firestarters
The wax trimmings were placed back in the pot with the unmelted candles, to be melted during the making of a future batch of firestarters:
Wax trimmings placed in pot
Making the sawdust and wax filling:
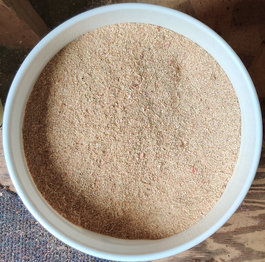
Sawdust was taken out:
Sawdust taken out
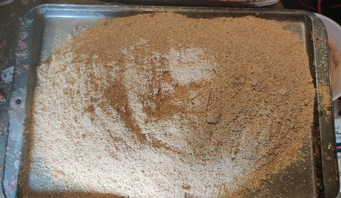
Sawdust was placed on a tray:
Sawdust placed on tray
The liquid wax, which at this point had started cooling and hardening, was placed back on the stove to remelt the wax:
Melted wax placed back on stove
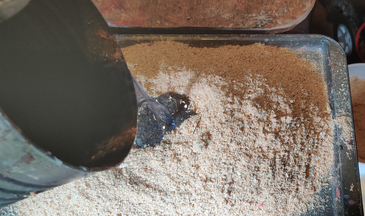
The remelted wax was slowly poured over the sawdust:
Melted wax poured over sawdust
Melted wax poured over sawdust
Sawdust not having absorbed any liquid wax was shifted on top of the rest with hot wax:
Sawdust covering the rest with hot wax
More sawdust was added to cover the wax soaked sawdust:
More sawdust added to cover the wax soaked sawdust
The sawdust was pressed down with my hands to spread out the hot wax:
Sawdust pressed down with my hands
The wax and sawdust were put aside in order to cool for a few hours:
Wax and sawdust allowed to cool
The rest of making the filler can be found at the end of this page, after the section on bagging the firestarters.
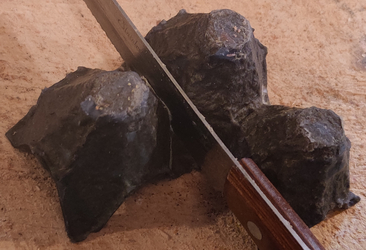
Cutting and trimming fireststarters:
The firestarters, now having cooled, were brought into the house, and placed on a working surface, a piece of plywood board on the floor:
Firestarters placed on a cutting surface
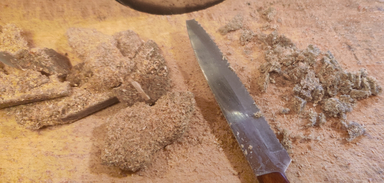
A knife with a serrated blade was taken out to cut the firestarters into individual units:
Knife with serrated blade taken out to cut firestarters into individual units
The firestarters were cut into individual units:
Firestarters cut into individual units
Firestarters cut into individual units
Firestarters cut into individual units
The protruding bits of sawdust and wax were trimmed with a pocket knife:
Protruding bits of sawdust and wax trimmed with pocket knife
Protruding bits of sawdust and wax trimmed with pocket knife
Protruding bits of sawdust and wax trimmed with pocket knife
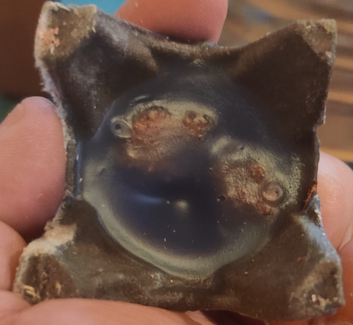
Sometimes, an individual firestarter does not need to be trimmed:
Firestarter not needing to be trimmed
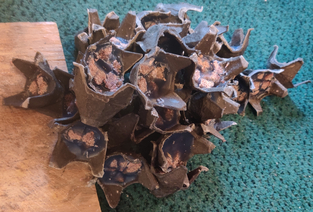
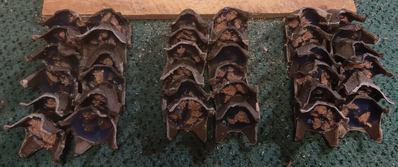
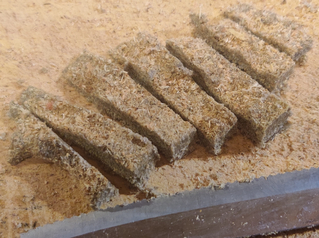
Here is the pile of trimmed firestarters:
Pile of trimmed firestarters
Trimmings from the firestarters were placed in the can, for use in a future batch of firestarters:
Trimmings placed in can, for use in a future batch of firestarters
Bagging the firestarters:
The trimmed firestarters were grouped in dozens (in this case, three dozen):
Trimmed firestarters grouped in dozens
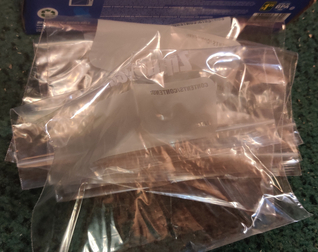
Seven inch by eight inch sealable bags were taken out:
Sealable bags taken out
Sealable bags taken out
Firestarters were placed in bags, a dozen per bag:
Firestarters were placed in bag
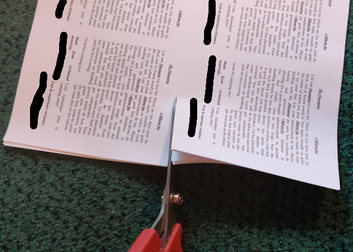
Prior to making this batch of firestarters, printed out labels were copied, four to a page (and for this post, my phone number was blacked out in the pictures):
Printed out labels, four to a page
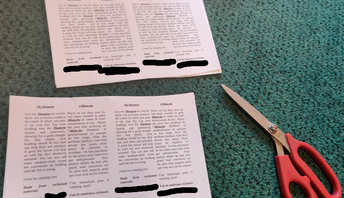
Labels were cut:
Labels cut
Labels cut
Labels cut
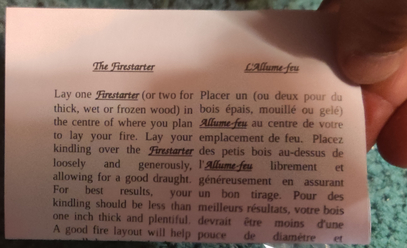
Labels were folded over (note that I live in a predominantly French-speaking area, hence the text is in both English and French):
Label folded over
A folded over label was placed in each bag:
Folded over label placed in bag
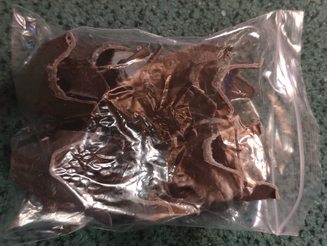
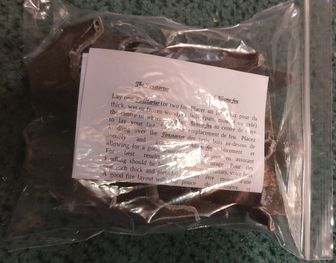
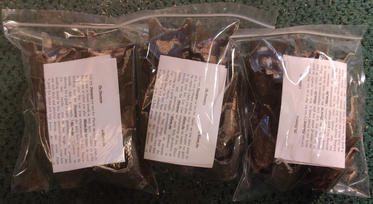
And here are the three bags of firestarters made in this batch, ready to give away or sell:
Three bags of firestarters
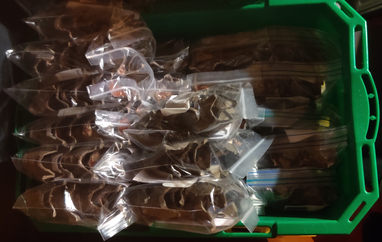
The bags of firestarters were placed in a plastic crate with other bags of firestarters:
Bags of firestarters placed in a crate with other bags of firestarters
Back to making the sawdust filling:
A while later, when the sawdust and wax mix had completely cooled, excess sawdust on the tray was transferred back into the bucket of sawdust:
Loose sawdust transferred back to bucket
Loose sawdust transferred back to bucket
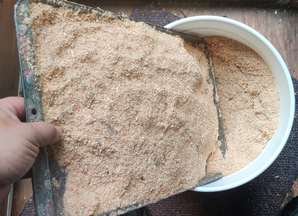
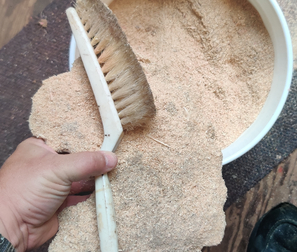
Excess sawdust was brushed off of the cooled and solidified sawdust and wax mix:
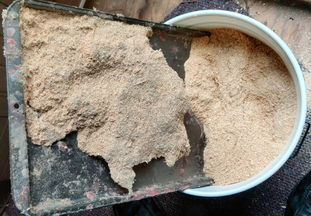
Excess sawdust brushed off cooled and solidified sawdust and wax mix
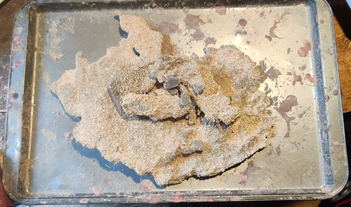
The cooled and solidified sawdust and wax mix was brought to my work surface:
Cooled and solidified sawdust and wax mix brought to work surface
Some of the pieces of solidified sawdust and wax mixture were placed on the work surface to cut into smaller pieces:
Pieces of solidified sawdust and wax mixture placed on work surface
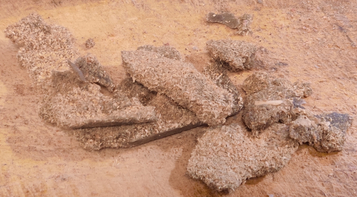
The pieces of sawdust and wax were cut into fairly small cubes (about half an inch) :
Solidified sawdust and wax mix
Some of the sawdust and wax pieces were sliced into lengths …
Some pieces sliced into lengths
… which were then cut into about half inch cubes:
Slices of sawdust and wax cut into half inch cubes
Finally, the cubes and crumbs were placed into a container, to be used as filler for a future batch of firestarters.
Cubes and crumbs placed in container
If you came from the top section to see how to make the sawdust filler, return to the section on filling the egg carton wells.
This is just a little note to mention that malak.ca has been down for the past 28 hours or so for an upgrade only planned as of a few days ago, when the site had been hanging for anywhere from a few hours to a few days, and diagnostics suggested that the hard drive may have been on its last legs.
A backup of the blog database was created, and saved on an external drive;
The external drive, used as a backup for my other computers and the location of the static parts of my website, was separated from the machine, which was then powered down;
The old hard drive was physically removed;
The SSD was connected;
Fedora 34 workstation, which had been previously downloaded and installed on a USB key, was installed on the SSD yesterday evening (I’m currently still running on F33 for my desktop, laptop, and one of my worldcommunitygrid.org nodes)
The desktop for F34, on the core 2 duo, is faster, although some of that is due to the SSD, of course;
Interesting to see the dock moved from a vertical position on the left to a horizontal position at the bottom;
I find it interesting that at bootup, the activities screen appears to be the default;
This evening, the web server was installed;
Although we had planned to use php-fpm to separate permissions, but since this is a single domain box, we used a simple virtualhost;
MariaDB was installed;
The re-registration of my redirections for things like www.malak.ca with noip.com to account for the dynamic nature of my IP address was done;
The re-registration for my Let’sEncrypt was performed;
Various linux kung-fu tricks were performed, and magical linux incantations were uttered, and the setup was complete;
The external drive was reconnected;
The blog was restored from a backup.
The system is peppy, and this blog, which is hosted on the SSD instead of the external drive (as is the rest of malak.ca), loads somewhat more quickly.
As usual, great thanks go to my brother whose herculean efforts were at the core of the setup. Thank you!
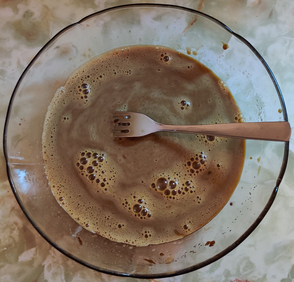
This week’s cooking projects from my collection of recipes included bran muffins for mom using her recipe, some more bread in my bread machine, chocolate buttercrunch, cooked ground beef and onions frozen in ice cube trays, my breakfast sandwiches, and the subject of this post, my version of a favourite dish my mom has made for me almost all my life, a corned beef hash using a commercial, canned, corned beef luncheon meat.
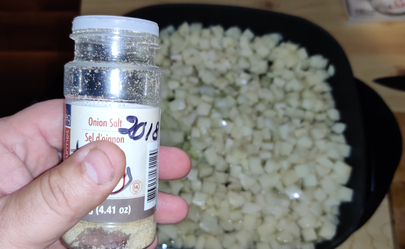
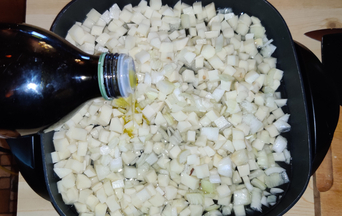
The principal differences between this version and mom’s version is that she has always used, and continues to use, commercial frozen hash brown potatoes purchased at the supermarket frozen goods section, instead of making and cooking them from fresh potatoes, and, she uses margarine instead of olive oil. She also noted the importance of not using cheap quality onion salt; my personal experiences so far in making the dish have indicated the value that onion salt itself brings to the dish. All this being said, though, my efforts have largely replicated mom’s dish to the point that my version is rather close to mom’s.
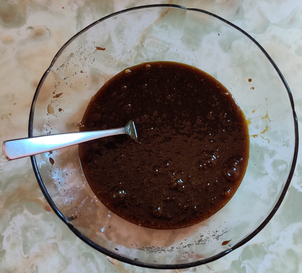
It should be noted that in this post, there is a very small number of photos which were taken either later in the evening after cooking, or the following morning, either as retakes, or to outright take some photos which I forgot to take the evening before during the cooking of the dish. Also, I made the dish at the cottage.
Making the corned beef hash:
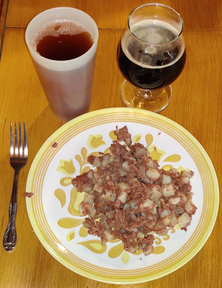
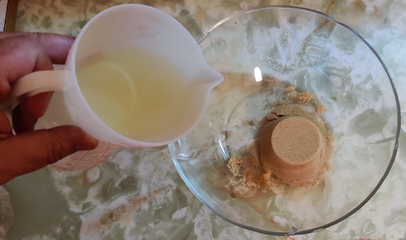
First, a nice beer was taken out — Mons Dubbel, a Belgian-style Dubbel 8% alc/vol in a 750mL bottle, from the Belgh Brasse Brewery, in Amos, Québec:
Beer taken out
Next, the beer was poured into a glass:
Beer poured out
… and of course, right away I had to do a bit of quality control on the beer:
aaaaahhhhh ….
Now to the cooking of the corned beef hash, really, this time:
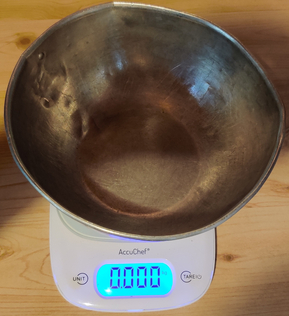
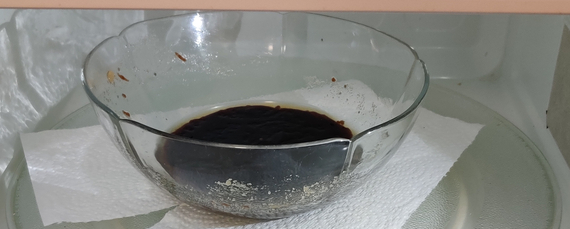
A bowl was placed on a kitchen scale, and the scale was set to zero:
Bowl placed on kitchen scale, and scale set to zero
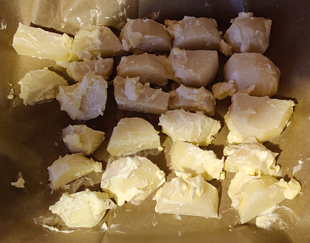
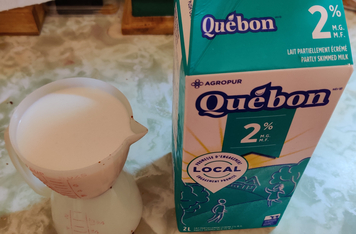
About 900 grams, or about two pounds, of potatoes were measured out in the bowl:
About 900g of potatoes measured out
Water was placed in a pot:
Fresh water added to pot
The potatoes were peeled:
Potatoes peeled
The peeled potatoes were placed in the pot of water:
Peeled potatoes placed in pot of water
Peeled potatoes placed in pot of water
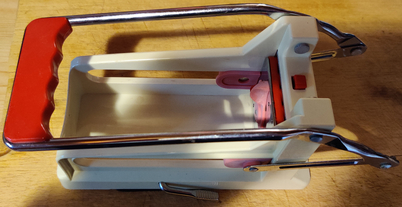
A French-fry cutter was taken out:
French-fry cutter taken out
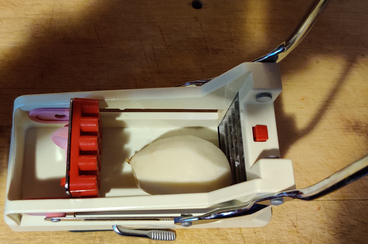
Potatoes were placed in the French-fry cutter:
Potato placed in the French-fry cutter
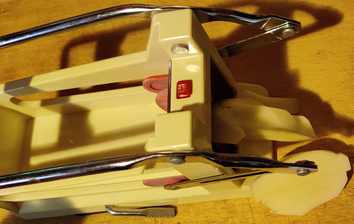
The potatoes were sliced with the French-fry cutter:
Potatoes sliced with the French-fry cutter
If you don’t have a French-fry cutter, you can slice the potatoes lengthwise with a kitchen knife:
Potatoes sliced lengthwise with a kitchen knife
… and then slice the potatoes again lengthwise to make French fries:
Potatoes sliced lengthwise again to make French fries
The French fries were cut into cubes, about half an inch in all dimensions:
French fries cut into half inch cubes
The potato cubes were placed back in the pot of water:
Potato cubes placed back in pot of water
Potato cubes placed back in pot of water
The water was drained from the potato cubes:
Potato cubes drained
The potato cubes were again covered with fresh water, for rinsing the potatoes:
Potato cubes covered with fresh water
Potato cubes covered with fresh water
The water was again drained from the potato cubes, and the potato cubes were put aside:
Potato cubes drained again
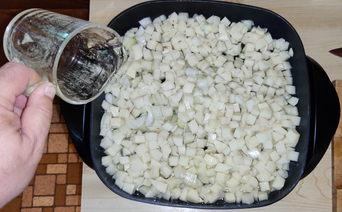
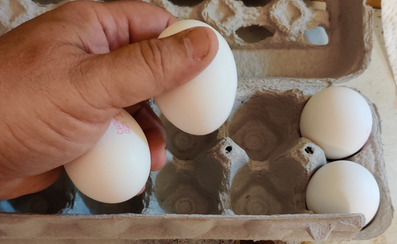
Onions were taken out:
Onions taken out
The onions were cleaned and trimmed:
Onions cleaned and trimmed
The onions were sliced into halves:
Onions sliced into halves
The onion halves were sliced into half-coins …
Onions sliced
… and then the onions were coarsely chopped:
Onions coarsely chopped
The onions were added to the potatoes:
Onions added to potatoes
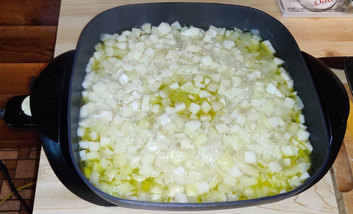
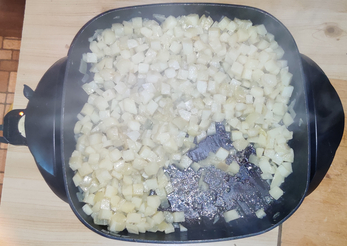
The onions and potatoes were transferred to an electric skillet:
Onions and potatoes transferred to electric skillet
Water was measured out:
Water measured out
The water was transferred to the skillet with the onions and potatoes:
Water transferred to skillet with onions and potatoes
Onion salt was added to the ingredients:
Onion salt added to ingredients
Onion salt added to ingredients
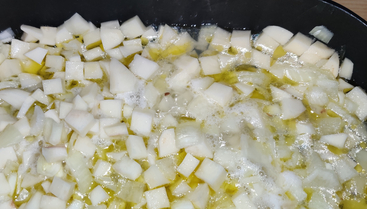
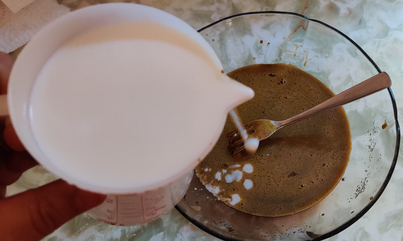
Olive oil was added to the ingredients:
Olive oil added to ingredients
Olive oil added to ingredients
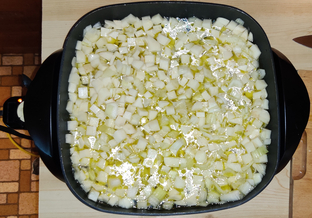
The electric griddle had been turned on by this point:
Electric skillet turned on
The water was brought to boiling:
Water brought to a boil
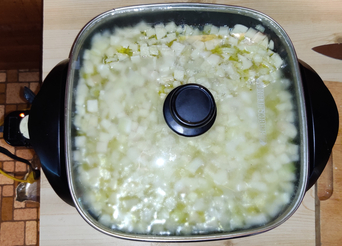
The electric skillet was covered:
Electric skillet covered
A timer was set to five minutes:
Timer set to five minutes
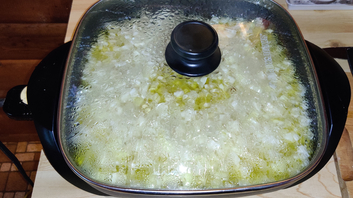
The potato and onion mix was boiled for five minutes:
Potatoes and onions boiled for five minutes
After five minutes, the cover was removed:
Cover removed
At this point, my beer glass was empty, so I refilled it with the rest of the yummy beer from the double bottle:
Beer glass refilled
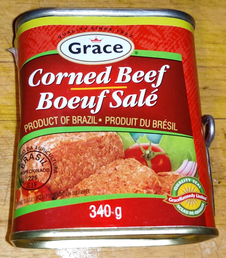
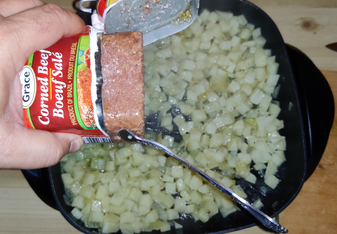
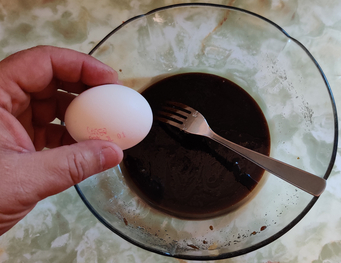
While the water fraction was boiling off in the electric skillet, a can of corned beef luncheon meat was taken out:
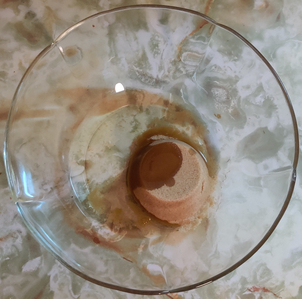
Corned beef taken out
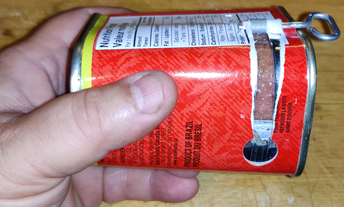
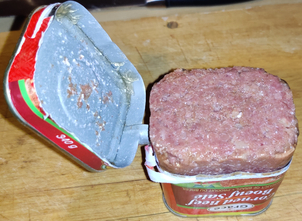
The can of corned beef was opened:
Can of corned beef opened
Can of corned beef opened
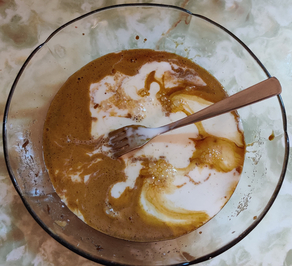
After a few minutes, the water fraction had begun to boil off, and the potatoes and onions began to fry:
Water fraction boiled off
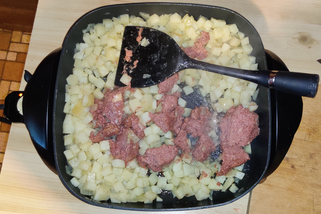
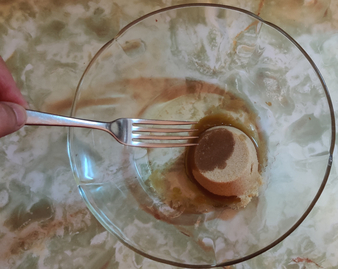
The corned beef was added to the frying potatoes and onions:
Corned beef added to frying potatoes and onions
Corned beef added to frying potatoes and onions
The corned beef was broken up with a spatula / egg flipper:
Corned beef broken up with a spatula / egg flipper
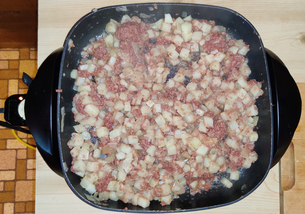
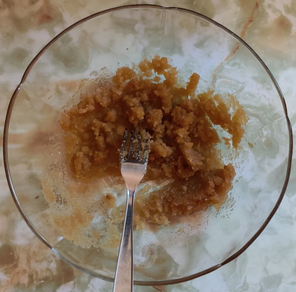
The corned beef, potatoes, and onions were mixed together:
Corned beef broken up and mixed with the potatoes and onions
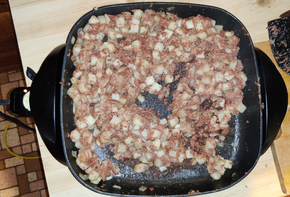
The corned beef hash continued to be fried and mixed:
Corned beef hash continuing to be fried and mixed
The corned beef hash was just about ready:
The corned beef hash just about ready
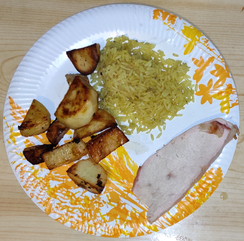
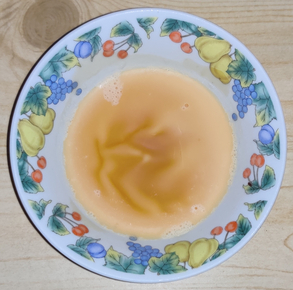
Once the potatoes began browning, a yummy supper was served on a plate, while the rest was placed in a container to freeze and have a lunch:
This past week was again a busy week with no cooking projects from my collection of recipes; however, I took advantage of this past weekend to both develop my version of a favourite dish my mom continues to this day to make for me, a corned beef hash, but for which, strictly speaking, she doesn’t have a formal recipe, and, prepare a future post on firestarters. 🙂
I am therefore posting the photos I’d taken of cooking sausages a few weeks ago at the cottage and which I’d kept in reserve. The subject of cooking sausages would normally not qualify for a post in this cooking series, since I am “only” highlighting the cooking of (admittedly somewhat large quantities of) commercially prepared breakfast sausages — for which I of course do not have a recipe — as opposed to highlighting a non-existent hypothetical recipe for making sausage from scratch. However, I am including this post since several of my recipes call for cooked breakfast sausages, such as my stuffed potato skins, my breakfast sandwiches, and my english muffin breakfast sandwiches.
Note that these photos were taken in the month of May 2021, at the cottage, not this past weekend.
Cooking the sausages:
First, an electric skillet was taken out:
Electric skillet taken out
The electric skillet was turned on:
Electric skillet on
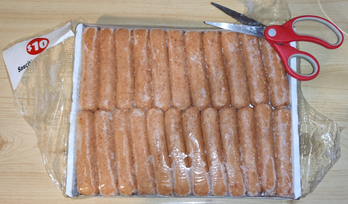
A frozen, two kilogram store-bought flat of breakfast sausages was taken out:
Package of commercial breakfast sausages taken out
The package of sausages was unsealed:
Package of sausages unsealed
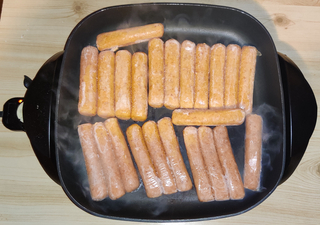
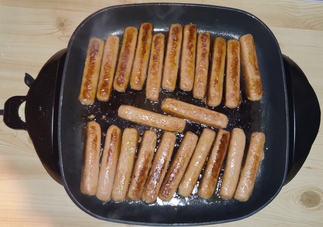
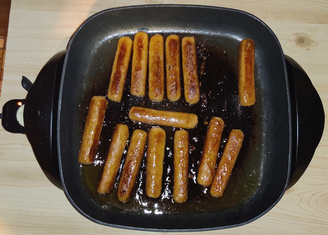
Sausages were taken out and placed in the electric skillet — in this case, half of the package, or the top layer of two layers of sausages:
Sausages placed in the electric skillet
I turned over the sausages after a few minutes:
Sausages turned after a few minutes
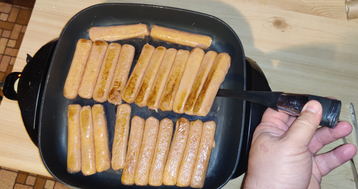
Sometimes, a flipper is needed to loosen the sausages in order to turn them over:
Using a flipper to lift and turn over sausages
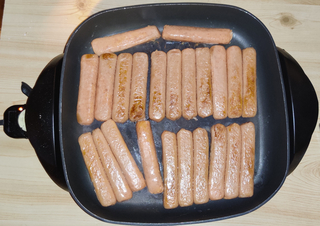
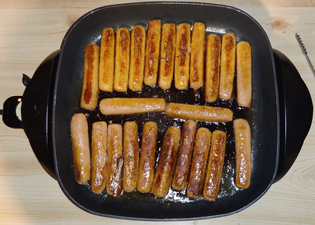
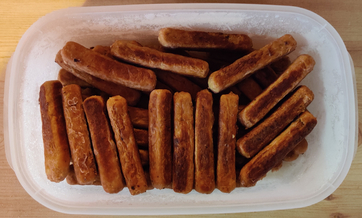
The sausages were turned again and were beginning to brown:
Sausages turned again after a few minutes
The sausages were turned yet again and continued to brown:
Sausages turned yet again after a few minutes
At this point, a cookie baking tray was taken out:
Cookie baking tray taking out
As the sausages began to be cooked, they were taken out of the electric skillet and placed on the cookie baking tray …
Cooked sausages placed on cookie baking tray
… while the rest of the sausages were kept in the skillet to continue cooking …
Finishing cooking the rest of the sausages
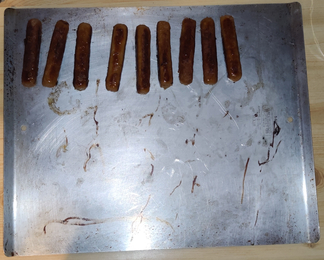
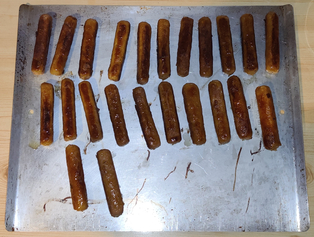
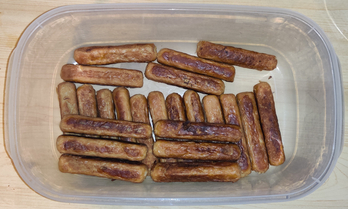
… and once all of the sausages were cooked, they were all placed on the cookie baking tray:
First half of the cooked sausages on the cookie baking sheet
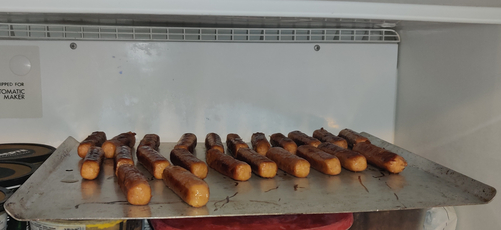
The cookie baking tray of sausages were placed in the freezer:
Cookie tray of cooked sausages placed in freezer
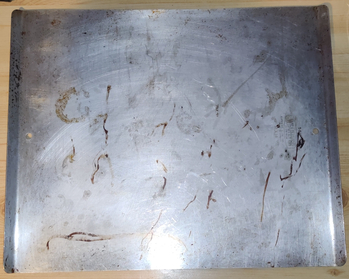
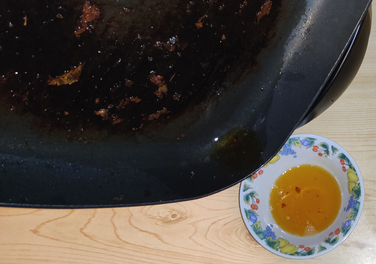
The grease was drained from the electric skillet:
Grease drained from electric skillet
The process was repeated and the rest of the package of sausages was also cooked in the skillet the same way.
The grease was allowed to cool, and when it had solidified, it was wrapped up with the other kitchen wastes from the weekend’s other cooking projects, and brought home to place in the curbside kitchen waste brown box for municipal composting:
Grease allowed to solidify
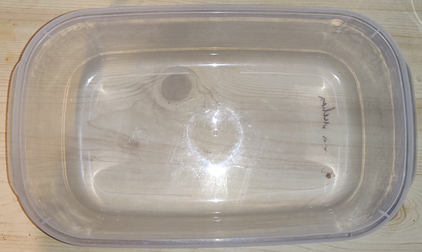
A plastic container was taken out:
Plastic container taken out
The first round of cooked sausages, now partly frozen, were placed in the plastic container, and placed back in the freezer:
Cooked sausages placed in plastic container
When the second half of the sausages were all cooked and frozen, they too were placed in the plastic container, and placed back in the freezer:
Cooked sausages placed in plastic container
I now have several months’ worth of yummy, cooked sausages in the freezer, and I have indeed already eaten some!