Making Tiramisu Layer Cake — Photos

Since I don’t care much for coffee, I have perhaps tried tiramisu once or twice in my life, although I am struggling to recall said occasion(s).

That being said, I was very interested in a “quick tiramisu” (here’s my archive) I saw being made on a “30-minute meal” TV show. The “easy shortcut” of using a store-bought loaf cake as well as the recipe in general completely captivated me, and I decided that I must make it. Of course, I sidestepped the defining shortcut of the recipe by realizing that “I know how to make a loaf cake!” (loaf cake recipe here). As such, I make my own loaf cake “in-house” for this recipe.

This last part being said, in this post I won’t show the making and baking of the loaf cake for two reasons:

For the record: Yes, I indeed licked the utensils and the bowls used for the coffee cream and whipped cream. 👨‍🍳

Making the tiramisu cake:

First, I baked a plain vanilla loaf cake earlier in the day, and I let it cool:
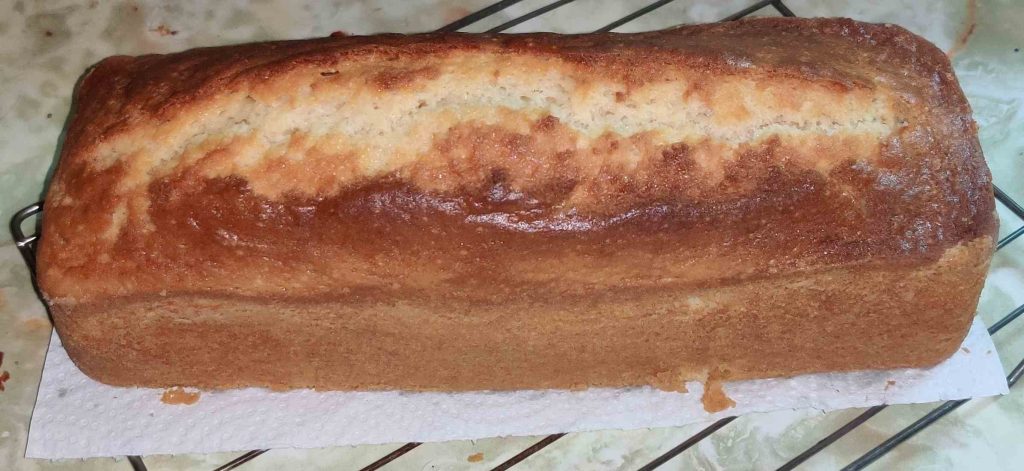
Plain loaf cake baked earlier in the day

Also, cream cheese was taken out soon after baking the cake so that the cream cheese could warm up to room temperature or thereabouts:
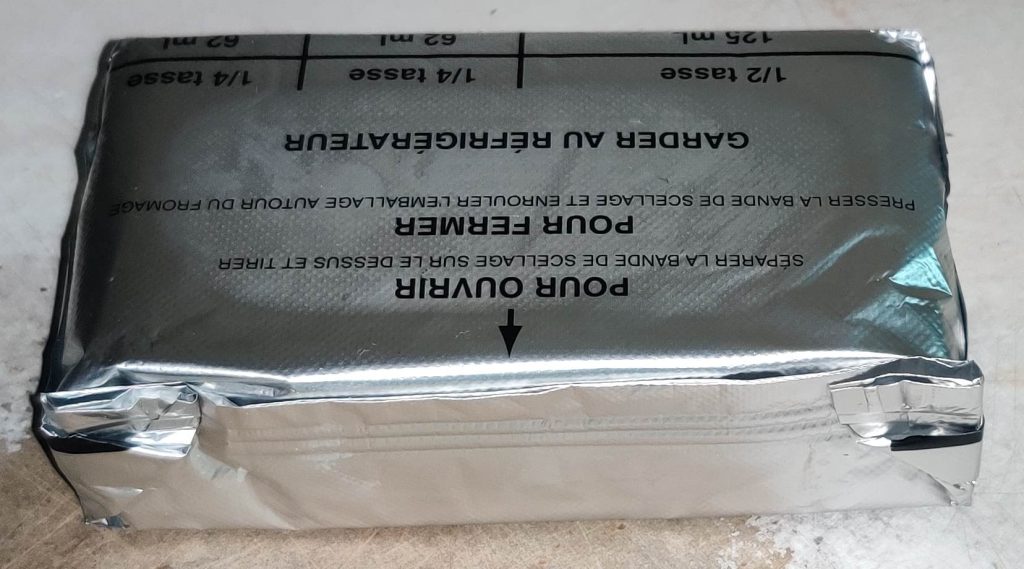
Cream cheese taken out to warm up

Later, when I was beginning to make the tiramisu layer cake, all the ingredients — loaf cake, cream cheese, milk, instant coffee crystals, icing sugar, whipping cream, and cocoa powder — were taken out:
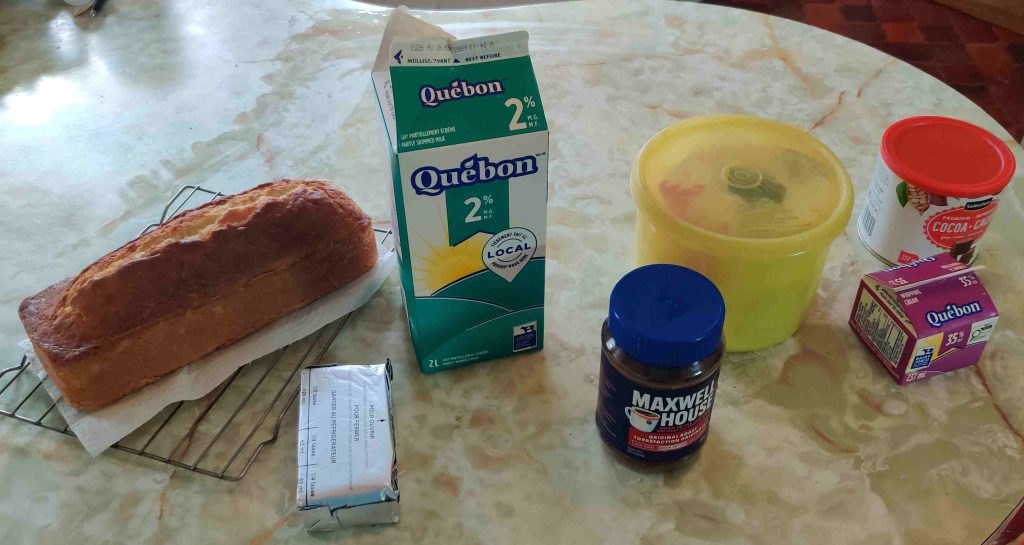
Ingredients taken out

Water was quickly drawn into a kettle to boil to make the strong coffee:
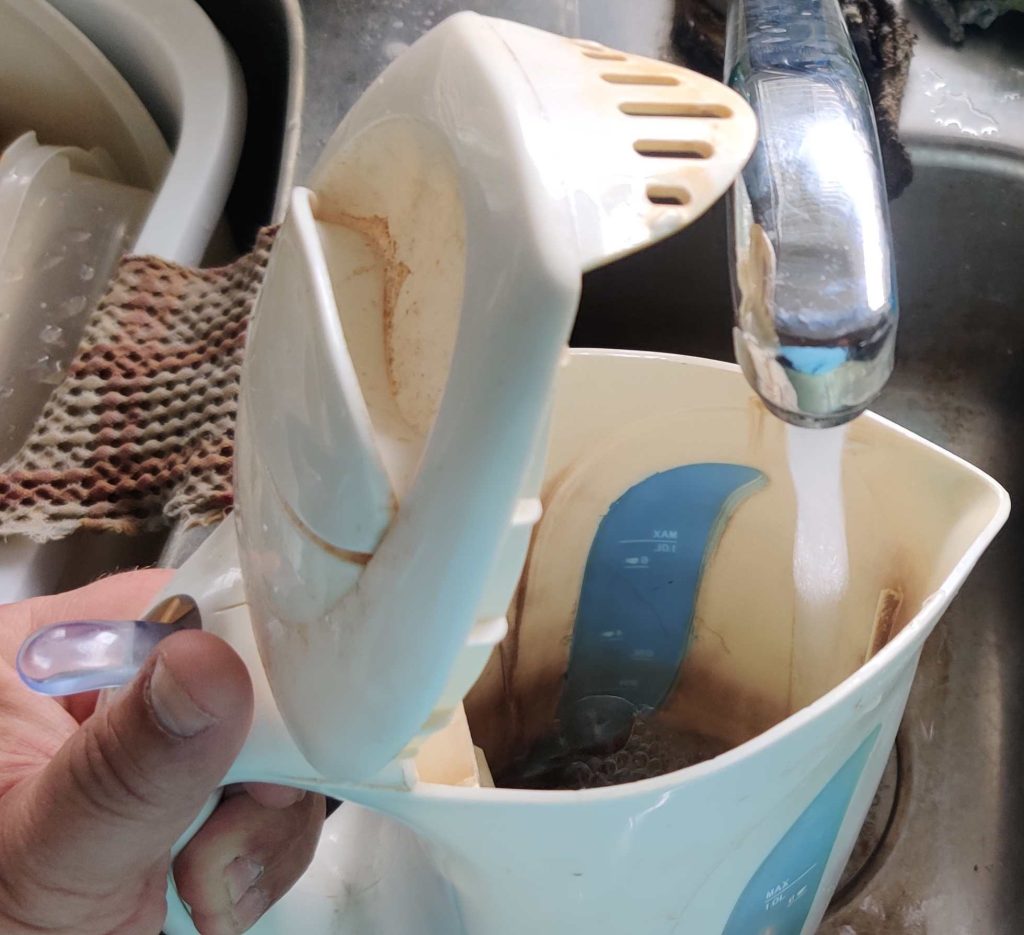
Water drawn to make coffee

The kettle was plugged in and turned on, so as to boil the water:
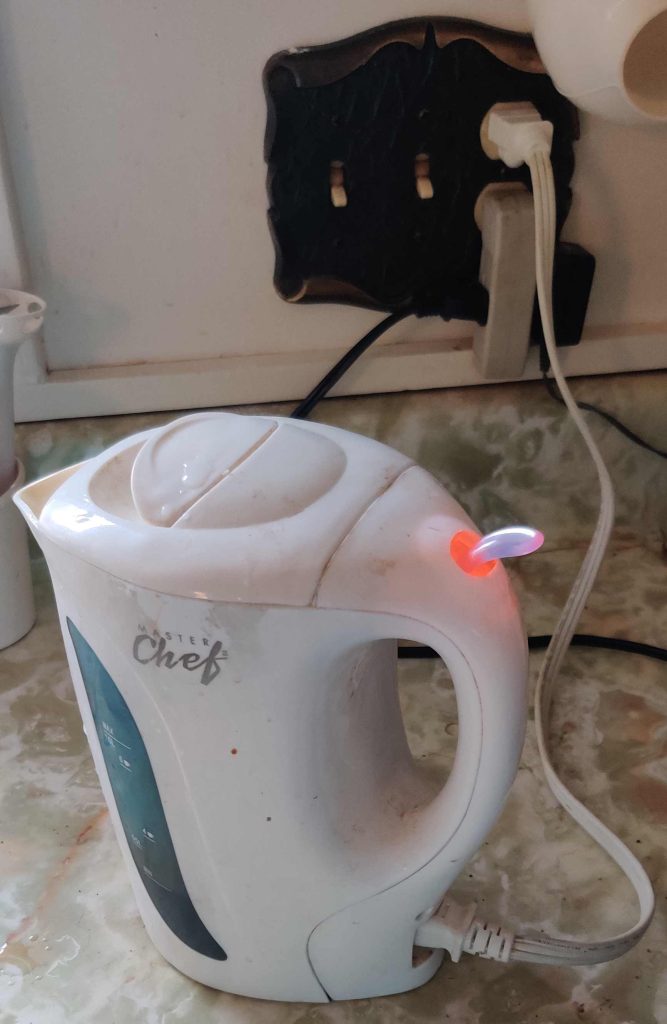
Kettle plugged in and turned on

While the water was boiling, instant coffee crystals and a measuring spoon were taken out:
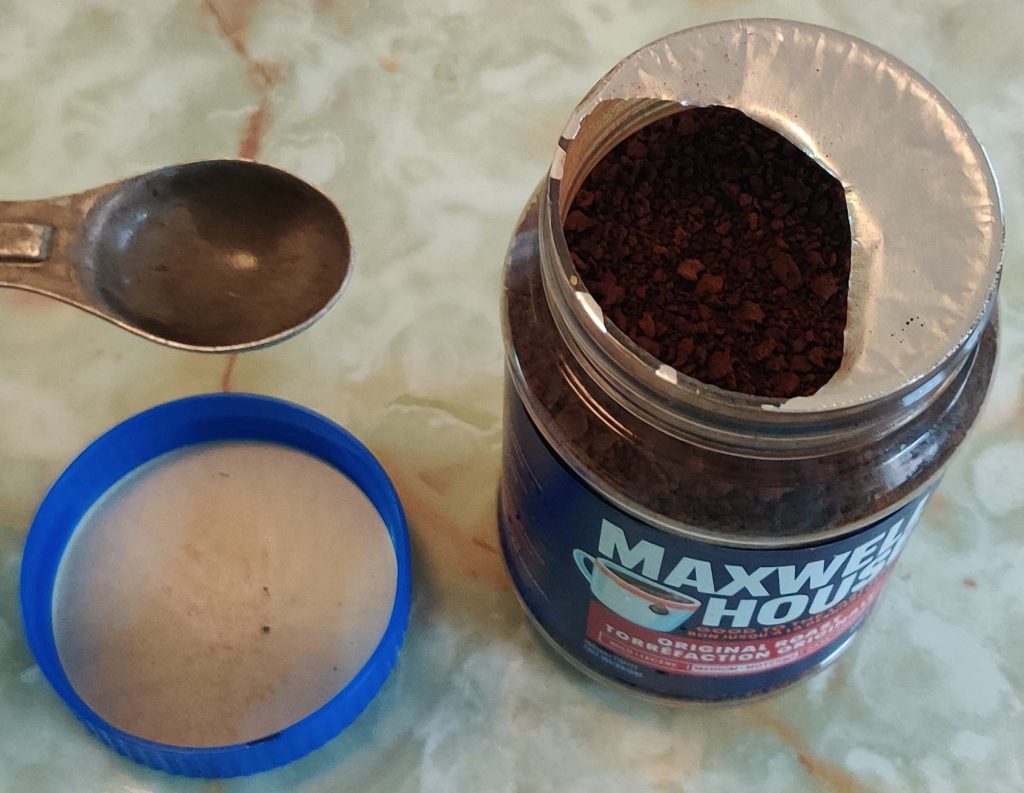
Instant coffee crystals taken out

Two teaspoons of instant coffee crystals were measured out:
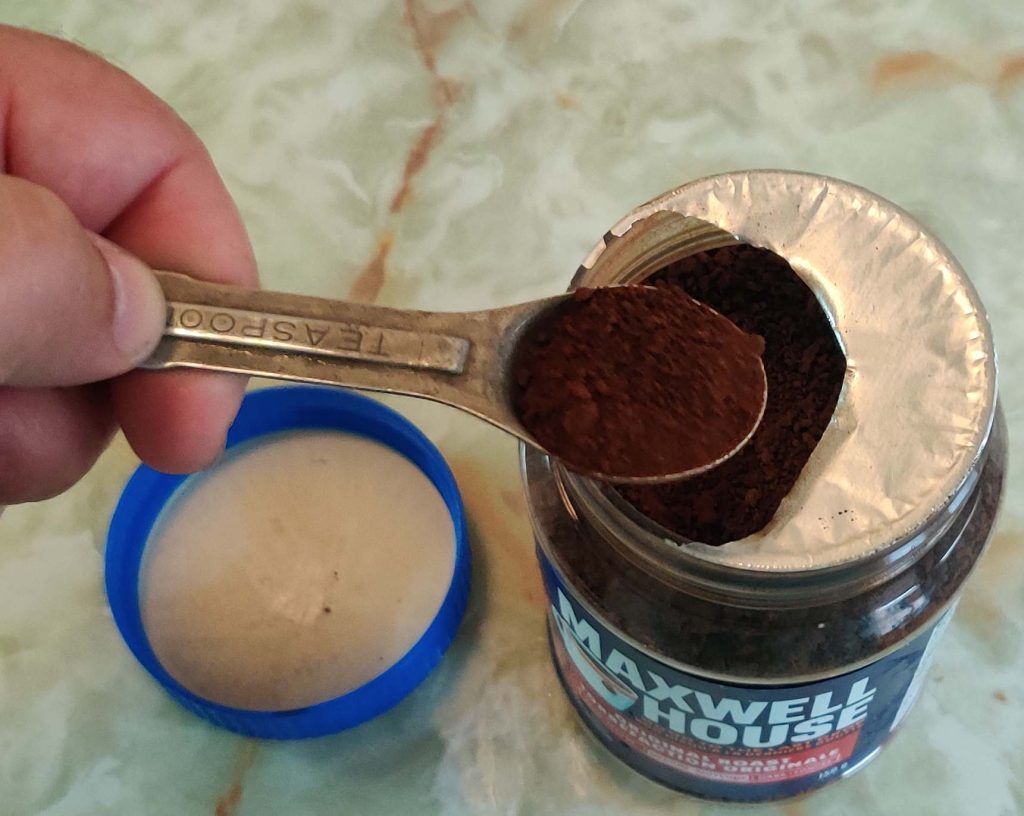
Instant coffee crystals measured out

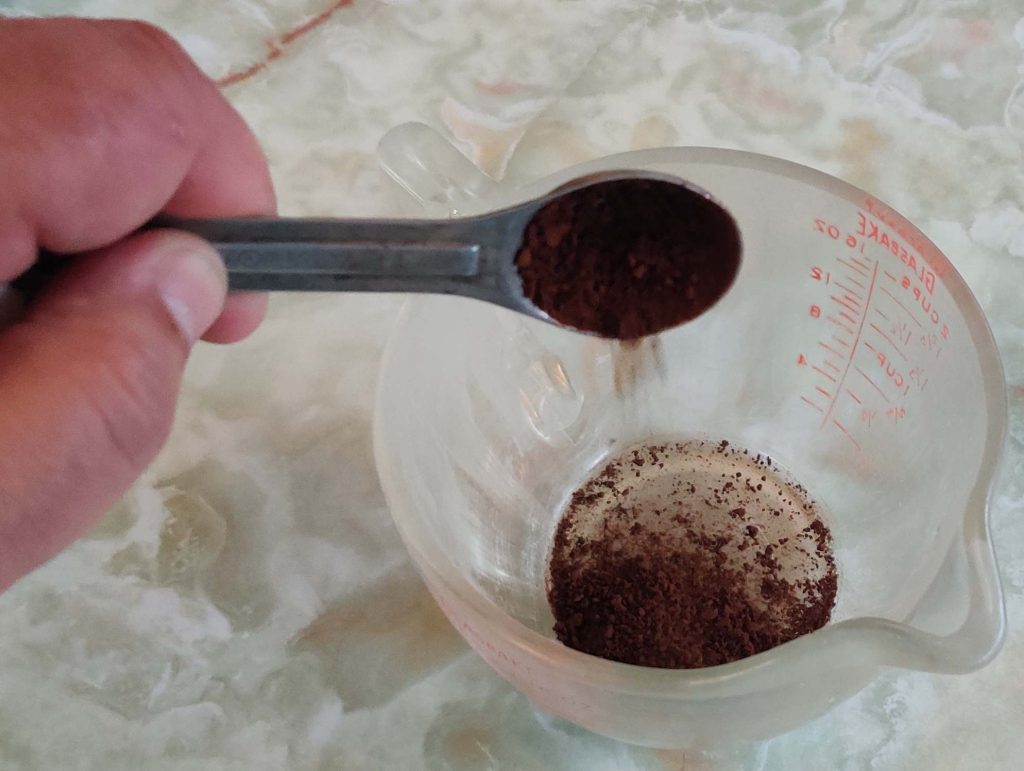
The instant coffee crystals were transferred to a heat-proof measuring cup:
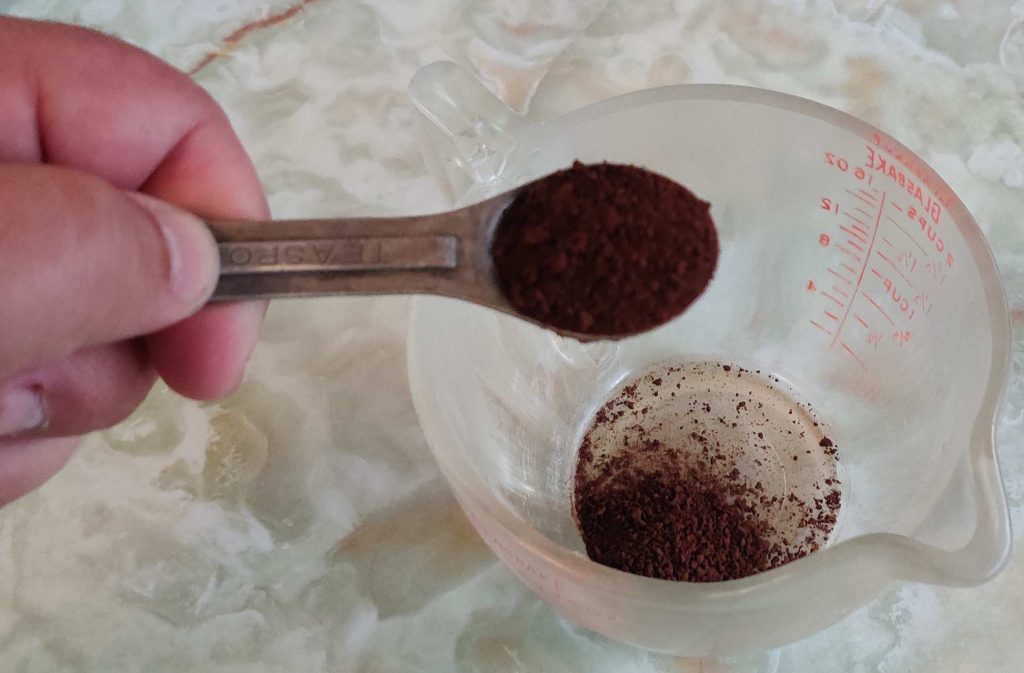
Coffee crystals transferred to measuring cup

At this point, the kettle of boiling water was brought to the measuring cup, and water was transferred to the measuring cup:
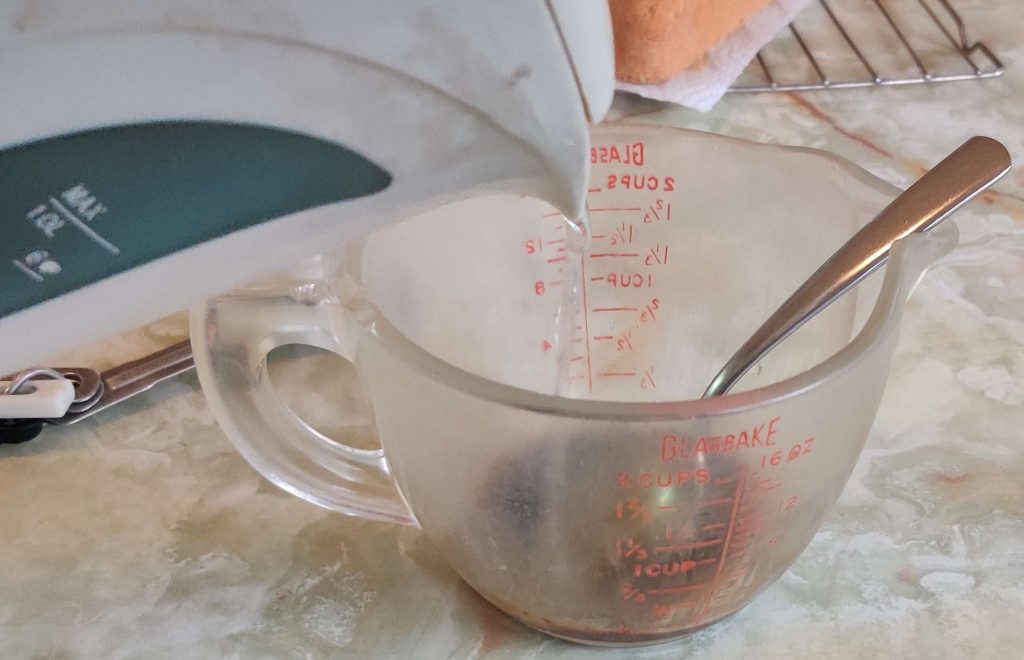
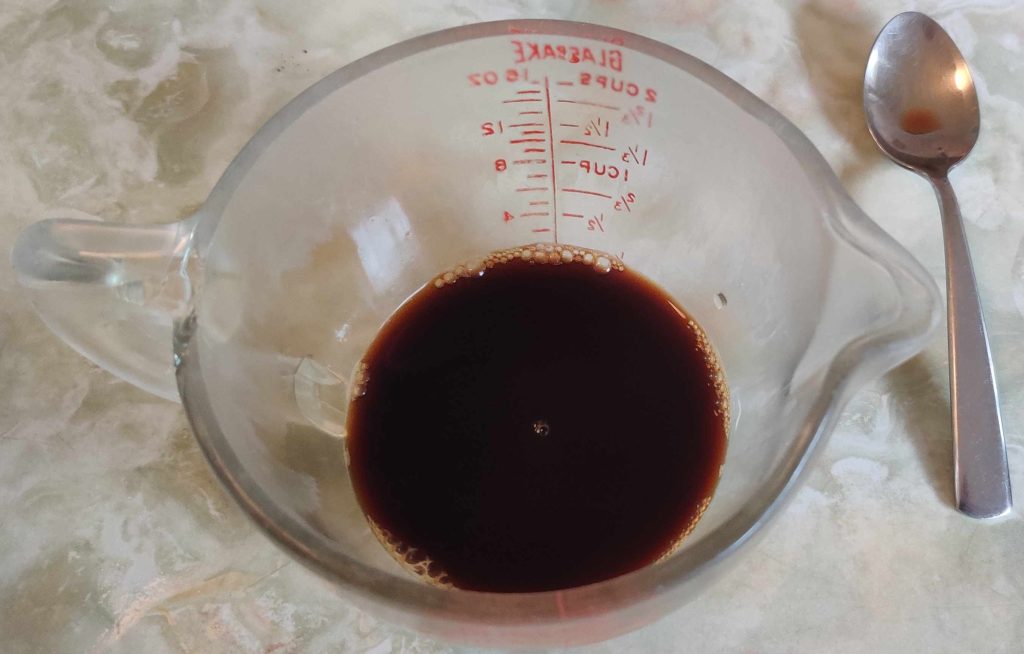
Boiling water added to measuring cup
Boiled water added to measuring cup

I noticed that I poured out three ounces of boiling water instead of two ounces of water:
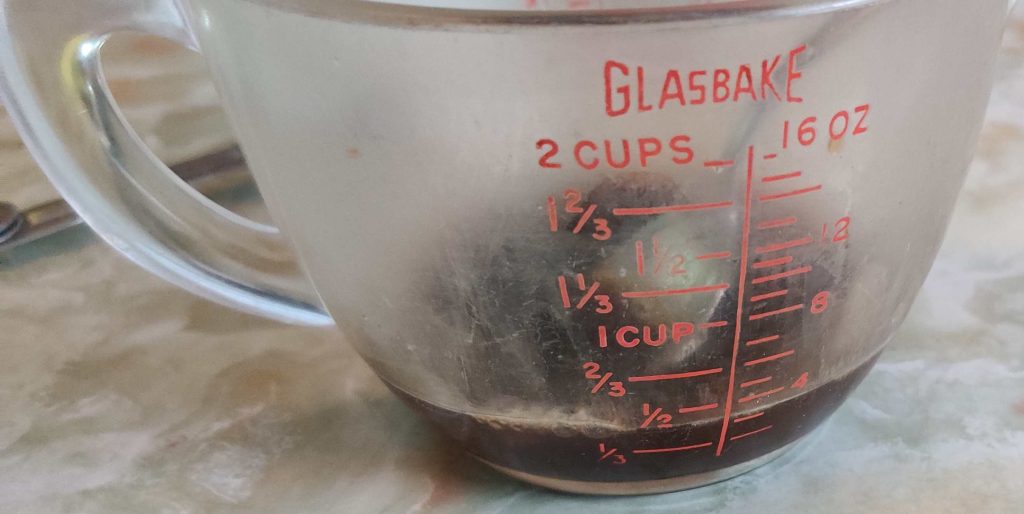
Ooops! A bit too much water was added … but don’t worry, it’s not a disaster

A bit of commentary: The thing to remember here is that in this case, a fixed amount of instant coffee was used instead of fresh espresso, so the water is doing two things: While the water is dissolving the instant coffee so that it distributes more evenly than the dry powder alone would, the coffee taste and intensity in the final product come from the fixed amount of two teaspoons of instant coffee in the recipe, and obviously not that the crystals were dissolved in three ounces of water instead of two). And, secondly, the water is also affecting the liquid balance in the recipe to smooth out the cream cheese in the mix; since a bit too much water was added to dissolve the otherwise fixed amount of instant coffee, the amount of milk added in the upcoming step was reduced. (Were fresh espresso be used instead, the liquid balance issue would remain; however, an even stronger coffee flavour would be brought to the dessert, which may be either a good or not so good thing, depending on your perspective and preference — or what you might want to do with the extra ounce, like top up your own cup of espresso! 🙂 )

The hot strong coffee was placed in the freezer to cool it down quickly:
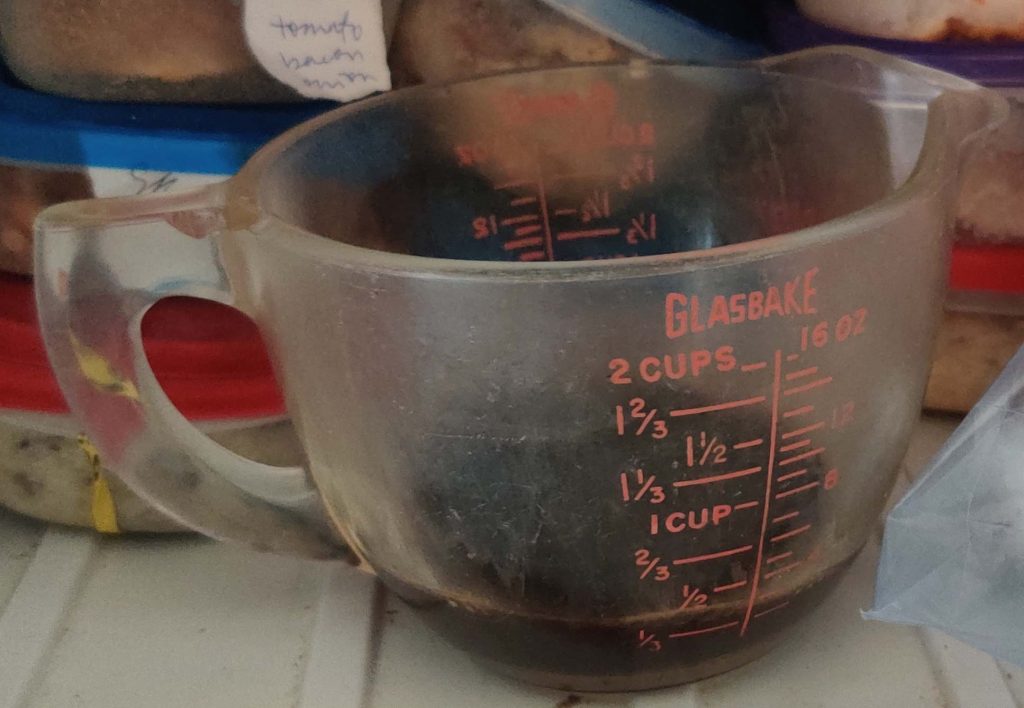
Hot coffee placed in freezer to cool down

The package of cream cheese was opened with a pair of scissors:
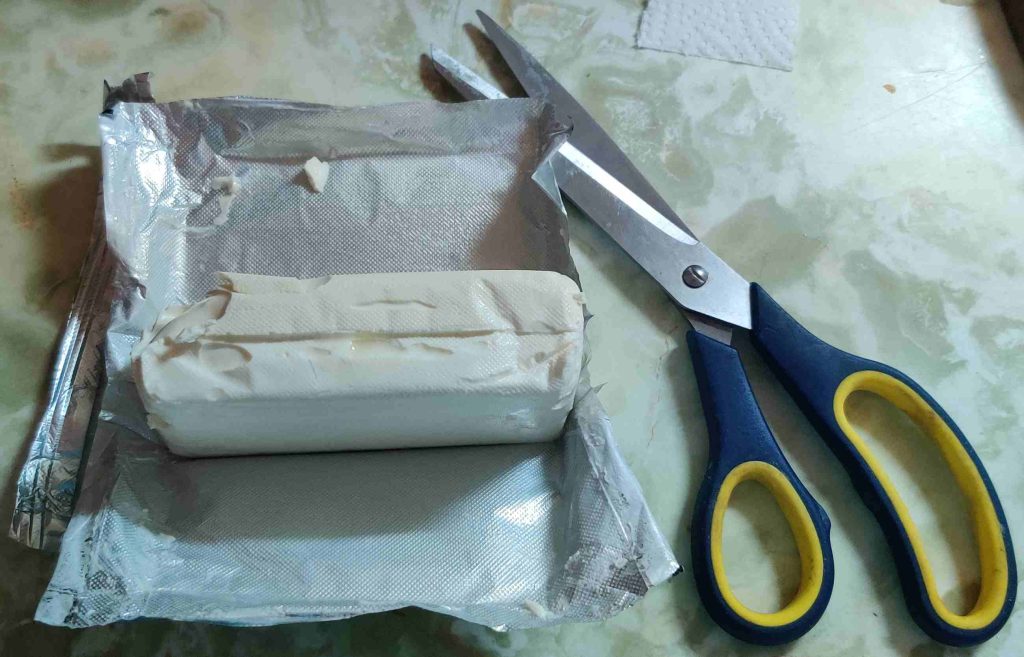
Package of cream cheese opened

The cream cheese was transferred to a mixing bowl:
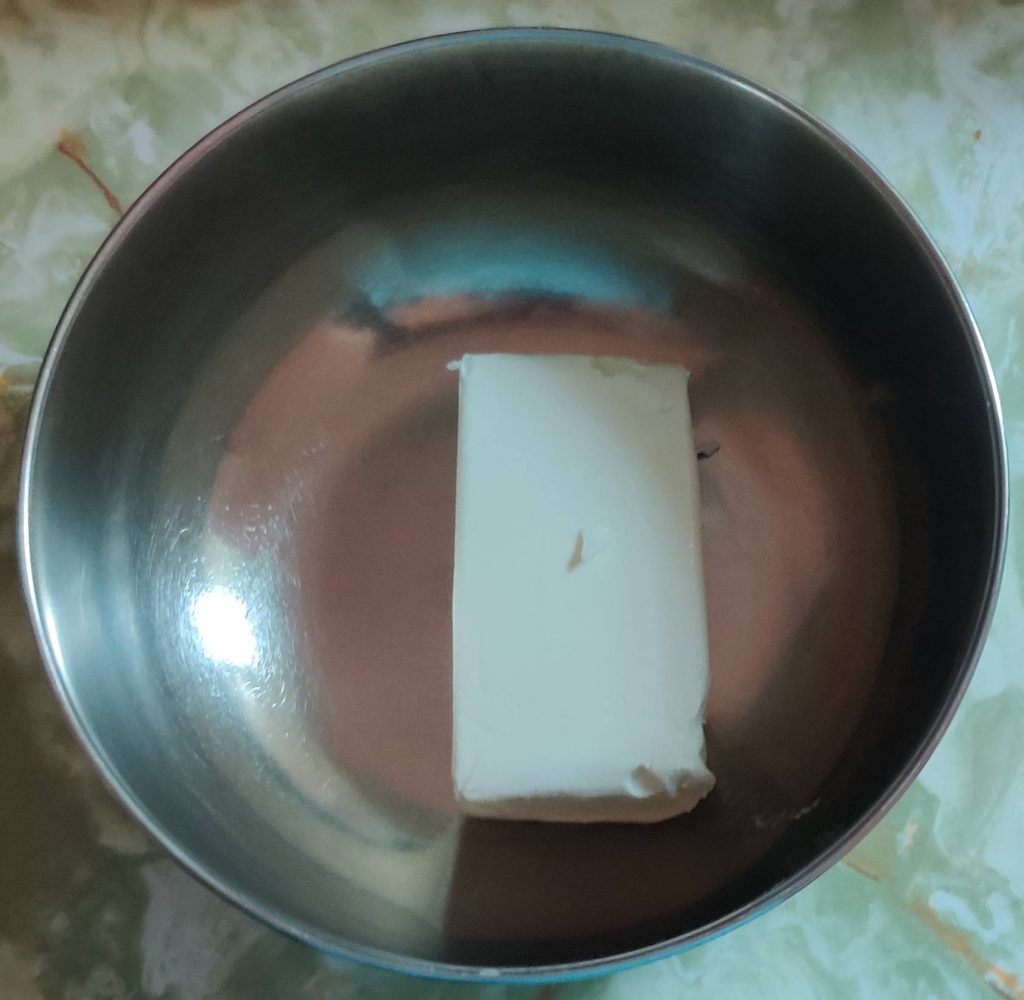
Cream cheese transferred to mixing bowl

An electric beater was brought over in order to cream the cream cheese:
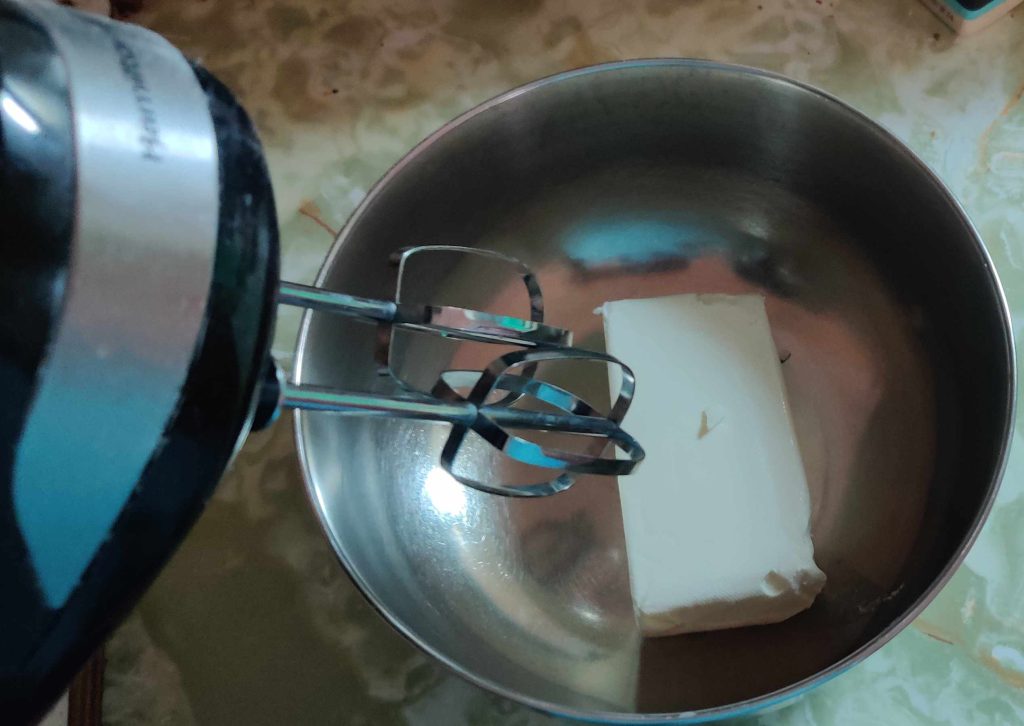
Electric beater brought to mixing bowl

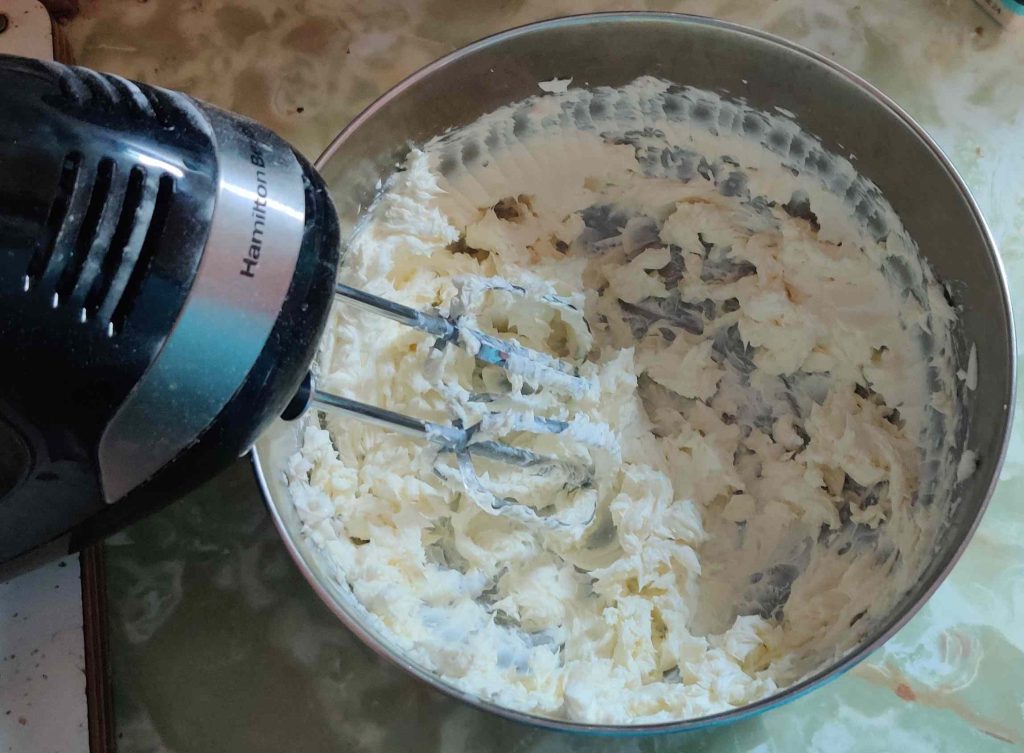
The cream cheese was creamed with the electric beater:
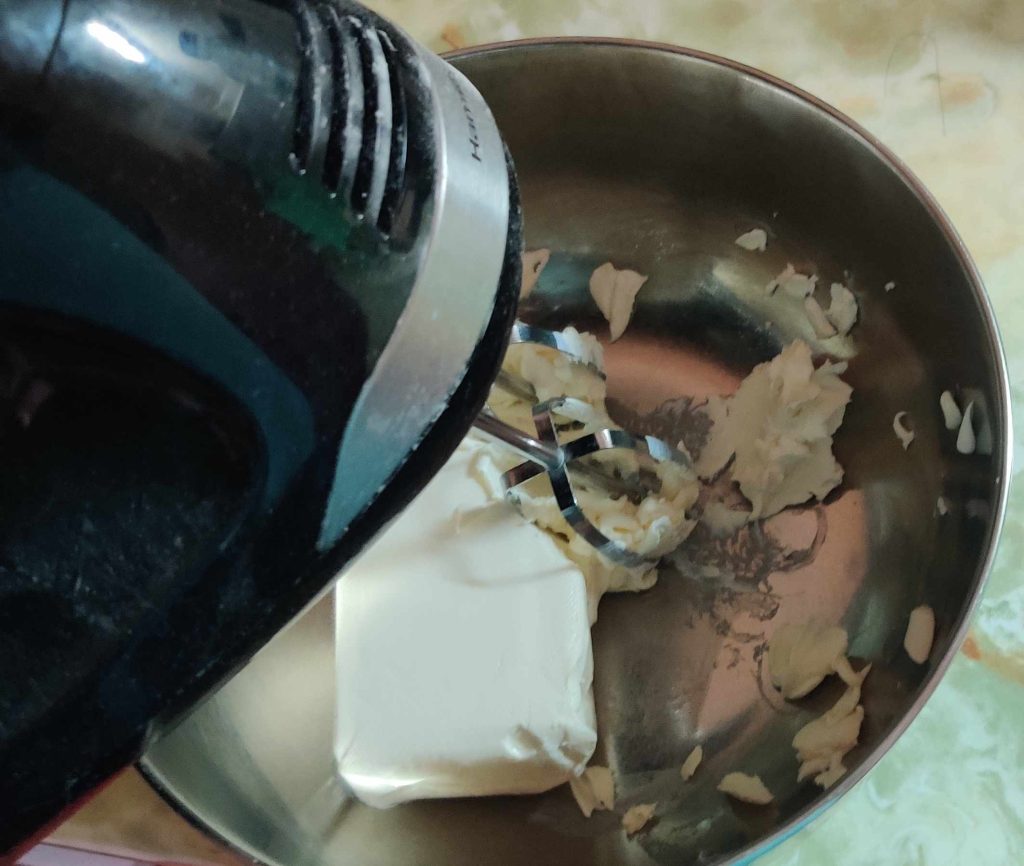
Creaming the cream cheese
Creamed cream cheese

Milk and a measuring spoon were taken out:
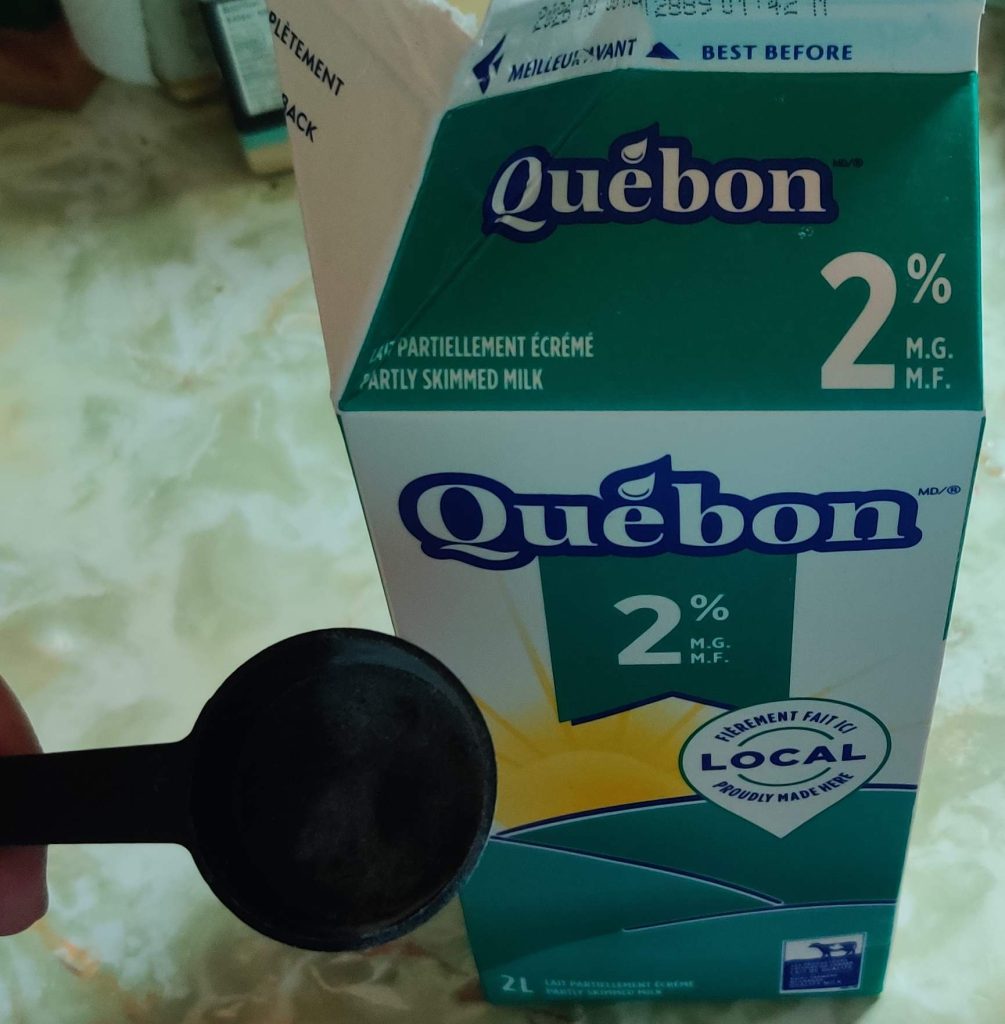
Milk and measuring spoon taken out

As mentioned earlier, one less tablespoon than specified in the recipe (to compensate for the extra water added to the instant coffee crystals) was measured out:
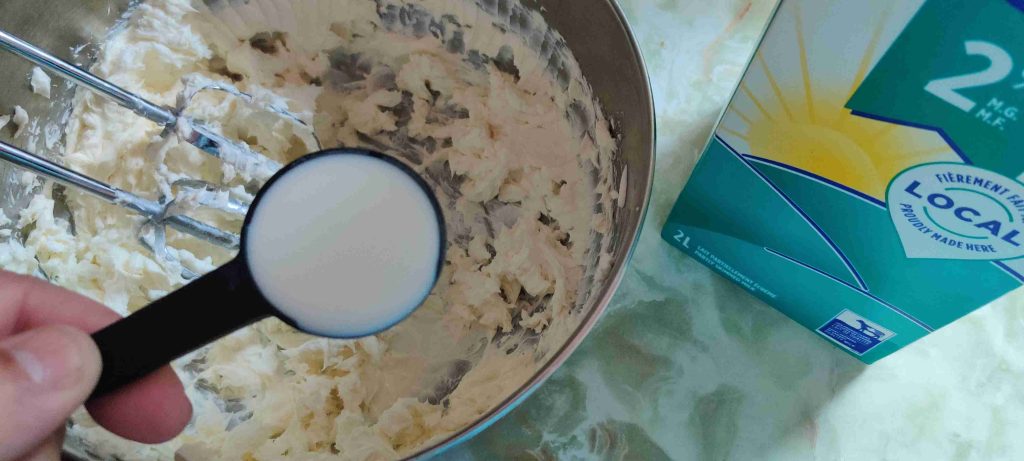
Milk measured out and added to mixing bowl

… and the milk was transferred to the bowl with the creamed cream cheese:
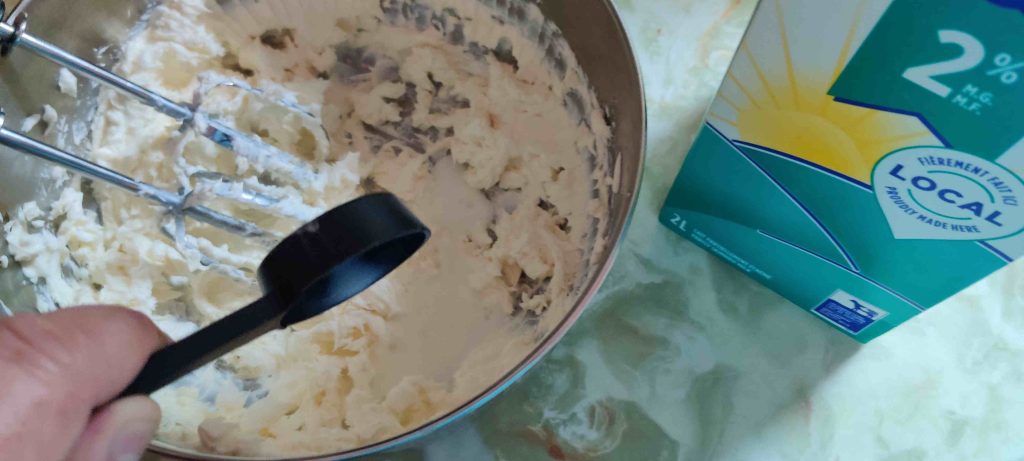
Milk transferred to mixing bowl

The milk and cream cheese were briefly mixed with the electric beater:
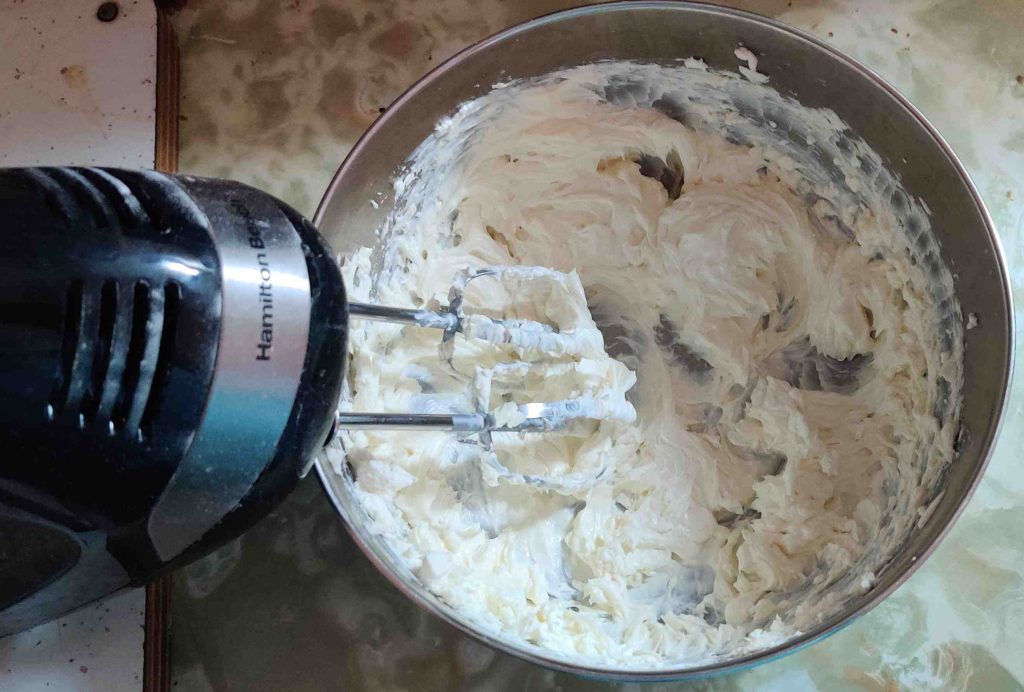
Cream cheese and milk mixed together

Icing sugar and a measuring cup were taken out:
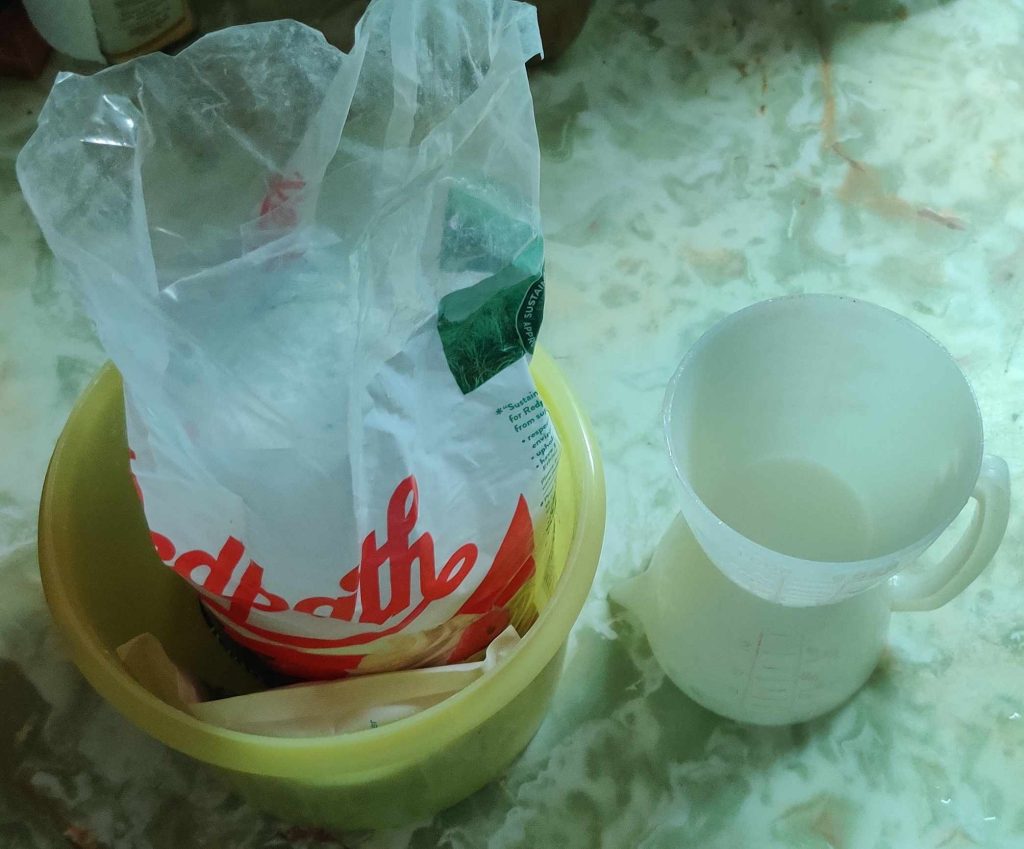
Icing sugar and measuring cup taken out

Icing sugar was measured out:

Icing sugar measured out:

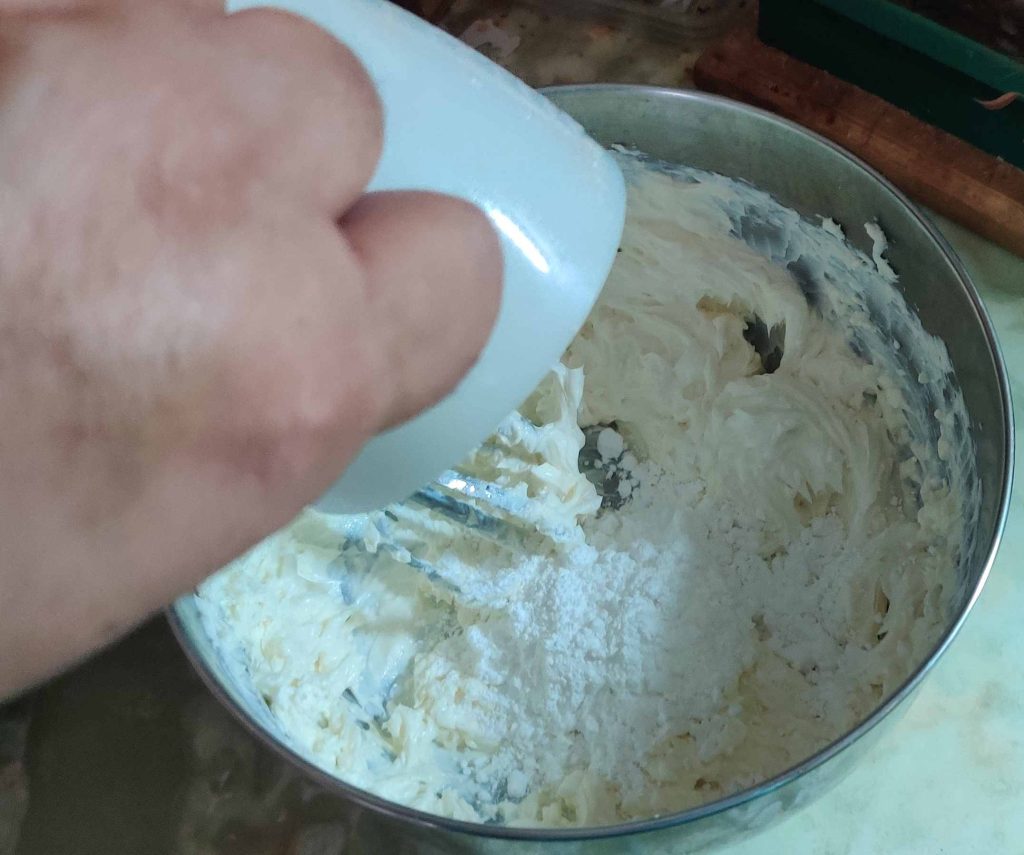
The icing sugar was transferred to the bowl with the cream cheese mixture:
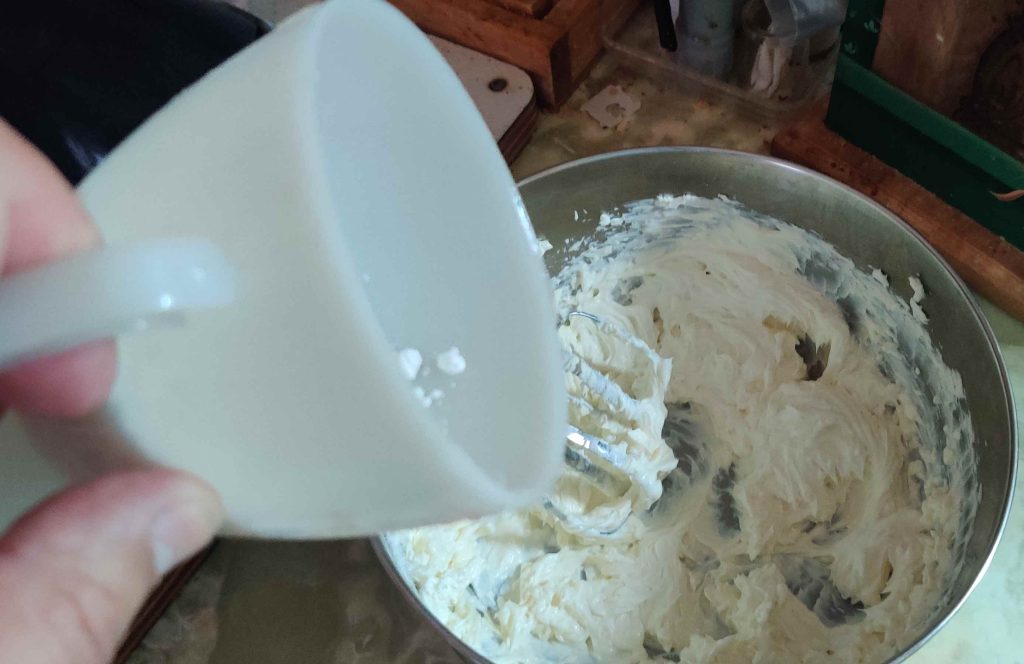
Icing sugar transferred to bowl

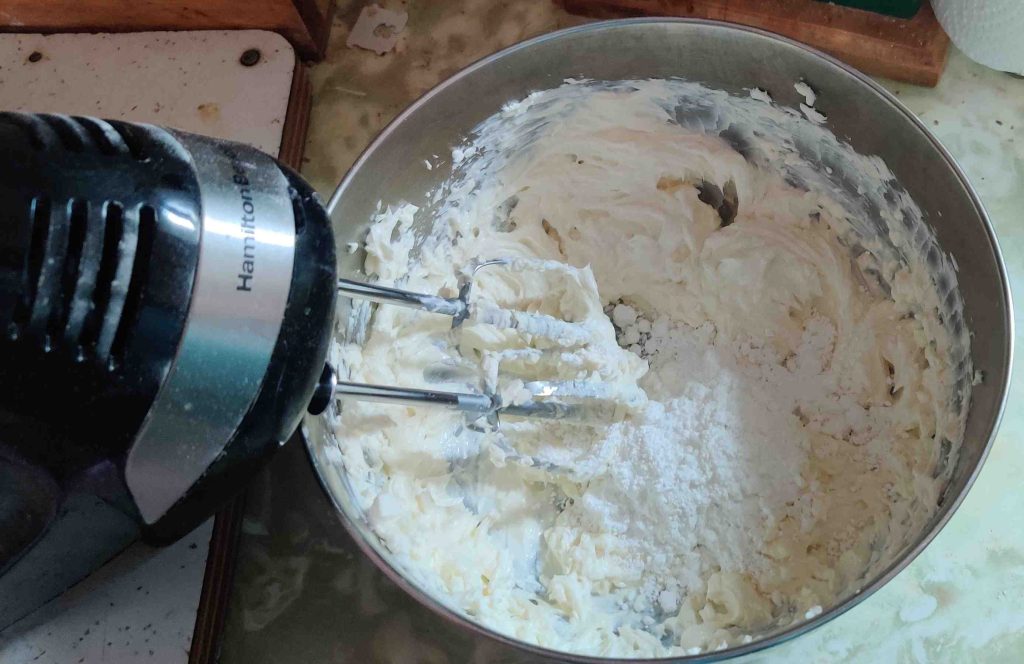
The cream cheese mixture and the icing sugar were blended together with the electric beater:
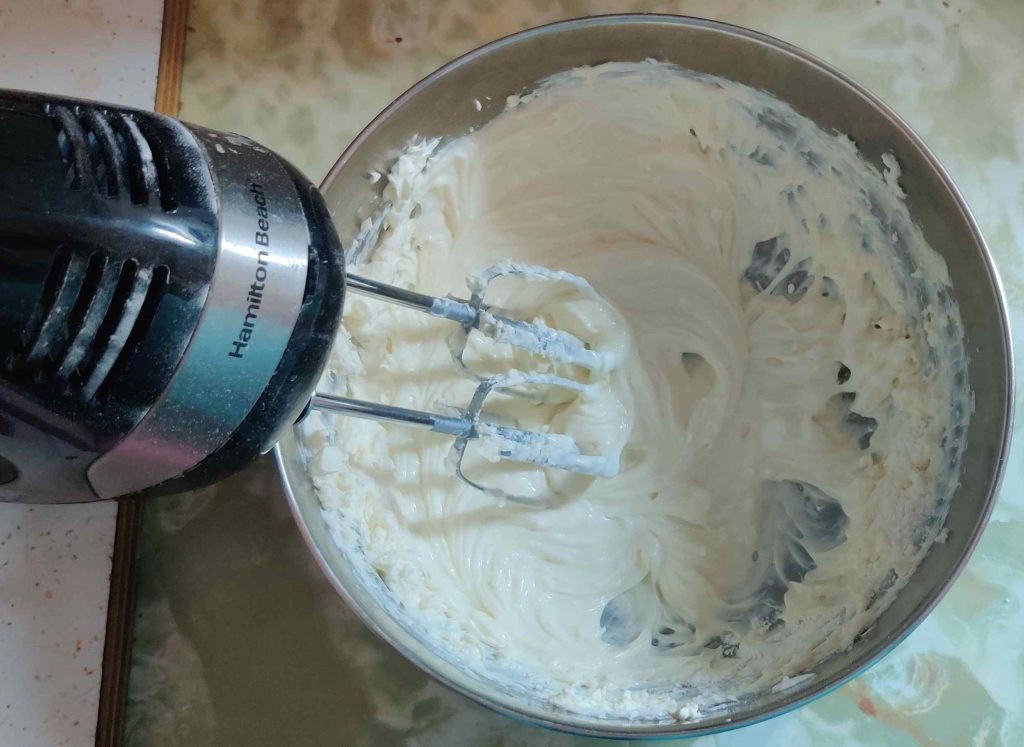
Icing sugar blended into cream cheese mixture

The cooled coffee was taken out of the freezer:
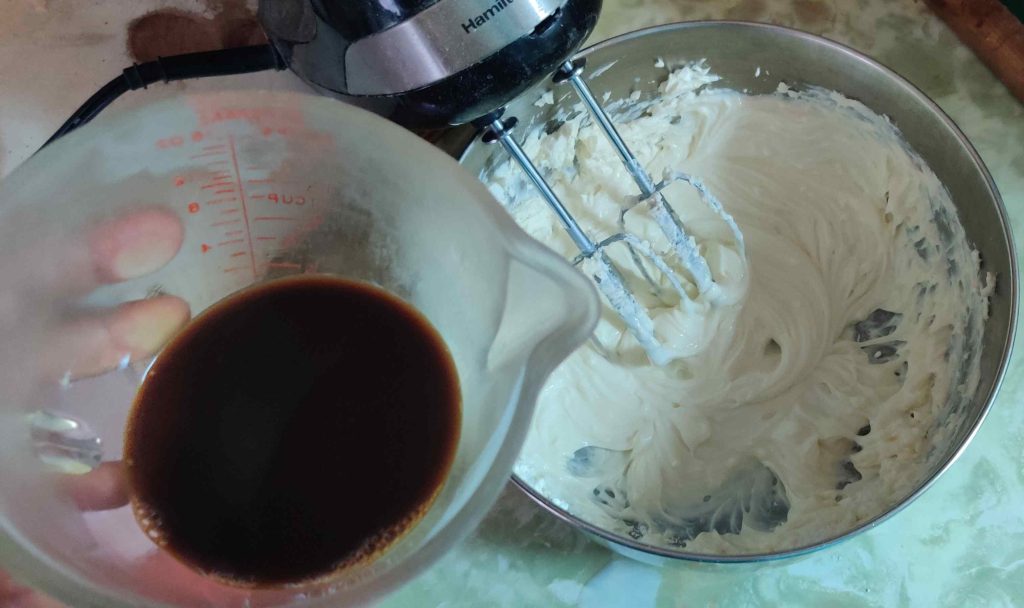
Cooled coffee taken out

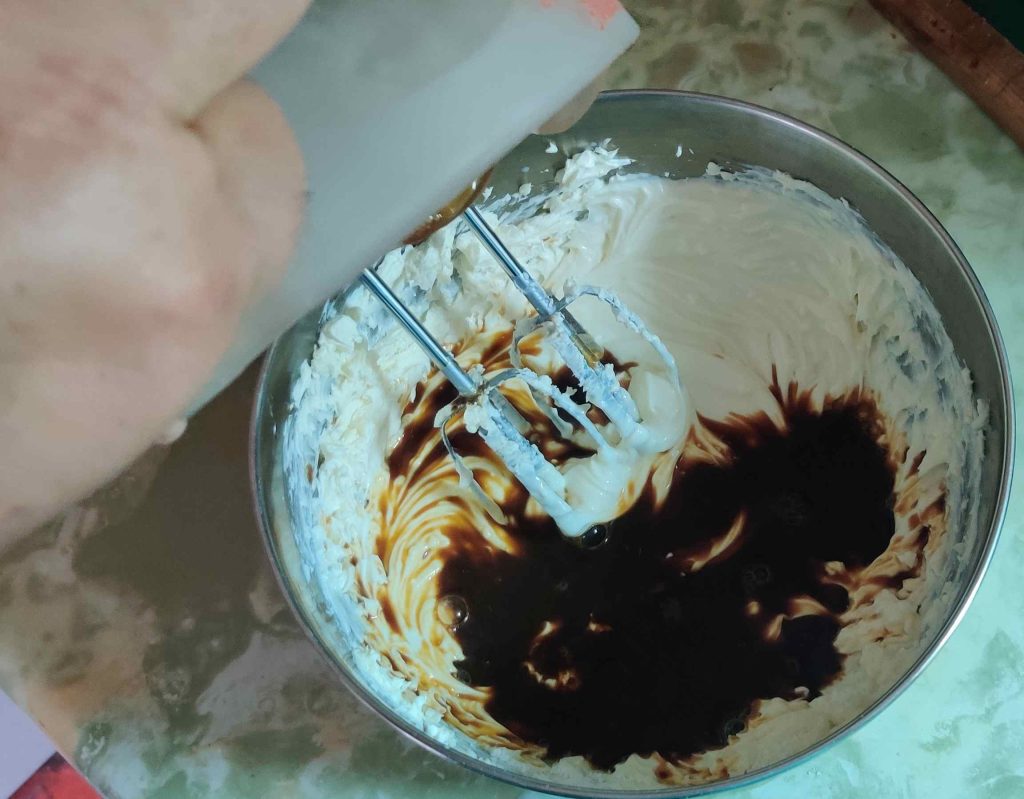
The cooled coffee was transferred to the cream cheese mixture:
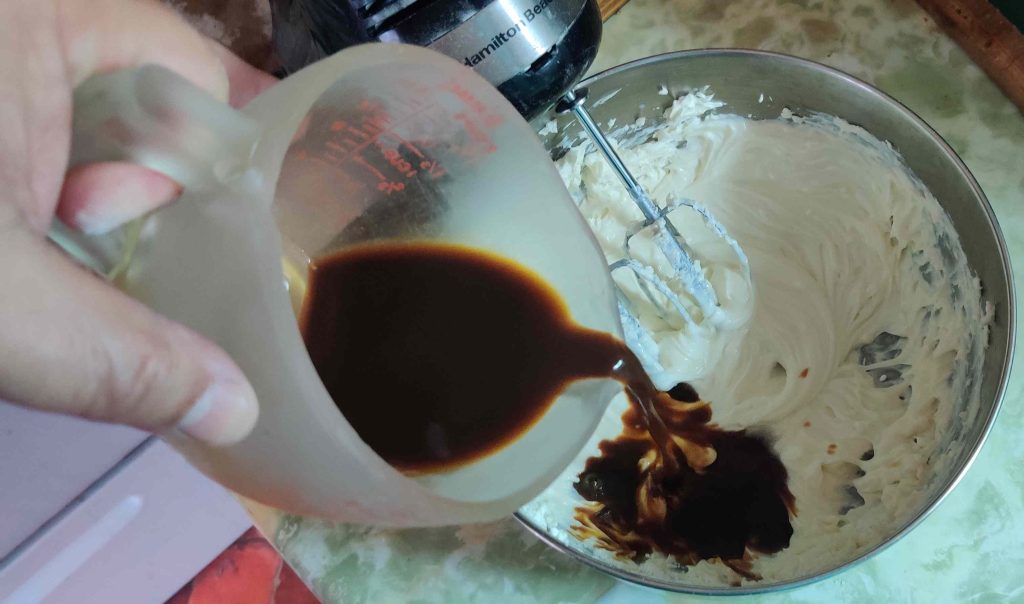
Cooled coffee transferred to cream cheese mixture

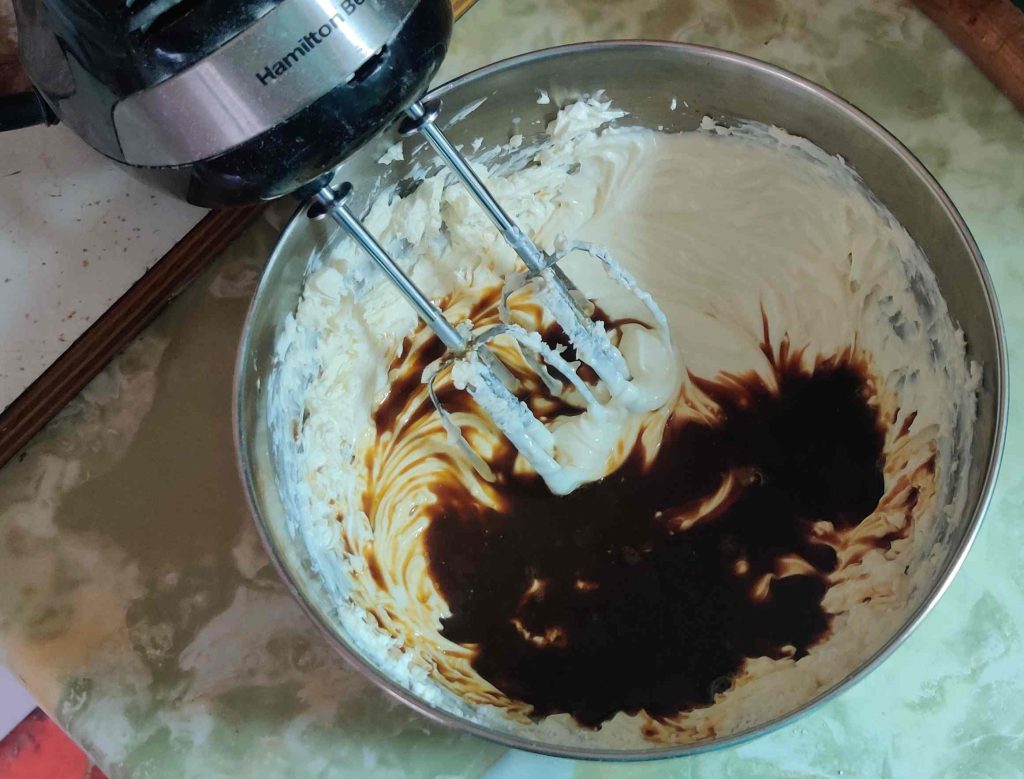
All the ingredients were mixed again with the electric beater, and a couple of spoons were used to scrape the edges of the bowl:
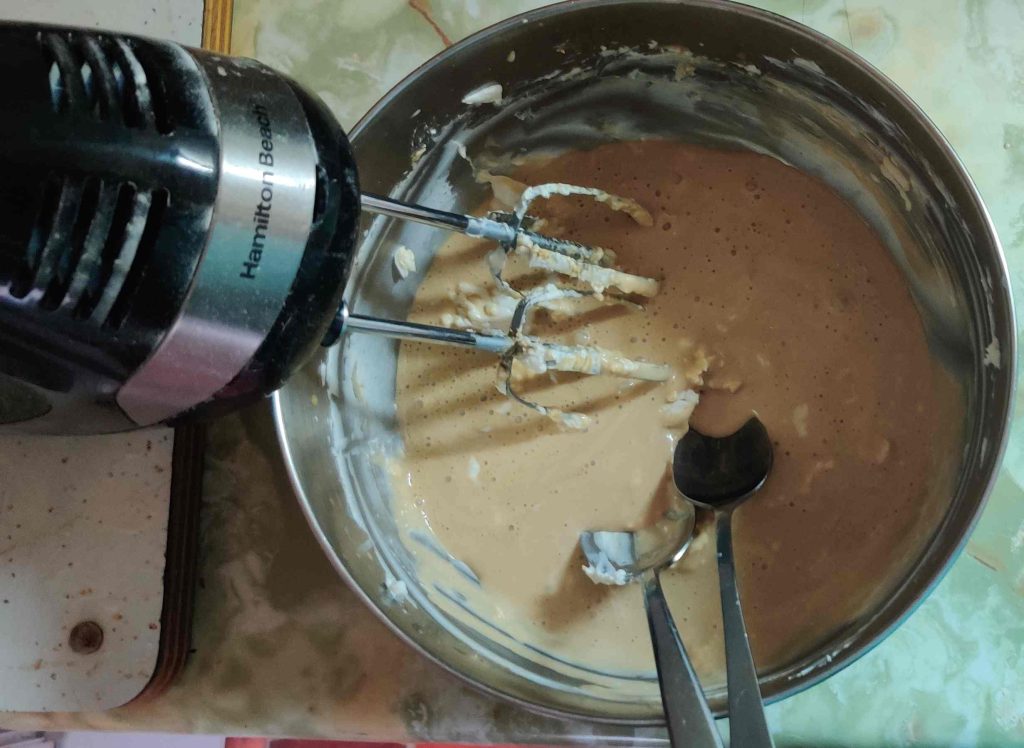
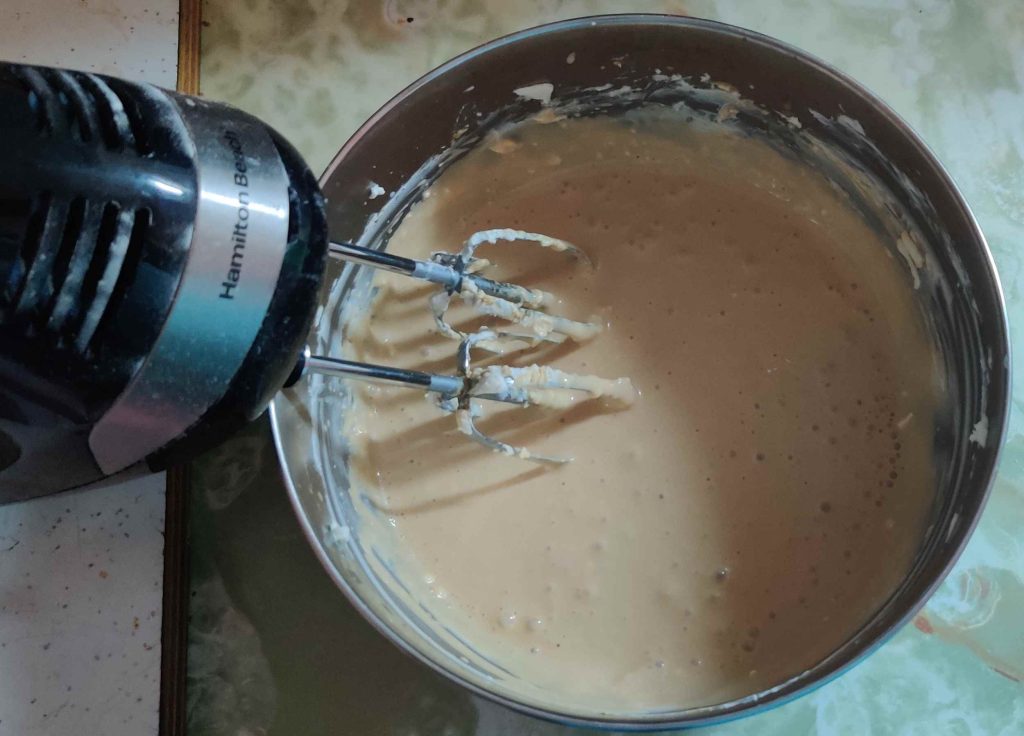
Ingredients mixed, using spoons to scrape edges of the bowl
Ingredients mixed

The cream cheese, milk, icing sugar, and coffee mixture was put aside for a few moments.

Another bowl and some whipping cream (237mL, about a cup) were taken out:
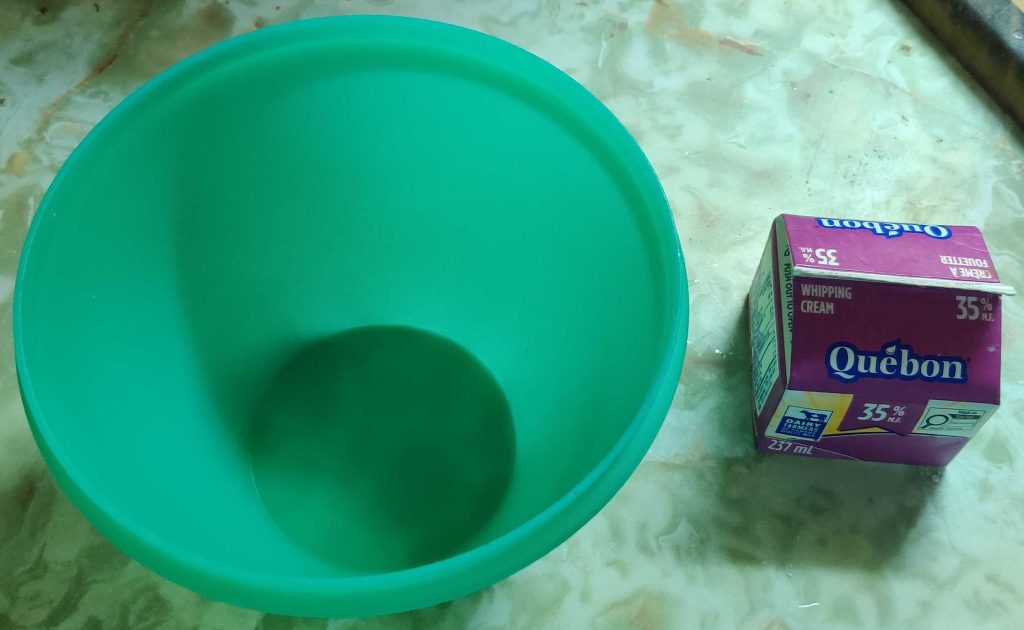
Bowl and whipping cream taken out

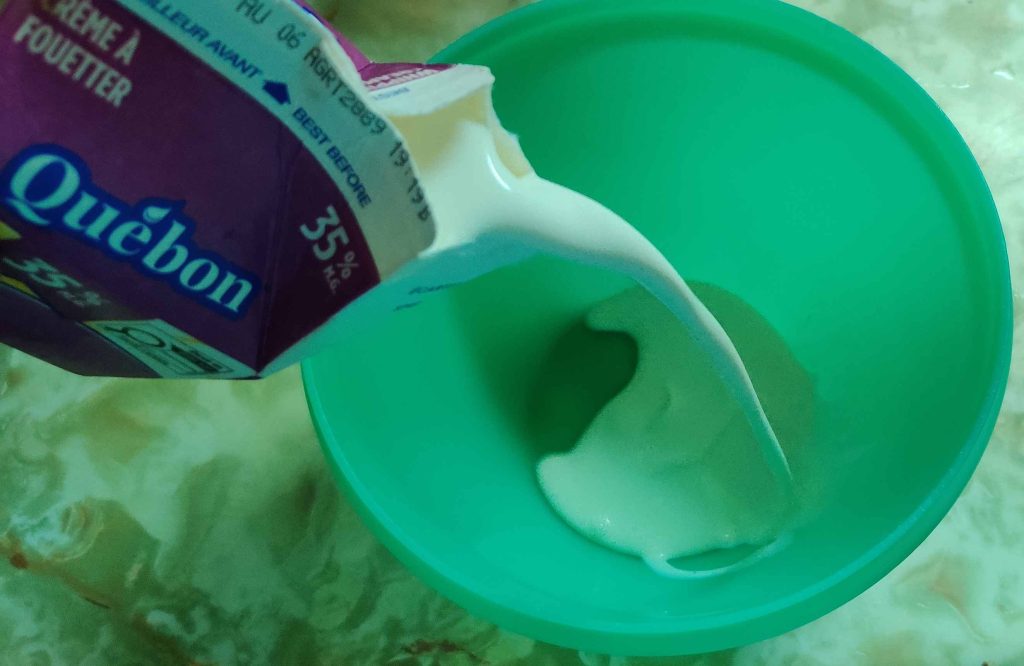
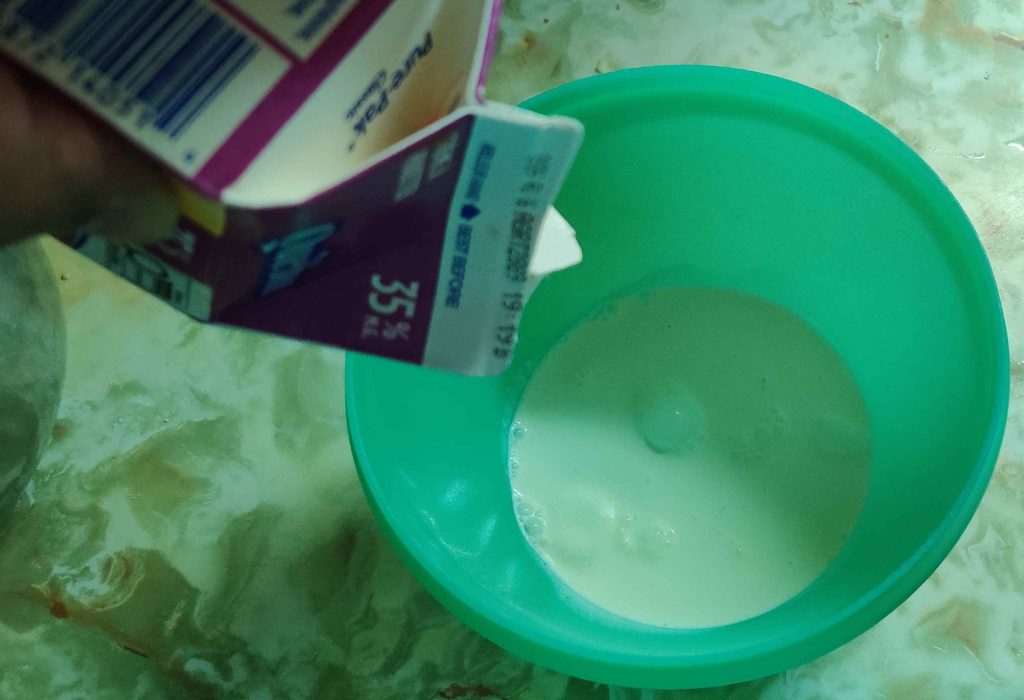
The carton of whipping cream was opened:
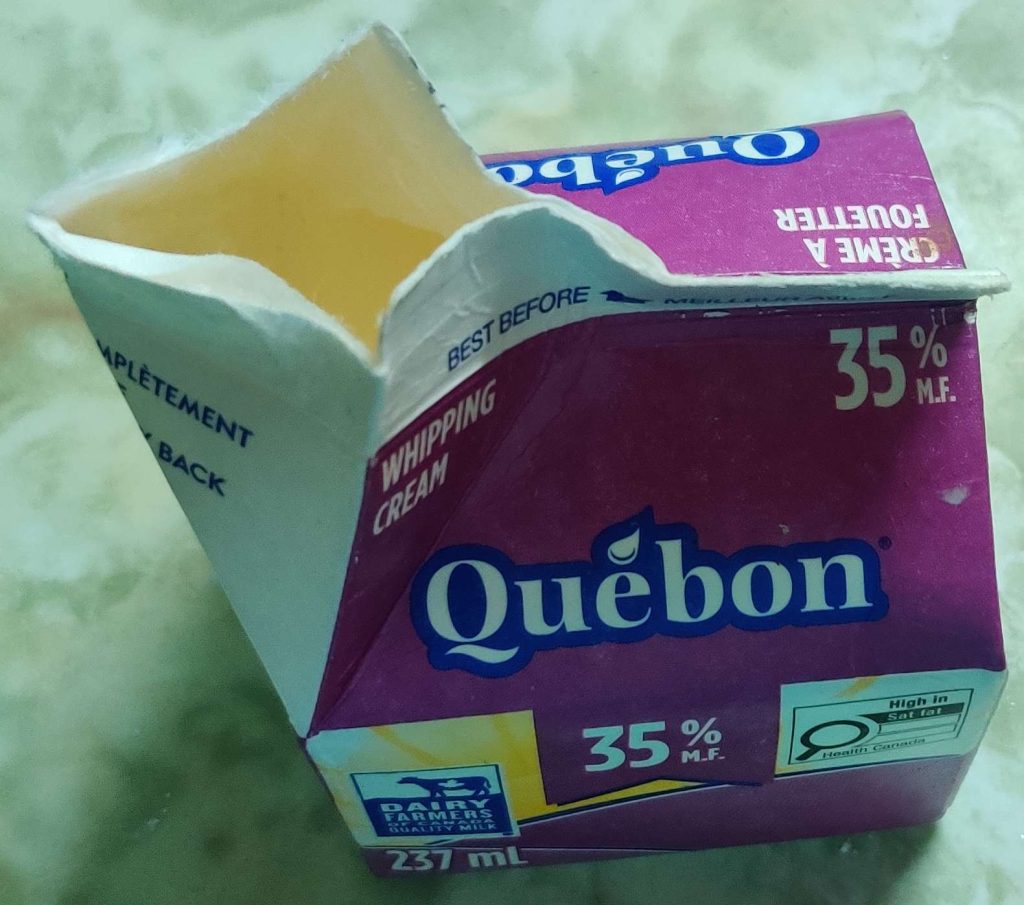
Carton of whipping cream opened

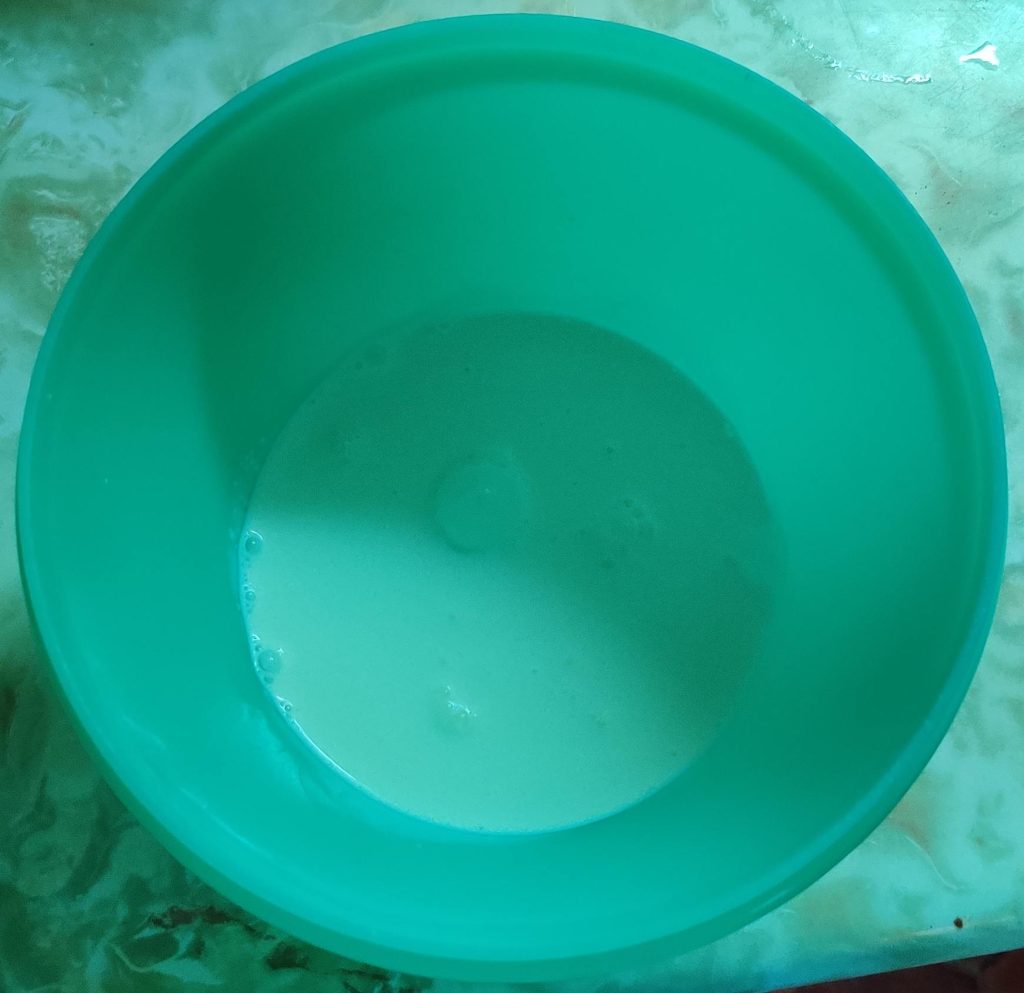
The whipping cream was transferred to the bowl:
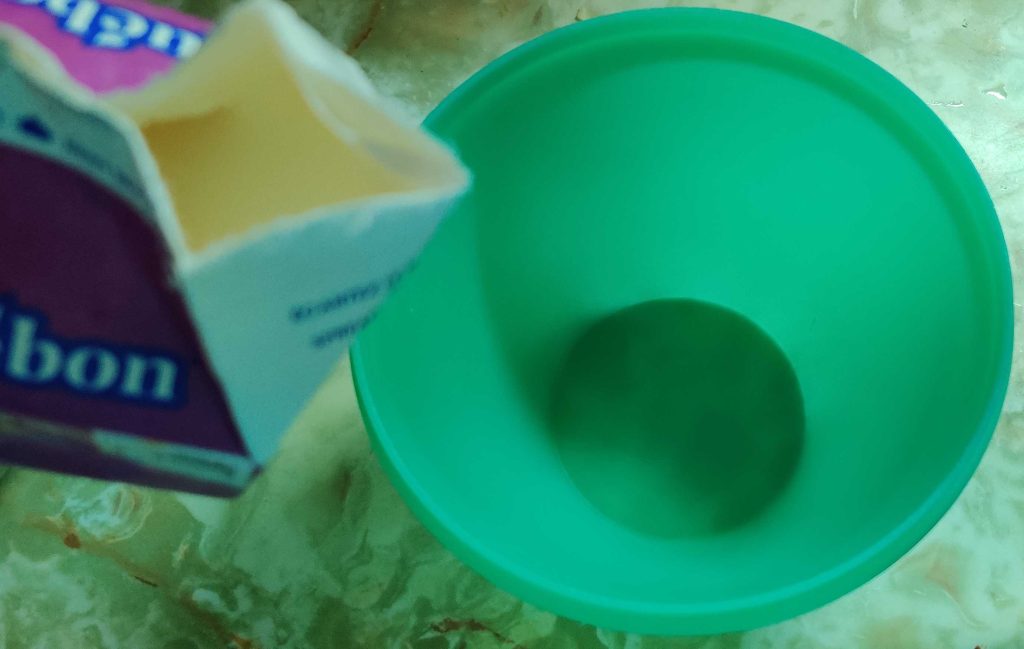
Whipping cream transferred to bowl

The electric beater was brought to the bowl with the whipping cream:
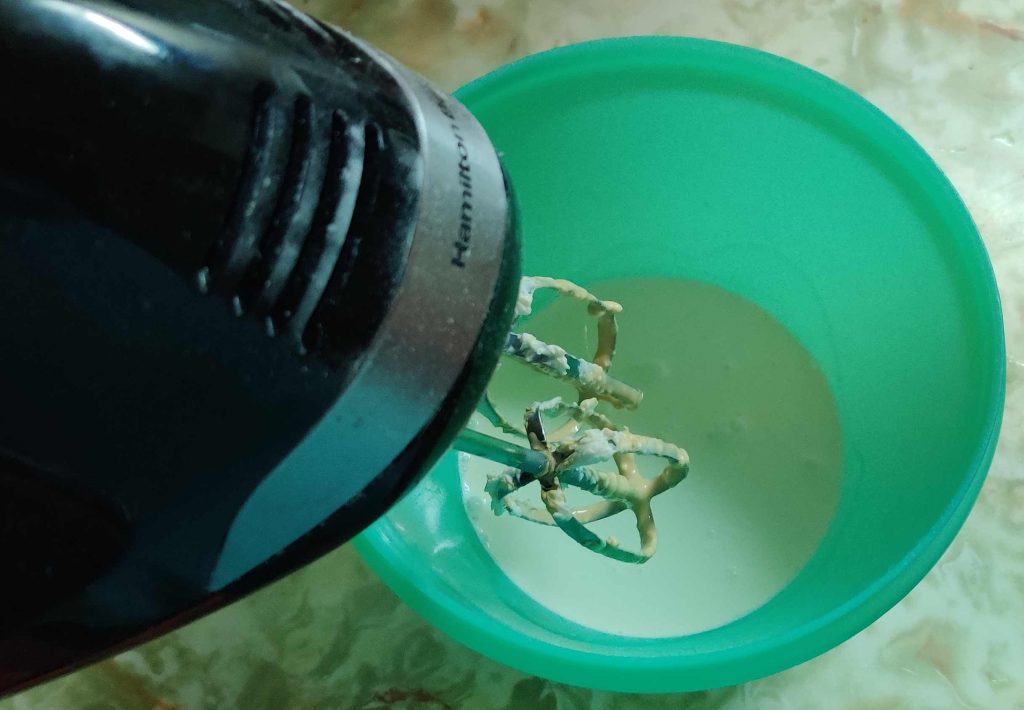
Electric beater brought to bowl

The whipping cream was whipped using the electric beater …
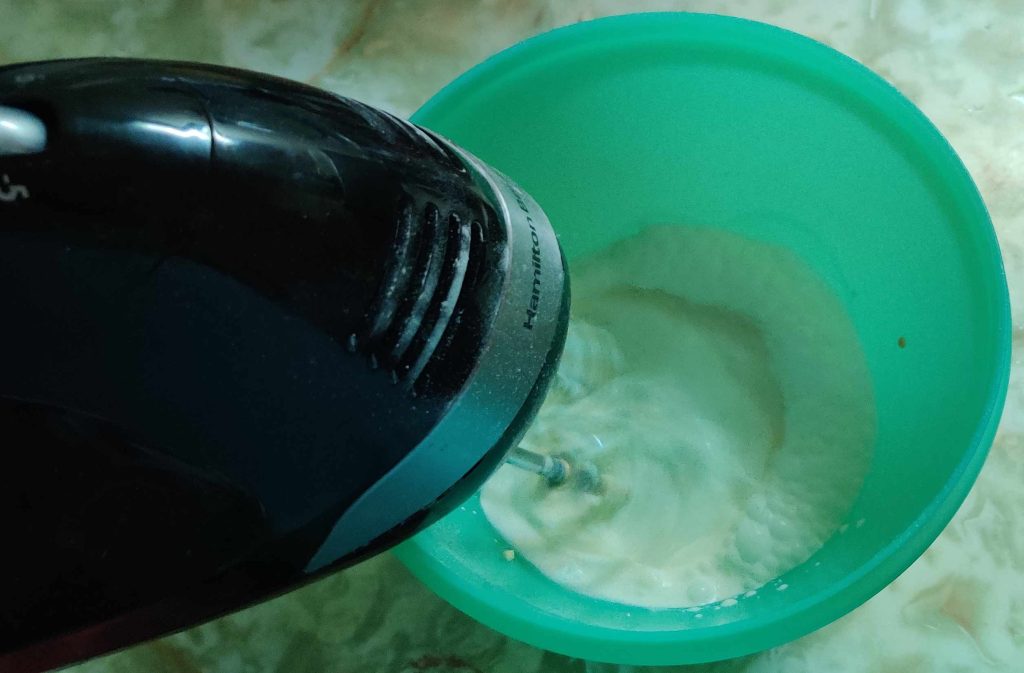
Whipping cream whipped with electric beater

… until I had stiff peaks in the whipped cream:
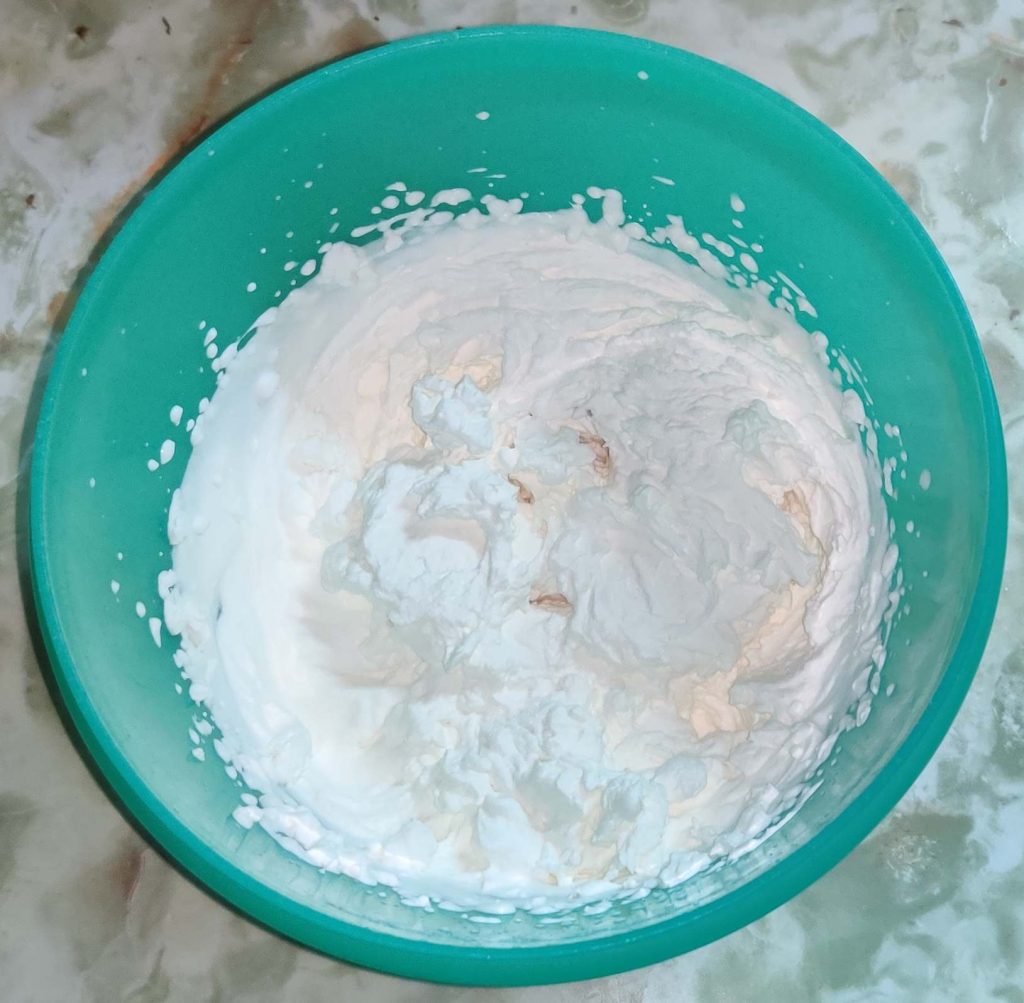
Whipped cream with stiff peaks

A bowl scraper / spatula was taken out, and the bowl of whipped cream brought over to the bowl with the cream cheese, milk, icing sugar, and coffee mixture:
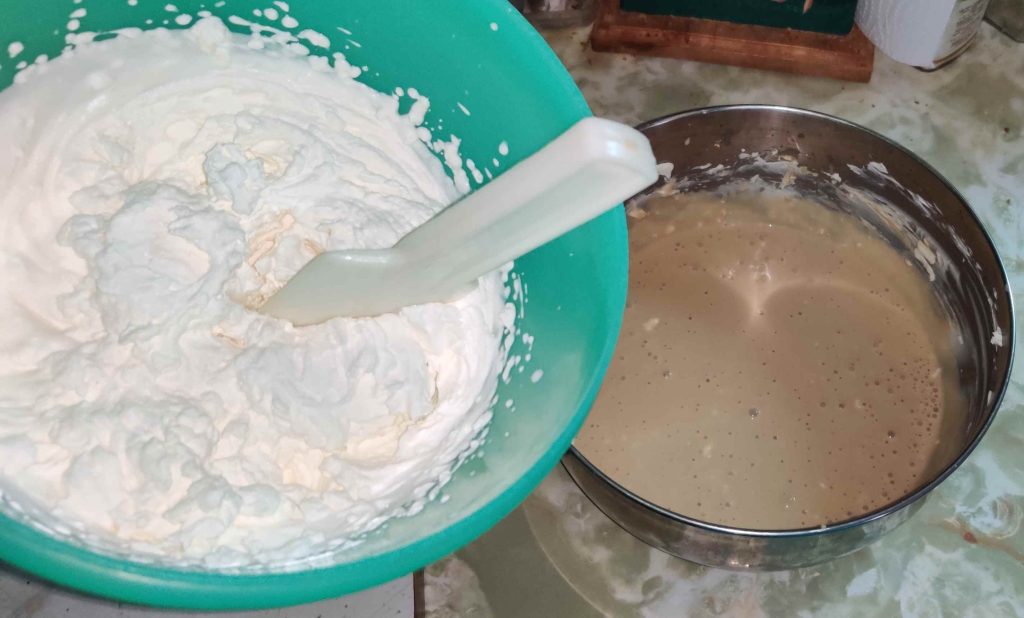
Whipped cream brought over to cream cheese / coffee mixture

The whipped cream was transferred to the bowl with the cream cheese, milk, icing sugar, and coffee mixture:
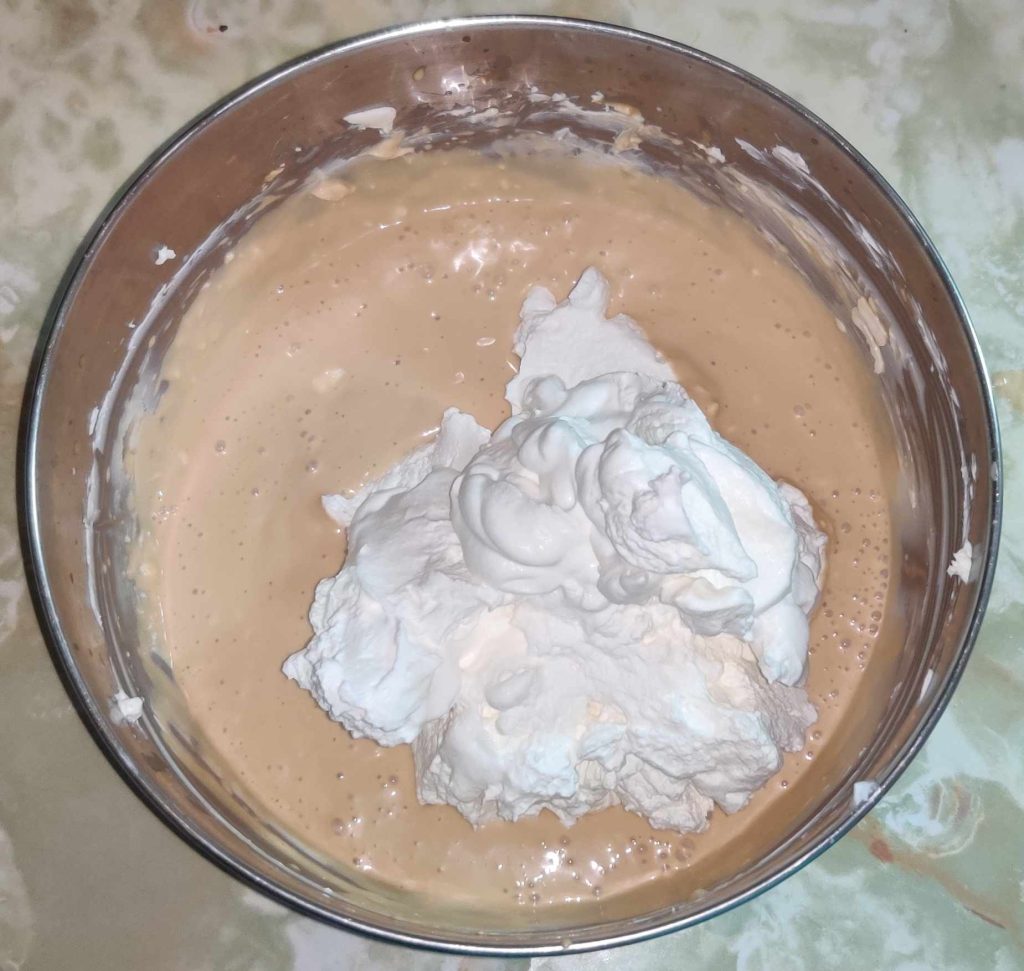
Whipped cream added to cream cheese / coffee mixture

The whipped cream was gently folded into the cream cheese, milk, icing sugar, and coffee mixture, henceforth called the “coffee cream”:
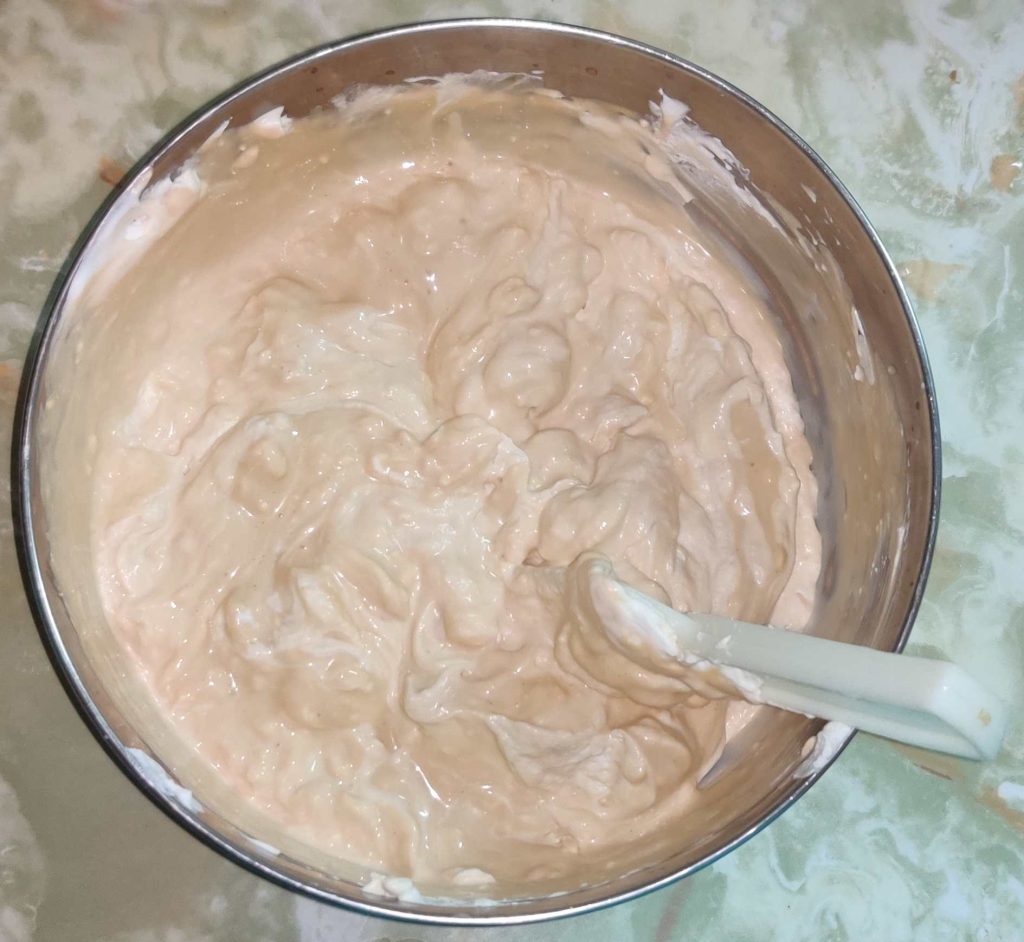
Whipped cream folded into the coffee cream

The bowl of coffee cream was put aside again for a few moments.

At this point, the cooled loaf cake I baked earlier was taken out:
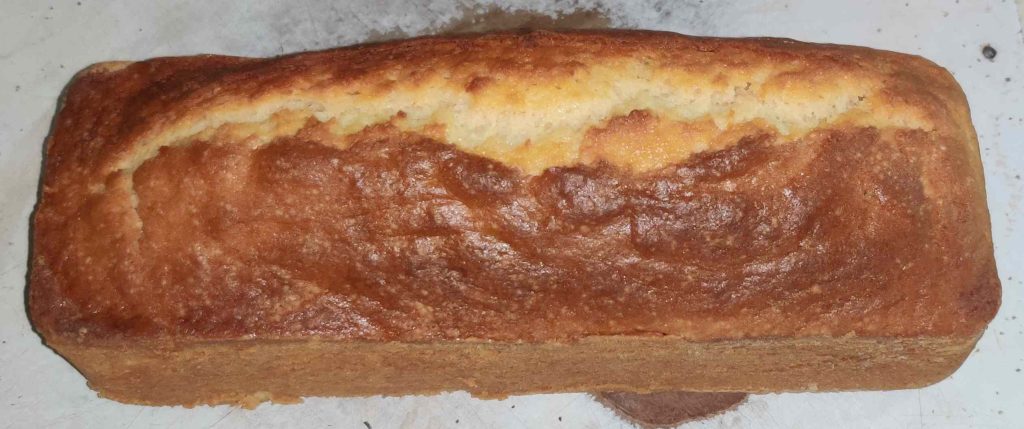
Cooled loaf cake

I sliced the loaf cake horizontally along its length with a sharp knife about an inch above its base:
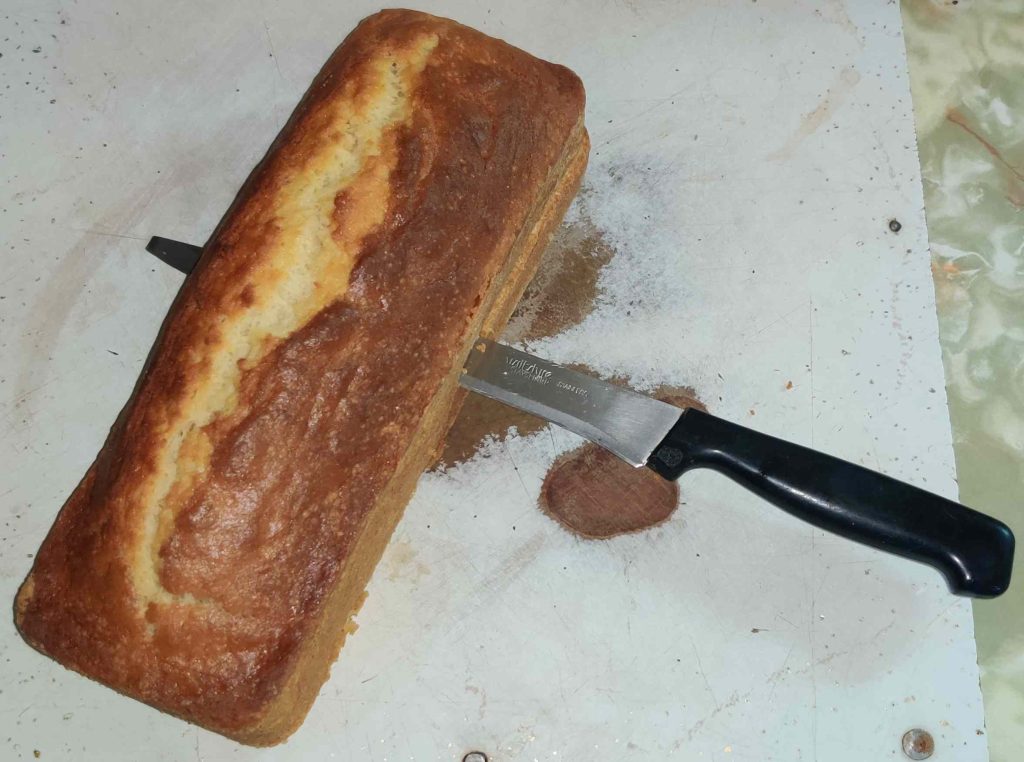
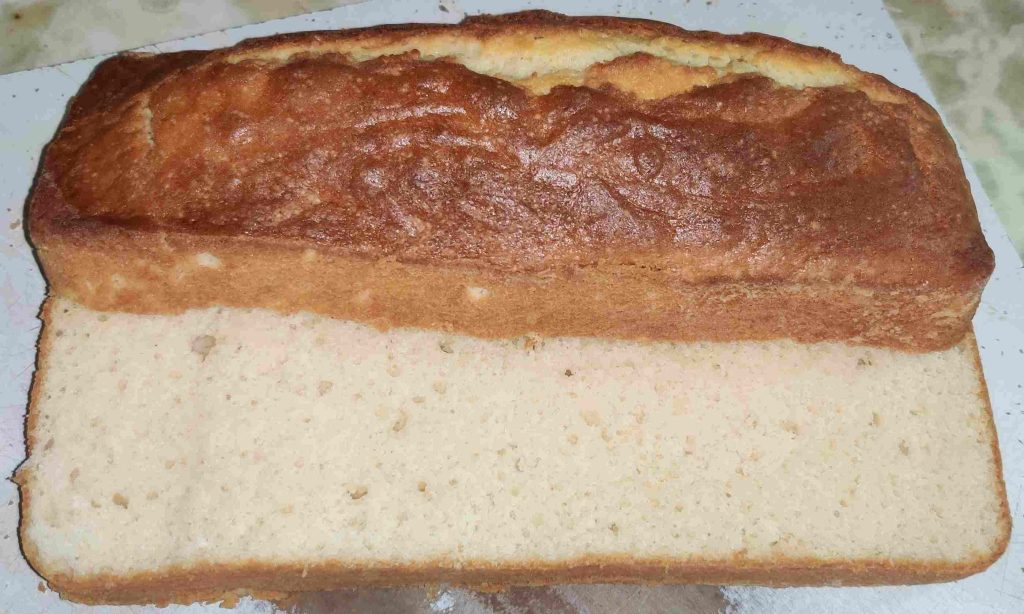
Slicing loaf cake horizontally along its length
Loaf cake sliced horizontally along its length

The loaf cake was sliced horizontally along its length again with the sharp knife, creating three layers of cake:
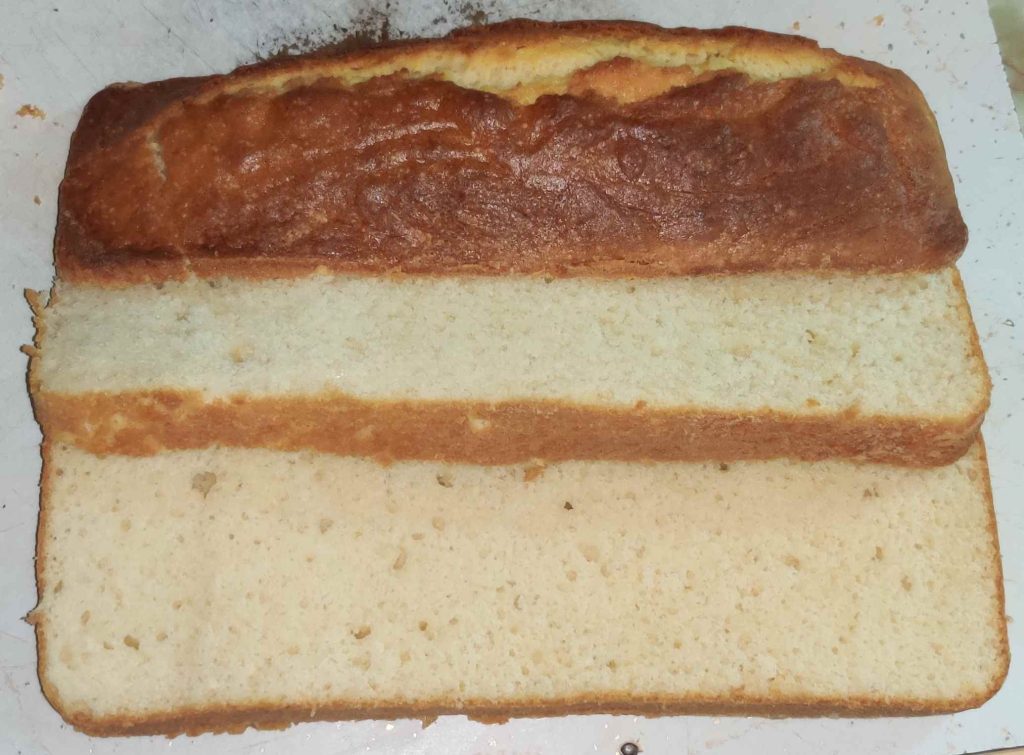
Loaf cake sliced horizontally along its length again

The base slice was placed onto a removable tray for a poultry / meat transport container (see below):
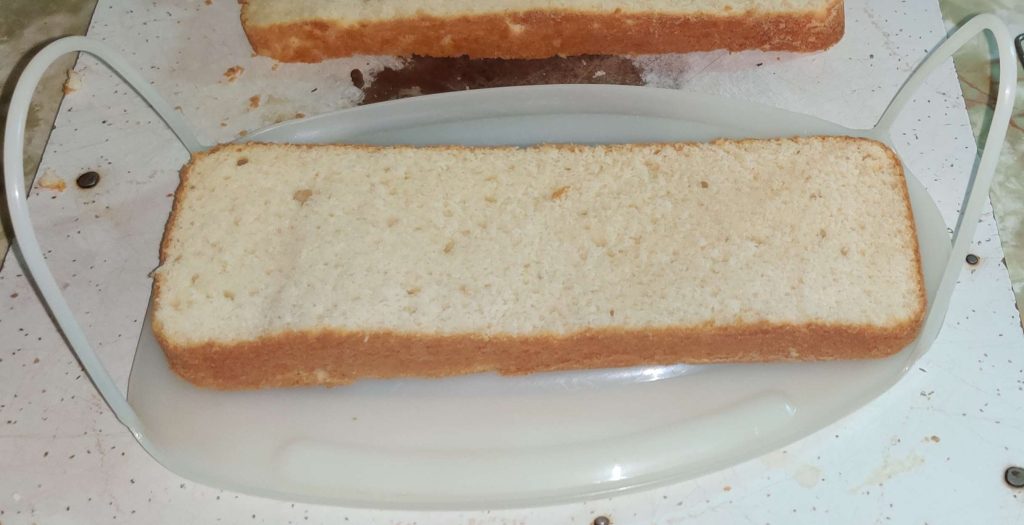
Base of cake placed on movable tray

A layer of coffee cream was transferred to the sliced cake:
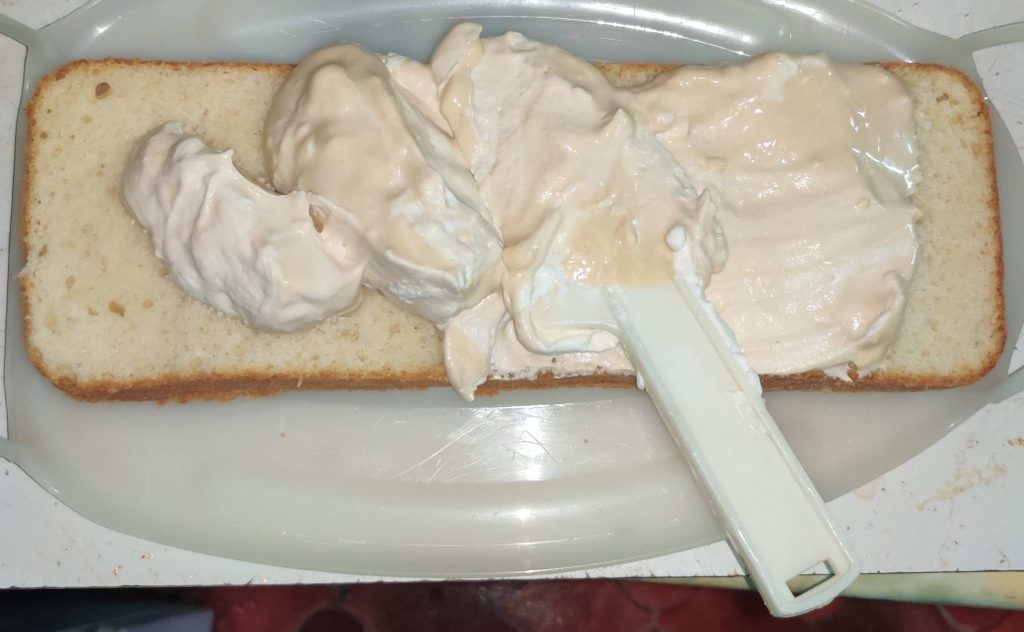
Coffee cream transferred to cake slice

The coffee cream was spread over the whole surface of the cake slice:
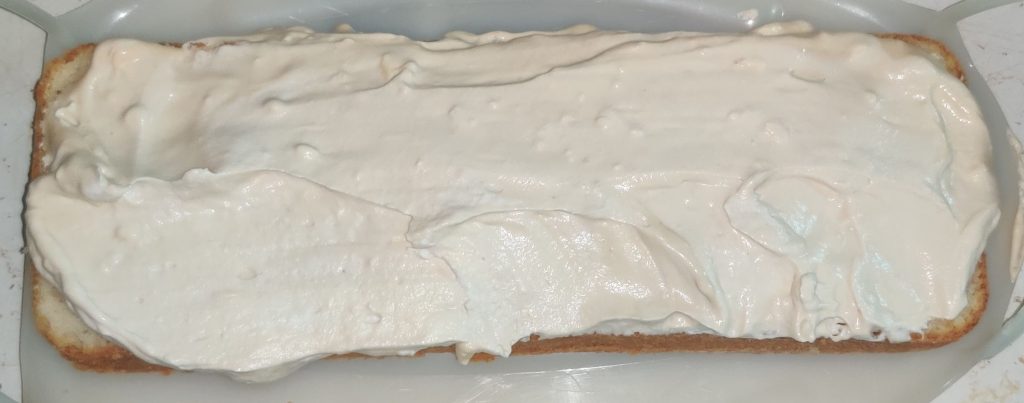
Coffee cream spread over the slice of cake

The middle slice of cake was placed on top of the coffee cream:
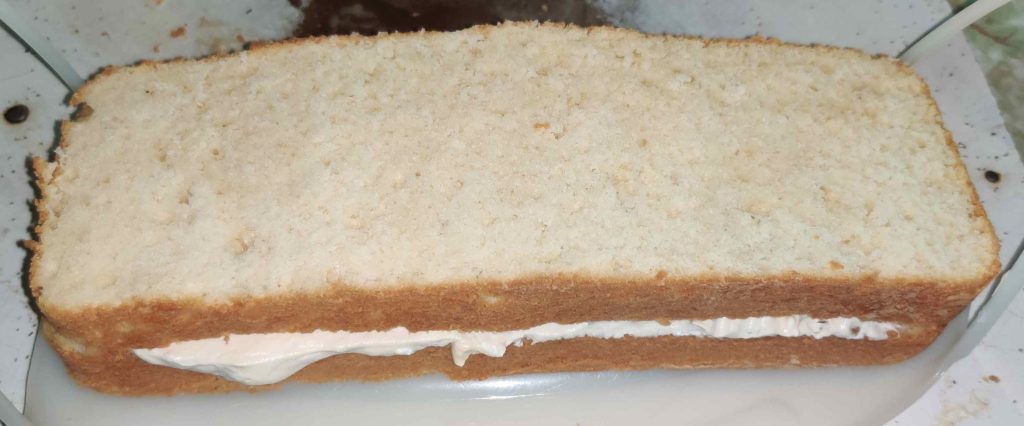
Middle slice of cake placed on top of the coffee cream

More coffee cream was transferred to the top of the middle slice of cake, and spread over the whole surface of the cake:
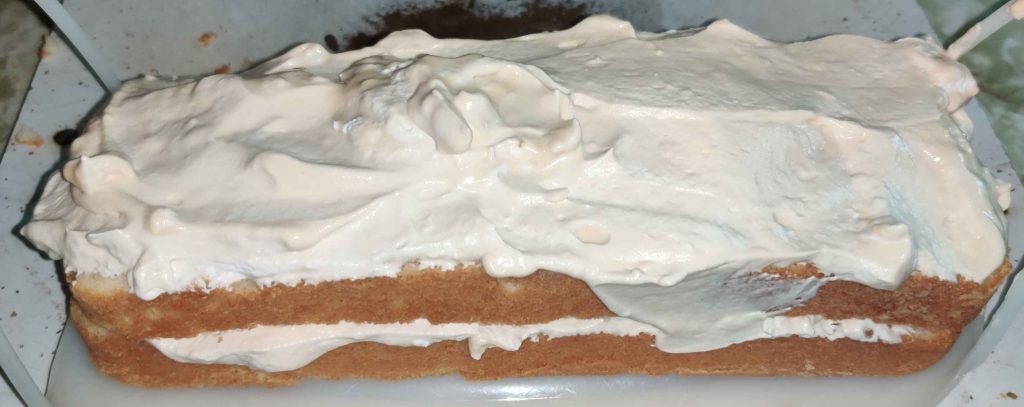
Coffee cream spread over middle slice of cake

The top of the cake was placed on top of the coffee cream:
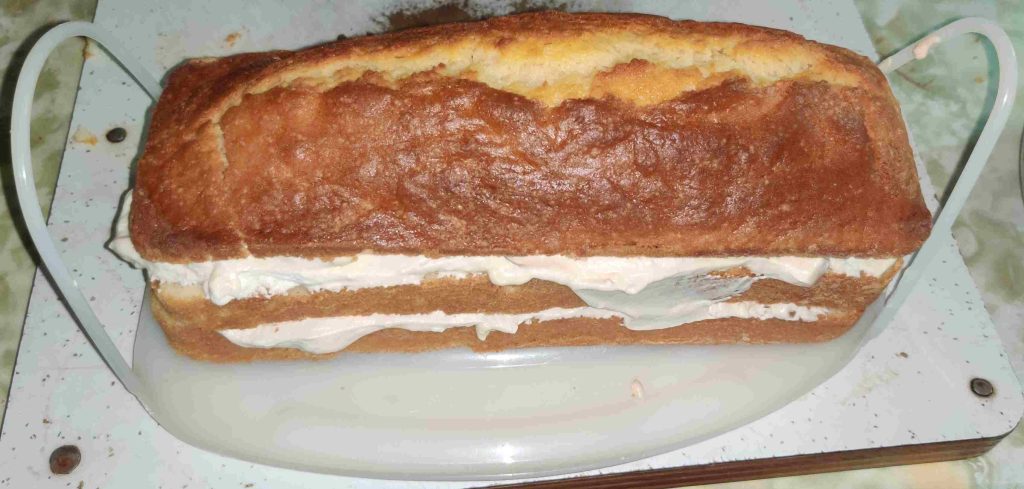
Top of cake placed over coffee cream

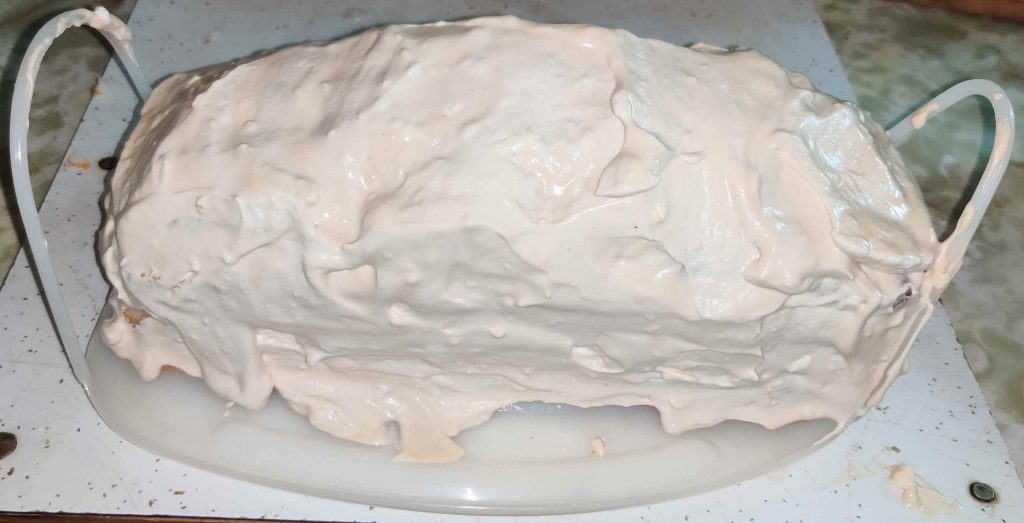
The rest of the coffee cream was transferred to the cake, and spread over all surfaces:
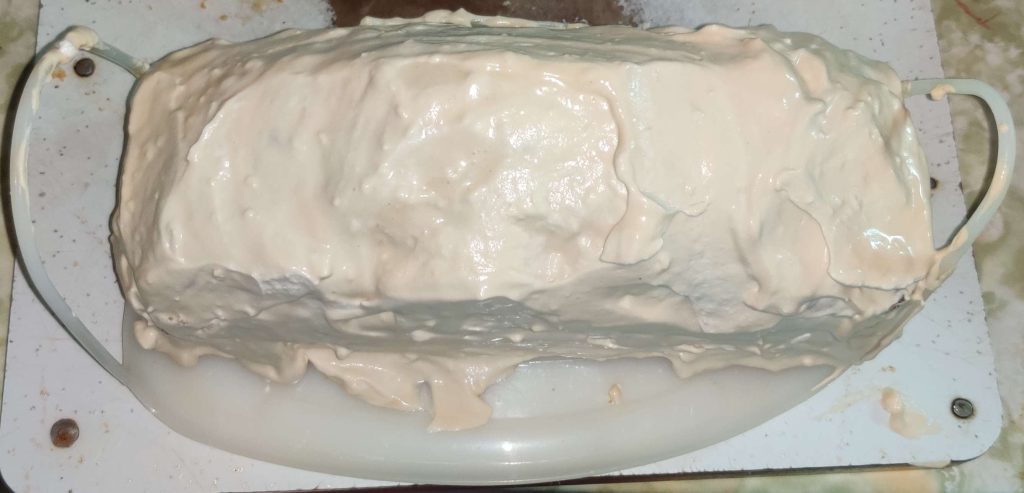
Balance of coffee cream spread over whole of cake, top view
Balance of coffee cream spread over whole of cake, side view

Here’s the empty bowl from the coffee cream:
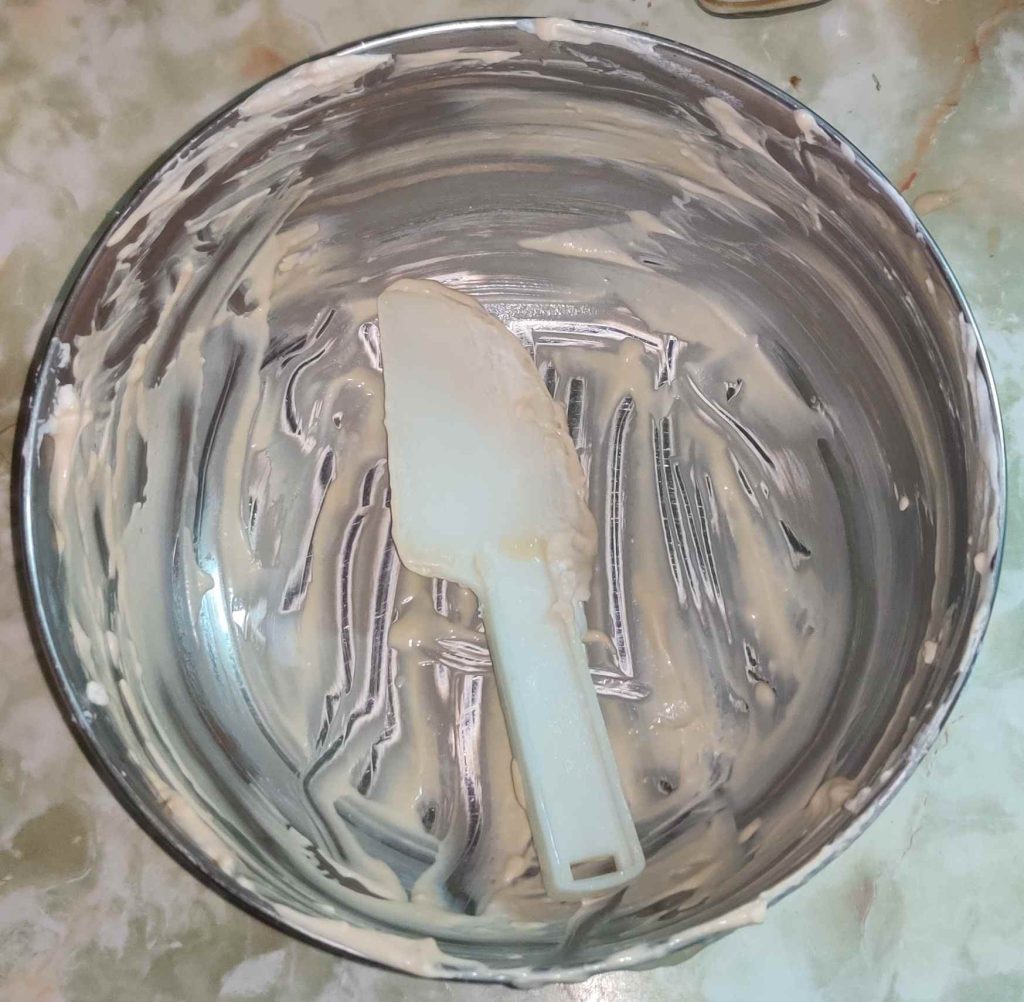
Empty mixing bowl for coffee cream

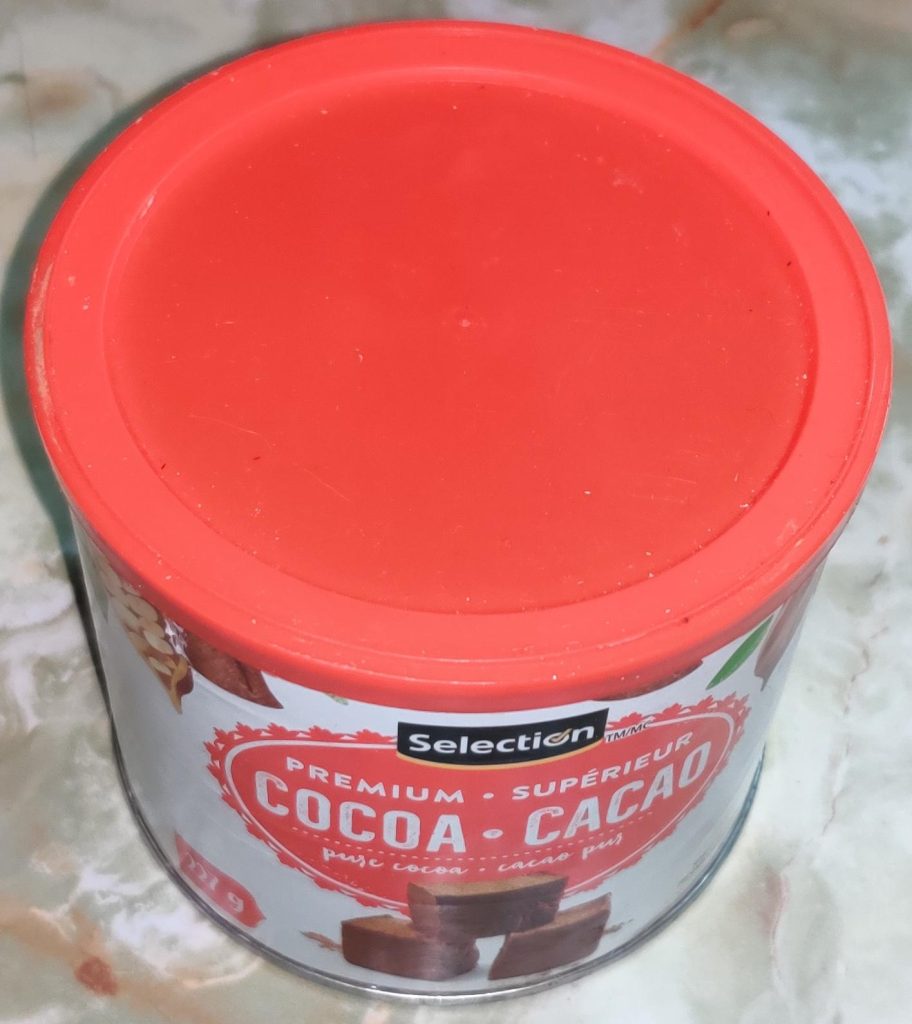
Cocoa taken out:

Cocoa taken out

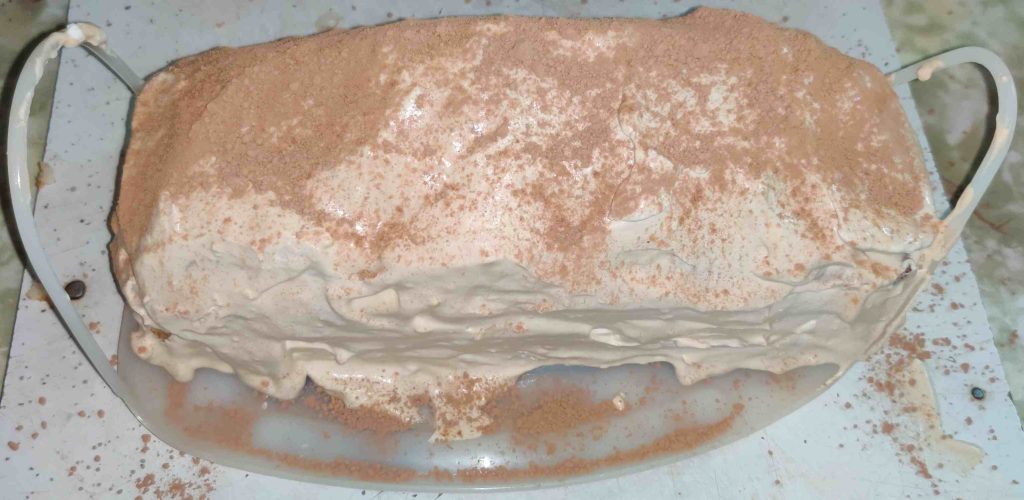
Cocoa powder sprinkled onto the cake directly from the container of cocoa:
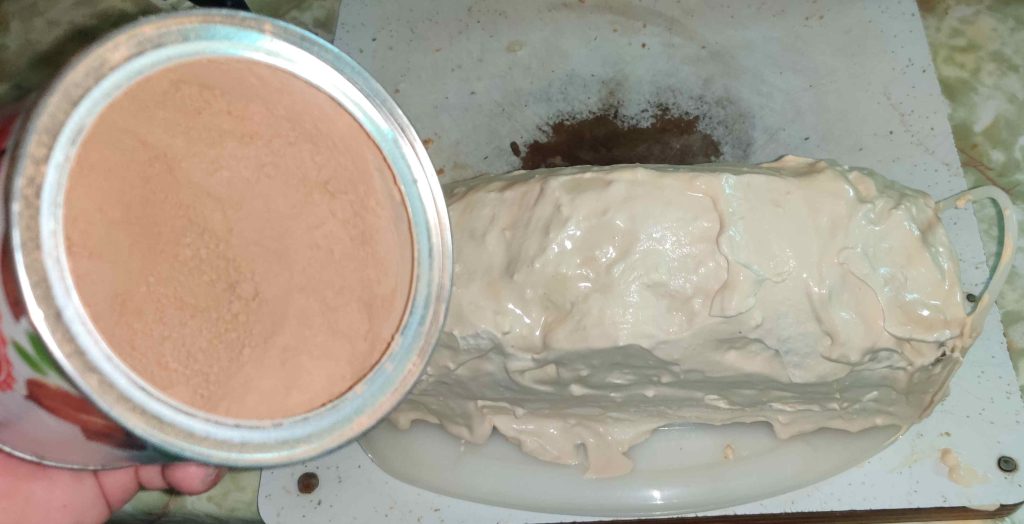
Cocoa sprinkled on cake

The cake and tray were lowered into the container:
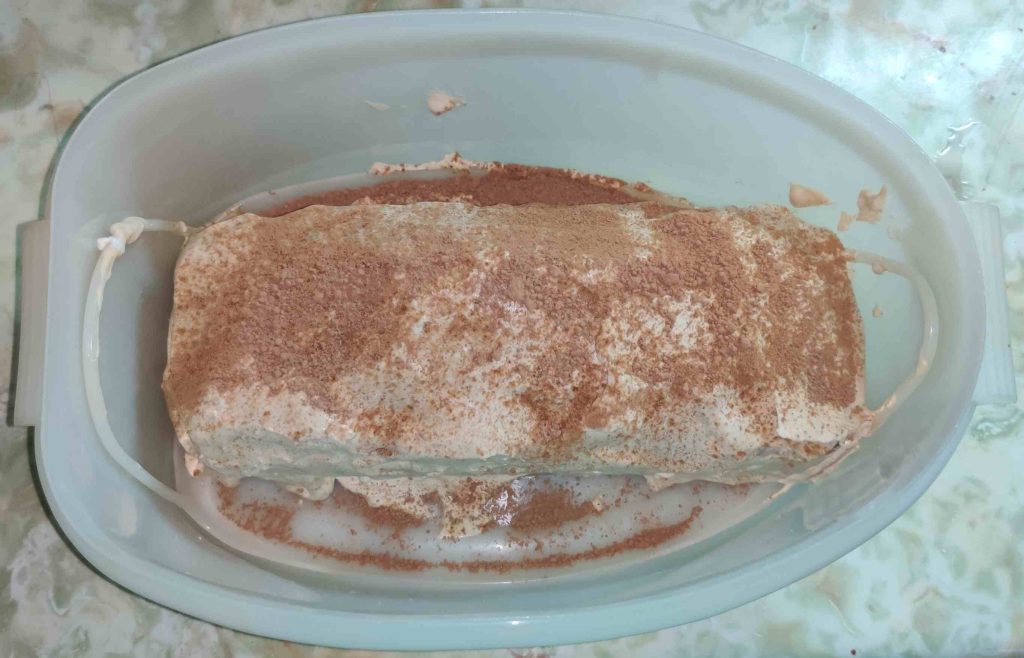
Cake lowered into container

The lid was placed on the container with the cake:
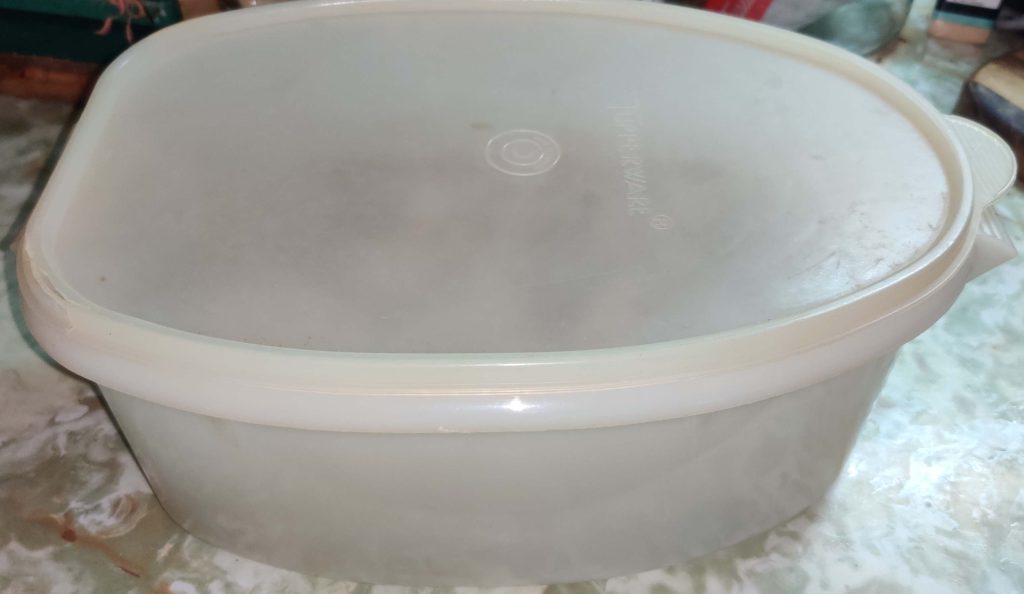
Lid placed on container with cake

The cake was placed in the fridge to gel the coffee cream:
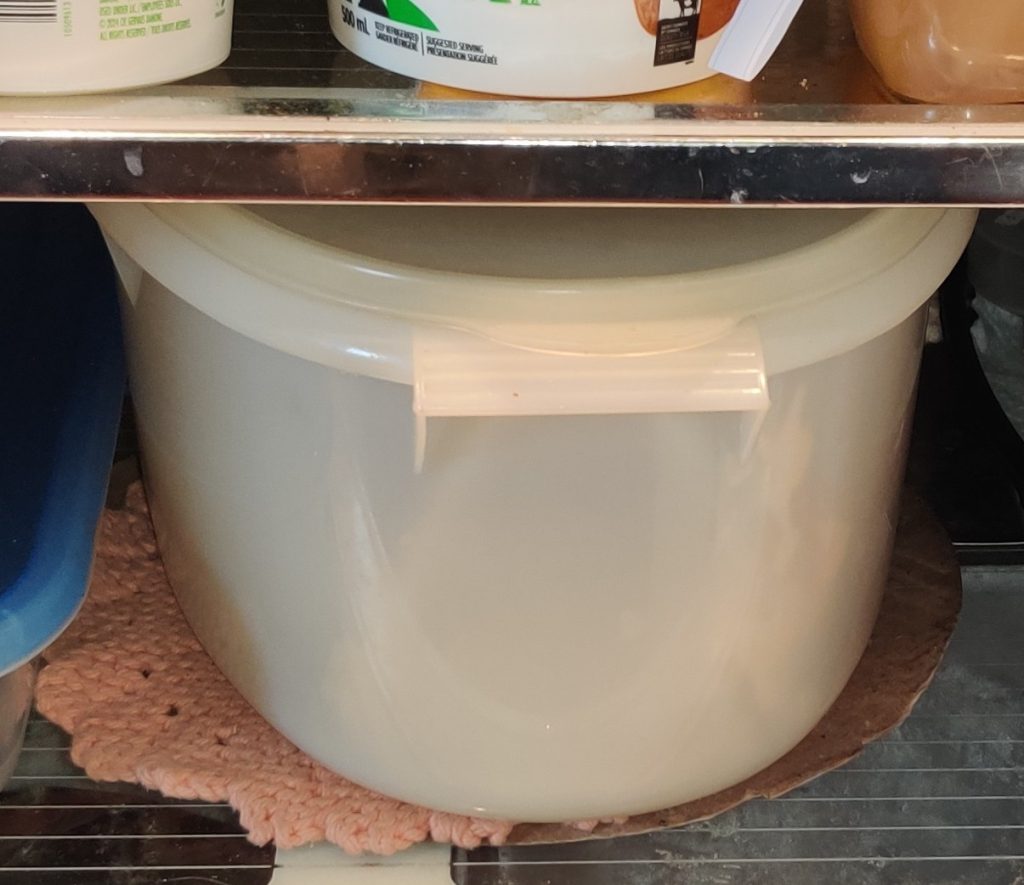
Cake in container placed in fridge

Later when the coffee cream had largely gelled in the fridge for a few hours, a couple of slices were cut off the cake, ready to be served for dessert!
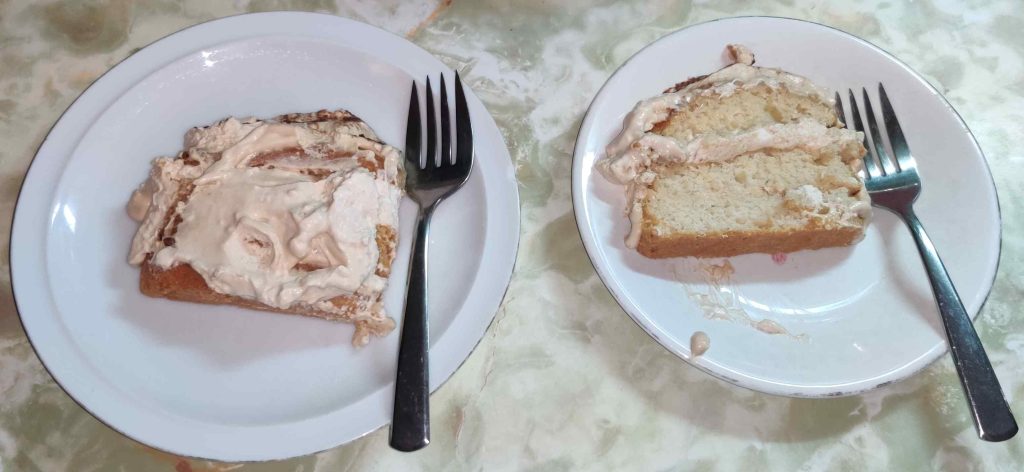
Dessert is served!

Mom is over the moon with this cake, effectively having declared it her new favourite dessert!

(And, I’ve been asked to bring it to the next church potluck I attend, along with my pulled pork!)
Making Date Squares — Photos

This recipe was developed and added to my collection of recipes as a result of chatting with an online AI chatbot discussing church culture, during which the chatbot listed at one point some typical desserts to be found at church potluck luncheons. It listed the item which is the subject of this post as “Matrimonial Squares”. My interest was piqued because I did not know what “Matrimonial Squares” were, as well as said name telling me nothing of what the dessert was. As such, I bemusedly asked whether it was a dessert to be typically served as part of a wedding feast, or if there was something somewhat more prurient to them along the lines of being considered an aphrodisiac! I got a response along the lines of their description — date squares! — and how the name was a florid and traditional name meaning how well all the parts “marry together to make an ideal dessert”, an absolutely church-safe name. 🙂

Incidentally, this recipe is vegetarian tending toward vegan if you use margarine (as I did) instead of butter.
This batch was the second batch made at the cottage during my holidays, and will likely be served at the lake association BBQ later this week.

Setting up:

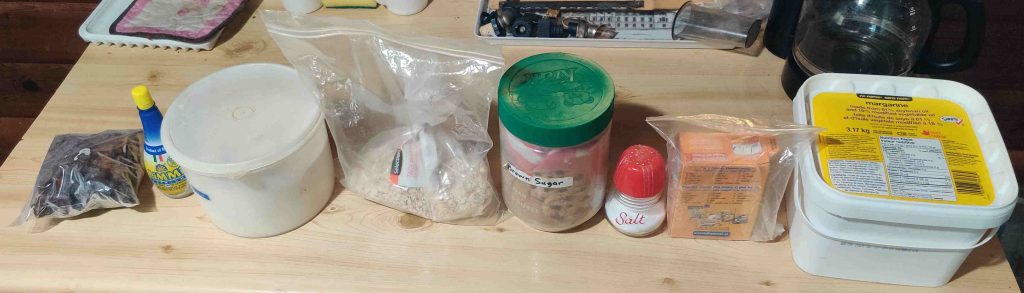
First, I decided to take out all the ingredients:

Ingredients taken out

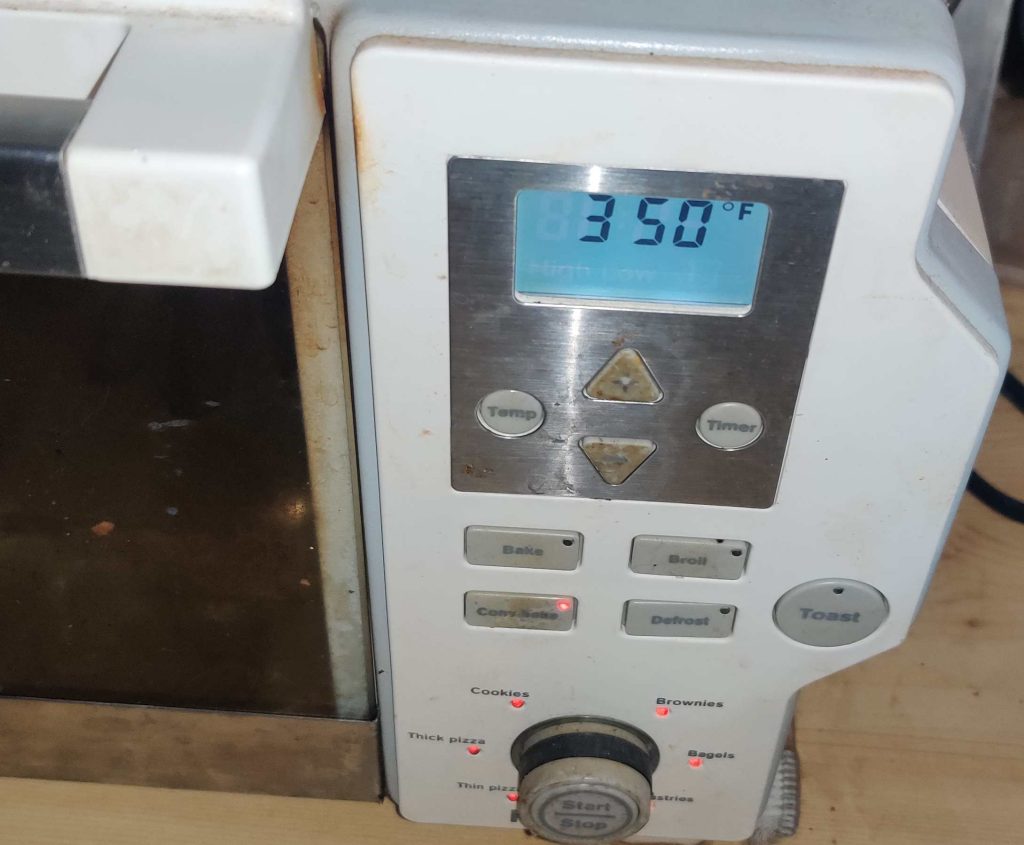
Although I actually did this a little later, now is a good time to preheat the oven:

Preheating oven

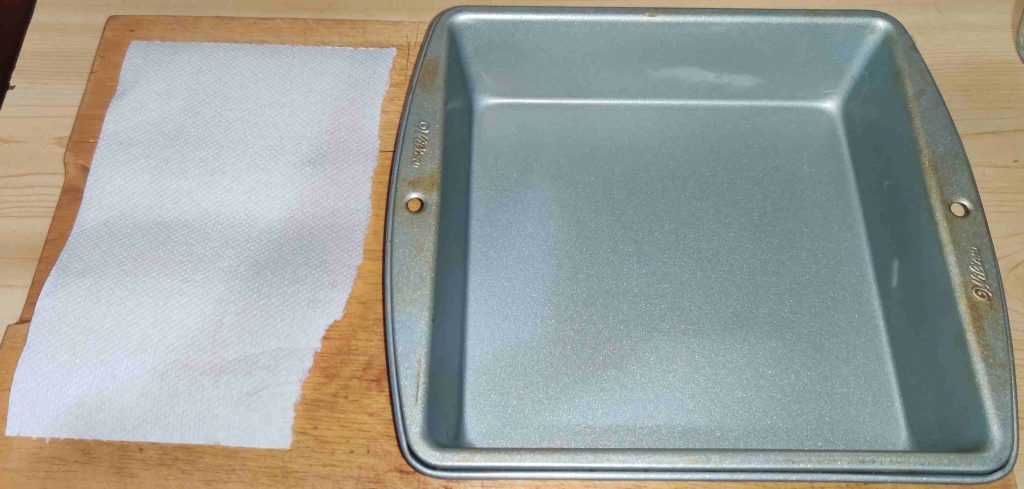
An 8″ x 8″ baking pan and a piece of paper towelling were taken out:

Paper towelling and baking pan taken out

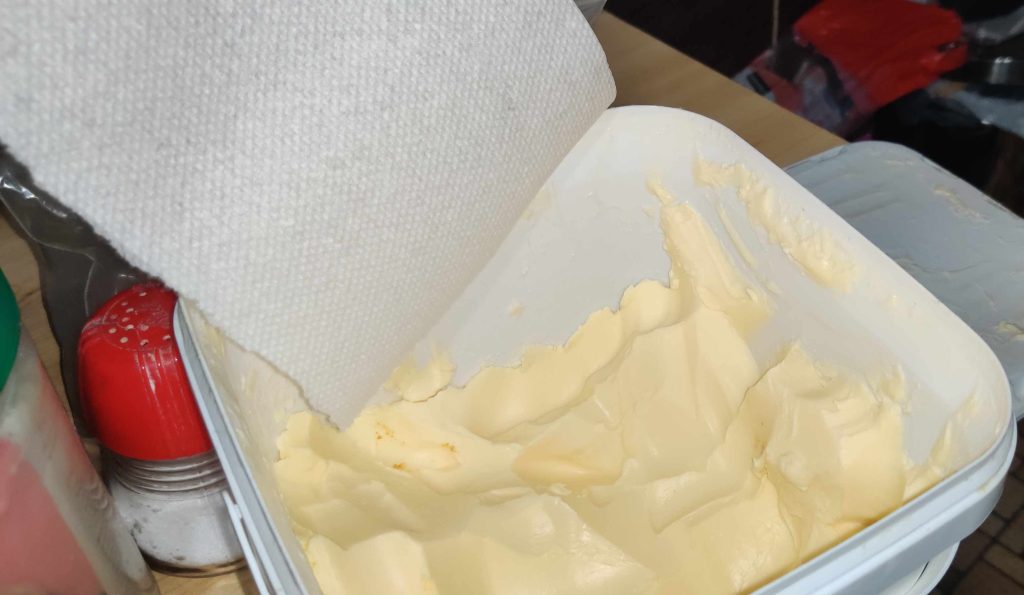
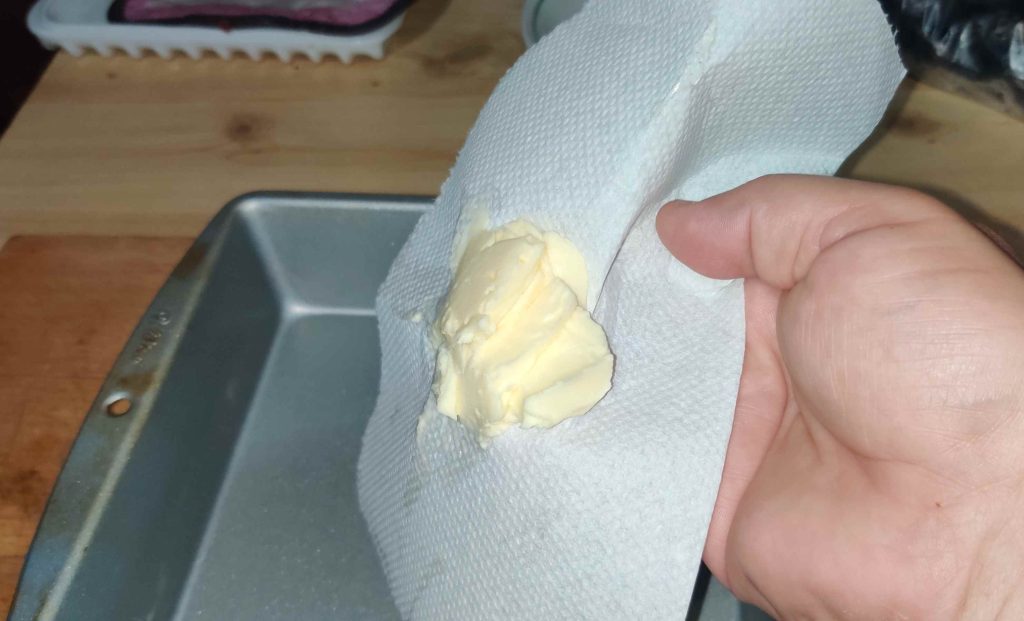
The paper towel was taken over to the tub of margarine, and some margarine was scooped up with my hand and the paper towel:

Paper towel taken over to tub of margarine

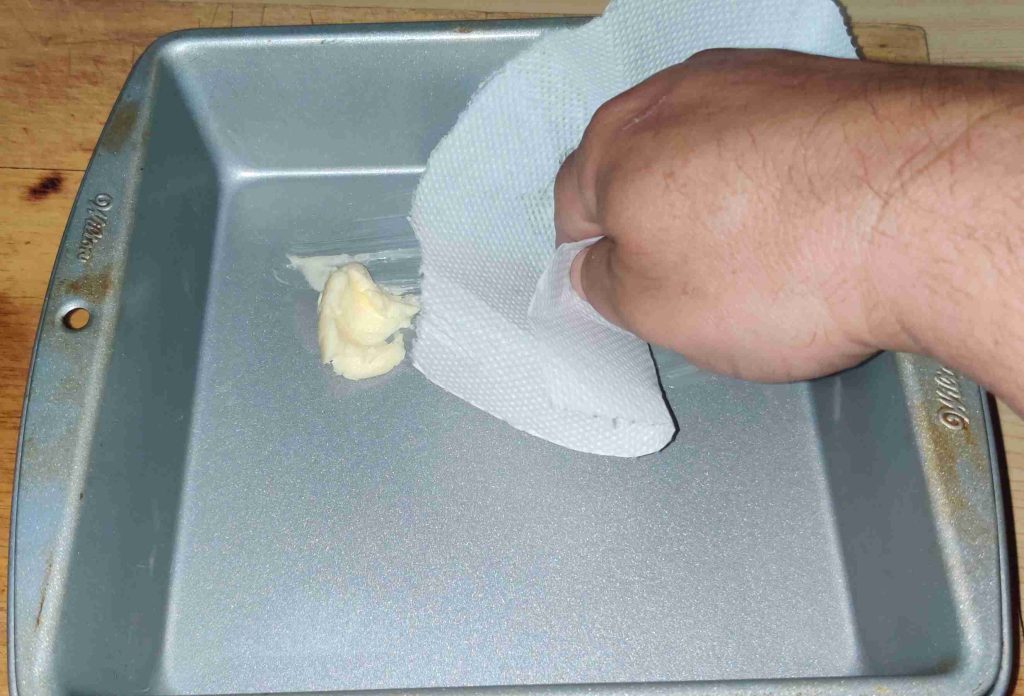
The paper towel and margarine were taken over to the baking pan:

Paper towel and margarine taken over to the baking pan

… and the margarine was slathered onto the surfaces of the baking pan:

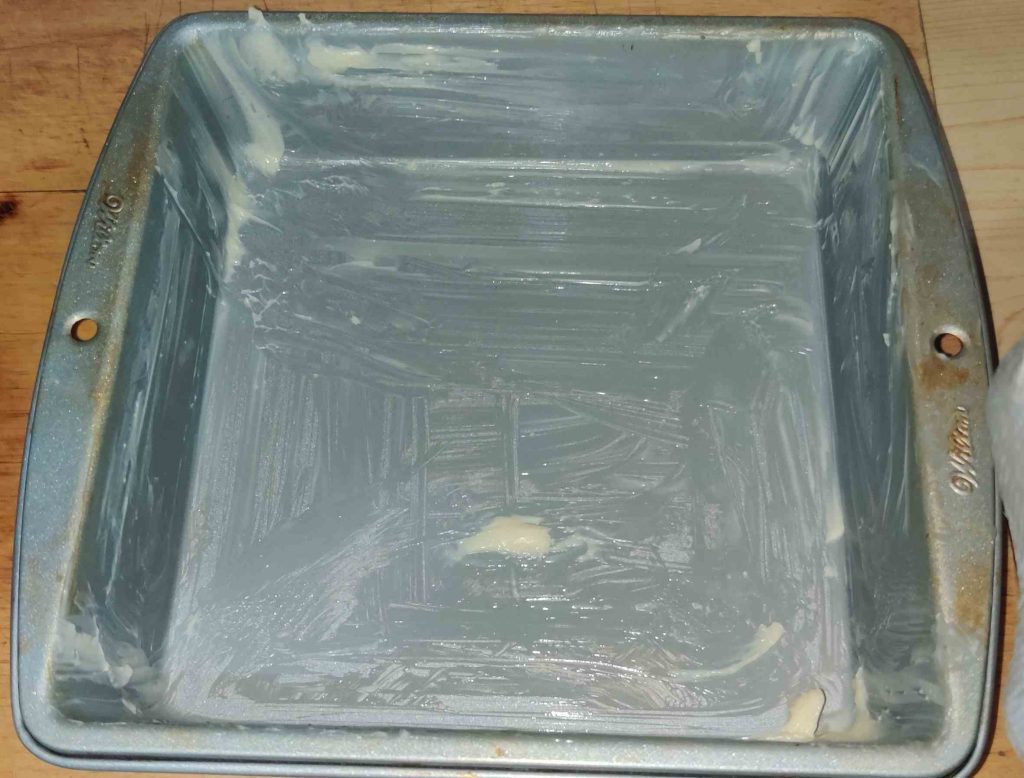
Margarine slathered over all surfaces in the baking pan

The baking pan was put aside.

Preparing the date filling:

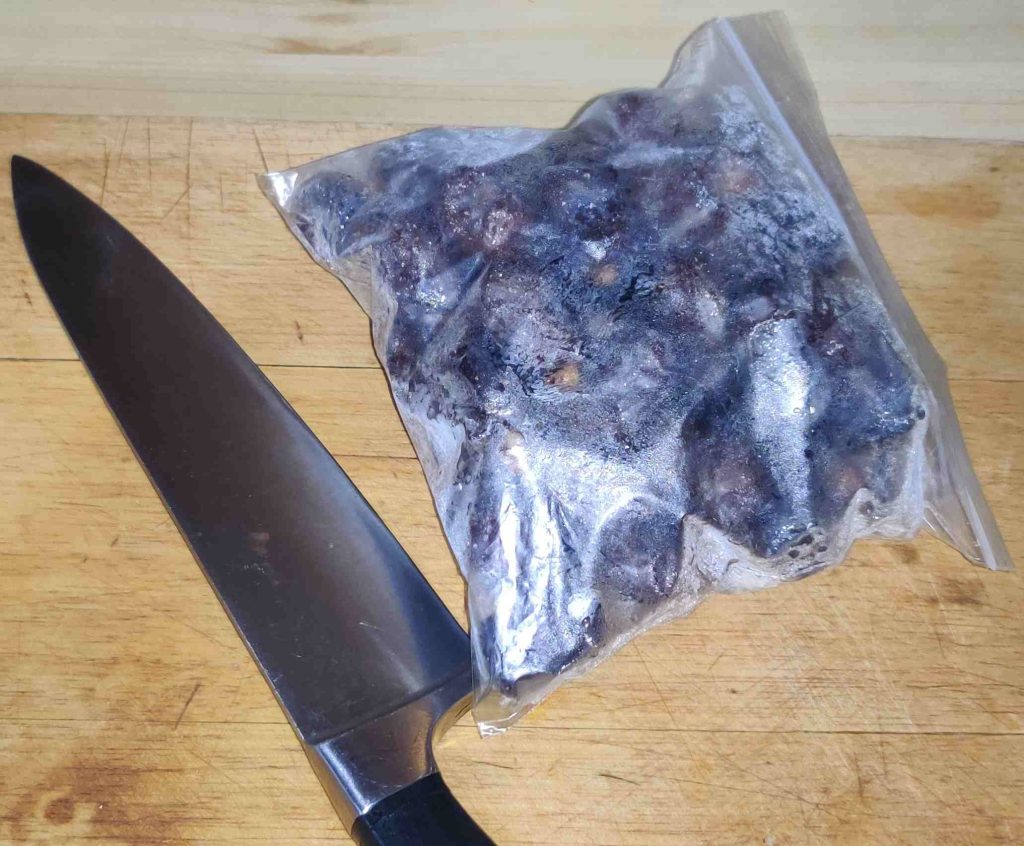
Dates and a knife were taken out — in this case dates I had been keeping in the freezer, hence the fuzzy condensation on the bag:

Dates and a knife taken out

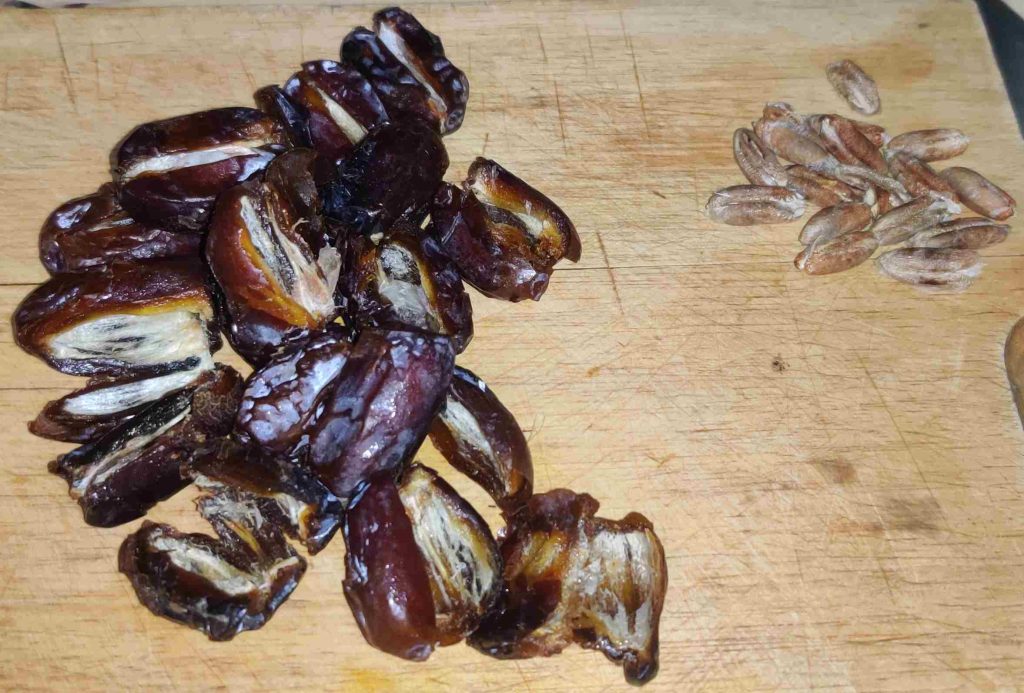
The dates were pitted:

Pitted dates

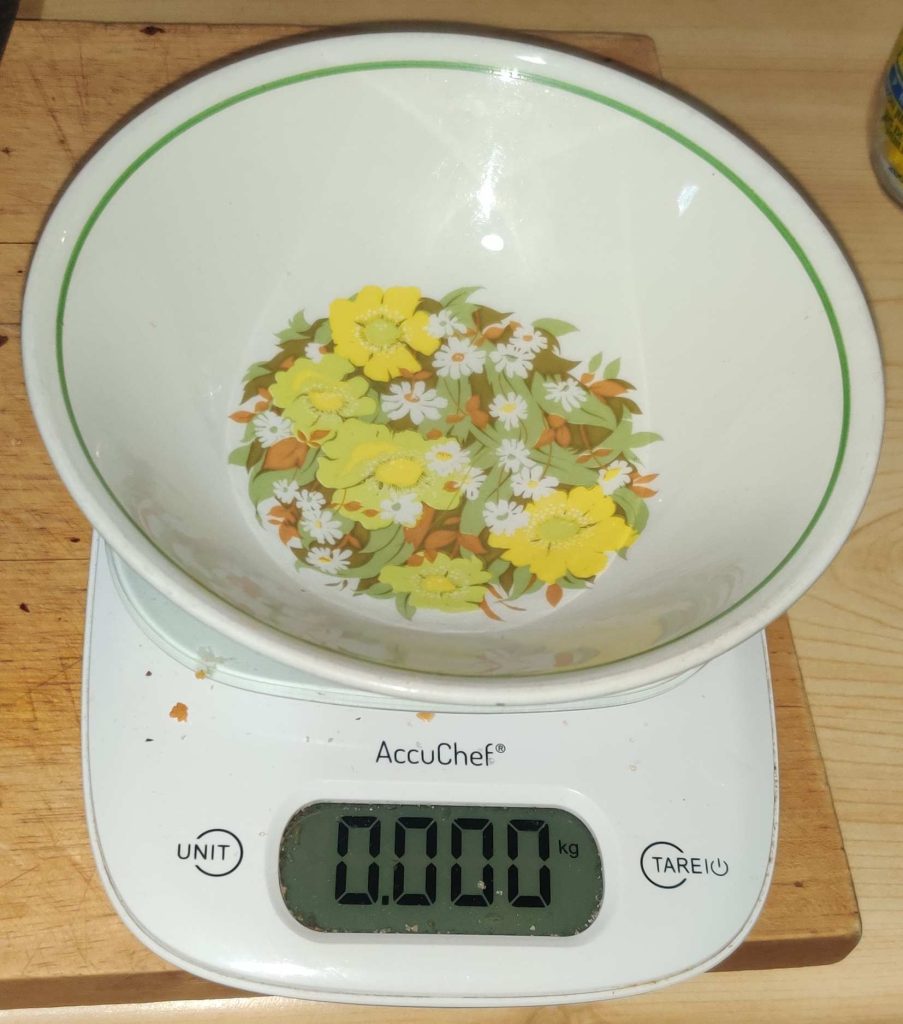
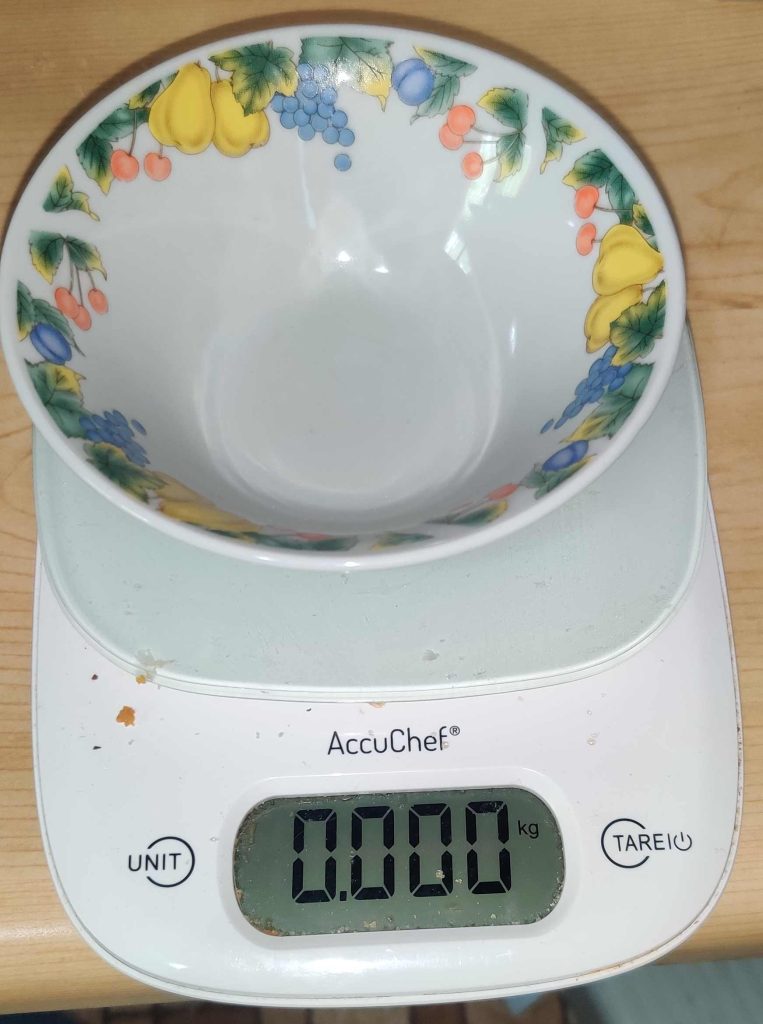
At this point, I took out a kitchen scale and a bowl, and set the reading to zero with the bowl on the scale …

Tare weight of bowl on scale

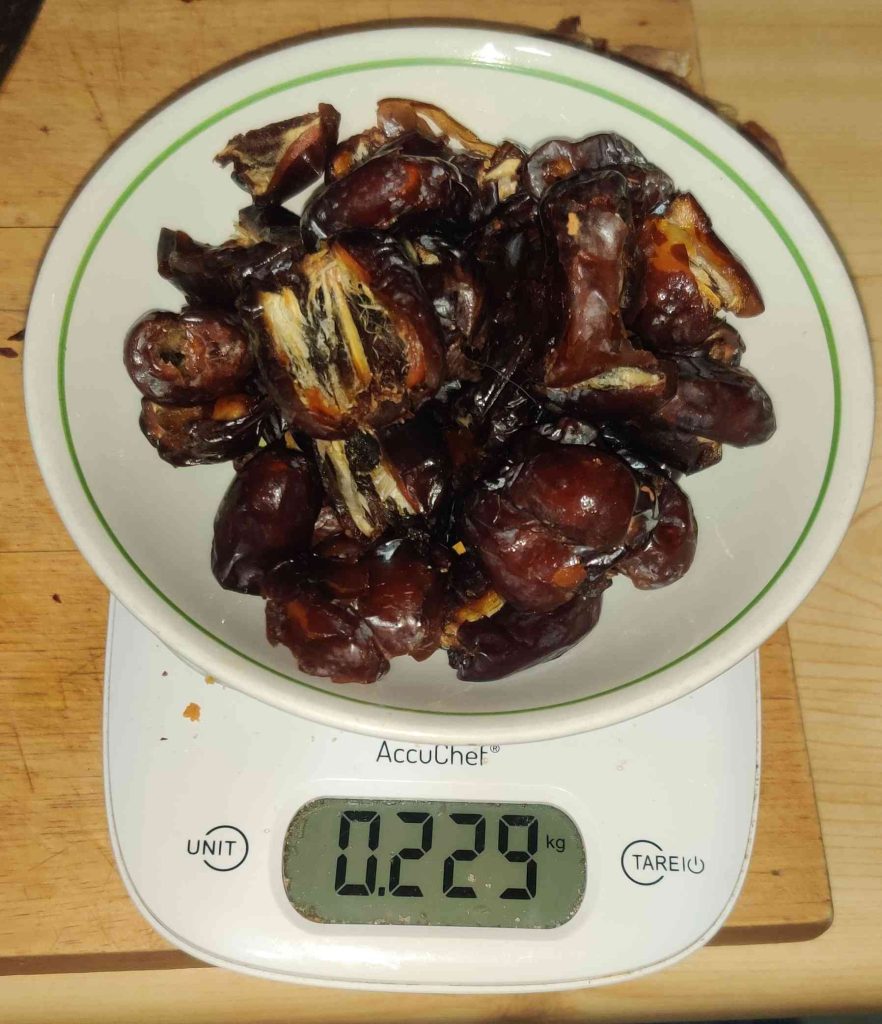
… so that I could weigh out the required amount of pitted dates, which I kept on pitting until I had enough pitted dates:

Weighed out pitted dates

At this point, I should have chopped the dates up a bit, but I forgot, and no matter.

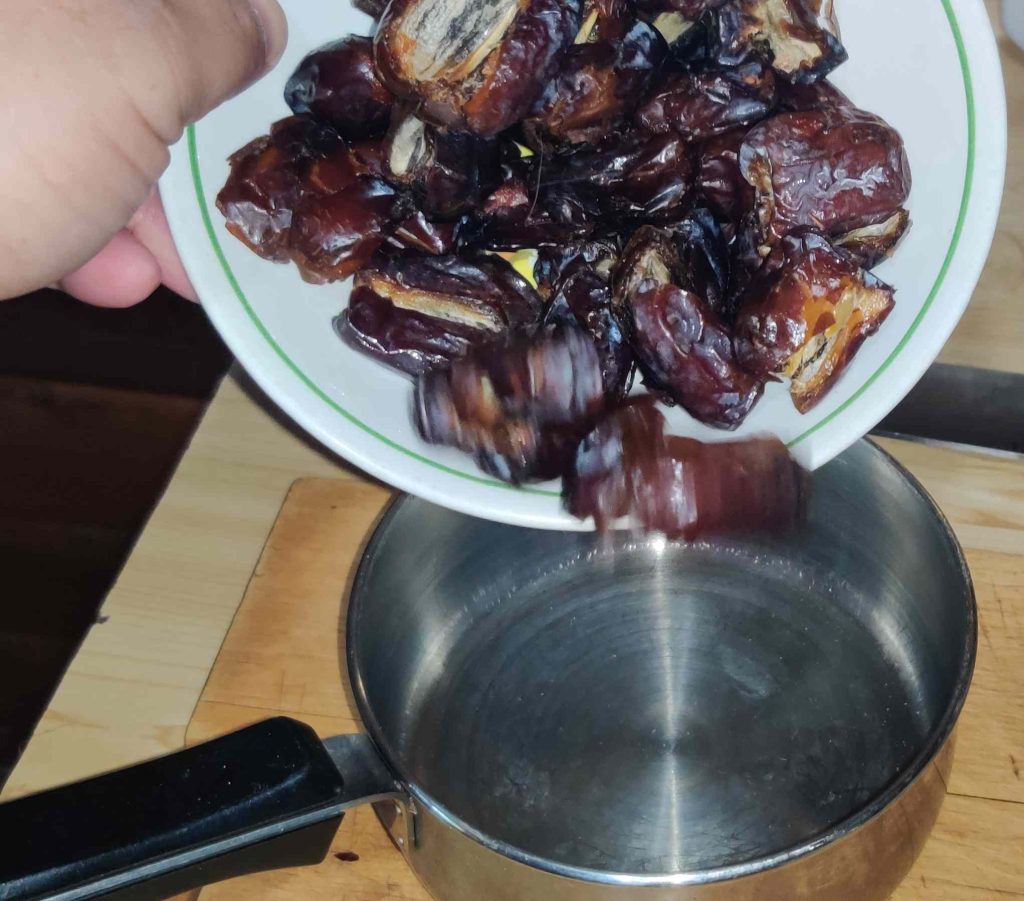
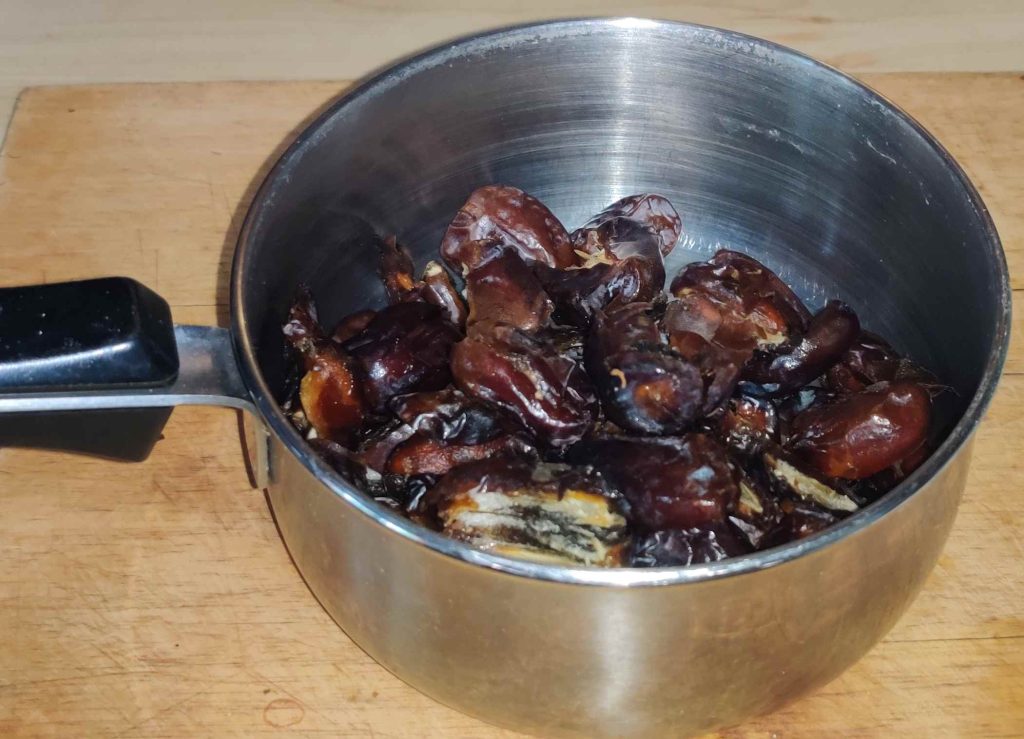
The pitted dates were transferred to a pot:

Transferring the pitted dates to the pot
Pitted dates transferred to pot

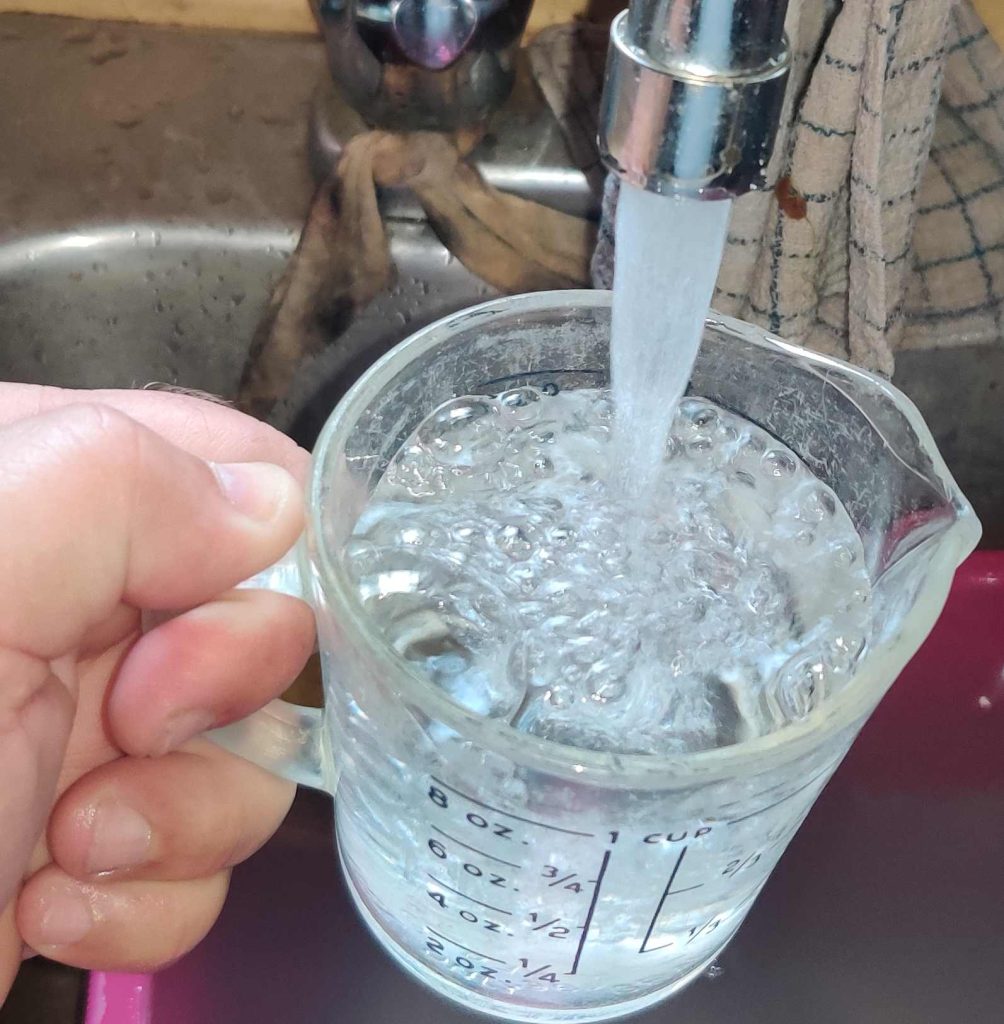
Water was measured out:

Drawing water into measuring cup
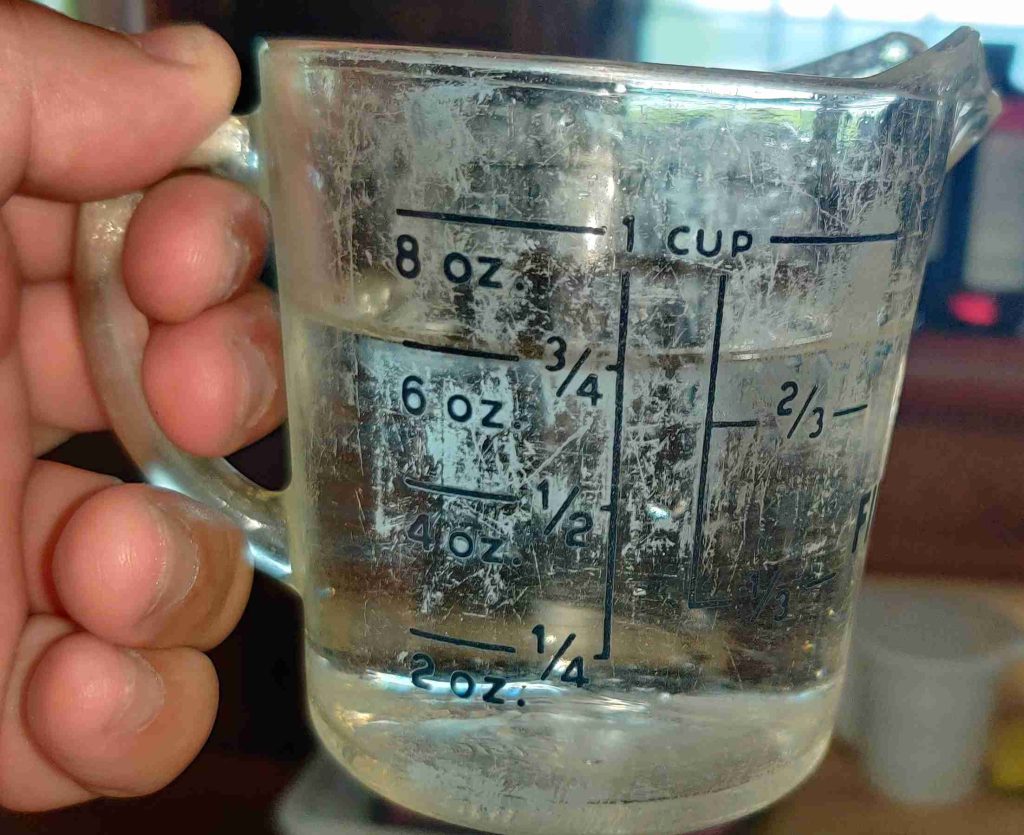
Water measured out

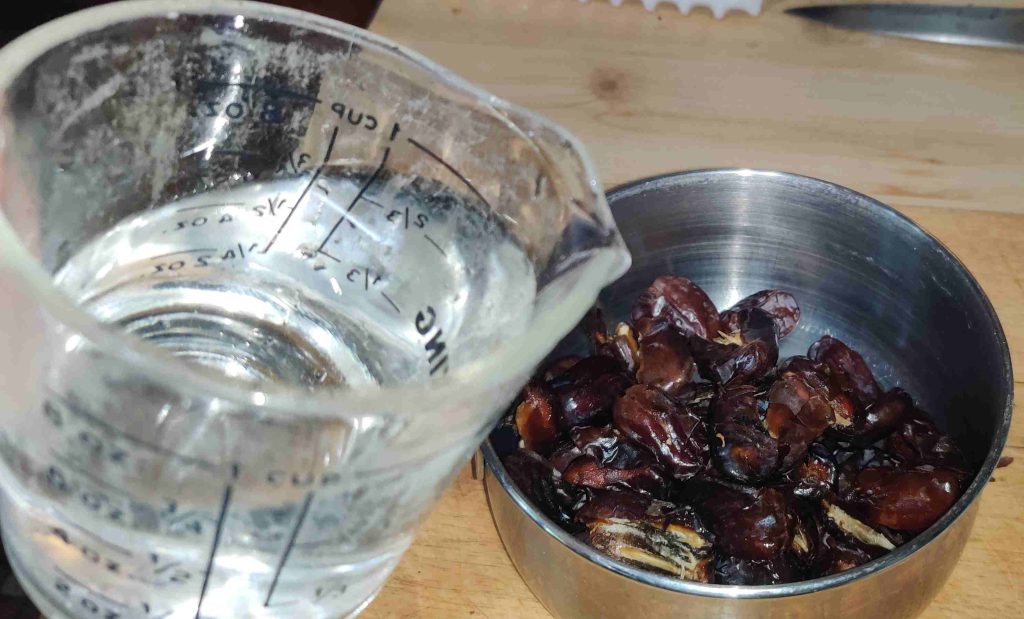
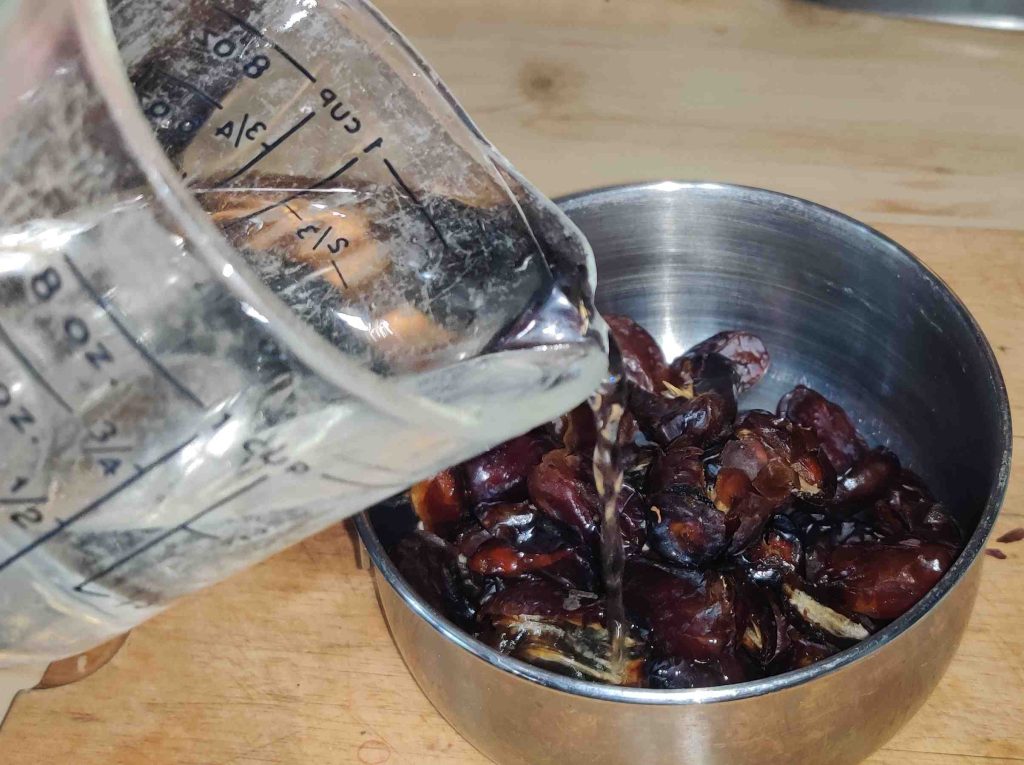
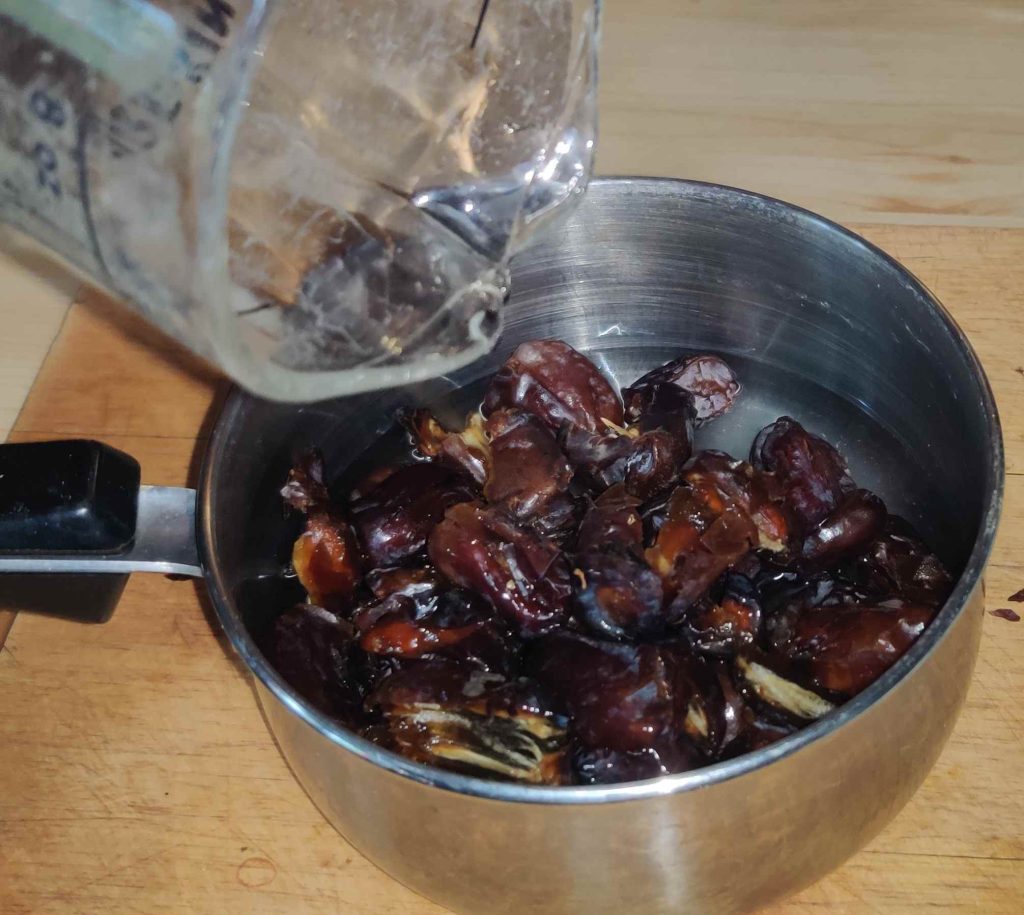
The water was transferred to the pot with the pitted dates:

Transferring water to pot with pitted dates

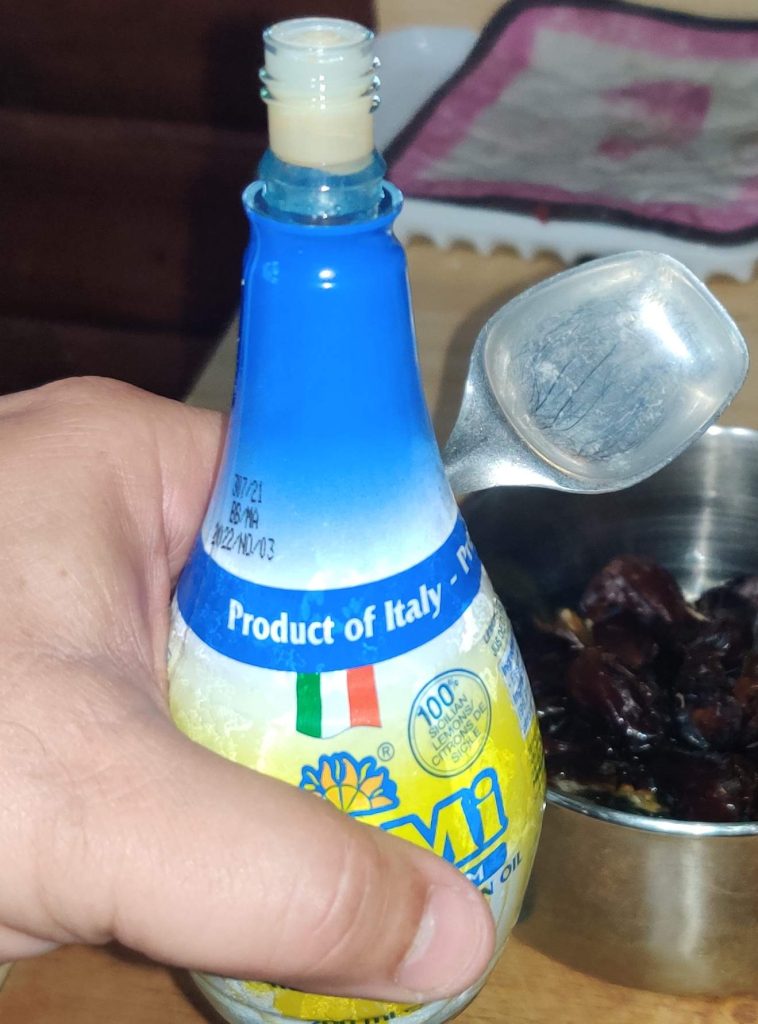
Lemon juice was taken out:

Lemon juice taken out

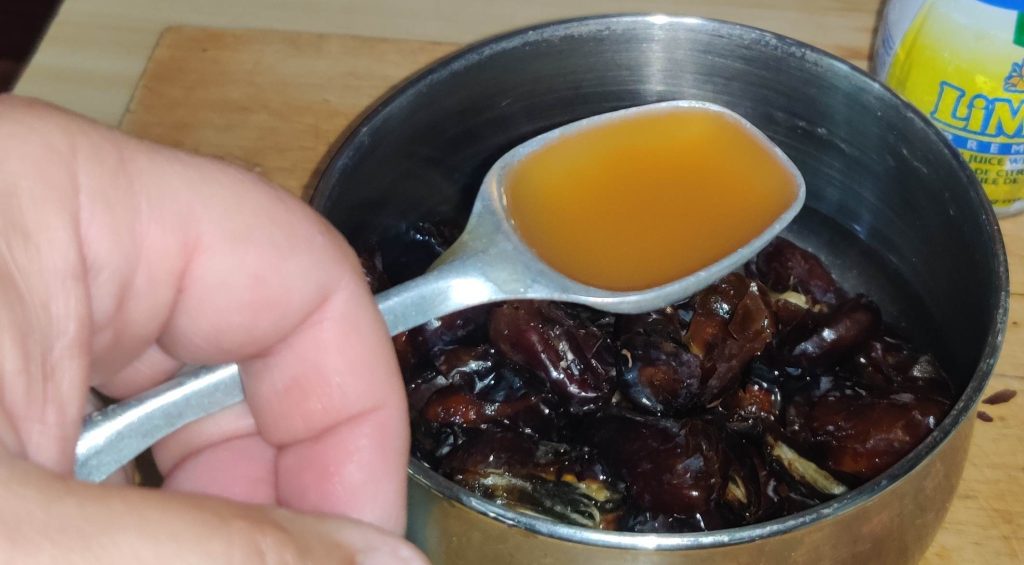
The lemon juice was measured out:

Lemon juice measured out

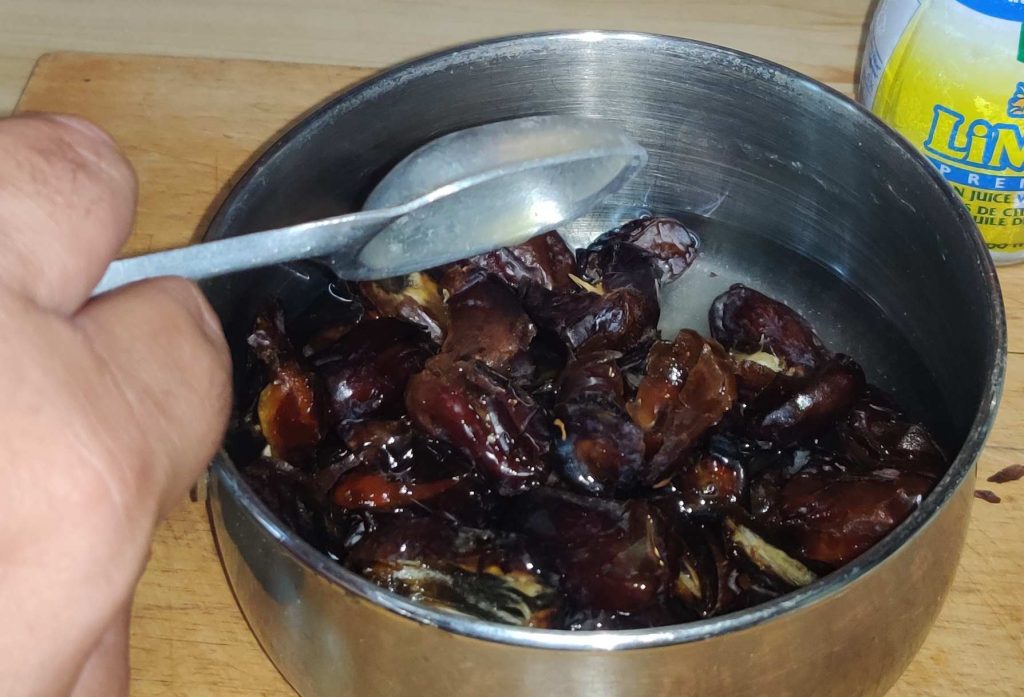
The lemon juice was transferred to the pot with the pitted dates and water:

Lemon juice transferred to pot with pitted dates and water

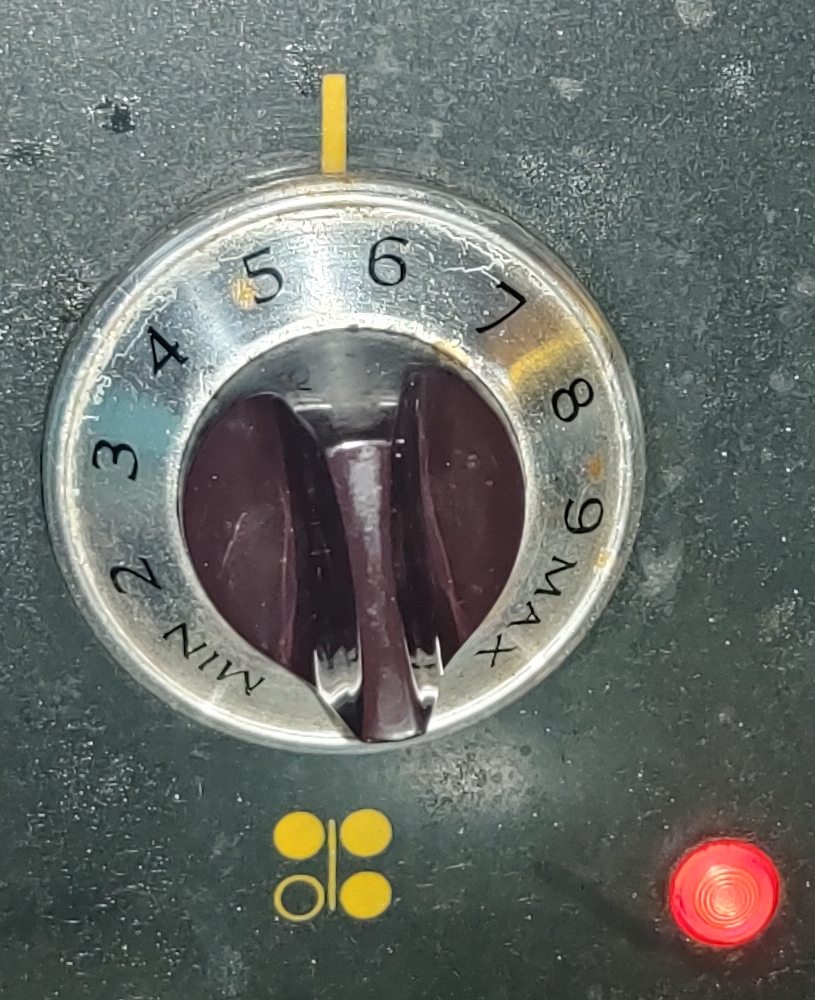
A burner on the stove was turned on to medium heat:

Stove turned to medium heat

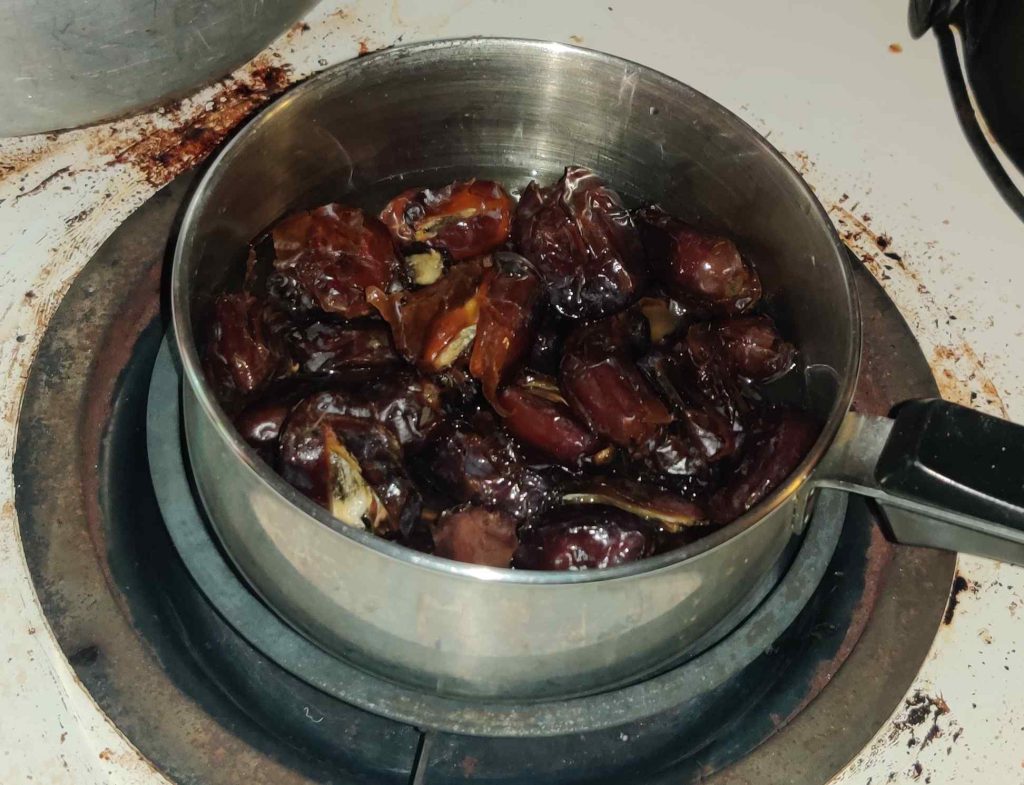
The pot of pitted dates, water, and lemon juice was placed on the burner:

Pot of pitted dates, water, and lemon juice

The pitted dates were largely left alone for the next several minutes, although I kept an eye on the pot and occasionally stirred it.

Making the oat crumble base and topping:

Flour was taken out:

Flour taken out

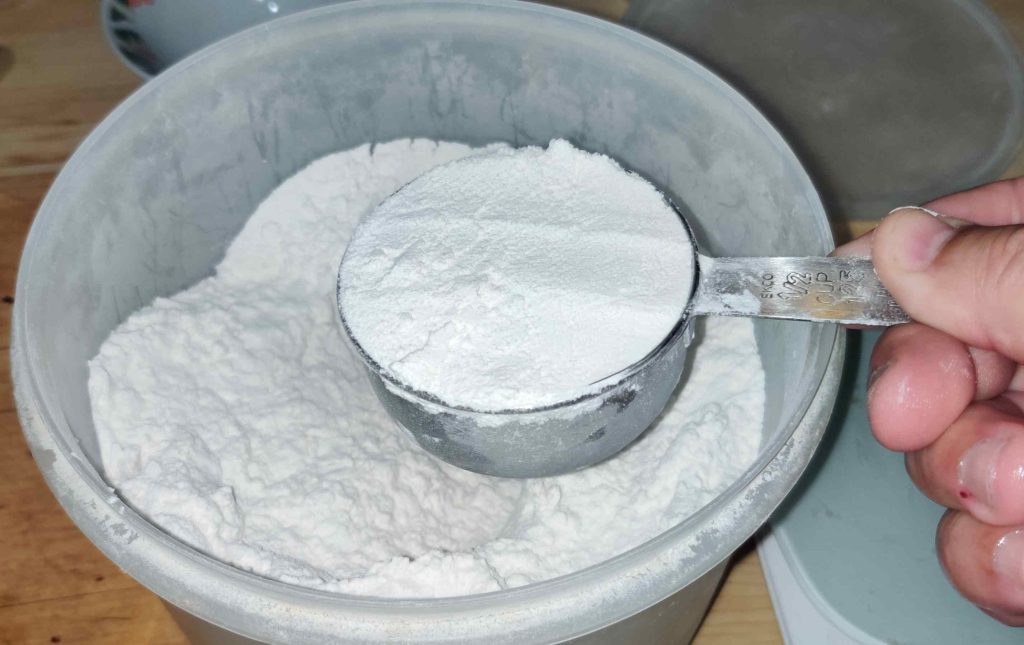
Flour was measured out:

Flour measured out

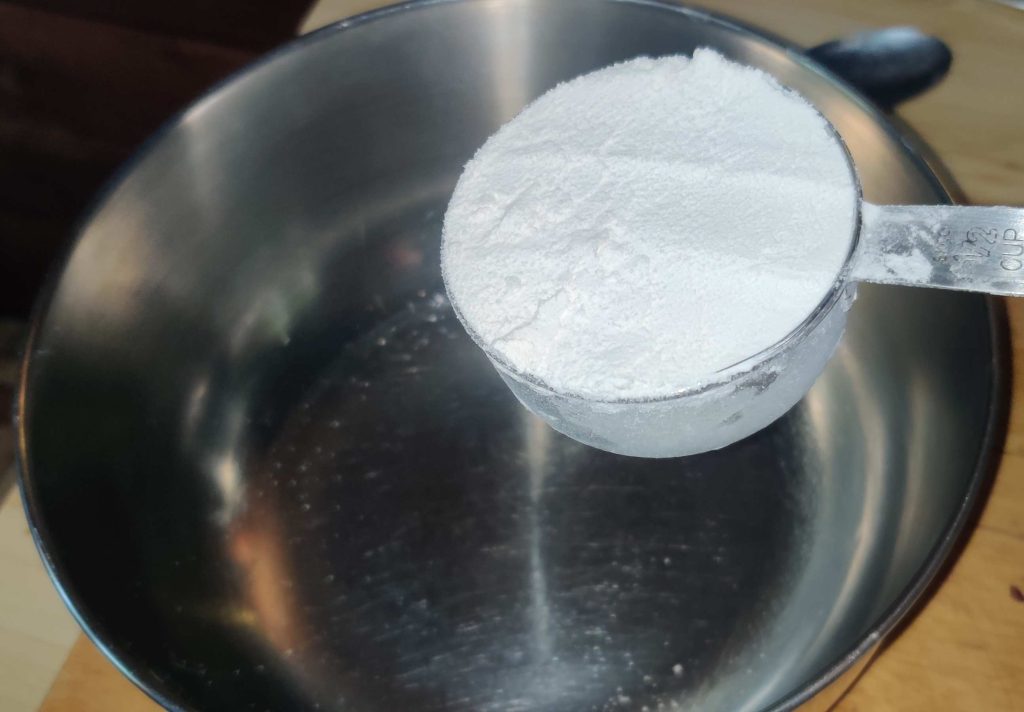
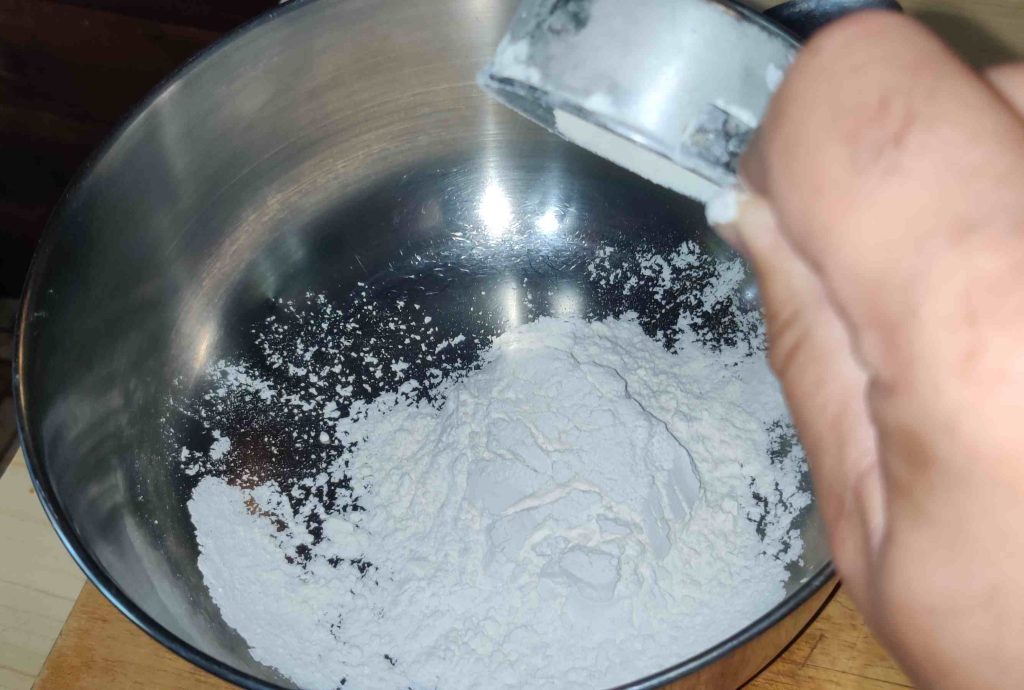
The flour was transferred to a mixing bowl:

Flour transferred to mixing bowl

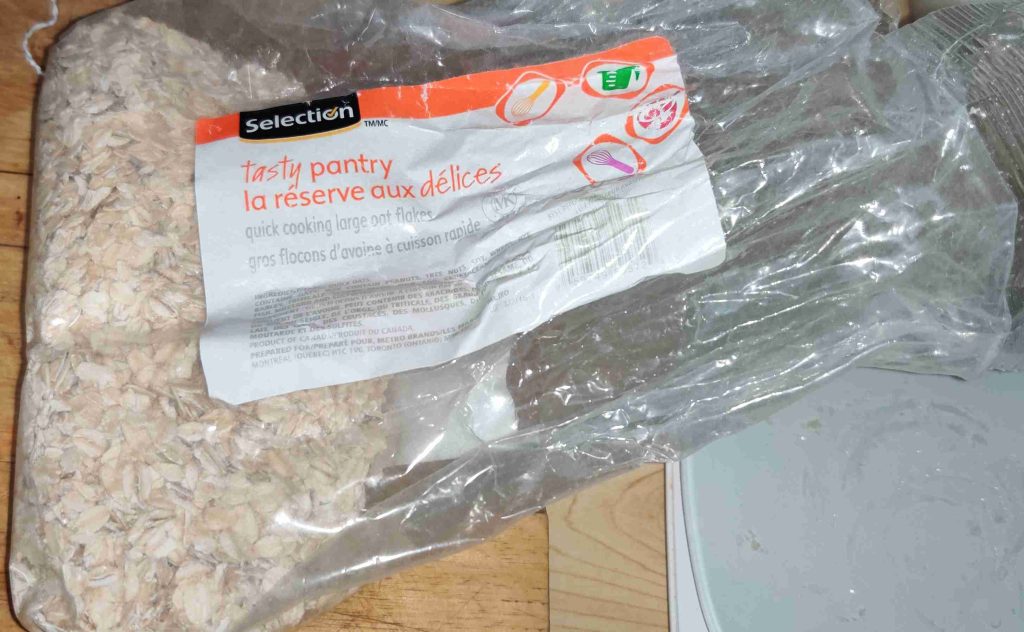
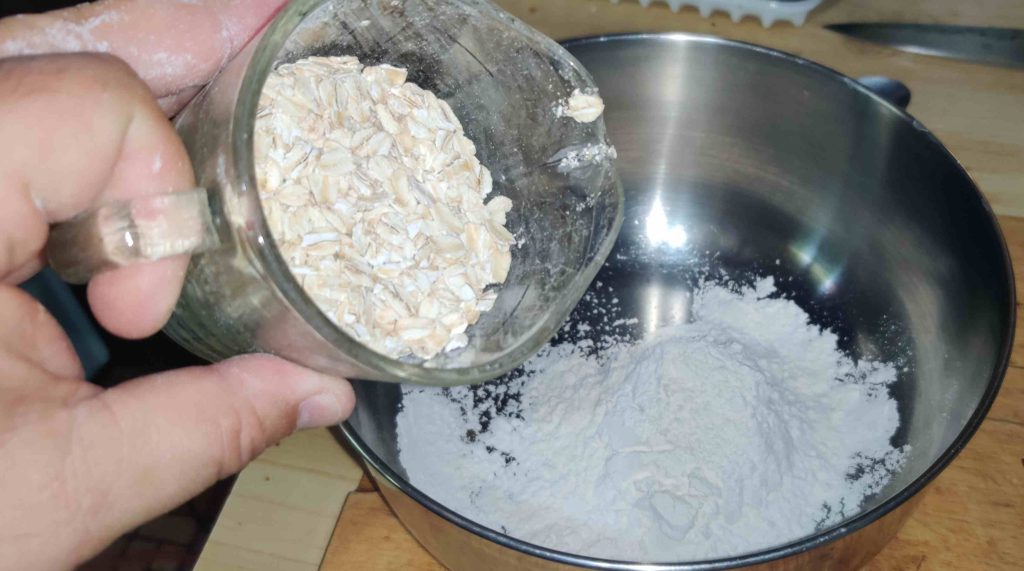
Oats were taken out:

Oats taken out

Oats were measured out:

Oats measured out

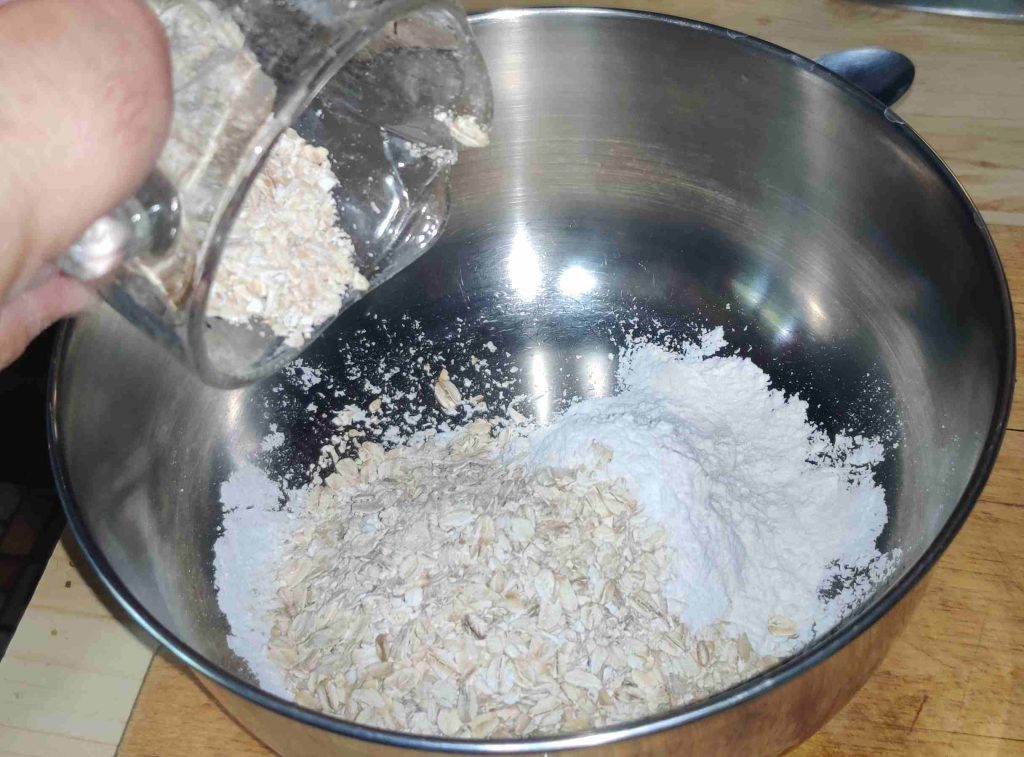
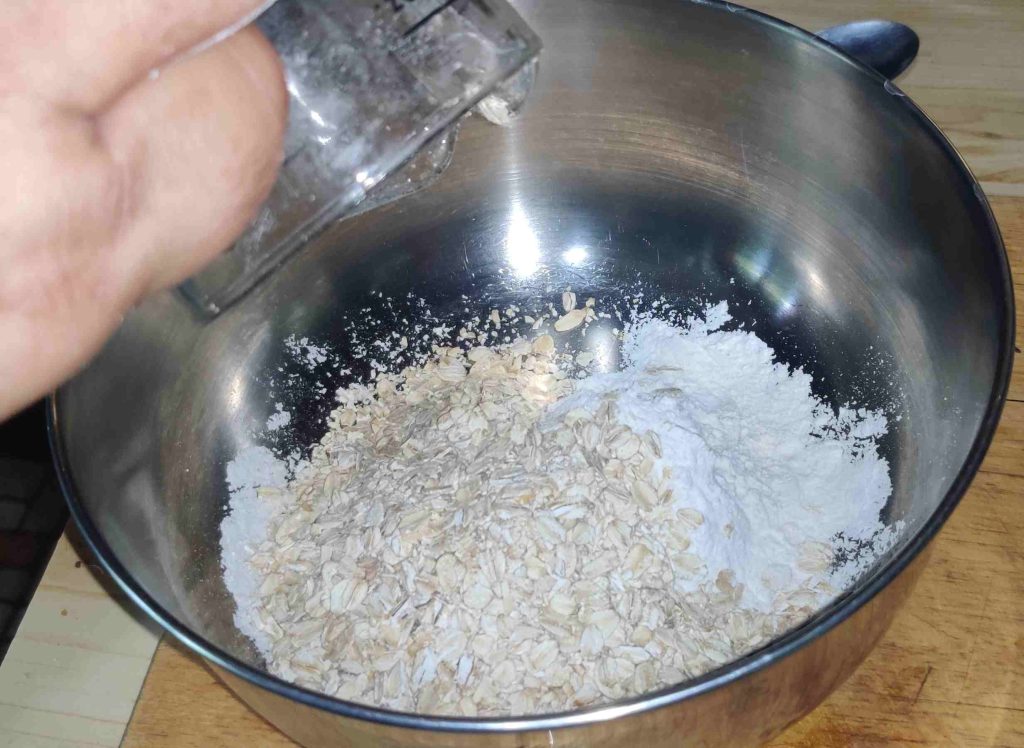
The oats were transferred to the mixing bowl with the flour:

Oats transferred to mixing bowl with flour

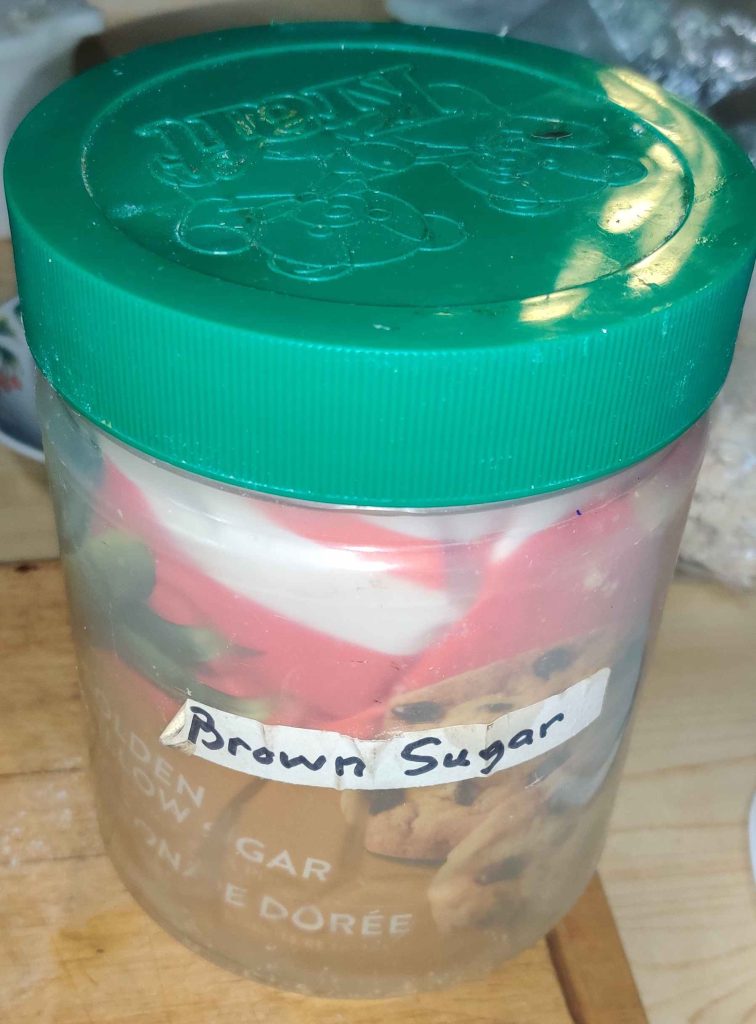
Brown sugar was taken out:

Brown sugar taken out

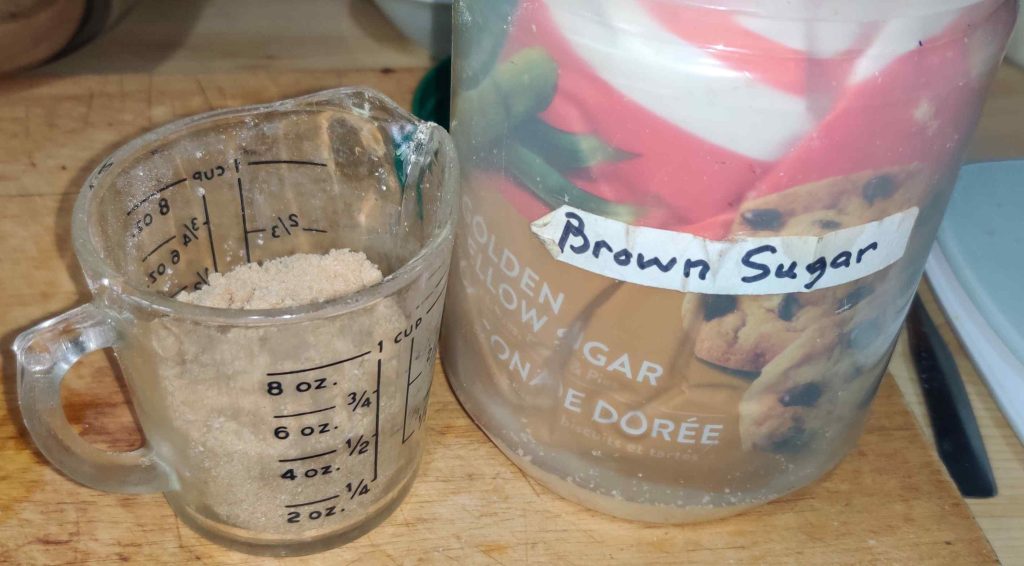
Brown sugar was measured out:

Brown sugar measured out

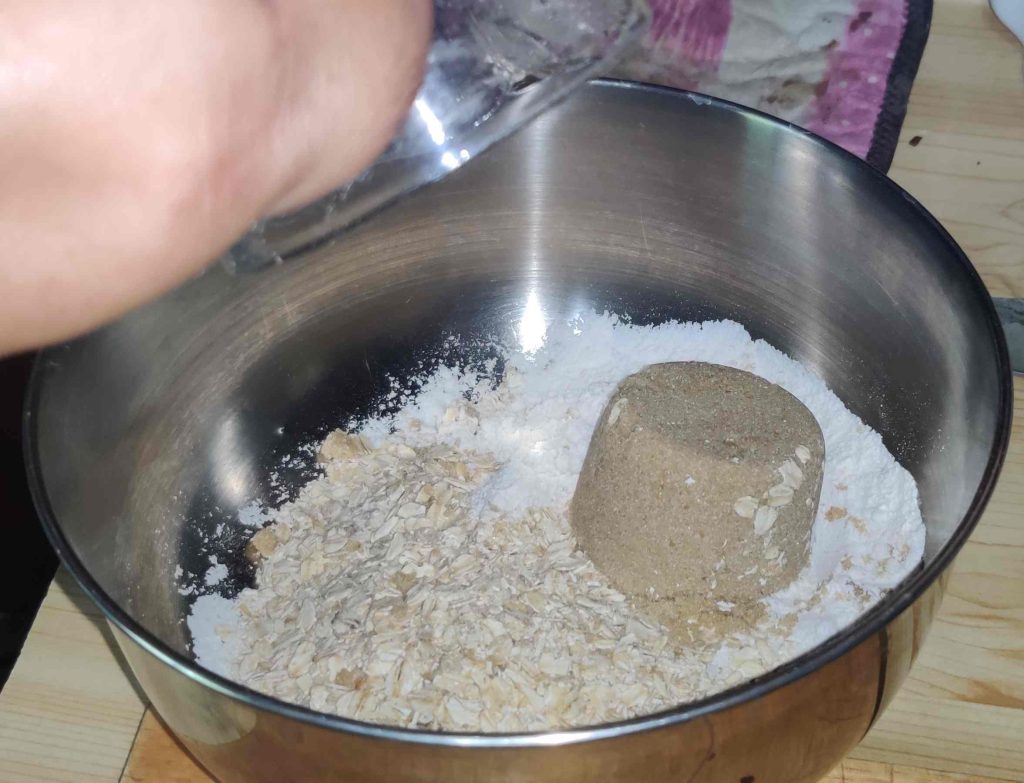
The brown sugar was transferred to the mixing bowl with the flour and the oats:

Brown sugar transferred to mixing bowl

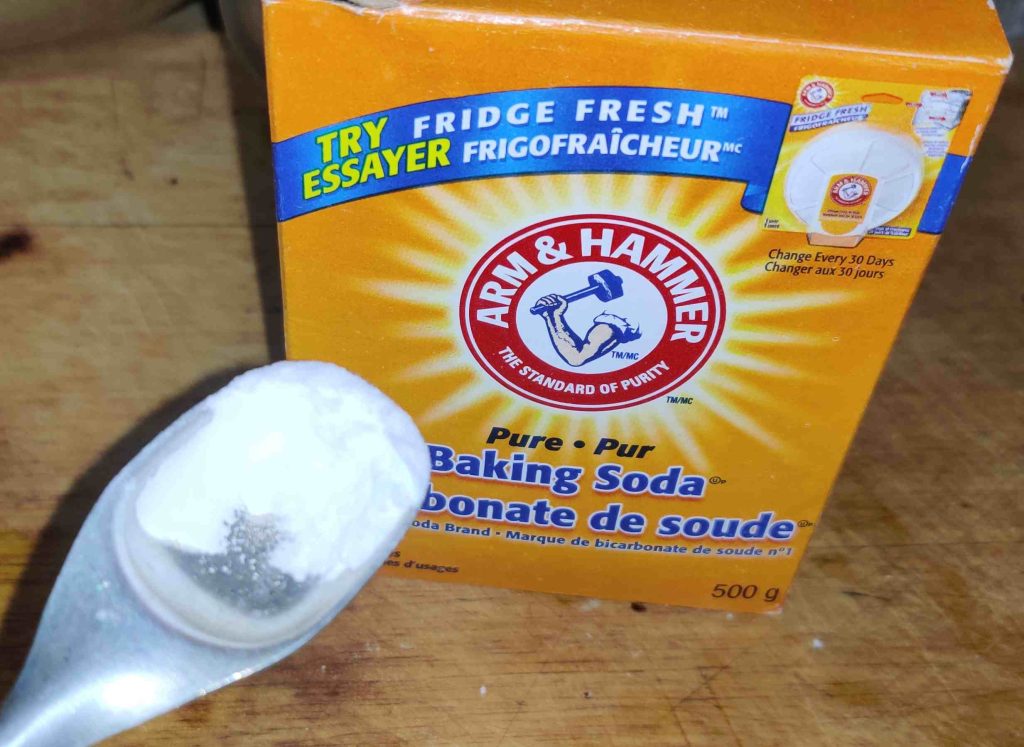
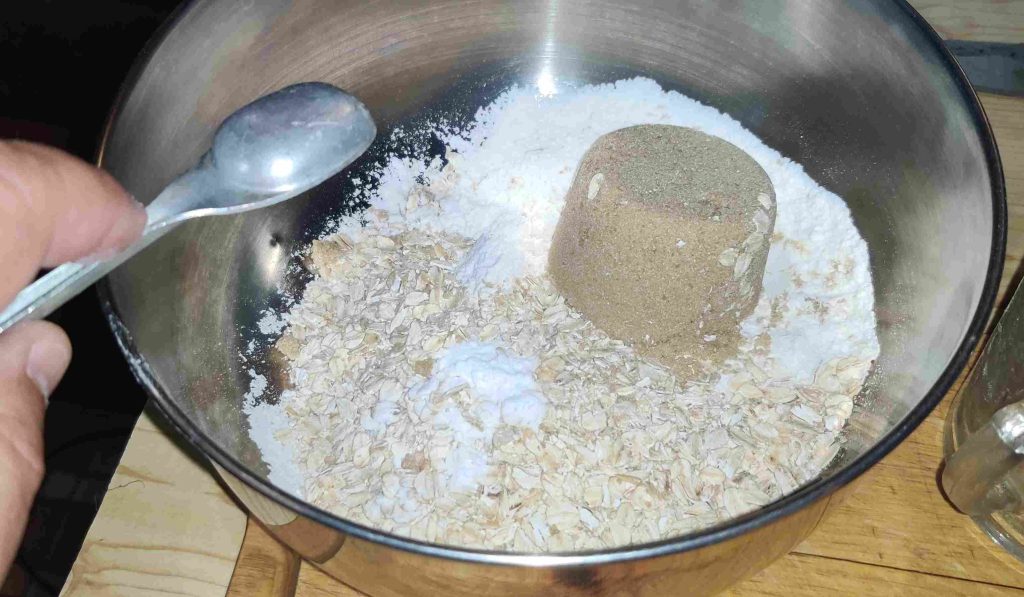
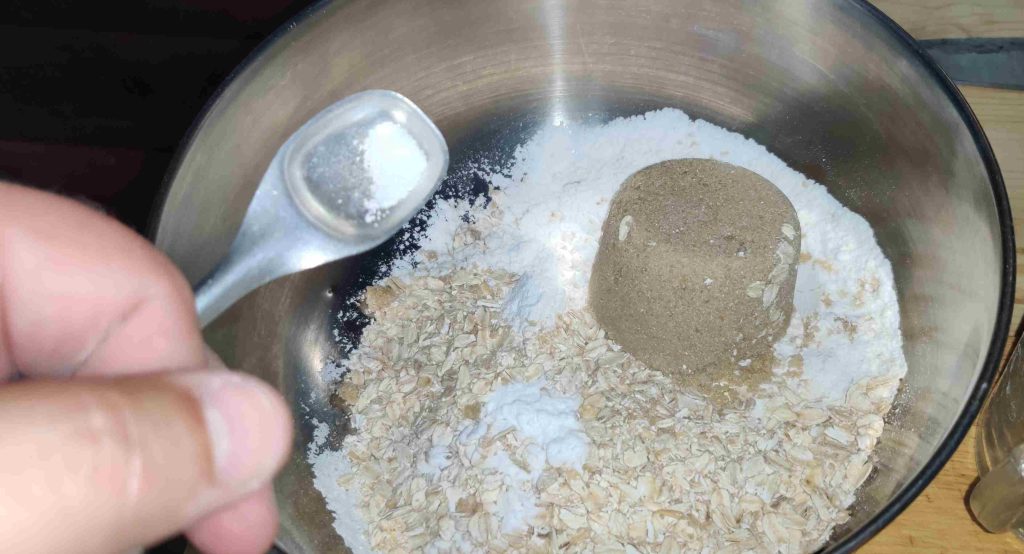
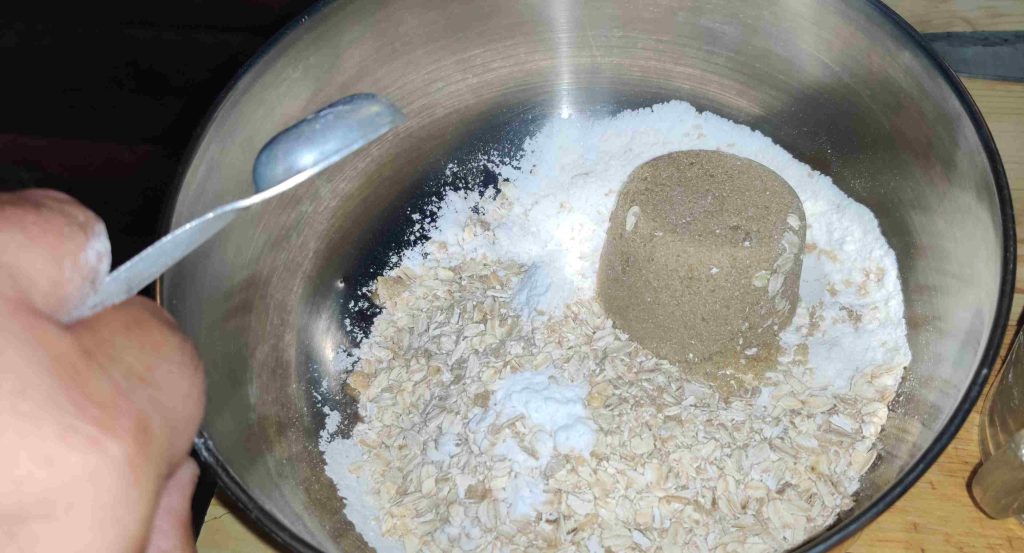
Baking soda was taken out and measured out:

Baking soda measured out

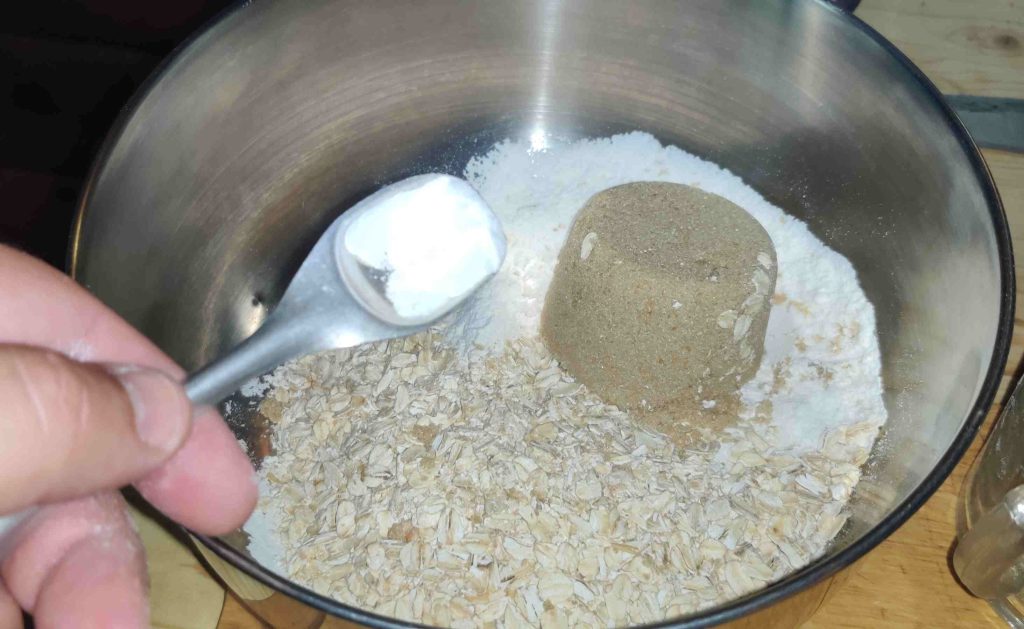
The baking soda was transferred to the mixing bowl with the flour, oats, and brown sugar:

Baking soda transferred to mixing bowl

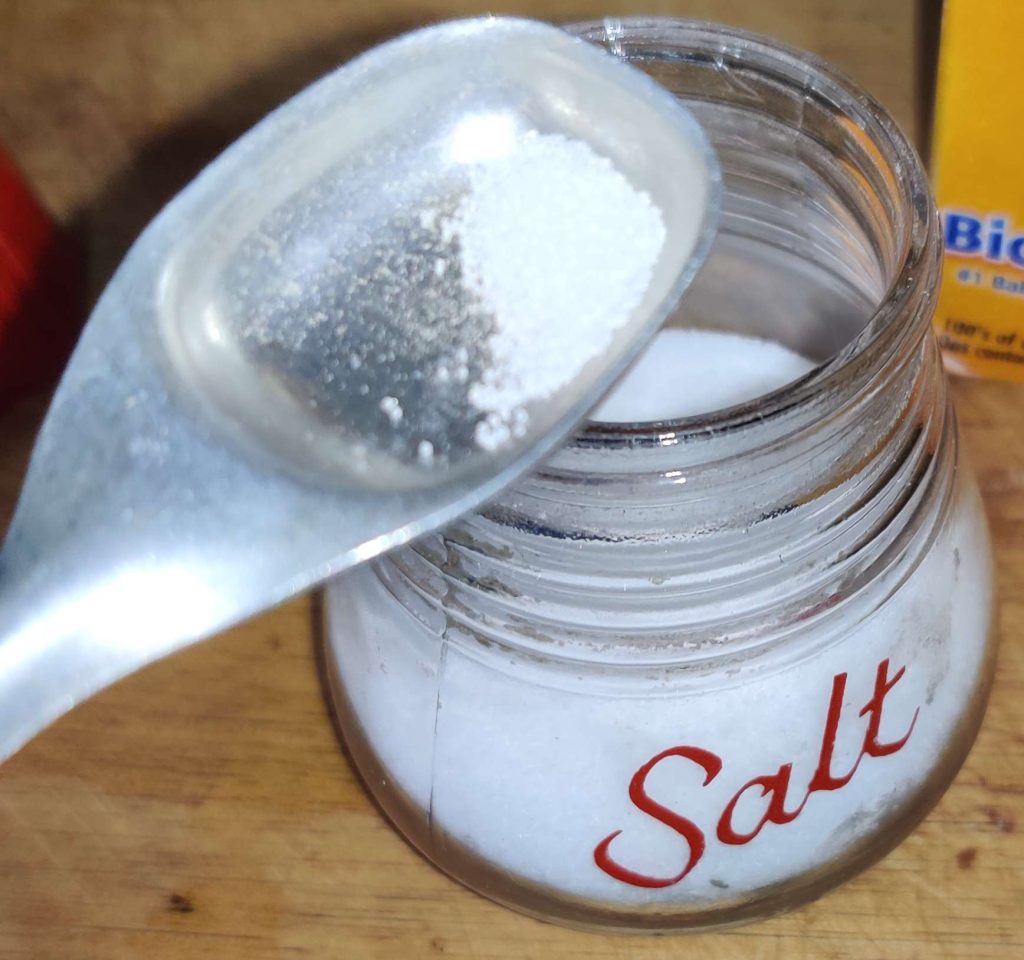
Salt was taken out and measured out:

Salt measured out

The salt was transferred to the mixing bowl with the flour, oats, brown sugar, and baking salt:

Salt transferred to mixing bowl

Another bowl was placed on my kitchen scale, and the display set to zero:

Bowl placed on scale and tare weight set

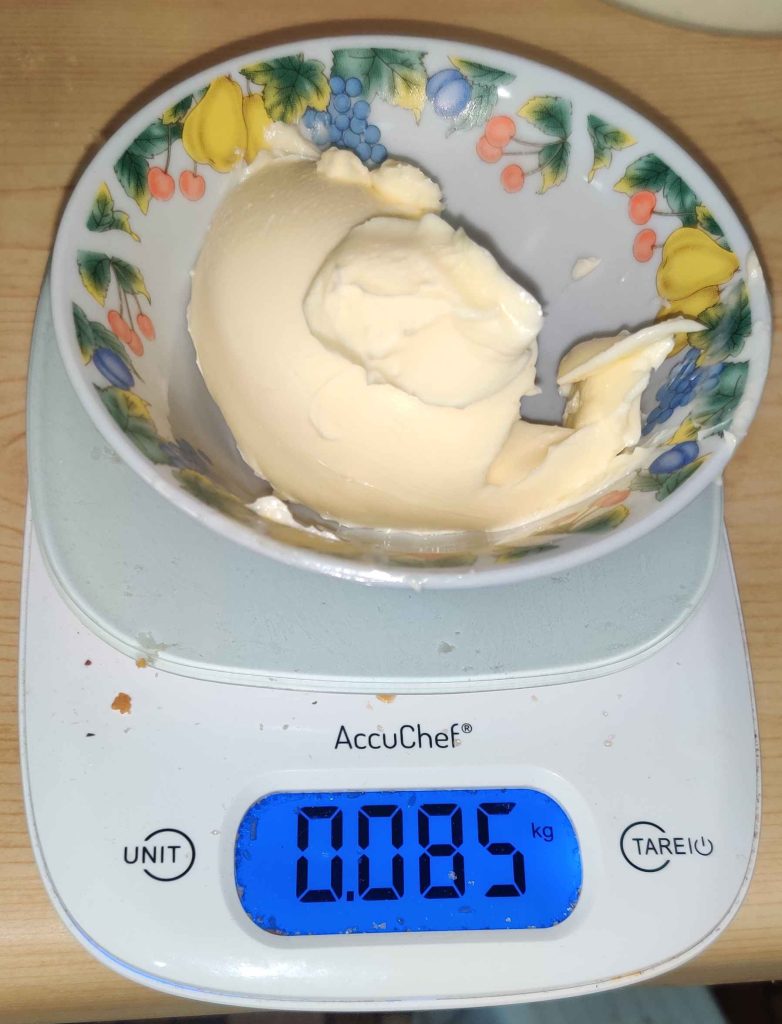
Margarine was measured out:

Margarine measured out

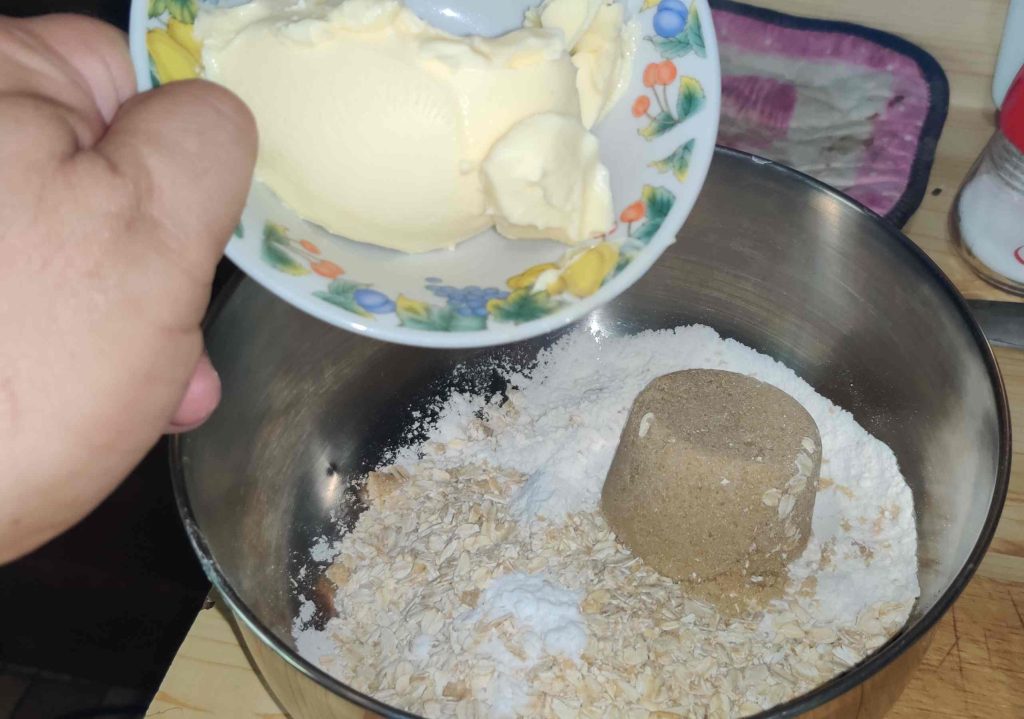
The margarine was transferred to the mixing bowl with the flour, oats, brown sugar, baking soda, and salt:

Margarine transferred to mixing bowl

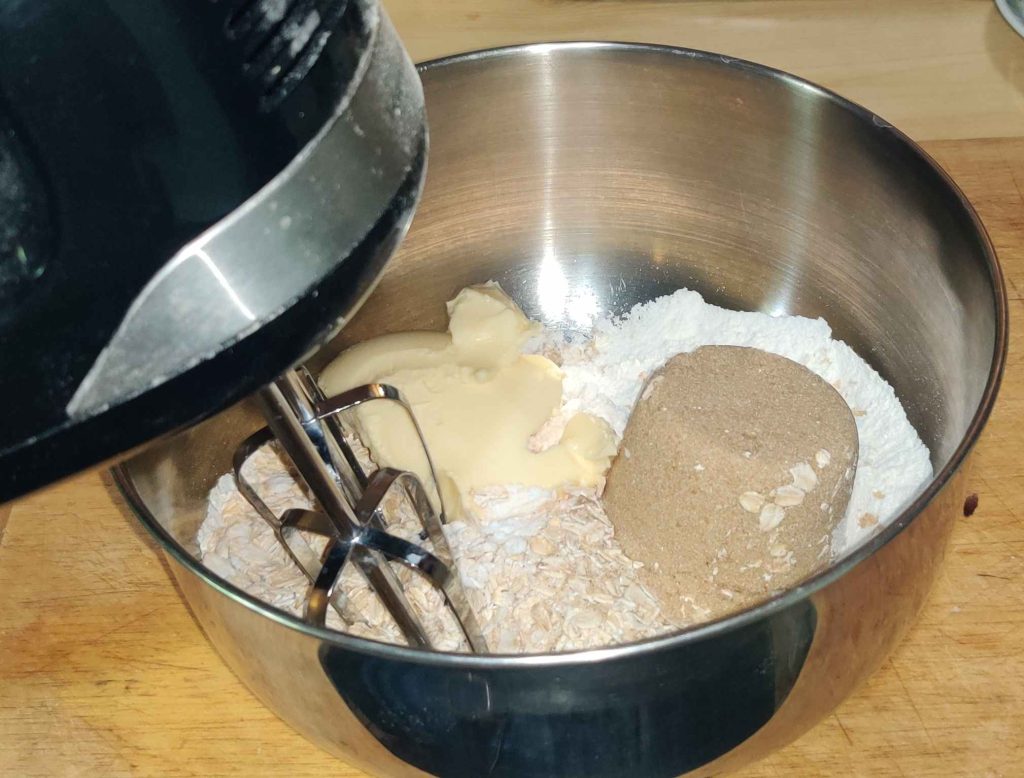
An electric mixer was brought to the mixing bowl:

Electric beater brought to mixing bowl

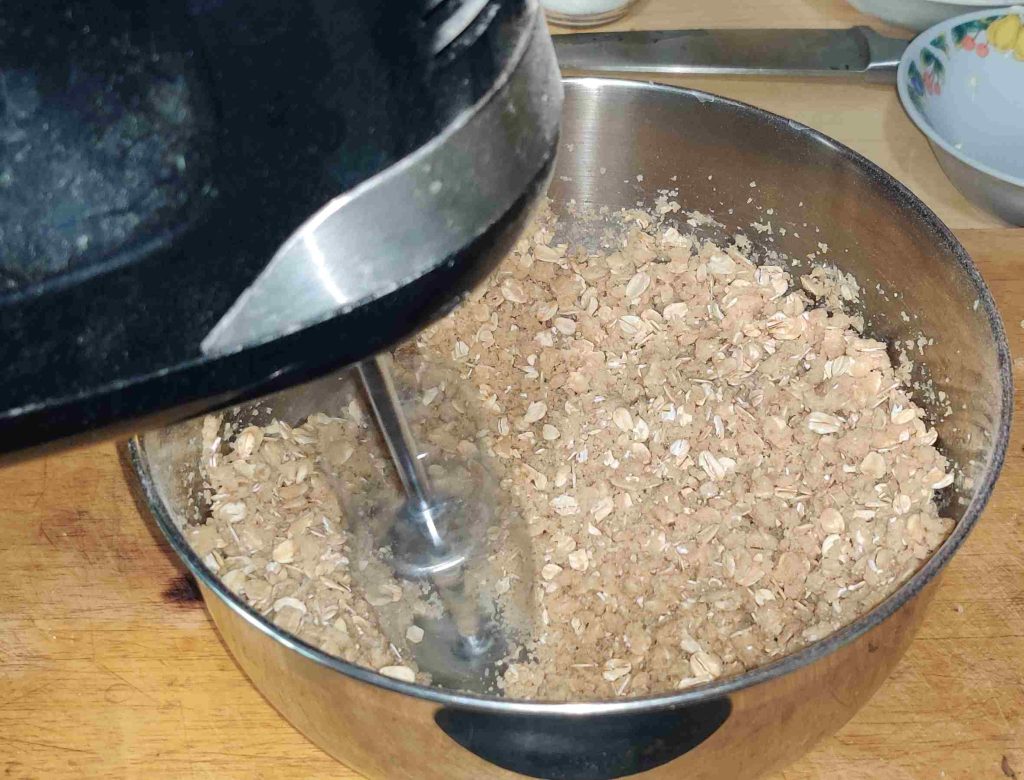
The ingredients were mixed thoroughly:

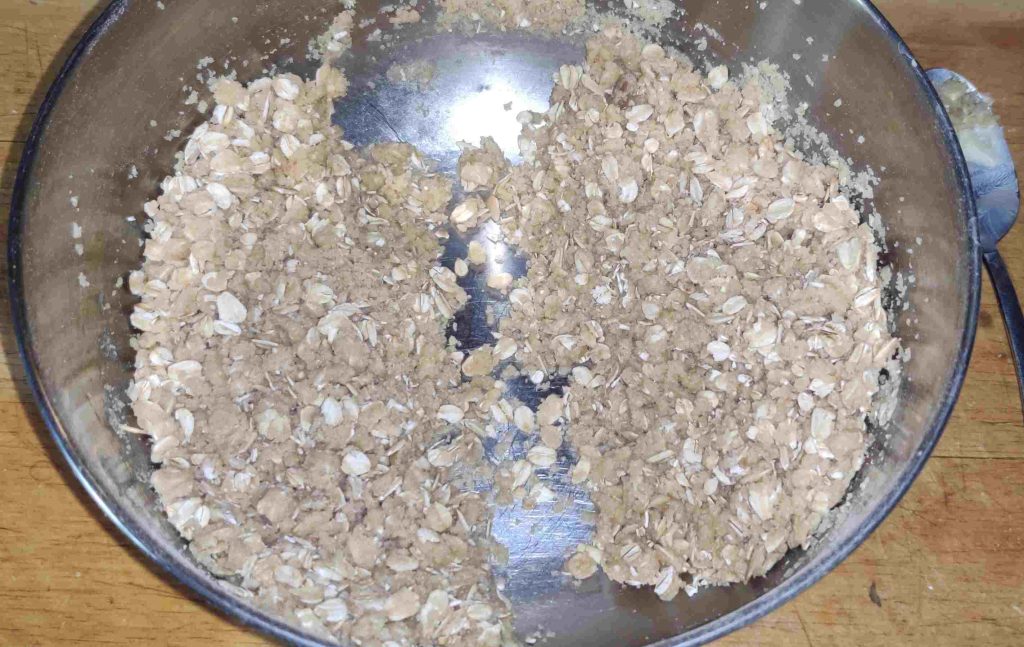
Ingredients thoroughly mixed

The ingredients in the bowl were roughly divided into two parts:

Ingredients in bowl divided into two parts

Mounting the date squares:

About half of the oat crumble mix was transferred to the baking pan:

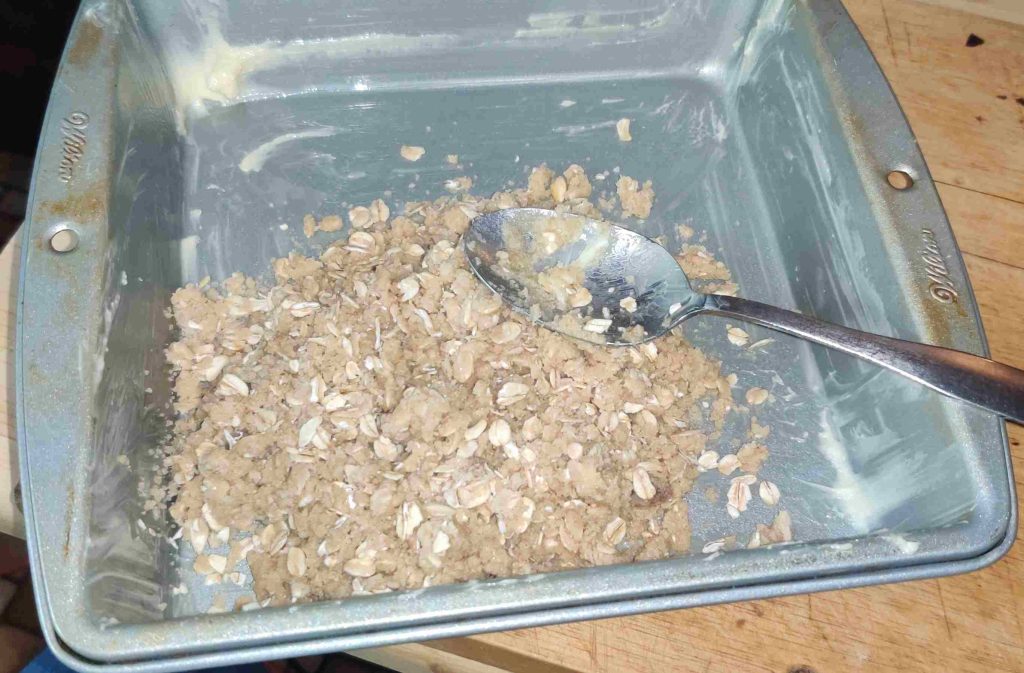
Oat crumble transferred to baking pan

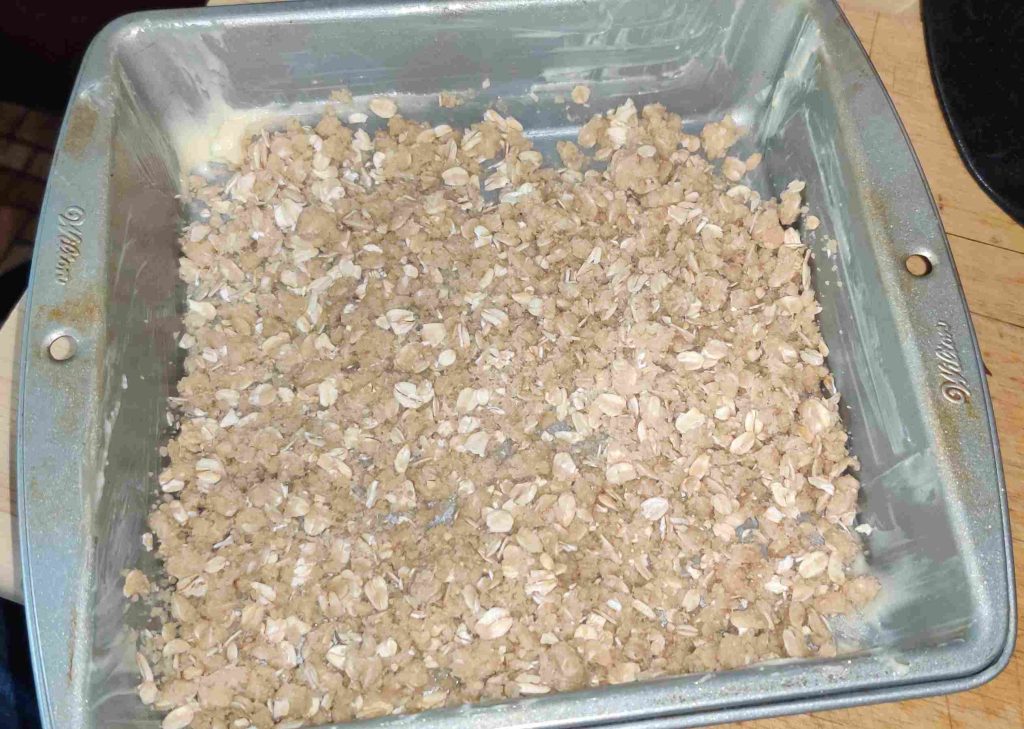
The oat crumble base was spread out over the whole surface of the baking pan:

Oat crumble spread over base of baking pan

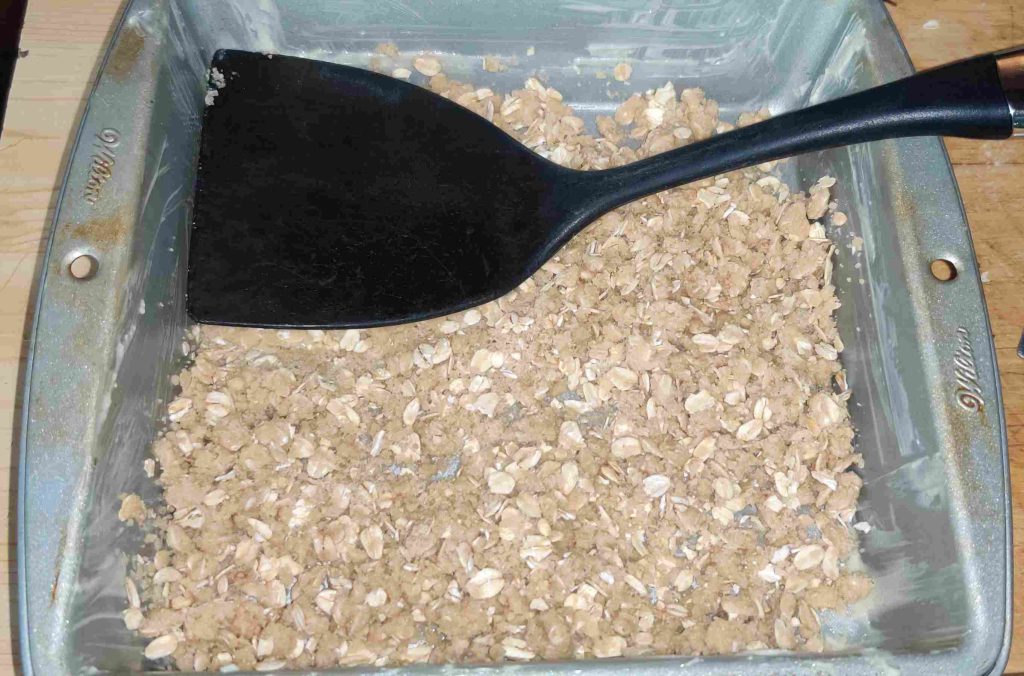
The oat crumble base was flattened with an egg flipper:

Oat crumble base flattened

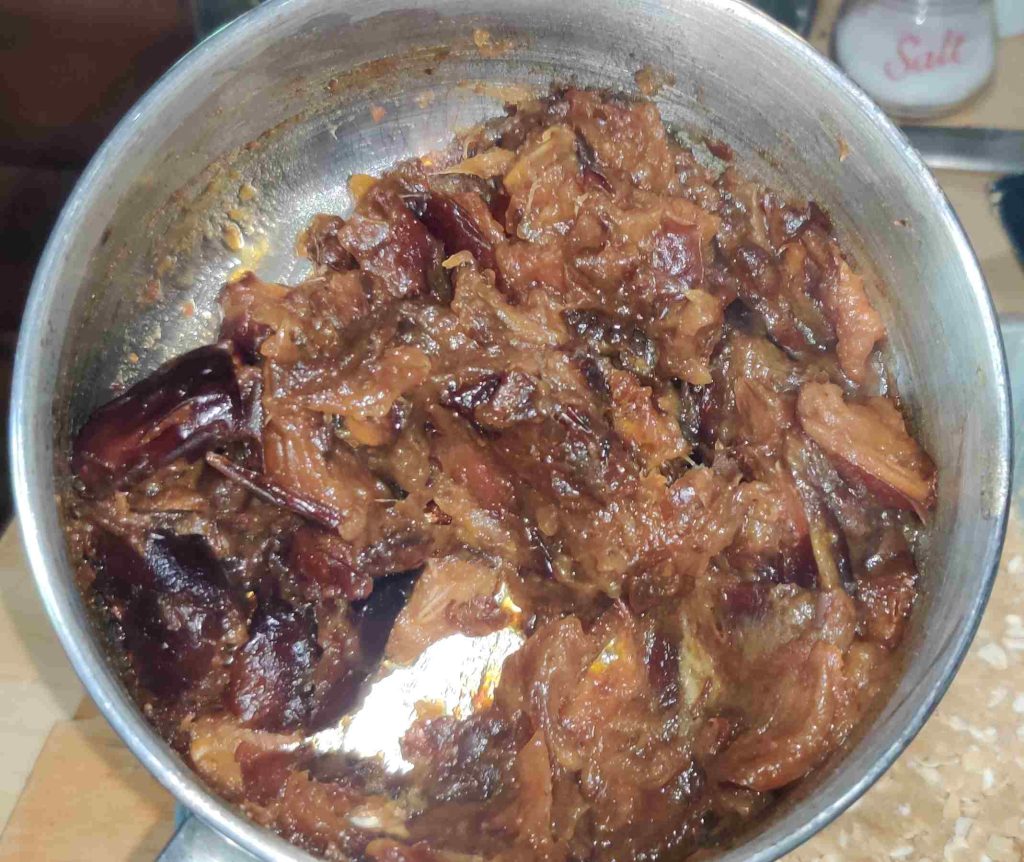
At this point, after having only occasionally glanced at and stirring the dates in the pot on the stove, I took the pot off the stove, the mix having turned into a nice jammy consistency:

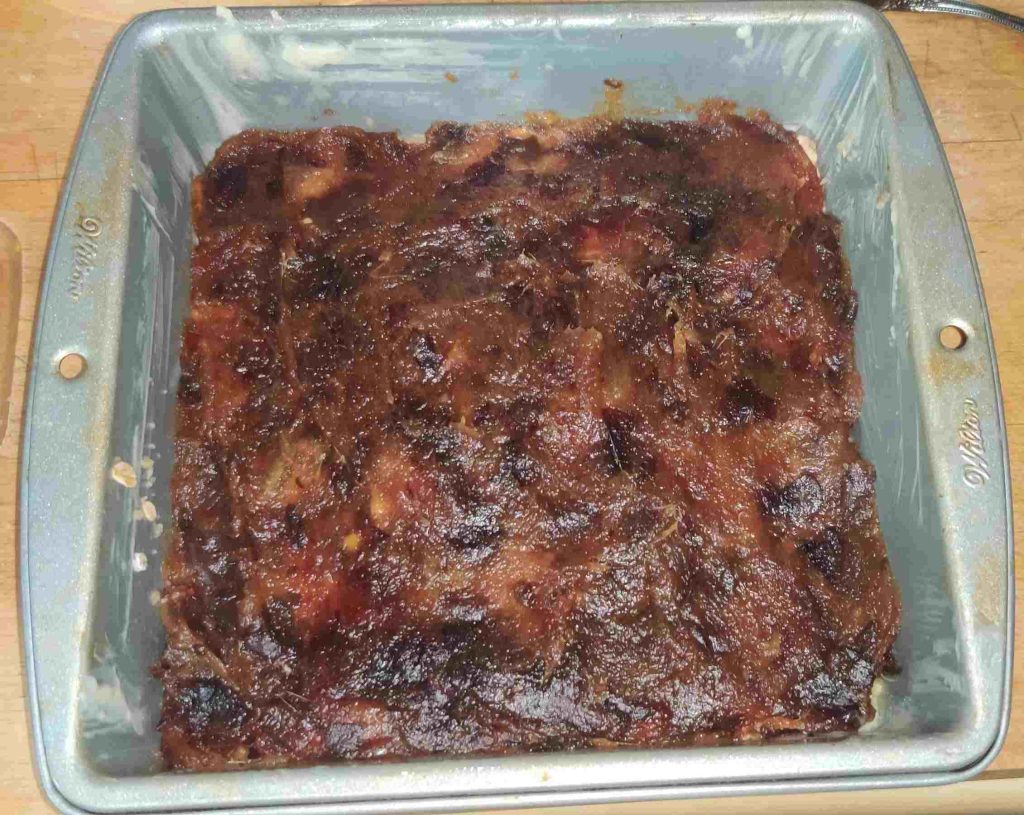
Cooked date filling with a jammy consistency

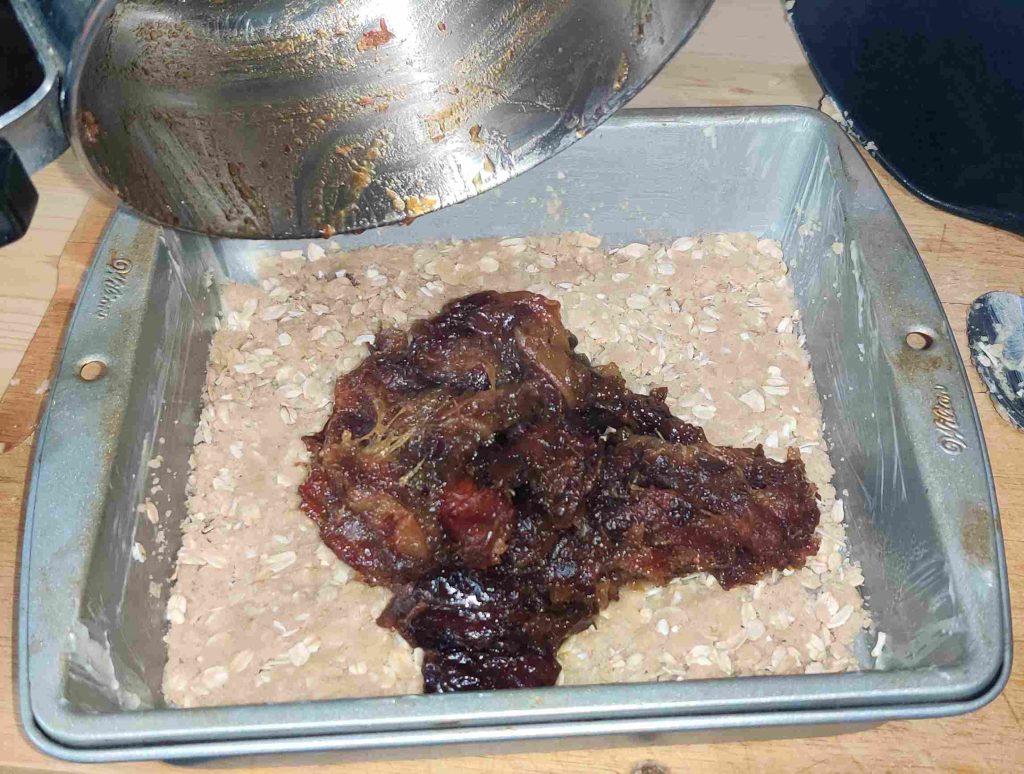
The cooked date filling was transferred to the pan with the oat crumble base:

Cooked date filling transferred to pan with oat crumble base

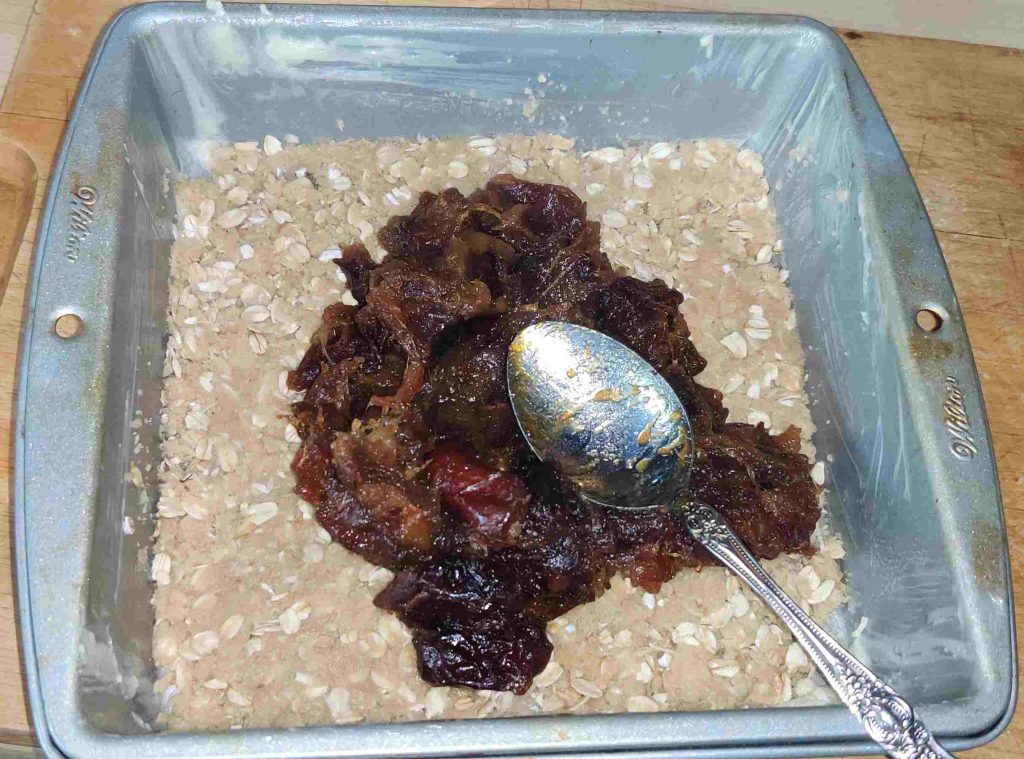
The date filling was spread roughly evenly over the base with a spoon:

Spreading the date filling with a spoon

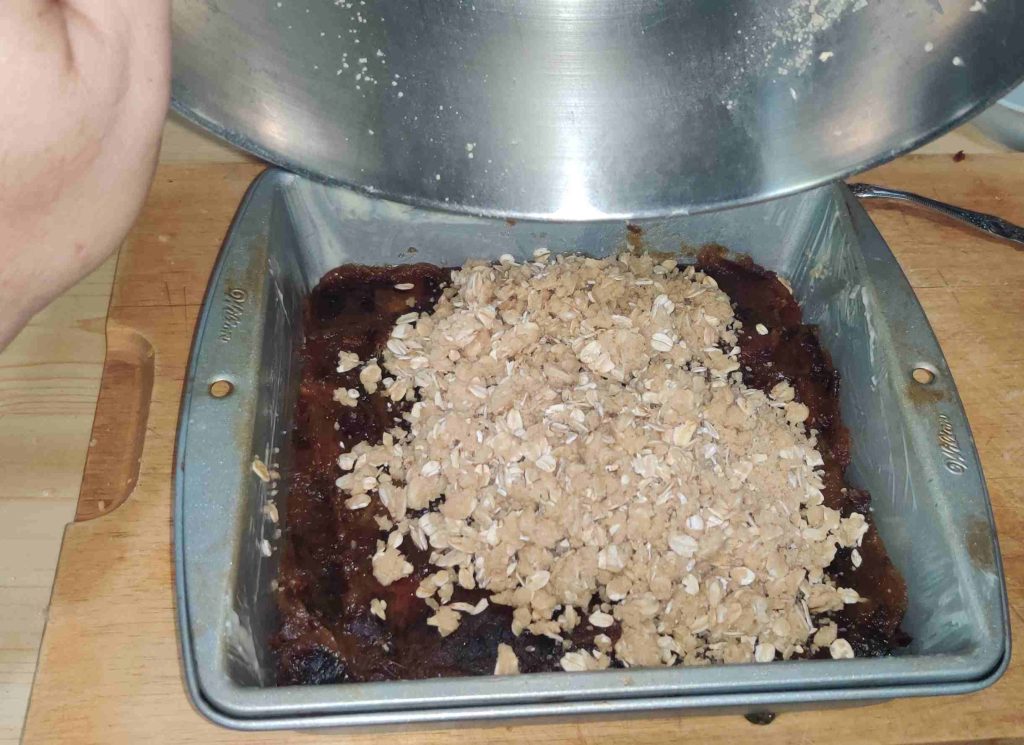
The rest of the oat crumble was transferred on top of the date filling:

Second half of oat crumble transferred to baking pan

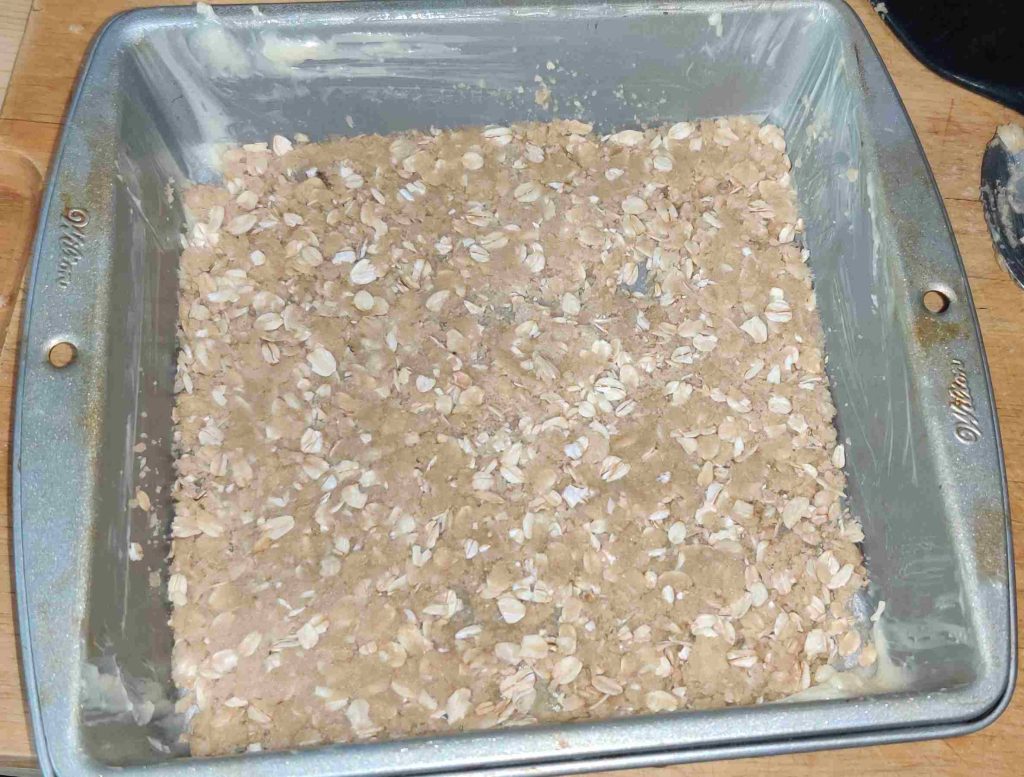
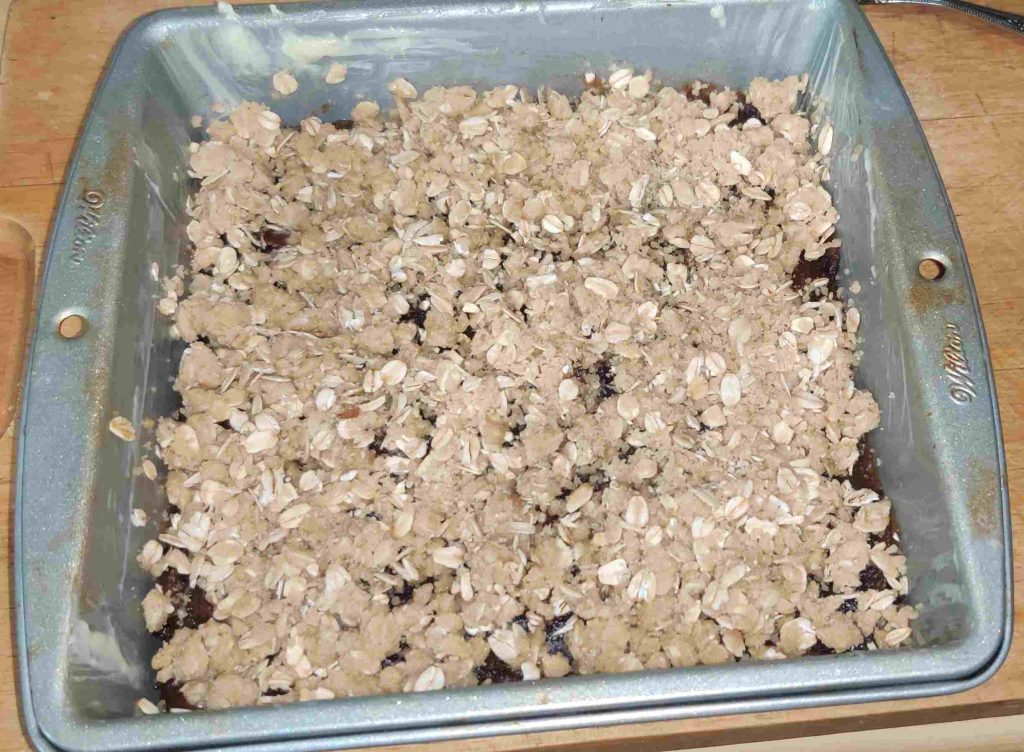
The oat crumble topping was spread roughly evenly over the date filling:

Oat crumble spread over date filling

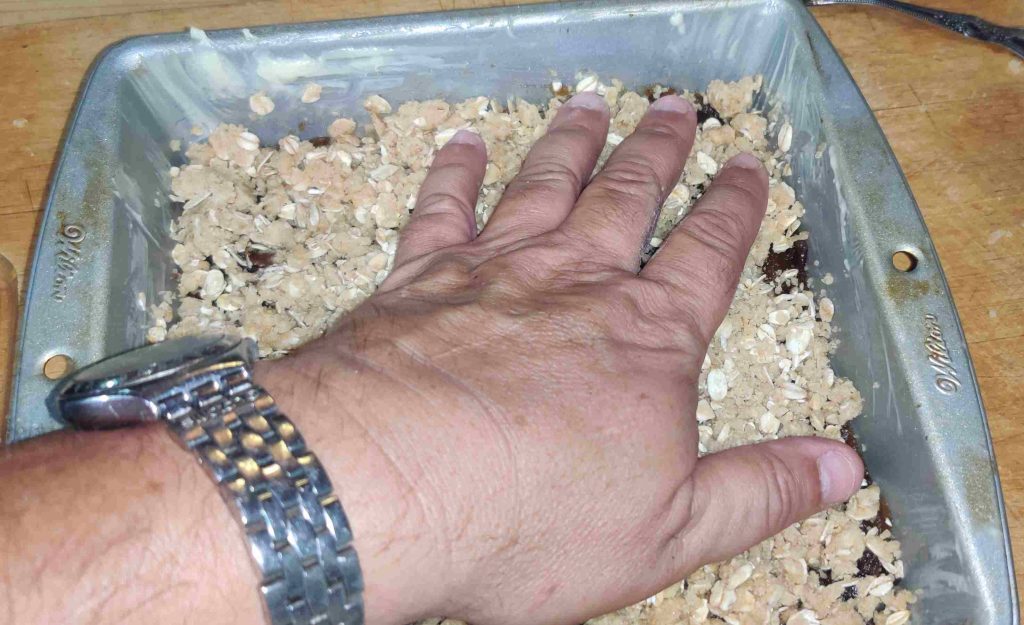
I gently patted down the topping with my hand; note that I said “gently”:

Gently patting down the oat crumble topping
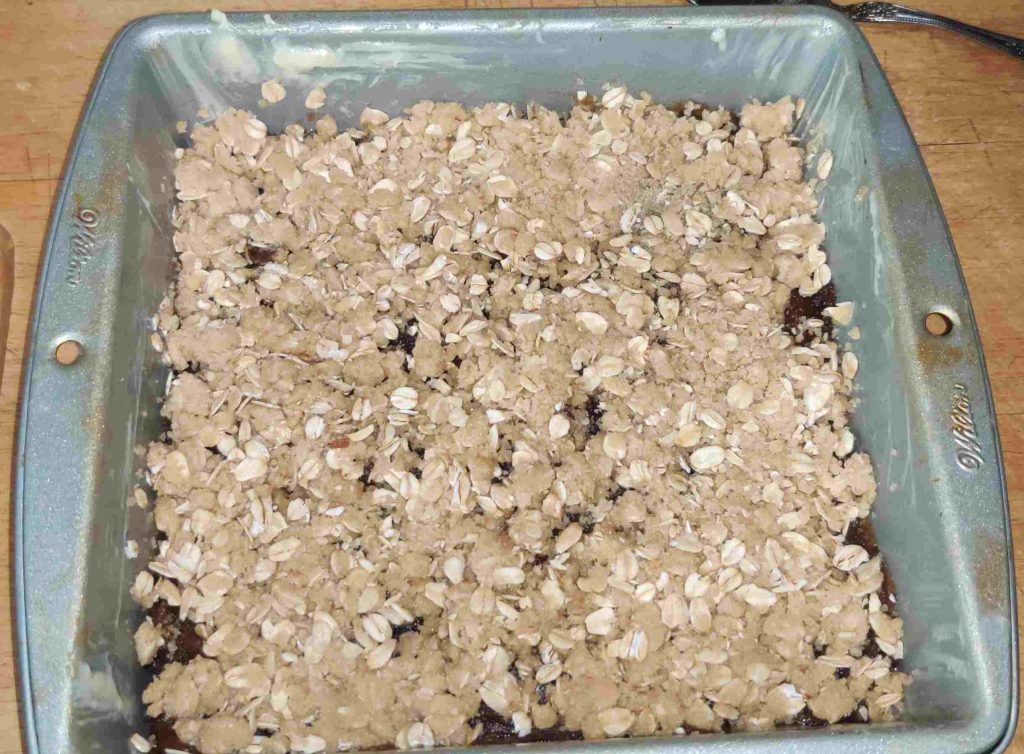
Patted down oat crumble topping

Baking the date squares:

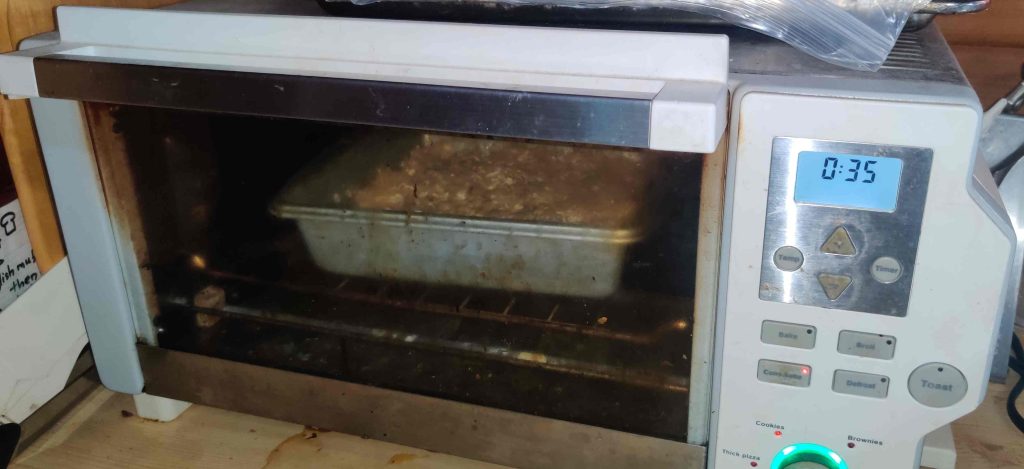
The pan was placed in the preheated countertop oven, and a timer was set to about 35 minutes:

Baking pan placed in countertop oven and timer set to 35 minutes

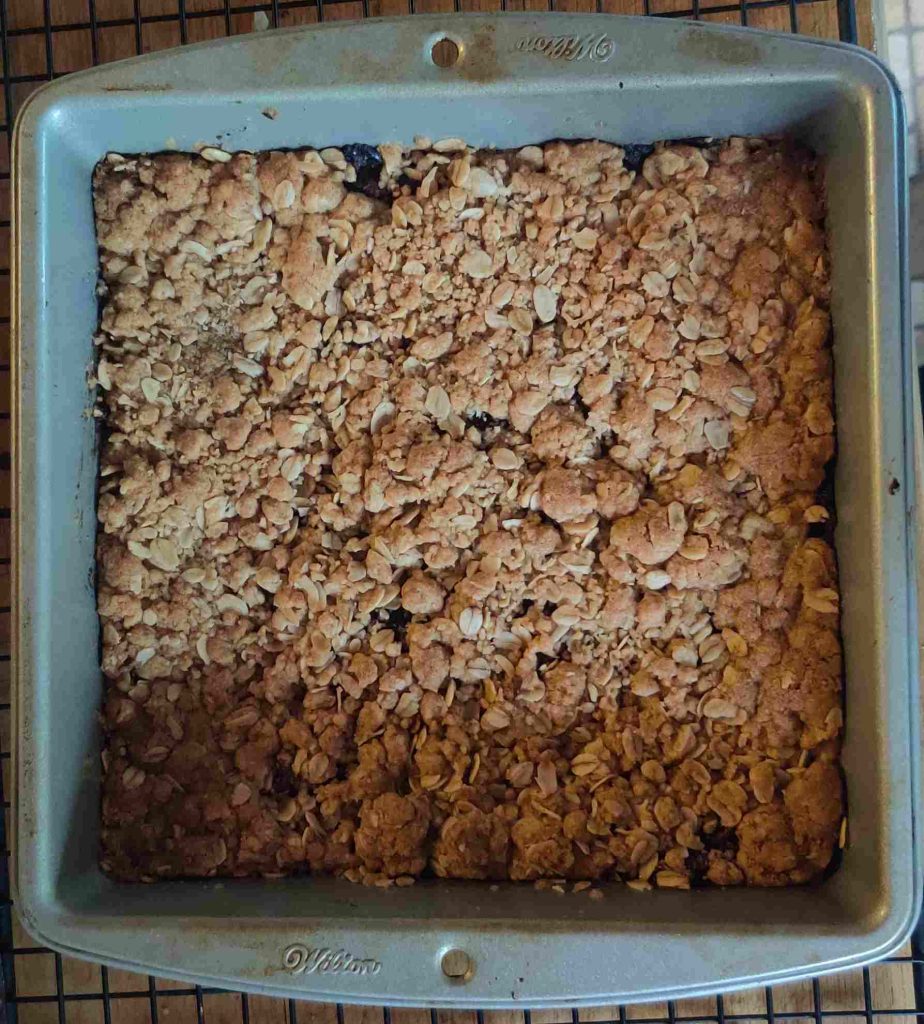
When the baking was finished, the baking pan was taken out of the oven and placed on a cooling rack:

Baking pan placed on cooling rack

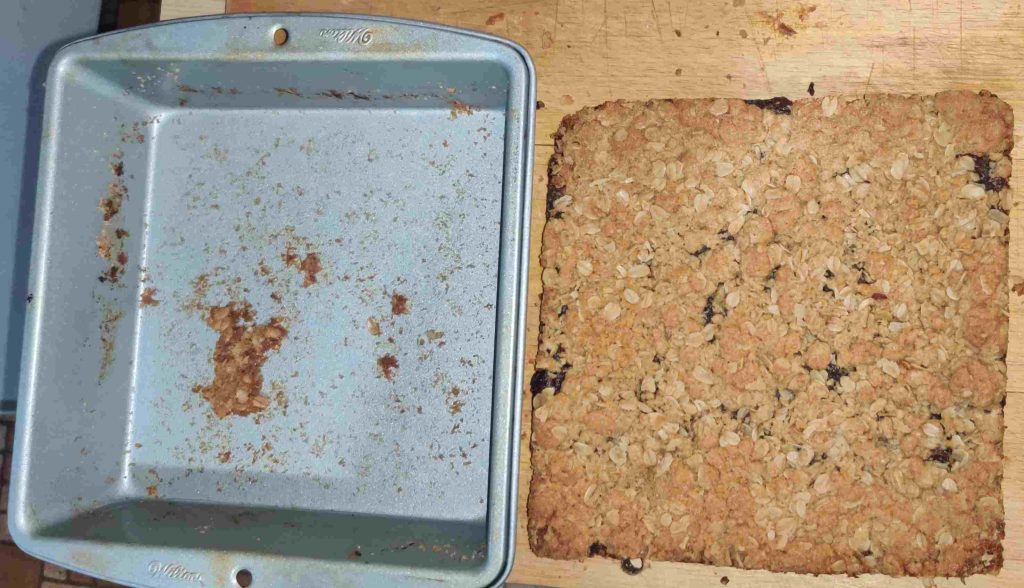
Once cooled (I did move the cooling along by placing the pan in the fridge for a while), the whole large date square was removed from the pan. Yes I tasted the bit of the base that was left behind: It was yummy!

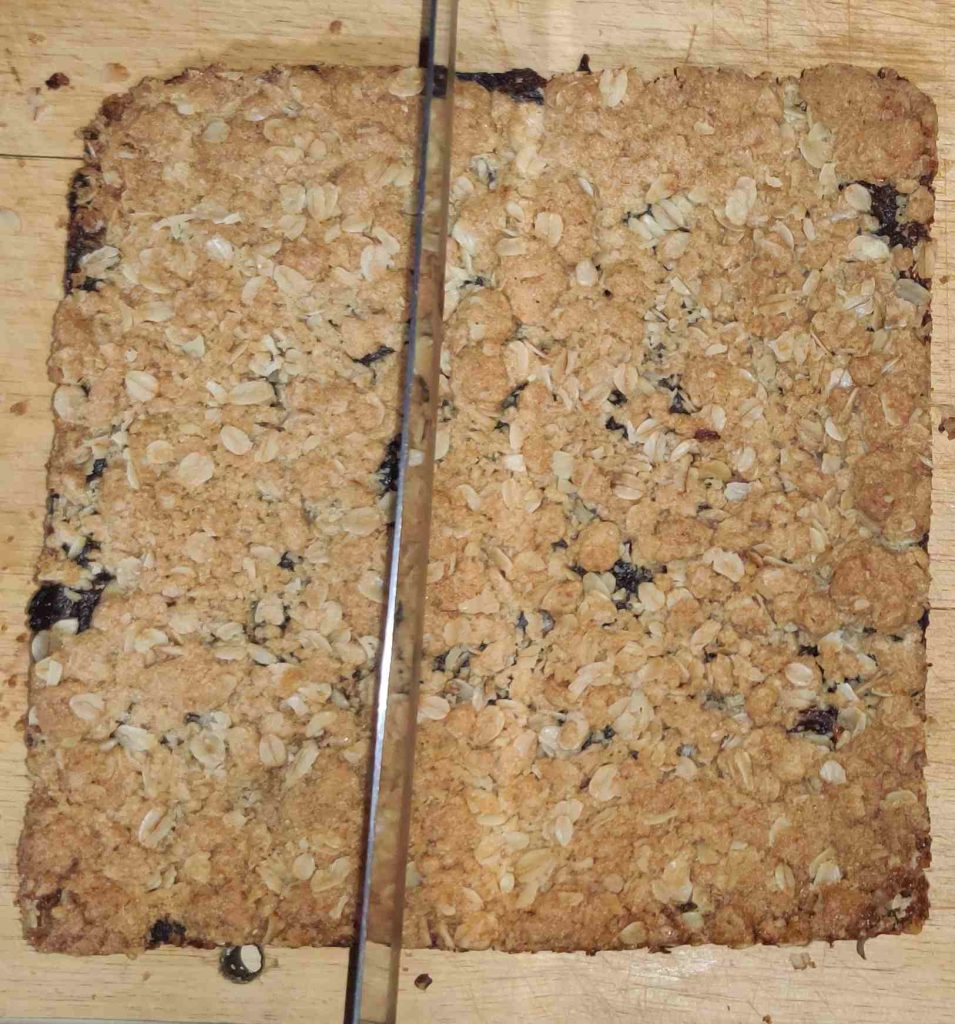
Large date square removed from baking pan

I began cutting the large piece off-center, with a goal of cutting a 5 x 5 grid for a total of 25 pieces:

Cutting the date squares, starting from off-centre

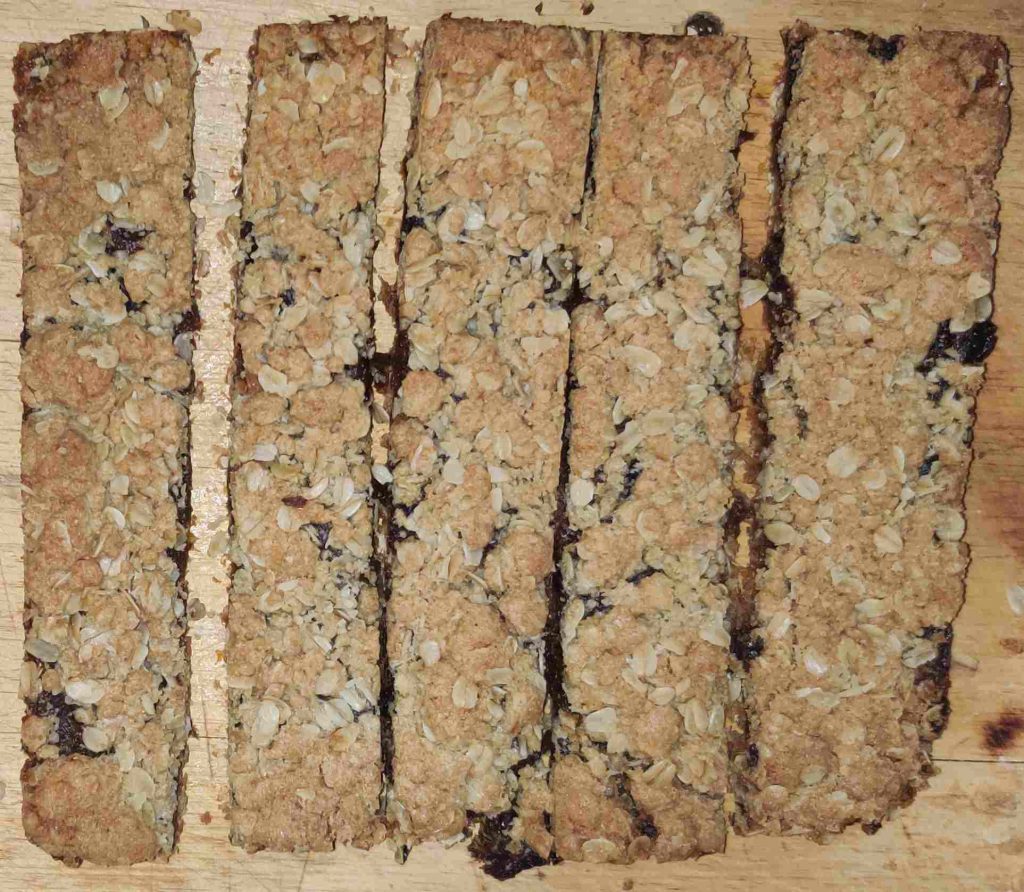
Three more slices were made, in order to have five long bars:

Five long bars

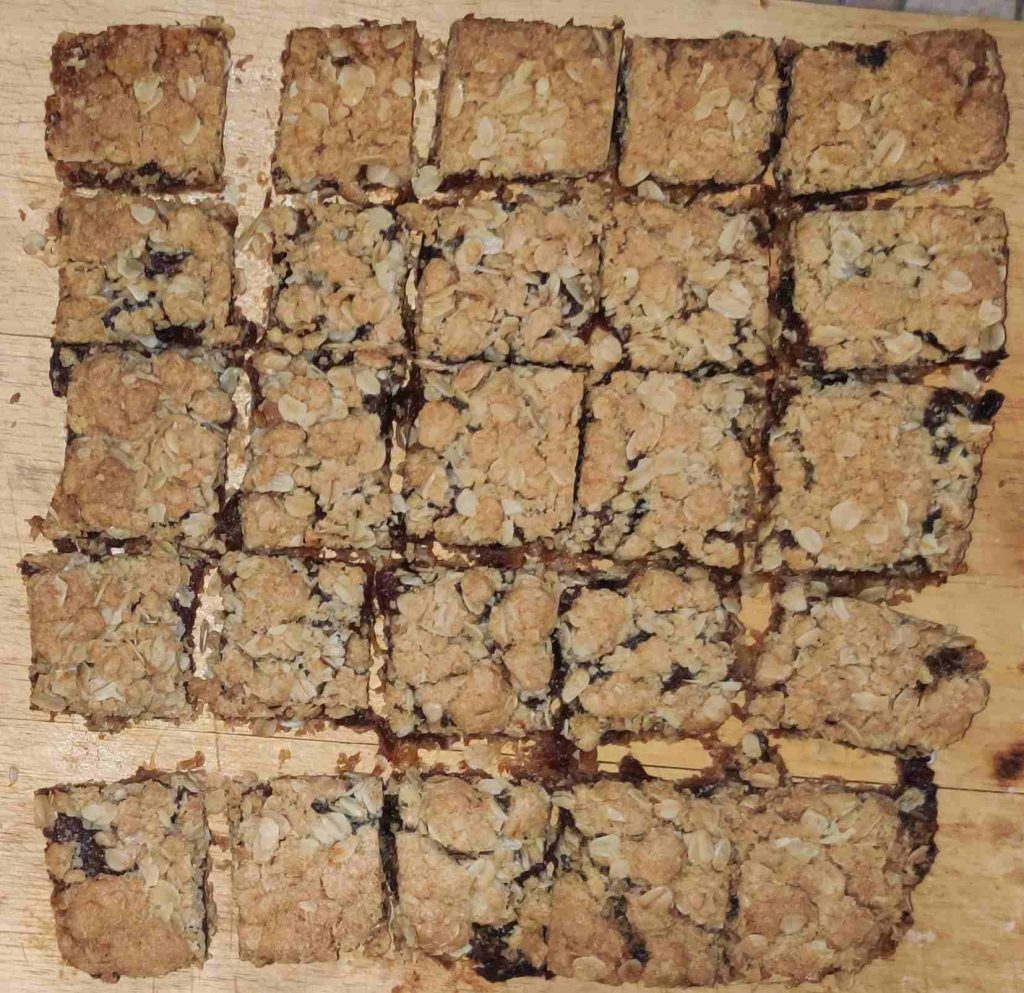
The cutting board was rotated 90 degrees so as to continue with four more cuts, to have a total of 25 squares:

25 date squares!

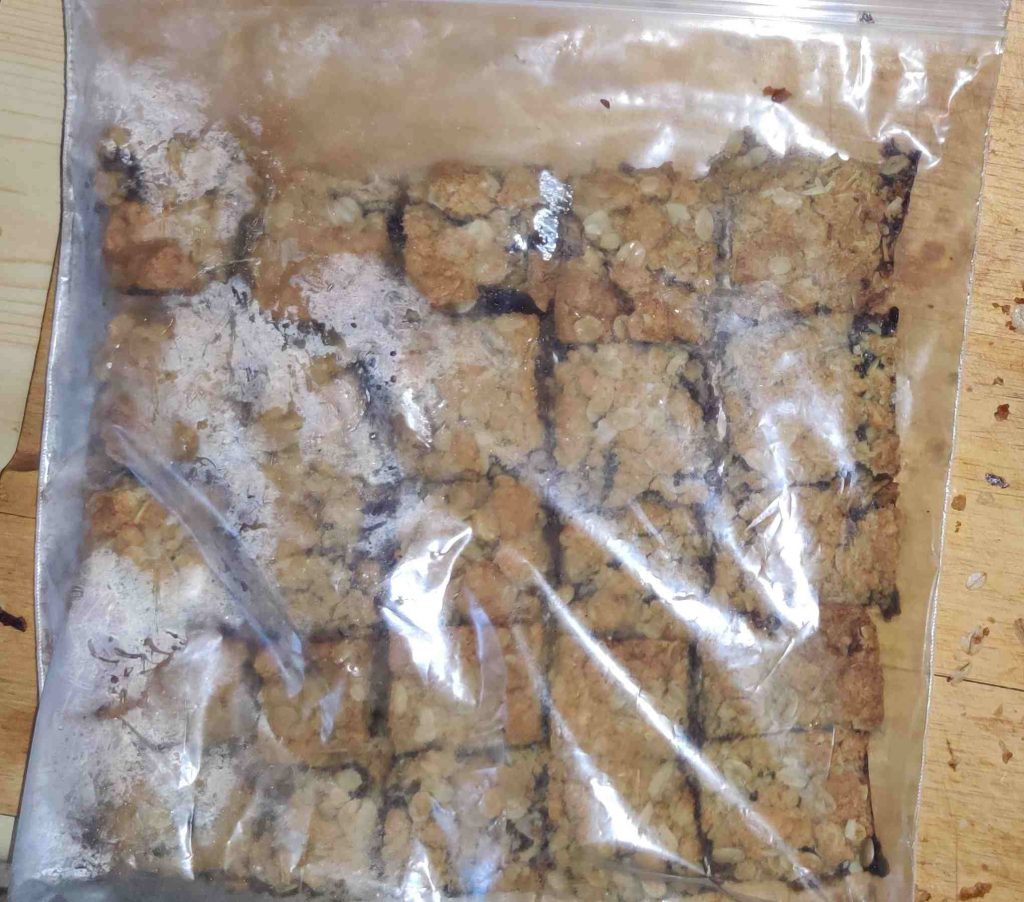
… and since I implied that I still had a few leftover from last week, and that I outright suggested that this batch would be placed on a dessert table at this week’s lake association BBQ, I bagged up the freshly-baked date squares, and placed them in the freezer for later in the week:

Date squares bagged

And yes, of course they’re yummy — I got to taste a bunch of crumbs while I was cleaning up!