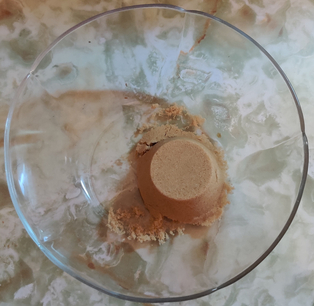
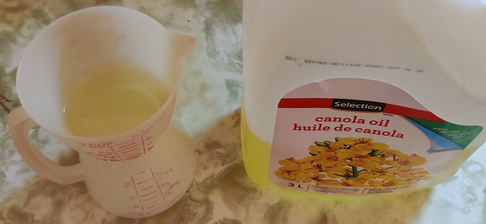
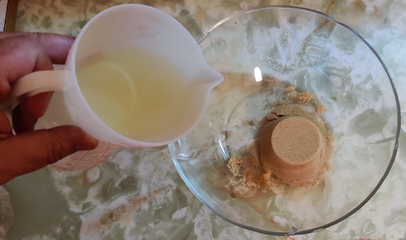
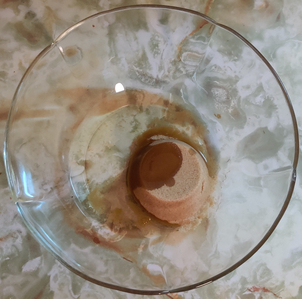
One of my mom’s perennial holiday dinner treats was her roast potatoes, something I figured it was time to learn how to make. As such, I asked her how to do it — it is fairly easy — and adjusted the basic recipe to two generous servings, which can be multiplied and adjusted according to the number of people to be served.
Note that the recipe as presented can be easily made in a countertop convection oven — as was the case in the following series of photos at the cottage — but there may be some minor variations when scaling up to larger amounts cooked in a conventional oven.
Making the roast potatoes:
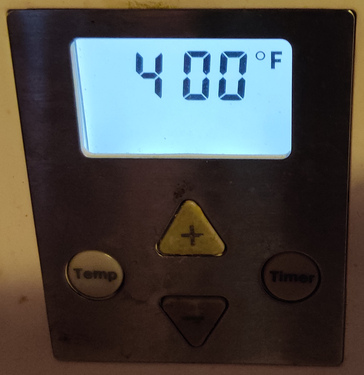
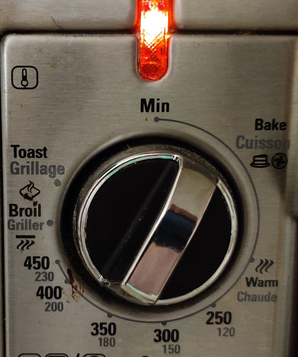
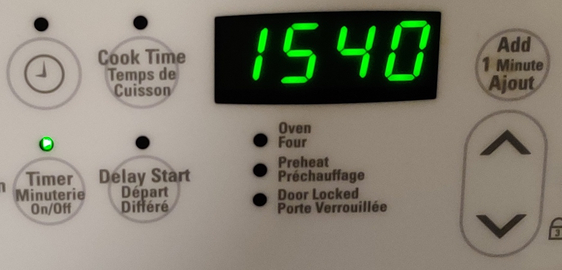
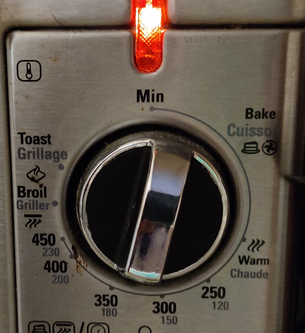
First, the oven was pre-heated to 400F:
Oven preheated to 400F
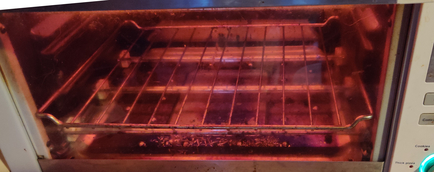
Oven preheating
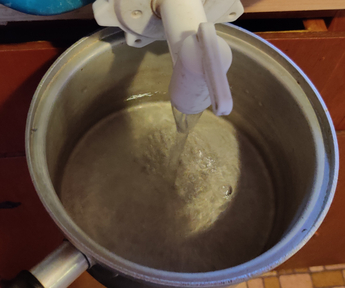
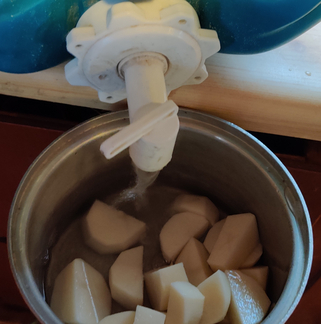
Water was poured into a pot:
Water poured into a pot
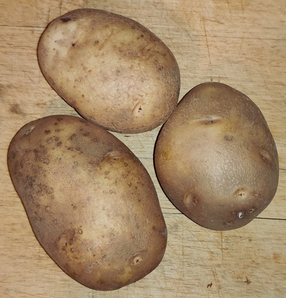
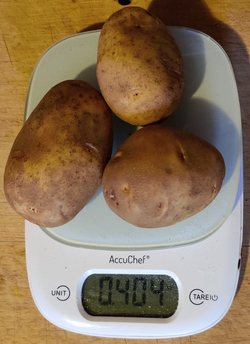
Potatoes were taken out, in this case, about 400g or 3/4lb to 1lb of potatoes:
Potatoes taken out
Potatoes weighed
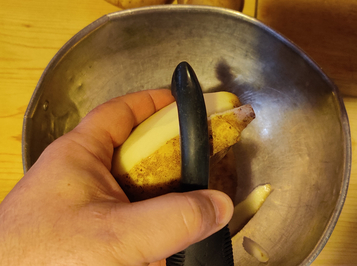
The potatoes were peeled:
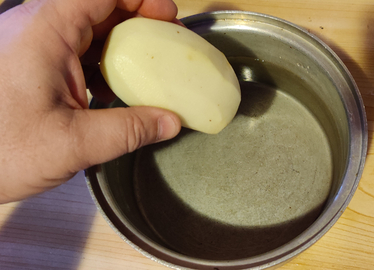
Potatoes peeled
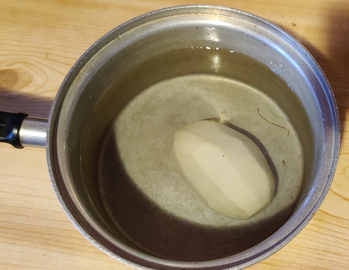
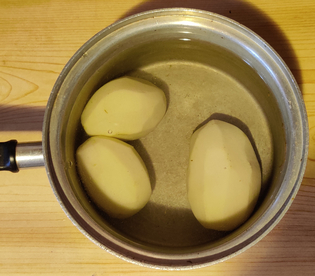
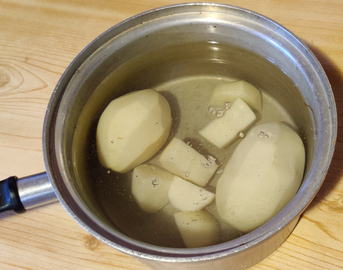
Peeled potatoes were placed in the water:
Peeled potatoes placed in water
Peeled potatoes placed in water
Peeled potatoes placed in water
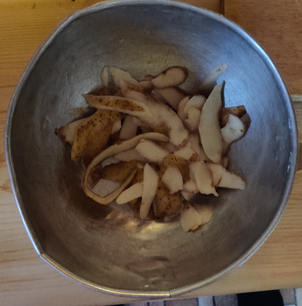
Potato peels were collected, and in this case burned in the fireplace, since it was heating season:
Potato peels collected to place in the fireplace
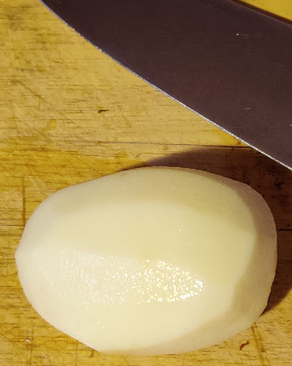
Peeled potatoes were taken out one by one to slice:
Peeled potato to be sliced
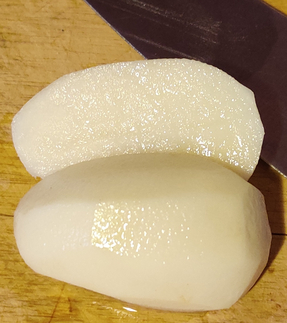
Potatoes were sliced in half lengthwise:
Potato sliced in half lengthwise
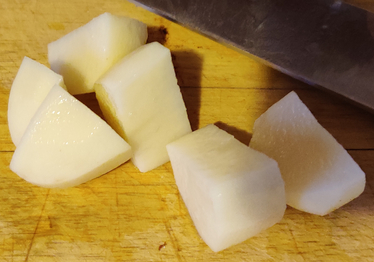
… and then sliced into pieces:
Potato cut into pieces
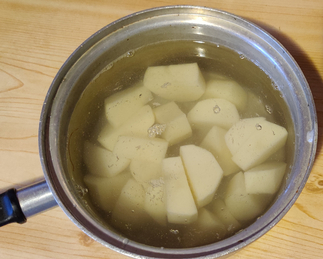
The potato pieces were placed back into the water:
Potato pieces placed back into water
The rest of the potatoes were similarly cut up:
Potato pieces in water
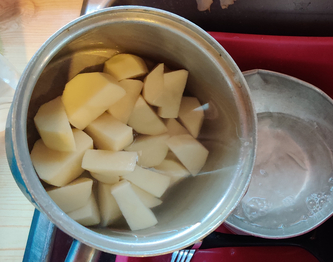
The water was drained from the potatoes:
Water drained from potatoes
… and fresh water was poured in the pot to rinse the potatoes:
Fresh water poured into pot
A clean, dry towel was laid out on a cutting board:
Clean dry towel laid out
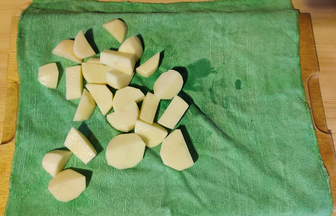
The drained potatoes were placed on the clean dry towel:
Drained potatoes placed in dry towel
The towel was folded over in order to pat dry the potatoes:
Towel folded over to pat dry the potatoes
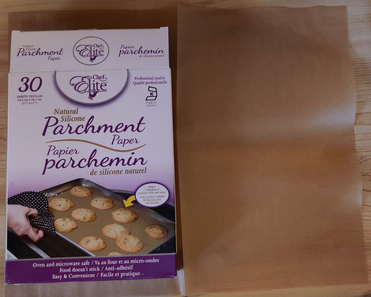
Parchment paper was taken out:
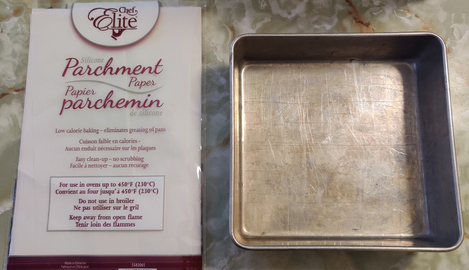
Parchment paper taken out
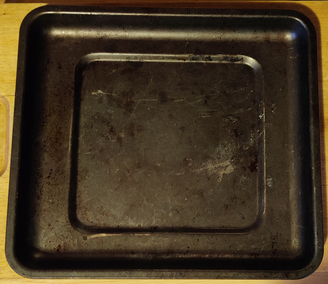
An oven tray was taken out:
Oven tray taken out
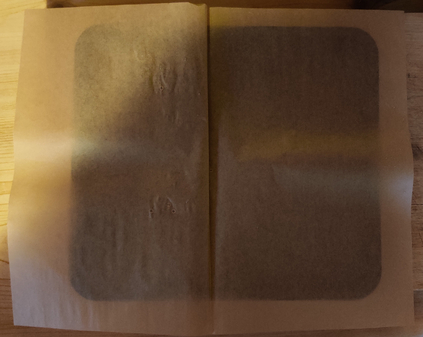
The parchment paper was placed on the oven tray:
Parchment paper placed on oven tray
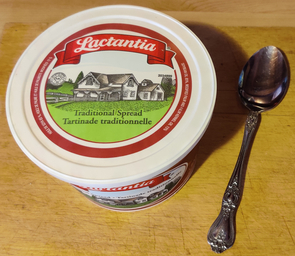
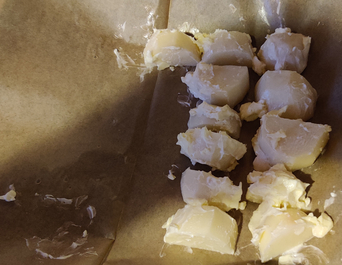
Margarine was taken out:
Margarine taken out
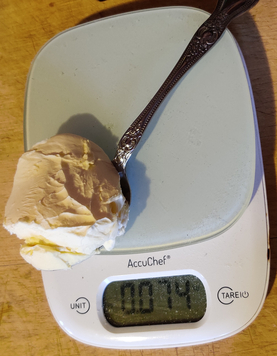
The kitchen scale was set to zero with an empty spoon on it, and then margarine was weighed out:
Margarine weighed out
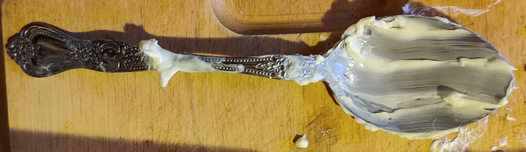
A bit of margarine was picked up with my fingers:
Margarine picked up with fingers
Pat dried potato pieces were picked up one at a time and slathered with margarine and placed on the oven tray:
Potato pieces picked up and slathered with margarine
Potato pieces slathered with margarine and placed on baking tray
Potato pieces slathered with margarine and placed on baking tray
Potato pieces slathered with margarine and placed on baking tray
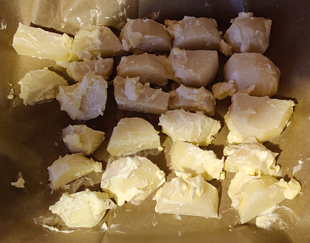
And as can be seen, the roughly 75g / 3oz of margarine were used up:
Measured out margarine used up
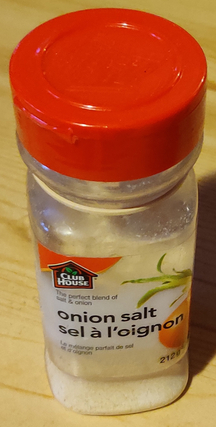
Onion salt was taken out:
Onion salt taken out
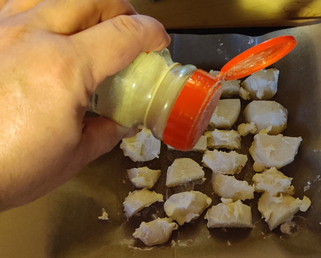
Onion salt was shaken somewhat liberally over the margarine covered potatoes:
Onion salt shaken over the potatoes
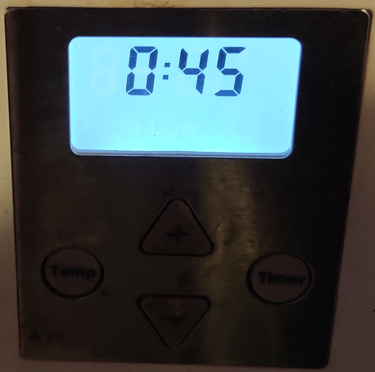
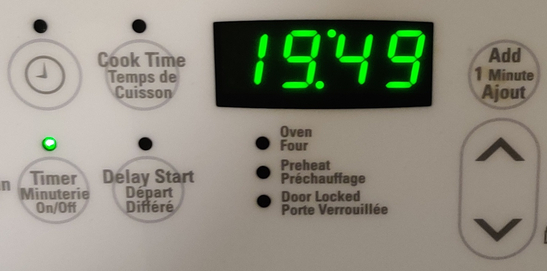
The timer on the oven was set to about 45 minutes:
Oven timer set
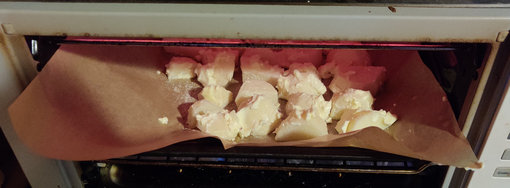
The tray of potatoes was placed in the oven:
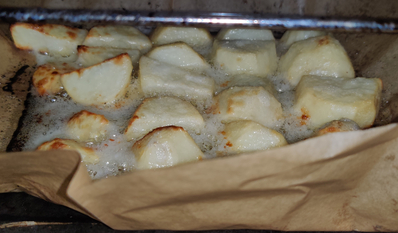
Tray of potatoes placed in oven
Tray of potatoes in oven
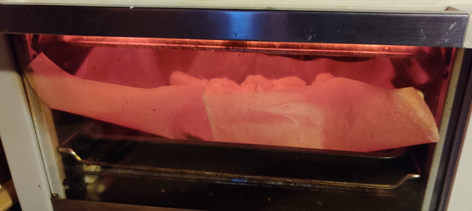
Here is a shot of the roasting potatoes after about 25 minutes:
Partly roasted potatoes
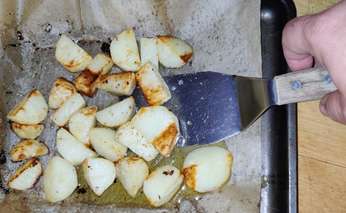
The potatoes were turned over at this point:
Potatoes turned over
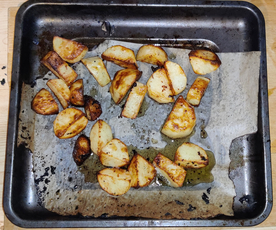
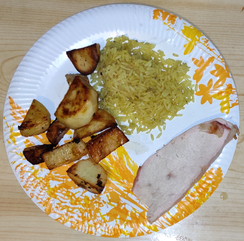
The potatoes were taken out just before 45 minutes, ready to eat:
Roast potatoes ready to eat
(Note that because of the excessive amount of parchment paper used, yes, I did have to deal with some burning parchment paper!)
This post is a double length feature because both recipes are very similar to the point of just having different fillings. As such, the narrative shows the concurrent preparation of both recipes, just as they were actually prepared.
Making the barbecup and chicken cup fillings:
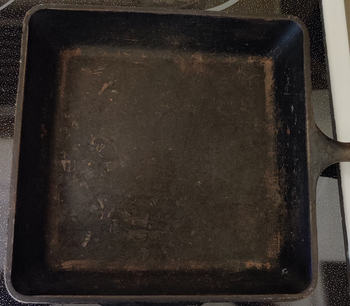
First, a cast iron skillet was taken out, and placed on the stove:
Cast iron skillet taken out and placed on stove
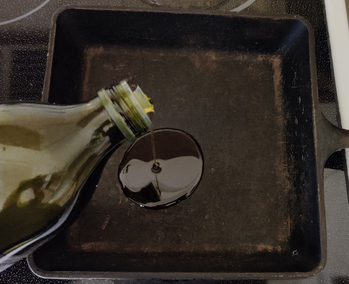
A bit of olive oil was poured in the cast iron skillet:
Olive oil poured in cast iron skillet
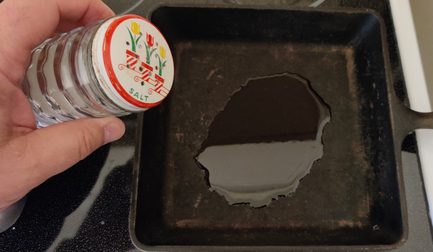
Salt was added to the cast iron skillet:
Salt added to the cast iron skillet
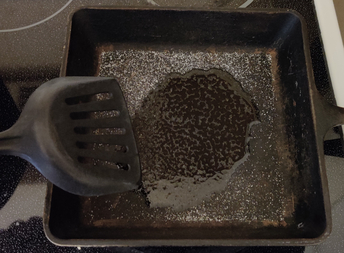
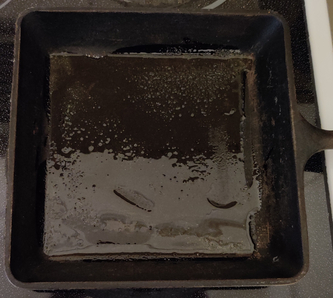
The olive oil and the salt were spread around the cast iron skillet:
Olive oil and the salt spread around the cast iron skillet
Olive oil and the salt spread around the cast iron skillet
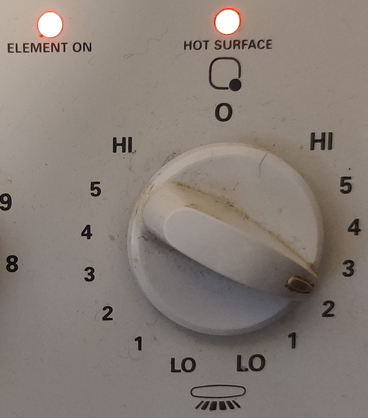
The stove was turned on:
Stove turned on
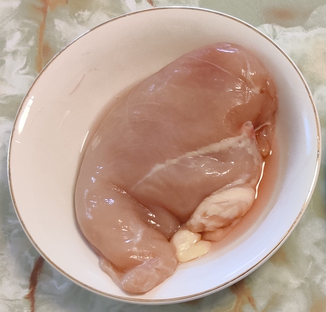
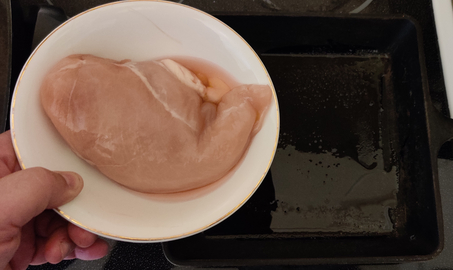
A chicken breast — this one in the 200g to 225g range — was taken out:
Chicken breast taken out
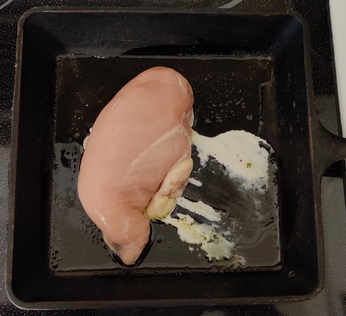
The chicken was placed in the cast iron skillet:
Chicken placed in cast iron skillet
Chicken placed in cast iron skillet
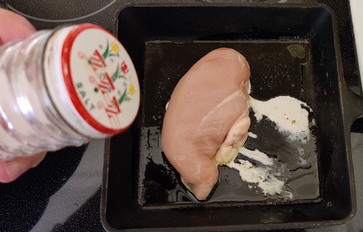
A bit more salt was added to the top of the chicken:
More salt added to chicken
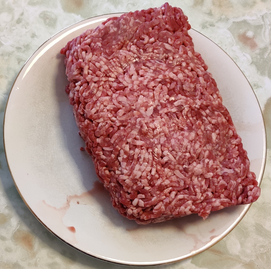
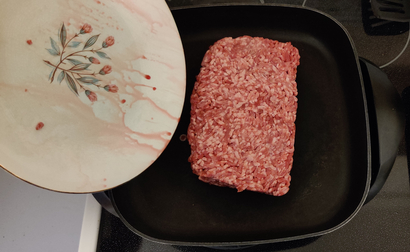
Ground beef was taken out — in this case, about two pounds of ground beef instead of only one pound of ground beef, as specified in the recipe, because in addition to making barbecups, I wanted to freeze some cooked ground beef and onions in an ice cube tray (see later):
Ground beef taken out
An electric skillet was taken out:
Electric skillet taken out
The electric skillet was turned on:
Electric skillet turned on
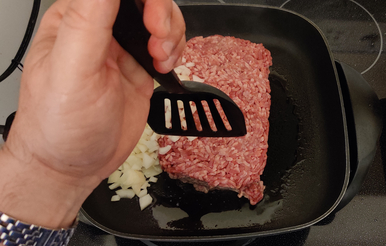
The ground beef was placed in the electric skillet:
Ground beef placed in electric skillet
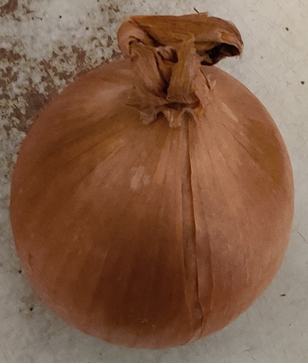
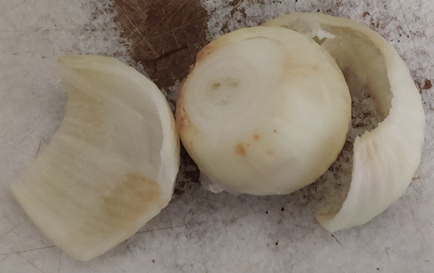
An onion was taken out:
Onion taken out
The onion was trimmed — yes, I know that this onion is definitely on the older side:
Onion taken out
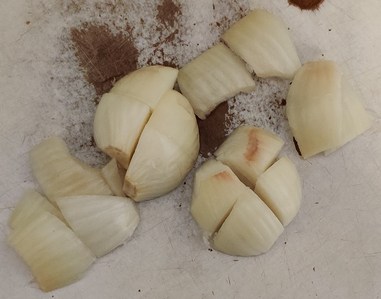
The onion was quartered:
Onion quartered
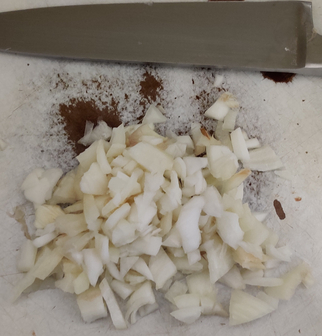
The onion was coarsely chopped:
Coarsely chopped onion
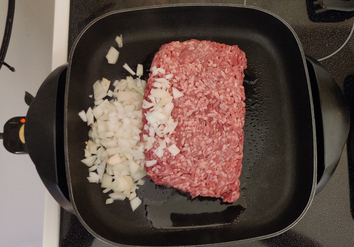
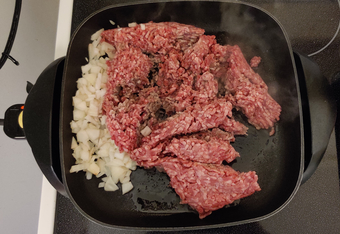
The chopped onion was added to the electric skillet with the ground beef:
Chopped onion added to electric skillet with ground beef
The ground beef was broken up:
Ground beef being broken up
Gound beef partly broken up
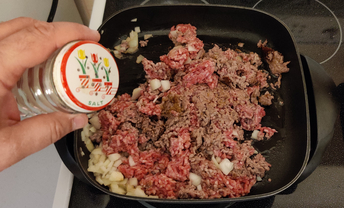
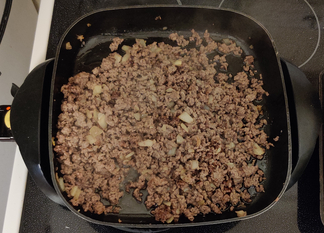
Salt was added to the ground beef and chopped onions:
Salt added to ground beef and chopped onions
The ground beef was broken up some more as it was cooking, mixing in the chopped onions and salt:
Ground beef broken up some more
It was time to pay attention to the frying chicken, which was picked up with an egg flipper:
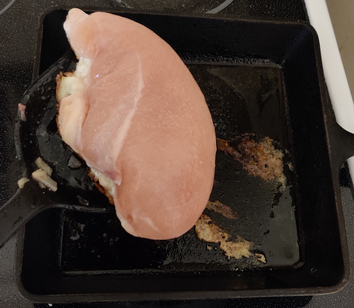
Chicken picked up with egg flipper
… and was turned over in the cast iron skillet:
Chicken turned over in cast iron skillet
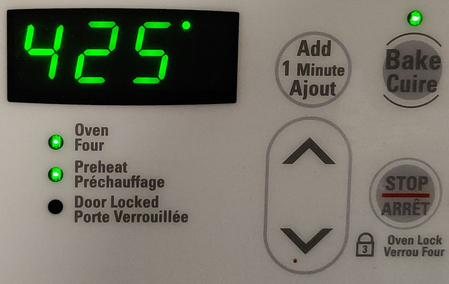
At this point, an oven rack transferred to the top slot in the oven, and the oven was preheated to 425F:
Oven preheating to 425F
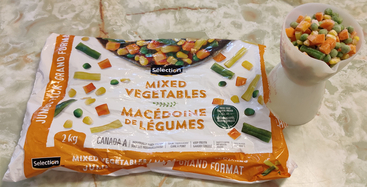
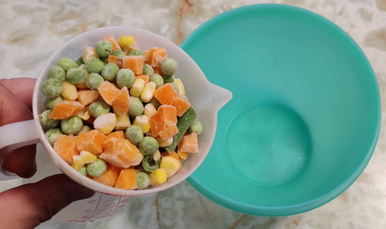
Frozen mixed vegetables were measured out:
Frozen mixed vegetables measured out
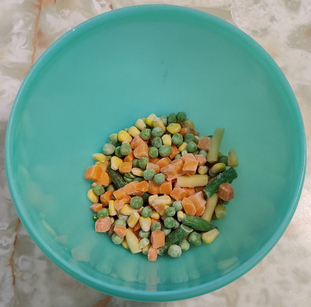
The mixed vegetables were transferred to a mixing bowl:
Mixed vegetables transferred to mixing bowl
Mixed vegetables transferred to mixing bowl
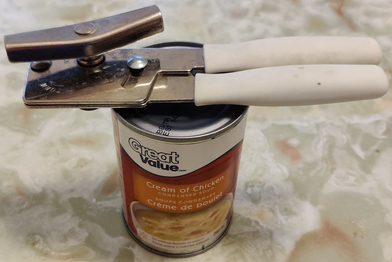
A can of condensed cream of chicken soup was taken out:
Can of condensed cream of chicken soup taken out
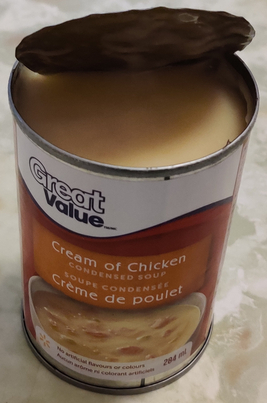
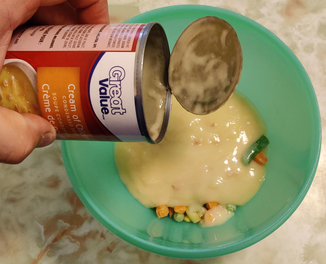
The can of condensed cream of chicken soup was opened:
Can of condensed cream of chicken soup opened
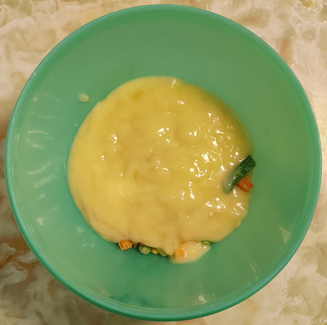
The condensed cream of chicken soup was added to the mixing bowl with the frozen mixed vegetables:
Condensed cream of chicken soup added to mixing bowl with frozen mixed vegetables
Condensed cream of chicken soup added to mixing bowl with frozen mixed vegetables
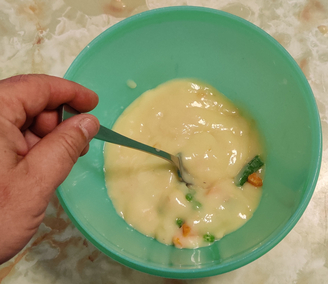
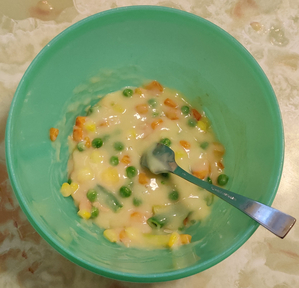
The condensed cream of chicken soup and mixed vegetables were mixed together with a fork:
Condensed cream of chicken soup and mixed vegetables mixed together with a fork
Condensed cream of chicken soup and mixed vegetables mixed together with a fork
The condensed chicken soup and mixed vegetables were put aside.
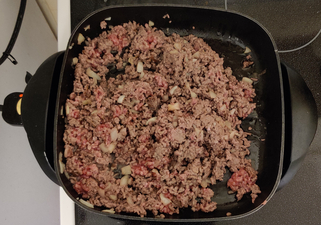
The ground beef was broken up well and well mixed with the onions, and was coming along to being fully cooked:
Ground beef and onions well mixed, and almost cooked
Once cooked, the ground beef and onions were covered and put aside.
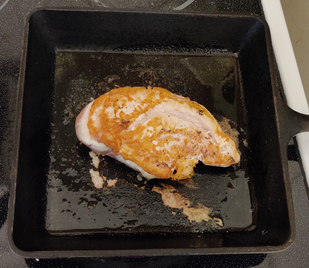
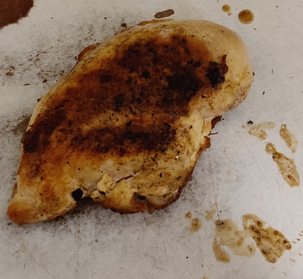
At this point, the chicken was cooked and taken out of the cast iron skillet, and placed on a cutting board:
Cooked chicken placed on cutting board
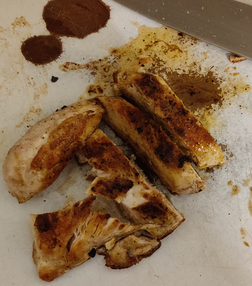
The chicken was sliced:
Sliced cooked chicken
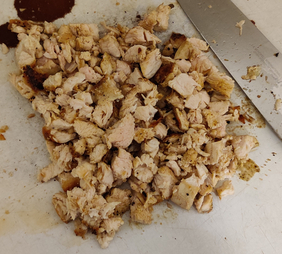
The cooked chicken was then chopped coarsely:
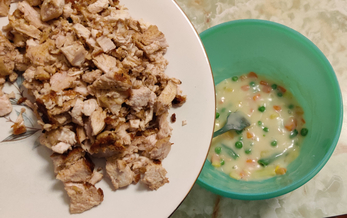
Coarsely chopped cooked chicken
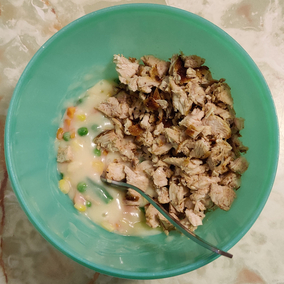
The chopped chicken was added to the mixture of condensed cream of chicken soup and mixed vegetables:
Chopped chicken added to mixture of condensed cream of chicken soup and mixed vegetables
Chopped chicken added to mixture of condensed cream of chicken soup and mixed vegetables
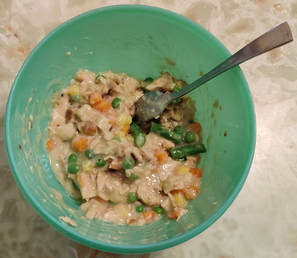
The chopped cooked chicken and mixture of condensed cream of chicken soup and mixed vegetables were all mixed together again with a fork:
Chopped cooked chicken and mixture of condensed cream of chicken soup and mixed vegetables all mixed together with fork
The chicken cup filling was put aside.
Making the biscuit dough cup part:
I was taught that the base recipe I use for the biscuit dough does not double well, so I started off making the dough for one of the recipe’s worth, and then repeated the process afterwards for the second recipe’s worth.
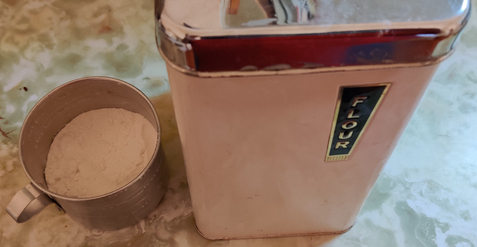
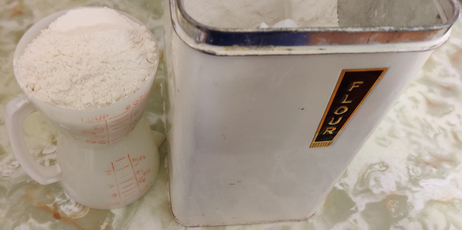
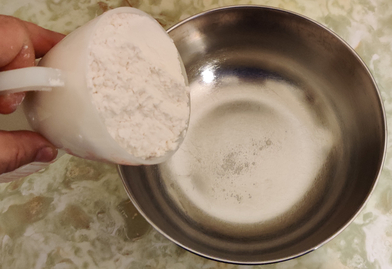
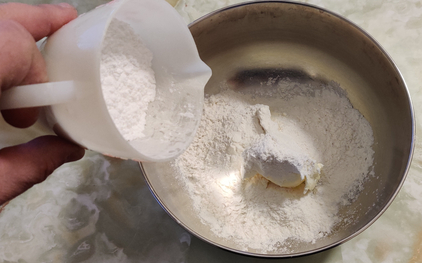
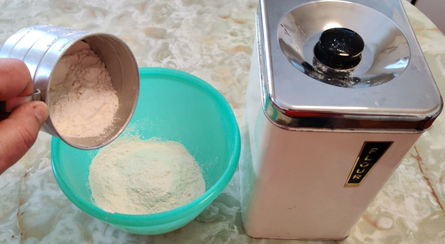
The flour was measured out:
Flour measured out
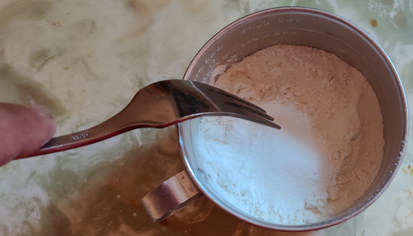
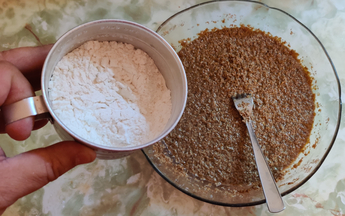
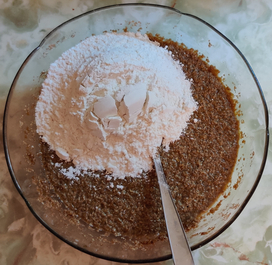
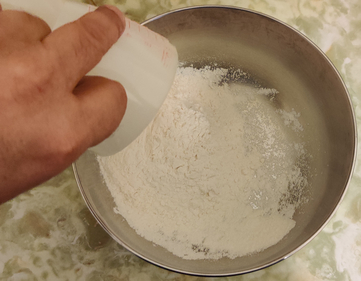
The flour was transferred to a mixing bowl:
Flour transferred to mixing bowl
Flour transferred to mixing bowl
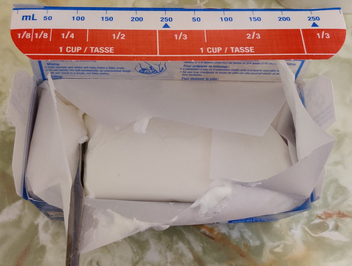
Shortening was measured out:
Shortening measured out
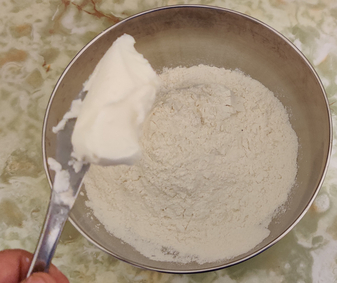
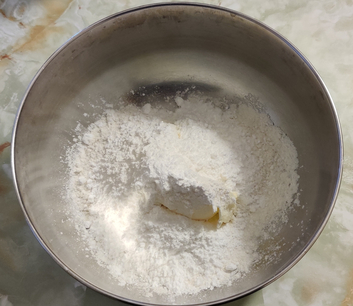
The shortening was added to the flour in the mixing bowl:
Shortening added to flour in mixing bowl
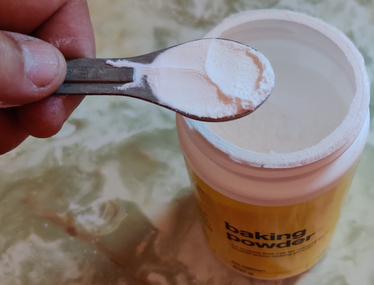
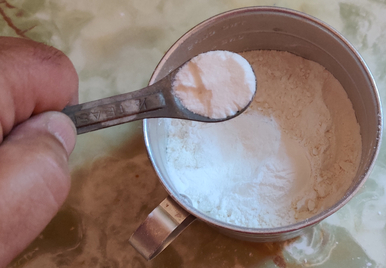
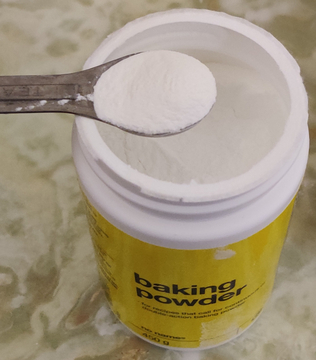
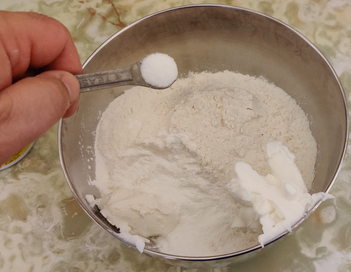
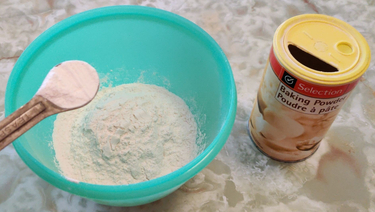
Baking powder was measured out:
Baking powder measured out
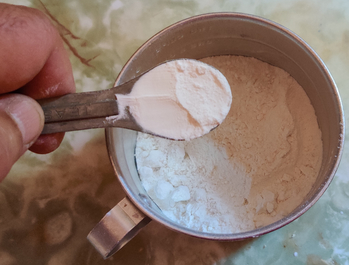
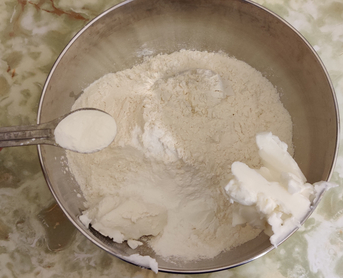
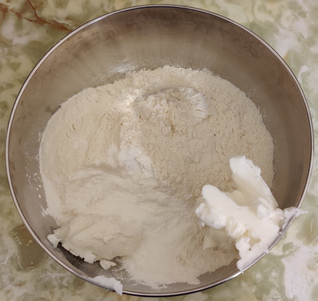
The baking powder was added to the mixing bowl with the flour and the shortening:
Baking powder added to mixing bowl with flour and shortening
Baking powder added to mixing bowl with flour and shortening
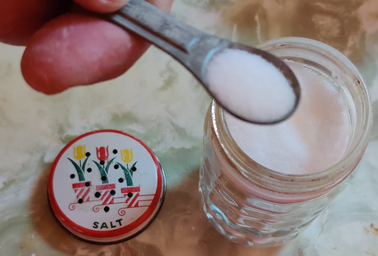
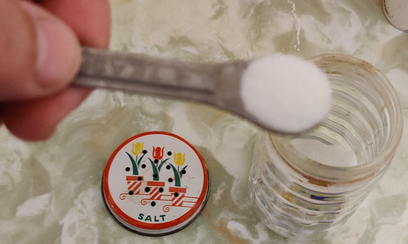
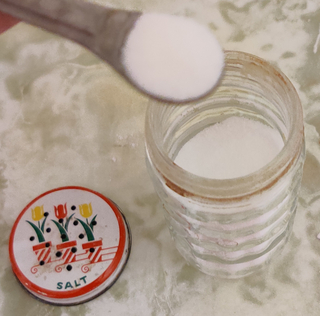
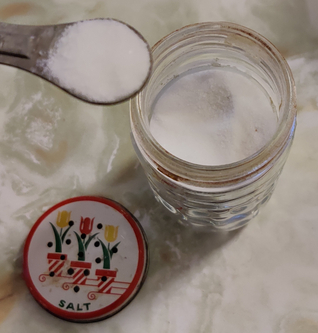
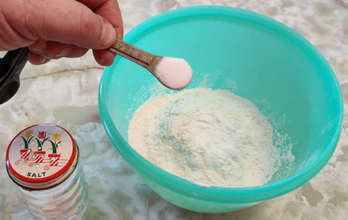
Salt was measured out
Salt measured out
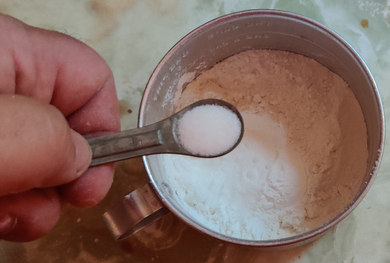
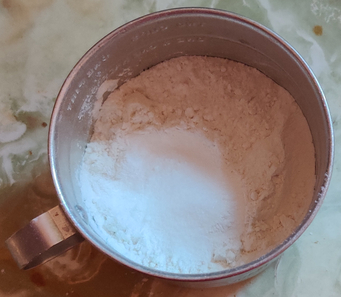
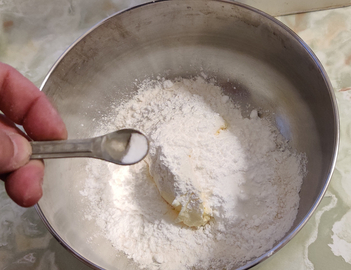
The salt was added to the mixing bowl with the flour, shortening, and baking powder:
Salt added to mixing bowl with flour, shortening, and baking powder
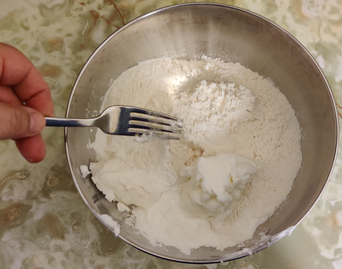
The shortening was broken up with a fork, roughly to the size of peas:
Shortening broken up with a fork to the size of peas
Shortening broken up with a fork to the size of peas
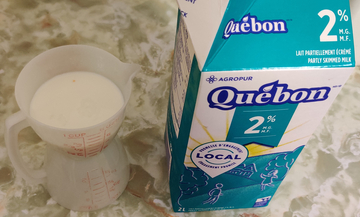
Milk was measured out:
Milk measured out
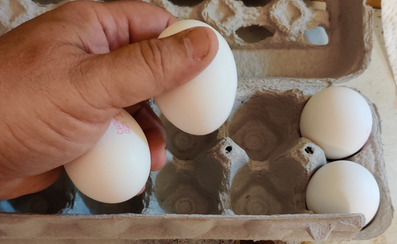
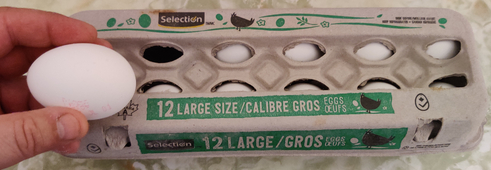
An egg was taken out:
Egg taken out
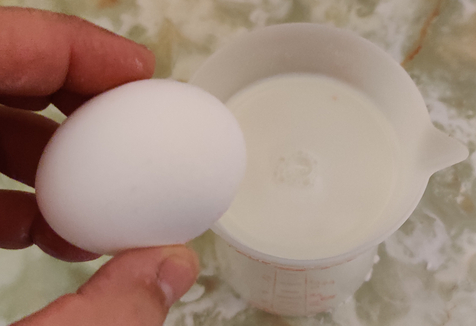
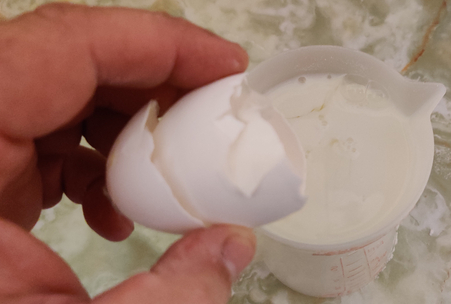
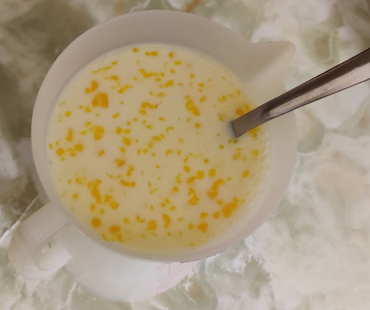
The egg was cracked into the measuring cup with the milk:
Egg cracked into measuring cup with milk
Egg cracked into measuring cup with milk
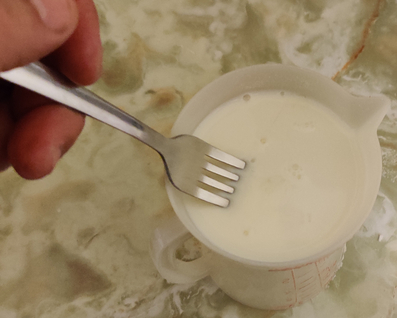
The egg and milk were mixed together with a fork:
Egg and milk mixed together with fork
Egg and milk mixed together with fork
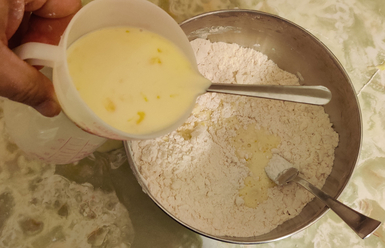
About a third of the egg and milk mixture was added to the mixture of dry ingredients:
A third of egg and milk mixture added to mixture of dry ingredients
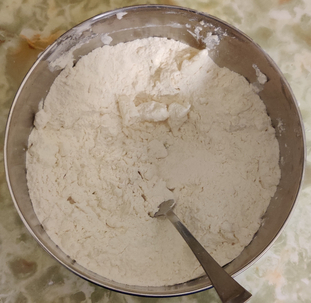
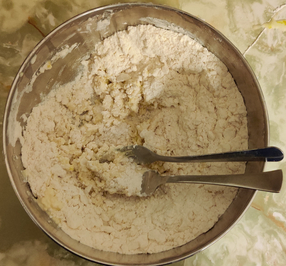
The ingredients were mixed with a fork, well at this point two forks:
Ingredients were mixed with fork
The rest of the egg and milk mixture was added to the dough and the ingredients mixed.
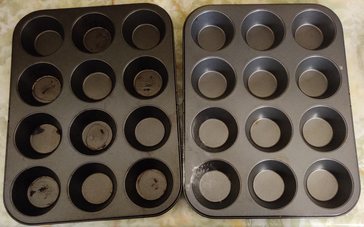
A couple of muffin baking tins were taken out:
Muffin baking tins taken out
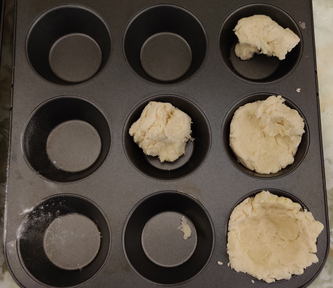
Balls of dough were placed in the wells, and formed into cups around the form of the wells:
Balls of dough transferred to muffin tin wells and formed into cups
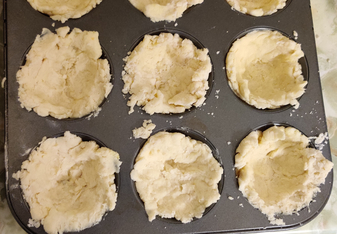
The rest of the dough was transferred to the muffin baking tin and a dough cup was formed in each well:
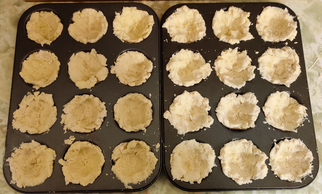
Dough cups formed in each well of a muffin baking tin
Dough cups formed in each well of a muffin baking tin
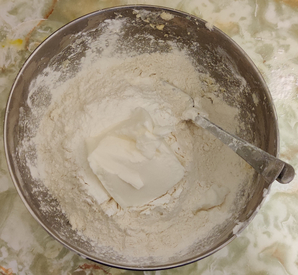
A second batch of dough was prepared for the second muffin baking tin, this picture showing the shortening just having been added to the flour (see above for the whole process):
Second batch of biscuit dough, shortening added to flour step
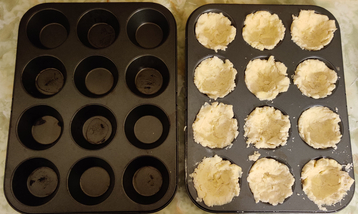
… and the dough from the second batch was used to form more cups in the second muffin baking tin’s wells:
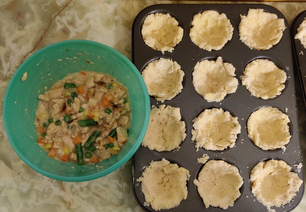
Two muffin tins’ worth of dough cups
The chicken filling mixture was taken out:
Chicken filling mixture
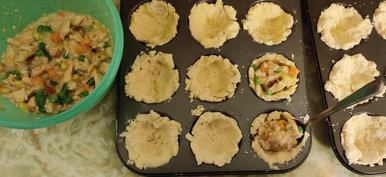
The chicken filling mixture was spooned into the dough cups of one of the muffin baking tins:
Spooning chicken filling mixture into dough cups
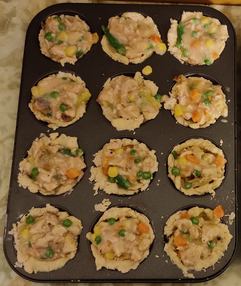
Chicken filling in the dough cups
The chicken filling-filled dough cups were put aside for a few moments.
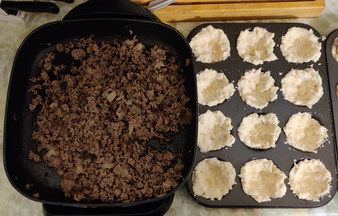
The cooked ground beef and onion mix was taken out:
Cooked ground beef and onion mix taken out
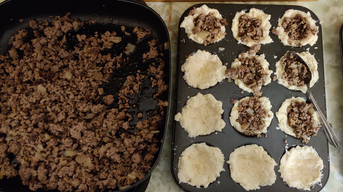
The cooked ground beef and onion mixture was spooned into the dough cups of one of the muffin baking tins:
Spooning cooked ground beef and onion mixture into dough cups
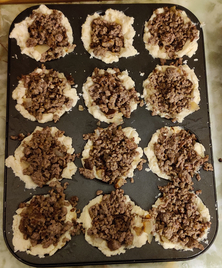
Cooked ground beef and onion mix in the dough cups
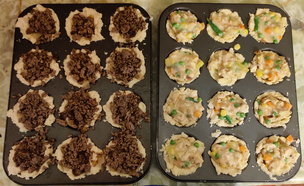
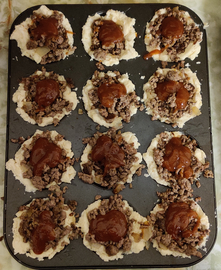
And here is what all the filled dough cups looked like:
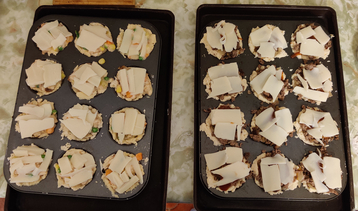
24 dough cups filled with cooked ground beef and chicken mixture
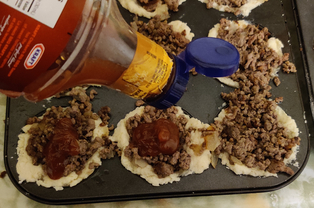
Commercial barbecue sauce in a squeeze bottle was taken out, and barbecue sauce was squeezed onto the cooked ground beef and onion mix:
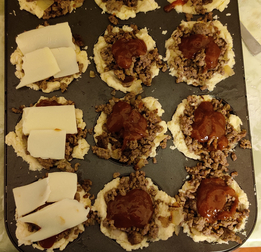
Barbecue sauce squeezed onto cooked ground beef and onion mix
Barbecue sauce squeezed onto cooked ground beef and onion mix
The filled cups of both varieties were put aside for a moment.
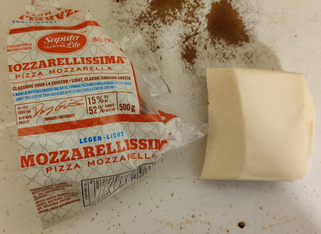
Mozzarella cheese was taken out:
Mozzarella cheese taken out
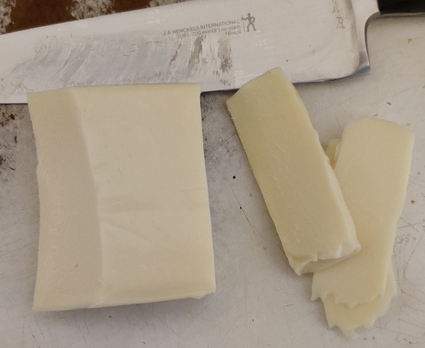
Mozzarella cheese was sliced off the block:
Mozzarella cheese sliced off the block
Slices of mozzarella cheese were placed on top of the filled dough cups:
Slices of mozzarella cheese placed on top of filled dough cups
The mozzarella cheese was sliced until there was enough to cover all the filled dough cups:
Slices of mozzarella cheese placed on top of filled dough cups
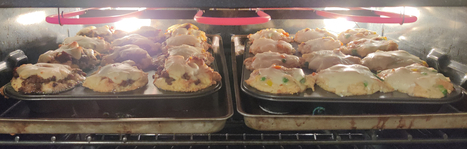
The barbecups and chicken cups were placed in the preheated oven on the top rack:
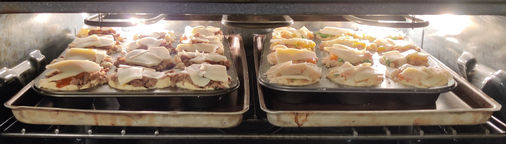
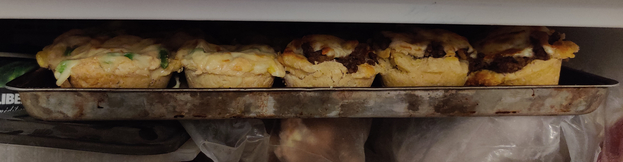
Barbecups and chicken cups placed in preheated oven on top rack
The oven timer was set to fifteen minutes:
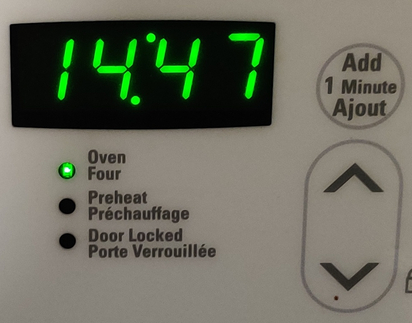
Oven timer set to 15 minutes
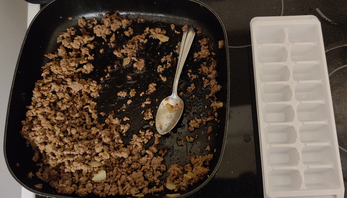
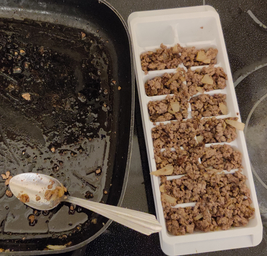
While the barbecups and the chicken cups were baking, the remaining cooked ground beef and onion mixture was transferred with a spoon to an ice cube tray:
Remaining cooked ground beef and onion mixture transferred with spoon to ice cube tray
Remaining cooked ground beef and onion mixture transferred with spoon to ice cube tray
The ice cube tray with the cooked ground beef and onion mixture was placed in the freezer. When the ground beef and onion mixture was frozen, the individual cubes were placed in a freezer bag and placed back in the freezer, ready for future meal cooking.
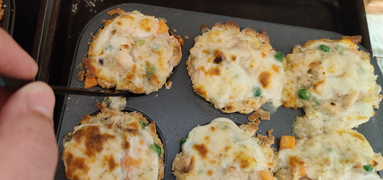
At this point, the barbecups and chicken cups were cooked, the broil cycle was turned on for a couple of minutes to brown the cheese on top:
Broil cycle turned on to brown the cheese
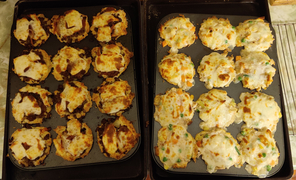
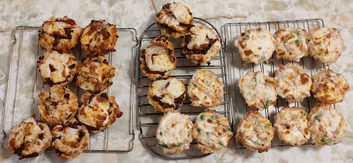
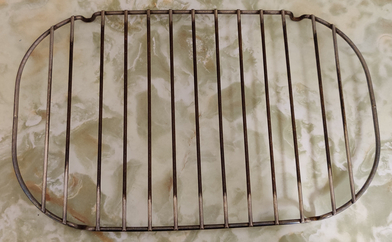
When the barbecups and chicken cups were fully baked, they were taken out of the oven and placed on cooling racks:
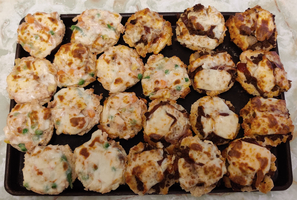
Barbecups (on left) and chicken cups (on right) taken out of oven and placed on cooling racks
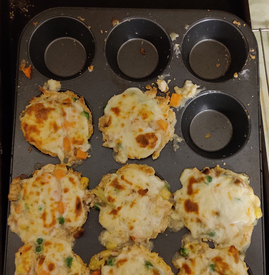
The chicken cups were loosened with a plastic knife:
Chicken cups loosened with plastic knife
The chicken cups were removed from the muffin baking tin, and placed on cooling racks:
Chicken cups removed from muffin baking tin
Chicken cups removed from muffin baking tin
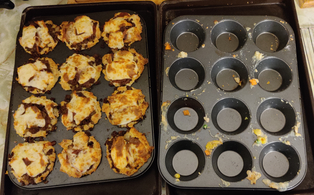
The barbecups (on the left, photo above as well as photo below) were then removed from the muffin baking tin, and placed on a cooling rack alongside the chicken cups:
Barbecups and chicken cups placed on cooling racks
The chicken cups (now on the left in the photo below) and the barbecups (now on the right in the photo below) were placed on a cookie baking tray:
Chicken cups (on left) and barbecups (on right) placed on a cookie baking tray
The tray of chicken cups and barbecups was placed in the freezer:
Tray of chicken cups and barbecups placed in freezer
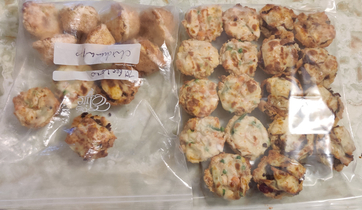
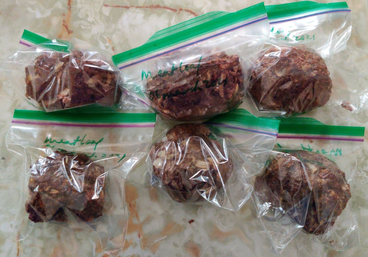
Once the barbecups and the chicken cups were frozen, they were placed in freezer bags, including one that still had some from the last time I cooked these recipes:
Frozen barbecups and chicken cups placed in freezer bags
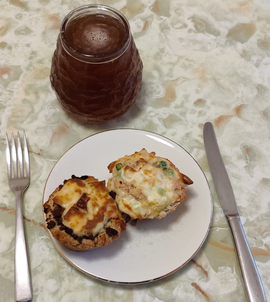
A barbecup (left) and a chicken cup (right) were kept aside for supper, and reheated in a countertop toaster oven:
This week’s cooking projects from my collection of recipes included more chocolate buttercrunch (mostly) for mom, shortbread cookies for my brother, chicken soup, and, the subject of this post, three (or five) ingredient cheese biscuits. (The ambiguity about the number of ingredients lies in the recipe calling for self-rising flour, which you may or may not have on hand. If you don’t have any self-rising flour, you can easily make some yourself by adding two ingredients to regular flour; see below.)
These cheese biscuits are quite easy to make, such as for a light Saturday morning breakfast, or for afternoon tea. They are so tasty that six of the eight cheese biscuits I made this morning were eaten, while the other two frozen for another day, long before I started organizing and putting together this blog post. 🙂
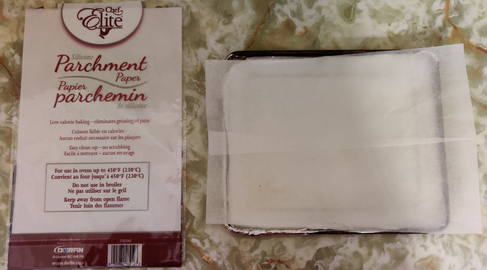
First, I took out some parchment paper and lined a baking tray with a couple of stray pieces of parchment paper I had:
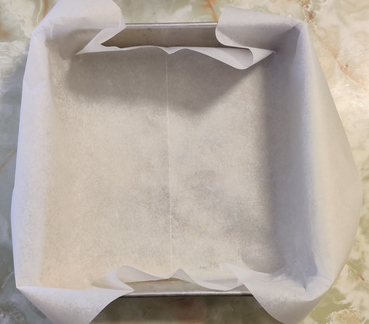
Lining a baking pan with parchment paper
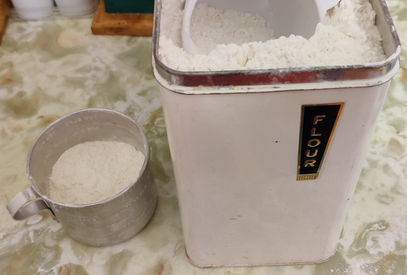
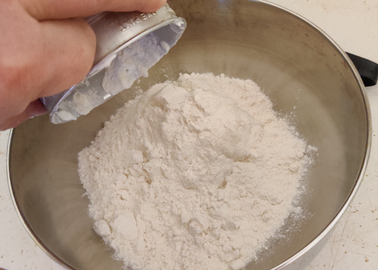
Normally, the recipe calls for self-rising flour; I didn’t have any, so a cup of flour was measured out:
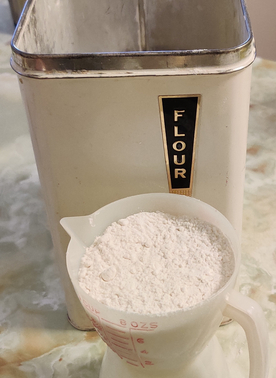
Flour measured out
The measuring cup with the flour was kept at hand.
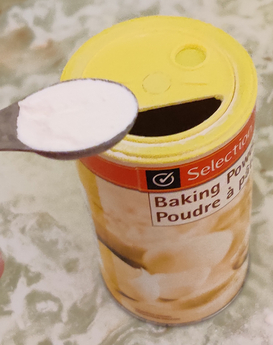
A teaspoon and a half of baking powder was measured out:
Baking powder measured out
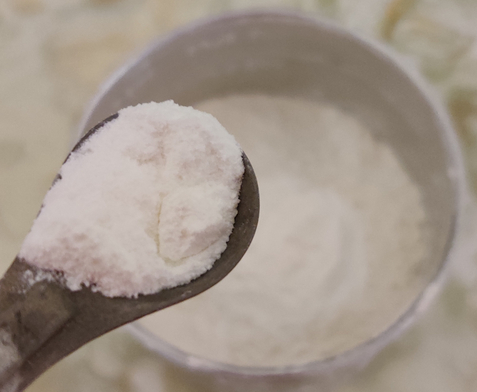
… and placed in the measuring cup with the flour:
Baking powder placed into the measuring cup with the flour
The measuring cup with the flour and baking powder was again kept at hand.
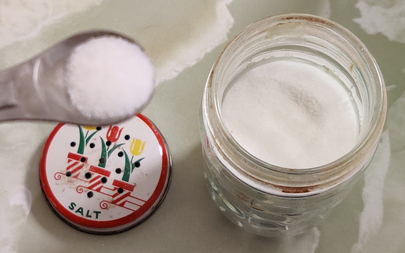
A quarter teaspoon of salt was measured out:
Salt measured out
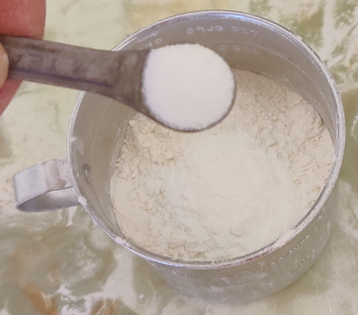
… and the salt was added to the measuring cup with the flour and the baking powder:
Salt added to flour and baking powder
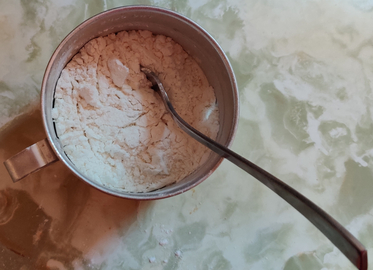
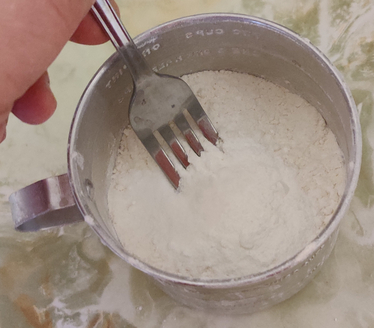
The flour, baking powder, and salt were mixed in the measuring cup with a fork:
Mixing flour, baking powder, and salt with a fork
And, because the measuring cup I was using has a two cup capacity, the measuring cup with the flour, baking powder, and salt was again kept at hand (see the next part.)
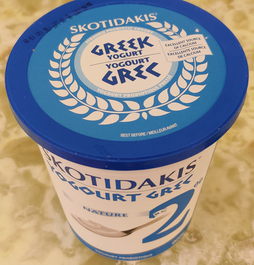
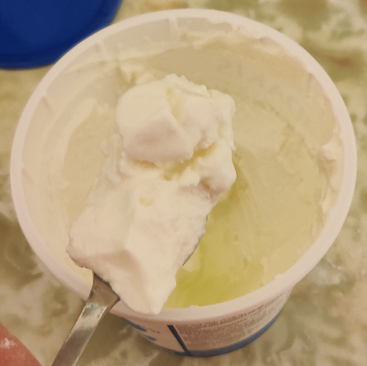
Greek yoghurt was taken out:
Greek yoghurt taken out
… and the greek yoghurt was spooned out of the container …
Spooning greek yoghurt out of the container
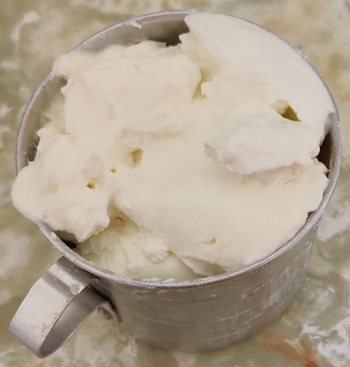
… and greek yoghurt was transferred into the measuring cup with the flour mixture until there was a cup’s worth of greek yoghurt added:
Greek yoghurt measured out
The measured out flour mixture and greek yoghurt were transferred to a mixing bowl:
Flour mixture and greek yoghurt transferred to a mixing bowl
The mixing bowl was put aside for a moment.
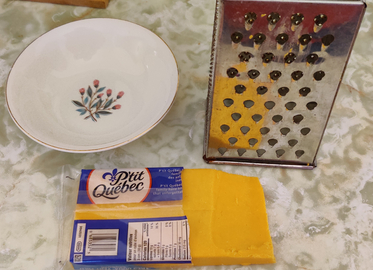
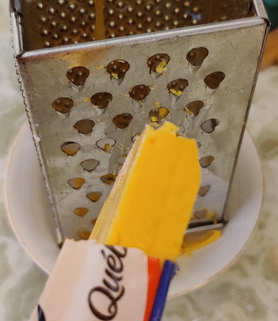
Cheese was taken out, along with a grater and bowl:
Cheese, grater, and bowl taken out
Cheese was grated:
Cheese being grated
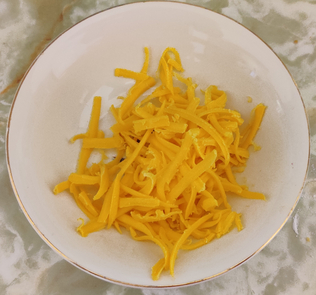
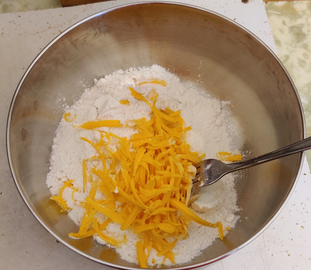
Grated cheese
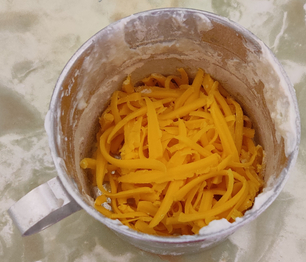
… and half a cup of the grated cheese was measured out:
Grated cheese measured out
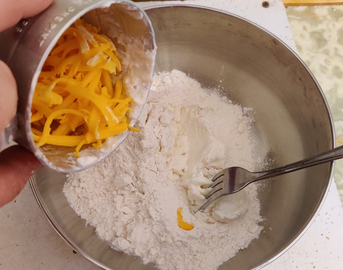
The grated cheese was transferred to the mixing bowl with the flour mixture and the greek yoghurt:
Grated cheese transferred to the mixing bowl with the flour mixture and the greek yoghurt
Grated cheese transferred to the mixing bowl with the flour mixture and the greek yoghurt
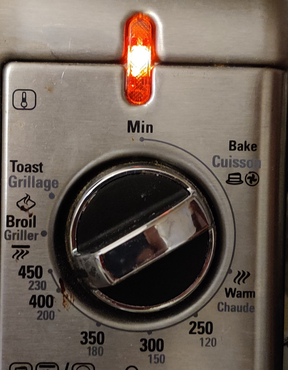
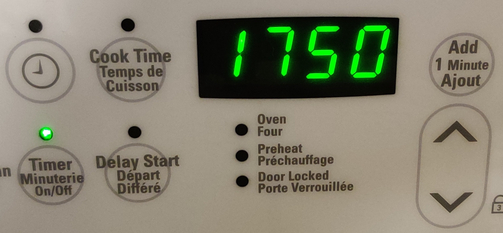
At this point, I remembered that I needed to preheat my countertop convection oven to 425F:
Countertop convection oven preheated to 425F
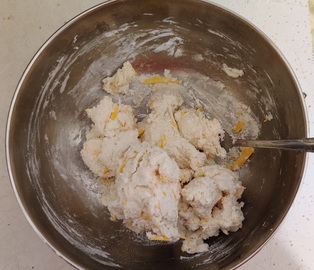
I continued by mixing the flour mixture, greek yoghurt, and grated cheese in the bowl with a fork to make a stiff (and sticky!) dough:
Ingredients completely mixed with a fork
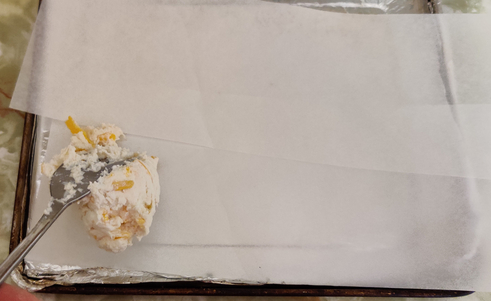
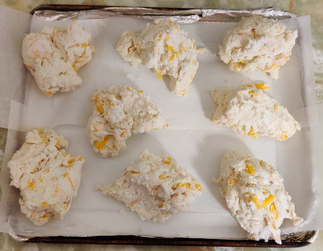
Balls of dough about the size of golfballs, without any further handling (nor any flattening out) were scooped out of the mixing bowl and placed on the baking tray:
Dough ball placed on the baking tray
… and the rest of the dough was portioned out to make a total of eight rough balls about the size of golfballs:
Dough balls placed on the baking tray
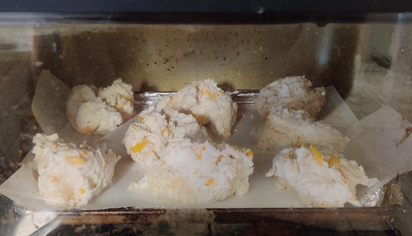
The baking tray with the biscuit dough was placed in the preheated countertop convection oven:
Biscuits placed in a preheated countertop convection oven
… and a timer was set to 18 minutes (obviously, the photo was taken about 10 seconds later!)
Timer set to 18 minutes
At the 16 minute mark, a couple of the cheese biscuits were taken out for mom, who likes the biscuits slightly less well baked than I do:
A couple of biscuits taken out at 16 minutes
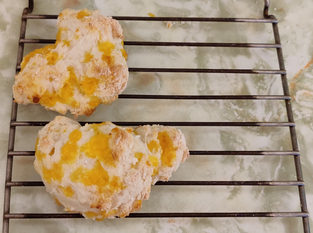
… and the rest of the cheese biscuits were taken out at 18 minutes, and placed on a cooling rack:
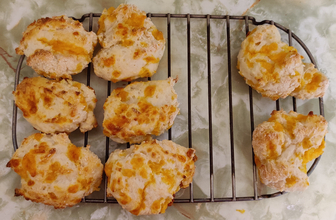
Baked cheese biscuits on a cooling rack (mom’s biscuits on the right)
Regarding how tasty they are … as mentioned at the beginning of this post: “They are so tasty that six of the eight cheese biscuits I made this morning were eaten, while the other two frozen for another day, long before I started organizing and putting together this blog post. :)”
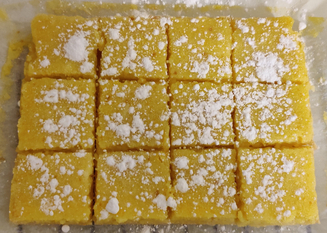
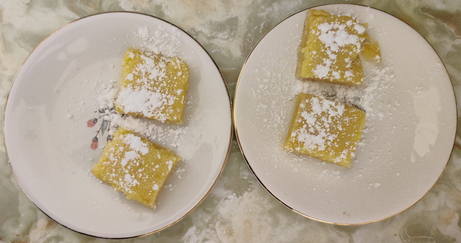
This week’s cooking projects from my collection of recipes included making bran muffins for my mom, more blondies, more chocolate buttercrunch, and the subject of this post, lemon squares. I started making them to have another dessert to add to my collection of recipes, and so I found a recipe on the Martha Stewart website, which I then converted to my format and whose measures I adjusted down by half. However, you may notice that in this recipe, the full amounts of the original recipe are also listed, since you may wish to make enough of these squares for a party; unfortunately, since the recipe does not freeze too well, I found that the full recipe was big enough that my mom and I started to get tired of them after eating them every day for a week!
This week’s cooking projects from my recipe collection was to make my mini meat loaves, the subject of this post, plus, earlier in the week, blondies and bran muffins. My recipe for meat loaf is another example of one of my easy recipes whose formal existence lies in simply documenting rough amounts of ingredients required to make the dish, as well as filling the freezer with convenient prepared-in-advance foods in portions convenient for one to two people; admittedly, the recipe hardly describes a particularly technical, involved, or challenging dish.
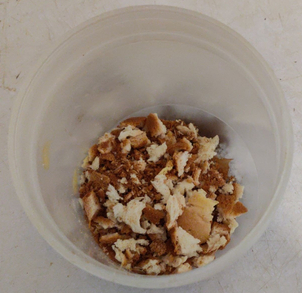
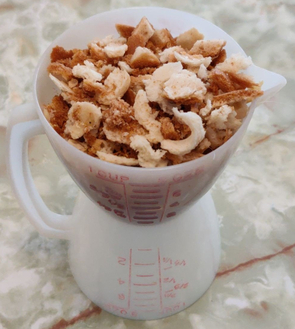
First, I checked my container in which I collect and save bread crumbs and bread pieces to see if I’d had enough dried bread crumbs and bread pieces:
My container of dried bread crumbs and bread pieces
Although I did have a sufficient supply, I decided to add to it, by taking out a bread heel …
Bread heel
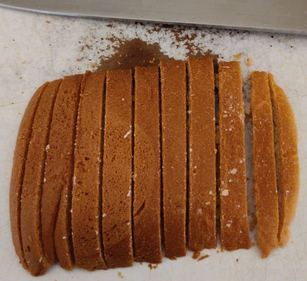
… which was sliced into spears …
Bread sliced into spears
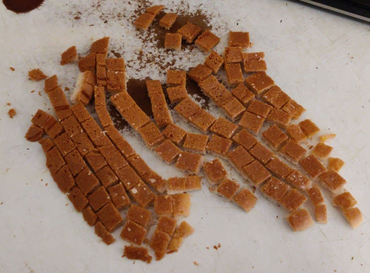
… and then sliced again into cubes:
Bread cut into cubes
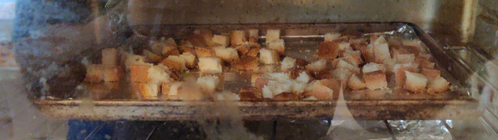
The bread was placed into a countertop convection oven in order to dry the bread cubes:
Bread cubes drying in a countertop convection oven
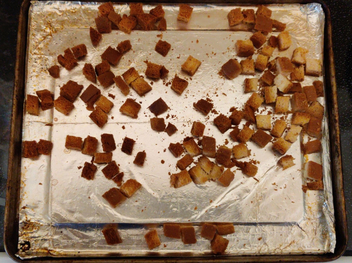
When dried (and perhaps slightly over-browned), the bread cubes were taken out of the countertop oven, and allowed to cool:
Dried bread cubes
The cooled bread cubes, and some of my existing supply, were placed in a measuring cup and put aside:
Dried bread put aside
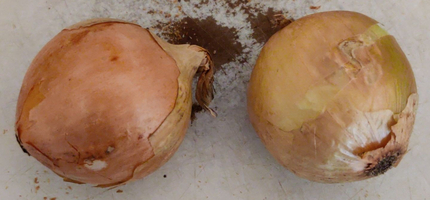
Two onions were taken out …
Two onions
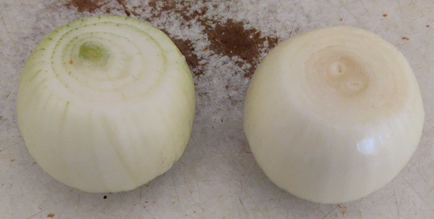
… trimmed …
Trimmed onions
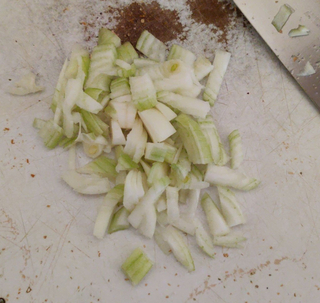
… chopped somewhere between coarsely and finely …
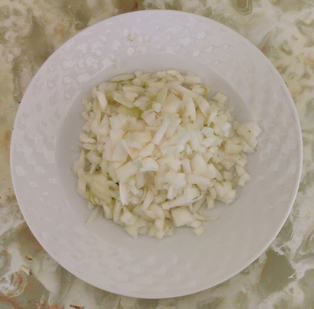
Chopped onions
… and placed in a bowl, to be put aside for later use:
Chopped onions placed in a bowl
A serving plate was placed on a kitchen scale, which was set to imperial units, and set to zero:
Plate, and kitchen scale set to zero
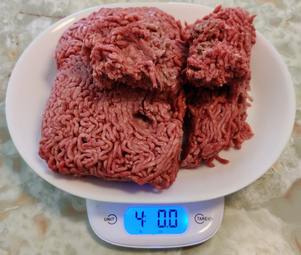
Four pounds of ground beef were measured out …
Four pounds of ground beef
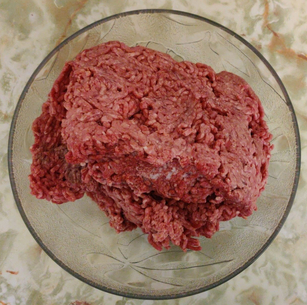
… and placed in a large mixing bowl (well in this case, a large salad bowl):
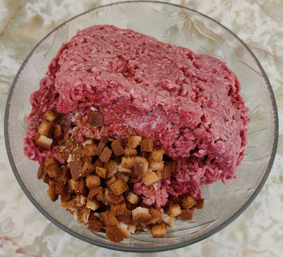
Ground beef placed in a mixing bowl
The dried bread cubes and bread crumbs were added to the mixing bowl:
Dried bread cubes and bread crumbs added to the mixing bowl
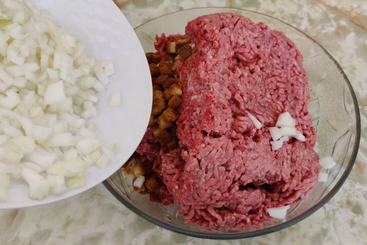
The chopped onions were added to the mixing bowl:
Chopped onions being added to the mixing bowl
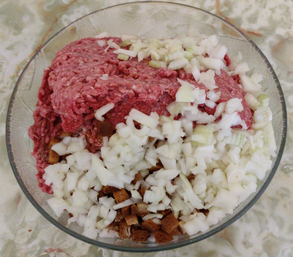
Chopped onions added to the mixing bowl
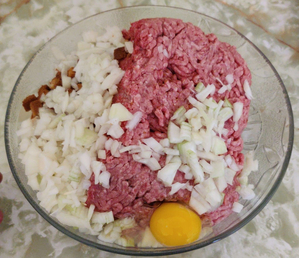
A large egg was cracked and added to the mixing bowl:
Large egg added to the mixing bowl
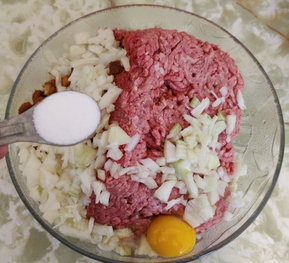
A teaspoon of salt was added to the mixing bowl:
A teaspoon of salt was added to the mixing bowl
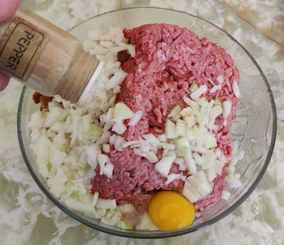
And pepper was added to the mixing bowl:
Pepper added to the mixing bowl
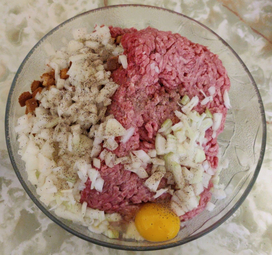
Here is the mixing bowl with all the ingredients in it:
Mixing bowl with all the ingredients
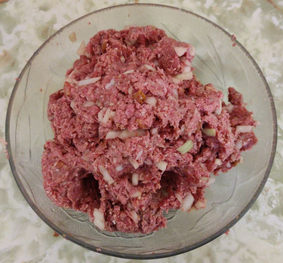
All ingredients were thoroughly mixed by hand:
Ingredients mixed by hand
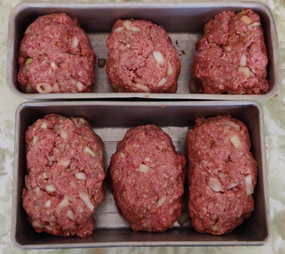
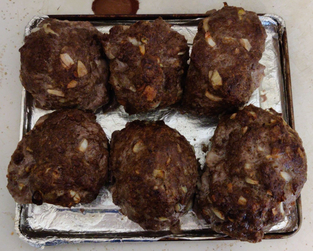
The meat mix was formed into six individual mini loaves, and three mini loaves were placed in each of two loaf pans:
Meat mix formed into individual loaves and placed in loaf pans
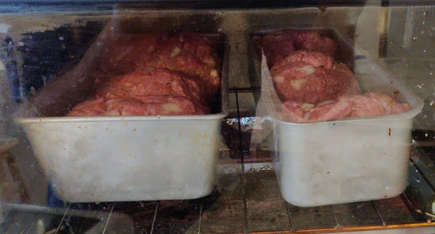
The meat loaves were placed in a countertop oven preheated to 350F:
Meat loaves placed in countertop oven
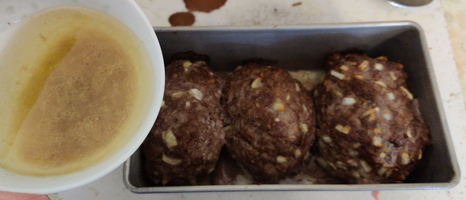
Partway through the cooking, the meat loaves were removed from the oven, and basted with the drippings from the bottom of the baking pans:
Basting the meatloaves with drippings from the baking pan
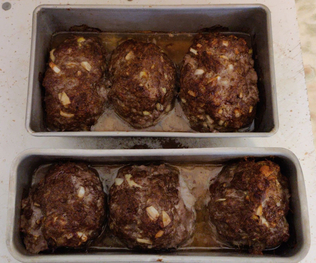
At the end of the cooking, the meat loaves were removed from the countertop oven:
Fully cooked meat loaves
The drippings were transferred to a bowl …
Drippings from the pan were transferred to a bowl
… and the grease was cooled solid in a refrigerator:
Solidified grease
The solidified fat was separated from the other drippings, which were saved in a container and frozen for use in some future soup not yet otherwise planned; the solidified fat was wrapped in paper towelling, and placed in the curbside brown box for municipal composting.
In the meantime, the meat loaves were placed on a tray, to be placed in the freezer to quickly cool down:
Meat loaves placed on a tray to place in the freezer to cool down
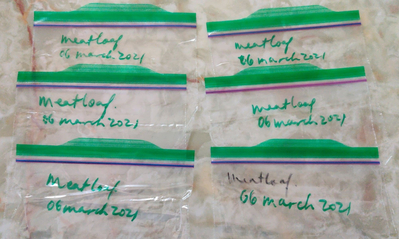
Sealable sandwich bags were identified with the intended contents and the date:
Sandwich bags identified with the intended contents and the date
The now partially frozen meat loaves were placed in the sandwich bags:
Meat loaves placed in sandwich bags
Finally, the meat loaves were placed in the freezer again, for when I will be eating them.
They are really convenient to take out for last minute supper plans for two, and / or to have leftovers for lunches.
I came about to learning to make plain cake from scratch after I attempted to make a New York crumble cake I’d seen being made on a Martha Stewart cooking show. Not only was the cake not as expected — we were expecting mostly cake with a modest but tasty crumble crust, instead of the actual small amount of cake and a sizable crumble crust — the cake did not bake well, and I was very disinclined to try it again. The next day, I looked for a plain cake recipe on the internet and found one, which I adapted to my format.
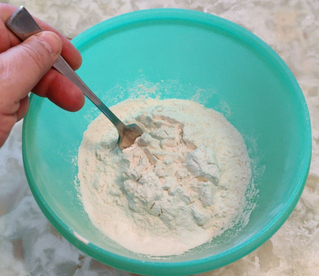
First, two cups of flour were placed in a mixing bowl:
Two cups of flour added to a mixing bowl
… to which two teaspoons of baking powder were added:
Baking powder added to the flour
… as well as a quarter teaspoon of salt:
Quarter teaspoon salt added to flour and baking powder
The flour, baking powder, and salt were blended with a fork:
Blending flour, baking powder, and salt
The bowl was then put aside until later.
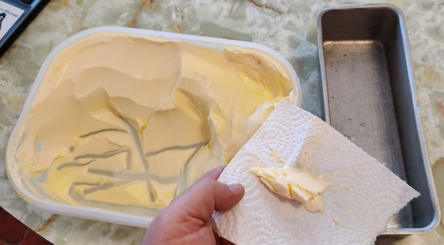
Margarine was picked up on a piece of paper towelling:
Margarine on a piece of paper towel
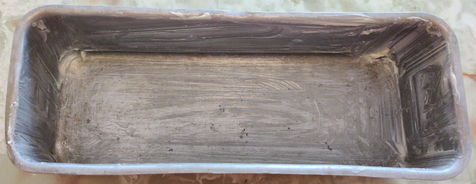
… in order to coat the interior surfaces of the baking pan:
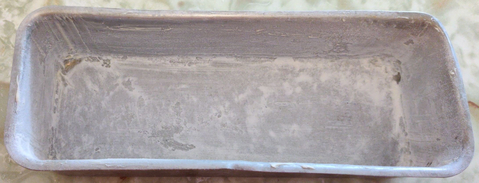
Inner surfaces of baking pan coated with margarine
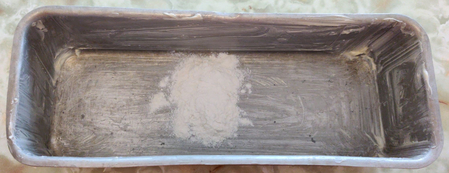
Then, a bit of flour was put in the pan …
Flour put into pan
… and spread around to coat the margarine:
Baking pan coated with flour and margarine
The baking pan was also put aside until later.
In another mixing bowl, a quarter cup of shortening was added:
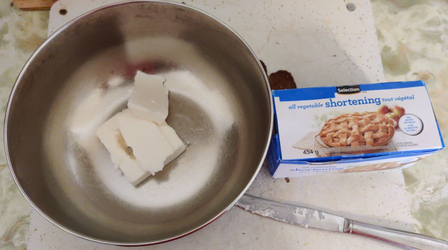
A quarter cup of shortening in a mixing bowl
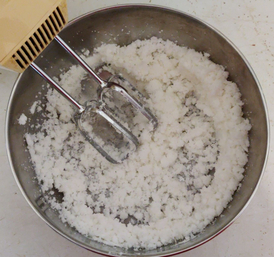
The shortening was creamed with an electric mixer:
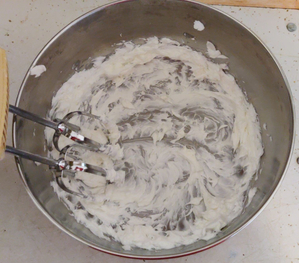
Creamed shortening
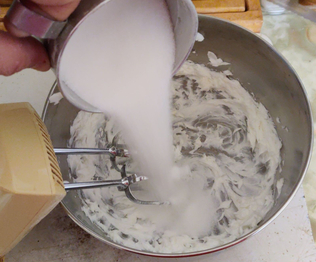
A cup of sugar was added to the creamed shortening:
Adding a cup of sugar to the creamed shortening
… and the sugar and shortening were blended:
Sugar and shortening blended
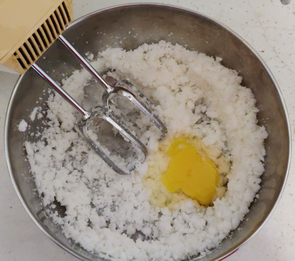
An egg was added to the mixing bowl:
Egg added to mixing bowl
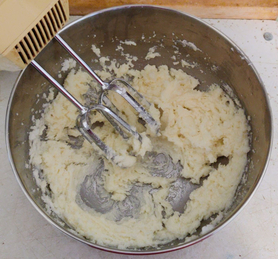
… and the ingredients were again blended:
Egg, sugar, and shortening blended
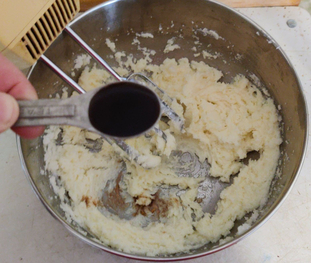
A teaspoon of vanilla extract was added to the mix:
A teaspoon of vanilla extract being added to the mix
A teaspoon of vanilla extract added to the mix
… and again, the ingredients were blended.
About a third of the flour mix prepared earlier, and about a third of a cup of milk, were added to the ingredients:
A third of the flour mix and a third of a cup of milk added to the ingredients
… and completely blended:
Cake batter thoroughly mixed
The previous two steps were repeated twice until all the milk and flour mix were blended into the batter.
The batter was then transferred to the floured baking pan:
Batter transferred to baking pan
… and placed in a countertop convection oven preheated to 350F:
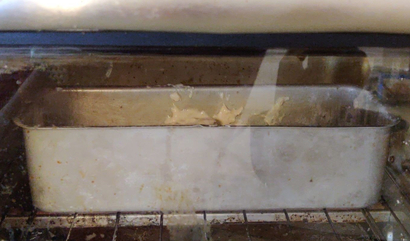
Cake pan in countertop convection oven
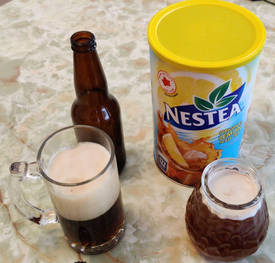
At this point, I was getting rather thirsty, so I poured myself some iced tea, and a bottle of my homebrew, a Belgian-style brown ale, made with water from filtered, melted ice from the lake at my cottage:
Some of my homebrew, and some iced tea
Aaahhhhh …
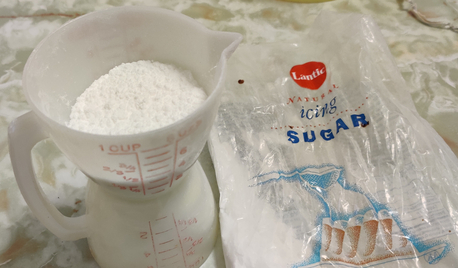
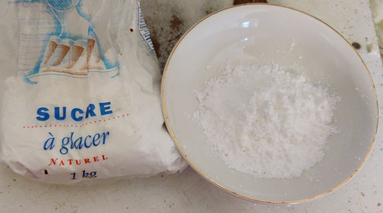
Since my mom suggested that a lemon drizzle be added to the cake, first a few tablespoons of icing sugar were placed in a bowl:
Icing sugar added to a bowl
… to which half the number of teaspoons of lemon juice were added:
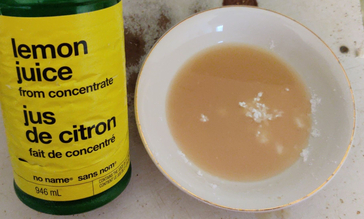
Lemon juice added to the icing sugar
… and the ingredients were mixed, then put aside for later:
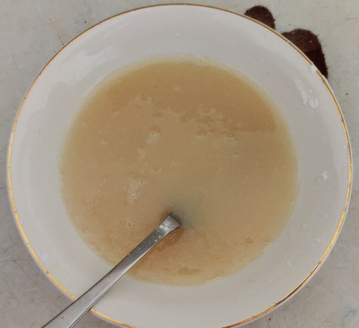
Icing sugar and lemon juice mixed together
Soon, the cake in the oven was puffing up and browning:
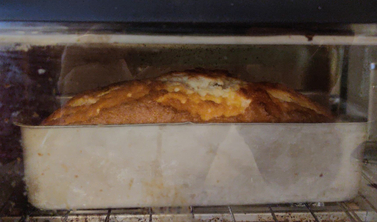
Cake baking in the oven
… and was taken out of the oven after 55 minutes of baking:
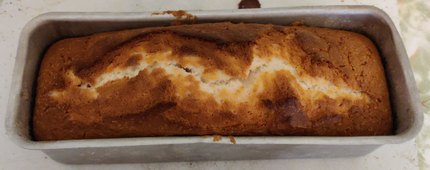
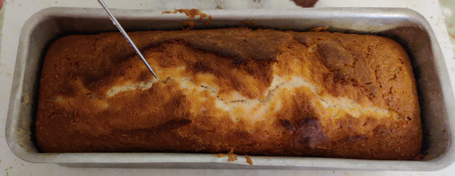
Fully baked cake
The cake was pricked multiple times with a thick needle …
Pricking the cake
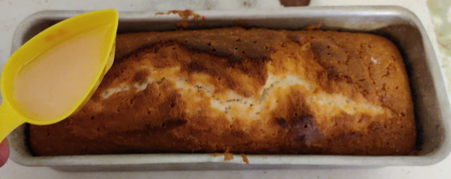
… to allow for some absorption of the lemon sauce which was poured over the cake with a small plastic scoop:
Pouring the lemon sauce on the cake
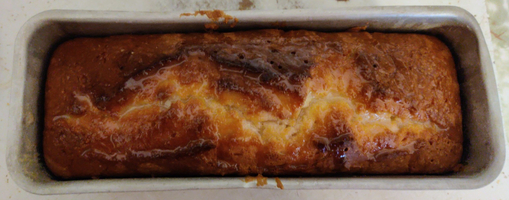
… at which point, the cake looked like follows:
Baked cake with lemon sauce
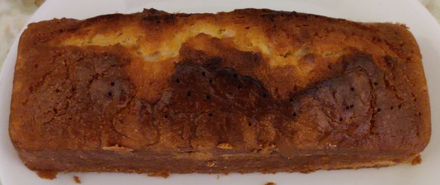
When cooled, a knife was used to loosen the cake around its edges in the baking pan, and the cake was taken out of the baking pan:
Cake removed from baking pan
A few slices of cake were cut from the cake:
Cake with some pieces sliced off
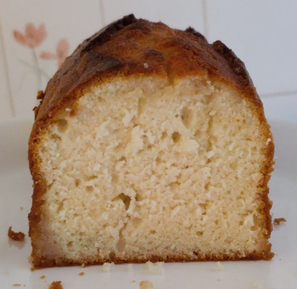
And, of course, the cake was yummy! And mom said “Delicious!”
My recipe for stuffed potato skins is a bit of a no-brainer, whose formal existence as a recipe lies more in the documenting the amounts of ingredients required so as to minimize waste and leftovers, or scrambling about to prepare extra ingredients to use up other already-prepared ingredients. Originally, making the stuffed potato skins was both an effort to add to my collection of recipes that could be used to fill the freezer, as well as a response to a desire to make stuffed potato skins, critically, using items I normally have on hand (potatoes, cheese, and in this case, frozen cooked breakfast sausages); however, yummy as they are, there was no pretense to attempt to replicate some mythically great potato skins eaten at some hypothetical pub.
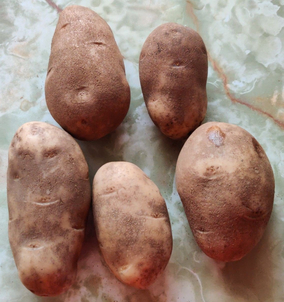
First, five potatoes were taken out …
Five potatoes
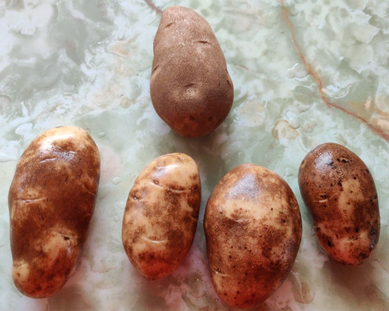
… and then washed — in this picture, save one, to show the comparison between cleaned and not (although the bag of potatoes does say “washed potatoes”).
Washed potatoes
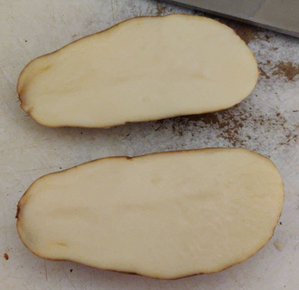
Potatoes were halved along their length:
Potato cut along its length
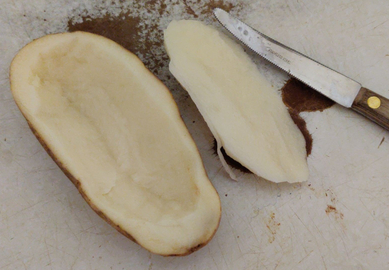
The potatoes were then somewhat hollowed out (before cooking, instead of after, as mentioned in my recipe, so that I could boil the removed pulp later to make mashed potatoes), while leaving a generous amount of the potato pulp in the skins:
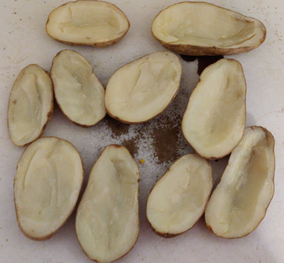
Hollowed out potato skin and removed pulp
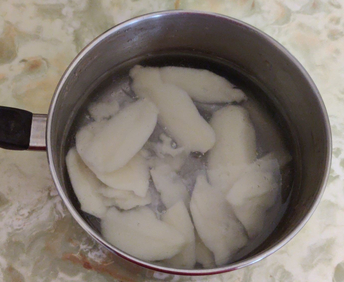
The pulps from the potatoes were placed in water, to boil later …
Pieces of potato pulp hollowed out from the skins, to be boiled later
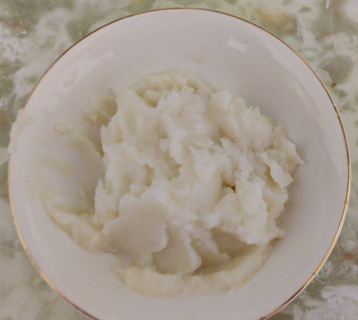
… and with which to ultimately make a bit of mashed potatoes to be used in a lunch in the next couple of days:
The mashed potatoes made from the pulp parts of the five potatoes used today, to be eaten at an upcoming meal
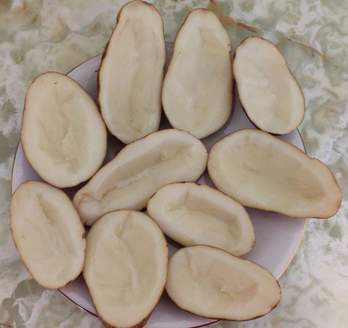
Back to the potato skins: The hollowed out potatoes were placed on a microwave-safe plate:
Hollowed out potatoes on a plate
The plate of hollowed out potatoes were placed in the microwave oven (1200 watts) for 10 minutes:
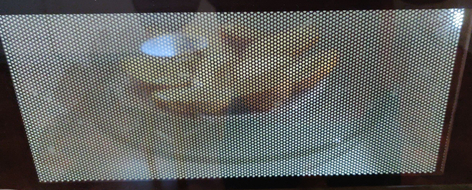
Hollowed out potatoes in the microwave oven
Once cooked (a few skins needed another couple of minutes to finish cooking), the hollowed out potatoes were placed on a flat surface (a cutting board), ready for stuffing with sausage cubes:
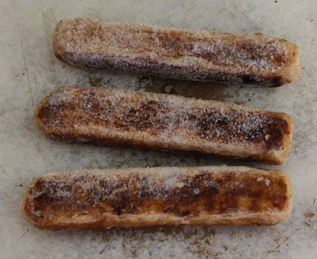
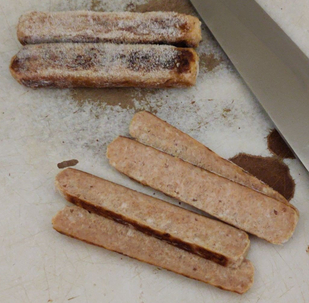
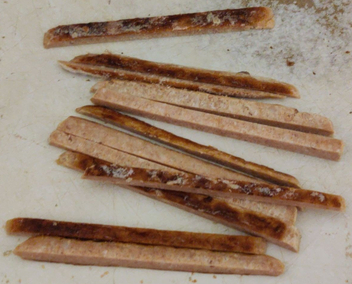
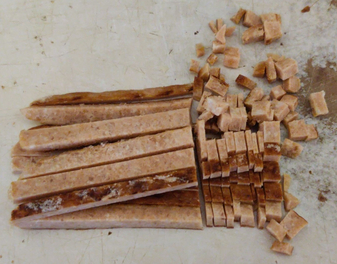
The spears were sliced cross-wise in order to make little cubes …
The spears were sliced to make little cubes
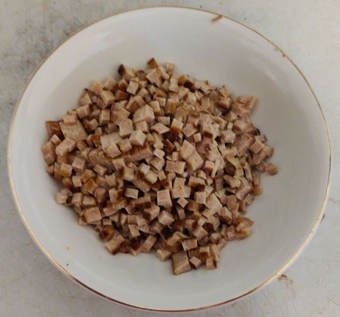
… which were then transferred to a bowl …
Sausage cubes placed in a bowl and put aside
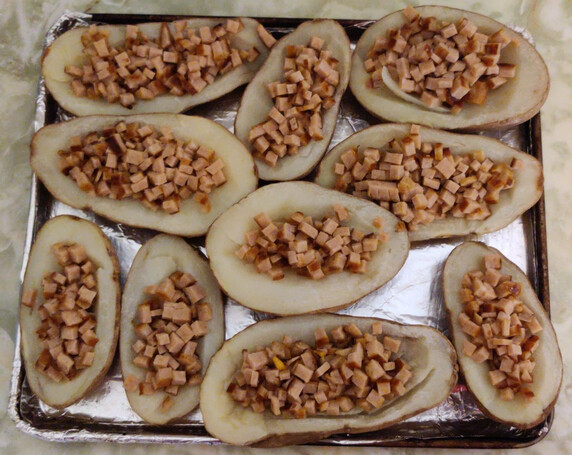
… and which was put aside to be used at the point at which the cooked potato skins were to be stuffed:
Potato skins filled with sausage cut into little cubes
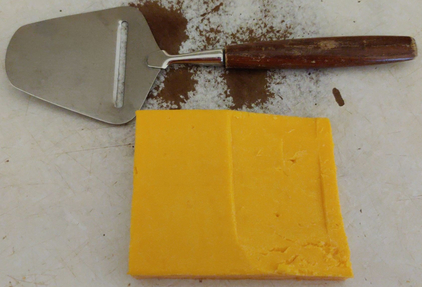
A block of cheese (cheddar in this case) was taken out, along with a cheese slicer:
Block of cheddar cheese and a cheese slicer
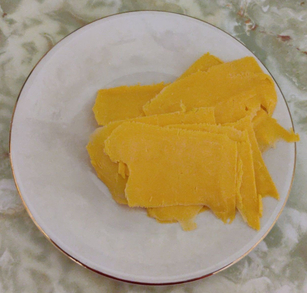
About 100g of slices of cheese were cut off of the block …
Cheese slices
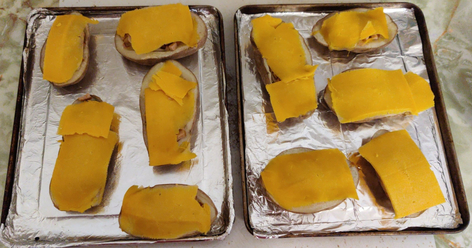
… and placed on top of the potato skins filled with sausage cubes:
Cheese slices placed on top of the potato skins filled with sausage cubes
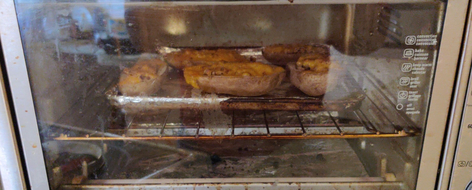
The potato skins were placed in a countertop convection oven preheated to 350F for 15 minutes:
Stuffed potato skins cooked in a countertop convection oven
The first batch of cooked potato skins were taken out of the oven, smelling yummy!
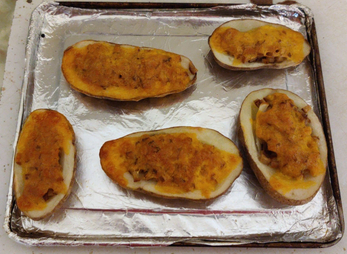
Cooked stuffed potato skins
Once all the stuffed potato skins were cooked and cooled, a couple of them were put aside for supper, while the other eight stuffed potato skins were placed in a container for freezing:
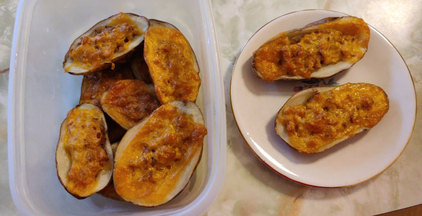
Cooked stuffed potato skins in a container for freezer as well as a plate for supper
Today’s cooking project from my recipe collection was bacon-wrapped chicken pieces, something I originally started making a couple of years ago for their value as an easy enough to make last minute hors d’oeuvres contribution for a party; now I principally make them for the value of having them pre-made in the freezer, including to possibly use at a later time as hors d’oeuvres at a party.
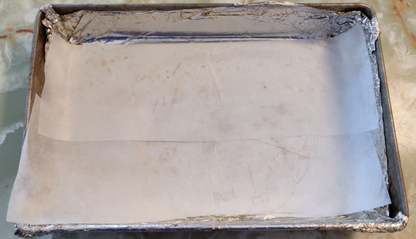
To begin, parchment paper was placed in a baking pan:
Placing parchment paper in a baking pan
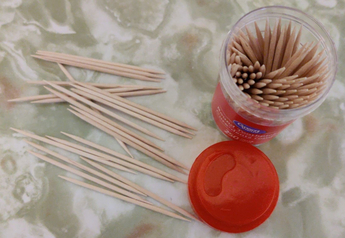
Wooden toothpicks were also taken out:
Wooden toothpicks prepared
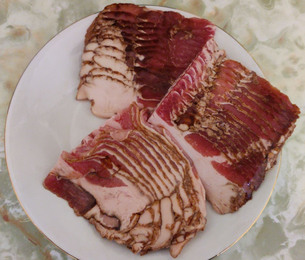
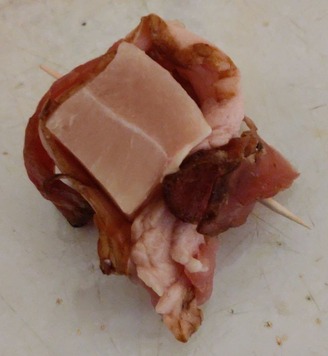
I cut a package and a half’s worth (375g each package, for a total of about 560g) of bacon into half-lengths, which worked out to 40 half-slices, the amount of pieces I target in my recipe.
40 half-slices of bacon, from a pack and a half of bacon (each pack 375g)
The rest of the bacon was placed in a bag and frozen, for later use.
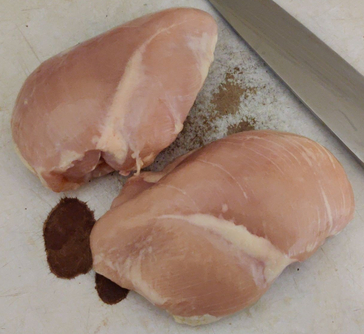
Two chicken breasts were placed on a cutting board:
Two chicken breasts placed on a cutting board, beside a kitchen knife
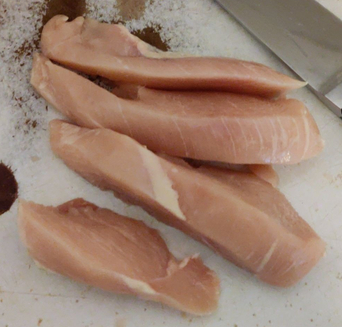
The chicken breasts were sliced along their length …
A chicken breast cut along its length
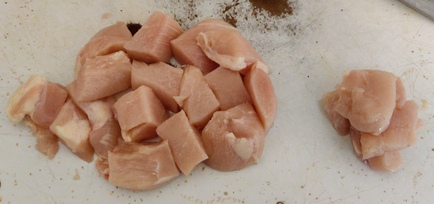
… and then each chicken breast was cut into approximately 20 cubes:
Chicken breast cut into cubes
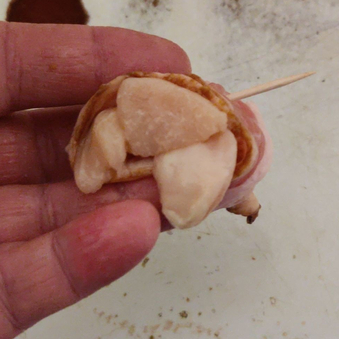
In this case, the pile on the left are the cubes to be used directly, while the pile on the right are smaller pieces which were bundled together two or three pieces at a time in half-slices of bacon as though they were full pieces of chicken.
The cubes were individually wrapped in a half-slice of bacon, and skewered with a wooden toothpick:
Cube of chicken wrapped in bacon, and skewered with a wooden toothpick, to keep them together
Smaller pieces of chicken were bundled together, two or three pieces at a time, and wrapped in bacon, then skewered with a wooden toothpick:
Smaller pieces of chicken bundled together
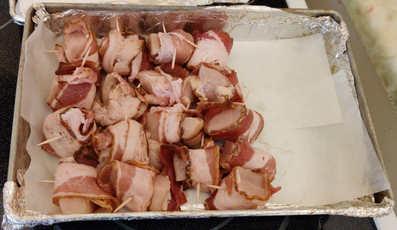
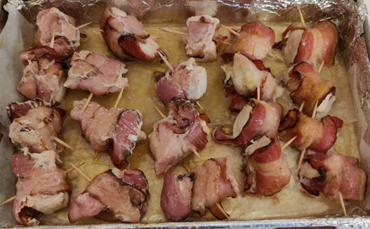
As each piece of bacon was wrapped in bacon and skewered, they were placed on the parchment paper in a baking pan:
Bacon-wrapped chicken pieces placed in a baking pan
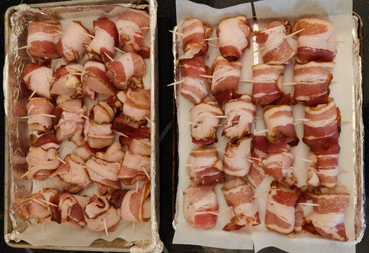
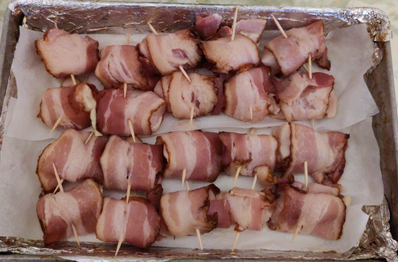
Once all the pieces of chicken were wrapped, they were equally divided between two baking pans that fit (one tray at a time) in my countertop convection oven:
40 pieces of bacon-wrapped chicken divided between two baking pans
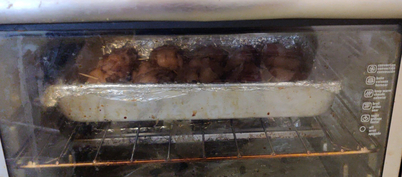
The first tray was placed in my countertop convection oven (and yes, the glass door was dirty, and was cleaned afterwards):
Tray of bacon-wrapped chicken pieces in the oven
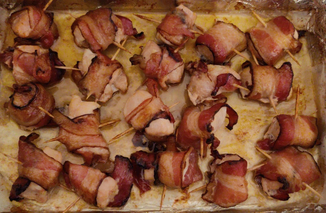
Partway through the cooking (after about 25 minutes), the pieces were turned over (in this case, the three columns on the left):
Turning over the pieces of bacon-wrapped chicken
When the pieces were fully cooked after about 50 minutes, they were taken out of the oven:
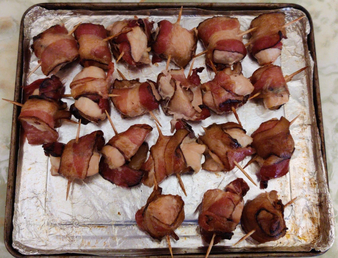
Cooked pieces of bacon-wrapped chicken directly out of the oven
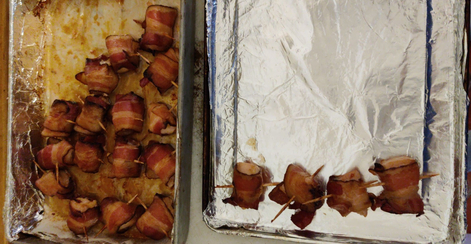
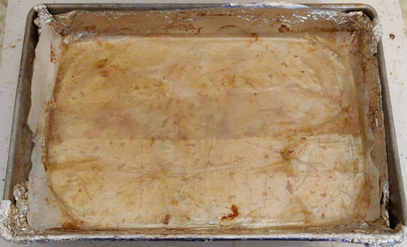
Cooked pieces were transferred to a clean tray to be placed in the freezer:
Cooked pieces were transferred to a clean tray
The first tray of cooked bacon-wrapped chicken was placed in the freezer to cool and freeze.
Meanwhile, the grease and drippings in the baking pan …
Grease and drippings in the baking pan
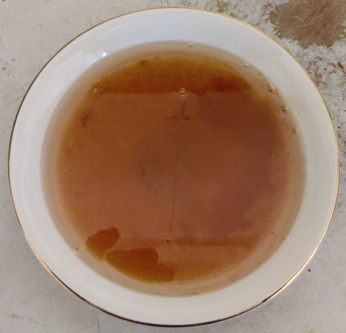
… were drained into a bowl, cooled and solidified, and then wrapped in paper, to be placed in the municipal brown box for composting.
Grease and drippings transferred to a bowl
The second tray’s worth of raw bacon-wrapped chicken pieces was transferred to the first baking pan, because of its deep sides and all the grease and drippings produced:
Second tray’s worth of bacon-wrapped chicken transferred to the first baking pan with its deep sides
The pieces of bacon-wrapped chicken were cooked the same way as the first tray, and once taken out of the drippings, looked like the first tray of cooked pieces:
Cooked bacon-wrapped chicken pieces on a tray, ready to place in the freezer before transferring to a plastic container
After the second tray of bacon-wrapped chicken had cooked, the frozen pieces from the first tray were transferred to a plastic container:
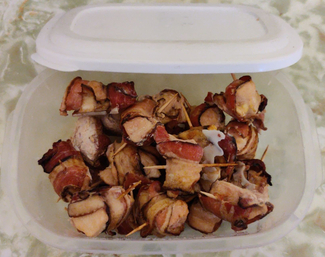
Frozen pieces of bacon-wrapped chicken placed in a plastic container to be placed in the freezer
Those from the second tray, once cooked, were also transferred to a separate tray, frozen, and then transferred to a plastic container.
All the bacon-wrapped chicken pieces are now in the freezer again, waiting to be eaten — some of them tomorrow!
Of course, the pieces were tasty (I tasted one to make sure they were good!)
Here is the next entry in my series of photo posts of me making the various recipes in my recipe collection.
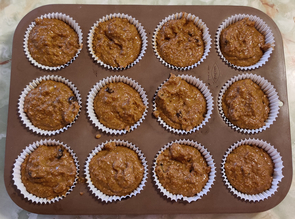
This week, I took photos while I made more bran muffins for my mom, using a recipe I’d found on allrecipes.com and which so far I have not yetwhich I have now (20210214) converted into my own format. As a side note, I should I have now converted it to my usual recipe format, because when I make them, I use regular milk instead of buttermilk, and I normally make a major change: Instead of placing the batter into twelve muffin papers in a twelve-welled baking tin, I bake the batter in a six-welled baking tin (with slightly larger wells), lined with coffee filter papers, and the baking time was adjusted to 22 minutes.
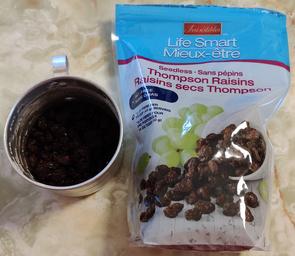
This batch of muffins had a further deviation from the recipes above, which was the intentional omission of raisins for reasons beyond the scope of this post.
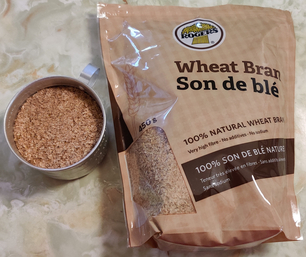
First, I measured out a cup and a half of wheat bran into a mixing bowl:
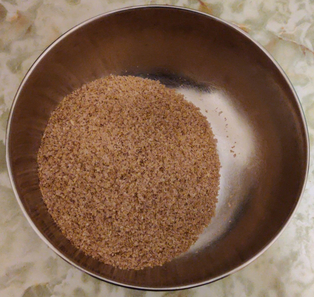
A cup and a half of wheat bran
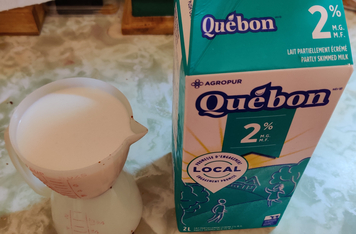
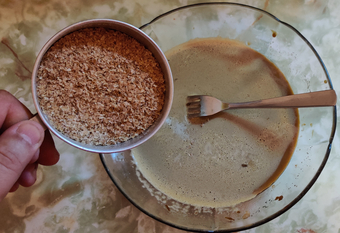
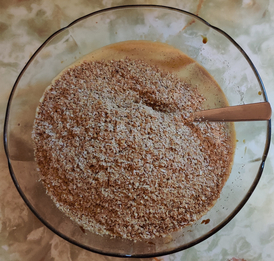
A cup of milk was added to the bran:
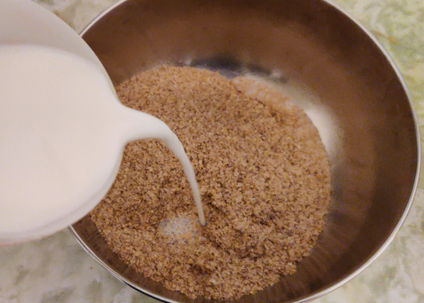
A cup of milk added to the bran
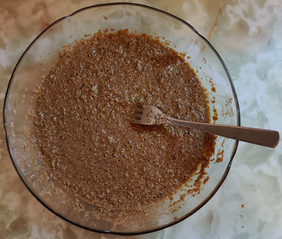
The bran and milk were mixed with a fork, and put aside:
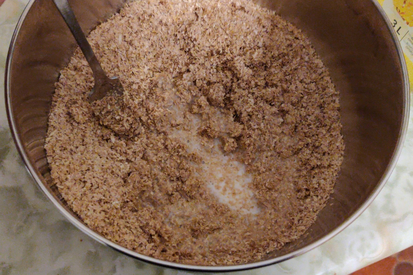
Mixing the bran and milk
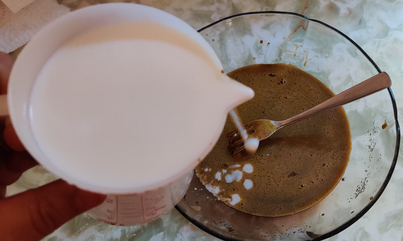
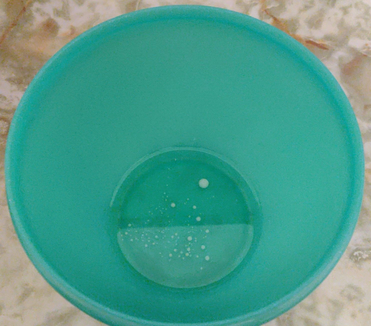
A third of a cup of vegetable oil was measured out and placed in a separate bowl (the white dots are milk leftover in the measuring cup):
1/3 cup vegetable oil measured out
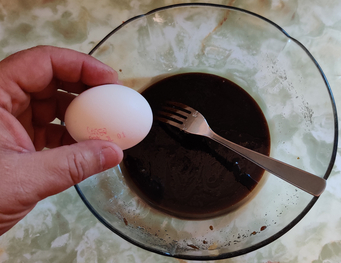
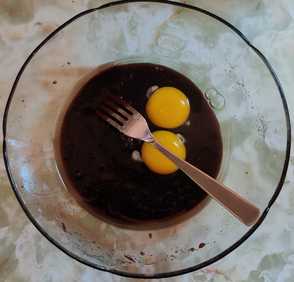
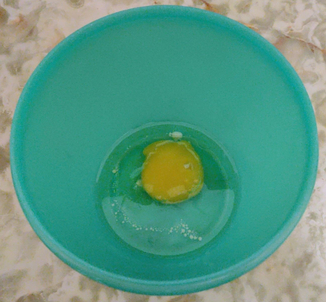
A large egg was added to the vegetable oil:
A large egg added to the vegetable oil
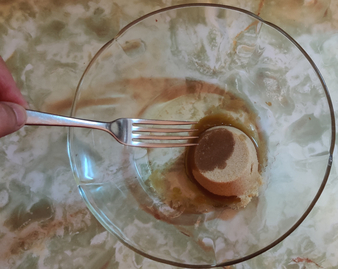
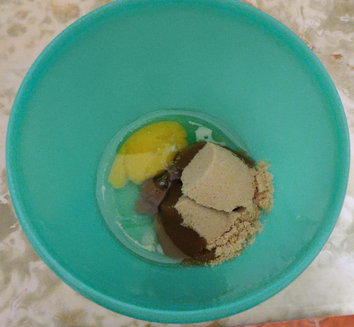
Two thirds of a cup of packed brown sugar were added to the oil and egg:
2/3 cup (packed) brown sugar added to the vegetable oil and egg
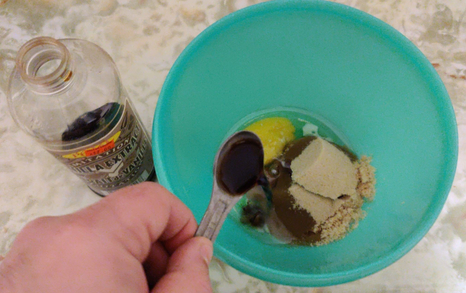
A teaspoon of vanilla extract was added to the vegetable oil, egg, and brown sugar:
A teaspoon of vanilla extract added to oil, egg, and brown sugar
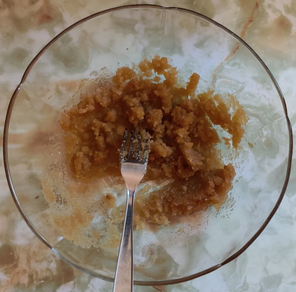
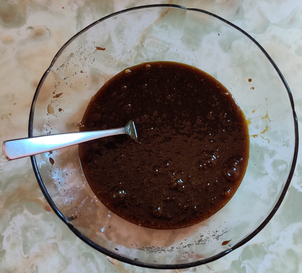
The vegetable oil, egg, brown sugar, and vanilla extract were blended with a fork:
Blending of vegetable oil, egg, brown sugar, and vanilla extract
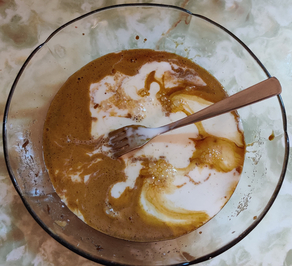
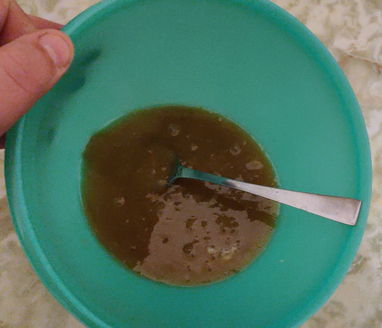
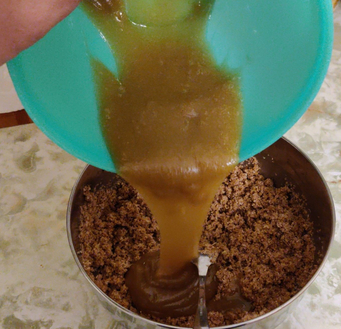
The vegetable oil, egg, brown sugar, and vanilla extract were added to the bran and milk mix:
Vegetable oil, egg, brown sugar, and vanilla extract added to the bran and milk mix
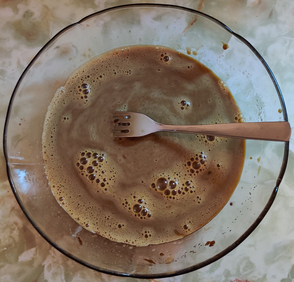
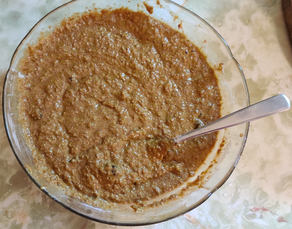
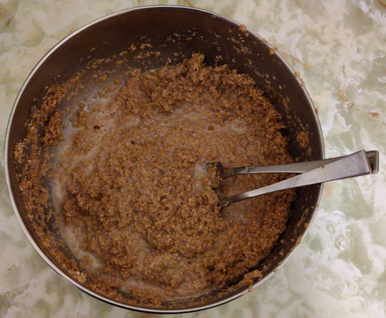
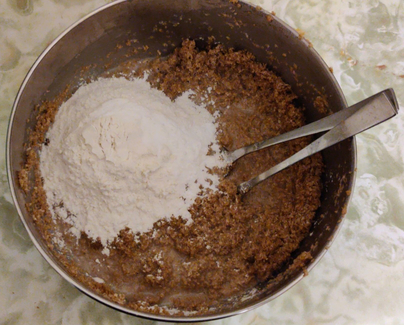
All the ingredients were blended together with a fork:
The ingredients were blended together
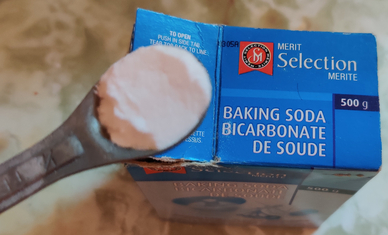
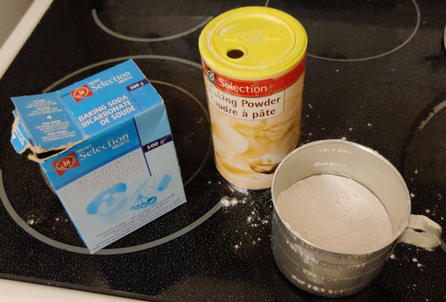
A teaspoon each of baking powder and baking soda were added to a cup of flour — unfortunately, I forgot to add the quarter teaspoon of salt, to no apparent ill effect.
A teaspoon each of baking powder and baking soda added to a cup of flour; salt was forgotten
The flour, baking powder, and baking soda were mixed together in the cup, and added to the rest of the ingredients:
Flour, baking powder, and baking soda mix were added to the rest of the ingredients, and then blended together
Again, all the ingredients were blended together with a fork. At this point, I would normally have added three quarters of a cup of raisins, which I didn’t do this time.
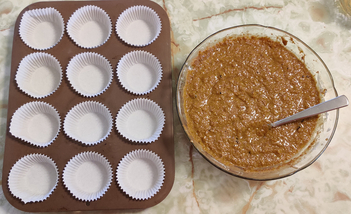
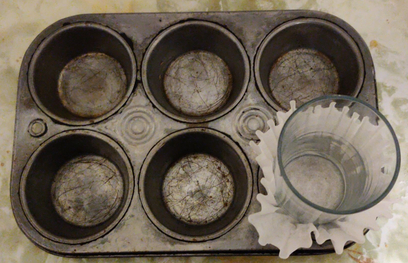
I make double sized muffins for my mom, so I use coffee filter papers, for which I use a glass to help form within the baking tin:
Forming the coffee filter paper in the baking tin wells
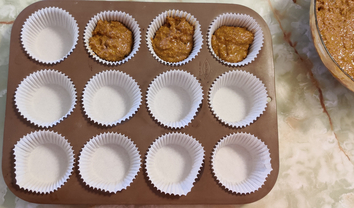
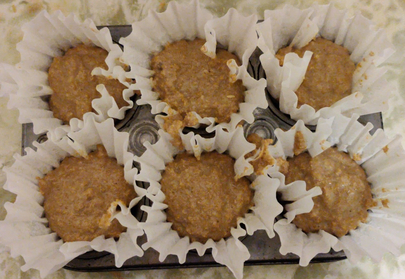
The batter was spooned into each of the wells:
Muffin batter spooned into each of six baking tin wells
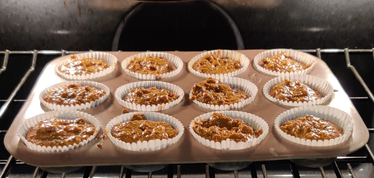
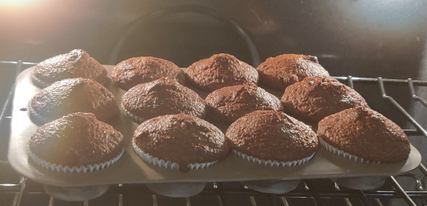
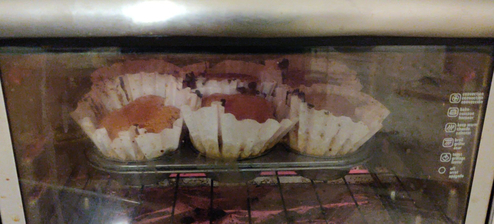
The muffin tin was placed in a counter-top convection oven preheated to 350F, and baked for 22 minutes (rotated 180 degrees part way through):
Muffins baking in a counter-top convection oven.
The muffins were taken out of the oven after 22 minutes and placed on a cooling rack:
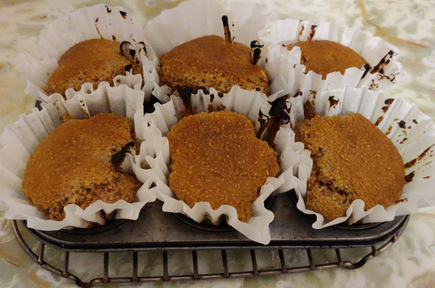
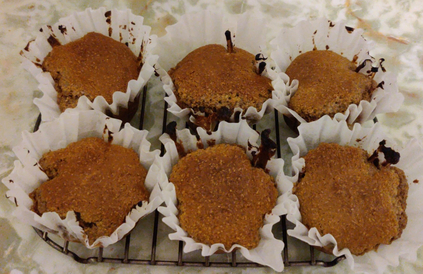
Baked muffins placed on a cooling rack
After a few minutes, the still cooling muffins were taken out of the baking tin, and returned to the cooling rack to continue cooling:
Baked muffins placed on a cooling rack
Once cooled, I placed the muffins in a sealed container.
Mom was so impressed, she said that the following morning, she would have one from this batch, before eating the last muffin from the last batch!