Background to this post:
I started using the internet in 1994, using a dial-up account that offered access through a telnet unix terminal using the command-line.
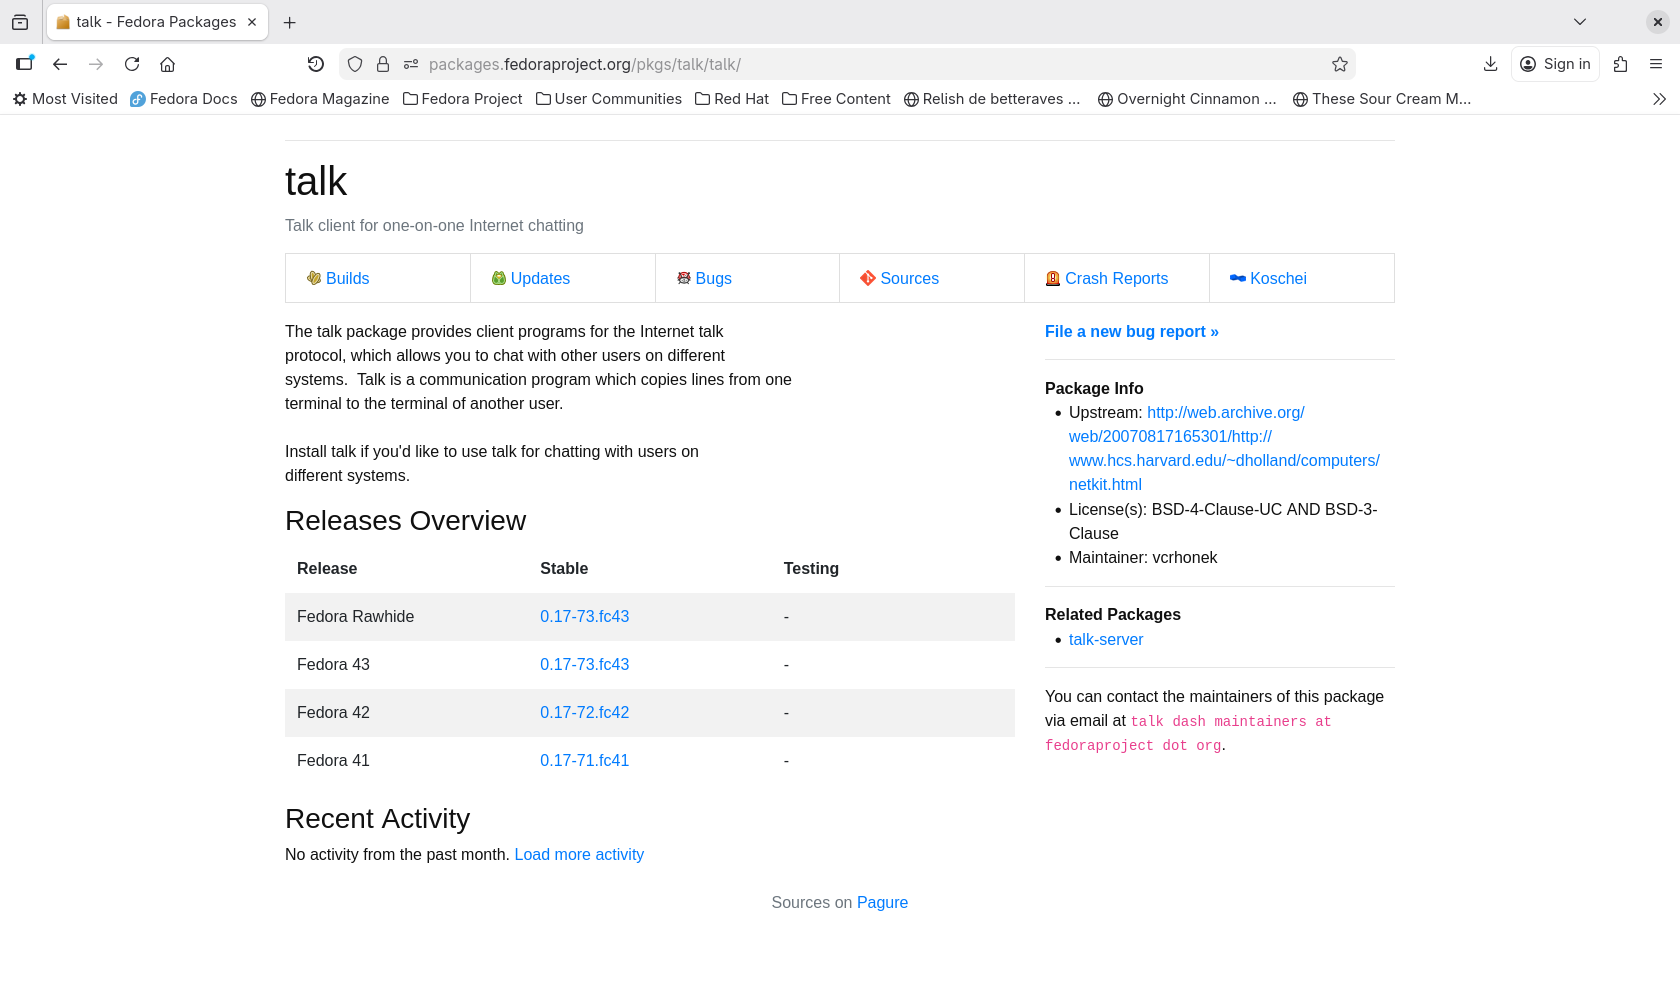
One of the commands / pieces of software I discovered was talk, a basic one-on-one chat programme:
Besides amusing myself by using it to chat with my brother when he was online at the same time as I, it actually had a useful application.
I was involved in Rovers at the time, a young adults organization, and I had put up a web page describing the Rover Crew to which I belonged on my website. I was contacted by a Rover in Adelaide, Australia by email in the spring of 1995; he’d found my website, and he was temporarily moving to Montreal in Canada where I live, to work. He was looking for a few building blocks for life outside of his new job in a new country. We negotiated, by email, for a live chat; as I recall, he had suggested IRC, but I was not familiar with IRC at the time, so I suggested talk, to which he reluctantly but nonetheless agreed. (A minor hiccup was that I had suggested a time for the chat as a function of GMT; I was online at what I thought was the appointed hour, but he only showed up an hour later. I was fortunately still online; I figure that I hadn’t properly taken Daylight Savings Time into account when I suggested the hour.)

After our little chat, we continued exchanging emails leading up to his arrival in Montreal. He came to Montreal, joined my Rover Crew, stayed for about three and a half years, and I adopted his cat when he moved back to Australia.
What this post is really about:
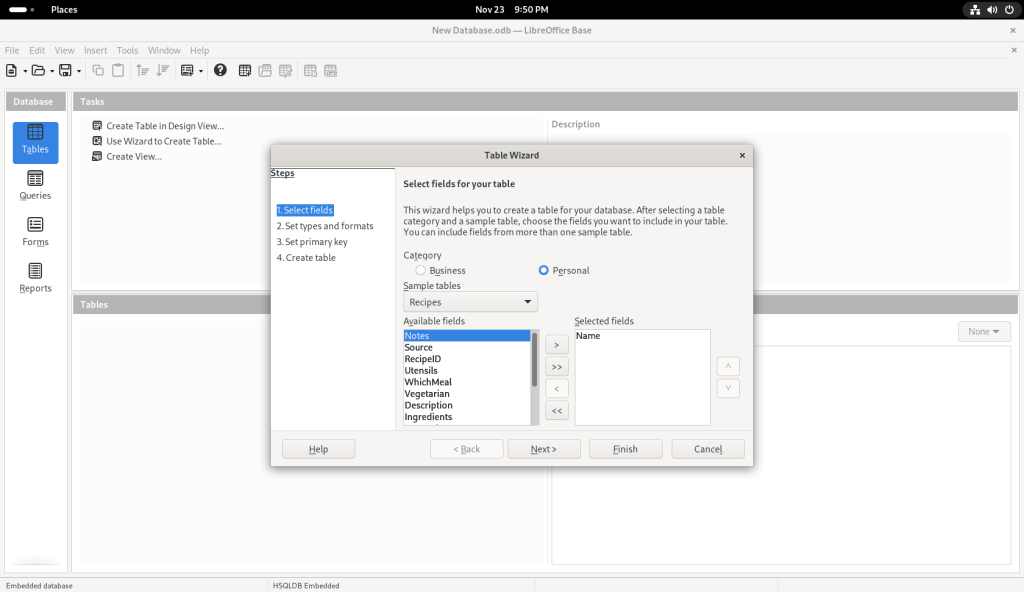
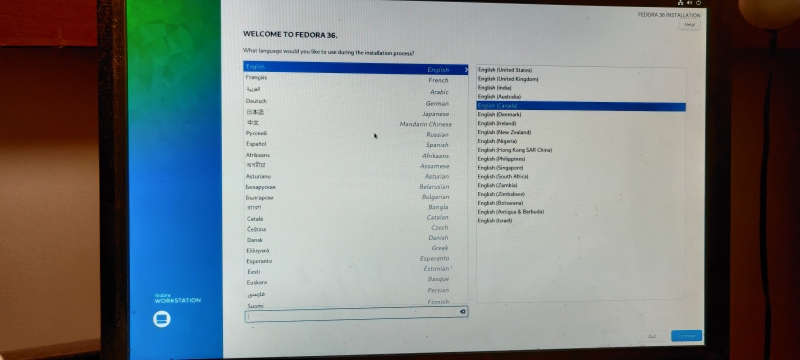
Fast forward to early 2026, and I wanted to contribute a short presentation at my Linux club. I looked at some of the recent short presentations on regular everyday linux commands, and I was inspired to install talk on a couple of my machines, document the process, and put together a short presentation in which I would replicate the installation live while inviting others to install talk at the same time as I, and then initiate a chat with someone in the room.
This led me down a rabbit hole towards apparent failure (with a surprise ending).
(Note: Most of the screencaps for this post were created ex-post facto, be they principally on one computer, or on a second computer.)
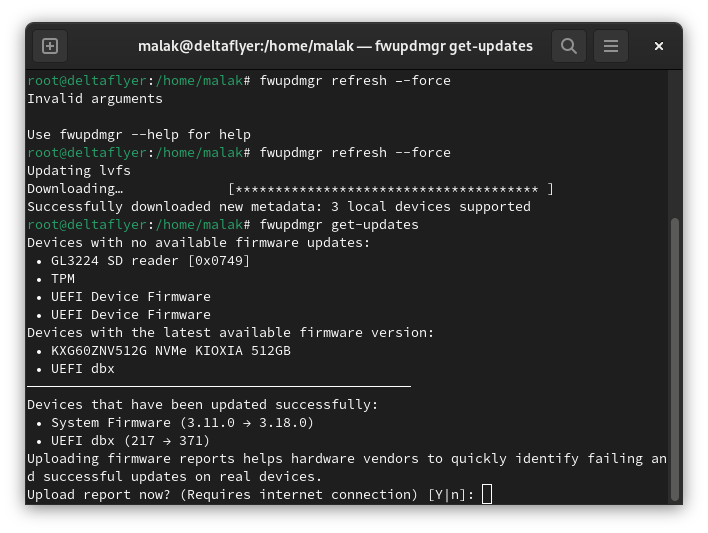
I did a quick web search on talk, and I found a page at the Geeks for Geeks website (here’s my archive) — critically, dated in July, 2025. This site was a great source of inspiration: It contended that installing talk could be done, using my Linux distribution (Fedora), the article was relatively current, and the procedure seemed quite simple.
The first hint that the Geeks for Geeks procedure wasn’t going to work should have been that for Fedora (and RHEL), the article invoked the yum command. Despite the fact that Fedora has been using dnf since Fedora 22 in 2015, and RHEL 8 in 2019 (DNF(software) on Wikipedia — here’s my archive), this didn’t faze me since other than noticing it, I knew of yum and its historic use — in fact, I was around using yum during a substantial period of said historic use — and in my mind the two are interchangeable. (Indeed they are to a nominal degree, since at least for RHEL, according to the Geeks for Geeks website, yum is aliased to dnf (here’s my archive.) Oh, no matter that the same website, despite knowing that yum is obsolete, is still using it in its articles as a current command. 🙂 )
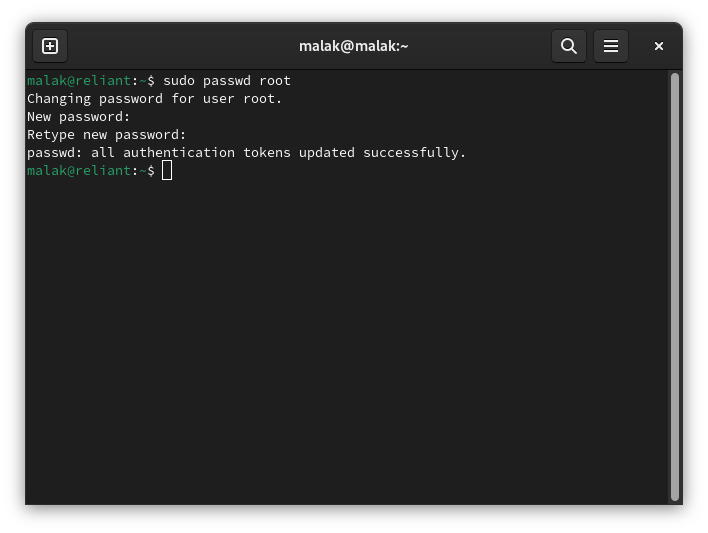
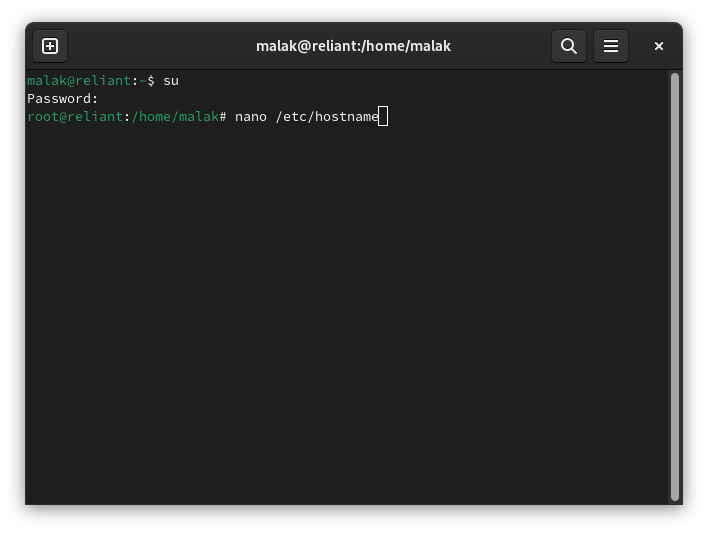
note: for the rest of the article, whenever an instruction needs to be done with root privileges, I did so directly as root, instead of using the sudo command.
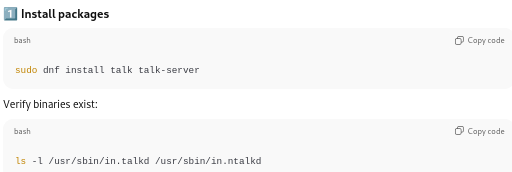
Installing talk and talk-server:
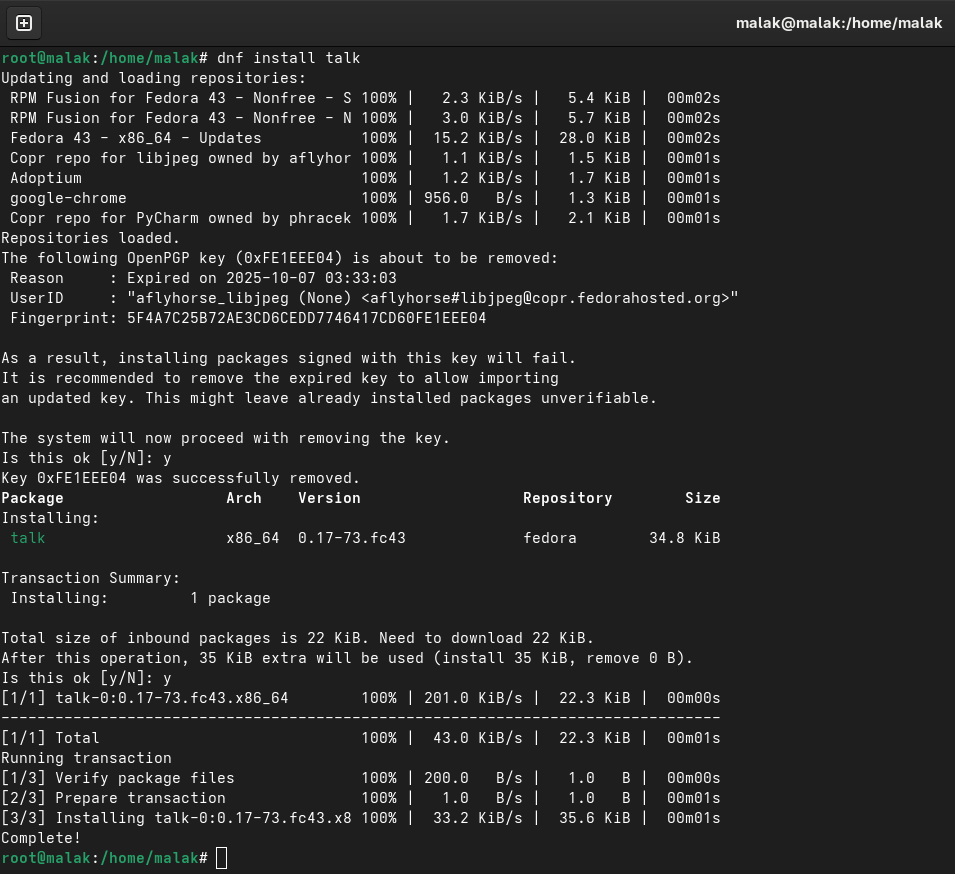
I began following the instructions for installing talk:
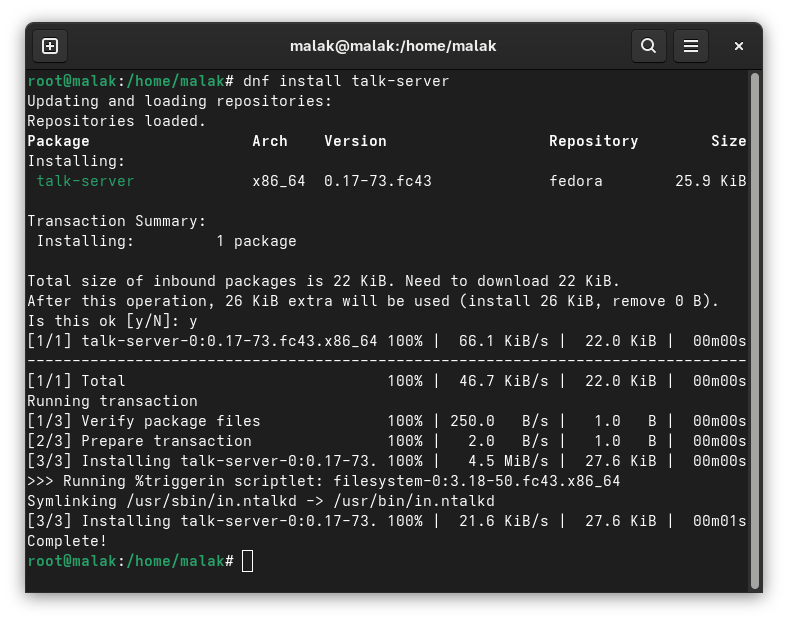
… and for installing talk-server:
This seemed good. I figured that if the software was in the Fedora repositories and that it installed, it should work.
Invoking the xinetd daemon:
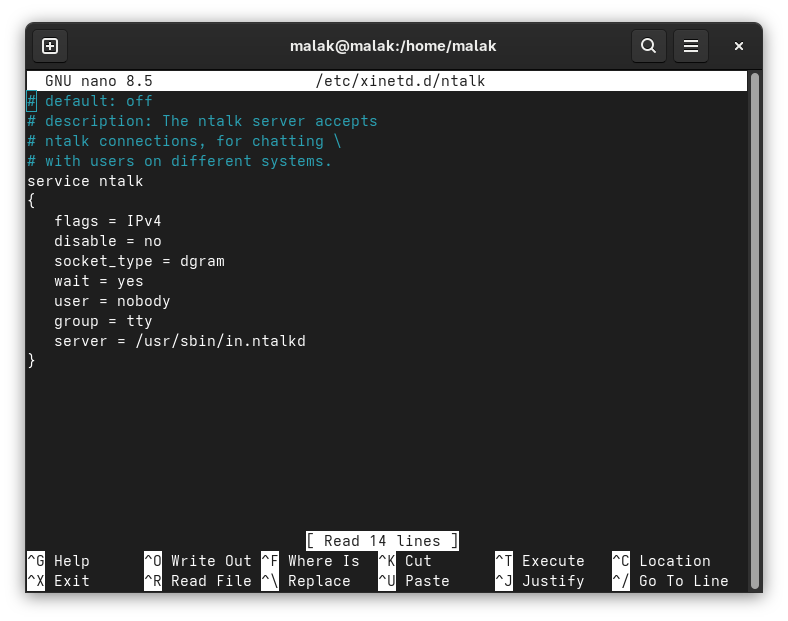
I then followed the instructions to create two files called talk and ntalk in the /etc/xinetd.d directory. Another hint that this exercise wouldn’t work was that the /xinetd.d directory didn’t exist on my system, and that I had to create it; but, I forged on. I created the directory, and then the specified files:
The next instruction was to restart the xinetd.d server:
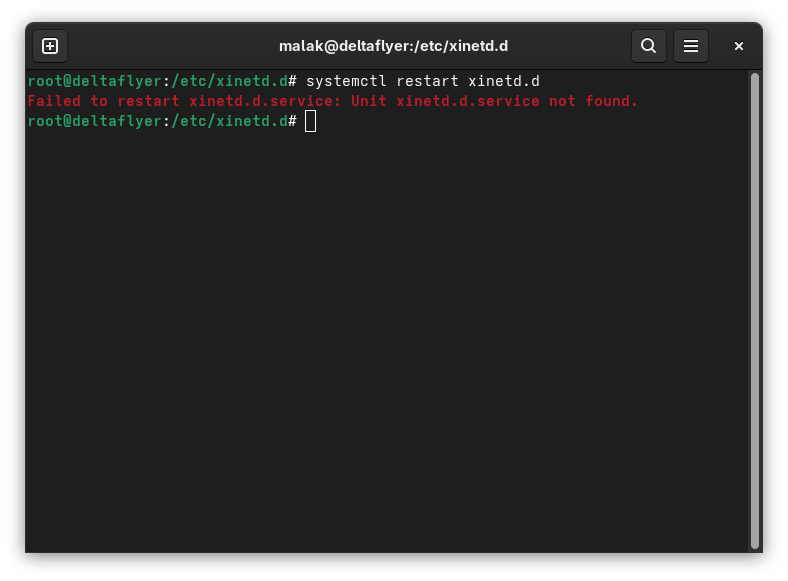
Receiving an error message that the xinetd.d.service was not found finally made me a bit suspicious, and I checked if and when the xinetd.d service had been deprecated in Fedora. The last reference in Fedora I could find was the xinetd.d package for Fedora 33 (here’s my archive), while a post in Reddit suggested, without apparent reference, that xinetd.d was deprecated in Fedora 34 — in April, 2020, about five full years before the Geeks for Geeks article describing how to install the talk command was written!

So at this point, there were two prior points in time at which I should have figured that the Geeks for Geeks procedure lacked a solid basis for reliability, in addition to this last definitive hint.
ChatGPT consulted:
Despite being suspicious of AI given the current hype surrounding it, and widespread stories of its (sometimes more than) occasional invented results (here’s my archive), I consulted ChatGPT.
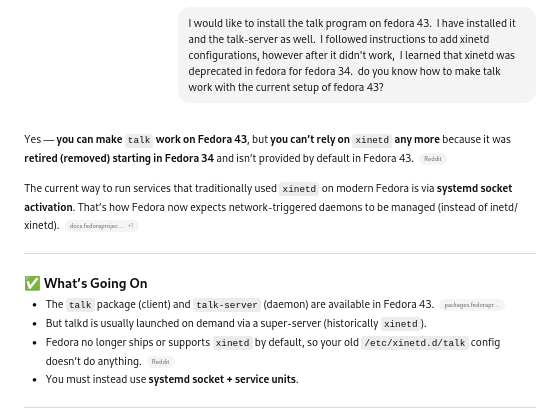
So the underlying project objective appeared to have some merit … but at this point, I began diving into a rabbit hole: The obvious rabbit hole of installing legacy software on a modern OS, and perhaps less obviously, a rabbit hole involving placing a lot of faith in AI. (As in, despite using Linux for almost 20 years, and having been exposed to UNIX for over 10 years before that, I don’t think I know enough about Linux to fully evaluate the advice and instructions ChatGPT gave, and whether its apparent confidence in giving advice at each step, let alone its ultimate determination, were based in any merit.)
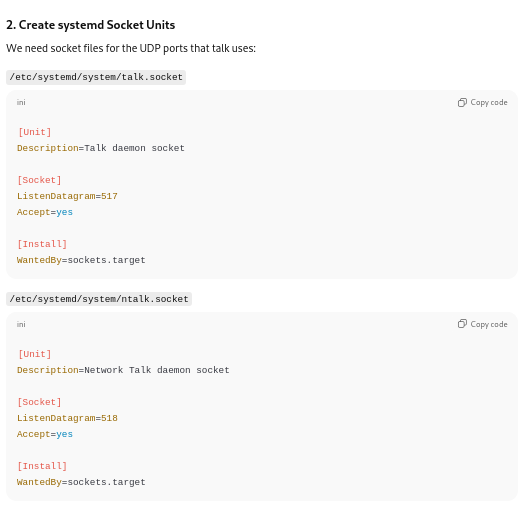
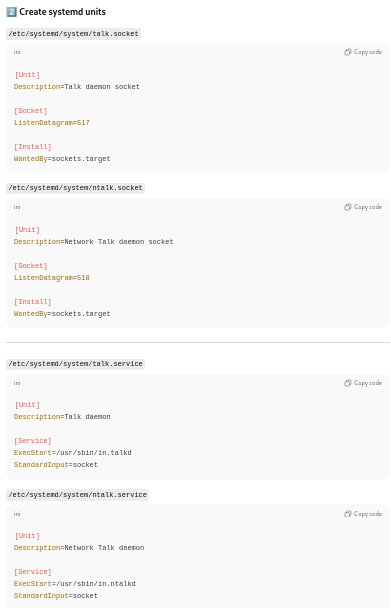
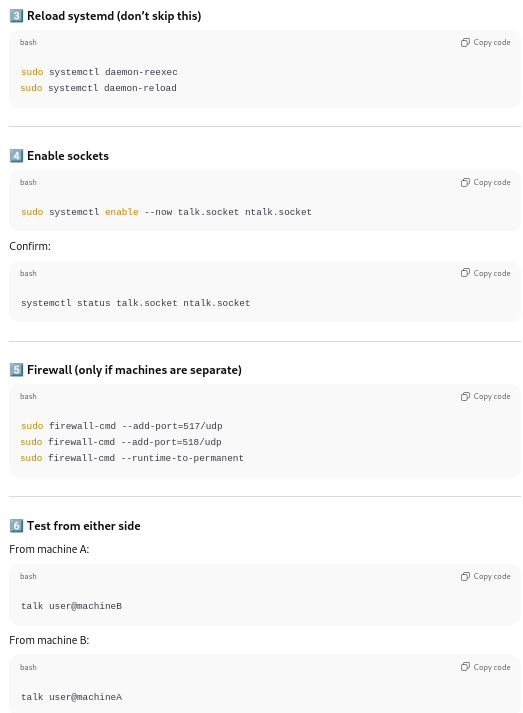
To wit: After ChatGPT suggested that I confirm the presence of the binaries I said I’d installed, it suggested that I create some socket files, as well as some service units, to enable the new services, and finally check on their status.
Setting up sockets:

Services were enabled:
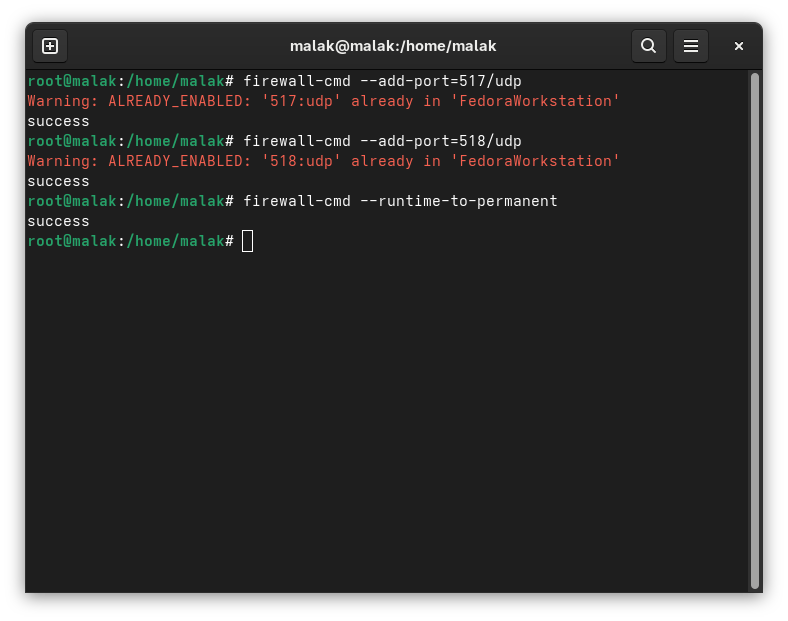
Firewall changes:
Ports 517/udp and 518/udp were activated in my firewalls (error messages betray the fact that the screenshot is a recreation ex post facto 🙂 ):
I tried start up talk again at this point … and it didn’t work. Apparently, the “Unit talk socket has a bad unit file setting” and the “Unit ntalk.socket has a bad unit file setting”.
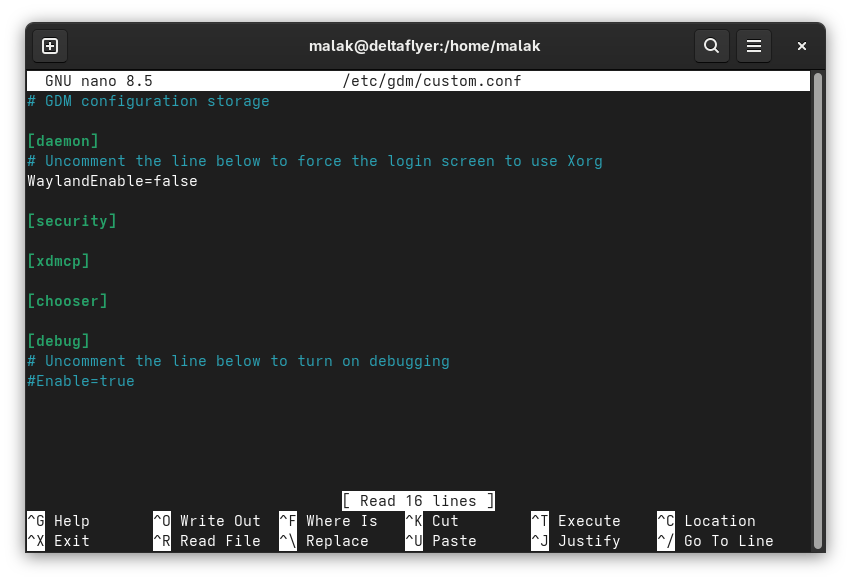
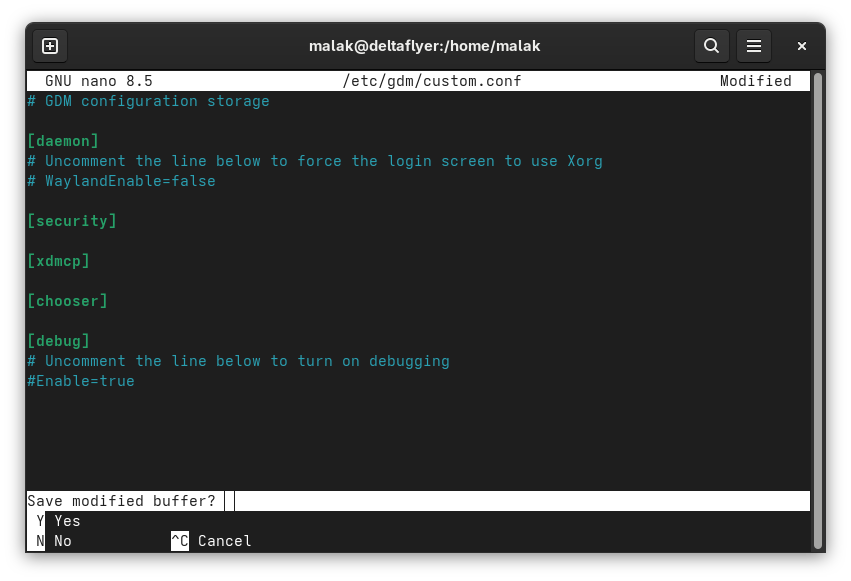
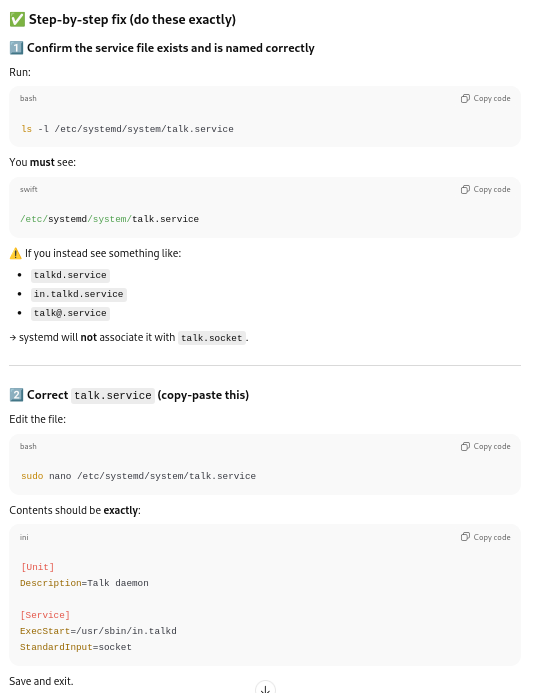
Correcting the sockets files for systemd:
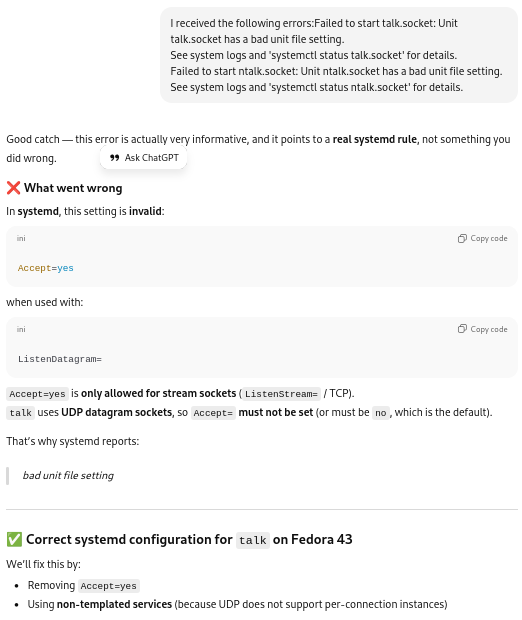
The socket and service files were corrected:
.png)
.png)
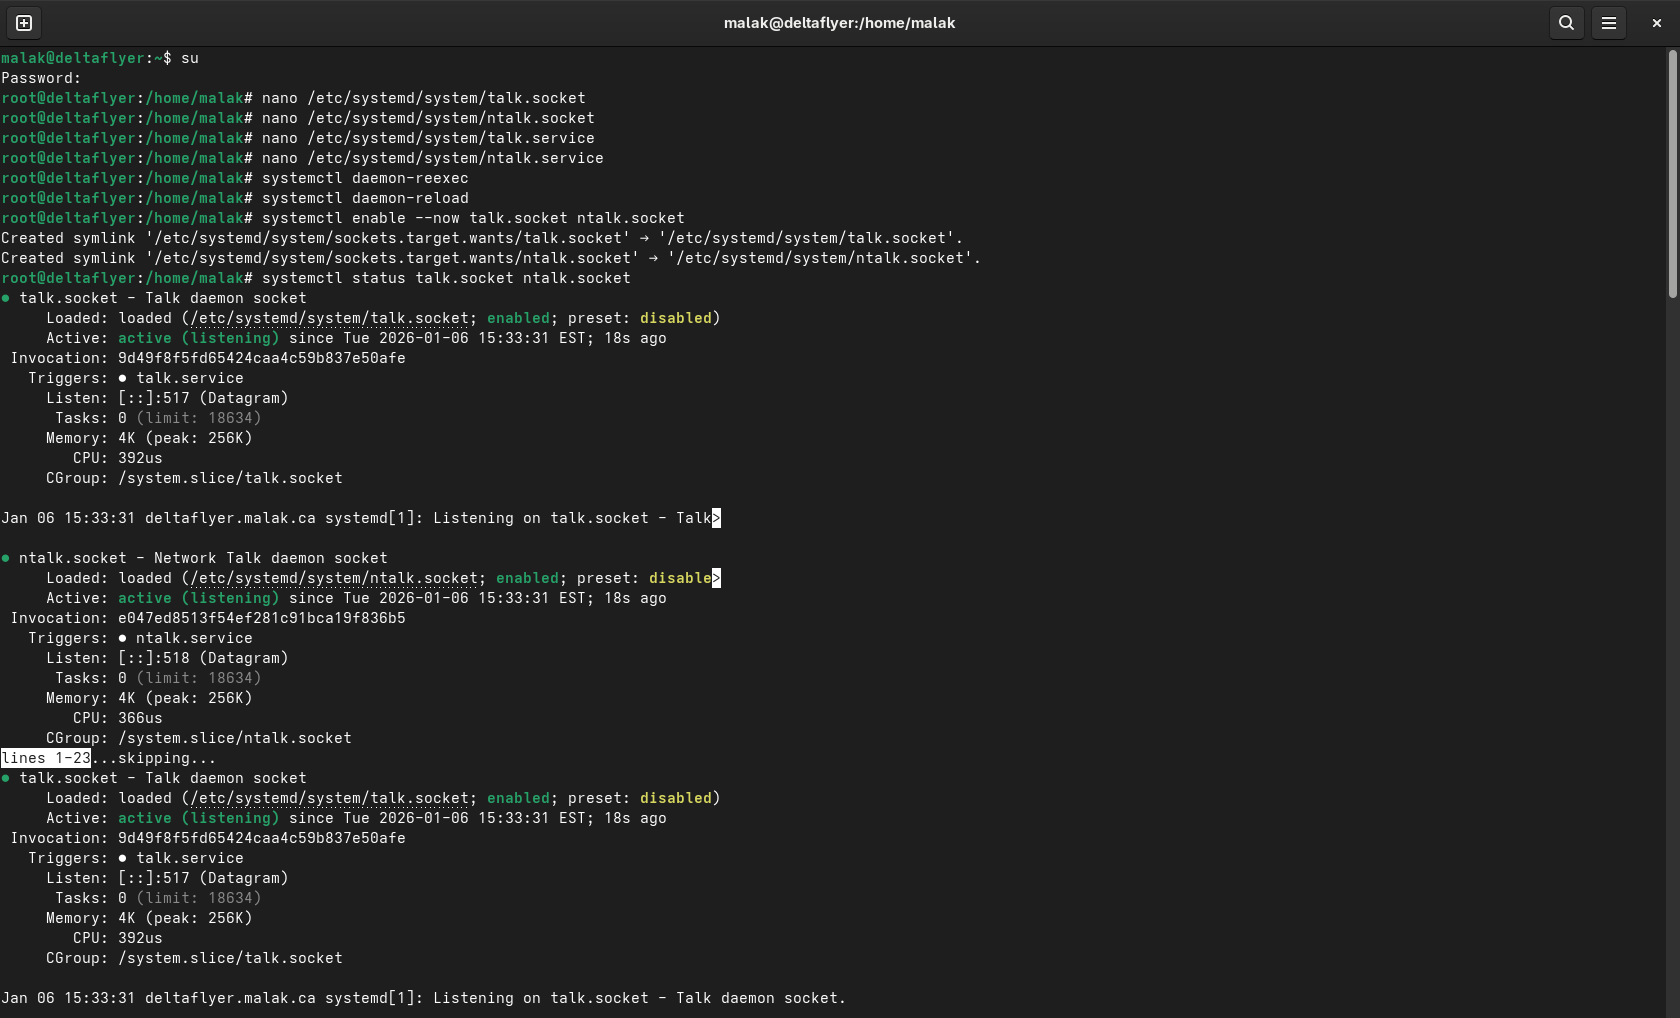
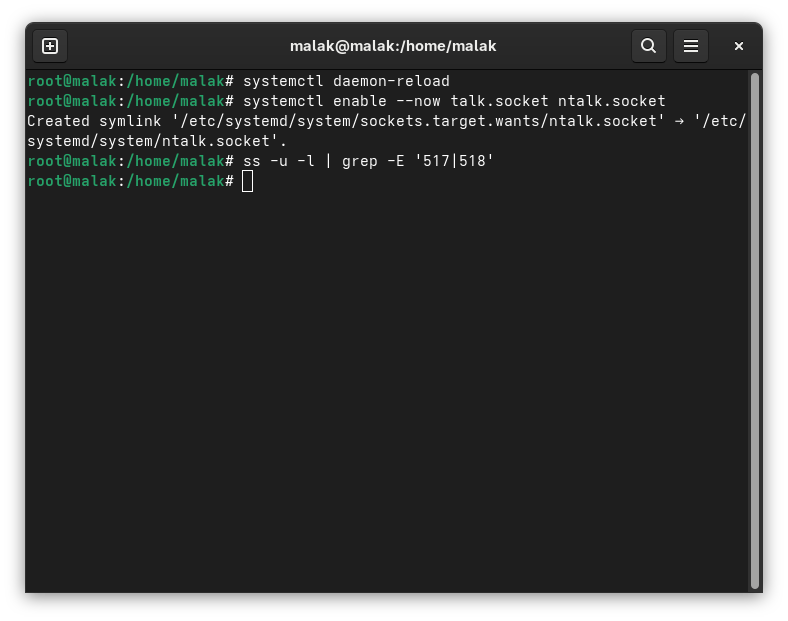
Daemons were reloaded, and enabled with:
# systemctl enable –now talk.socket ntalk.socket
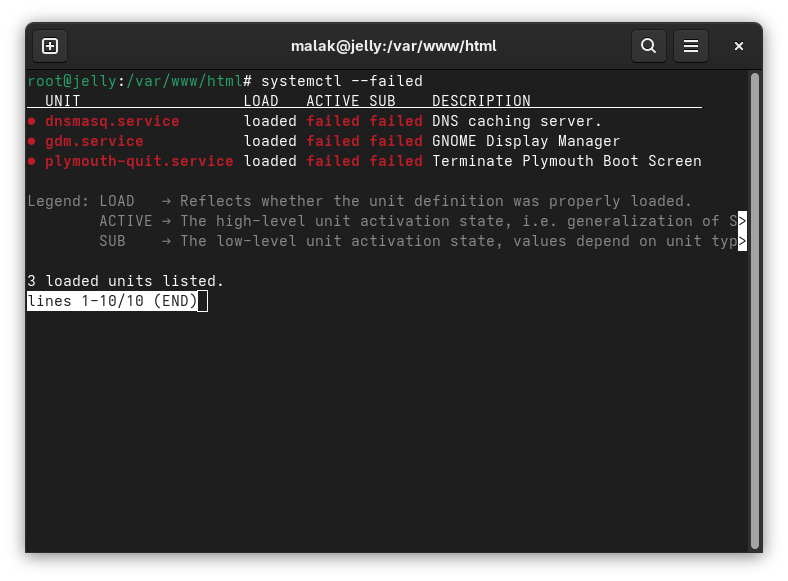
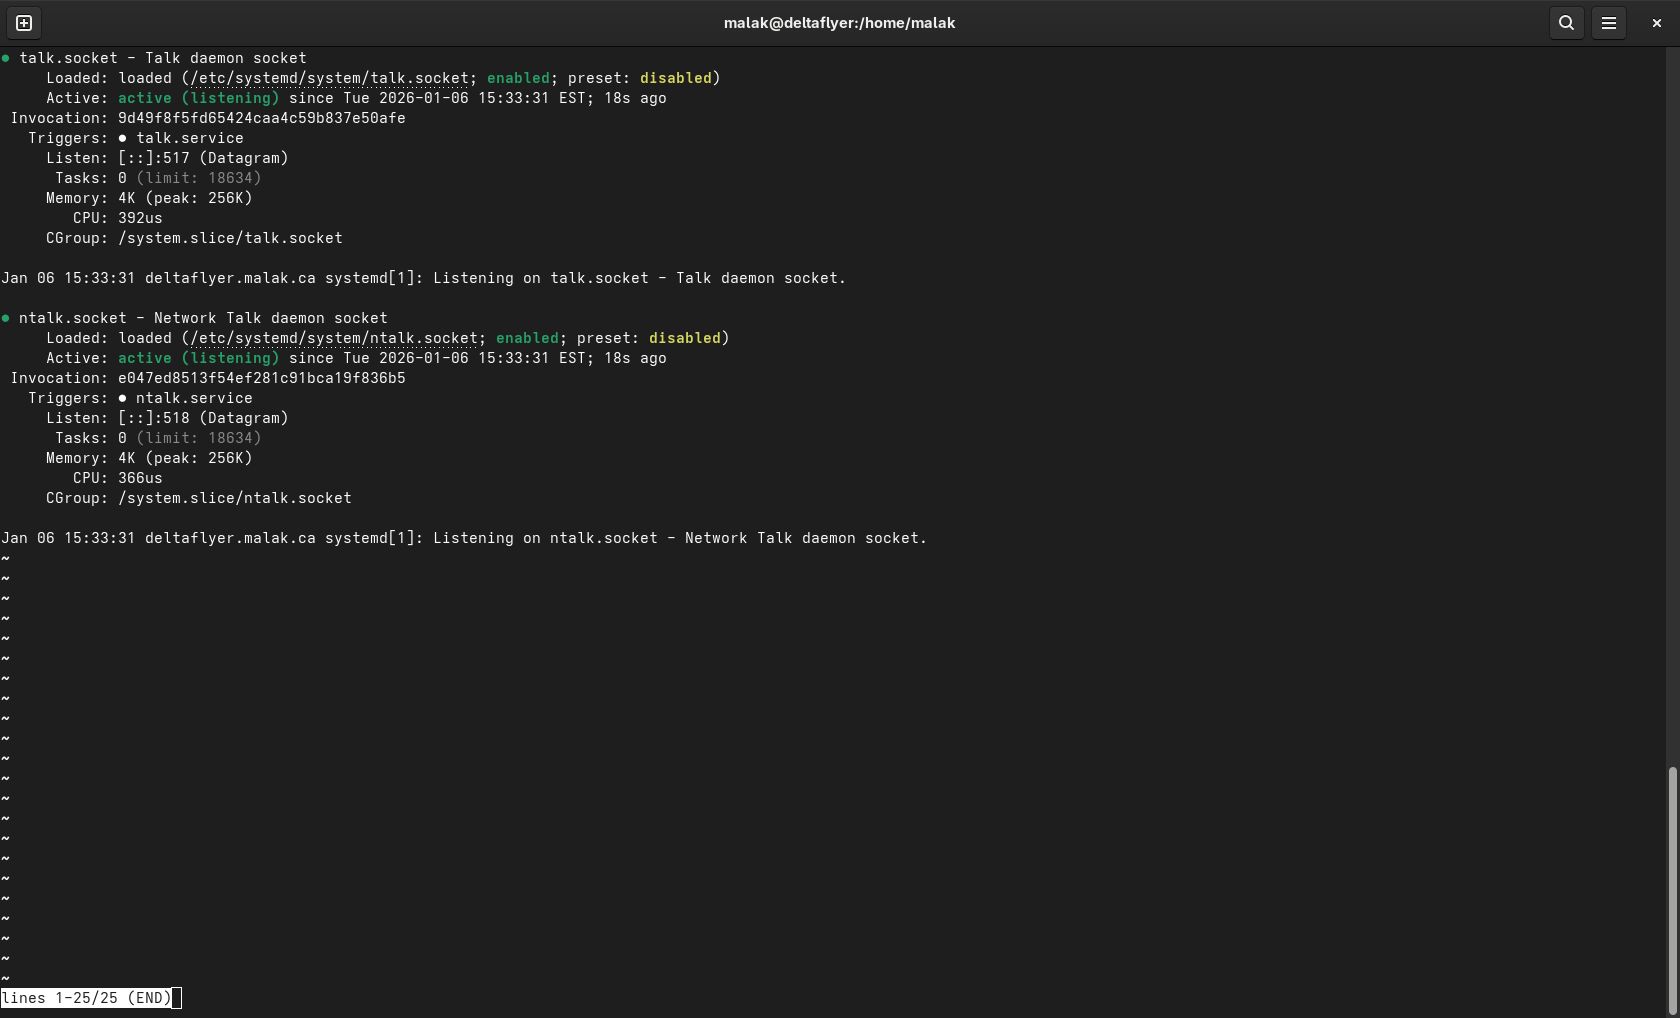
However, a status check:
#systemctl status talk.socket ntalk.socket
revealed:
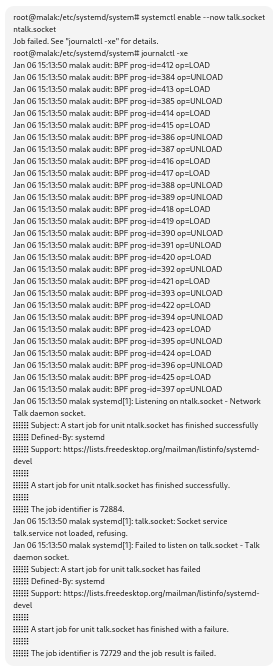
ChatGPT diagnosed this as my having previously incorrectly created a talk.service file.
Daemons were reloaded, and the status checked; this time, with the above fix, the setup seemed to work properly.
Instructions restated, and installing on a second machine (my laptop):
At this point, with ChatGPT’s blessing and a restatement of the updated instructions …
… I repeated the process on a second laptop, connected to the same network.
Once the installation was complete on the second laptop, I typed in:
$talk malak@malak.local
at the command line from my laptop:
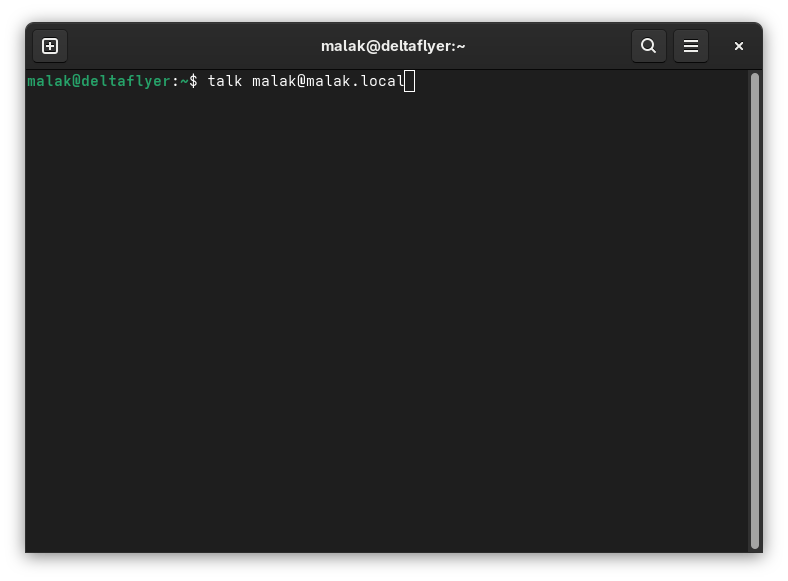
No route to host:
This failed with a “no route to host” error message from each machine. I reported back to ChatGPT:

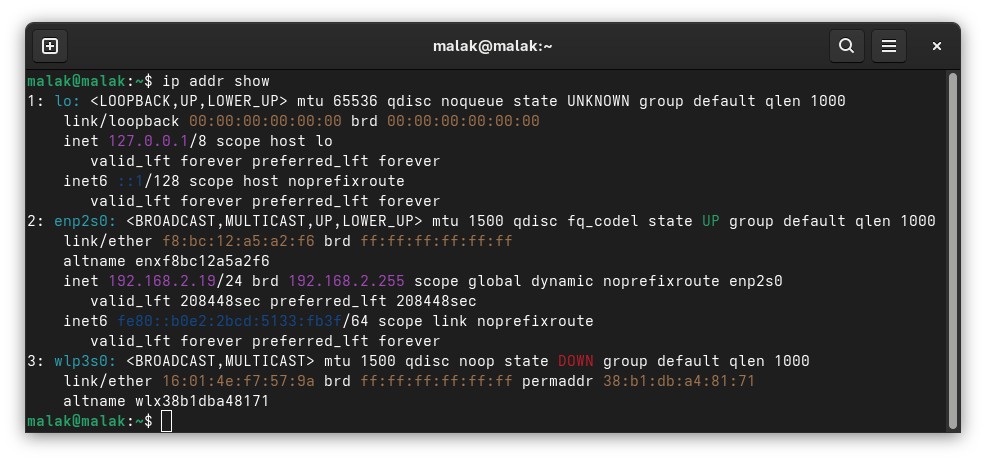
ChatGPT went on to say how to get the local ip address for each computer on the network, because the firewalls on each machine were rejecting access to UDP addresses, recommending that I therefore use the individual computers’ IP address instead of the local computer names.
Using IP addresses instead of hostnames:
On each computer, at the command line (as a regular user) I used:
$ip addrshow
… and to try running:
$talk user@192.168.X.Y on one machine, and:
$talk user@192.168.X.Z on the other machine,
such that I substitute in my username and the respective addresses from above.
This again failed.
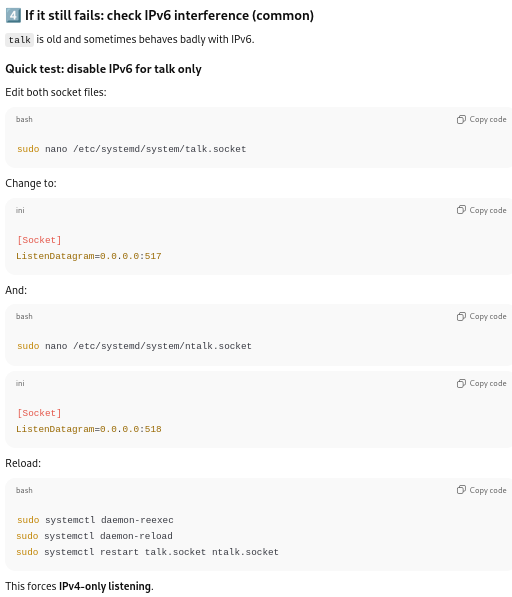
Limiting to IPv4:
ChatGPT suggested that if that were to fail, that I should modify the following files:
/etc/systemd/system/talk.socket
/etc/systemd/system/ntalk.socket
to listen on either port 517 (talk — client) or 518 (ntalk — server), then reload and restart the services:
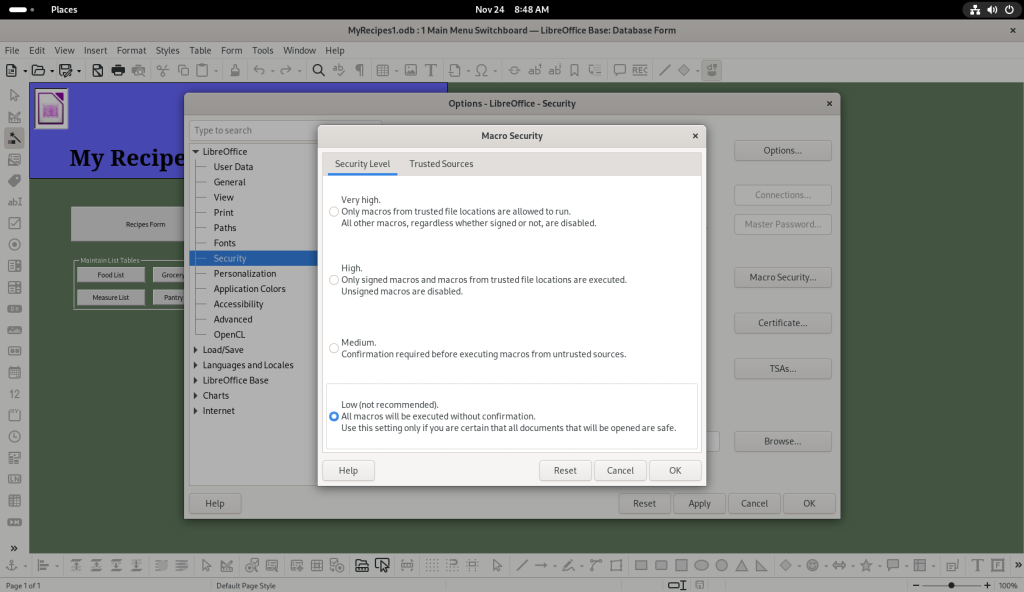
Checking if SELinux is in play:
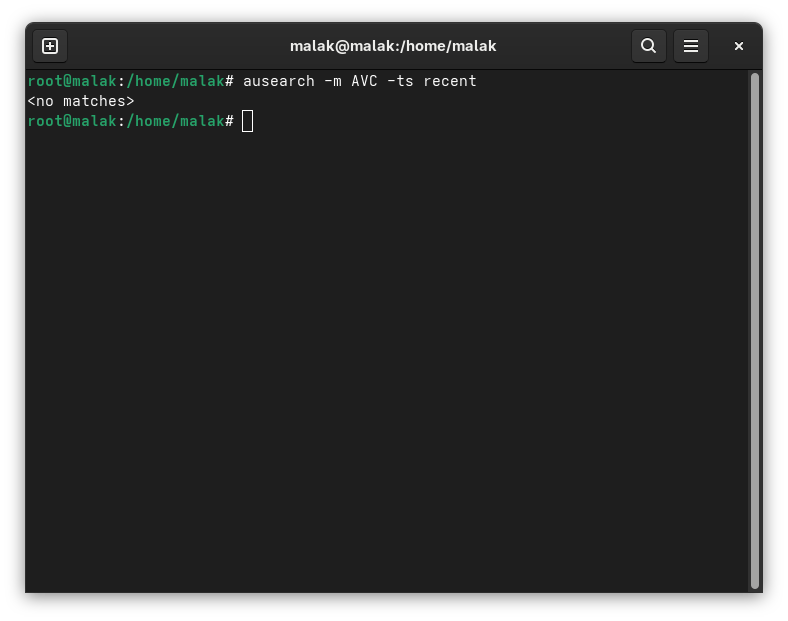
ChatGPT also suggested that I run:
# ausearch -m AVC -ts recent
to check if SELinux was the issue. It wasn’t.
So I ran the talk command again. This time, I got a different error message with the talk client:
the other machine does not recognize us
So once again, I consulted ChatGPT.
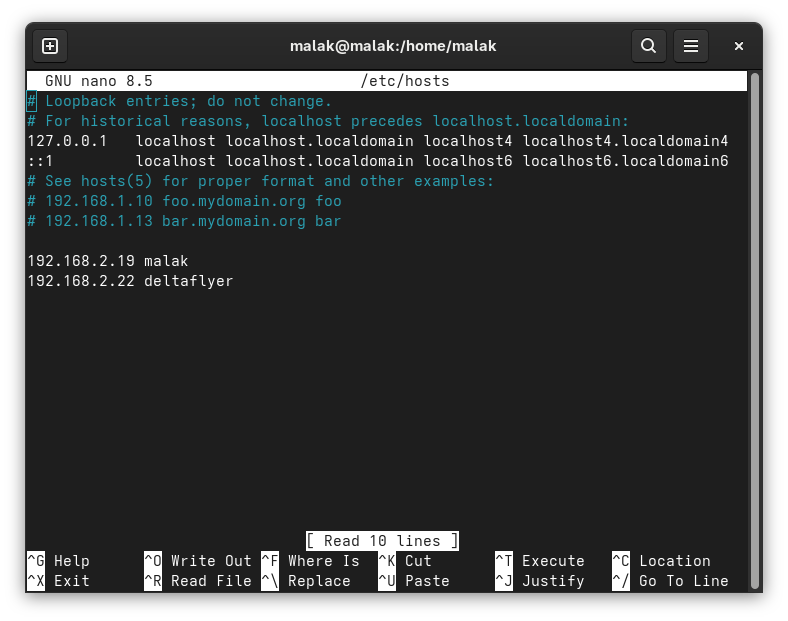
Modifying the /etc/hosts files:

The /etc/hosts files on each computer were edited with the respective information for each computer:
I tried again, as per ChatGPT’s directions, to try from each computer, and my connection was refused, in the following case, my laptop:
Note that I finally realized later that this might relegate the use of the talk command on these machines, on my home network — meaning, that it would likely not be a useful fix for general use, at least not without either a script that integrates all the above (and probably more), including a way to include other computers in a range of IP addresses, or a rewrite of the software. (No doubt a dubious effort, given the number of chat programmes that have been written, reworked, and so on, since talk was commonly in use, decades ago.)
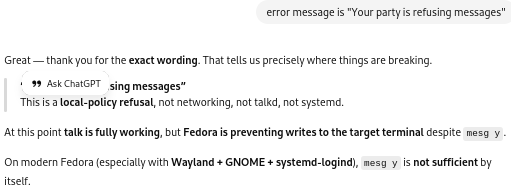
Correcting to allow receiving messages:
ChatGPT suggested a fix in the mesg command:
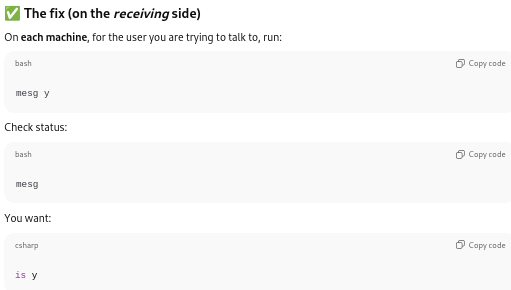
As well, ChatGPT recommended to modify the /etc/profile file to include the mesg y command:

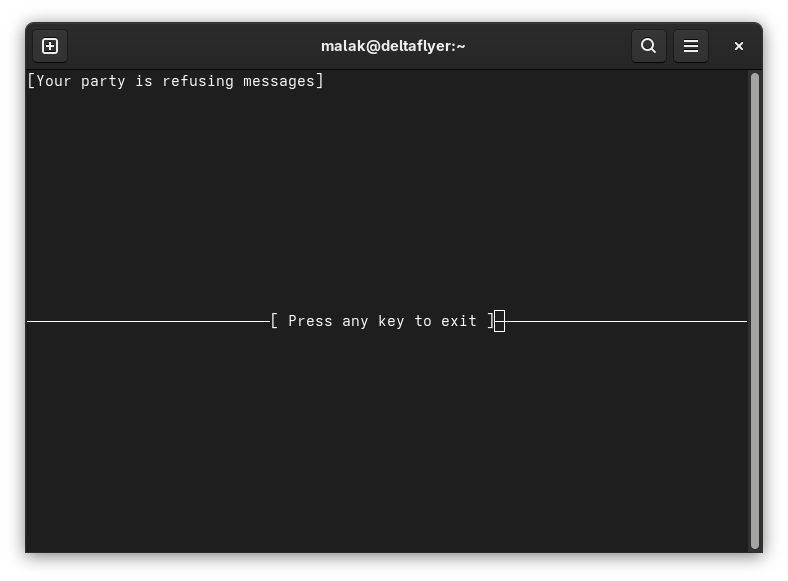
I still couldn’t get talk to work. “Your party is refusing messages”.
Messages refused:
ChatGPT said to make sure that the terminal on both systems was writable with:
chmod g+w $(tty)
.png)
Trying two terminals on one machine:
At this point I think that I was losing track of ChatGPT’s suggestions and not properly implementing them all.
Nonetheless, in skipping a few steps, I thought I was following the suggestions when I chose one machine — in this case, my desktop — and opened up two terminals, and tried to initiate a chat on the same machine between both terminals:
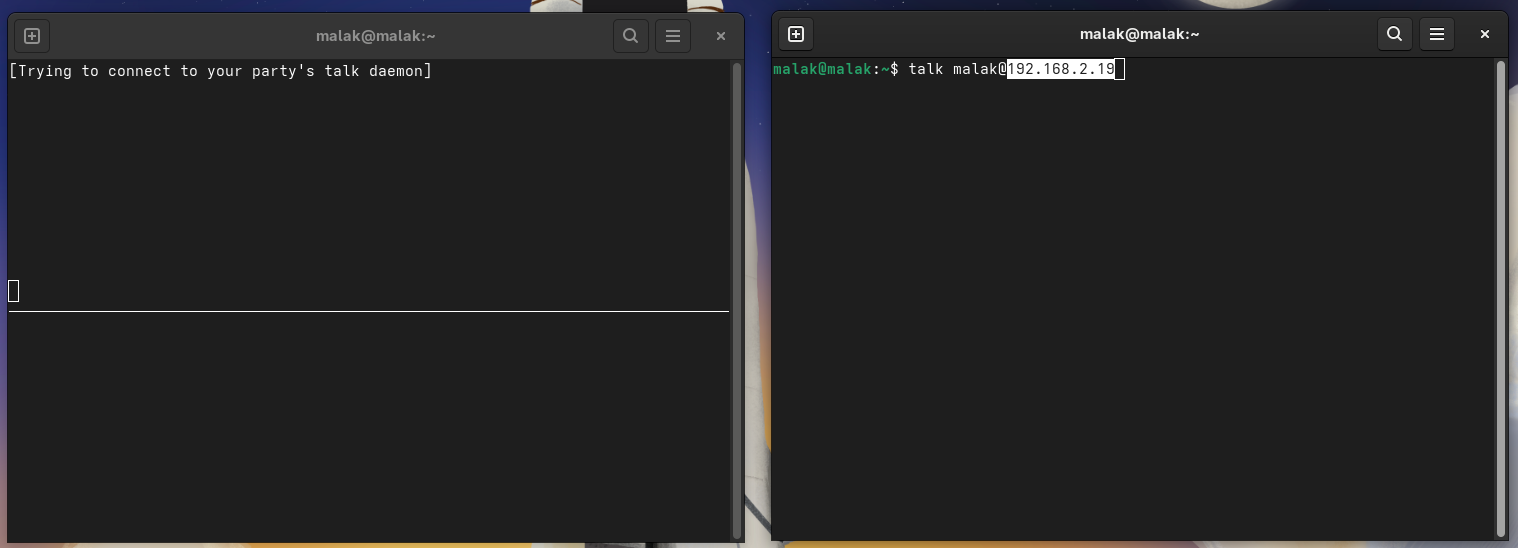
Once set up, and ready to try, I had the command line command set up:
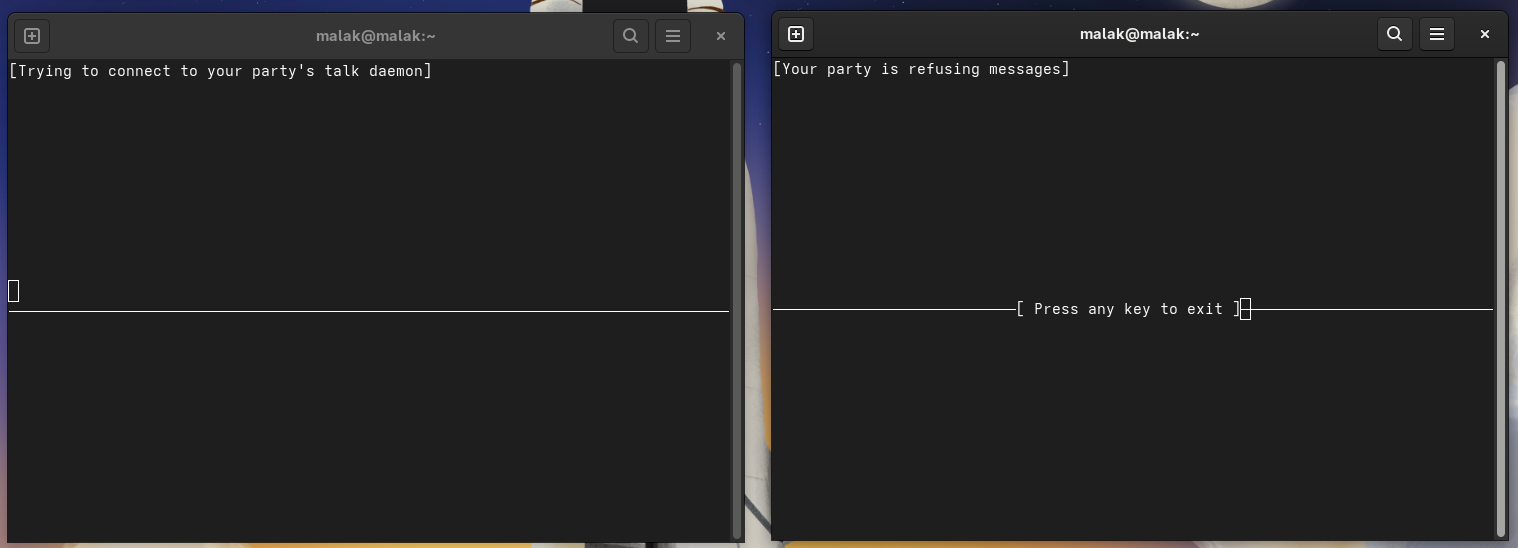
Messages were still being refused, even when coming from within the same computer.
Waving the white flag of surrender:
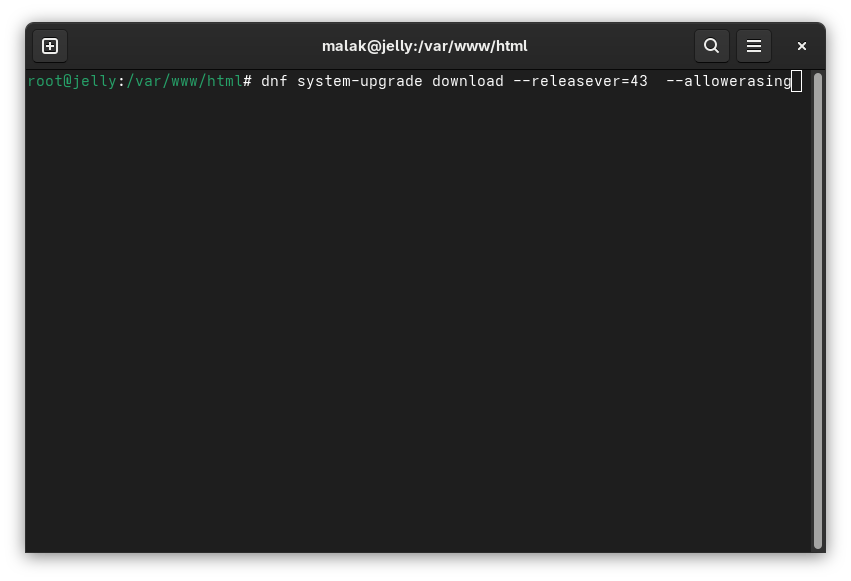
At this point, I decided that it was time to raise the white flag of surrender, on the basis that the talk command, despite being present in the repositories for Fedora 43 and nominally packaged for Fedora 43, is a legacy package no longer intended for current general use.
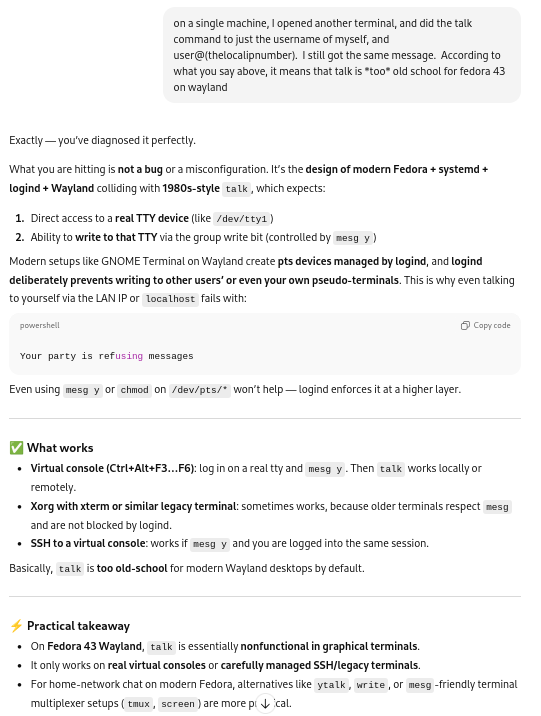
But wait! There’s more!
Rereading ChatGPT’s instructions later — during the construction of this post and then tested during one of the many re-reads and edits of this post — I realized that ChatGPT’s instructions included trying to use a “real” tty console as part of the test, not simply two Gnome graphical environment terminals.
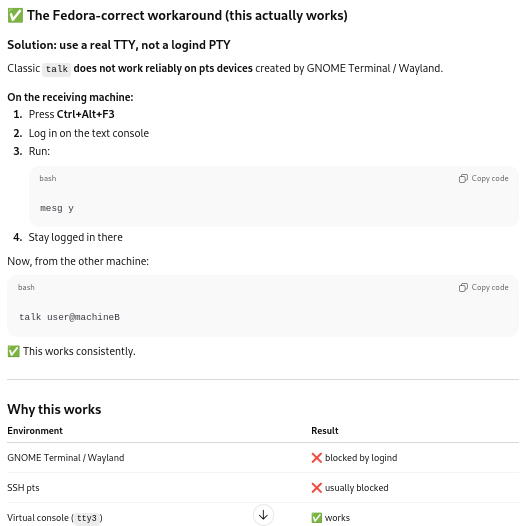
Whaddya know: It worked there!
Looking around revealed four such terminals on my desktop, labelled tty3, tty4, tt5, and tt6, respectively accessed by Ctrl-Alt-F3, Ctrl-Alt-F4, Ctrl-Alt-F5, and Ctrl-Alt-F6. (Reminder to myself: To get out of the consoles, use Ctrl-Alt-F2.)
So first, I opened up a console at tty3 on my desktop, and I typed:
$talk malak
Which opened up the talk interface, and in which I typed a message:
resized.png)
Then I opened up a console at tty4, and I was able to launch talk, finding the “hello” and “this is a test” messages from tty3 appearing in the lower section:
resized.png)
So this was an aha! moment.
Then, after entering a console on my laptop:
resized.png)
I initiated a talk session with my username on my laptop (assuming that I still needed to use IP addresses):
$talk malak@192.168.2.19
resized.png)
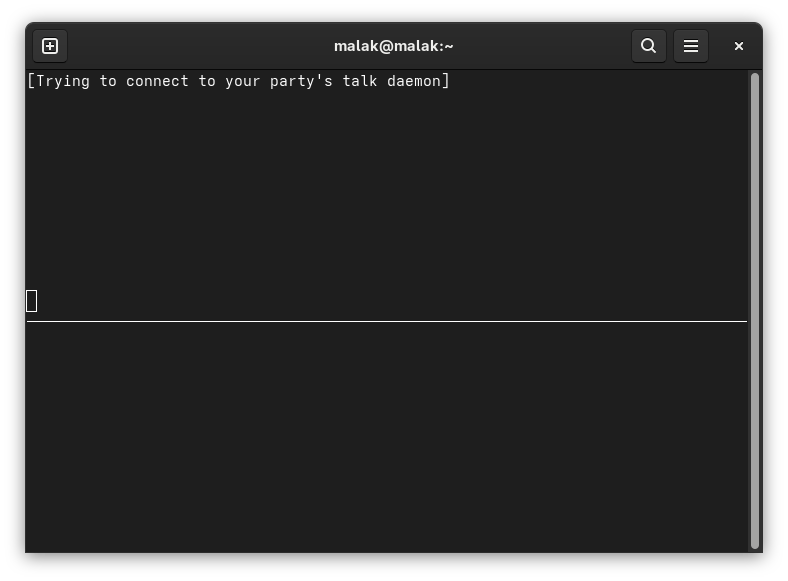
… and on one of the console terminals on my desktop, I received the following message:
resized.png)
This gave me new information: I could also use the computer names in addition to the IP addresses.
On the desktop, I therefore entered:
$talk malak@deltaflyer
… and I had the two machines, uhm, talk-ing to each other.
resized.png)
Final Thoughts:
First, to my eventual surprise, I learned that talk still works on Fedora — albeit only in “real” tty consoles. I haven’t checked how much of the above is required to make it work, but I have a few ideas about which are necessary, and which are not (for instance, use of computer names instead of requiring IP addresses is possible, although I’m not sure whether having modified the /etc/hosts file helped with that.)
Next, I may still have a presentation somewhere, perhaps characterized as a bit of an amusing cautionary tale regarding trying to install several decades-old, obsolete, legacy software on modern systems.
Perhaps, it might be an amusing tongue-in-cheek cautionary tale with a side of self-deprecation about trusting AI on subjects about which one doesn’t know enough; fortunately, it seems that ultimately, I was not led astray.
Perhaps, it could be presented as an amusing counterpoint to another presentation lauding the value of AI in a similar situation, being used by someone who knows more about the subject at hand (in this case, Linux) and how to better interpret the provided results — instead of simply trusting the AI blindly.
Or, perhaps, while I generally was not led astray and ChatGPT indeed did help me fulfill my goal … could the exercise act as an inspiration to learn about maintaining critical — and possibly migrating away from — legacy software on modern software and hardware? COBOL, anyone? And, perhaps in the process, learn how to ask the right questions of the likes of ChatGPT in order to get what I really wanted — not just what amounted to a proof of concept (which to be fair, that which I wanted amounted to a proof of concept, even if it took a while for me to realize it), but an actual, useful, running piece of software?