
Desktop Linux: Unveiled is a series of posts that show how to start using Linux.
Previous Chapter: Desktop Linux: Unveiled Chapter 2: Common Linux Distributions
In this post, acquiring a computer on which to install Linux, as well as downloading and writing a Linux distribution on a USB stick, will be shown. Fedora Desktop Edition will be used as an example, although at this point, setting up the installation USB stick can be done with any other distribution — which is most of the common ones — that allows for such an installation.
(Note for future reference, graphical installation with other distributions will be similar, but each may have some nuances and differences between them.)
Hardware — the computer on which Linux is to be installed
First, I recommend that as a newcomer, whichever linux you decide to install, that you decide to do the installation on a separate computer, such as an old computer, on its own. By doing this, you will not reduce space on the hard drive / SSD on which your current OS is installed, especially in taking account the space for data you may to transfer over to the Linux system, nor will you have to deal with the intricacies and occasional perils of dual booting or data loss on your current computer setup, nor will you have deal with the myriad and occasionally confusing issues that may surround virtualisation. Finally, by having a separate computer to “play” with, you will be able to start over again in the event that something goes wrong, or if you decide that you’d like to try a different Linux distribution.
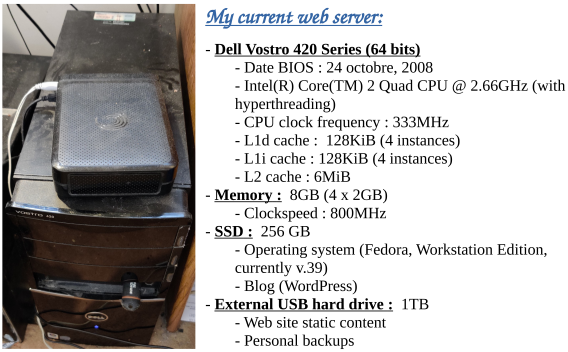
The above photo is taken from a page from a recent (February 2024) presentation the author made about their web server, which hosts https://www.malak.ca (the website hosting this blog), using an old computer with a BIOS creation date of 2008.
Acquiring a computer:
“Old” computers are not unusually difficult to acquire; you may already possess one in storage.
- Use an old computer you may be wishing to replace, or already be in the process of replacing, or even a several years-disused computer of which you may not yet have disposed;
- Buy, or barter for, a used computer from family or friends;
- Buy a used computer from a local computer repair person, who may have a storefront and may sell refurbished computers;
- Speak with your employer; depending on their policies, they may be willing to sell you older equipment of which they would like to divest themself(ves);
- Check reputable online markets;
- Buy a new dedicated computer (only recommended once you become convinced of the cost/benefit regime).
Check the “minimum requirements” page of the distribution you choose; my current bare minimum specs are a Core 2 Duo 64bit processor, 4GB memory, 40GB hard drive (the current, as of late 2023, Fedora Workstation recommendation), and a spare USB 2.0 port (such as after other common USB peripherals you may be using, like a mouse and keyboard), in order to use the installation USB stick (which will be shown lower down in this post). (As desired or required, don’t forget to get a used screen.)
For the purposes of introduction to, and the exploration of, Linux, the old mechanical hard drive with such an old computer is likely adequate; however, SSD cards and extra memory will dramatically increase performance of older equipment. Further, as of posting, SSD cards in the 250GB range are typically very affordable to either add on later, or purchase for immediate use including installation of the system, while memory cards appropriate to the motherboard are usually readily available and inexpensively as per the above list regarding sourcing an old computer.
Downloading and creating a USB installation stick:
A USB stick is required for this step; Fedora’s installation image as of version 39 in late 2023 is approximately 2GB; hence a 4GB USB stick would be recommended going forward.
I am recommending the use of Fedora Media Writer to create the installation media, which can be run on Windows or Mac (as well as Linux, of course!) Should you choose another distribution, you can use a downloaded image from another distribution’s download page (see Desktop Linux: Unveiled Chapter 2: Common Linux Distributions for a few suggestions of other distributions; see below regarding choosing other Fedora desktops, or creating installation media of another distribution).
(Note that the following screenshots may have been created out of order, however are presented in the order required for the narrative.)
To get the Fedora Media Writer, visit https://getfedora.org (I start off using screenshots from Windows):
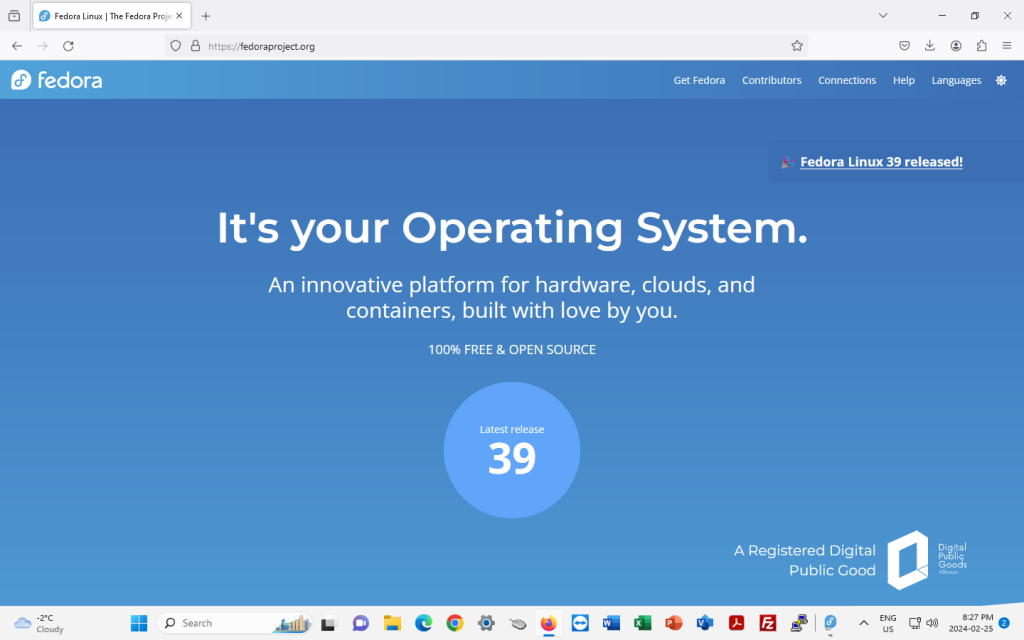
Click on the circle indicating the latest release (in the shot above, 39), which will bring you to the following screen.
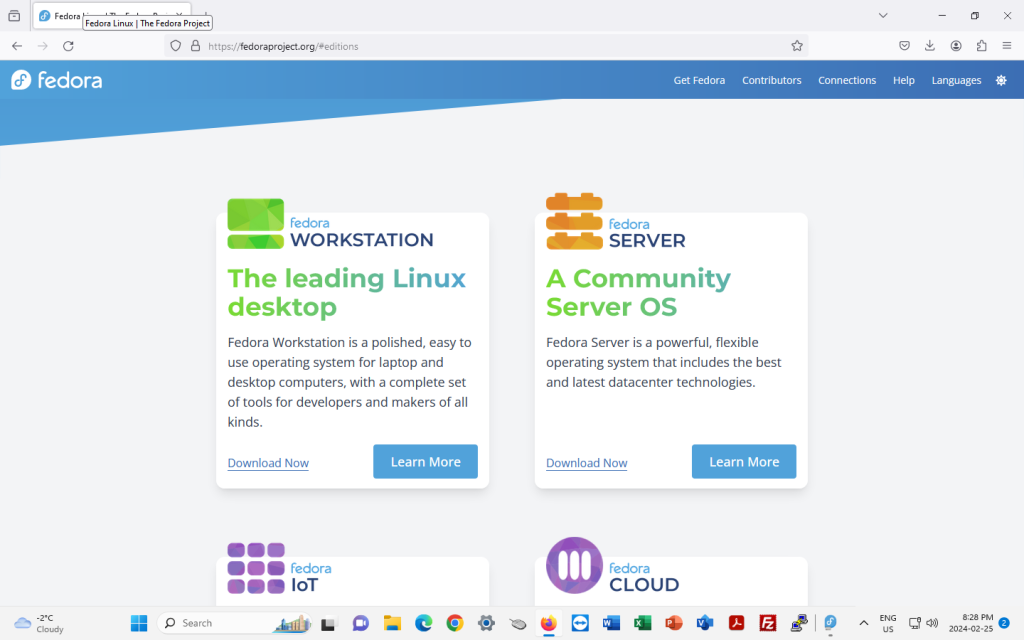
On this screen, click on “Download Now”; don’t worry, you aren’t committing yet.
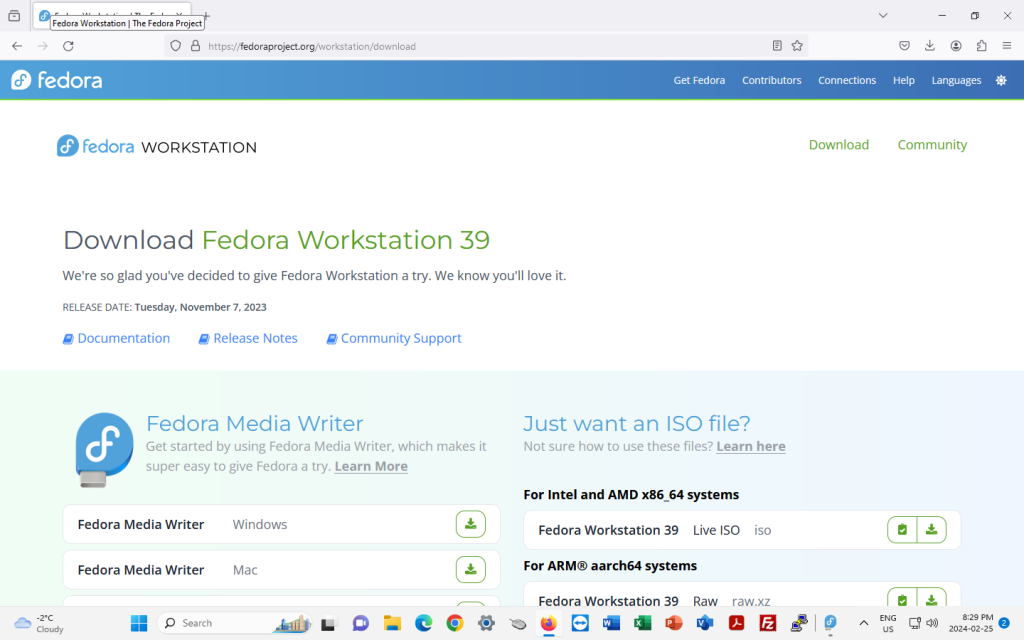
On the following page, click on the green download button for Fedora Media Writer, either for Windows or for Mac:
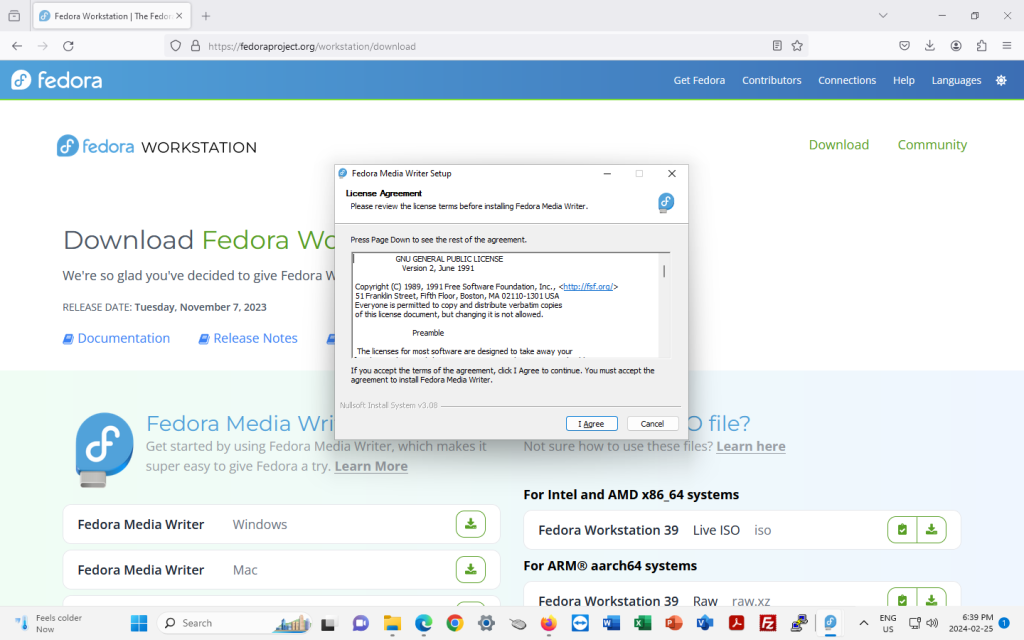
A licence agreement window will pop up. This is for the Gnu Public Licence version 2, the licence under which the Fedora Media Writer is licensed. Click on “I agree”.
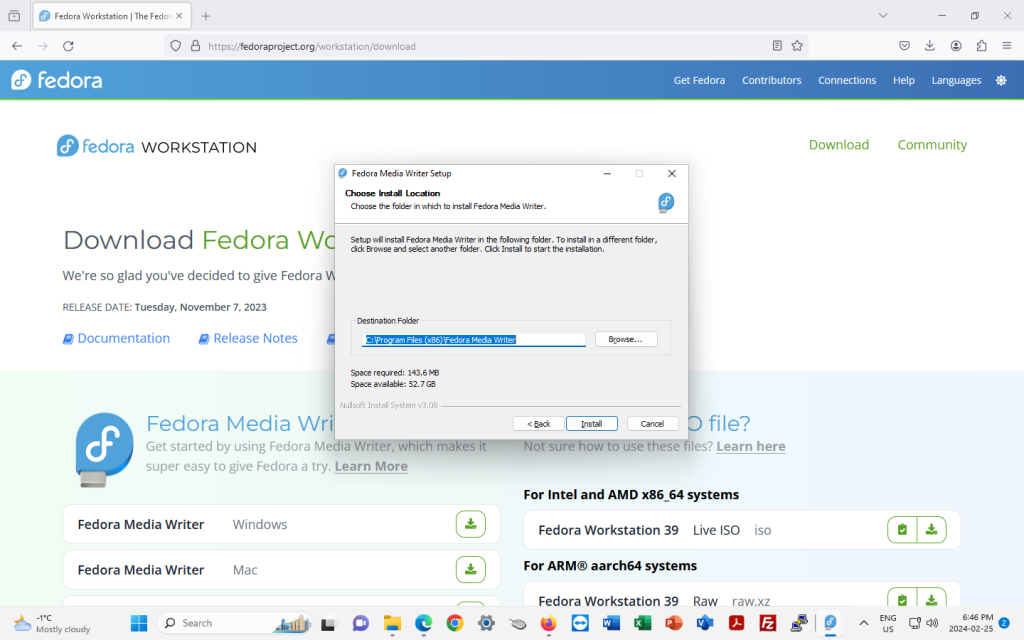
The next screen will ask where to install Fedora Media Writer on your computer, and it will suggest a location to install it on your hard drive. Click “Install”:
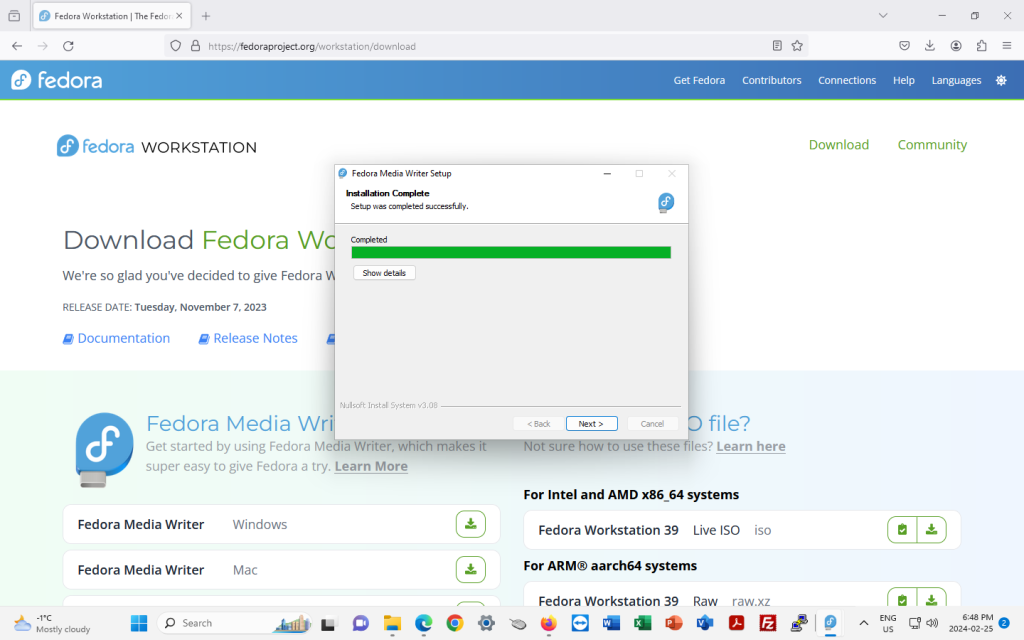
Once Fedora Media Writer is installed, click on “Next”:
… and click on “Finish”:
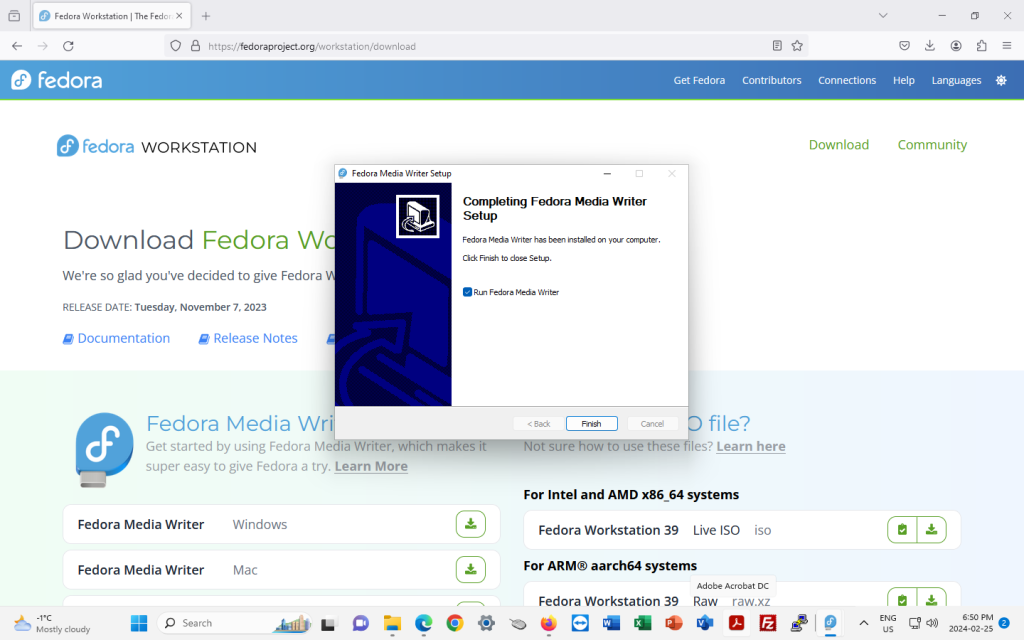
Launch Fedora Media Writer:
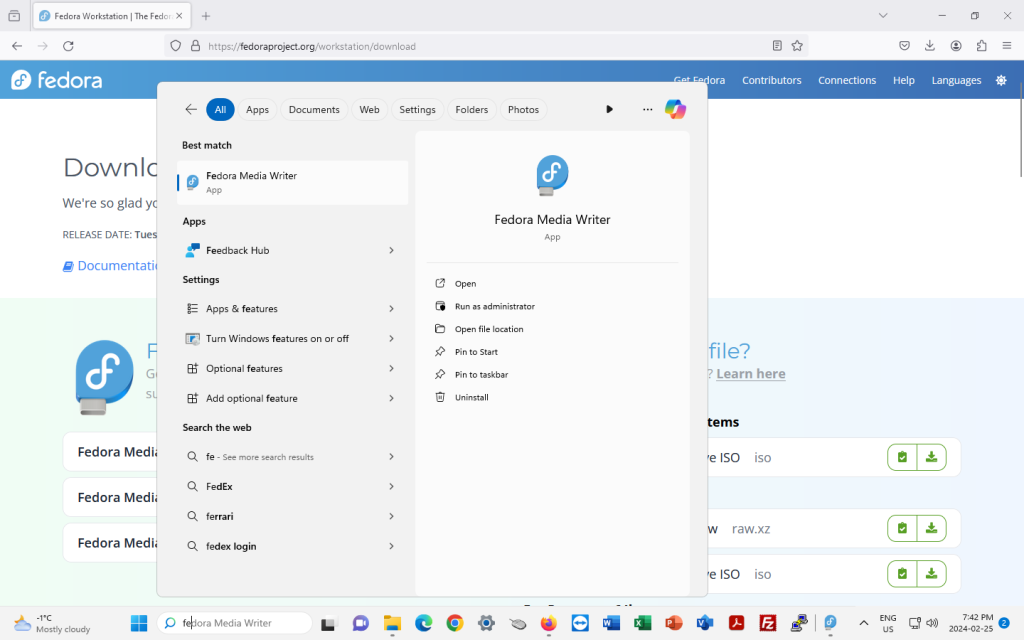
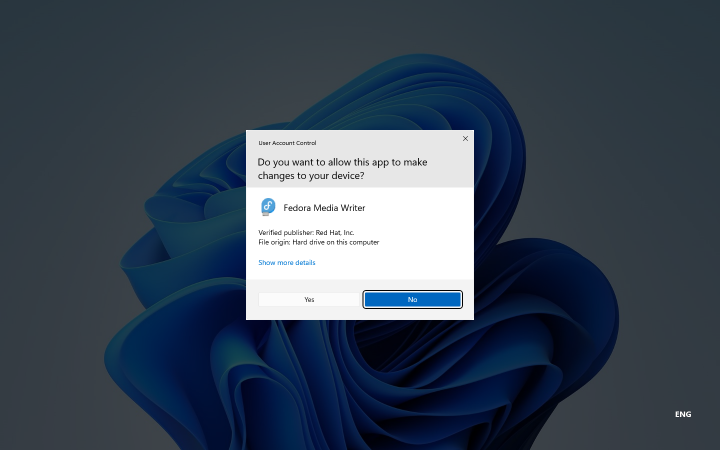
You may be asked to allow the app to make changes to your device. Click “Yes”.
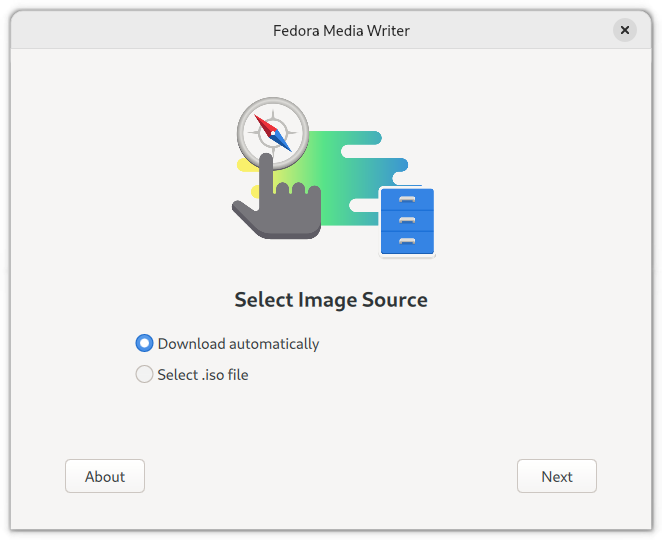
At this point, you can either choose to have the Fedora Media Writer download Fedora automatically, or, you can download a distribution of your choice, and ask Fedora Media Writer to use that distribution instead (the “Select .iso file” option):
Going with the “Download automatically” option above, which by default chooses a Fedora distribution, on the next page (below), choose “Official Editions”:
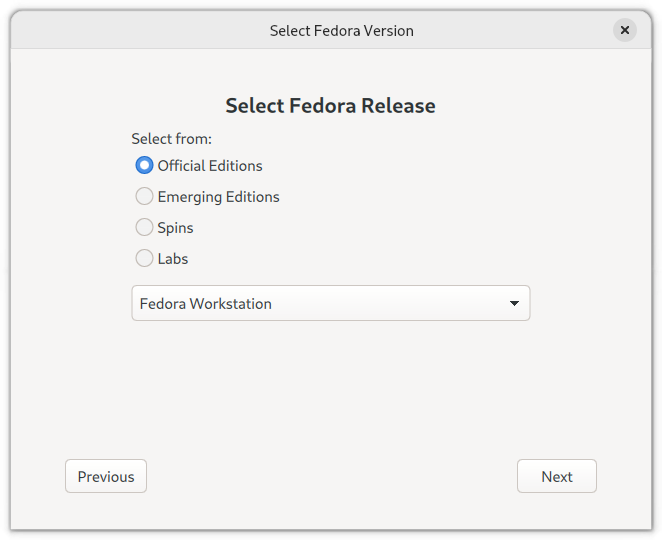
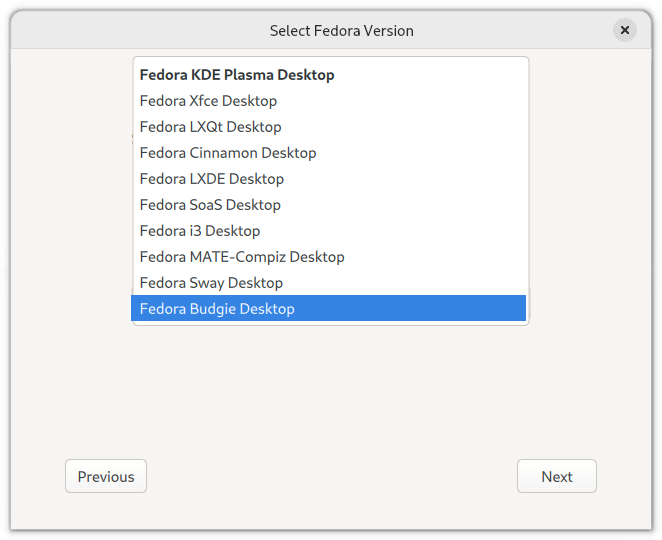
Should you wish to try another desktop instead of the standard Gnome Desktop in Fedora Workstation Edition, you can choose the “Spins” option above, which will list the following drop-down menu:
Under the choice taken, the next screen is the “Write Options” for the USB stick, which at this point should be inserted in a USB port. Choose the latest version of Fedora (in this case, 39), the hardware architecture, and the USB stick to which you wish to write the installation media:
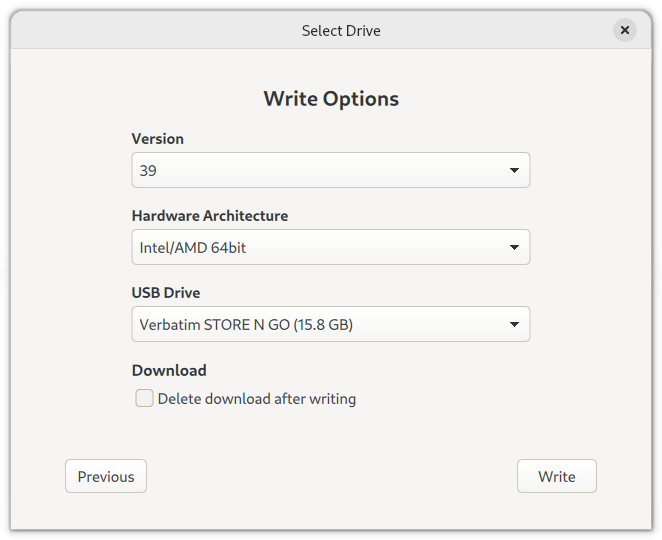
Click “Write” in the above screen, and Fedora Media Writer will begin writing to the USB stick:
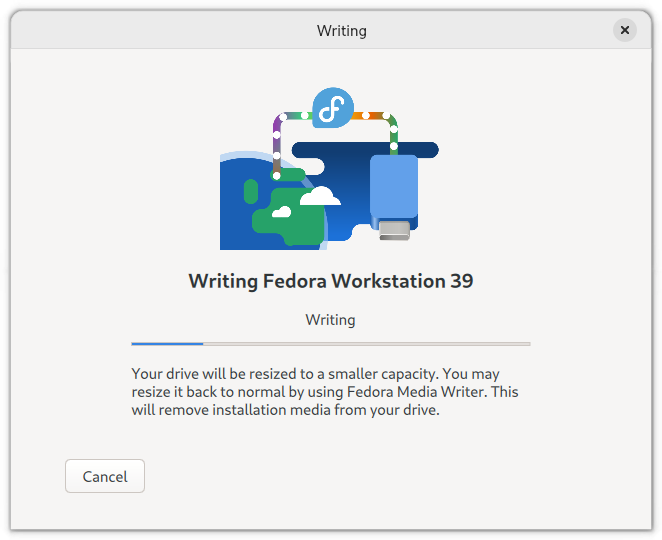
The screen will automatically change to indicate that the written data is being checked:
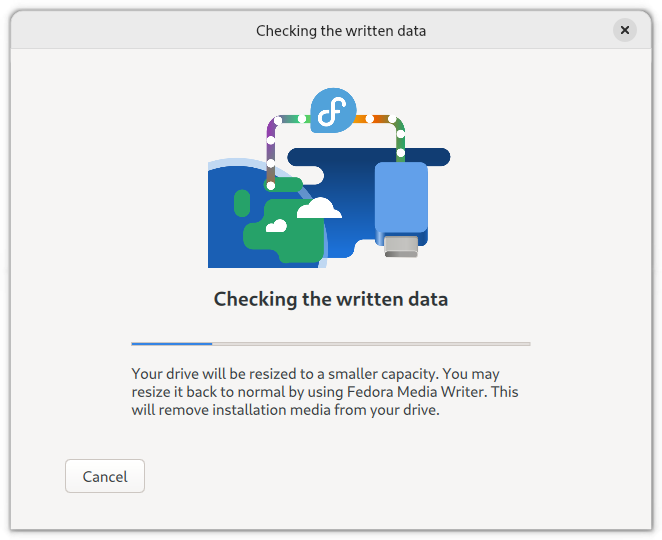
Once finished, you can click on “Finish”.
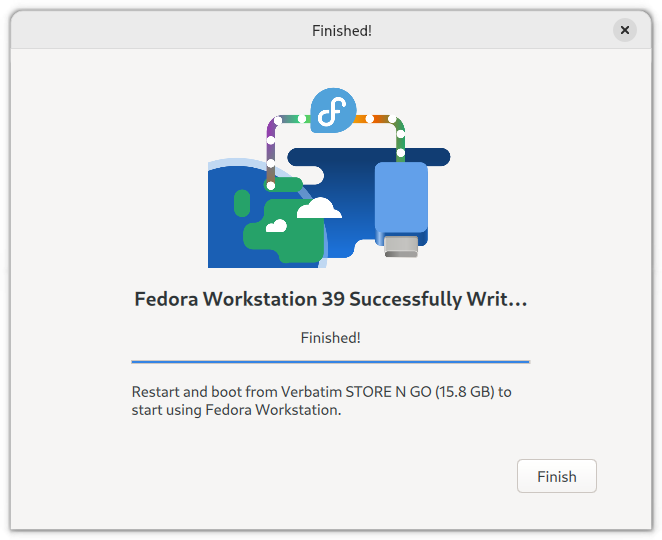
Should you wish to try out Fedora without installing it on your computer first, you can follow the instructions on the screen to restart the computer and try a live, temporary version of Fedora. This will not affect your hard drive in the least, unless you choose to install … which I am not recommending, since I am recommending that you install on a completely separate computer (see beginning section).
Next Chapter
Chapter 4 will show the installation of Fedora Workstation.