
Desktop Linux: Unveiled is a series of posts that show how to start using Linux.
Previous Chapter: Desktop Linux: Unveiled Chapter 3: Preparing to Install Linux
In this post, the installation of a version of Linux, in this case Fedora Linux, will be demonstrated. The USB key created as a result of the previous chapter, as well as the computer on which you will be installing Linux, will be needed. Note: As per previous recommendations, you should perform the install on a computer that does not have any other active OS installation or data; should you be recycling one of your older computers, back up any data that may be present.
The computer should be physically set up and plugged in, with the various parts connected to each other should it not be a laptop computer, and connected to the internet via an ethernet cable, or later on or as prompted, connected by wifi (not covered in this post.)
Note that some of the following screenshots may have been created somewhat out of order as compared to the narrative.
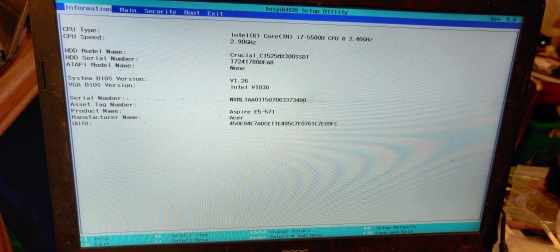
Once the USB key is plugged into the computer and the computer turned on, you should immediately go into the BIOS (often F2 or F12 at boot up):
… and adjust the boot order to allow for booting from USB first:
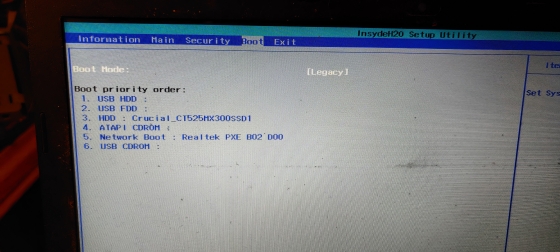
Depending on the age of the computer you use and whether it predates UEFI, you may choose to boot under either régime. If the computer is UEFI enabled, you should install Linux under UEFI, although as explained below, a BIOS setup will be available; should the computer not be UEFI enabled, the point is moot and you will have to install under BIOS, which will be eminently adequate. (Ironically, the laptop shown above is UEFI enabled, but is set up under BIOS mode; since I purchased it new in 2015, I have never been able to properly install a Fedora image on it under UEFI that is functional, hence the unit being set up under “Legacy” — meaning “old fashioned” BIOS.)
Once exiting the BIOS screen, you will see the following screen:

Choose the “Start Fedora-Workstation-Live” option using the up and down keys. You will then see a screen similar to the following:
Once the computer has booted up, a welcome screen will appear:
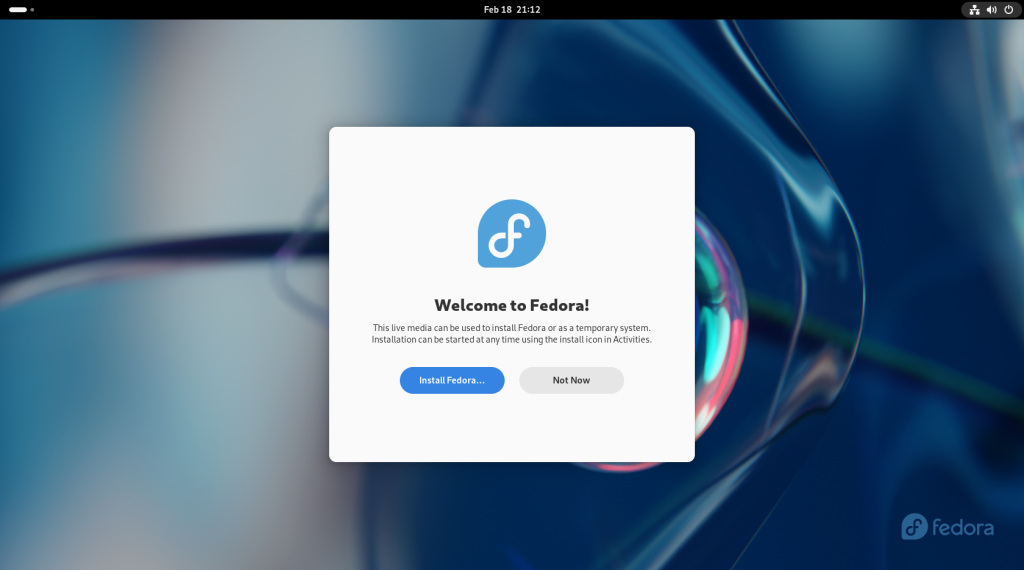
Choose the option to “Install Fedora …”, which will bring you to the following screen in Fedora’s installation utility named Anaconda, and will ask you to choose which language and which regional variant, as per the case, to use during the installation process:
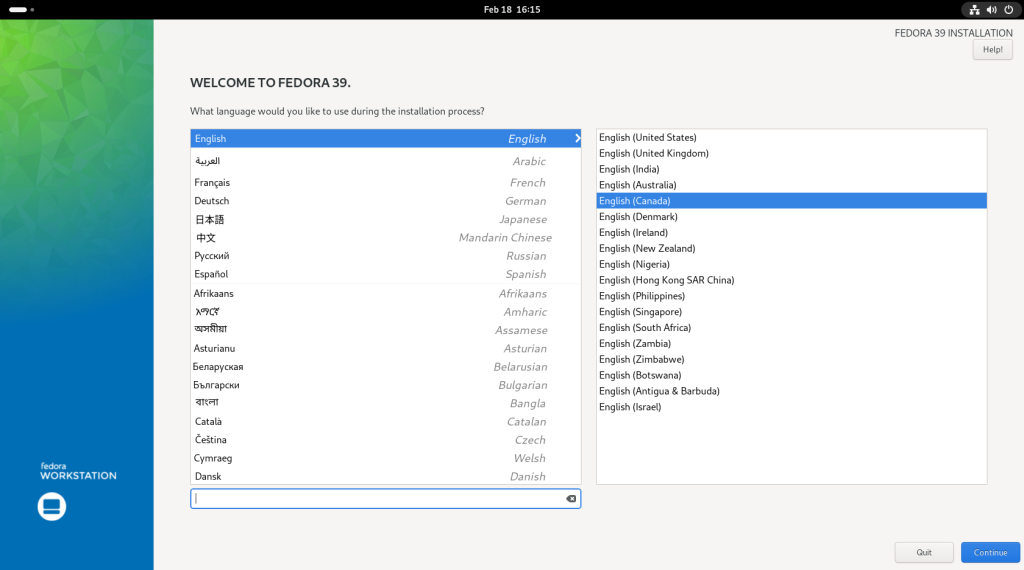
Once the language has been chosen, click on “Continue”.
The following screen will be for the choice of the keyboard layout. The plus “+” button at the lower left corner of the left box was clicked, and a window popped up. In this case, I have chosen a French Canadian keyboard layout for reasons beyond the scope of this post; you should choose the layout that suits you.

You may continue to add keyboard layouts, should you choose to do so or have multiple users of the machine with multiple preferences, by clicking again on the plus “+” sign.
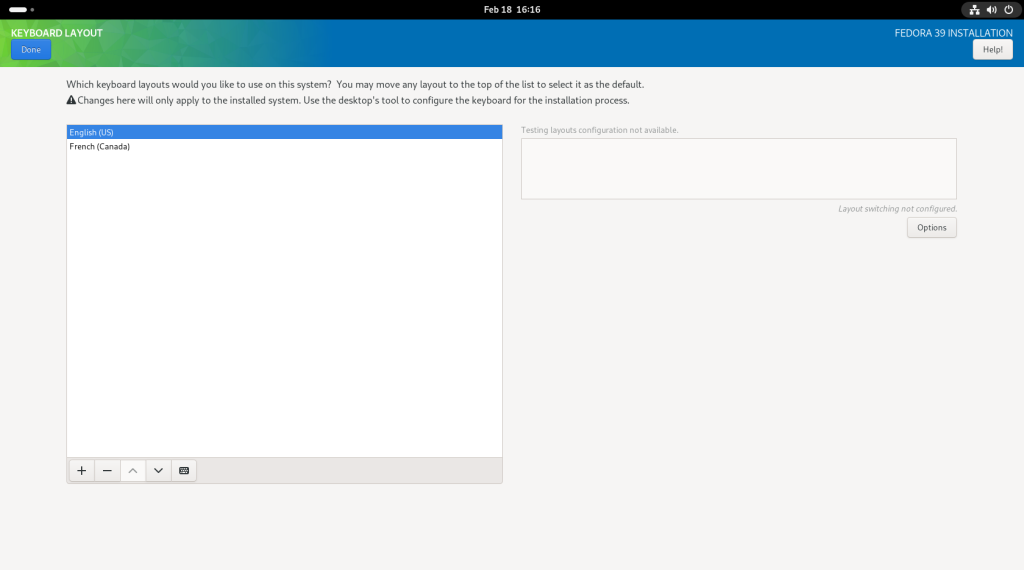
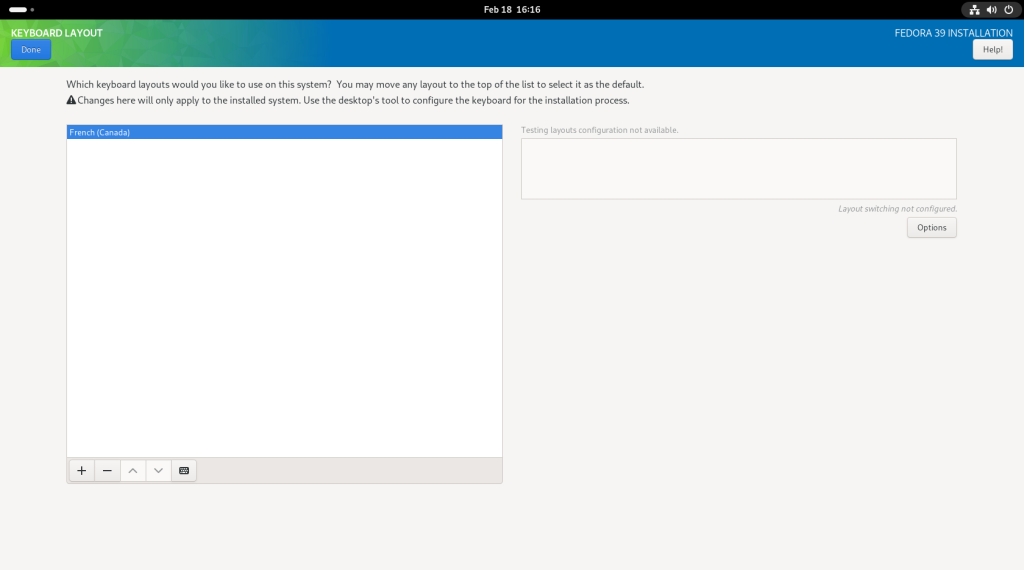
In this case, again for purposes beyond the scope of this post, I removed the “English (US)” keyboard layout by clicking on the minus sign “-” on the lower left corner of the left box, once the “English (US)” option was highlighted:
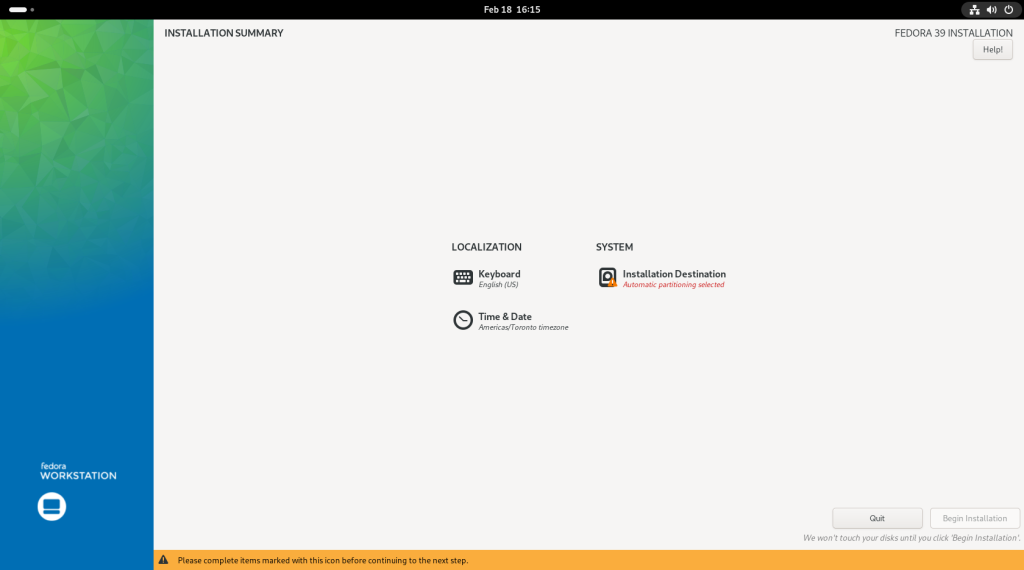
Next, the timezone was chosen, in this case, that for New York City, which is the same as for where I live:

The next thing to arrange is where to install on the hard drive, by clicking on “Installation Destination”:
This screen will show details about your hard drive. Note that despite having previously recommended a minimum of 40GB, a 20GB only drive is in place since my screenshots are using a virtual machine, whose setup started with 20GB drives:
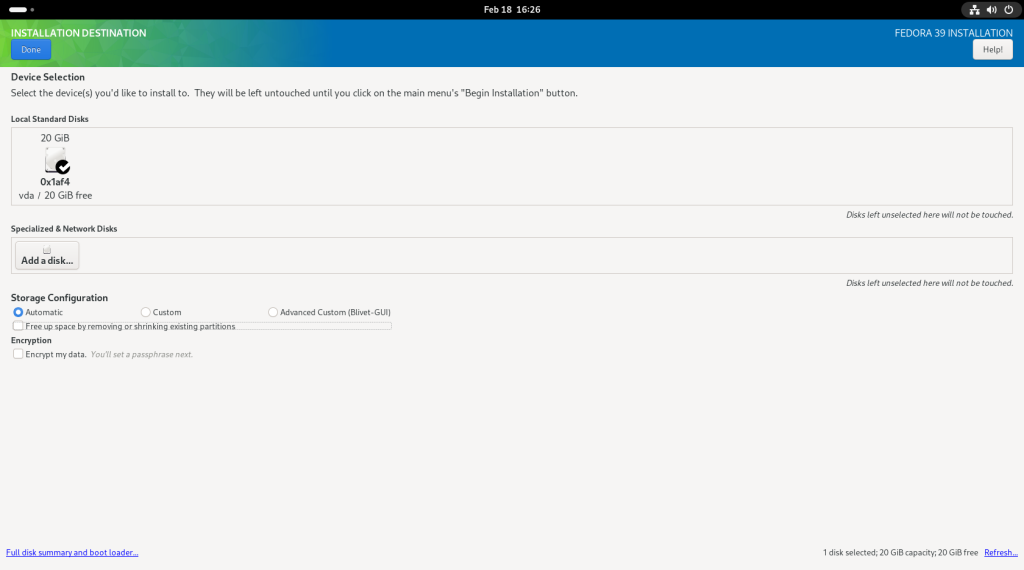
Be certain to reclaim all space by clicking on “Full disk settings and boot loader …”

… Which should confirm that you will be using the whole disk:

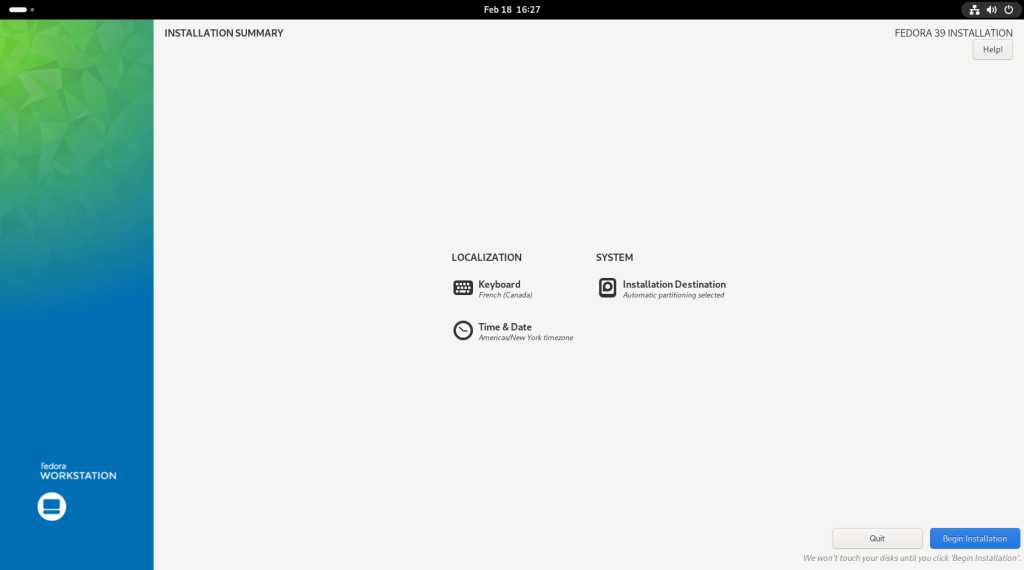
After closing that screen, back at the main screen, click on “Begin Installation”:
At this point, the installation will begin:


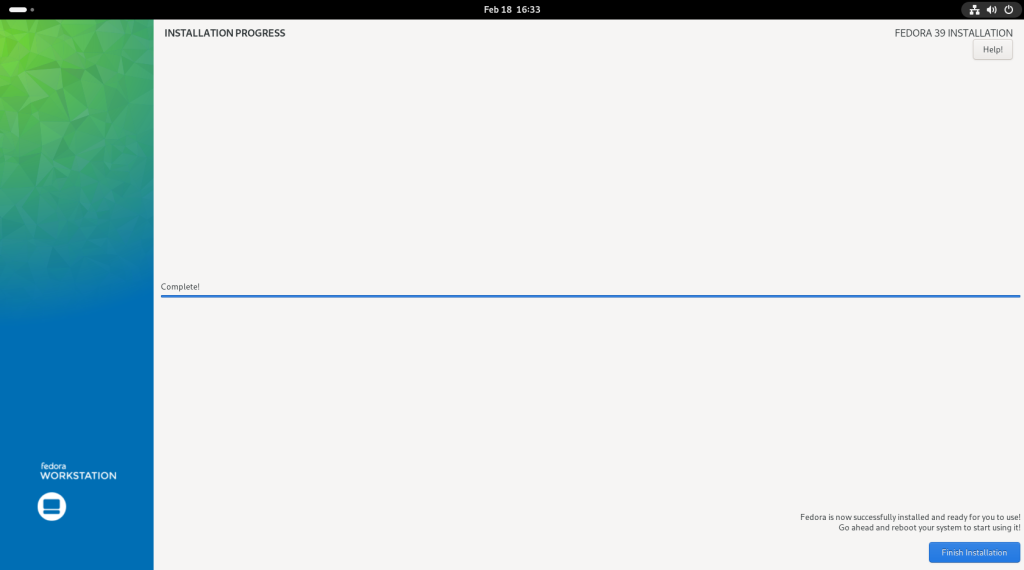
At this point, the installation is complete, and you should click on “Finish Installation”:
Anaconda will close and return to the main screen:

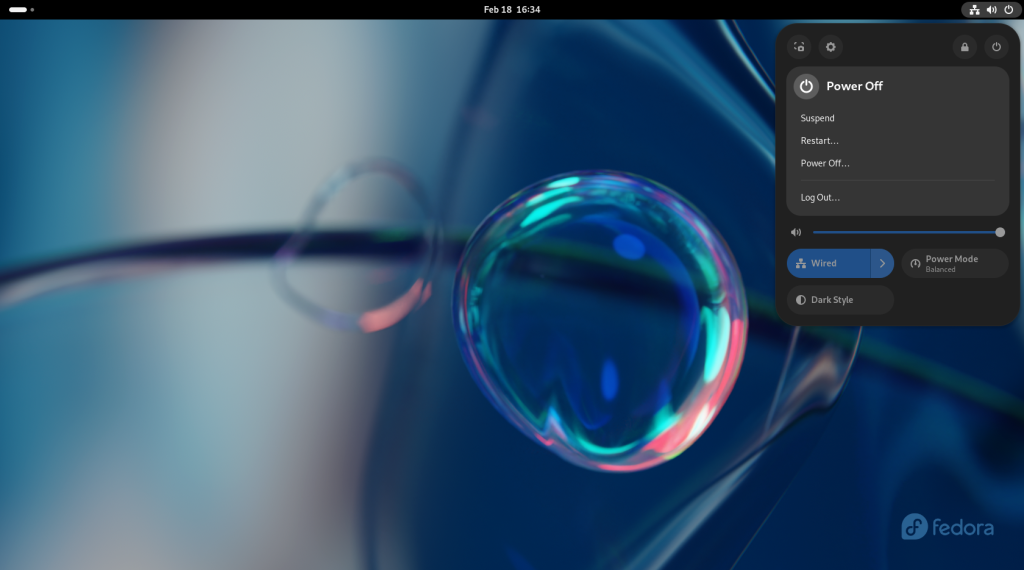
Click on the power button in the upper right hand corner, which will open a little window:
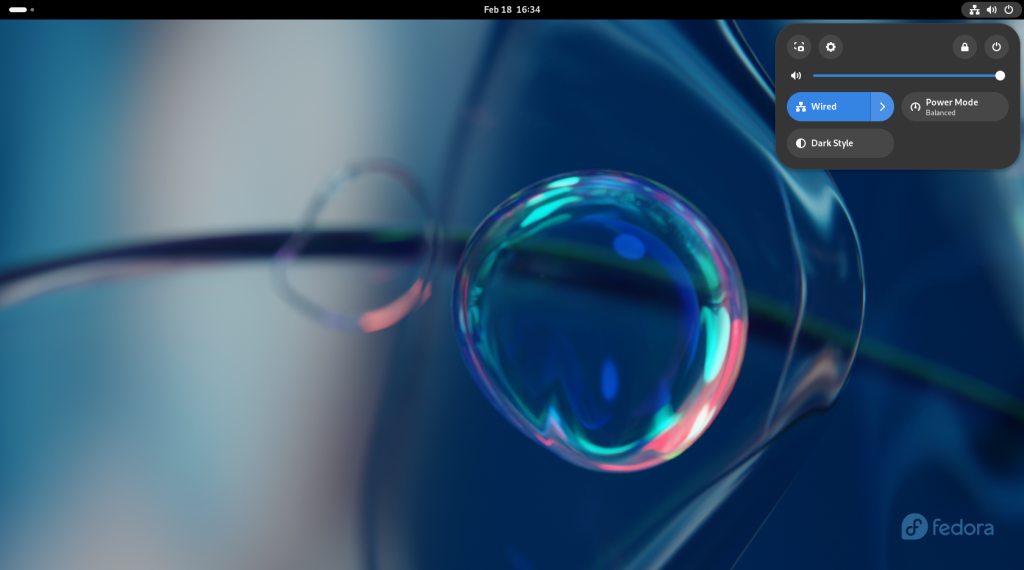
Choose the power options by clicking on the second power button to the right to the right of the lock symbol, opening up power options:
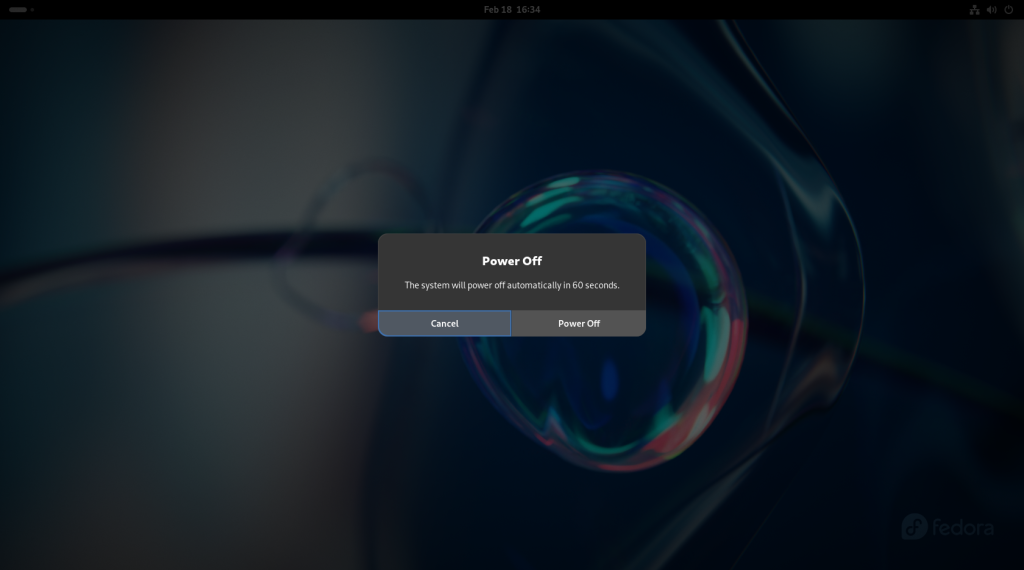
You will be asked whether to power off the machine; click on “Power Off”.
Your computer will shut down:

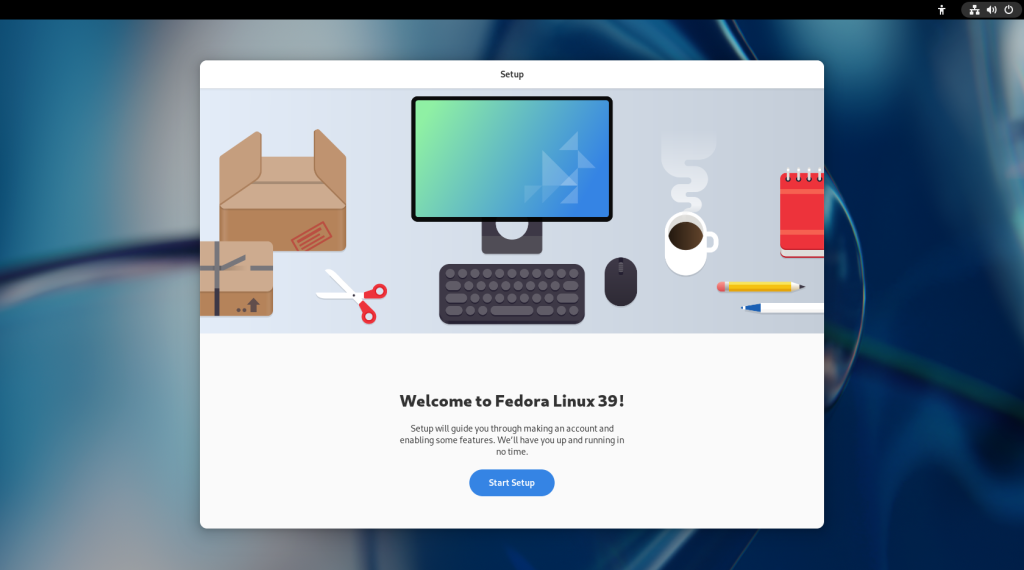
… and reboot:

Which will bring you to a “first time” welcome screen, where you should click on “Start Setup”:
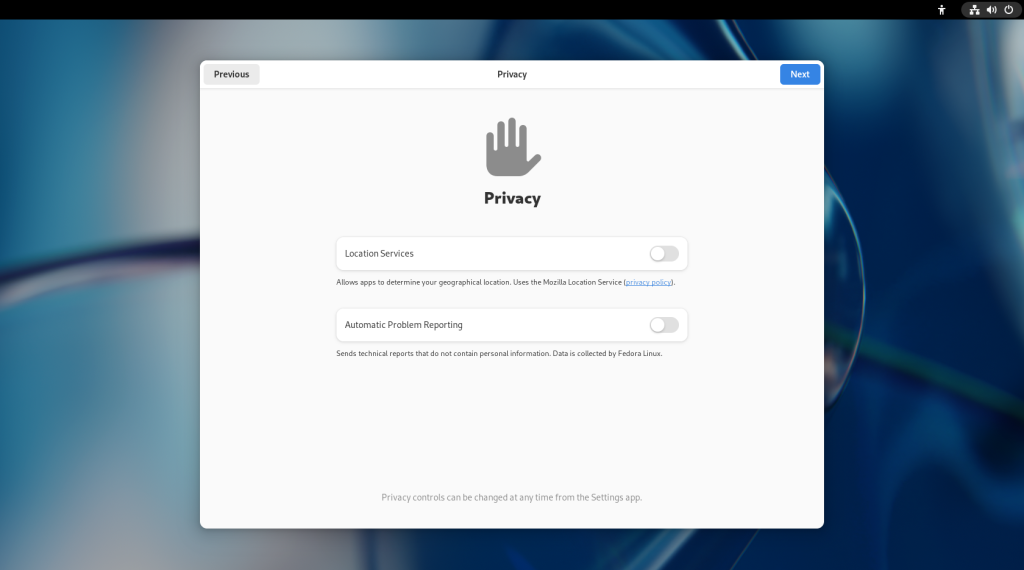
Choose whether to allow Location Services, and Automatic Problem Reporting:

The following screen will allow you to enable Third-Party Repositories — extra “software stores” — beyond those of Fedora itself, which I recommend be enabled:

The following screen will allow you to Connect to Your Online Accounts:

The following screen will ask you to set a password, which should be long enough to be secure (there will be an indicator line), and which will be important to remember:
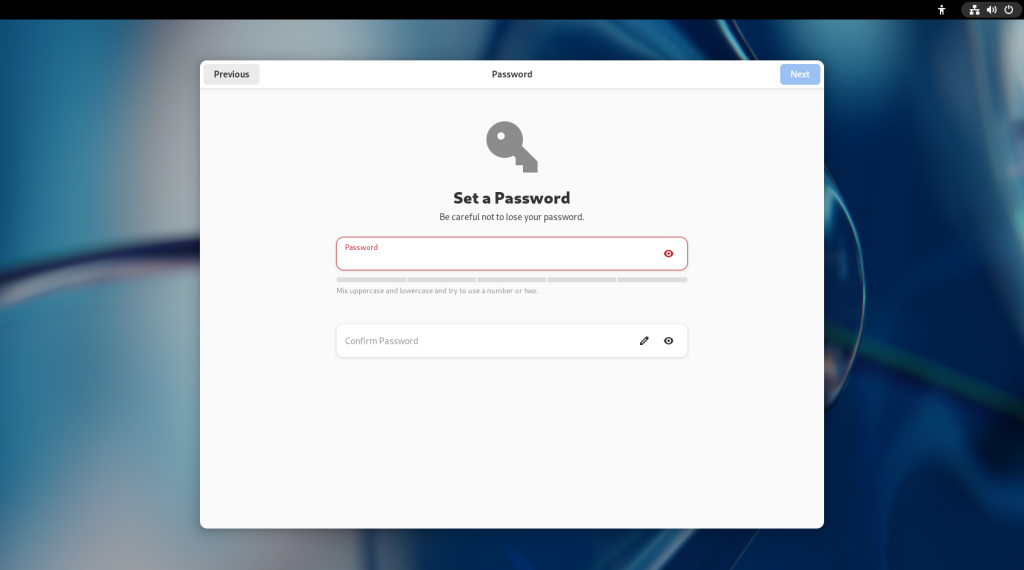
… and enter the password again to confirm you haven’t made a typo:

The following screen will ask you to enter your name and a username:
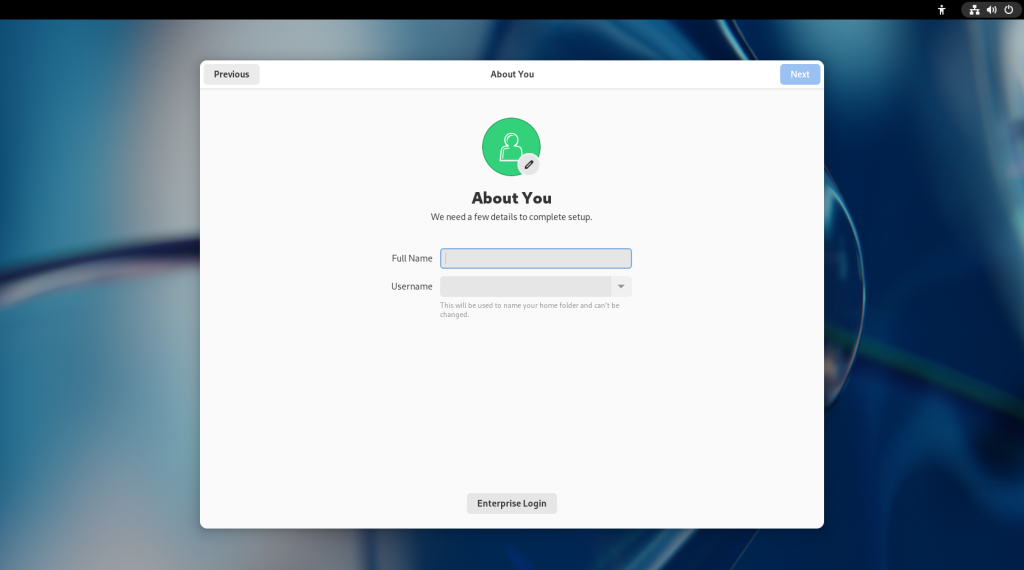
Once you have entered a name and username, the basic setup will be complete:
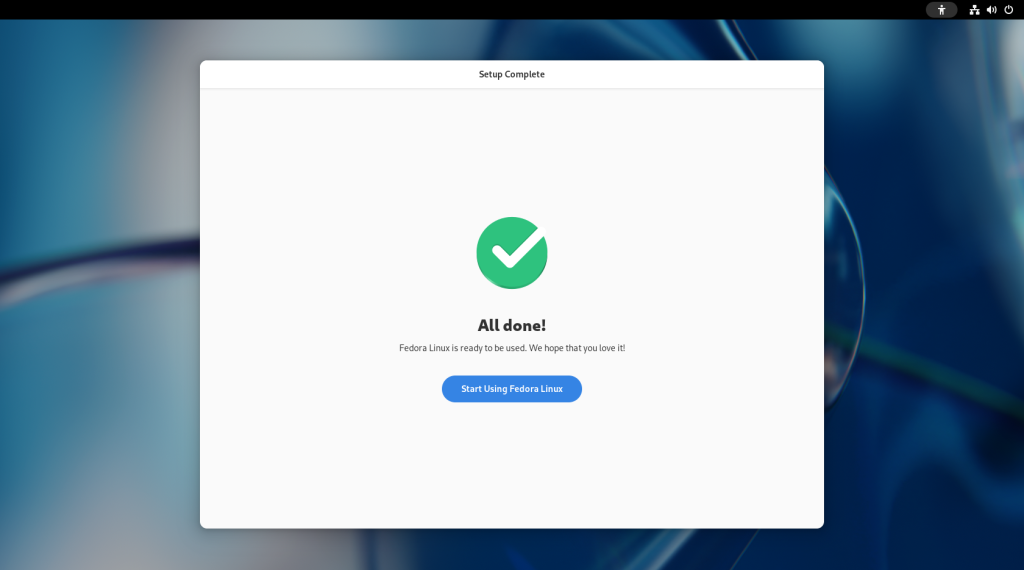
After clicking on “Start Using Fedora Linux”, the computer will offer a guded tour of the Gnome Desktop, which you may do if you wish, otherwise click on “No Thanks”:
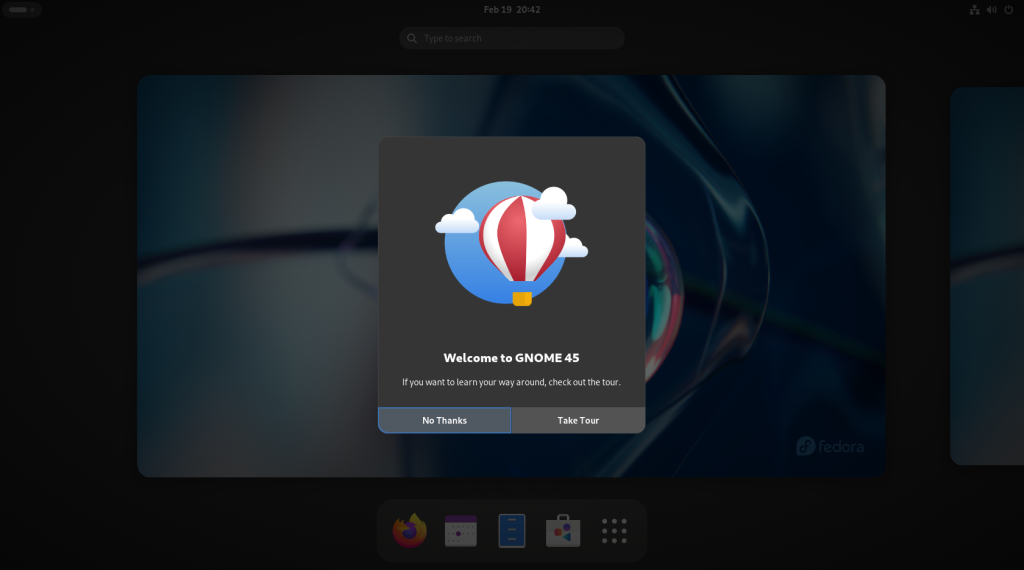
The activities screen will come up at this point, offering you a dock at the bottom of the screen, as well as a search bar for other installed software:

But wait folks … there’s still plenty more to do! 😃
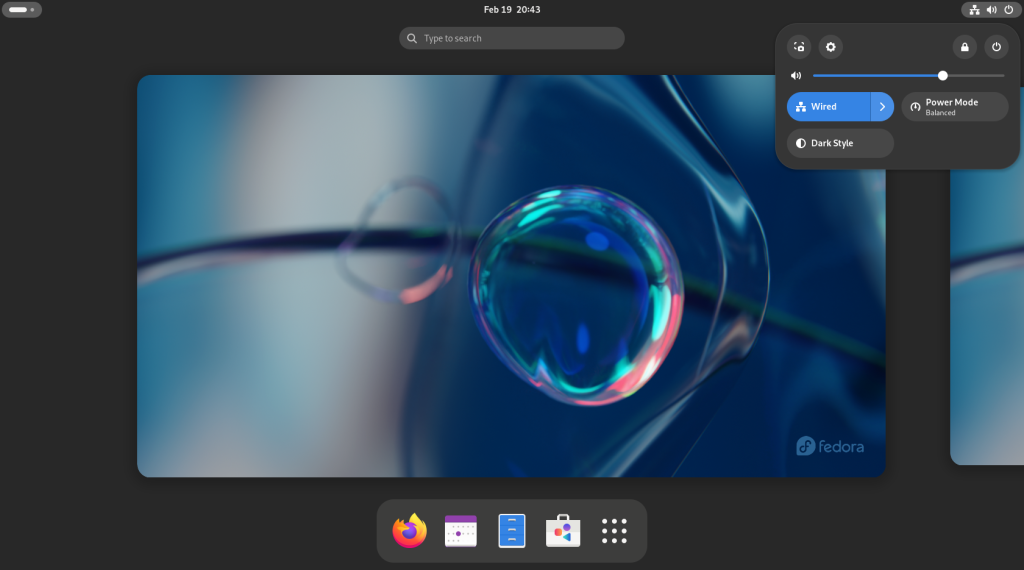
Click on the upper right hand corner to access the settings, and click on the round gear like button second from the left in the little window that will open:
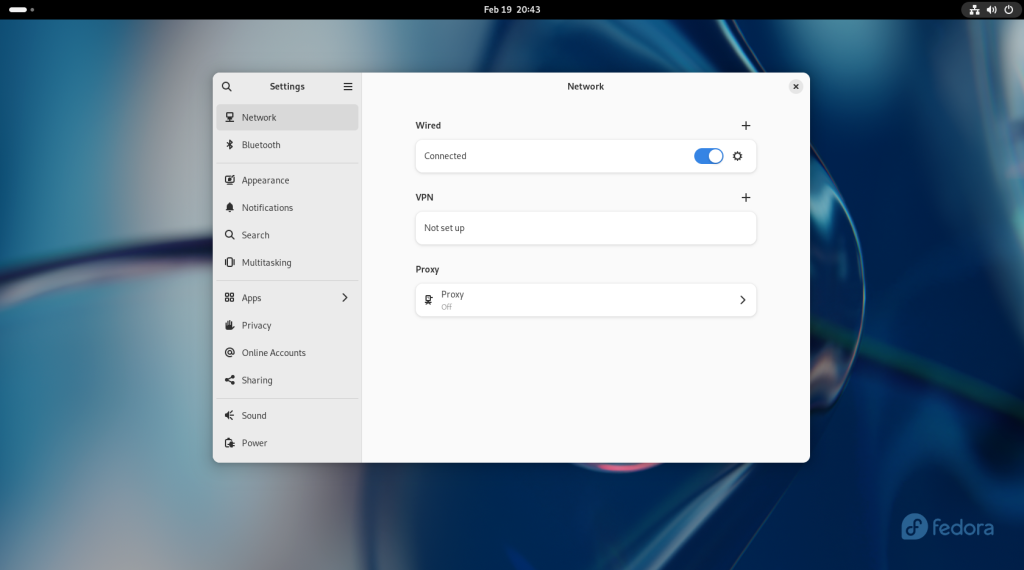
Which will open up the Settings menu:
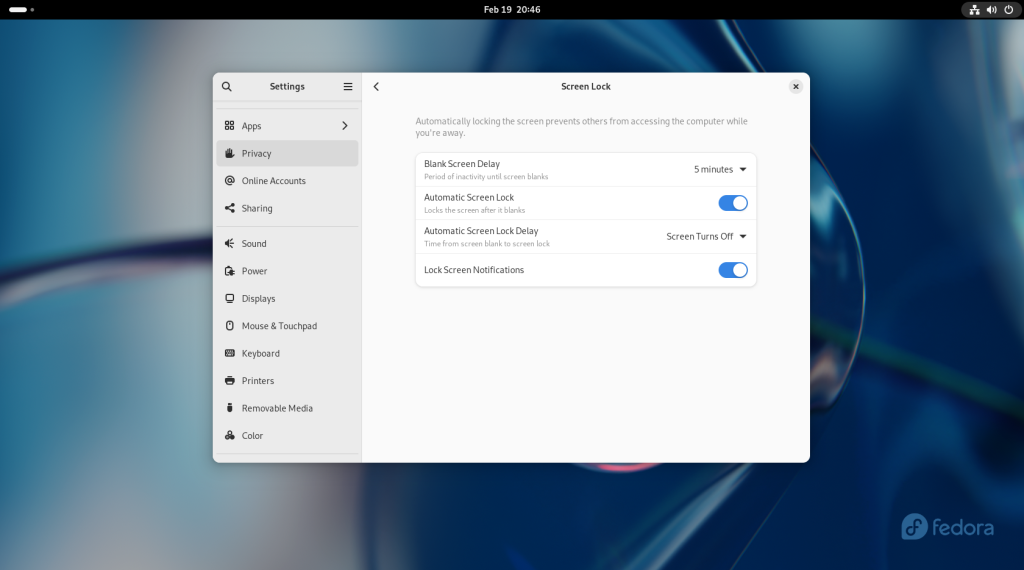
Scroll down to the “Privacy” menu, and adjust the settings to options to your liking, or choose to keep the defaults:
Next, scroll down to the bottom to the “About” menu:
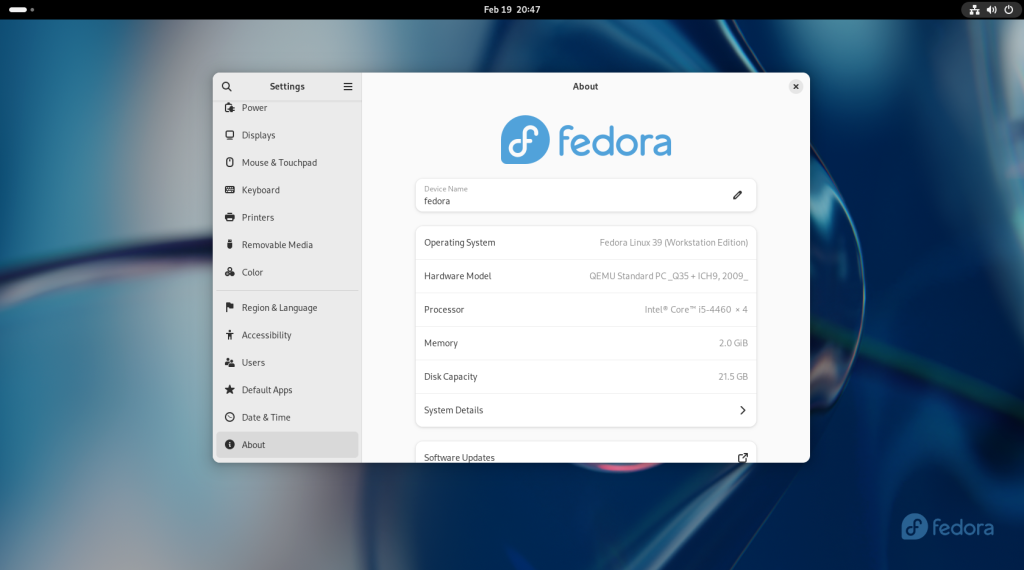
The first line will be titled “Device Name” and by default will list the word “fedora”; you should choose a name for your computer that will distinguish it from other computers. It can be as simple as “MyComputer” or “LivingRoom”, or be more fanciful, or according to a personalized system. Warning: Do not choose an offensive name or word, since it may show up in odd places that may prove embarrassing, nor should you use a family member’s name or a pet’s name, since in the future you may end up using colloquial terms in reference to your computer paired with said name which may be very confusing or upsetting to those who may not understand the context.

Close the settings menu by clicking on the “x” in the window’s upper right hand corner, and return to the activities screen by clicking on the bar in the upper left hand corner:

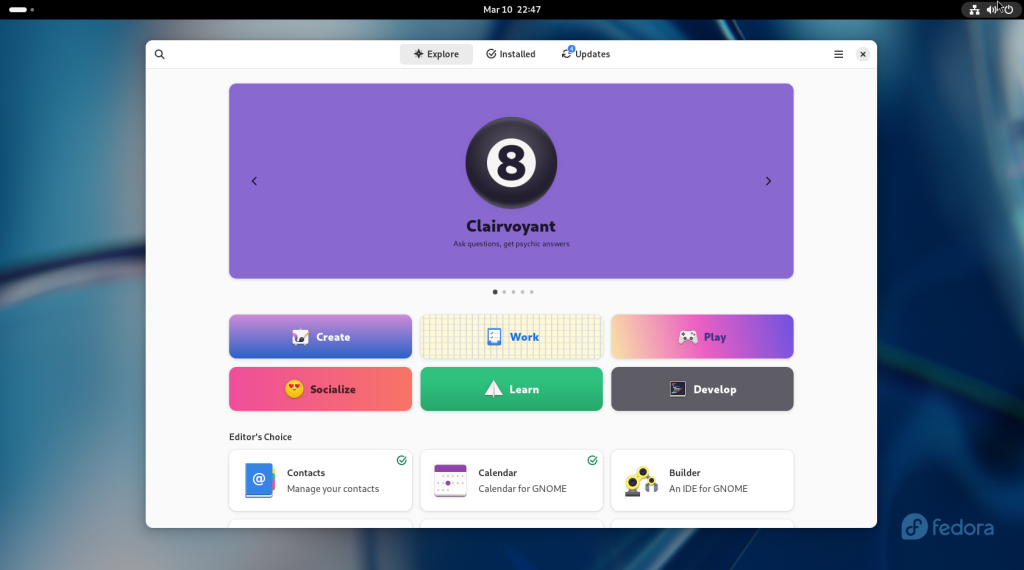
Click on the “bag” on the dock at the bottom, a rectangle with two coloured circles and a triangle, to go to the Software Store (don’t worry, you won’t need any money.)
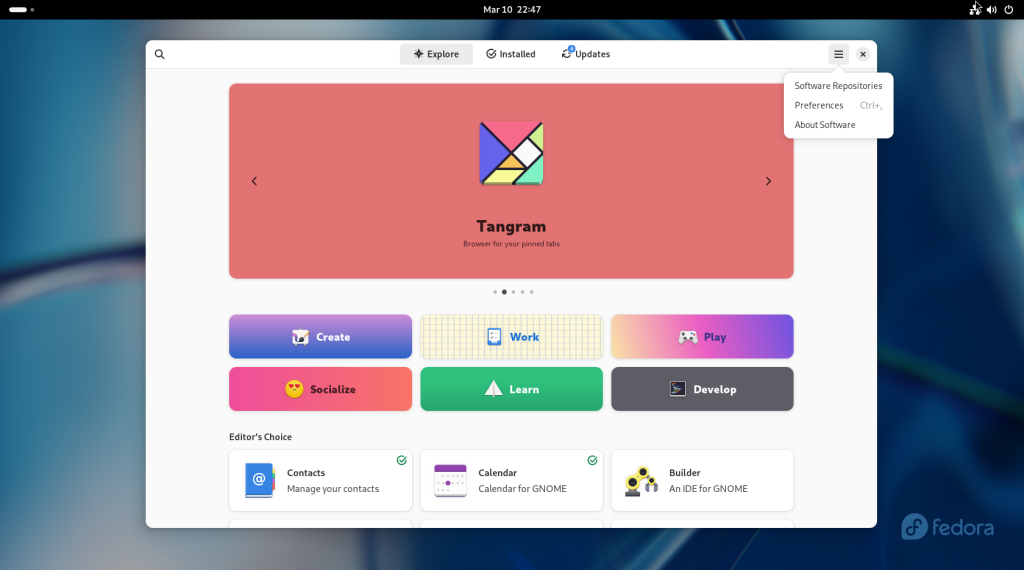
Click on the “hamburger” menu (the three lines that look like a hamburger or a stack of pancakes), which will give a little menu:

Click on the “Preferences” option:
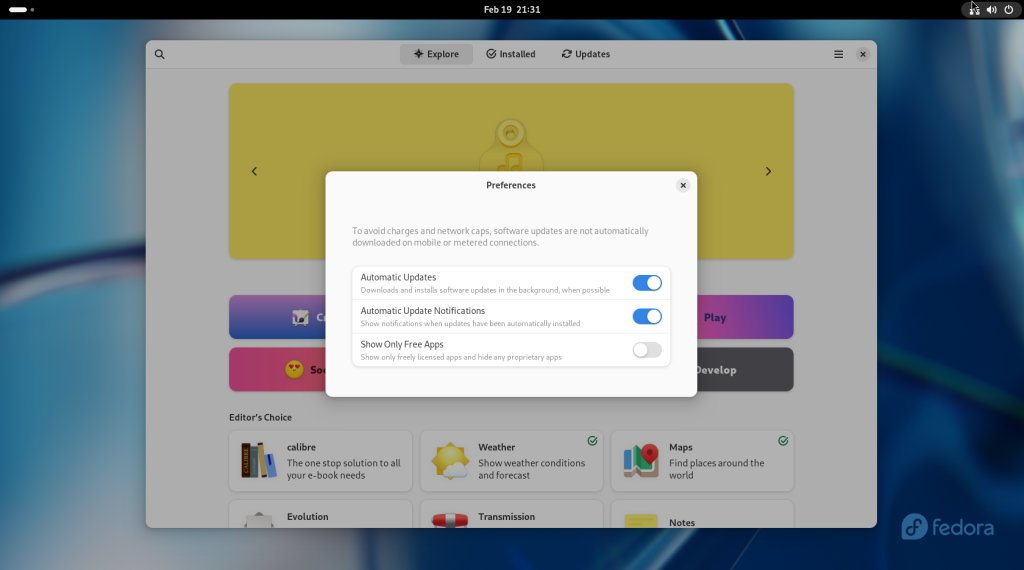
I recommend that you activate Automatic Updates, as well as allowing Automatic Update Notifications.
Next, click on the hamburger menu again, and choose the “Software Repositories” option:
To modify the options in this menu, you will need to enter your password, which you created earlier:
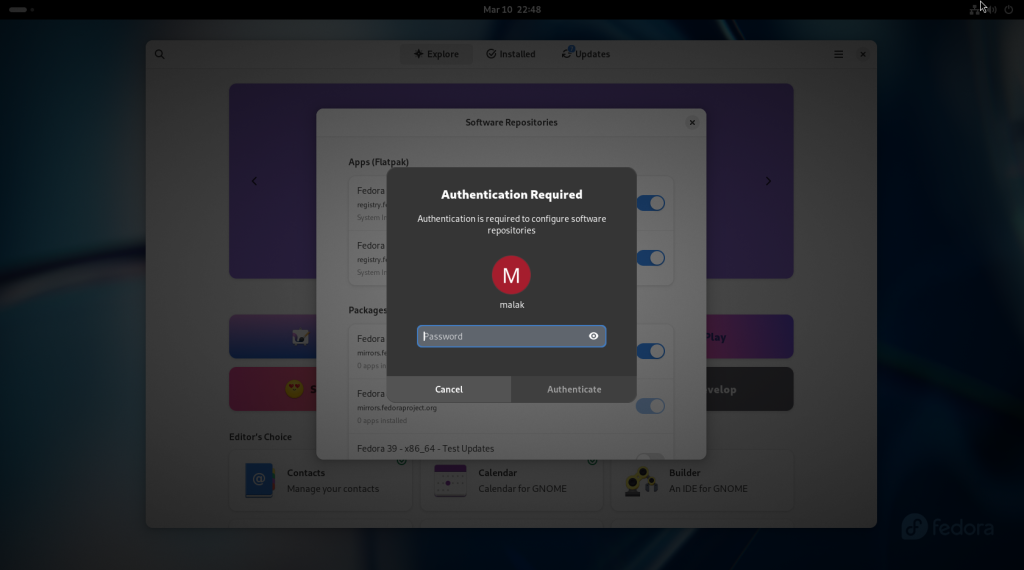
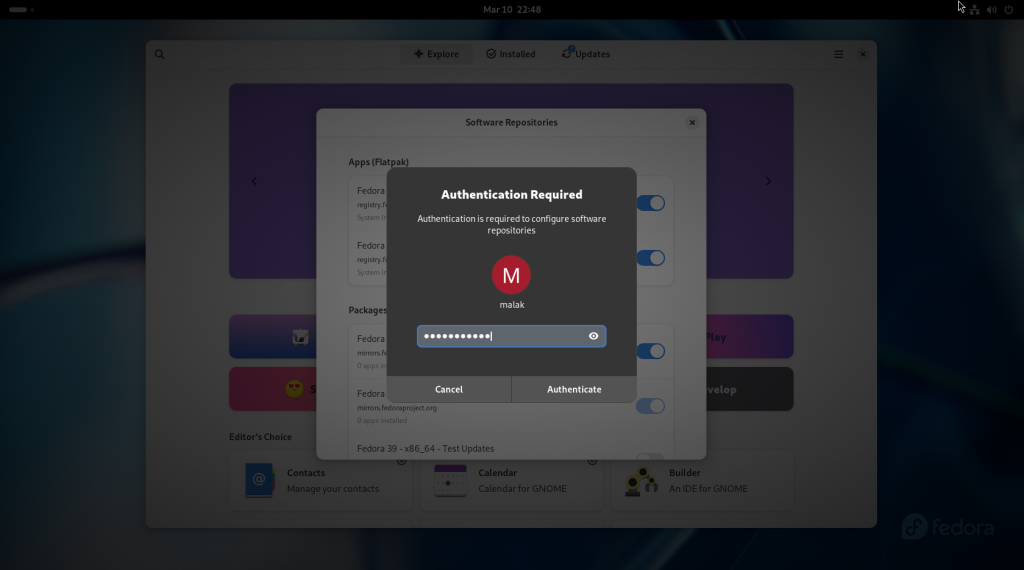
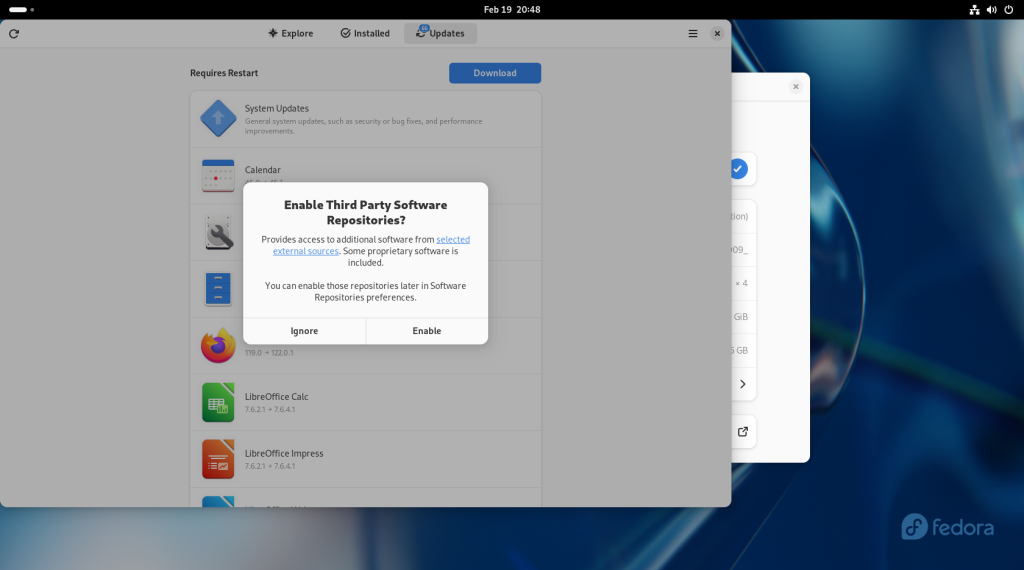
You will be asked whether you wish to enable third party software repositories; click on “Enable”.
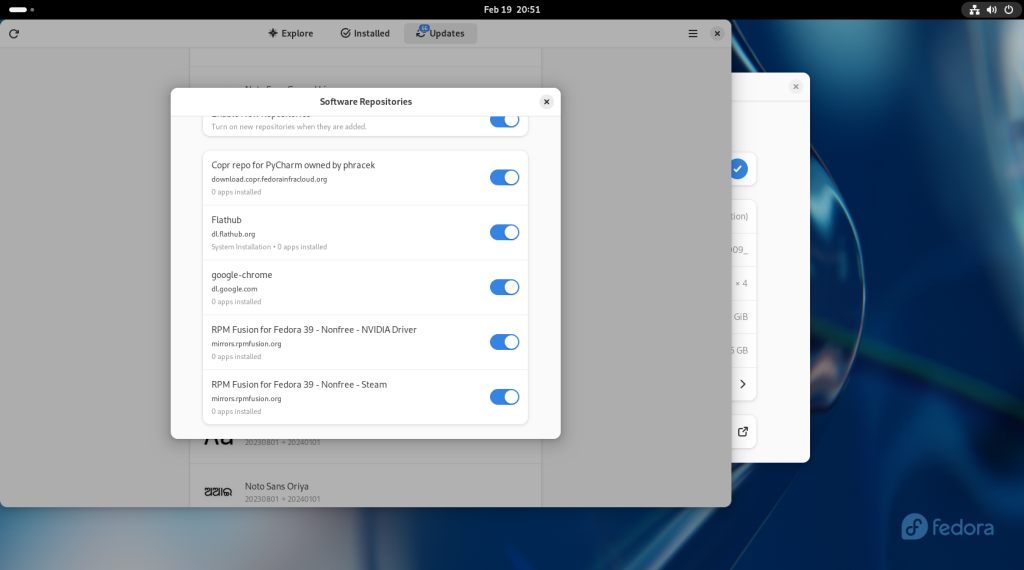
The default repositories will be enabled already; some others will not be. I recommend that the following repositories be enabled: Apps (Flatpak), openh.264, x86_64 …

… Firmware (fwupd) (if you are using UEFI), Enable New Repositories …

… Copr repo for PyCharm, Flathub, google chrome, RPM Fusion for Fedora 39 Non-Free — NVIDIA Driver (even if the computer doesn’t have an NVIDIA card) …

… and RPM Fusion for Fedora 39 Non-Free — Steam.
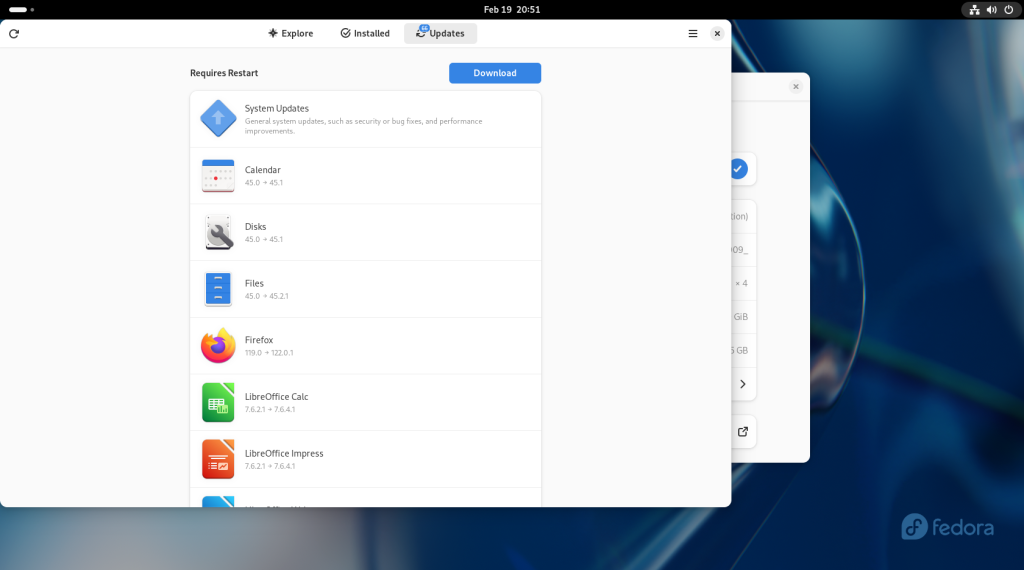
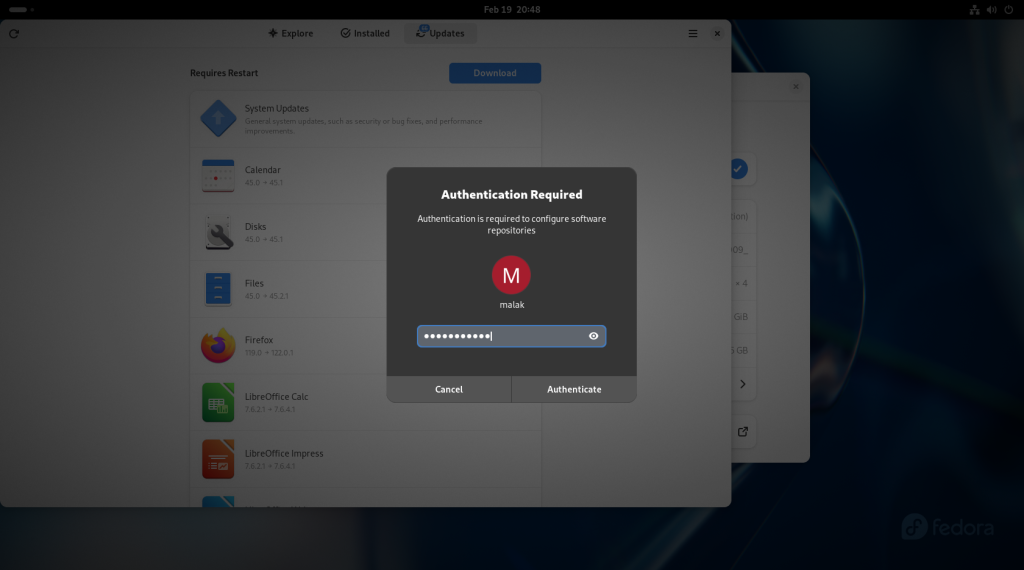
Click on the “x” button. At this point, click on the “Updates” tab up top, and click on the “Download” button.
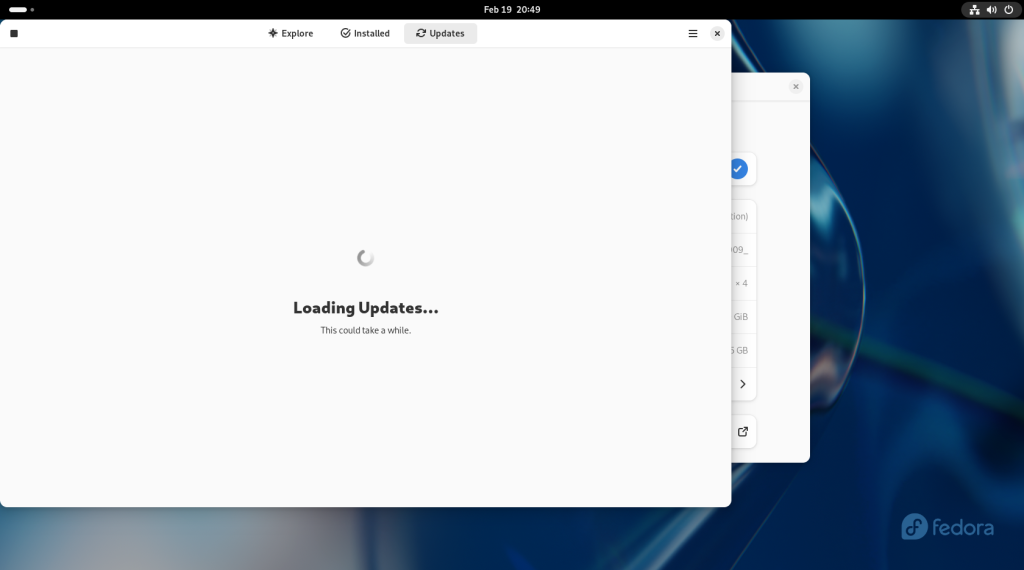
The computer will determine which updates will be needed …
… and the computer will ask you for your password again:
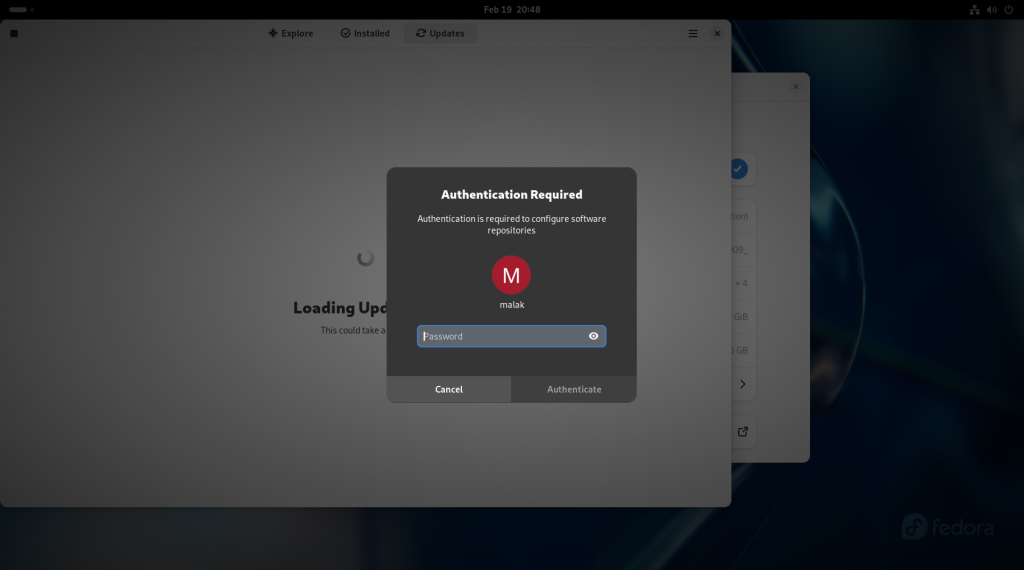
The updates will be downloaded:
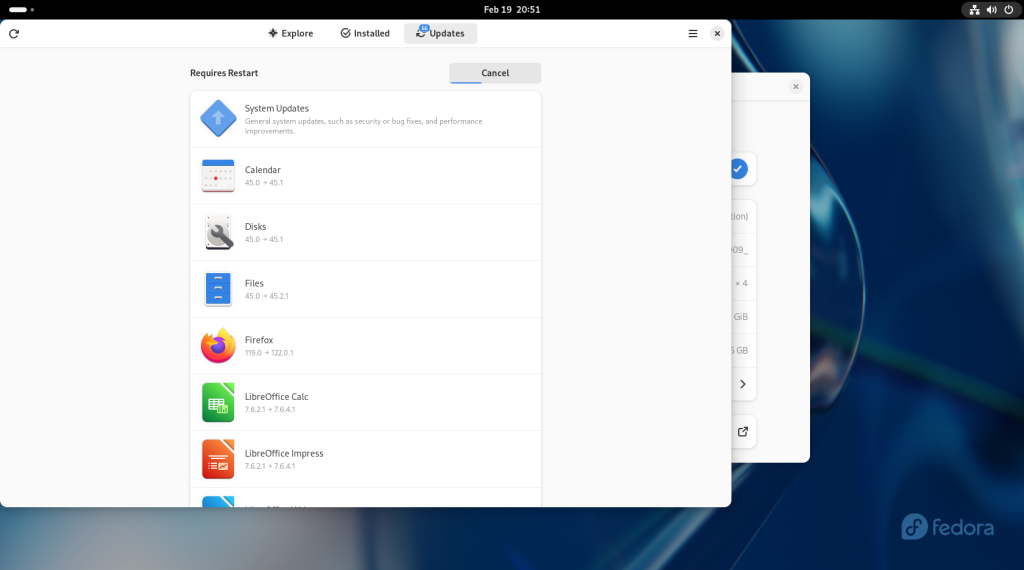
… and then the updates will be listed:
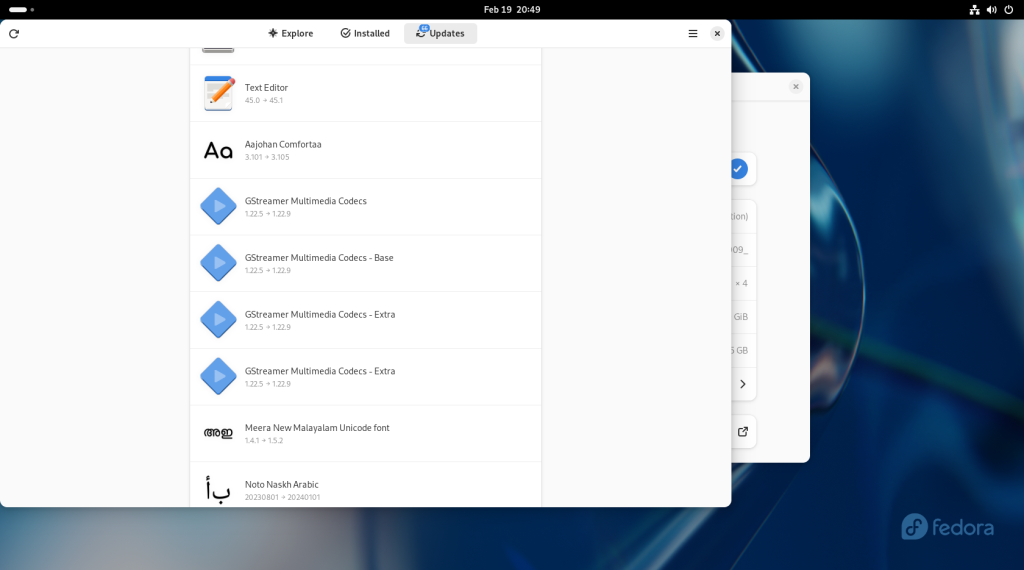

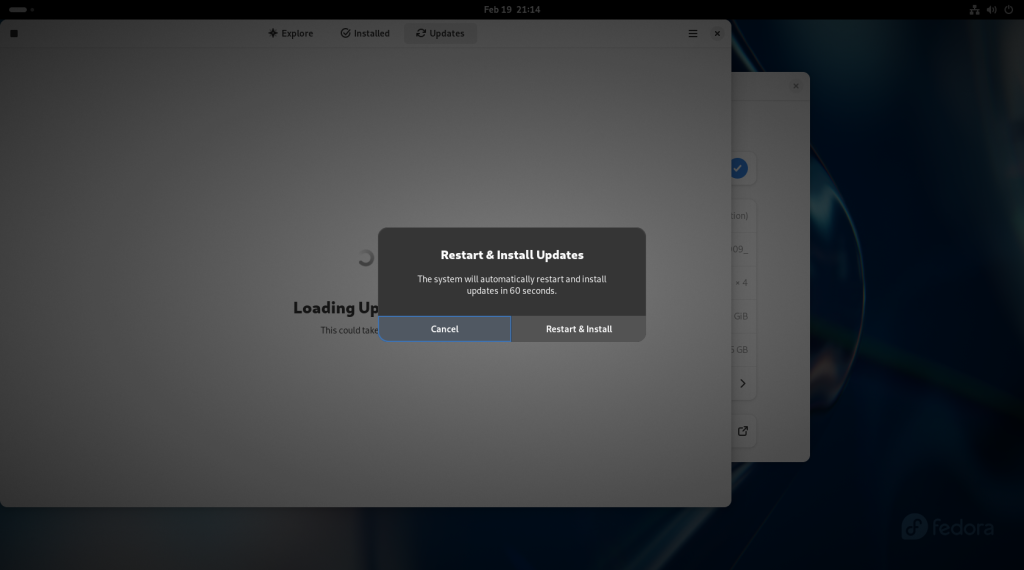
Click on the Restart & Update button:

Click on “Restart & Install”:
The computer will shut down:

… and begin to reboot:

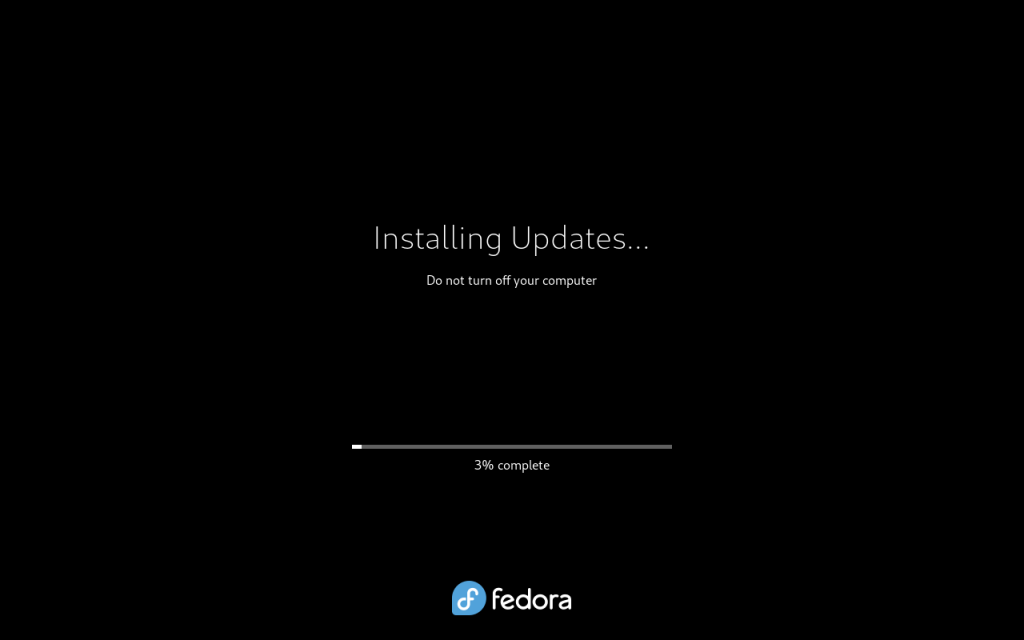
The updates will begin installing:
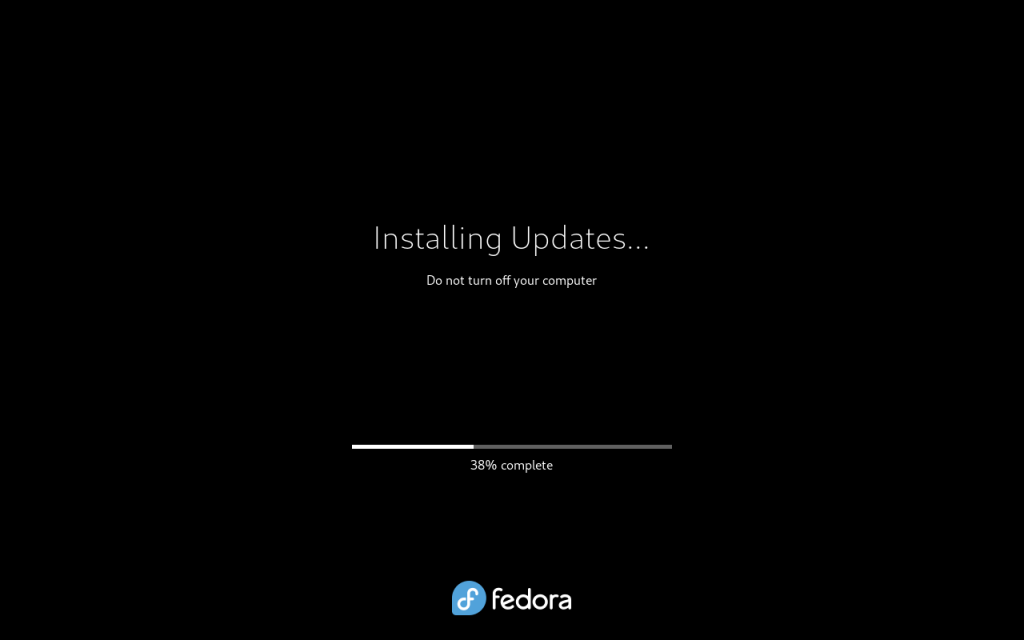
When the updates are complete, the system will reboot automatically:

You will now see a sign-in page with your username. You should click on your username.
… At which point, the computer will ask you for your password:
… And finally, the Activities page will come up again.

Your computer has now been properly set up for operation.
Next Chapter
Chapter 5 will show some customizations of the Gnome desktop and basic file transfers.