
Similar to my pulled / braised pork, I also make pulled / braised beef — but mostly for my mom, who finds my pulled pork a bit too sweet (a characteristic that, for the moment, I am declining to adjust). While despite personally liking this recipe for pulled beef, I have decided that “Mom can have it while I enjoy my pulled pork!”
Note that in this case I am using relatively inexpensive cuts of beef, and certainly some of it tougher than others. In today’s Canadian beef markets, “relatively inexpensive” is itself a fairly relative term, and in fact, through making pulled beef, I noticed just how much more expensive beef is than pork, despite it normally being so anyway!
Note that I got some advice from ChatGPT in how to make a more savoury version of my pulled pork recipe / process using beef; I was quite surprised at just how much onions it suggested — approximately two pounds of onions to four pounds of beef!
Note that as has become more common and customary with these posts, while all photos were taken in the same session, some may have been taken at slightly different points in time than presented here; the photos are presented here as per the progression below for the sake of the narrative.
Making the pulled beef:
The night before I made the pulled beef, some packages of beef were taken out of the freezer:
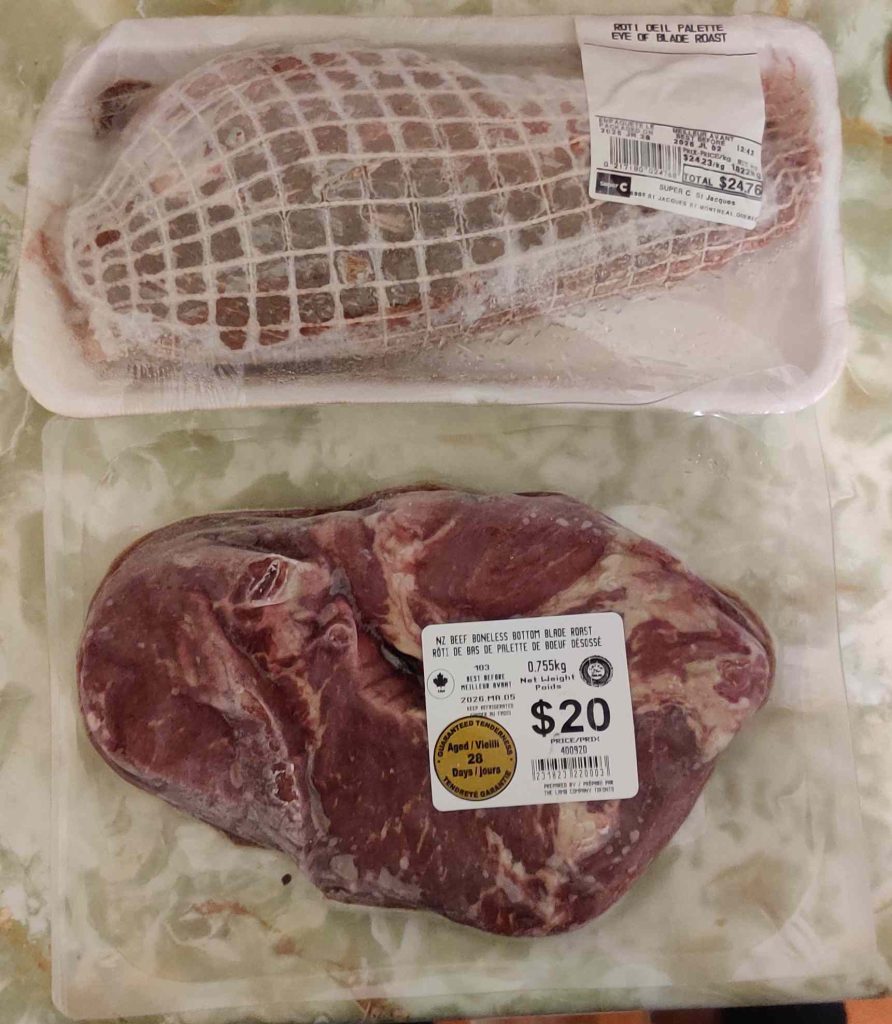
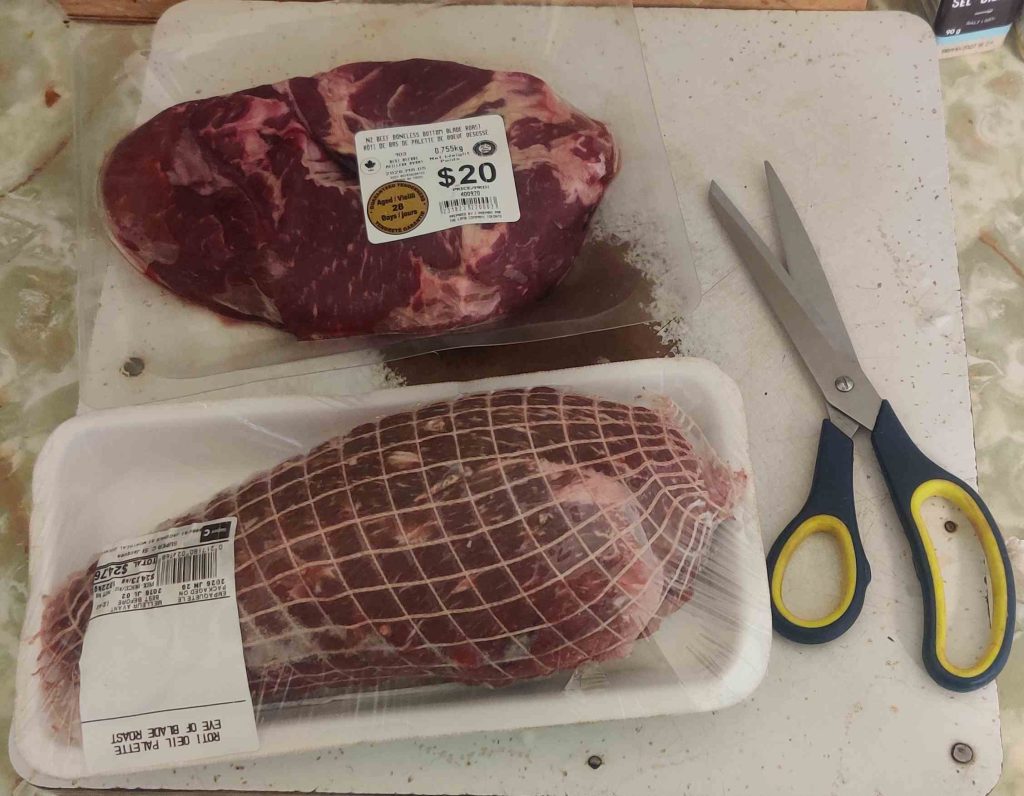
A bit of commentary on meat shopping: One of the packages I used had a fixed price for the package — as in, all the packages of the same beef from the same supplier were of similar weights and all had the same price — instead of being sold, strictly speaking, by weight, something I occasionally see at some stores. When I am presented with meat counters of prepackaged, single-priced flats of meat that are normally sold by weight and which normally would otherwise have slightly or not so slightly different prices depending on the weight of meat in each package, I normally go through all of the packages, looking for the heaviest packages (the stores normally still lists the weight on the packages!) and I look for the highest weights; surprisingly, I have often noticed non-trivial differences in the weights of the various meat packages being offered for sale at the same price!
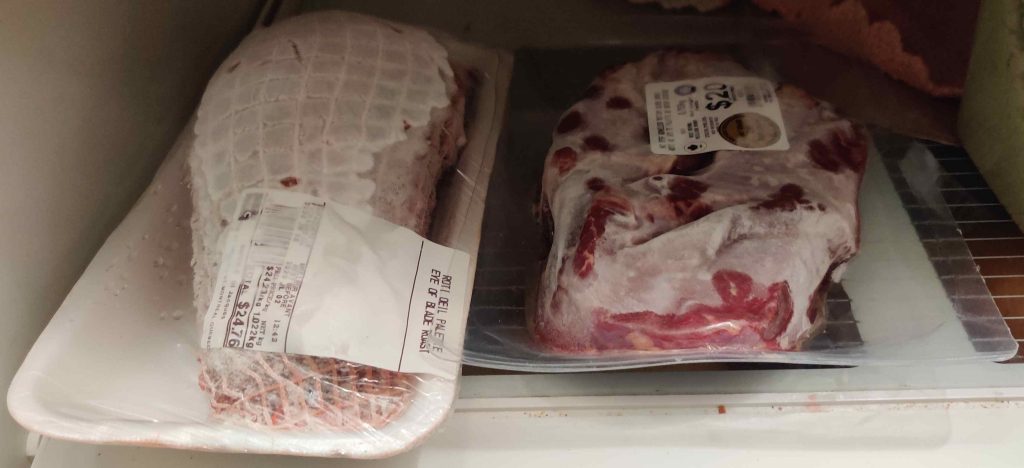
Back to the cooking session: Before I went to bed, the meat packages were placed in the fridge, to continue defrosting overnight:
The following morning when I began the cooking session, I took out a large soup bowl and placed it on a kitchen scale, setting the scale to zero so that it would only weigh the onions I was about to place in the soup bowl:
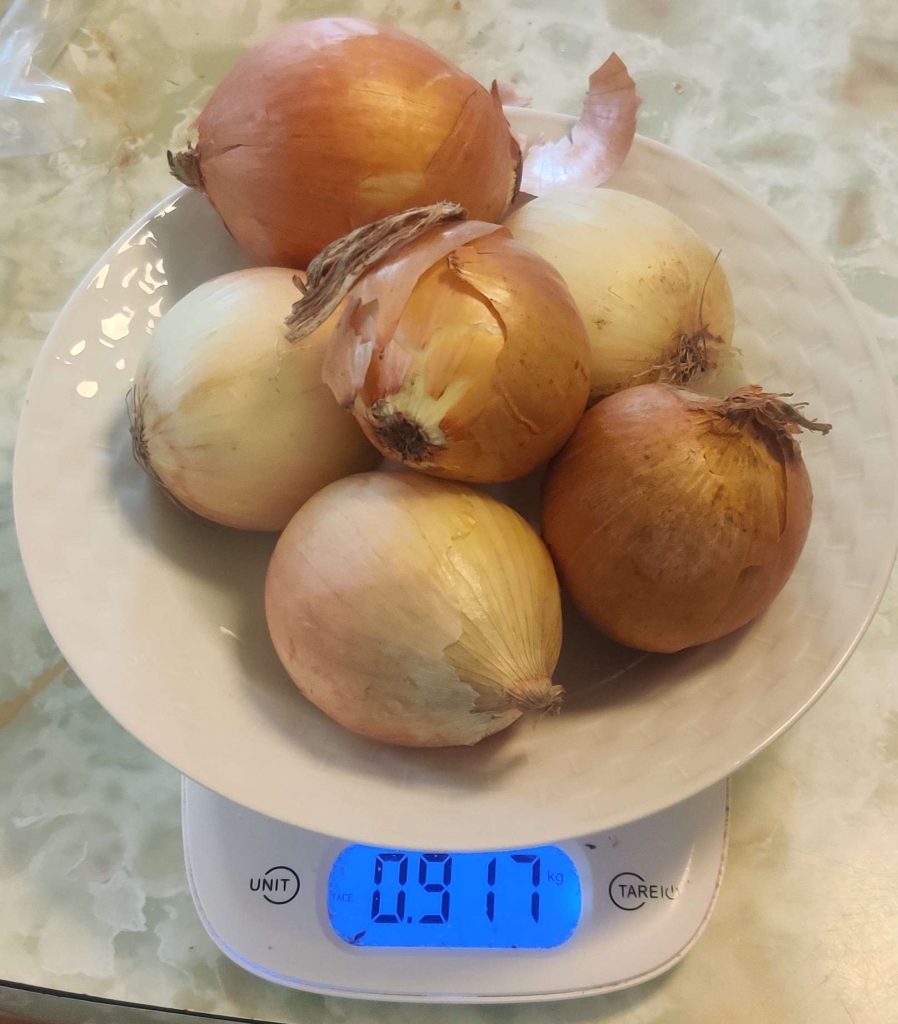
Onions were taken out and weighed:
At this point, all the ingredients were taken out:
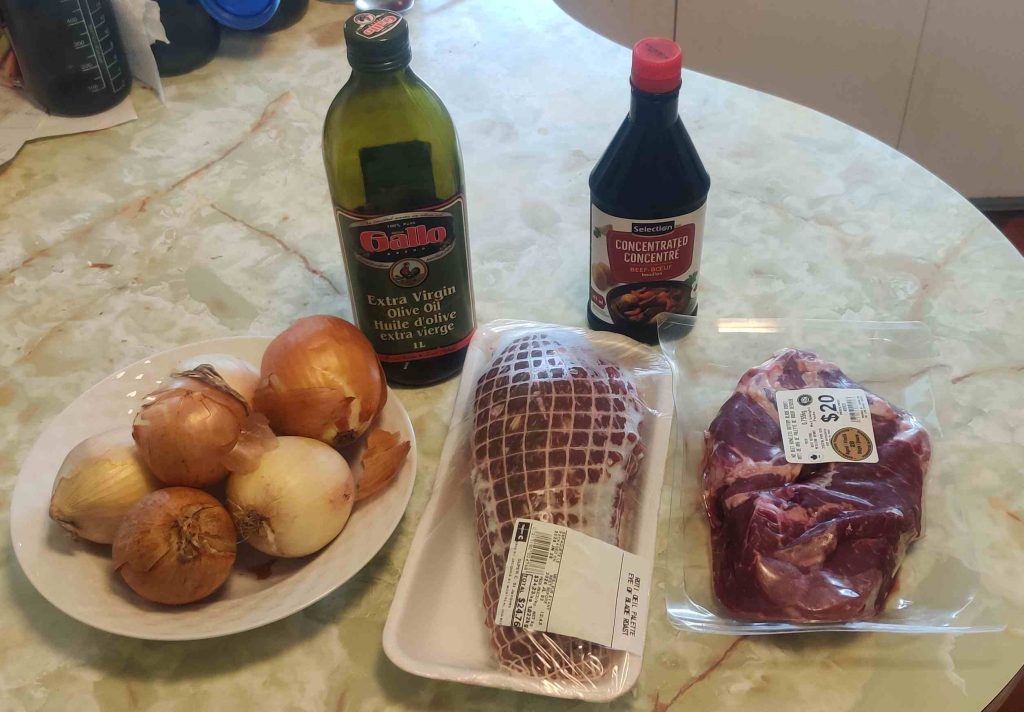
The onions were transferred to a cutting board, and a kitchen knife was taken out:
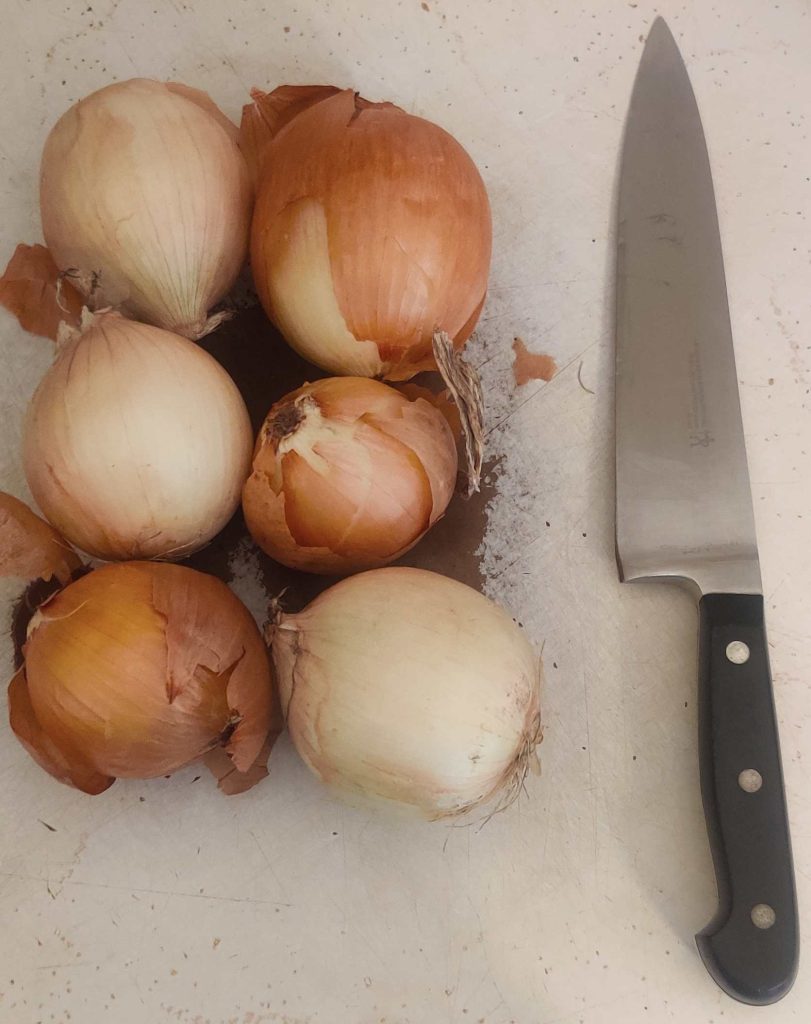
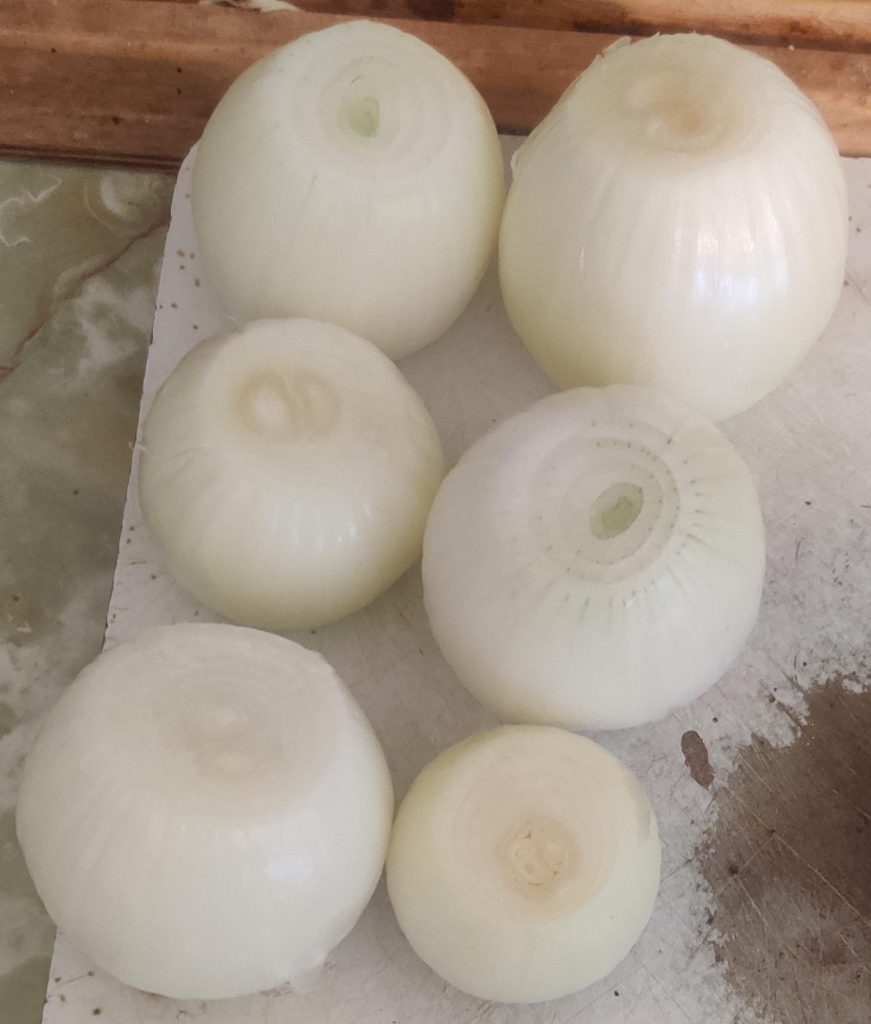
The onions were trimmed:
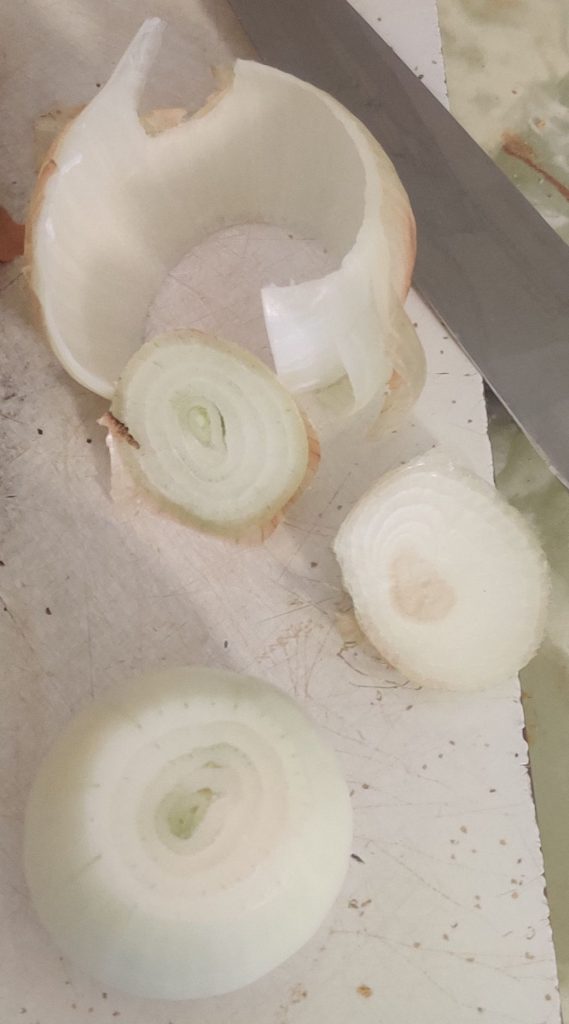
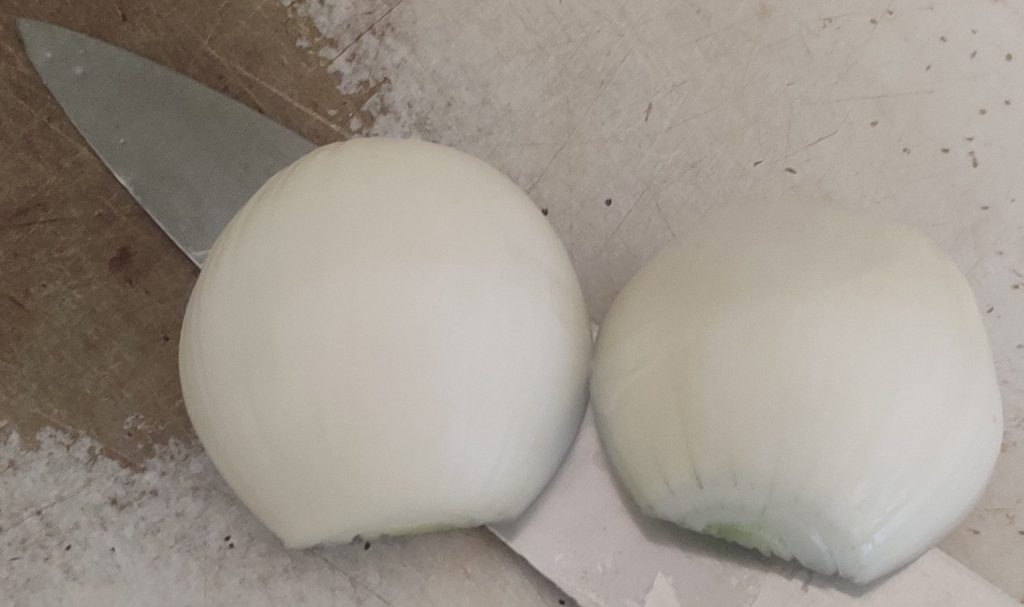
The onions were sliced in half:
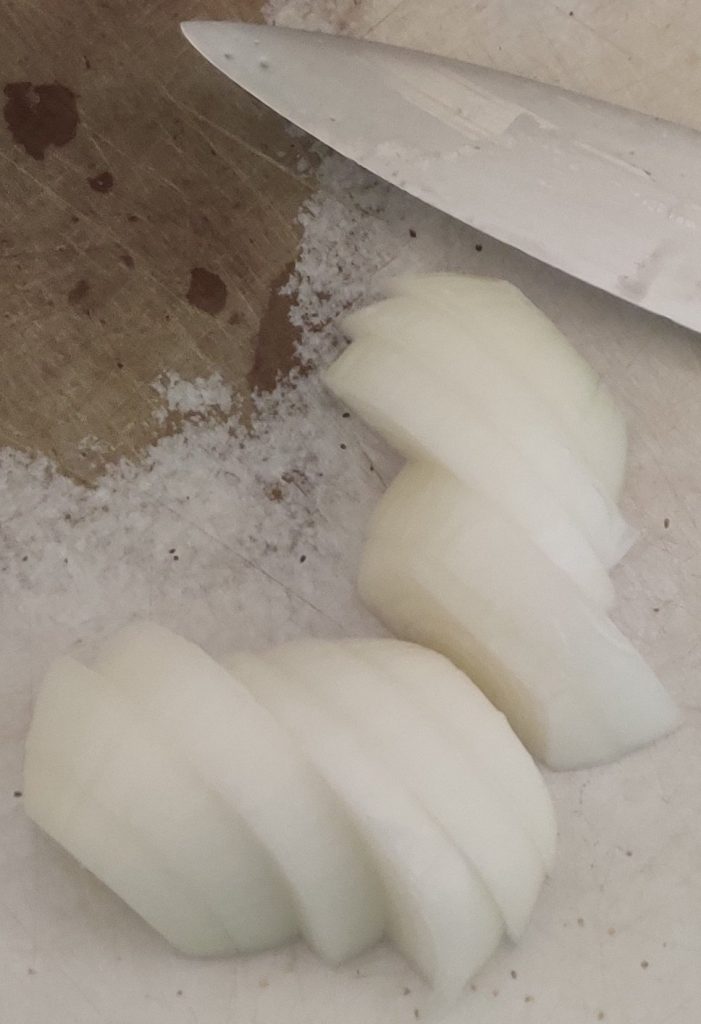
The onion halves were sliced into half-coins:
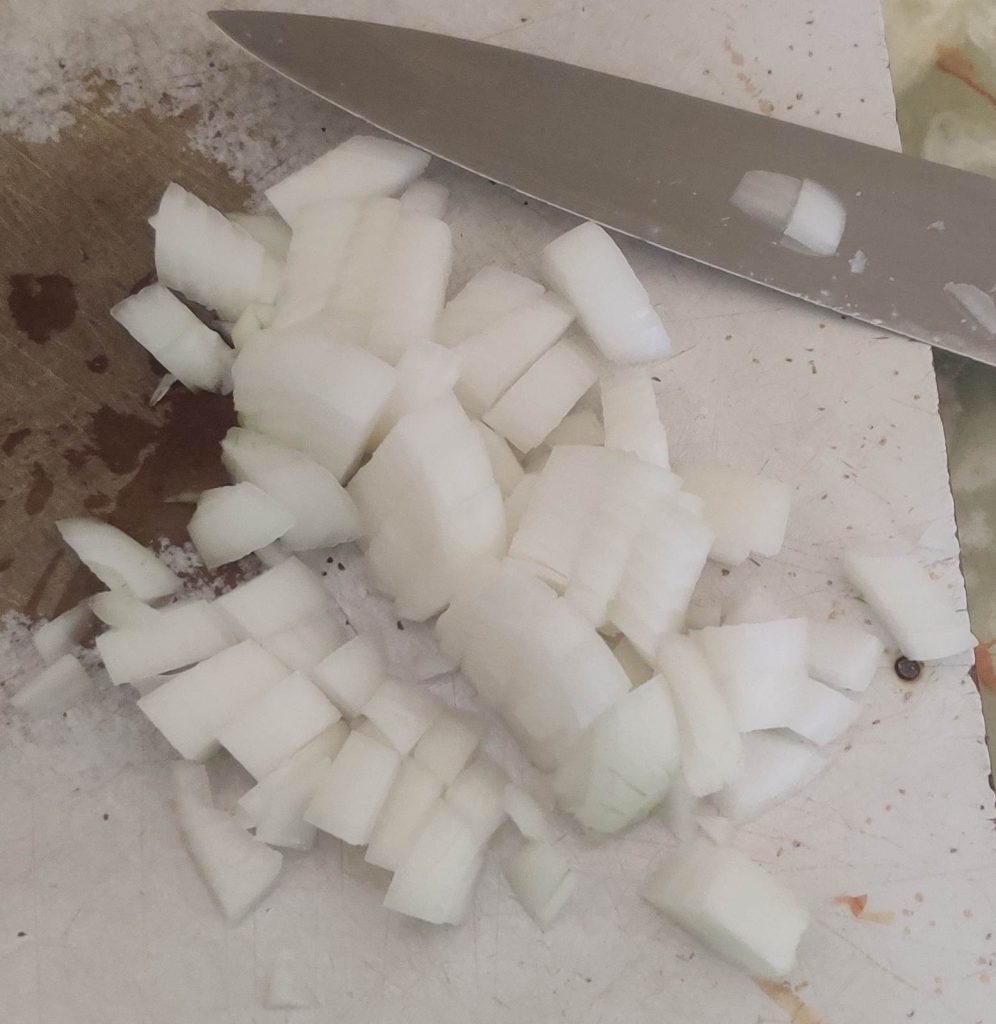
The onions were somewhat coarsely chopped:
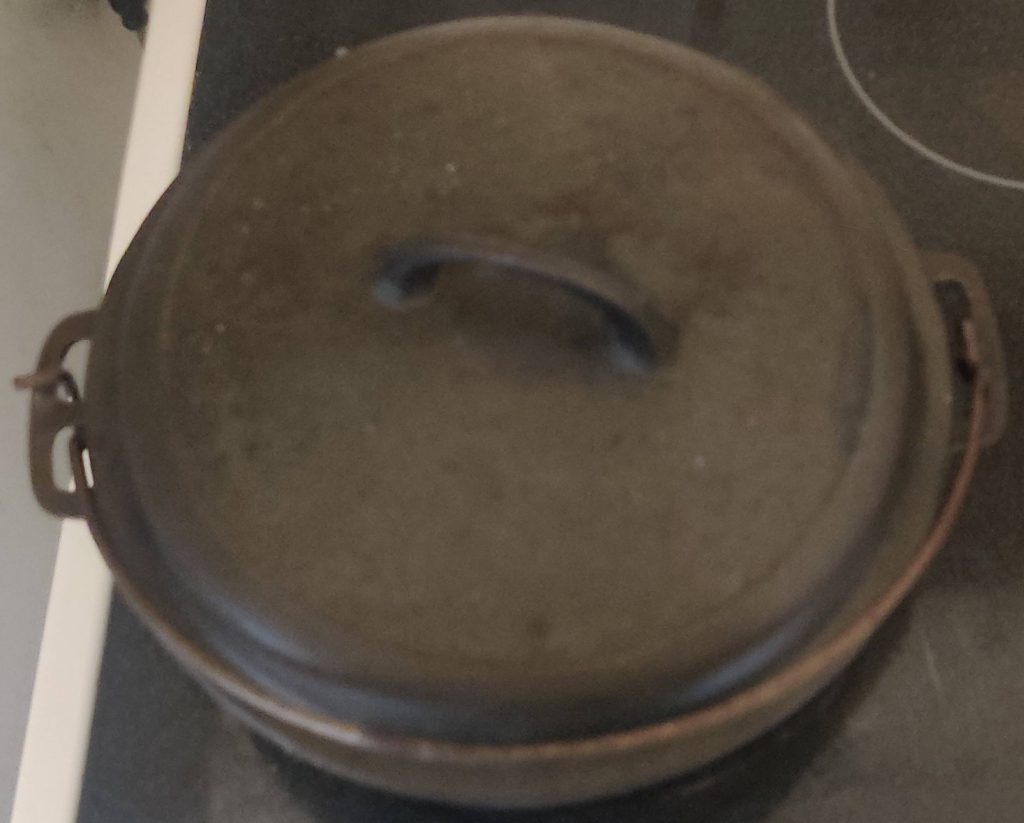
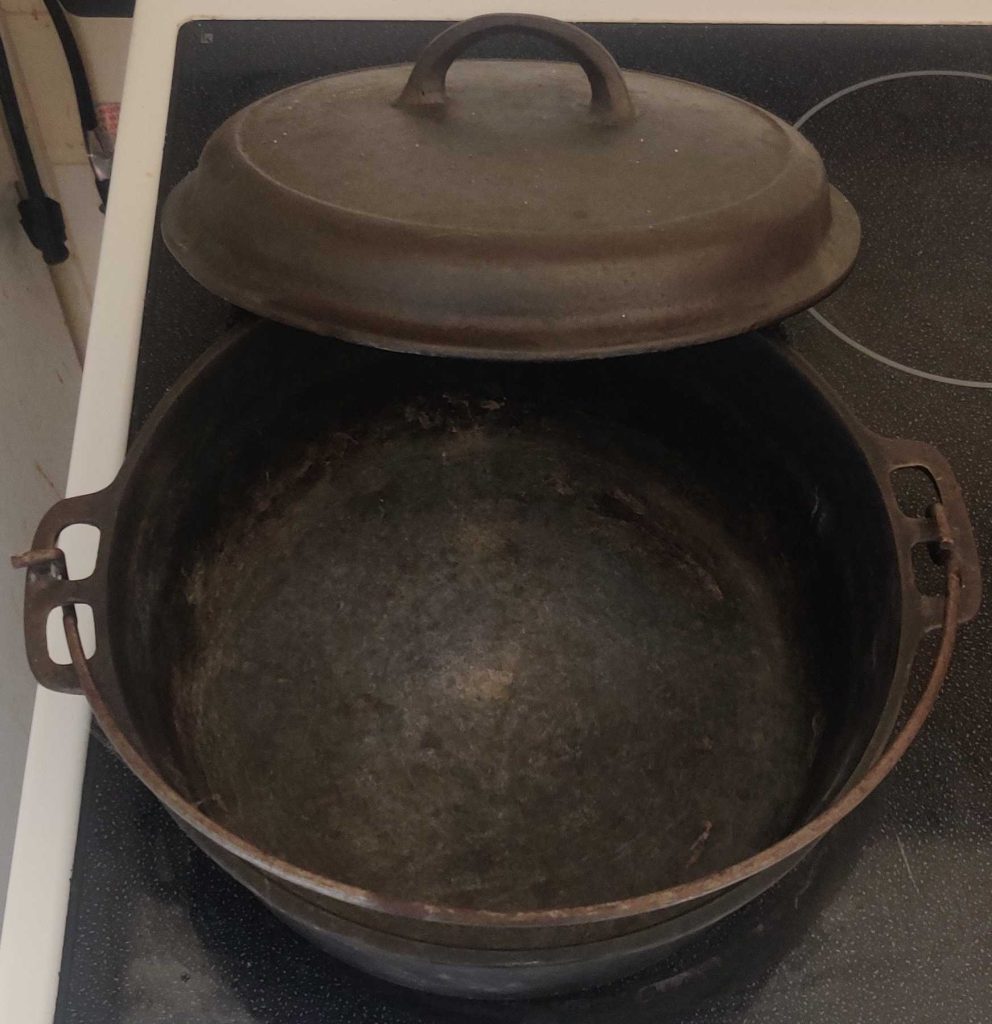
A lidded cast iron pot was taken out and placed on the stove:
The cast iron pot’s lid was removed:
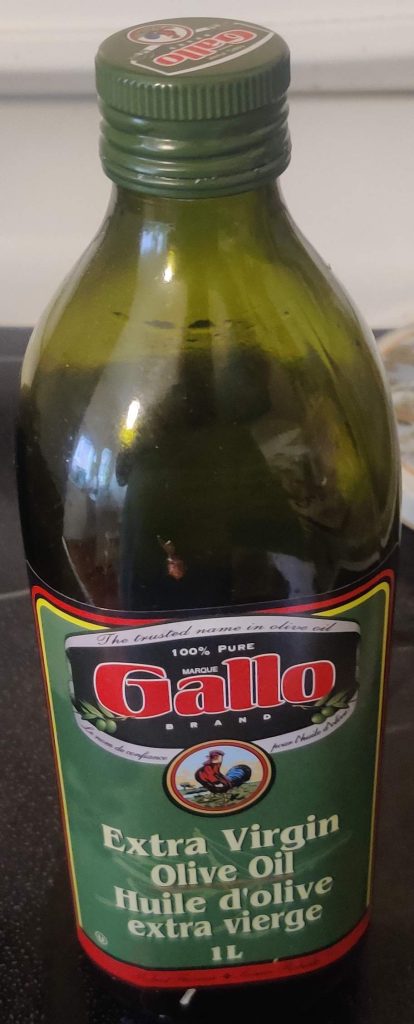
Olive oil was taken out:
The bottle of olive oil was opend:
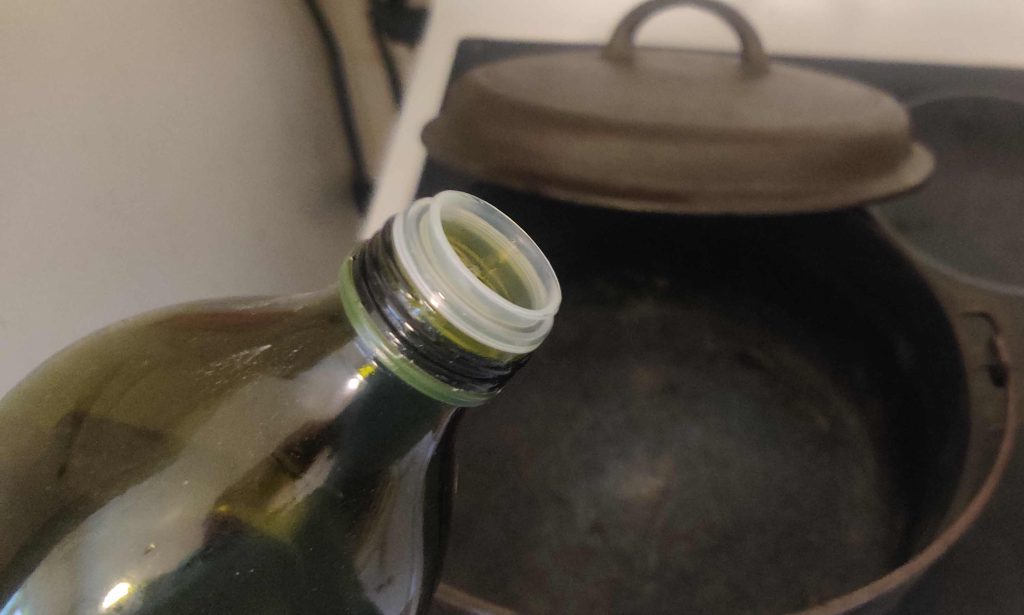
Olive oil was poured into the cast iron pot:
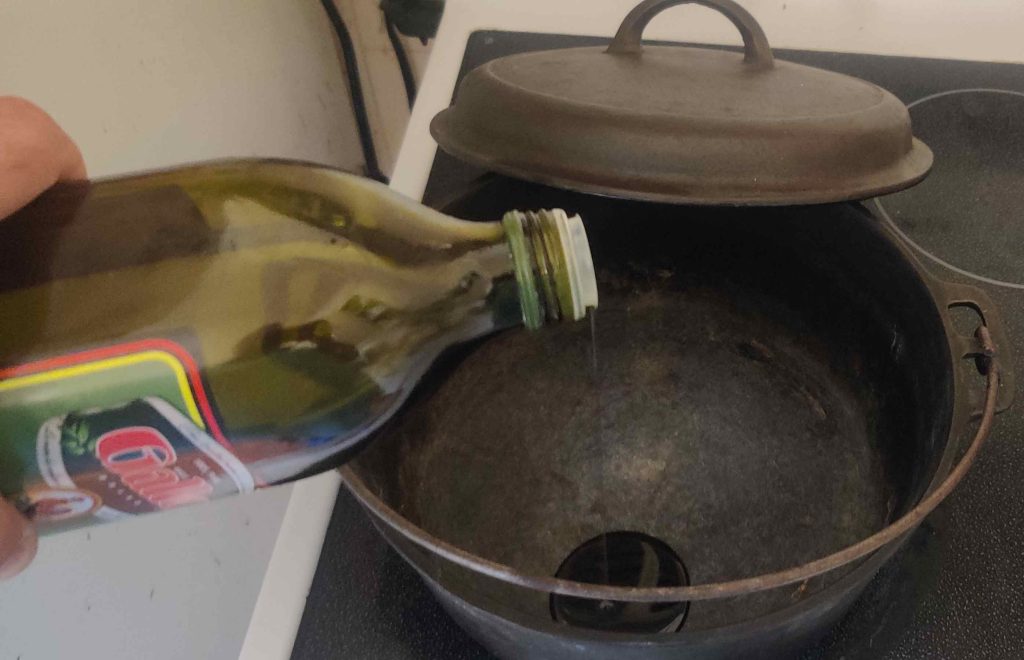
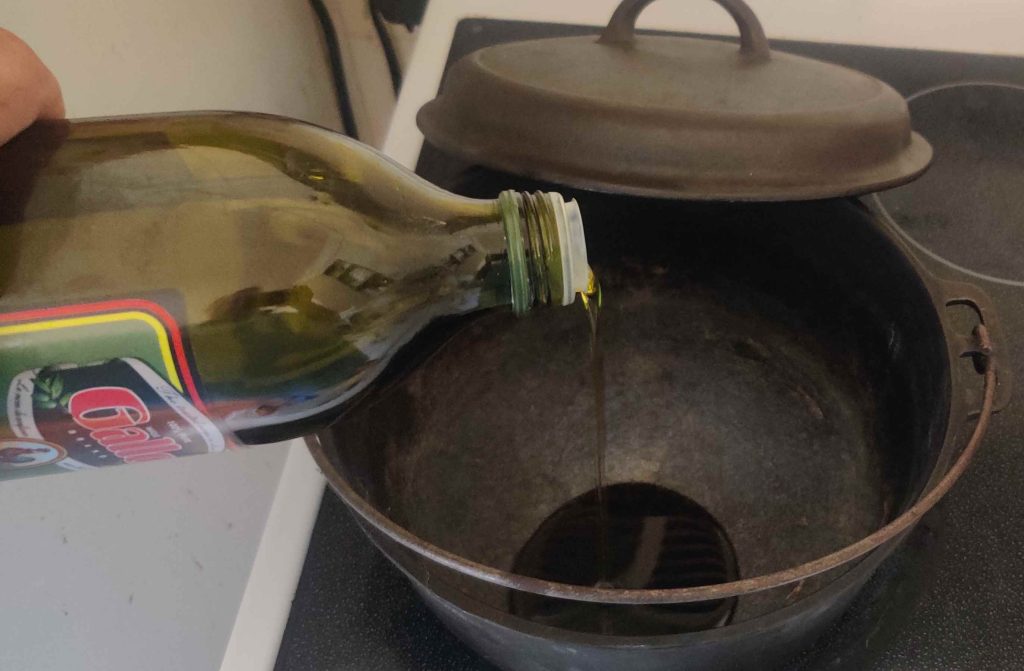
The chopped onions were transferred to the cast iron pot with the olive oil:
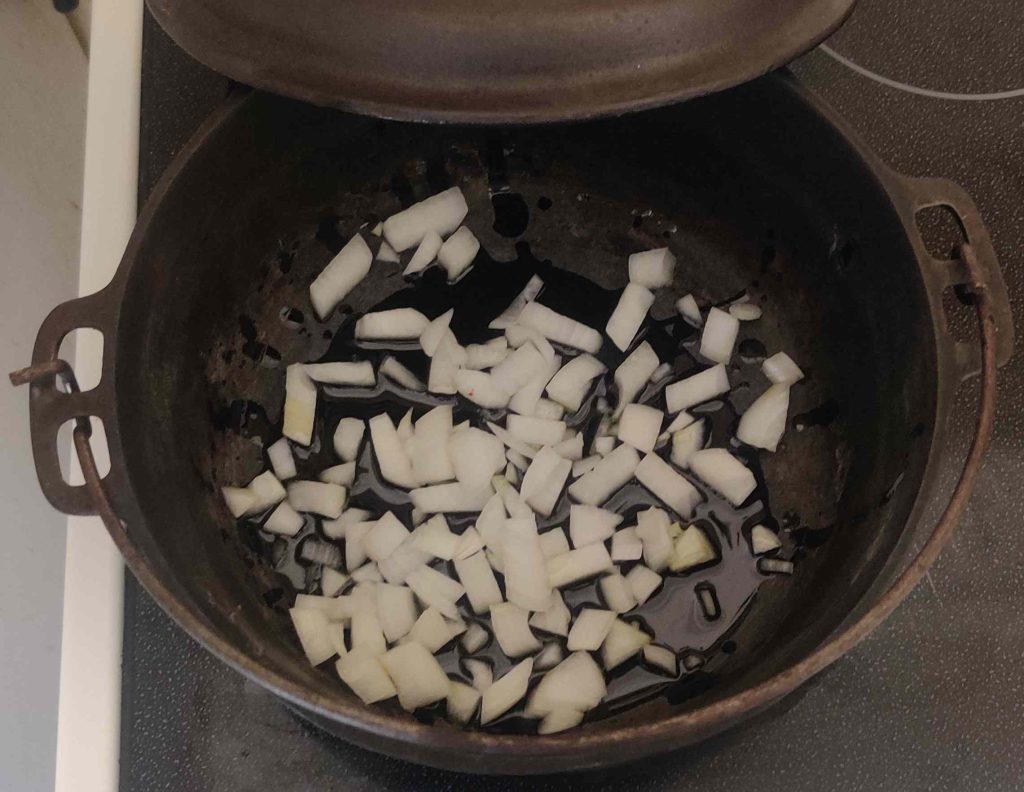
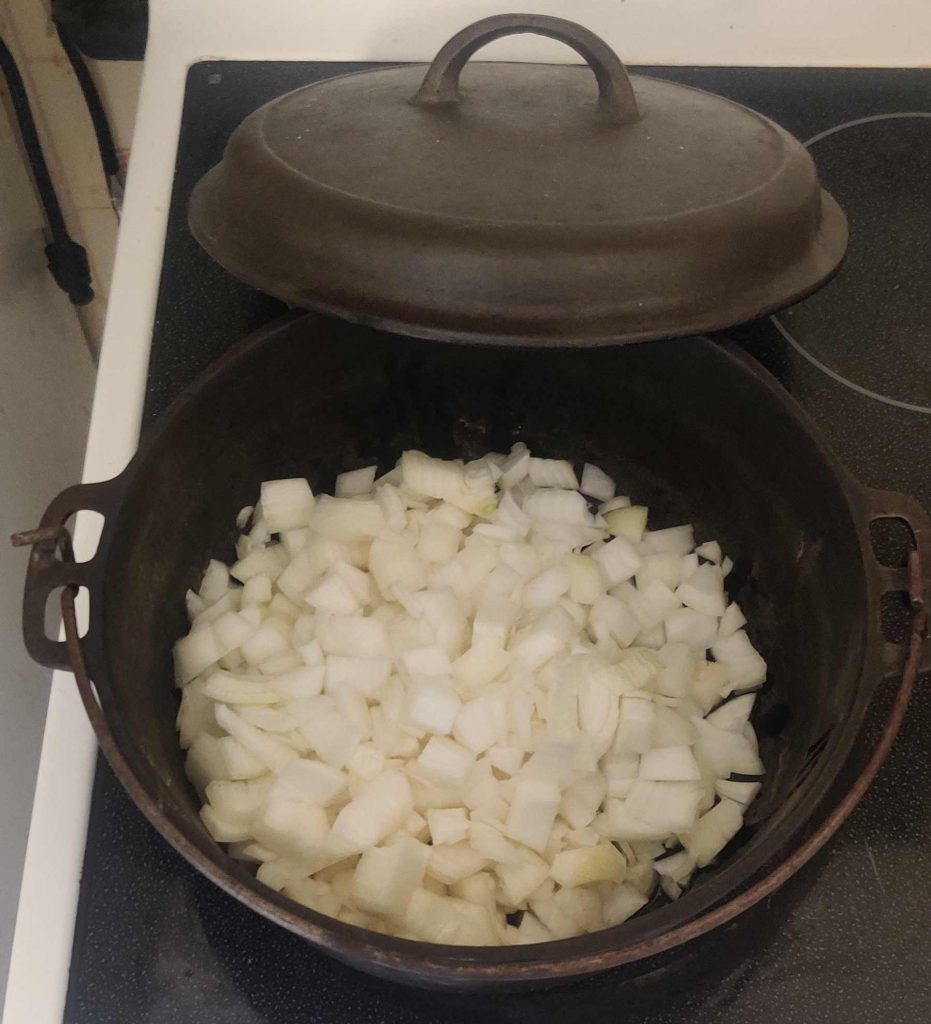
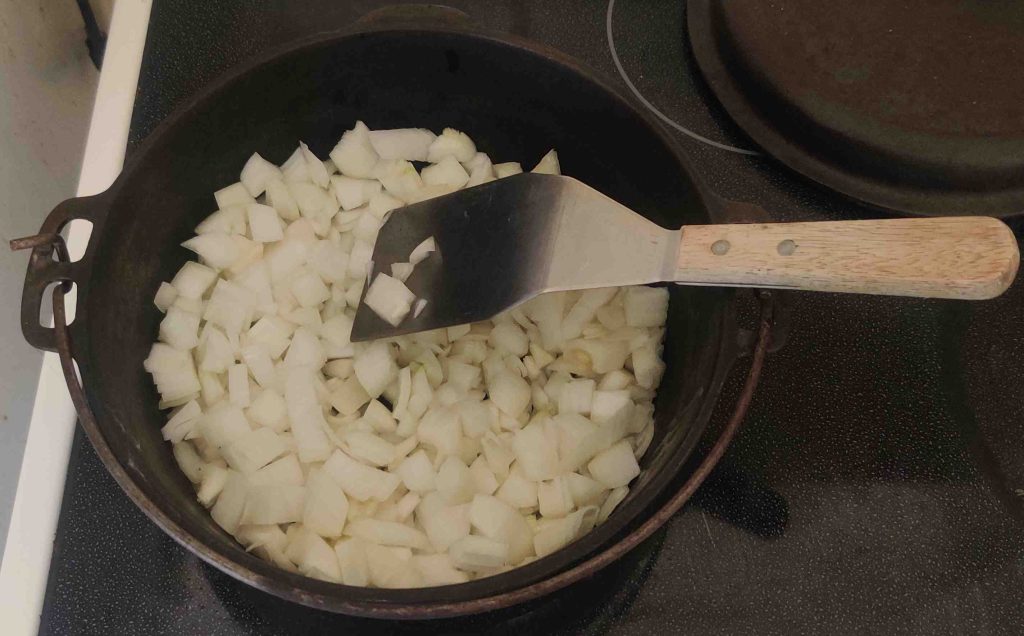
The onions and the olive oil were mixed a bit:
The beef and a pair of scissors were placed on the cutting board:
The meat packages were opened with the scissors:
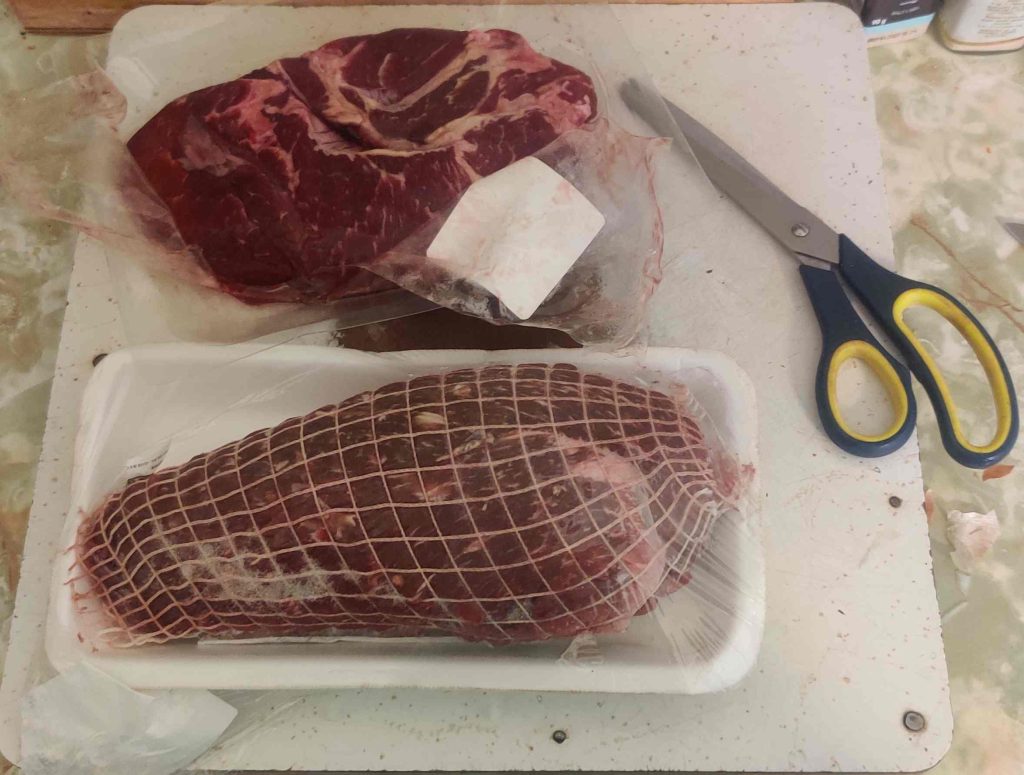
The beef pieces were removed from the containers:
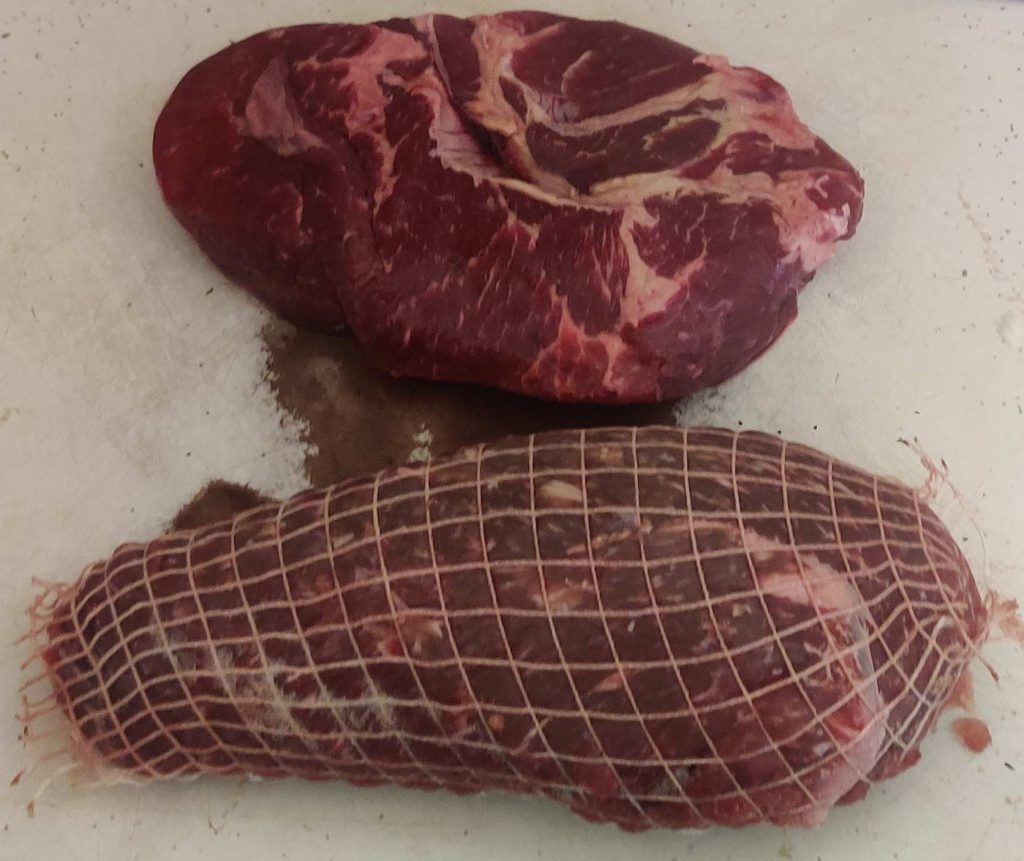
The netting on one of the pieces of beef was cut with the scissors and was removed:
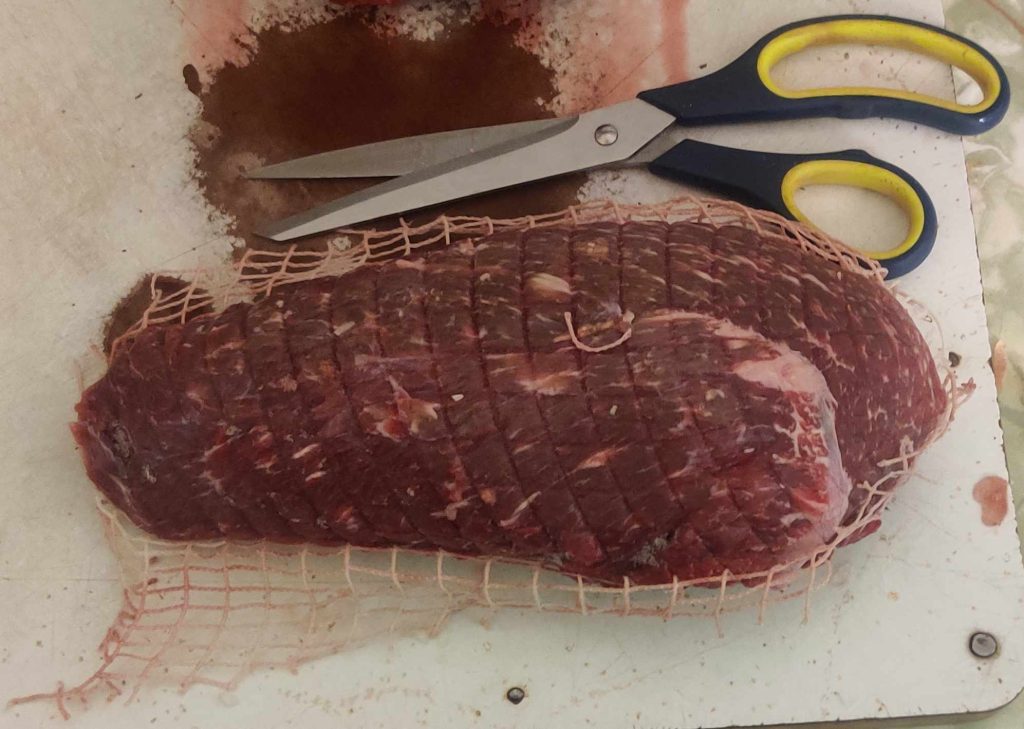
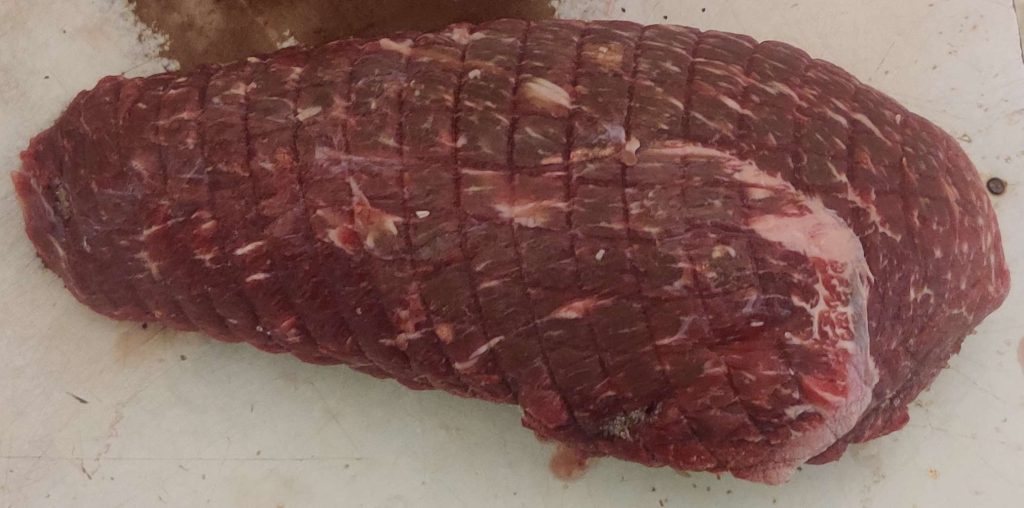
The pieces of beef were sliced into pieces that would fit more nicely into the cast iron pot:
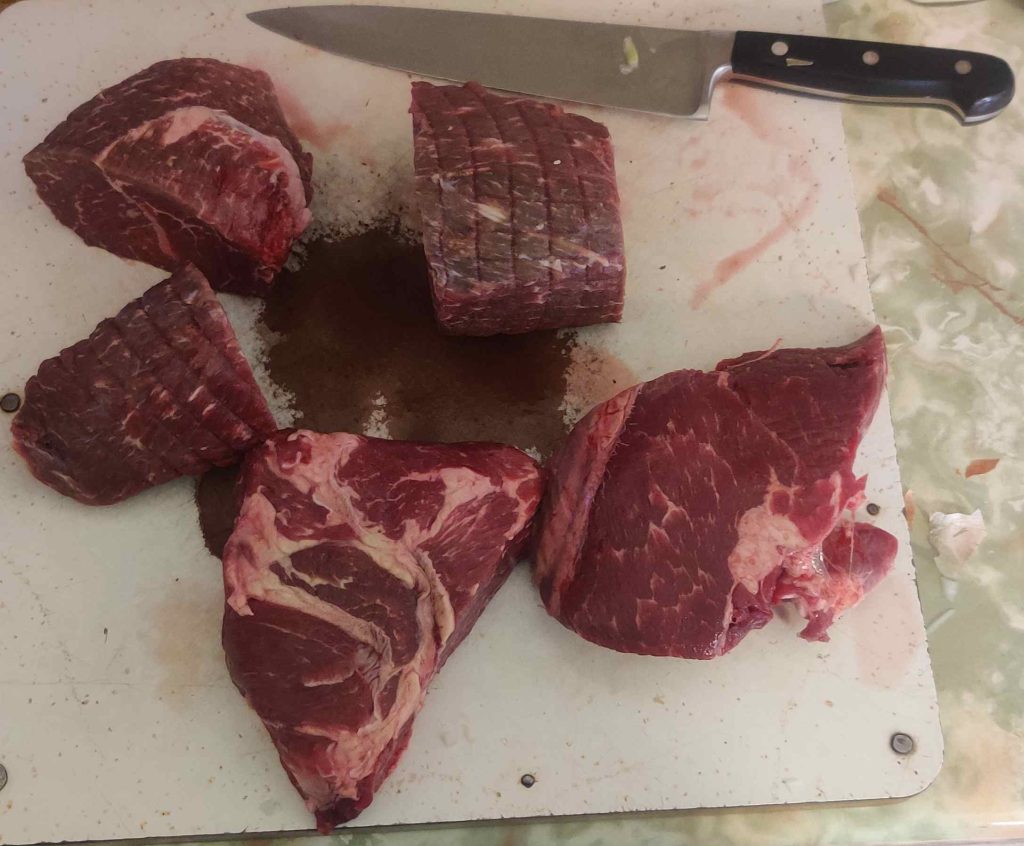
The beef pieces were placed in the cast iron pot with the onions and olive oil:
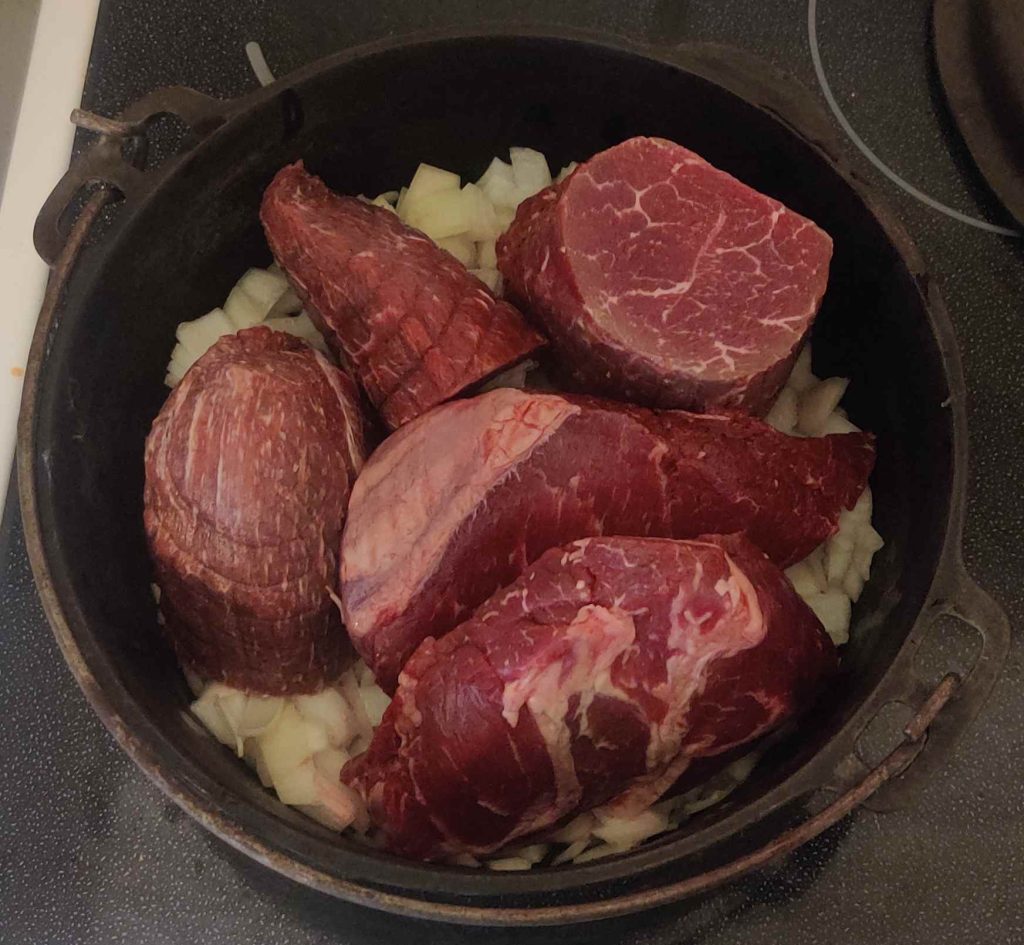
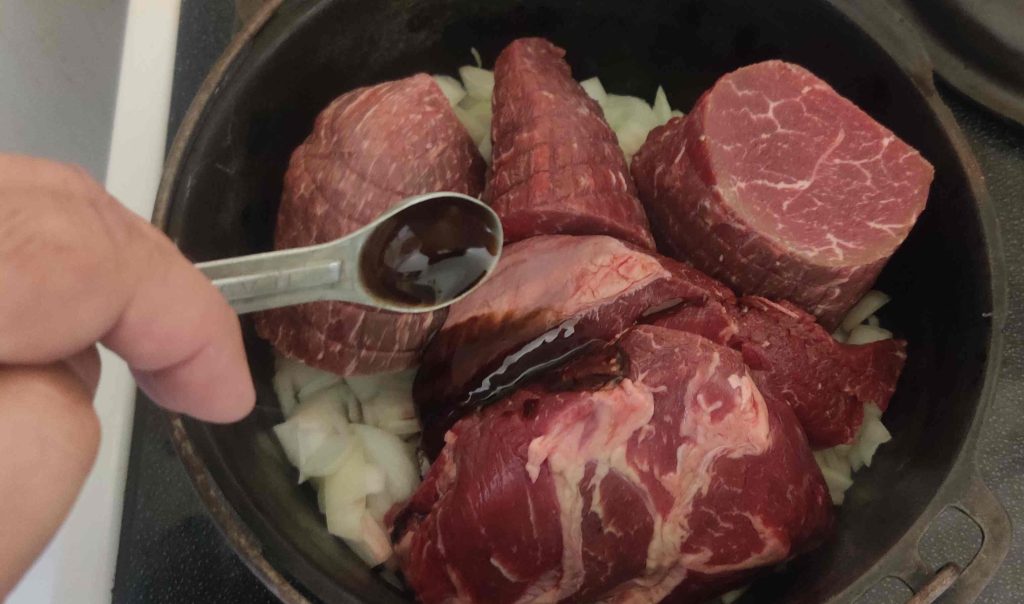
Concentrated beef bouillon and a measuring spoon were taken out:
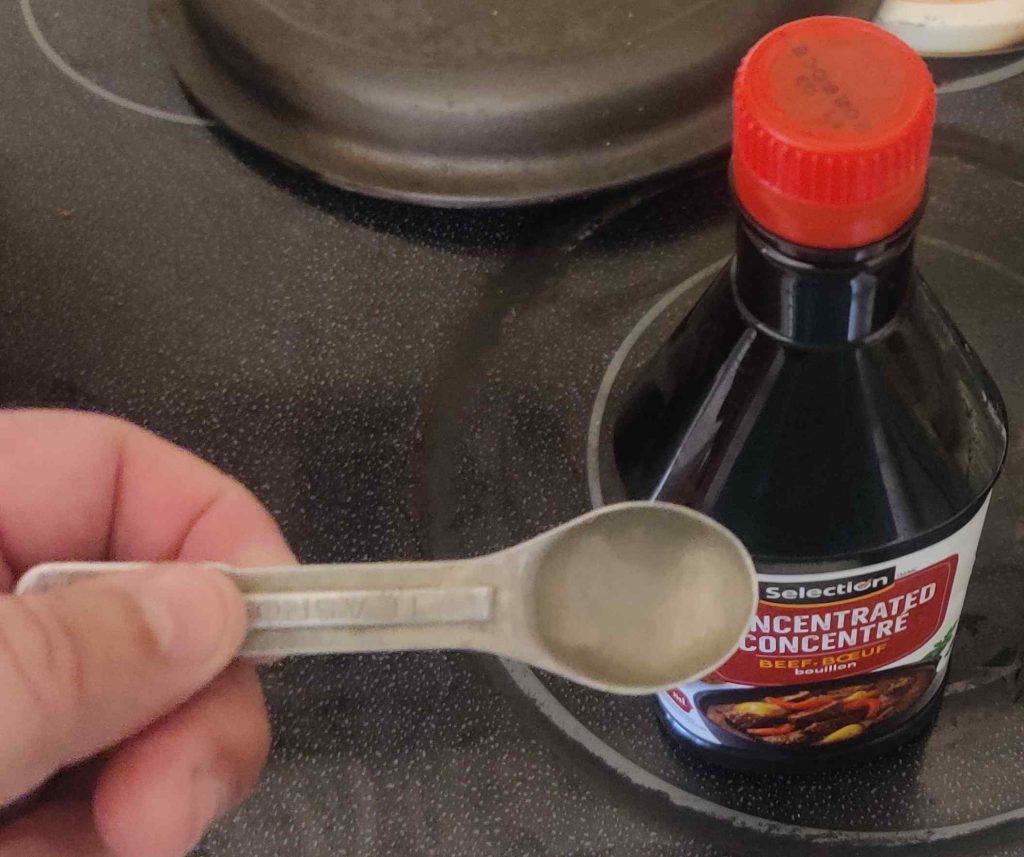
The beef bouillon was measured out:
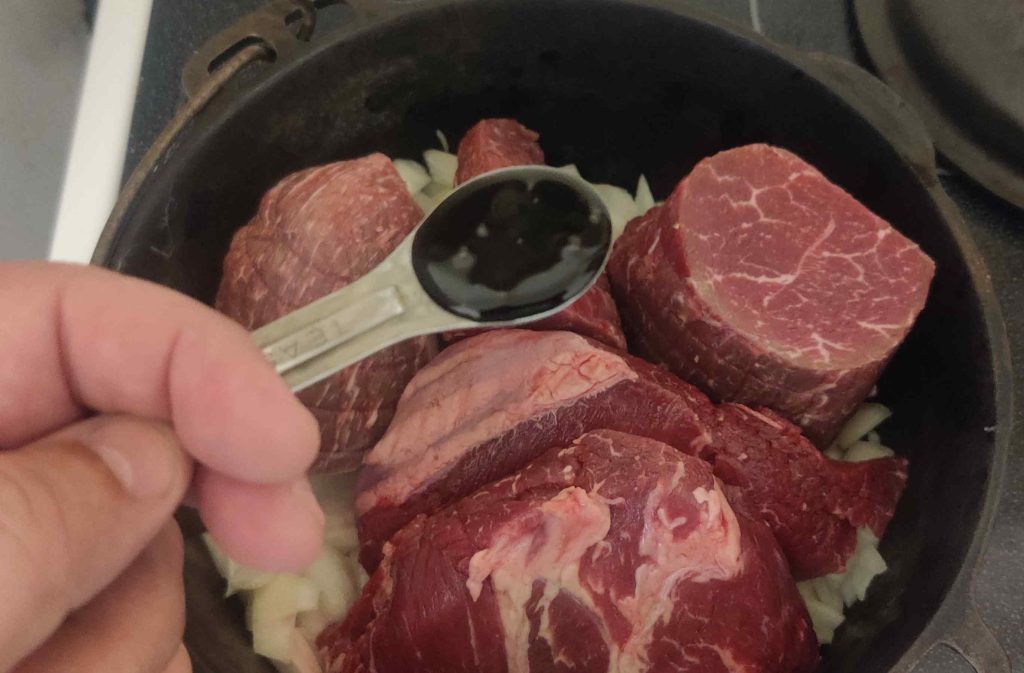
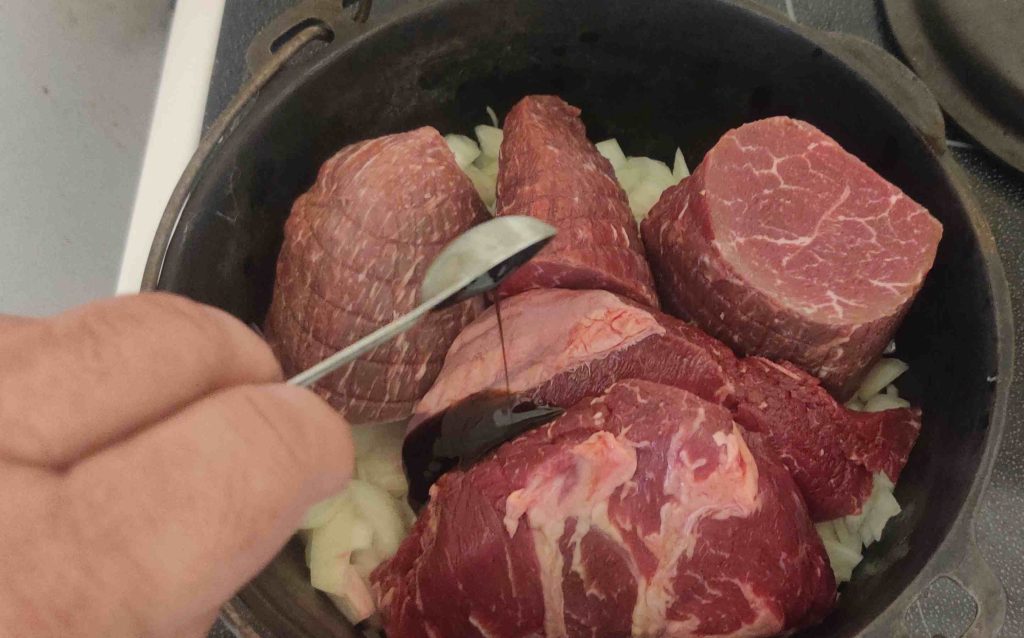
The beef bouillon was transferred to the cast iron pot with the beef, onions, and olive oil:
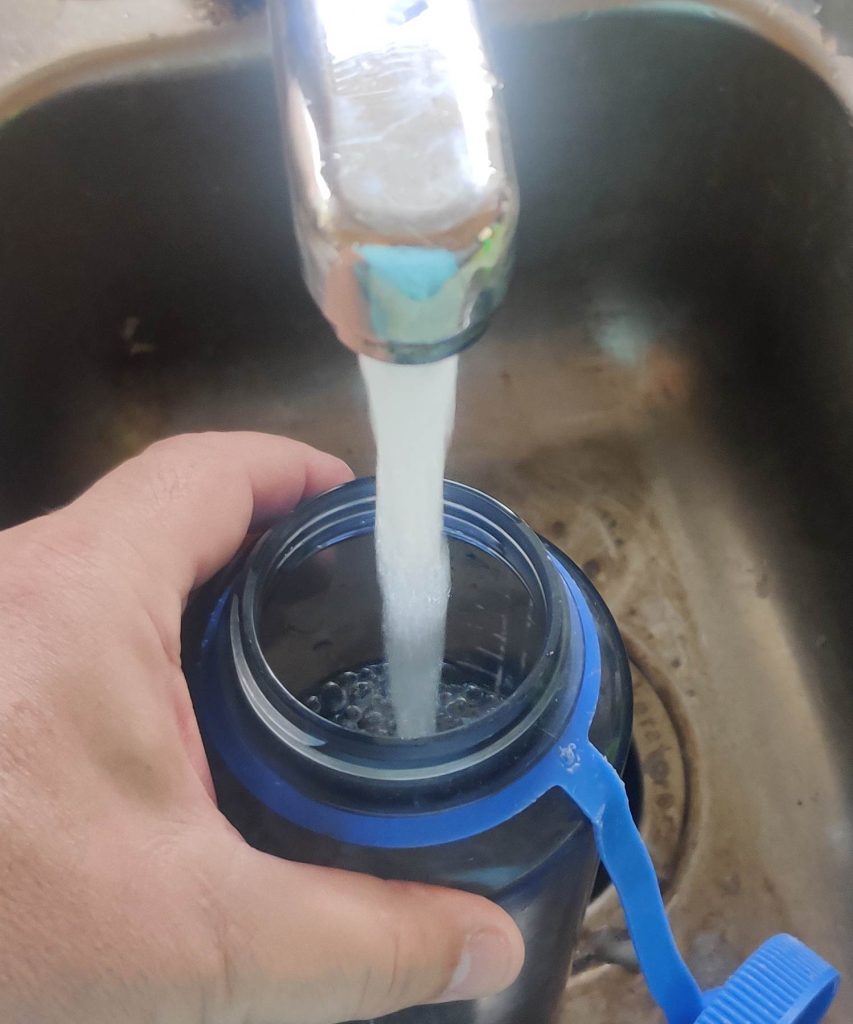
Water was drawn into one of my clean drinking water bottles (although I have others, I love Nalgene water bottles!):
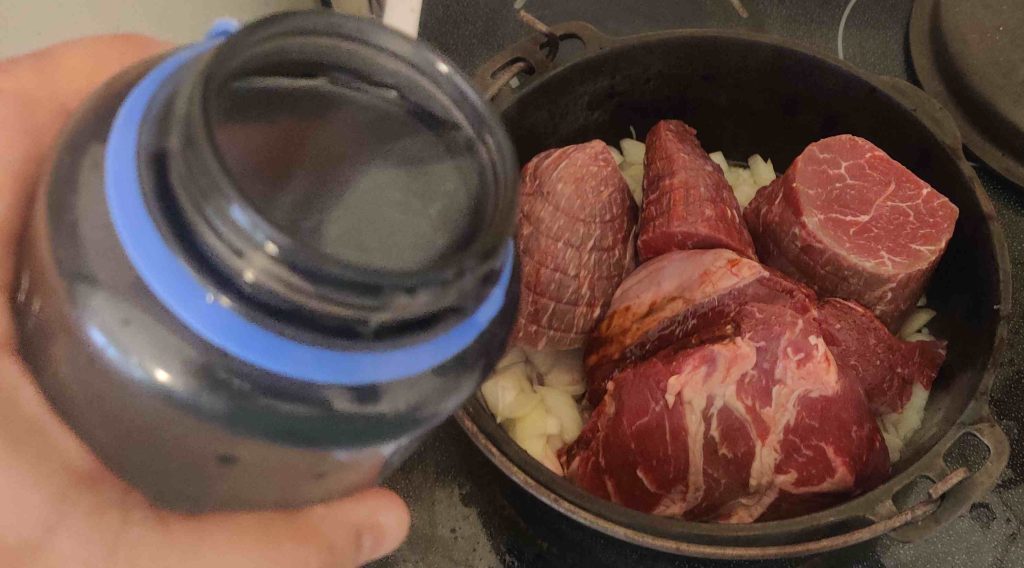
The water was brought over to the cast iron pot with the concentrated beef bouillon, beef, onions, and olive oil:
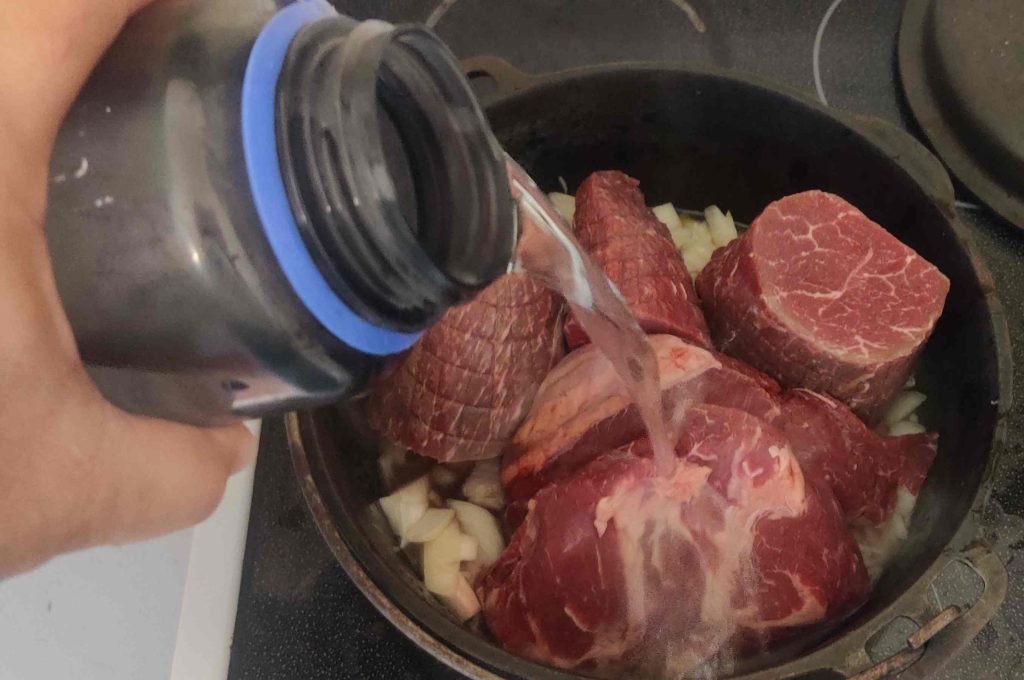
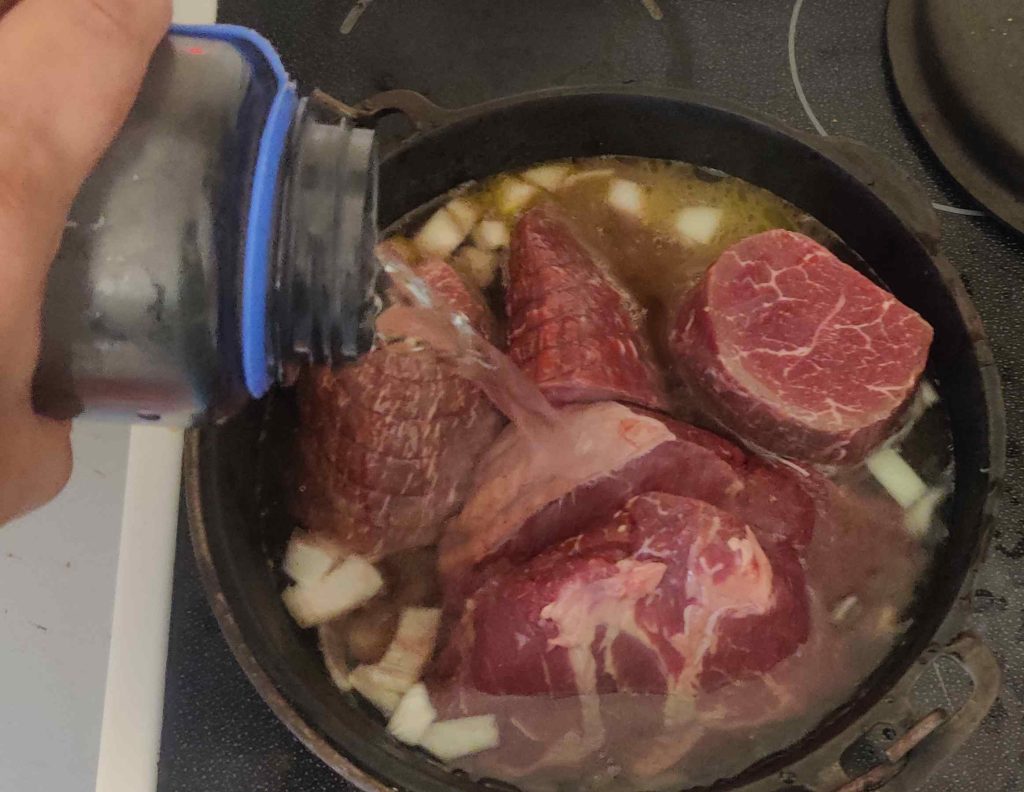
The water was poured into the cast iron pot:
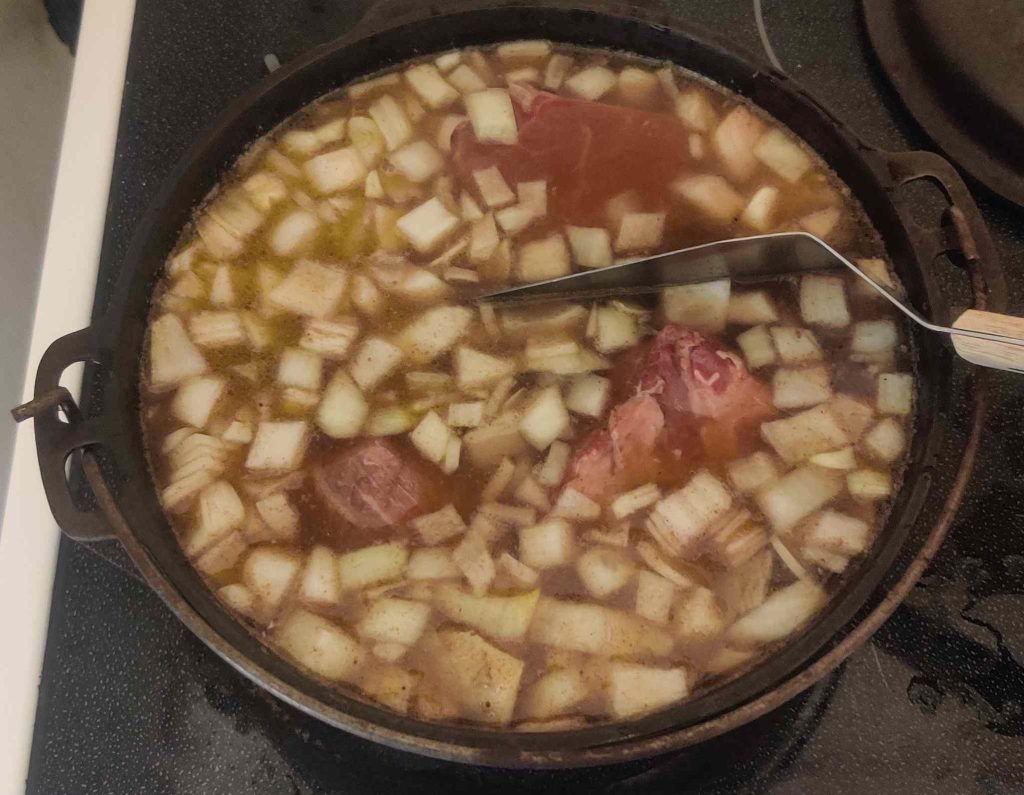
Once filled, the contents in the cast iron pot were stirred a bit:
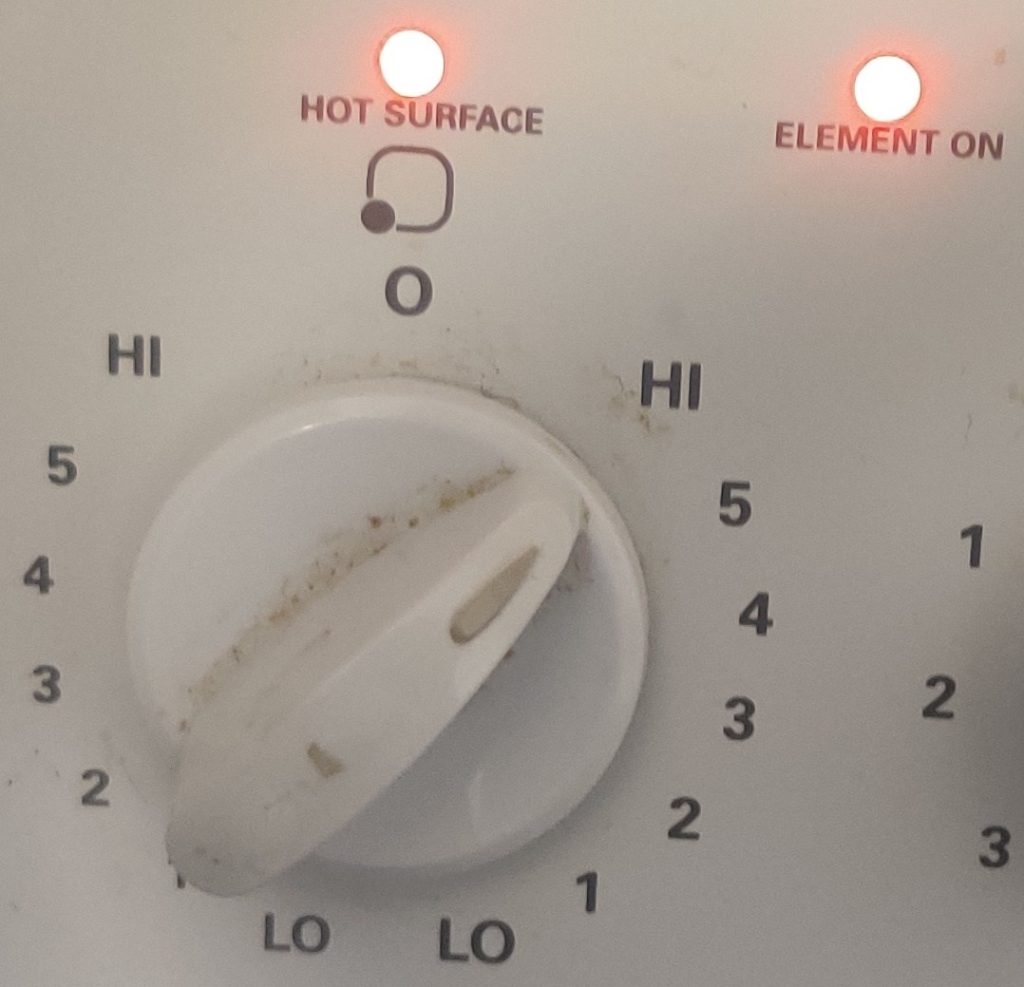
The stove burner was turned on to high:
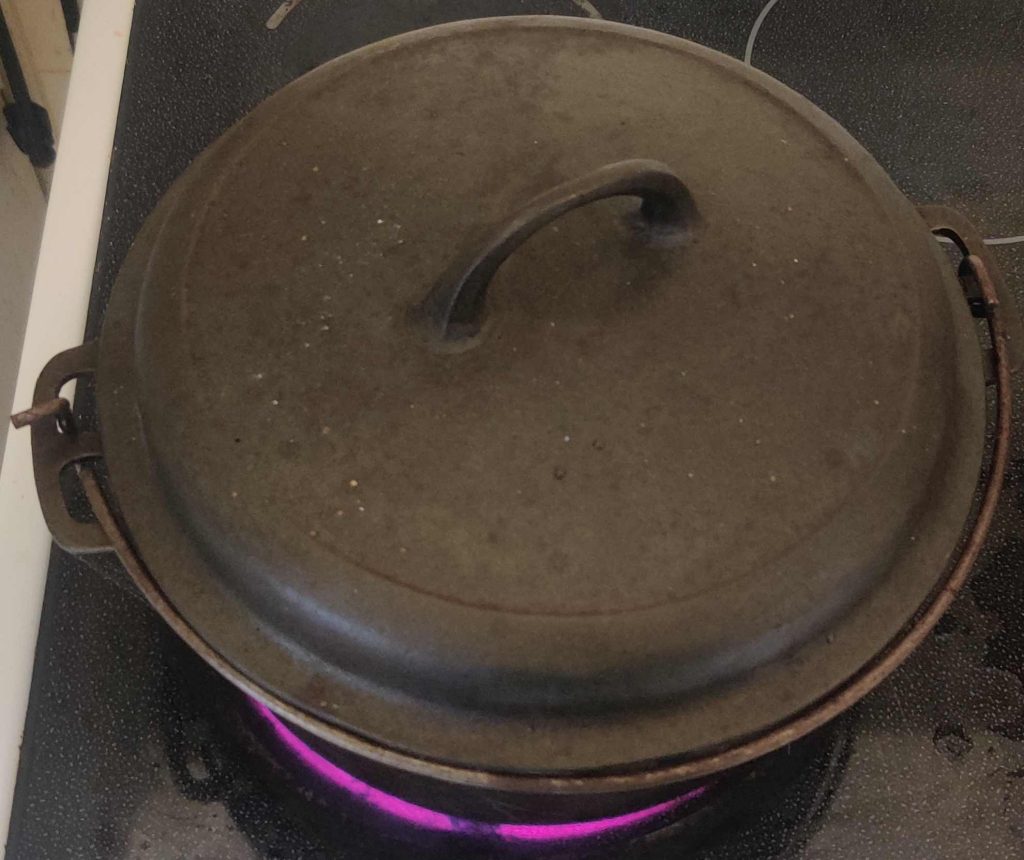
The lid was placed on the cast iron pot:
While the contents of the cast iron pot were heating up, the rack in my countertop convection oven was placed on the bottom level, in order to accomodate the pot:
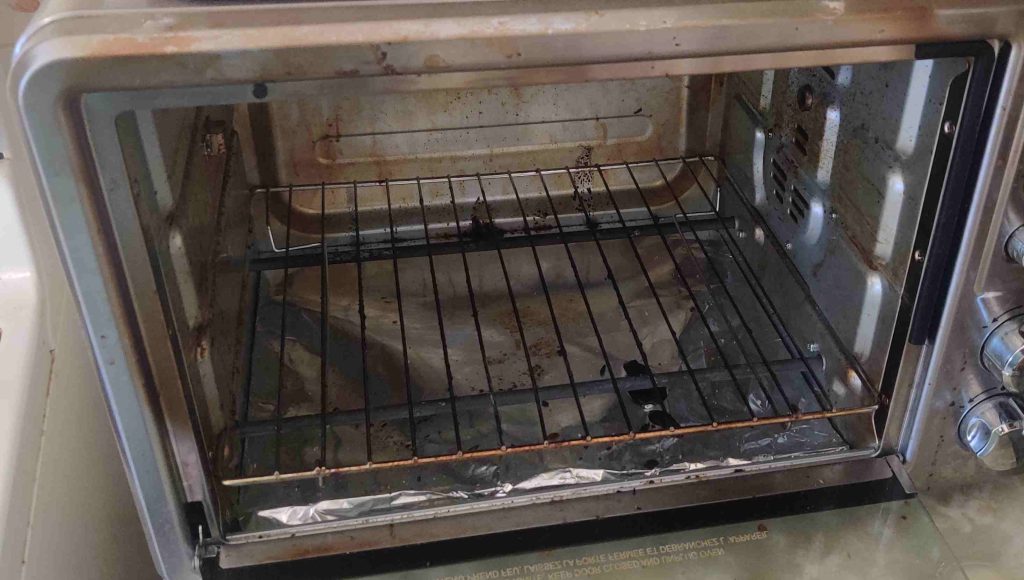
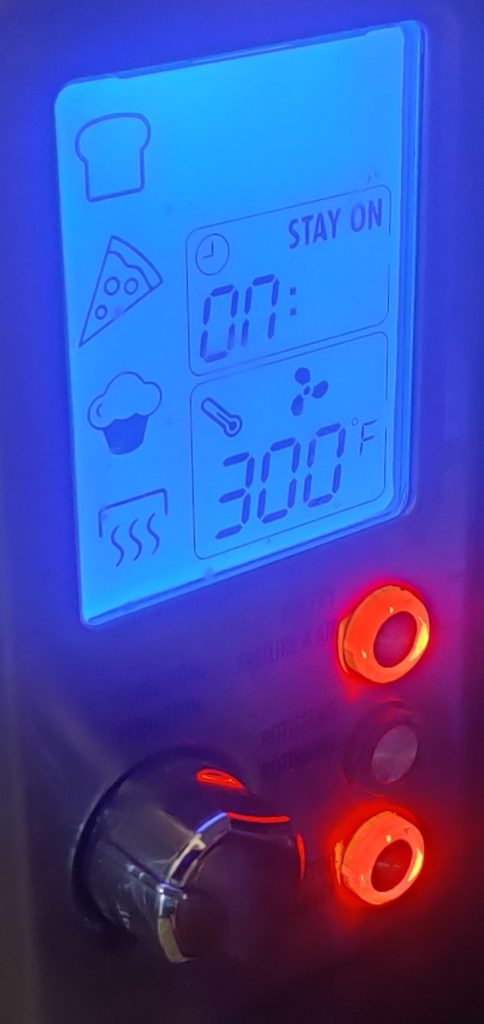
The countertop convection oven was turned on and set to 300F, as well as to a permanent “On” position (instead of on a countdown timer):
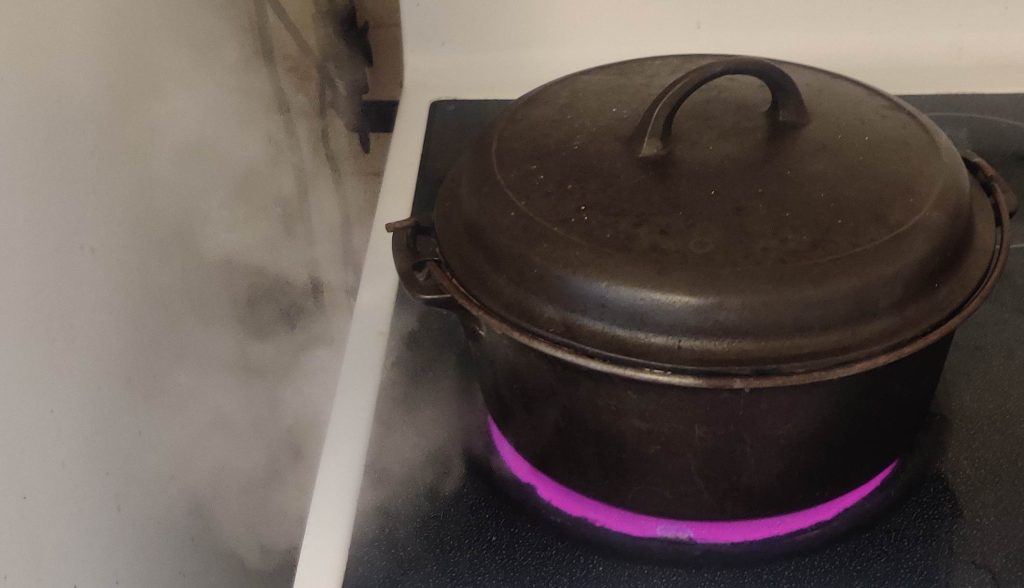
Soon, the pot on the stove was brought to a boil (the steam can be seen escaping on the left):
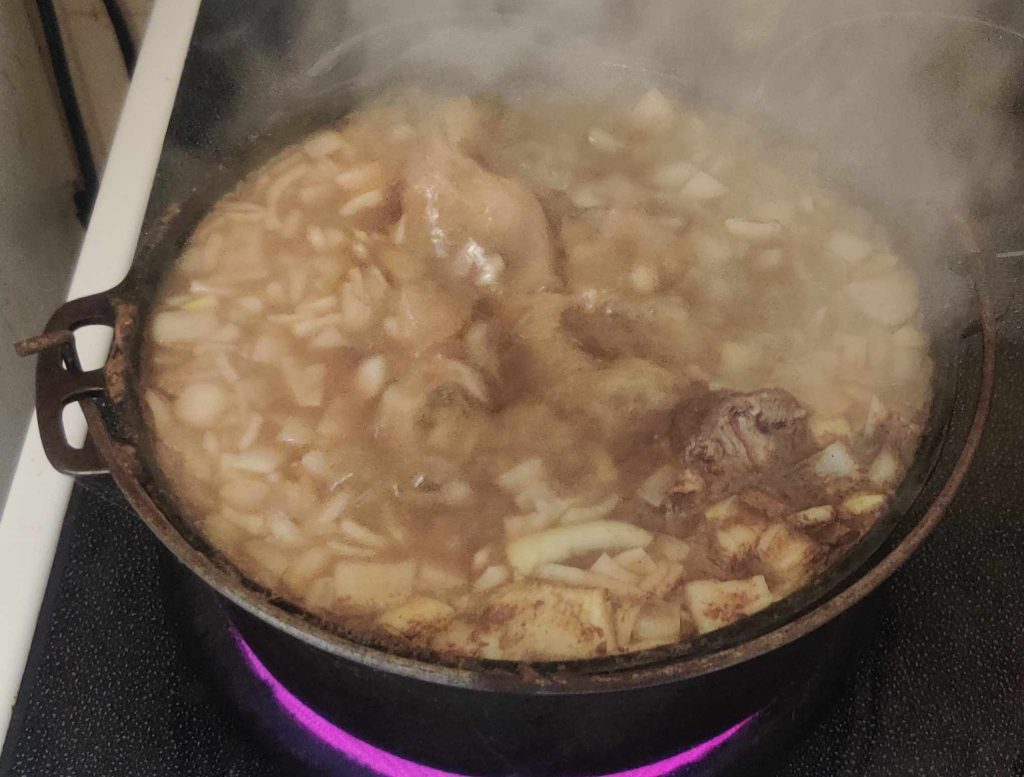
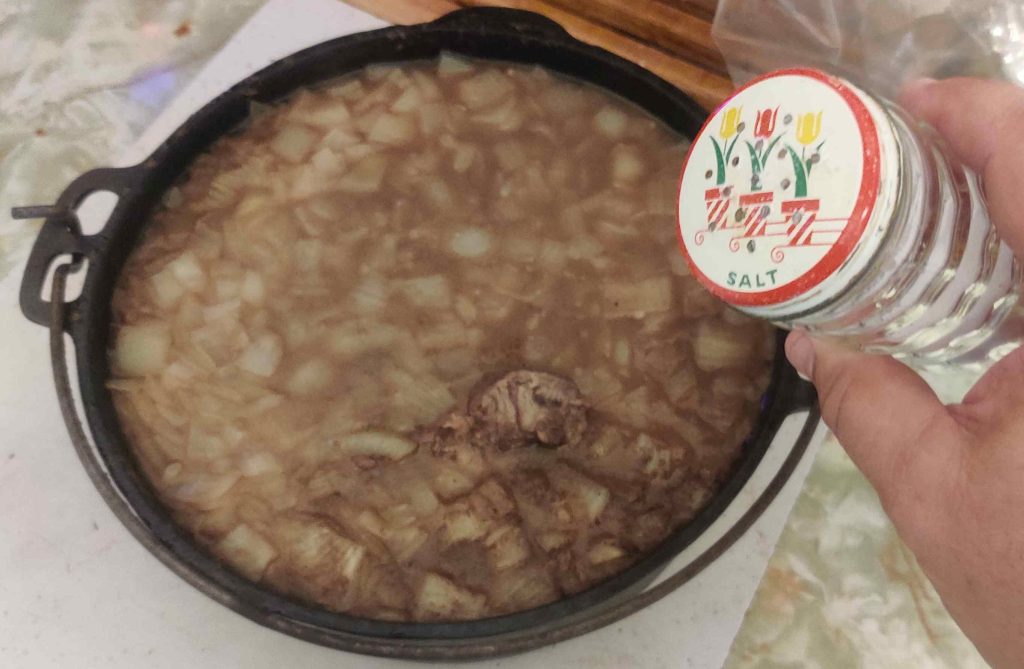
At this point, I remembered to add a bit of salt — although, not too much, since no doubt the concentrated beef bouillon already had a good amount 🙂 :
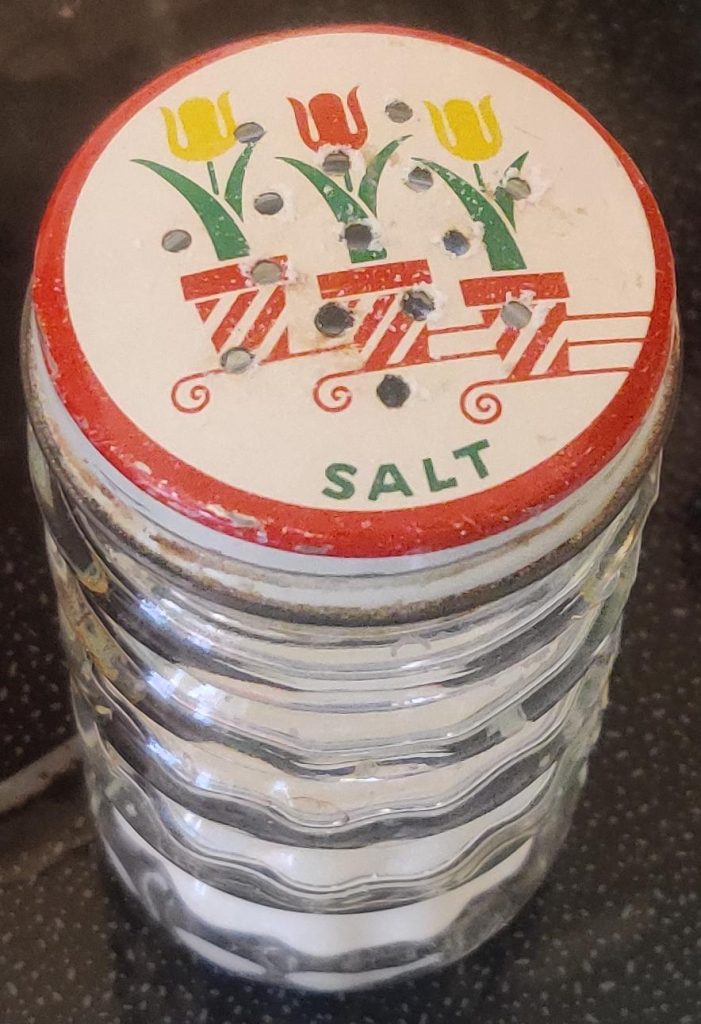
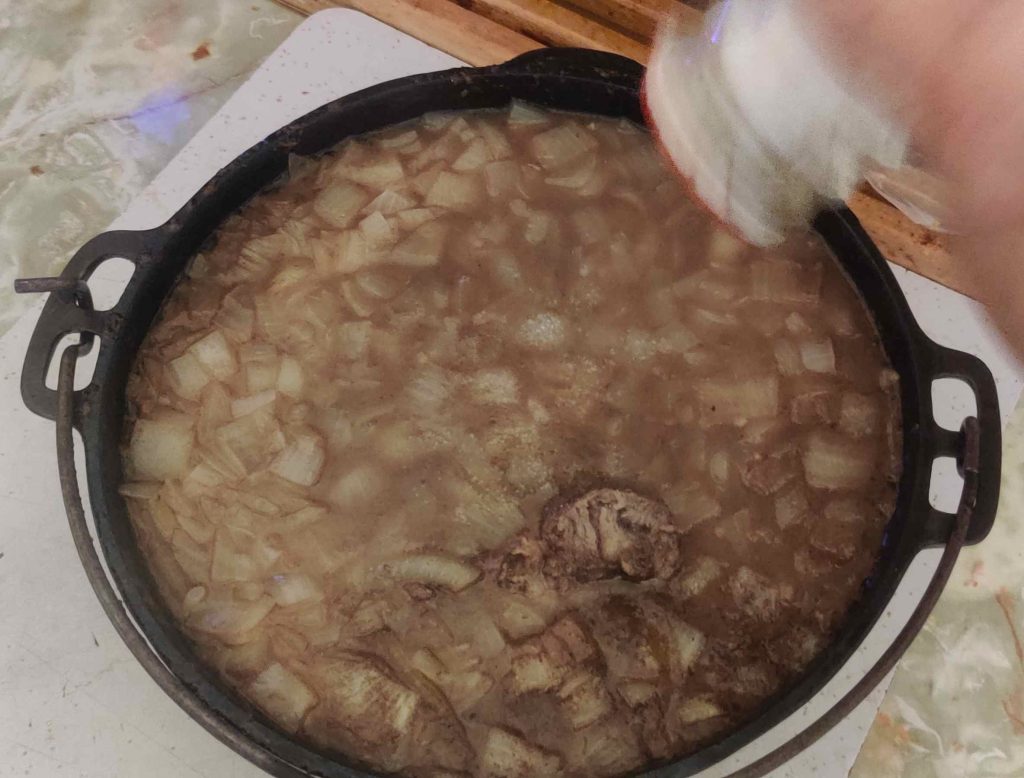
Since I had already moved the cast iron pot to the cutting board, some salt was added to the contents of the cast iron pot there:
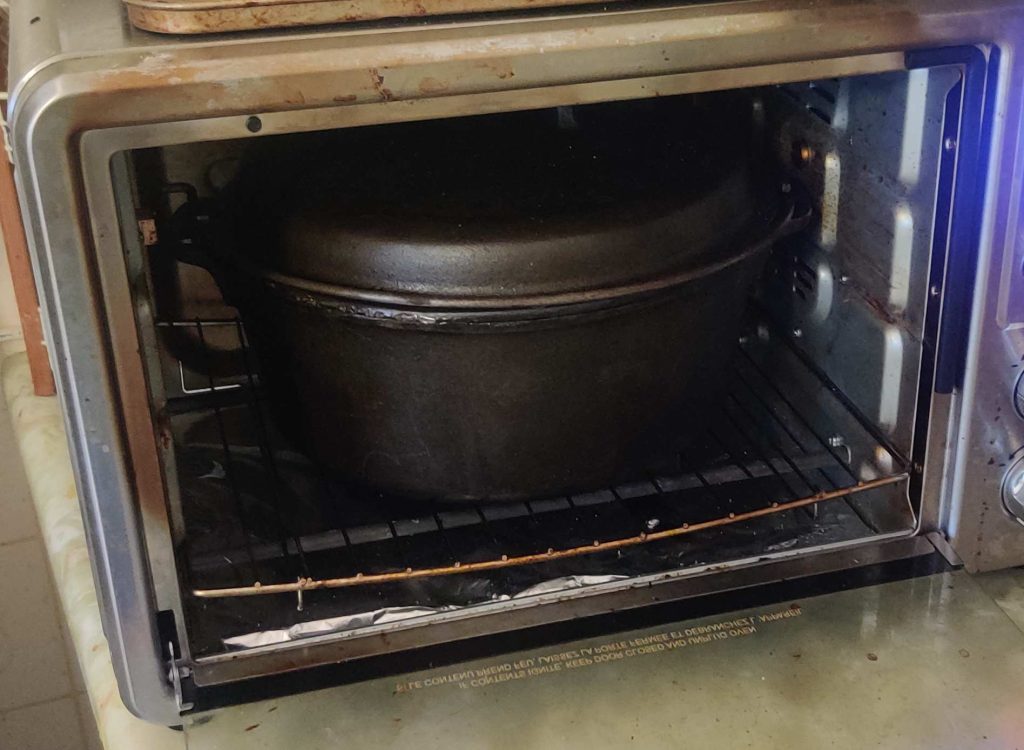
The lid was placed on the cast iron pot, and the cast iron pot was placed in the now-hot countertop convection oven (and its door closed, of course!):
About 45 minutes later — usually I would wait about an hour — I checked on the contents of the cast iron pot, and the contents were just beginning to bubble (hard as it is to see in this photo):
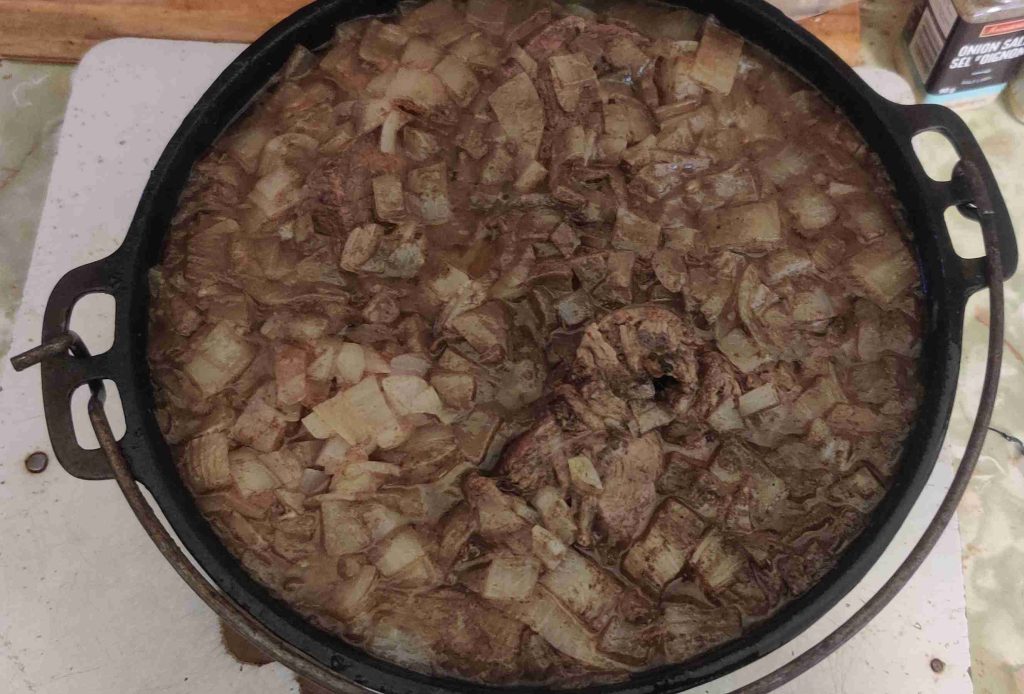
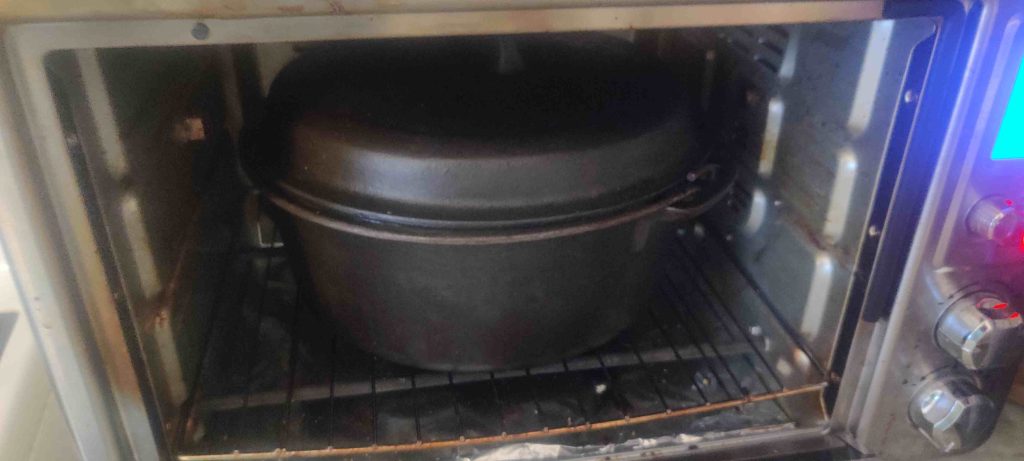
The cast iron pot was returned to the oven, and of course the door was closed:
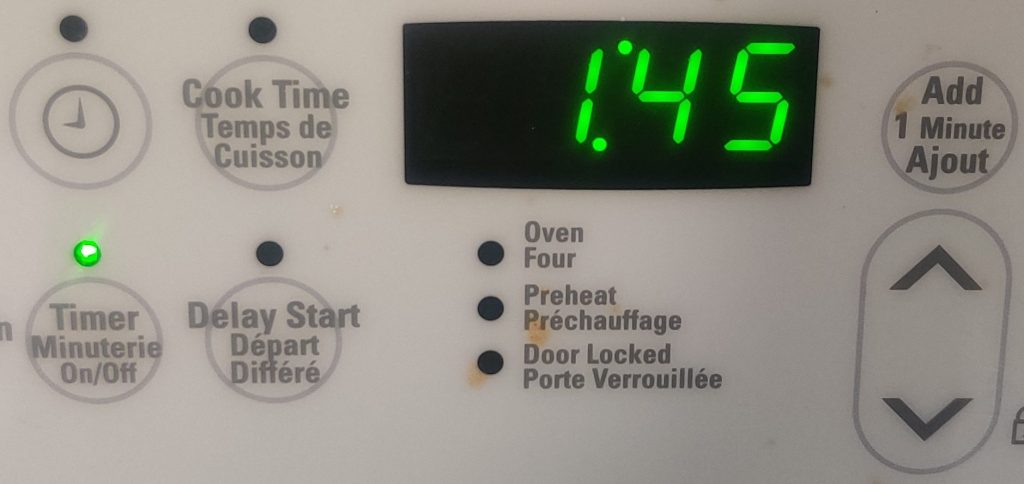
A timer was set to an hour and three quarters (an extra fifteen minutes to compensate for the early checkup):
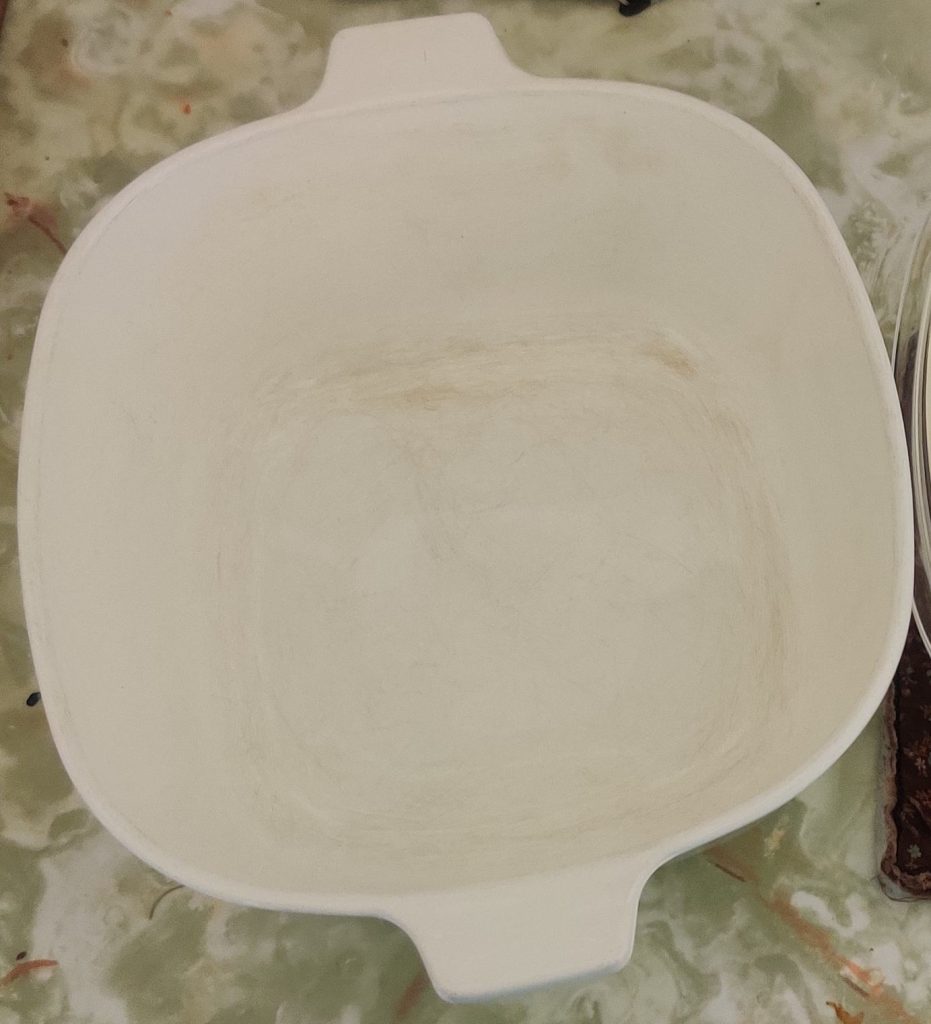
I took advantage of the moment to take out a heatproof container to receive the pulled beef later on:
At the end of the braising time …
… the cast iron pot was taken out of the countertop convection oven …
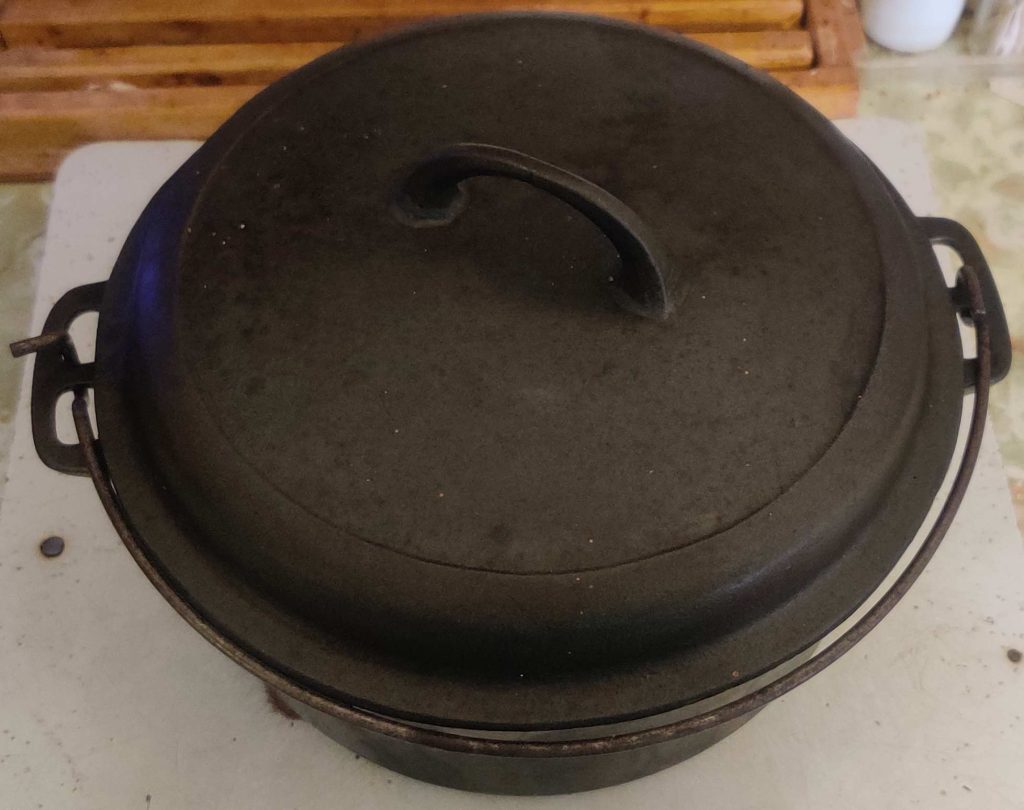
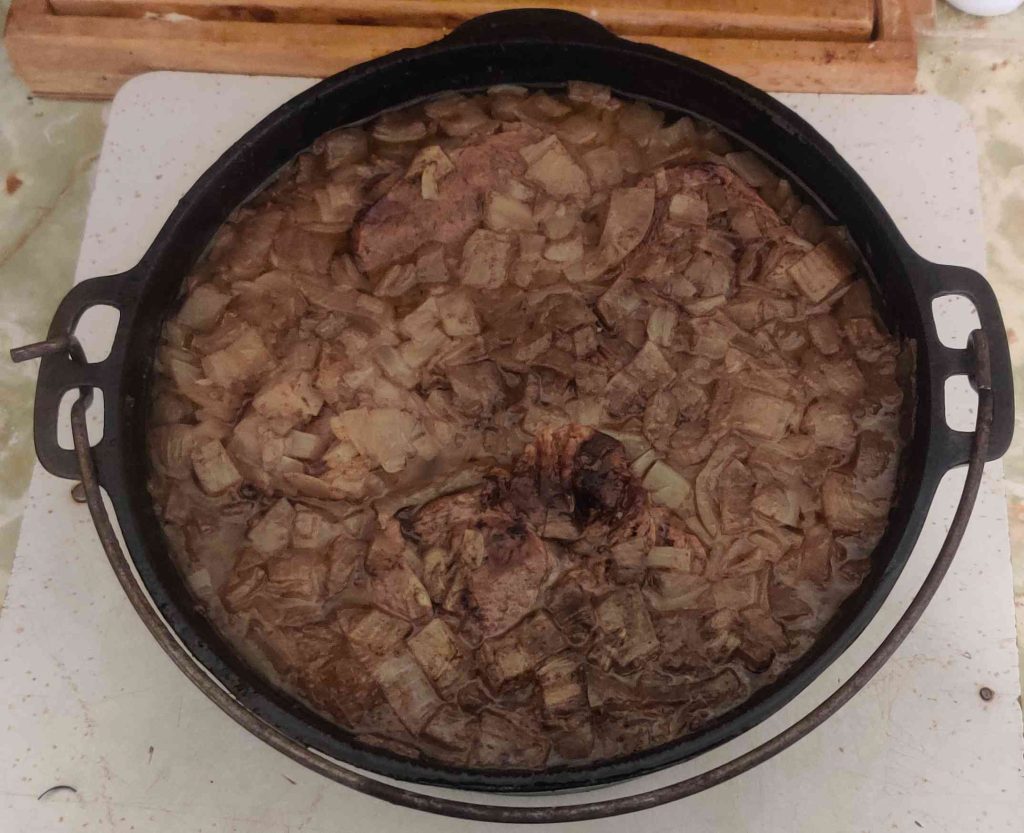
… and the lid was removed:
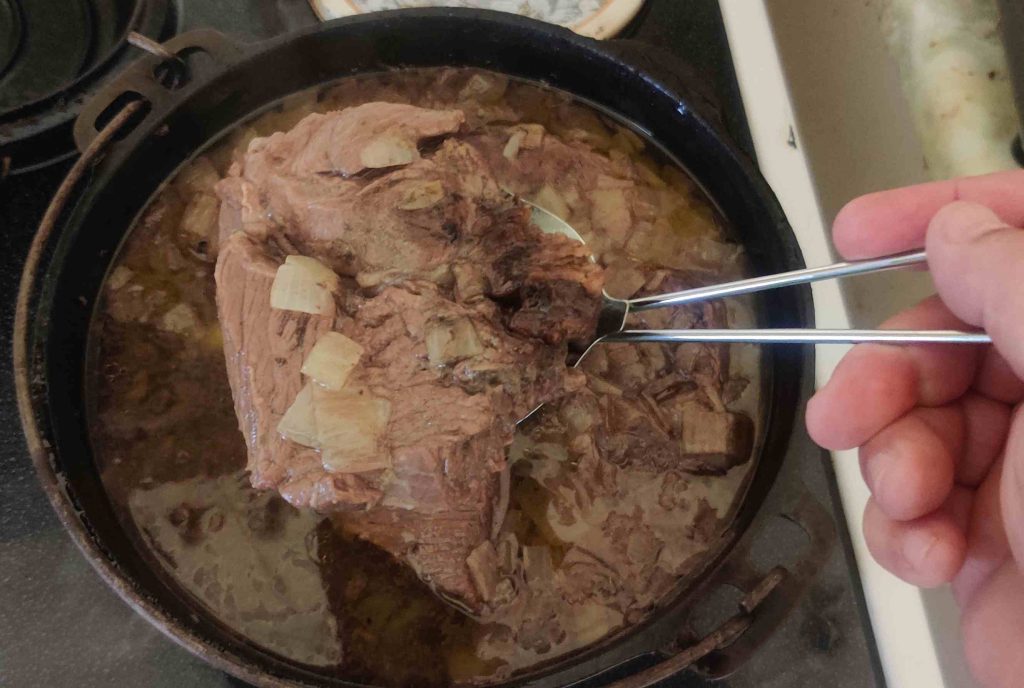
A piece of beef was removed from the cast iron pot with a slotted spoon:
The piece of beef was placed on the cutting board:
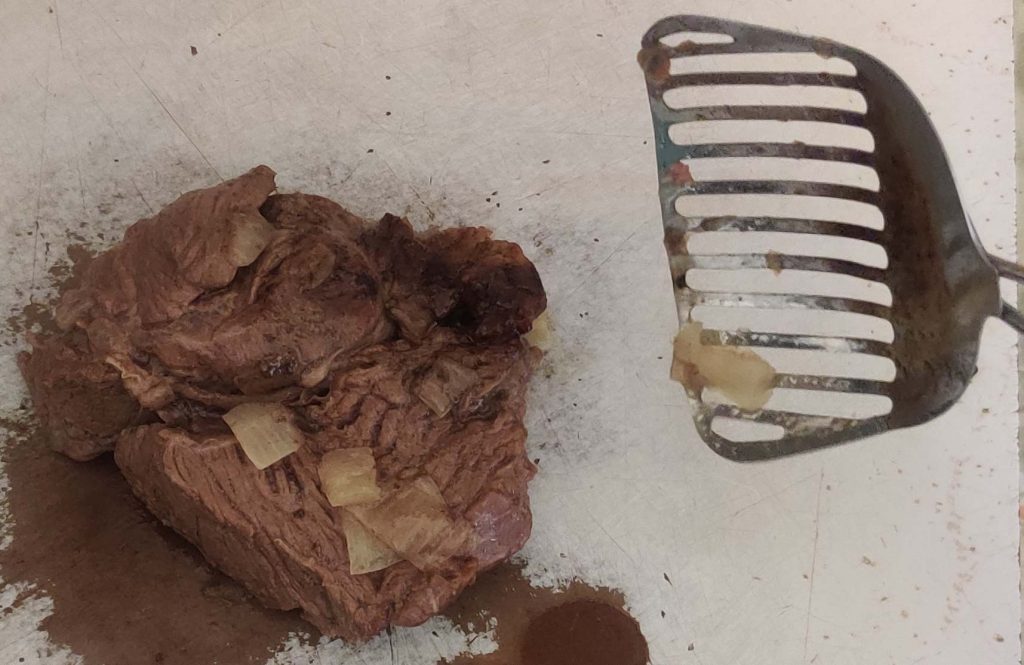
Two forks were taken out:
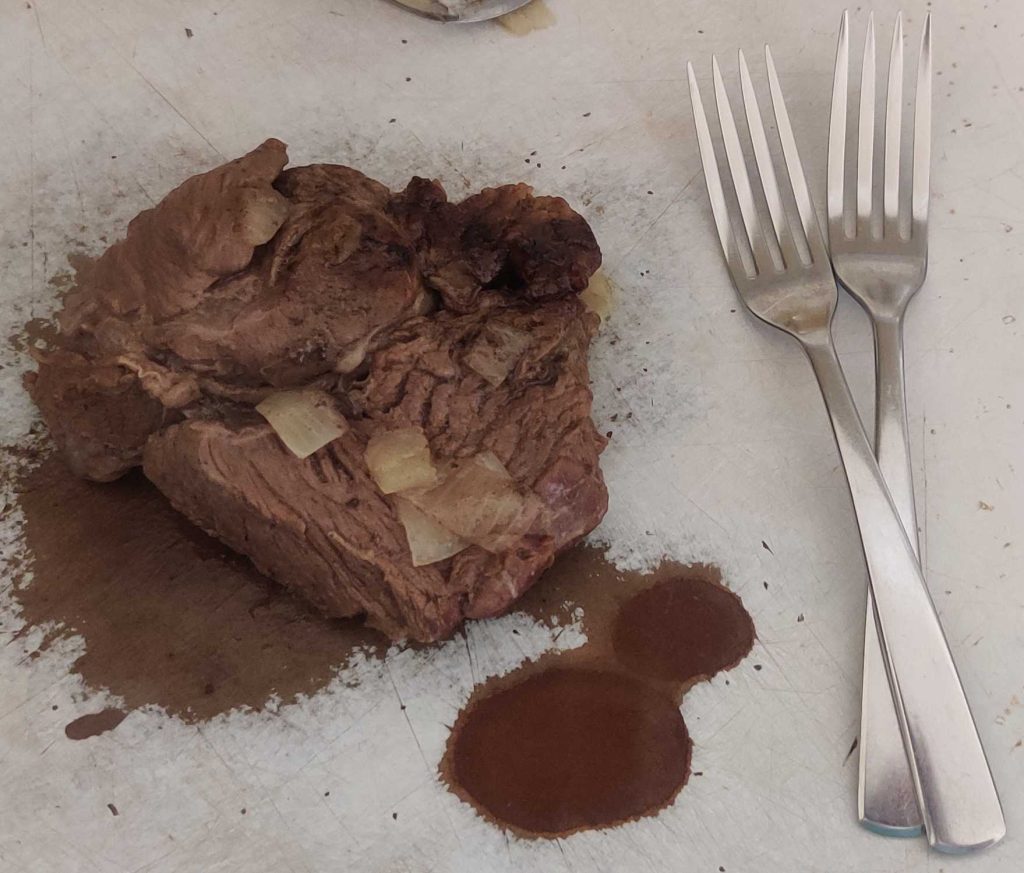
The meat was tested with a fork, and “it passed”, as in it was properly cooked, by shredding off easily:
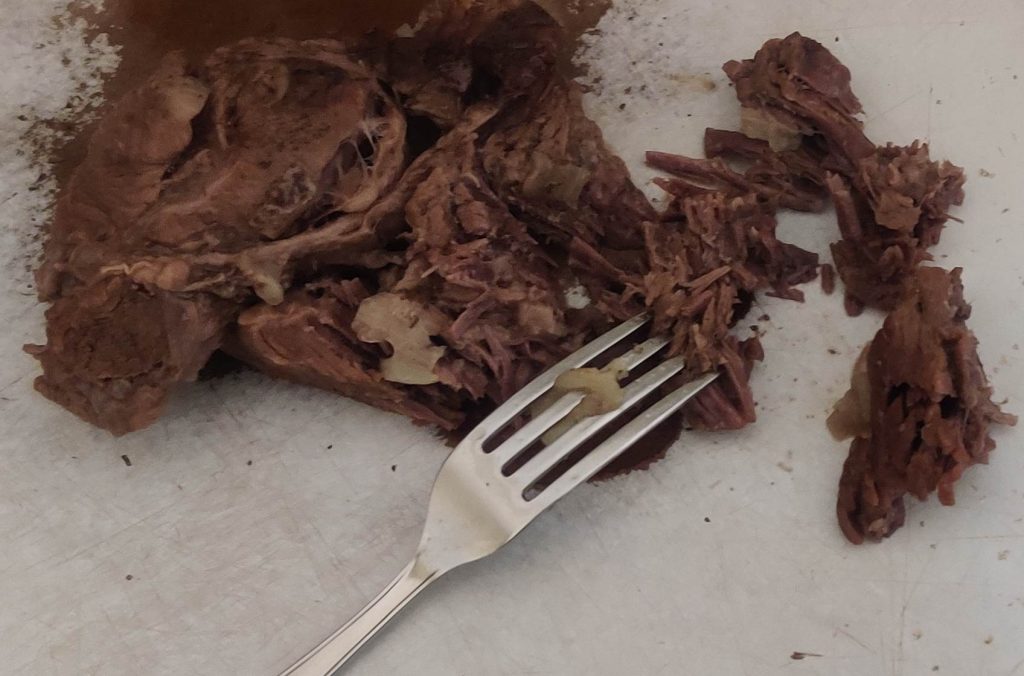
The piece of beef was fully shredded, and the kitchen knife was taken out:
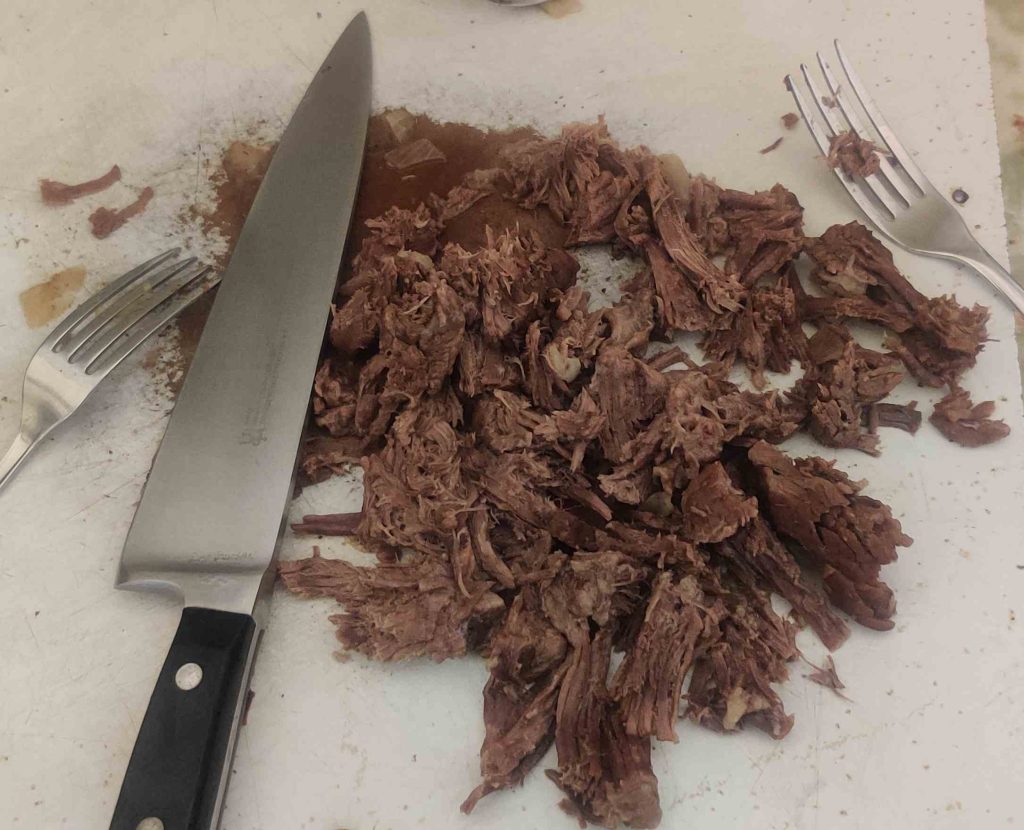
The shredded beef was fully chopped, since my mom likes it that way:
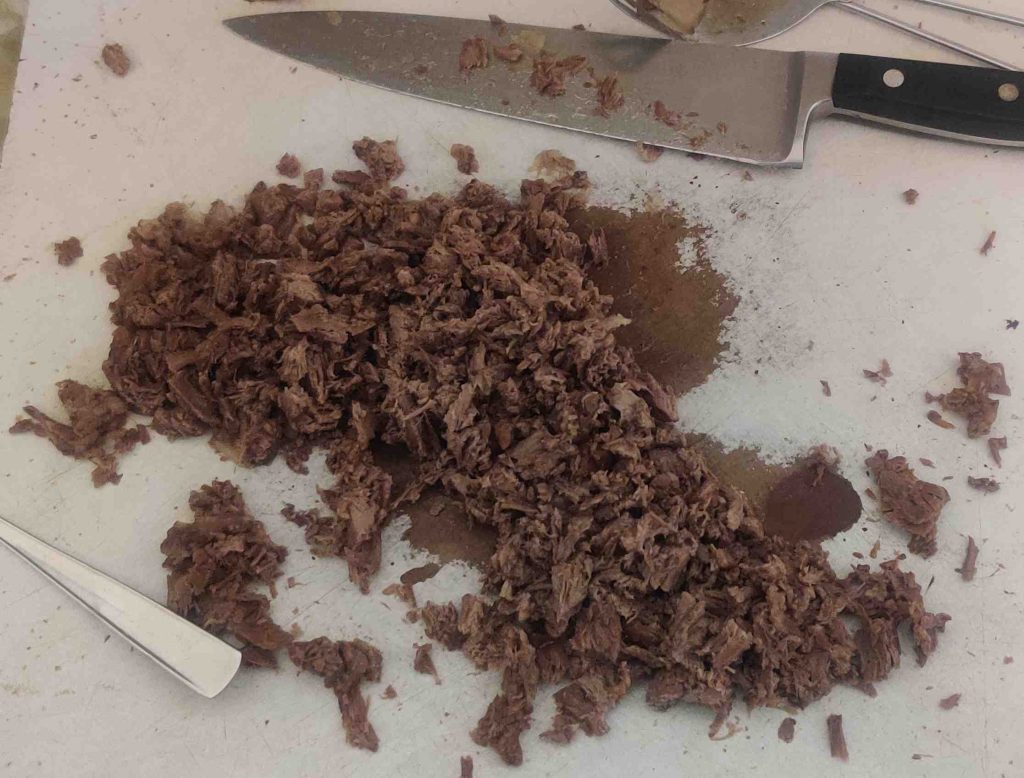
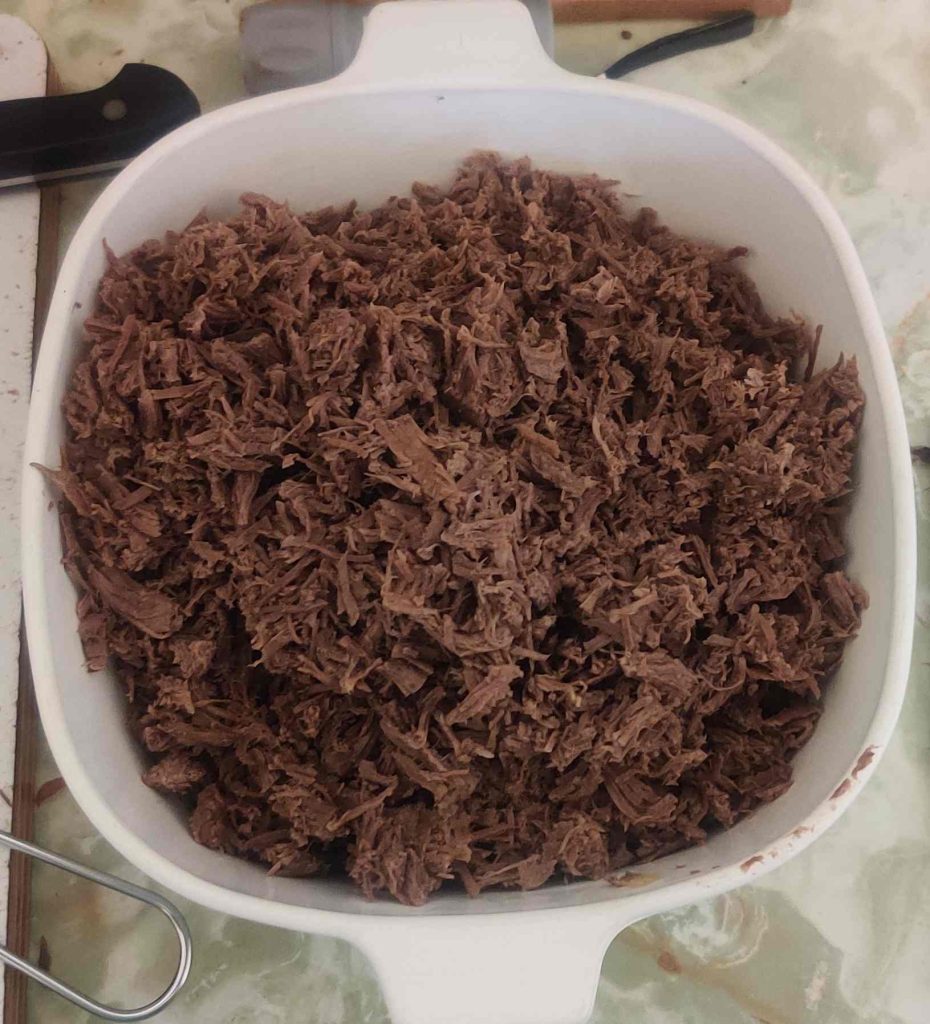
The rest of the meat was taken out of the braising liquid, shredded, and chopped, and then transferred to the heatproof container:
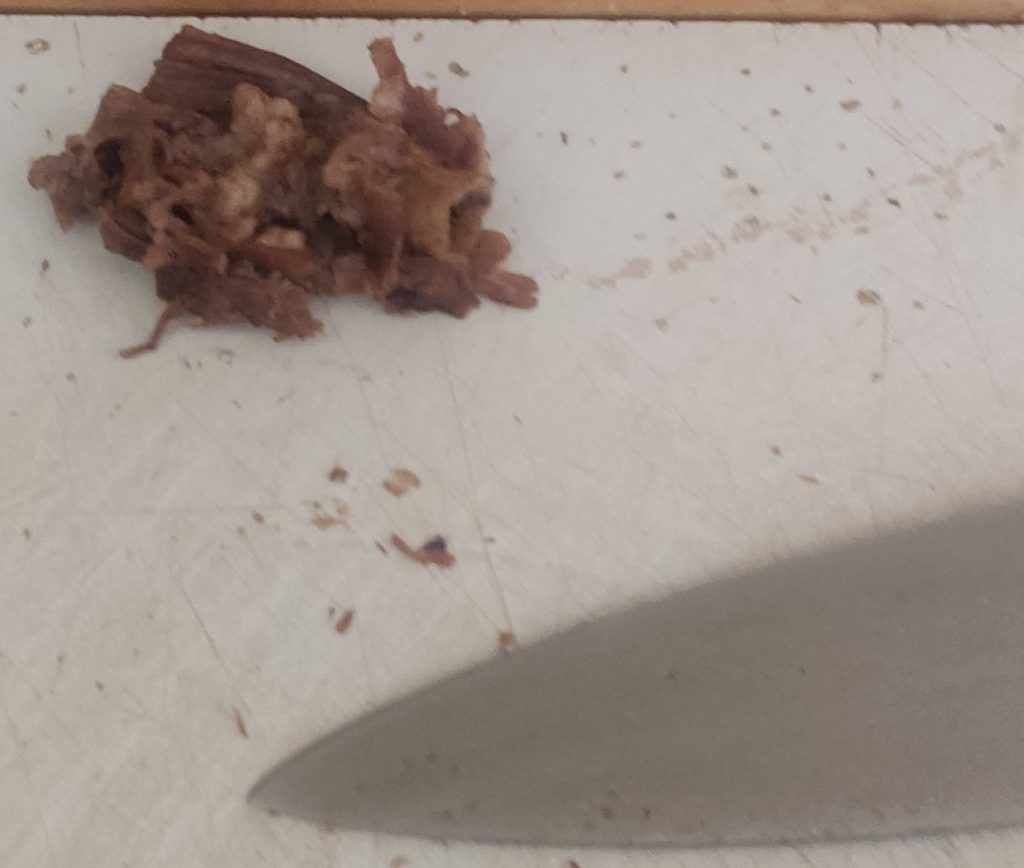
The grissol that was in the meat had been put aside, and was placed in a bucket to be sent off with the curbside municipal composting:
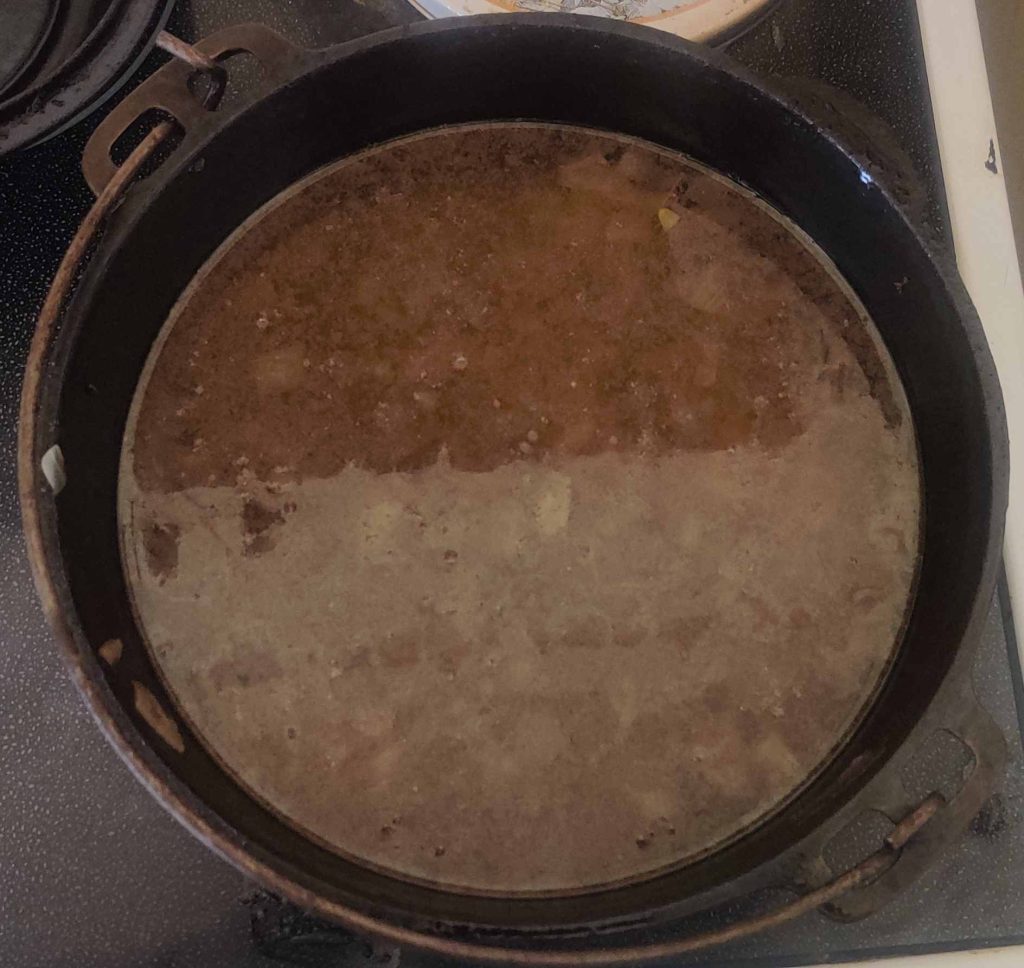
Here’s the braising liquid with the onions in it after all the meat was chopped up:
A handheld blender was taken out and plugged in:
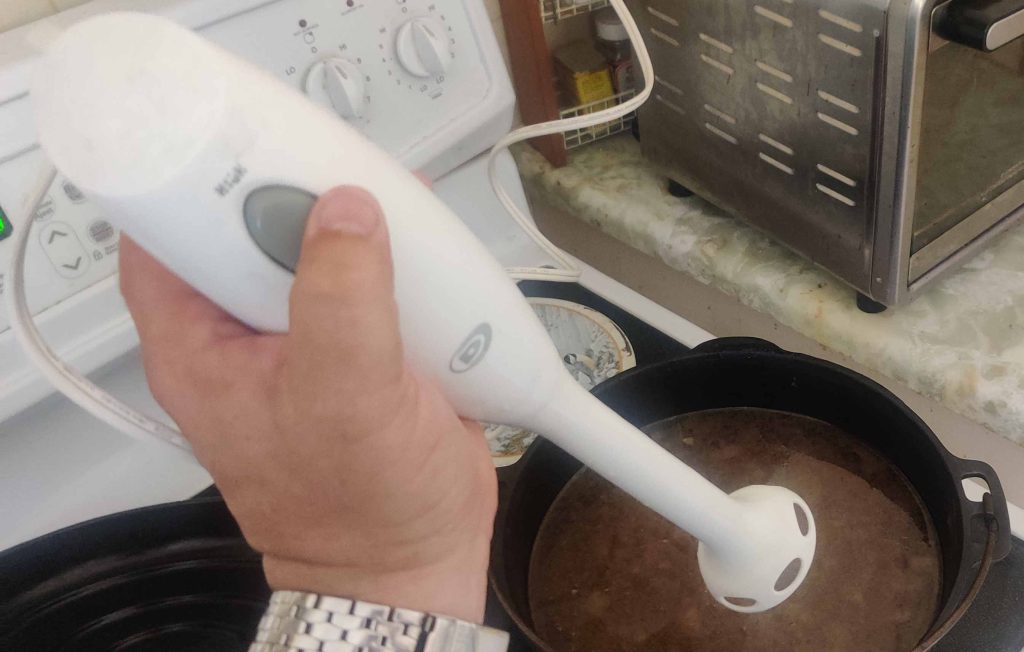
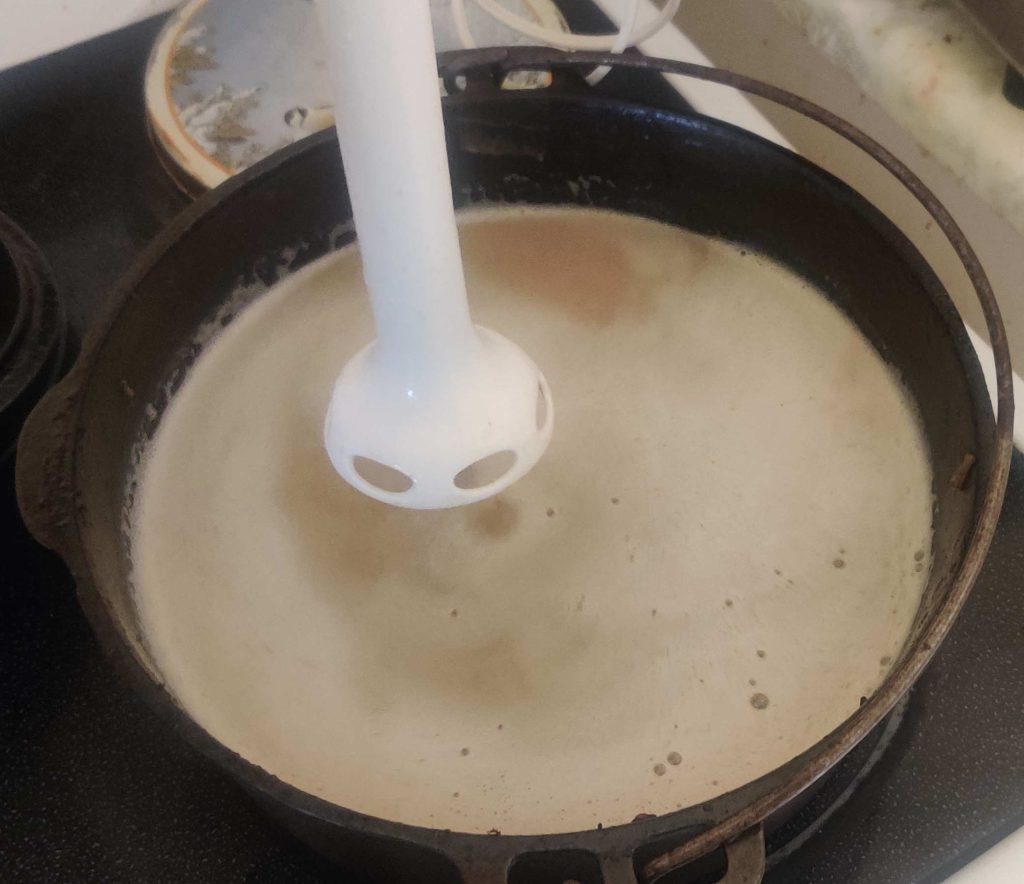
The blender was placed in the braising liquid and turned on:
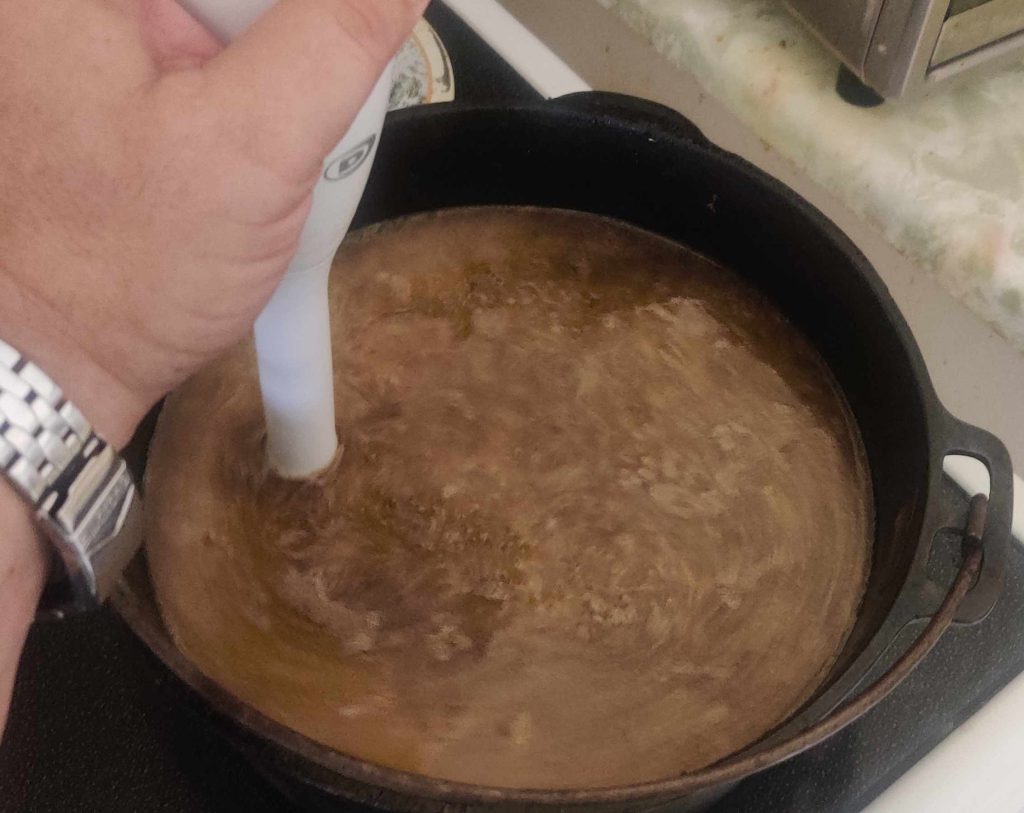
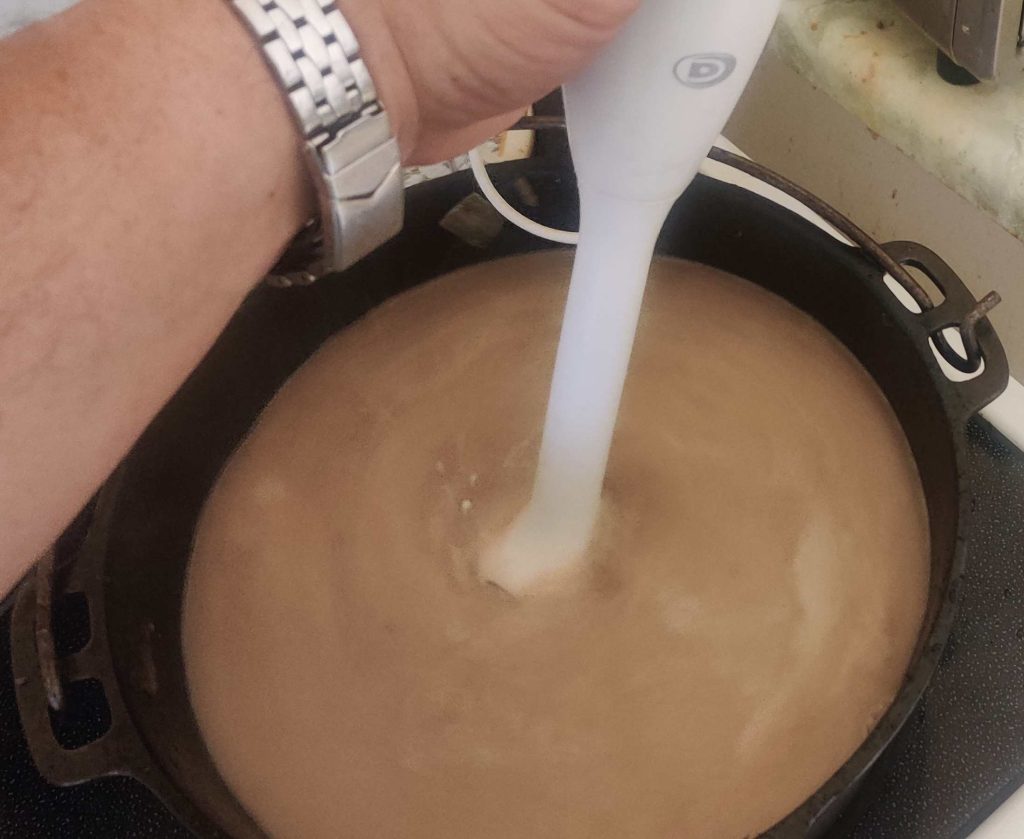
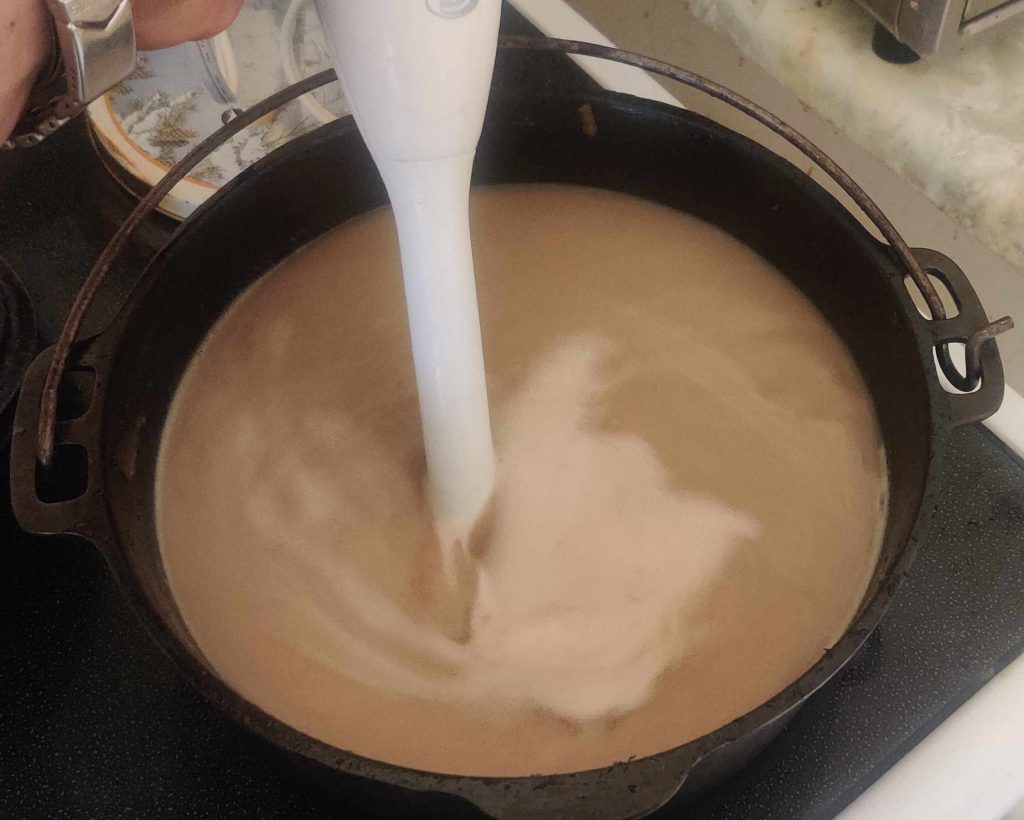
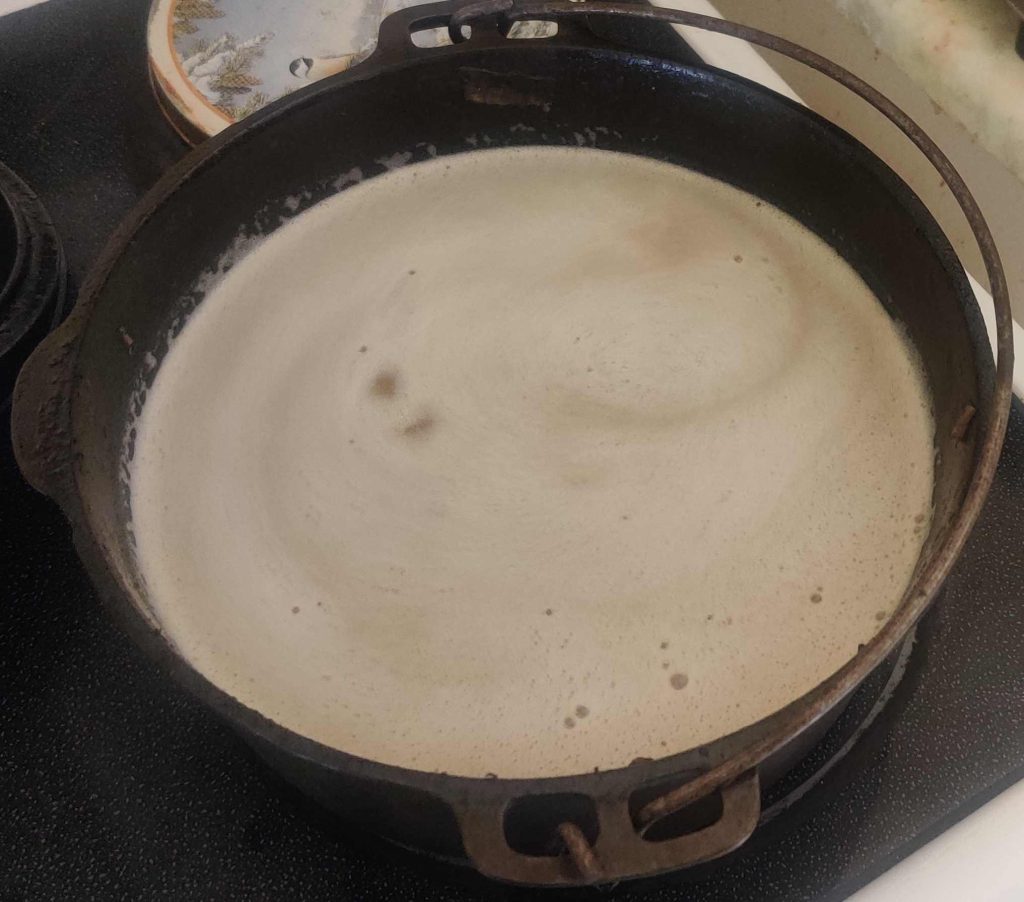
When the braising liquid was fully blended and the onions fully pulverized, the blender was taken out of the liquid:
A cast iron frypan was taken out:
Some of the braising liquid was transferred to the cast iron frypan to help speed up reducing the volume, to make a gravy for the chopped meat:
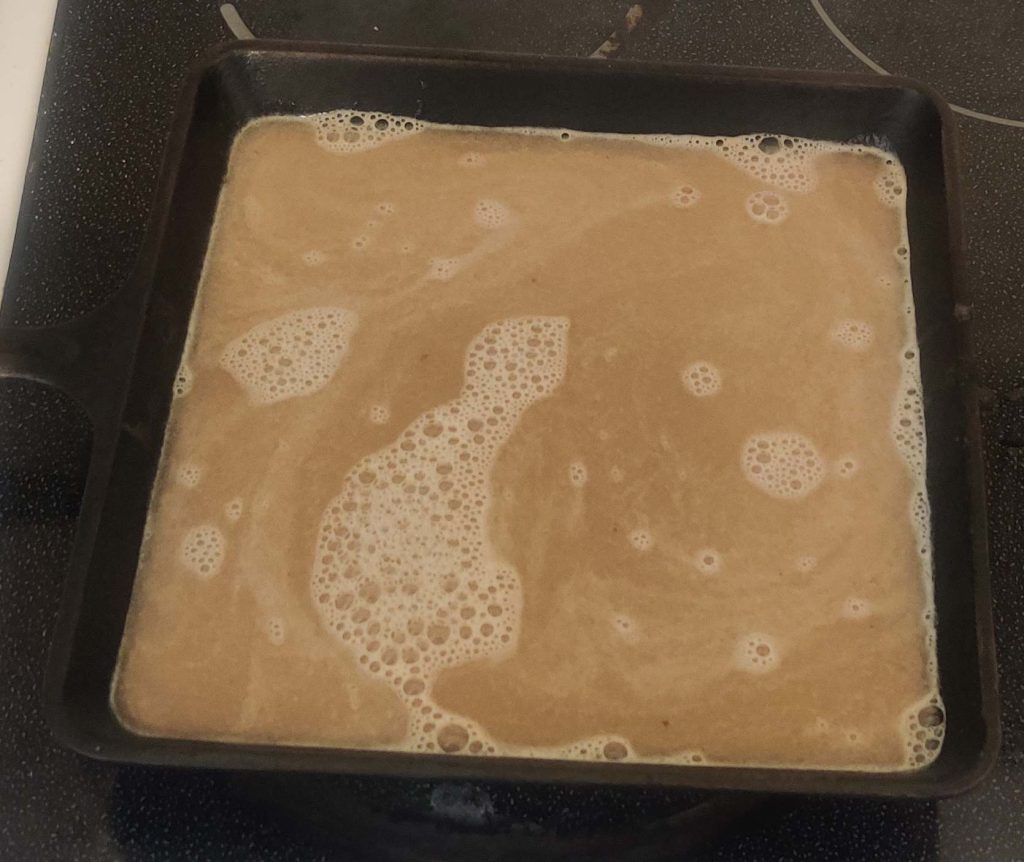
At this point, both the cast iron frypan and the cast iron pot had braising liquid in them for volume reduction, to make a gravy:
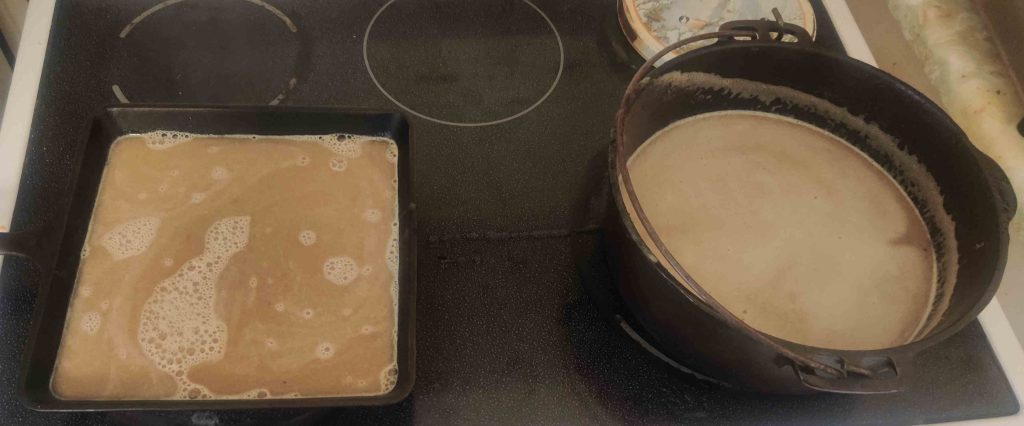
The two front burners on my stove were turned on:

The braising liquid in each cast iron vessel was brought to a boil:
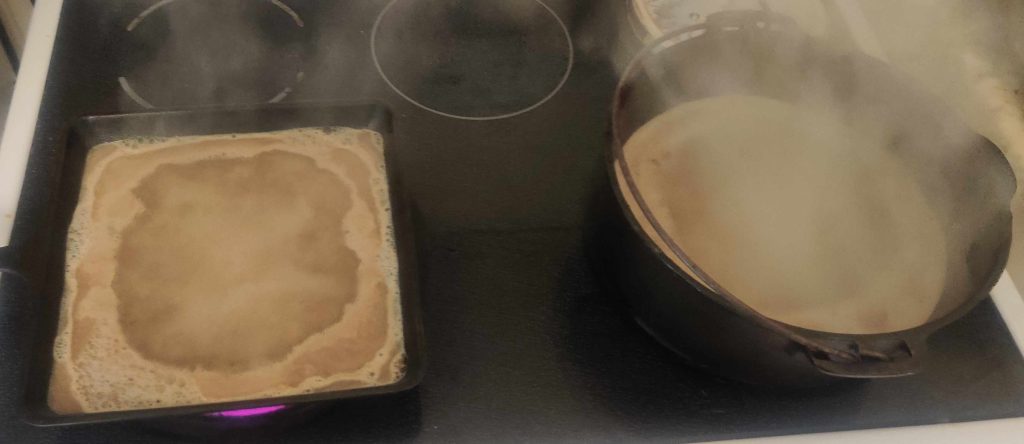
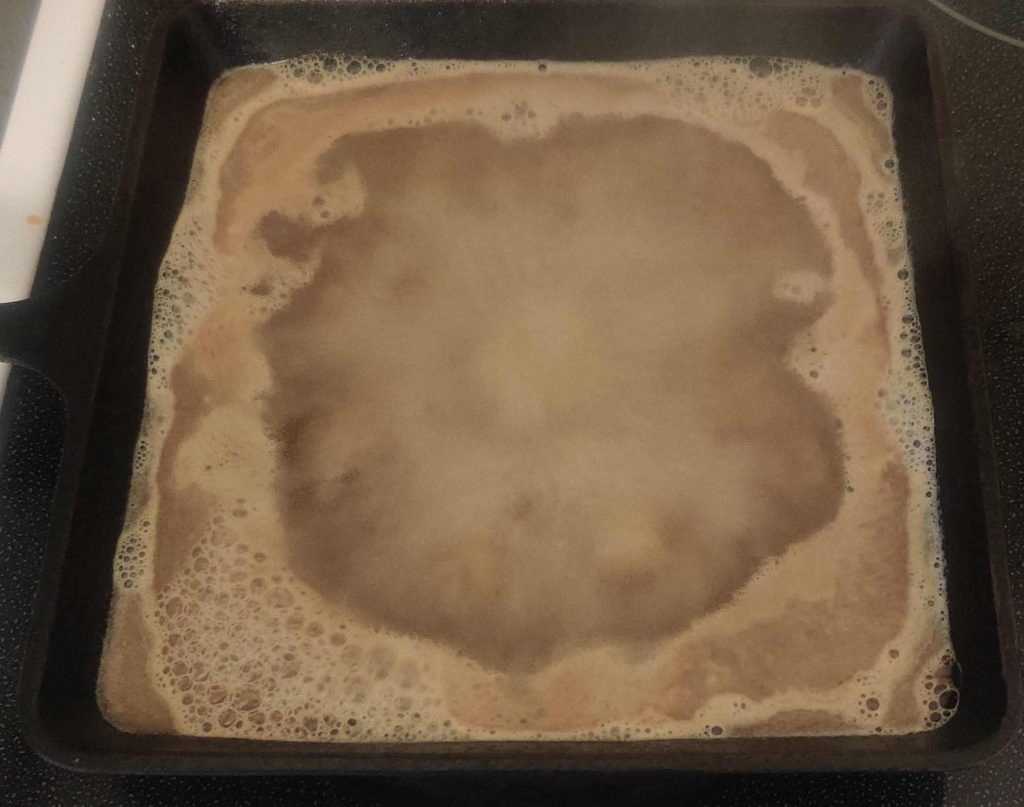
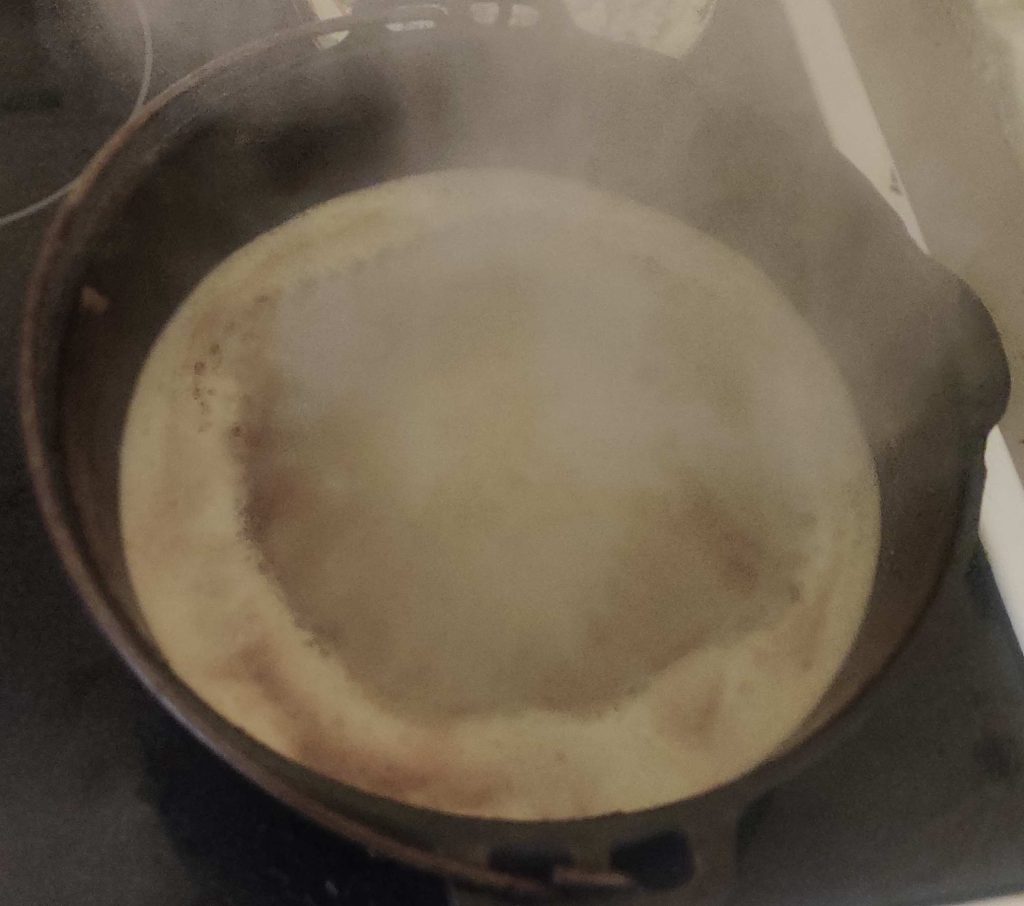
The braising liquid in the cast iron frypan began to reduce to a point that I call “gloopy”; it became rather thick, and the sound that the boiling liquid made becomes much more audible and distinct:
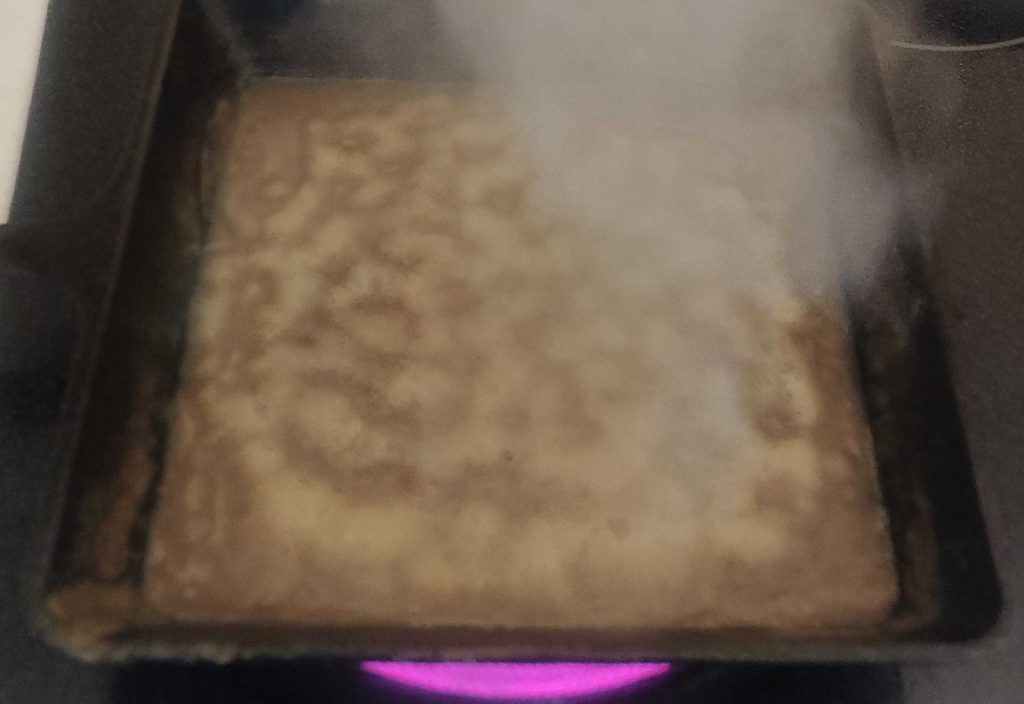
The cast iron frypan was removed from the stove burner, stopping the boiling and revealing a thick gravy:
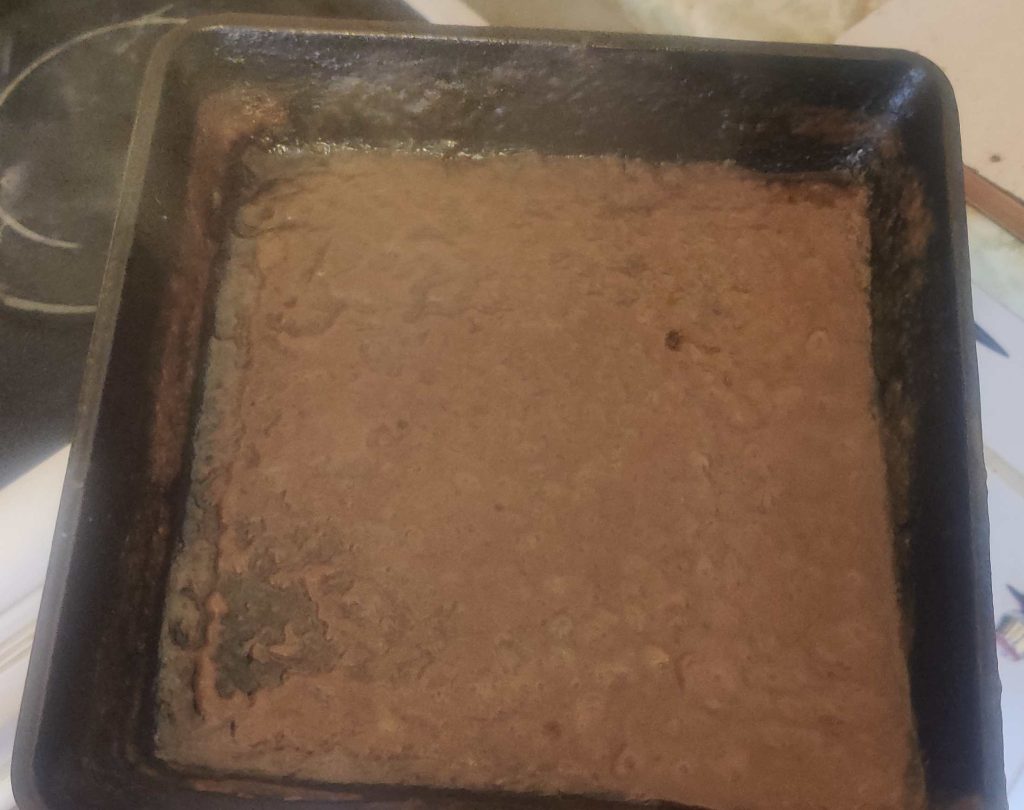
The thickened gravy was transferred to the shredded and chopped meat in the heatproof container:
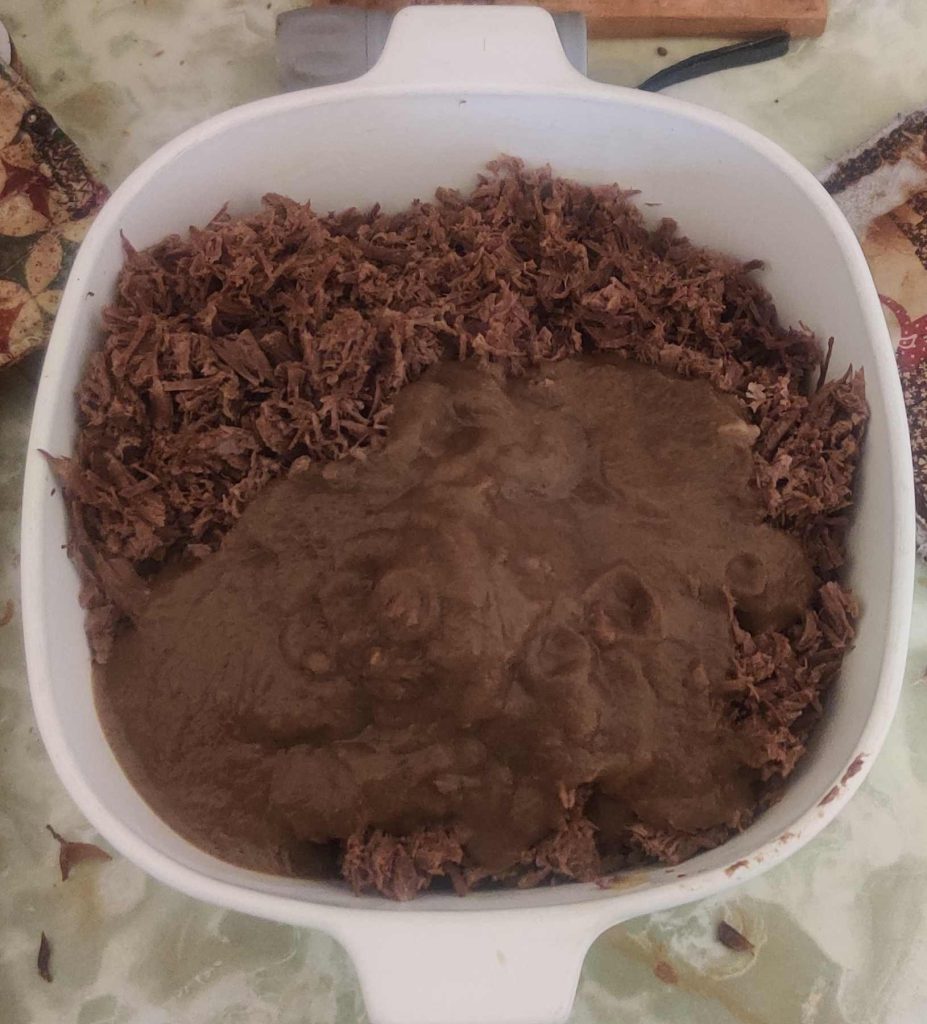
The braising liquid in the cast iron pot was again divided in two, and the liquids in both cast iron vessels were reduced to a gravy; said gravy was transferred to the meat in the heatproof container.
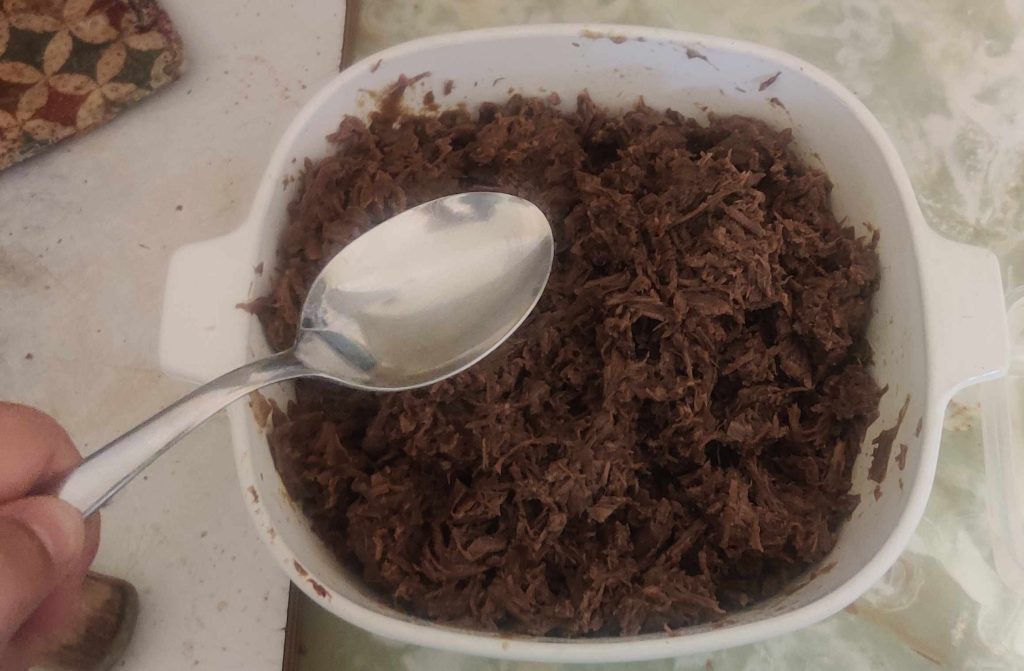
The shredded and chopped meat and the gravy were mixed:
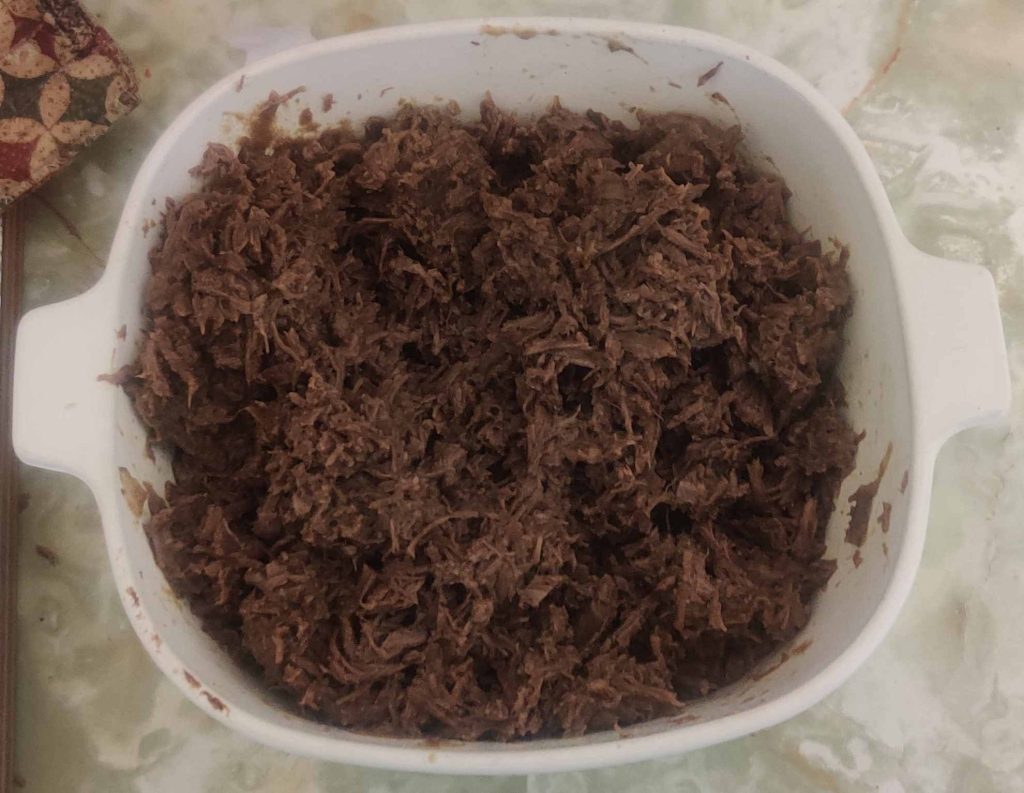
Plastic containers were taken out (yes I know that the contrast is very low):
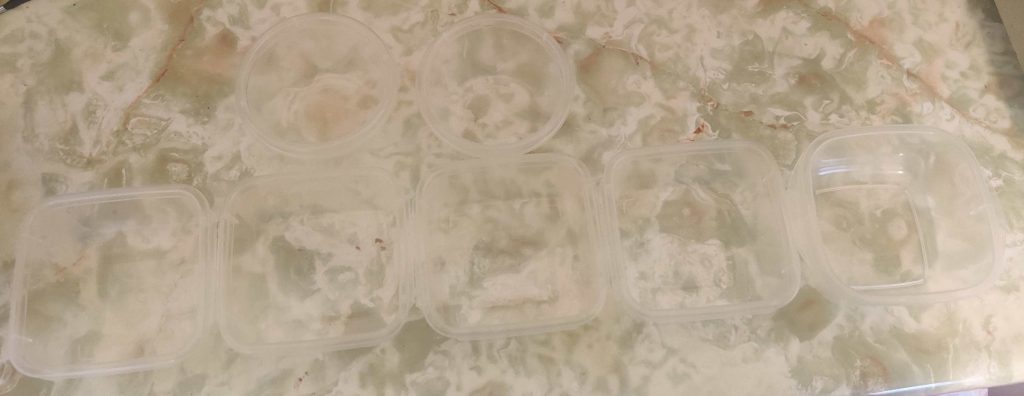
A spoon was taken out to transfer the meat and gravy to the containers:
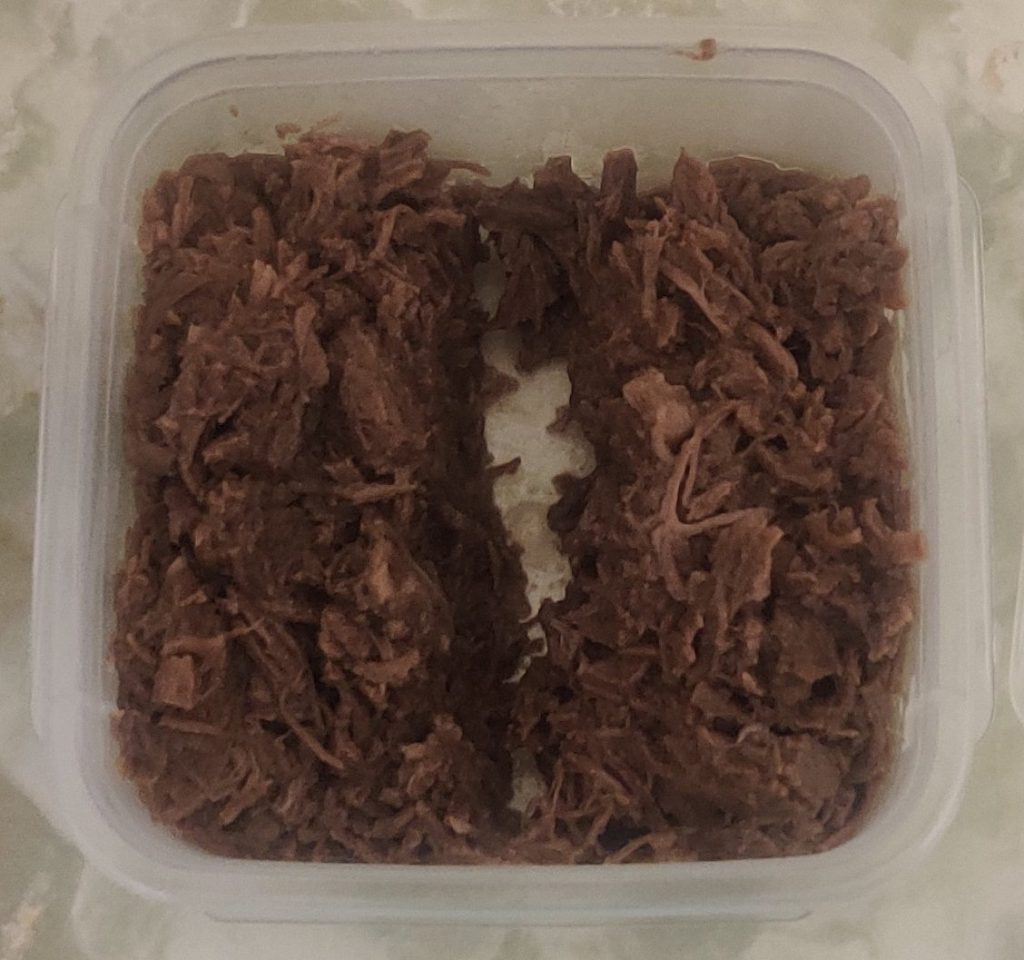
Meat and gravy was transferred to the plastic containers:
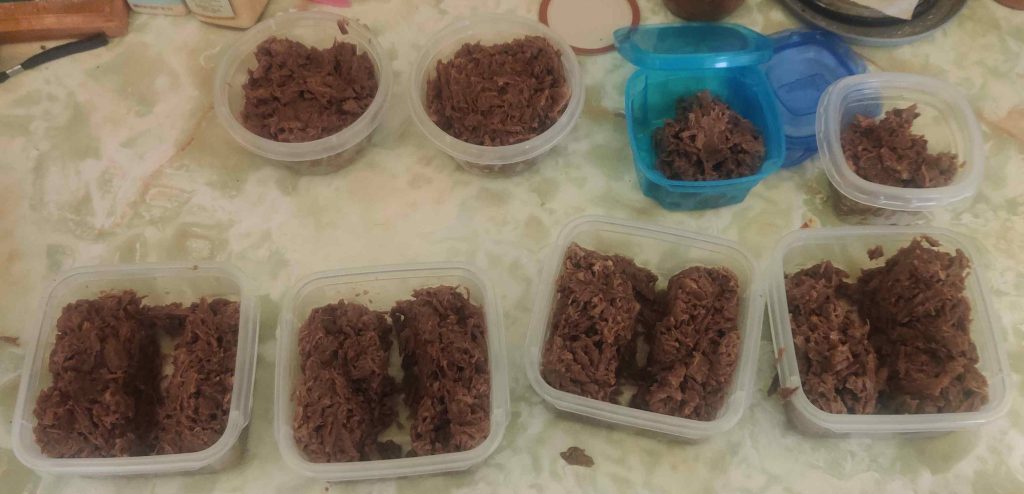
Strips of paper were torn off some scrap paper:
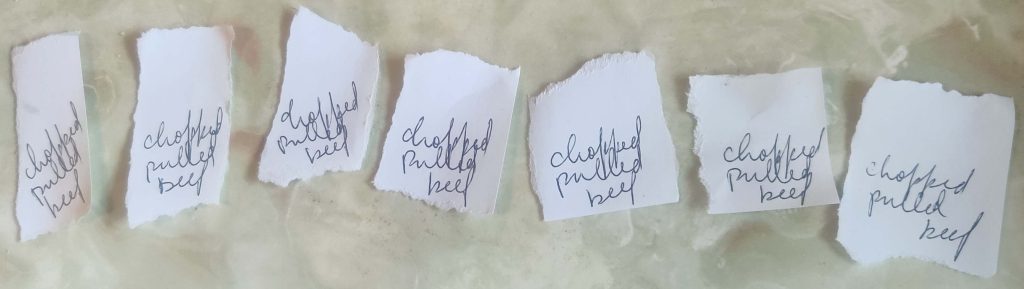
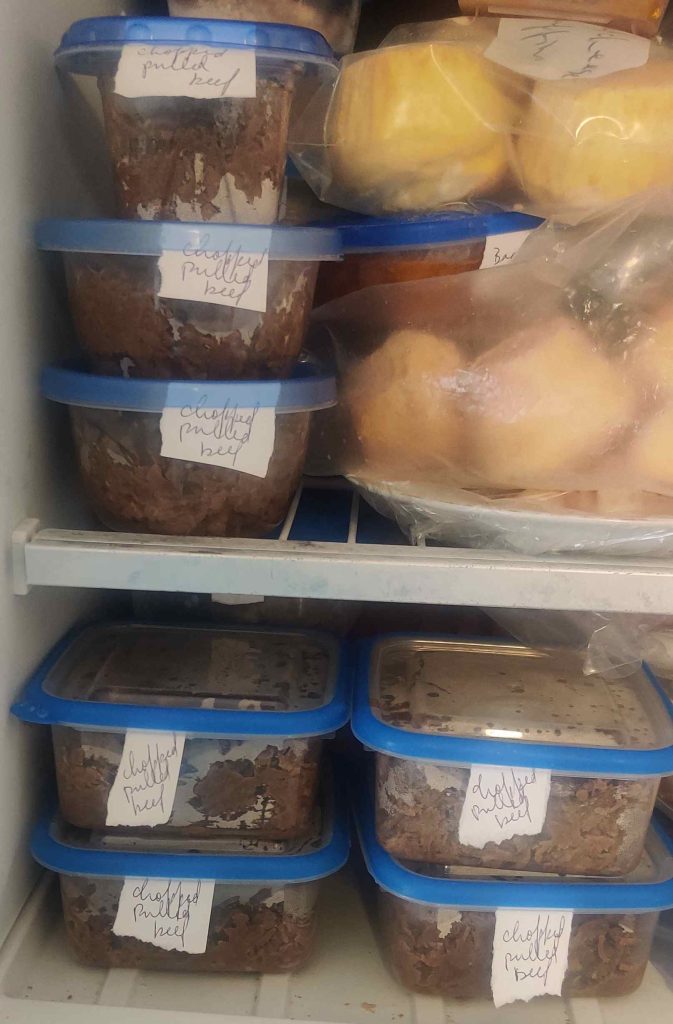
Each strip of paper was identified with the container contents, “chopped pulled beef”:
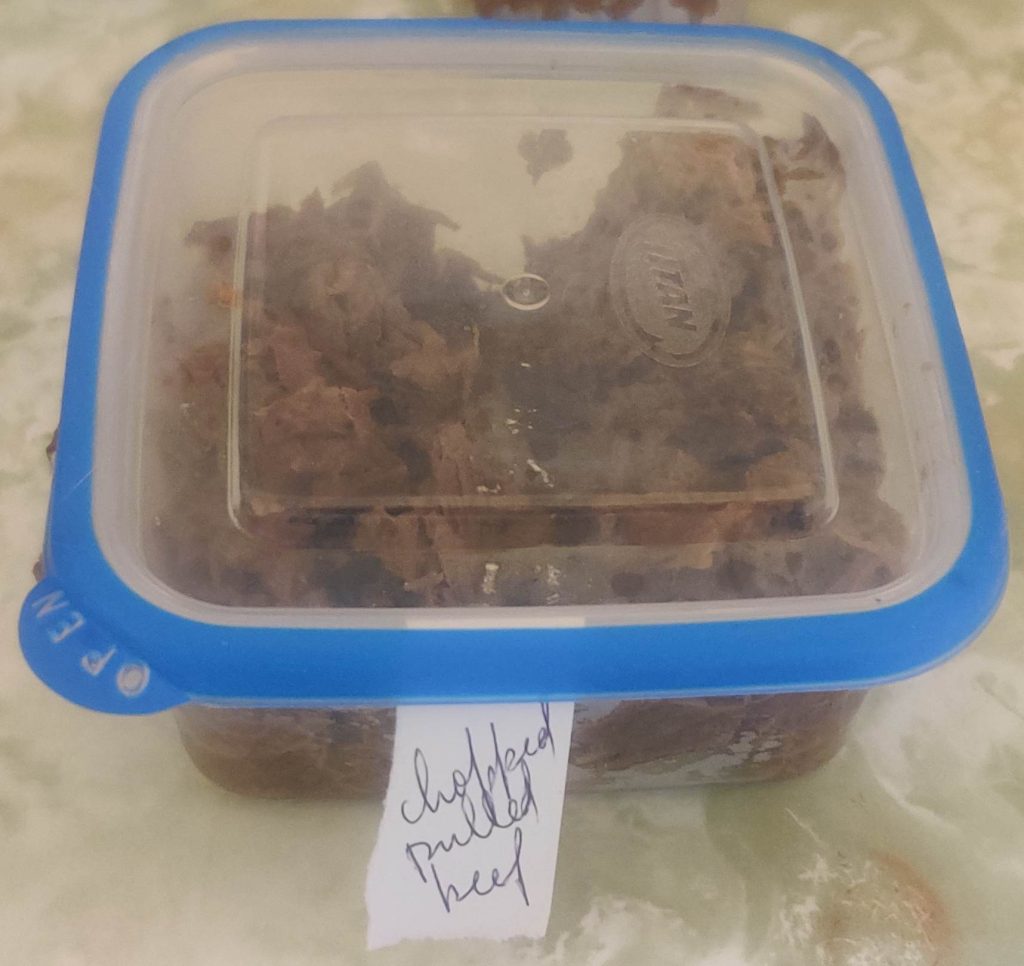
Lids were placed on the containers, with the identifying strips placed between the containers and the lid:
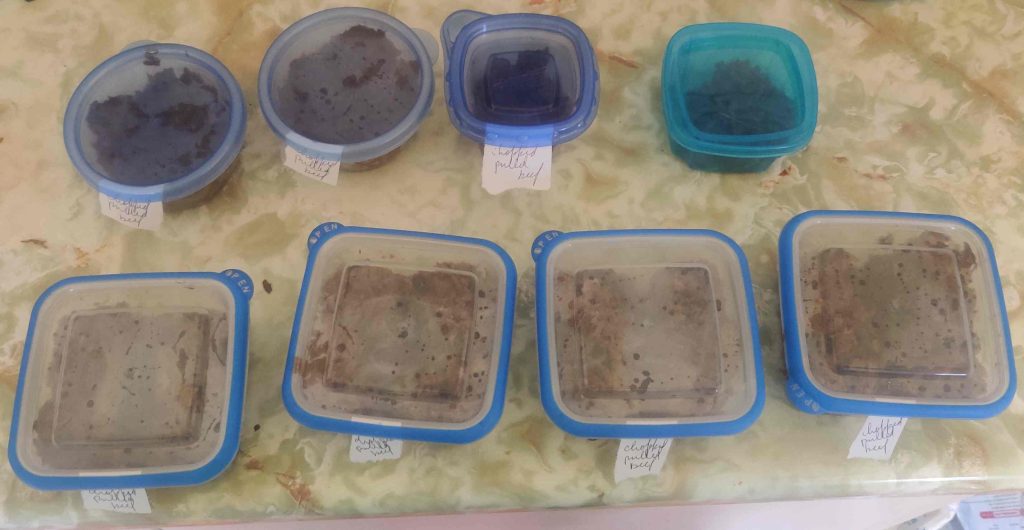
Finally, the containers were placed in the freezer:
Upon serving her a fresh sample from this batch, Mom said “I don’t just like it, I adore it!”