
Following having enjoyed a friend’s pulled pork a few times at church functions over the years, I asked her for her recipe in late 2023 / early 2024. I successfully made her pulled pork … and shelved the idea, because her recipe featured star anise — meaning, there was what I considered a weird black licorice taste to the otherwise tasty pulled pork. Also, I asked my friend “what do you do with the braising liquid afterwards?” to which she responded “Oh keep it in the freezer for the next time, or add corn starch to some of it to add to the pork.” These responses didn’t sit well with me either. I resigned myself to enjoying pulled pork whenever my culinary adventures happened to meet with it at restaurants and the like.
In early 2026, I saw pork shoulder on sale, and decided to buy some “so that one day I can try again to make pulled pork.” A couple of months later, I looked up pulled pork recipes on the internet, did my own experimentation on the spot, and decided upon keeping my friend’s basic method; but instead using a 2:1 mix of commercial BBQ sauce (I settled on Kraft) and molasses for the flavour base to the braising liquid, to which I have kept ever since. Once exception was to have found a generic taste-alike recipe for Kraft BBQ sauce on the internet, which I integrated into the recipe, and which I used to partly make up the BBQ sauce portion in this session. (As a side note, I did *not* show extra photos for this makeup, in keeping with the spirit of the recipe that intentionally simply calls for “barbecue sauce” — meaning, you should use your favourite barbecue sauce.) And, as shown below, I reduce the braising liquid down to a sauce to mix in with the pulled pork. 🙂
Extra note: In a few instances, my photos from the session have shown some kitchen surfaces that were in need of some cleaning, and the aluminum foil lining at the bottom of my countertop convection oven needing changing. All the “extra cleaning” and foil replacement were performed after the cooking session, and during the course of mounting this post. I think I’m going to claim “Welcome to real life!”
Extra note #2: “A photo or two” may have been slightly presented out of order compared to their having been taken, and at least one make-up photo was staged after the cooking session, both for the sake of the narrative.
Making the pulled pork:
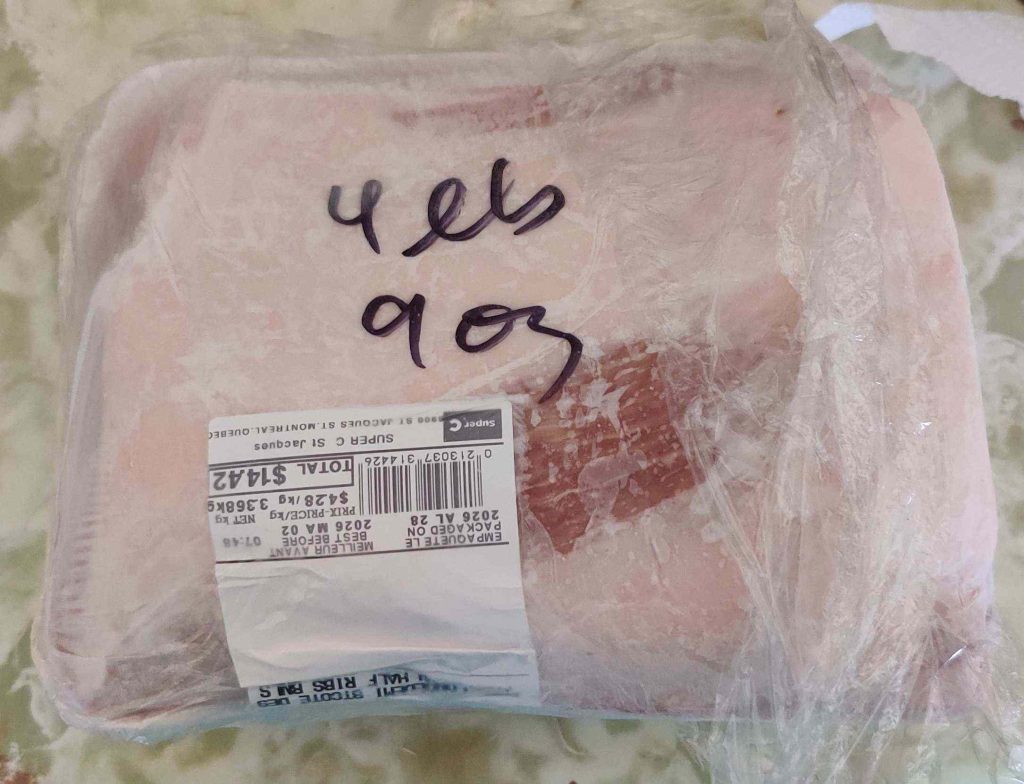
First, some frozen pork was taken out — in this case, some pork loin (instead of pork shoulder, which I concede is still more appropriate for the job — but pork loin does well too) — because I had bought a lot of pork loin a few months ago at a not-as-great-as-I-thought-but-still-good sale price given how thick the fat layers were in some cases:
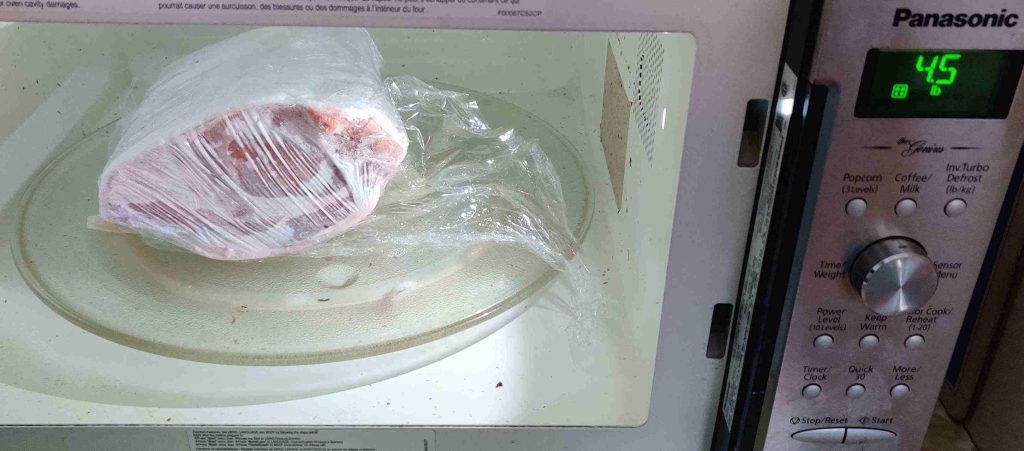
The pork was placed in my microwave oven using the “defrost” function, entering the pork weight that I had marked on the plastic wrap before freezing:
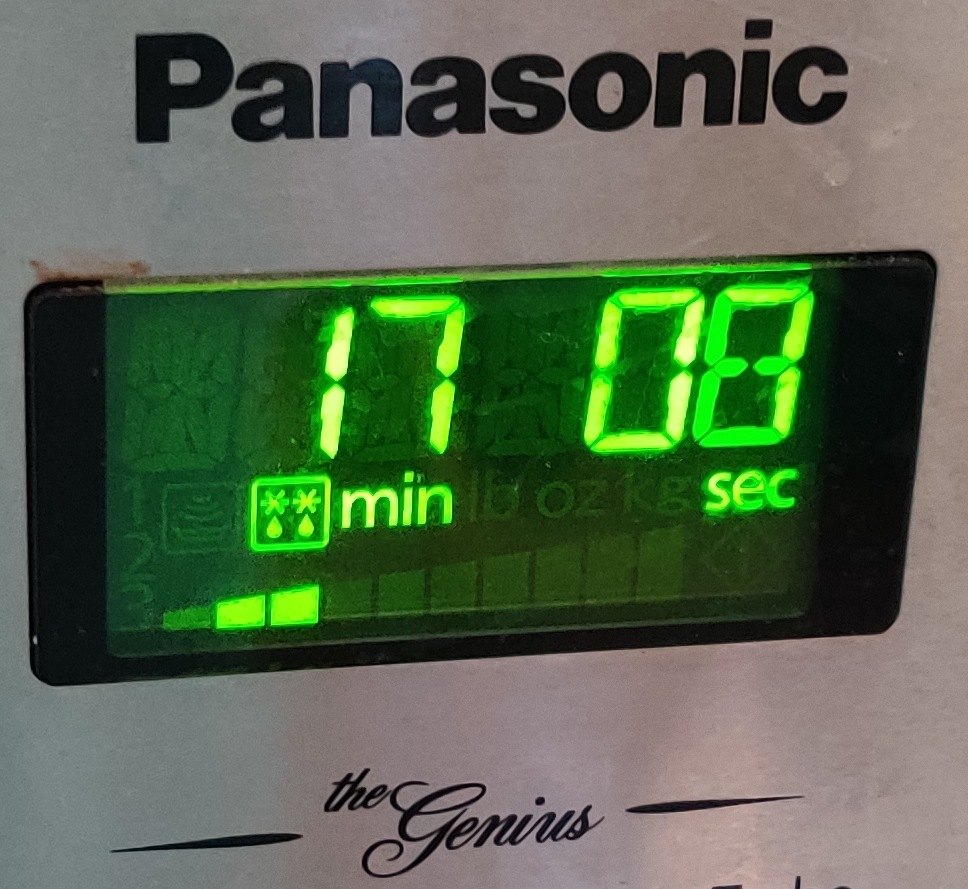
The time for defrosting was automatically set based on the weight I’d entered:
In the meantime, an oven-proof cast iron pot with a lid was taken out:
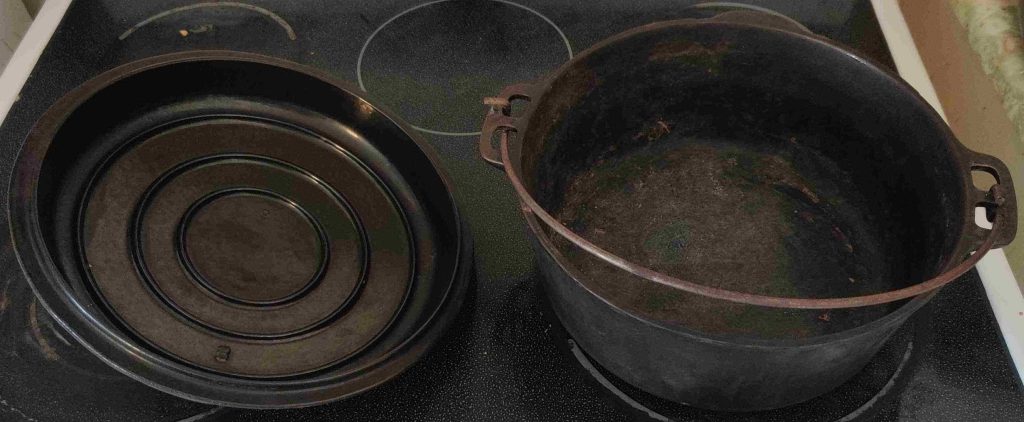
Critically, the use of an oven-proof pot that can be covered, be it with a lid, or aluminum foil, is important — in my case, I use a cast iron pot with a lid that happens to fit in my countertop convection oven, and which allows for pre-heating on the stove.
An onion and a kitchen knife were taken out:
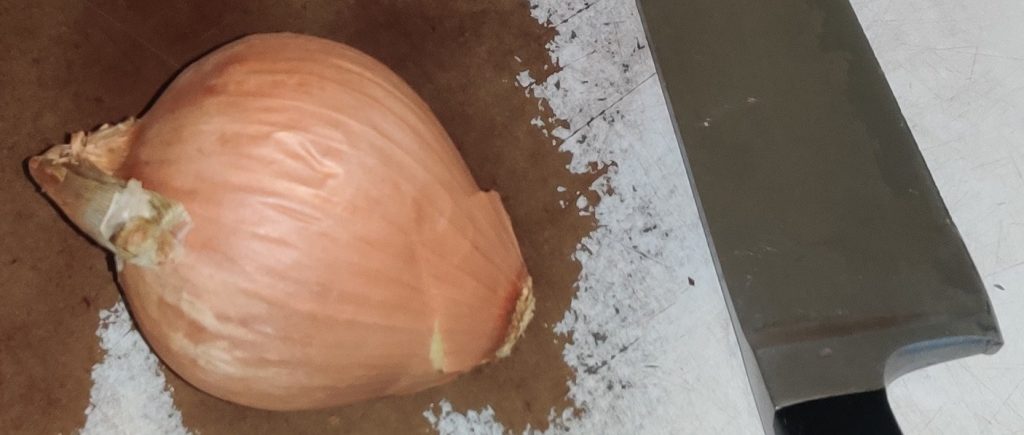
The onion was trimmed:
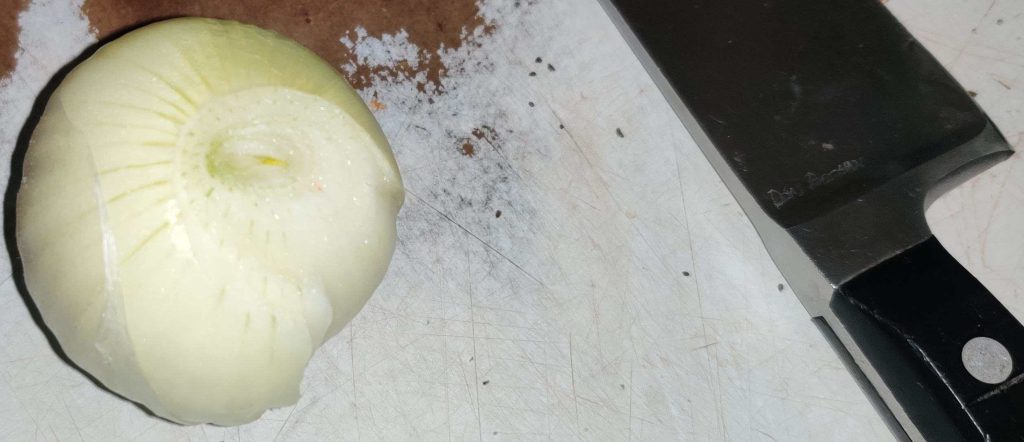
The onion was cut into rounds:
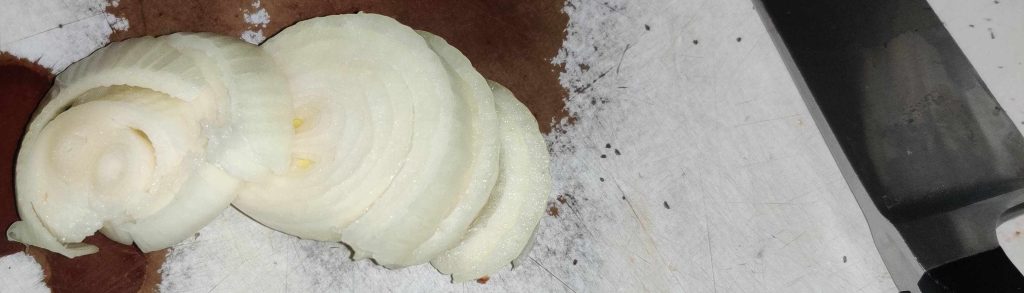
The onion rounds were then chopped coarsly:
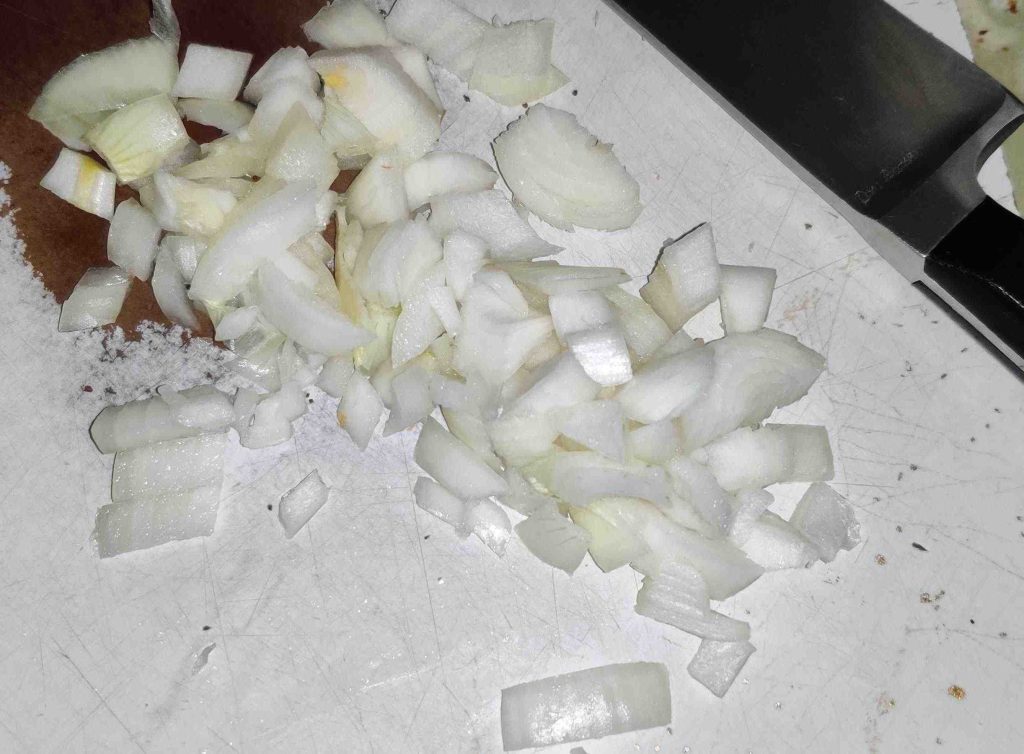
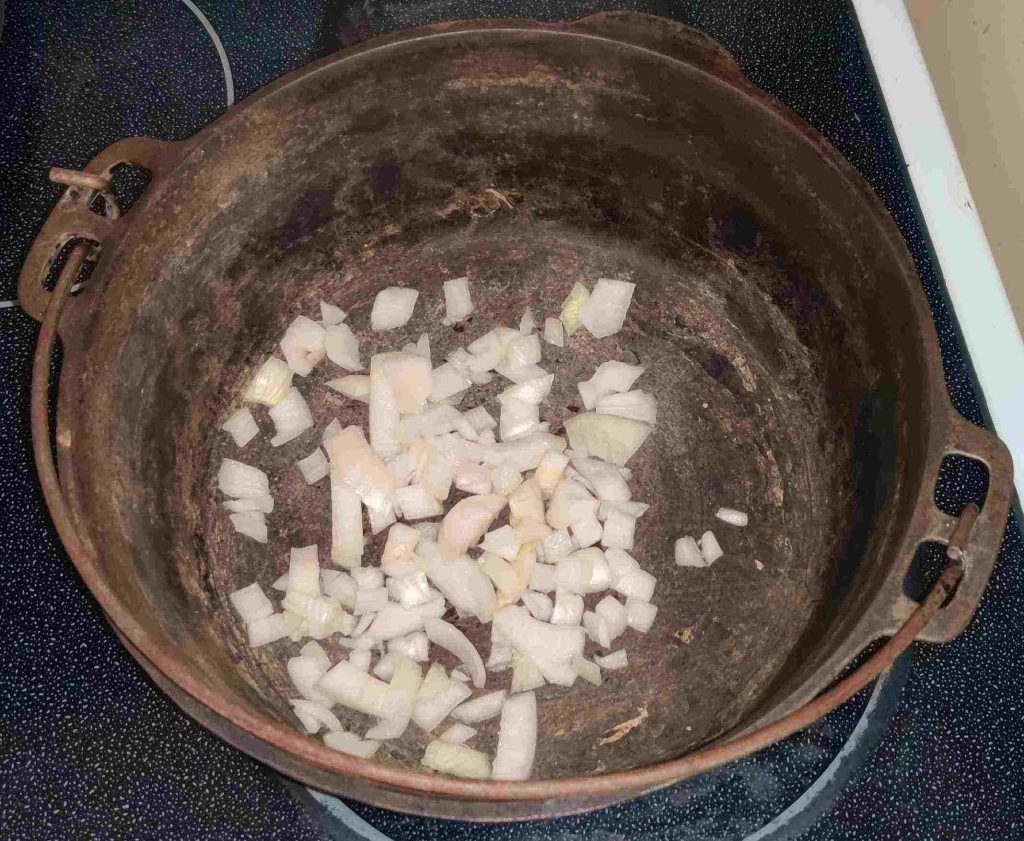
The chopped onion was transferred to the pot:
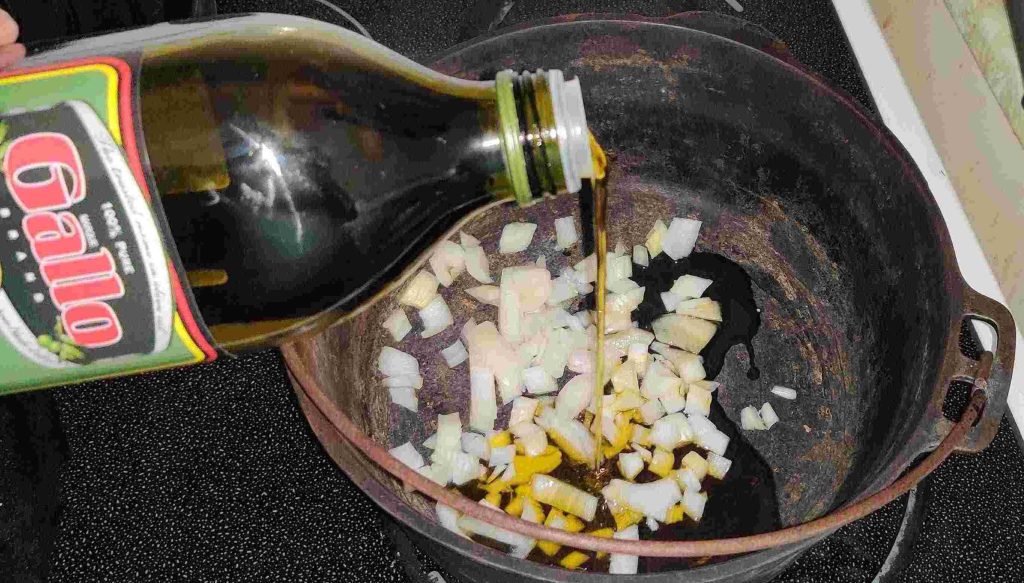
Olive oil was taken out and added to the pot:
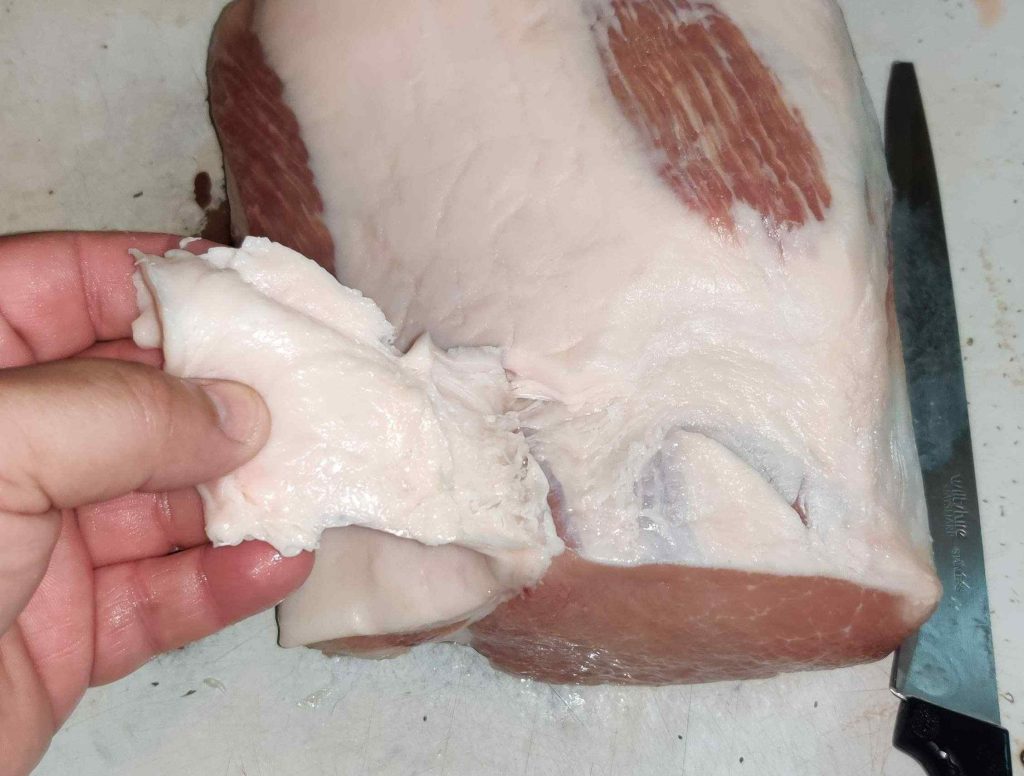
Once the pork had defrosted, I started trimming off excess fat with a particularly sharp knife:
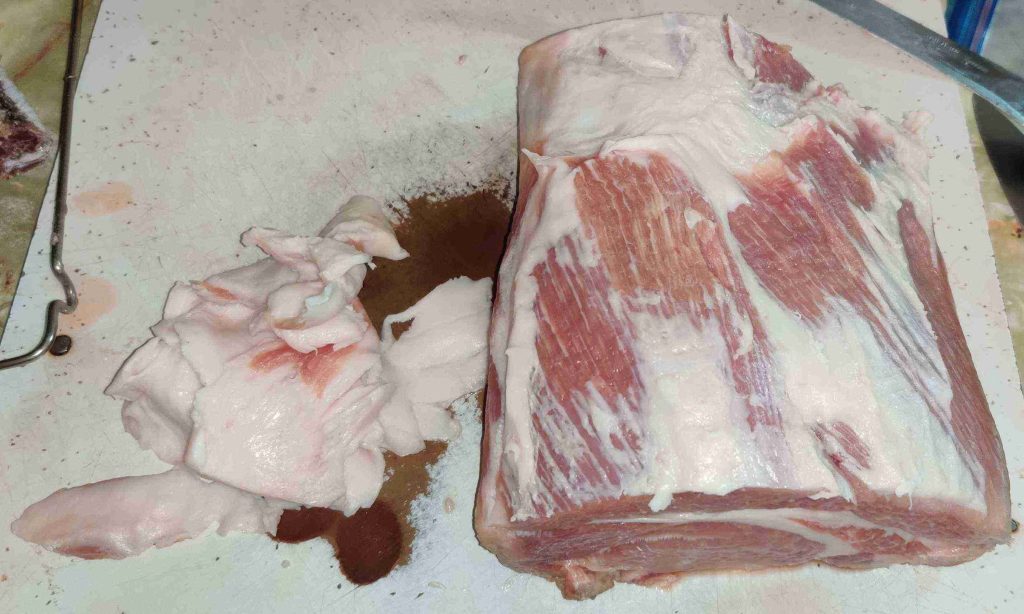
The pieces of fat trimmed off the pork were put into a bucket for disposal through the municipal curbside composting programme.
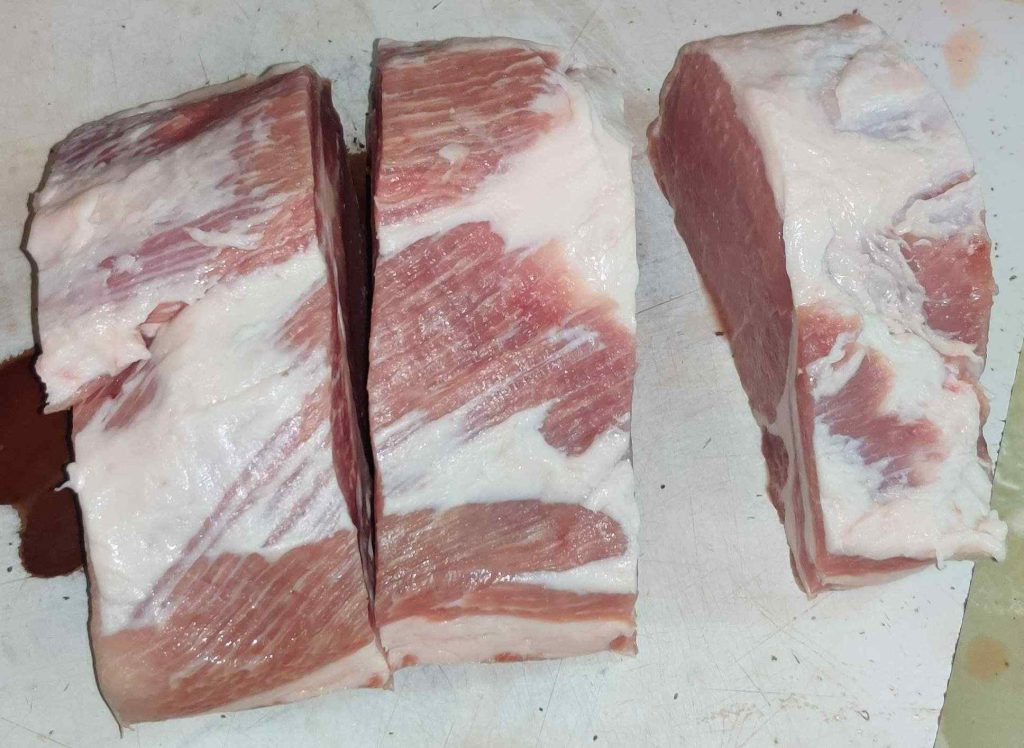
The pork was cut into three pieces, which would fit into my pot:
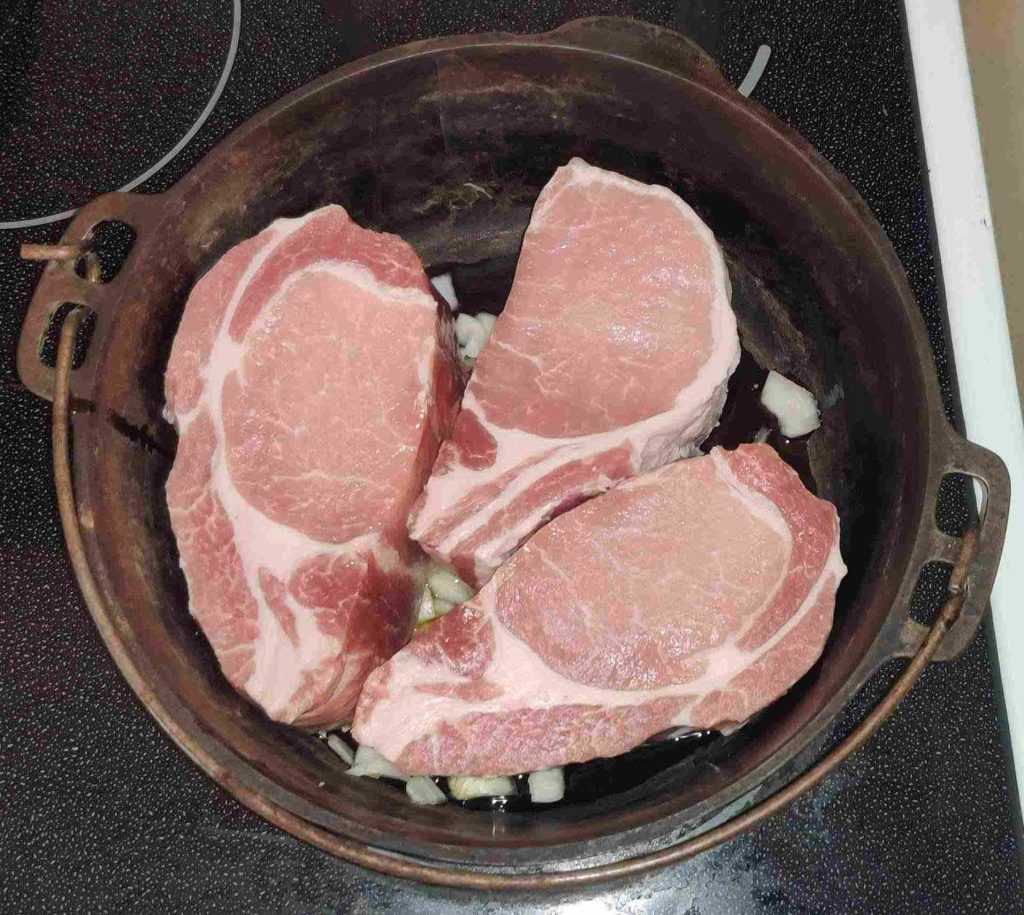
The pieces of pork were placed in the pot with the chopped onion and olive oil:
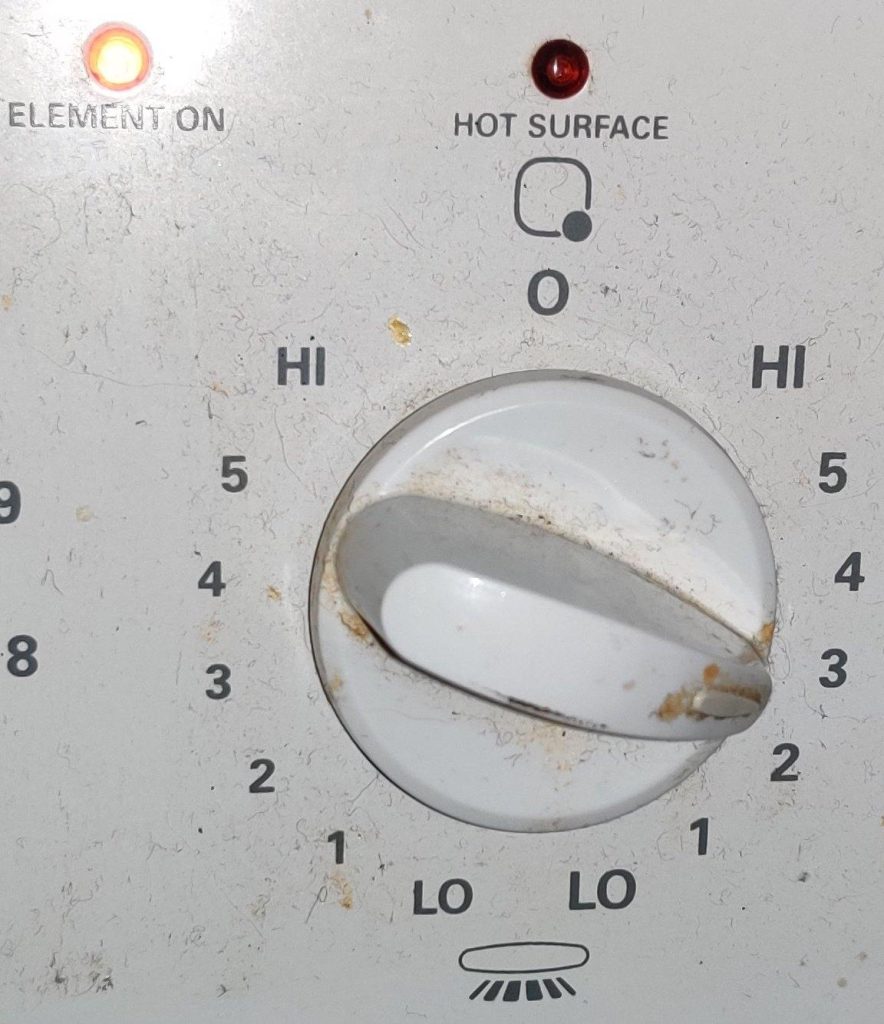
The stove burner was turned on — and oh my, it’s a bit dirty:
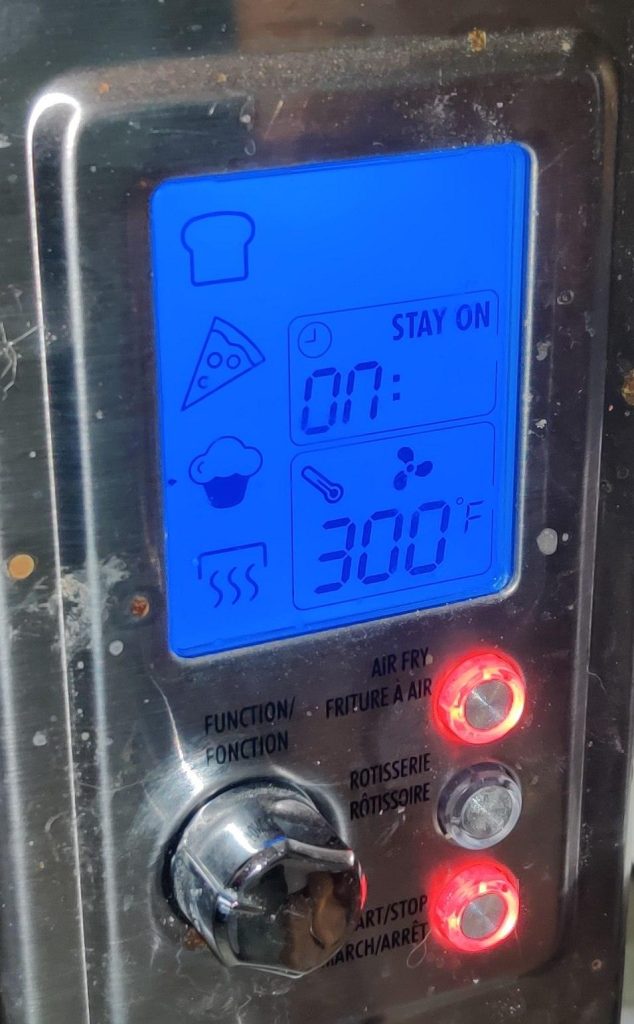
I also turned on my countertop convection oven:
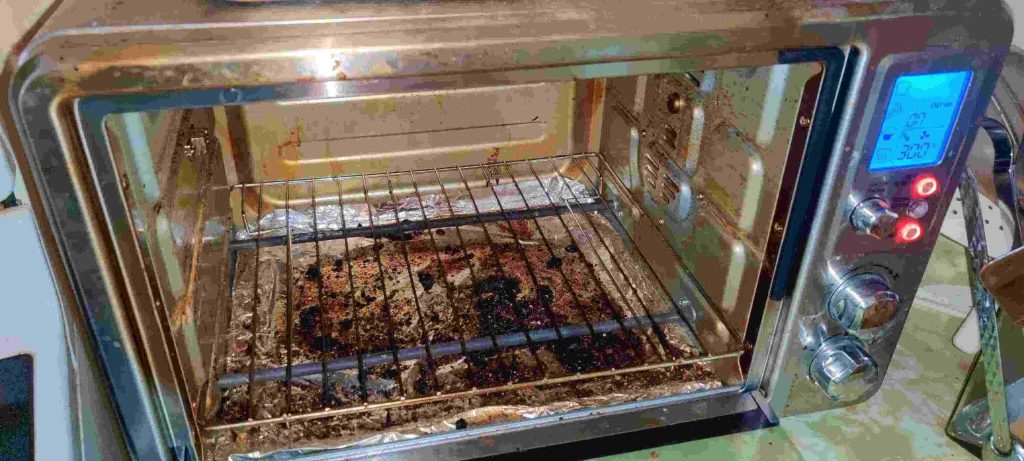
The oven rack was placed on the bottom level of the oven — and oh my! again, a bit of cleaning is needed, including replacing the aluminum foil at the bottom of the oven:
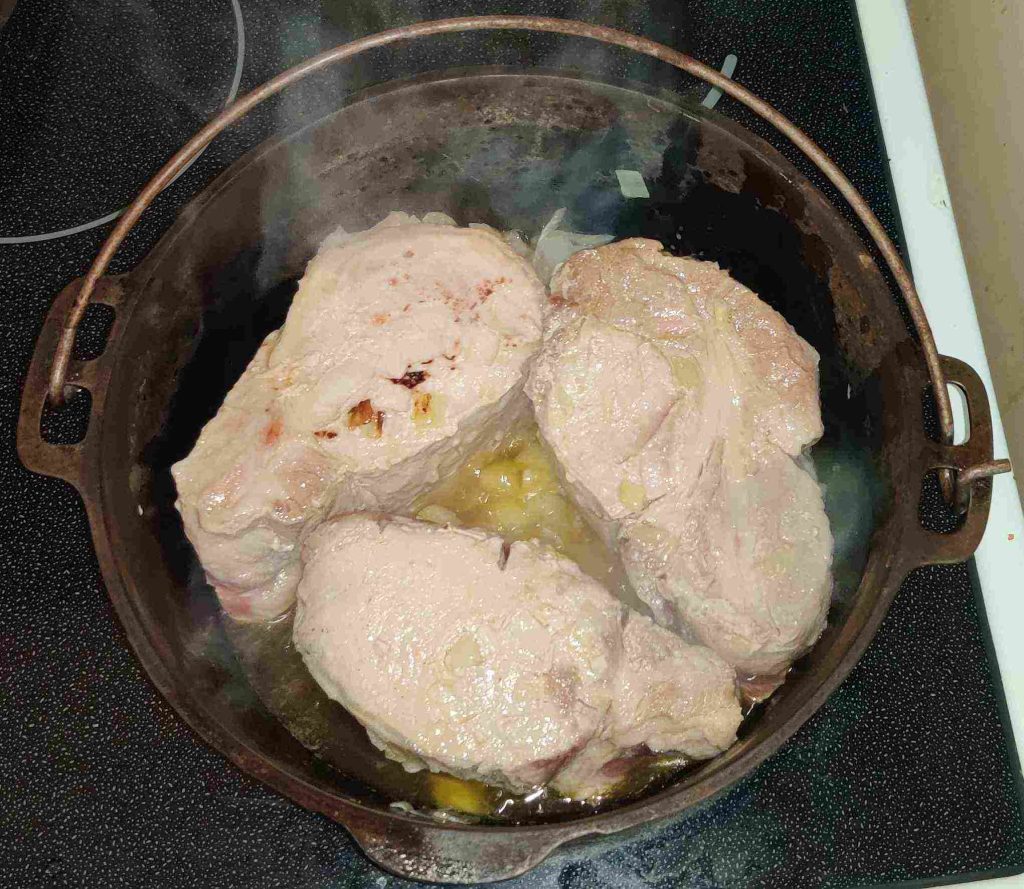
Back to the pork on the stove, the pork was turned over:
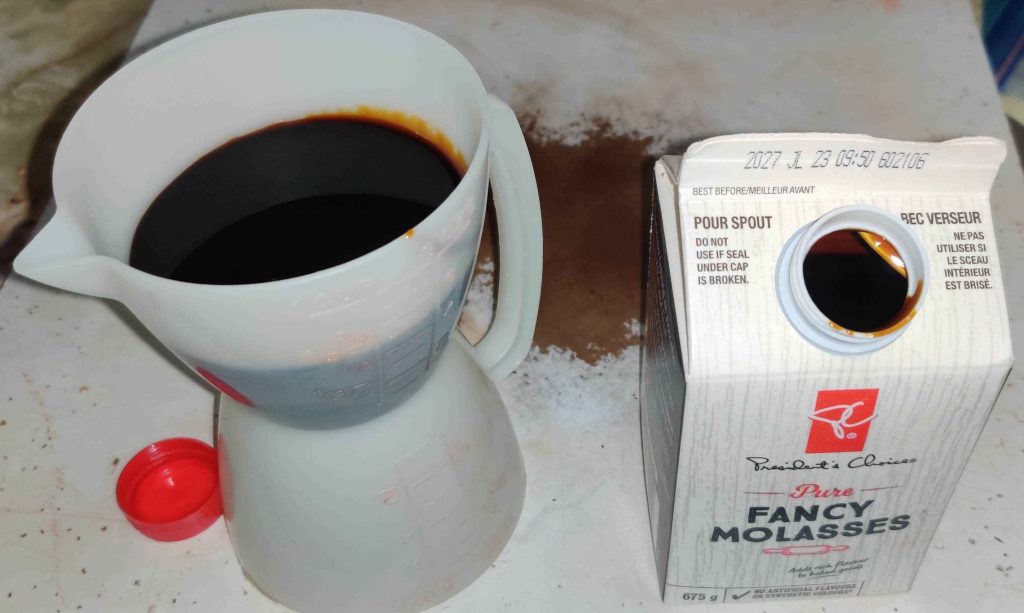
Molasses was taken out and measured out:
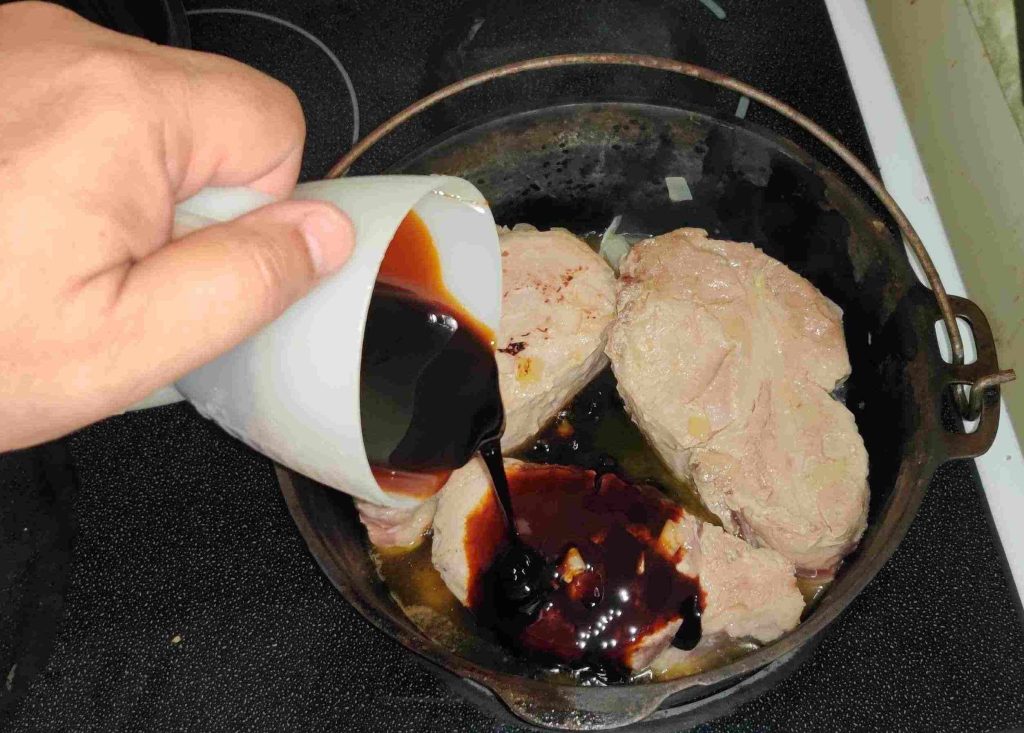
The molasses was transferred to the pot with the pork and chopped onion:
Some barbecue sauce as well as some ketchup to help make up the volume were measured out:
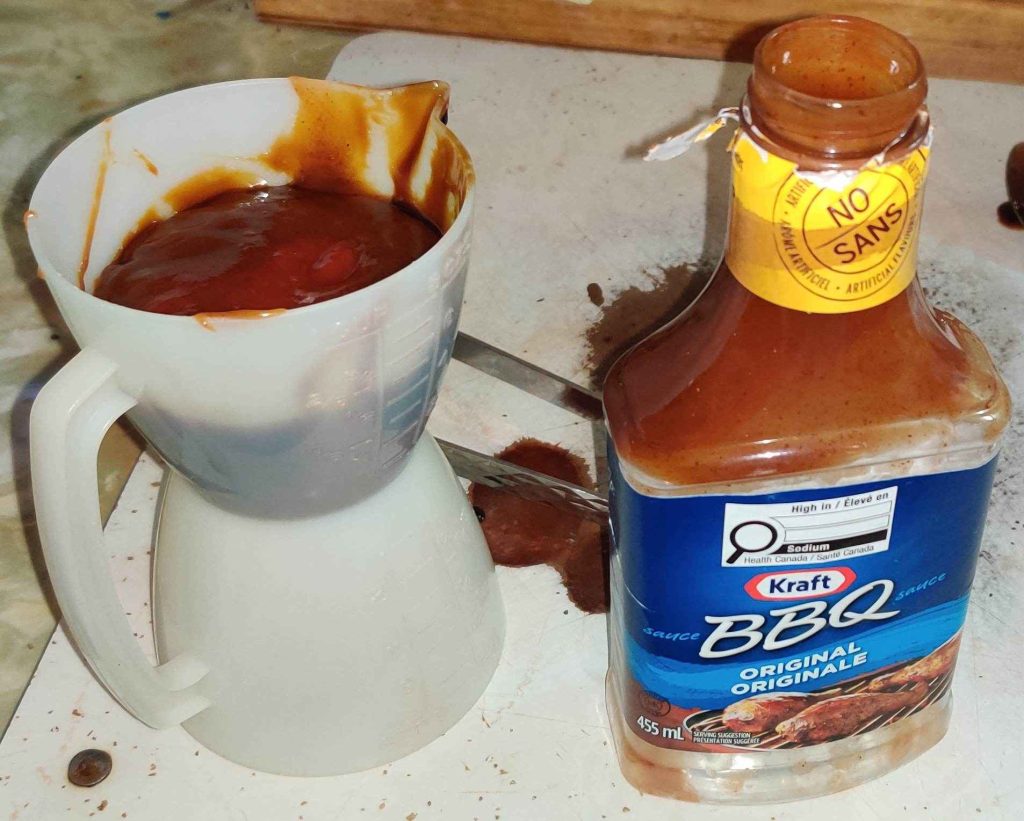
The barbecue sauce was added to the pot with the pork, onions, and molasses:
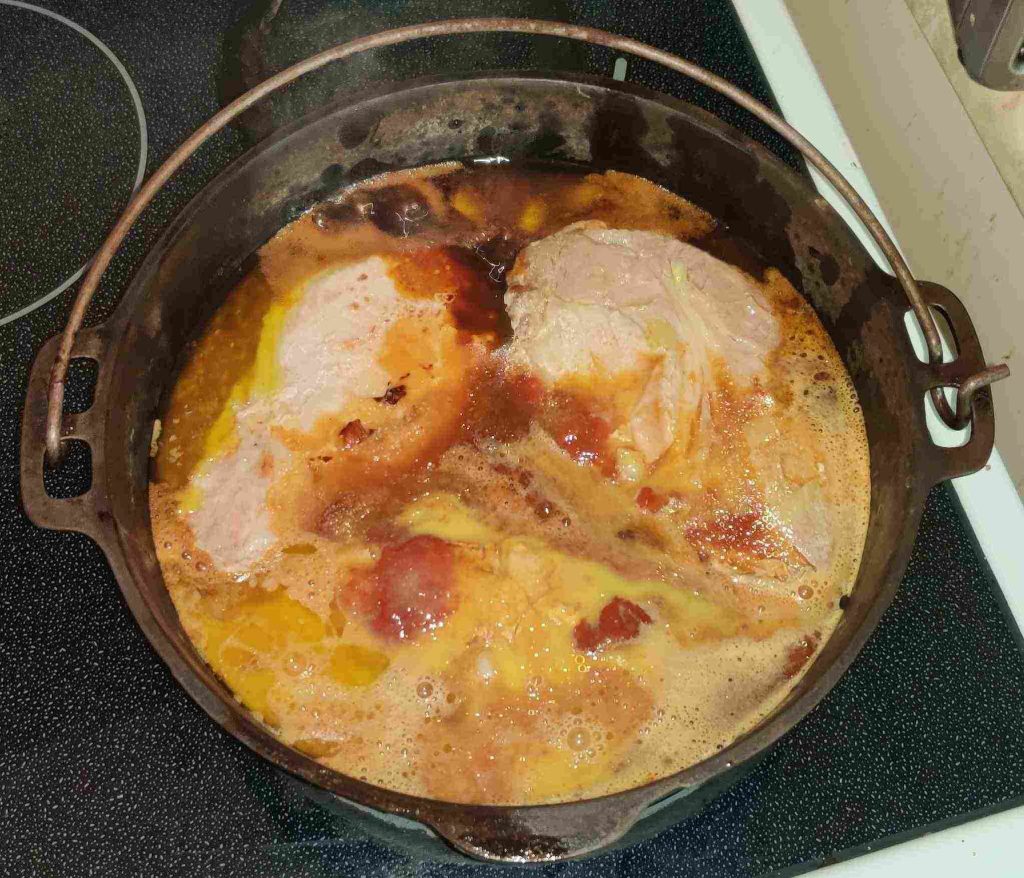
Just a reminder here: Since my recipe for pulled pork and this post are predicated on the notion of “use the barbecue sauce you want to use”, although the ingredients for a taste-alike replacement of Kraft BBQ sauce are in my recipe for pulled pork, showing the makeup ingredients won’t be done here. Also to note, the apparent measure above takes into account the following steps, which washed out the rest of the barbecue sauce and ketchup clinging to the insides of the bottles used.
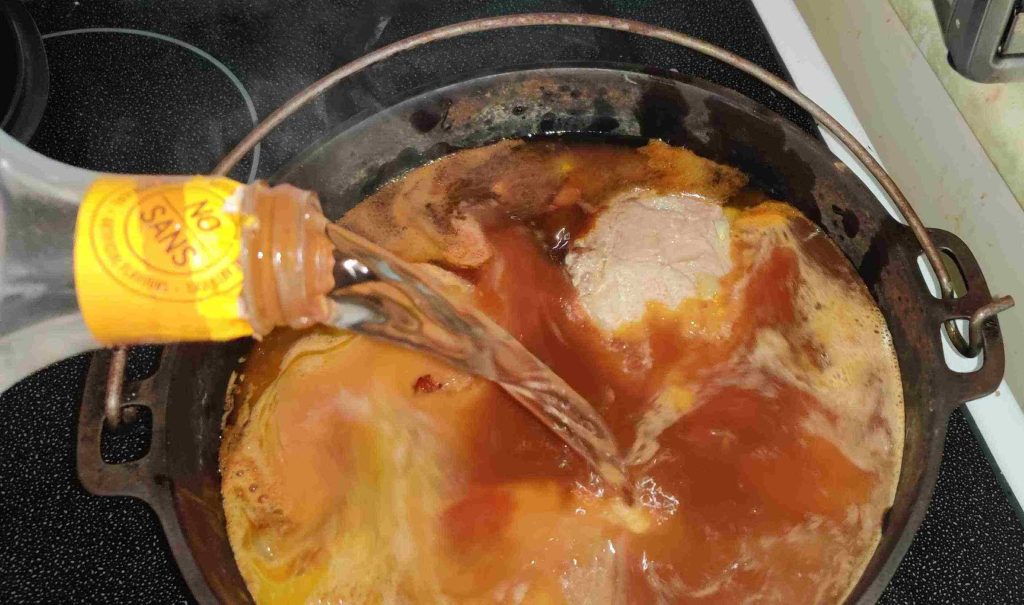
Water was added to the pot with the other ingredients, enough to cover the pork pieces:
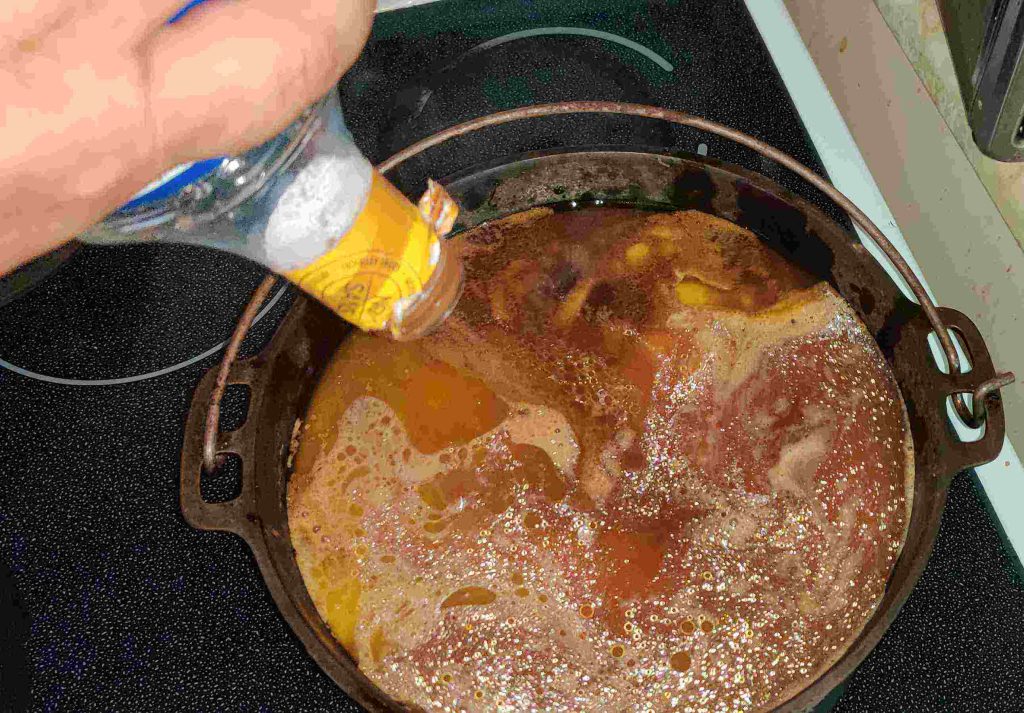
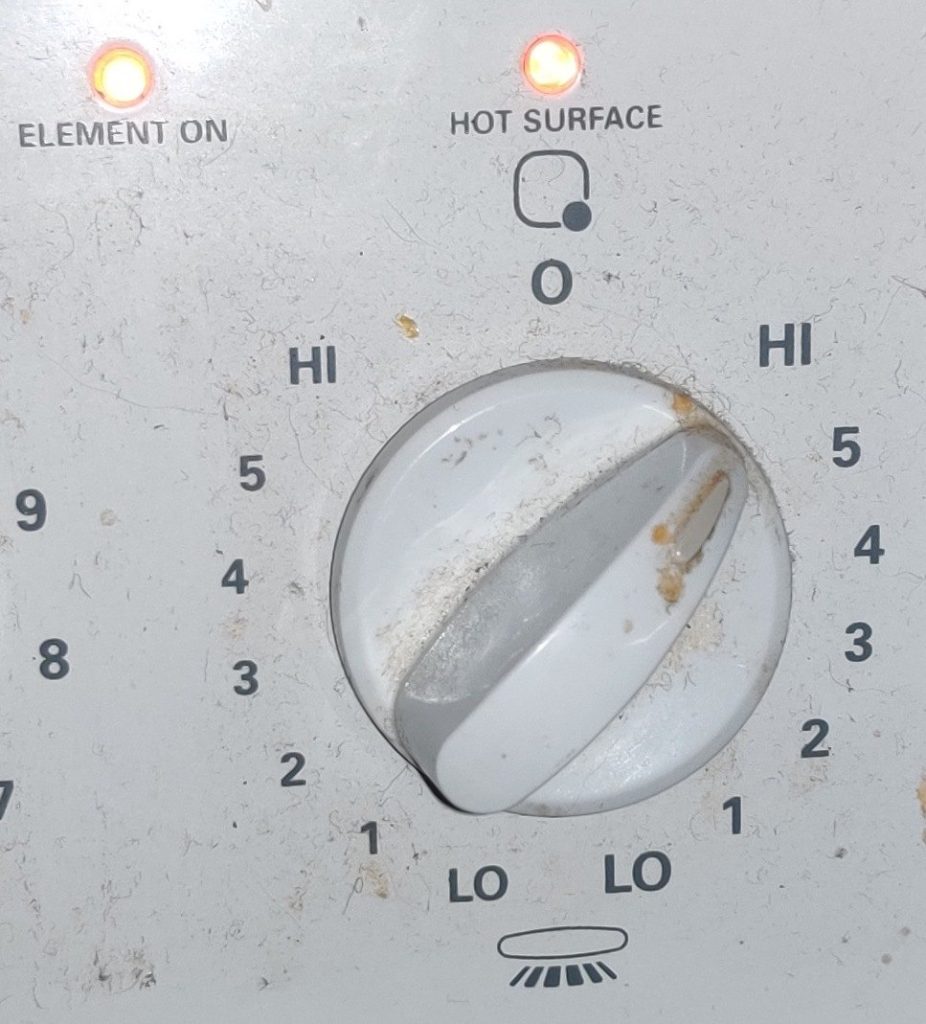
At this point, the stove burner was turned up to maximum:
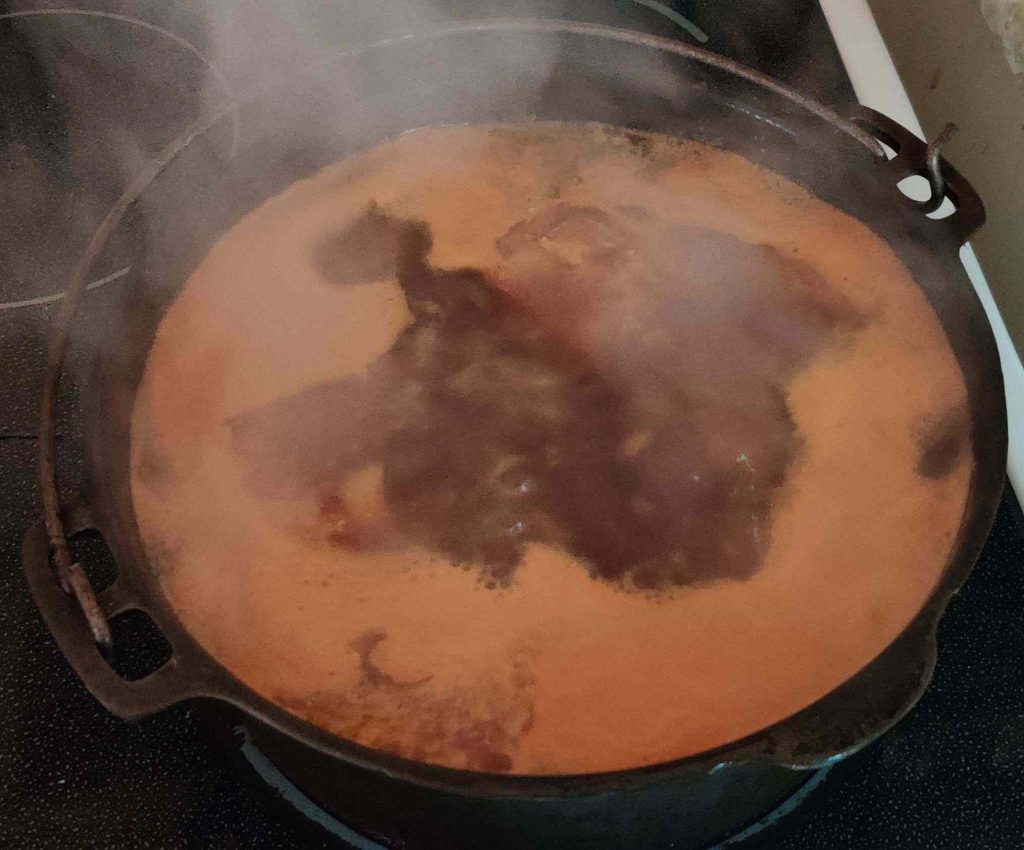
The pot was brought to a boil:
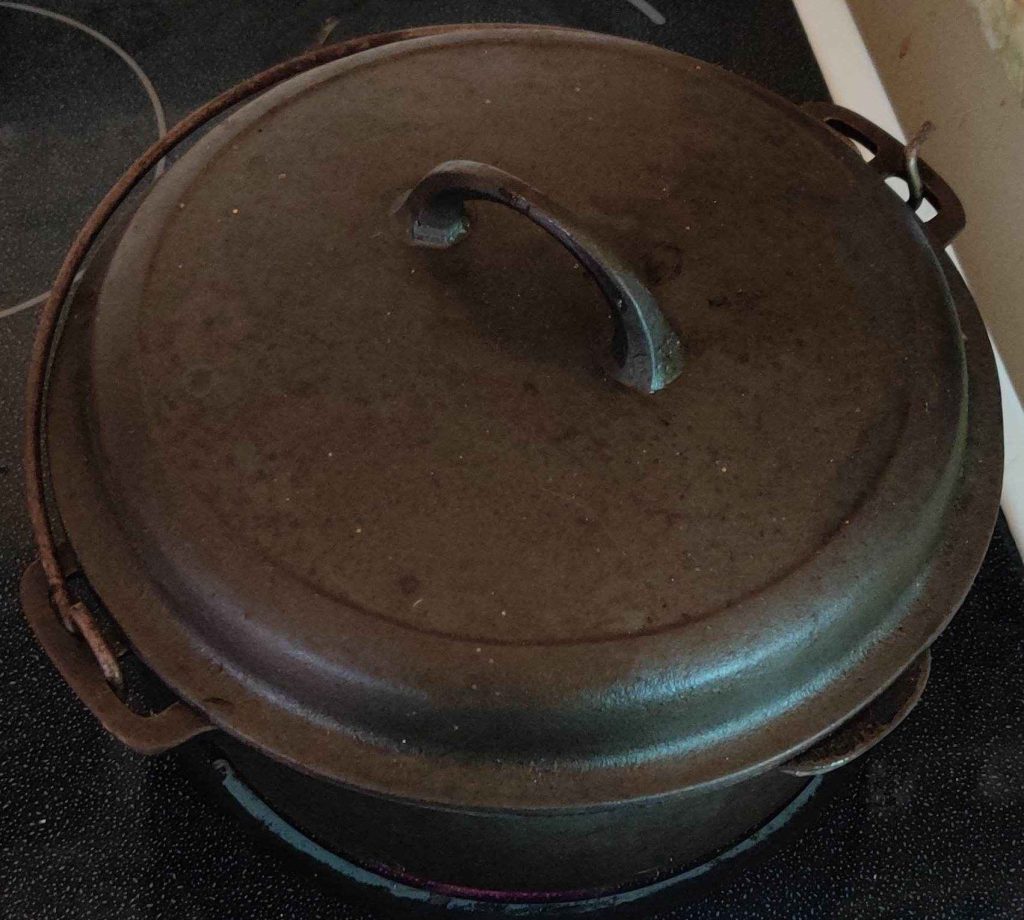
The lid was placed on the pot:
The pot was placed into the countertop convection oven — the pot just fits!
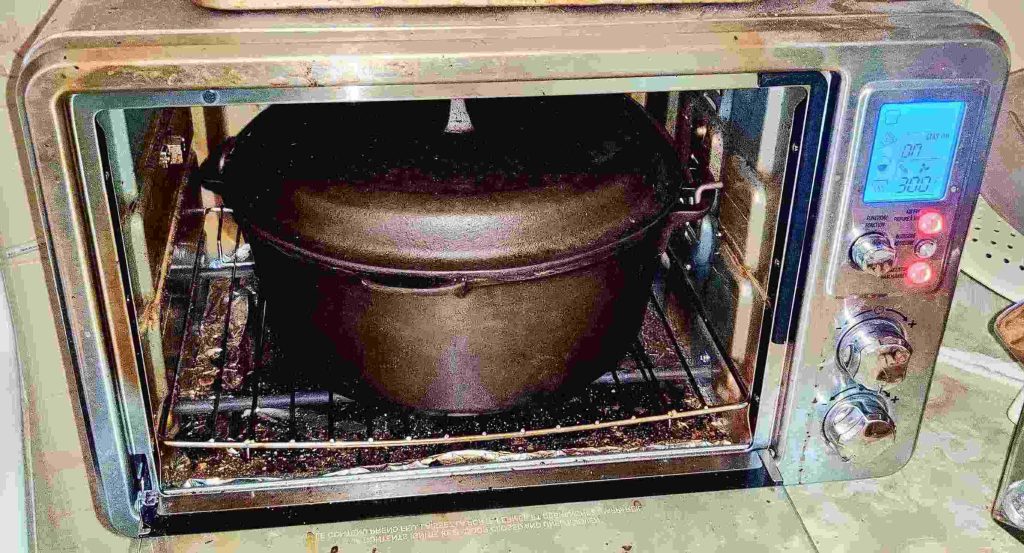
The door to my countertop convection oven was closed — and again I noticed something that needed a cleaning!
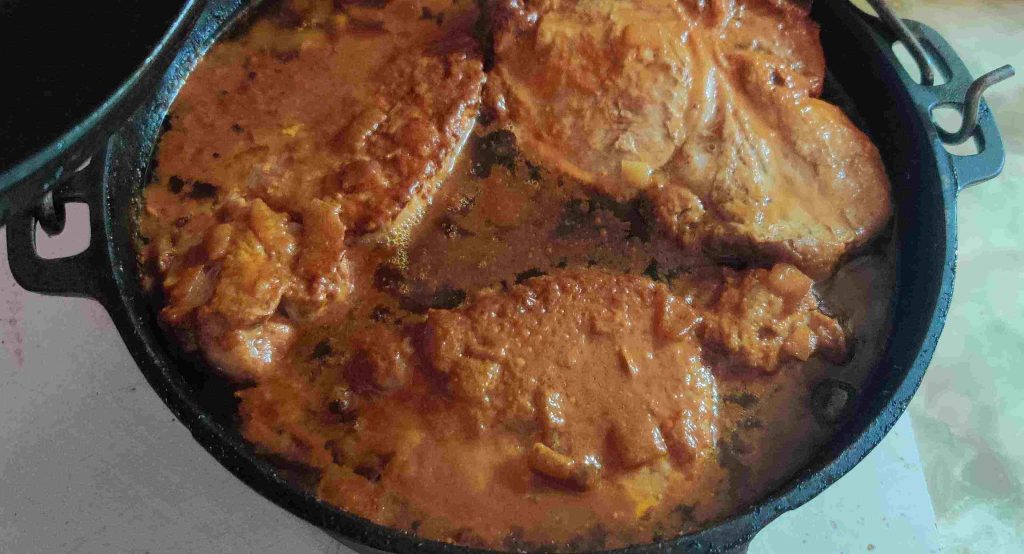
After about an hour, the pot was taken out and checked, and the liquid was indeed just bubbling:
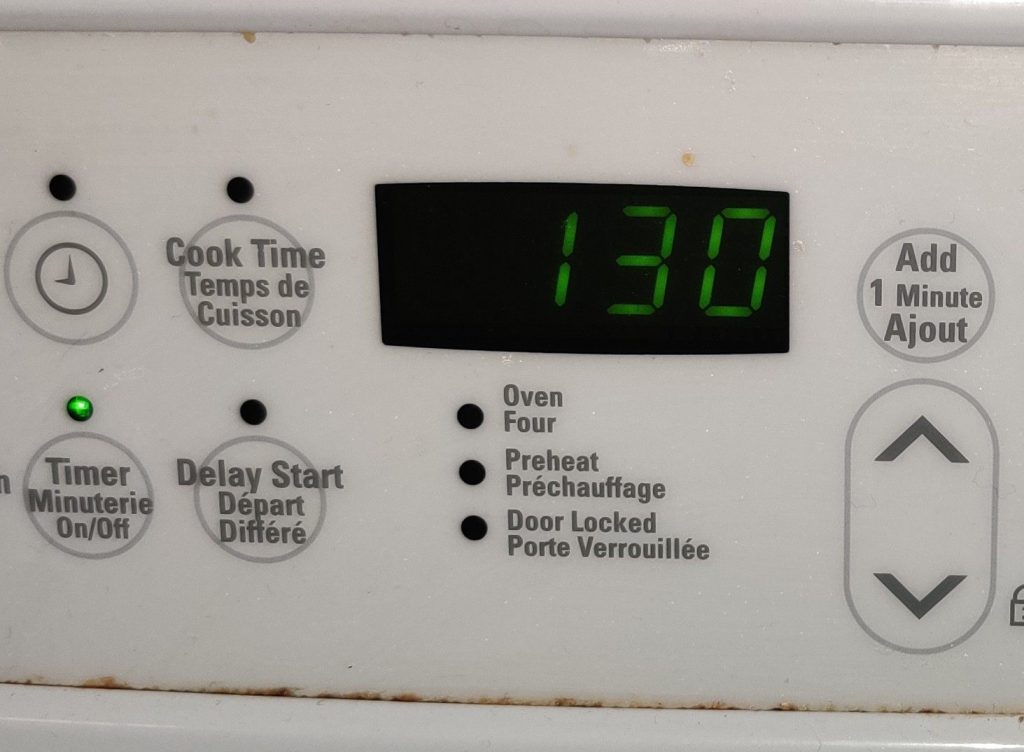
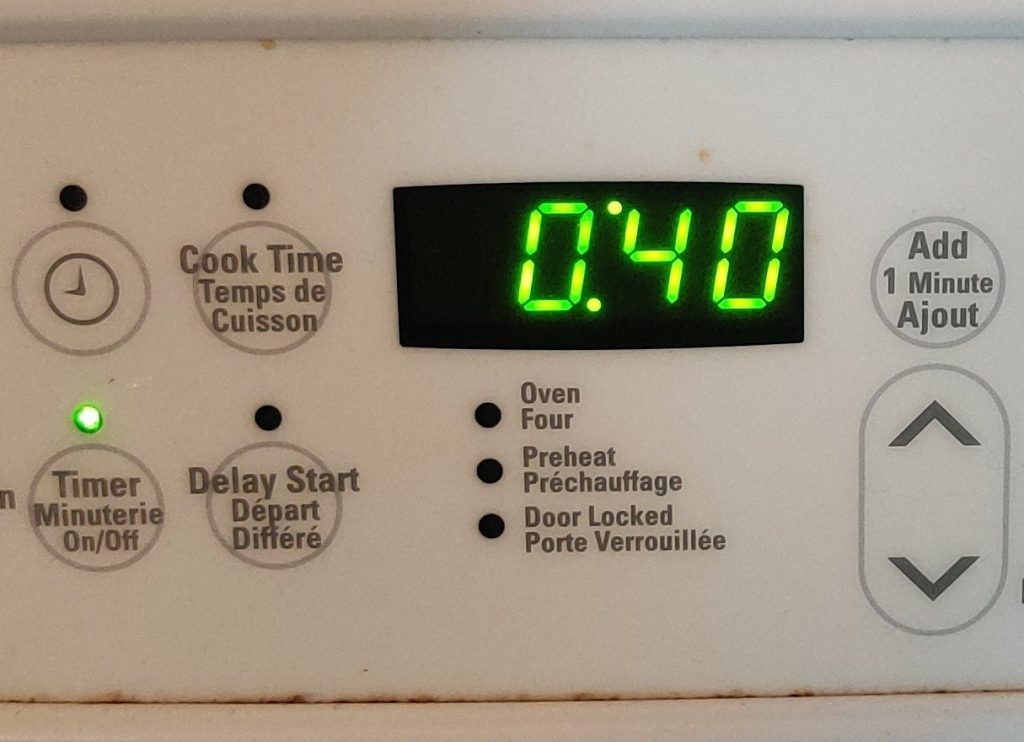
A timer was set to an hour and a half:
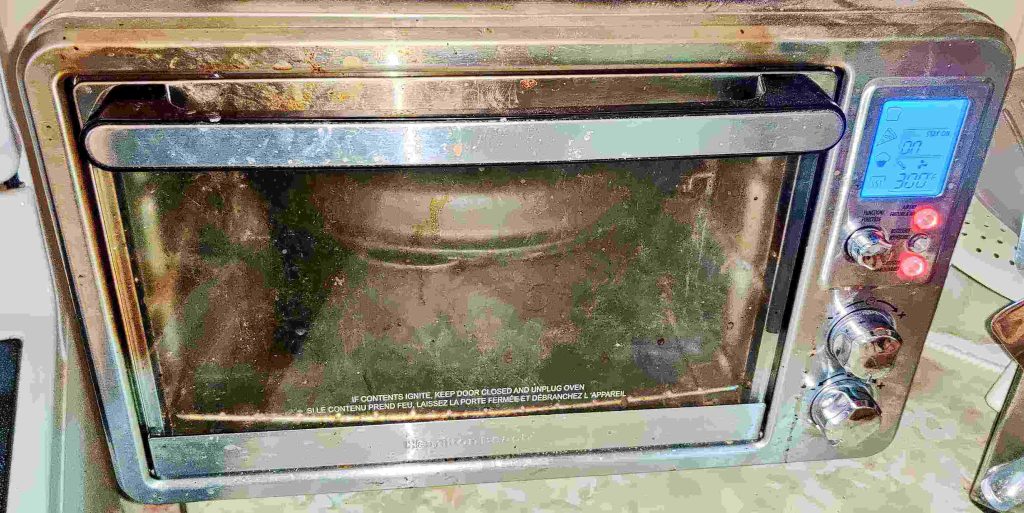
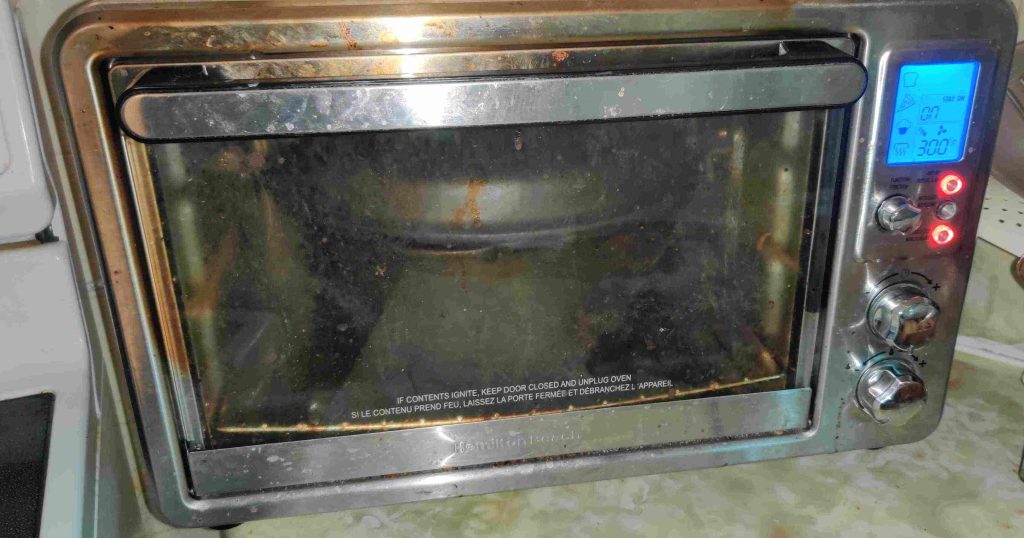
While the pot with the pork and braising liquid was returned to the countertop convection oven:
Shortly before the timer was to run out, a heatproof container was taken out:
And at less than a minute before the timer ran out …
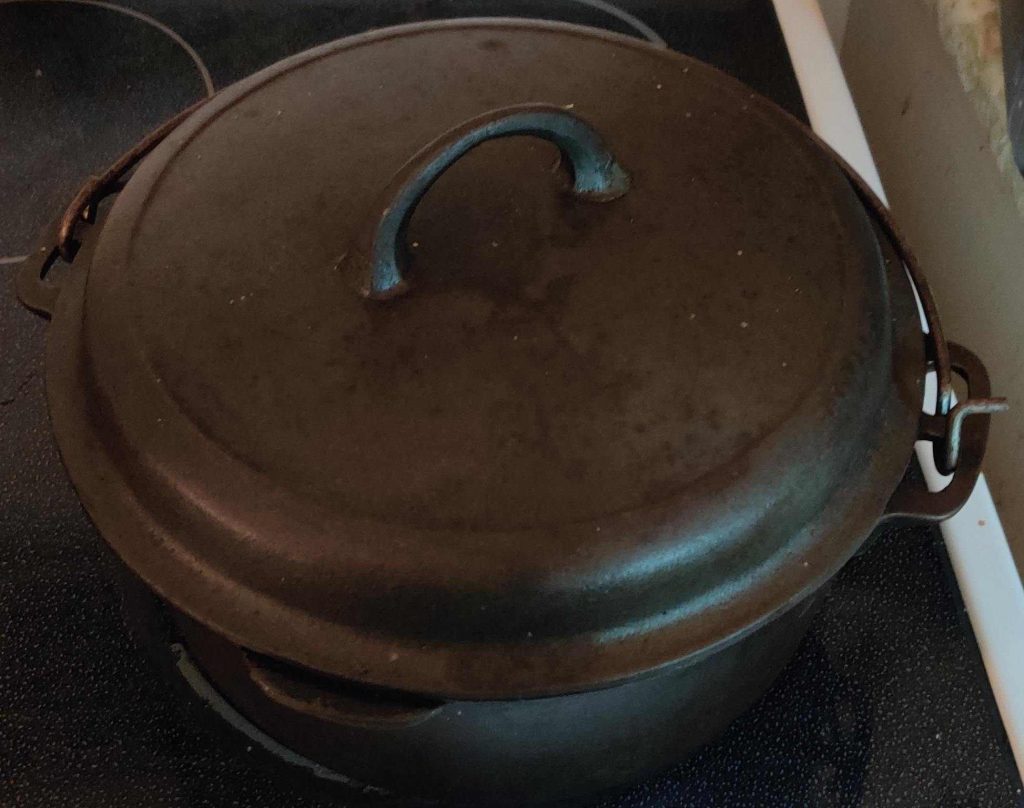
The pot was taken out and placed on the stove beside the counter:
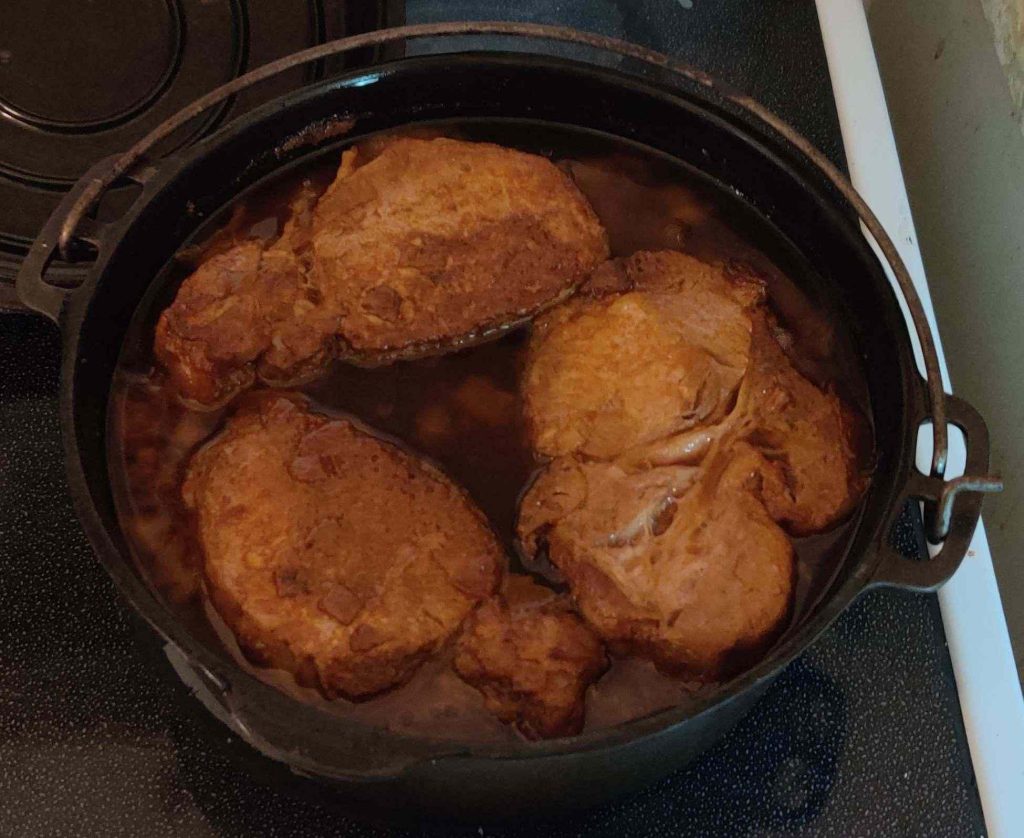
The lid was taken off the pot:
A piece of pork was taken out of the pot with a slotted spoon, and its tenderness was tested: The pork definitely pulled apart easily with a fork!
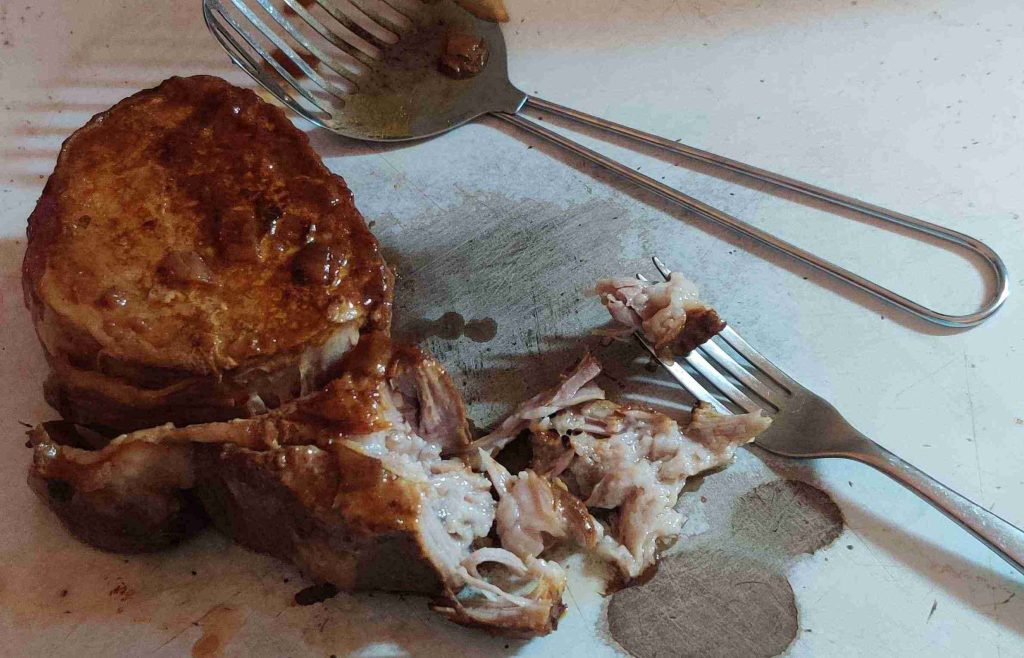
So I continued “pulling” — shredding if you prefer — the pork with some forks:
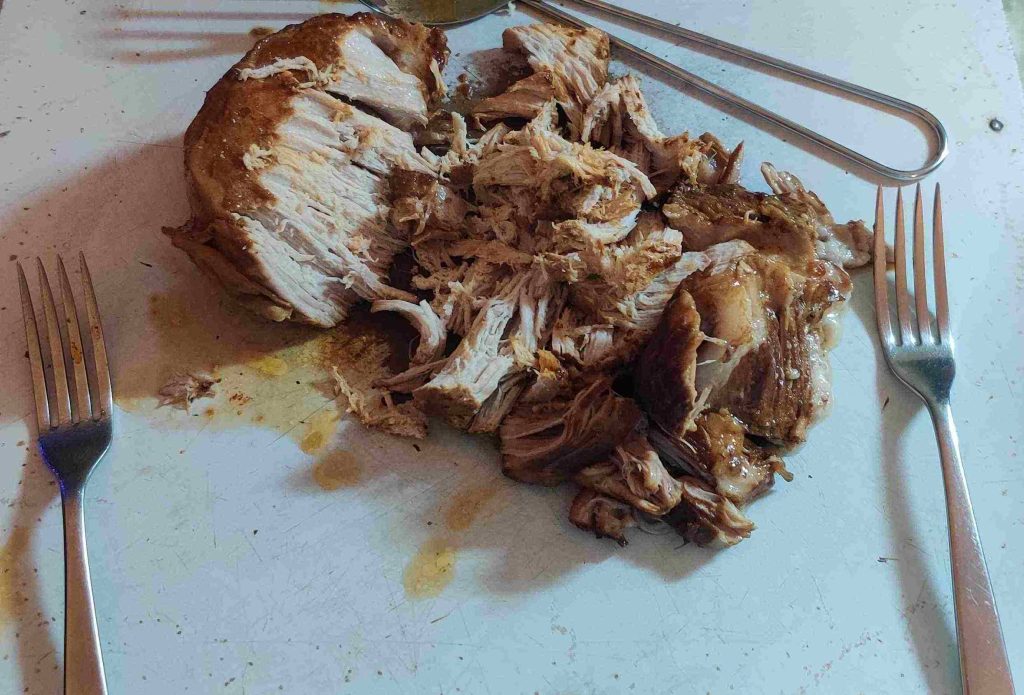
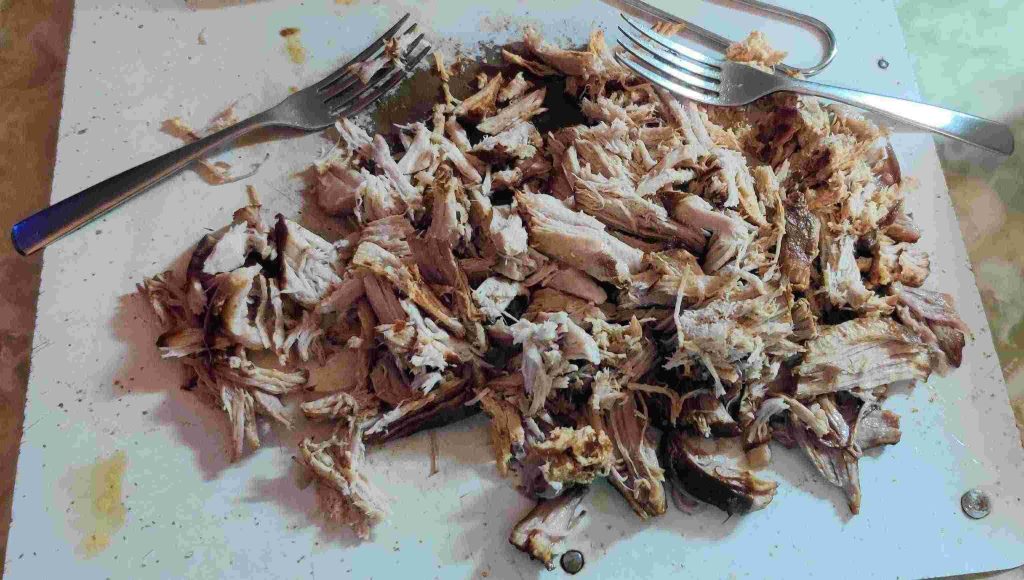
The shredded pork was transferred to the heat proof container, and another piece of pork was removed from the pot and braising liquid using a slotted spoon:
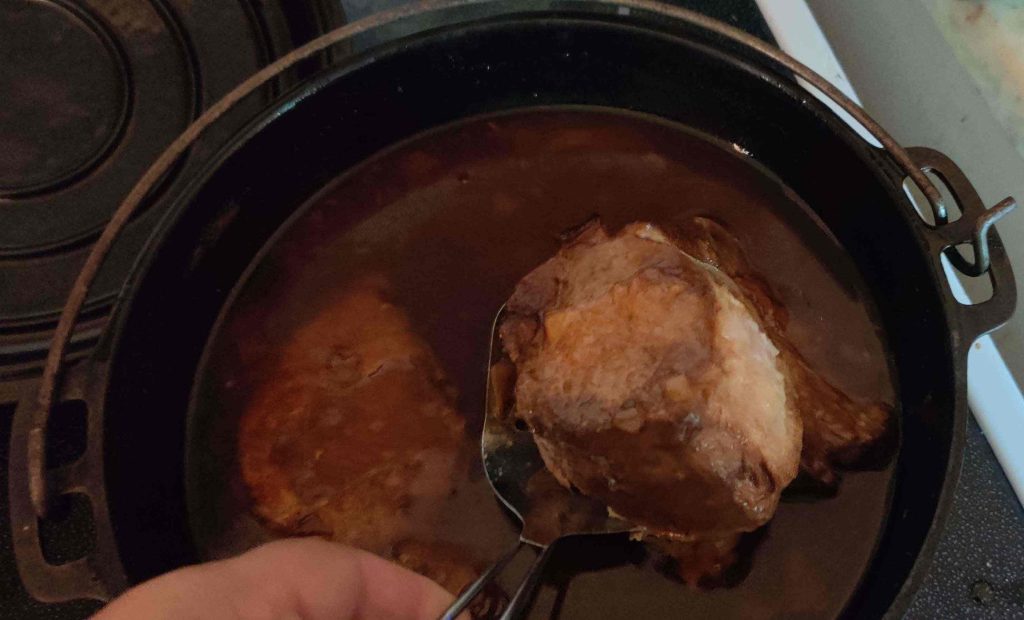
The piece of pork taken out, as well as the other piece of pork, were both shredded with the forks, and transferred to the heatproof container:
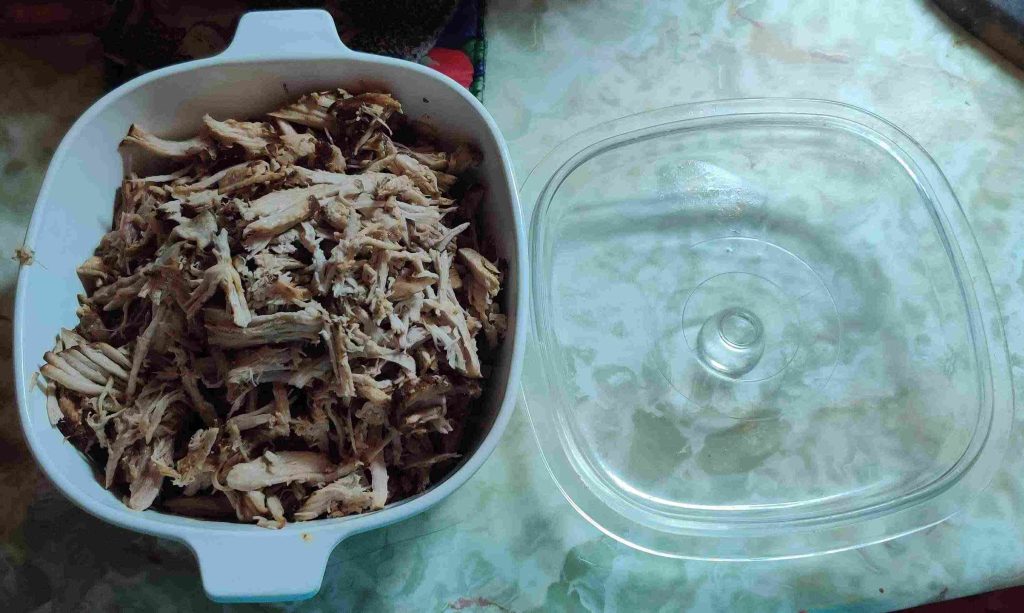
Throughout the pulling / shredding of the pork, bits of fat and grissol were separated out and put aside, to be put into a bucket for disposal through the municipal curbside composting programme:
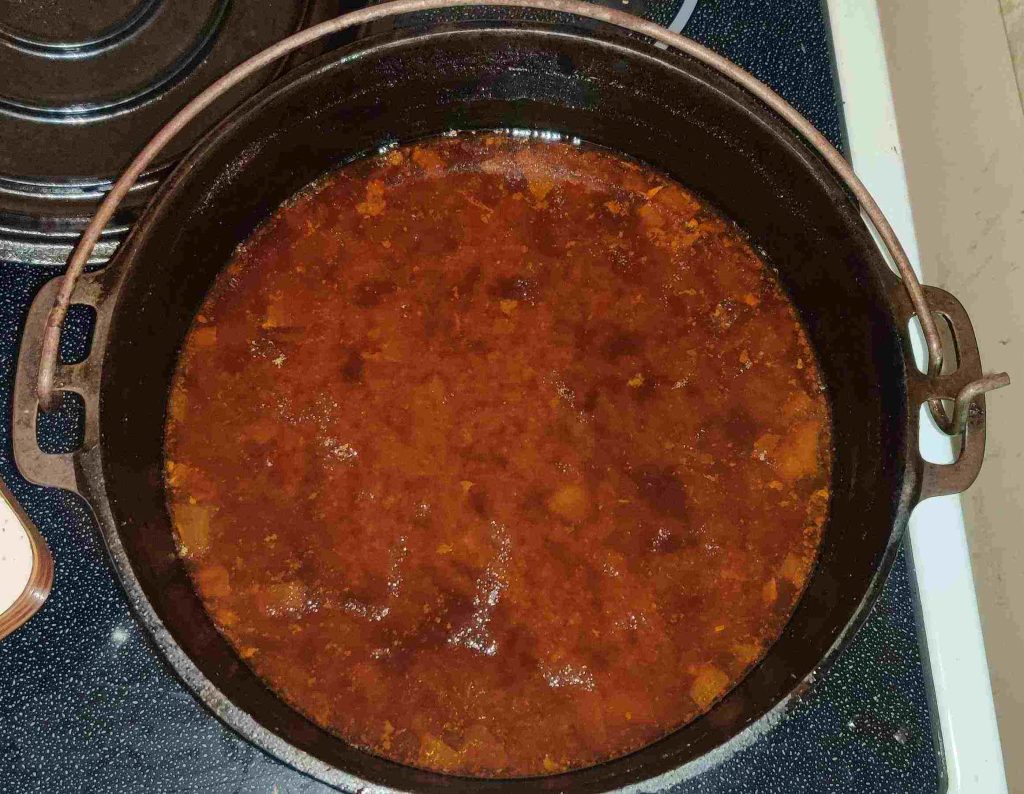
In the braising pot, a layer of rendered fat had risen to the surface:
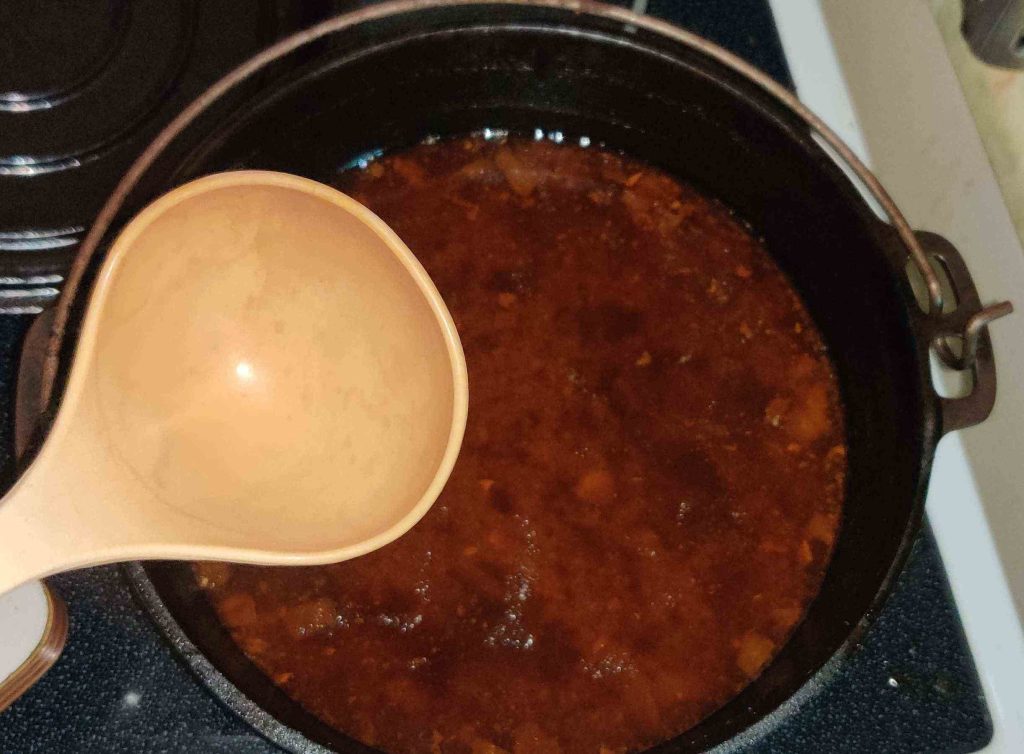
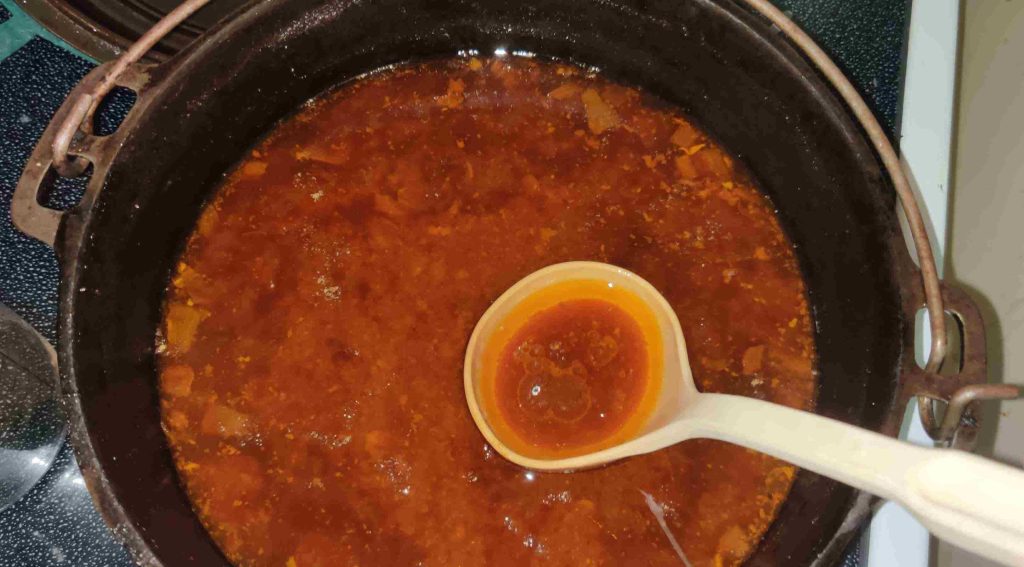
A soup ladle was taken out to skim off the rendered fat:
The rendered fat was skimmed off the top of the braising liquid:
The skimmed rendered fat was transferred to a fat separator with a slotted top:
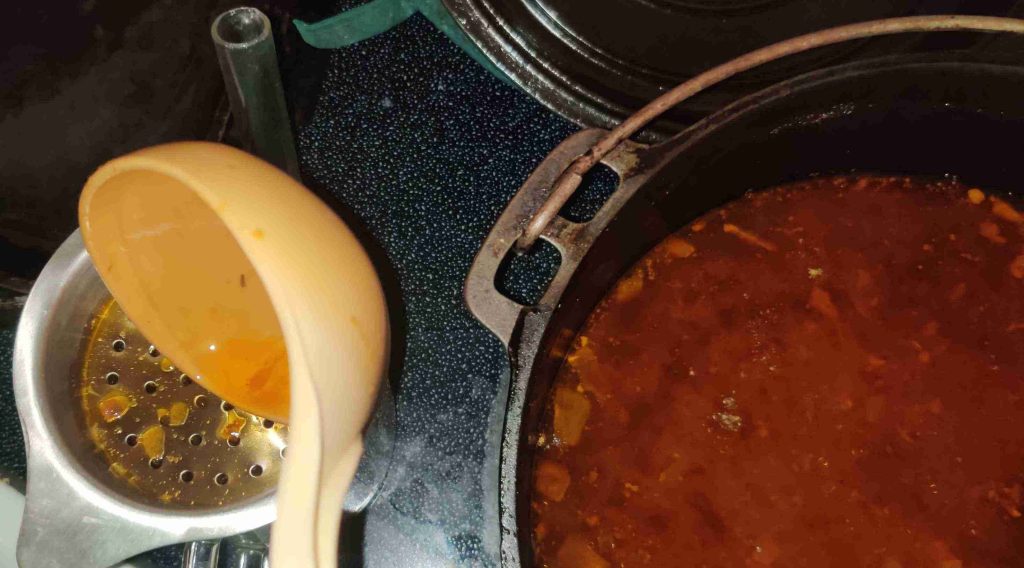
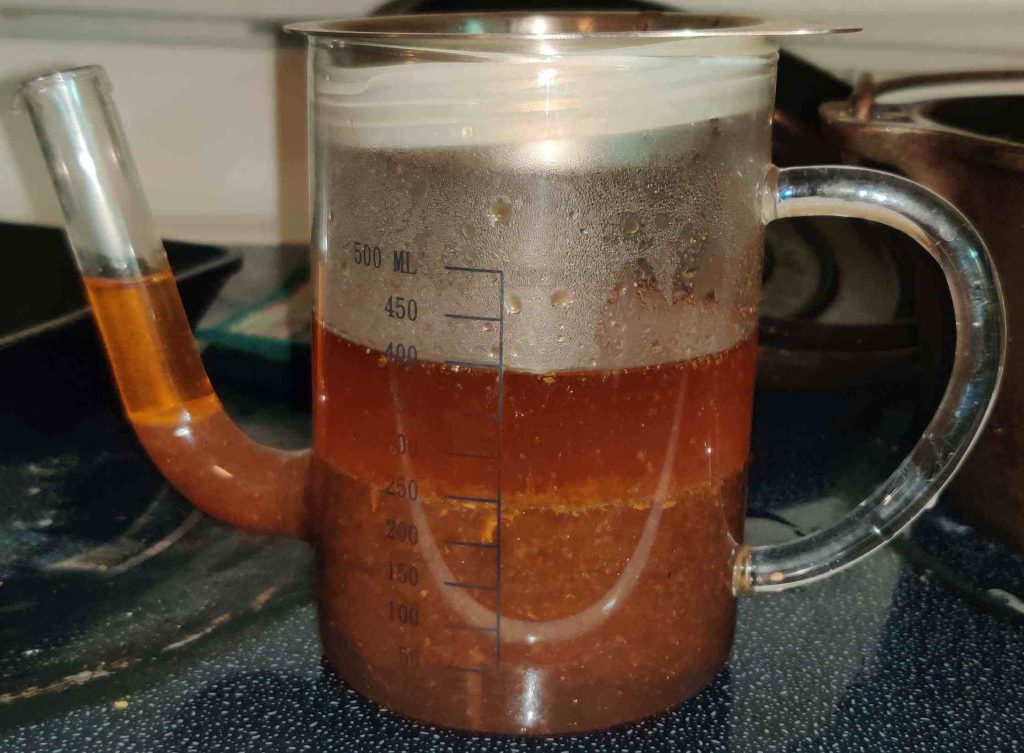
The braising liquid at the bottom of the fat separator was poured off:
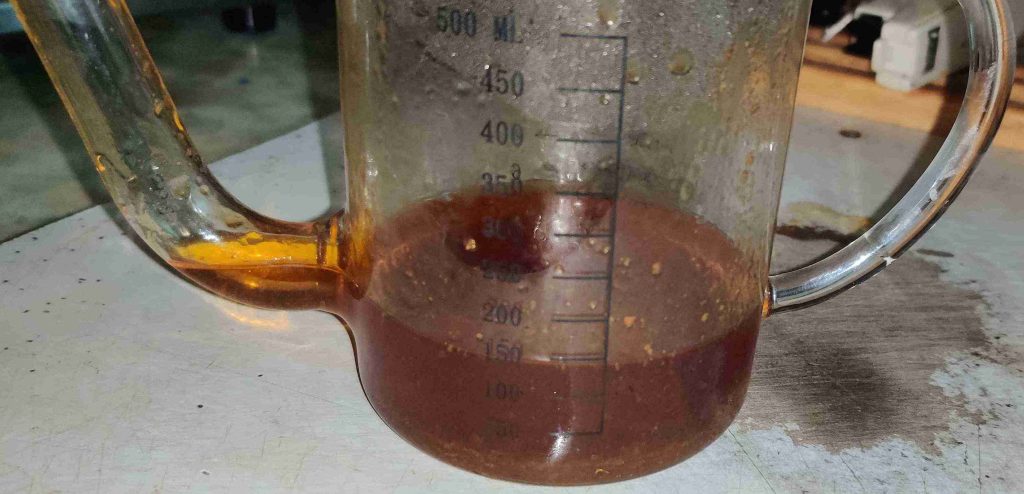
The ladle was then used again, this time to transfer some of the braising liquid from the cast iron pot …
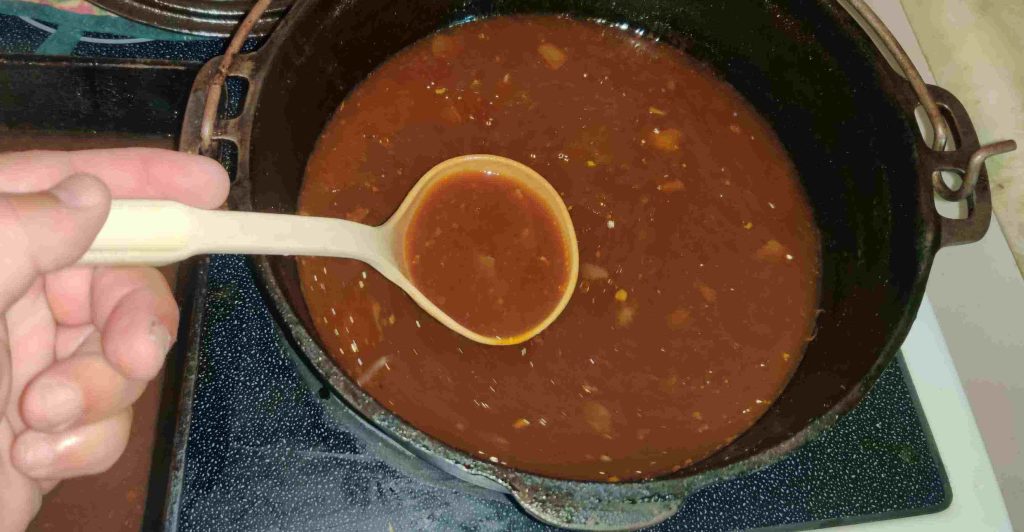
… to a frypan, in order to help reduce / thicken the liquid more quickly than all at once just in the pot:
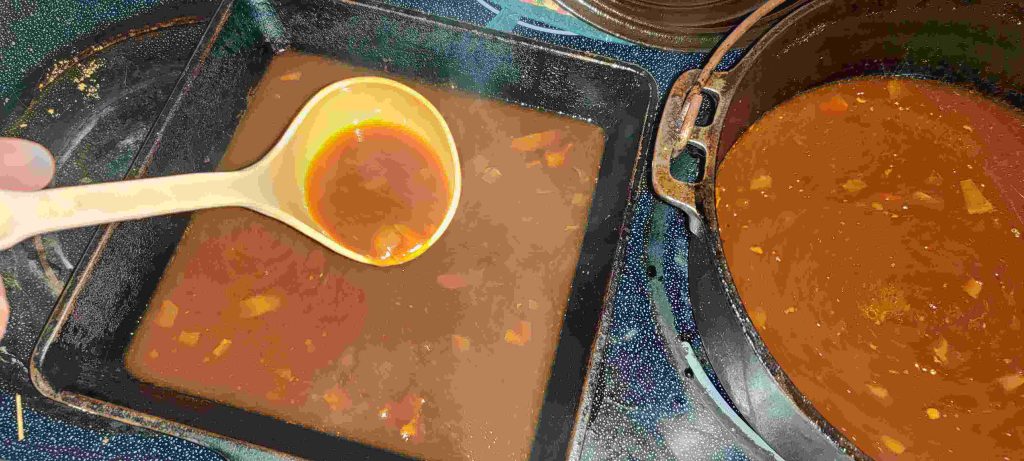
Two stove burners were turned on to maximum:

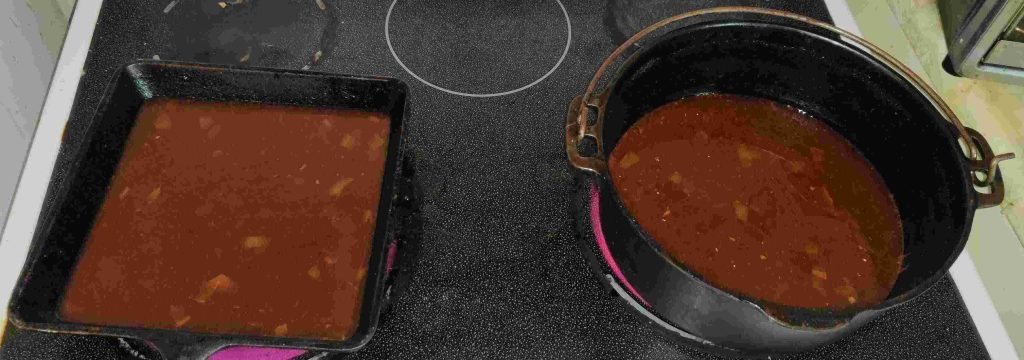
The frypan and pot were brought to a boil to reduce the volume and concentrate the ingredients, by evaporating off excess water:
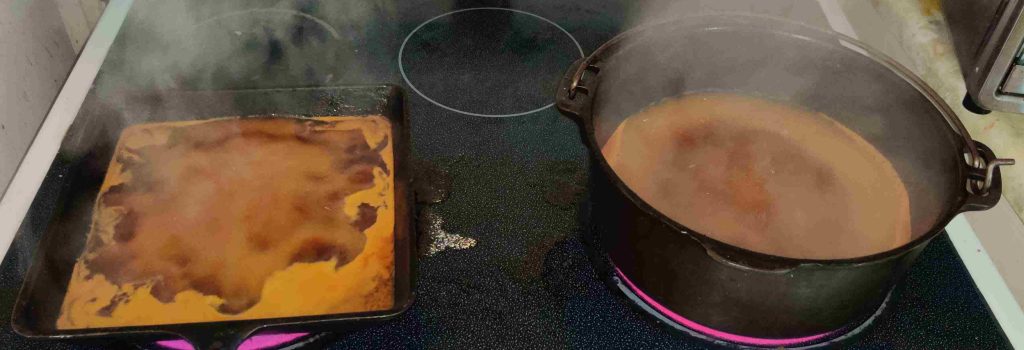
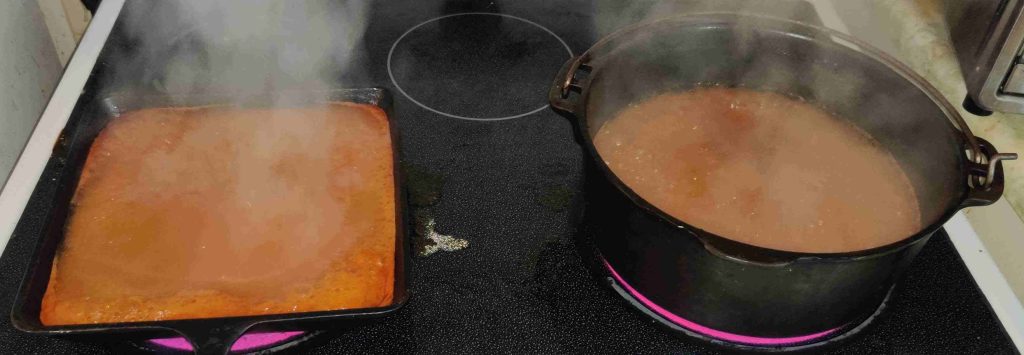
After a time, as can especially be seen in the pan on the left, the reduced liquid with become what I will characterize as “gloopy”, and the bubbling will be more audible:
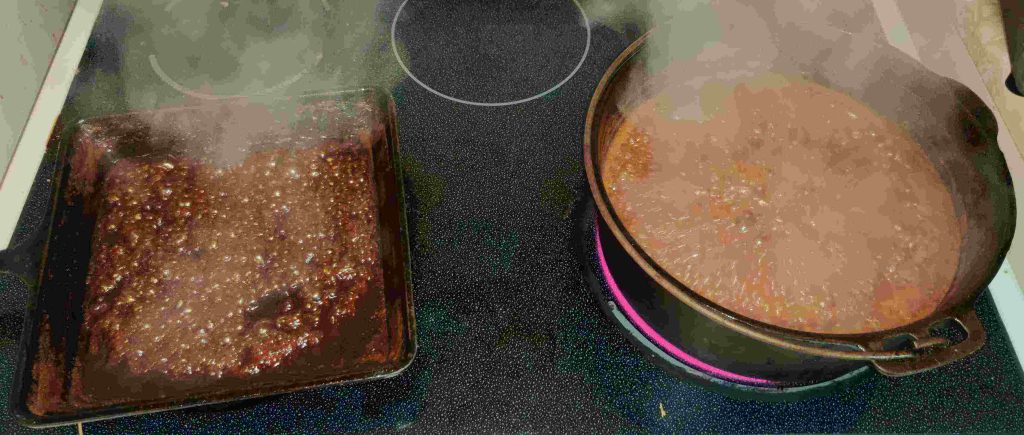
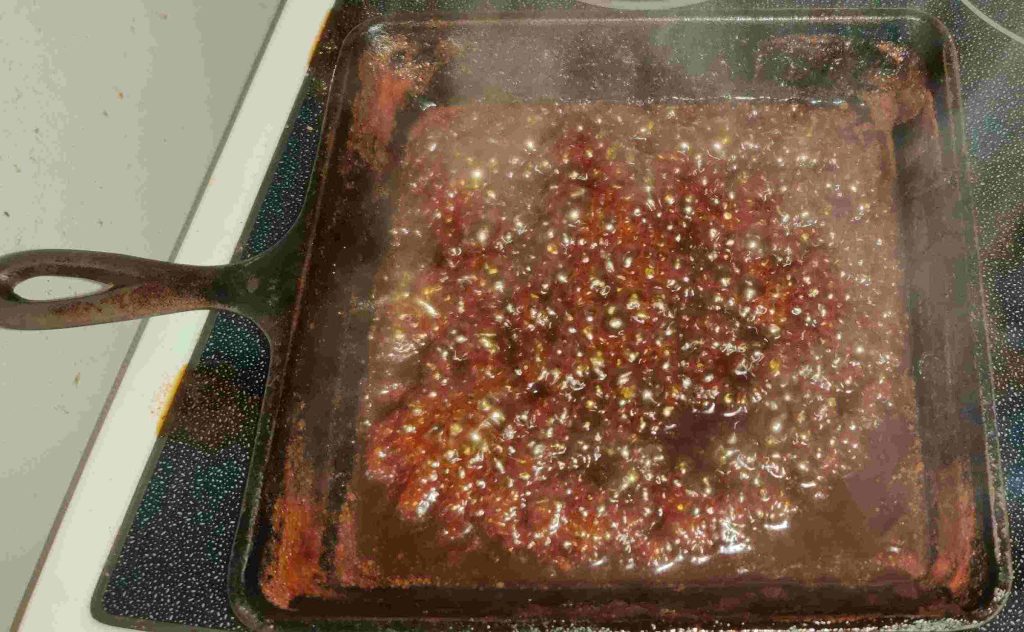
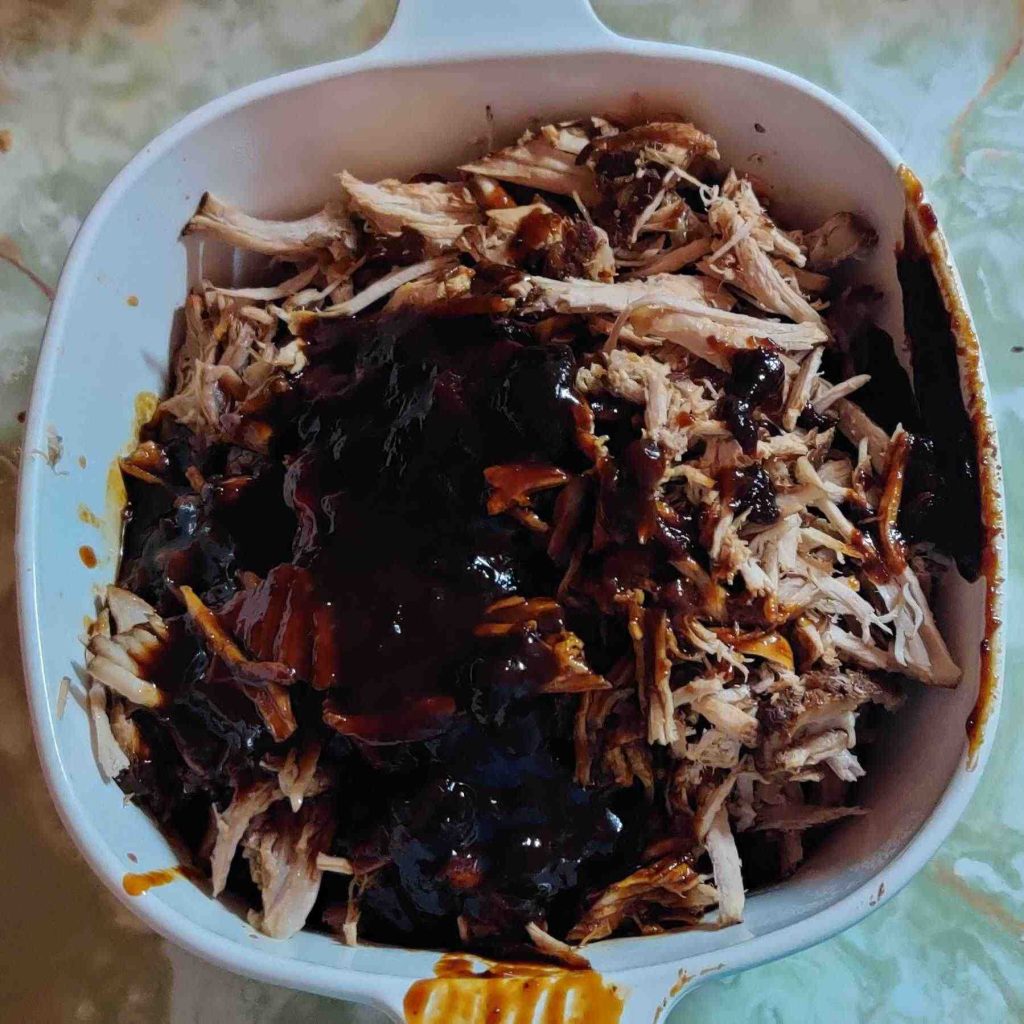
The now thickened sauce in the pan was transferred to the pork in the heatproof container:
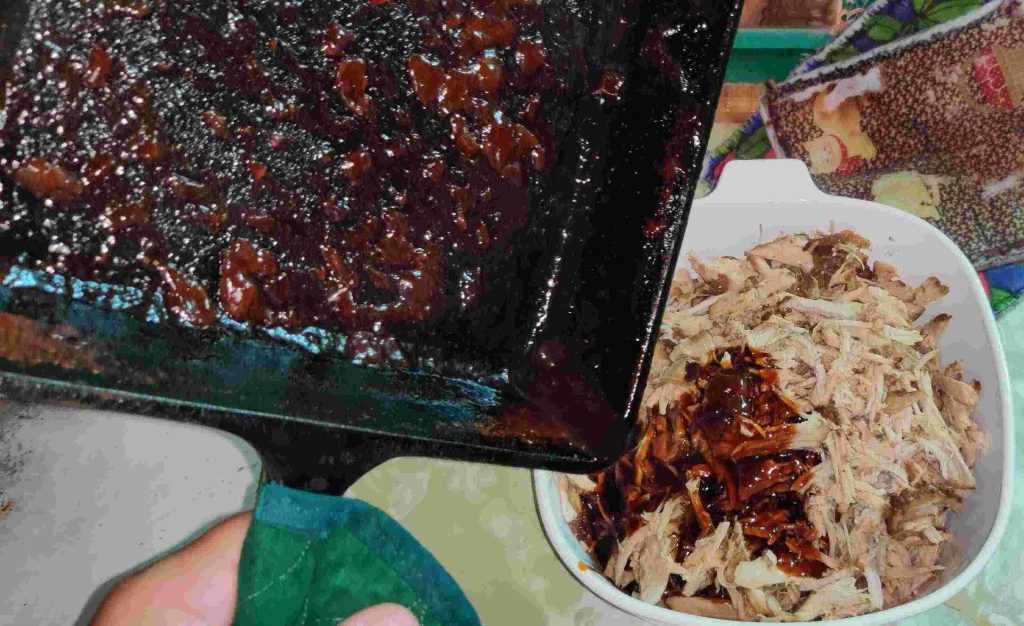
Of course, the pan was scraped to get all of that goodness to put on the pulled / shredded pork!
The rest of the braising liquid was reduced to the desired thickness and transferred to the container with the pulled / shredded pork:
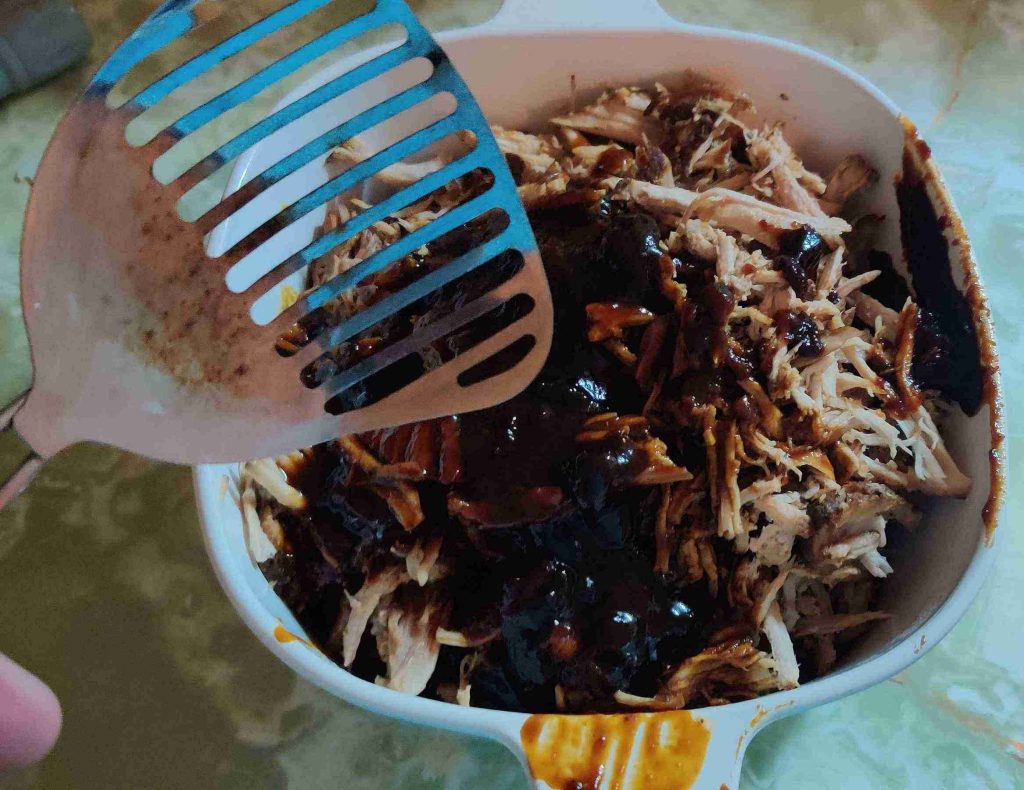
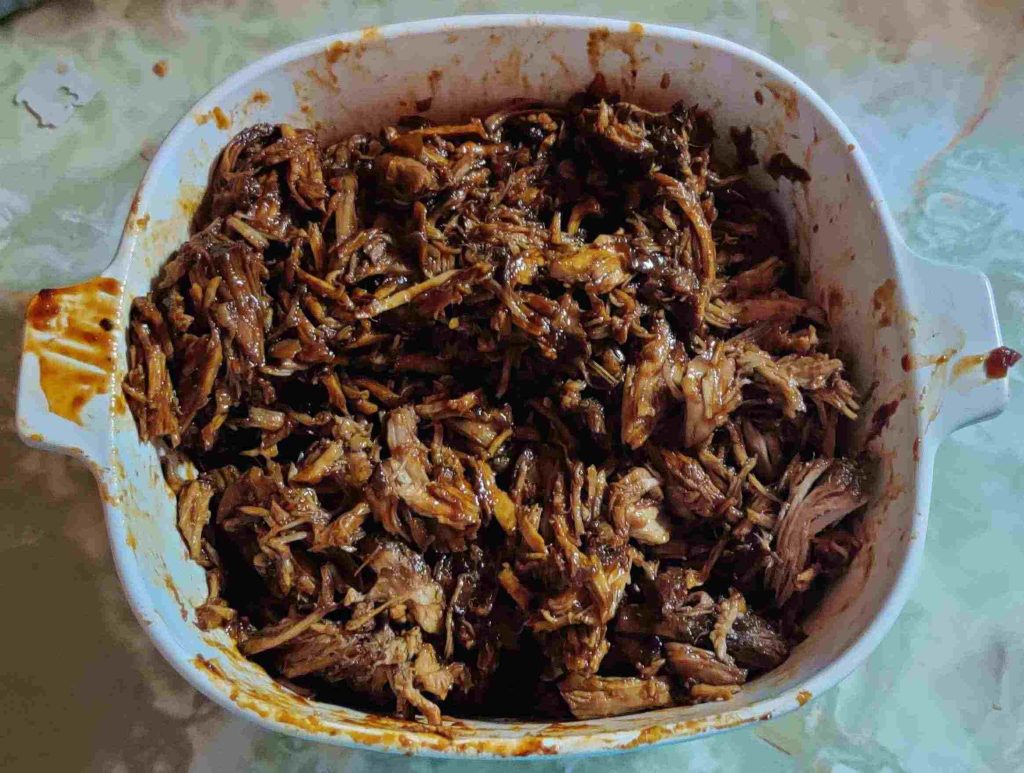
The (now cleaned) slotted spoon was taken out to distribute the sauce throughout all the pulled pork:
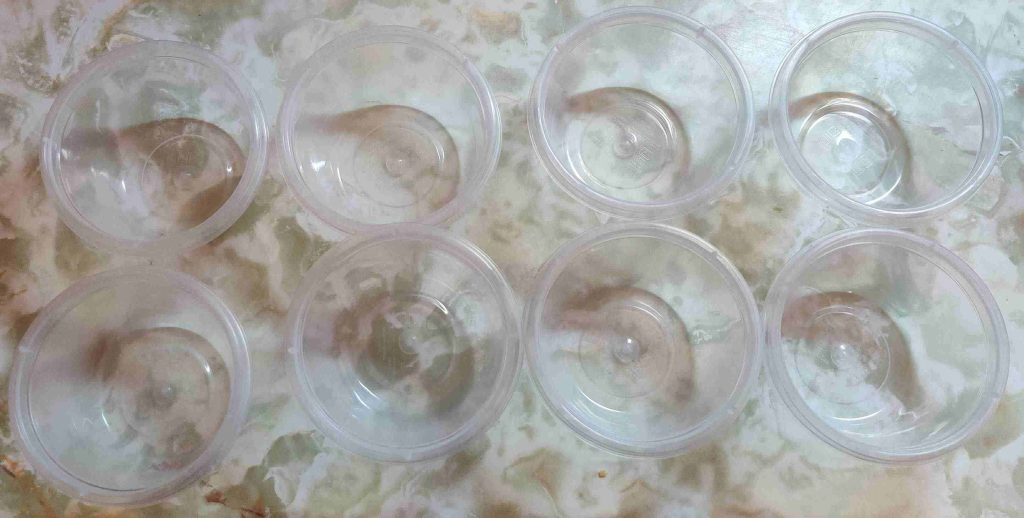
Plastic containers of a one-cup capacity were taken out (this is the recreated photo):
The pulled pork was transferred to the plastic containers:
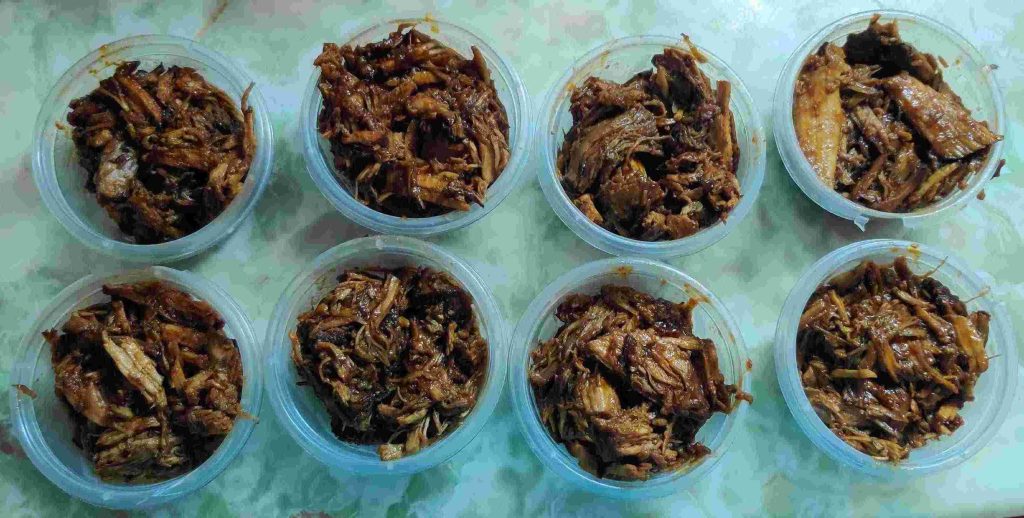
And lids were placed on the containers:
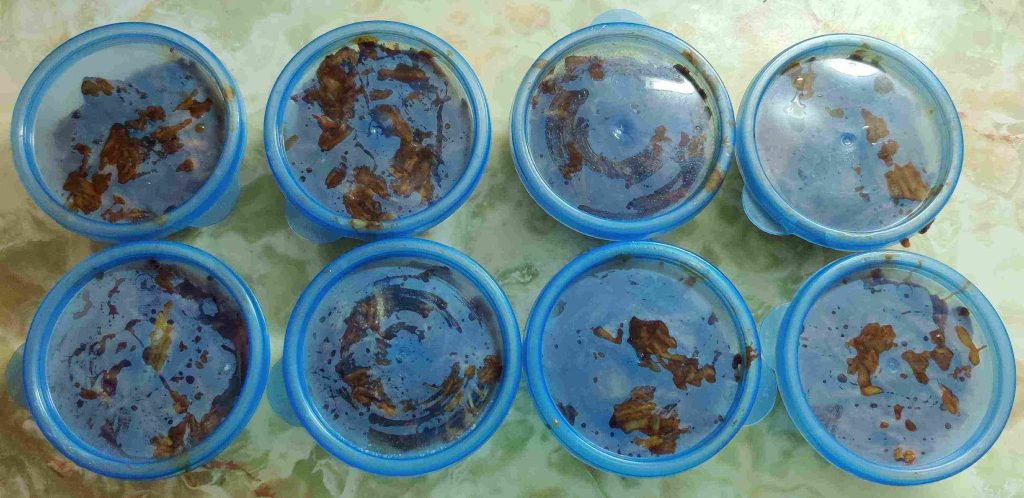
The containers were placed in the freezer for my future enjoyment:
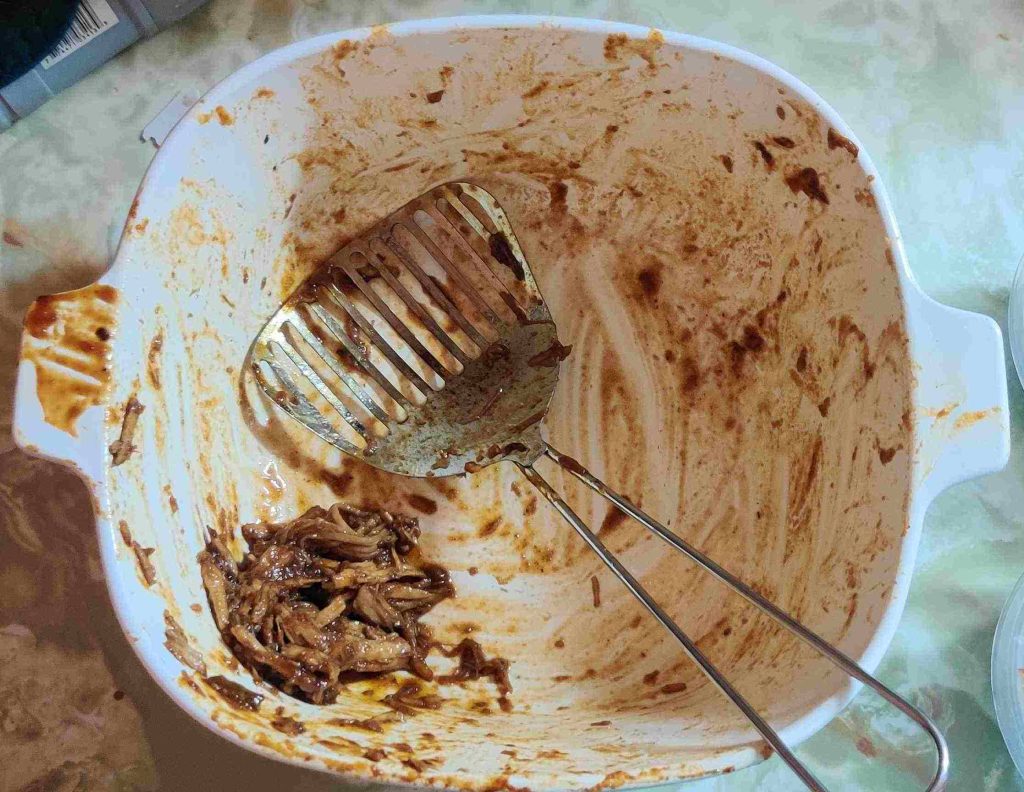
Fortunately, there was a taste, albeit small, of pulled pork left in the container:
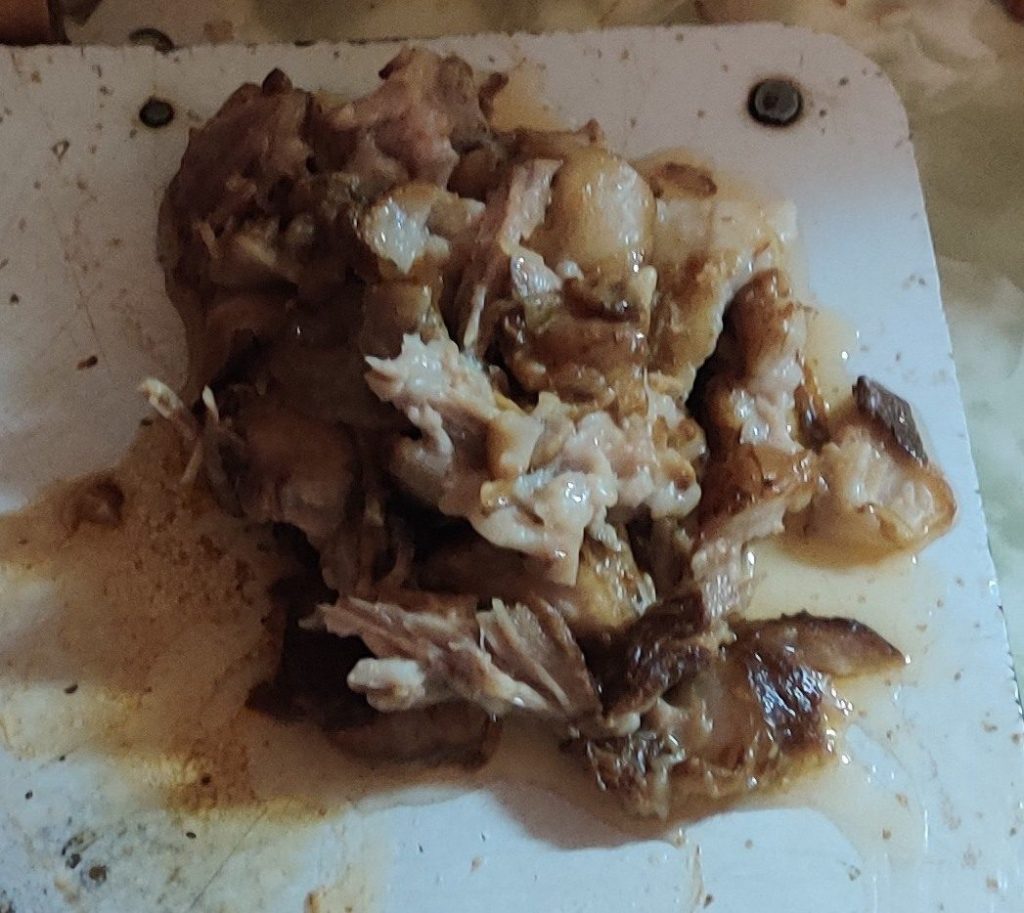
The tasty leftover bits were served on a plate, ready to eat:
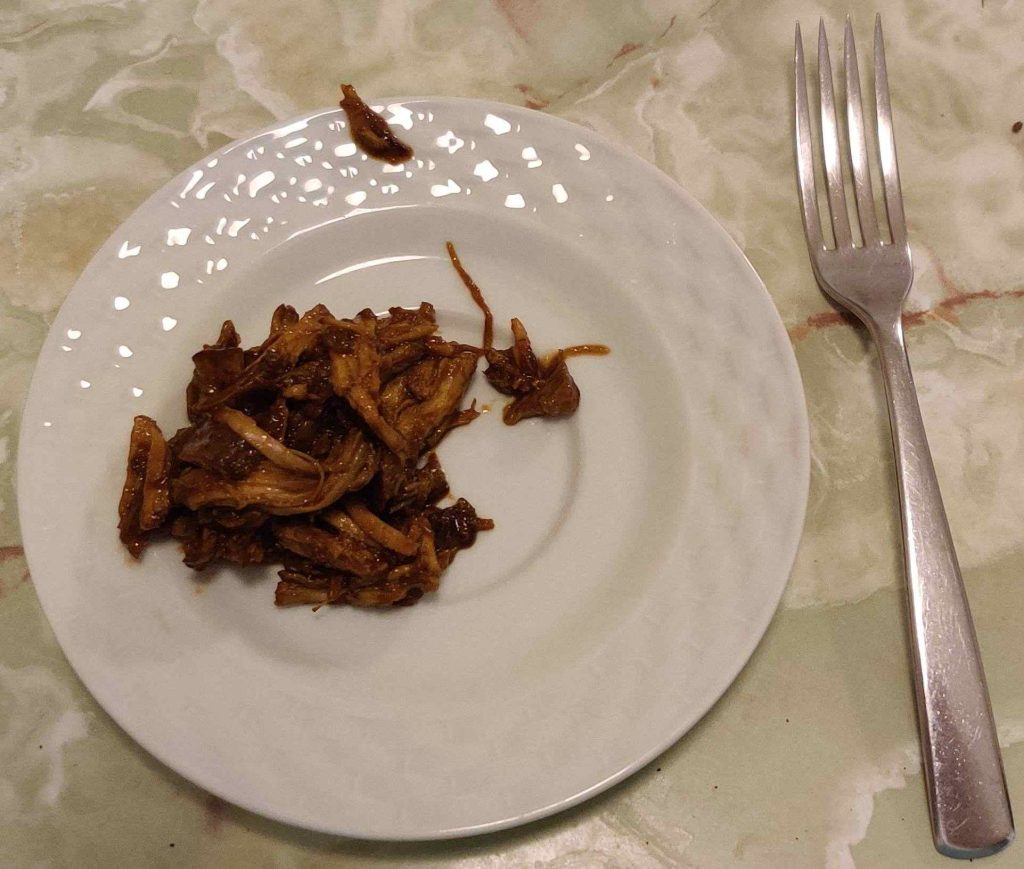
Yummy!
And as an extra note … I have been asked to bring my pulled pork again to the next church pot luck meal, along with one of my tiramisu cakes!