Making Pork Custards — Photos

This recipe came about after another conversation with ChatGPT about easy-to-chew foods, and the recipe was suggested by the chatbot. To my pleasure, it’s tasty, and Mom likes it!

To be clear, this is a savoury, main meal component, not a dessert that might elicit a reaction of “I’m not having that for dessert!”, or at least cause you to scratch your head and wonder to why it was being offered for dessert! (As in, usually, custards are sweet desserts.)

Making the Pork Custards:

First, a pork roast, which had been purchased last December on special and frozen right away, was taken out of the freezer the night before the cooking project, and kept in the fridge to defrost overnight:
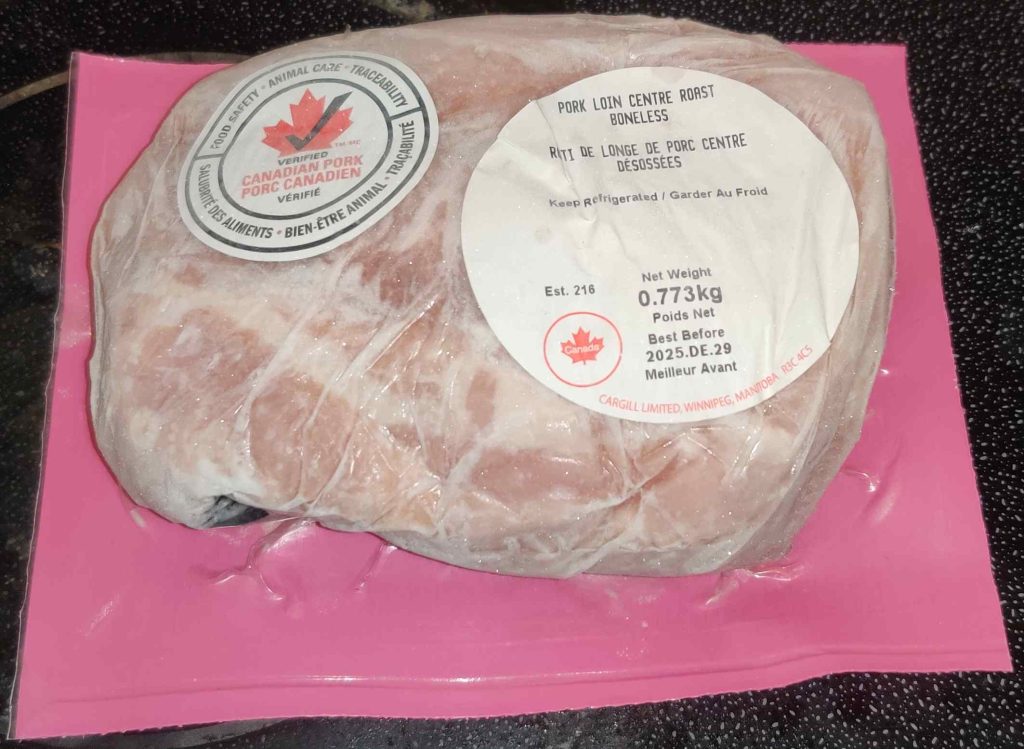
Frozen pork roast taken out of freezer

Note that the weight of the pork roast is about half as much larger than my base recipe, so as I was preparing the dish, I adjusted measures upwards accordingly.

The roast was left on the counter for a couple of hours to begin defrosting, and then it was placed in the refrigerator to continue defrosting overnight:
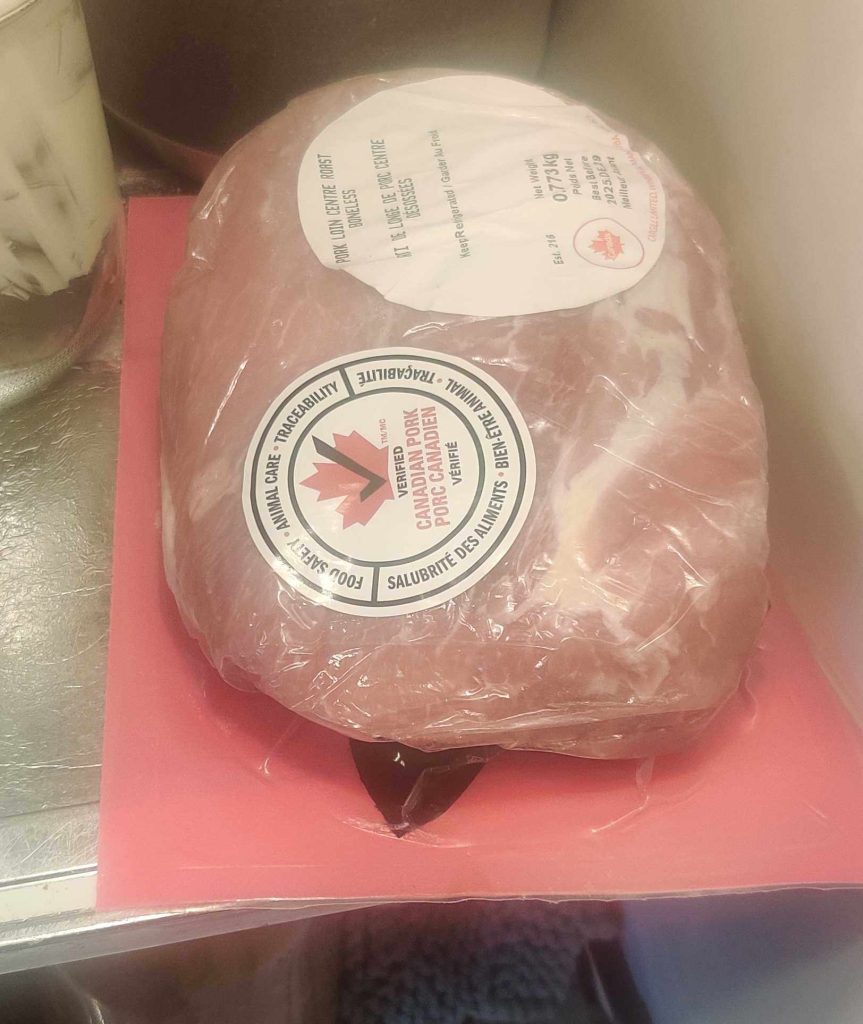
Pork roast placed in refrigerator to defrost overnight

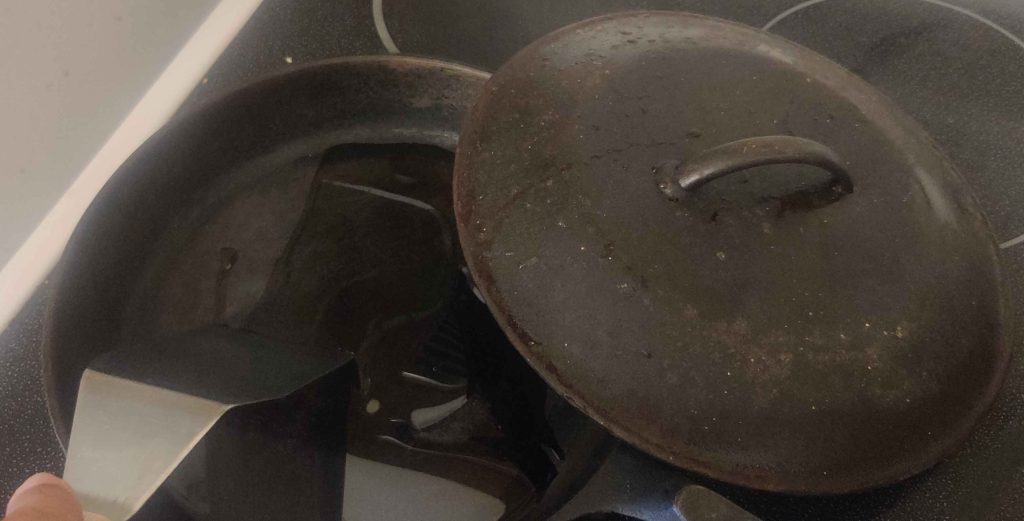
When I began the cooking project the next day, a cast iron frypan and a braising lid were taken out:
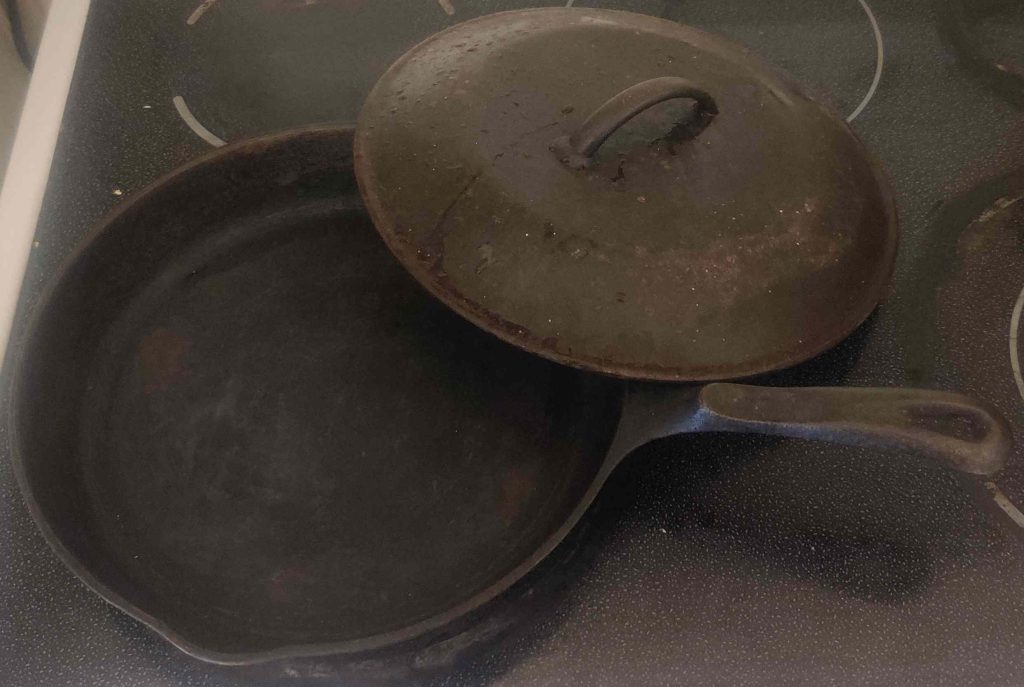
Cast iron frypan and lid taken out

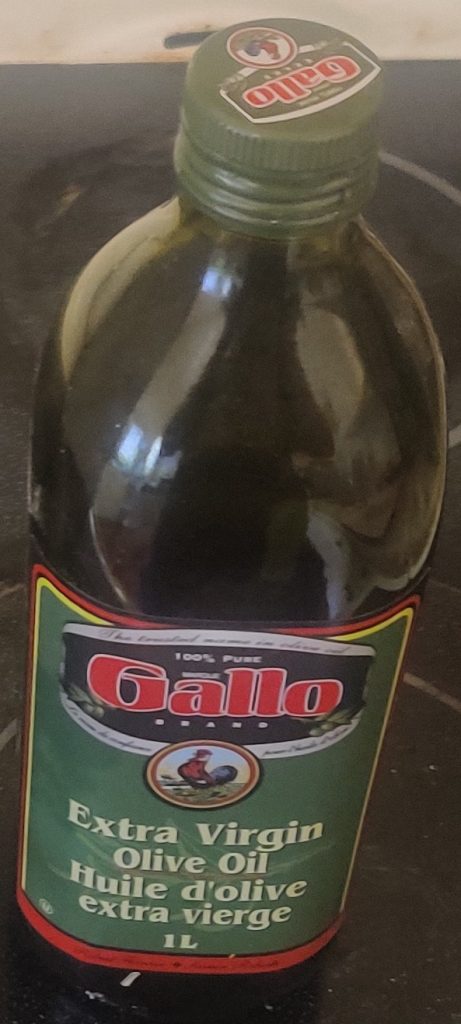
A bottle of olive oil was taken out:

Olive oil taken out

The bottle of olive oil was opened:

Olive oil bottle opened

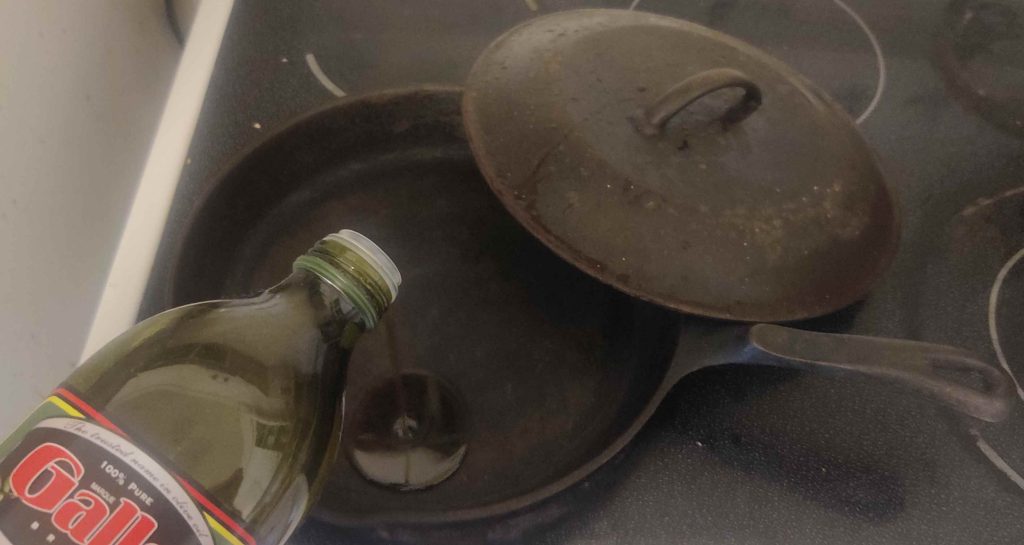
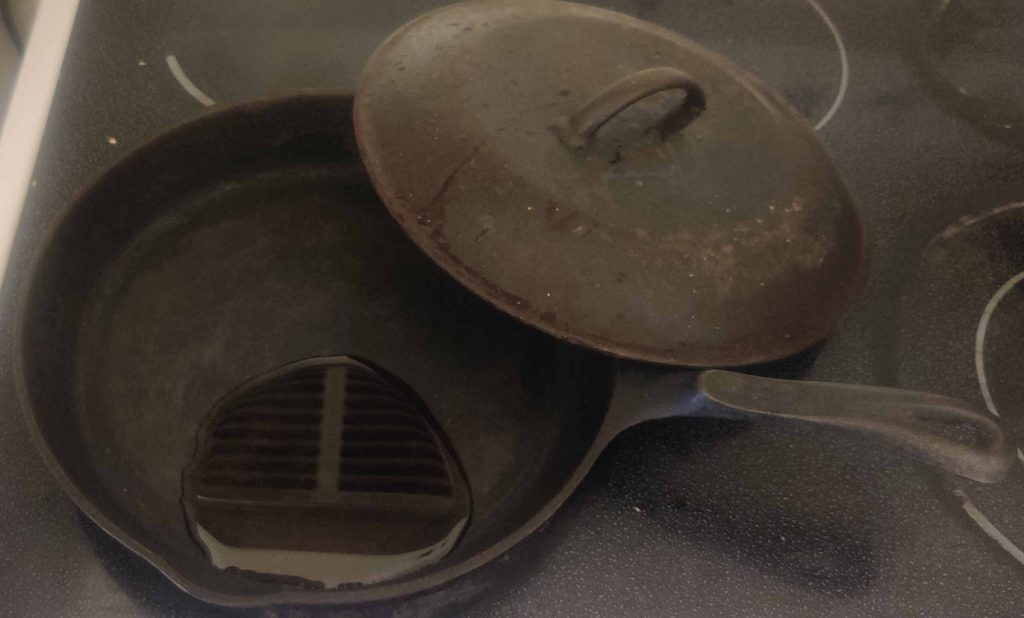
Olive oil was poured into the frying pan:
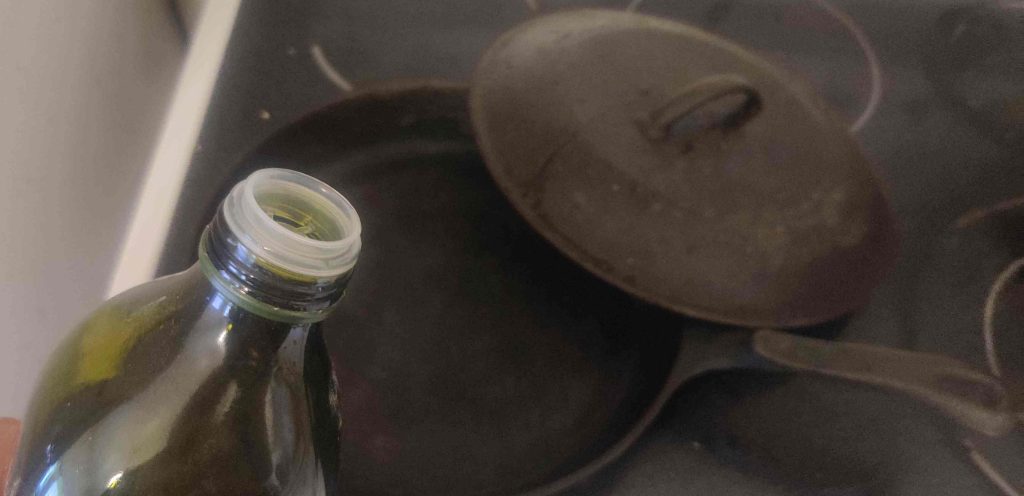
Olive oil poured into frying pan
Olive oil poured into frying pan — yes, you can see a reflection of the extraction fan above the stove in the oil!

A spatula / egg flipper was taken out:
Spatula / egg flipper taken out

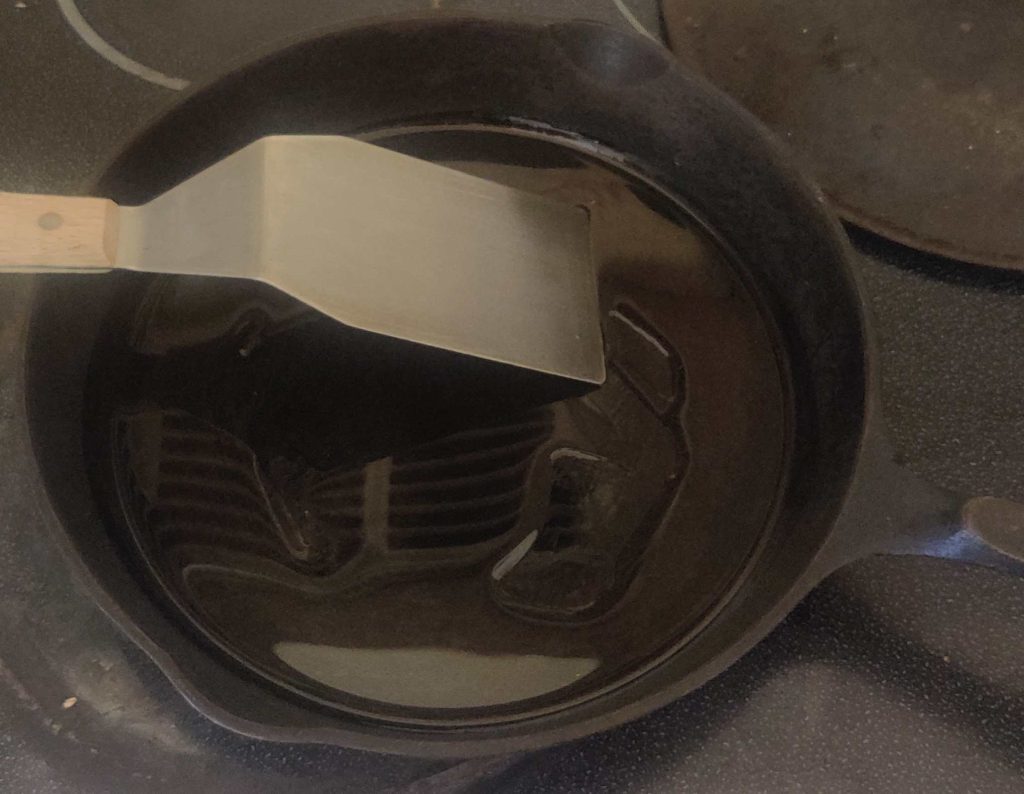
The oil in the frying pan was spread around with the egg flipper:
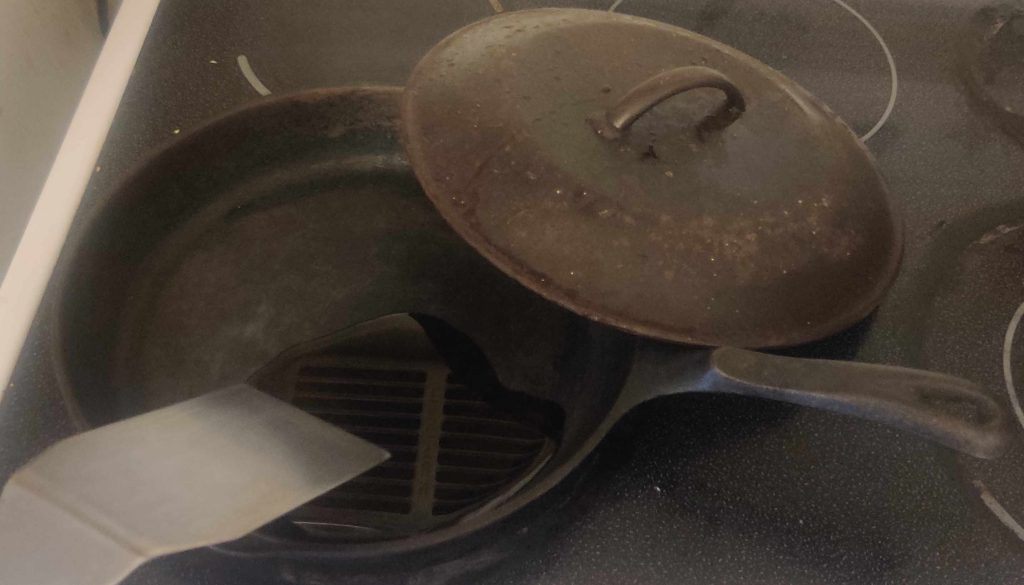
Oil spread around pan

The oiled pan was put aside for a few moments.

The defrosted pork roast was taken out of the refrigerator:
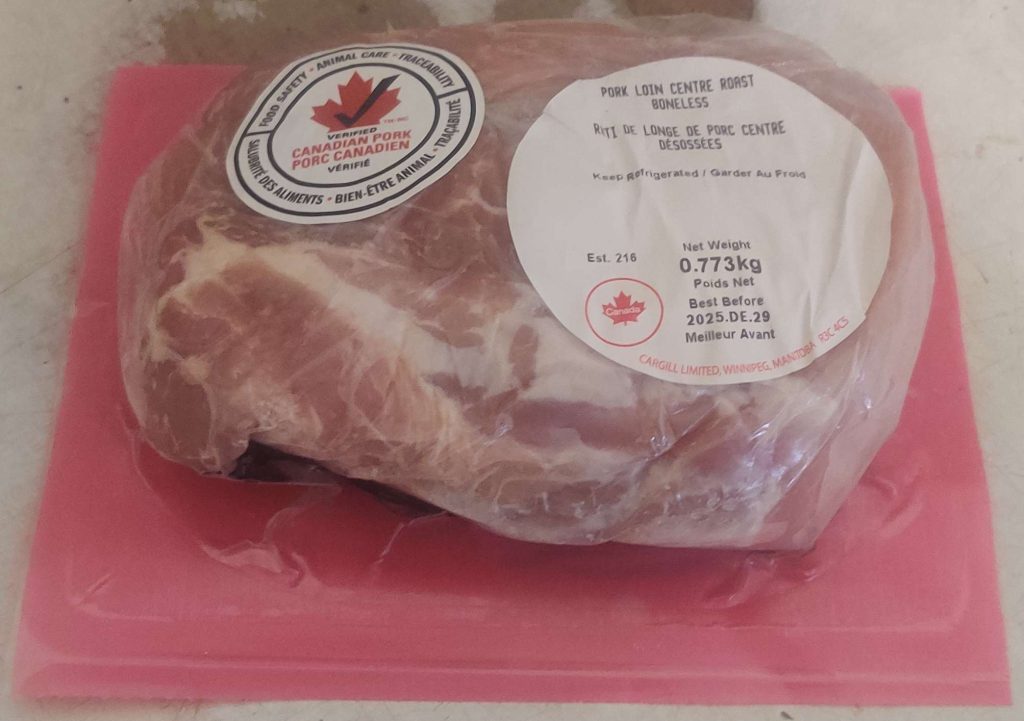
Pork roast taken out of refrigerator

Scissors were taken out, to open the packaging:
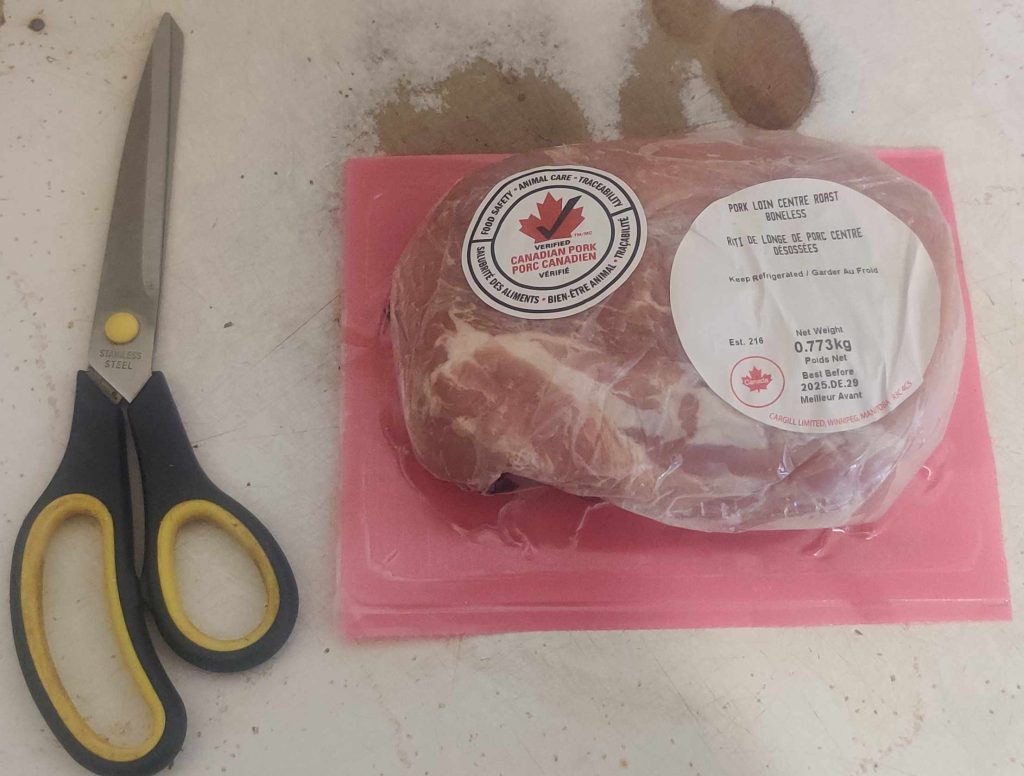
Scissors taken out

The packaging was opened up with the scissors:
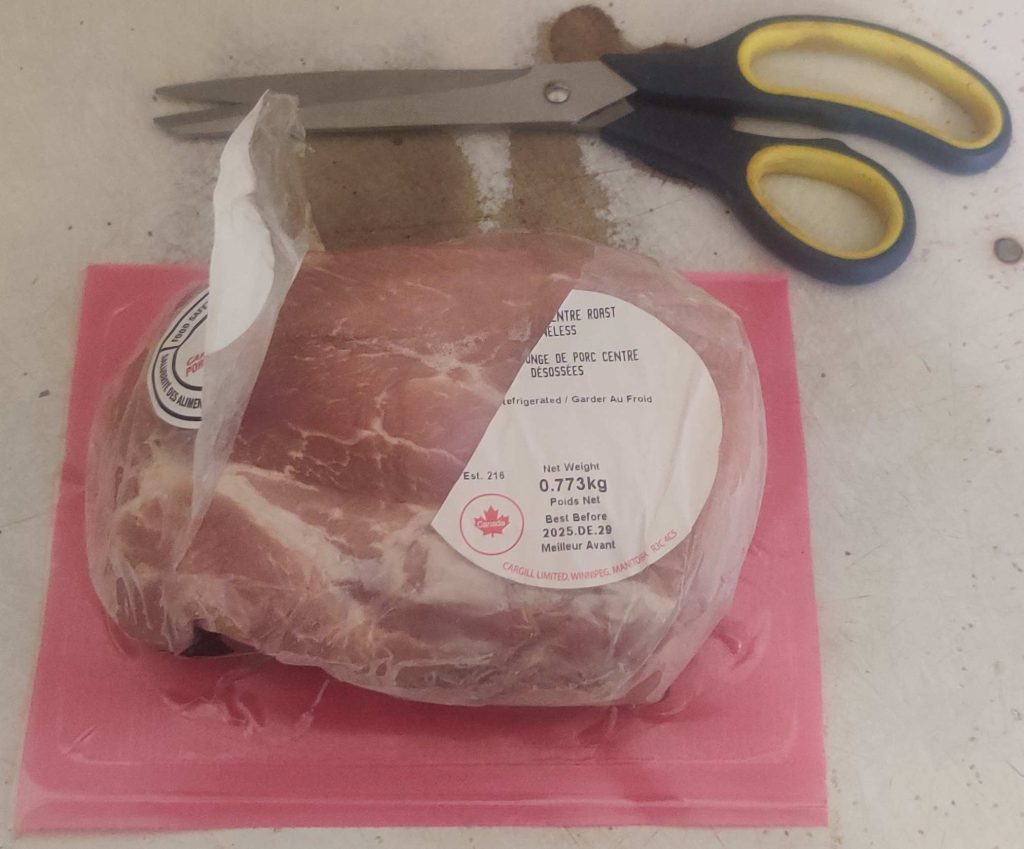
Packaging opened with scissors

And the pork roast was removed from the packaging:
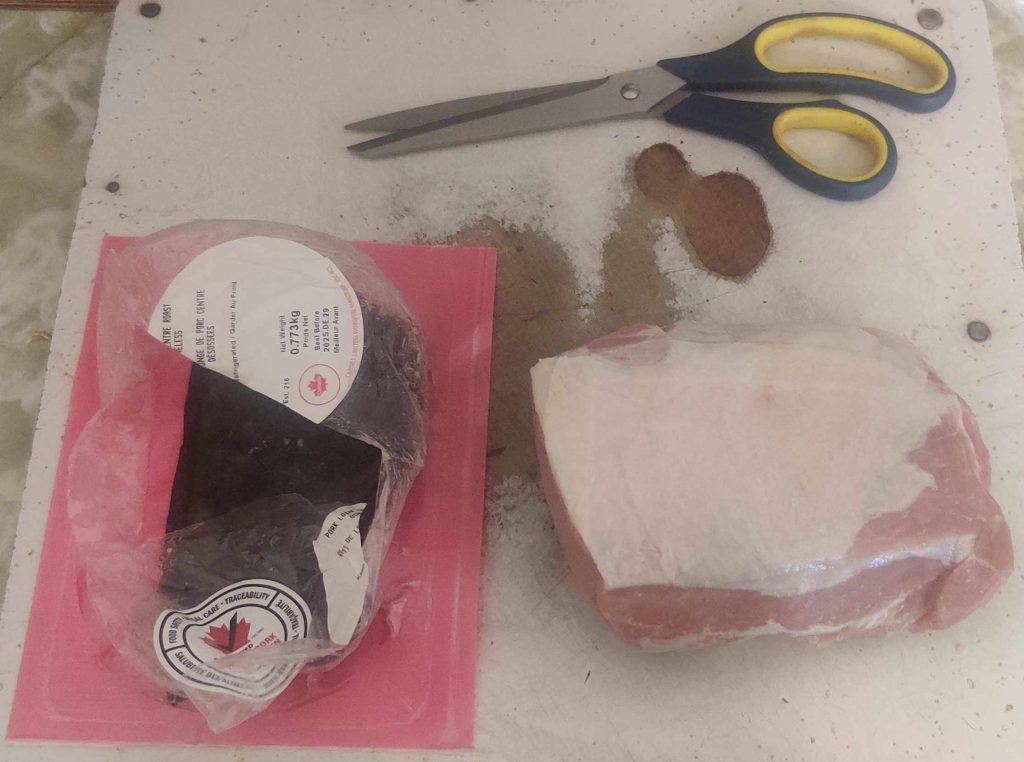
Pork roast removed from packaging

A kitchen knife and knife sharpener were taken out, and the knife was sharpened:
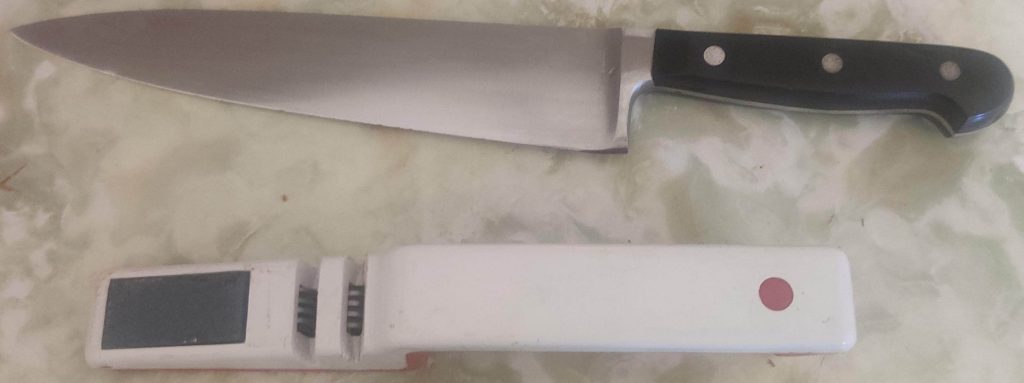
Kitchen knife and knife sharpener taken out

The sharpened knife was brought over to the pork roast:
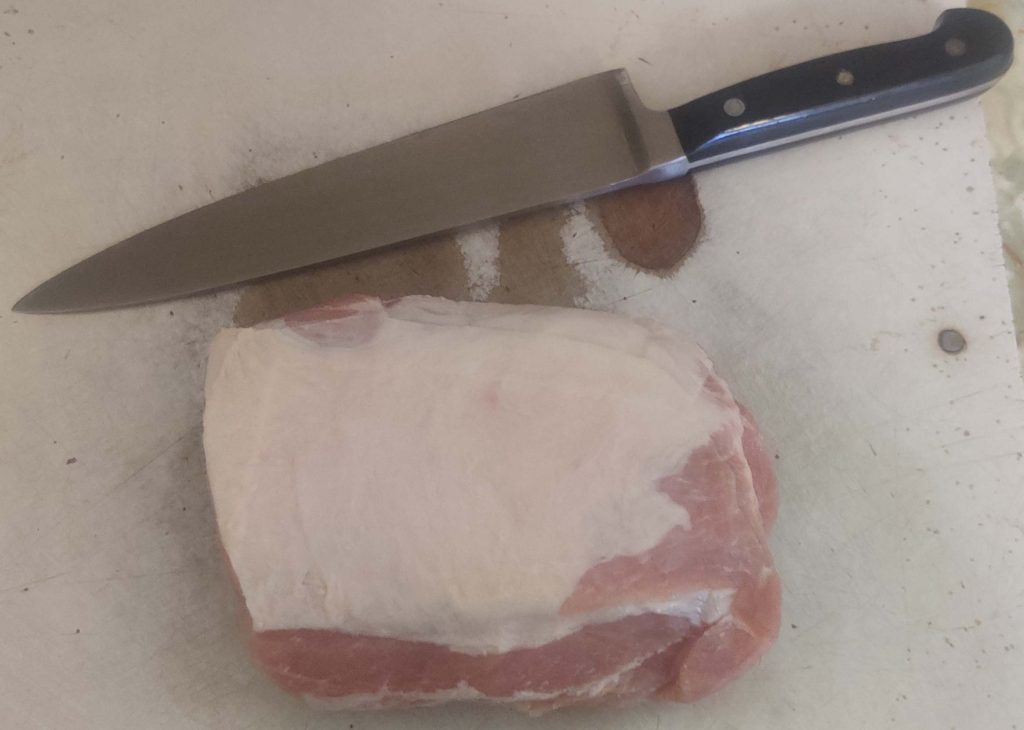
Kitchen knife brought to pork roast

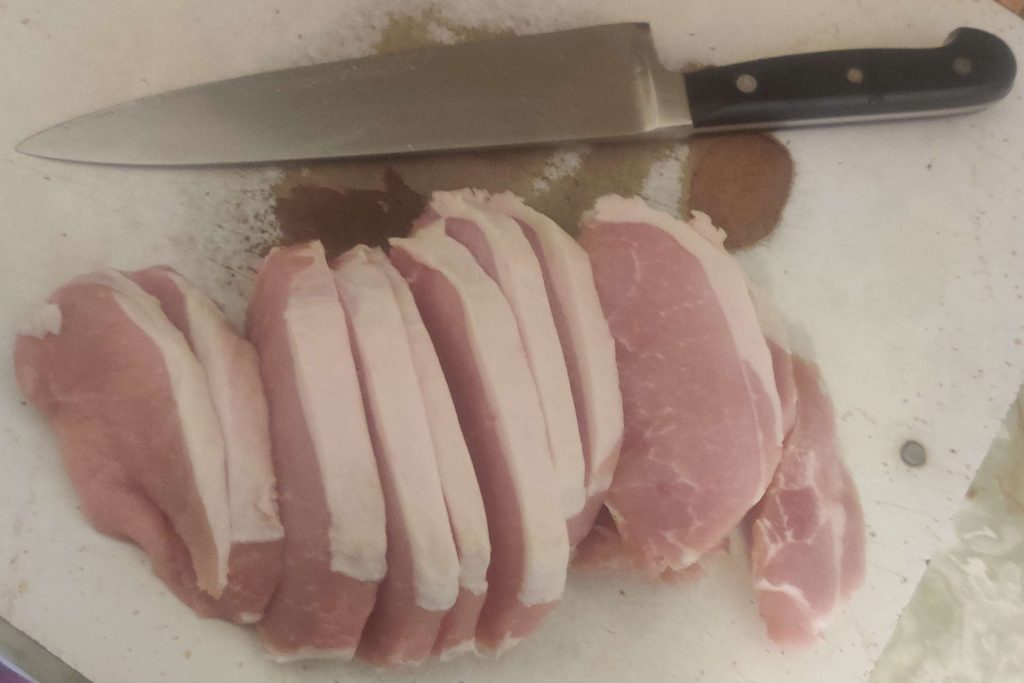
The pork roast was sliced into pork chops:
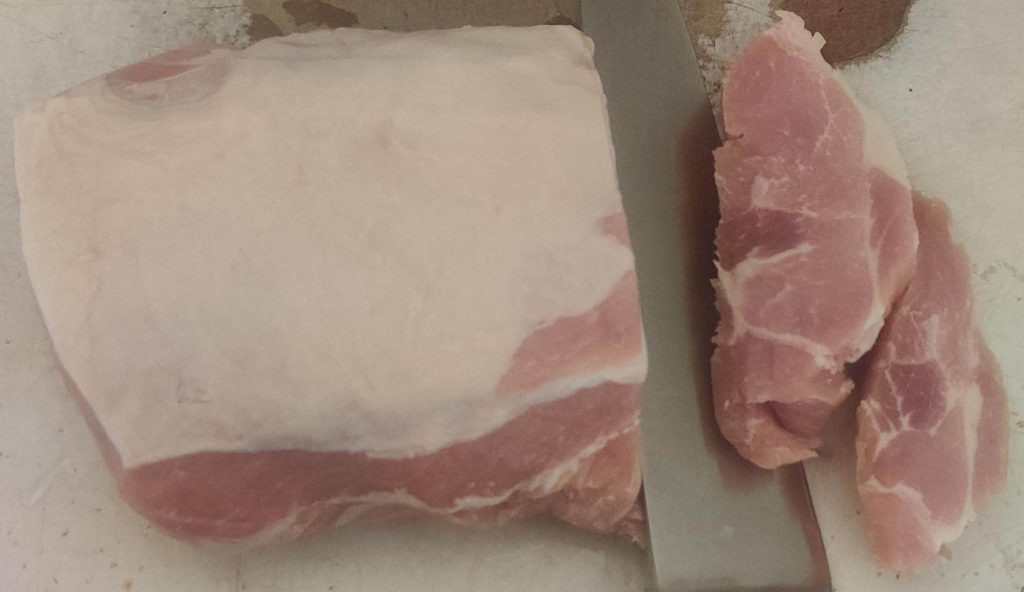
Pork roast sliced
Pork roast sliced

Note that I intentionally did not trim off the fat, since it will be integrated into the custards later.

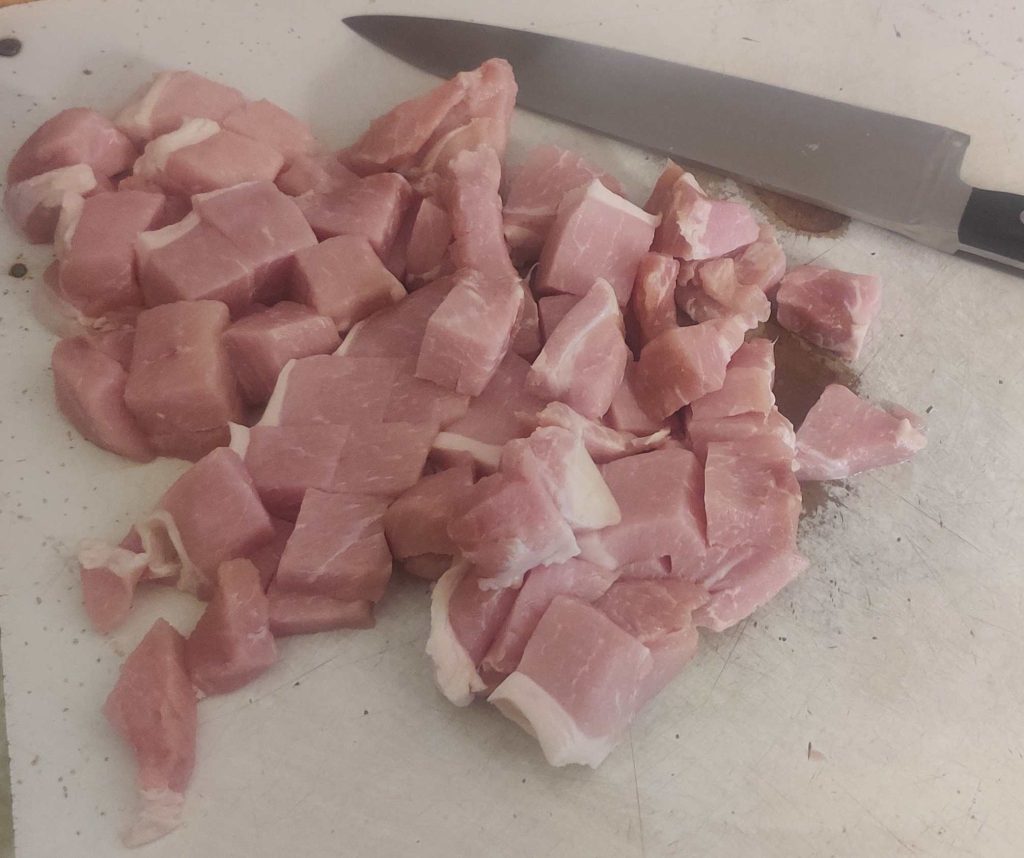
The pork slices were then cut into cubes:
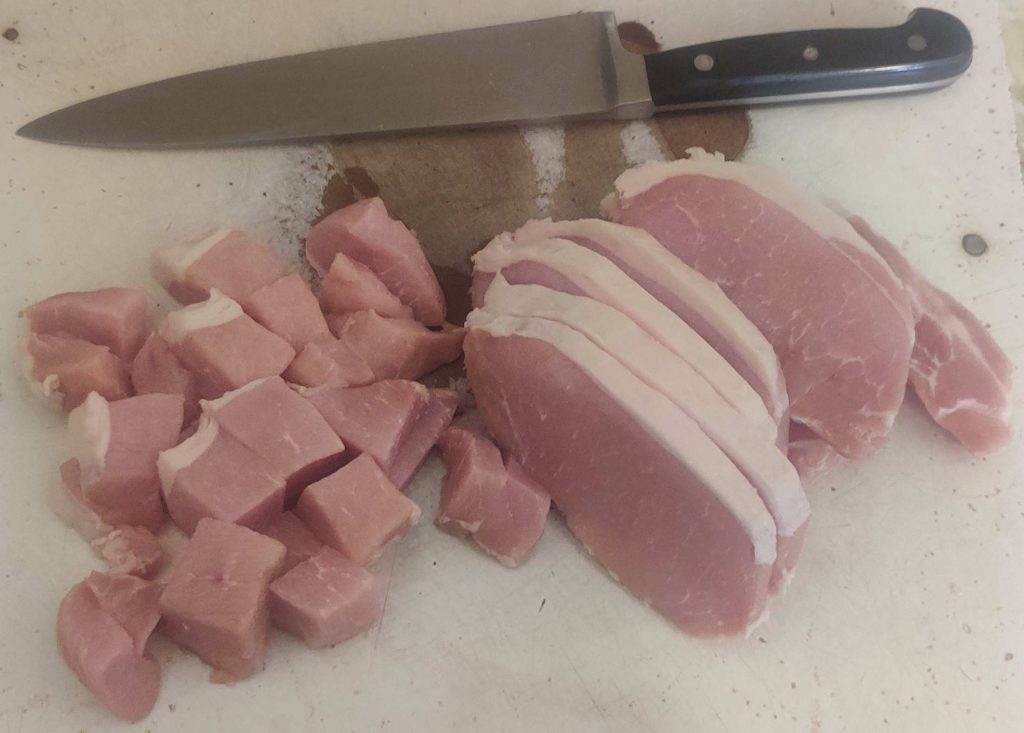
Pork slices cut into cubes

The pork cubes were transferred to the oiled pan:
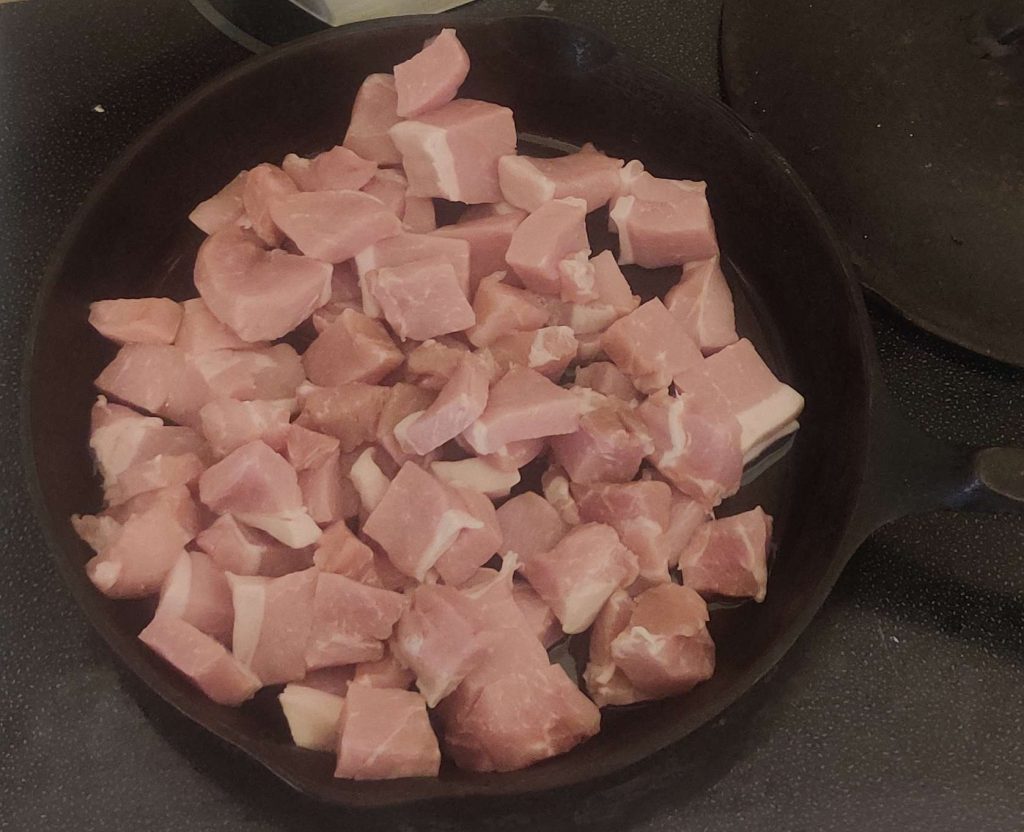
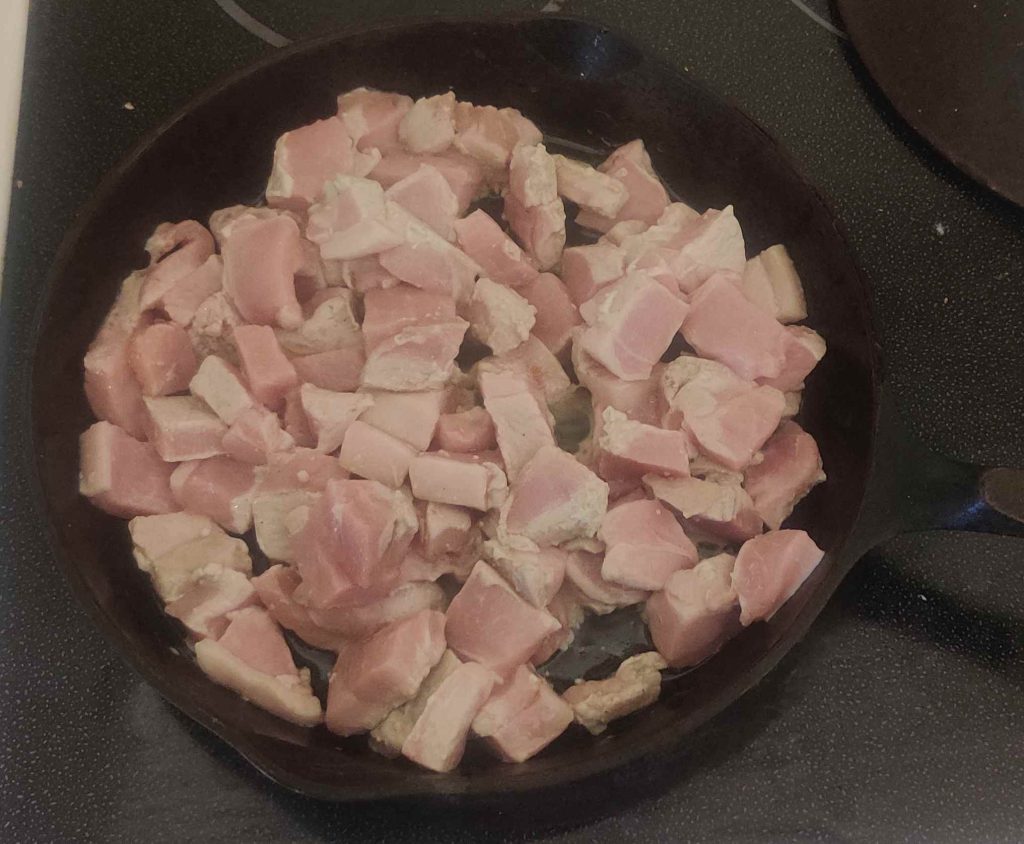
Pork cubes transferred to oiled pan

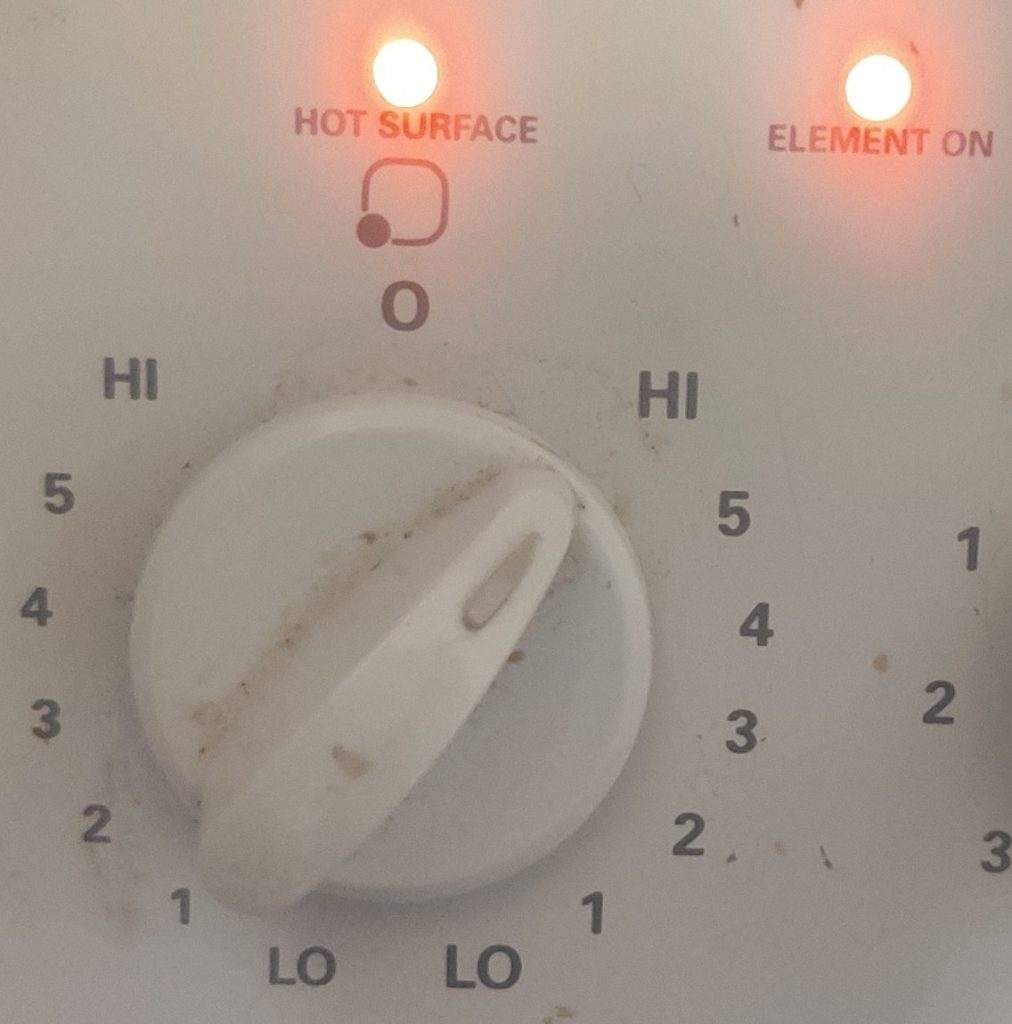
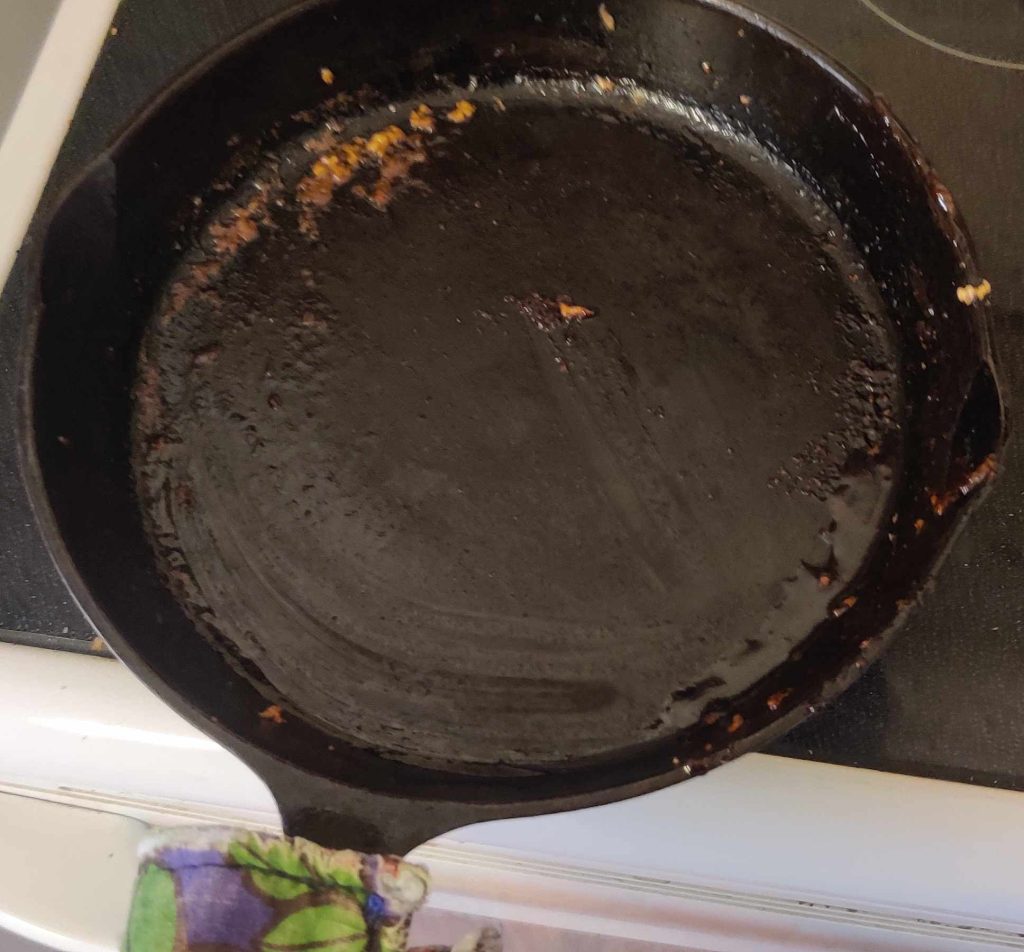
The stove burner was turned on to a low setting — and oh, my! the cleaning work I had done two weeks ago while making pulled pork was obviously inadequate! (And yes, during the mounting of this post, I started cleaning again!)
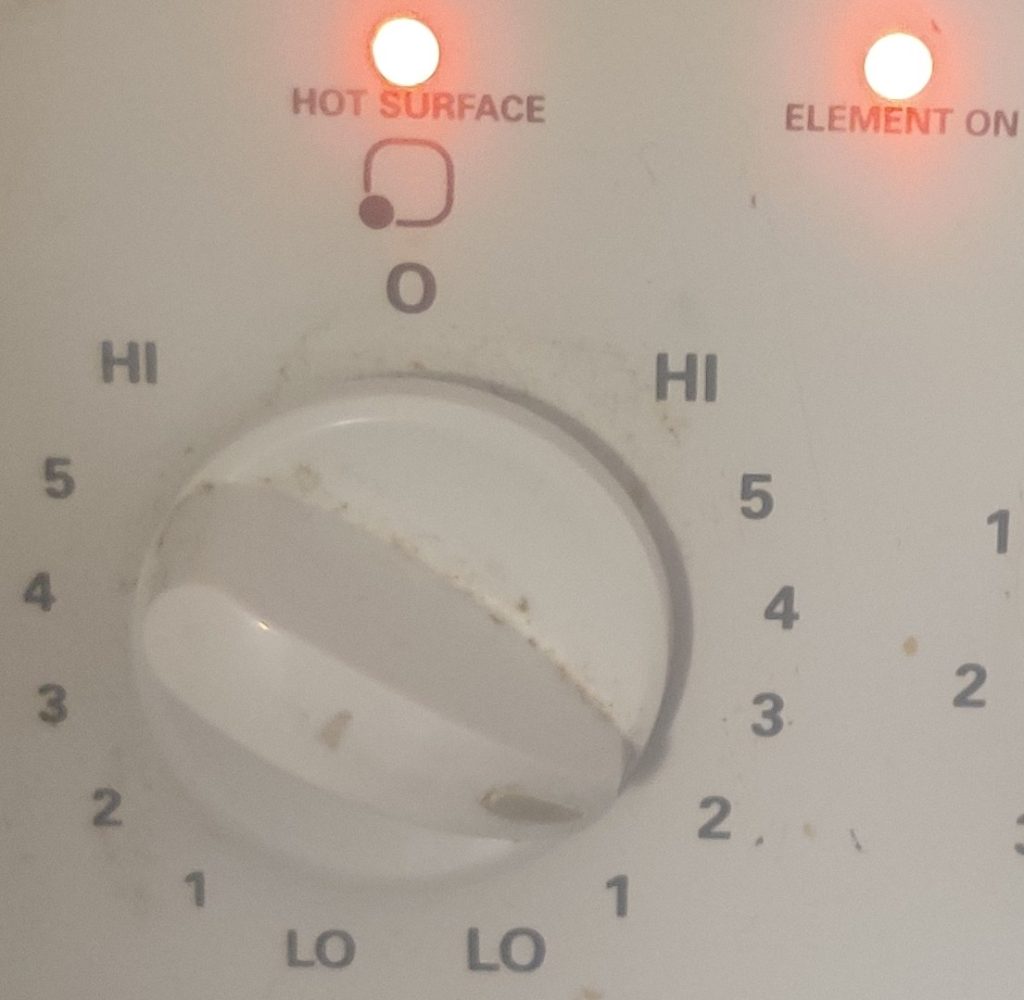
Stove turned on

As the pork began to cook, I started turning it over:
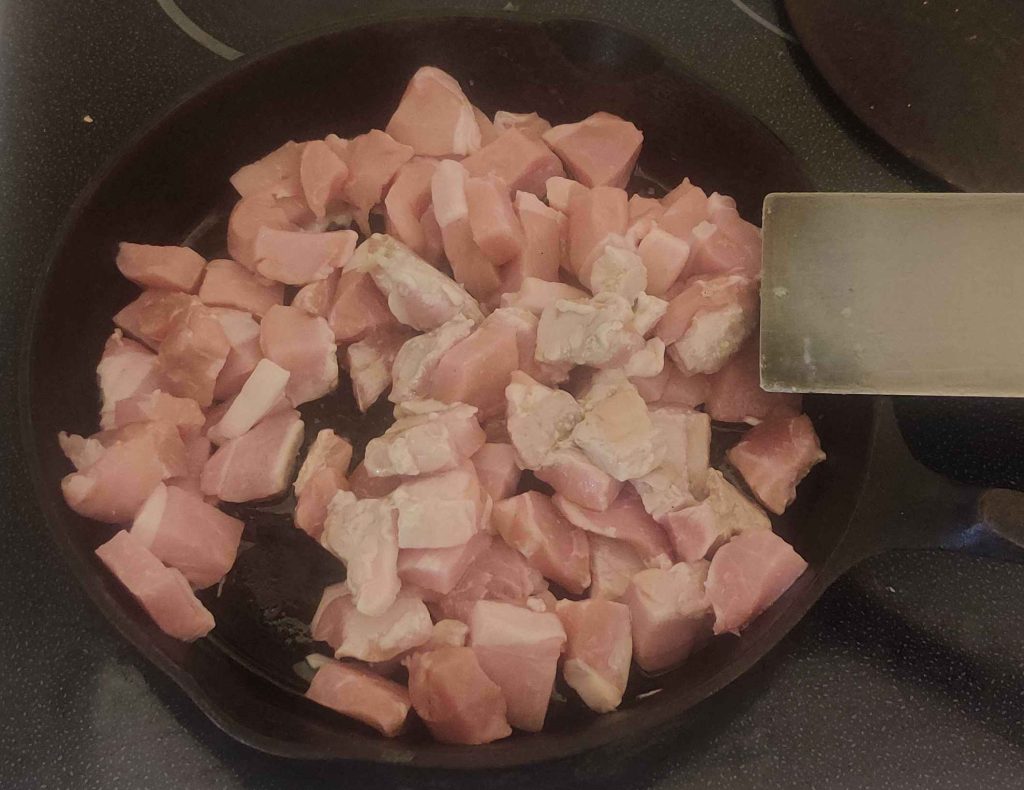
Turning over cooking pork cubes
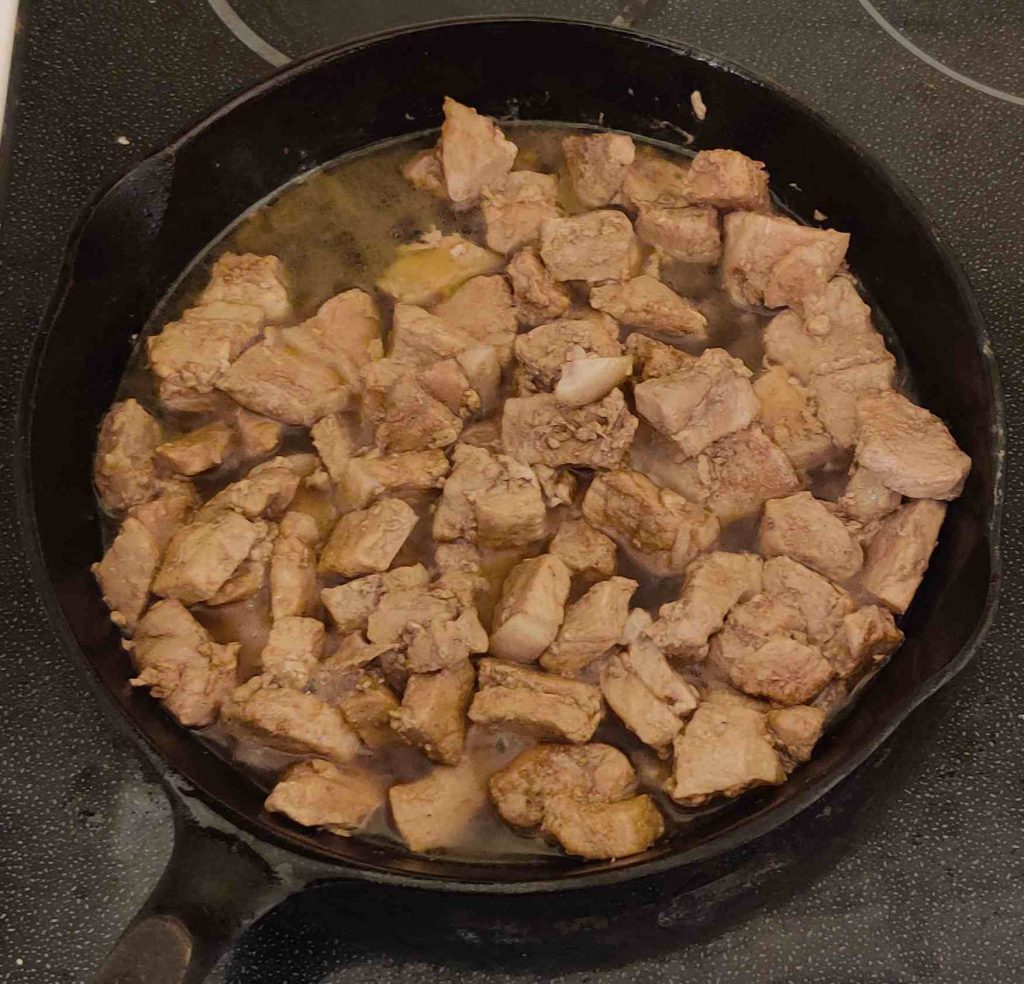
Pork cubes cooking

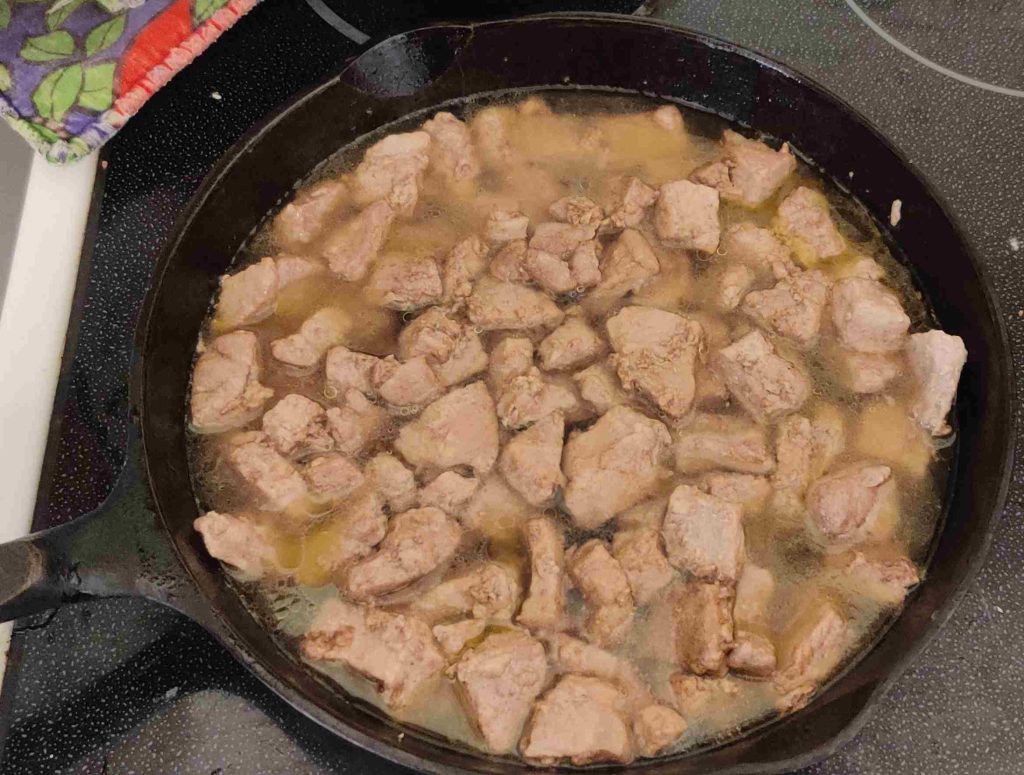
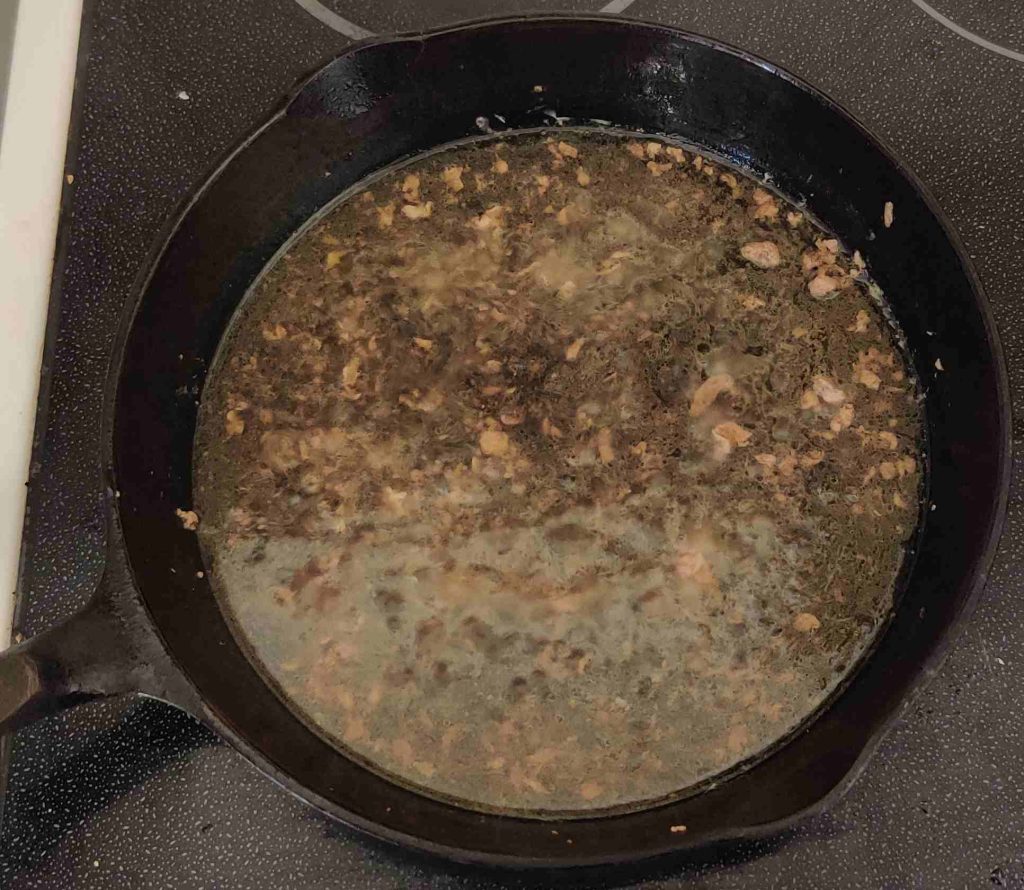
During the heating up process, a good amount of liquid was rendered — but, of course, not thrown out:
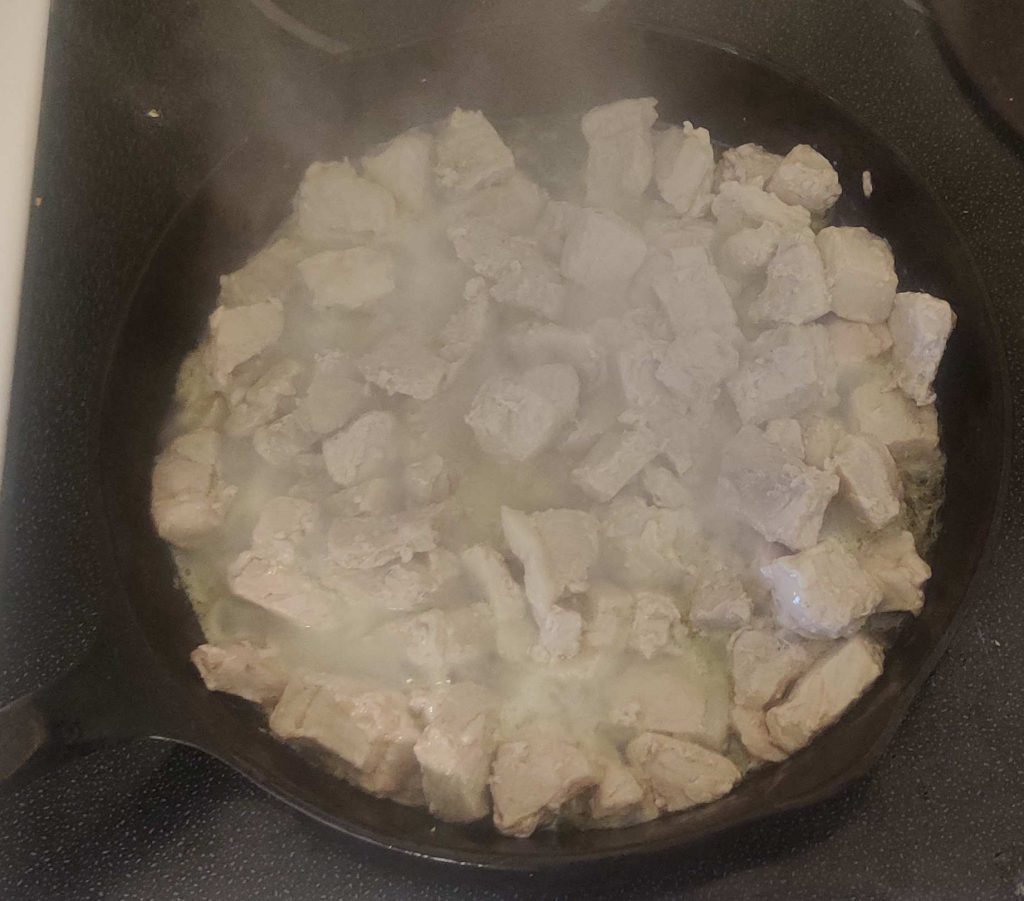
Pork cubes cooking, with rendered liquid

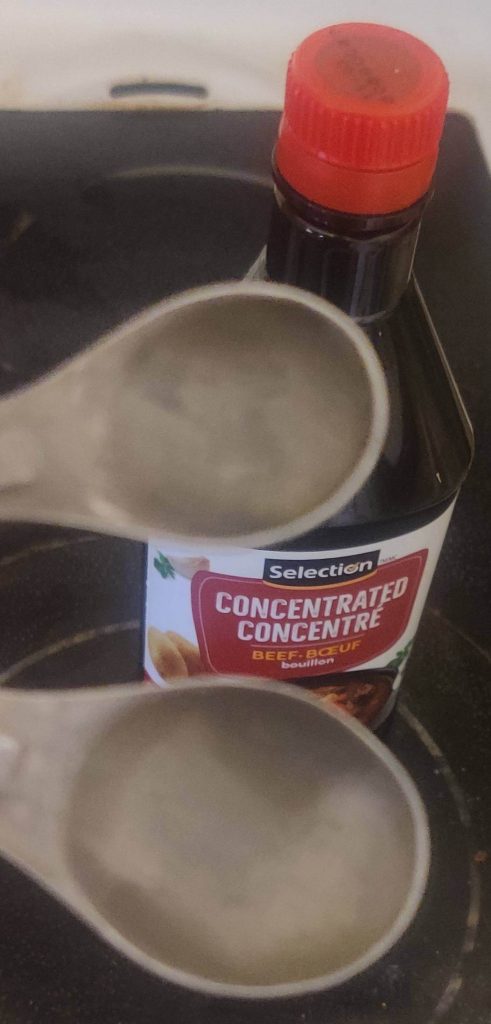
Broth concentrate was taken out, in this case, beef broth, instead of the vegetable broth suggested in the recipe, simply because that’s what I had on hand:
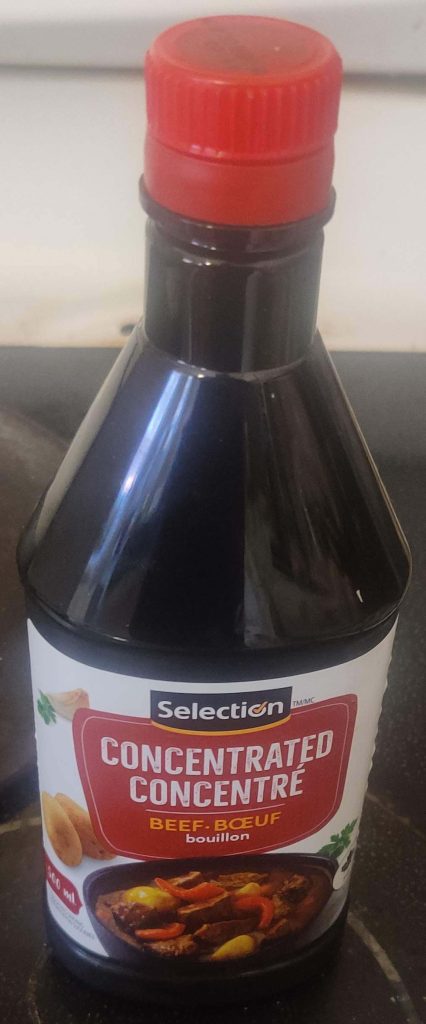
Broth concentrate taken out

Measuring spoons were taken out:

Measuring spoons taken out

The broth concentrate was measured out, and transferred to the cooking pork:
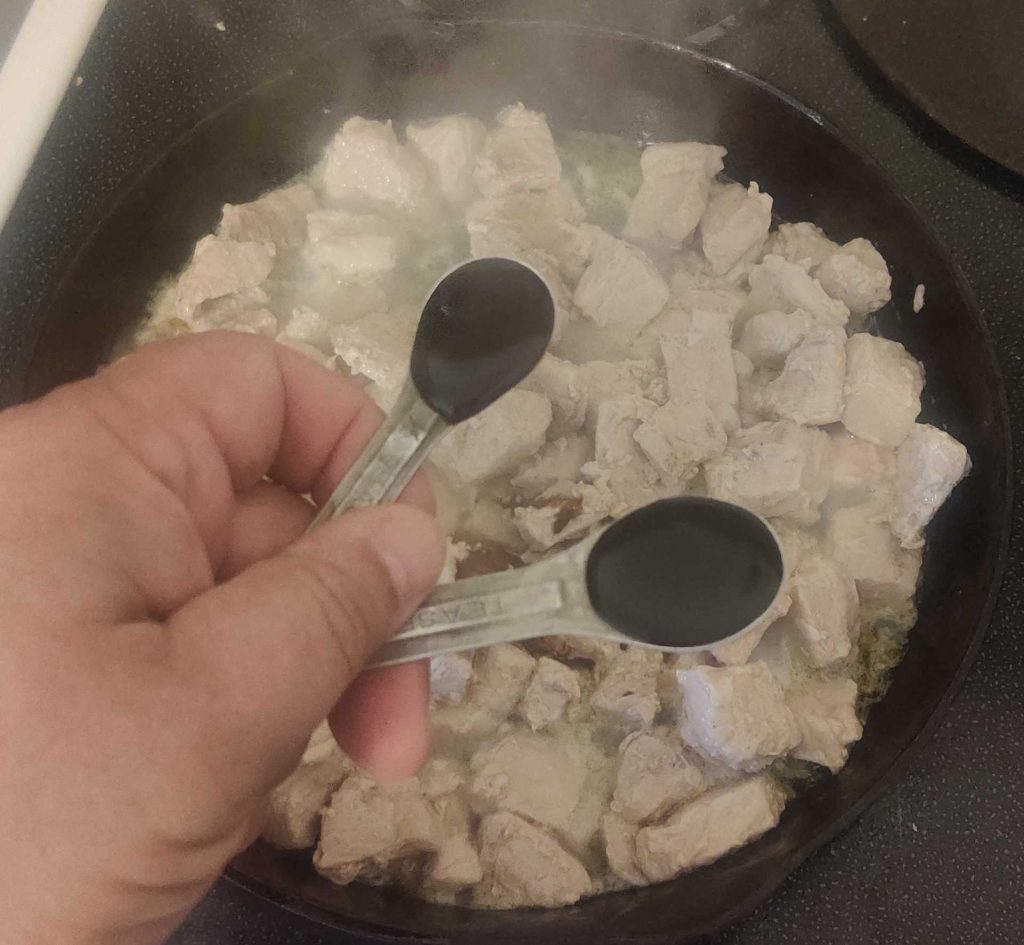
Concentrated broth measured out and brought to cooking pork

Water was drawn into a glass:

Water drawn
Water drawn

The water was brought to the pan of cooking pork and broth:
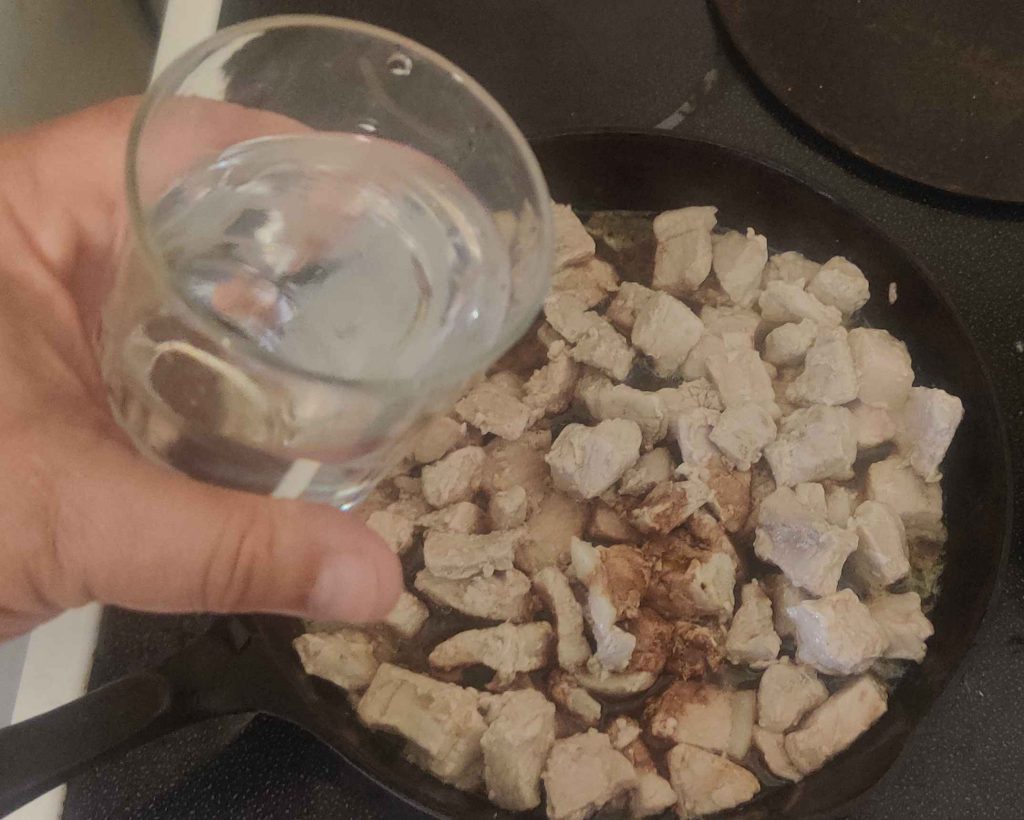
Water brought to pan of cooking pork

The water was transferred to the pan with the cooking pork:
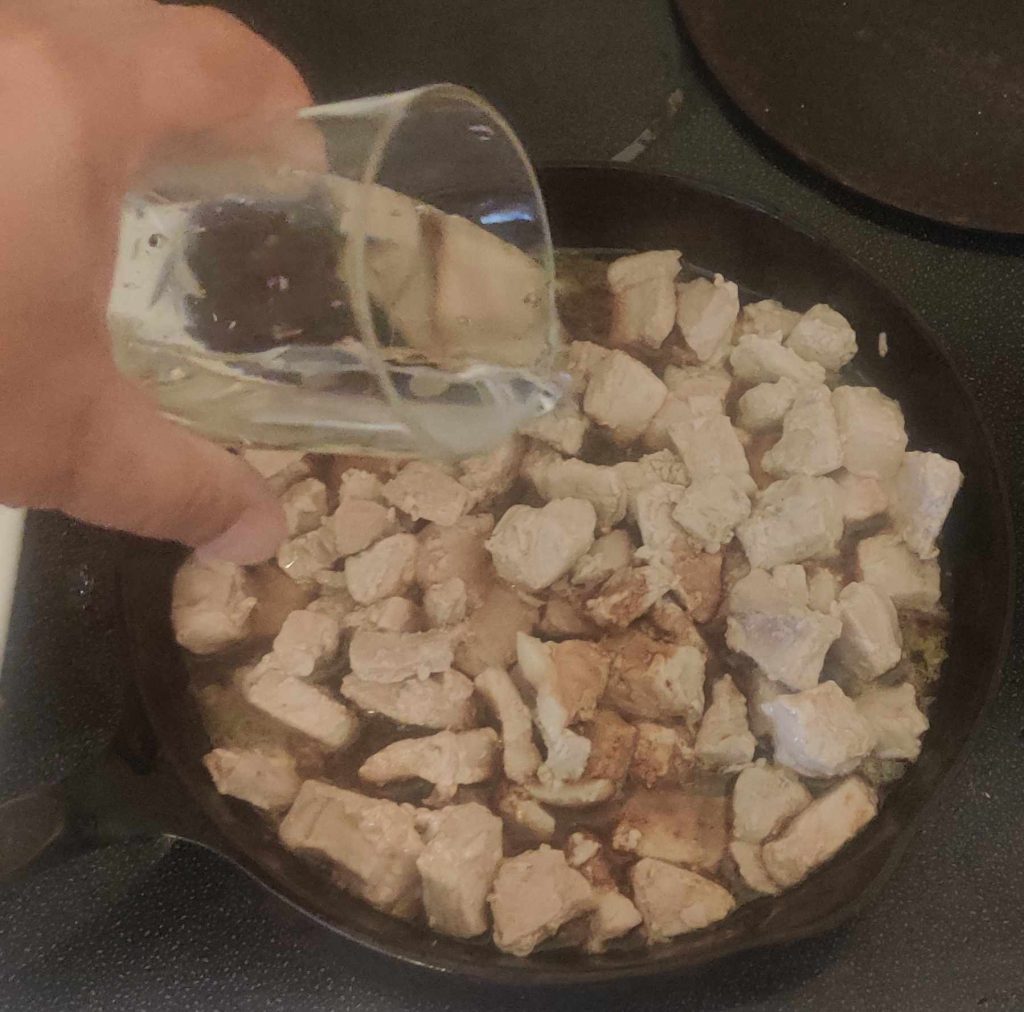
Water transferred to pan of cooking pork

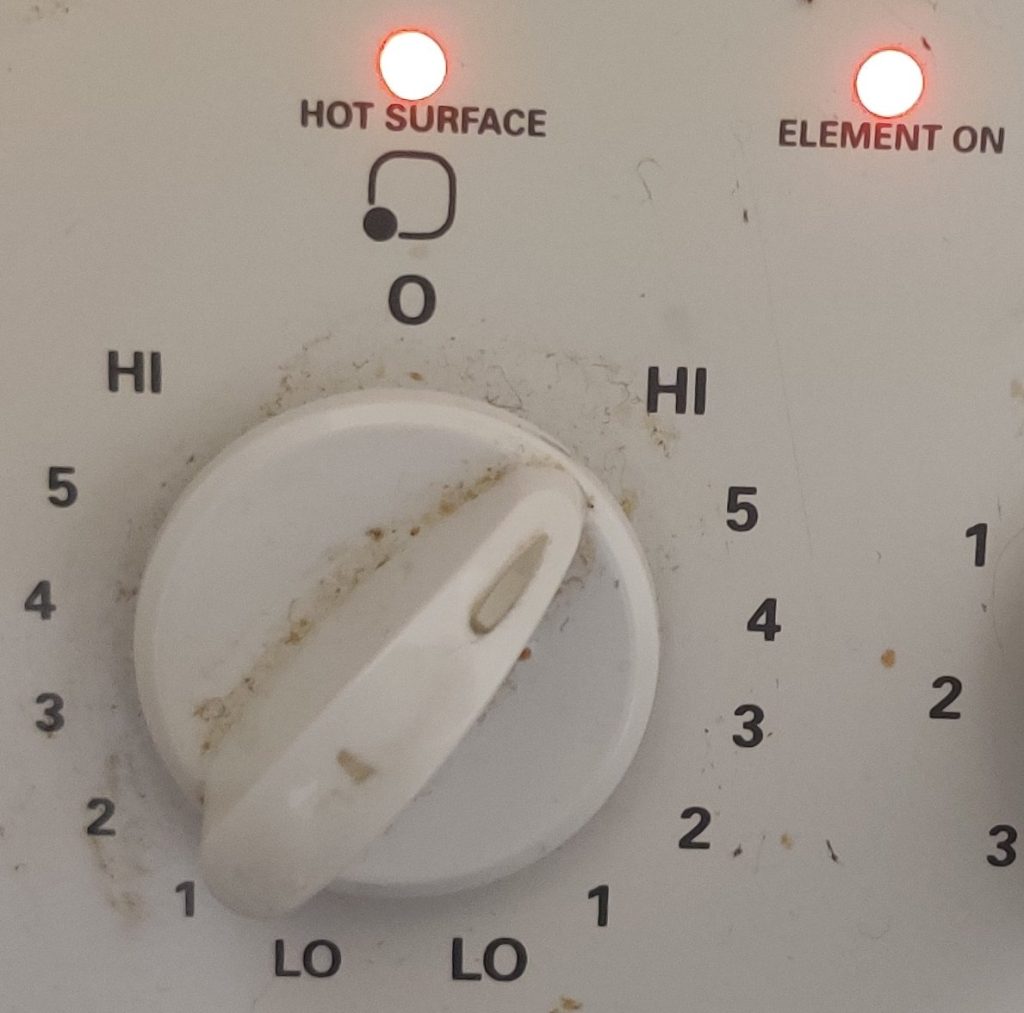
The burner was set to maximum:

Stove burner set to high

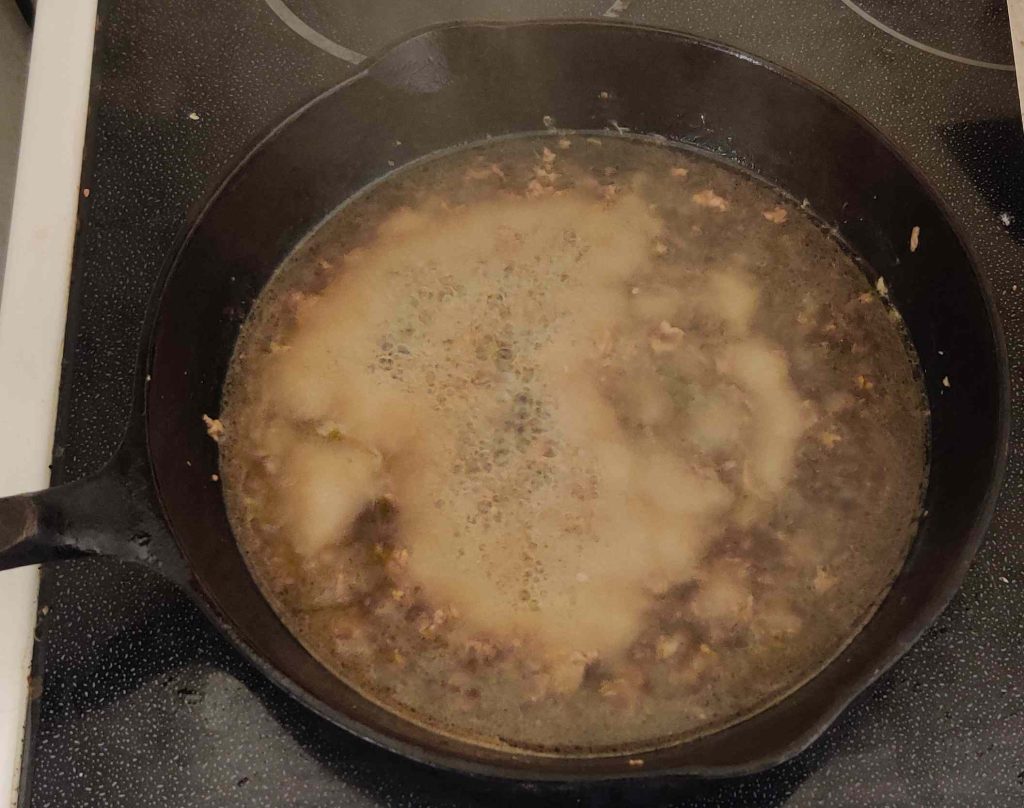
The liquid in the pan was brought to a boil:
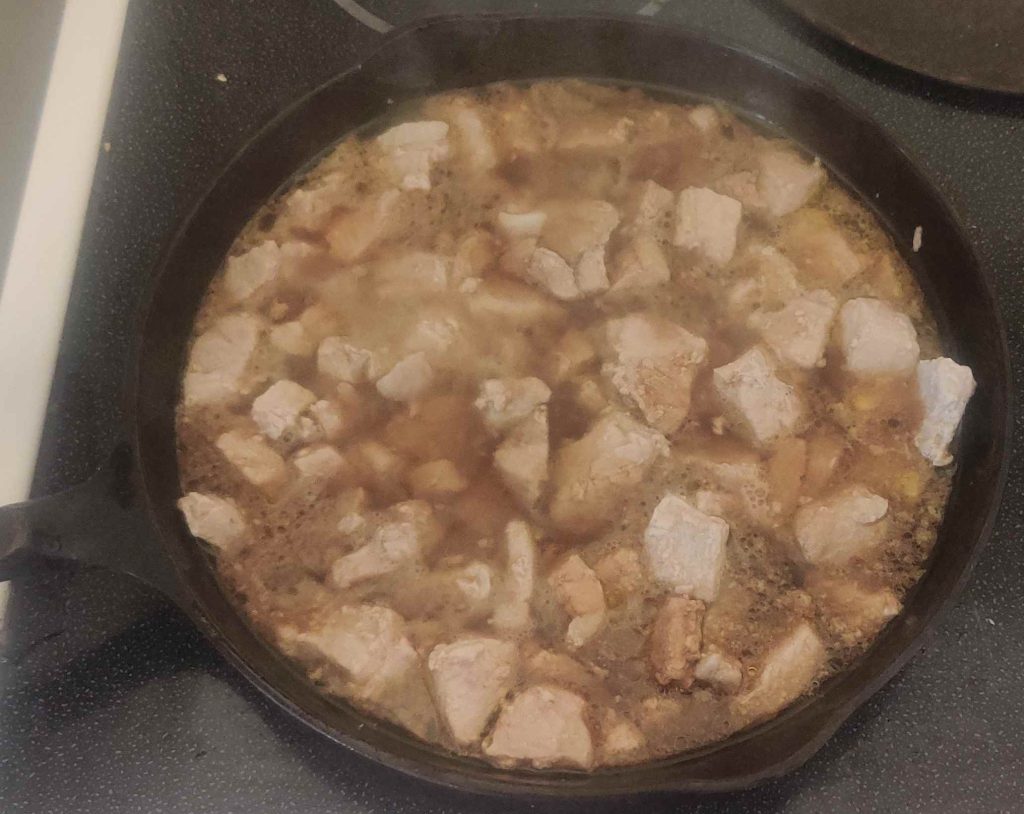
Liquid brought to a boil

The stove burner was turned back down to a low setting:
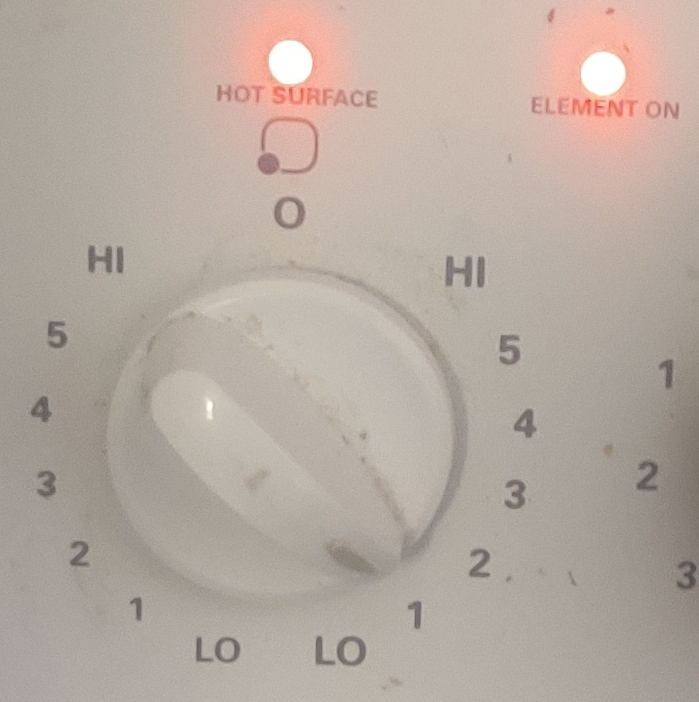
Stove burner turned down to a low setting

The braising lid was placed on the pan:
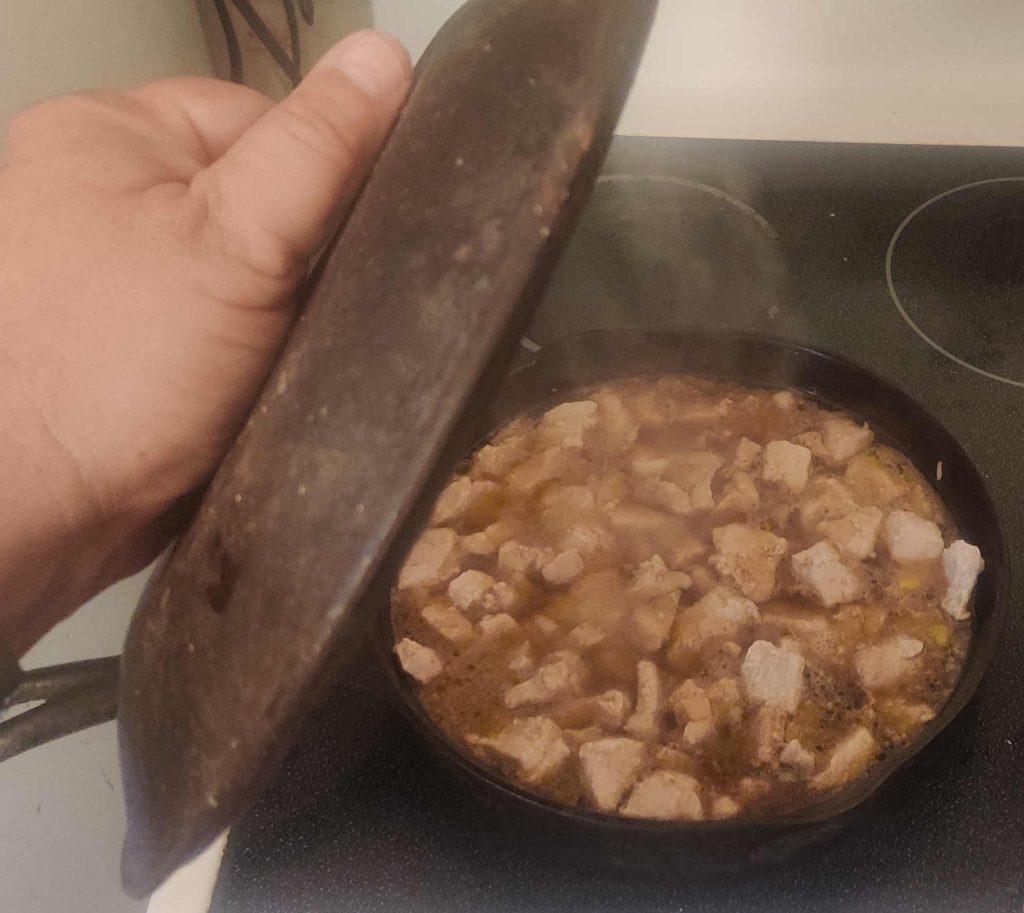
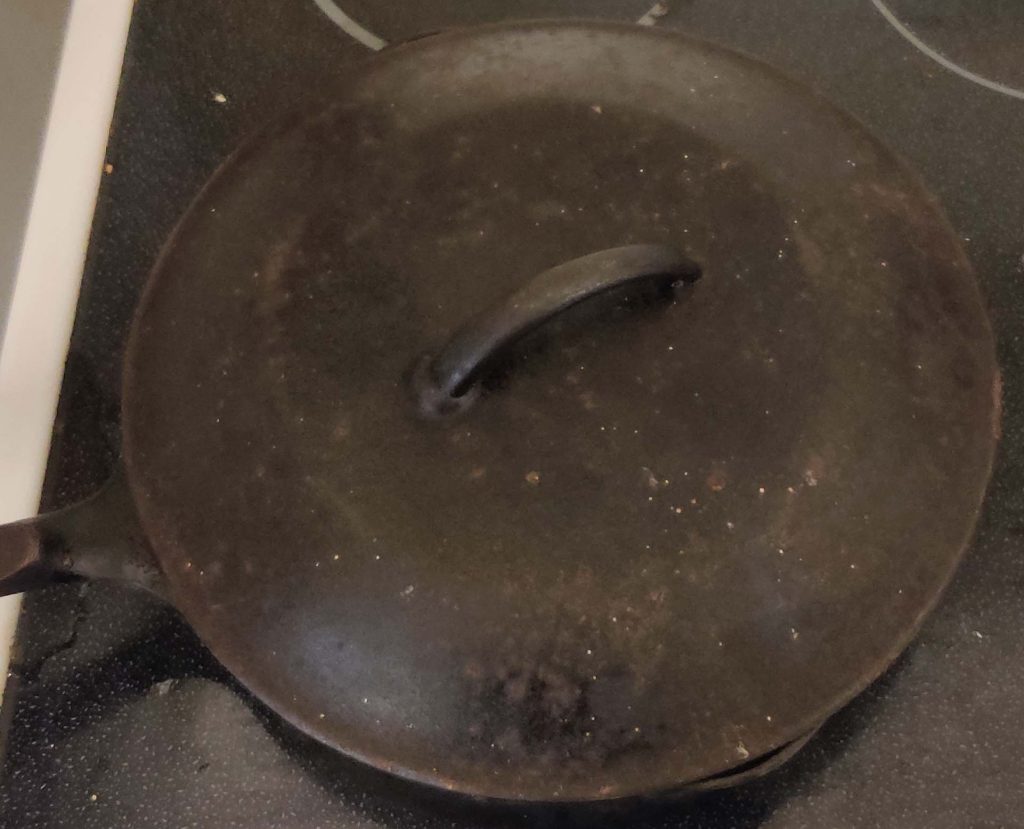
Lid placed on pan
Lid placed on pan

The timer on the stove was set to 60 minutes:
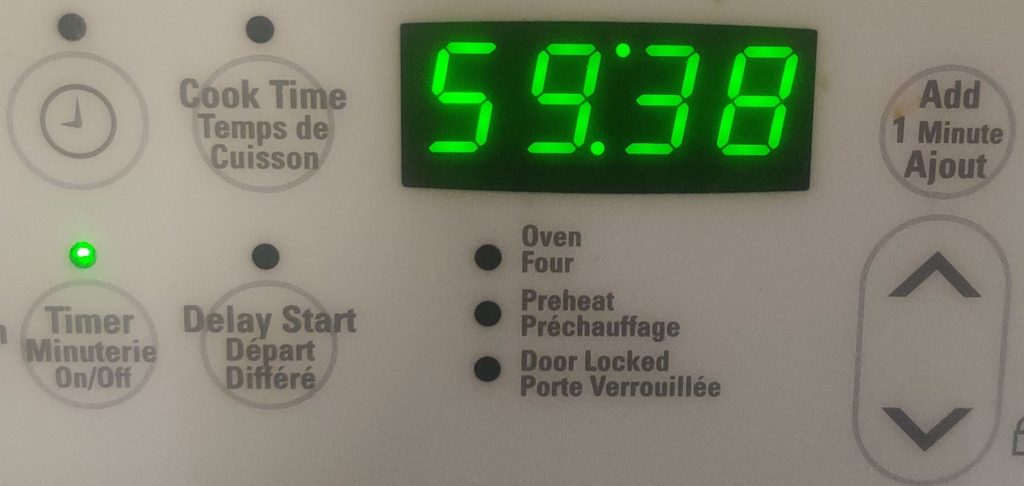
Timer set to 60 minutes

About halfway through the braising of the pork …
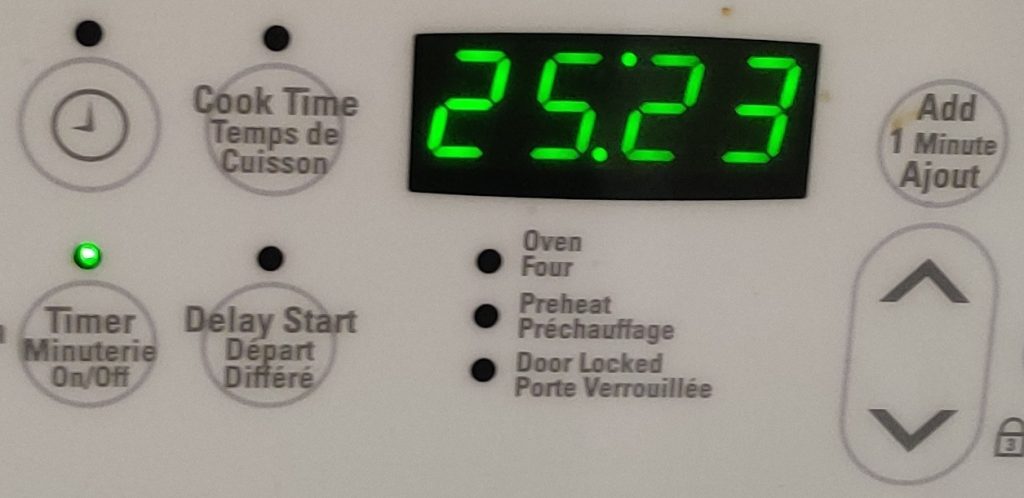
About half of braising time elapsed

… the lid was removed and the liquid level checked:
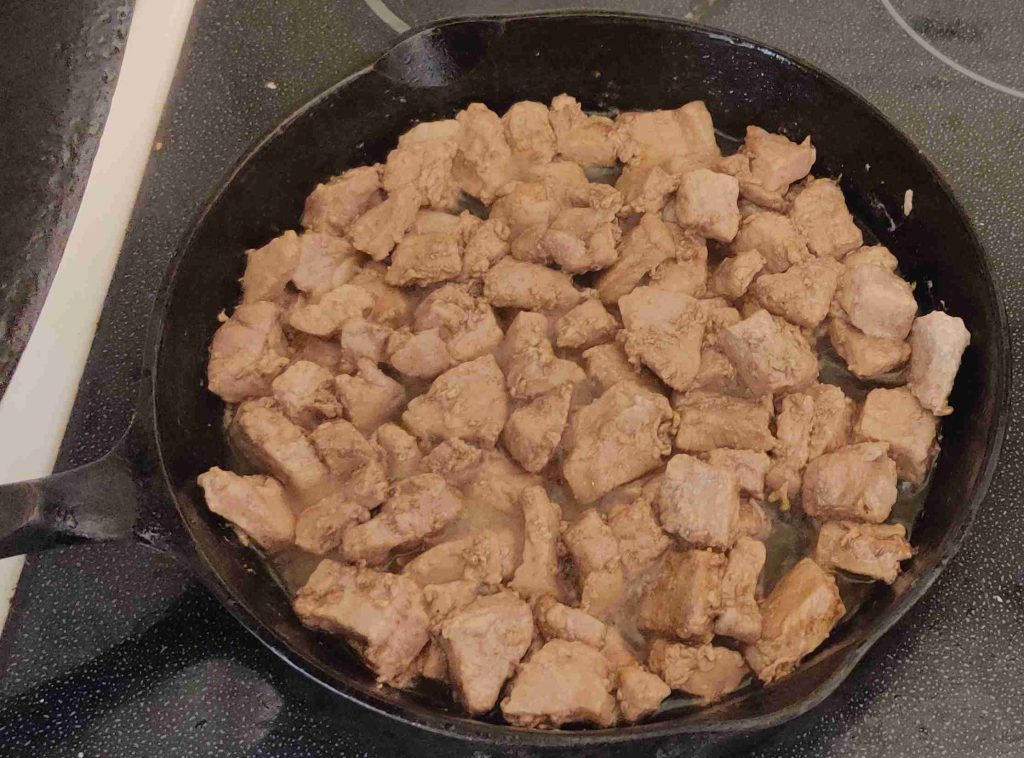
Liquid level checked — lower, as expected

Given the (expected) loss of liquid via evaporation, more water was transferred to the pan:
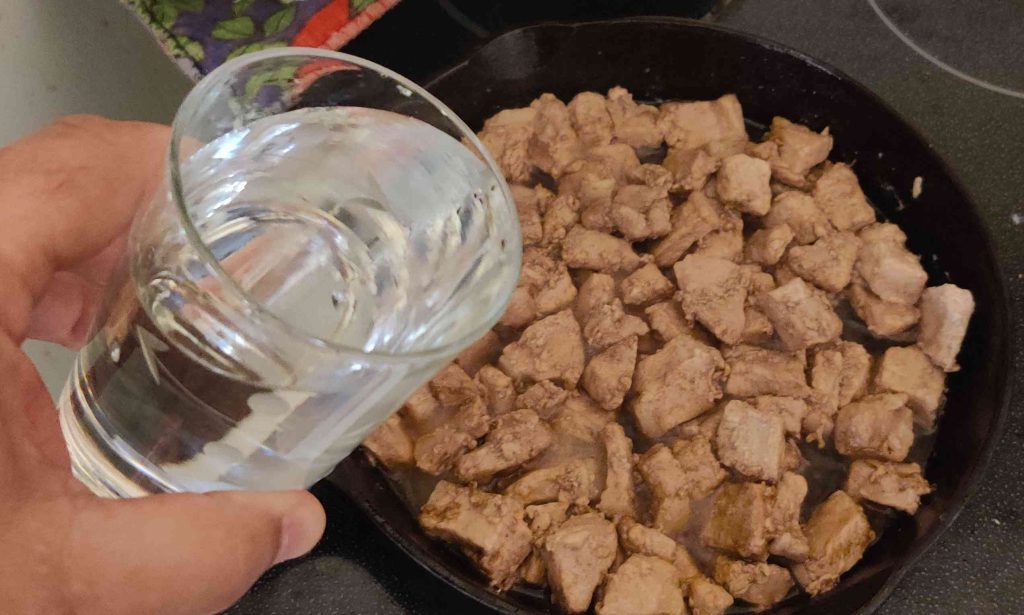
Water transferred to frypan
More water added to pan

The lid was placed back on the pan:

Lid placed back on pan

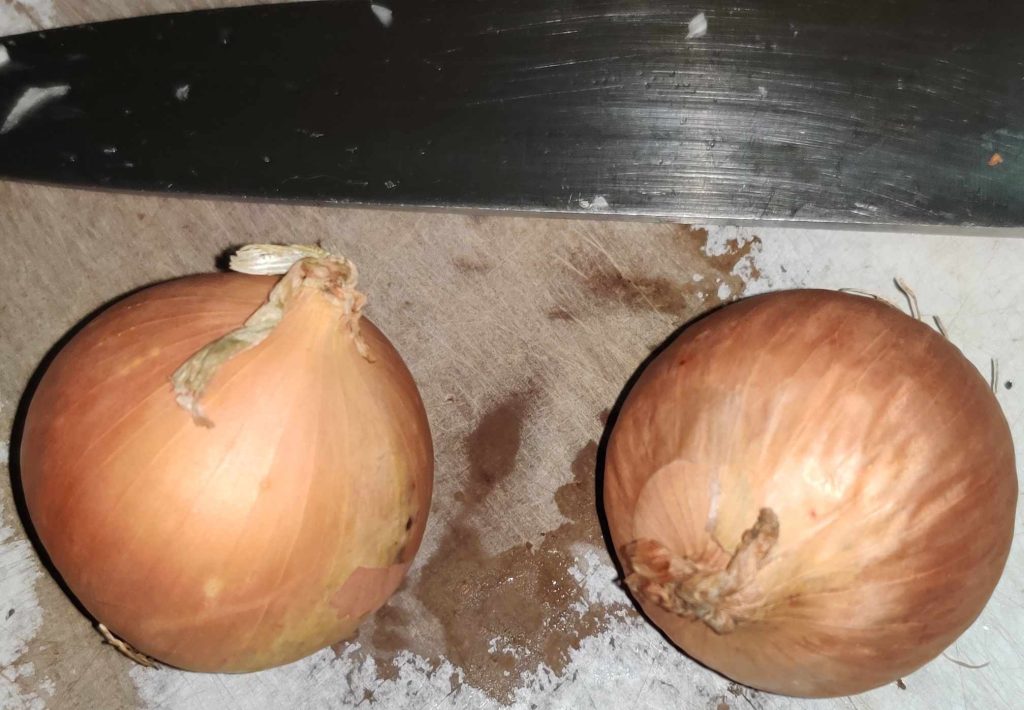
At this point, while waiting for the pork cubes to finish cooking, onions were taken out:
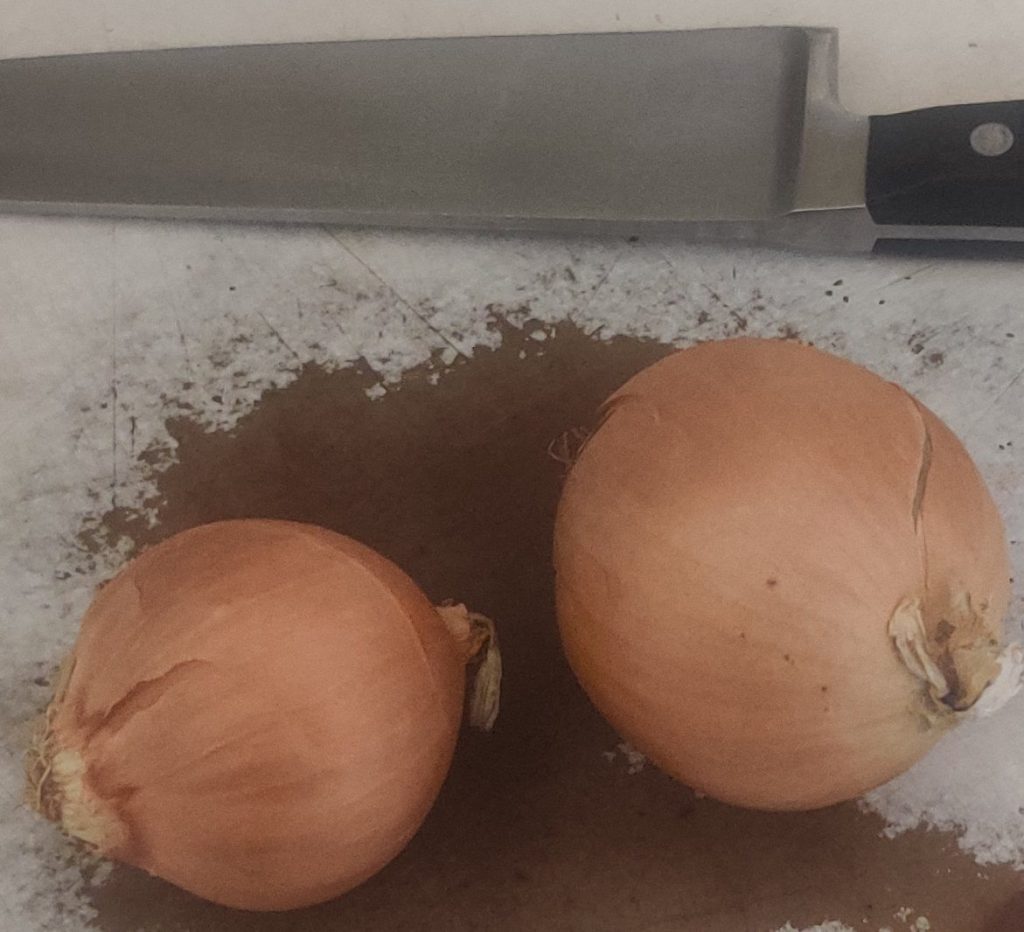
Onions taken out

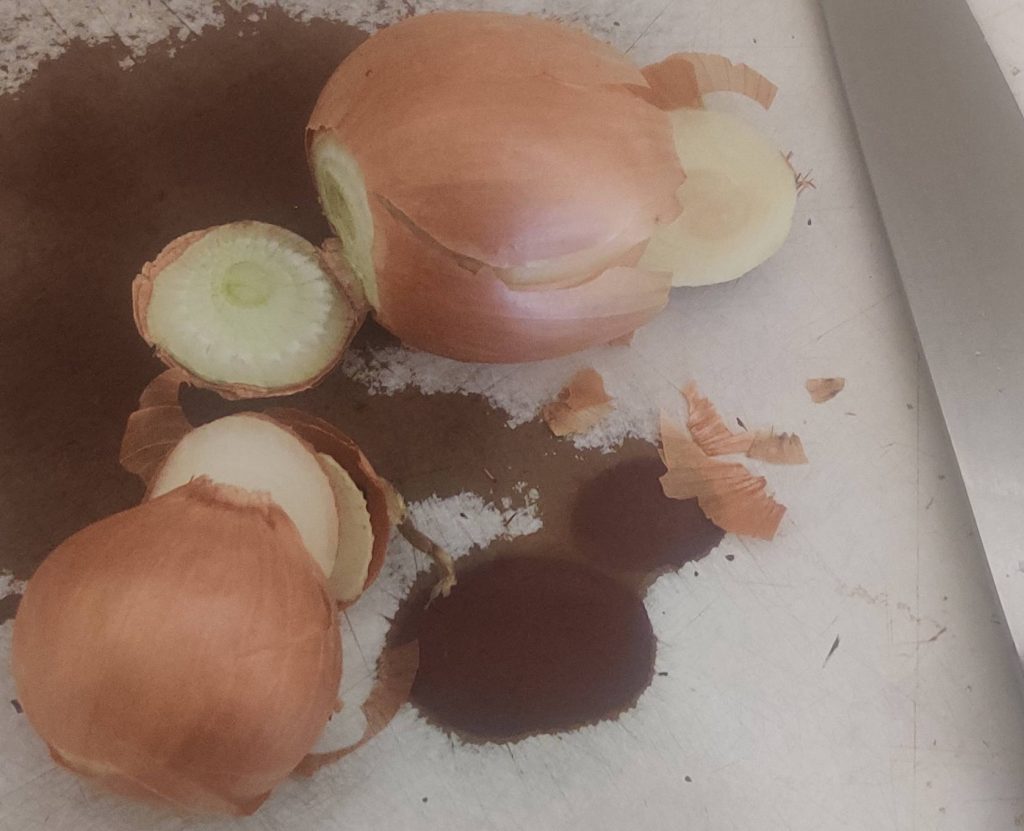
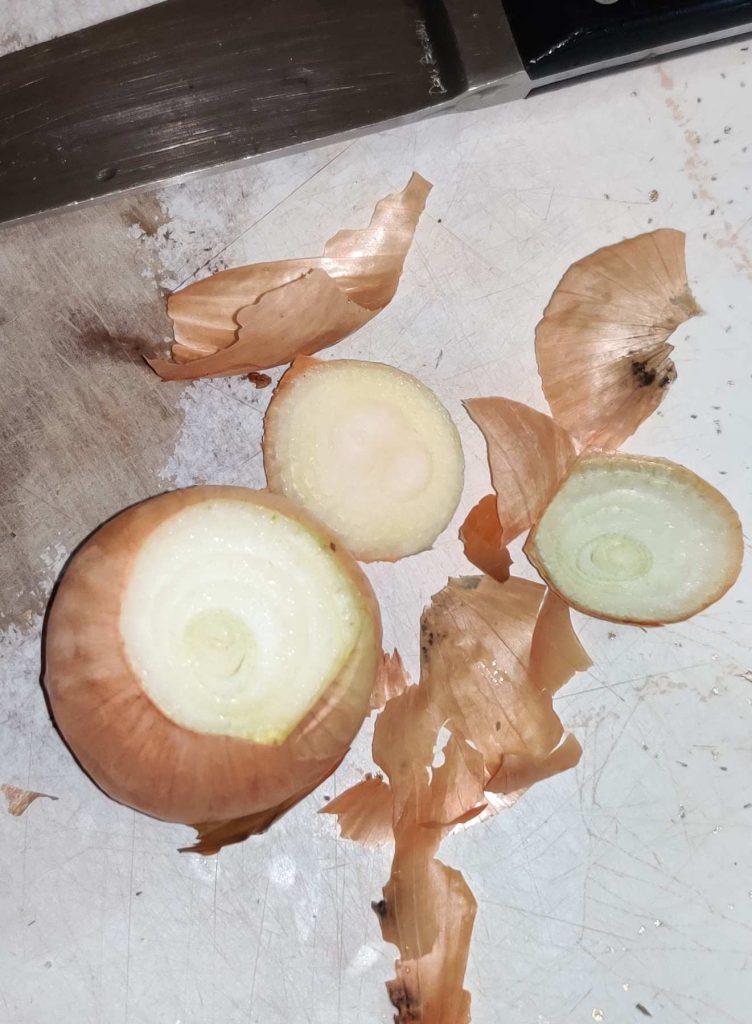
The onions were trimmed:

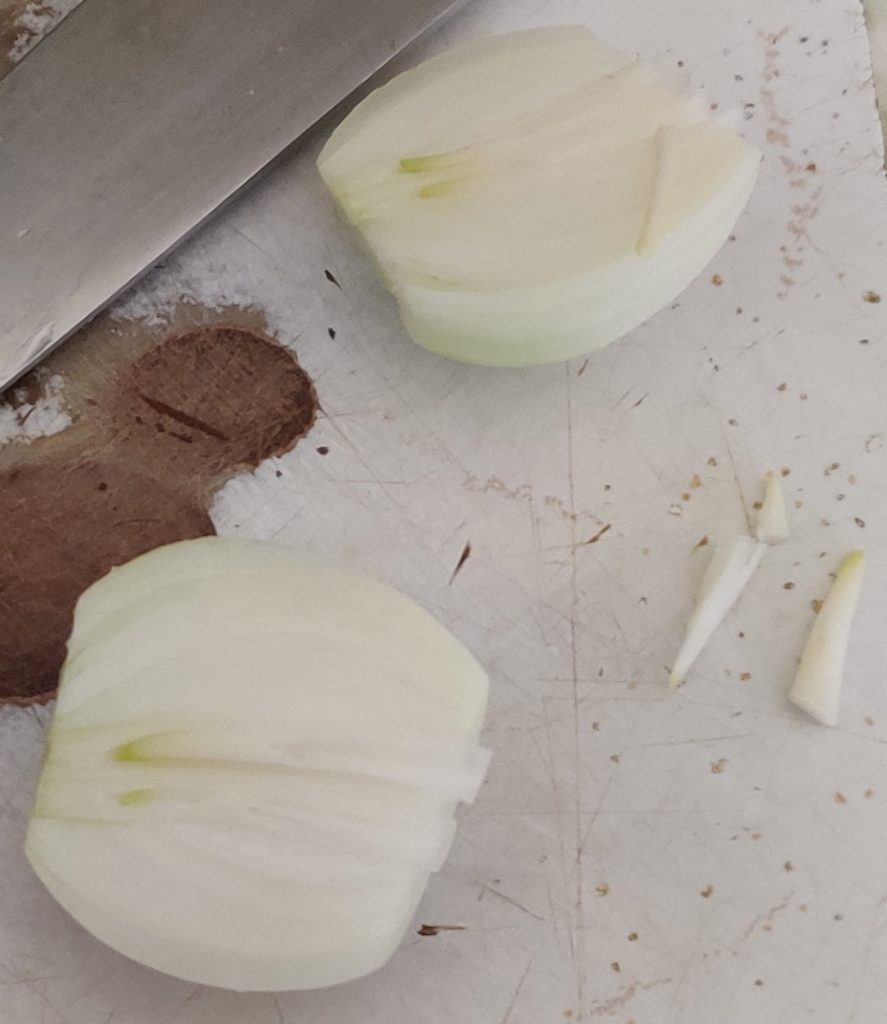
Onions trimmed
Onions trimmed

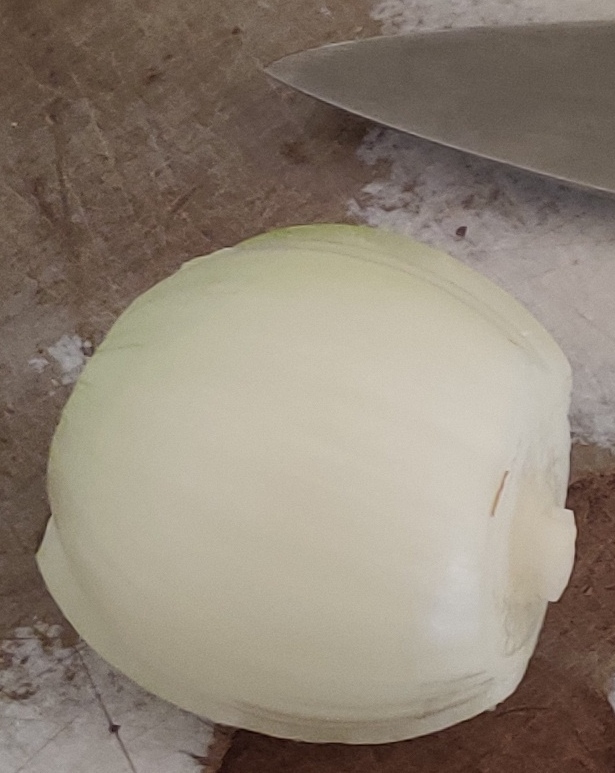
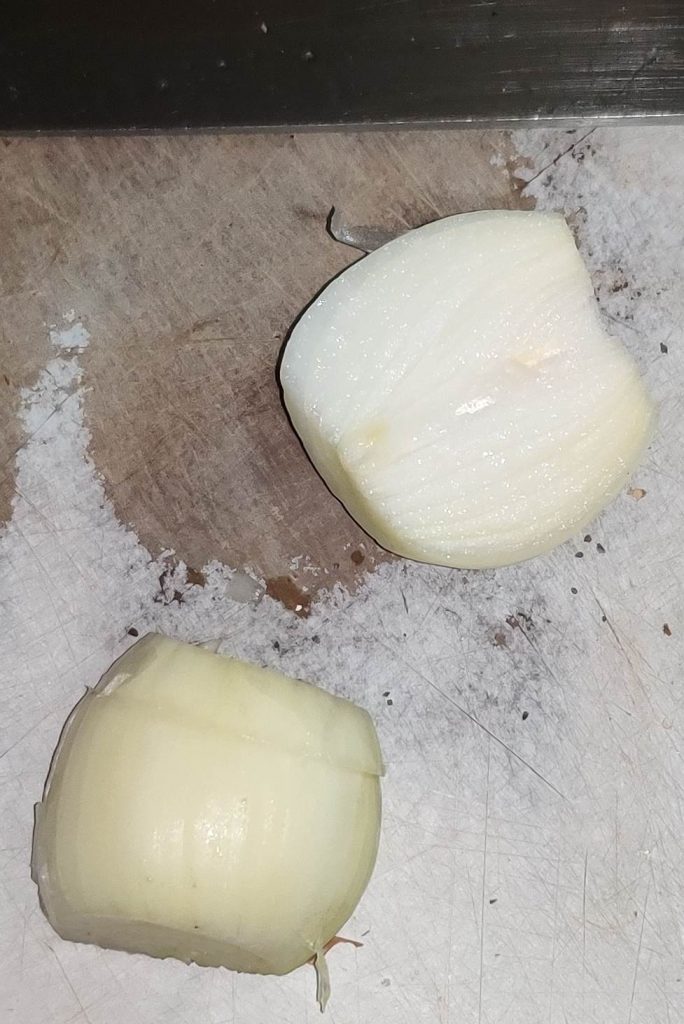
The onions were sliced in half:

Onions sliced in half

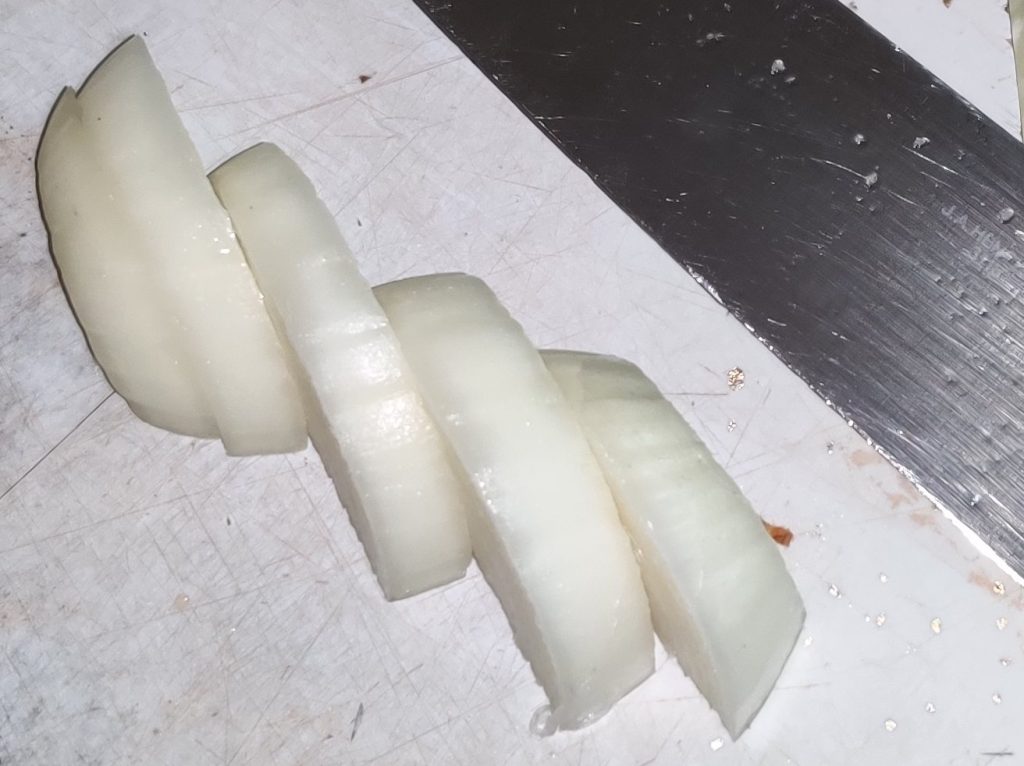
The onion halves were sliced into half coins:
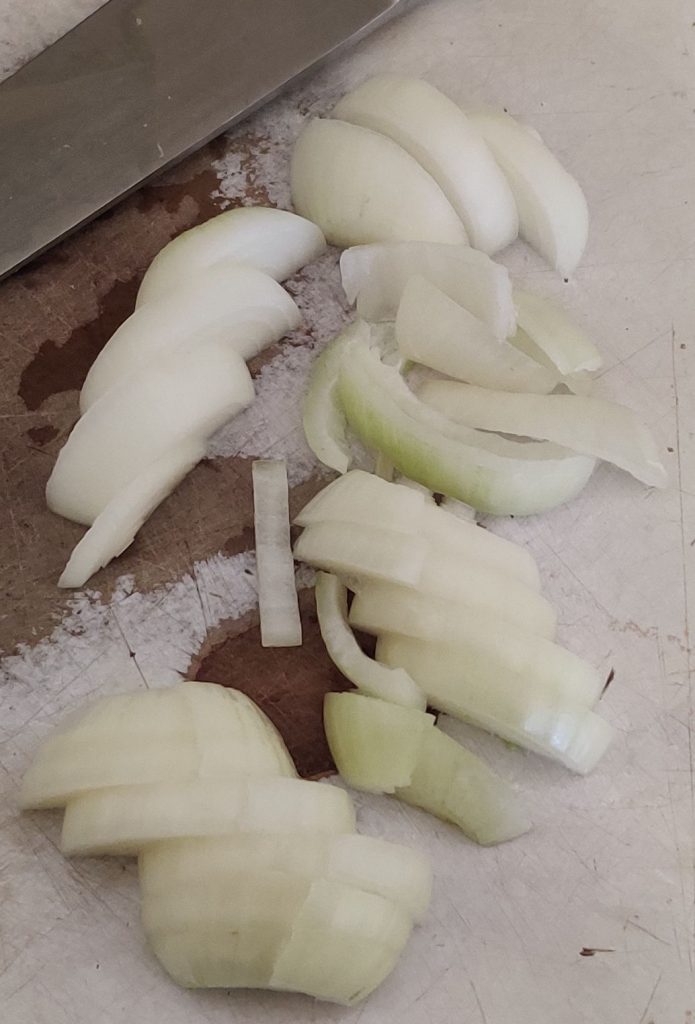
Onions sliced into half coins

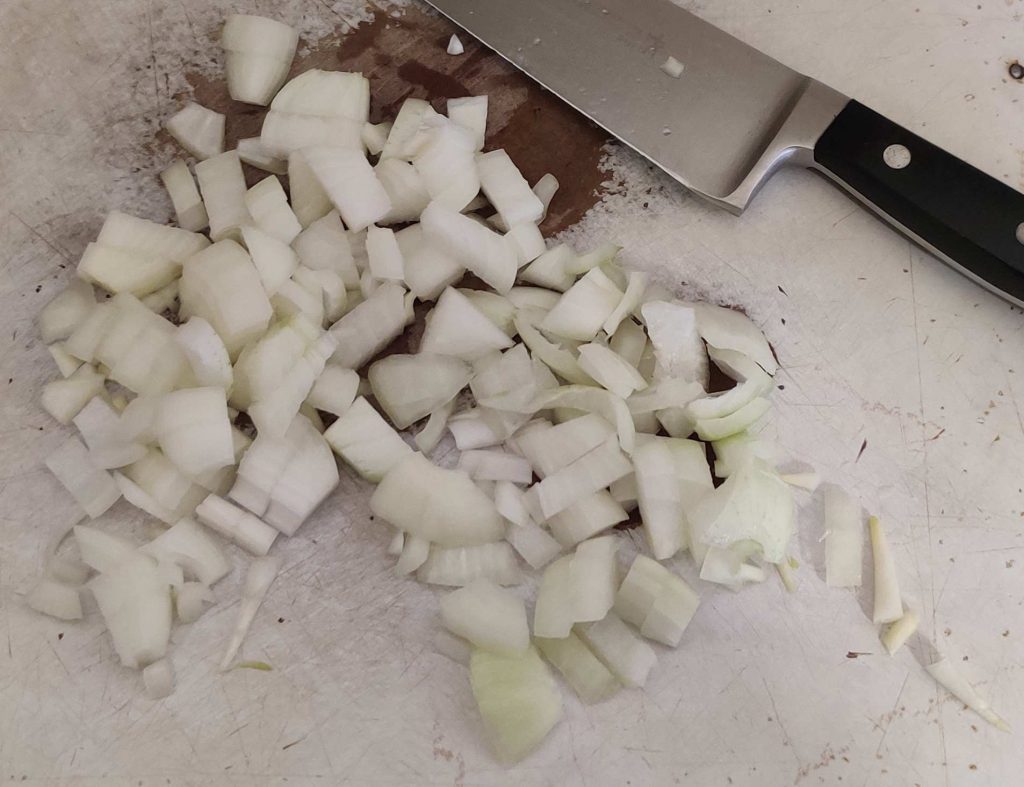
The onions were coarsely chopped:

Onions chopped

The onions were momentarily put aside.

A food processor with a chopping blade was taken out:
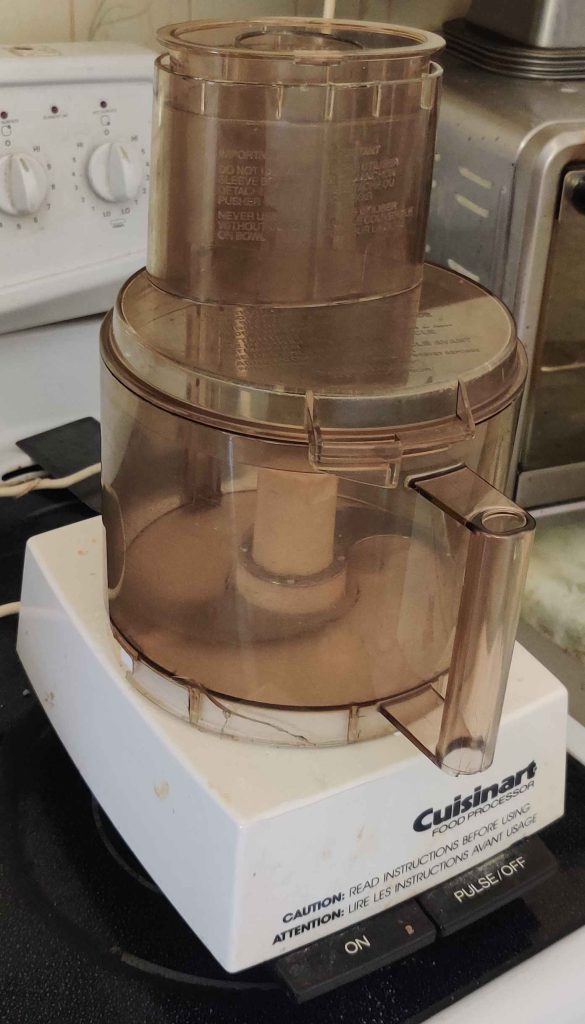
Food processor taken out

… and its lid was removed:

Lid removed from food processor

At this point, the timer on the cooking pork had run out:
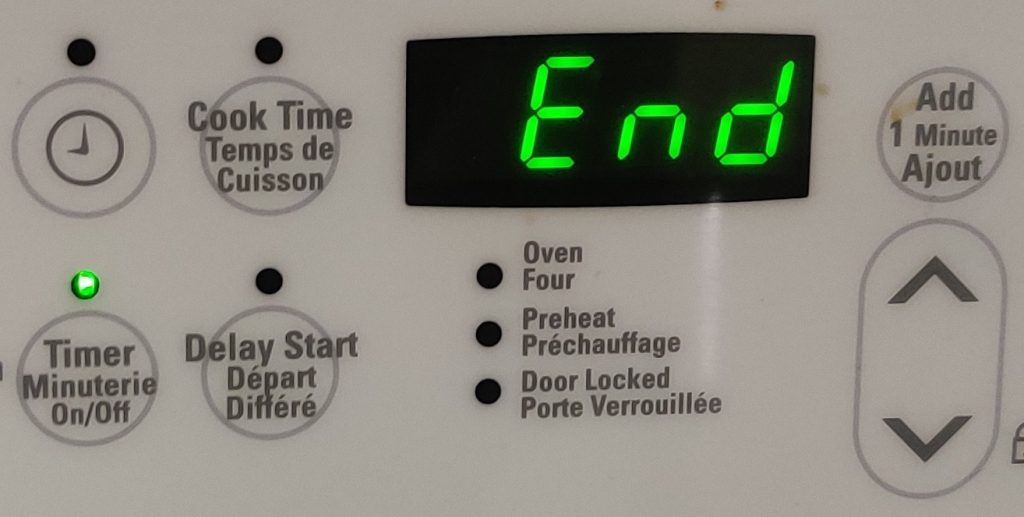
Pork cooking time completed

The lid was removed from the pan:

Lid removed from pan

Yes, I tasted the pork — it was tasty, and importantly, it was tender!

The pork cubes were lifted with the cleaned egg flipper:
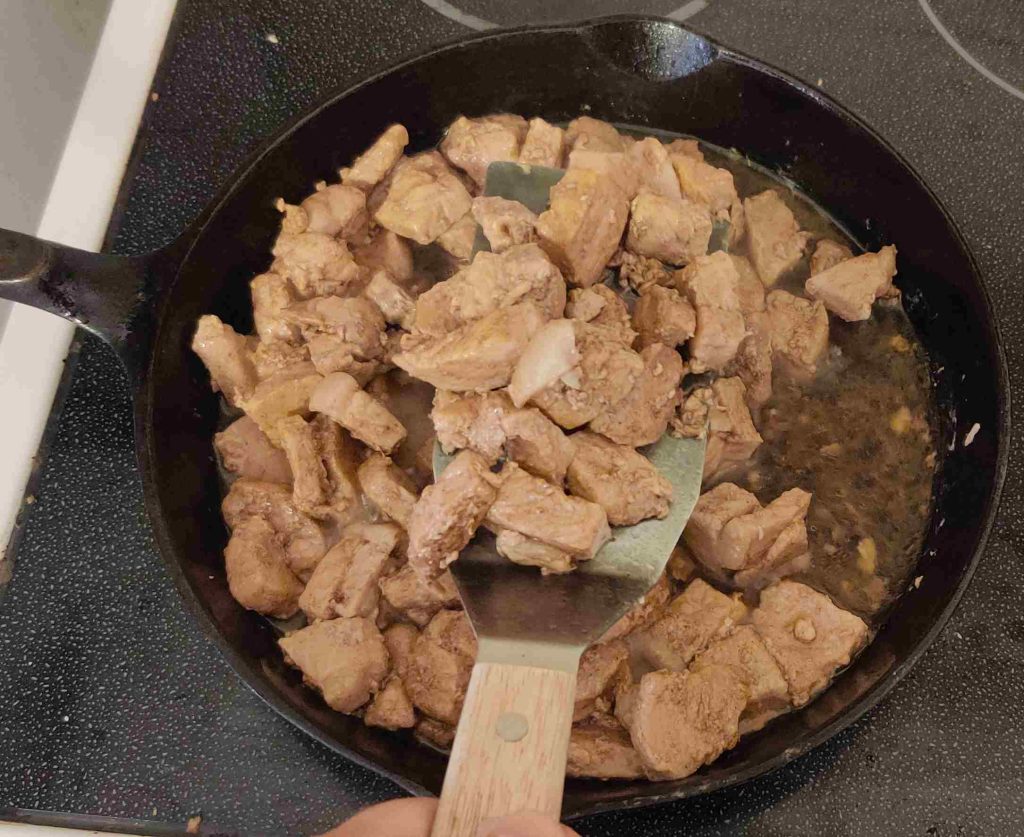
Pork lifted with egg flipper

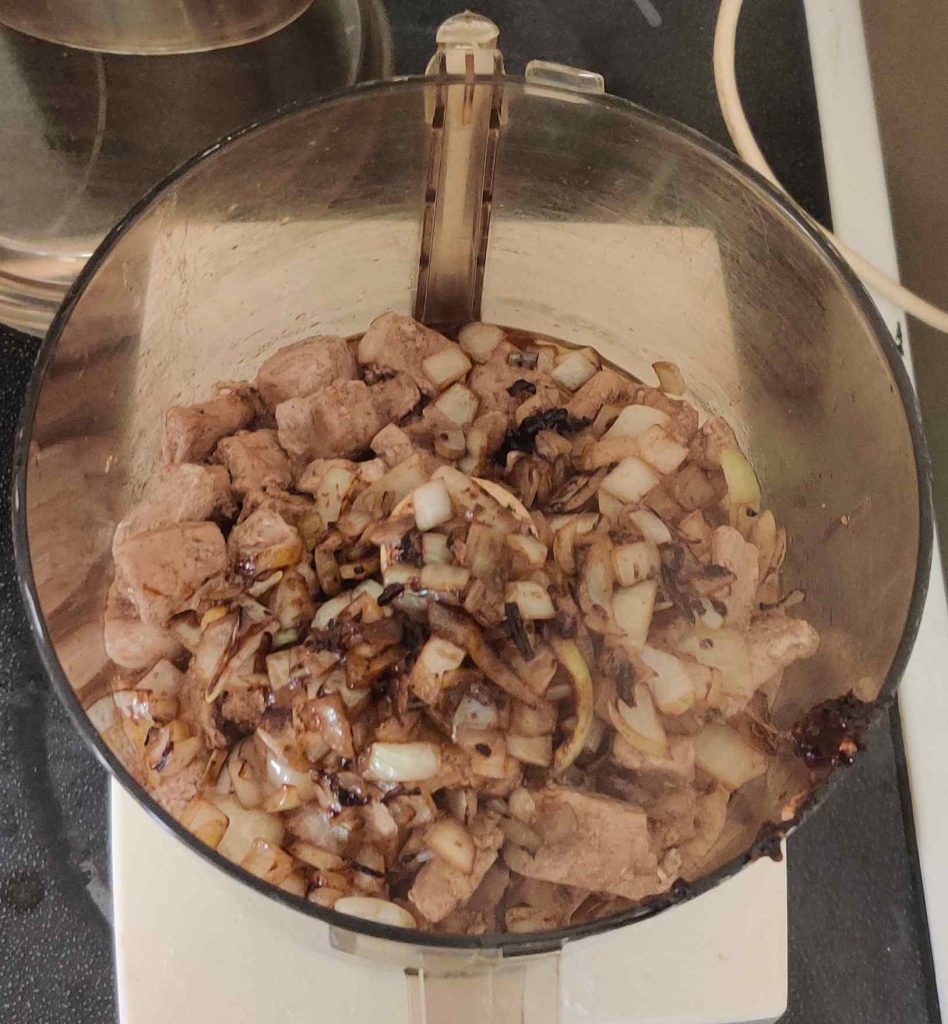
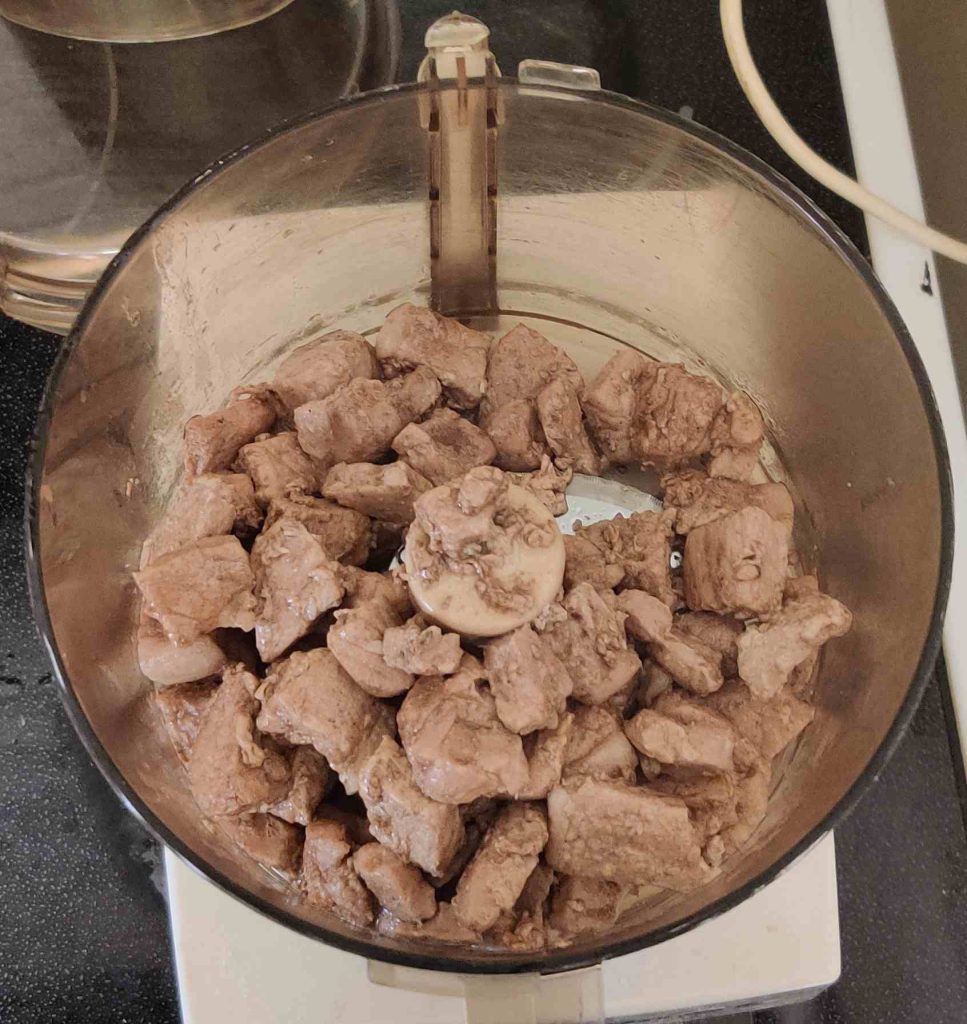
The cooked pork cubes were transferred to the food processor:
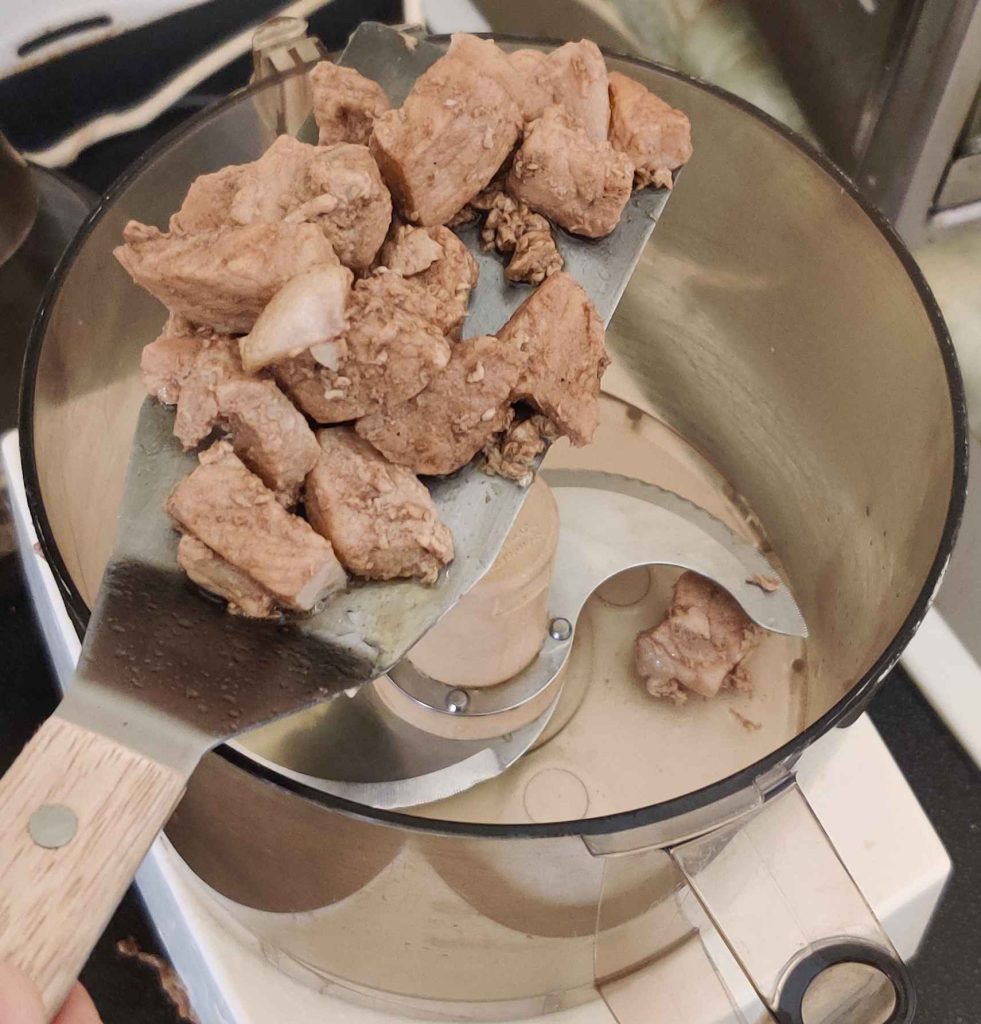
Pork cubes transferred to food processor

The braising liquid was kept in the frying pan:

Braising liquid kept

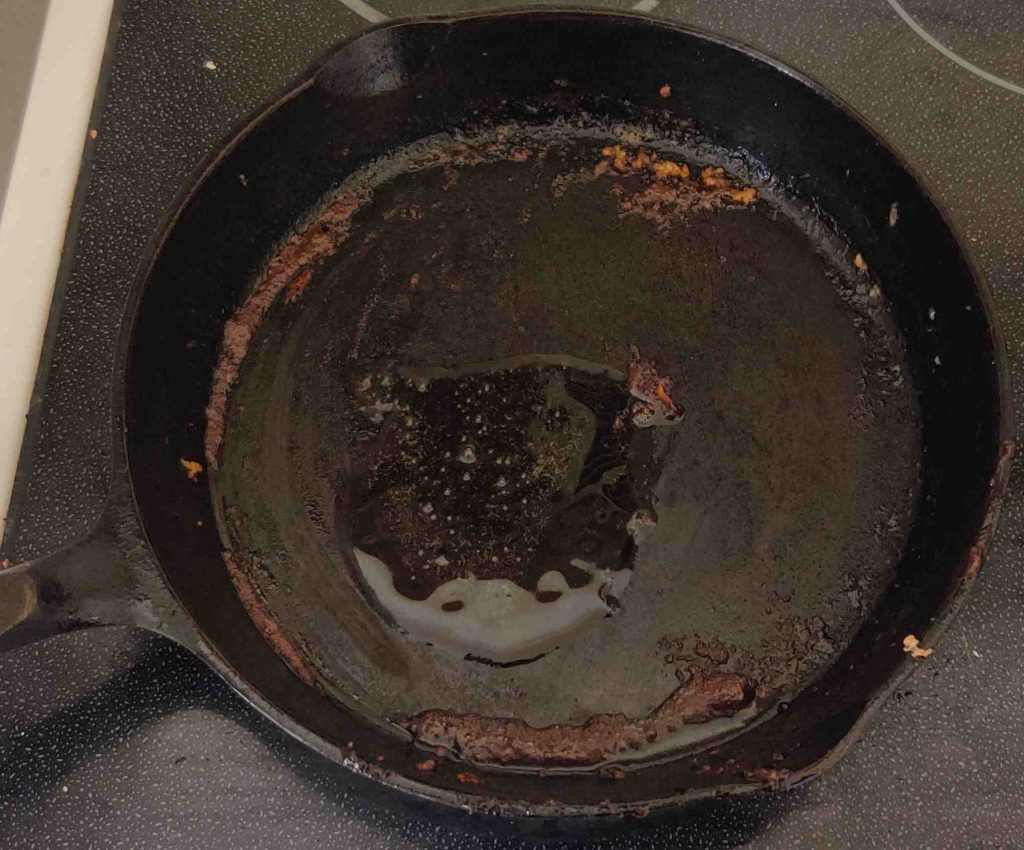
The stove burner was again turned to high — and oh, my, when I was handling the photos, I could really see the need for another cleaning here:

Stove burner turned to high, and it was obvious how much another cleaning was needed!

The braising liquid was brought to a boil in order to reduce it:

Braising liquid brought to a boil

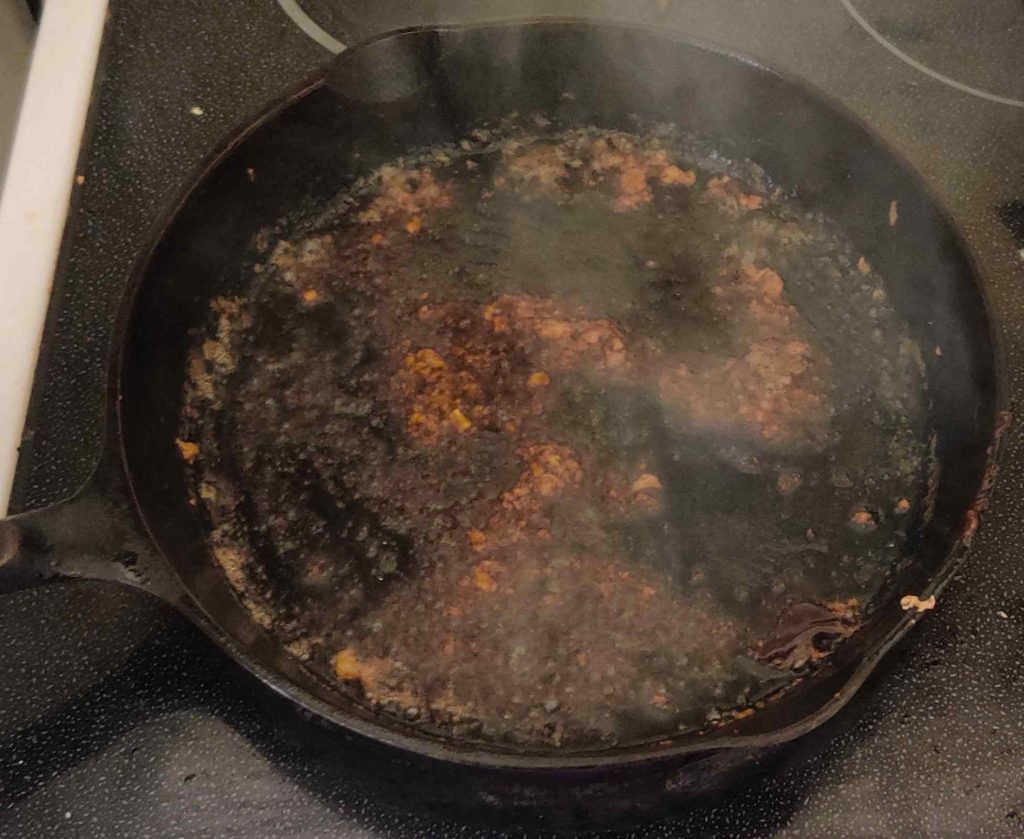
Oops I perhaps reduced it a bit too much — but without burning it:

Braising liquid reduced

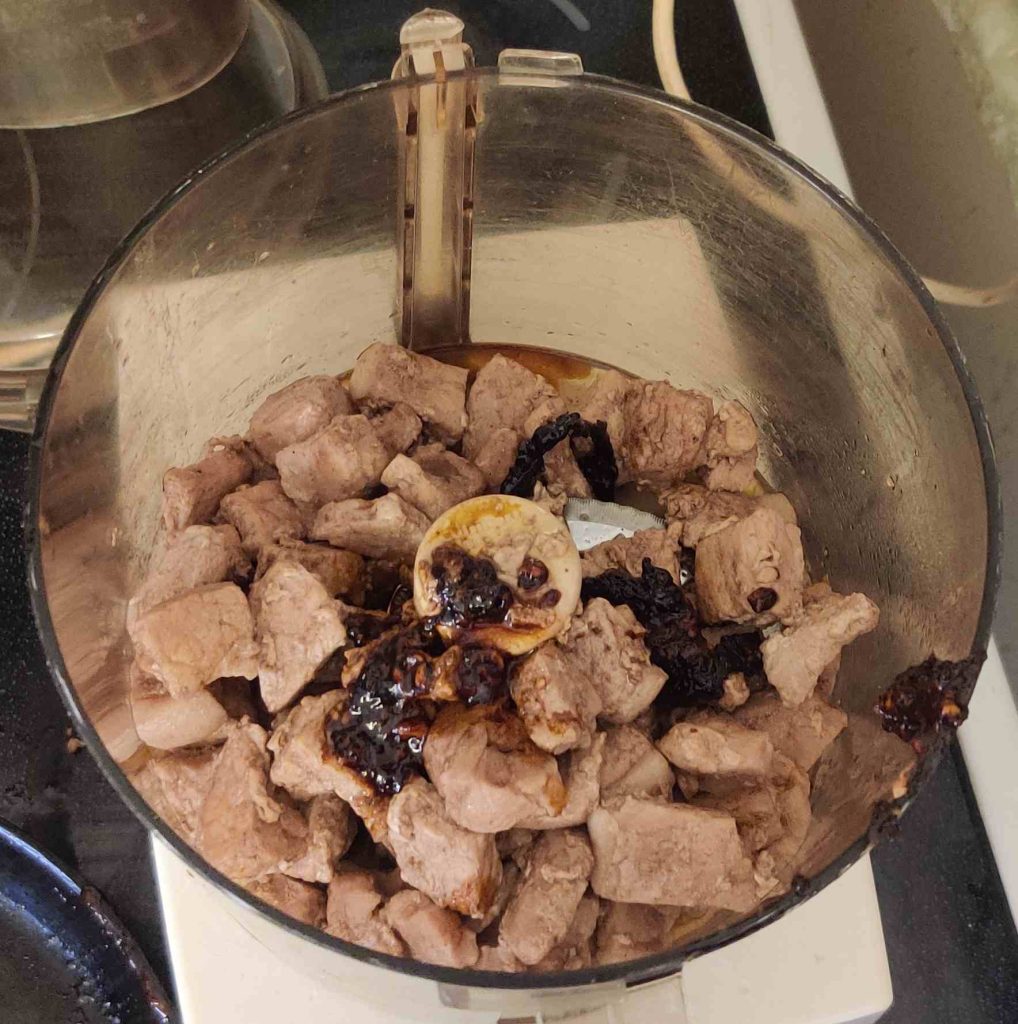
The reduction was transferred to the food processor, and the frypan was deglazed with a bit of water:

Reduction transferred to food processor and pan deglazed
Reduction transferred to food processor

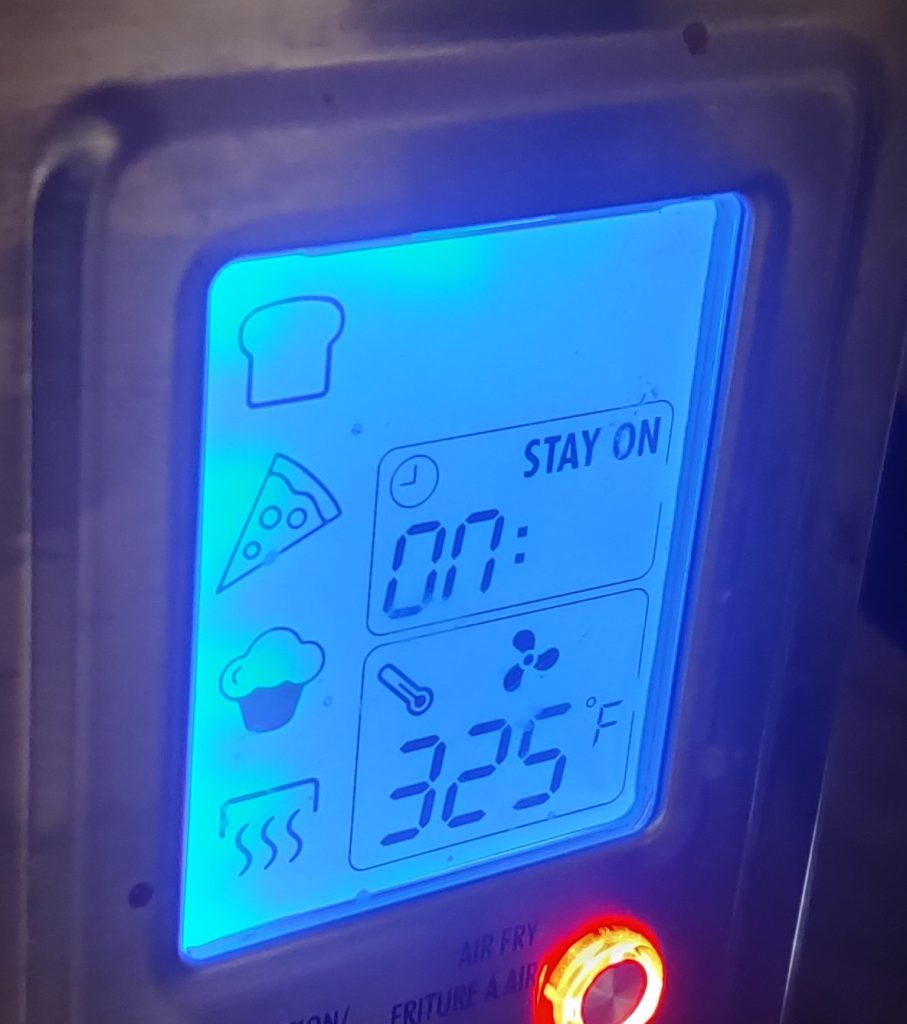
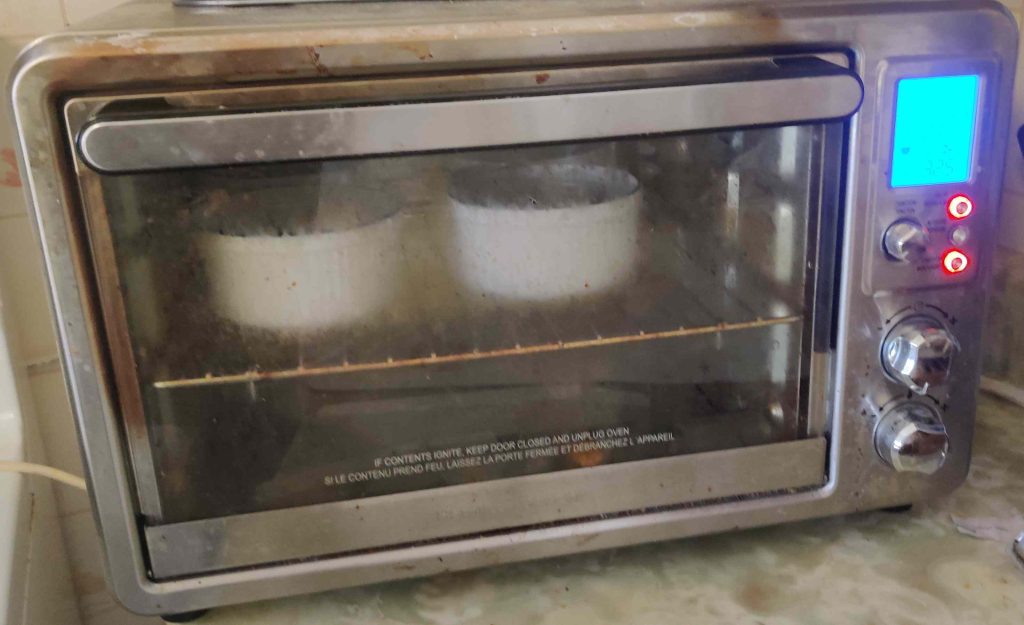
This is a good time to turn on the oven, in this case a countertop convection oven:

Countertop convection turned on

More olive oil was transferred to the fry pan:

Olive oil transferred to the frypan

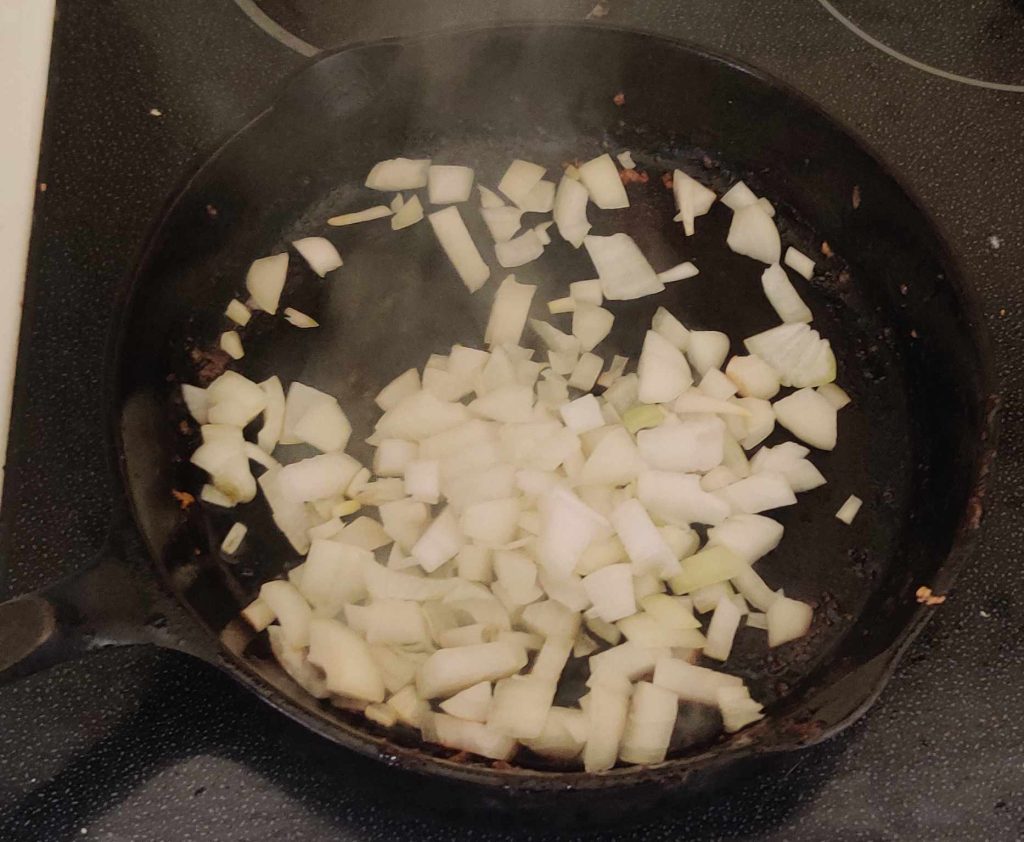
The onions that were chopped earlier were transferred to the frypan:

Chopped onions transferred to frypan

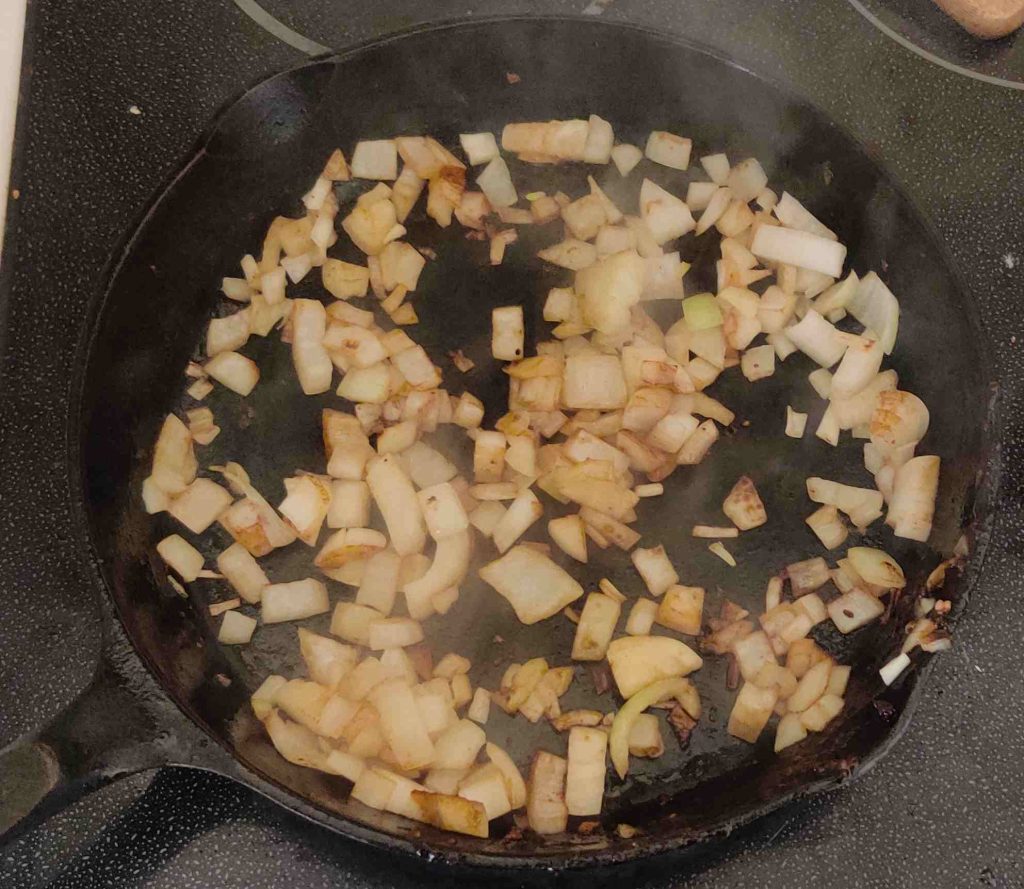
The chopped onions were fried — quickly, it seems, since I’d forgotten to reduce the heat from the liquid reduction!

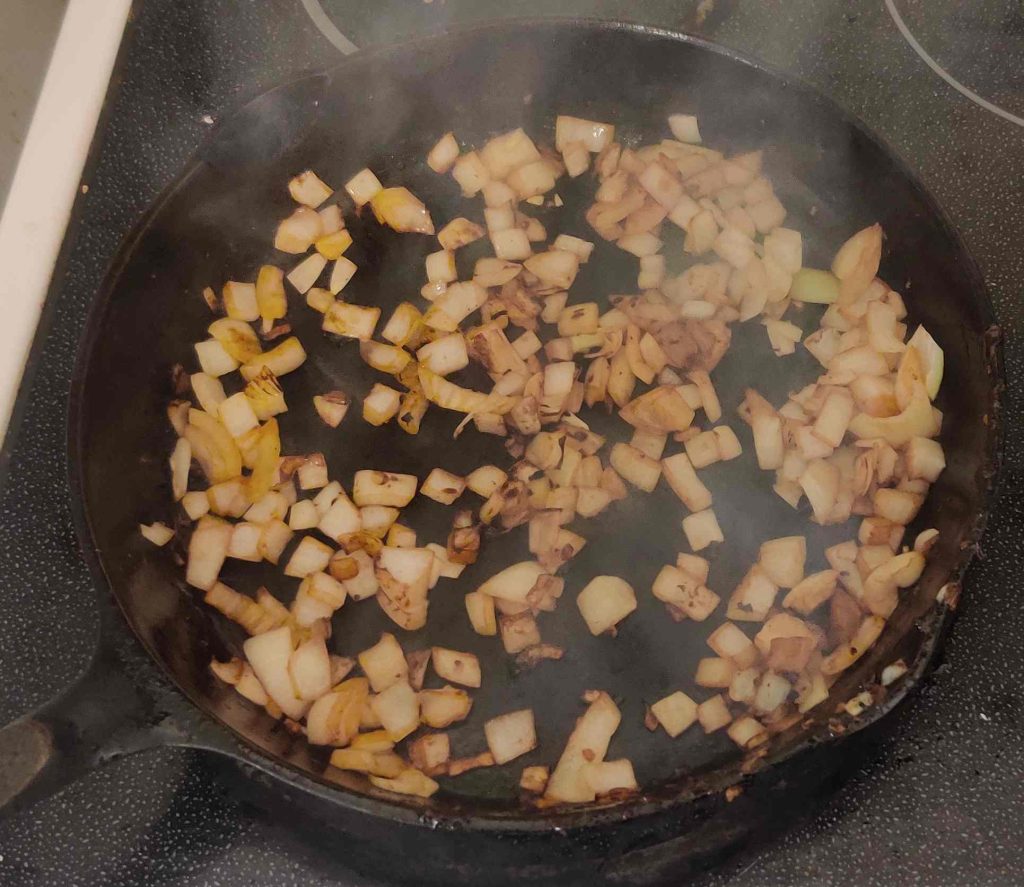
Chopped onions fried
Onions fried

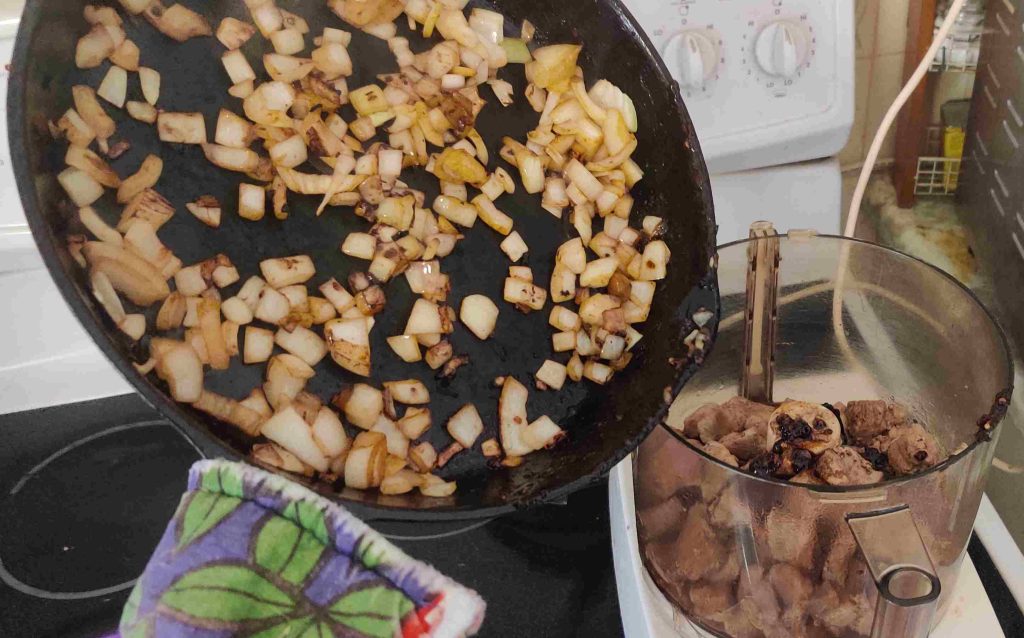
The fried onions were transferred to the food processor:
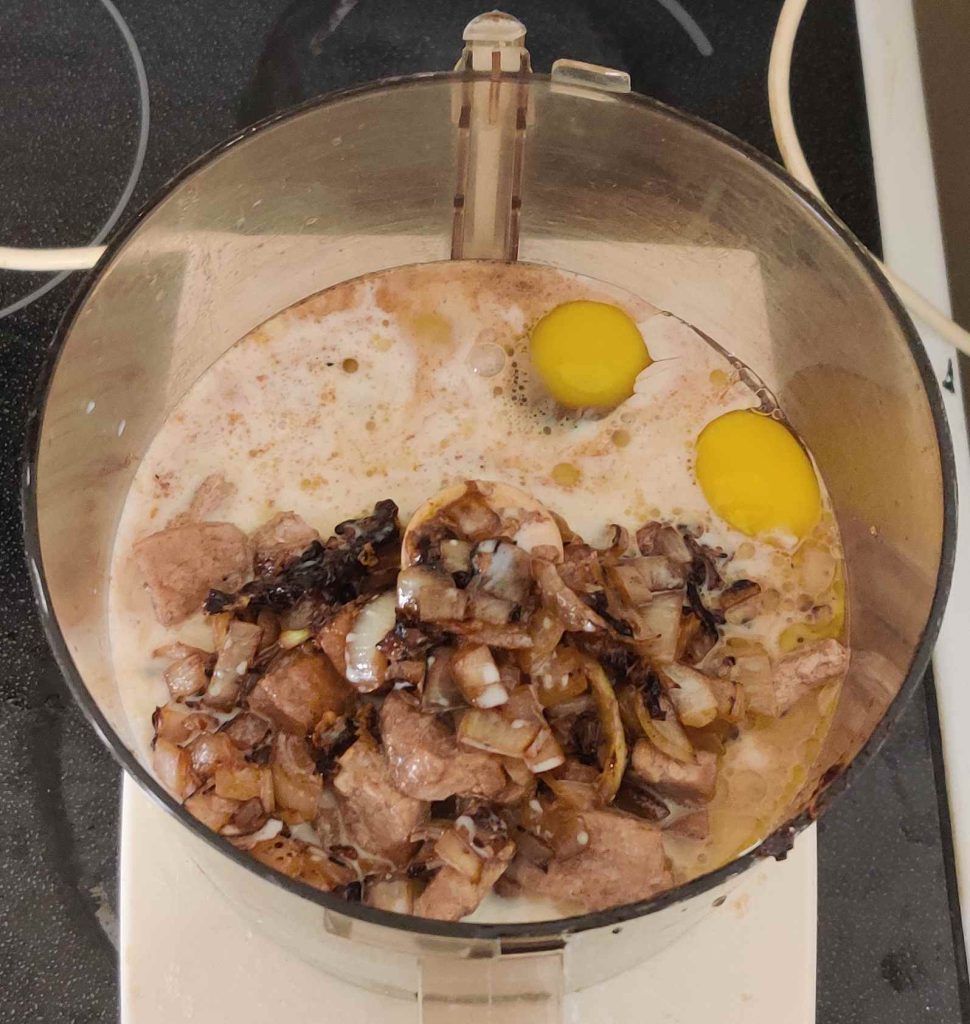
Fried onions transferred to food processor

Eggs were taken out:

Eggs taken out

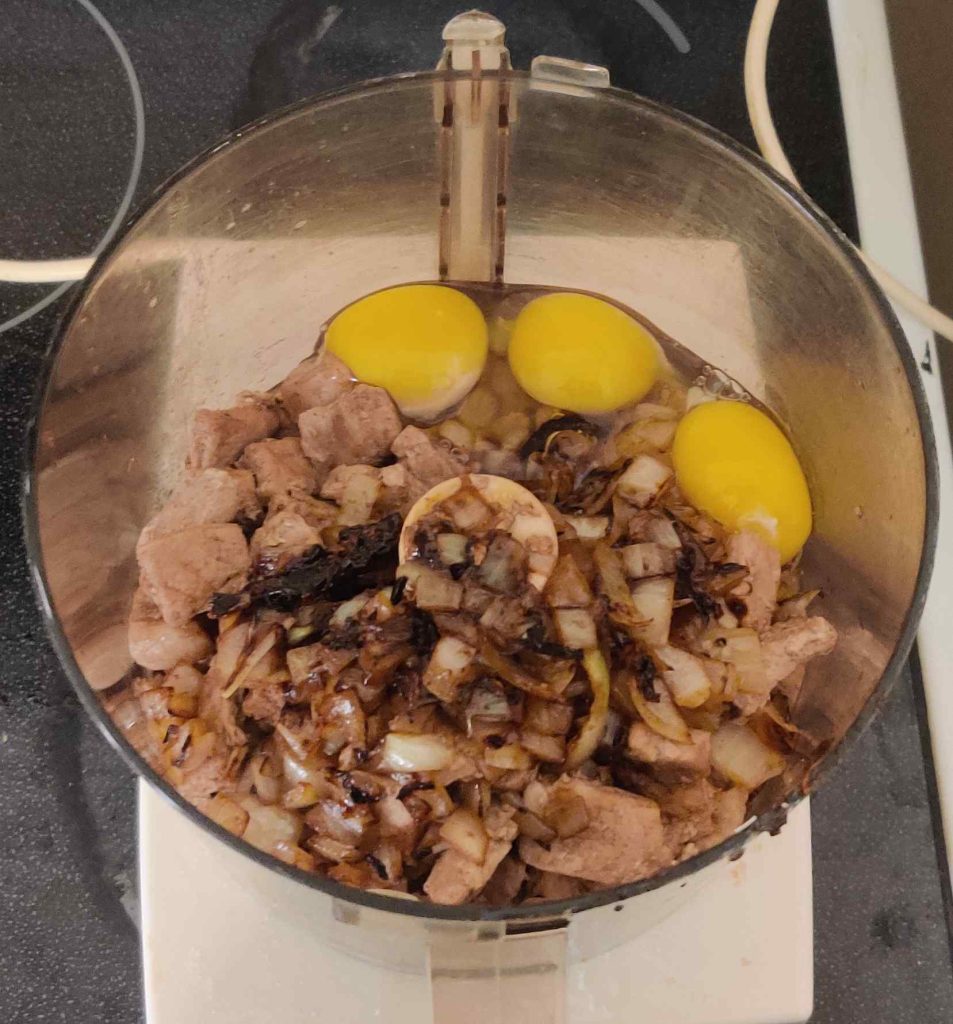
The eggs were cracked on the edge of the food processor:
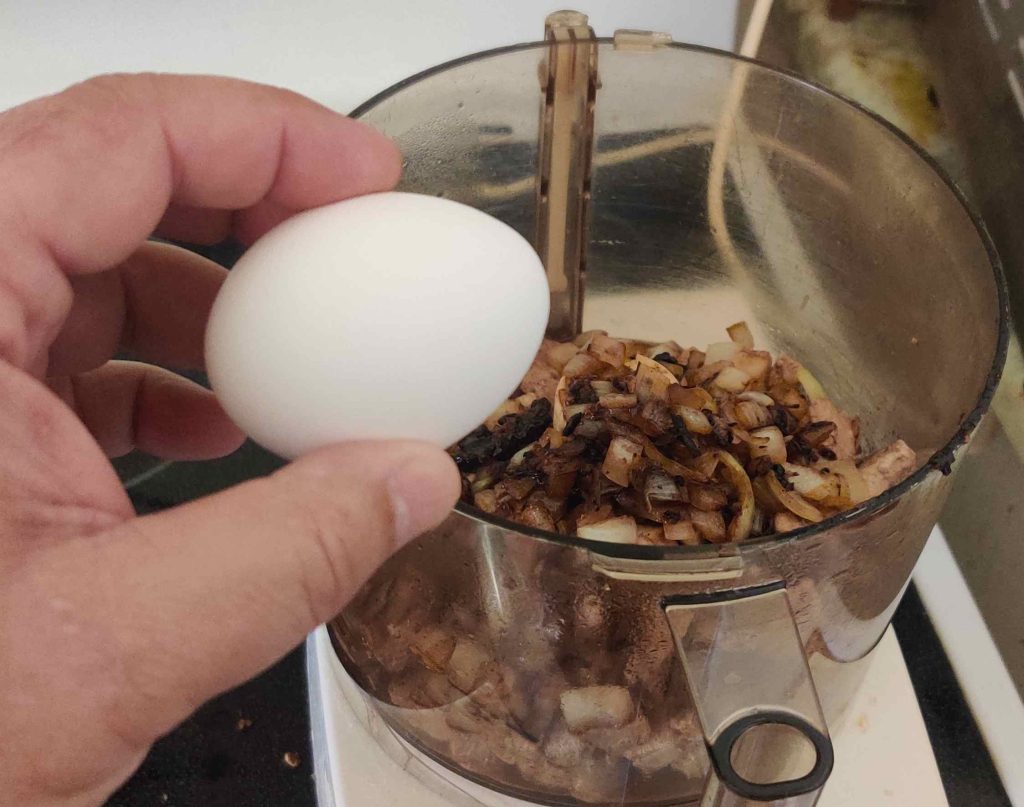
Eggs cracked on edge of food processor
Eggs cracked into food processor

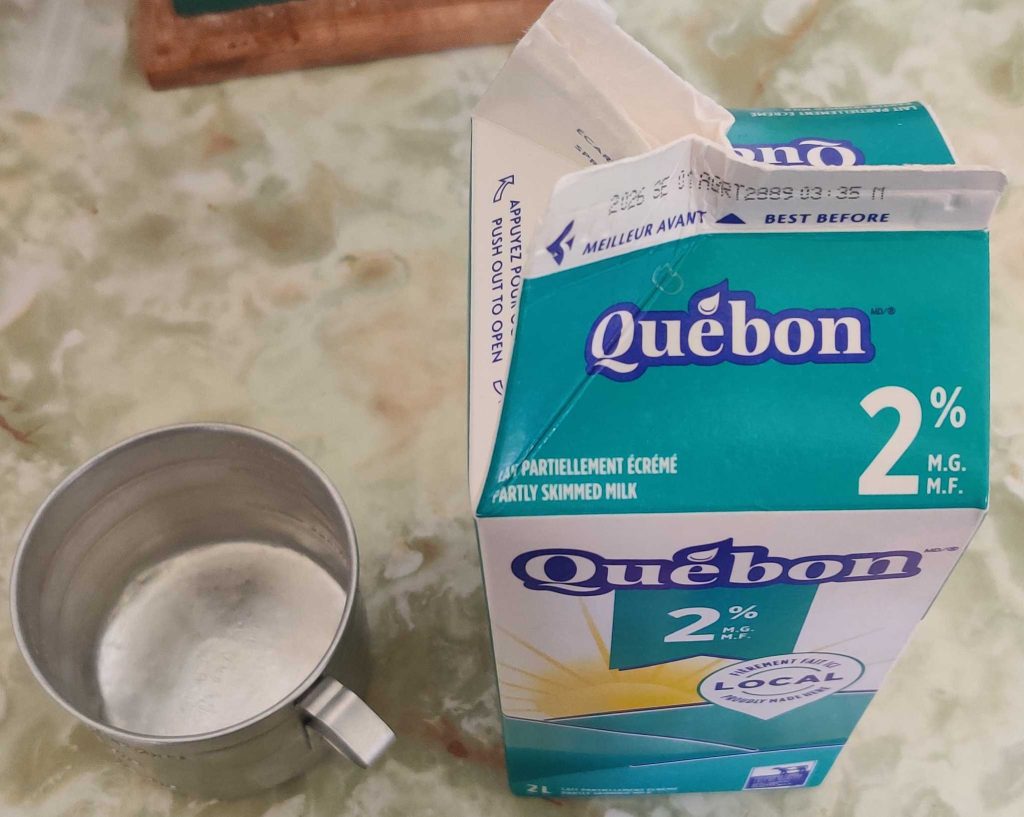
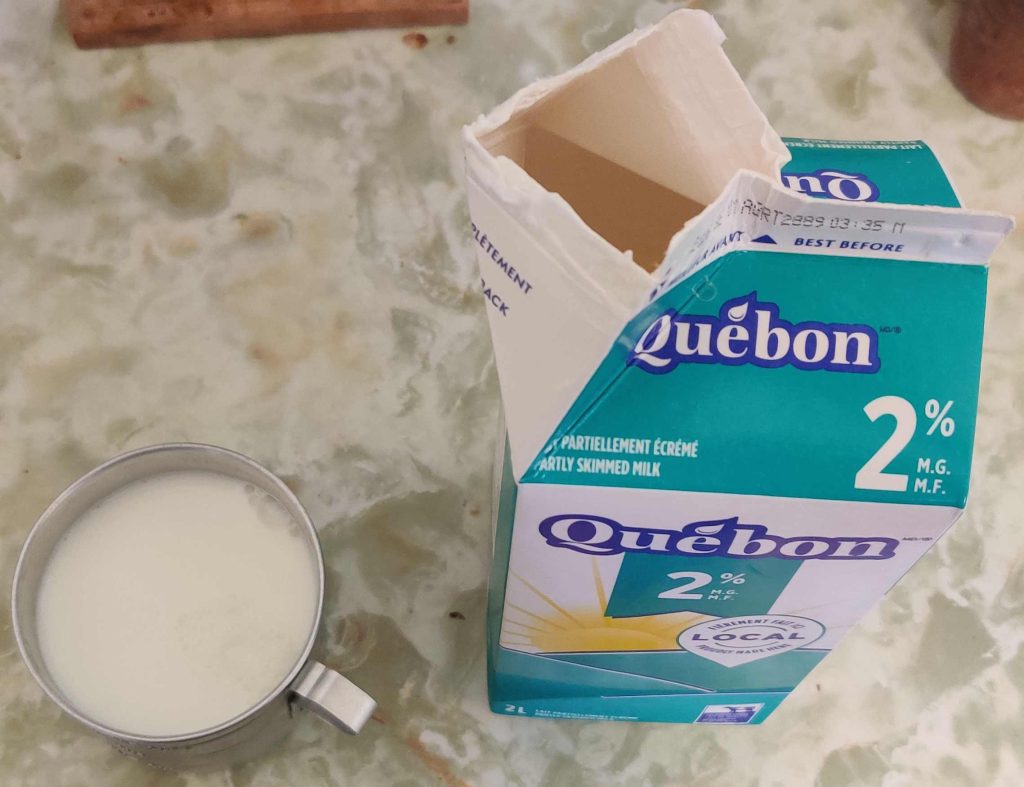
Milk was taken out:

Milk and measuring cup taken out

The milk was measured out:

Milk measured out

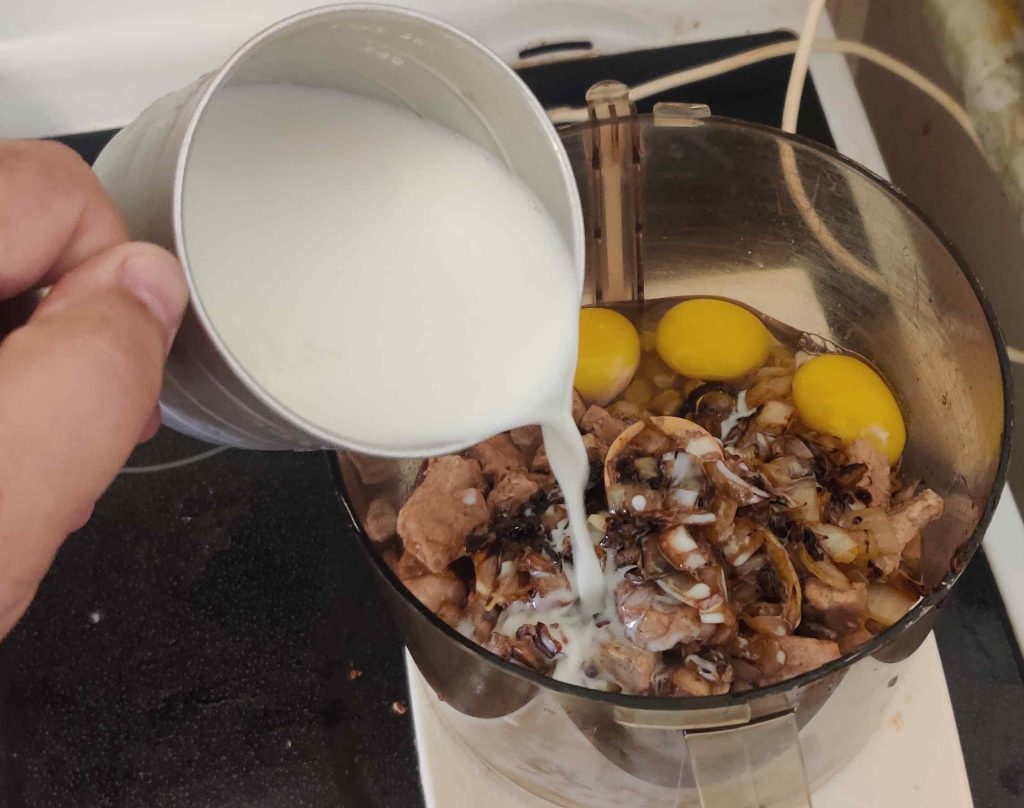
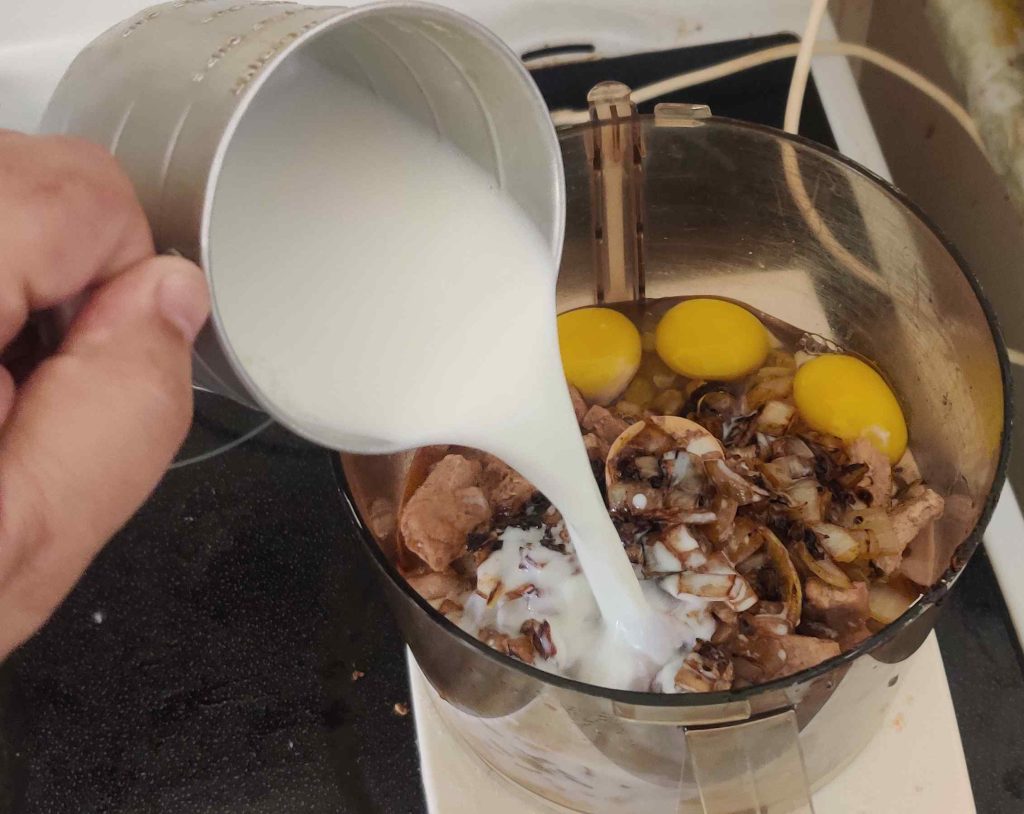
The milk was transferred to the food processor:
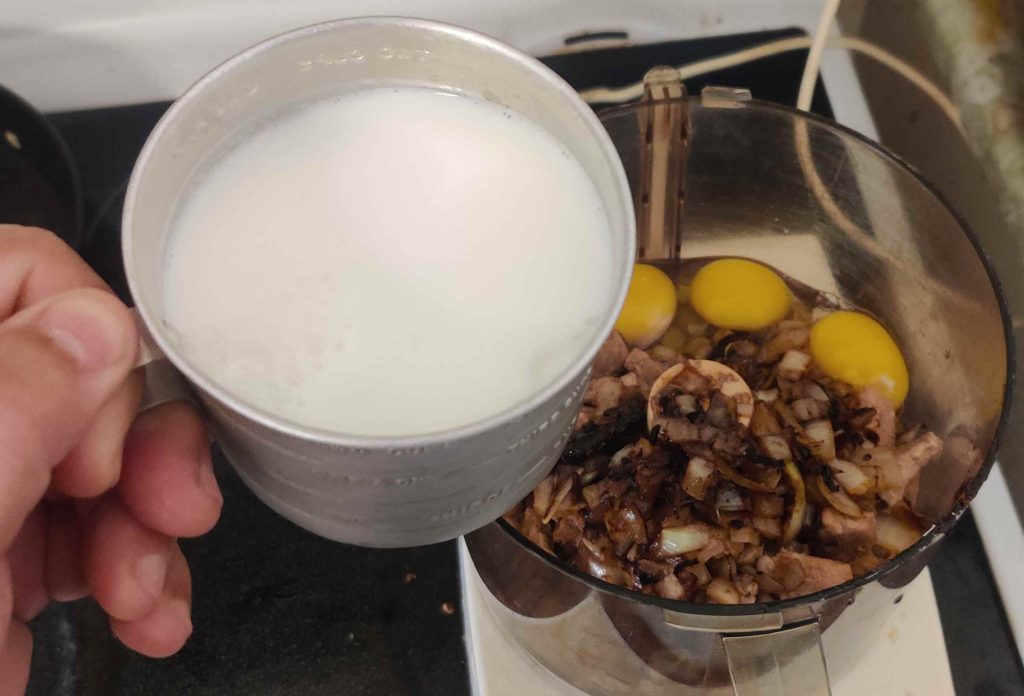
Milk transferred to food processor

The lid was placed back on the food processor (yes, in the lower right hand corner, you can see that a bit of liquid spilled through the middle hole in the food processor):
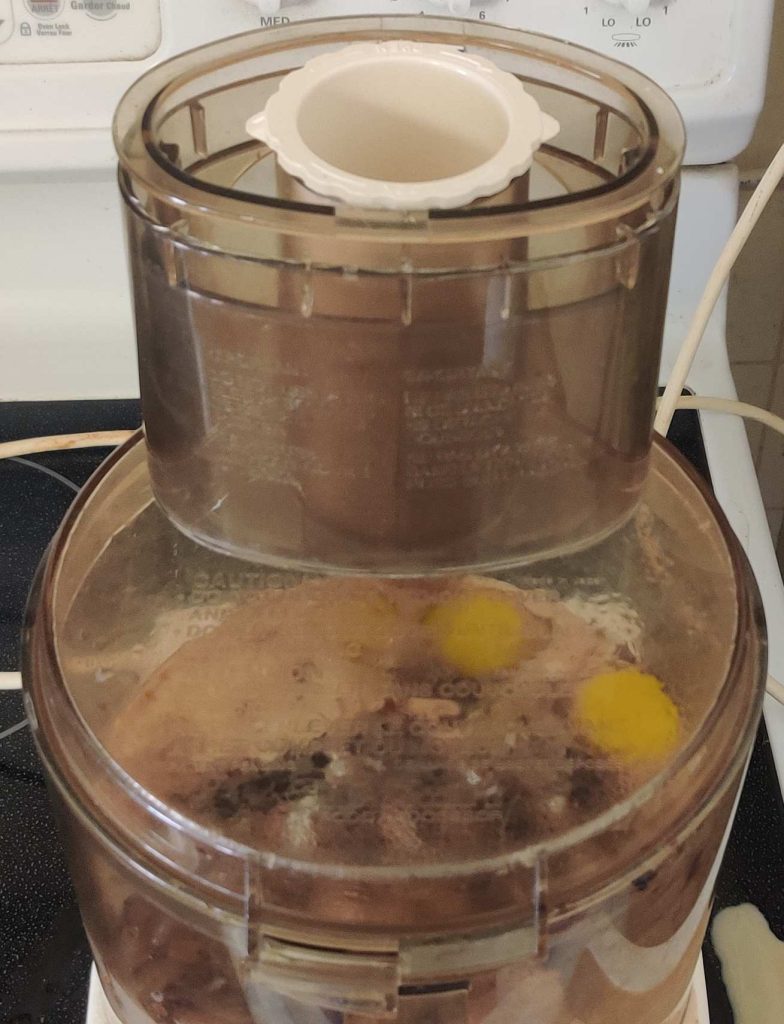
Lid placed on food processor

The food processor was turned on, and all the ingredients were liquidized:
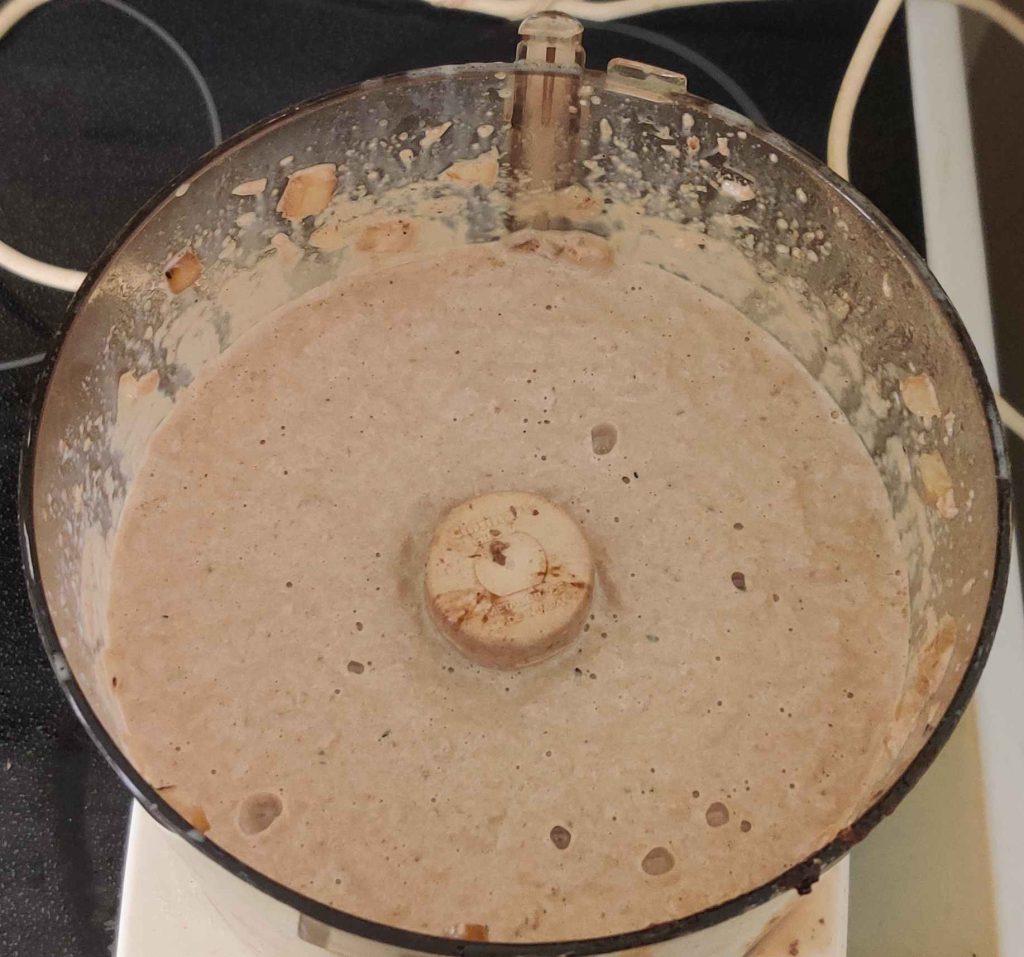
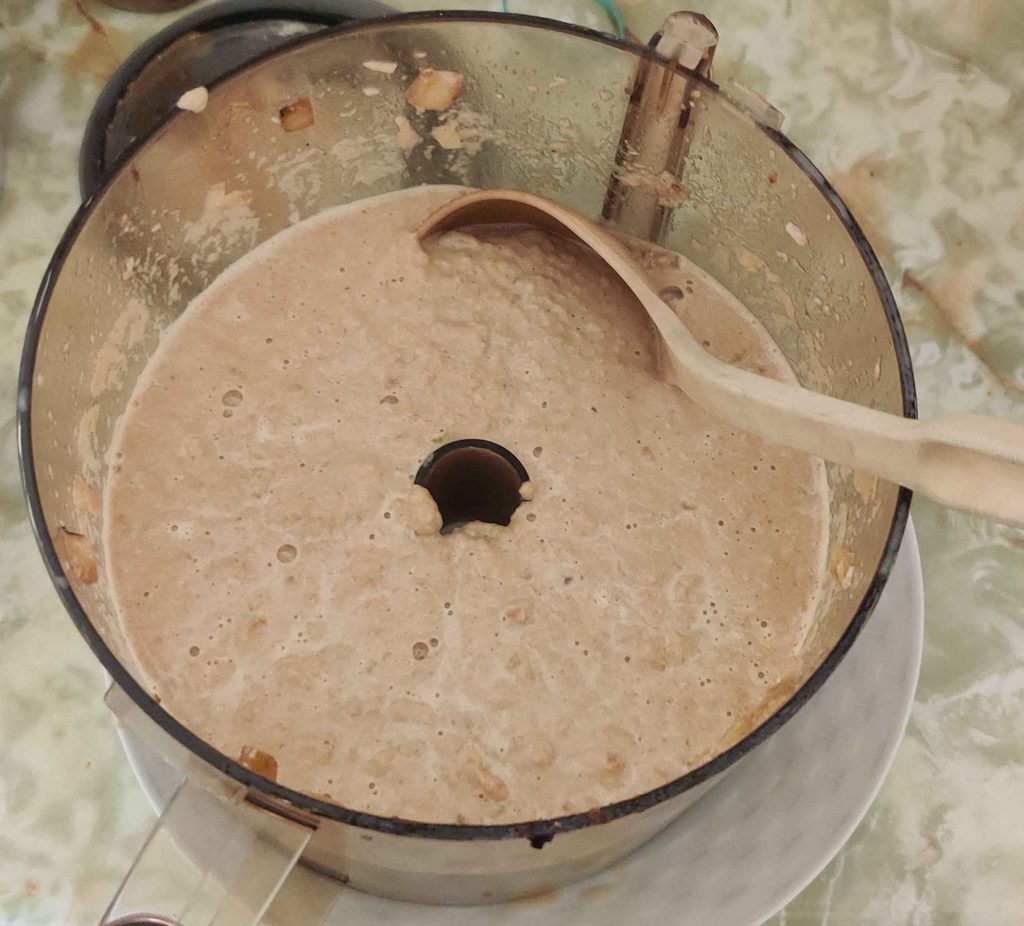
Ingredients liquidized

A soup ladle was taken out:

Soup ladle taken out

Some of the liquid was picked up with the ladle and the liquid was transferred to a ramekin, filling it to about an inch or so high:
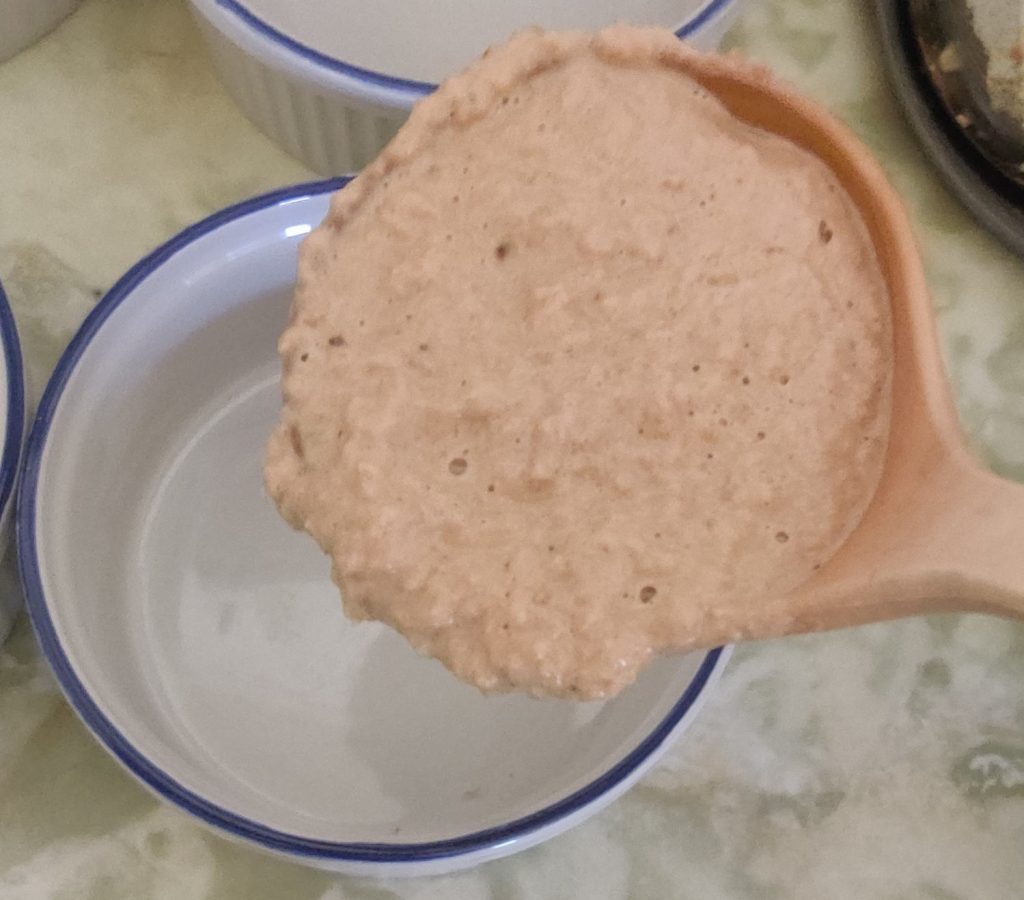
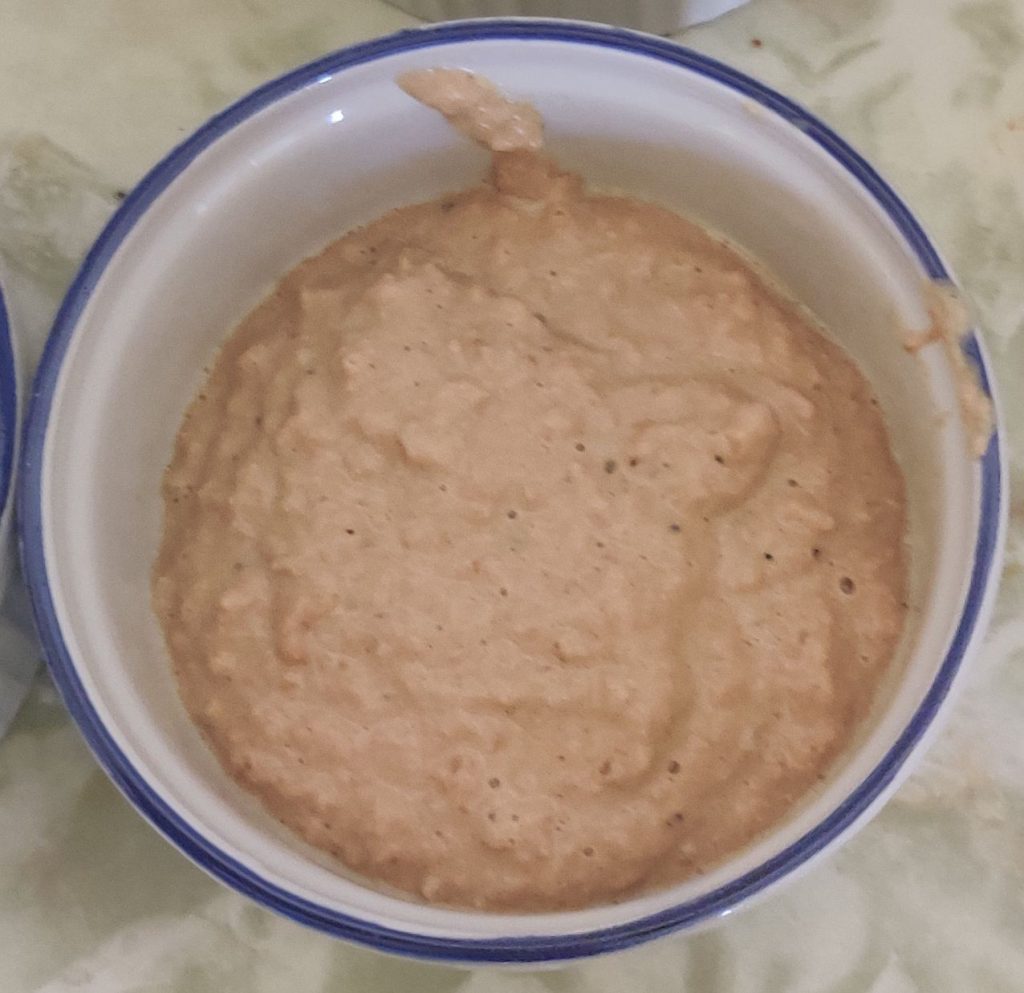
Liquid transferred to a ramekin
Liquid transferred to ramekins
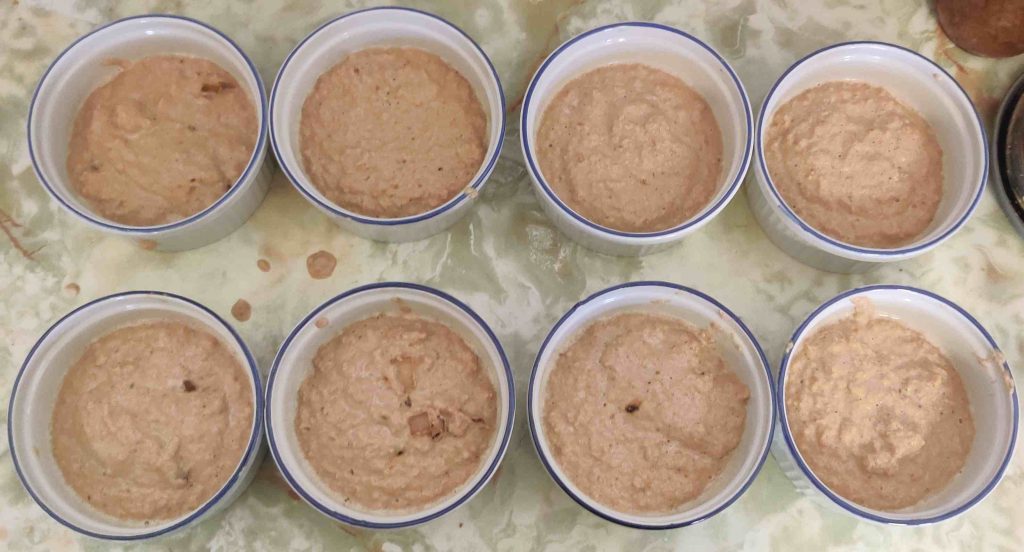
All the liquid transferred to ramekins

Four — half — of the filled ramekins were transferred to the hot oven:
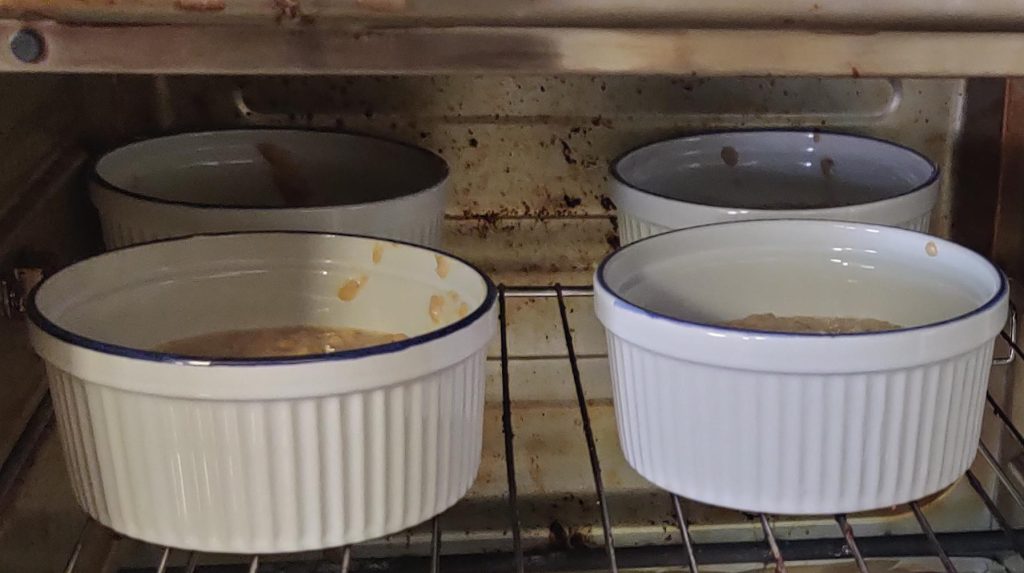
Ramekins transferred to hot oven

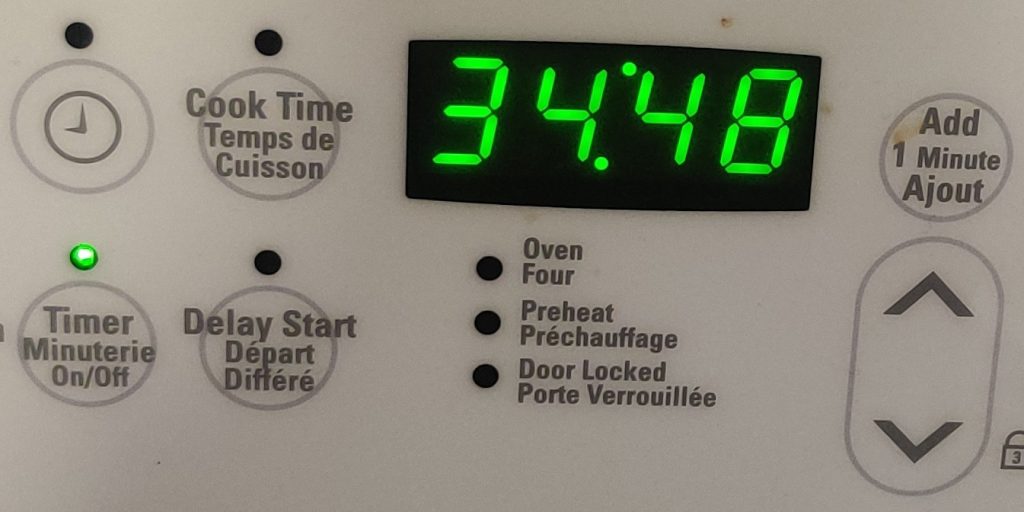
A timer was set to 35 minutes:

Timer set

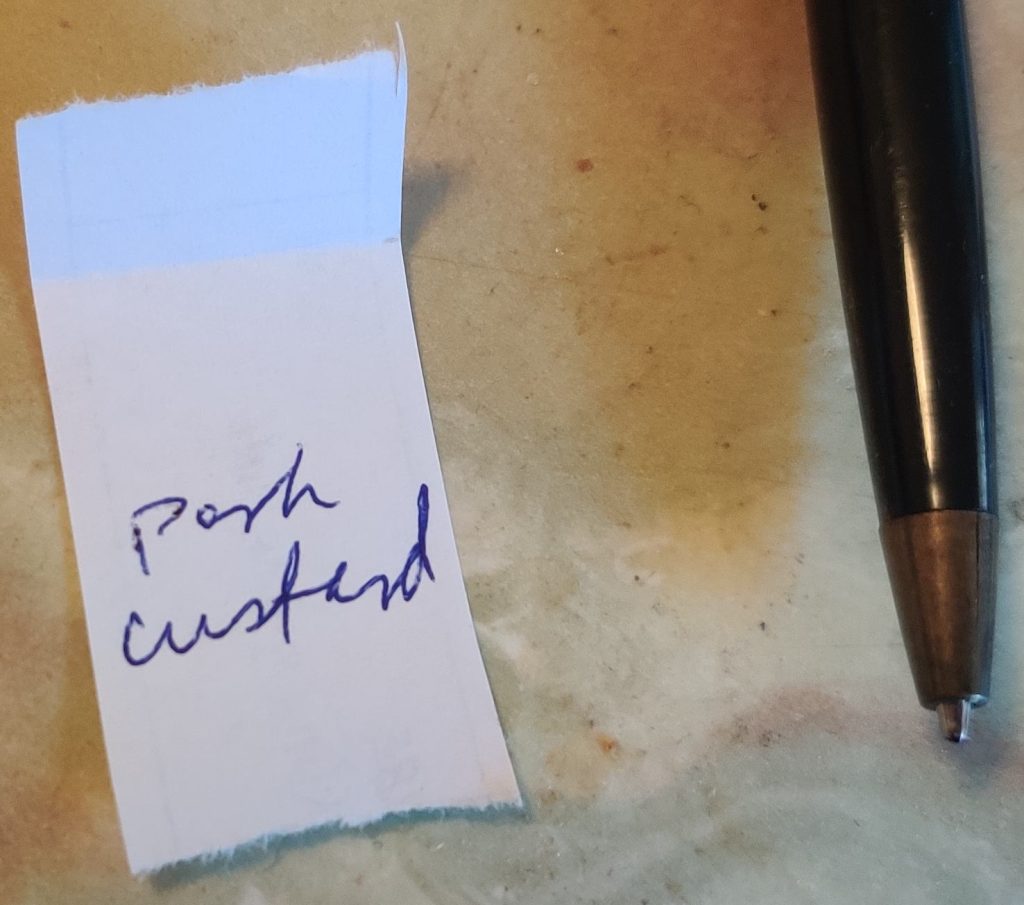
While the custards were baking, strips of paper were cut off from some old, used labels from my other food projects (in this case, picked eggs, stewed apples, and stewed rhubarb) in order to create some labels for when I place the custards in containers:
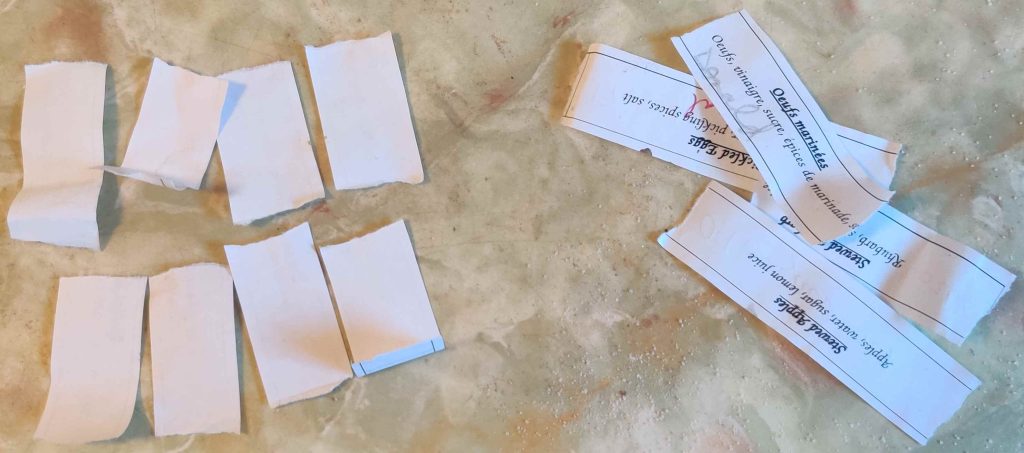
Strips of paper reclaimed from old labels

The strips of paper were identified:
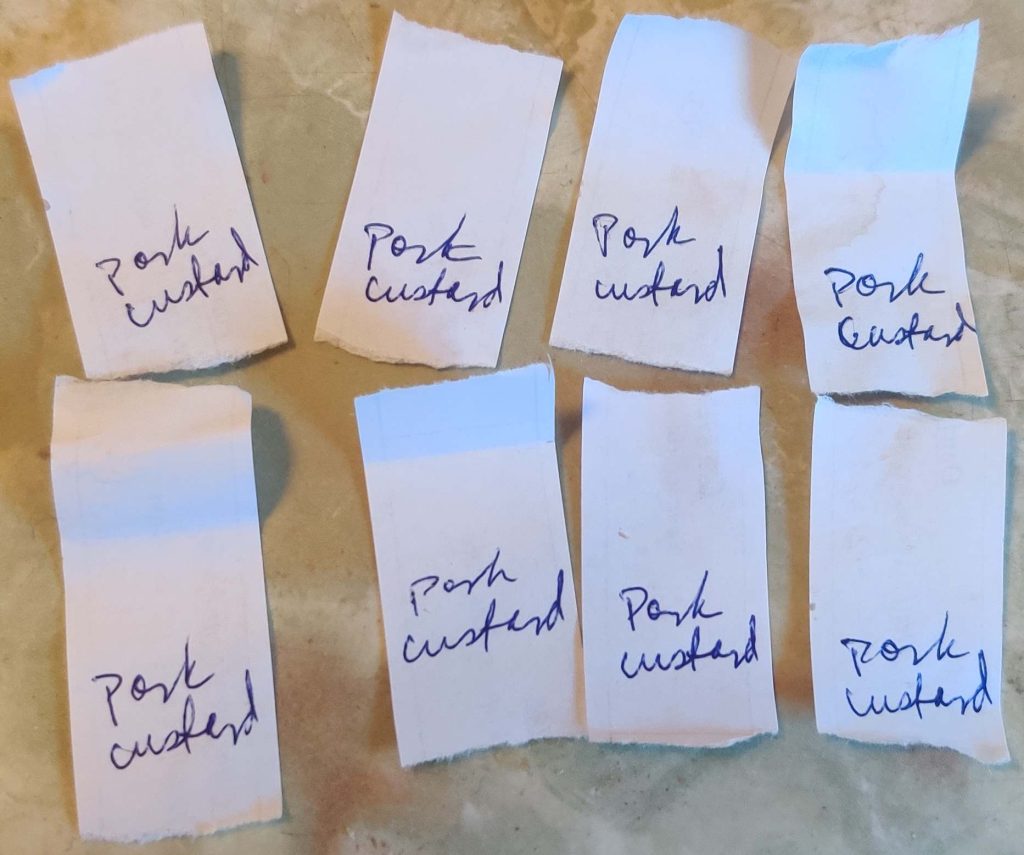
Strips of paper identified

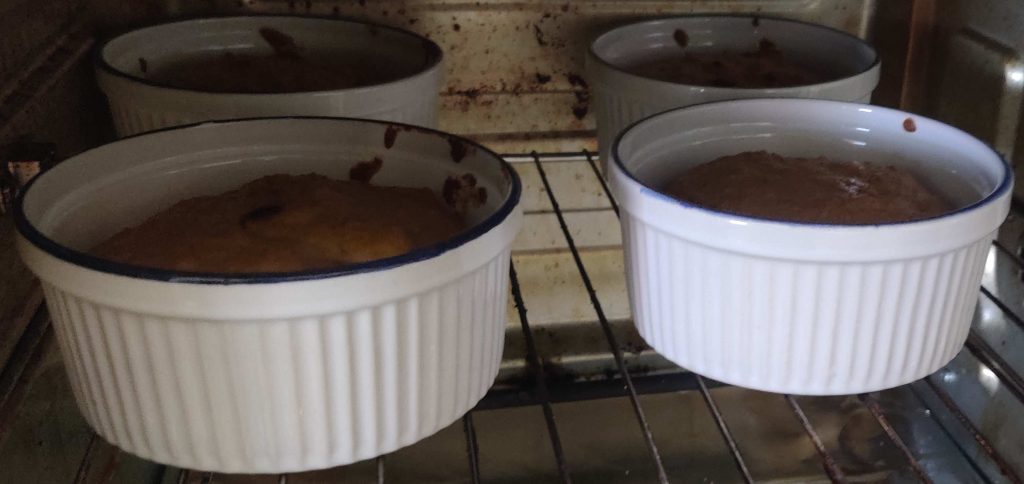
The timer ran out on the baking of the pork custards:
Baking of custards finished
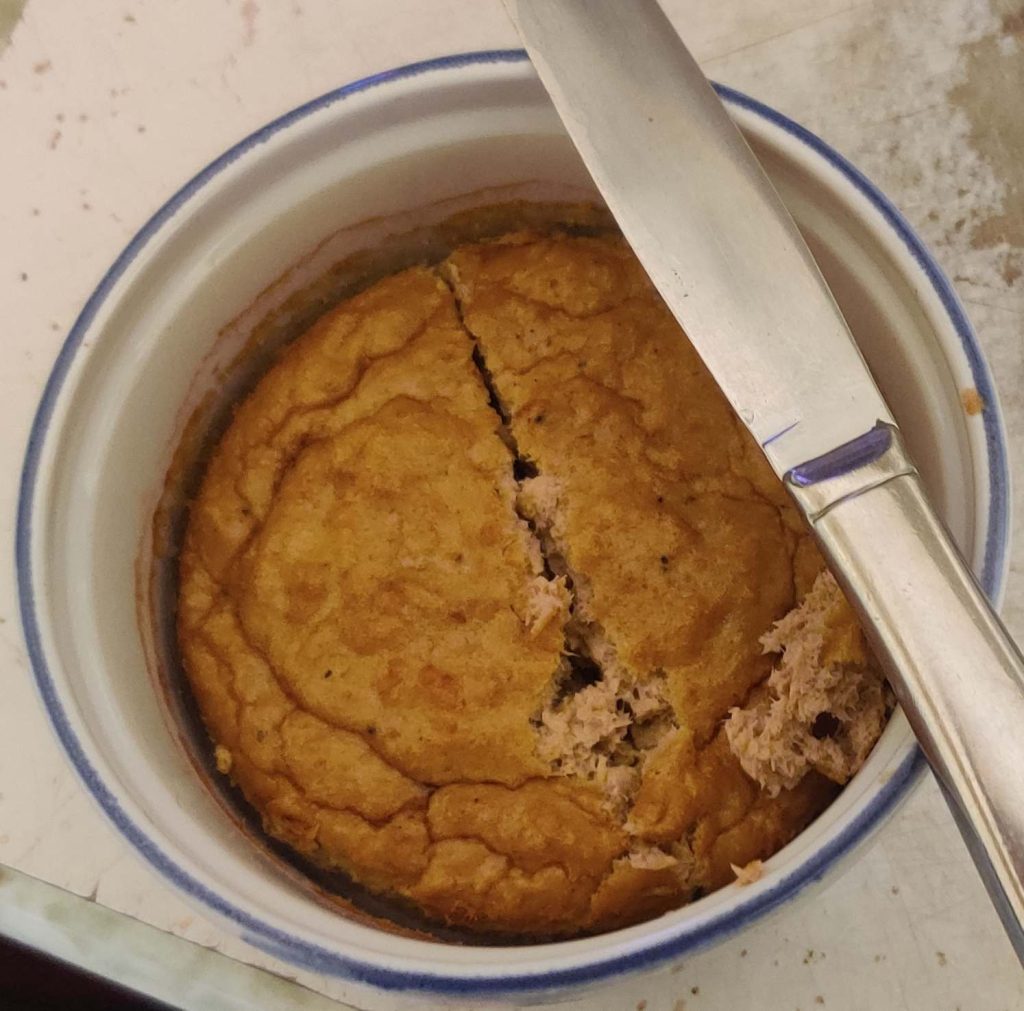
Baked custards

The baked custards were taken out of the countertop convection oven:
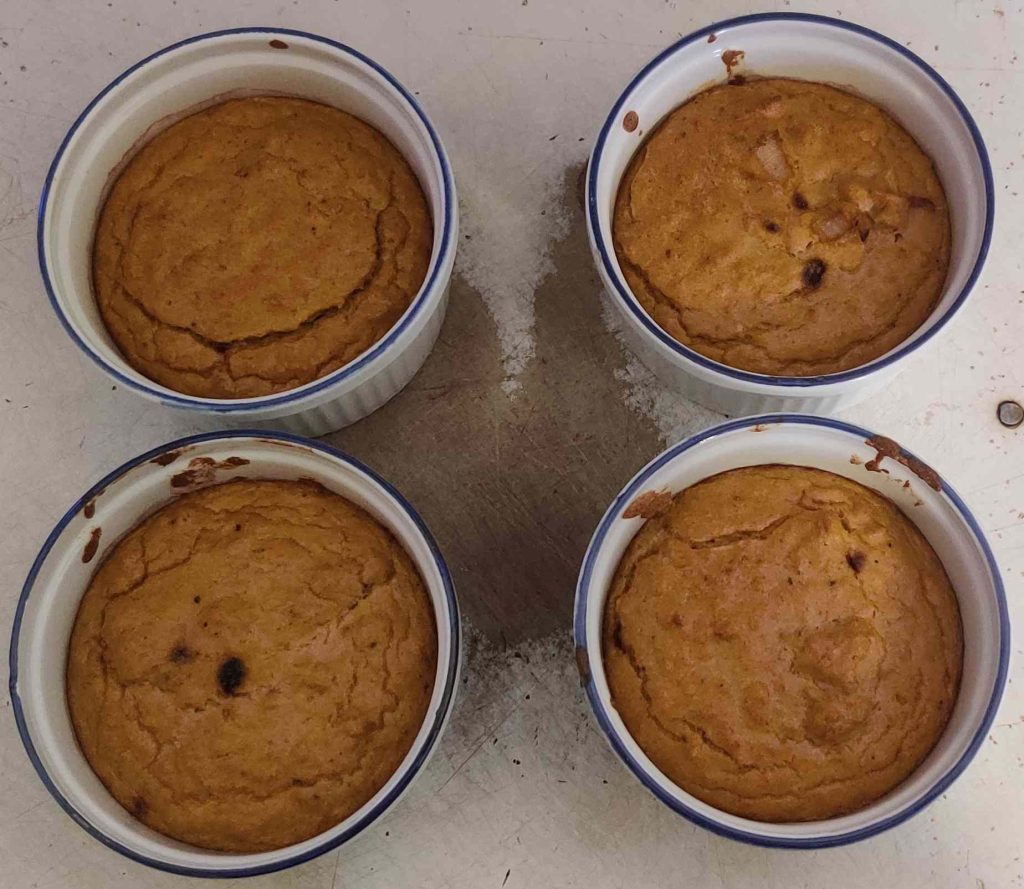
Baked custards taken out of oven

The other four custards were placed in the hot oven and were baked the same way and for the same amount of time.

The edges of the custards were released from the ramekins for cooling:
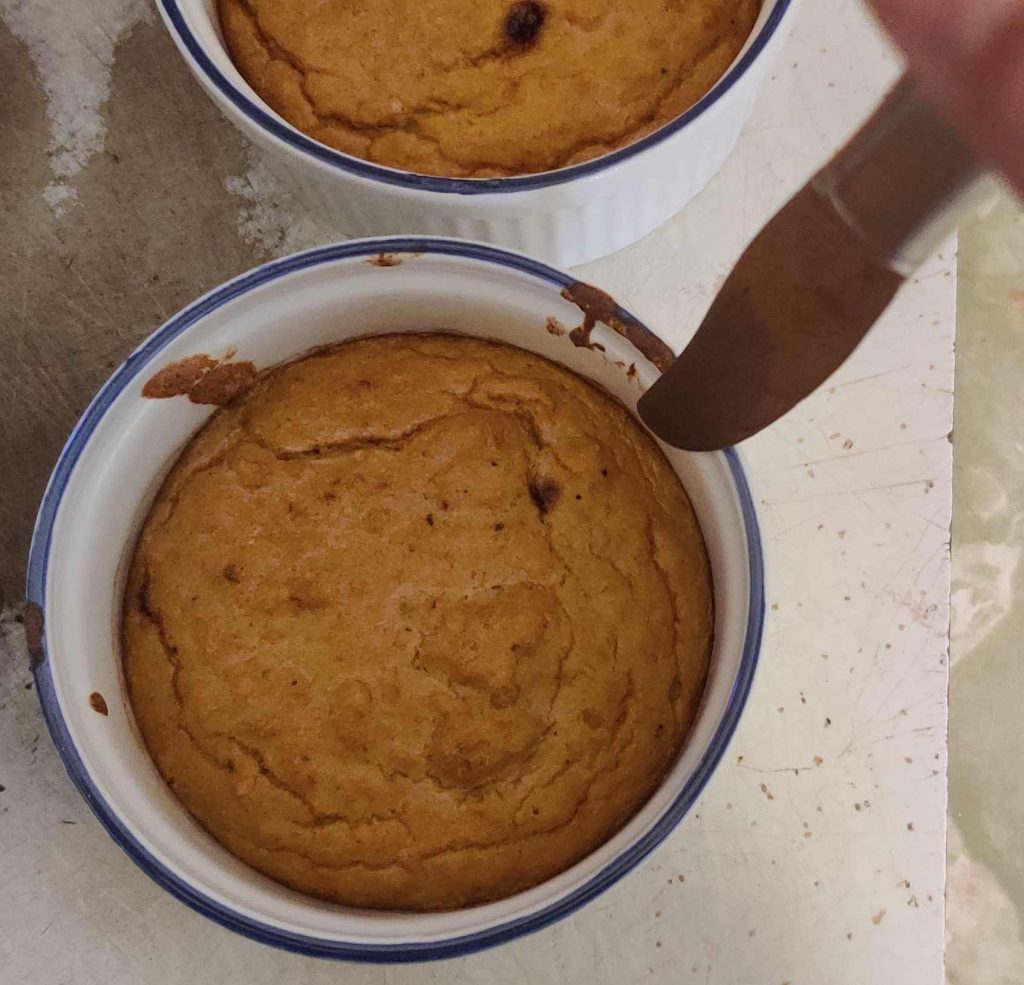
Edges released from ramekin

The cooled custards were cut in two:

Custard cut in two

Plastic food containers were taken out:
Plastic containers taken out

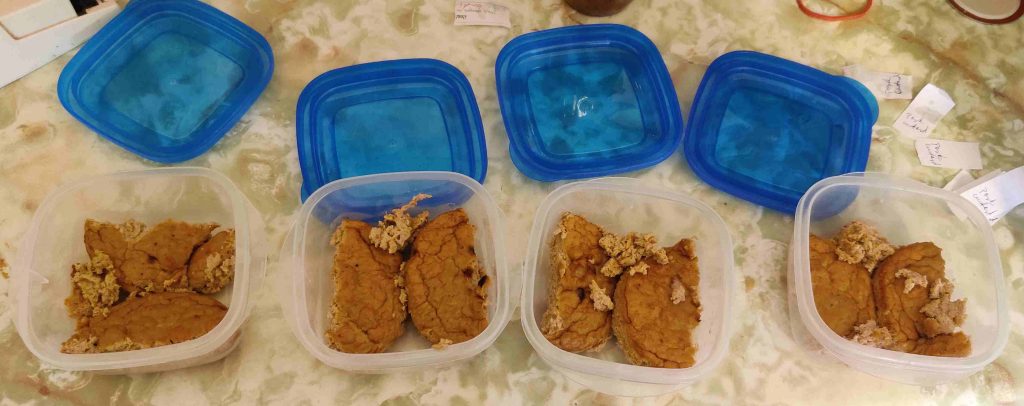
When the pork custards had cooled, I scooped them out of the ramekins with a spoon and transferred them to the containers (as you can see, I probably should have used a bit of oil as a release agent while cooking):
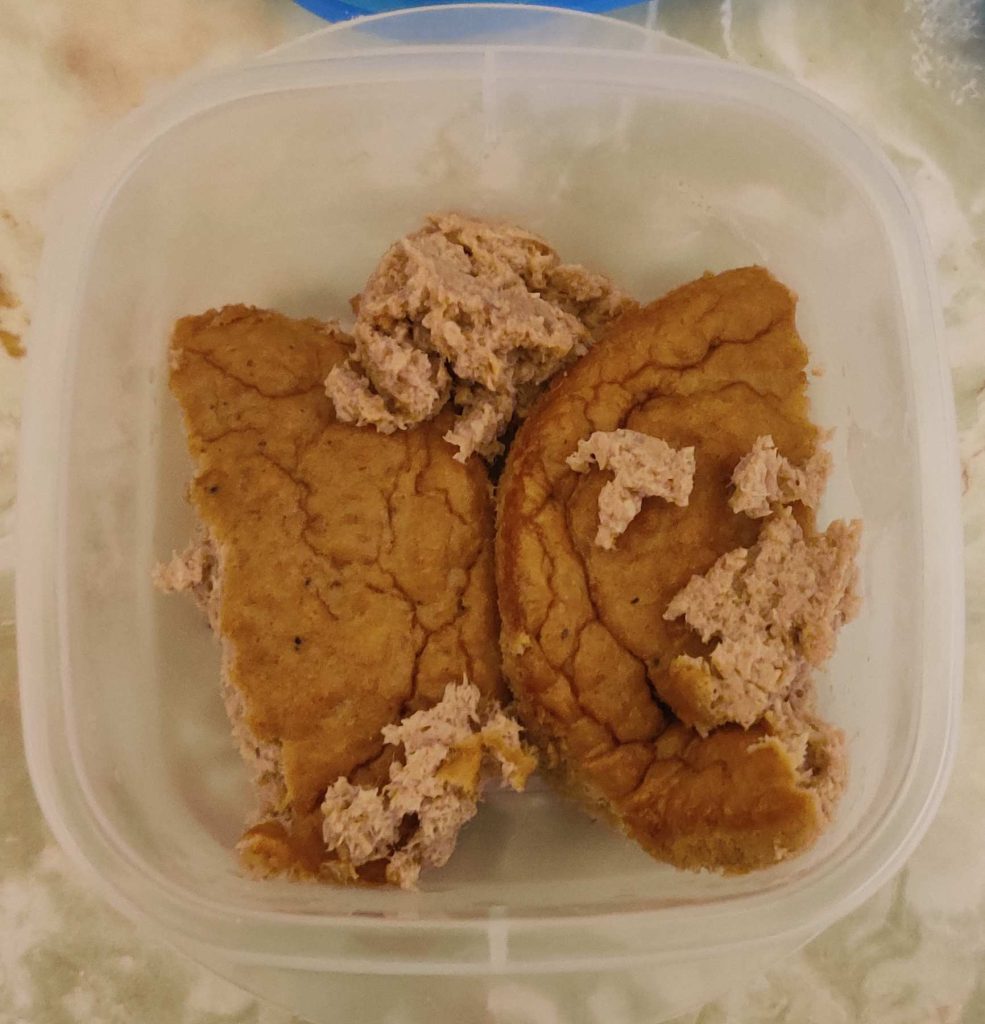
Pork custard transferred to container
Pork custard transferred to containers

The covers were placed on the containers, along with the labels made earlier:
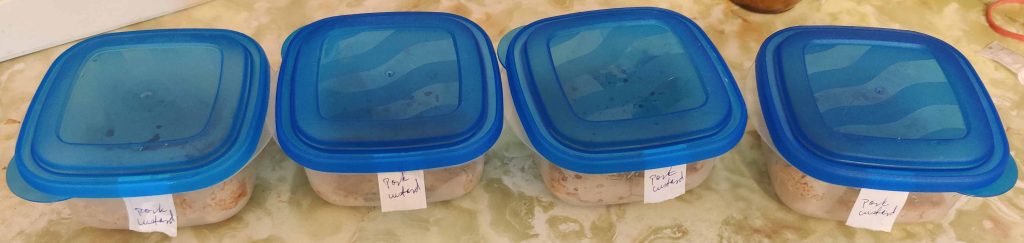
Covers placed on containers, as well as labels put in place

The containers were placed in the freezer, where you can see a bag of my cut up bierocks hanging over an edge!
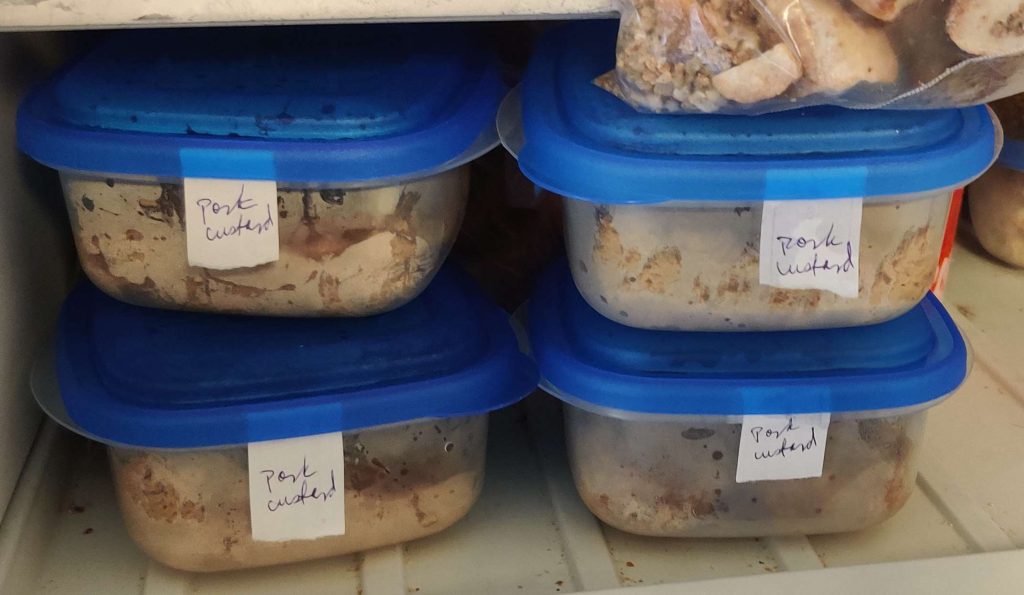
Containers of pork custards placed in freezer

When the rest of the custards were baked, they were transferred to containers as well, and the containers were placed in the freezer beside the other containers:
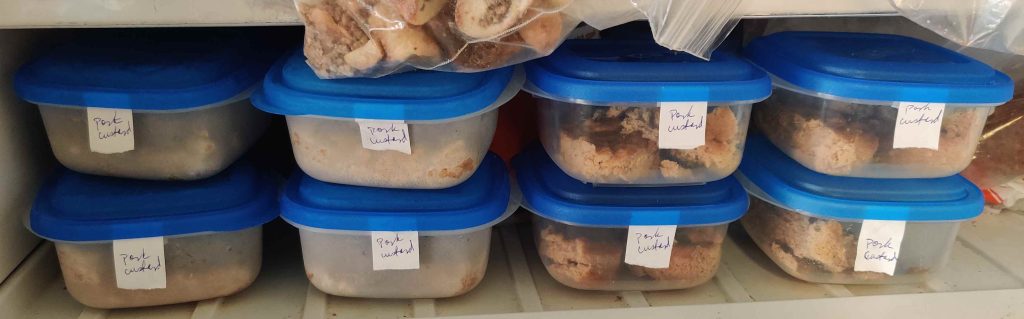
Containers of pork custards placed in freezer

That evening, a piece of pork custard was a part of Mom’s supper! Yummy!
Making (Simple) Meat Lasagnes — Photos

This is another recipe focusing on a simplification — in fact, two separate simplifications — allowing for easy assembly of as many or as few units that you are willing to mount at once, as well as depending on the number of containers and freezer space you have, or to which you have access.

In the process of mounting this post, a separate, overarching narrative from how I originally viewed the recipe emerged: I originally thought that I had a recipe for (what now used to be) four lasagnes, using commercial tomato sauce in a jar. I eventually realized that I actually had a recipe for one lasagne, which happened to be particularly convenient for making four units at a time, specifically tailored to some conveniently-sized baking pans I possess, measuring 7-1/2″ x 5-1/2″ x 2″.

This led me to calculating the surface area of the particular baking pans, about 41 square inches (266cm2) each, which I realized was about half the 81 square inch surface area of somewhat more common 9″ x 9″ (22.9cm x 22.9cm) baking pans; I further realized that the fairly common 9″ x 13″ (22.9cm x 33cm) baking pans, with a surface area of 117 square inches, have almost three times the surface area of the baking pans I use.

With this realization, the core recipe and process of making my lasagnes emerged from the base unit of my small pans:

  • about one pound (about 450g) of ground beef;
  • about 600mL (about two to two and a half cups) of sauce;
  • about five to six sheets of oven-ready lasagne sheets;
  • ultimately making four layers of lasagne, and five layers of meat and sauce;
  • about 100g (about 3.5 ounces) of grated mozzarella cheese;
  • for a lasagne of about 41 square inches, allowing for about up to four modest but hearty servings.

Having realized this and adjusted my recipe accordingly, this leads to the easier scaling of the recipe either to the number of pans I would be making at once, or to one or more other baking pan size(s).

And to be clear: The two simplifications to this recipe lay in:

  • the use of commercial spaghetti sauce in commonly available jars of 600mL (20oz) or thereabouts, which forms the basic unit of the lasagnes, and,
  • the use of oven-ready lasagne sheets, which require no precooking or soaking before use, making the production of any number of units or even larger units vastly easier and quicker.

Note that I think that you should use a tomato (or other) sauce that you like, be it a commercial tomato sauce in whatever size format that suits you, or your own (or your grandmother’s) homemade tomato (or other) sauce. I can only imagine that making extremely large amounts of lasagne — especially several large format units — may well favour the use of larger commercial formats of tomato sauce, or the outright making large pots of your own tomato sauce!
Lastly, a small handful of photos may have been reordered and/or re-taken afterwards for the sake of the narrative.

Making the lasagnes:

On cooking day, I decided to make two units of lasagnes in my small baking pans.

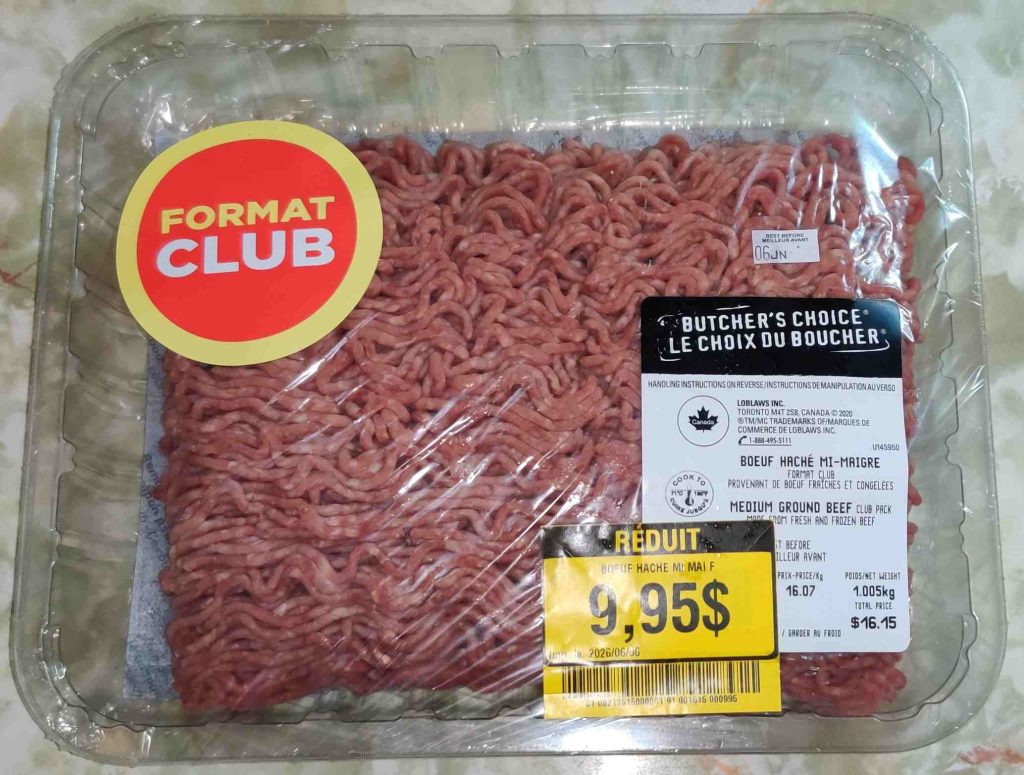
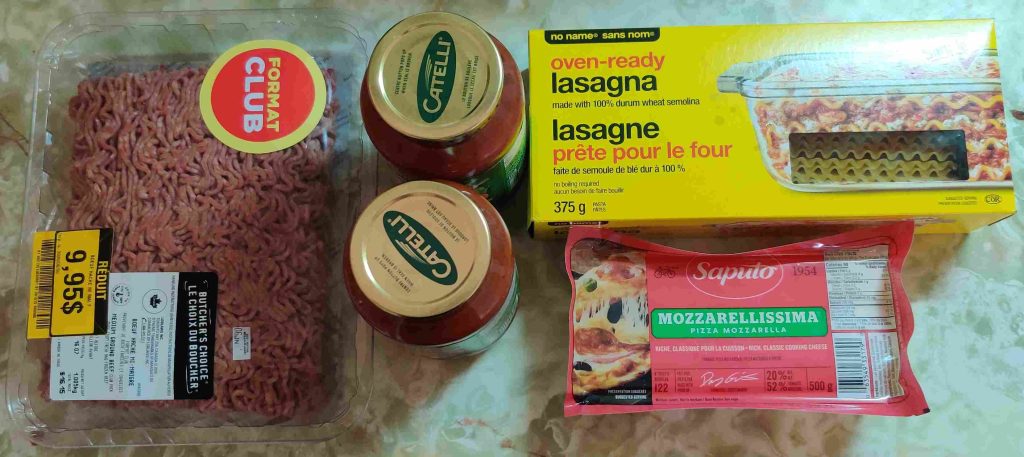
First, all the ingredients were gathered together. I will underline (given the prominent “reduced price” sticker) that the beef was purchased at a clearance price a couple of days before its due date, “a couple of months ago”, and kept in the freezer; it was defrosted overnight in the fridge before use.

Ingredients taken out

An electric frypan was taken out and plugged in, as well as a spatula / egg flipper being taken out:

Electric frypan taken out and plugged in, and spatula / egg flipper taken out

The defrosted (overnight in a fridge) ground beef was taken out:

Defrosted ground beef taken out

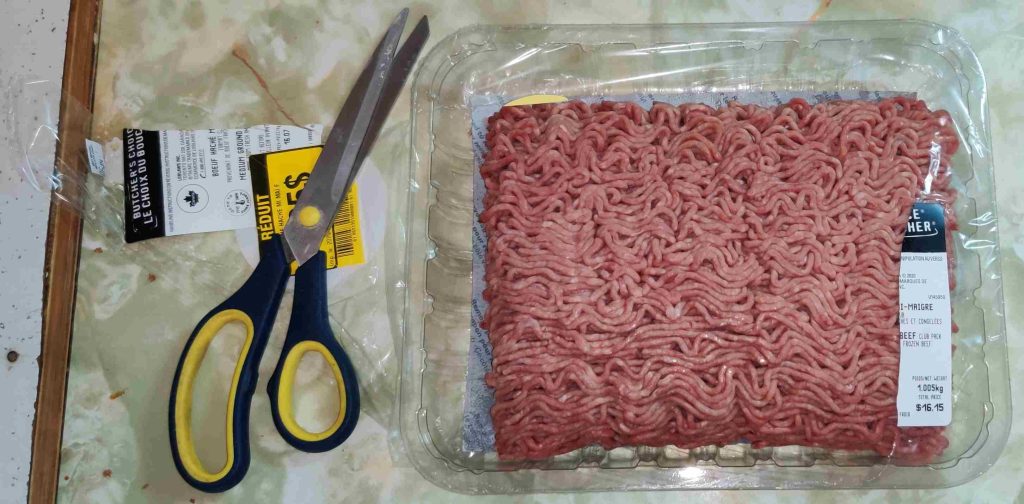
The ground beef package was opened with some scissors:

Ground beef package opened

Onions and a kitchen knife were taken out:

Onions and kitchen knife taken out

The onions were trimmed:

Onions trimmed

The onions were cut in half:

Onions cut in half

The onion halves were sliced into half-coin shapes:

Onions sliced

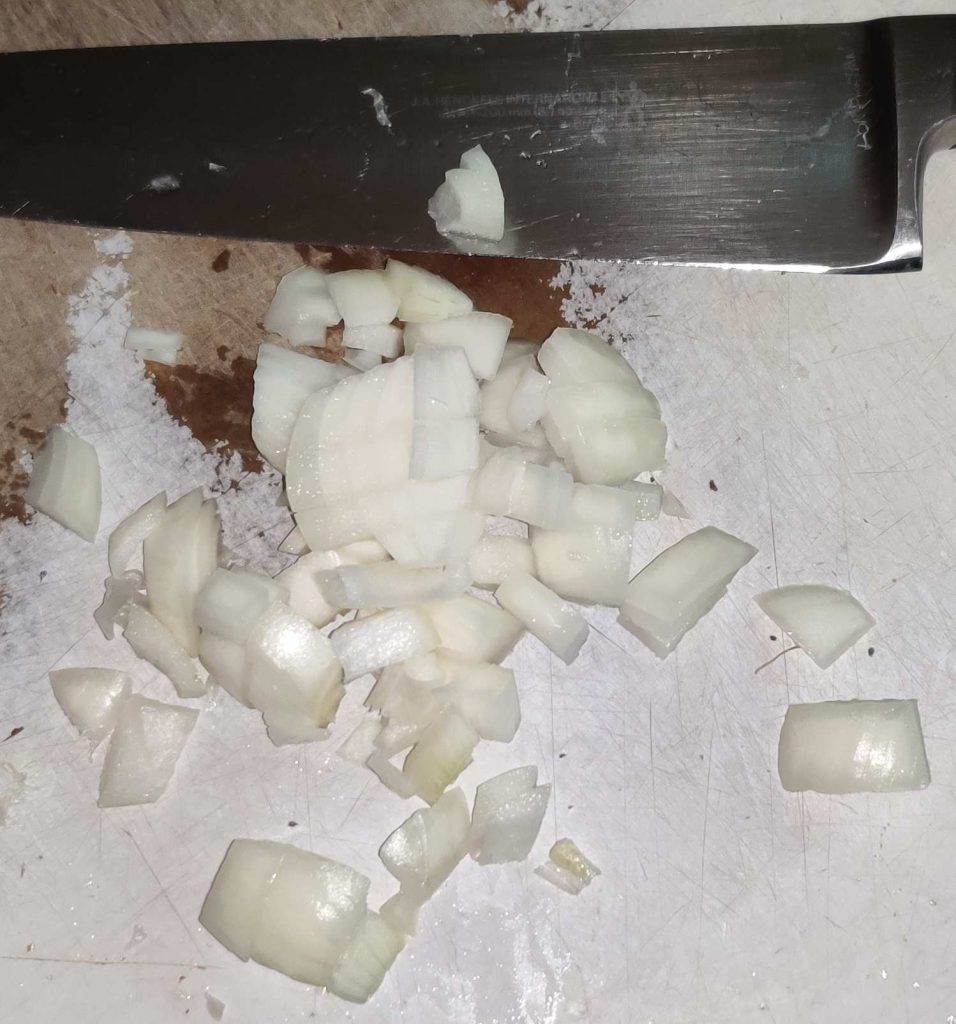
The onions were coarsely chopped:

Onions coarsely chopped

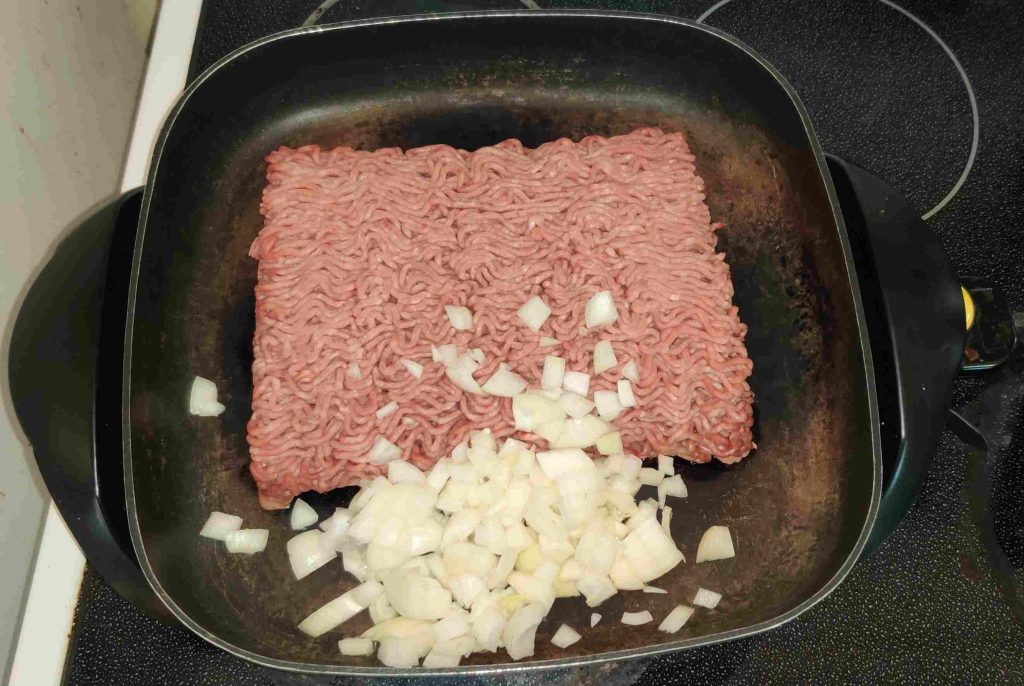
The ground beef and the onions were placed in the electric frypan:

Onions and beef placed in electric frypan

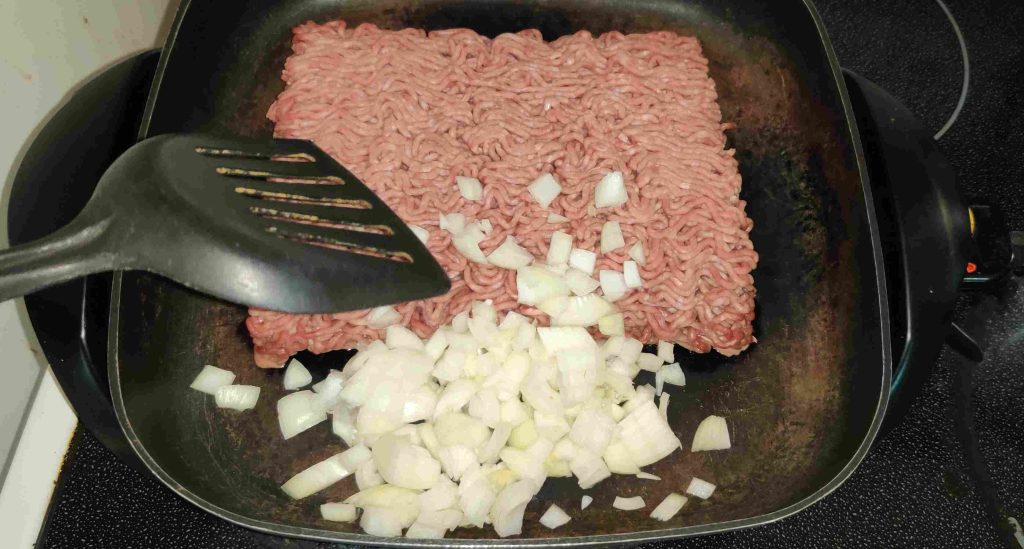
A spatula / egg flipper was taken out, and the electric frypan turned on:

Spatula / egg flipper taken out, and frypan turned on

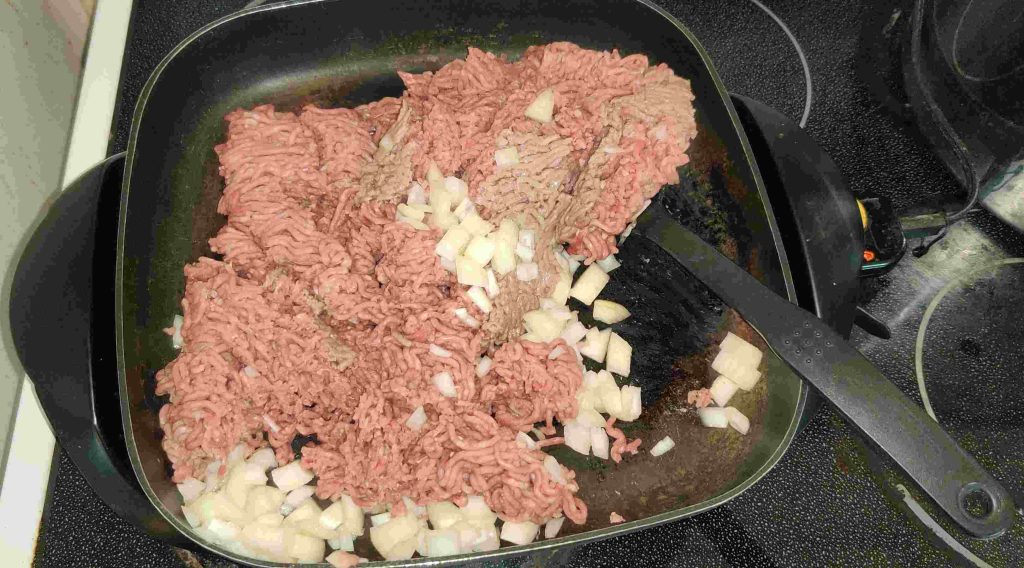
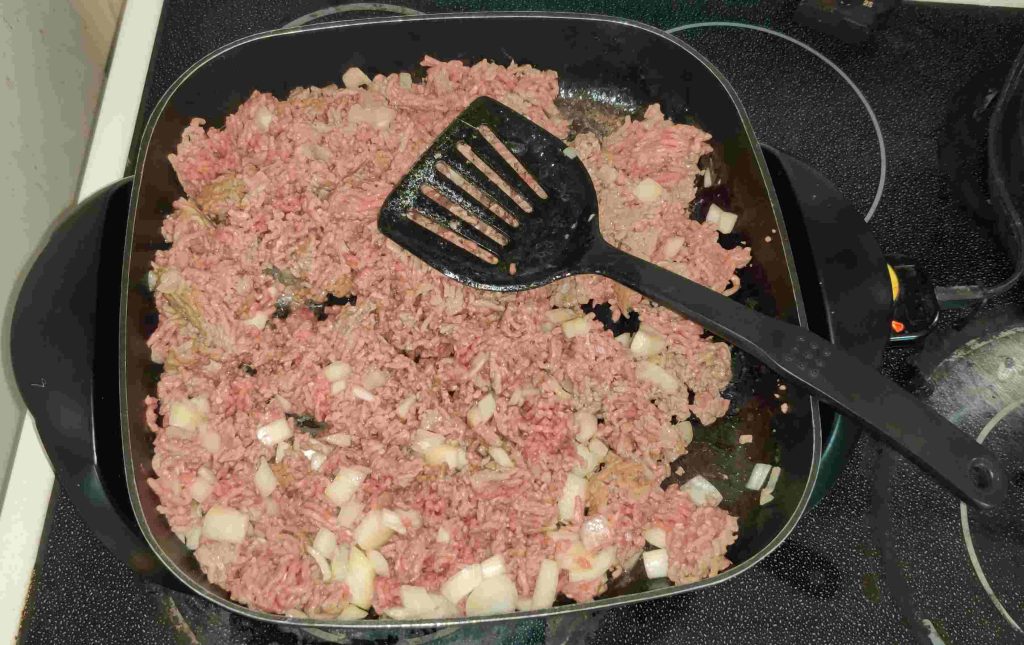
As the ground beef and the onions were cooking, I started breaking up the ground beef, and turning the mixture over:

Ground beef broken up and mixture turned over while cooking
Ground beef broken up and mixed with onions

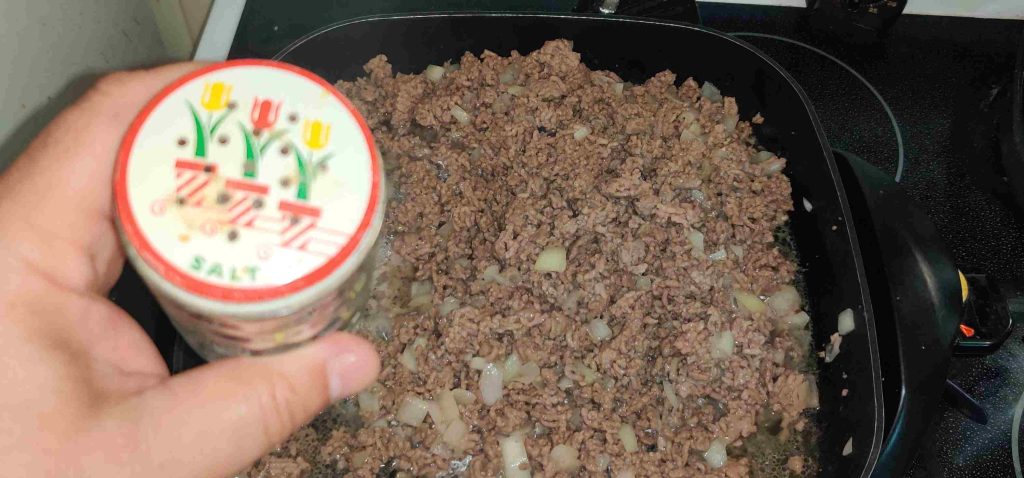
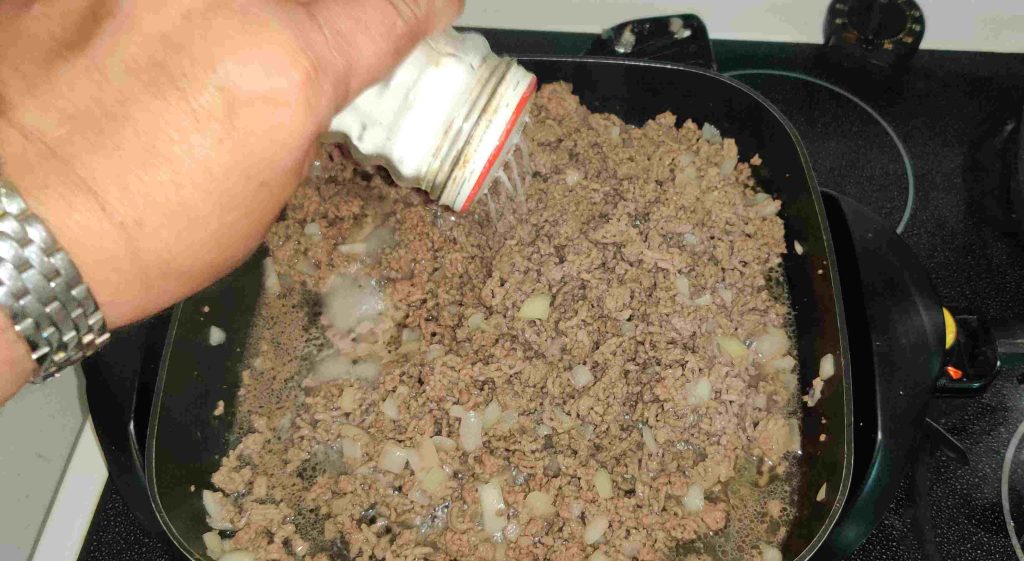
While the ground beef and onion mixture was cooking, I added some salt:

Salt added to ground beef and onion mixture

While the ground beef and onion mixture was cooking, I kept on breaking up the pieces of ground beef.

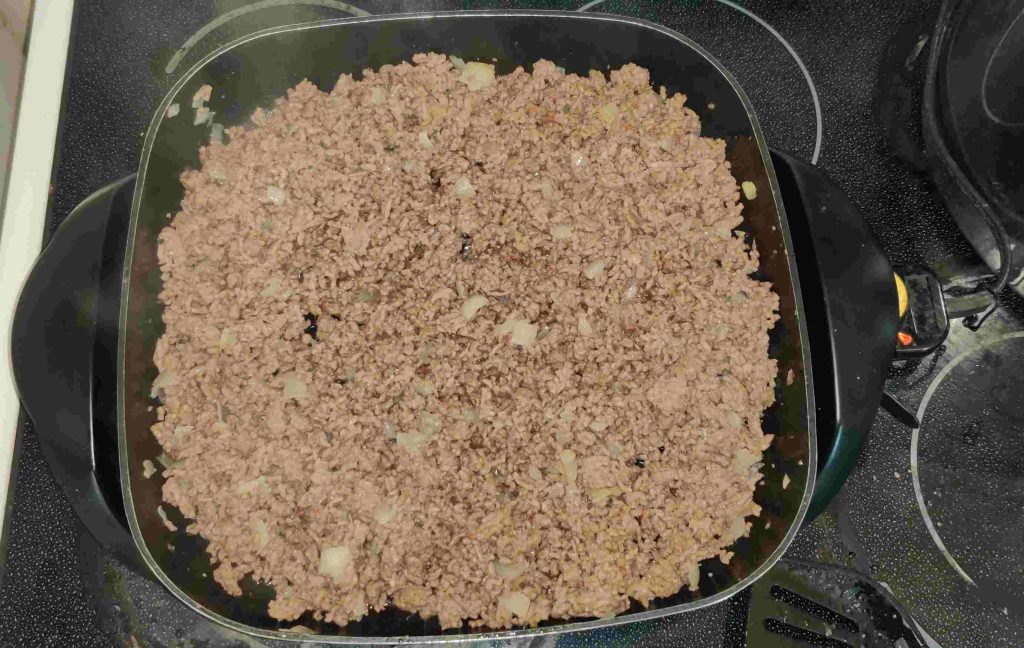
Once the ground beef and onion mixture was cooked …

Ground beef and onion mixture cooked

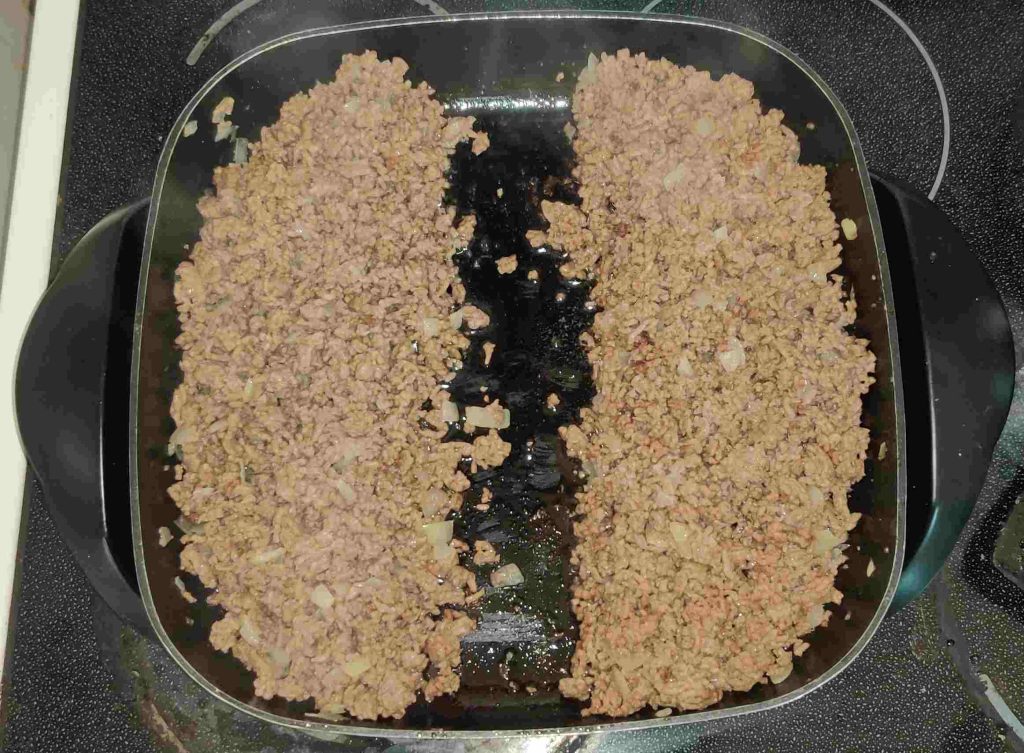
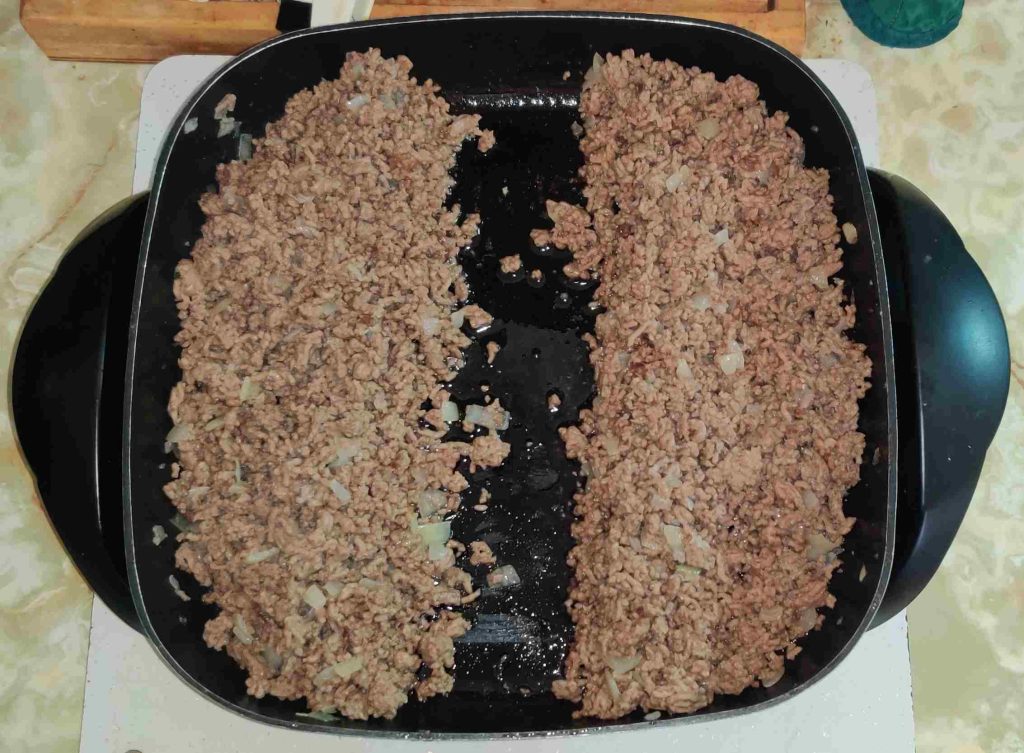
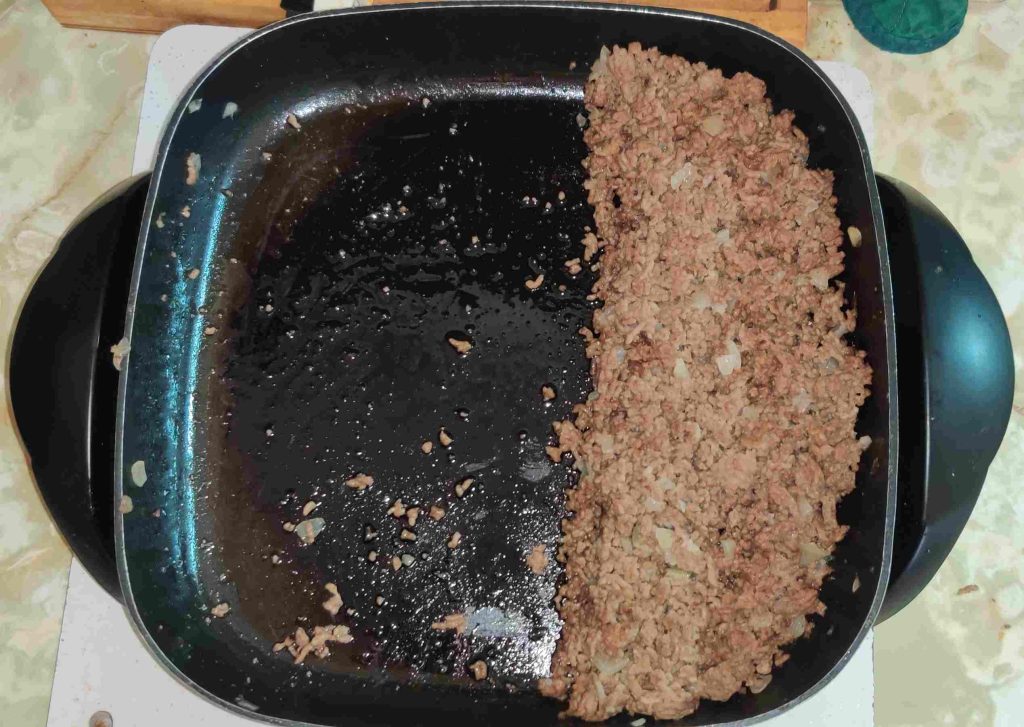
… I separated the ground beef and onion mixture in two, for when I’d be mounting the lasagnes:

Cooked ground beef and onion mixture separated in two

The frypan containing the cooked ground beef and onion mixture was transferred to the nearby counter where I was going to start mounting the lasagnes:

Frypan moved to work counter

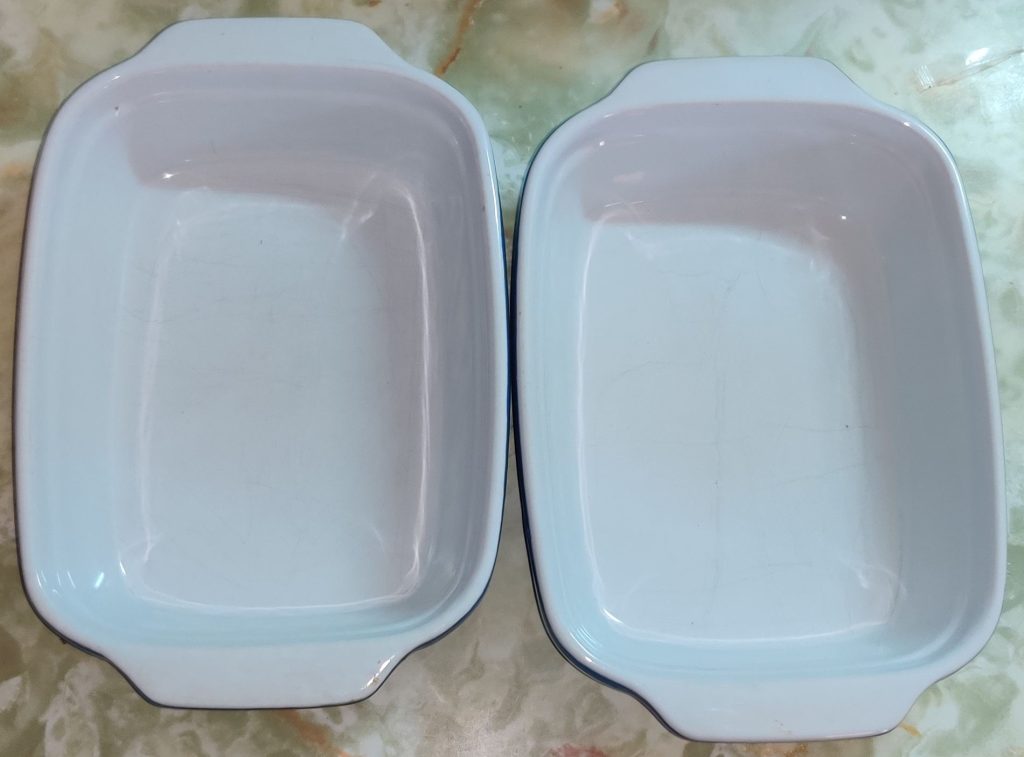
Since I had decided to make two lasagnes of the size I was accustomed to making, two baking dishes were taken out:

Baking dishes taken out

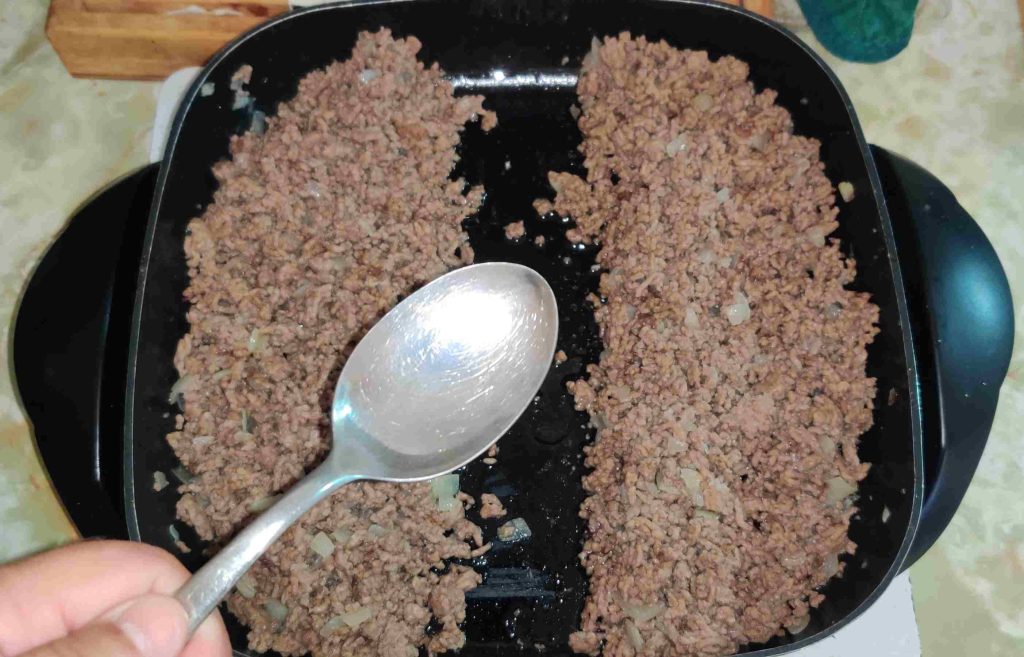
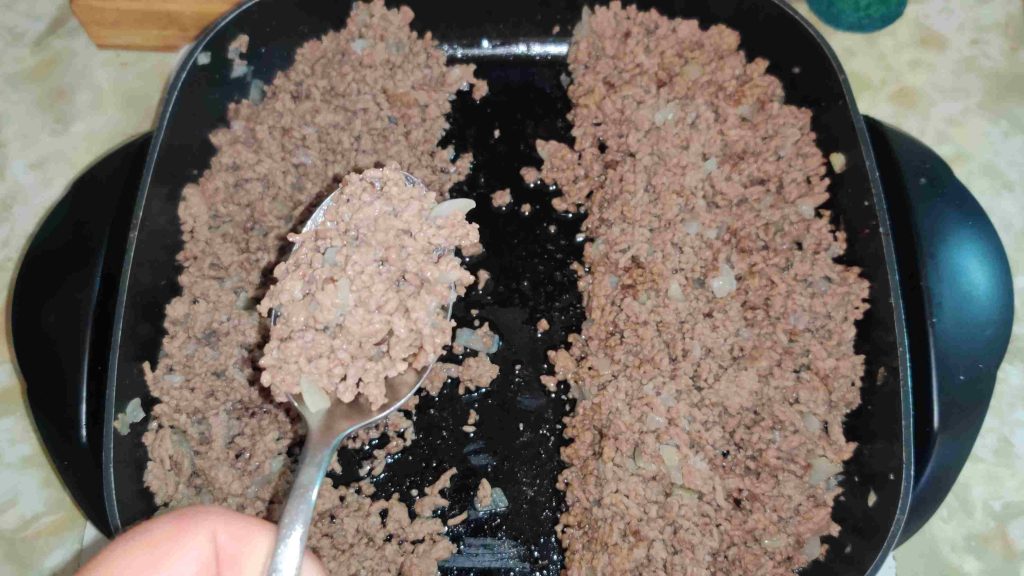
A serving spoon was taken out to start transferring the cooked ground beef and onion mixture to the first baking pan:

Serving spoon taken out to transfer cooked ground beef

Cooked ground beef and onion mixture was picked up with the spoon:

Cooked ground beef and onion mixture picked up with spoon

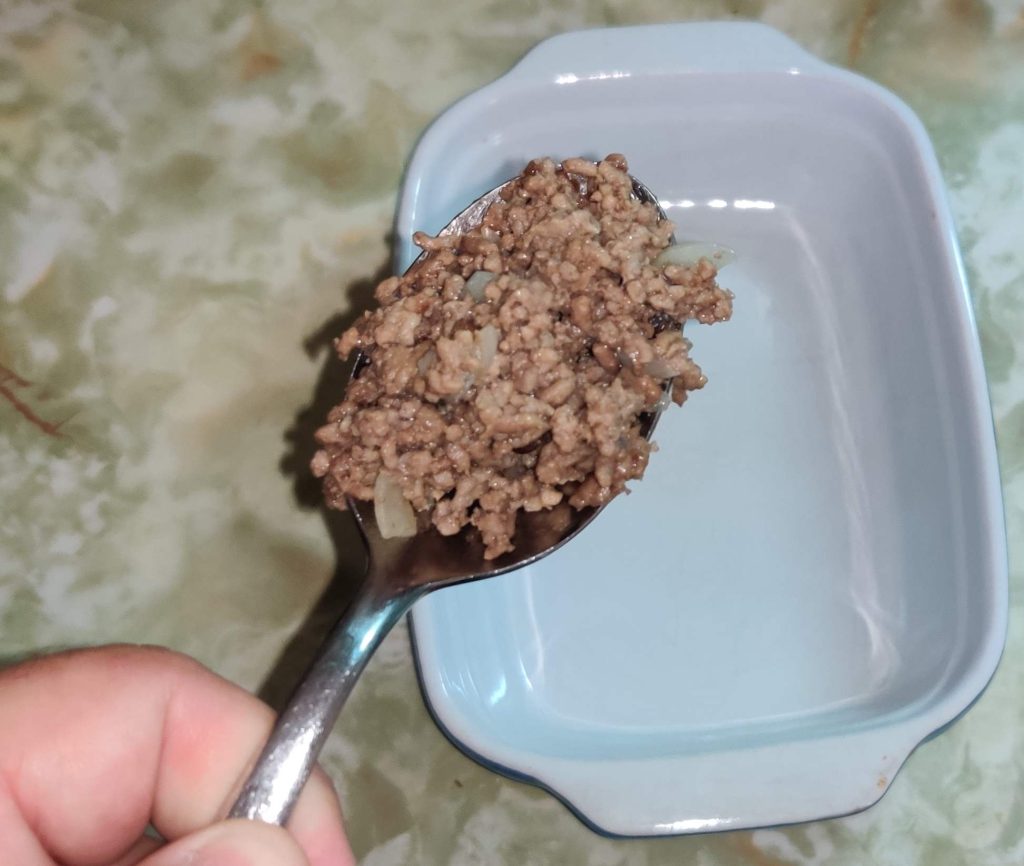
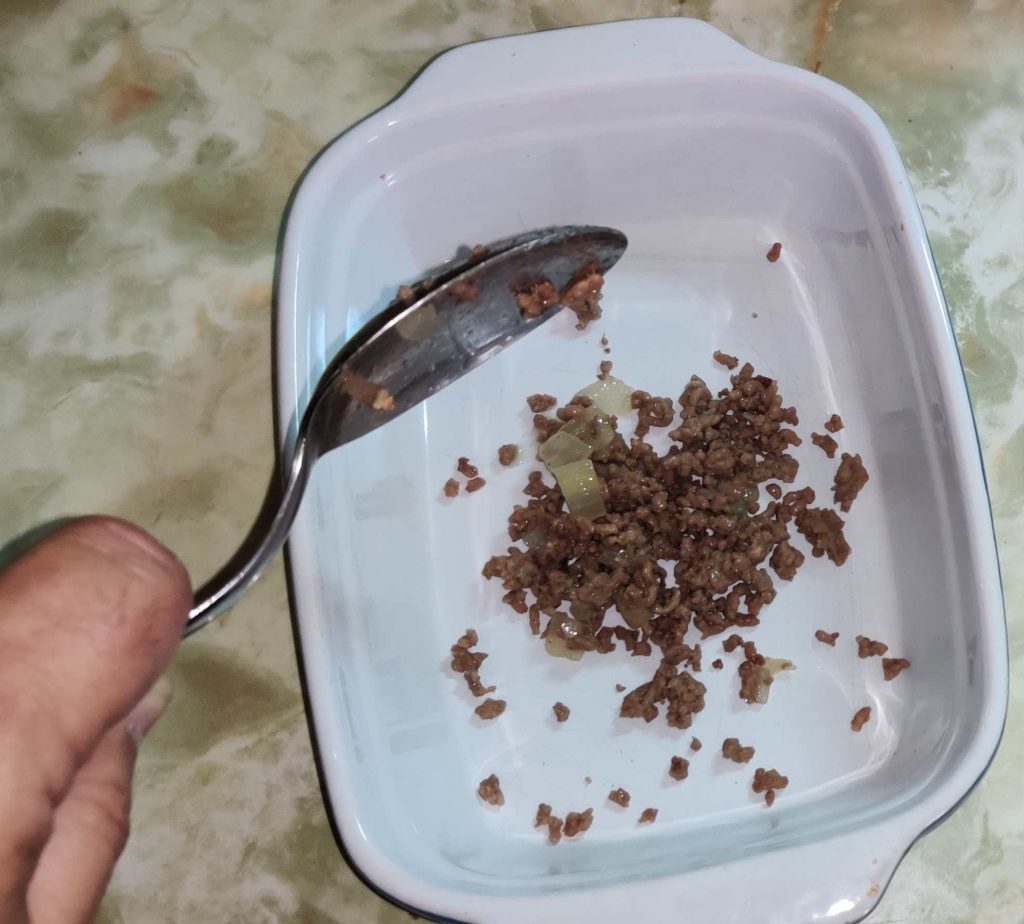
The cooked ground beef and onion mixture was transferred to the first baking pan:

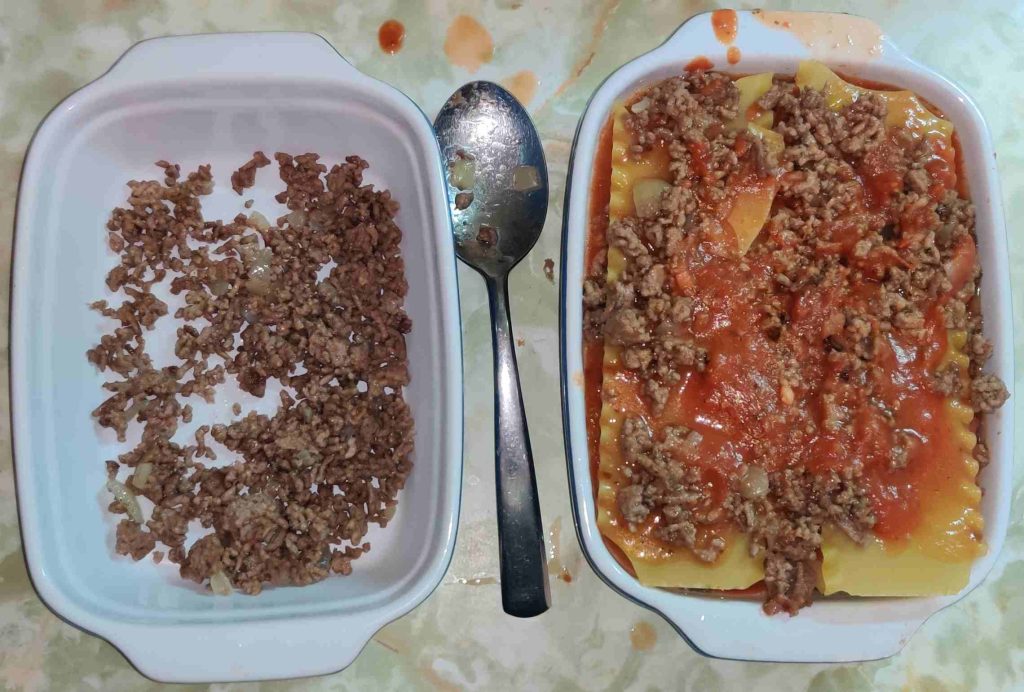
Cooked ground beef and onion mixture transferred to baking pan

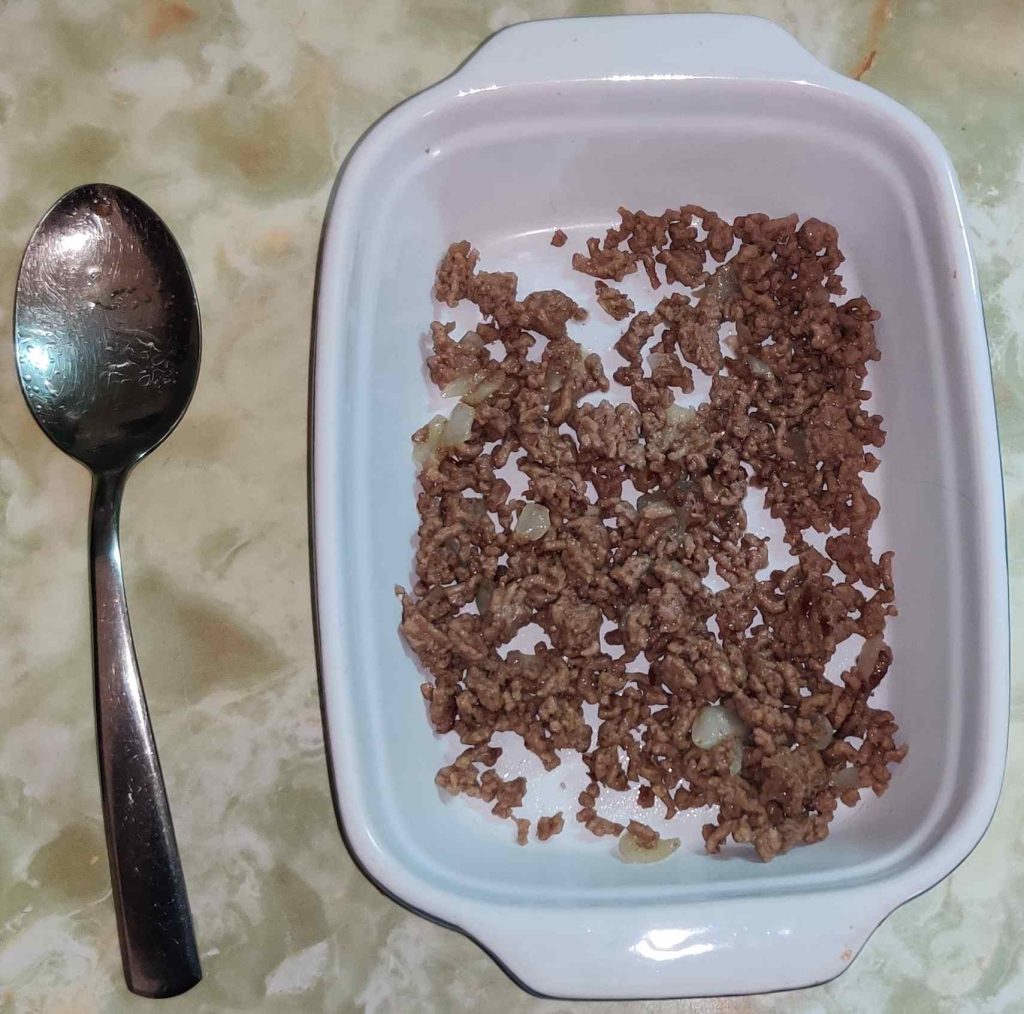
The cooked ground beef and onion mixture was spread evenly over the surface of the bottom of the baking pan:

Cooked ground beef and onion mixture spread over base of baking pan

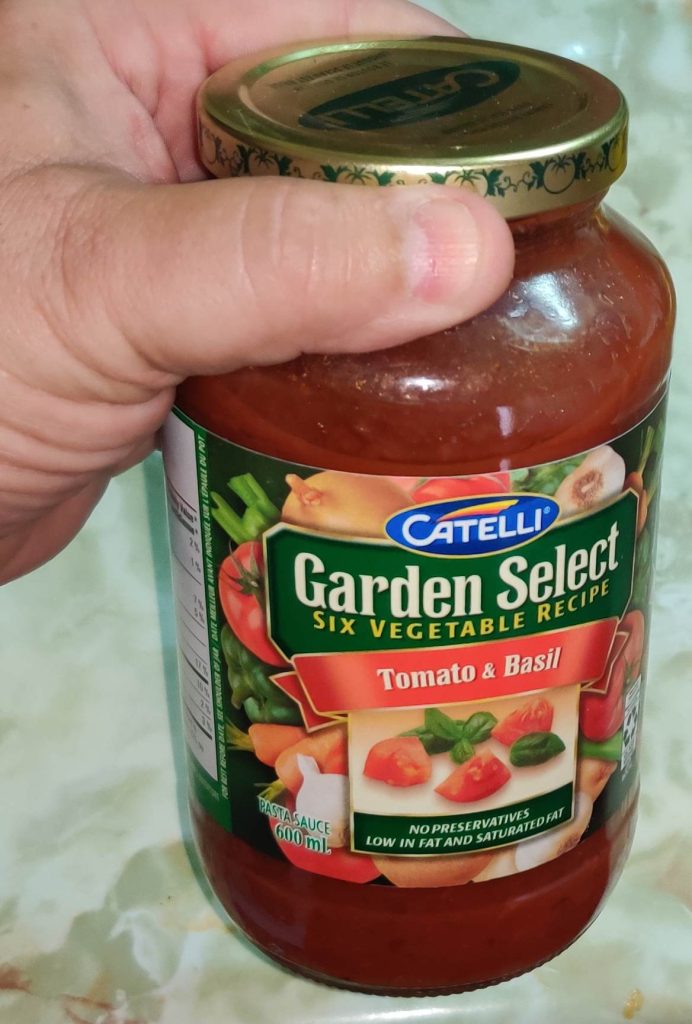
A jar of commercial tomato sauce was taken out:

Jar of tomato sauce taken out

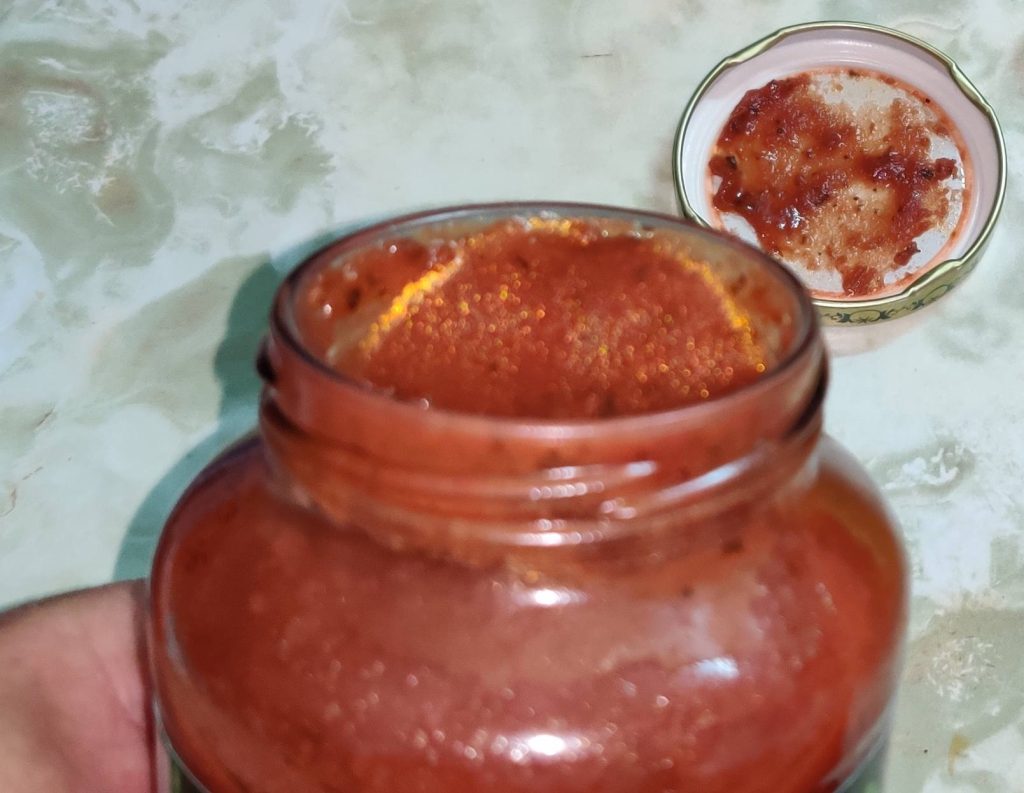
The jar of tomato sauce was opened:

Jar opened

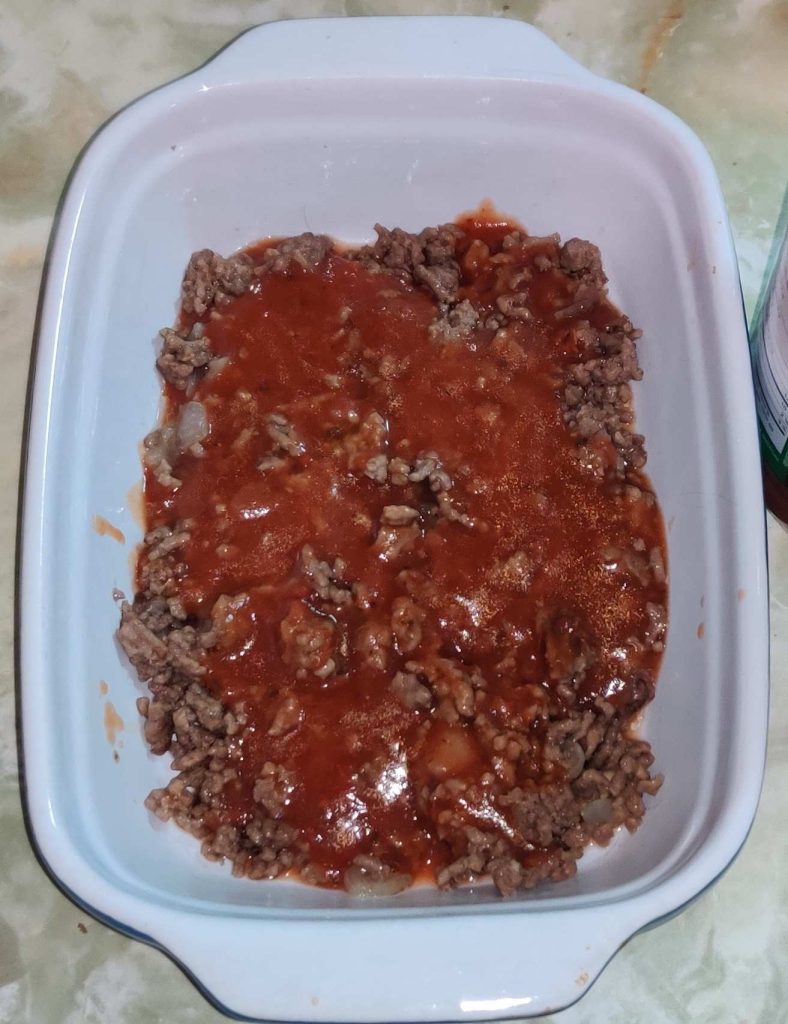
… and a portion of the tomato sauce from the jar was spread over the cooked ground beef and onion mixture:

Tomato sauce poured over cooked ground beef and onion mixture

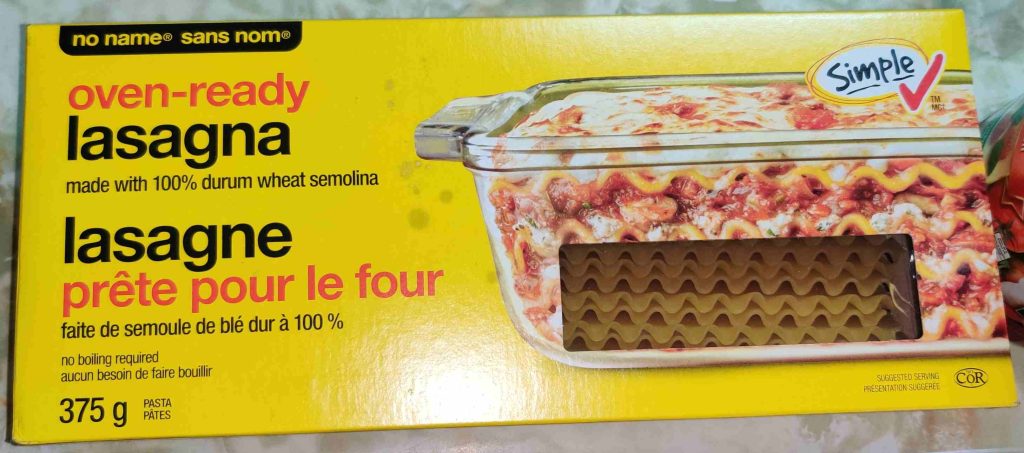
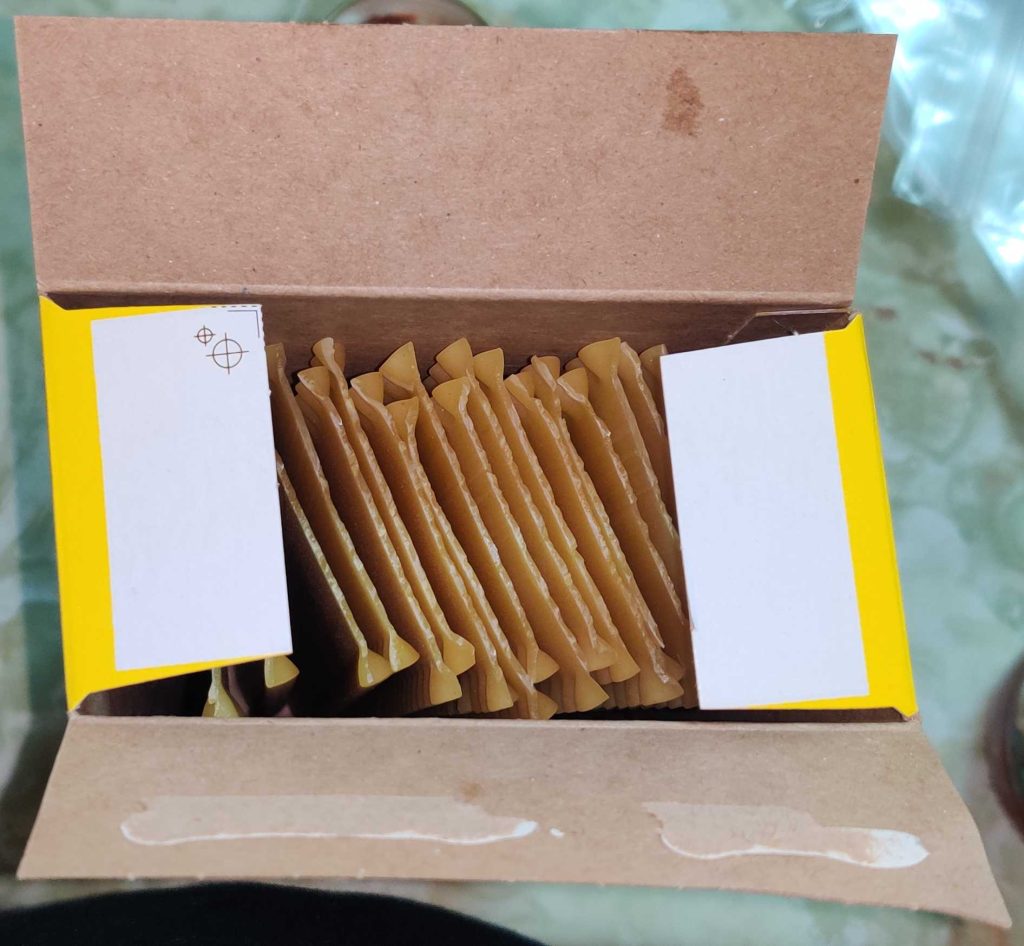
A box of oven-ready lasagne sheets was taken out …

Box of oven-ready lasagne sheets taken out

… and the box was opened:

Box of oven-ready lasagne sheets opened


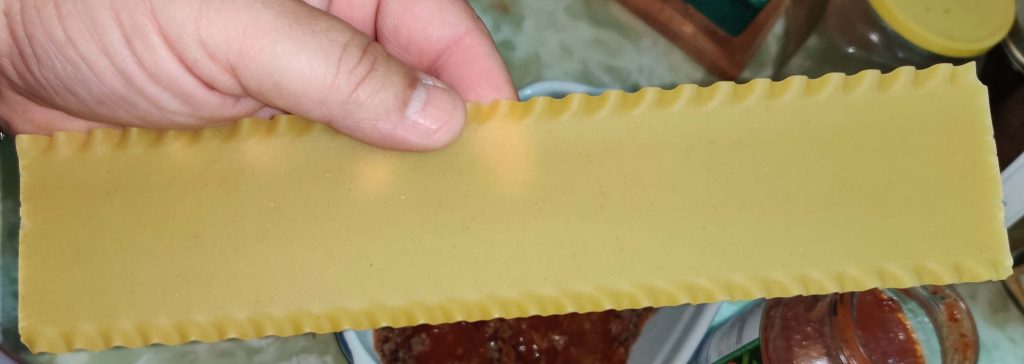
A sheet of lasagne was taken out of the box:

Sheet of lasagne was taken out of box

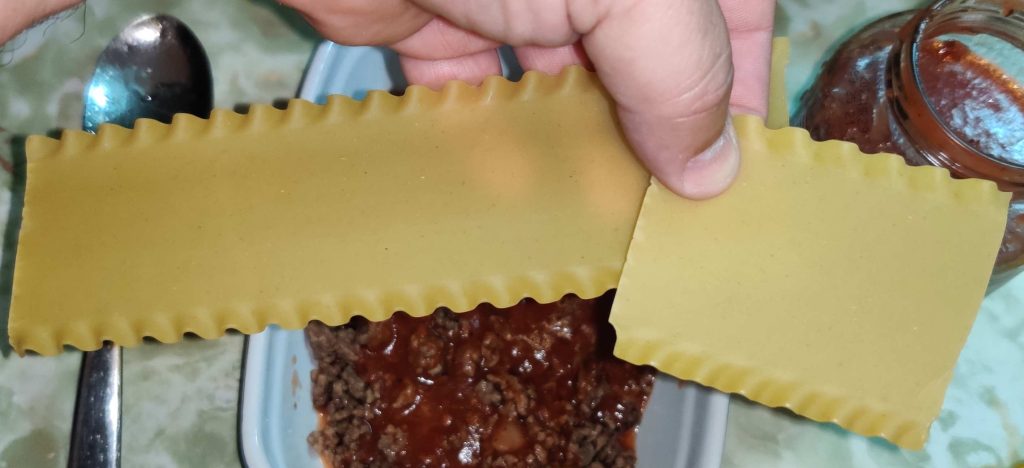
… and it was gently broken to size in order to fit in my baking pan:

Sheet of lasagne broken to fit in baking pan

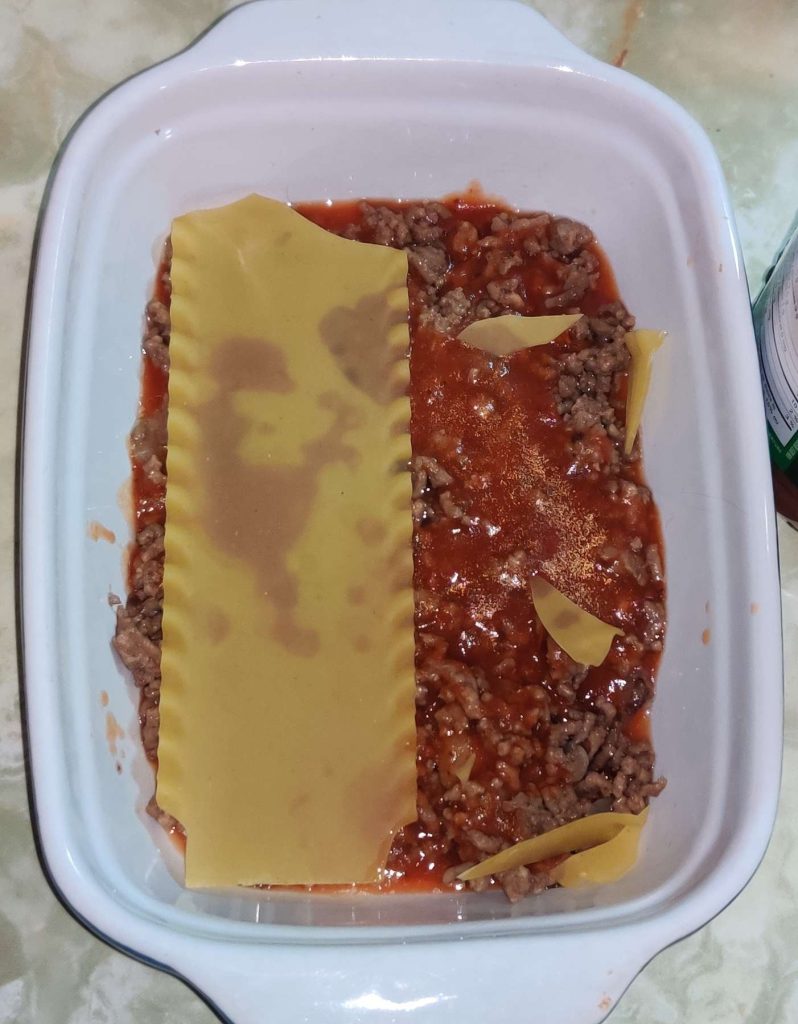
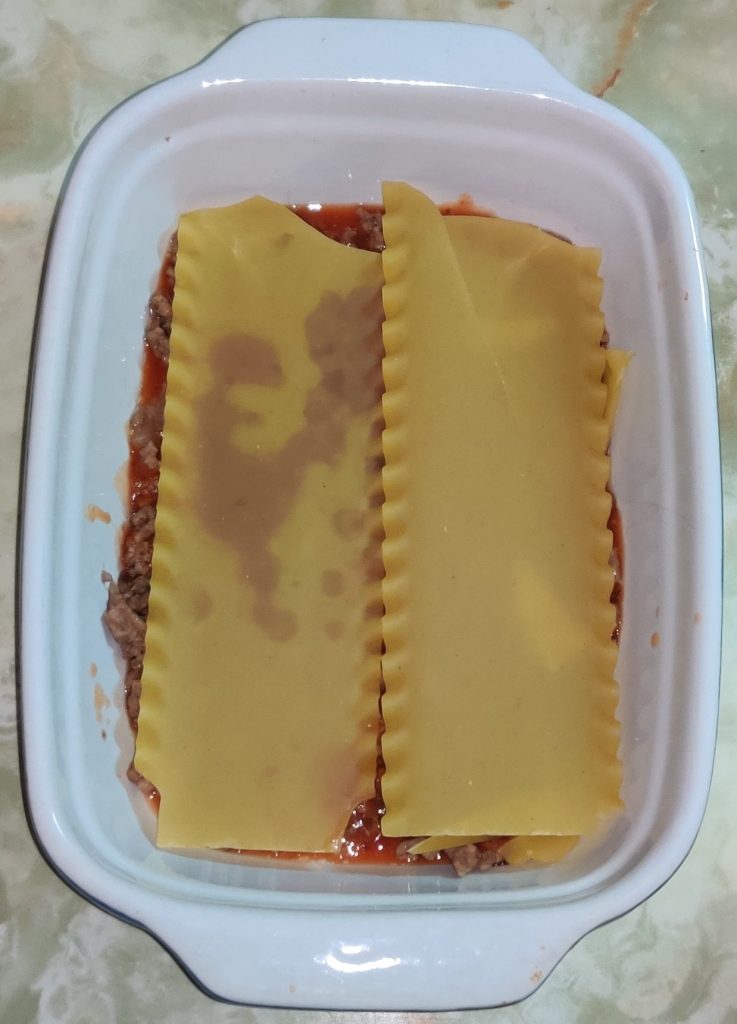
I began layering the lasagne sheets in the baking pan on top of the cooked ground meat and onion mixture:

Lasagne sheet placed in baking pan

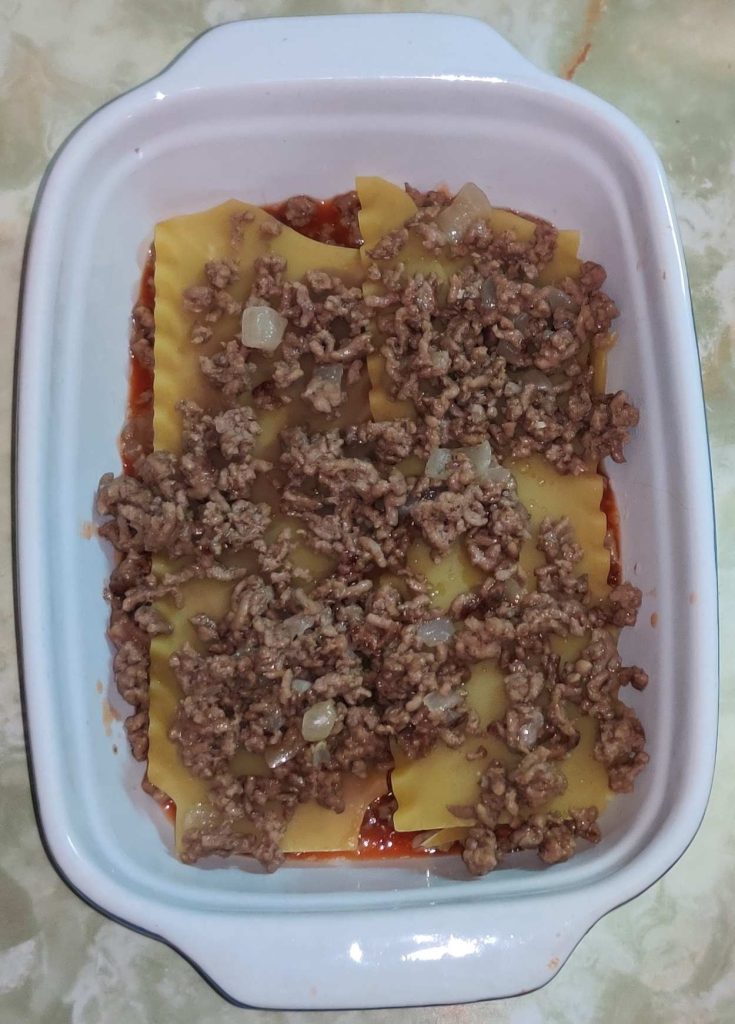
I began to repeat the layering with the cooked ground beef and onion mixture …

Layering of ingredients repeated

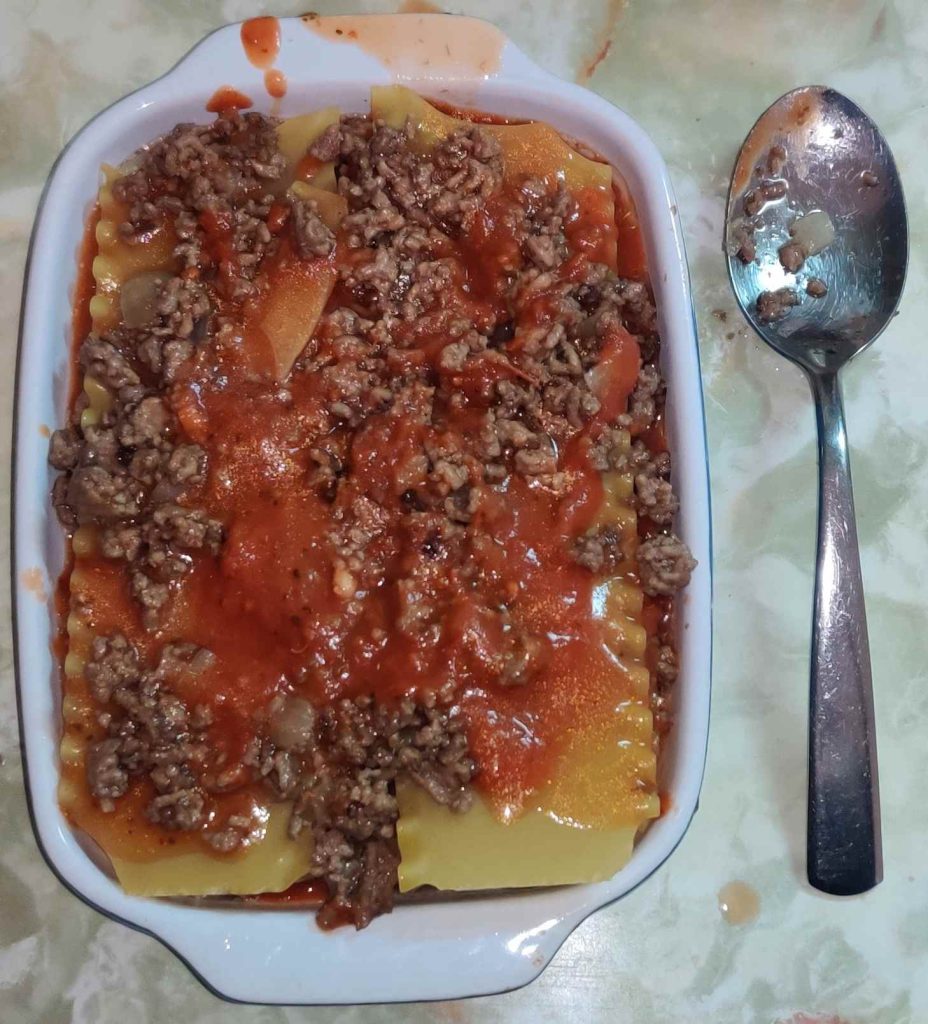
… until I had four layers of lasagne sheets, and five layers of cooked ground beef and onion mixture and tomato sauce:

Layering completed in first lasagne

I should note that despite the lack of a photo, some of the layers of lasagne sheets were composed of varying amounts of the broken off pieces of lasagne sheets.

At this point, as planned, half of the cooked ground beef and onion mixture had been used up, and half remained:

Half of cooked ground beef and onion mixture remaining

Because I had planned on making two small lasagnes, I continued by taking out the second baking pan, and starting the layering process again:

Cooked ground beef and onion mixture layered in the second baking pan

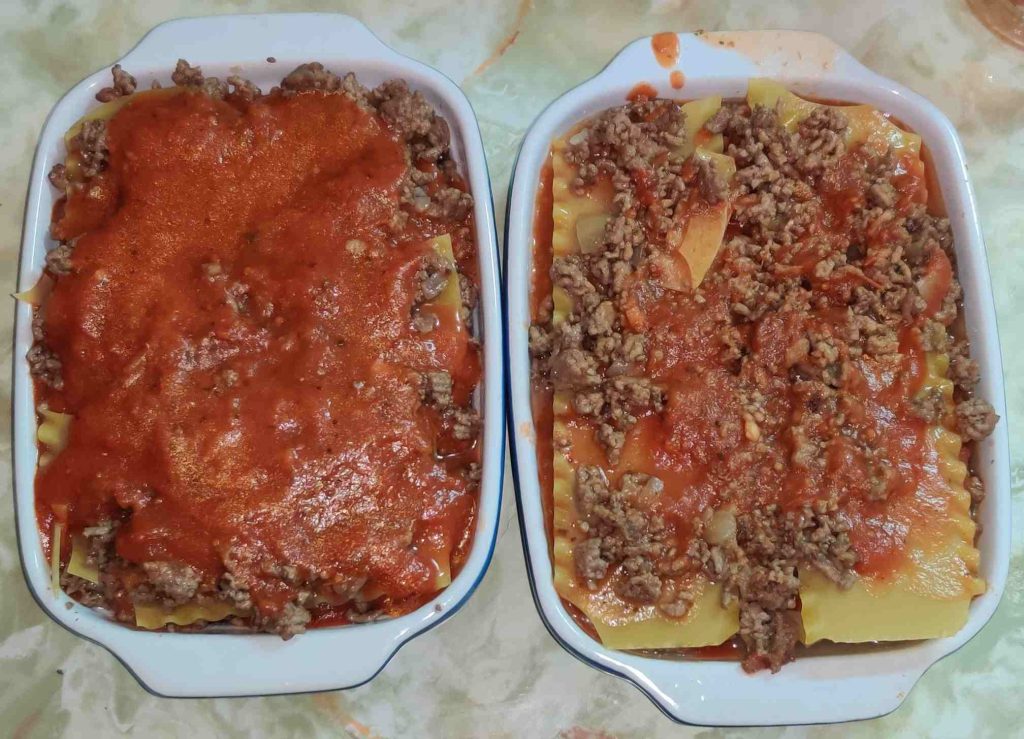
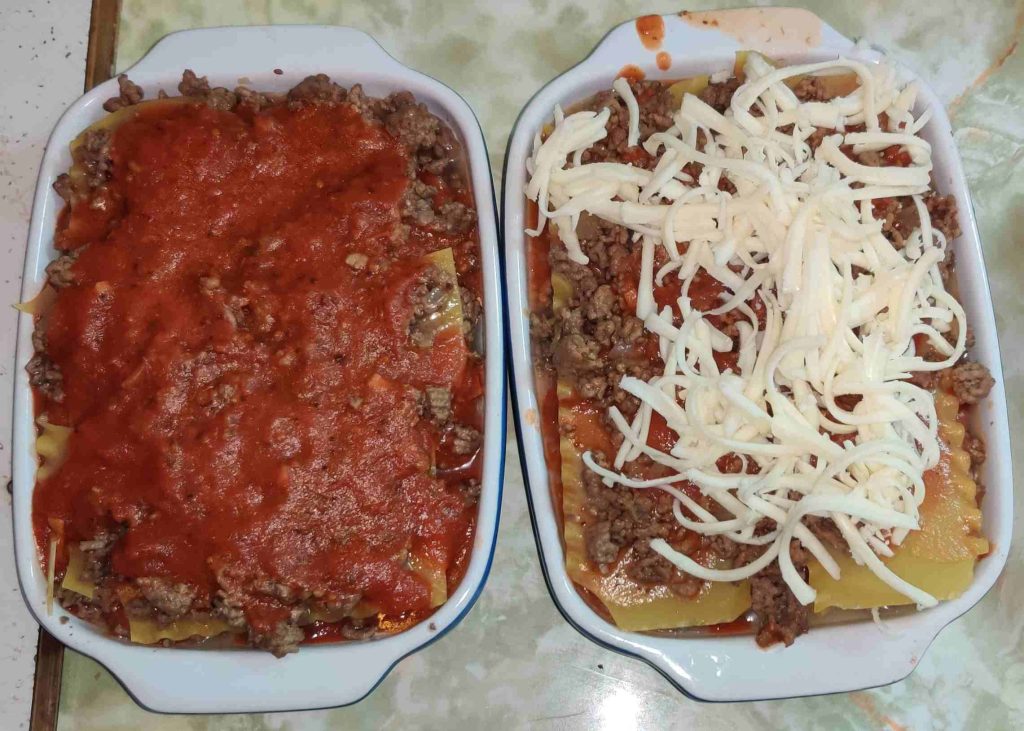
I continued with the layering of the second lasagne in the second baking pan — on the left — until I also had four layers of lasagne sheets and five layers of cooked ground beef and onion mixture and tomato sauce (yes, sometimes sauce distribution was somewhat uneven amongst the layers — although each lasagne contained a full jar of 600ml of sauce):

Two baking pans of lasagne

Again, at this point and as planned, the other half of the cooked ground beef and onion mixture had been used up:

Frypan of cooked ground beef and onion mixture emptied of its contents

The frypan was brought over to the sink for washing later.

A box grater and a large soup bowl were taken out:

Box grater and soup bowl taken out

… and the box grater was placed in the soup bowl:

Box grater placed in soup bowl

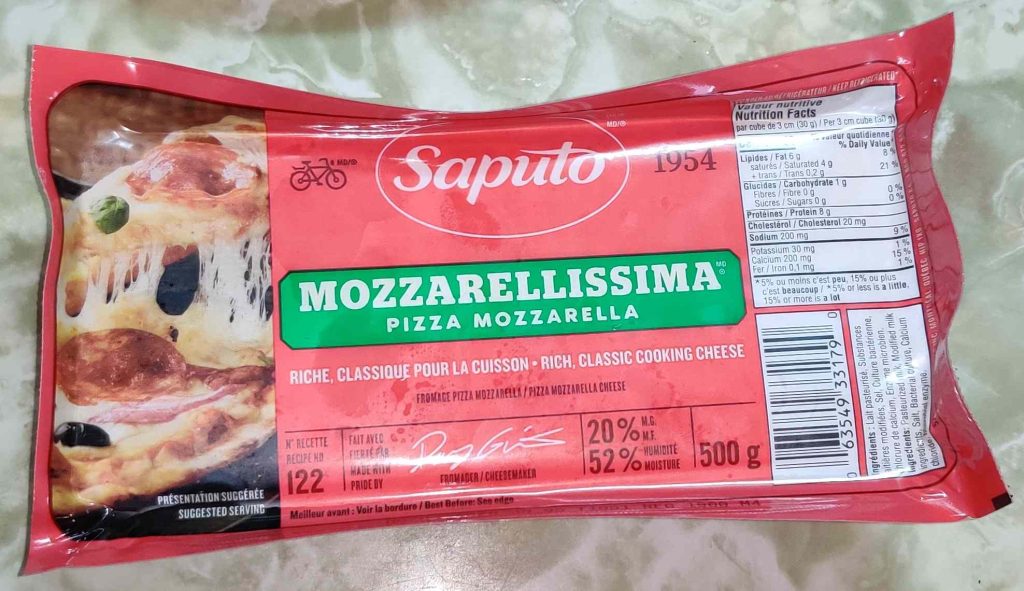
A block of mozzarella cheese was taken out:

Mozzarella cheese taken out

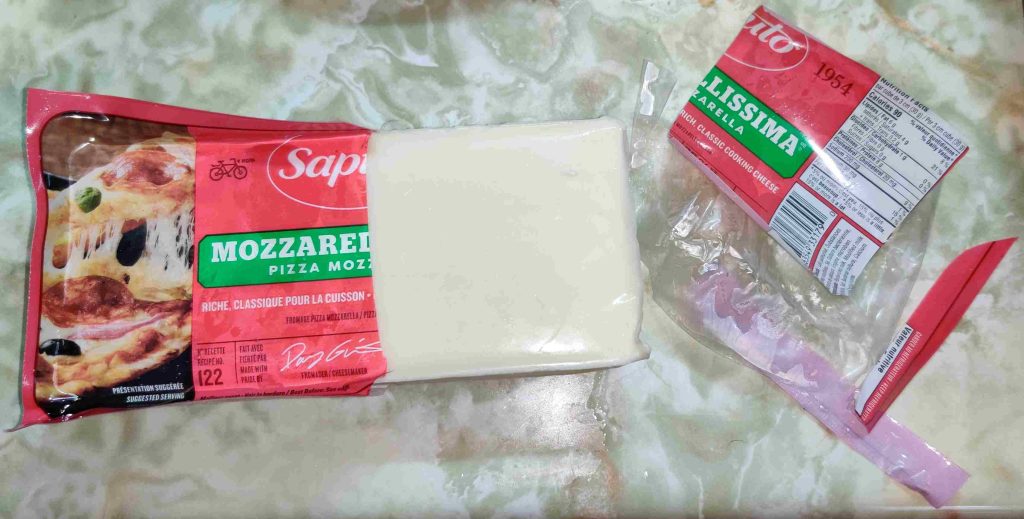
The package was partly removed to facilitate grating about 200 grams of cheese:

Cheese partly unwrapped

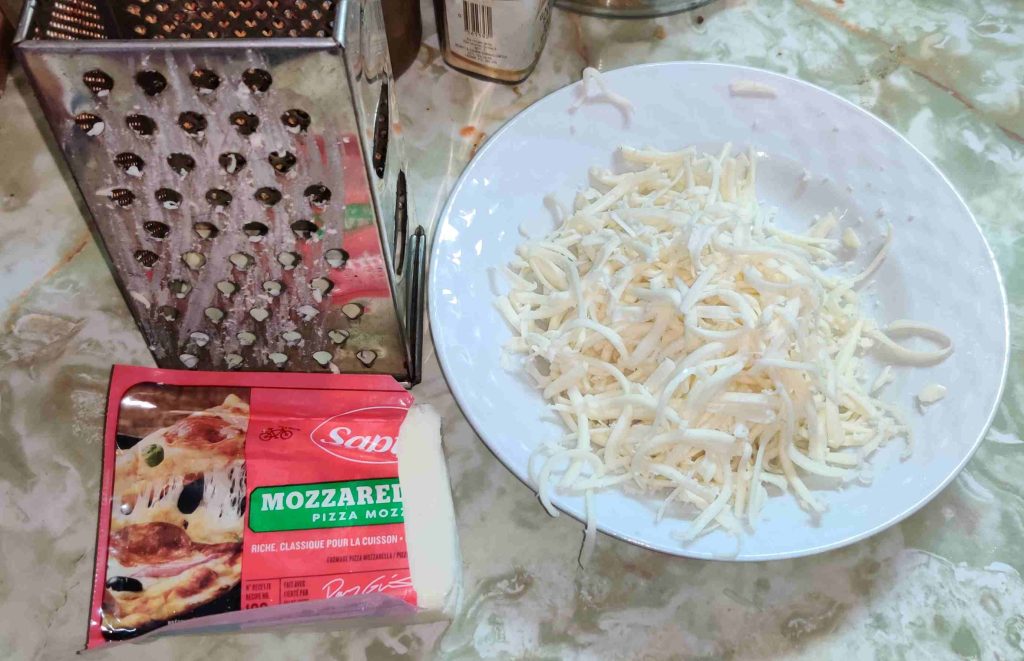
Approximately 200g of cheese, estimated visually as about two fifths of the 500g block, were grated off of the block of mozzarella cheese:

Approximately 200g of cheese grated off the block

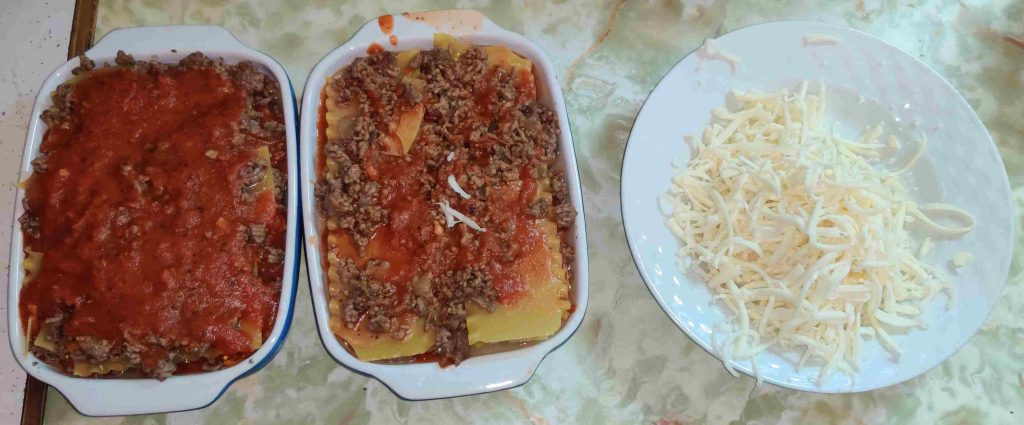
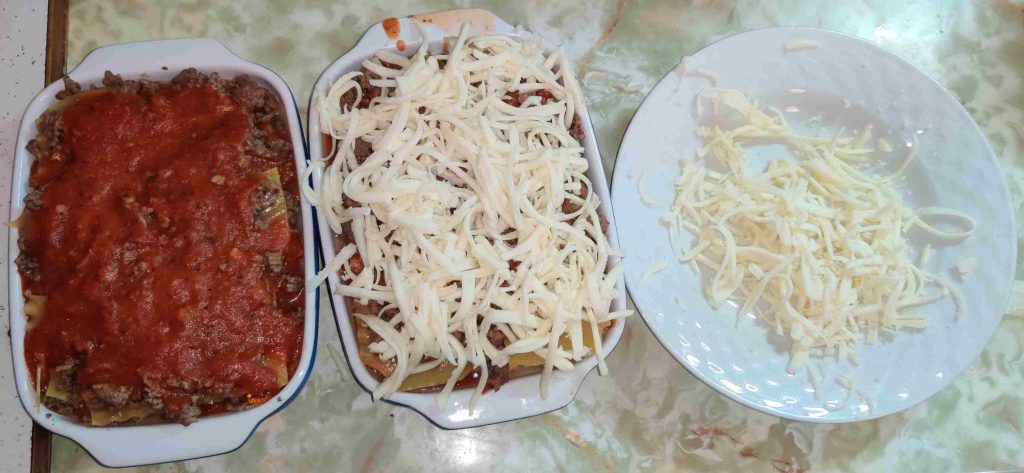
The bowl of cheese was brought over to the two baking pans of lasagnes:

Cheese brought over to lasagnes

About half of the cheese, approximately 100g, was transferred to the top of a lasagne:

Cheese placed on lasagne
About 100g — about half of the grated cheese — were placed on one of the lasagnes

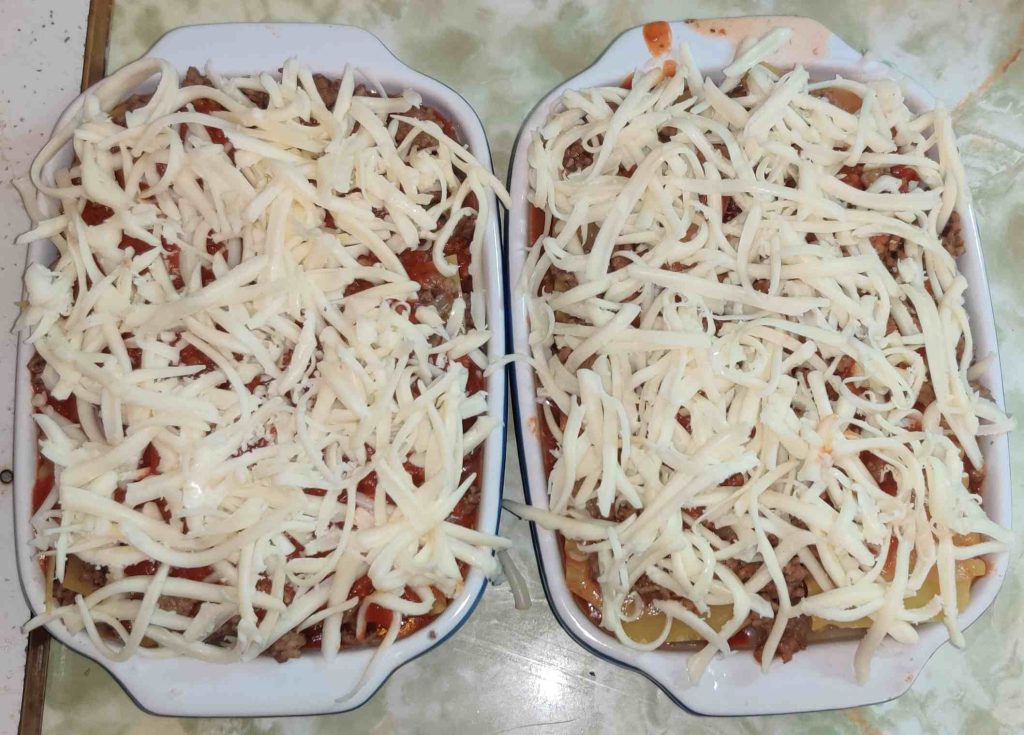
The rest of the cheese was transferred to the other lasagne, ensuring that each unit received approximately the same amount of cheese:

Cheese transferred to both lasagnes

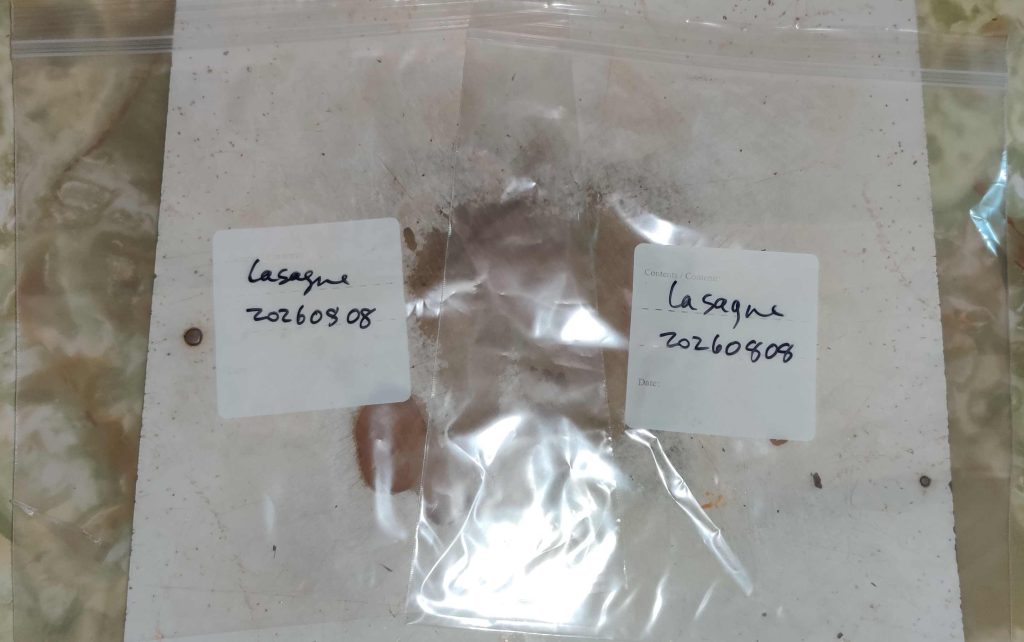
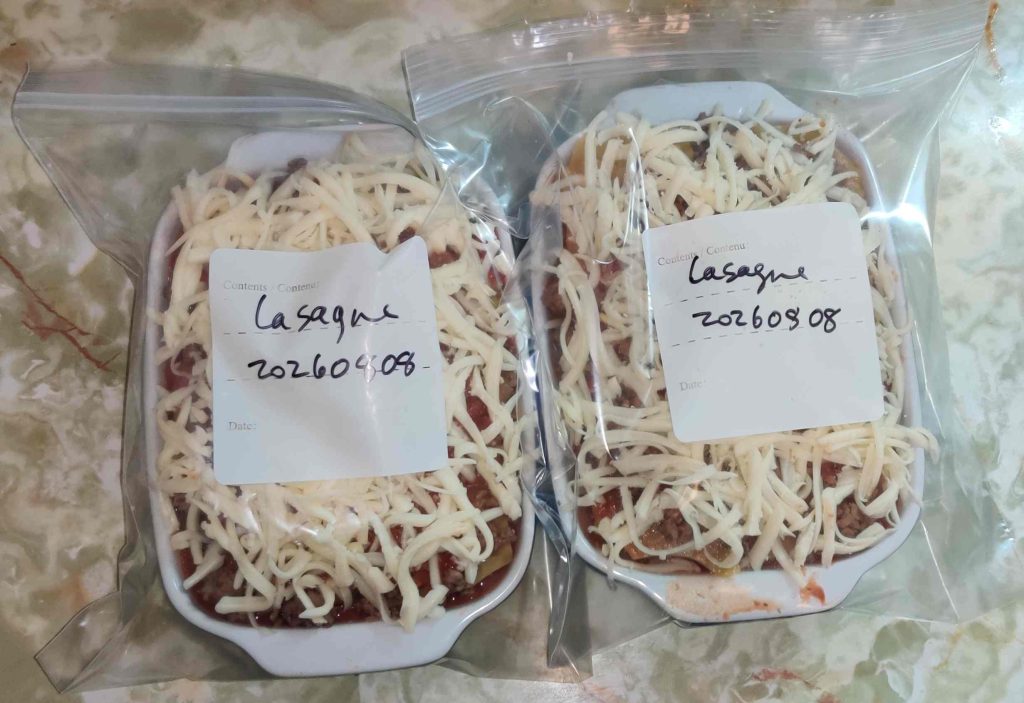
Two freezer bags were taken out, and identified and dated:

Freezer bags taken out and identified and dated

The lasagnes were individually placed in the bags:

Lasagnes placed in freezer bags

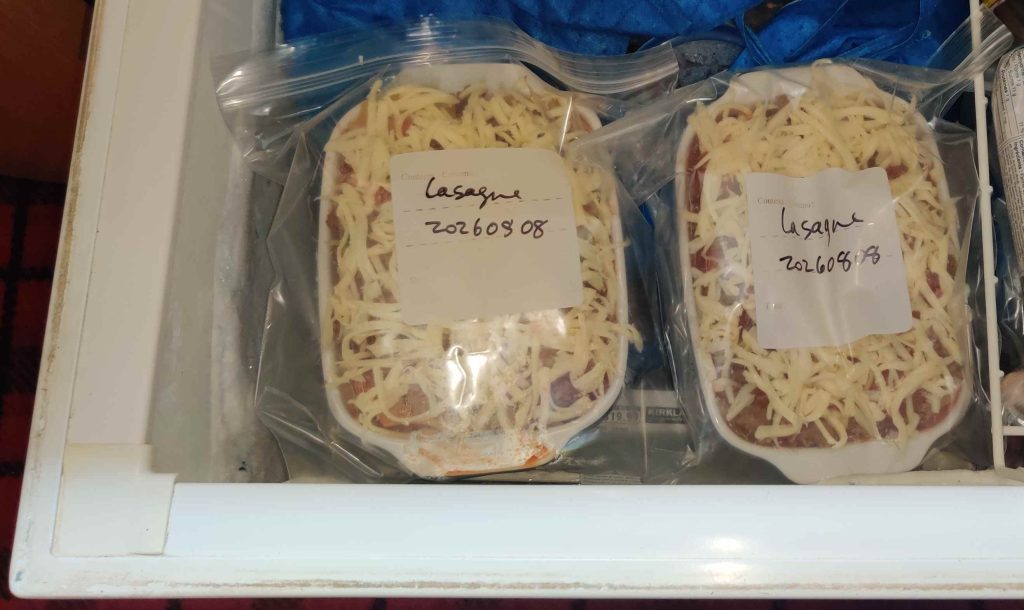
The lasagnes were then placed in my deep freezer for when I’ll want to take them out and bake them:

Lasagnes placed in freezer

Are they tasty? Of course!

A little postscript: Canada — where I live, in the province of Québec — has this funny equilibrium about the spelling of a bunch of words due to simultaneous historical and current day British English and American English influences, as well as our own Canadian conventions (and even regional ones too!) In the case of this post, I use the spelling of “lasagne” due to British influence, as well as French influence, since Québec is a French-speaking region in Canada, instead of “lasagna”, the American spelling. Hence, please don’t write in telling me that I spelled “lasagne” wrong throughout this post. 🙂 (And, we also have lots of fun with measuring systems, too.)

Freezer Cooking and Lunches

In mid-2006, my employer at the time was acquired by another company, and my new employers required me – rightfully so – to take some basic training that I should have taken several years earlier. The training was after work hours, two evenings a week, for a few weeks.

Normally, my eating habits were (and still are) such that a given day’s lunch was composed of leftovers from the previous evening’s supper; in fact, normally supper meal plans at the time and still to this day usually intentionally include cooking for one more serving than the meal would call for, so that I would have a lunch the following day.

The training course, however, had the effect of not only requiring me to improvise for my supper plans, such as eating fast food, but also required me to improvise for the following day’s lunch too. My memory of this period is that there was a snowball effect on much of the week’s meals, although it probably was not quite as dramatic as what my mind has woven into my memory.

One of the solutions I came up with — but never quite fully implemented at the time — was the idea of a cooking weekend, targeted at being done at the cottage. My ambition at that point was to stock the freezer with a variety, as well as a large stock, of dishes and prepared meals, including lunches, so that the above situation wouldn’t be a problem moving forward. I had notions that were fairly ambitious, both in terms of the variety of meals to be made during the weekend, as well as the sheer amount of food that I suppose I expected to make over such a hypothetical weekend.

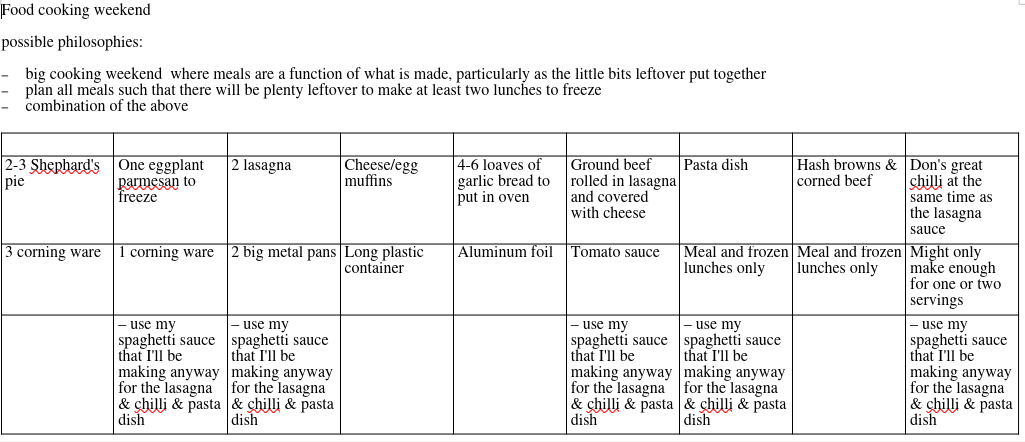
I developed the following planning table:

The table I created with basic plans for such a cooking weekend

As can be seen, one of the goals was to make a number of dishes based on a common ingredient, my spaghetti sauce, which I had begun making in the early 1990’s.

As also can be seen, although there were a few numbers of dishes to produce, overall the list is rather vague in what I would end up with in terms of numbers. Among other things, while I did have rough ideas of how much of most of the items I would make (or at least envisioned making), for instance, I didn’t start planning out the required amounts of each of the ingredients and sub-ingredients needed to make the dishes and components.

Overall, it seemed — and still seems to this day — rather vague and all over the place, and overly ambitious to the point of being daunting. Critically, although I knew that I would be making about seven to eight quarts of my spaghetti sauce, I didn’t plan out its ingredients, determine just how many of each of the other dishes for which it would be used would be produced from the seven to eight quarts, or whether some of the “larger” dishes were to be prepared for their own sake and the freezer, or to be ultimately cooked and divided up into lunch containers. Except as an afterthought, I just about didn’t even insert the making of the spaghetti sauce into the weekend’s already ambitious cooking plans!

Before coming to this last realization, I realized that my plan would only produce two or three servings’ or meals’ worth of each, which might all be eaten in short order.

Unsurprisingly, the planned weekend was never executed, and after a few weeks, my evenings freed up, and my regular lunches returned.

Years later, I realized despite the usefulness of the intentions behind my plans for the cooking weekend, at least for me, it suffered from not only being too ambitious in its own right, but from being even more ambitious than I thought. At the same time, the overall plan suffered from being a bit too wide in its intended scope given what would be a limited amount of base (the spaghetti sauce). As such, the plan was likely to produce — should I accomplish it all in such a weekend — merely an amount of food, especially the lunches, that would be consumed far more quickly than I had hoped.

My spaghetti sauce — and what I do now for tomato sauce based dishes

My spaghetti sauce was a bit of a marathon sauce to make. Based on canned tomatoes, it also included an inordinate variety and amount of chopped vegetables for a spaghetti sauce, and — especially the end product — was not unlike my current vegetable soup recipe, which I have been making since about 2013. I had a prideful joy in making it, partly as a result of it being so chock-full of vegetables, but, to a degree than I didn’t care to admit at the time, also borne of a stubborn pride resulting from it being a showcase of all the vegetables it contained and a desire to show off a certain (naïve) cooking acumen.

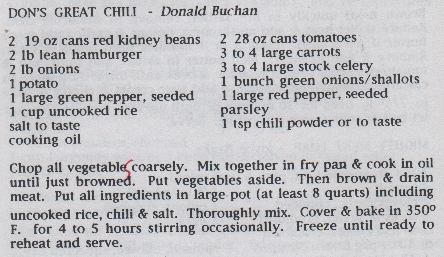
My chili recipe recipe from the early 1990’s, which is essentially my spaghetti sauce with the addition of the red kidney beans and the chili powder (image scanned from my church’s cookbook, published in 1996)

However, one of the things I realized in looking at my big cooking weekend, both early on without realizing it, as well as more formally just recently, was that I just wanted to make, say, lasagna, chilli, beef rolls, pasta dishes, or my eggplant dish (as well as a few lunches not involving my sauce). The “without realizing it” part (early on) was overshadowed by the prideful notion that it made sense at the time to want to use my spaghetti sauce to then make all these other dishes.

Except … I have come to realize that the effort to make the sauce to begin with, as well as my pride in wanting to use it, was perhaps core to the difficulty in implementing the cooking weekend. While the dishes were meant to be a showcase to myself for my spaghetti sauce and as well as my cooking in general, I realized that all these dishes were about showcasing the whole dishes, and not so much meant to showcase my spaghetti sauce.

As such, for a long time now, many of the tomato sauce dishes I make call for commercially prepared tomato / spaghetti sauces, as opposed to, specifically, my home-made sauce.

(As a side thought, were to I make spaghetti sauce again, I have a few vague notions about simplifying it somewhat, as well as chopping the vegetables much more finely, to the point of grinding them, instead of the coarse chopping I favoured for the “sauce” in the 1990’s.)

How things have evolved to today:

Despite the fact that the above weekend plan never materialized, I soon took to often planning cooking weekends when I went to the cottage, especially during the off-season (it’s a family cottage, so there always have been occasional scheduling issues which haven’t always allowed me to do what I would like, when I would like. 🙂 )

However, the first thing that should be mentioned, since this post is at least partly predicated on a period of time in which having ready-made lunches handily available in the freezer was essential, but was not the case, is that … I haven’t since planned out cooking weekends dedicated to cooking ready-made lunches for the freezer, or form a cooking club with a few friends in which we fastidiously make a week’s worth (or more) of lunches and other meals every Saturday, or otherwise come up with a systematic method of stocking the freezer with ready-made lunches.

In the intervening years, the principal approach I have taken to rectify unforeseen needs for prepared lunches is to hoard lunches and leftovers in the freezer; in addition to routinely making extra food for the following day’s lunch, I would occasionally also, at random opportunities, zealously make an extra lunch to place in the freezer. As such, my supply of extra lunches at any given time ebbs and swells according to how many lunches I have managed to hoard at that point in time, versus how many I have needed to eat recently. Fortunately, some of my recipes somewhat ease mounting full lunches in the freezer by being pair-able with odds-and-ends leftovers, such as bacon wrapped chicken, meatballs, and stuffed potato skins.

What I do do is plan “big” cooking weekends many times while I am up at the cottage, including quite often during the off season in winter, incidentally without running water. This is done in conjunction with weekend afternoons in the city with similar objectives (including a cook-through-my-collection-of-recipes project I did mostly in 2021, accessible off my home page at https://www.malak.ca ). Depending on my desires and ambitions, I usually concentrate on single projects, per day anyway; during a week over Christmas to New Year’s, for instance, I usually plan for almost as many large cooking projects as there are days – to cook various large cooking projects to fill the freezer.

I had begun large, more focused, cooking weekends not too long after my above planned weekend should have taken place, continuing a certain tradition I had started years earlier of occasionally making large quantities of my recipes, from a then-limited recipe répertoire, typically focusing on large freezer quantities of one, or perhaps two, recipes from my collection.

Therefore, early on — at this point, exactly “when” being lost to the sands of time and the multiple computer upgrades over the years, during which dates of creation, or at least the last edit, have been lost several times over — I had put the following list together. I tried to write down what my aims and guidelines had become. Note that the text of the list has been slightly edited to fit the current narrative:

  • A dish needs to be just as easy to make several units of the recipe as one unit – if not easier, and as such not more difficult to make because it’s in quantity (barring the extra time and labour merely due to extra quantity – taking advantage of economies of scale);
  • A dish needs to be easy to make in large quantities, using a repetitive production line process;
  • A dish must be appropriate for freezing – for instance, my zucchini dish is not appropriate for freezing, although its sauce is appropriate for freezing!
  • A dish should be something that just needs to be defrosted and reheated / cooked in toaster oven or regular oven;
  • A dish should be “convenience food” — the operative notion being “convenient because it’s made in advance and ready to eat” (or brown and serve), not as in “junk food” or like industrially produced, store bought frozen lunches;
  • A dish should not be something at its core easy enough to make any day of the week fresh (looking back, I suppose that this is barring a notion to make multiple units of otherwise easy to make lunches to stock the freezer, were that have been a priority at the time);
  • A cooking project should not just be components for other dishes – ie. projects should be to make full meals, not just cooked hamburgers or burger meat, nor just cooked chicken pieces, etc.

Given that over the years, my objectives have evolved, changed, and widened, I have long since abandoned at least a part of the guideline regarding making meal components or single items, because I now regularly cook large quantities of breakfast sausages for freezing, have in the past cooked whole packages or more of bacon for my mom, and I regularly make bacon wrapped chicken, meatloaf, meatballs, stuffed potato skins, as well as cooked ground beef frozen in ice cube trays to keep in the freezer for other times calling for small amounts of cooked ground beef.

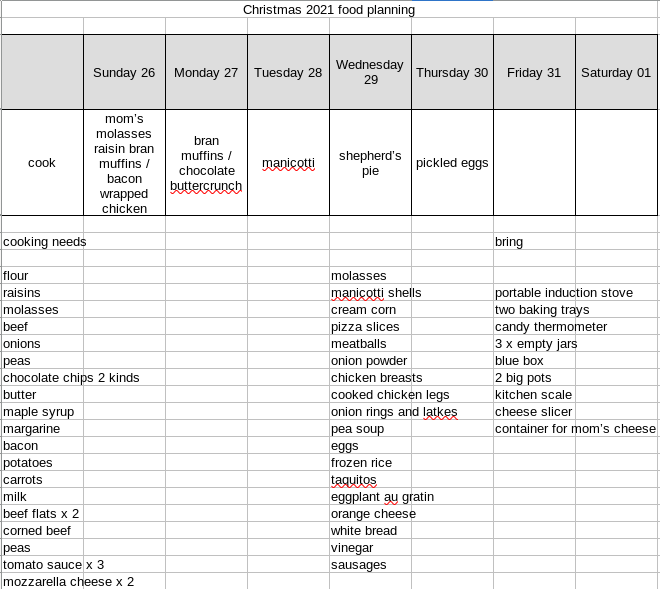
Of course, it would only be appropriate to show a recent planning table for a week’s stay at the cottage over Christmas , 2021 (regular meal planning blocked out):

Yes, there are still a lot of details missing here from this list, such as specific numbers, arguably allowing for somebody besides myself to look at both lists and wonder, beyond the more relaxed pace and the specific list of foods and ingredients to bring, what the difference between this 2021 table and the 2006 table are. However, each entry is based on, normally, the standard amounts in my various recipes, plus often slight excesses. And, according to my notes, I also made stuffed potato skins, bran muffins for my mom twice instead of once, and the chocolate buttercrunch twice, as well as, as intimated in the “bring” list, a container of cheese sliced off of the block for my mom to consume the following week.

These days, my freezers are usually full of many tasty dishes from my collection of recipes, individual servings of many foods both from and beyond my collection of recipes, and various lunches made up of leftovers, some consisting of components from multiple meals and cooking sessions. This is actually served by a certain hoarding instinct; I often fill containers with bits of leftovers from a given meal to freeze, and as possible I add to them with other little bits already in the freezer as they are produced.

And … do I run out of lunches? Usually not! However … managing the freezer is a work in progress and a continuous project, sometimes a daily project beyond simply preparing tomorrows lunch; I sometimes grab opportunities to make a second lunch or portion thereof!