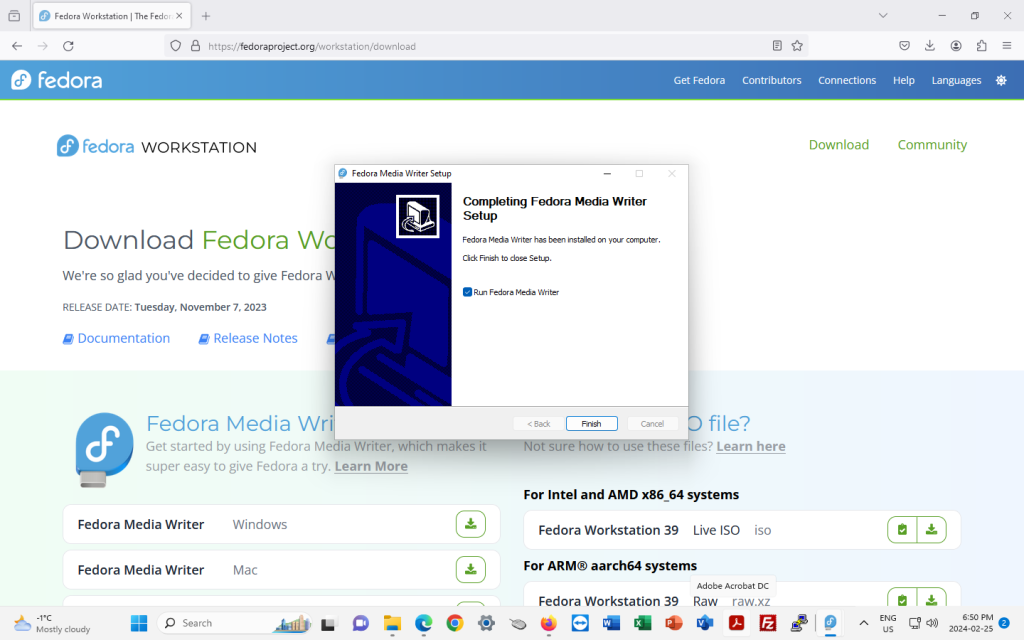
Note that while this recipe can be easily multiplied several times to make more muffins at once, this recipe is intentionally tailored to a half dozen muffins instead of the usual custom of a dozen muffins, since the original recipe on which it was based allows it to be halved and therefore be baked in a countertop convection oven.
In addition to this recipe, the following recipes can (usually, depending on oven size and specific dimensions) be made directly without adjustment in a countertop convection oven:
As well, here are a number of my other recipes which allow for adjusting by half to be made, or can otherwise easily be made (sometimes in shifts), in a countertop convection oven:
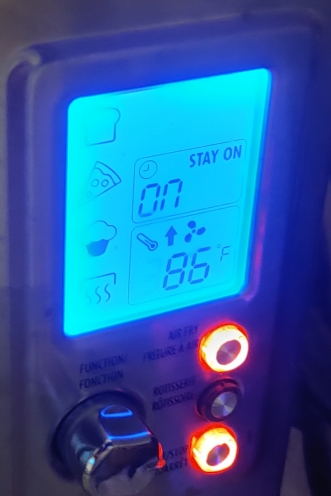
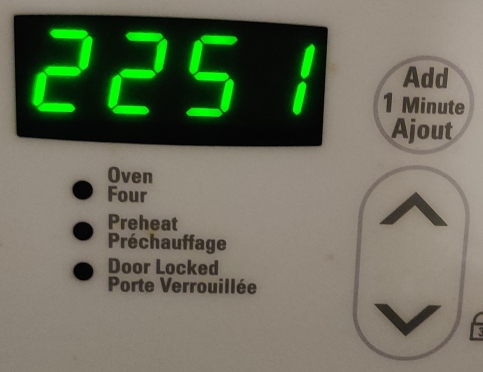
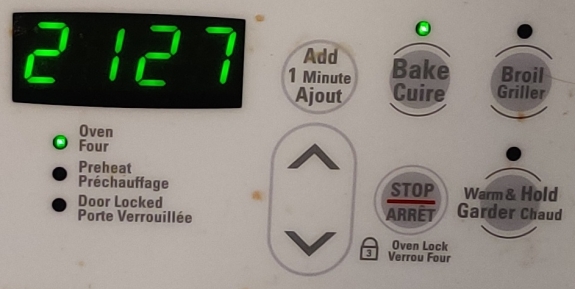
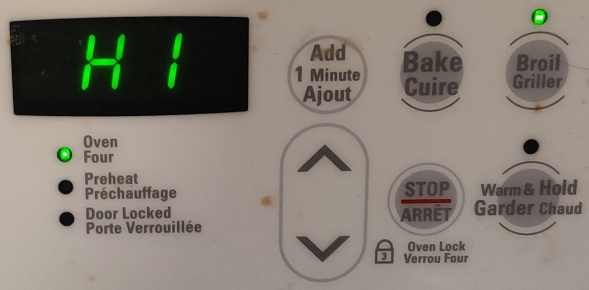
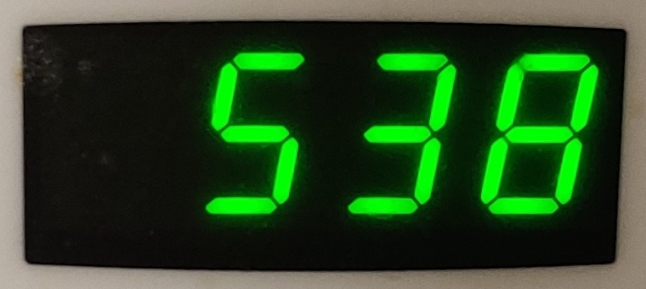
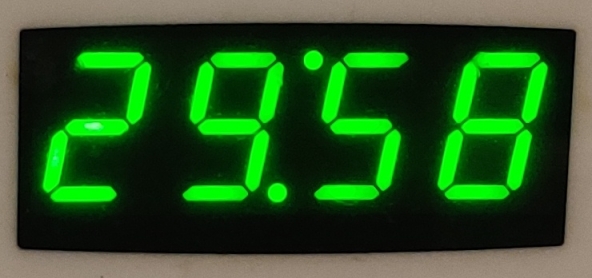
First, my countertop convection oven was turned on and set to 350F (yes, the photo says 86F, it’s preheating!):
Countertop convection oven turned on to be preheated
Countertop convection oven turned on to be preheated
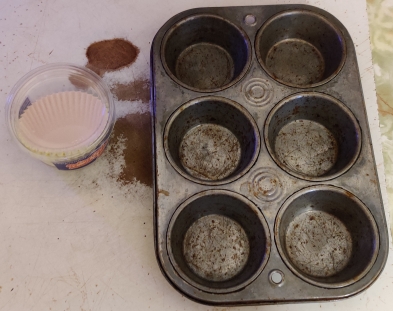
A muffin baking tin and some paper muffin liners were taken out:
Muffin baking tin and paper muffin liners taken out
Paper muffin liners were placed in each of the wells of the muffin baking tin:
Paper muffin liners placed in muffin baking tin wells
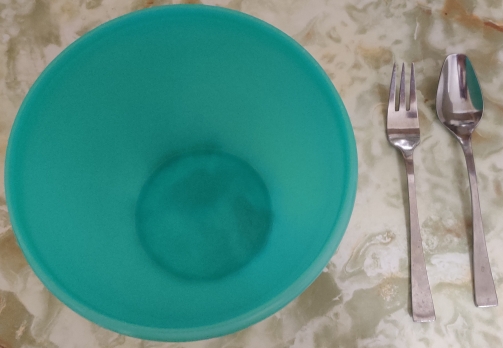
A mixing bowl, a fork, and a spoon were taken out:
Mixing bowl, fork, and spoon taken out
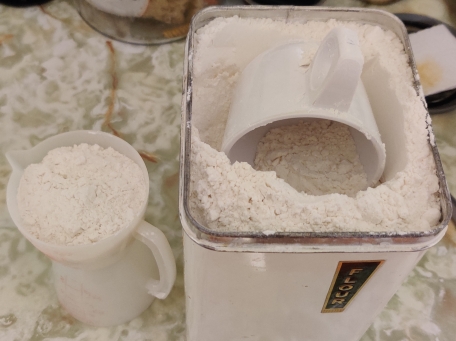
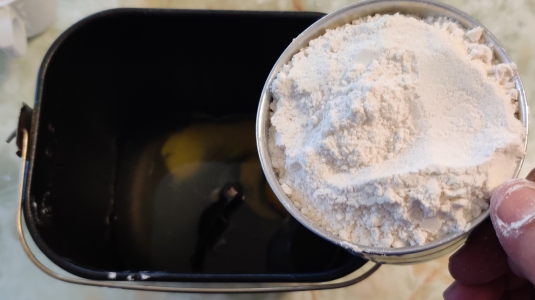
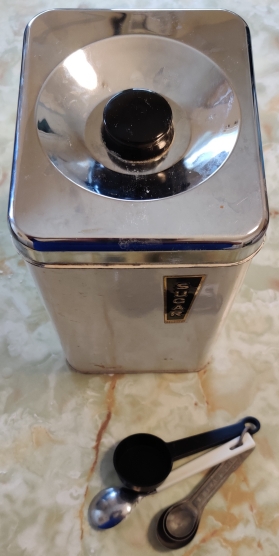
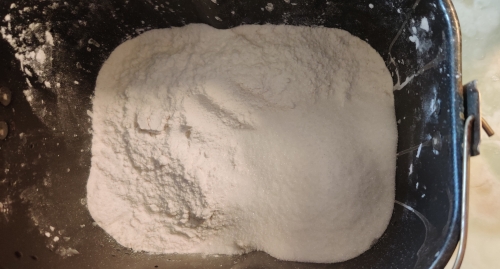
Flour and a measuring cup were taken out, and some flour was measured out:
Flour taken out and measured out
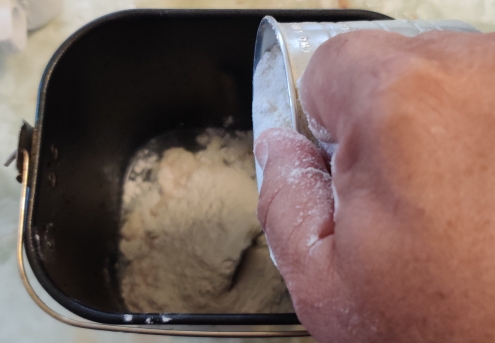
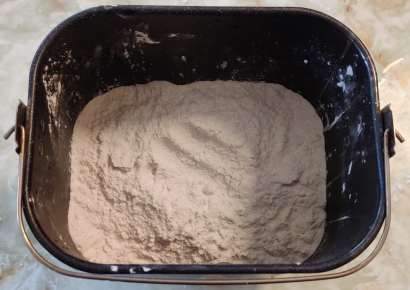
The flour was transferred to the mixing bowl:
Flour transferred to mixing bowl
Flour transferred to mixing bowl
Flour transferred to mixing bowl
Flour transferred to mixing bowl
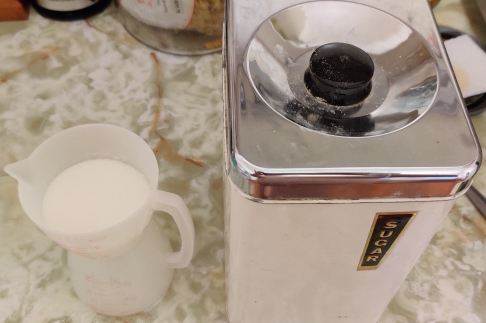
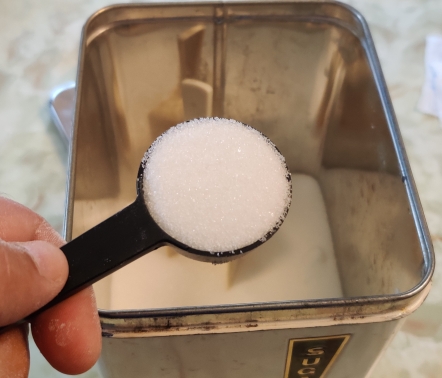
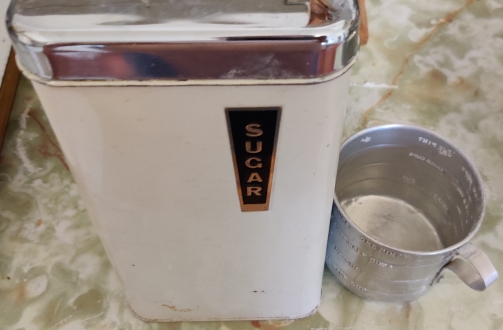
Sugar and a measuring cup were taken out, and some sugar was measured out:
Sugar taken out and measured out
The sugar was transferred to the mixing bowl with the flour:
Sugar transferred to mixing bowl
Sugar transferred to mixing bowl
Sugar transferred to mixing bowl
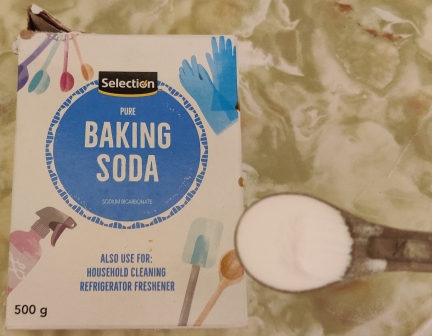
Baking soda and a measuring spoon were taken out, and some baking soda was measured out:
Baking soda taken out and measured out
The baking soda was transferred to the mixing bowl with the flour and the sugar:
Baking soda transferred to mixing bowl
Baking soda transferred to mixing bowl
Baking soda transferred to mixing bowl
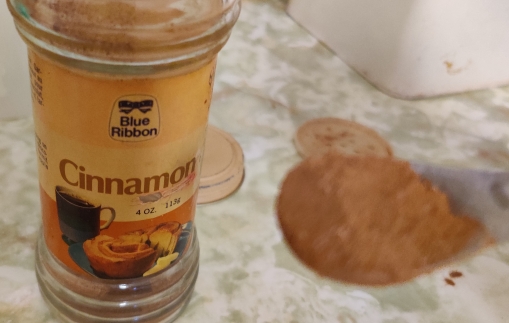
Cinnamon and a measuring spoon were taken out, and some cinnamon was measured out:
Cinnamon taken out and measured out
The cinnamon was transferred to the bowl with the flour, sugar, and baking soda:
Cinnamon transferred to mixing bowl
Cinnamon transferred to mixing bowl
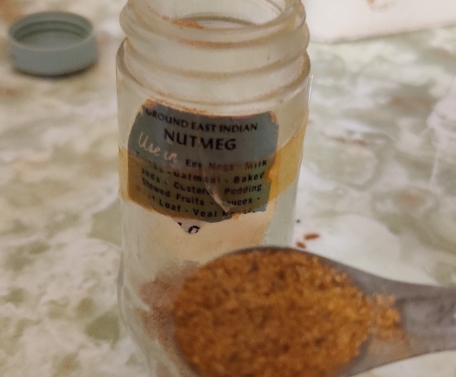
Nutmeg and a measuring spoon were taken out, and some nutmeg was measured out:
Nutmeg taken out and measured out
The nutmeg was transferred to the mixing bowl with the flour, sugar, baking soda, and cinnamon:
Nutmeg transferred to mixing bowl
Nutmeg transferred to mixing bowl
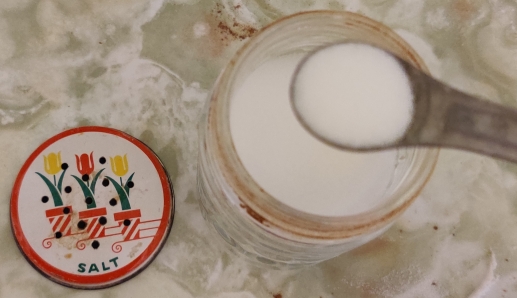
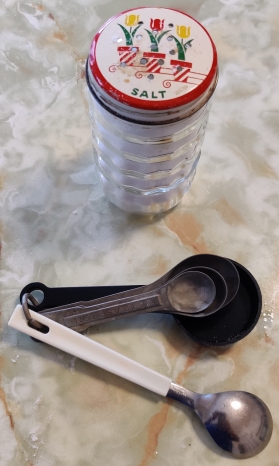
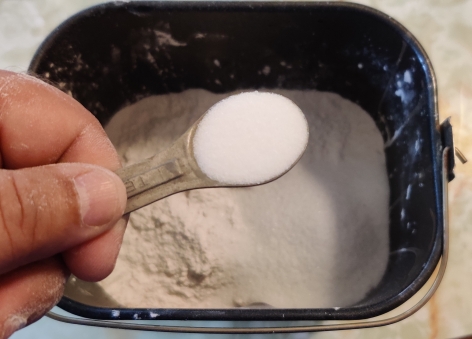
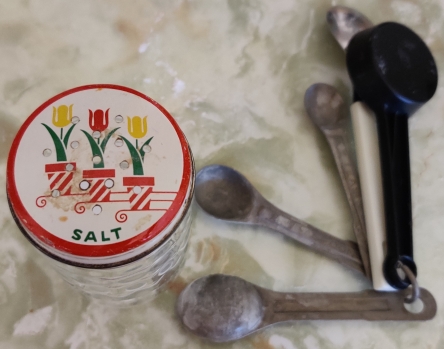
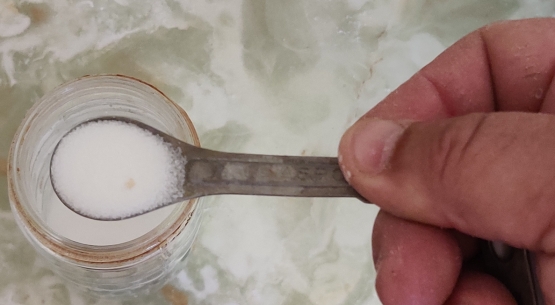
Salt and a measuring spoon were taken out, and some salt was measured out:
Salt taken out and measured out
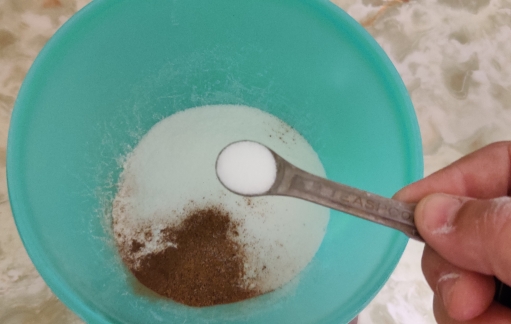
The salt was transferred to the mixing bowl with the flour, sugar, baking soda, cinnamon, and nutmeg:
Salt transferred to mixing bowl
Salt transferred to mixing bowl
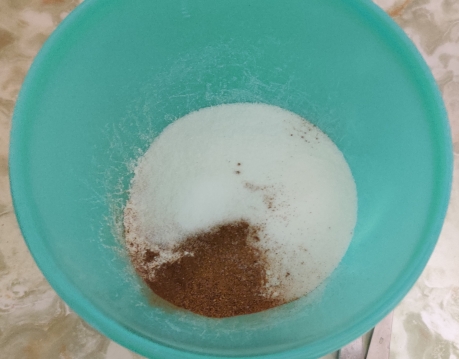
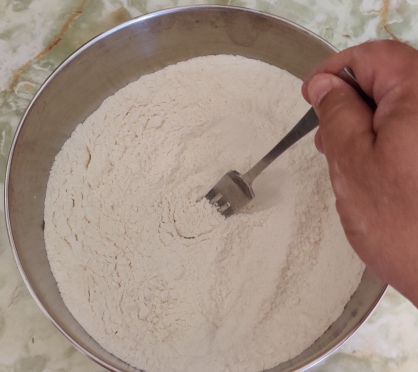
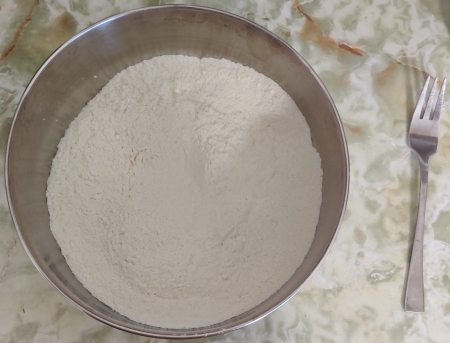
A fork was taken out and used to mix the dry ingredients:
Dry ingredients mixed with a fork
Dry ingredients mixed with a fork
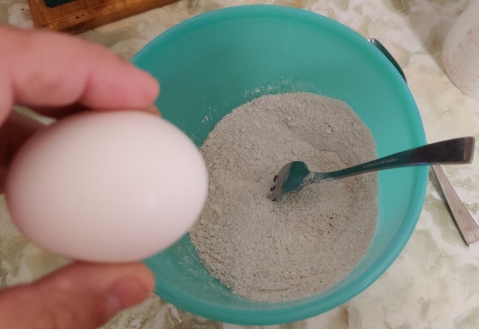
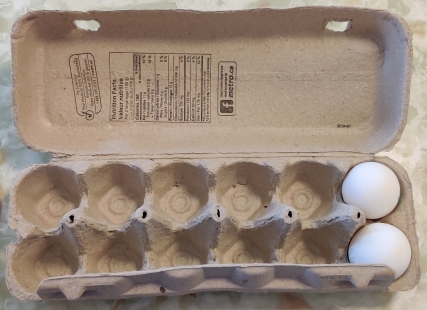
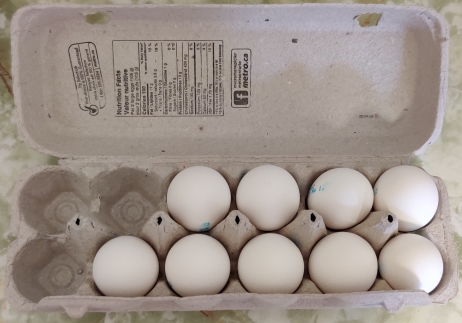
A box of eggs was taken out:
Eggs taken out
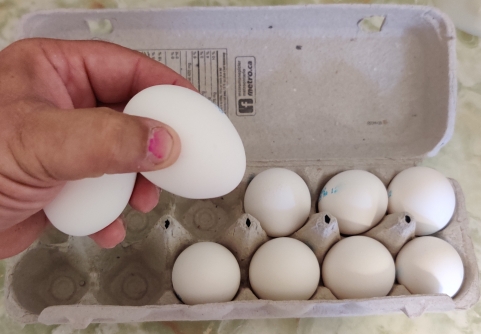
An egg was taken out of the box of eggs:
Egg taken out
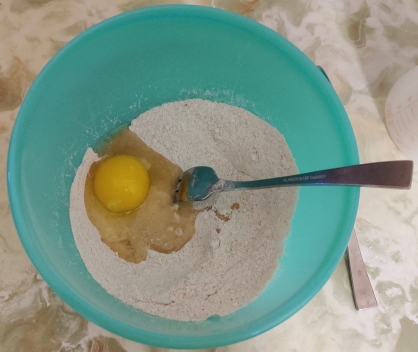
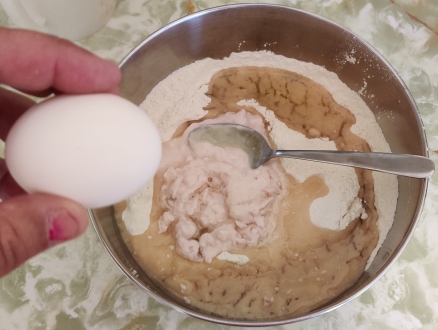
The egg was cracked on the edge of the mixing bowl with the dry ingredients:
Egg cracked into mixing bowl
Egg cracked into mixing bowl
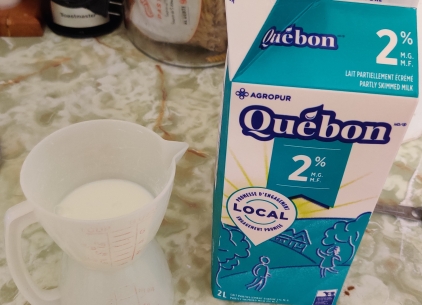
Milk and a measuring cup were taken out, and some milk was measured out, but the milk was not yet transferred to the mixing bowl:
Milk taken out and measured out but not yet transferred to mixing bowl
Vegetable oil was taken out, and some oil was measured out in the measuring cup while the milk was still in it, but the milk and oil were not yet transferred to the mixing bowl:
Oil taken out and measured out but not yet transferred to mixing bowl
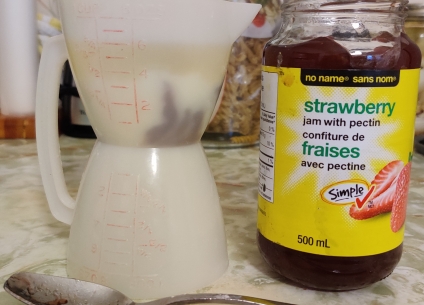
Strawberry jam was taken out, and some strawberry jam was measured out into the measuring cup with the milk and vegetable oil:
Strawberry jam taken out and measured out
Strawberry jam measured out
The milk, vegetable oil, and the strawberry jam were transferred to the mixing bowl with the dry ingredients and the egg:
Milk, oil, and strawberry jam transferred to mixing bowl
Milk, oil, and strawberry jam transferred to mixing bowl
Milk, oil, and strawberry jam transferred to mixing bowl
Milk, oil, and strawberry jam transferred to mixing bowl
The ingredients were mixed together with the fork:
Ingredients mixed with a fork
The batter was transferred to the paper liners in the muffin baking tin, using a spoon:
Batter transferred to paper liners in muffin baking tin
Batter transferred to paper liners in muffin baking tin
The filled muffin baking tin was transferred to the pre-heated countertop convection oven:
Muffin baking tin with batter placed in countertop convection oven
A timer was set to 23 minutes:
Timer set to 23 minutes
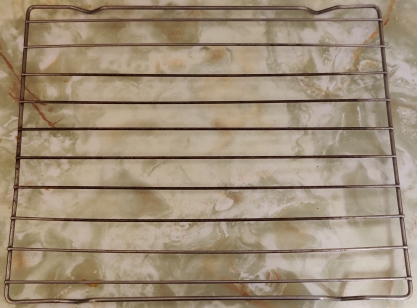
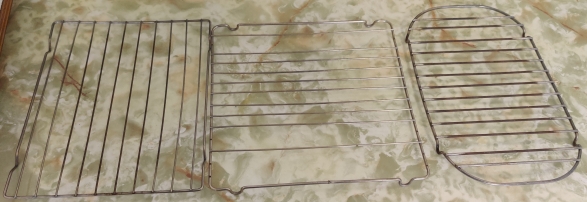
While the muffins were baking, a cooling rack was taken out:
Cooling rack taken out
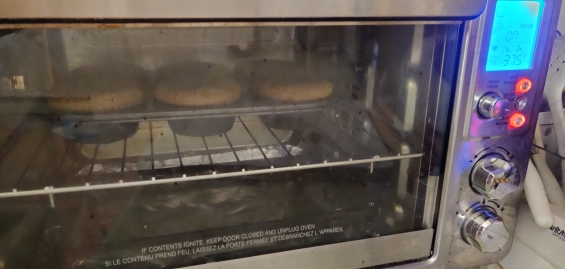
Here’s a picture of the muffins rising while baking:
Muffins rising while baking
At the end of the 23 minutes when the muffins were baked, the muffin baking tin with the muffins were taken out of the countertop convection oven:
Muffins taken out of countertop convection oven
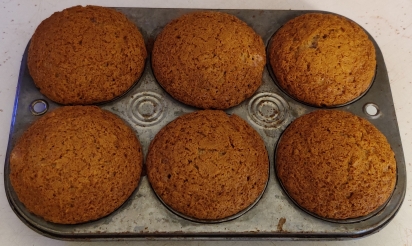
The muffins were taken out of the muffin baking tin and placed on the cooling rack:
Muffins placed on cooling rack
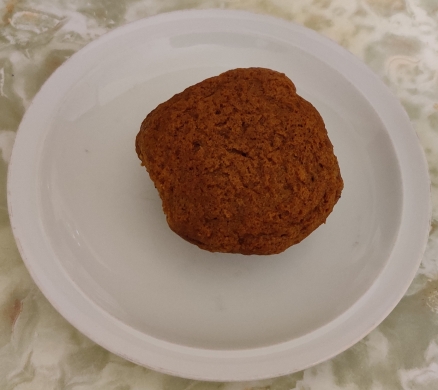
A muffin (in the case of this photo, from a subsequent batch) was taken out to serve to mom:
A delicious muffin is served!
Mom loves these delicious muffins a lot these days!
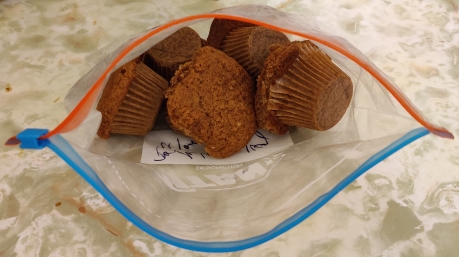
… and I froze the rest of muffins in a freezer bag, as I did with muffins from a subsequent batch:
I came to enjoy a type of convenience frozen pizza in the early 1990’s while in residence at university; of course I enjoyed them then, and continue to occasionally enjoy them to this day. However, what really fascinated me was how the manufacturer managed to produce what amounted to a bun stuffed with a filling, in this case pizza toppings, without an apparent seam or other apparent entry point for the contents (such as the small hole one would see on the size of a jelly doughnut). While said fascination remained, it was not strong enough for me to actually try to figure it out.
Fast forward to late 2023, and a snacks table offered bierocks (here’s my archive), which immediately caught my attention. Before I even picked one up and looked at it, including inspecting its bottom, I immediately realized how they had been made. I definitely ate some, and asked the person who had made them for the recipe. Due to delays in setting up a cooking lesson with said person, I eventually just followed the recipe instead of waiting to be shown how to make them.
(And, I am assuming, the manufacturer of the commercial pizza treats uses some kind of mechanical method analogous to the relevant section(s) below, or, a precisely timed continuous dual extrusion system that minimizes seams, and in either case a dough recipe tuned to be susceptible to the process; ultimately, whichever process is used appears to assure that the edges stay sealed, and the filled units are moved along an Archemides’ screw or the like to the next step, in such a way that smooths out any seams.)
Note that in the following narrative, while the photos are principally from a single session, a few are from two other sessions in order to complete the narrative.
Making the bierocks:
One of the common ingredients in bierocks is chopped cabbage; so cabbage was taken out:
Cabbage taken out
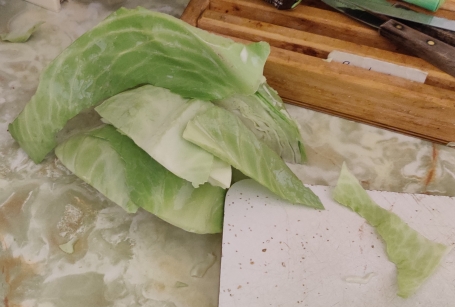
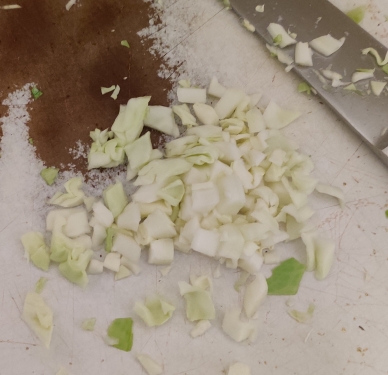
A piece of cabbage was cut off to make chopping easier:
Piece of cabbage placed on a cutting board
The cabbage was chopped up somewhere between coarsely to finely:
Cabbage chopped
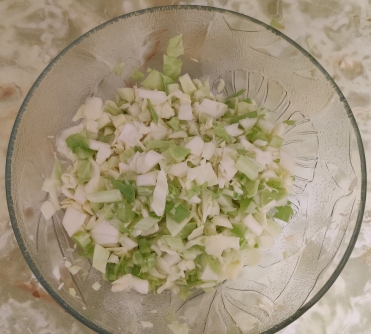
As the cabbage was chopped, it was placed in a bowl:
Chopped cabbage placed in bowl
I continued to chop cabbage, and froze the excess for future use, since a typical cabbage is far larger than the roughly half pound needed for this recipe.
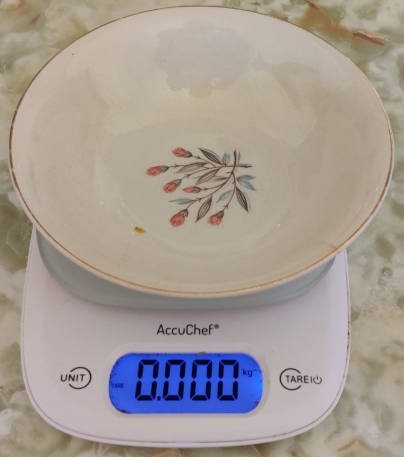
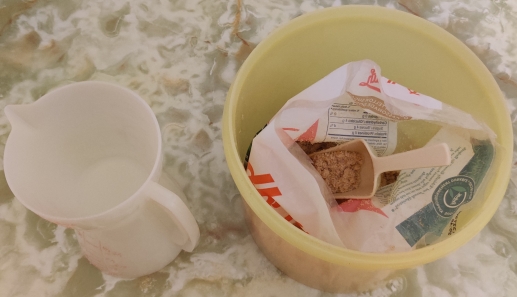
In the case of this session, frozen cabbage from a previous chopping session was used; as such, a plate was placed on a kitchen scale, and the latter set to zero, so as to only be measuring the cabbage:
Bowl placed on kitchen scale, which was set to zero
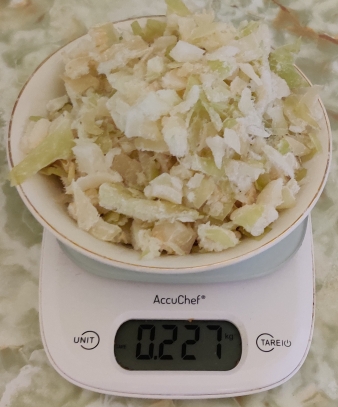
About half a pound (about 227g) of frozen chopped cabbage was placed in the bowl:
Cabbage weighed
The cabbage was put aside in order to allow it to defrost.
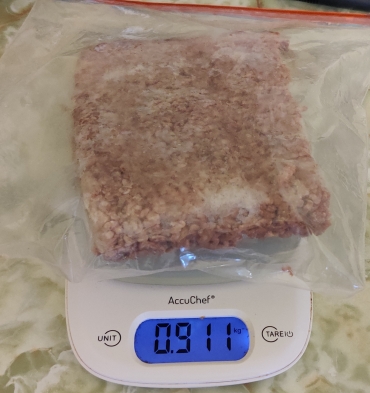
Frozen ground beef was taken out, and weighed to make sure that the appropriate amount of two pounds (911g) would be used:
Ground beef weighed
The ground beef was put aside to allow it to defrost.
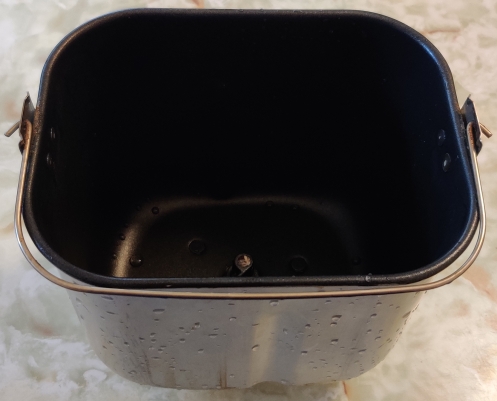
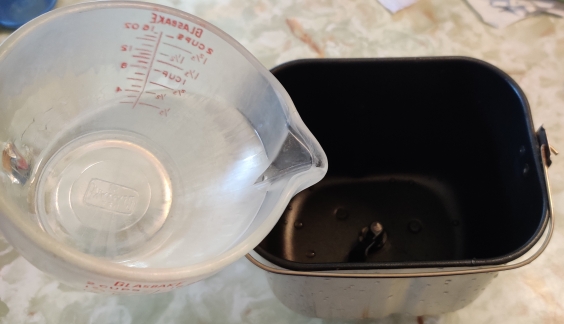
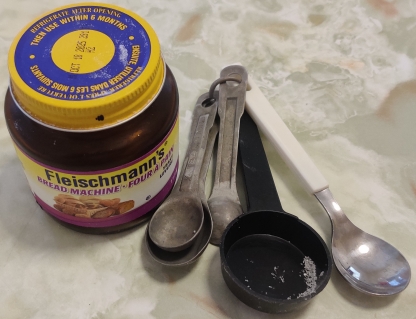
The basket from my bread machine was taken out and cleaned:
Clean bread machine basket taken out
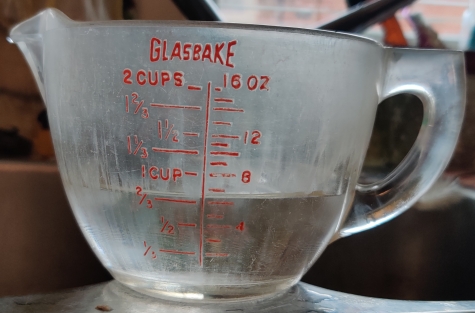
Six ounces of water were measured out:
Water measured out
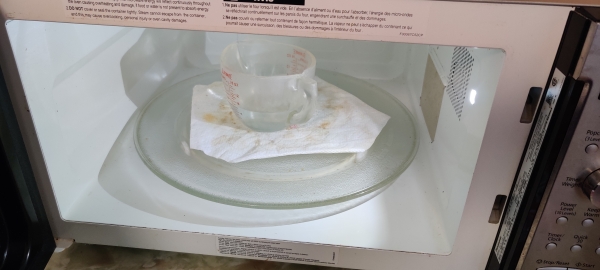
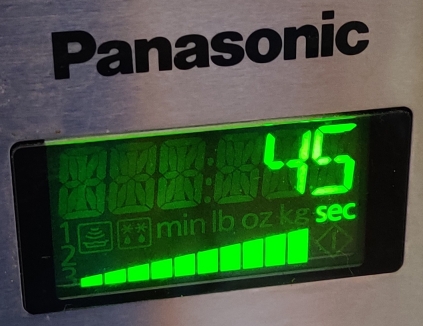
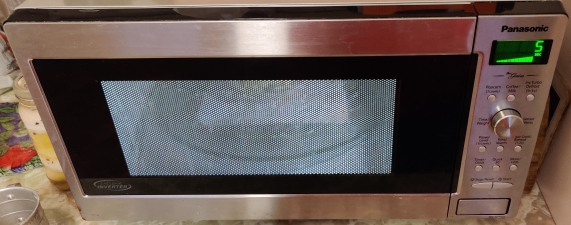
The water was placed in the microwave oven (1100 watts) …
Water placed in microwave oven
… and heated for 45 seconds.
Timer on microwave oven set
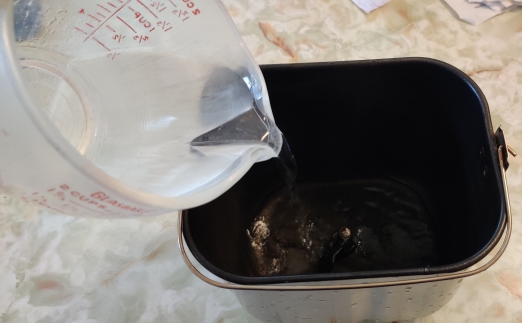
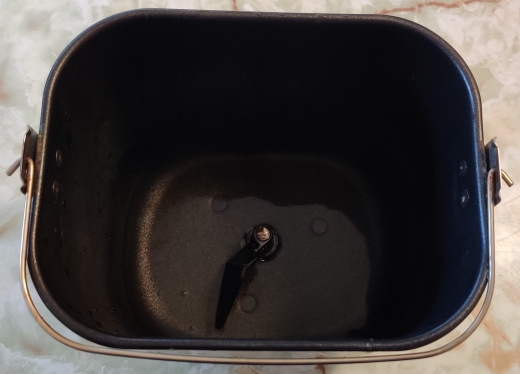
The warmed water was poured into the bread machine basket:
Warmed water poured into bread machine basket
Warmed water poured into bread machine basket
Warmed water poured into bread machine basket
Eggs were taken out:
Eggs taken out
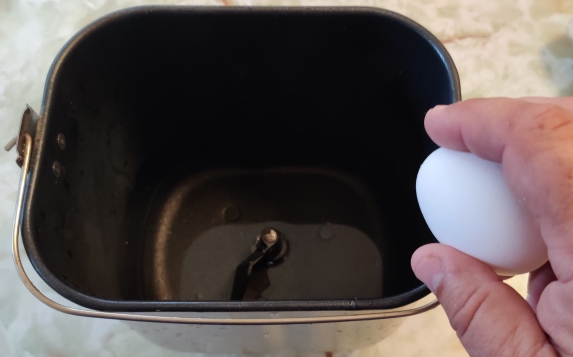
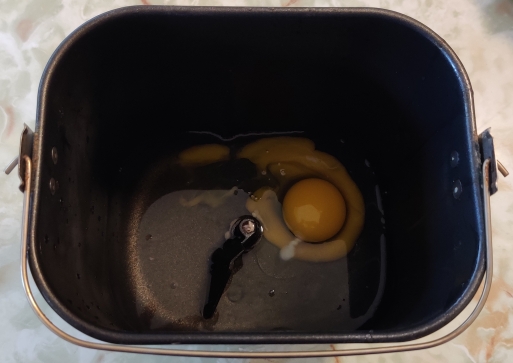
The eggs were cracked into the bread machine basket with the warmed water:
Egg cracked on edge of bread machine basket
Eggs cracked on edge of bread machine basket
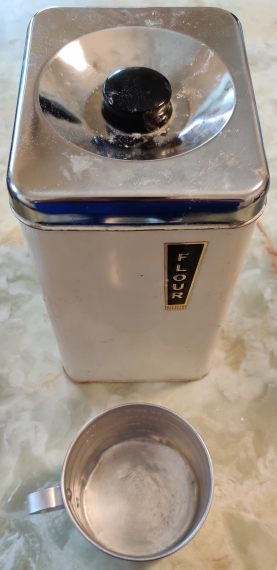
Flour and a measuring cup were taken out:
Flour and measuring cup taken out
The measured out flour was transferred to the bread machine with the warmed water and the eggs:
Flour transferred to bread machine basket
Flour transferred to bread machine basket
Flour transferred to bread machine basket
Sugar and measuring spoons were taken out:
Sugar and measuring spoons taken out
Six tablespoons of sugar were measured out …
Sugar measured out
… and transferred to the bread machine basket with the water, eggs, and flour:
Sugar transferred to bread machine basket
Sugar transferred to bread machine basket
Salt and measuring spoons were taken out:
Salt and measuring spoons taken out
The salt was measured out and transferred to the bread machine basket with the water, eggs, flour, and sugar:
Salt transferred to bread machine basket
Oil and a measuring cup were taken out:
Oil and measuring cup taken out
The oil was measured out (oops twice as much as I should have used):
Oil measured out
The oil was transferred to the bread machine basket with the water, eggs, flour, sugar, and salt:
Oil transferred to bread machine basket
Oil transferred to bread machine basket
A little note at this point: Since this recipe calls for using a bread machine, I strongly recommend using bread machine yeast; standard bread yeast behaves differently — although not necessarily badly — and in a bread machine, will produce a strong yeasty odour and taste, no doubt due to different timing required for it to act properly. Should you be making bread dough another way, including using standard bread yeast, of course I do not have any advice on that front. 🙂
Bread machine yeast and measuring spoons were taken out:
Bread machine yeast and measuring spoons taken out
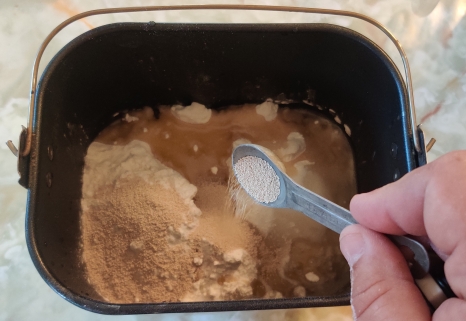
Two teaspoons of bread machine yeast were measured out:
Bread machine yeast measured out
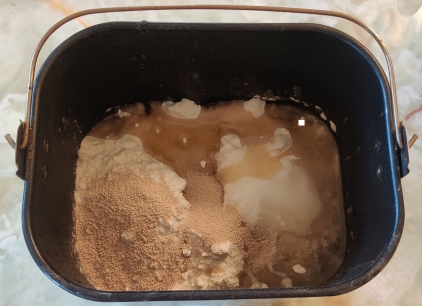
The bread machine yeast was added to the bread machine basket with the water, eggs, flour, sugar, salt, and oil:
Bread machine yeast transferred to bread machine basket
Bread machine yeast transferred to bread machine basket
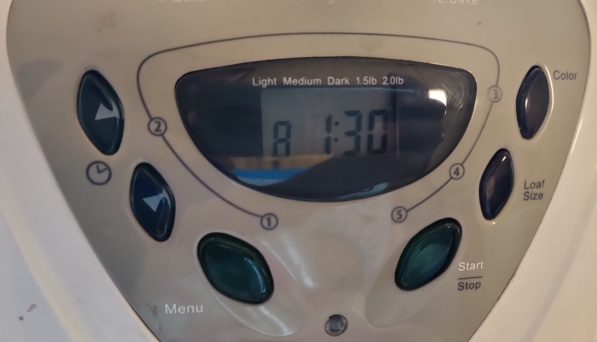
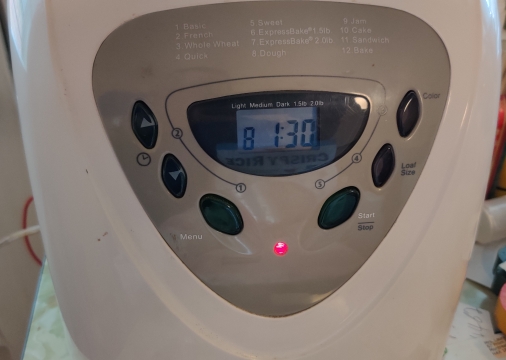
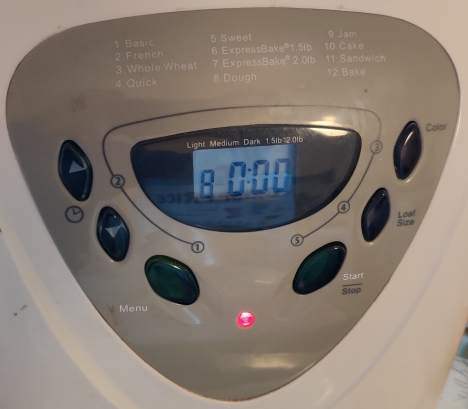
The bread machine basket with all the ingredients was placed in the bread machine, and the unit was set to the dough only cycle, which in the case of my bread machine is setting #8, with a cycle time of 1h30:
Bread machine set to dough cycle
The bread machine was turned on:
Bread machine turned on
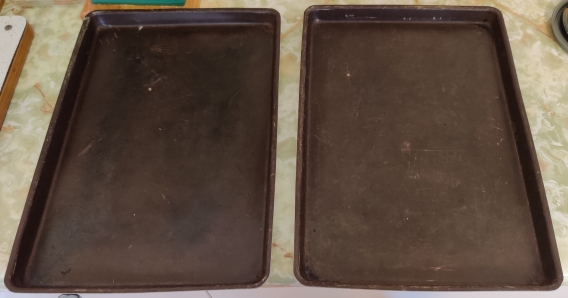
While the bread machine was preparing the dough, baking trays were taken out:
Baking trays taken out
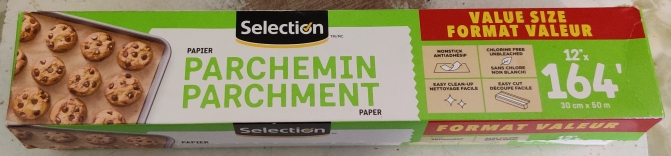
Parchment paper was taken out:
Parchment paper taken out
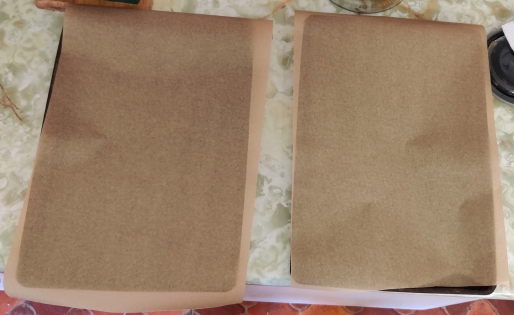
Sheets of parchment paper were cut off the roll and placed on the baking sheets:
Parchment paper placed on the baking sheets
The baking sheets were put aside for later.
An electric frypan was taken out:
Electric frypan taken out
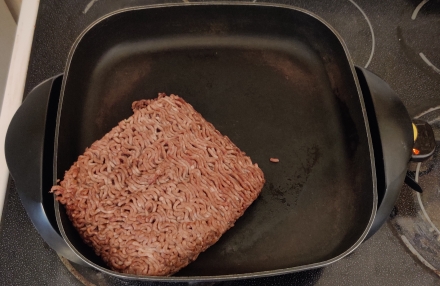
The electric frypan was plugged in, and the ground beef was placed in the electric frypan:
Ground beef placed in electric frypan, and electric frypan plugged in
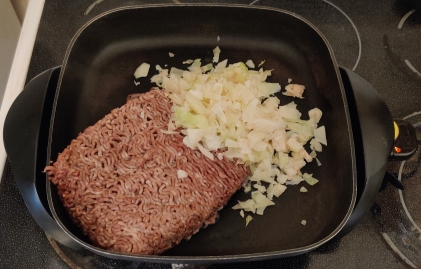
The chopped cabbage was placed in the electric frypan:
Chopped cabbage placed in electric frypan
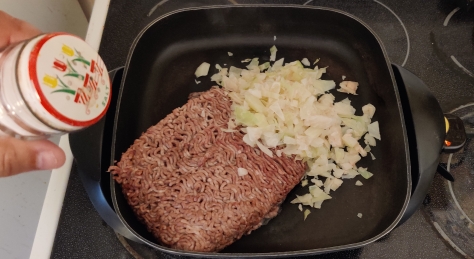
Salt was added to the electric frypan:
Salt added to electric frypan
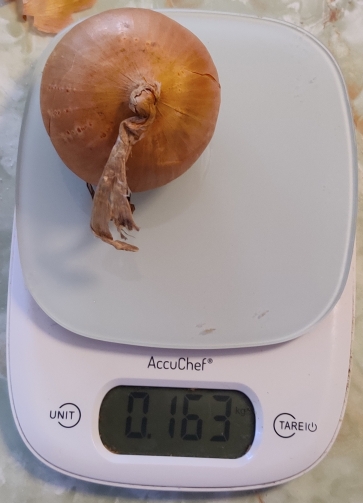
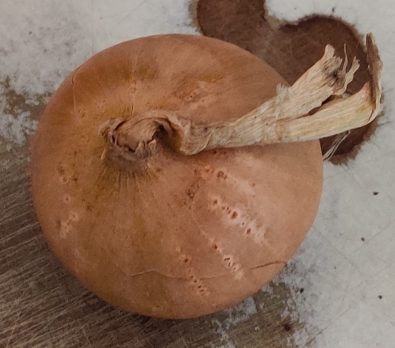
An onion was taken out and weighed to be sure it was enough (“about” a quarter pound of chopped onion in the end):
Onion taken out and weighed
The onion was placed on the cutting board:
Onion placed on cutting board
The onion was trimmed:
Onion trimmed
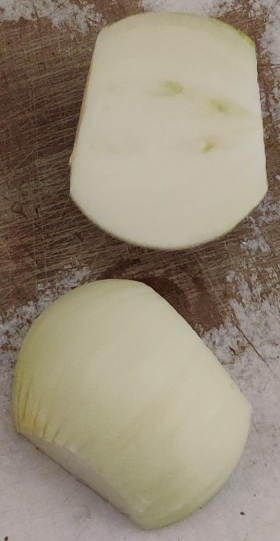
The onion was cut in half:
Onion cut in half
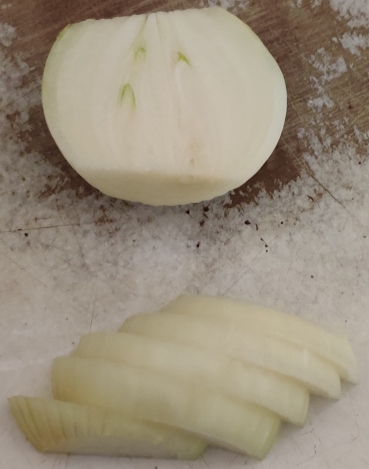
The onion half was sliced into half coins:
Onion sliced
The onion slices were chopped:
Onion chopped
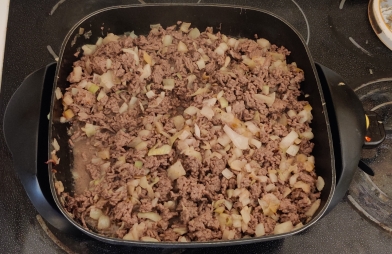
The rest of the onion was chopped, and the chopped onion was transferred to the electric frypan, and the ground beef was cut up with an egg flipper:
Onion added to electric frypan
The ground beef was broken up further, and the ground beef, cabbage, and onions were mixed together:
Ingredients broken up and mixed together
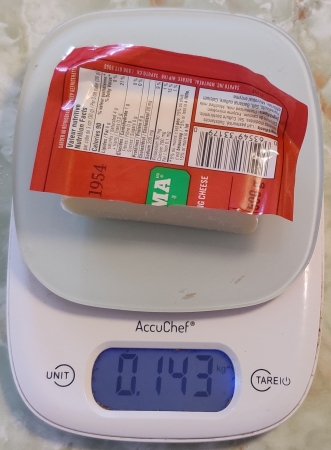
Cheese was weighed out:
Cheese weighed
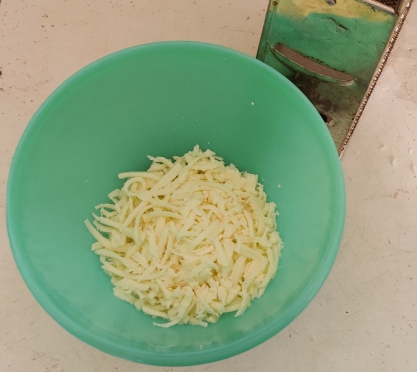
The cheese was grated:
Cheese grated
The grated cheese was transferred to a bowl, and put aside for later:
Grated cheese transferred to bowl
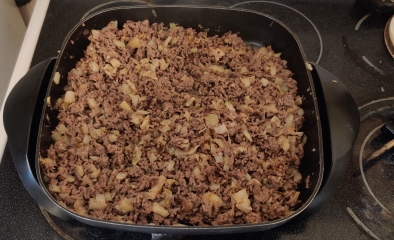
Once the meat mix was cooked, the electric frypan was unplugged:
Fried ingredients cooked
At this point, I took out a large serving plate and a kitchen knife in anticipation of the bread machine dough cycle completing:
Large plate and kitchen knife taken out
The bread machine finished its dough cycle:
Bread machine dough cycle complete
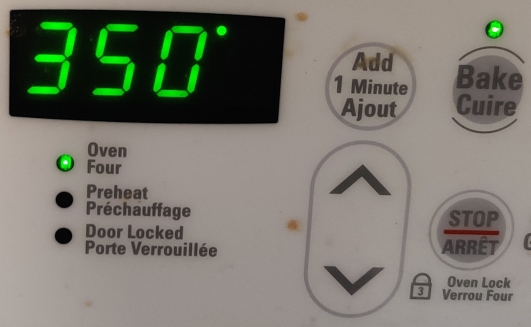
At this point, I started to preheat the oven, set to 350F, and one of the racks was placed in the top position (photo taken after preheating):
Oven preheated to 350F
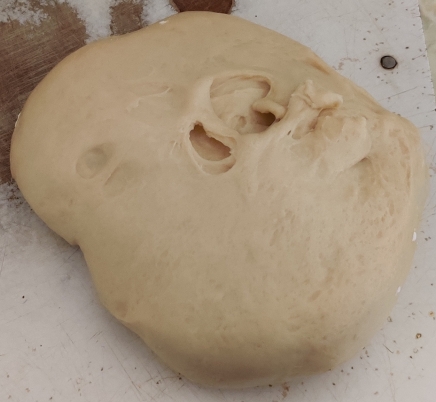
The dough was taken out of the bread machine basket:
Dough taken out of bread machine
At this point, to get 24 roughly similarly sized balls of dough, I am using what I call the “Jamie Oliver Method” because I saw Jamie Oliver use this method on one of his shows with bread dough:
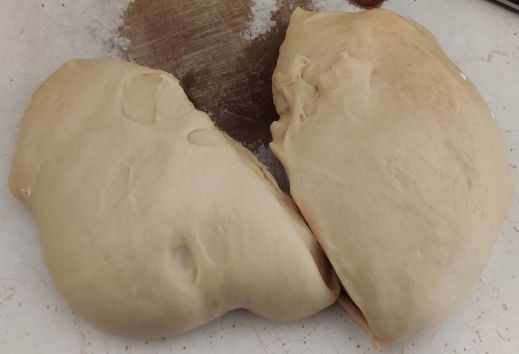
Cut the dough in half (2 pieces);
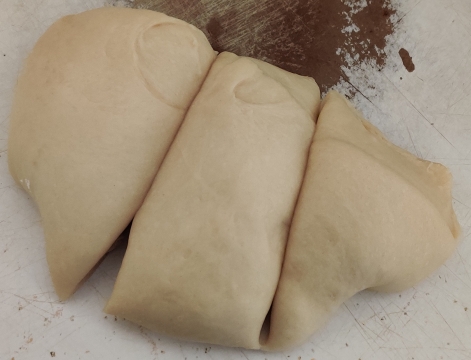
Cut each half into three pieces (2 x 3 = 6 pieces);
Cut each “third of a half” into four pieces (6 x 4 = 24).
I concede that Jamie Oliver would have you roll the dough into a long log first to further help with estimating making the sizes relatively even.
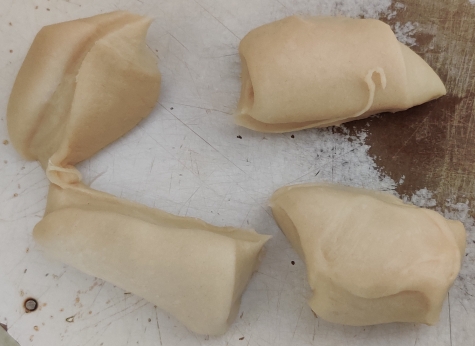
The dough was cut in half:
Dough cut in half
One of the dough halves was cut in three:
Dough half cut into three pieces
One of the pieces was cut in four:
Dough piece cut into four pieces
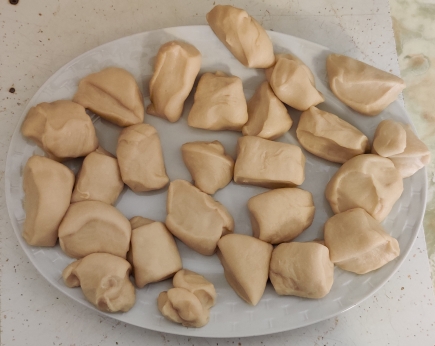
The rest of the bread dough pieces were cut up, resulting in 25 pieces, which eventually were reduced to 24 pieces:
25 bread dough pieces (which will be integrated into 24)
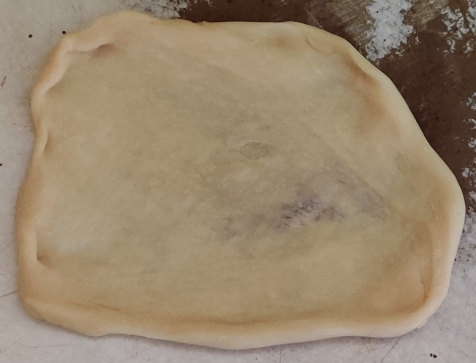
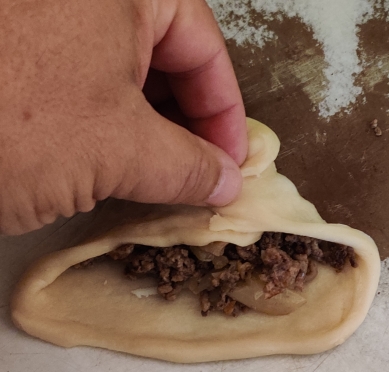
A bread dough pieces was placed on the cutting board, and flattened and stretched out:
Bread dough piece flattened on cutting board
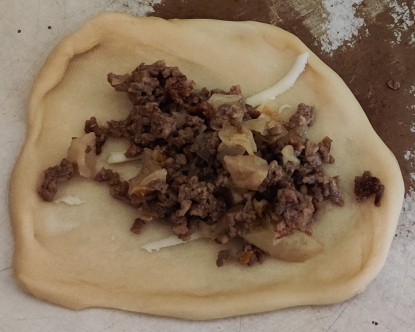
Some shredded cheese was placed in the centre of the piece of flattened bread dough:
Shredded cheese placed on flattened bread dough
Some cooked meat mix was placed on top of the shredded cheese on the piece of flattened bread dough:
Cooked meat mix placed on flattened bread dough
I began to stretch the edges of the flattened bread dough, pulling them together and covering the filling:
Bread dough edges stretched and brought together
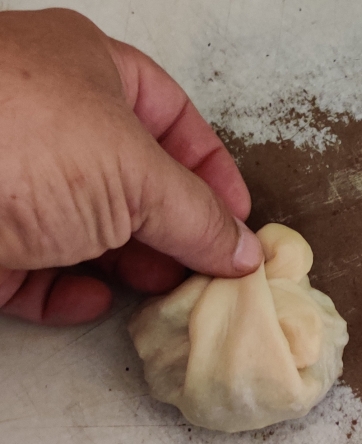
All of the edges were brought together and the edges were pinched together:
Stretched bread dough edges brought together
Stretched bread dough edges brought together
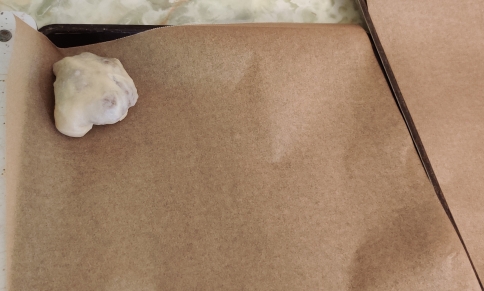
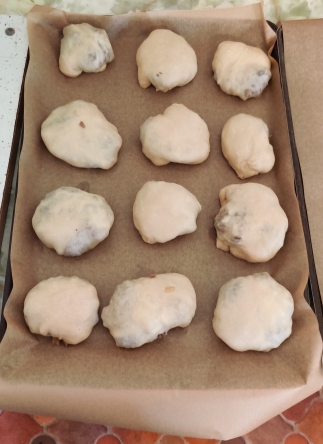
The resulting ball of stuffed bread dough was placed on the parchment paper on one of the trays, pinched edges face down:
Stuffed bread dough ball placed edges down on baking tray
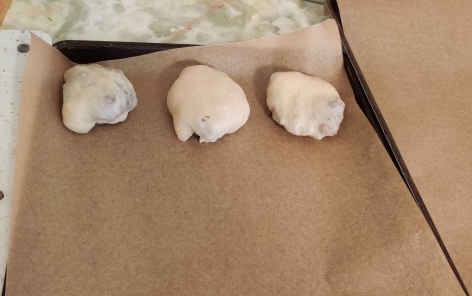
The process was repeated with more pieces of bread dough and more cooked meat mix and shredded cheese:
Stuffed bread dough balls placed edges down on baking tray
Stuffed bread dough balls placed edges down on baking tray
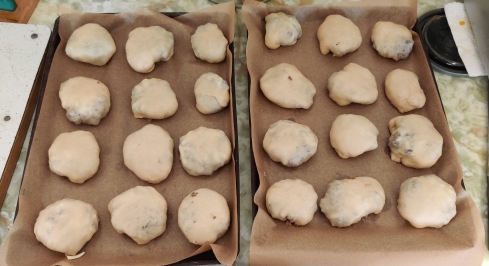
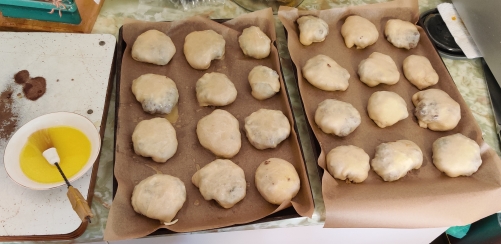
The process was continued until there were 24 units:
24 units on baking trays
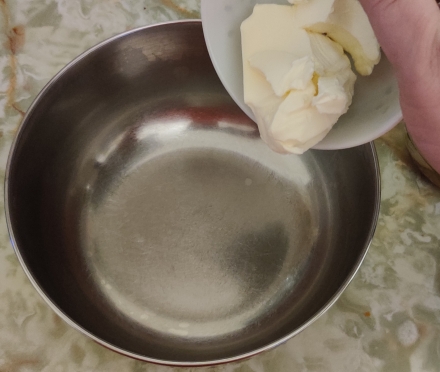
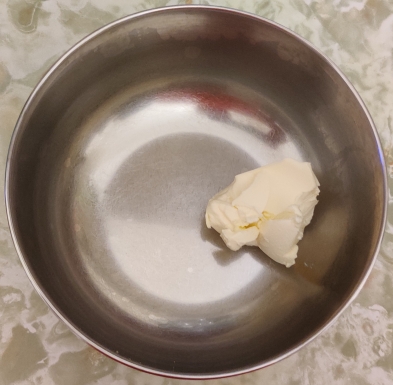
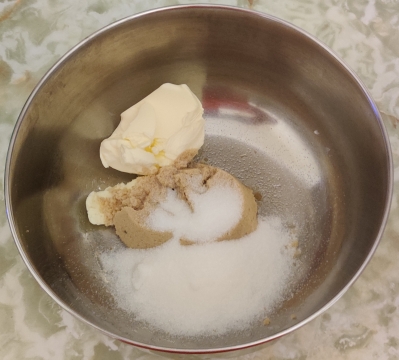
Margarine, a bowl, and a spoon were taken out:
Margarine, bowl, and spoon taken out
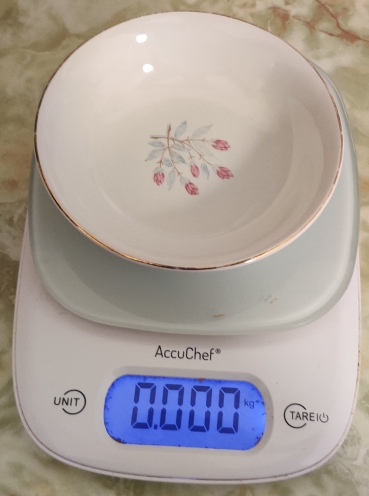
The empty bowl was placed on the kitchen scale, which was set to zero:
Kitchen scale set to zero with bowl on it
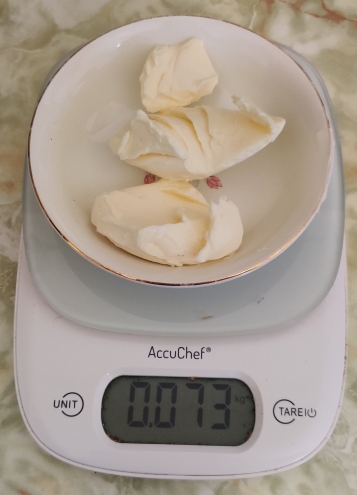
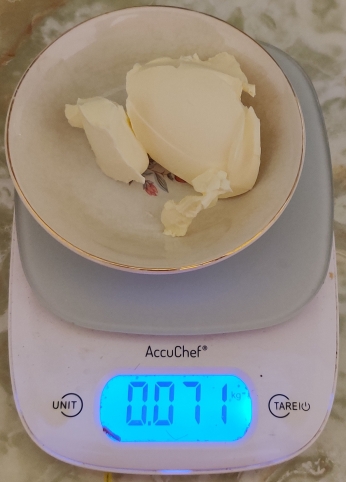
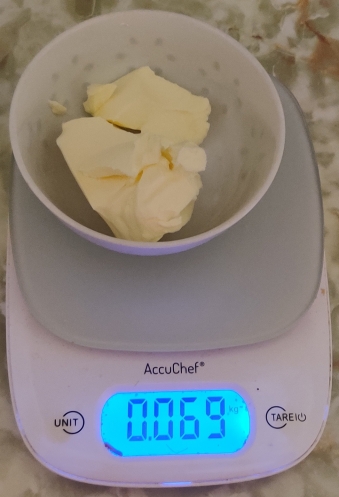
Margarine was weighed out, about five tablespoons’ worth, in the area of about 70g to 73g:
Margarine weighed out
The bowl of margarine was placed in the microwave oven (1100 watts):
Margarine placed in microwave oven
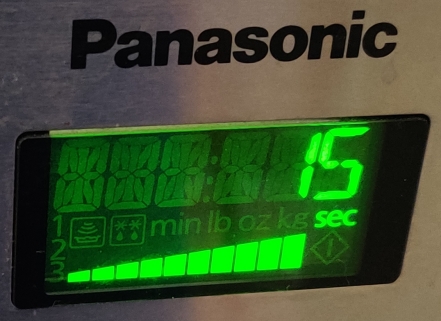
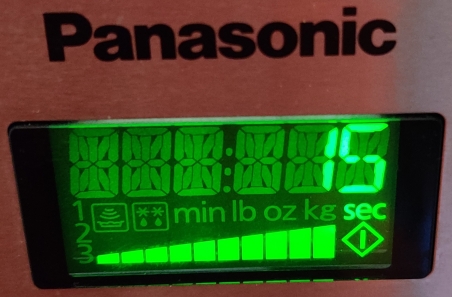
The microwave oven was set to 15 seconds:
Microwave set to 15 seconds
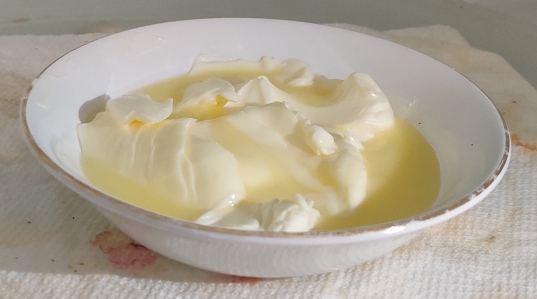
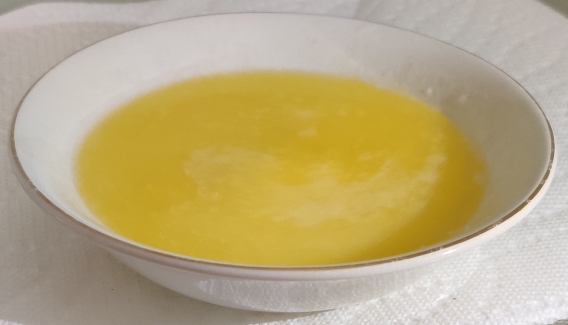
The margarine was partly melted:
Margarine partly melted
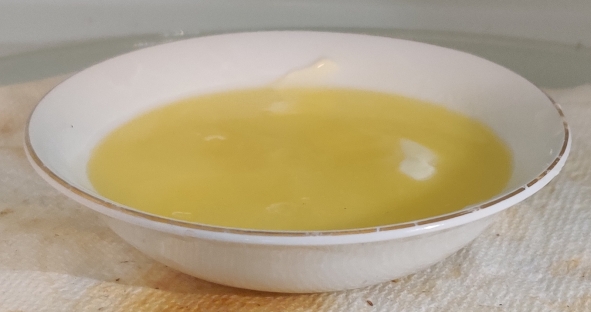
The microwave oven was set again for 15 seconds, and the margarine was mostly melted:
Margarine melted
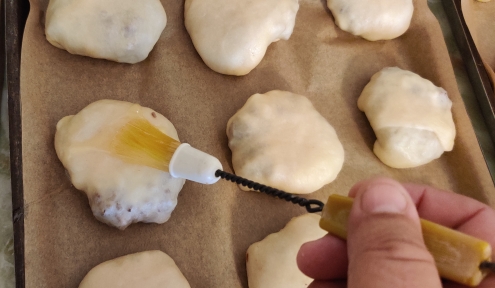
A food brush was used to brush the melted margarine on to the bierocks …
Melted margarine brushed onto bierocks
Melted margarine brushed onto bierocks
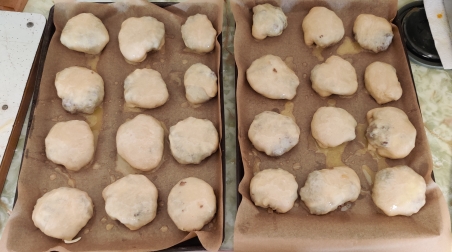
… until all units had been basted and all the melted margarine had been used:
Melted margarine brushed onto bierocks
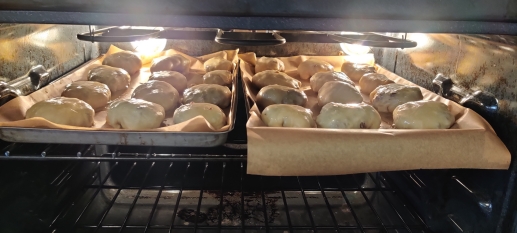
The trays of bierocks were placed in the oven:
Baking trays with bierocks placed in oven
The stove timer was set to 22 minutes:
Timer set to 22 minutes
Cooling racks were taken out while the bierocks were baking:
Cooling racks taken out
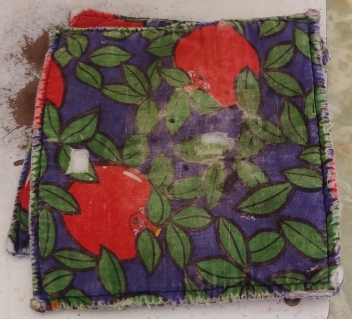
Pot holders were taken out:
Pot holders taken out
At about halfway through the baking, the trays with the bierocks were rotated back to front within the oven:
Baking trays rotated back to front part way through baking
At the end of the baking period, I turned on the broiler to brown the tops of the bierocks:
Broil cycle turned on at end of baking
… and the oven timer was set to two minutes:
Timer set to 2 minutes of browning
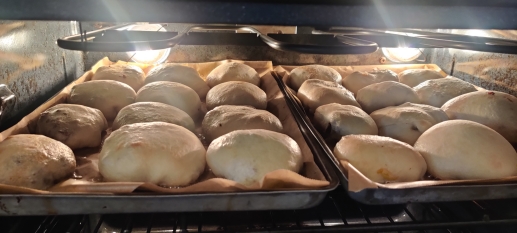
Here’s a photo of the bierocks as they were browning under the broiler:
Bierocks browning under broiler
After the two minutes under the broiler, the bierocks were taken out of the oven:
Baking trays with bierocks taken out of oven
The bierocks were transferred to the cooling racks:
Bierocks placed on cooling racks
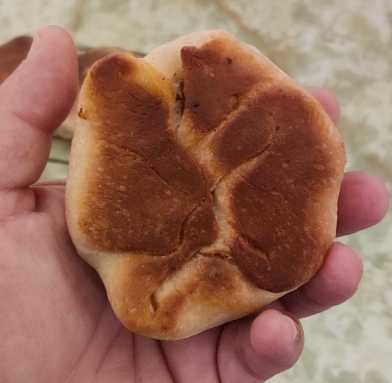
A bierock was picked up to check the bottom where the pinched edges of the dough had been brought together to show how it baked (but … not seamlessly! 🙂 )
Underside of a bierock
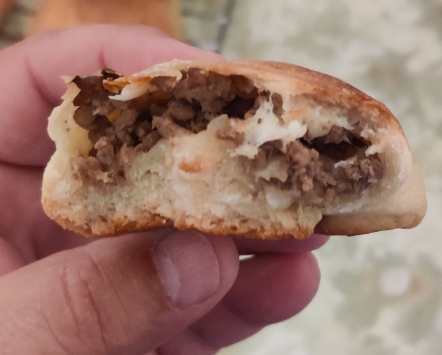
I bit into the fresh bierock … yummy!
Inside of a bierock — Yummy!!!
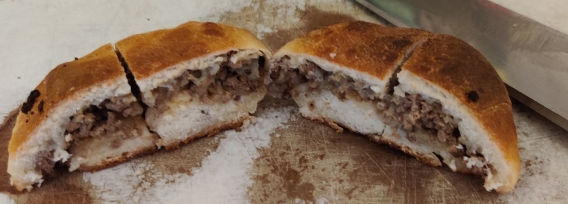
A bierock was placed on a cutting board with a kitchen knife:
Bierock and knife placed on cutting board
The bierock was cut into four pieces:
Bierock sliced into four pieces for freezing
Several bierocks were cut up into quarters, because bierock pieces have become part of my usual breakfasts:
Bierocks sliced into four pieces for freezing
… and the cut up bierocks were placed in a freezer bag for freezing:
Bierock pieces placed in freezer bag
The bag of bierock pieces was placed in a freezer for future eating as part of my daily breakfasts.
Using your computer of course requires some software beyond the base operating system; fortunately, most desktop linux distributions not only have repositories of freely installable software, often more common software as decided by the distro’s maintainers are pre-installed on the system at the same time as system installation.
This post is concentrating on the popular office suite LibreOffice which includes a drawing program, a word processor, a spreadsheet application, and a database application. While this post will show a few functions of each part, it is in no way intended to be a tutorial, but rather a cursory demonstration of each, leaving the exploration of each to you, the reader.
In this post I occasionally refer to operating systems beyond Linux. Also, contrary to my usual habit of not editorializing in this series, I offer the following: Many Linux software suites are largely, although importantly, not completely compatible with other known equivalents on other systems. They will often be able to open and edit files created by them; however, the compatibility and drop-in replacement value of each piece of software for the other (regardless of in which order) is often variable, sometimes quite substantially.
Note that occasionally, some screenshots were taken at different times for the sake of completeness, but presented in the order seen here, for the sake of the narrative.
Pinning Apps to the Dock:
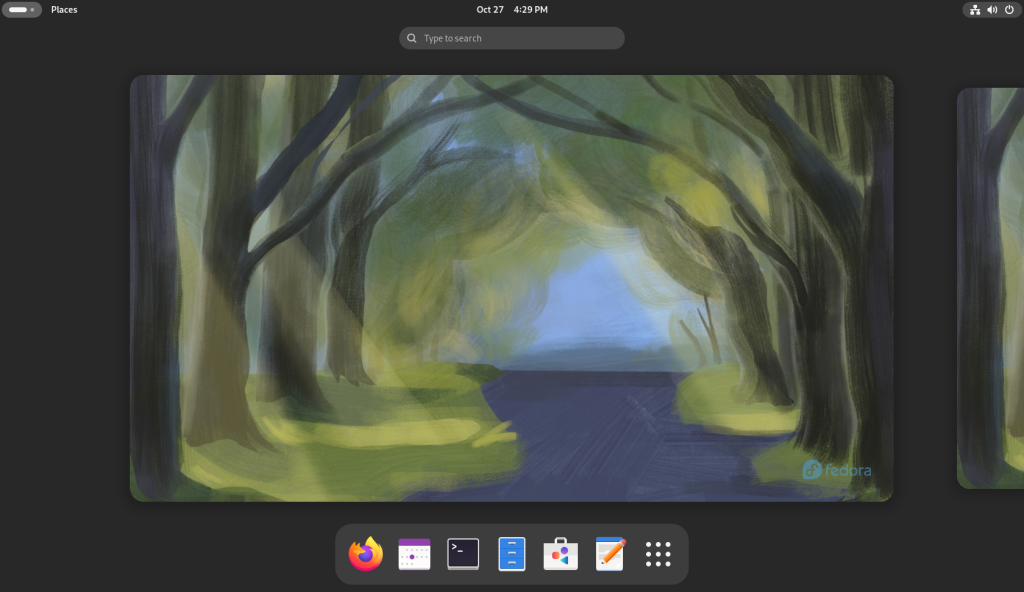
Start from the Activities (hot corner in the upper left hand corner (the horizontal bar; either just quickly move the mouse there, or if necessary, click on the the horizontal bar):
Activites screen
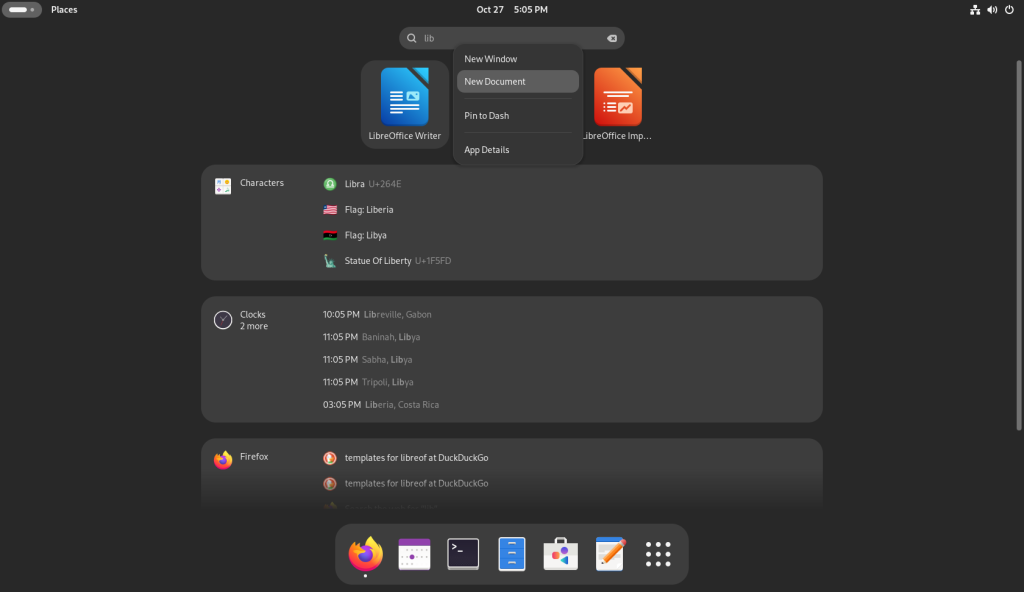
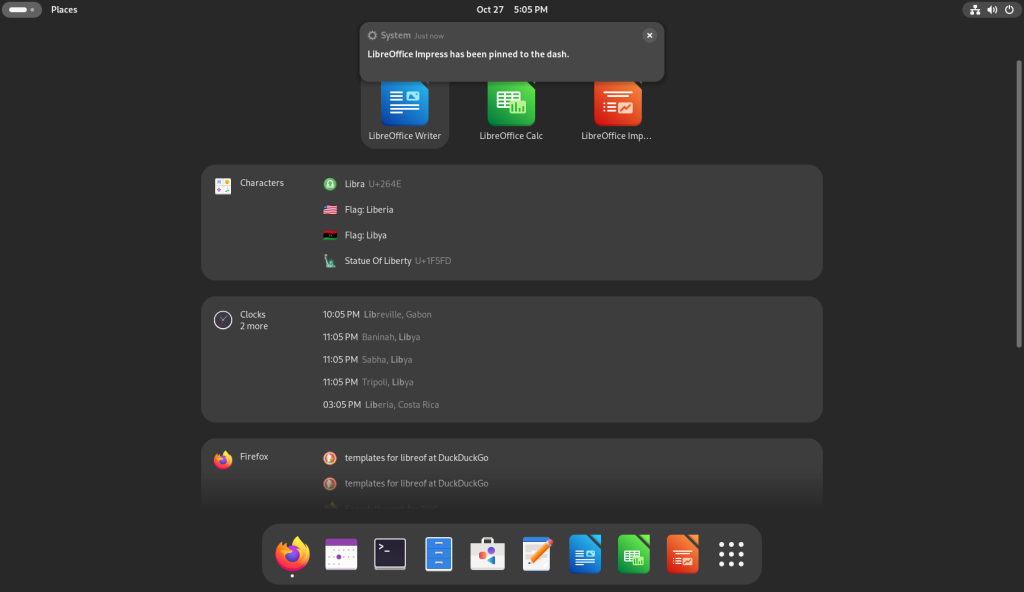
I searched for “Lib” which brought up three of LibreOffice’s apps: Writer, Calc, and Impress, and I right clicked each one …
Searching for installed LibreOffice components
… each of which I pinned to the dock at the bottom, one at a time:
Pinning icons to the dock
Templates:
Note: In this post, the use of existing document templates found on the internet will be generously relied upon in order to demonstrate in a cursory fashion some of the resources available to desktop users — both of free software packages and other systems as well — as well as to simplify the mounting and development of the narrative using said existing documents. The site www.freedesktop.org, by happenstance, is frequently used, as is the templates section of www.libreoffice.org. Of note, especially on the former site, there are a number of templates which are in languages other than English, and some which have been on the site for several years, using older formats. Hopefully, the language barriers as the cases may be will not be too difficult to surmount given online translation services, while the older file formats are normally seamlessly supported by current software suites, with the ability to save in modern formats.
Users are of course free to create documents from scratch as they would on any system.
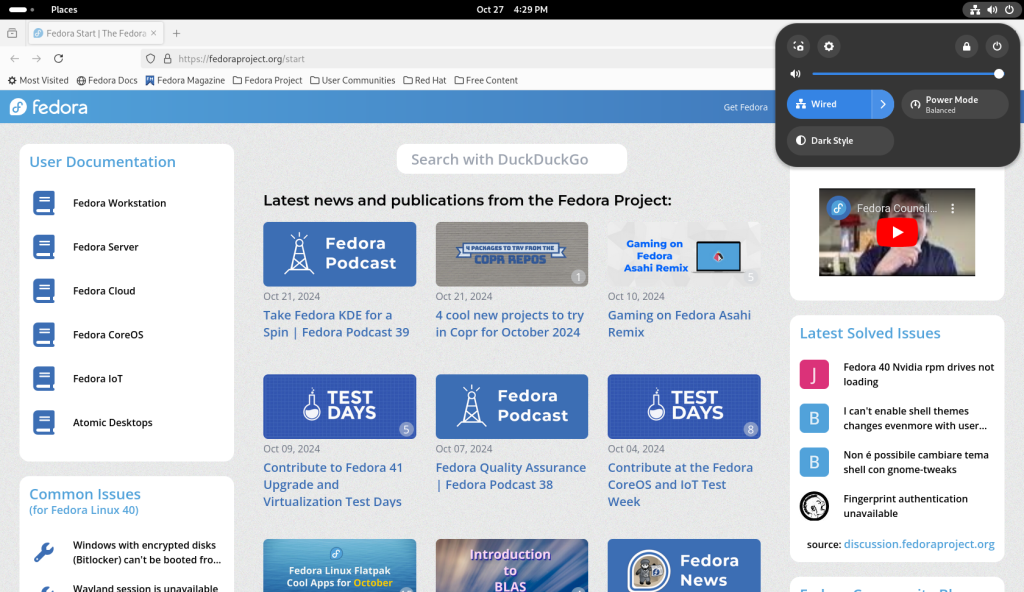
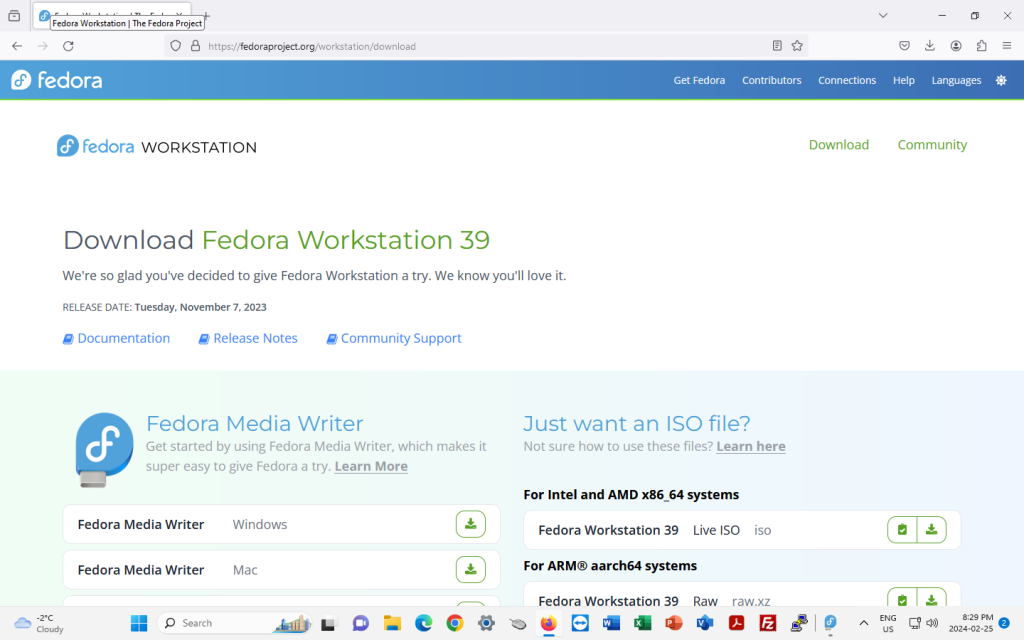
Going back to the activities screen, choose the Firefox icon (orange and blue, on the left at the bottom):
Firefox launched
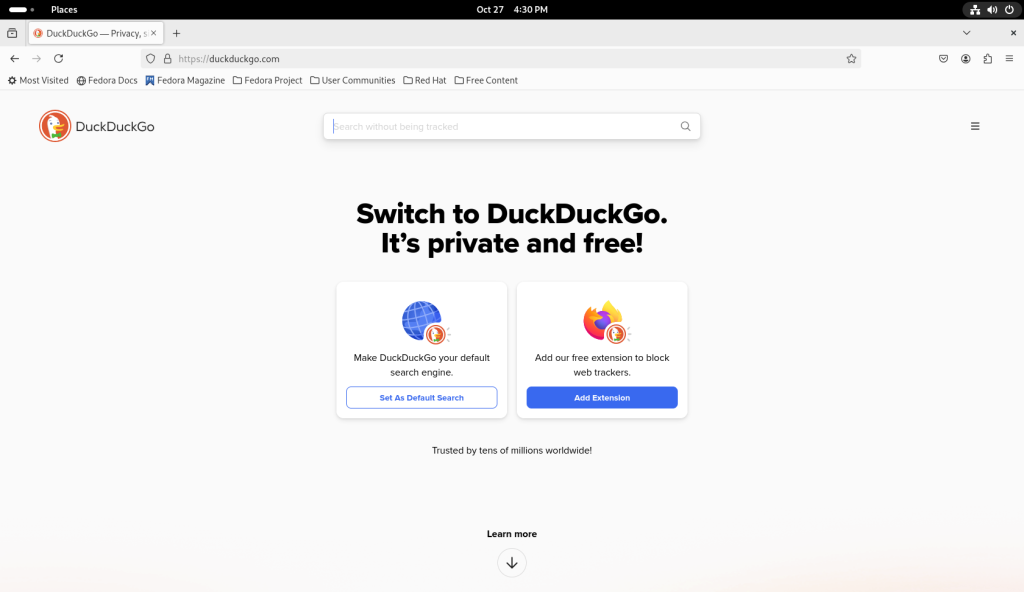
In the address bar, enter the address of a search engine, such as www.duckduckgo.com:
Navigating to a search engine
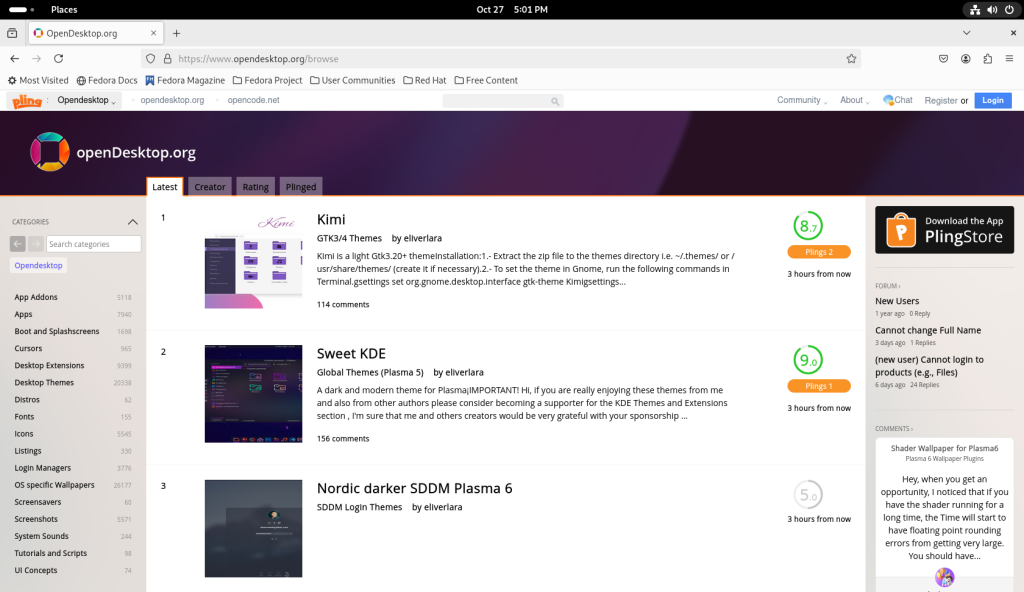
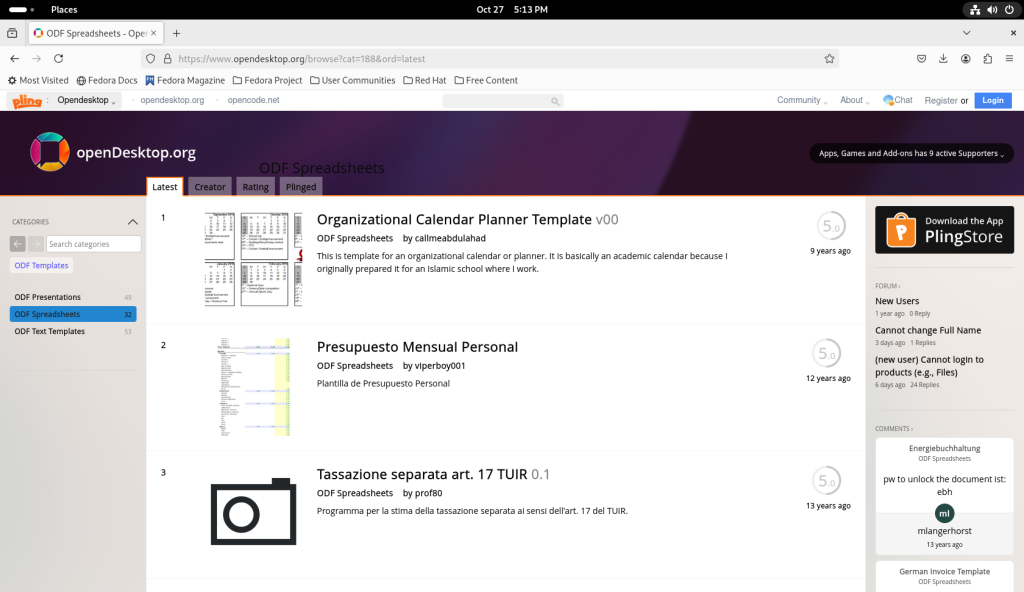
Search for templates. In this case, I specifically asked for templates appropriate for LibreOffice, which brought me to www.opendesktop.org:
Navigating to opendesktop.com
In the search bar, I searched for LibreOffice, which gave me the following options:
Searching for LibreOffice templates
… and chose for ODF Text Templates (for word processessing):
Sorting for odf files
Sorting for odf files
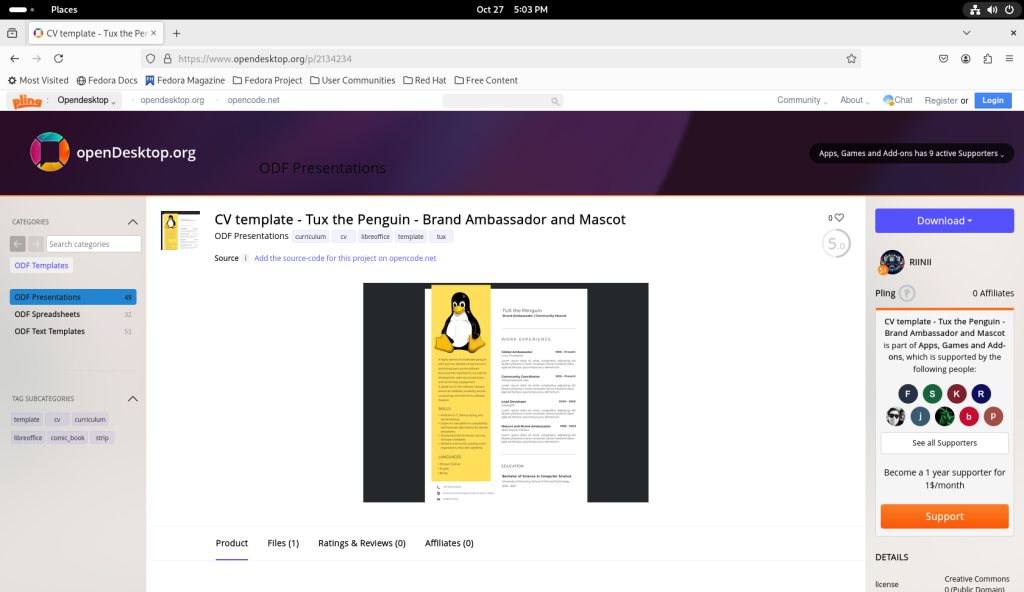
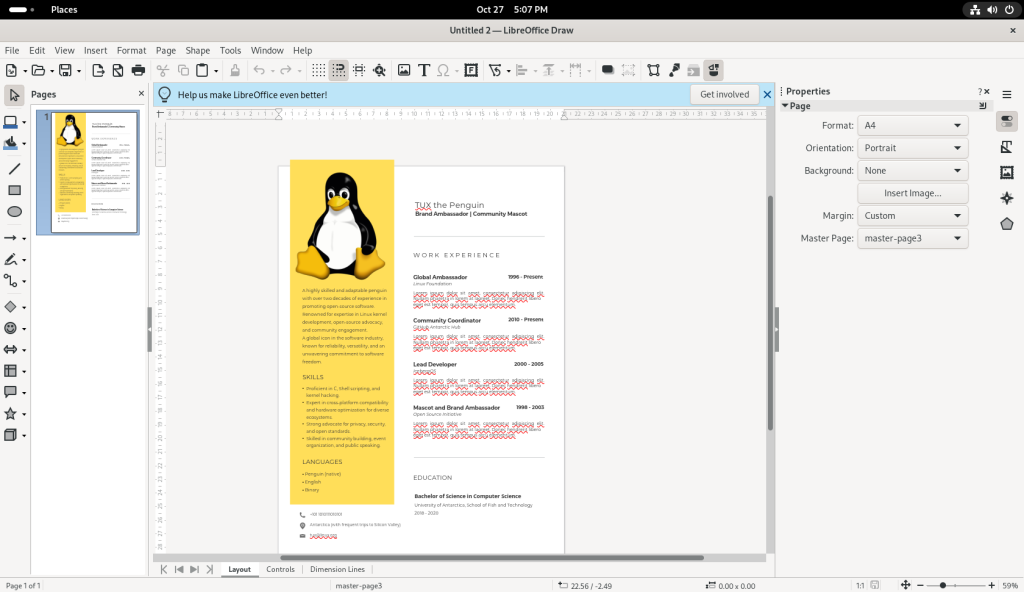
Browsing through the templates, I chose a CV template, for “Tux the Penguin — Brand Ambassador and Mascot”:
CV template chosen
… which I downloaded:
Downloading the CV template
On the activities screen, I opened up the Files application:
Files program launched
Drawing:
… and this is where I learned that the downloaded CV template was not what it seemed. 🙂
Much like other popular desktops, Fedora Linux has several fully functional and fully featured drawing software. One such piece is LibreOffice Draw, which functions similarly to Microsoft Visio, allowing for some basic-to-not-so basic graphical manipulations, editing, basic draughting, and inserting texts.
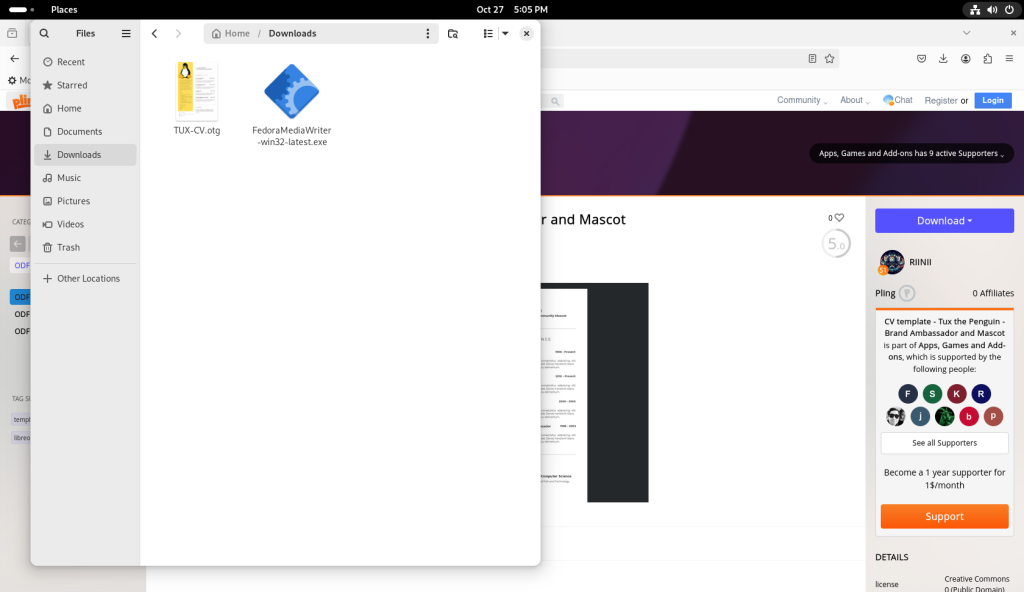
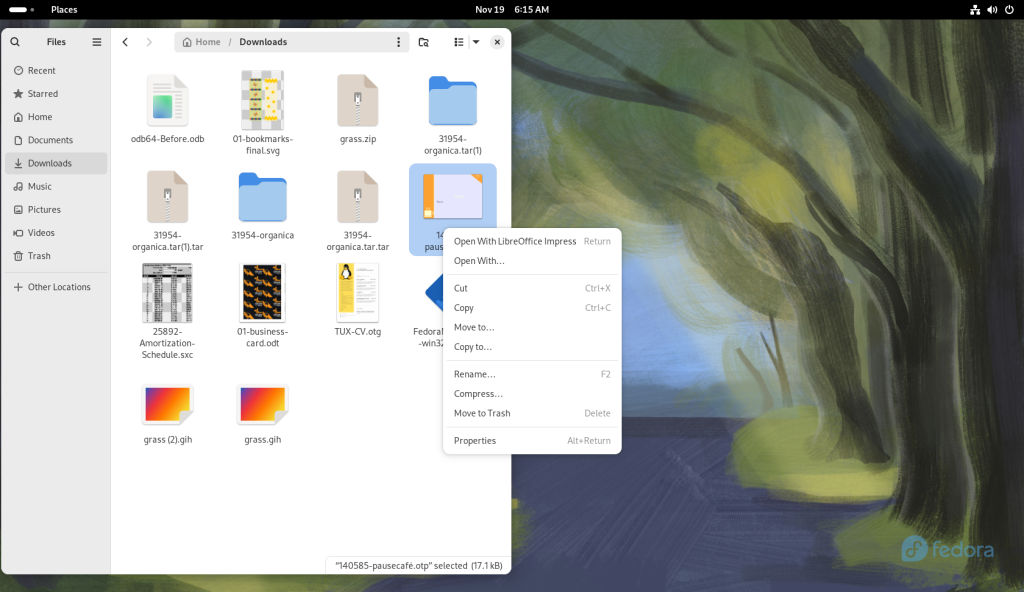
From the Files program just opened, I navigated to the Downloads directory, where the CV was located after downloading, and despite having believed that the CV I had downloaded was a text document, the file format in fact proved to be a drawing format:
Downloads directory inspected
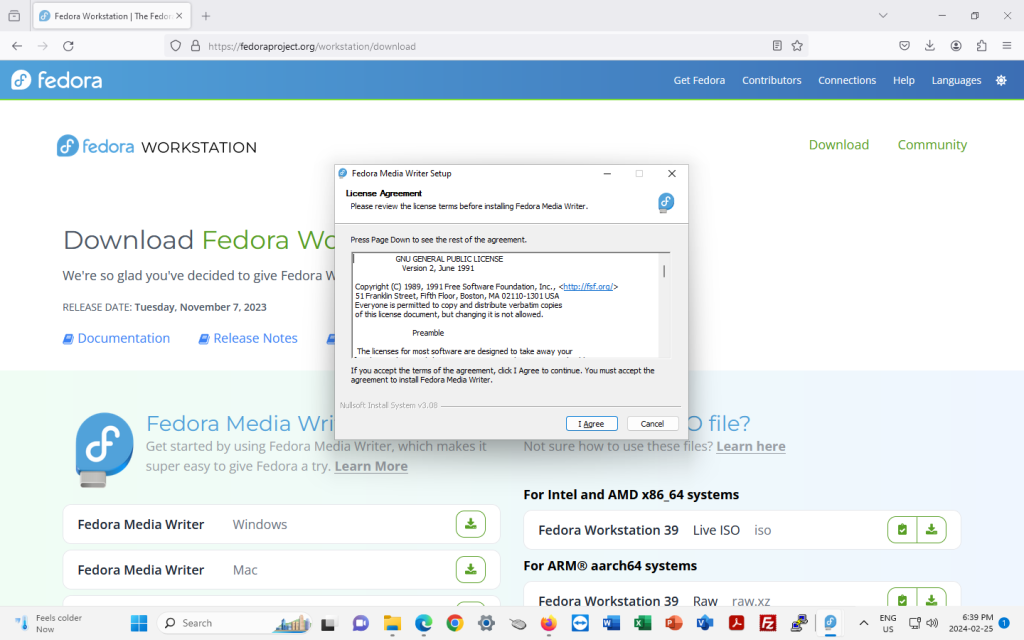
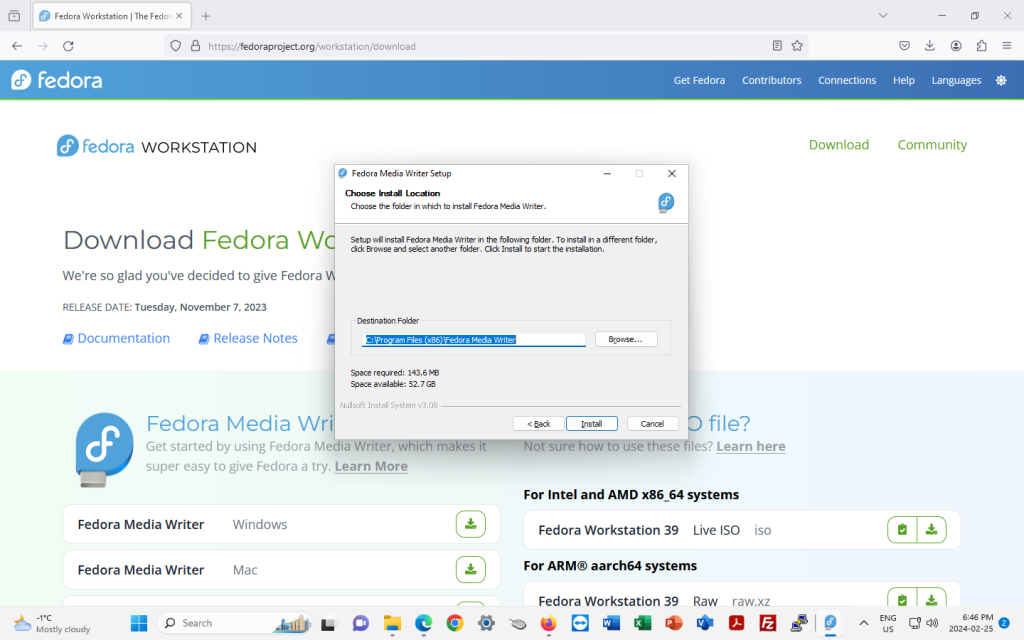
I double-clicked on the CV file, which, since LibreOffice Draw isn’t always a part of a Fedora base installation, launched the software store, and having found LibreOffice Draw in the Fedora repositories, offered to install it, which I accepted:
CV file double-clicked, launching the software store in order to install required software
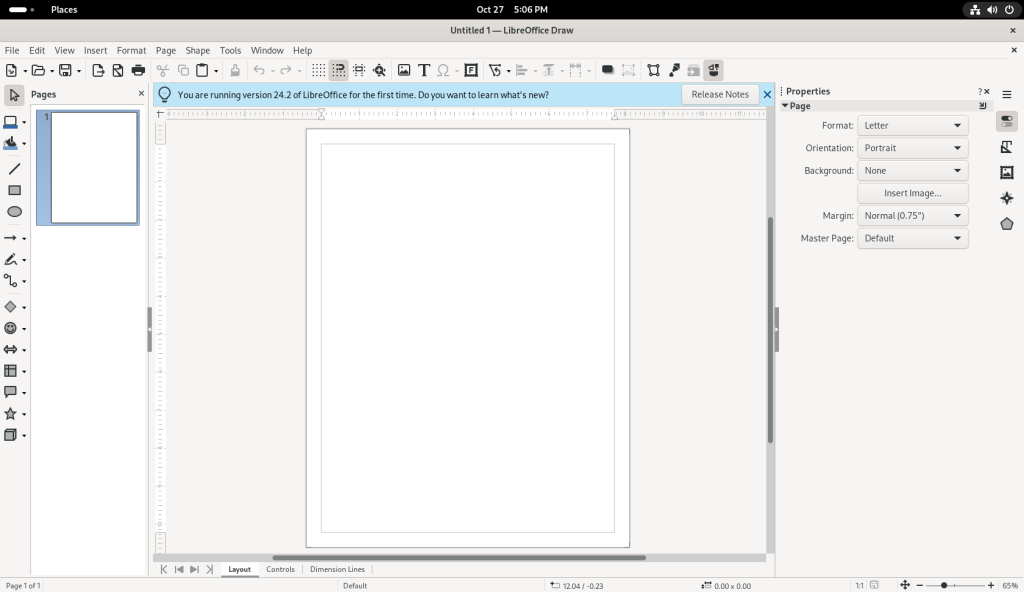
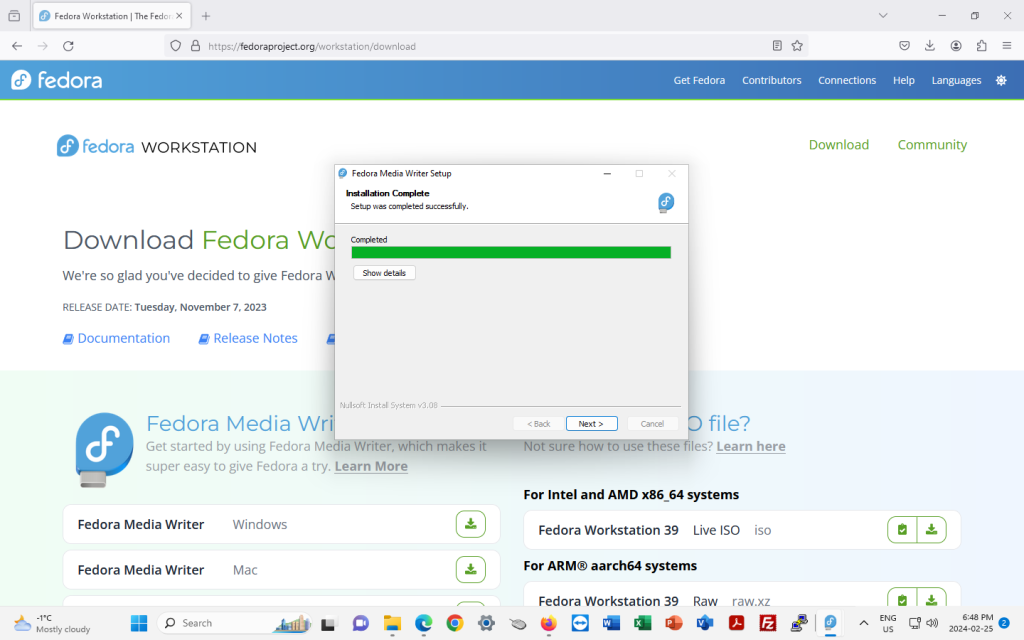
Once LibreOffice Draw had been installed, I asked that it be launched:
LibreOffice Draw installed
After closing the offer to see the “What’s New” notes, I went to the File dropdown menu to open the file:
Opening the CV template
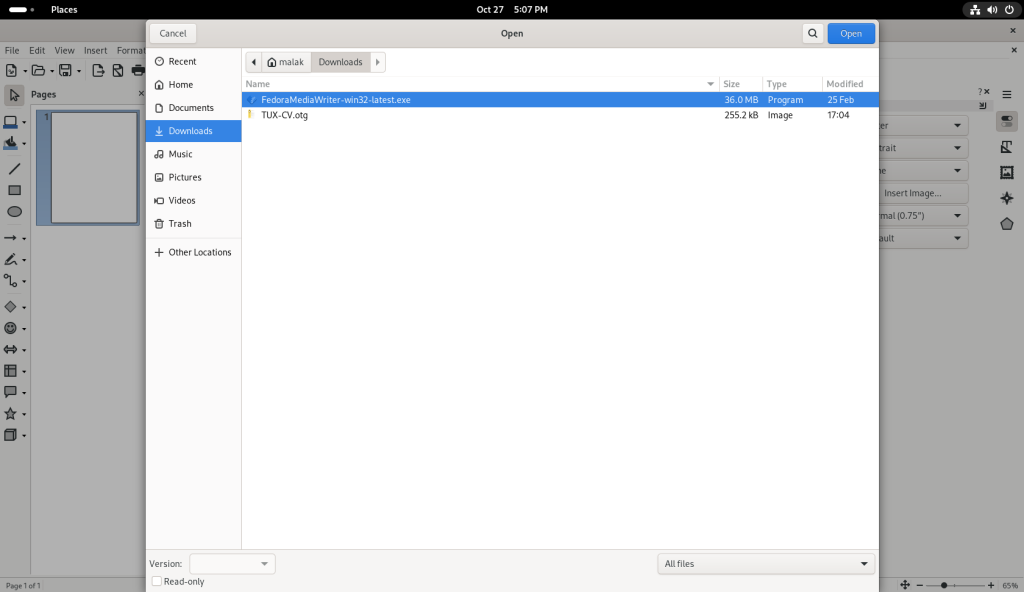
… and navigated over to the Downloads directory, where the CV was located.
Navigating to the downloads directory
I clicked on the CV file to open it:
CV file opened
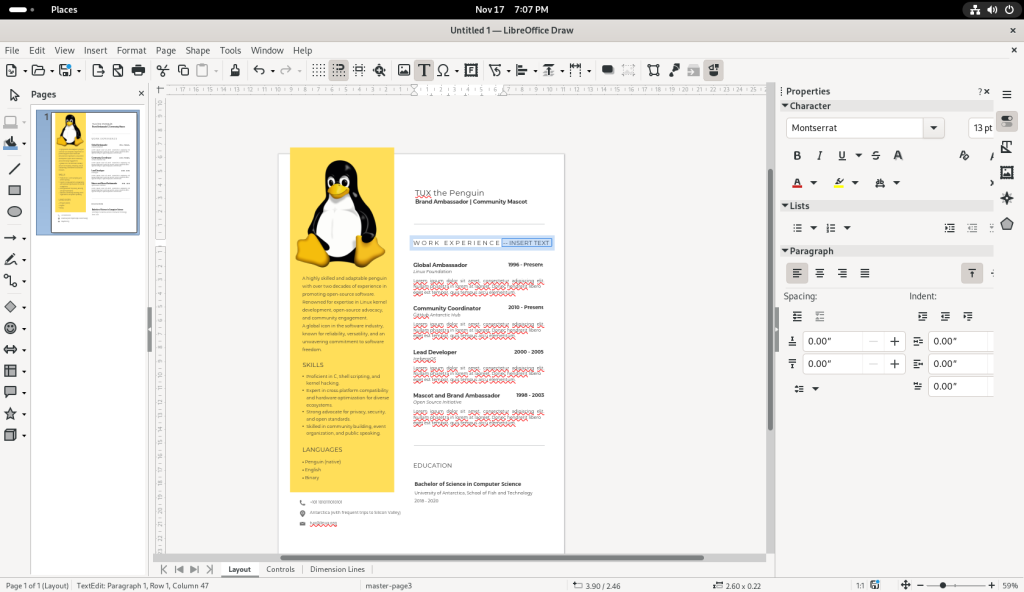
In Draw — depending on the nature of the input file — various existing texts can be modified, as well as many basic-to-not-so-basic graphical manipulations. In the case of this file, the file was designed such that the text could be modified:
Editing the text of the CV
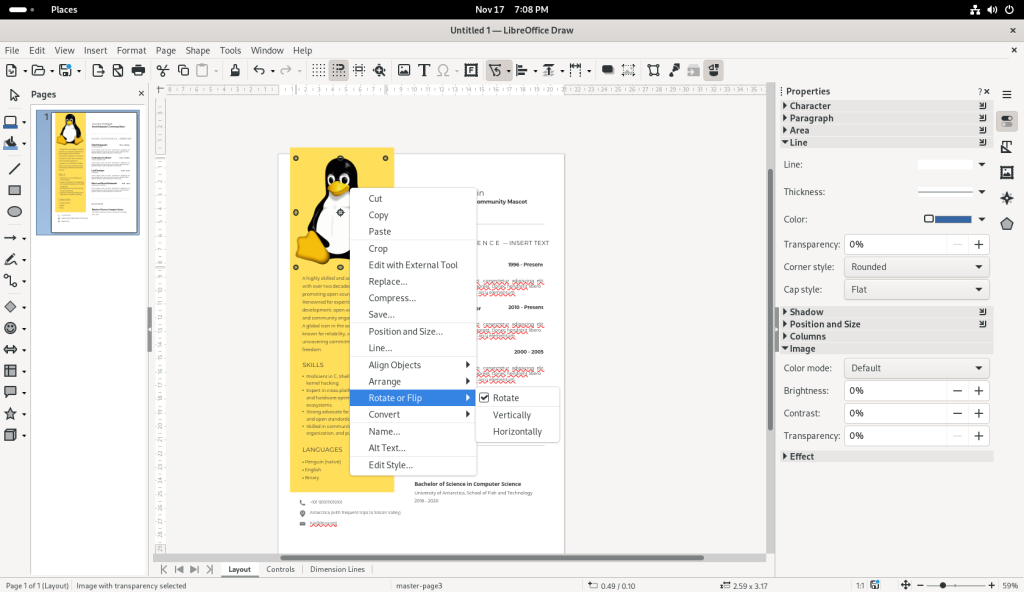
To manipulate images, the picture of Tux (the penguin) was double-clicked to select it, the right mouse button was clicked, and the “Rotate or Flip” option was selected:
Manipulating the penguin image
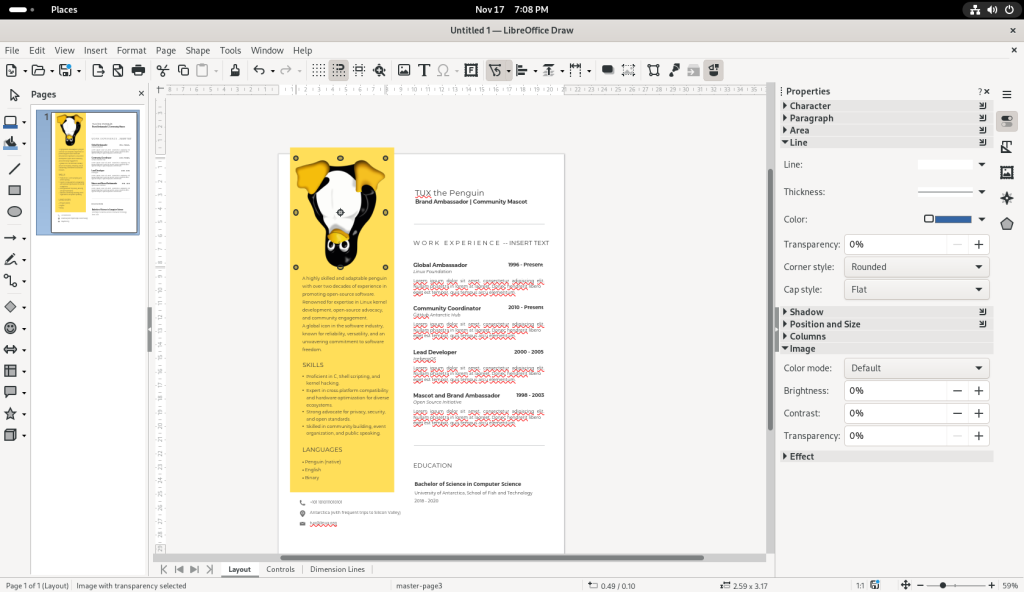
… and I chose to flip the picture of Tux upside-down:
Penguin image flipped upside down
Some modestly — or more complex — drawings, including multimedia documents such as the CV shown above, can be created and / or modified, which I leave to the reader to explore.
Word Processor:
Much like other popular desktops, Fedora Linux has several fully functional and fully featured word processing software suites. One of the more popular such pieces is LibreOffice Writer.
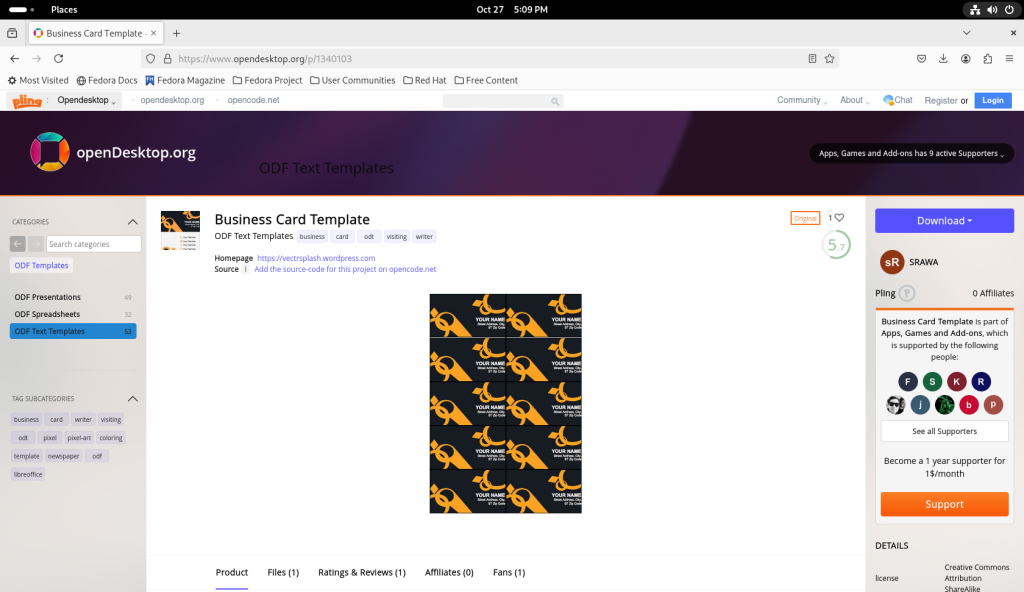
I returned to the opendesktop.org website, and chose a business card template to open in a word processor — LibreOffice Writer.
I navigated to find a business card template:
opendesktop.org template for business cards
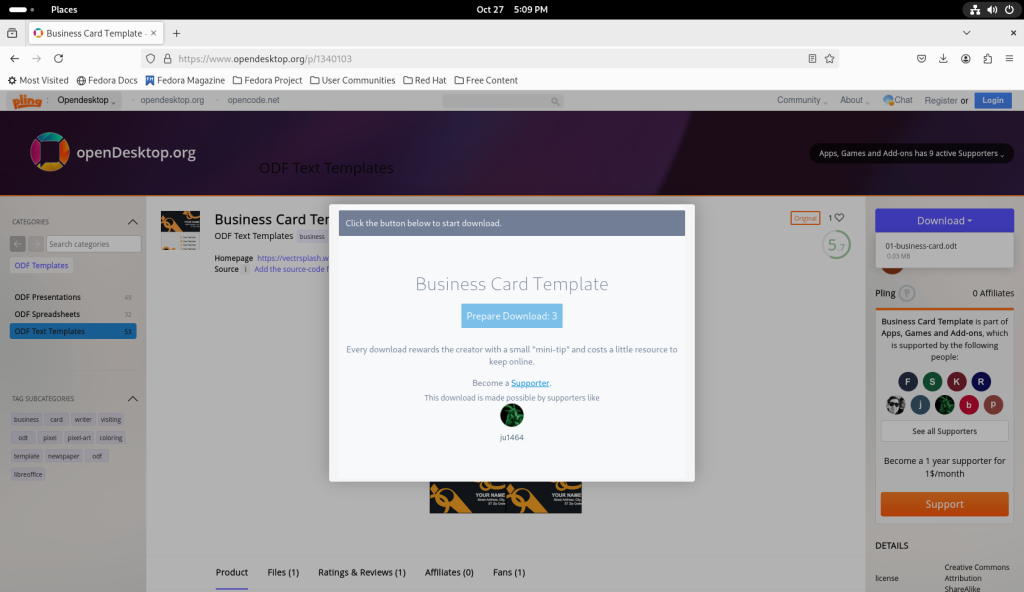
… and downloaded the file:
Business card template downloaded
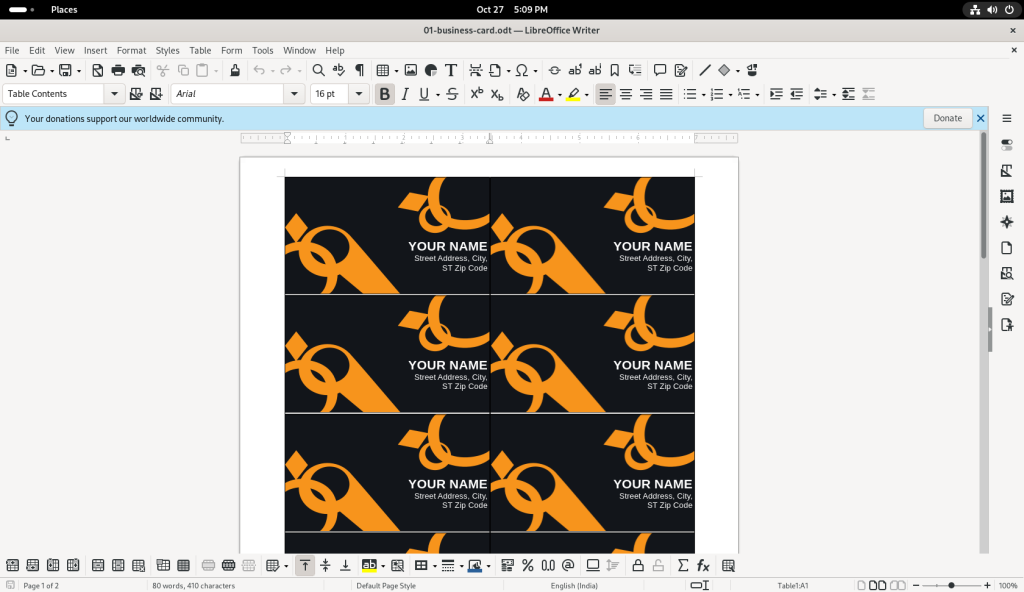
Similar to how the CV above was opened, the business card template was opened, without having to go through the installation of LibreOffice Writer:
Business card template opened in LibreOffice Writer
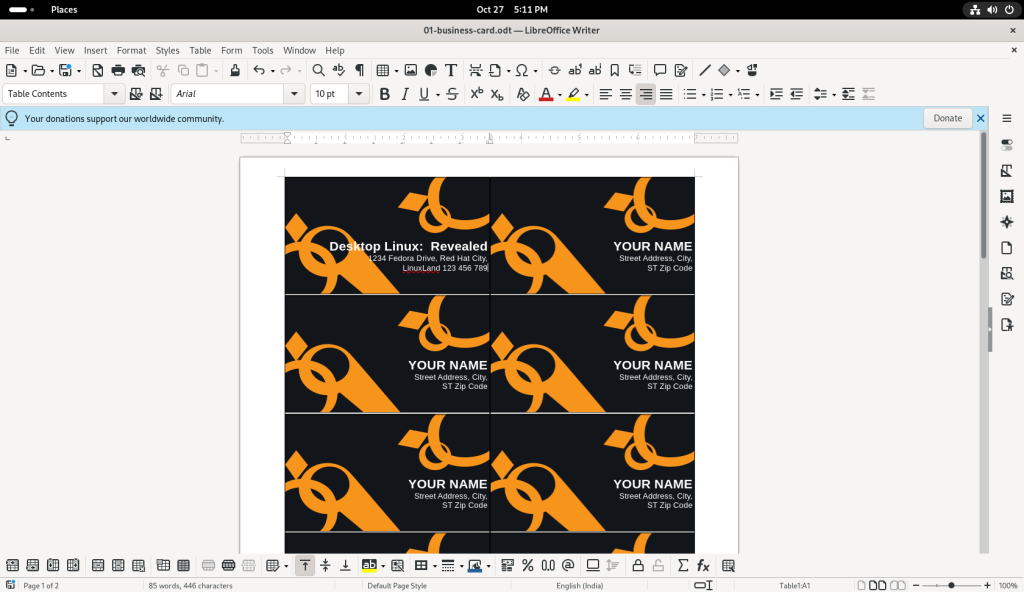
The text of the first card was changed to a “Desktop Linux: Revealed” theme:
Name and contact details on first card changed
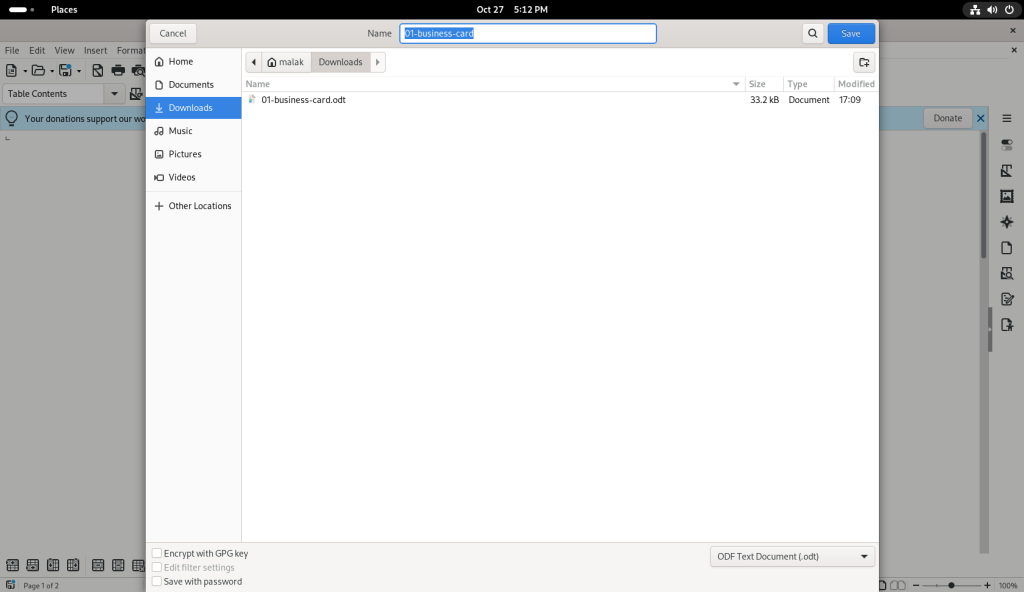
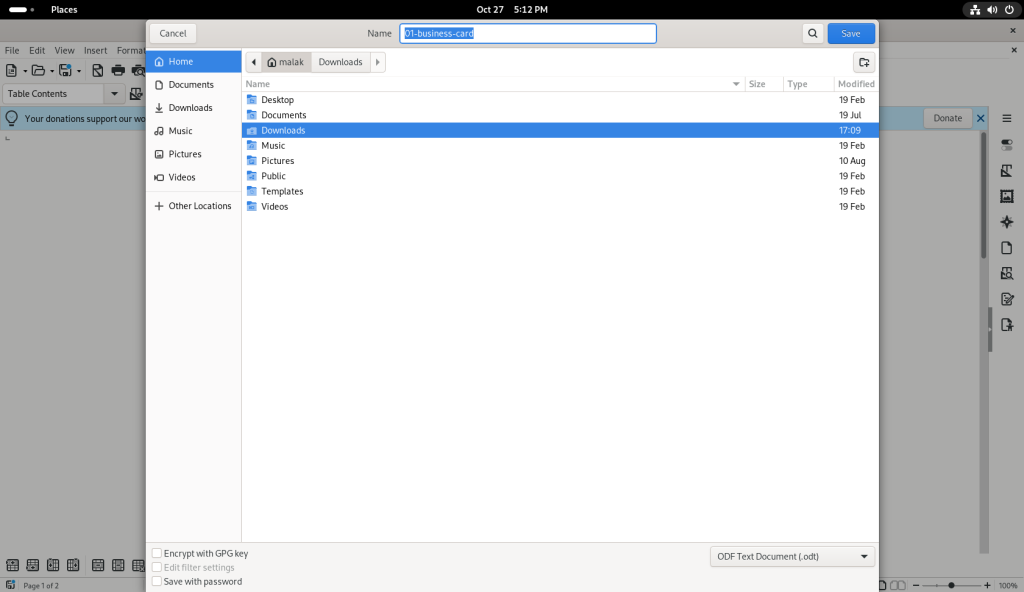
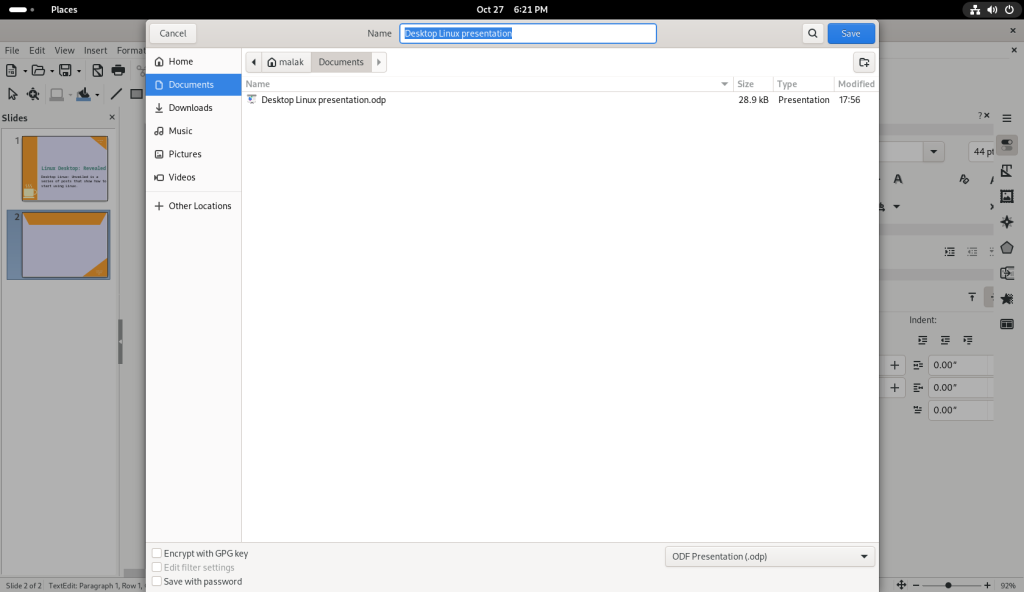
The modifications were also saved:
Saving modified business card file
Saving modified business card file
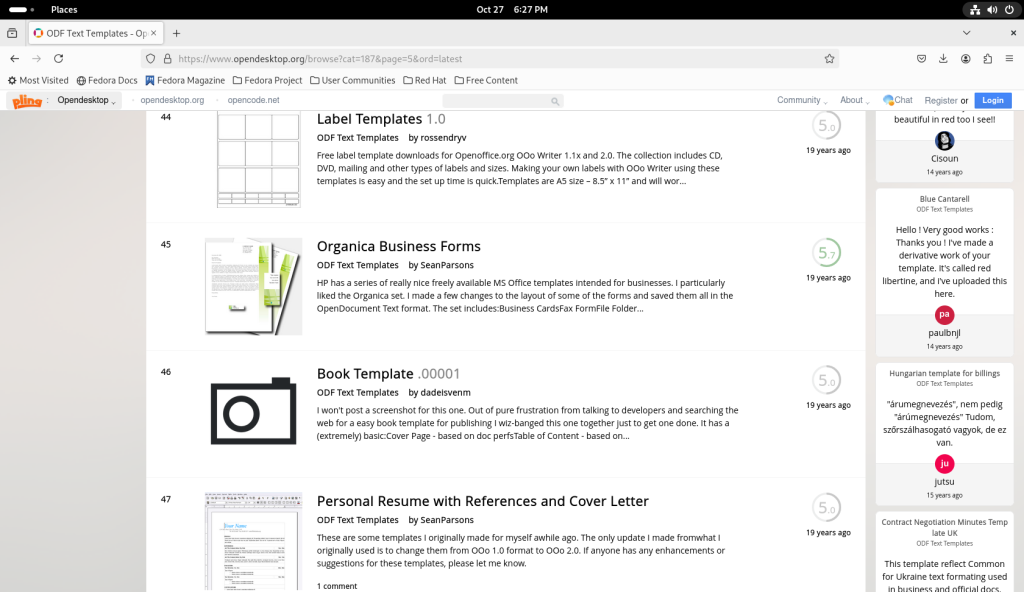
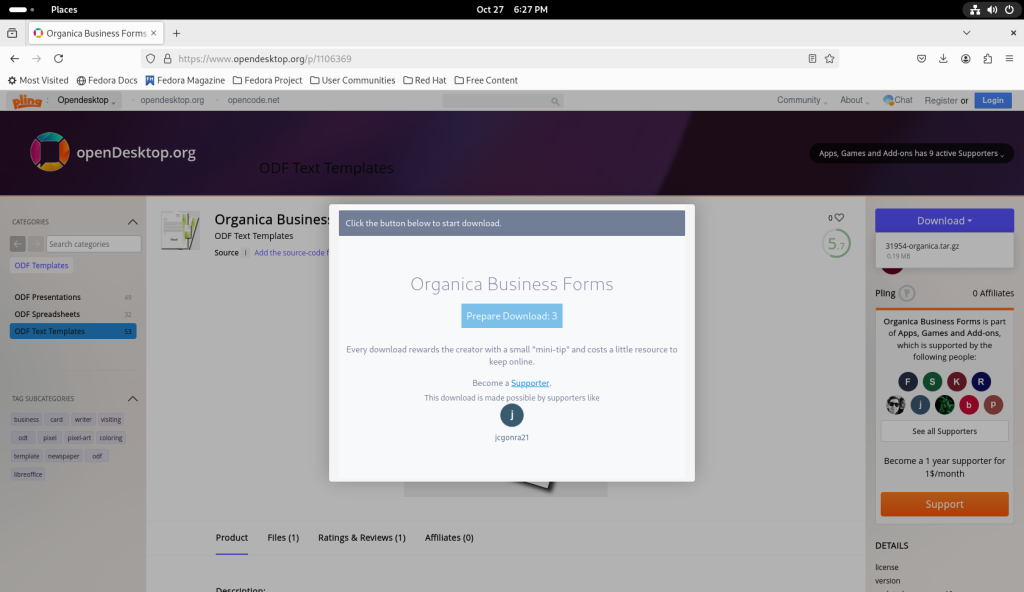
Returning to the opendesktop.org templates, I chose the “Organica Business Forms” to download:
More Writer templates viewed
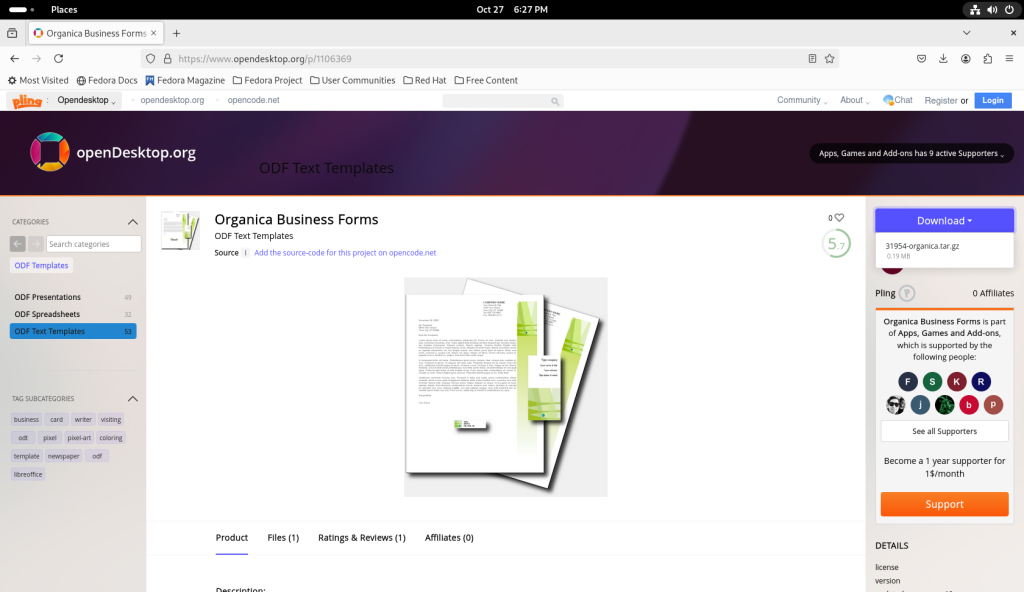
The page for the Organica Business Forms was opened:
Business Forms template page
… and the file downloaded:
Downloading template
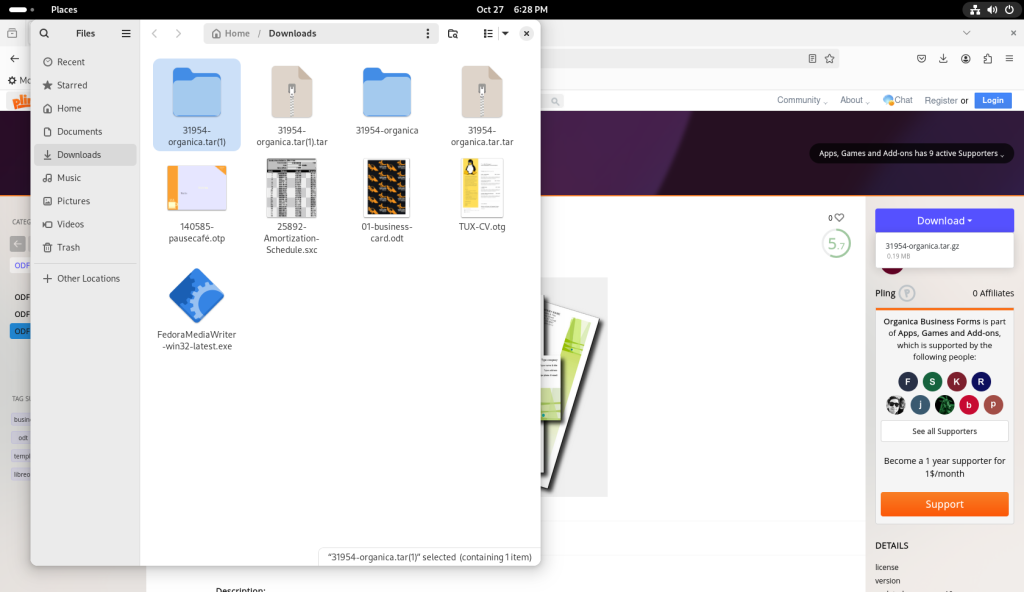
Template downloaded and directory opened
The business forms were compressed in the .tar format, analogous to .zip files:
Directory with downloaded file, which was double clicked
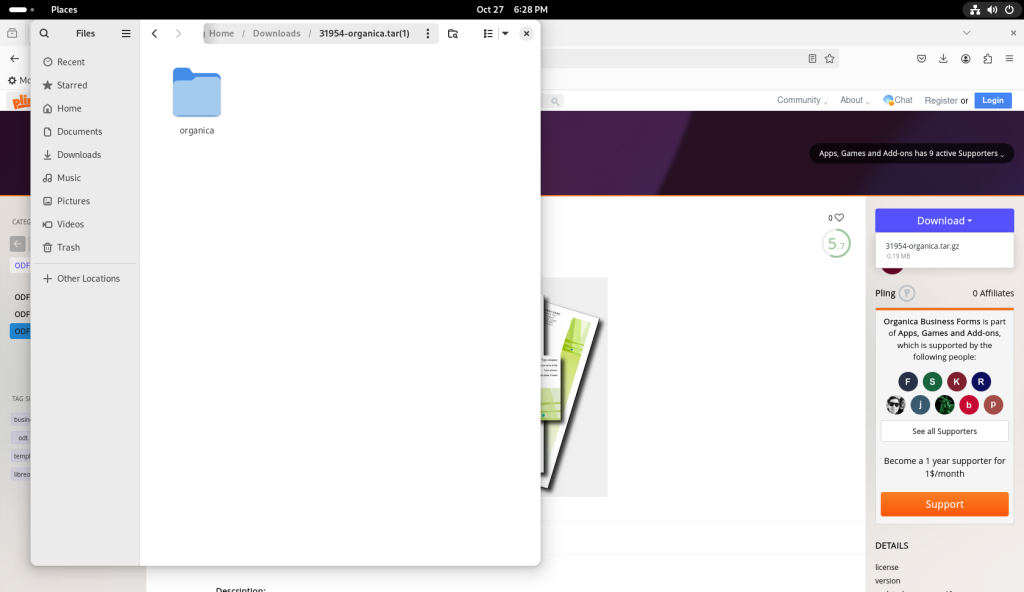
The archive was double-clicked, revealing a directory contained within:
.tar file double clicked, opening up the archive
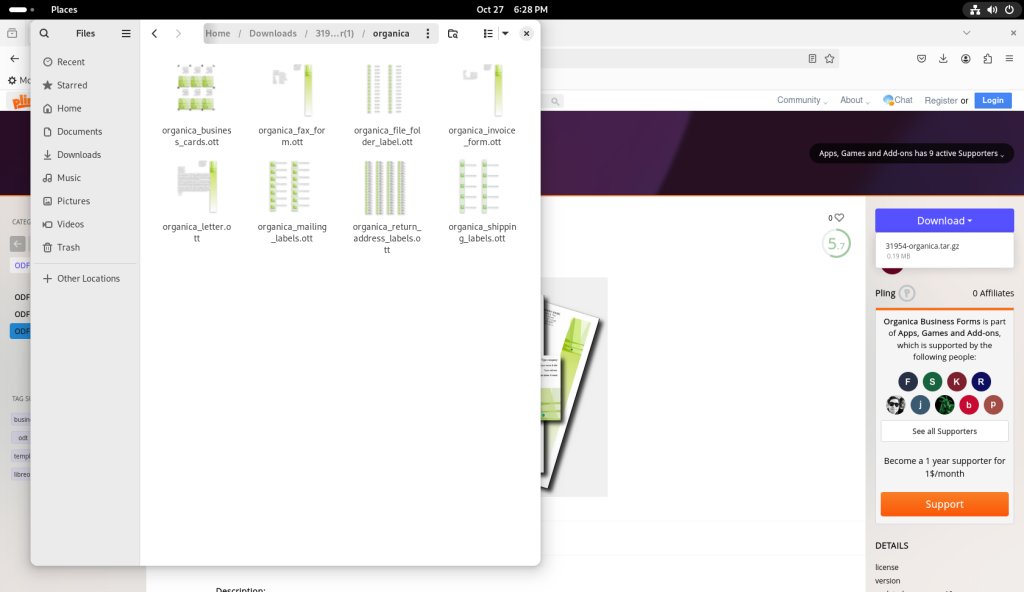
The directory was double-clicked, revealing several templates: Business cards (different from above), a fax cover sheet, four different kinds and sizes of labels, an invoice, and a letter:
Various files in archive revealed
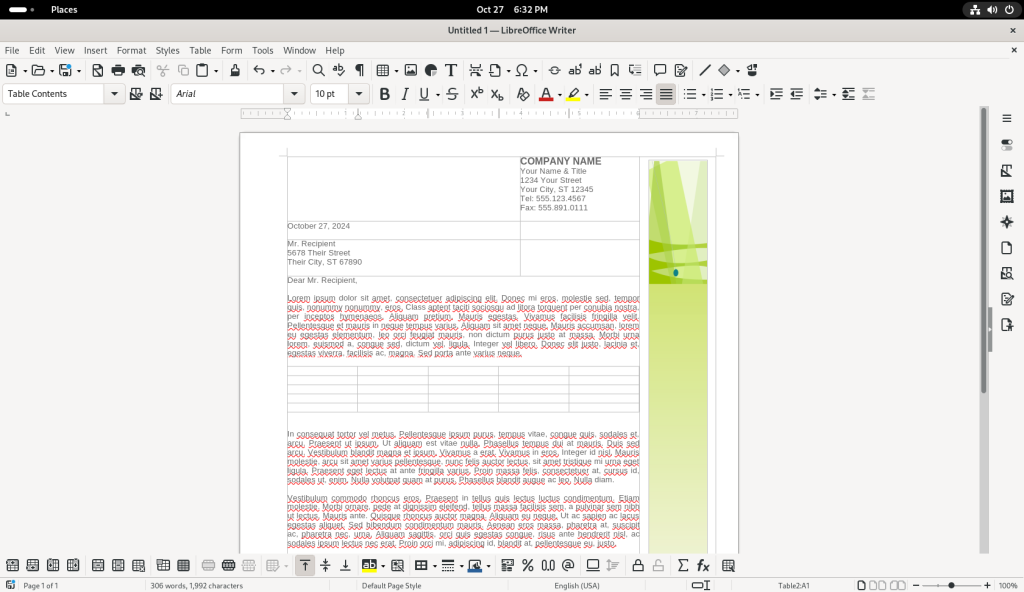
Going back to Writer, the letter file was double-clicked, which again opened the file in LibreOffice Writer:
Letter file opened
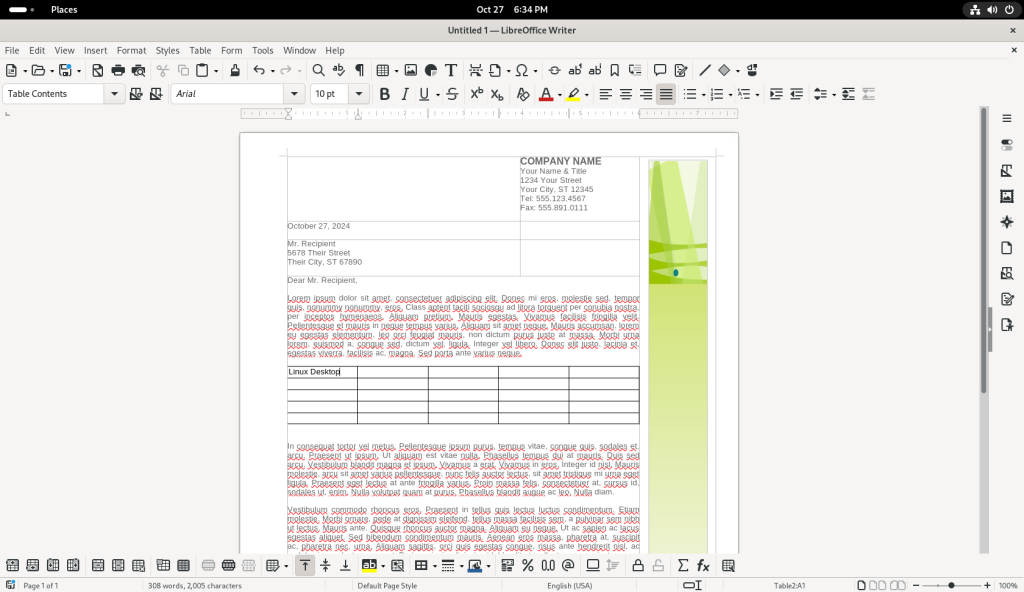
A space was added between two paragraphs:
Spaced added between paragraphs
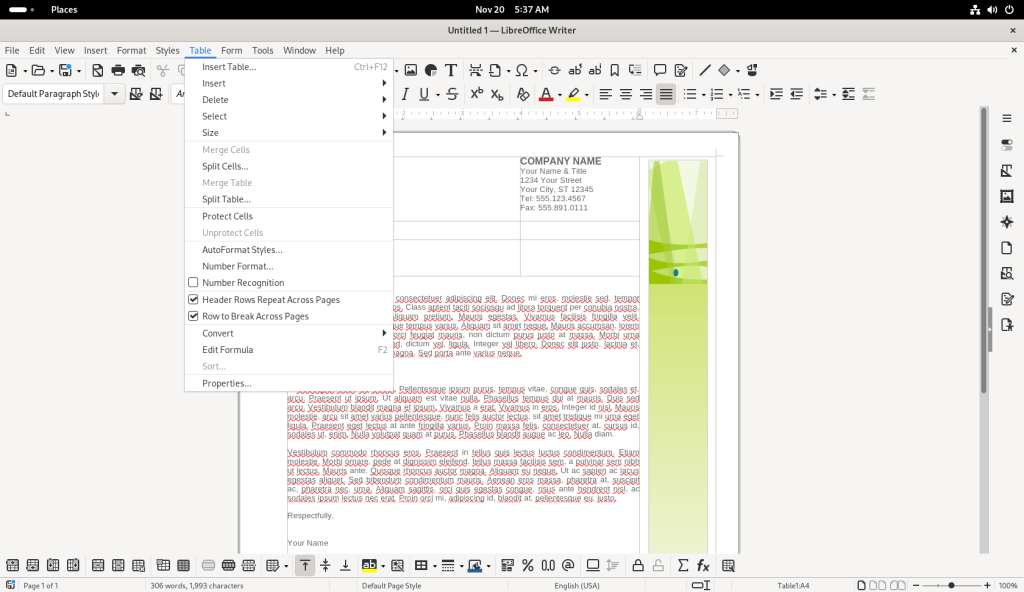
The “Table” drop down menu was opened:
Table drop-down menu opened
… and the “Insert Table” option was chosen:
Insert Table option chosen
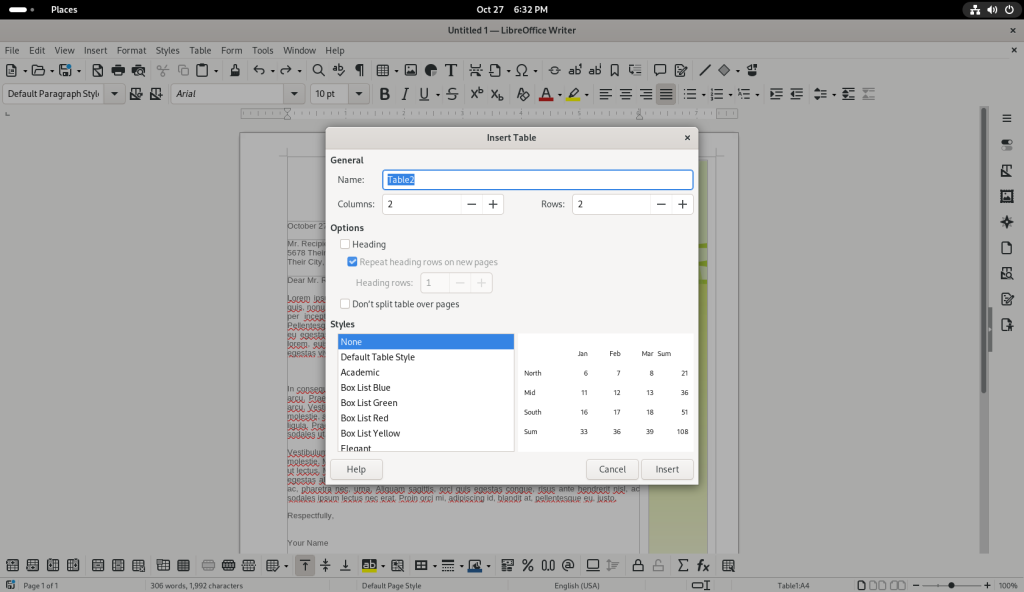
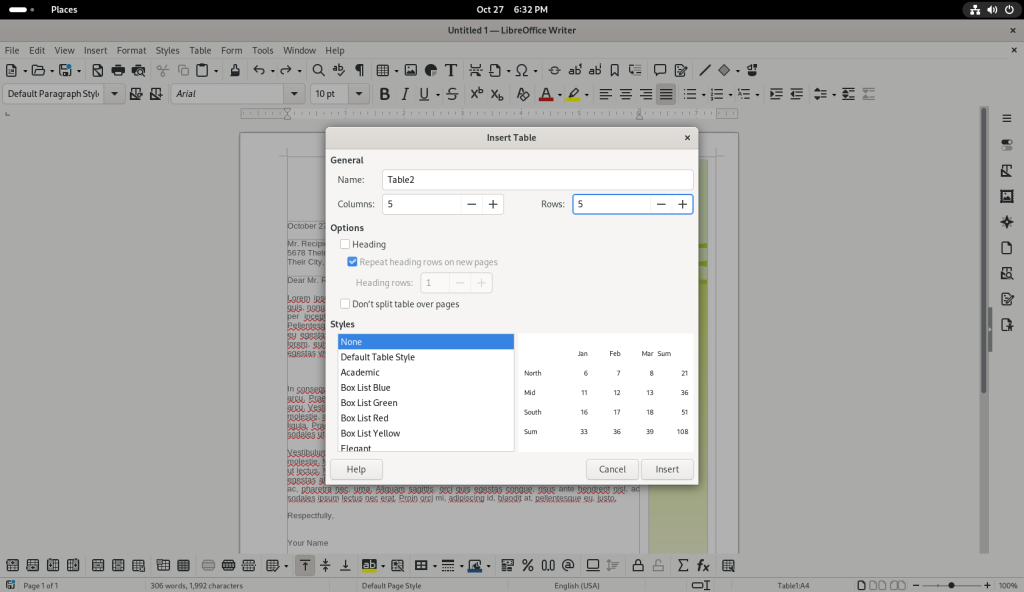
… which opened up a window to determine some settings for the table to be inserted:
Window opened to set table characteristics
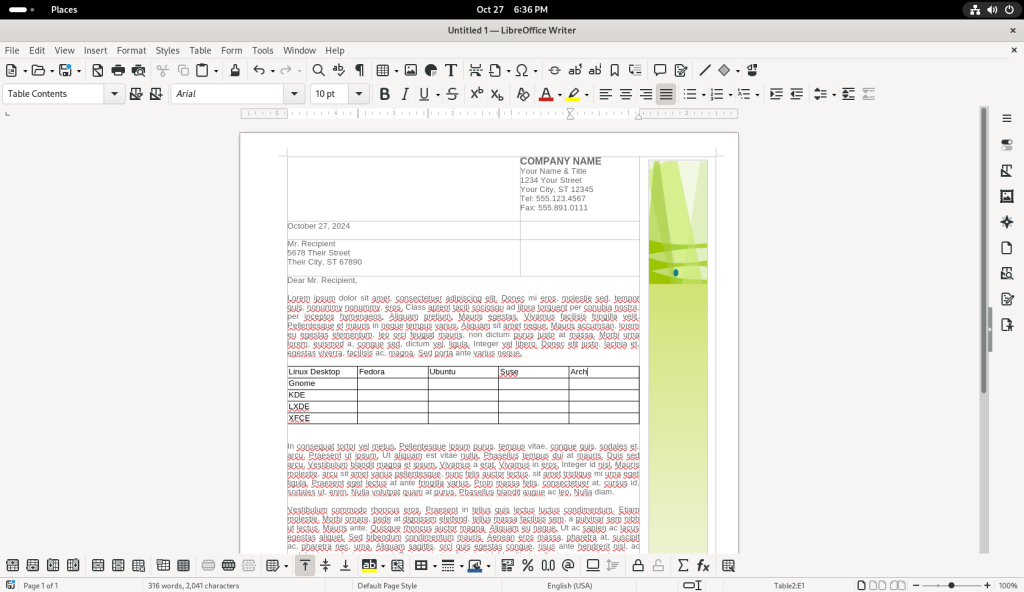
A table with five columns and five rows was selected:
Table settings changed
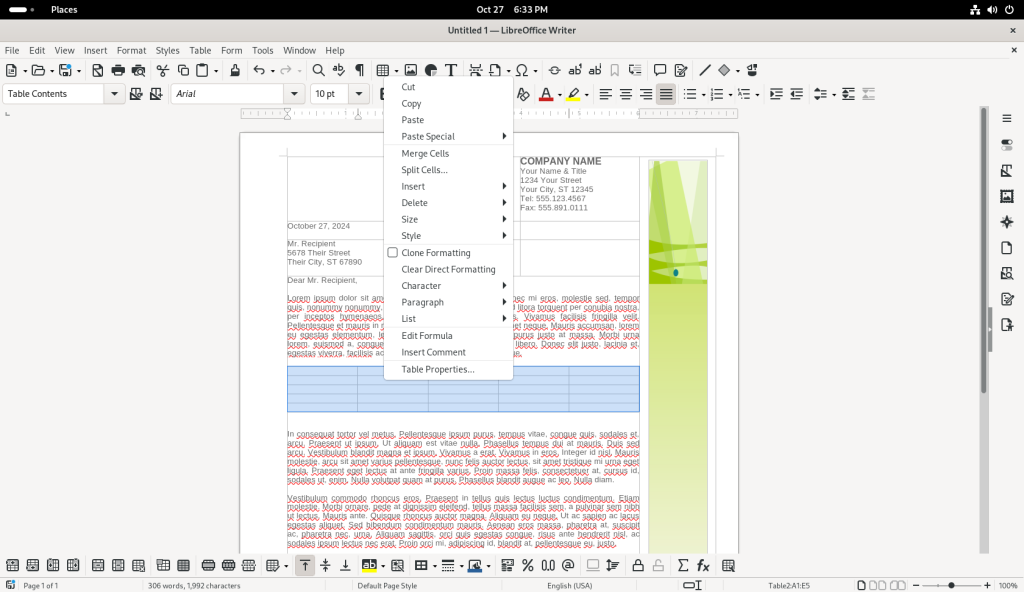
The table was selected, and the right mouse button was clicked, revealing a contextual menu:
Contextual menu opened
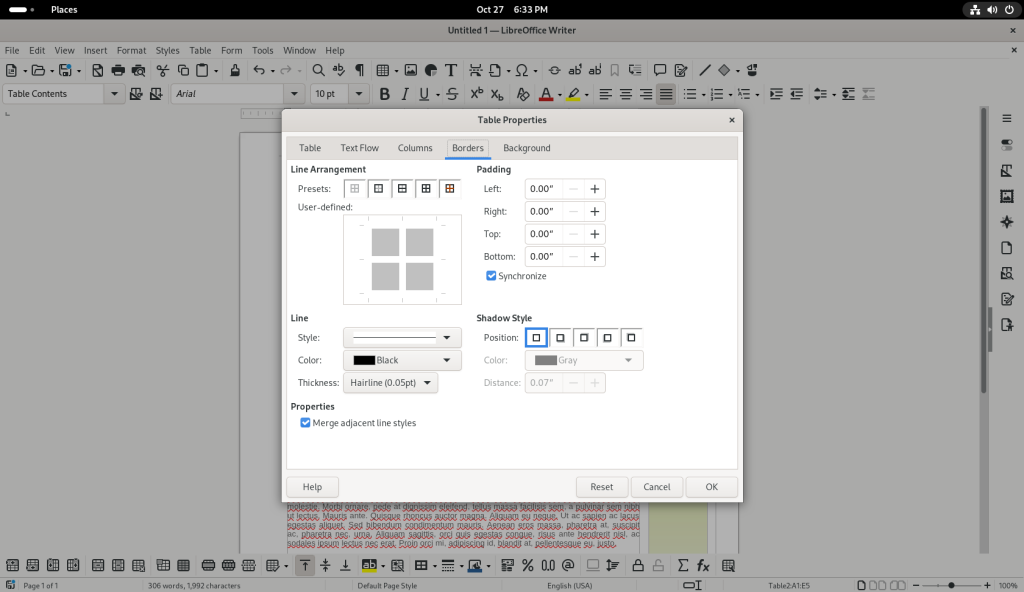
The option “Table Properties” was selected, bringing up a window:
Table properties window opened
The button for all lines under “Line Arrangement” was chosen in the Borders tab, in order to insert borders around all the cells of the table:
Table borders changed
The “Ok” button was pressed, returning me to the document, showing now all the cells of the table with borders:
Table added to letter
Text was added to a cell in the upper left hand corner (“Linux Desktop”):
Text added to table cells
A number of other cells were filled in:
Text added to table cells
The “File” drop down menu was opened:
File menu opened
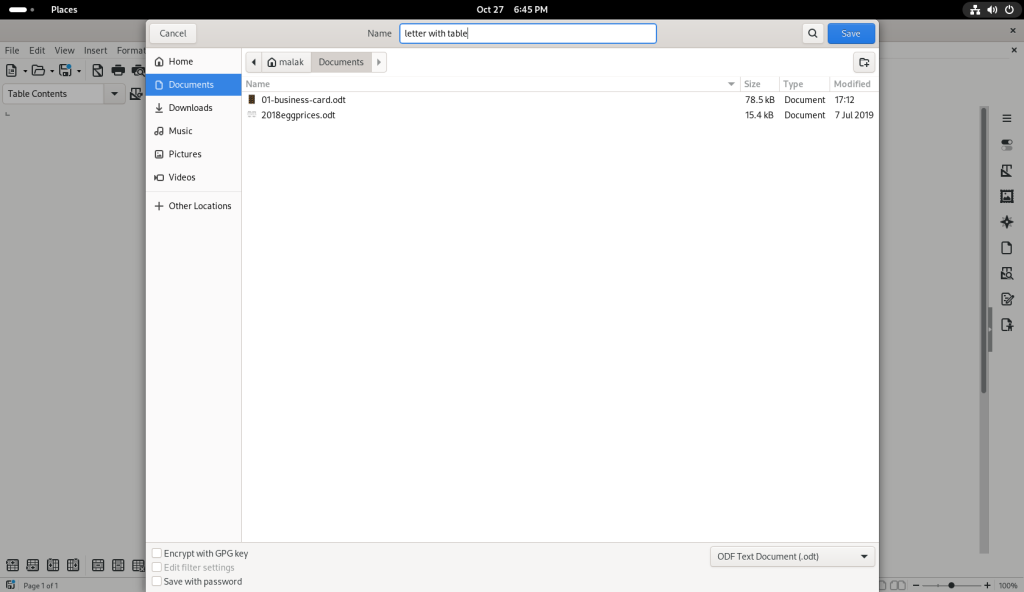
… and the file was saved:
File saved
As with the previous section, I leave it to the reader to further explore LibreOffice Writer to see the various options in the various menus, and the various kinds of text documents that can be created.
Spreadsheets:
Much like other popular desktops, Fedora Linux has several fully functional and fully featured spreadsheet software. One of the most popular such pieces is LibreOffice Calc.
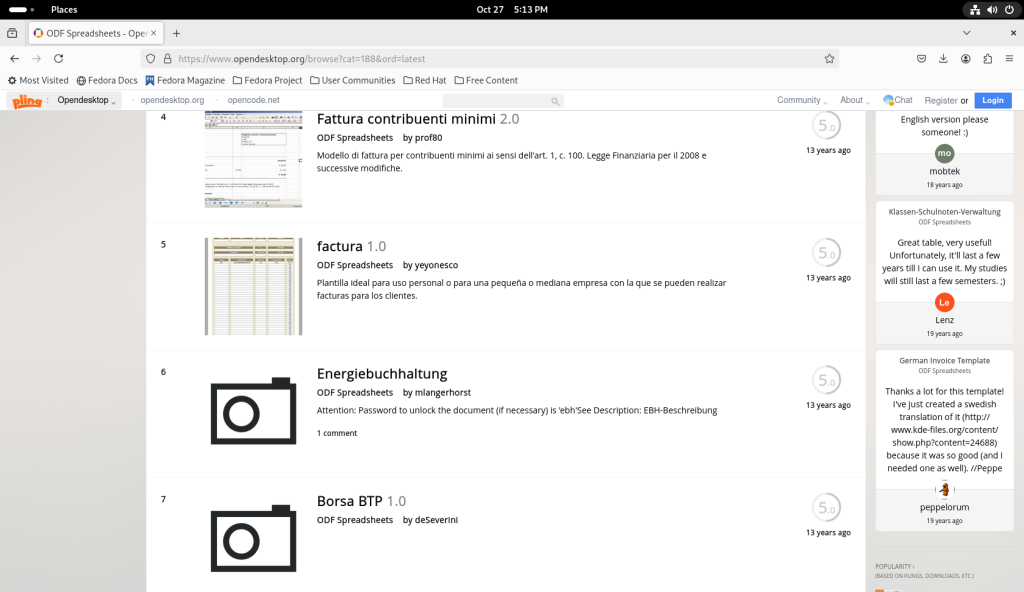
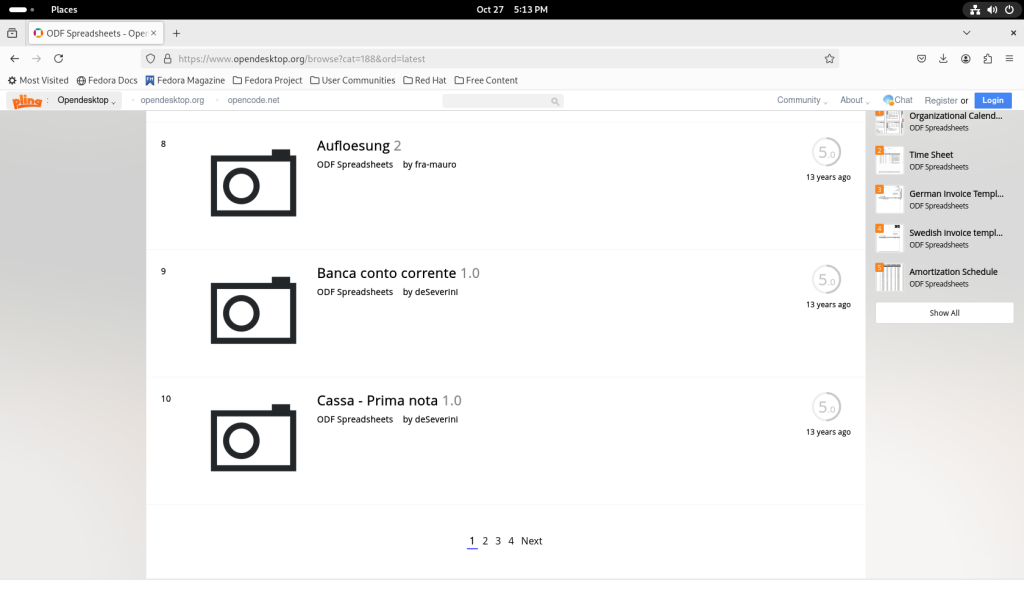
After saving the business cards, I returned to the freedesktop.org website, browsing the spreadsheet templates:
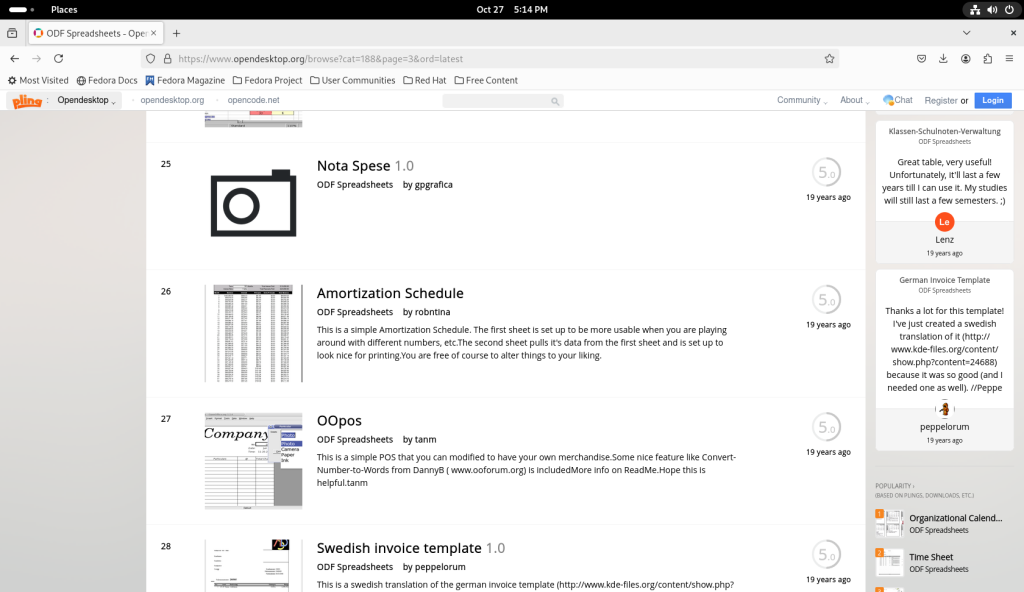
opendesktop.org page sorting for spreadsheets
opendesktop.org page sorting for spreadsheets
opendesktop.org page sorting for spreadsheets
opendesktop.org page sorting for spreadsheets
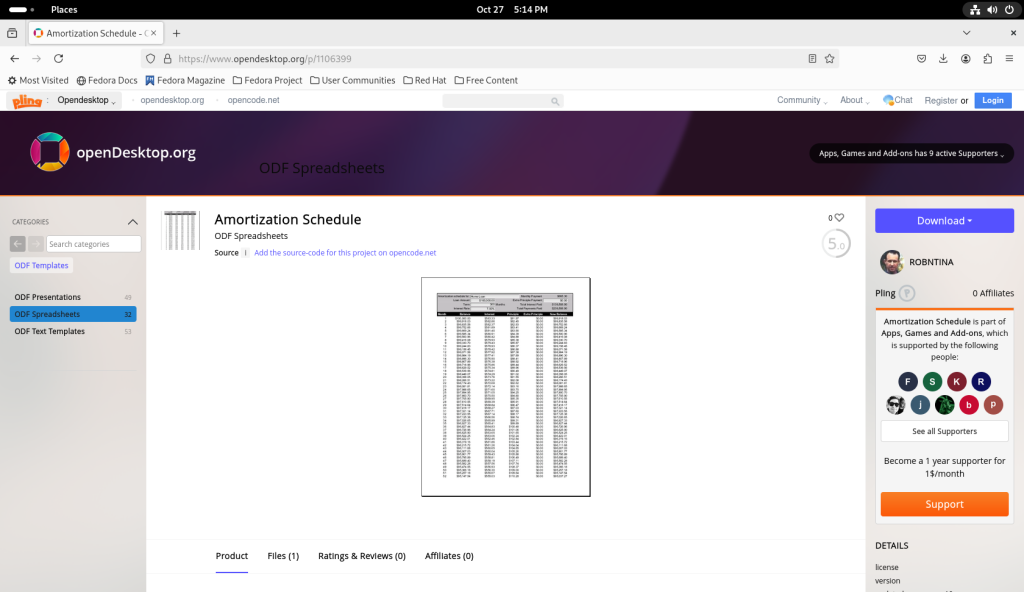
I chose the Amortization Schedule:
opendesktop.org page with amortization schedule
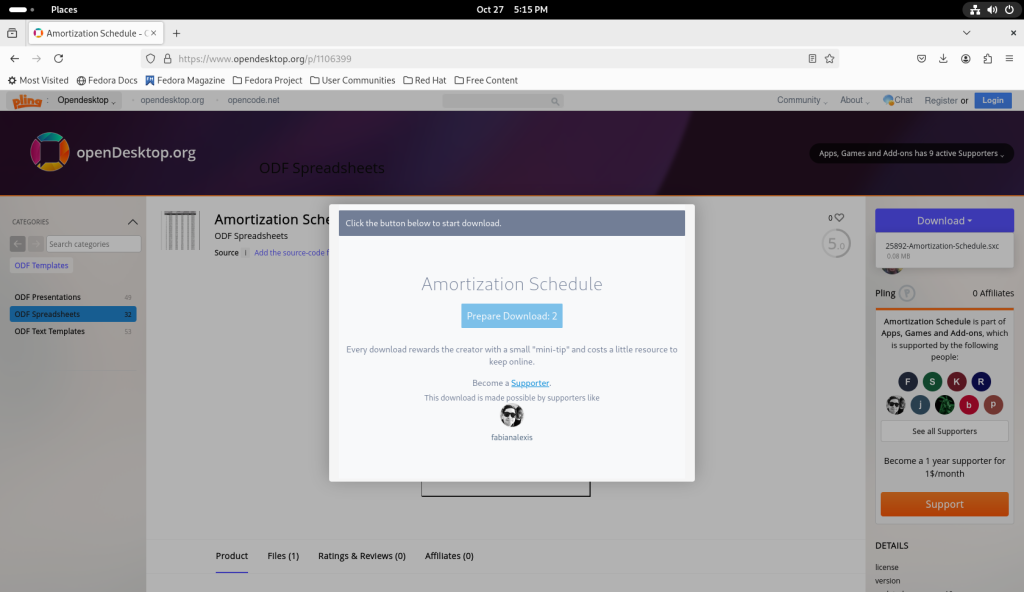
The amortization Schedule was downloaded:
Amortization schedule downloaded
Amortization schedule downloaded
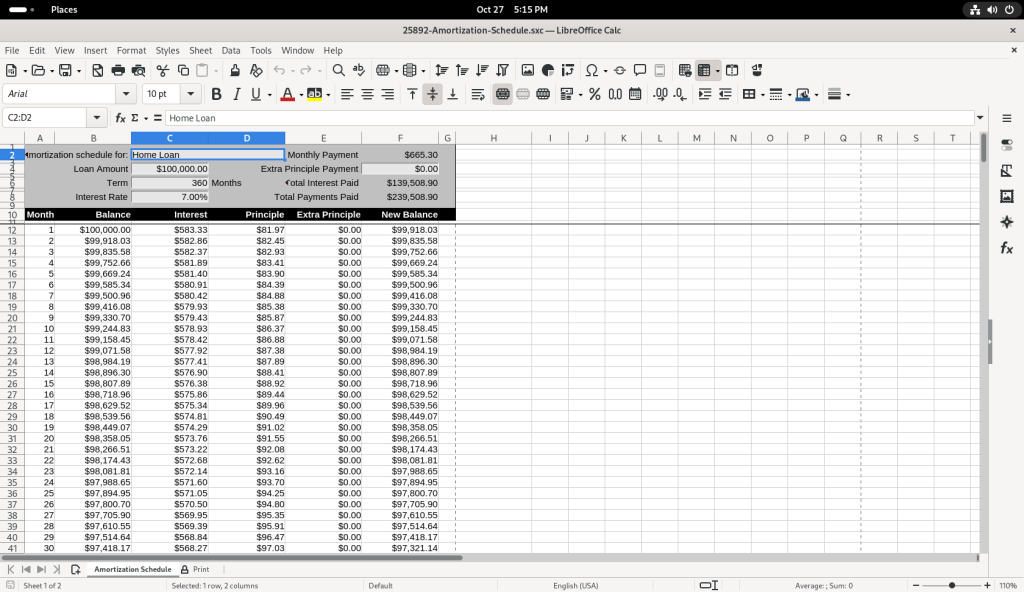
Similarly to previous files, the Amortization Schedule was opened (file double clicked in the file download directory).
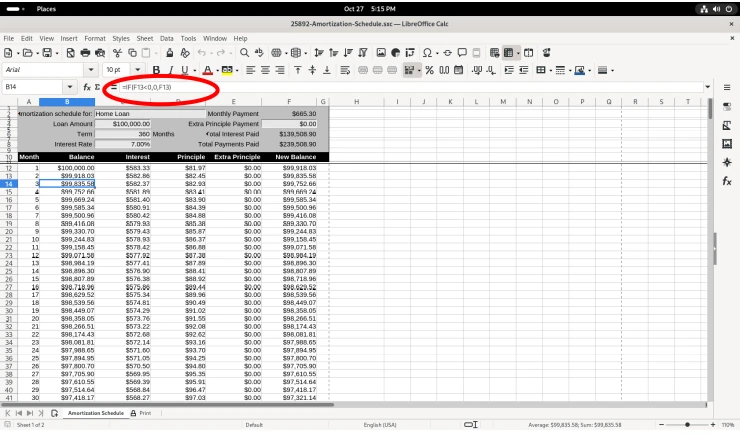
Amortization schedule opened in LibreOffice Calc
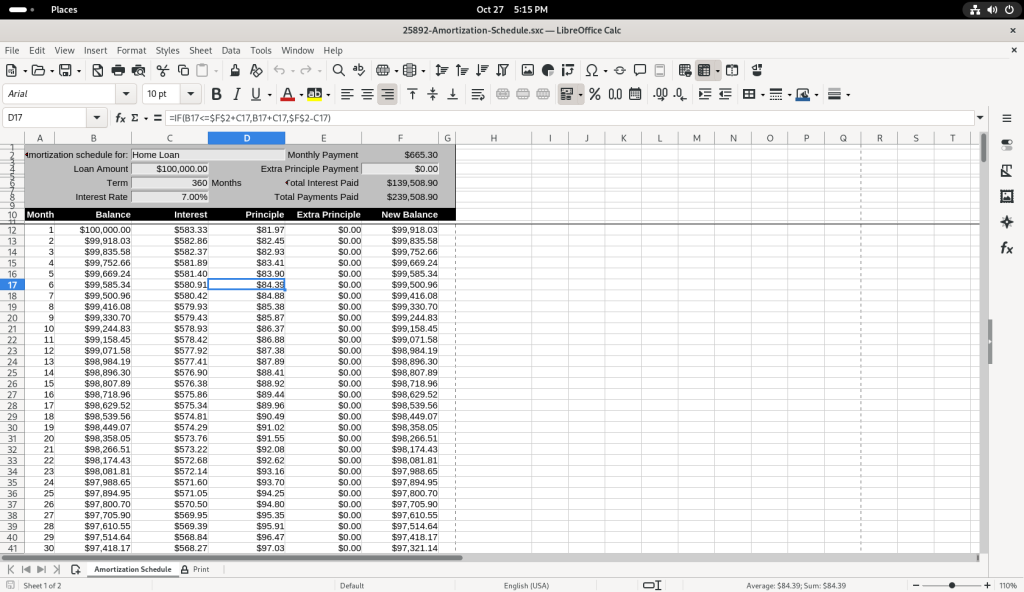
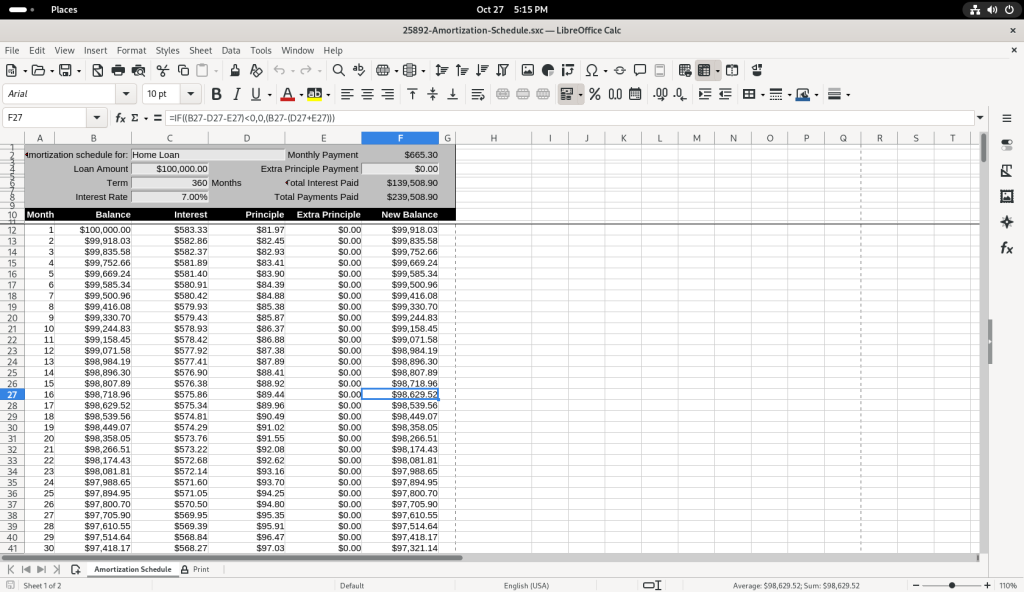
Several of the balance figures was selected, revealing how the value us calculated in the formula bar:
Amortization schedule, cell calculation revealed
Amortization schedule, cell calculation revealed
Amortization schedule, cell calculation revealed
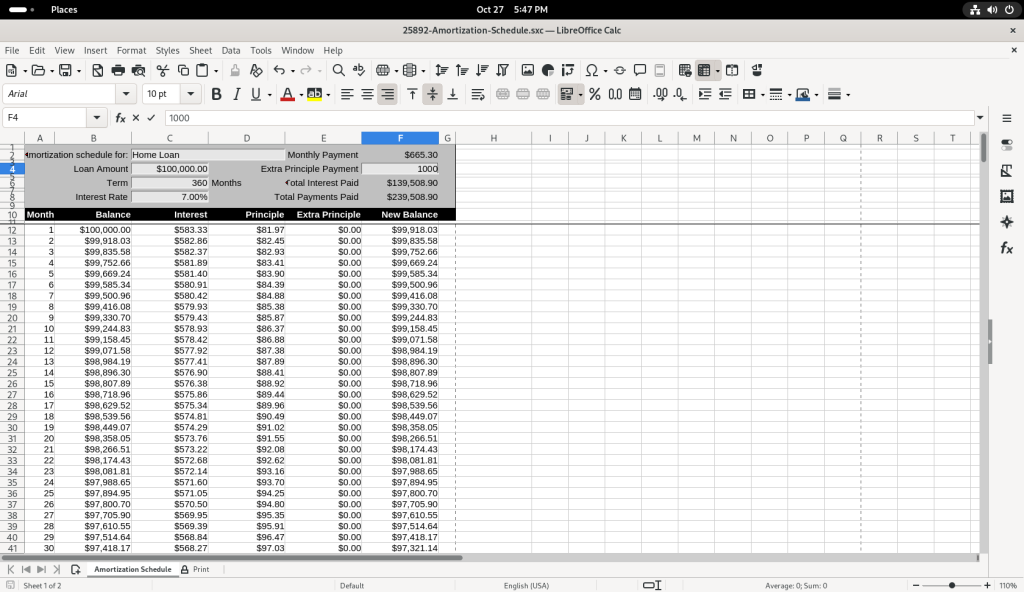
I chose to modify the table, by adding a value of 1000 in the “Extra Principle Payment”, to change the values of “New Balance” …
Value changed to 1000
… and then I changed the value to 500 to see how it affected the values of “New Balance”.
Again I leave it to the reader to further explore mounting spreadsheets of their own using their own data.
Slide Shows / Presentations
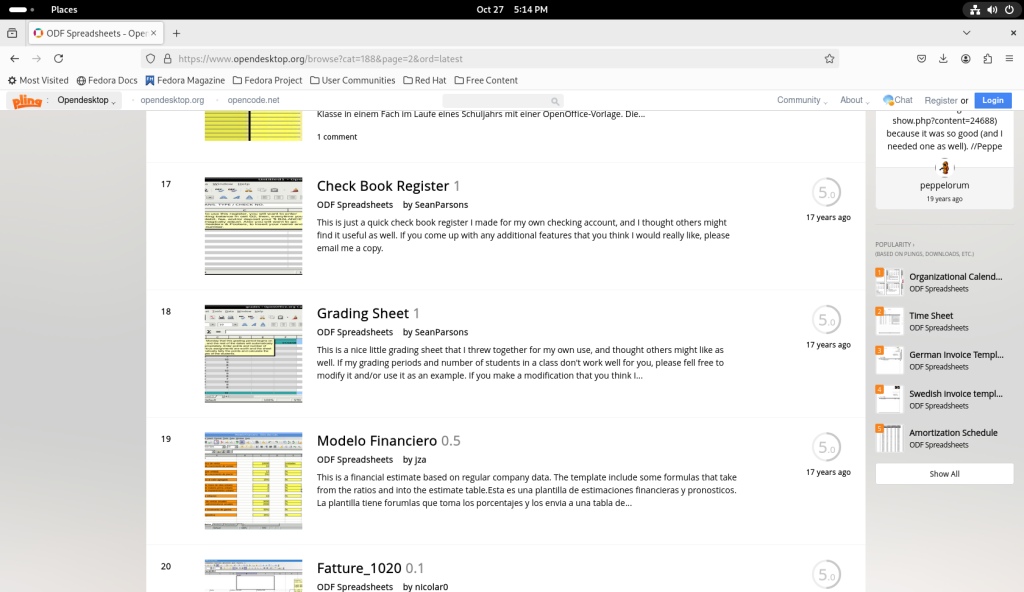
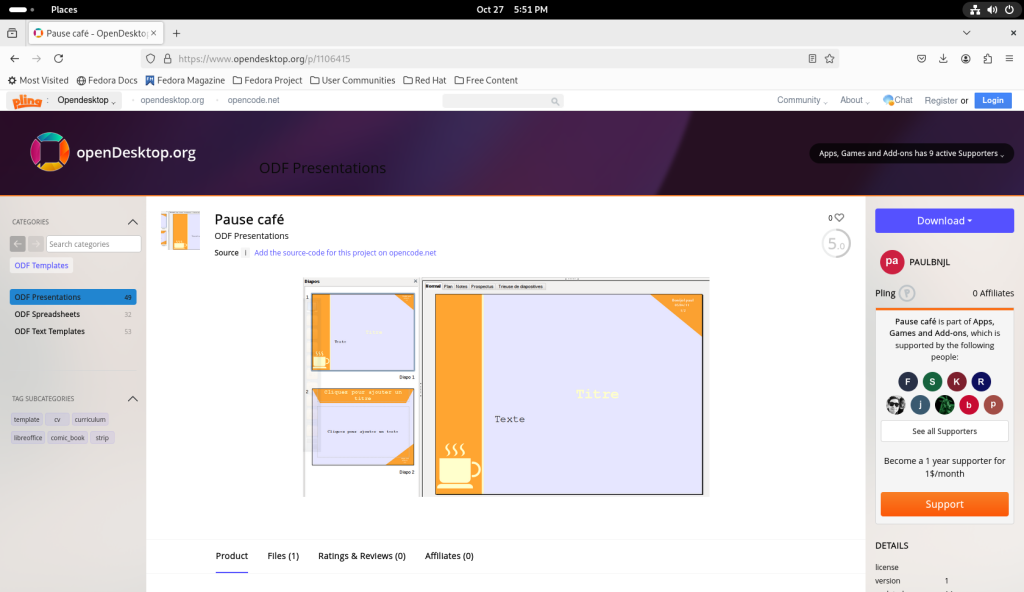
At the opendesktop.org collection of templates, I chose a slide show template to download:
opendesktop.org page sorting for a presentation template
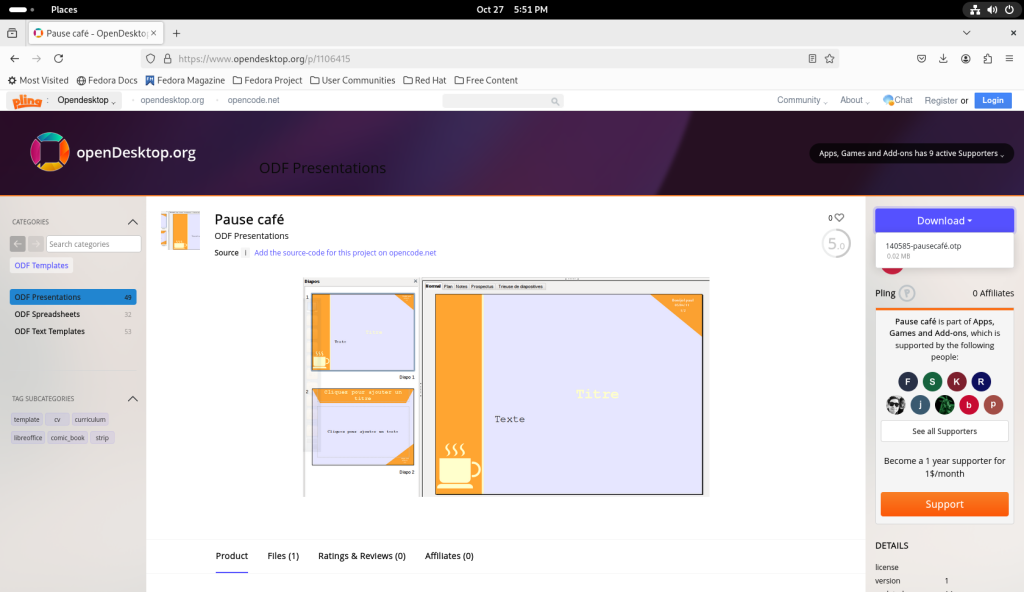
I chose a template to download …
Presentation template downloaded
… and downloaded it:
Presentation template downloaded
Presentation template downloaded
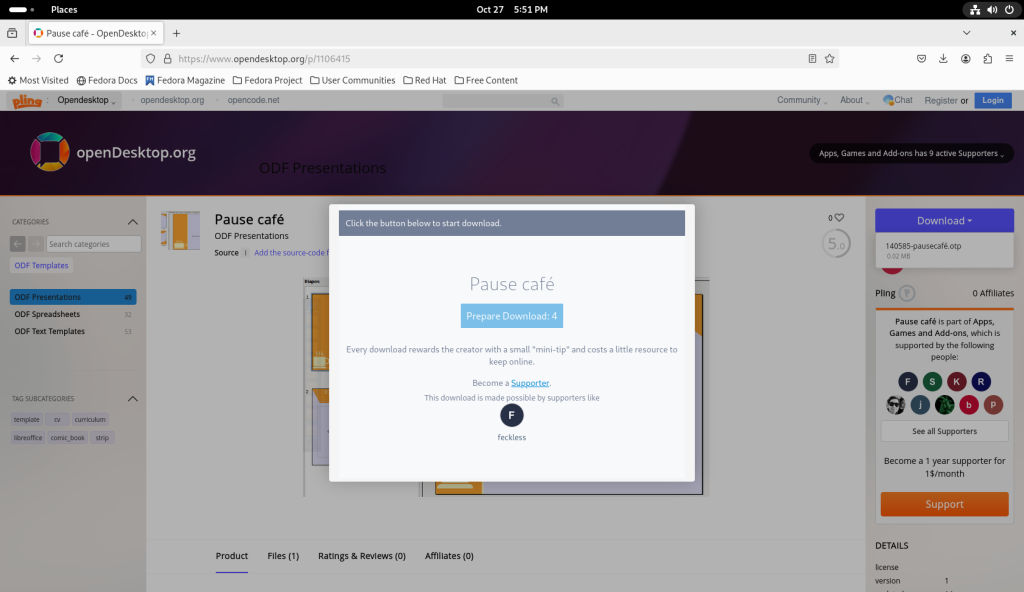
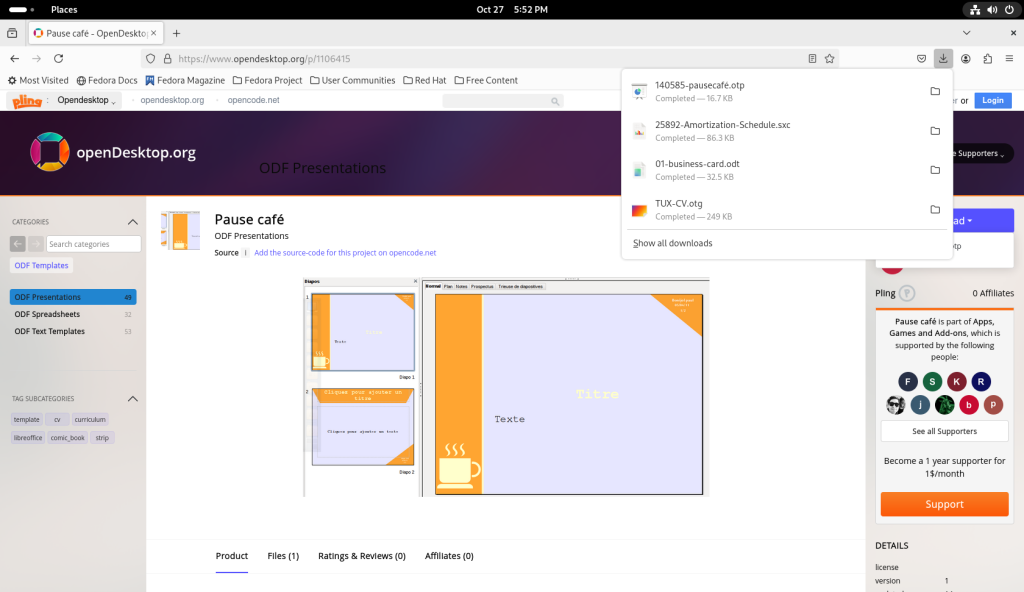
Again through the files directory, I double-clicked on the downloaded file:
File in download directory double clicked
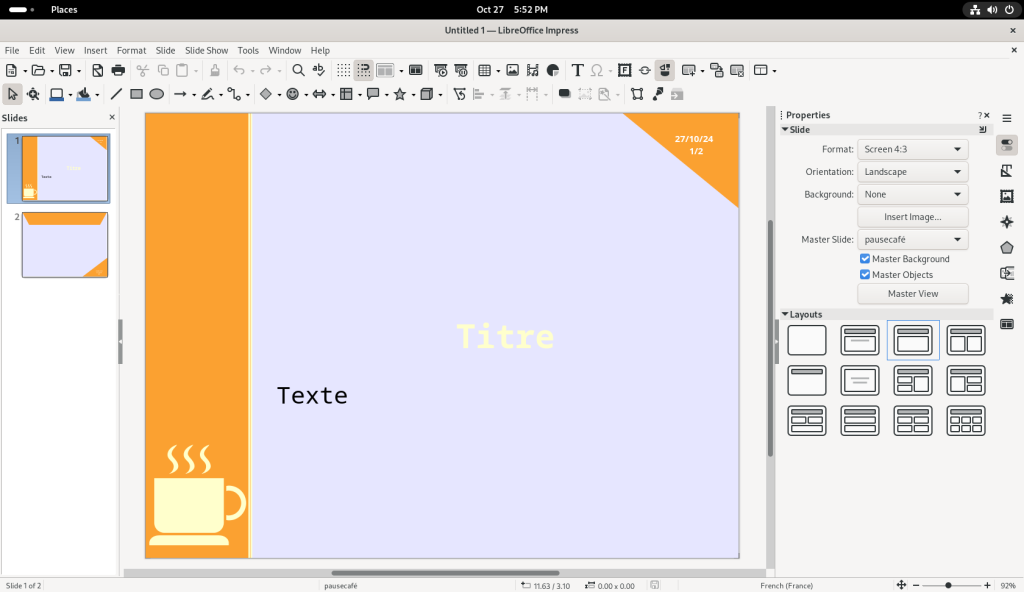
… which opened up the file in LibreOffice Impress:
Presentation opened in LibreOffice Impress
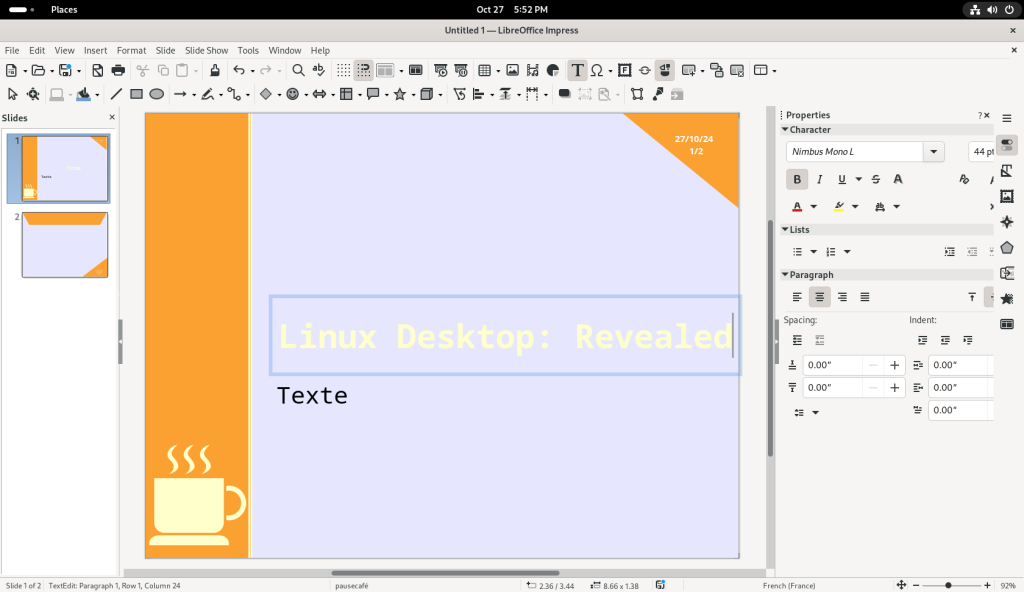
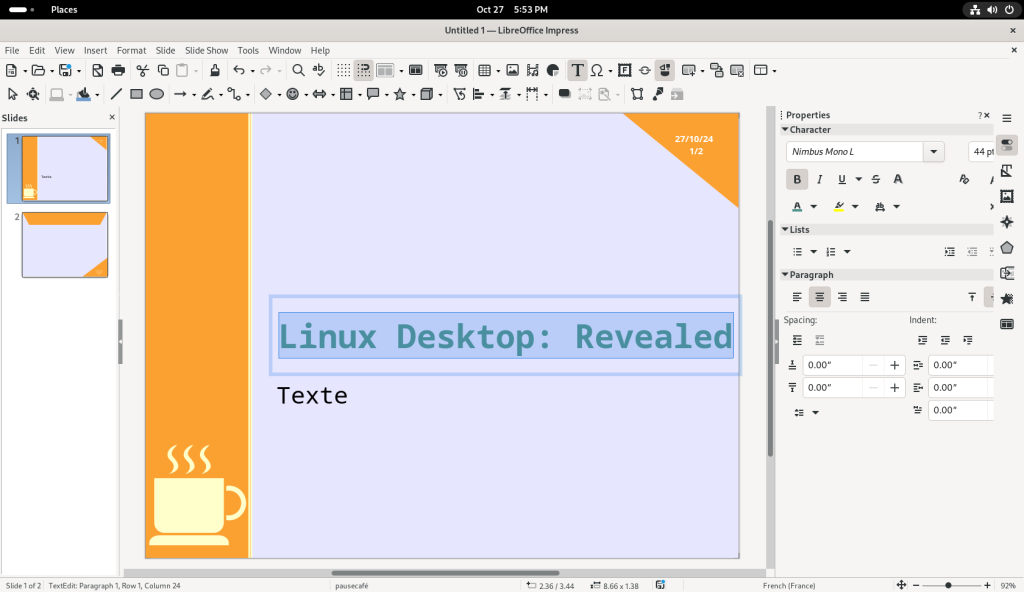
I began editing the title line — in the process, using the wrong branding for this series!
Text modified
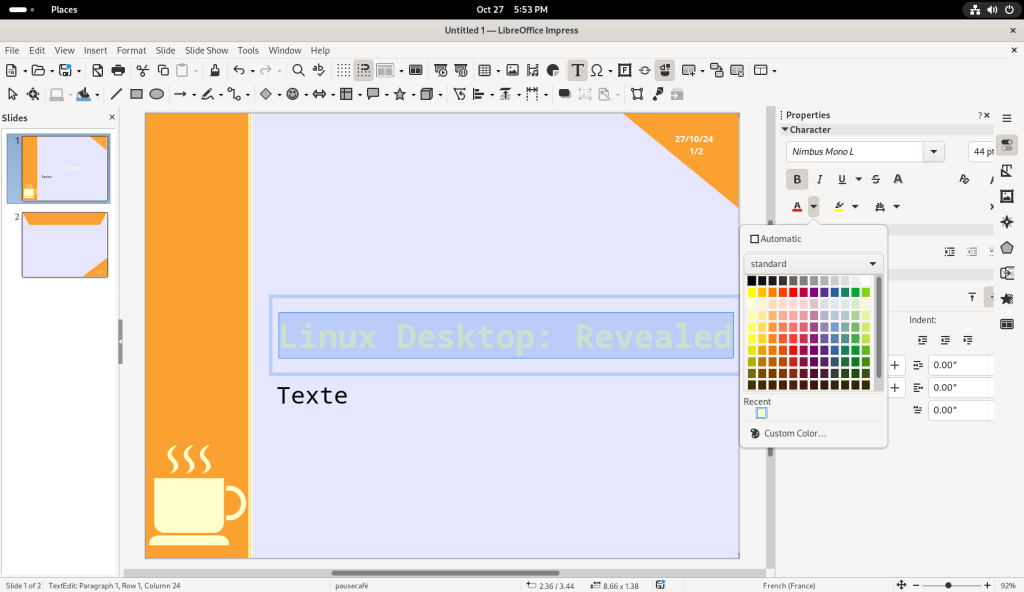
The text colour, white, didn’t have enough contrast for my taste, so I selected the text …
Text colour modified
… and went into the options area on the right to by clicking on the letter “A” with a red underline, to change the font colour:
Text colour changed through menu icons on the right
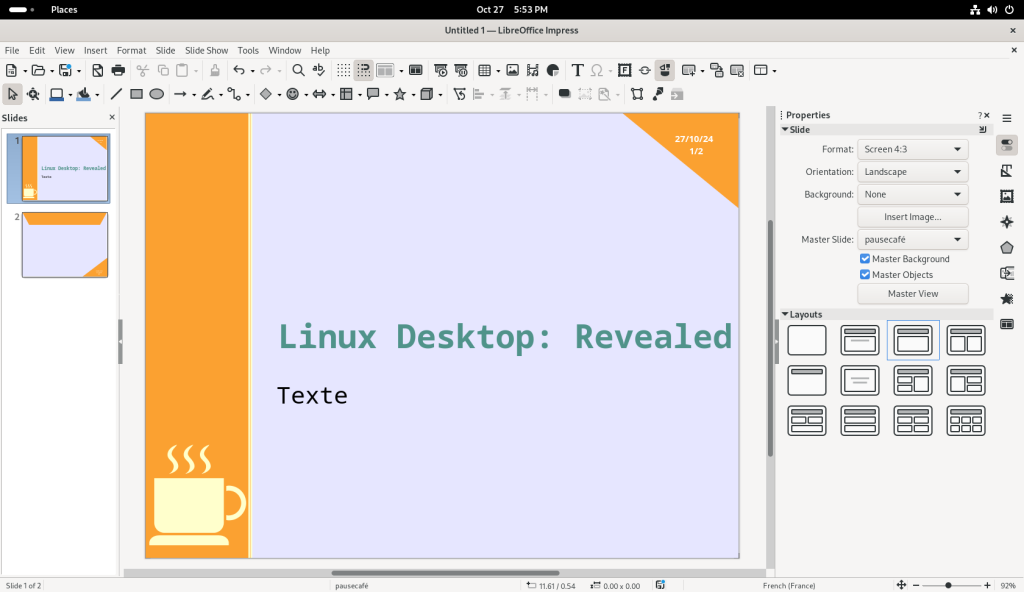
The font colour was changed to a greenish-blue colour:
Text colour changed to a greenish-blue
Text colour changed to a greenish-blue
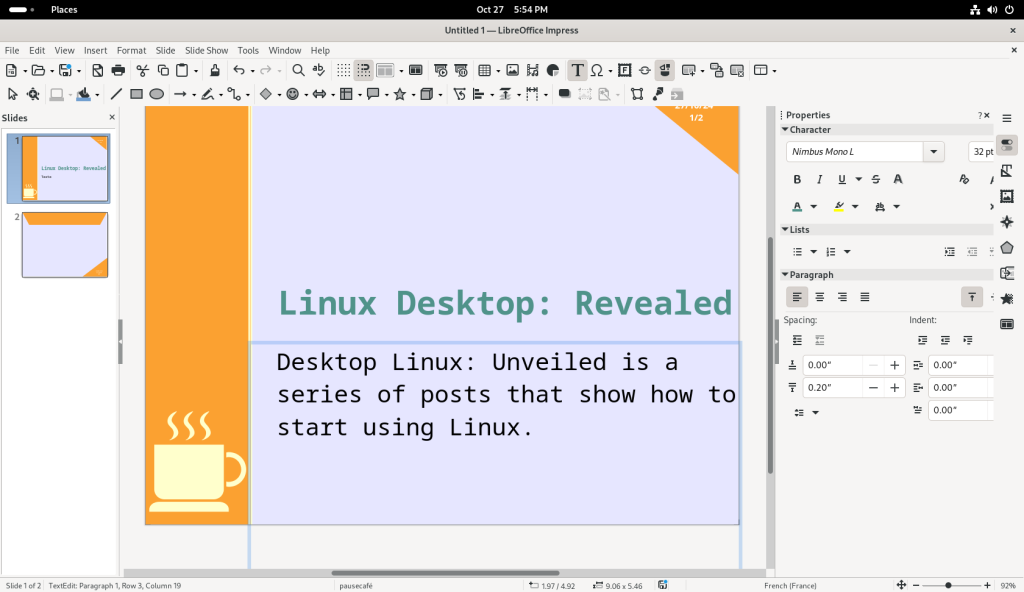
Other text was changed and added:
Text added below title
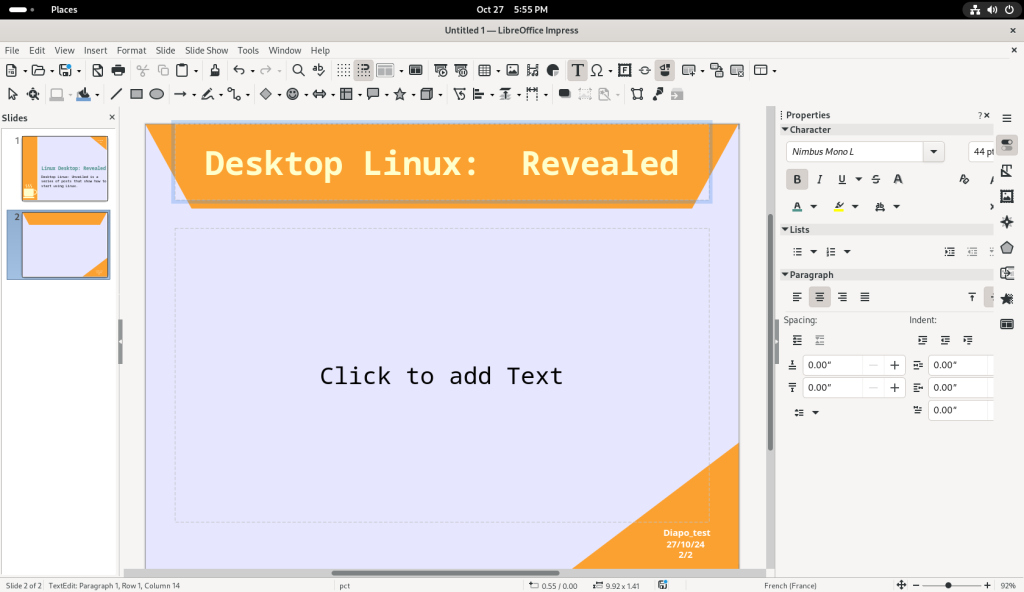
I changed to the second page, and similarly started to change the text:
Navigating to second page
Text can be changed as per your needs, as well as pages added through copy / paste or other wizards available.
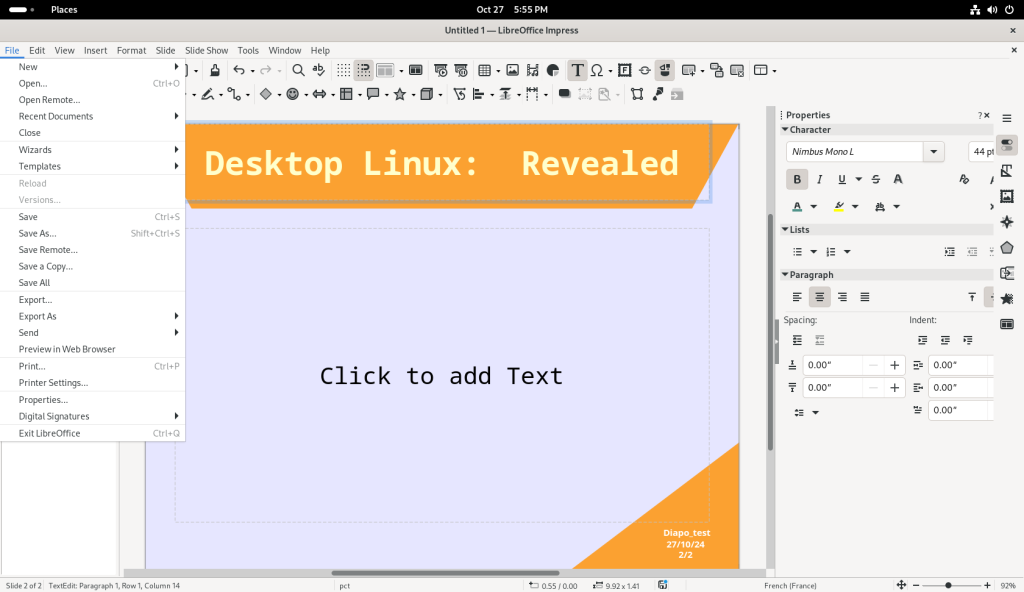
The drop-down file menu was chosen, so that I could save the file:
File drop down menu to save the file
File saved
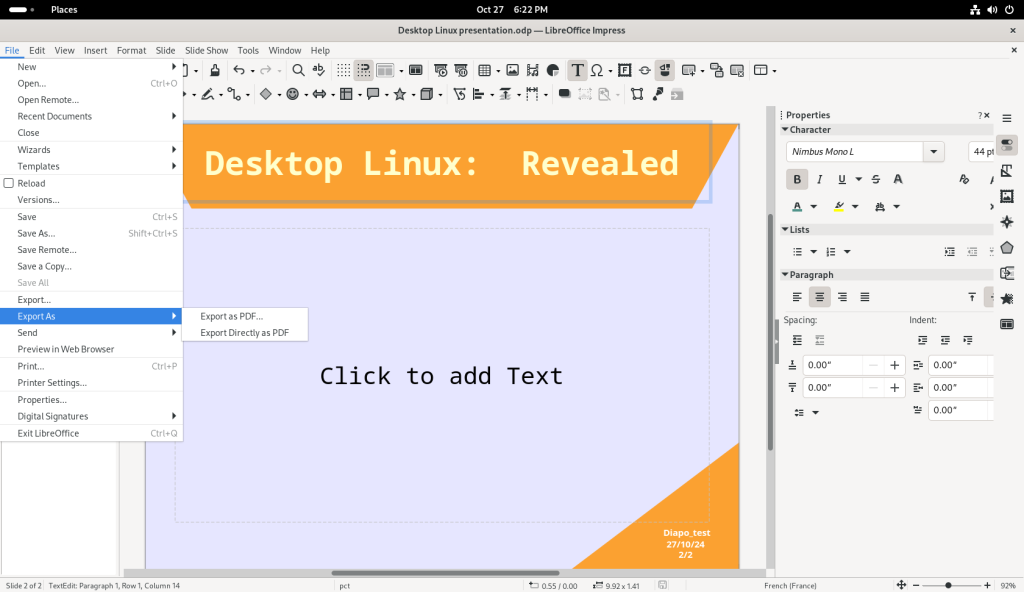
Once the file was saved, I opened up the drop-down file menu again, and chose “Export As” so that I could export the file as a PDF. (Editorial note: As mentioned earlier, while there is a good amount of compatibility between LibreOffice and other office suites, it can be disappointingly incomplete, which I have particularly seen and experienced with — but not only — slide shows. For more of a discussion of such from the perspective of the usefulness of PDFs, please see my post on the subject.)
The file drop-down menu was clicked again, and the option “Export As” was clicked:
File menu opened to export the file as a PDF
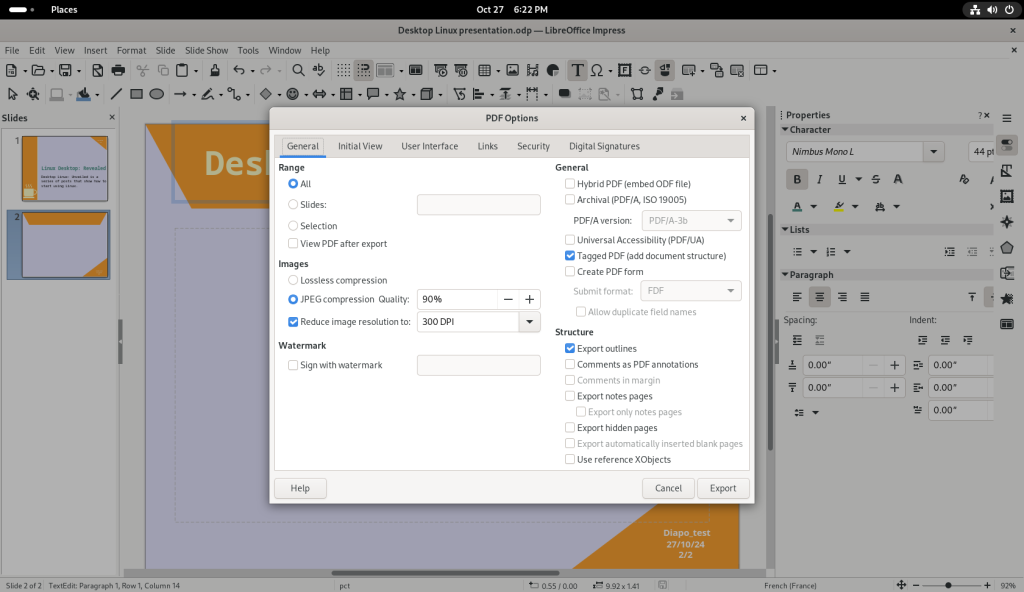
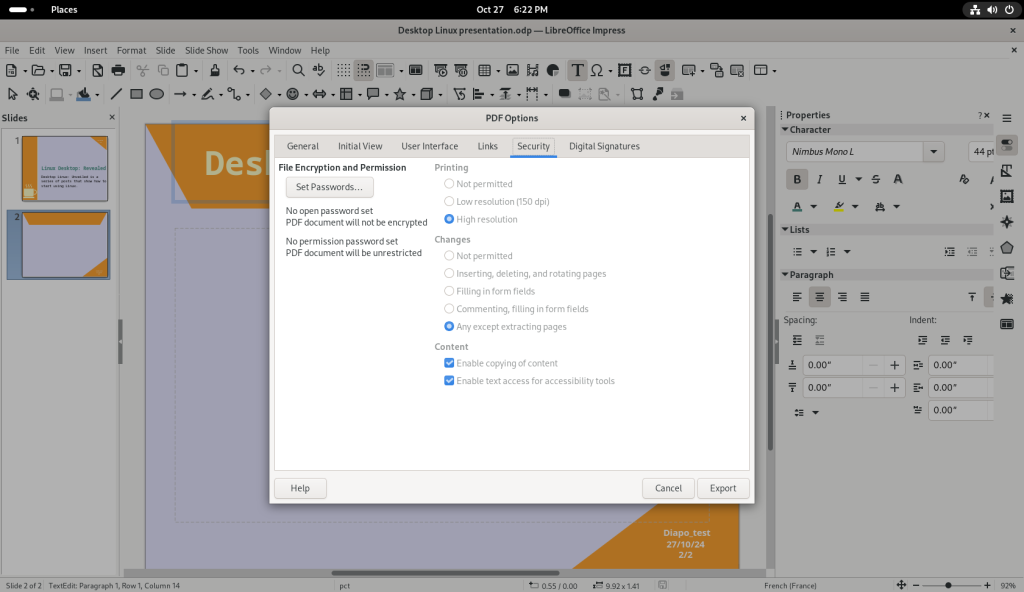
Exporting to PDFs can be rather easy and direct, or, as I am going to show a little bit here, allows for a large amount of choices …
Options window for PDF options
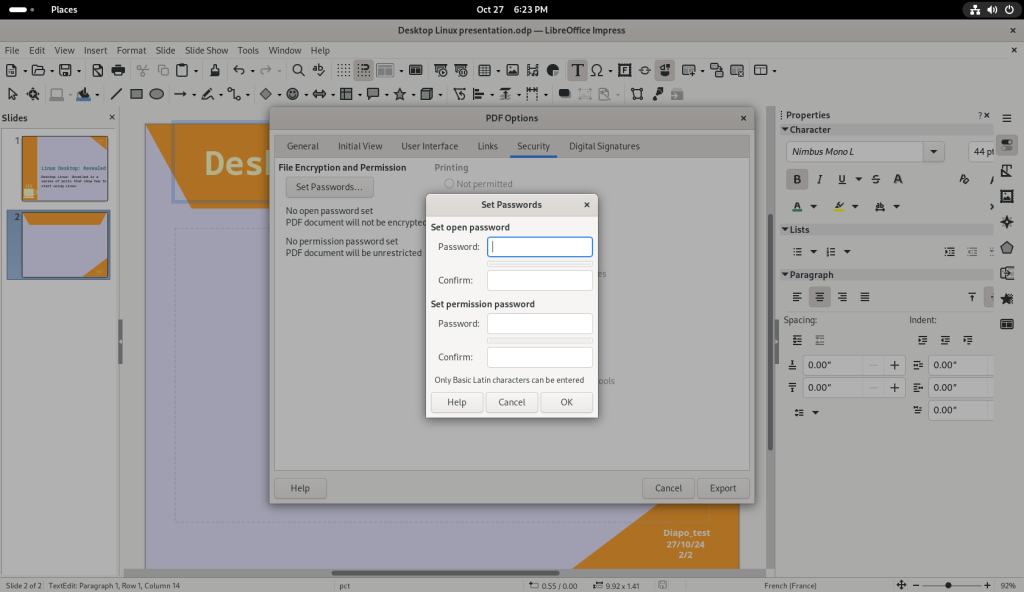
… including protecting PDFs with passwords for opening:
Tab with options for password setting for opening PDFs
Setting passwords for PDFs
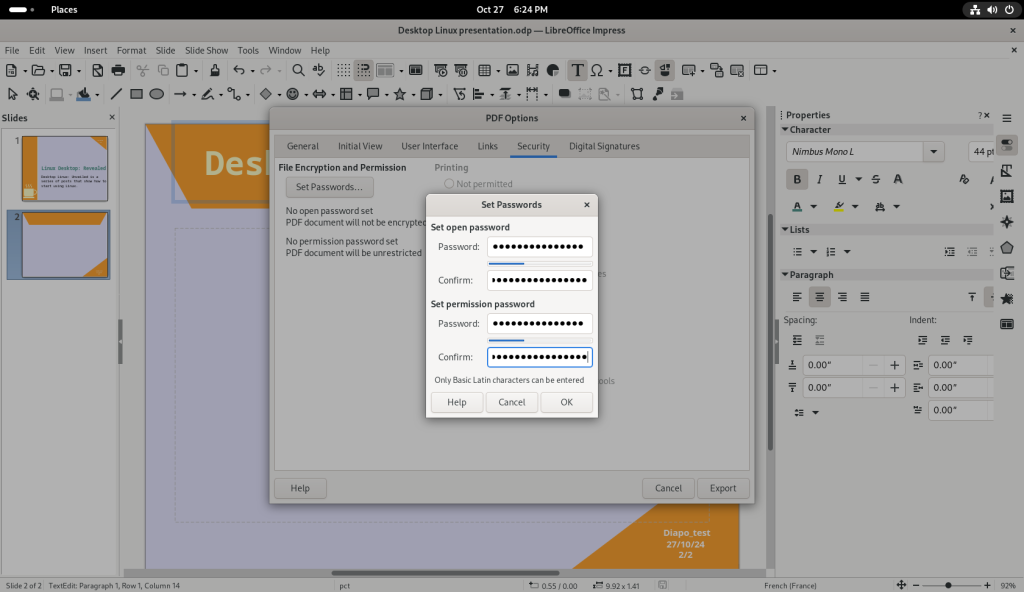
Passwords were set for both opening as well as for “permission” which means to allow editing of the PDF (see my post on the subject), and the slide show was exported as a PDF:
Setting passwords for PDFs
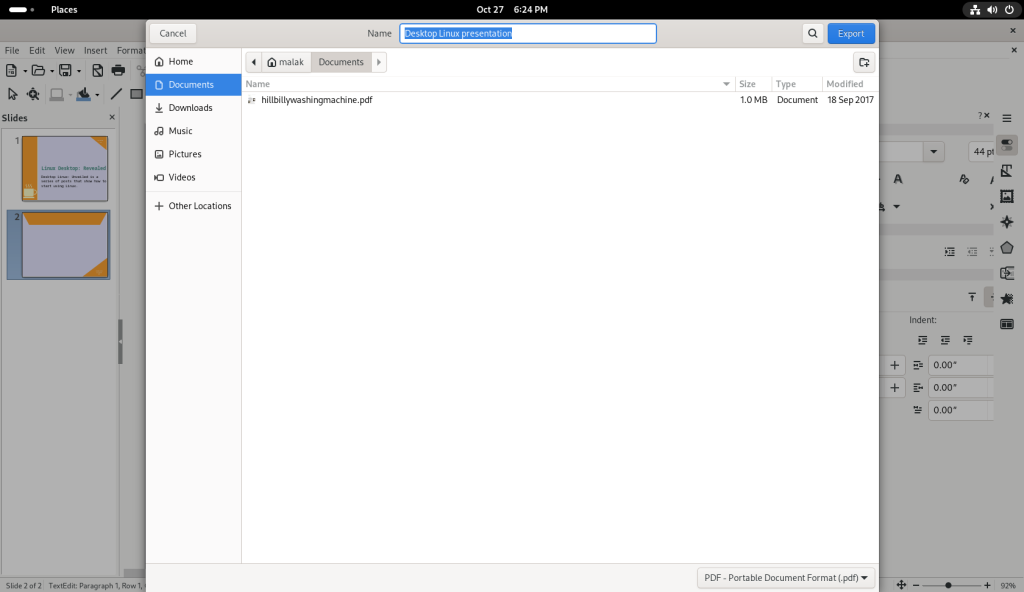
… and the OK button was clicked:
Presentation exported to PDF
As usual, I leave to the reader to explore further. Also, within LibreOffice itself it has a wizard to help the user create a number of presentations with various backgrounds and layouts.
Database:
LibreOffice also includes a database module, called “Base”, which is similar to Microsoft Access; it is essentially a front end manager — a gui interface — for the actual database software behind it that it leverages.
Before I show a properly mounted database, I will show some screenshots about how to start.
Starting from the home screen, the activities corner (hot corner) in the upper left was clicked:
Desktop screen
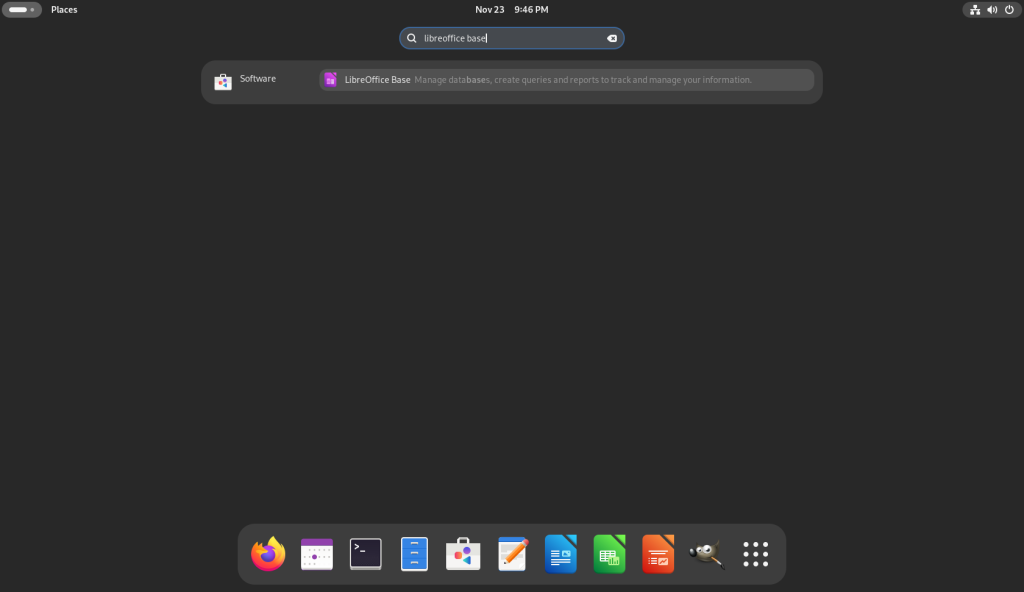
On the Activies screen, “libreoffice base” was typed into the search bar, and the option to install LibreOffice Base, which is not always installed in a base install, was offered:
Activities screen accessed, and “libreoffice base” searched for; the option to install Base was offered
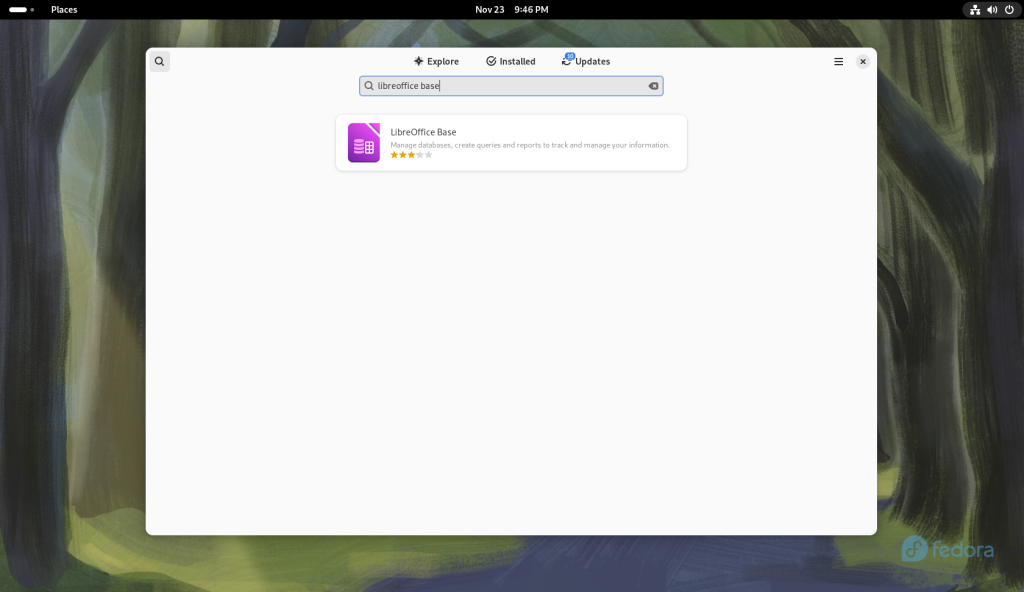
The option was double-clicked, which brought up the “software store” with the choice of LibreOffice Base …
Software store opened to allow for installation of Base
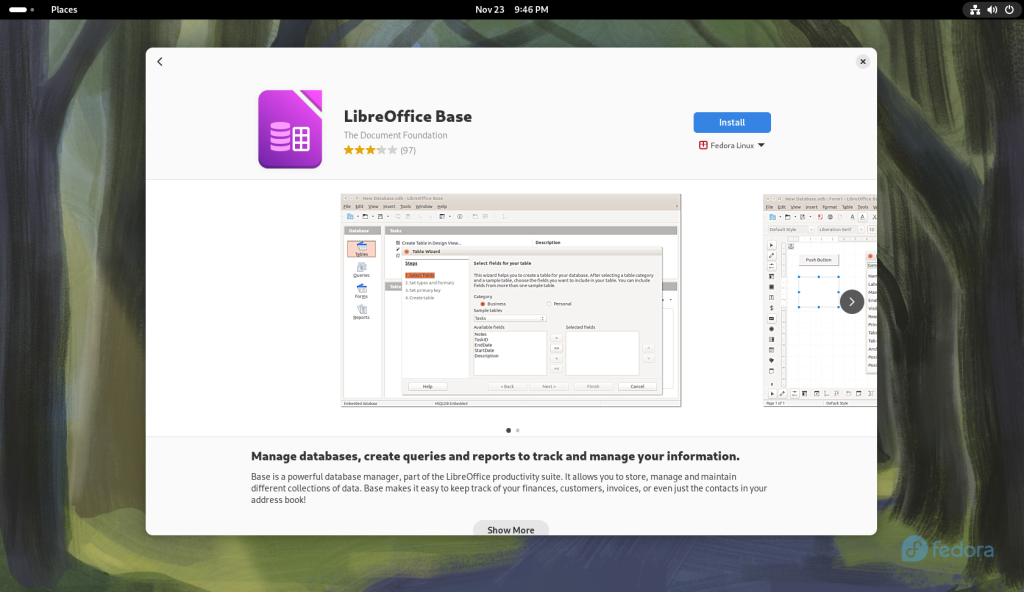
I double-clicked on the option, bringing up the information page on the package and the offer to install it:
Description page for Base
I clicked the “Install” button:
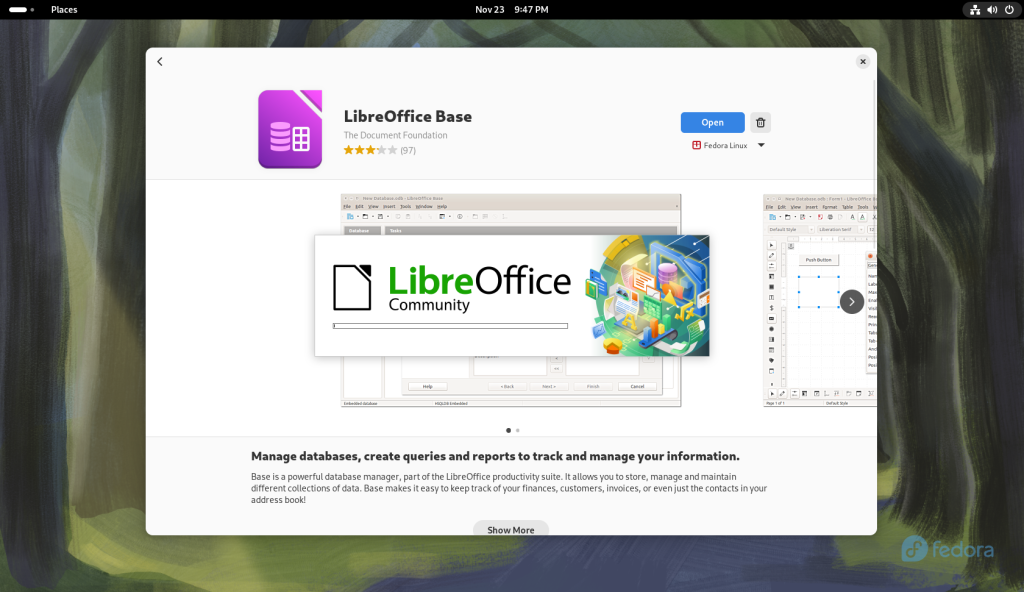
Base installing
Once LibreOffice Base was installed, an “Open” button presented itself:
Base opened
The “Open” button was clicked, lauching LibreOffice:
Base opened
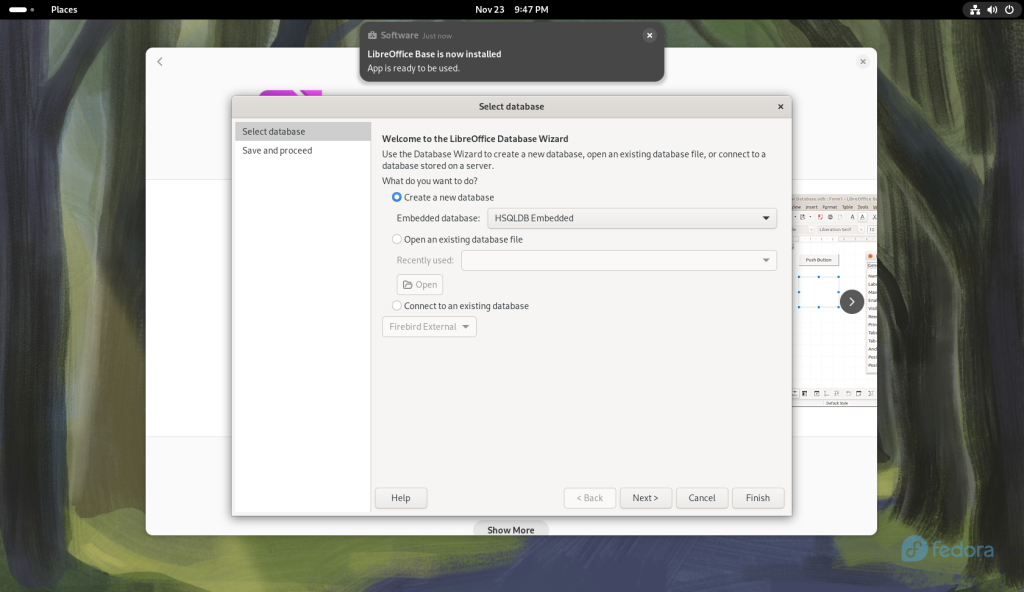
A wizard came up to select a database:
Wizard opened to allow choice to launch Base
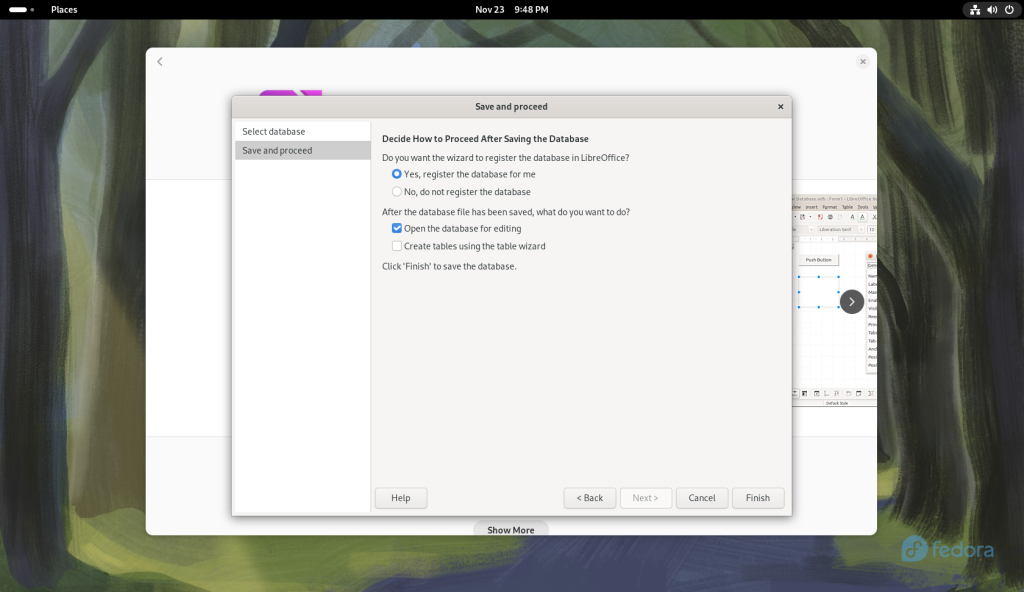
The presented option was accepted, and the “Next>” button was clicked, bringing up a “Save and proceed” window:
Save and proceed window
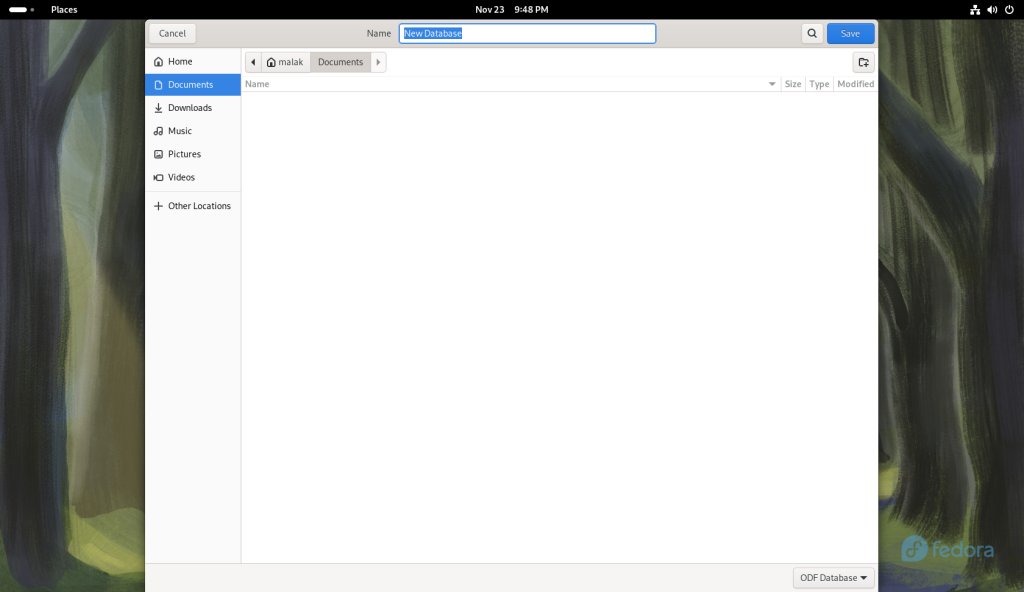
The “Finish” button was clicked, opening a Save window:
Finish button clicked, allowing for the creation of a database
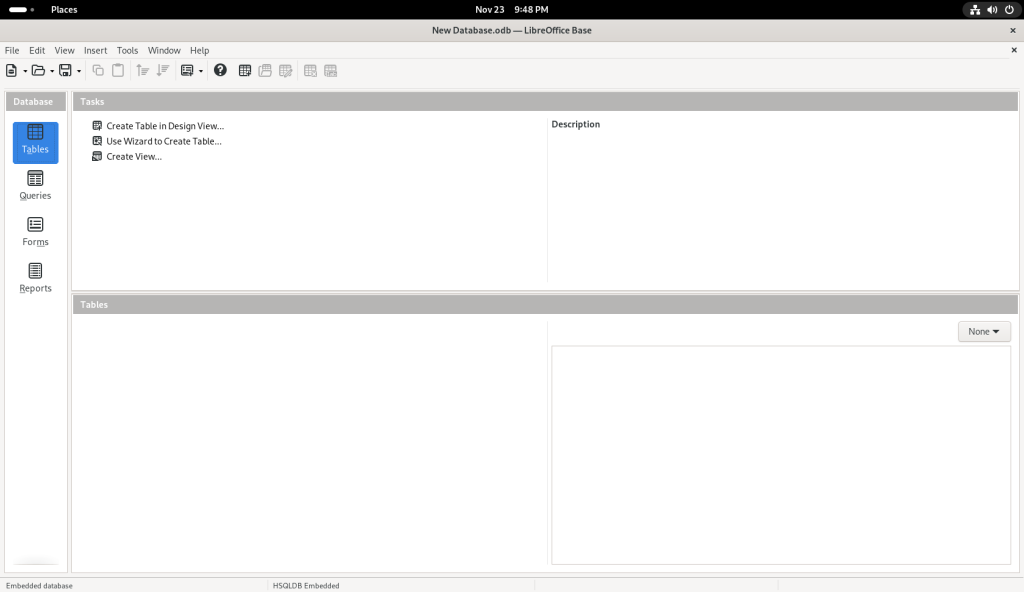
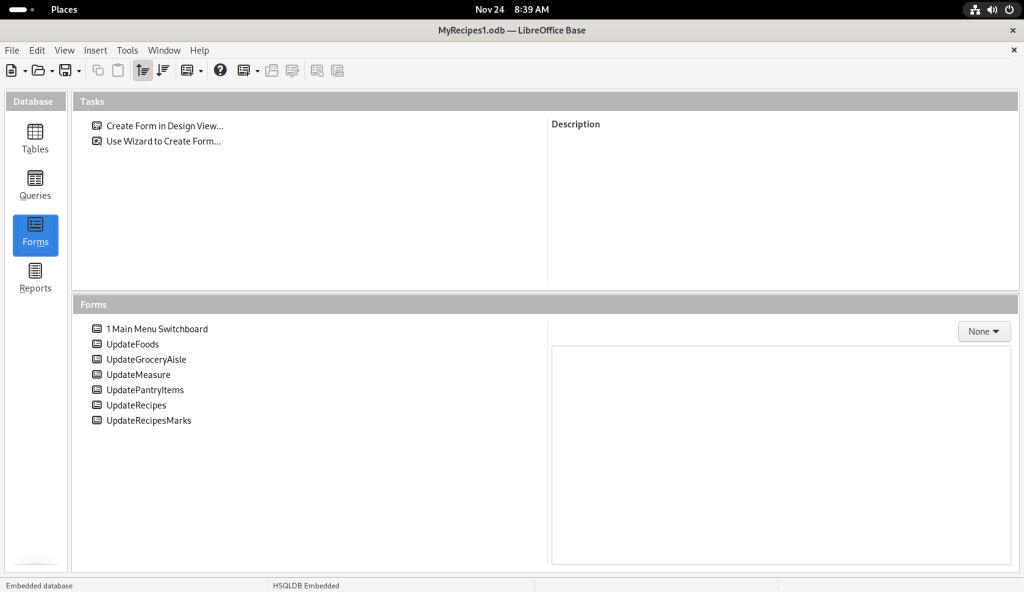
Once that was done, the following screen came up, in order to start creating a database:
Initial screen for creating a database
Note that from this point on, I am showing some very basic things, and I will soon recommend a tutorial, which will better show how to use the software than I could ever present.
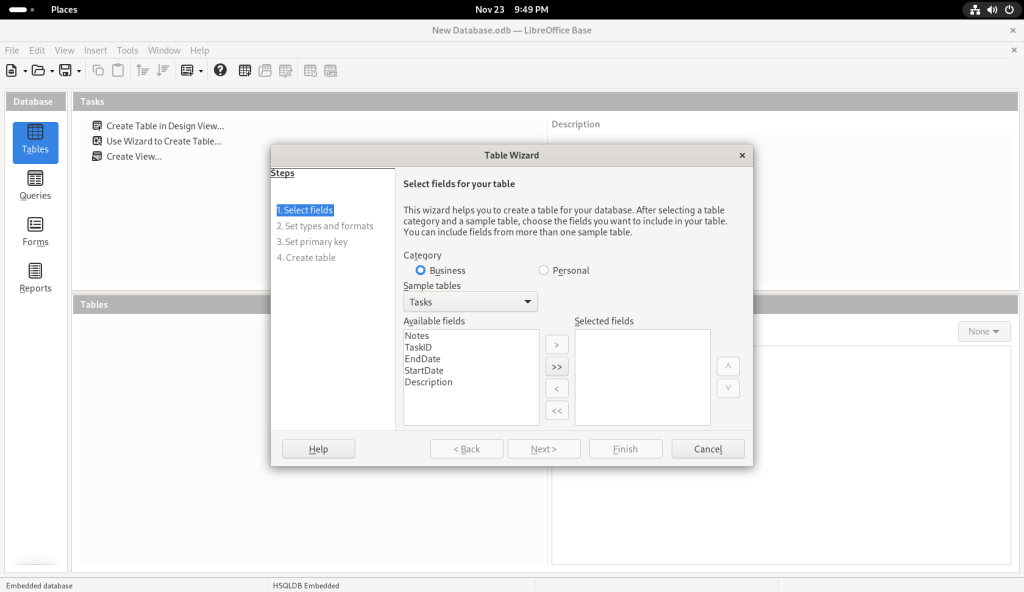
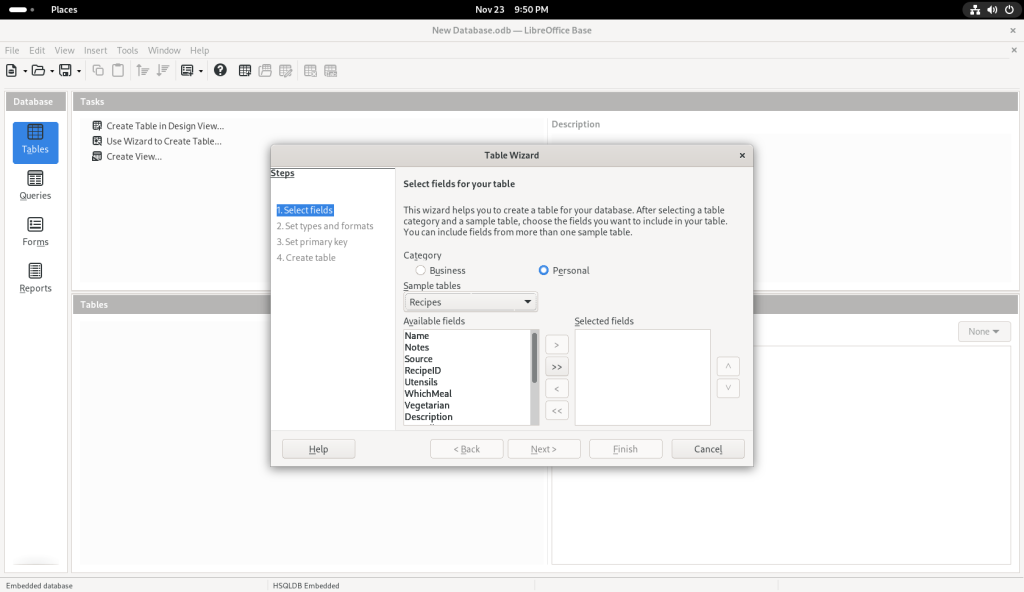
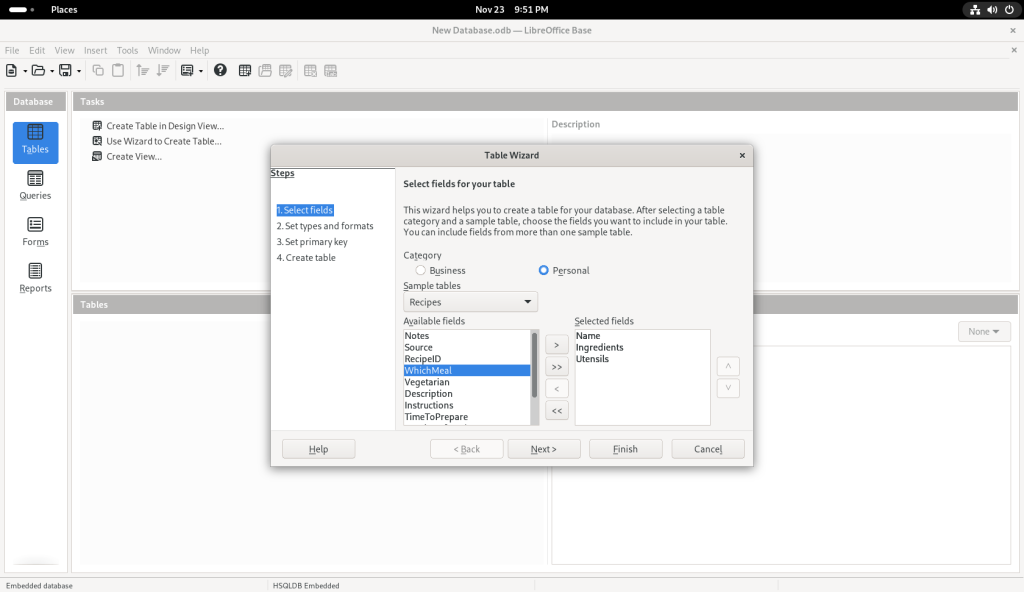
I clicked on the “Table” icon, which brought up a Table Wizard:
Table Wizard launched
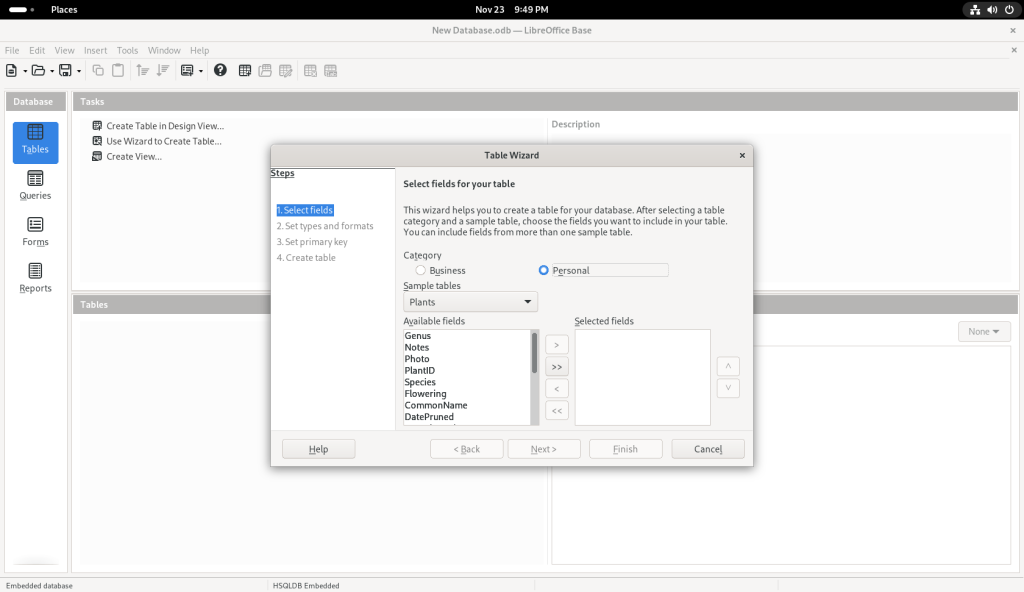
I chose the “Personal” category, on the premise — in the context of this post, anyway which presumes that many readers may be seeking to use linux at home and not just at the office, and that a database might not as easily appear to be a personal piece of software.
Personal category chosen
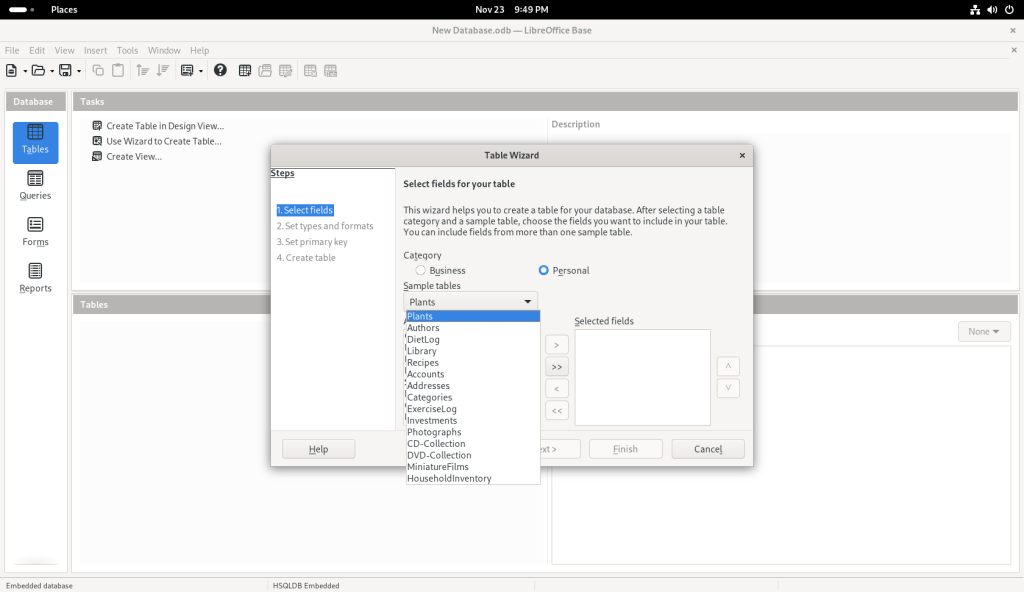
I pulled down the suggested list of topics:
Suggested list of topics
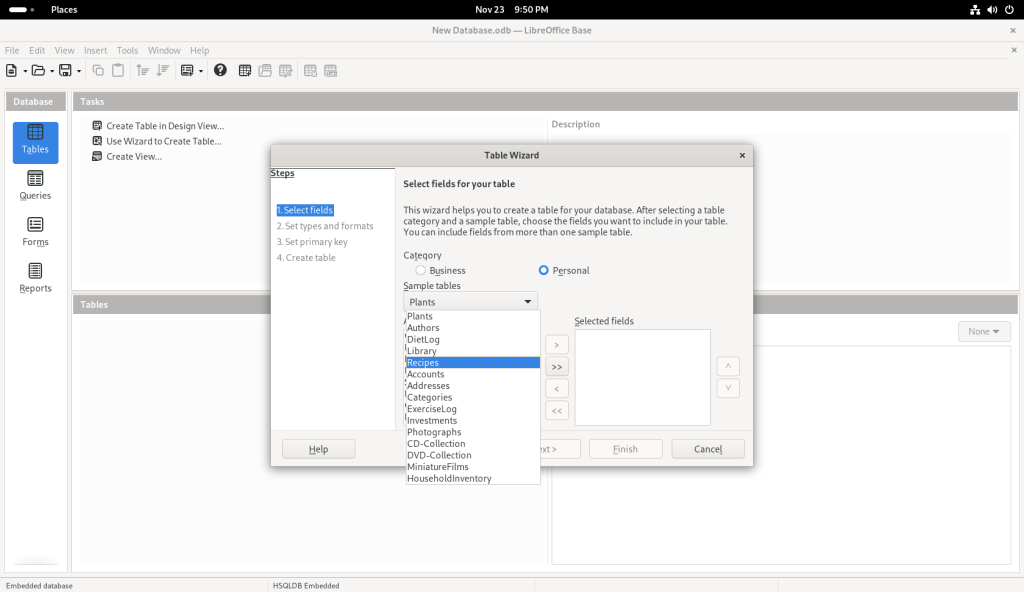
… and chose “Recipes” for what I presume are obvious reasons — we all eat, and presumably many people have a personal collection of varying sizes (here’s my collection of recipes, incidentally NOT in a database format, at https://www.malak.ca/food).
Recipe option chosen
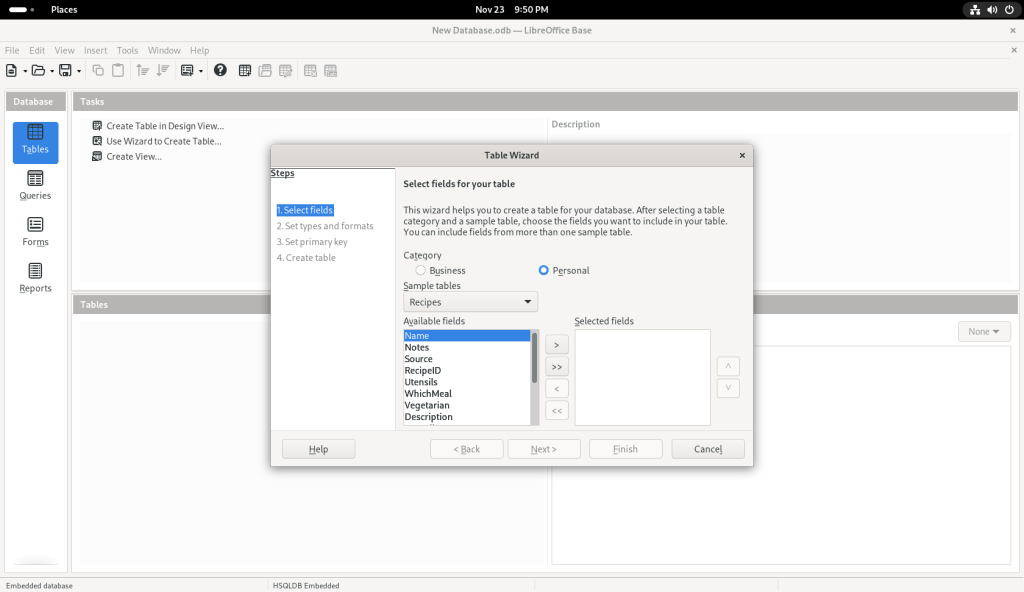
Some field names were suggested:
Field names suggested
I clicked on “Name”:
Name selected
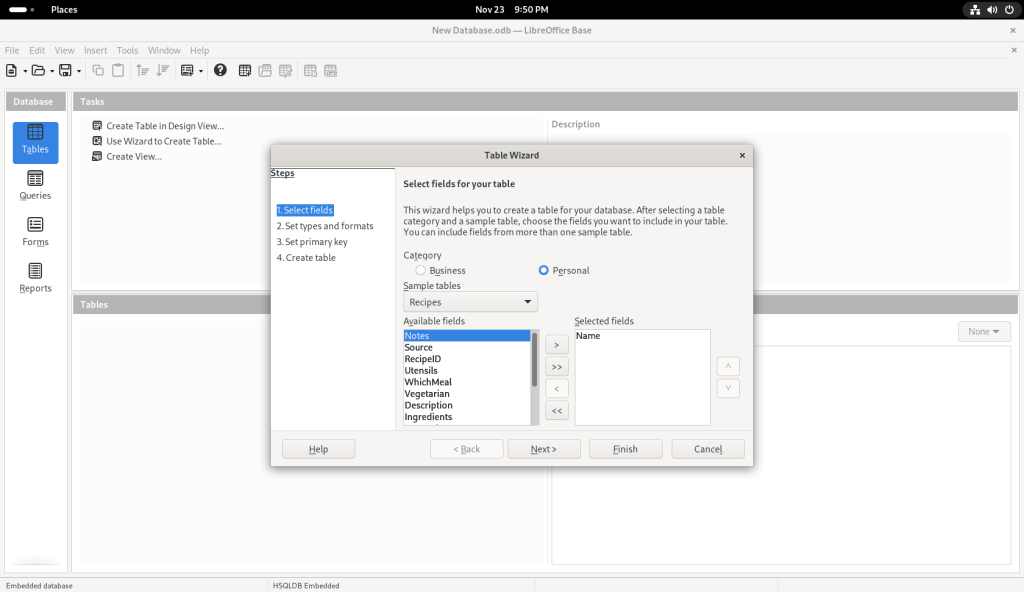
… which moved it over to the column on the right:
Name field moved to right window
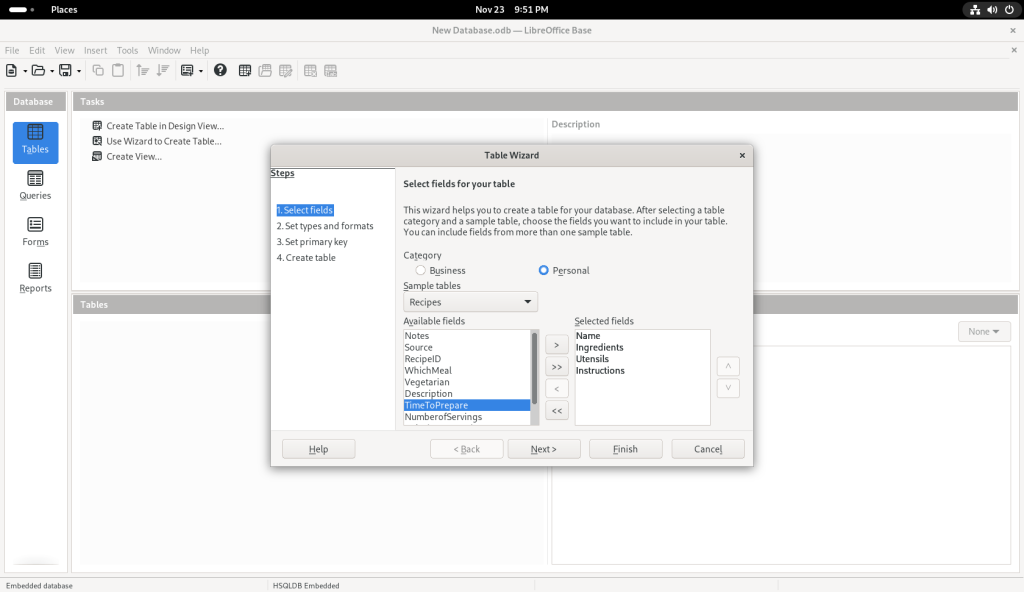
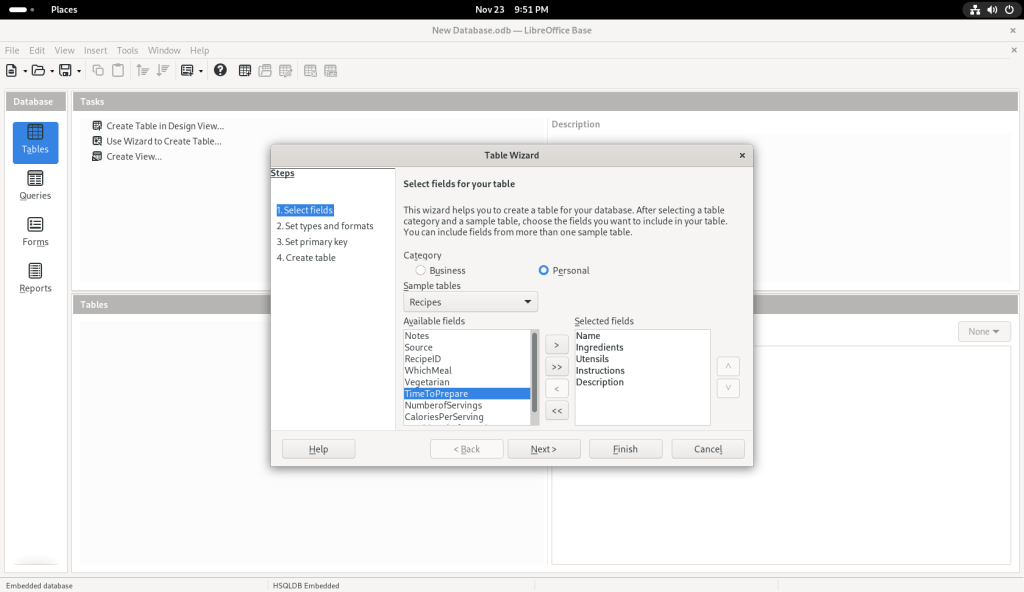
I also chose other sample tables:
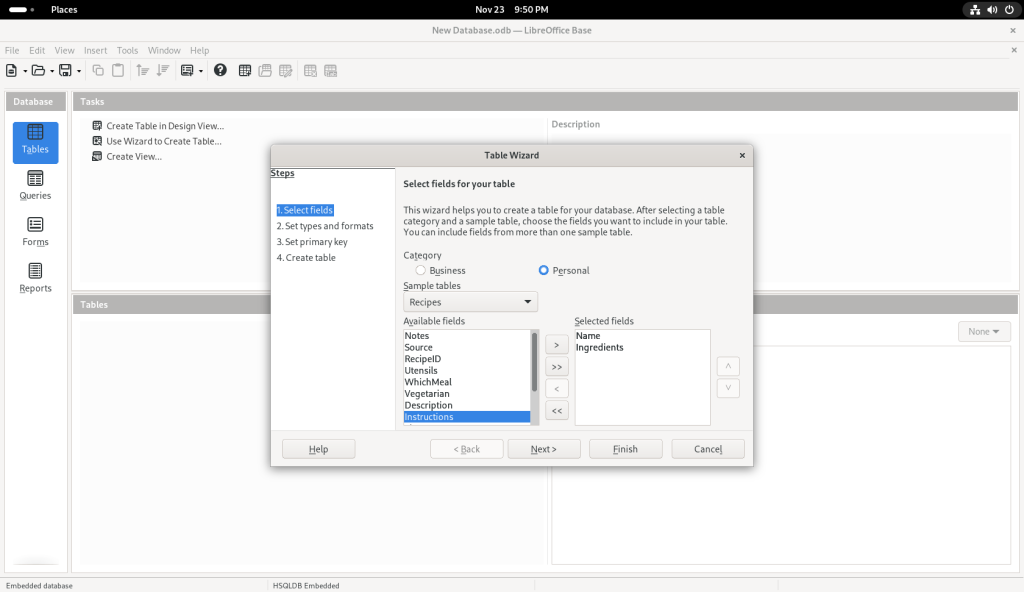
Ingredients field chosen
Utensils field chosen
Instructions field chosen
Description field chosen
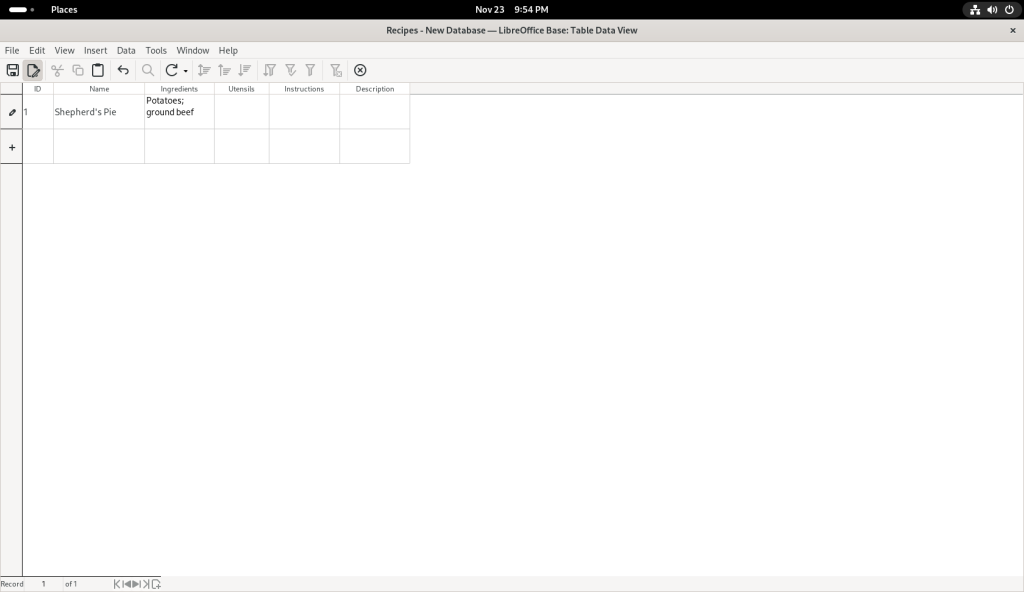
… at which point, I clicked on the “Finish” button, leading to the following screen:
Finish button clicked, leading to a data entry page
I started entering data:
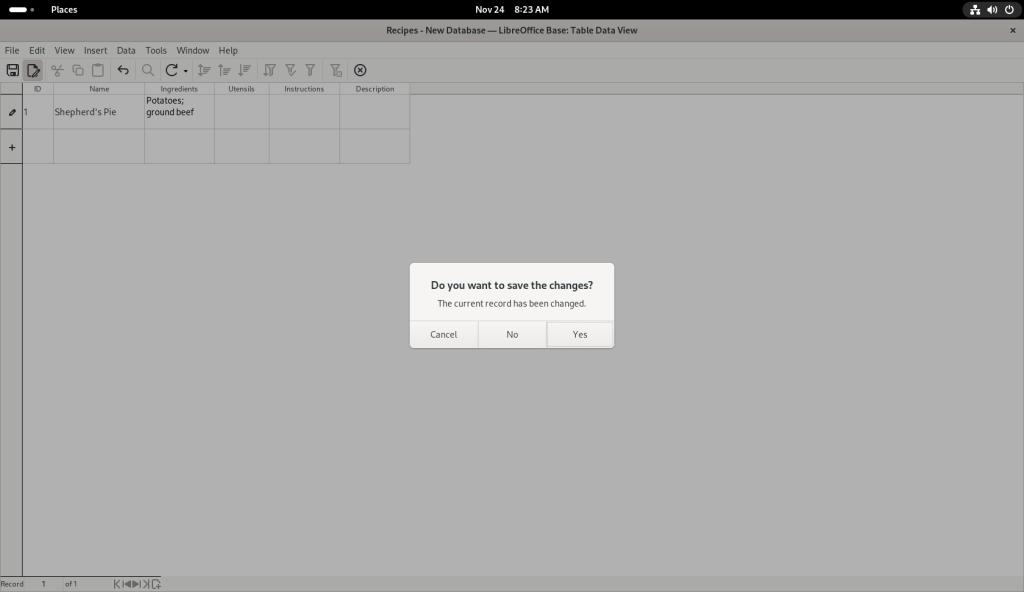
Data entered
I chose to save my changes:
Database saved
At this point, I am going to direct you to a far better tutorial than I could ever present, even in the most cursory of fashions:
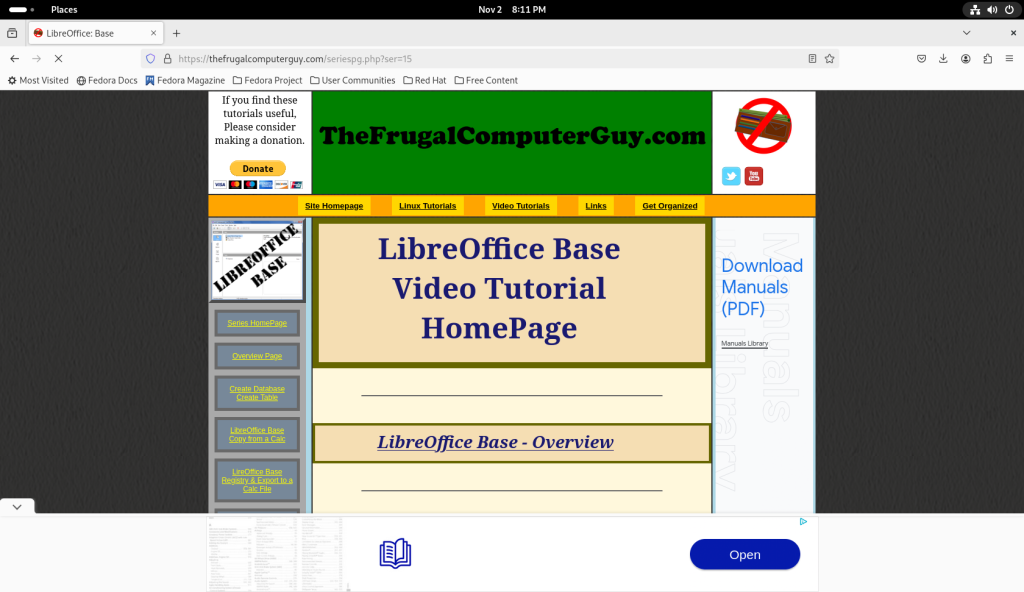
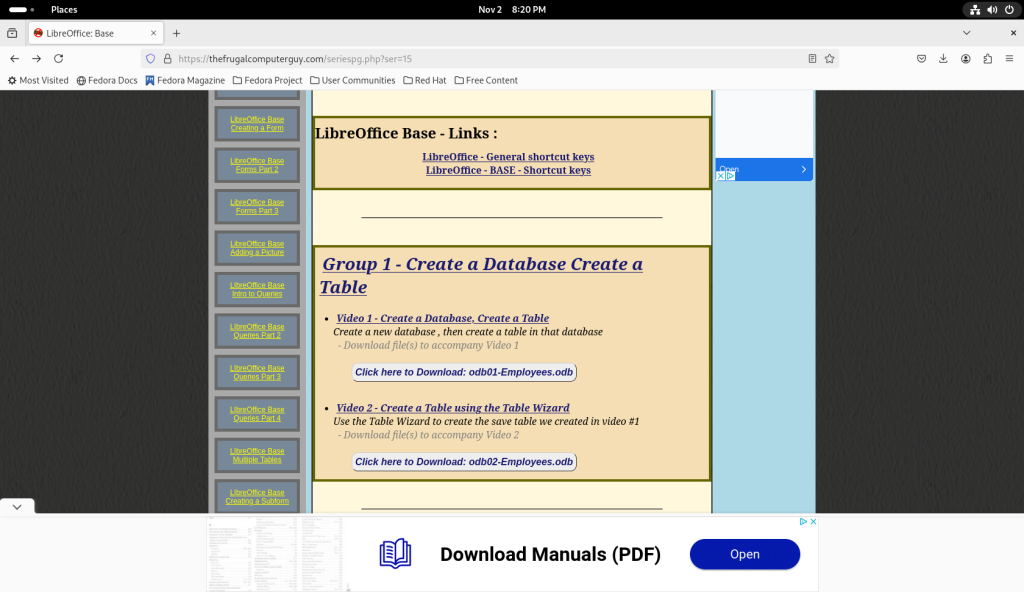
As of the writing of this post, a rather complete tutorial on using Base can be found at thefrugalcomputerguy.com/seriespg.php?ser=15/ (no doubt amongst countless other similarly excellent resources):
TheFrugalComputerGuy.com LibreOffice Base tutorial page
TheFrugalComputerGuy.com LibreOffice Base tutorial page
Although I think it best to leave the tutorial to TheFrugalComputerGuy, I will show a small database in action:
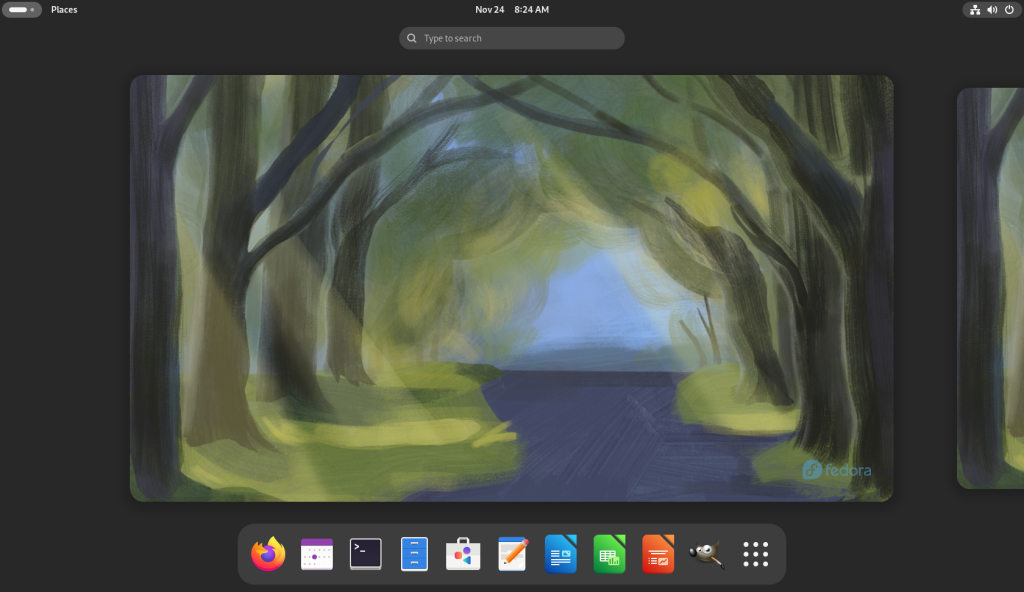
Starting again at the desktop screen:
Desktop
The activities screen was accessed through the upper left hand hot corner with the mouse:
Activities screen with the dock
The Firefox icon (orange, on the left on the dock at the bottom) was clicked:
Firefox web browser launched
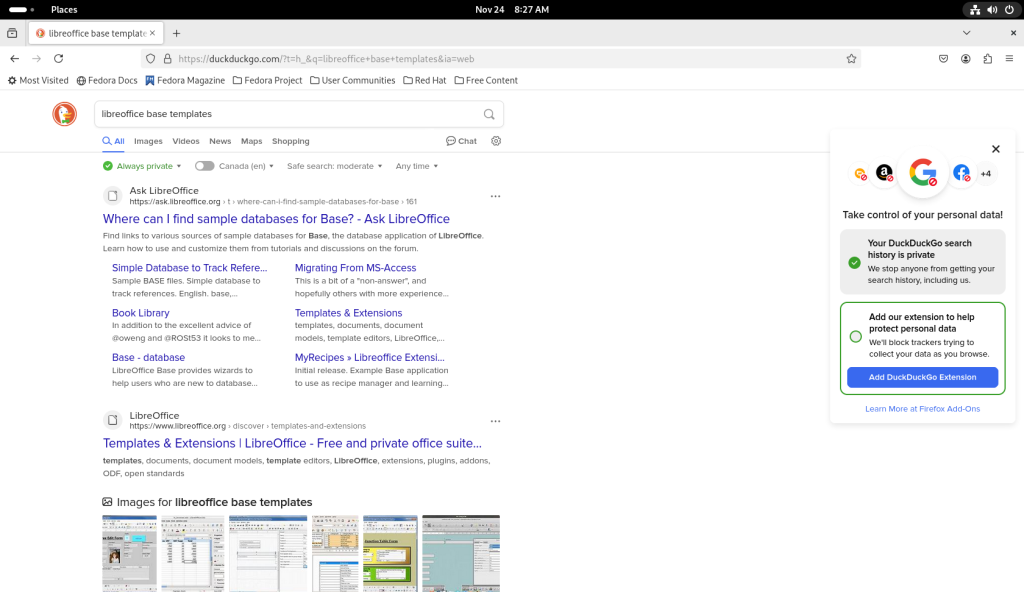
I went to my favourite search engine, duckduckgo.com:
Search engine opened (in this case www.duckduckgo.com)
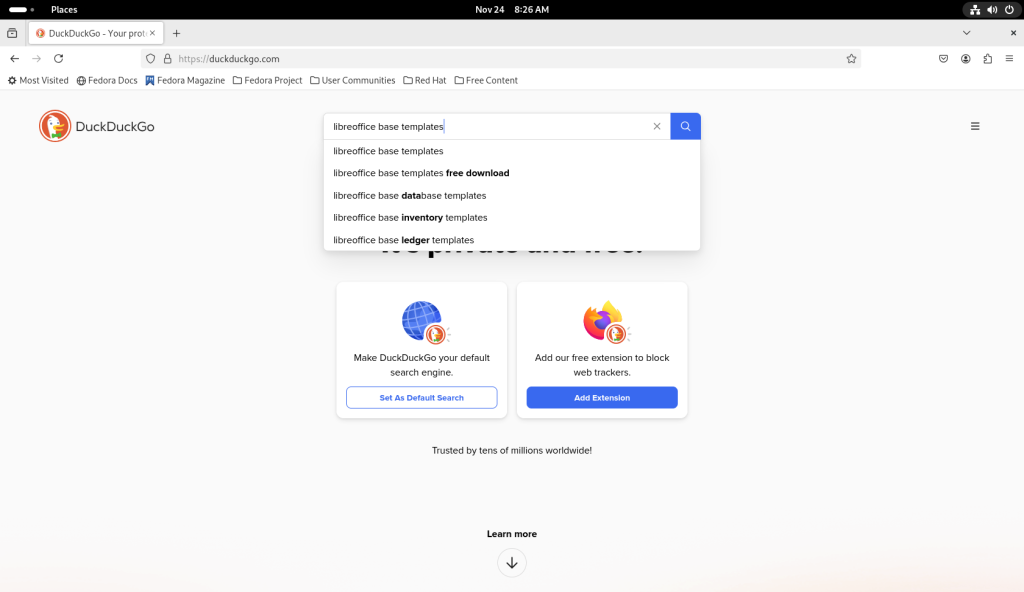
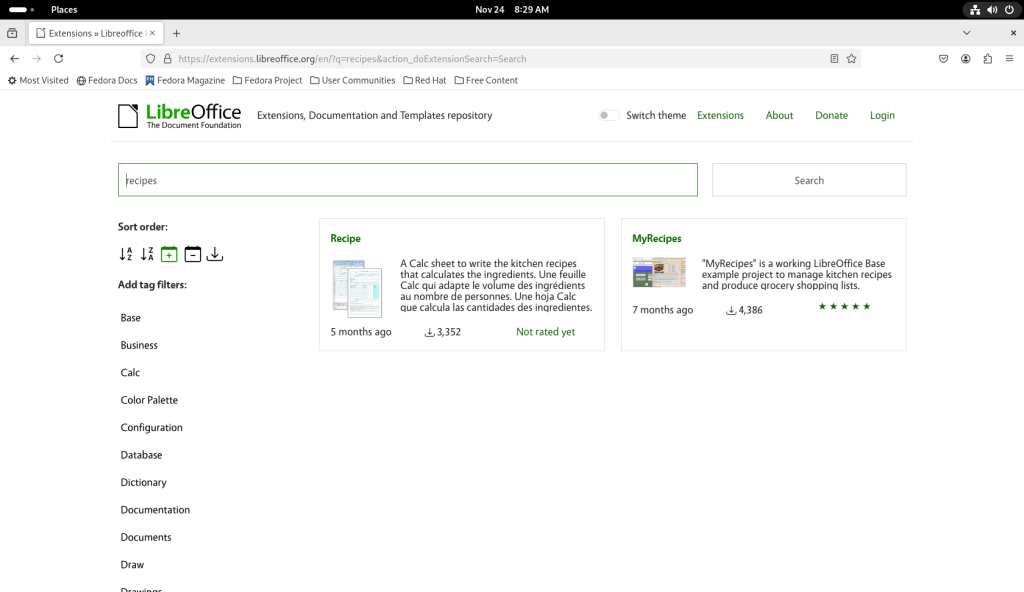
… and I searched for “libreoffice base templates”:
Searching for Base templates
Searching for Base templates
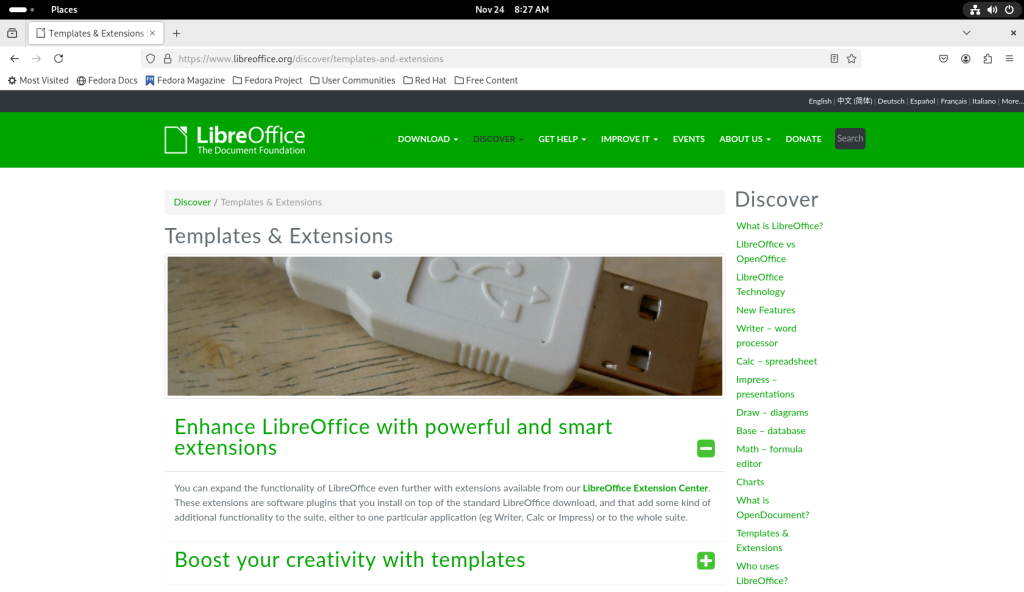
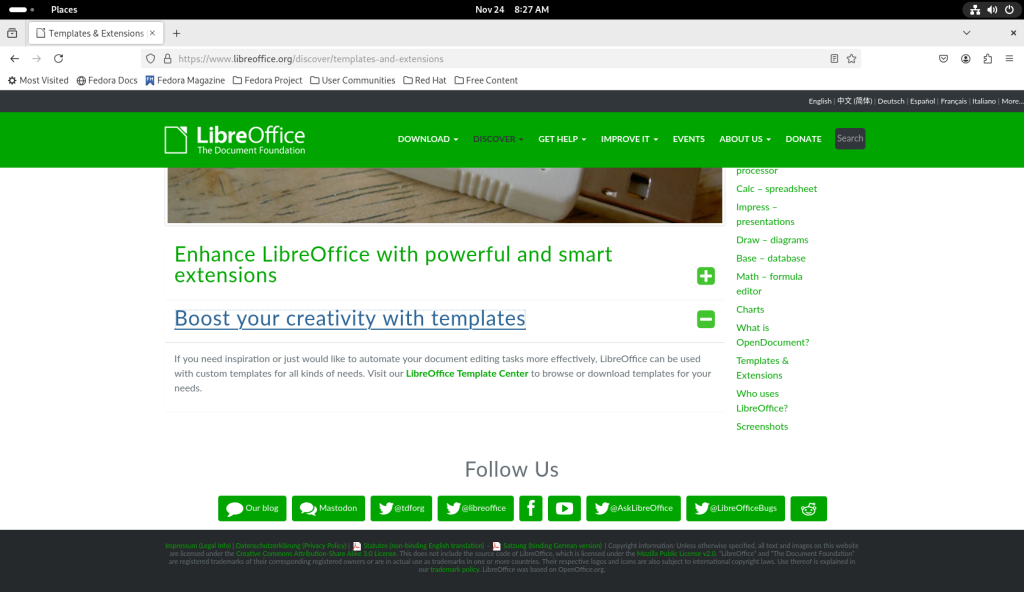
I chose the “Templates & Extensions” link, the second link above, at the LibreOffice.org site itself:
Templates at libreoffice.org
I clicked on the green “plus” sign to the right of “Boost your creativity with templates”:
Template link clicked
… which led to the following page:
Templates page
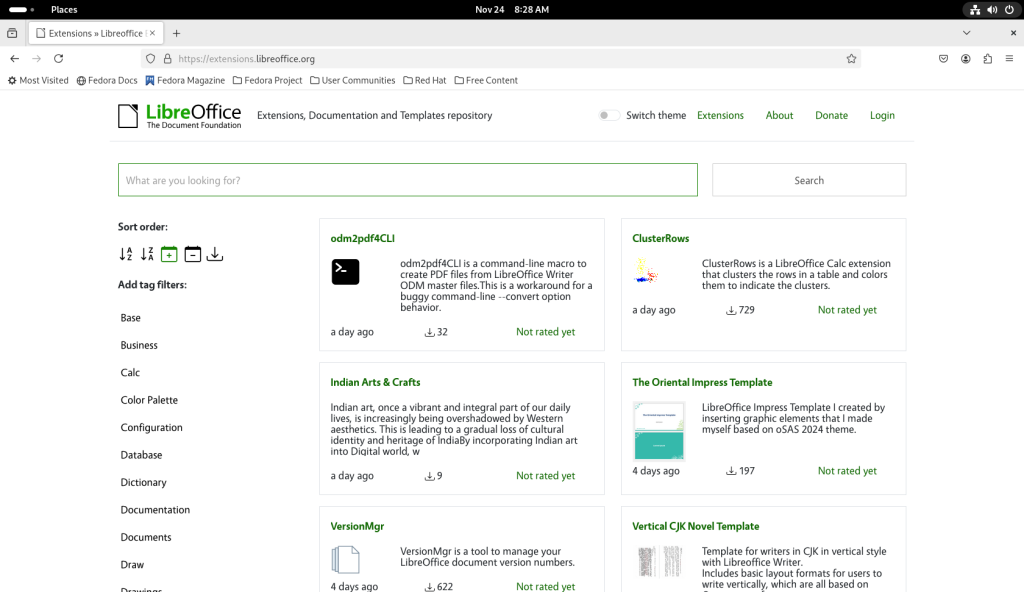
On the left, there are a number of filters under “Add tag filters:”, and clicked on “Base”, bringing up the following page:
Page with templates for Base
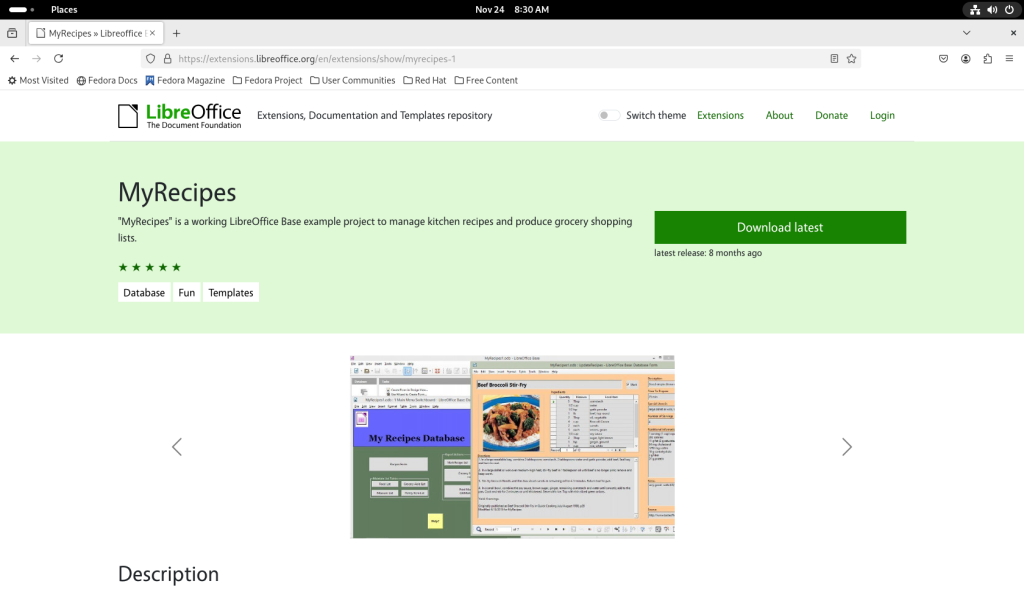
I chose the “MyRecipes” template for LibreOffice Base:
Page for a recipes database
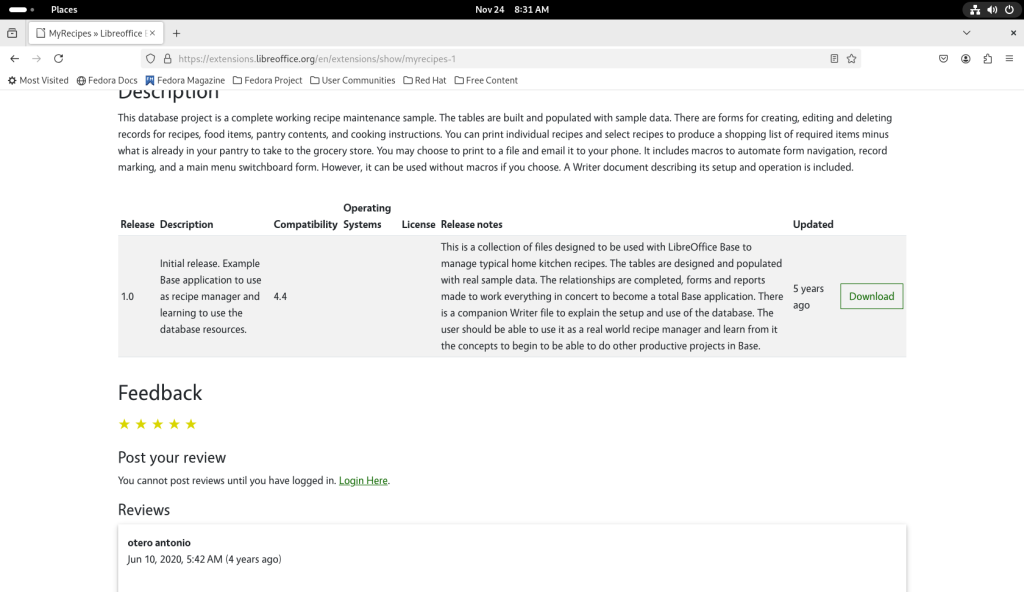
I scrolled down to quickly assess the files, finding them eminently interesting for the task at hand:
Template description
The download button was clicked, and the file downloaded:
Template downloaded
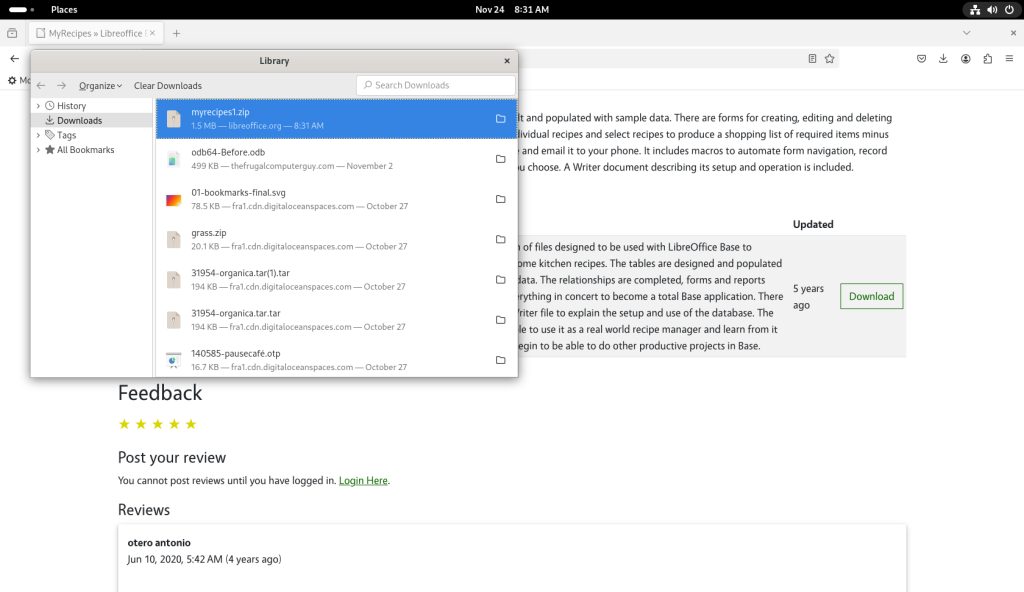
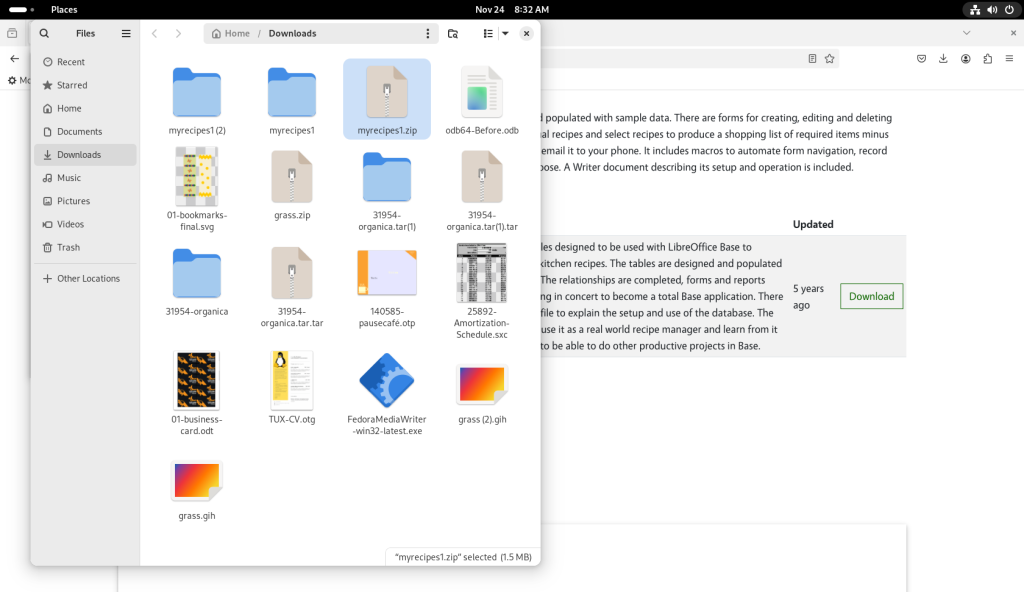
The files program was opened, and the newly downloaded file was highlighted:
Downloads directory opened
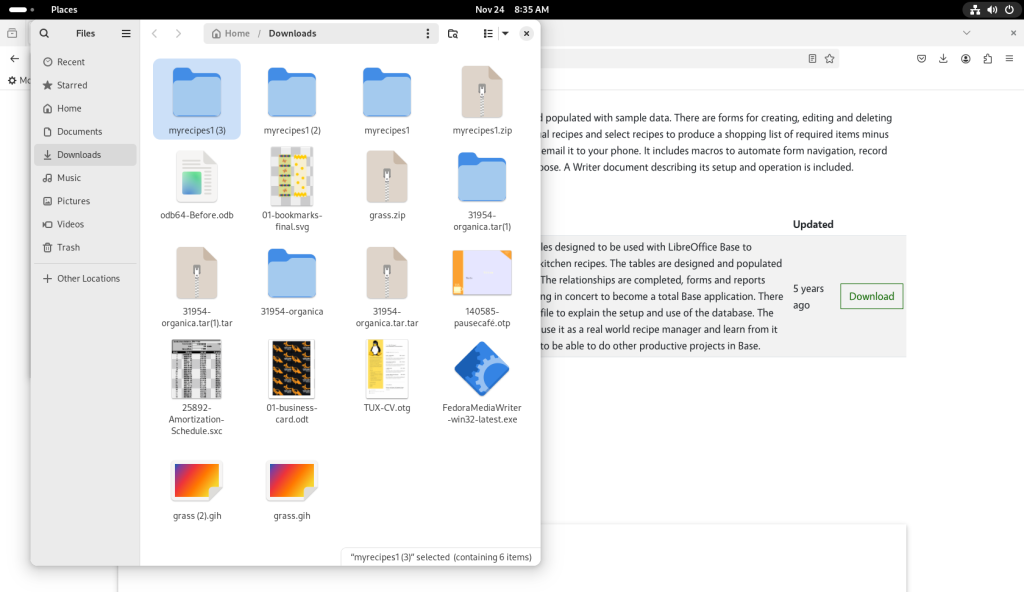
The .zip file was double-clicked, creating a directory of the files (ok I accidentally created the directory three times!)
.zip archive opened
One of the directories was double-clicked and opened:
Archive consulted
The “ReadMe.txt” file was double-clicked and opened:
readme file consulted
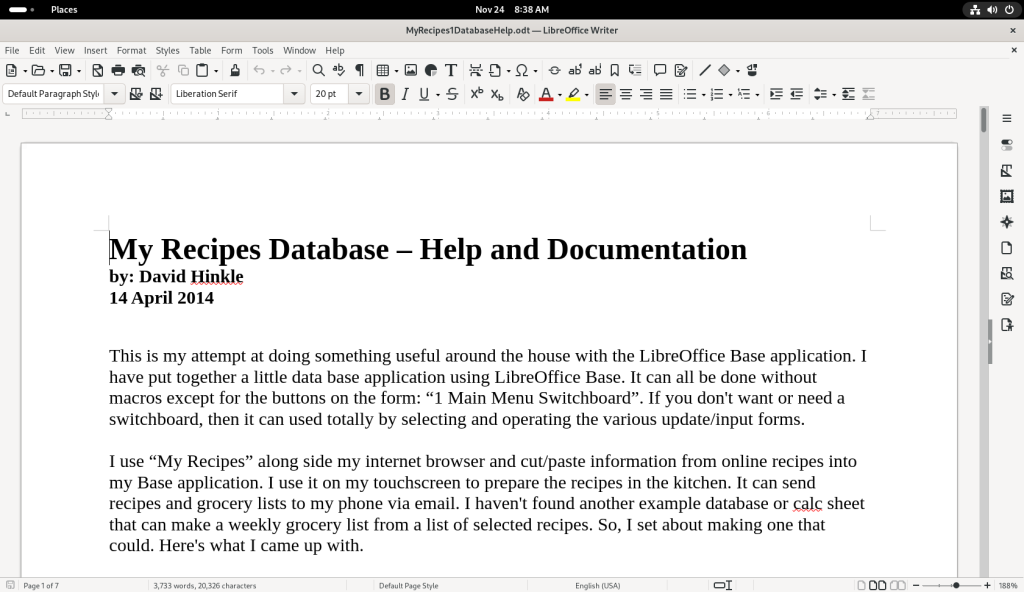
The .odt file was opened as well:
Instructions and general description file checked
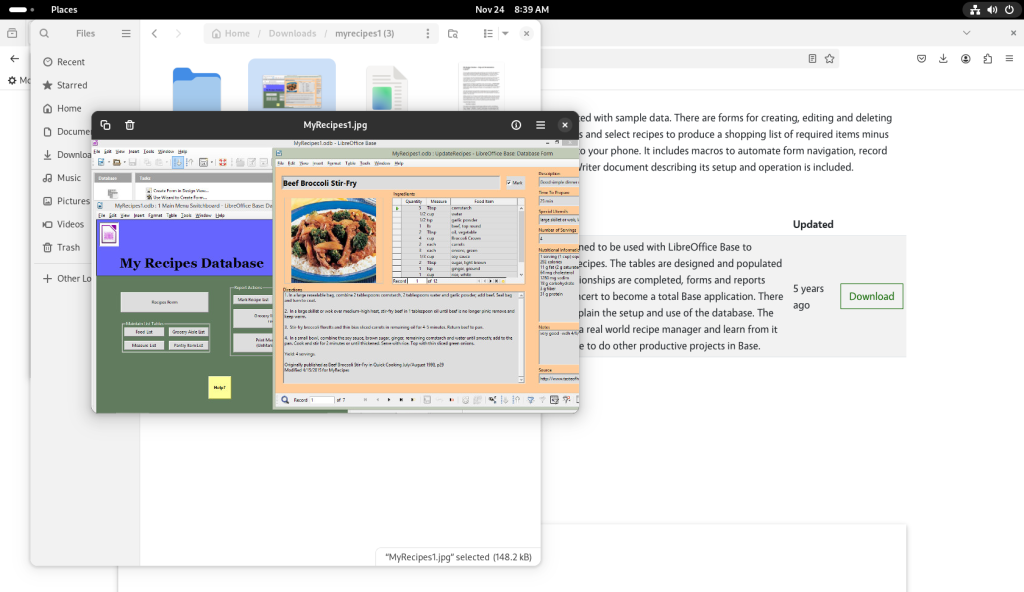
The “MyRecipes1.jpg” file was double-clicked, opening a screenshot:
Screenshot of database operating consulted
The FoodPix directory was opened, showing pictures of the recipes in the database:
Pictures included in the archive viewed
From the database’s main directory, the database was opened:
Database opened
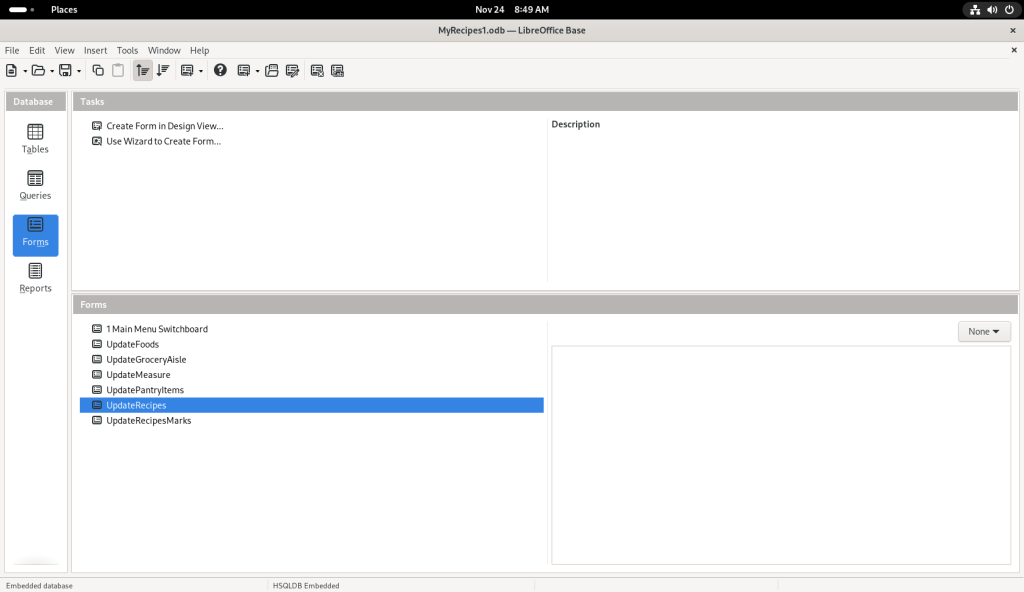
After looking about, the “UpdateRecipes” option was selected:
One of the options selected
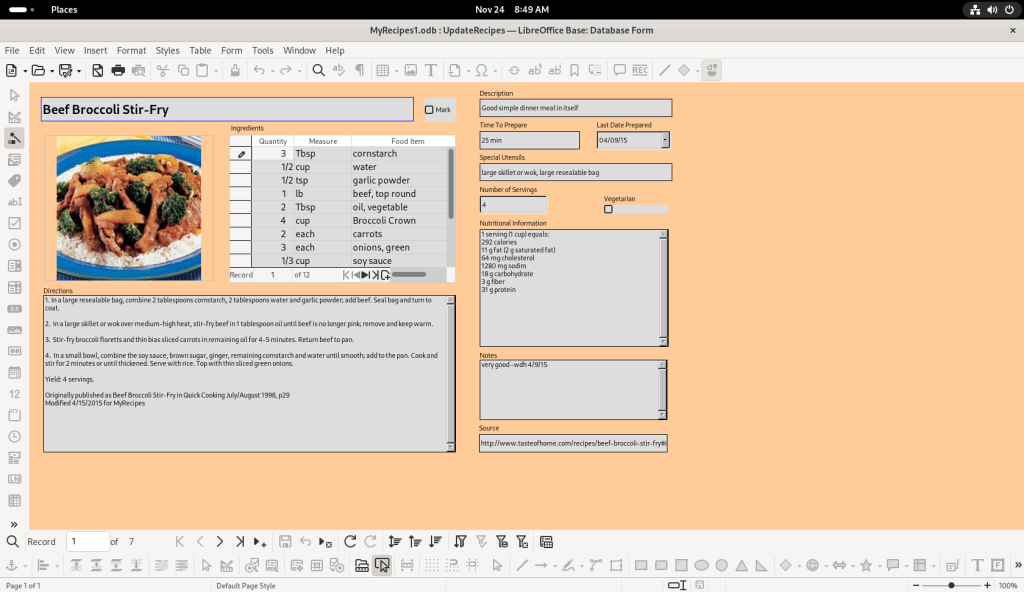
Which opened up one of the recipes:
One of the recipes in the database
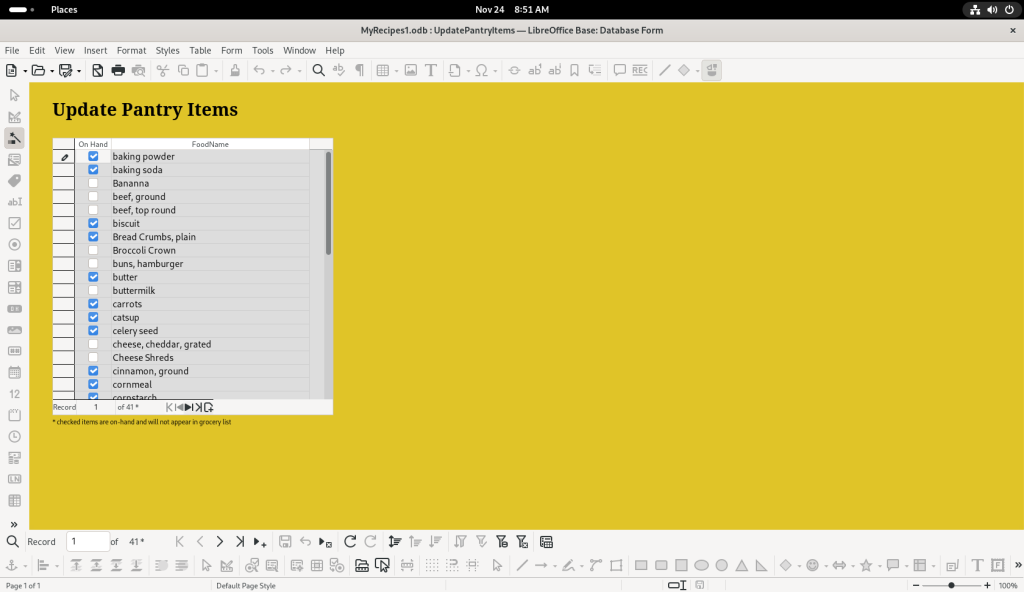
The database author chose to have an active Pantry list with checkable items, no doubt based at least partly on their recipes; by having it dynamic, when asked to create purchasing lists, the database can exclude pantry items already on hand:
Pantry list
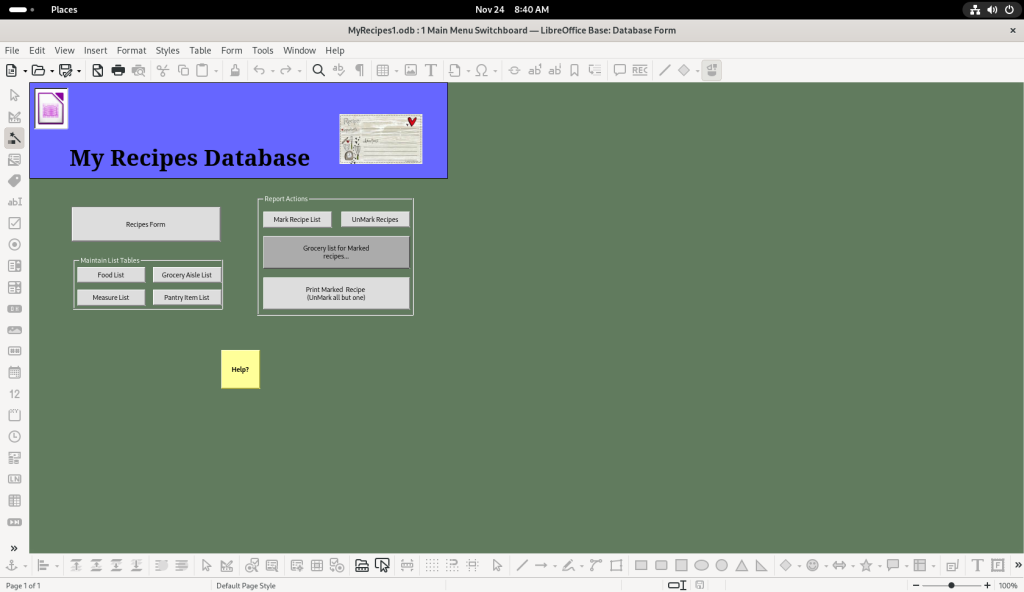
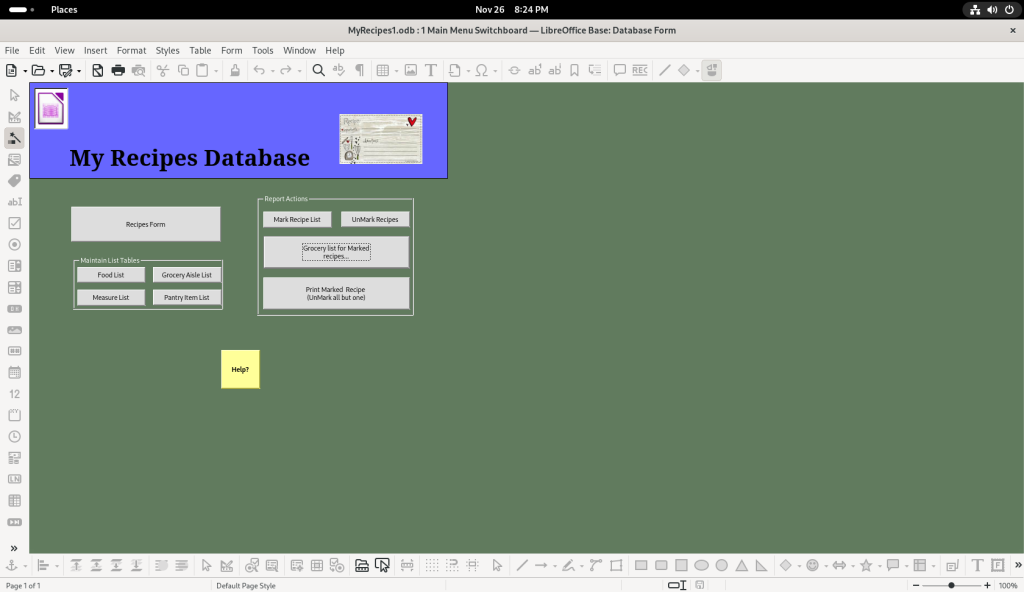
Said shopping lists can be generated from the “1MainMenuSwitchboard” option:
Main menu switchboard created by the author to navigate through their recipes and other functions they programmed
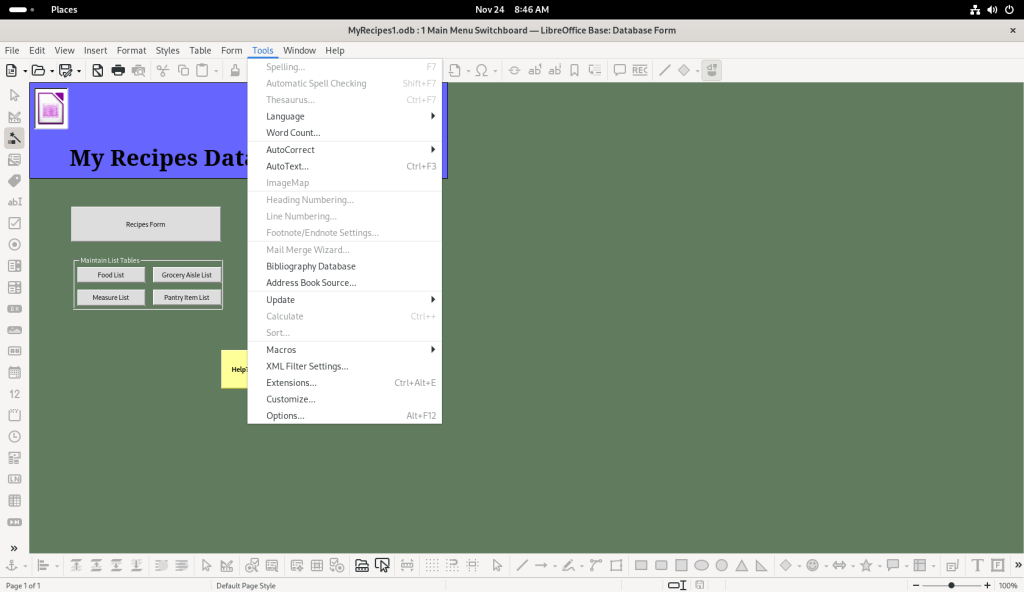
Given that the “switchboard” is based on macros, the Tools pull down menu was opened::
Tools menu opened
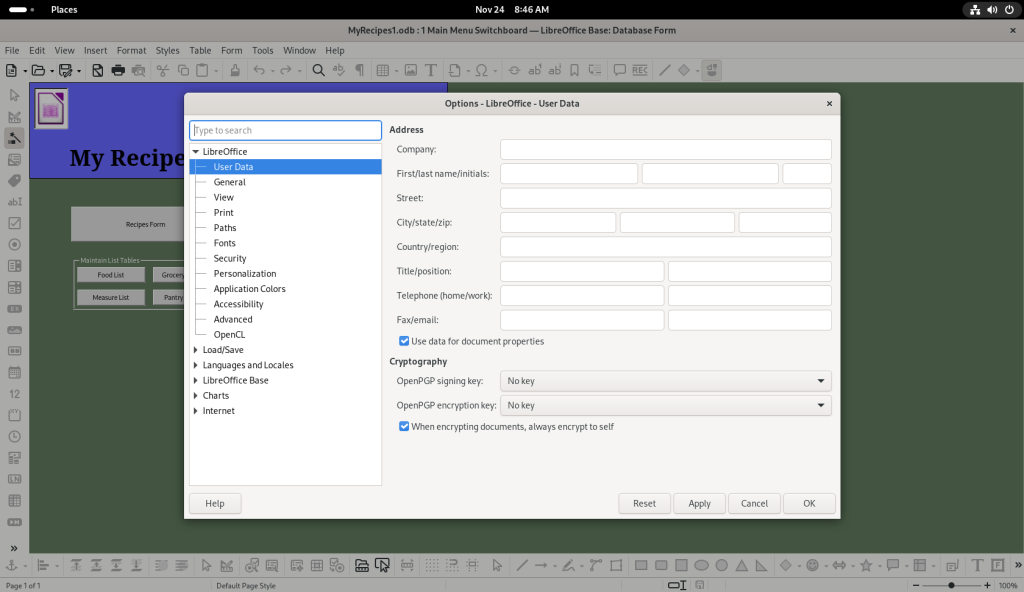
… and the “Options” option was clicked:
“Options” option clicked, opening an options window
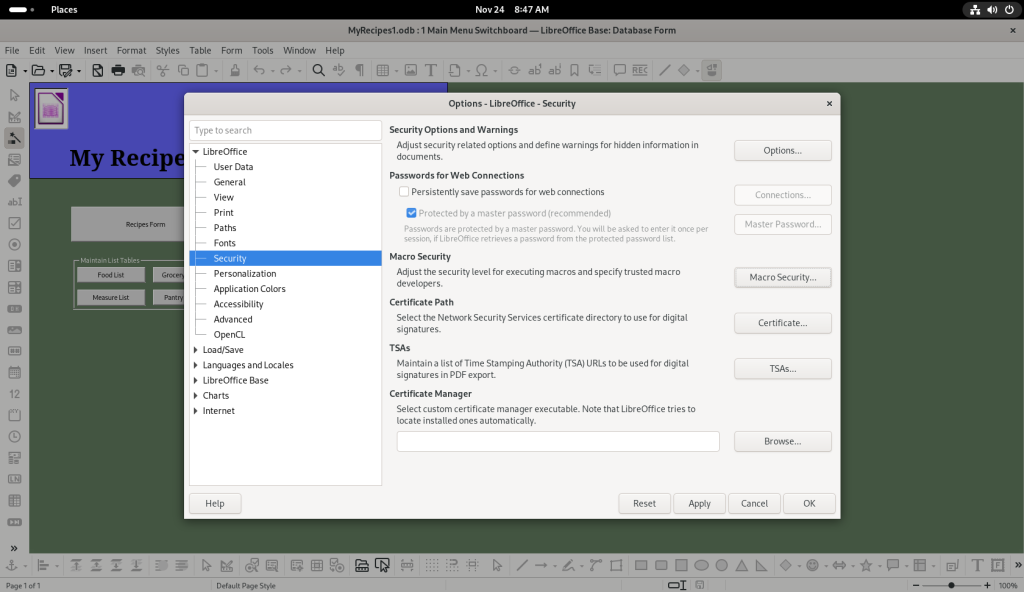
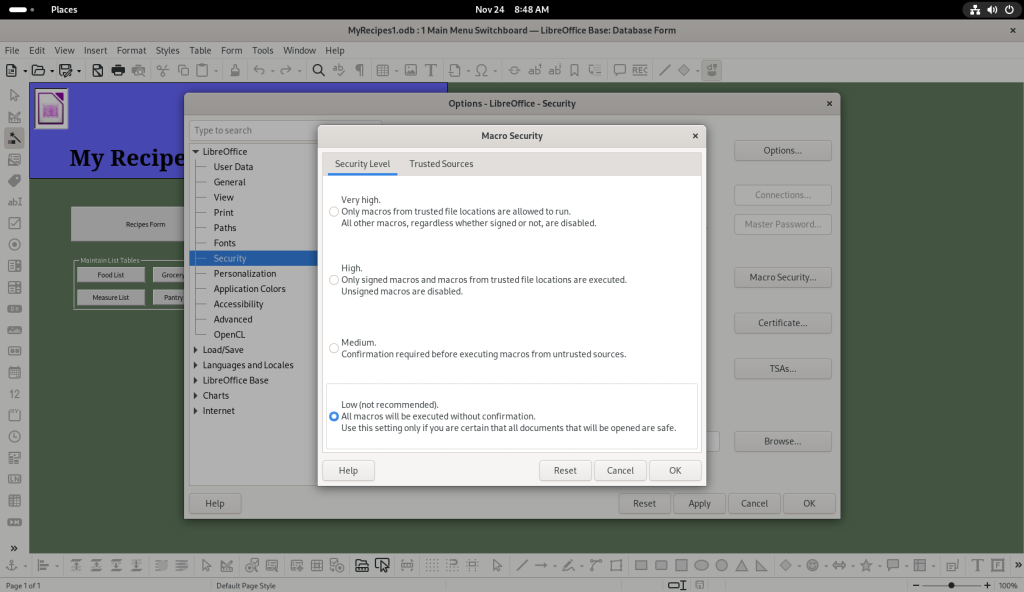
The Security option was chosen:
Security option chosen
… and the “Macro Security” button was clicked. The security level was set to low, as per the author’s suggestion:
Macro security options changed
Back to the Switchboard:
Database main menu opened
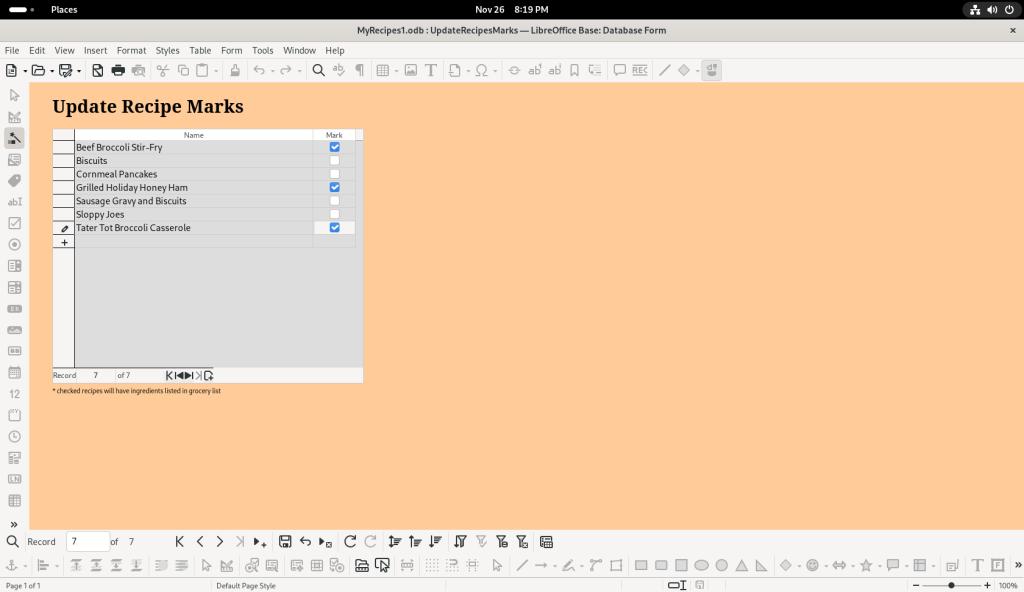
The “Mark Recipe List” button was clicked, and I decided to mark three of the recipes:
Recipes chosen
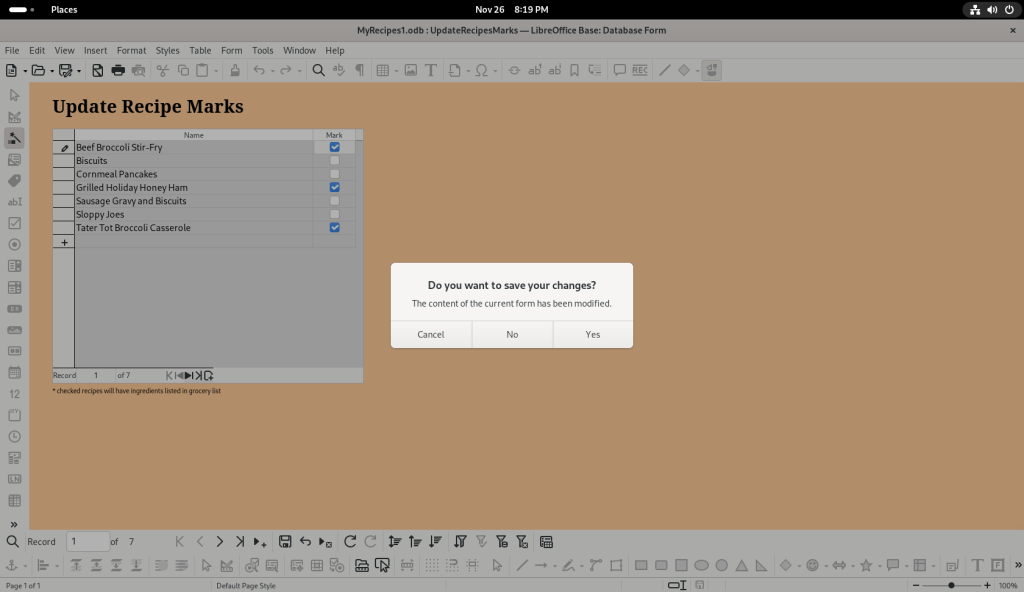
In trying to close the window, a window asked if I wanted to save my changes, to which I clicked “yes”.
Window closed and changes saved
The “Grocery List for Marked Recipes” button was clicked:
Grocery list option chosen from main menu
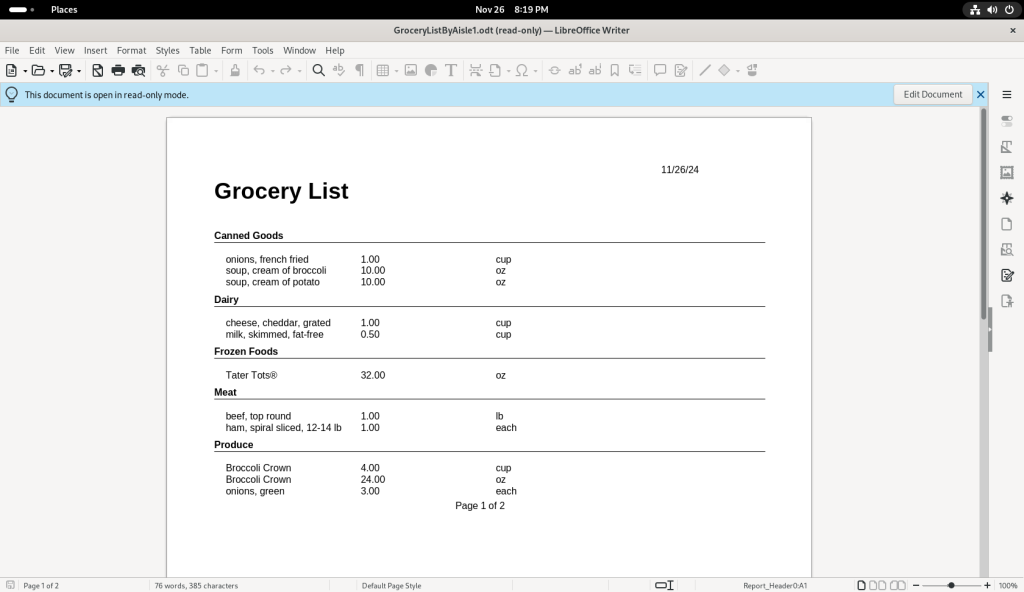
… producing a grocery list based on the recipes, which was automatically opened in LibreOffice Writer:
Note: Although it has been a while between posts and I had planned on another subject for what would have been this post, given the time lapse I decided to take advantage of a new version of Fedora that had been released to show how to easily upgrade the OS version, in this case, from version 39 to version 40. Note that many different versions of linux (Ubuntu, Mint, Debian, etc.) have similar functions and upgrade paths; since I began using the automatic upgrade tool in Fedora in about 2018, I have had good experiences.
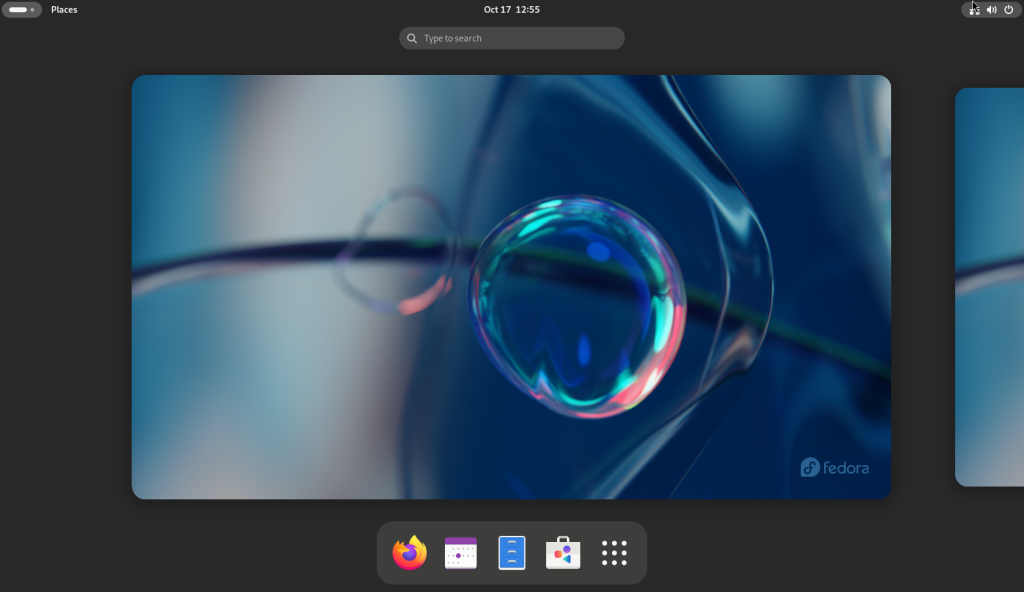
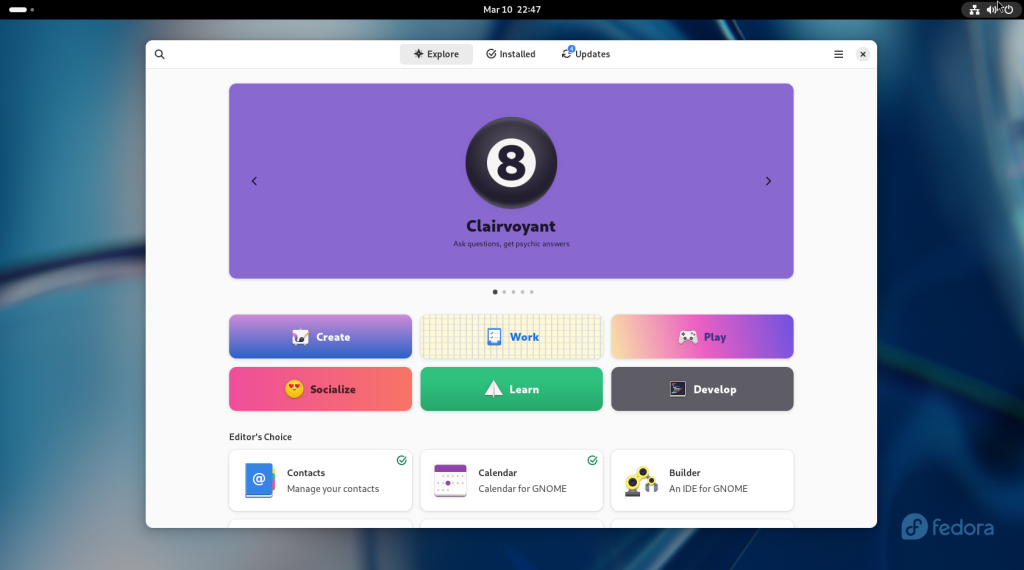
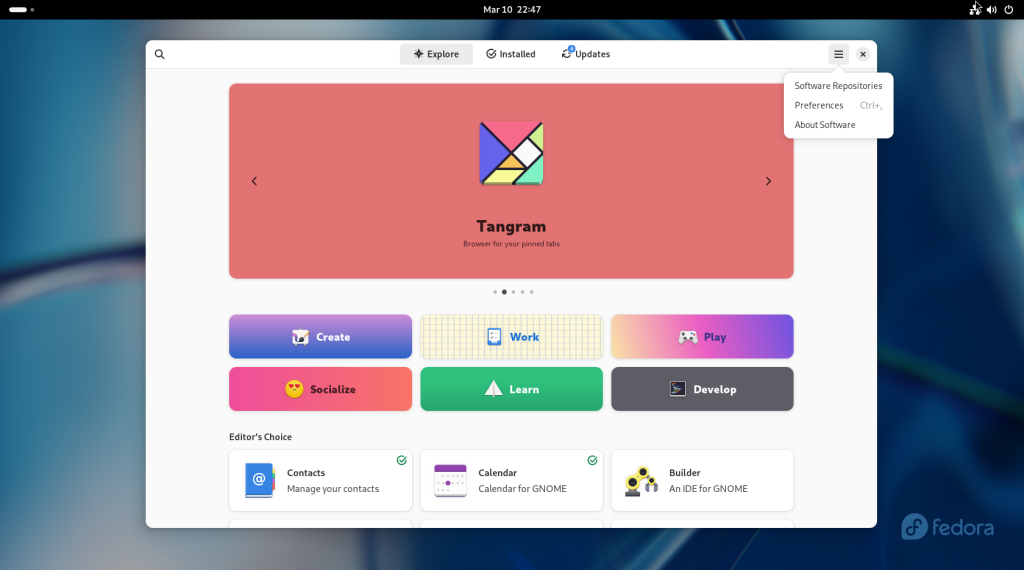
Firstly, the “Activities” screen happened to open when I logged into the system, and I chose the software icon in the dock on the bottom (the white “shopping bag” with the red, black, and blue symbols):
Activities screen with dock on bottom
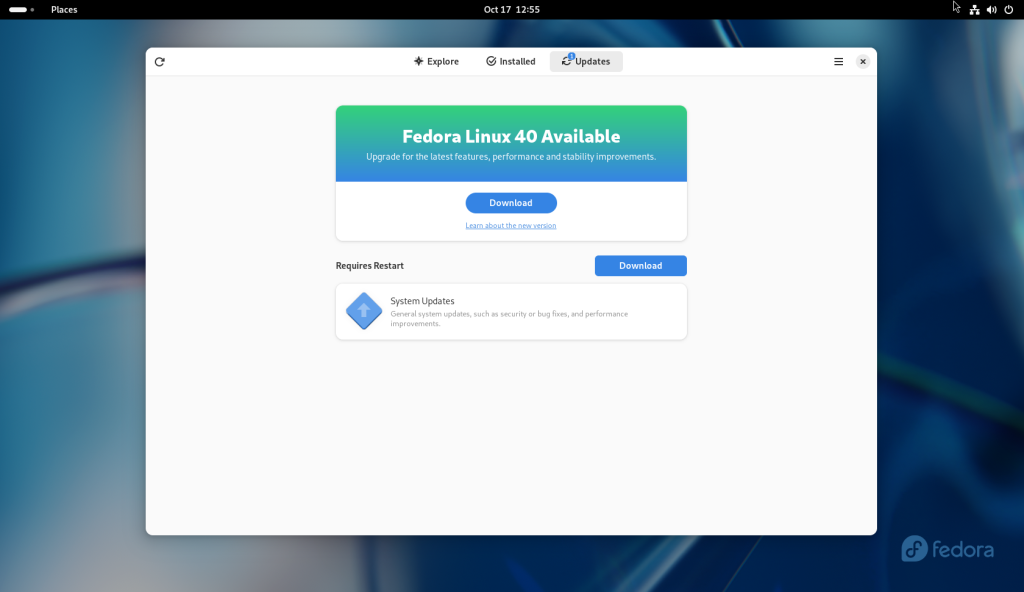
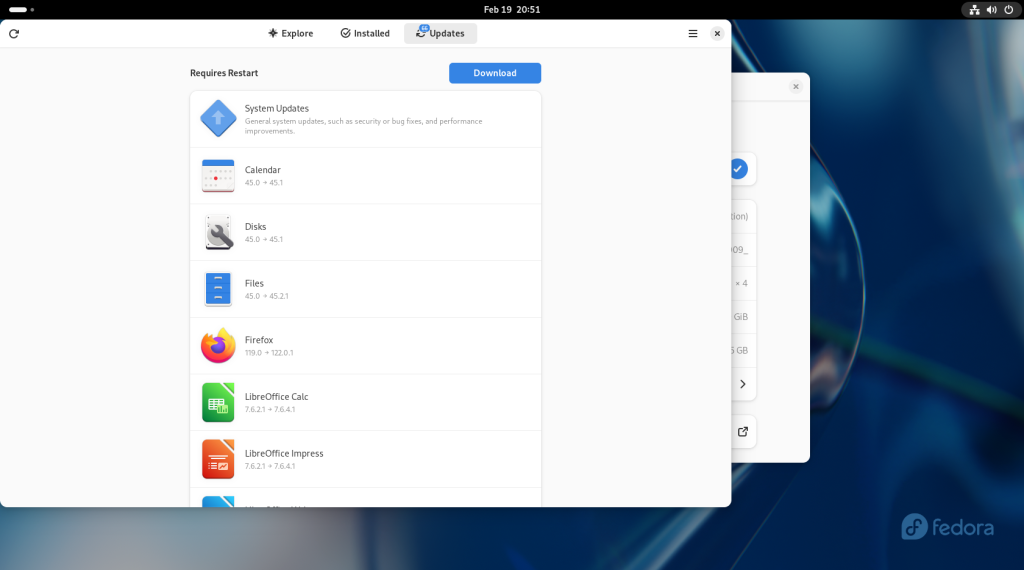
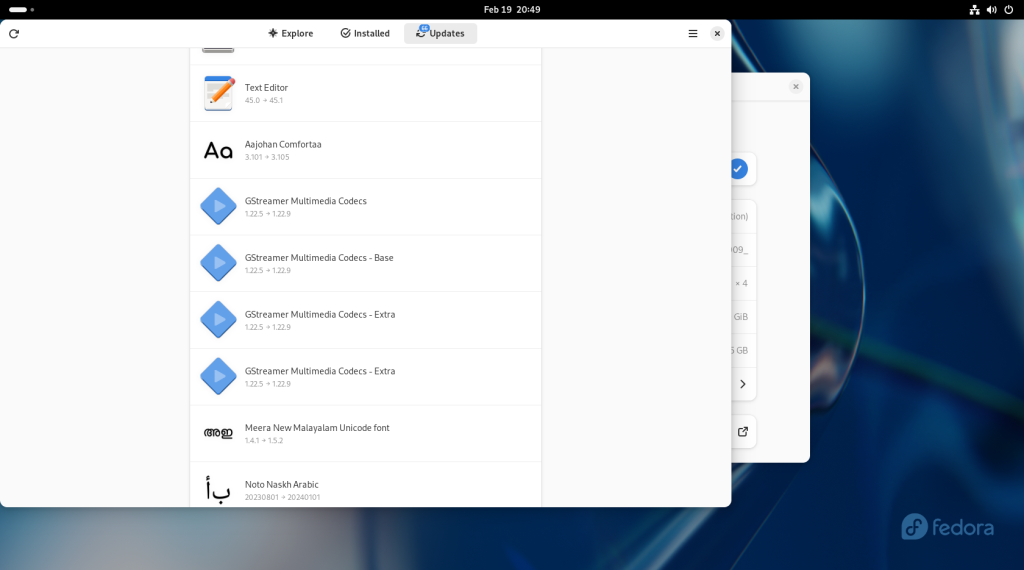
Which brought up the following screen, telling me that there were general updates, and that a new version of Fedora was available:
Software icon chosen
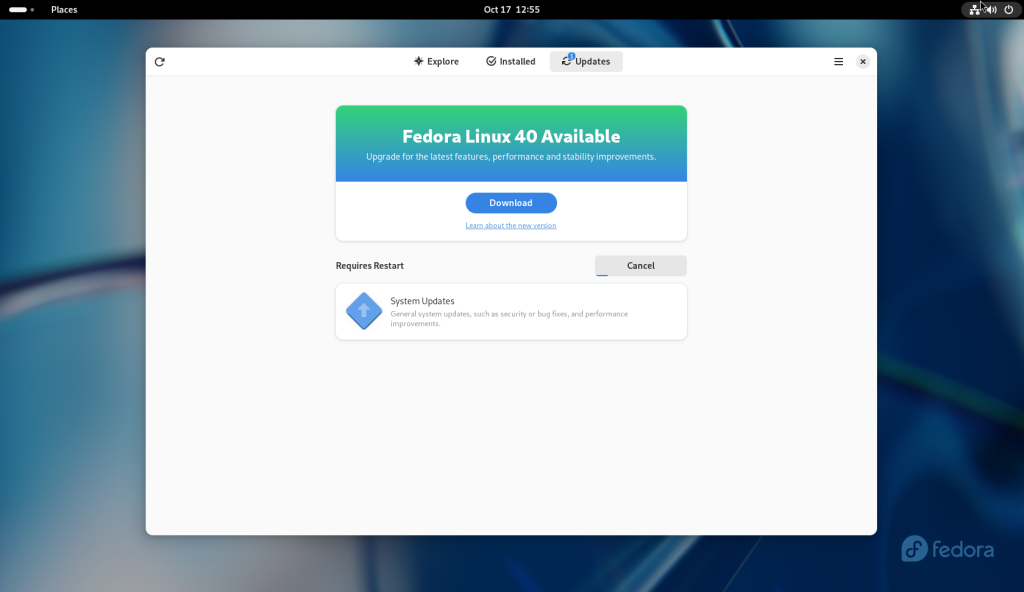
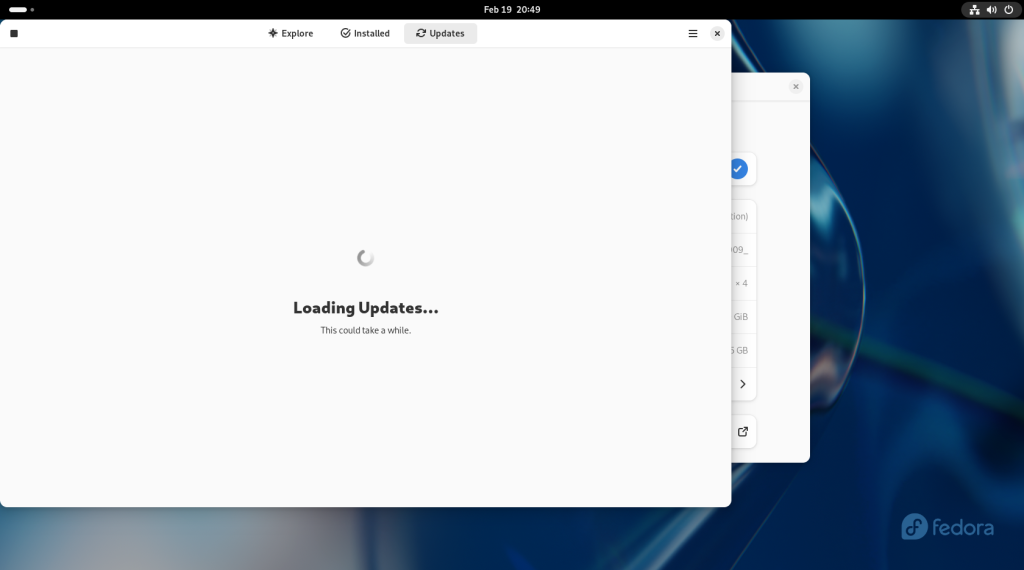
The system updates were first chosen and downloaded:
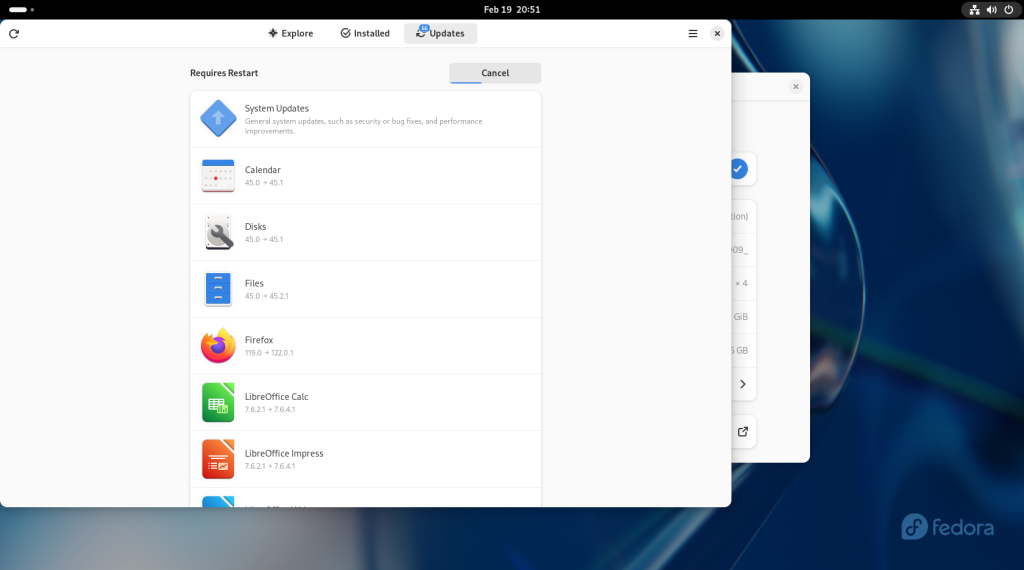
Updates downloaded
Once the updates were downloaded, the system was ready to be rebooted for installation:
Updates ready to be installed
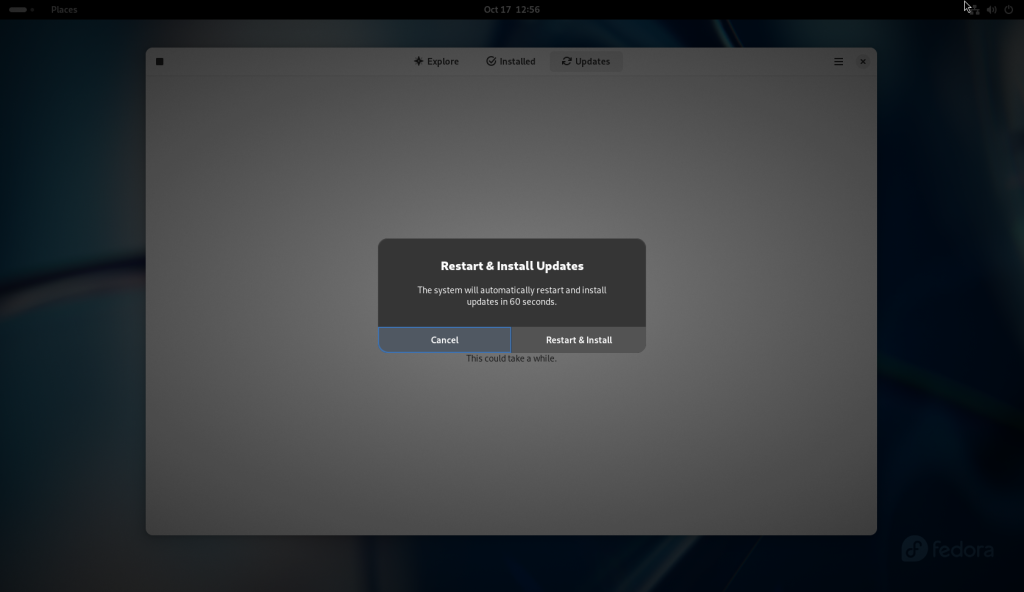
The “Restart & Install” button was chosen to confirm the reboot:
Restart and install updates dialog box opened
The system rebooted:
System rebooted
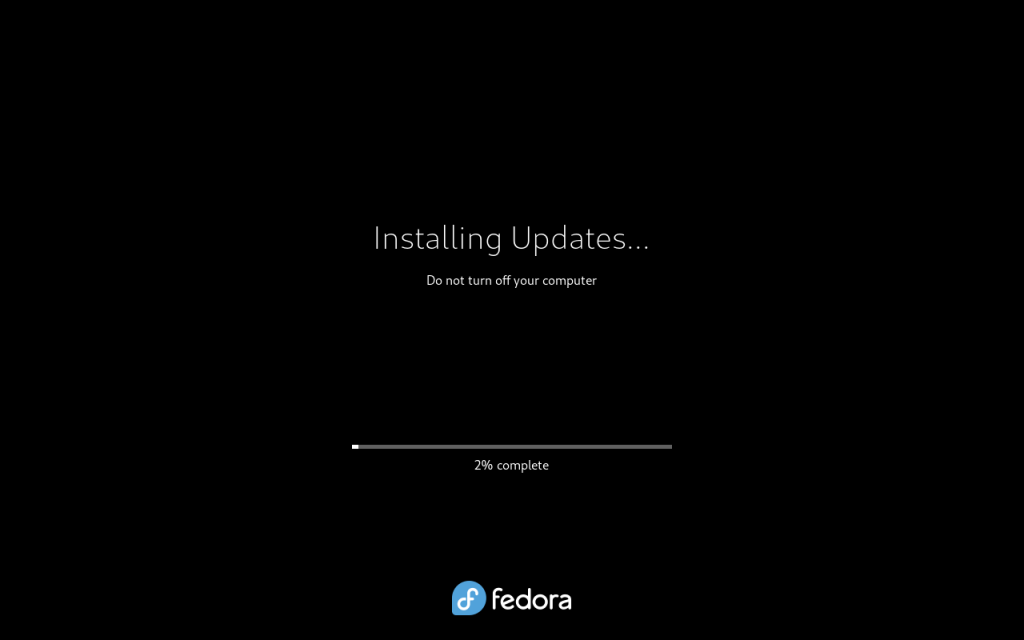
… and updates were installed:
Upddates installing
Once the updates were installed, the system rebooted:
System rebooted after installation of updates
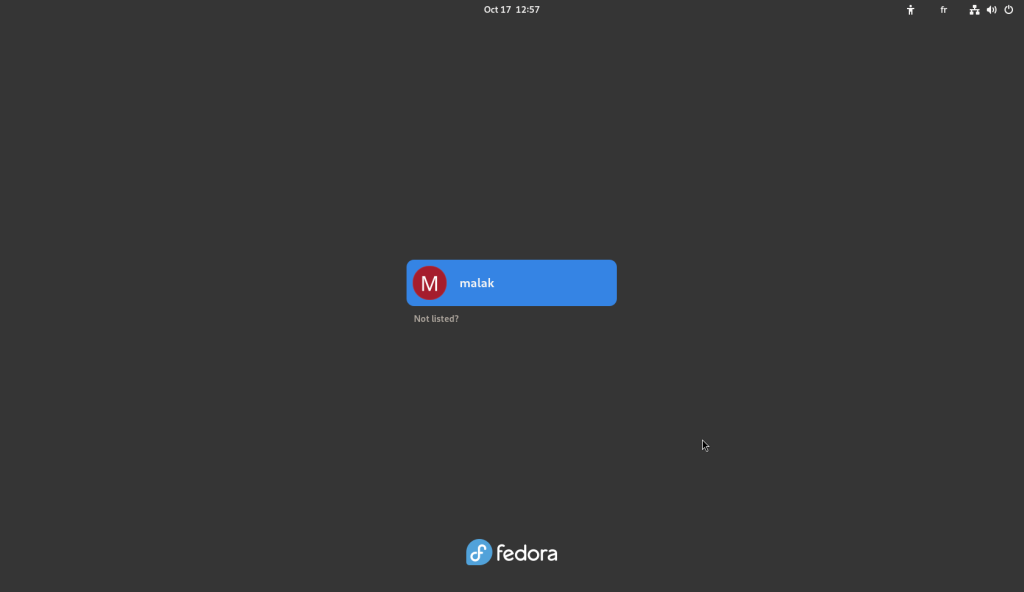
… leading to the login screen:
System login screen
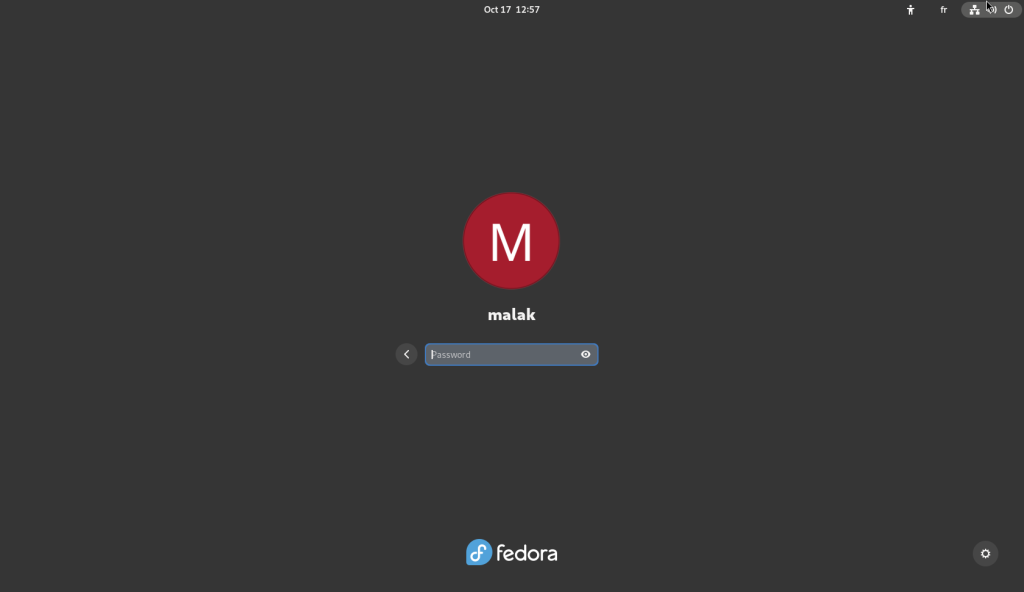
… where I entered my password:
Password challenge
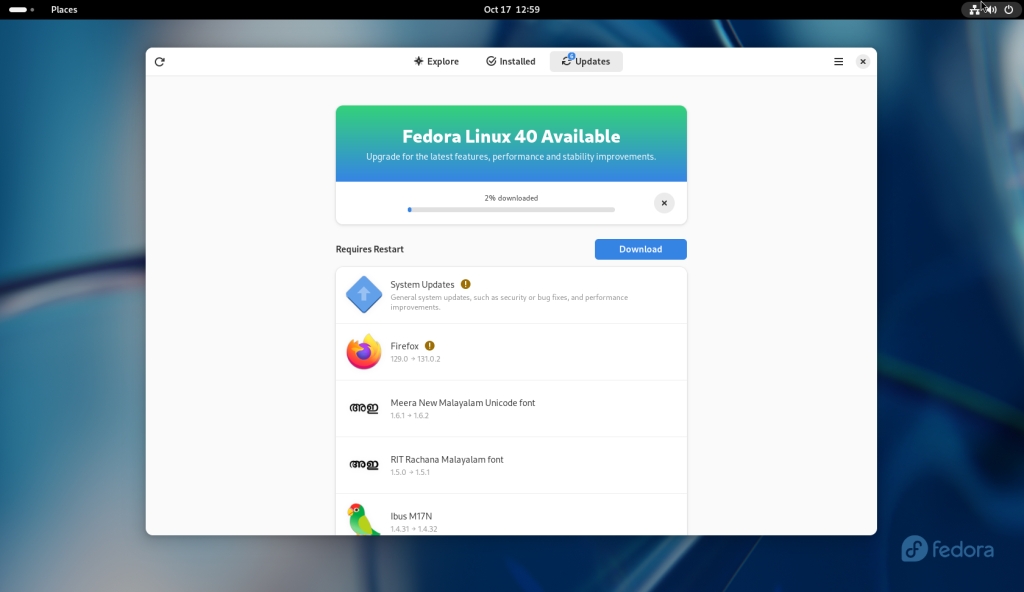
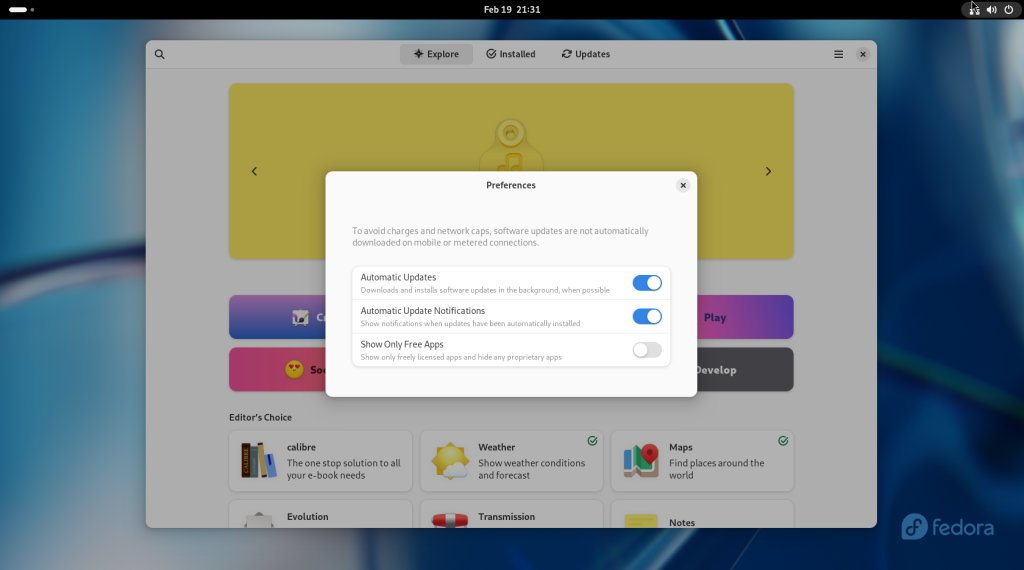
Once logged in, I clicked on the software icon again in the dock, and chose to download the upgrades for Fedora 40:
Software store opened again, and upgrade packages downloaded (2%)
Upgrade packages downloading (19%)
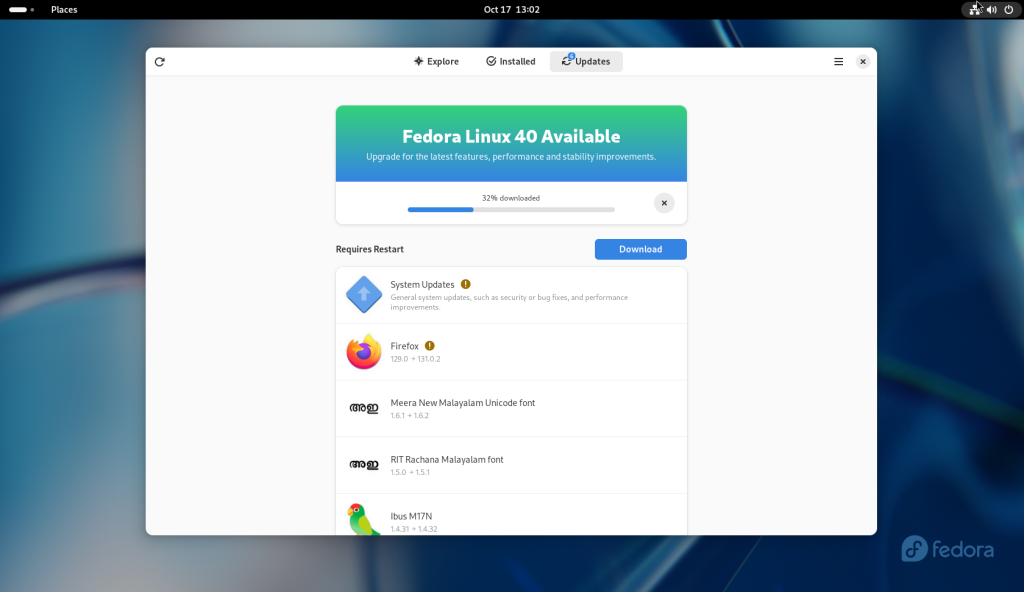
Upgrade packages downloading (32%)
Upgrade packages downloading (56%)
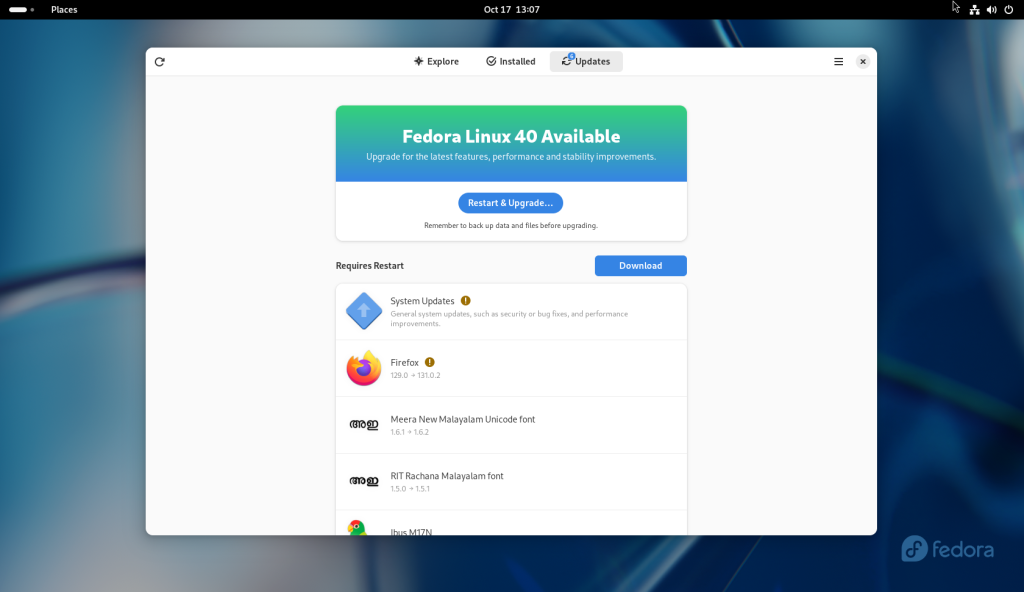
Once the upgrade packages were downloaded, the “Restart & Upgrade” button was pressed:
All packages downloaded, and Restart and Upgrade button pressed
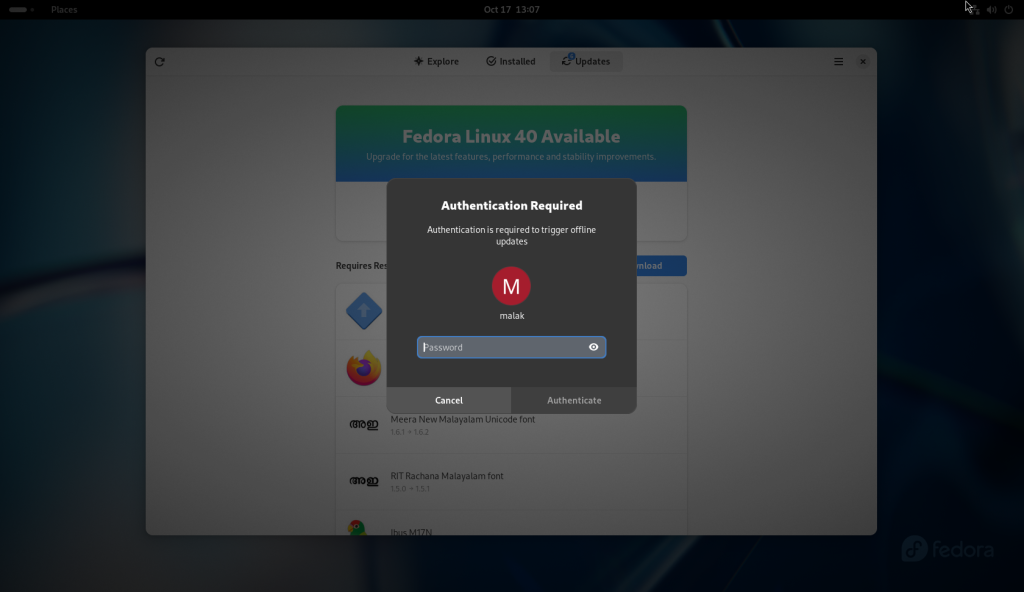
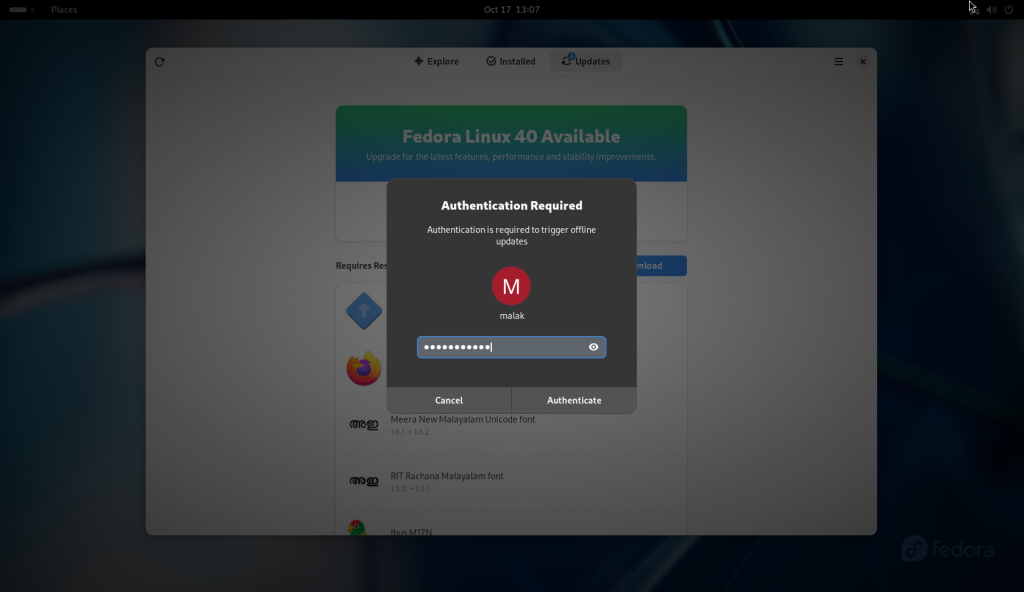
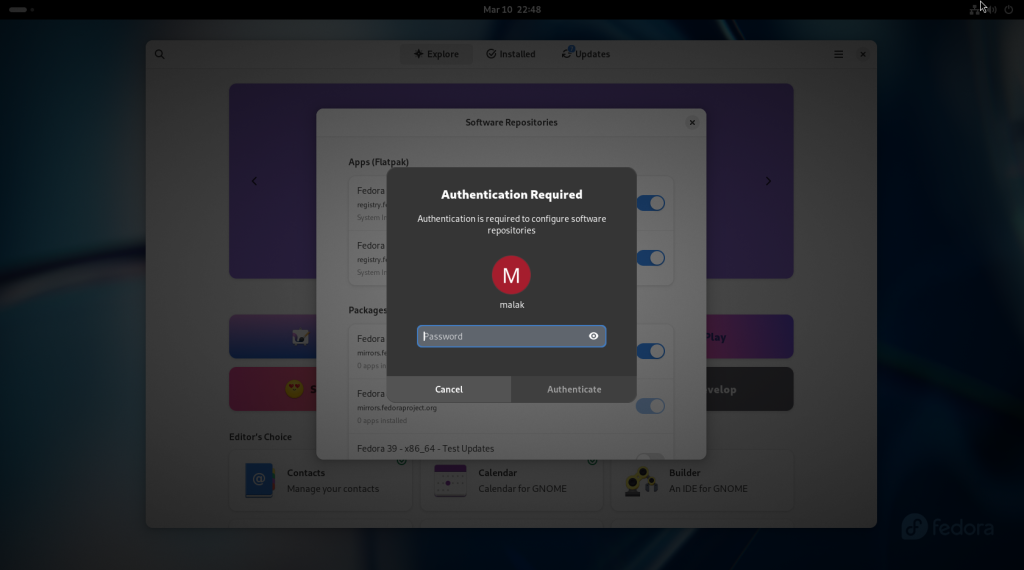
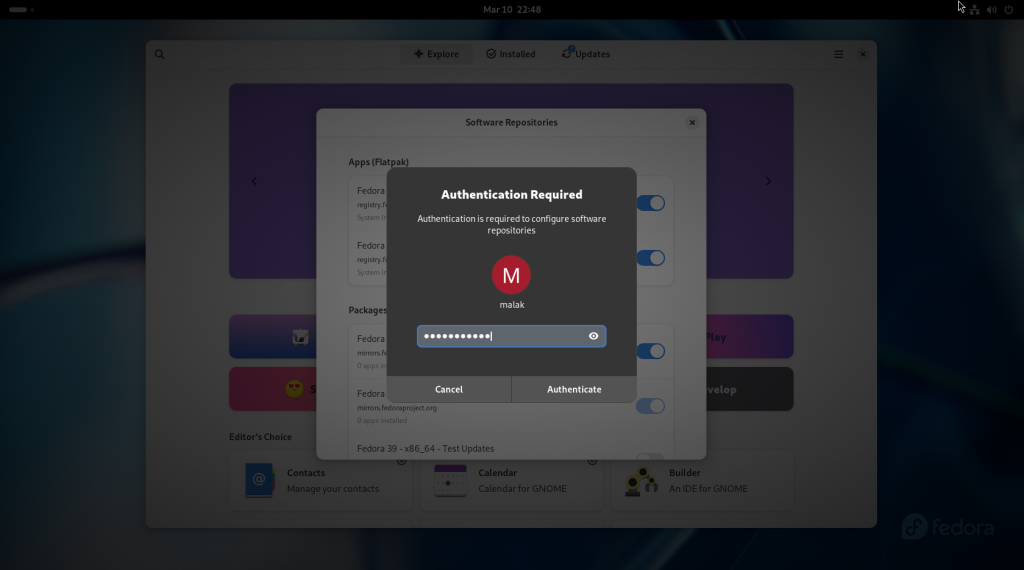
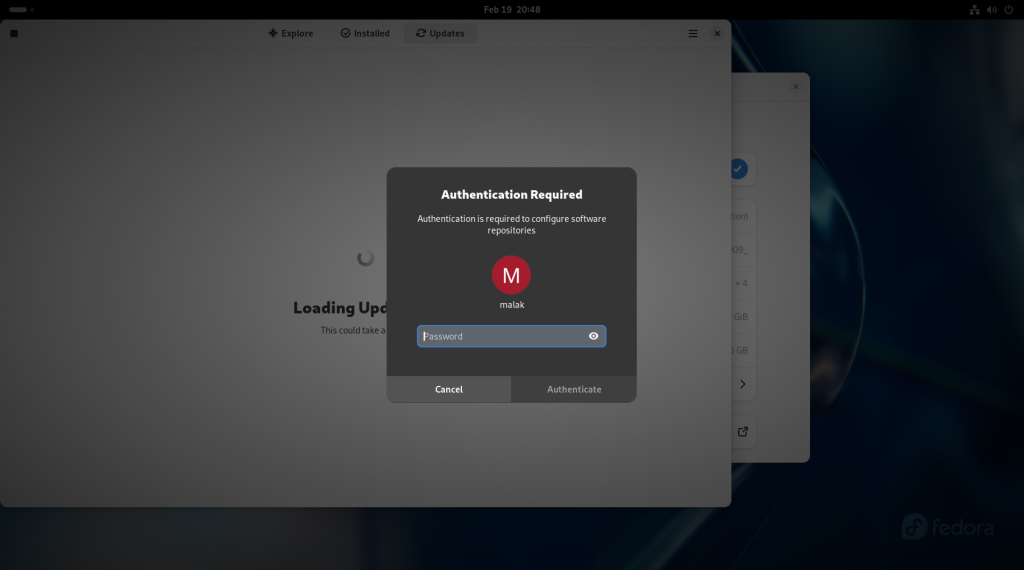
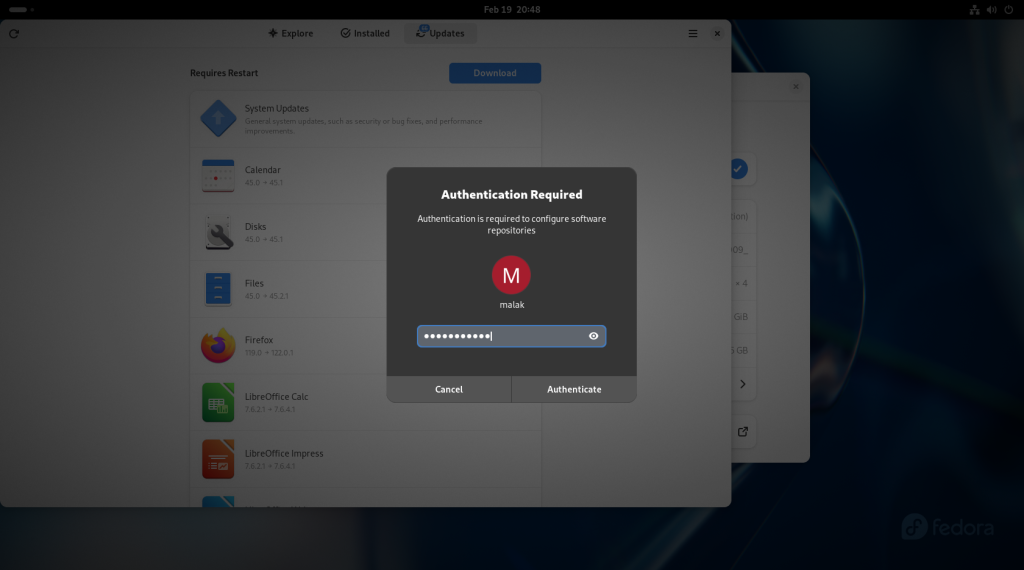
… which required authentication, so my password was entered:
Authentication required for the major changes
Password entered
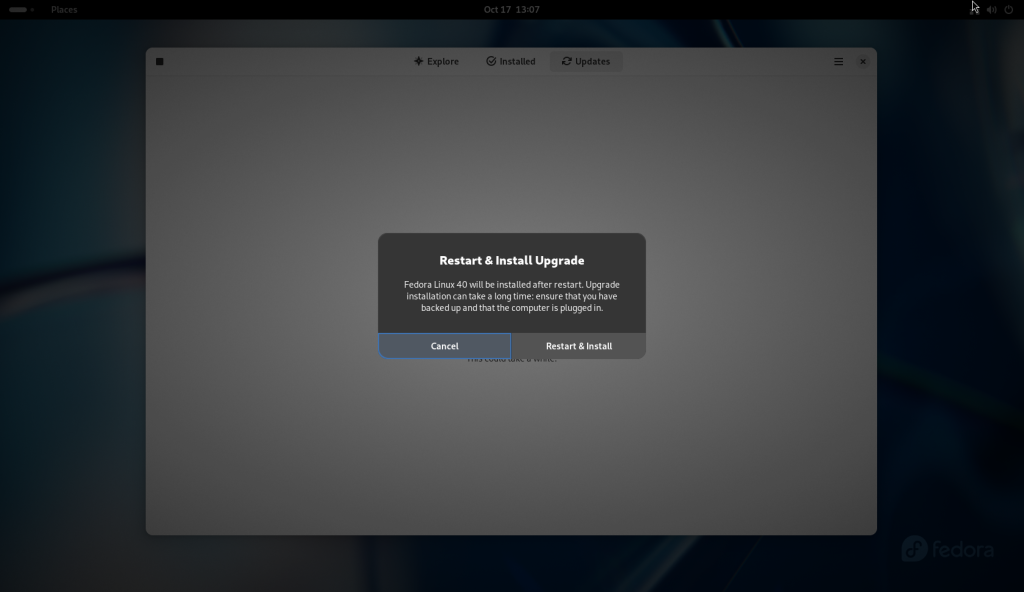
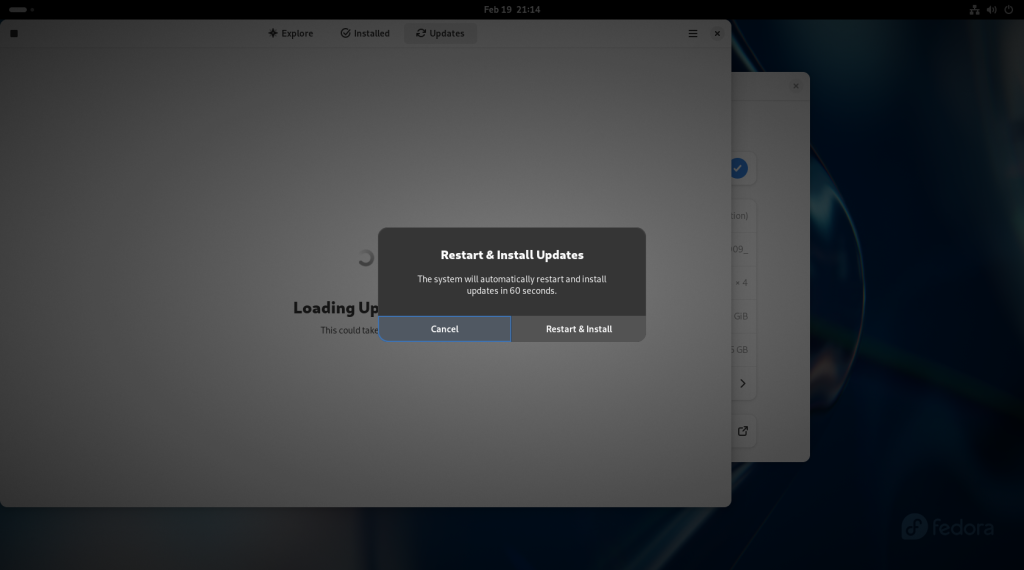
The system asked again if I wanted to restart and Install the upgrade:
Confirmation requested to restart and upgrade the system
The “Restart & Install Upgrade” button was pressed:
System rebooted
System rebooted
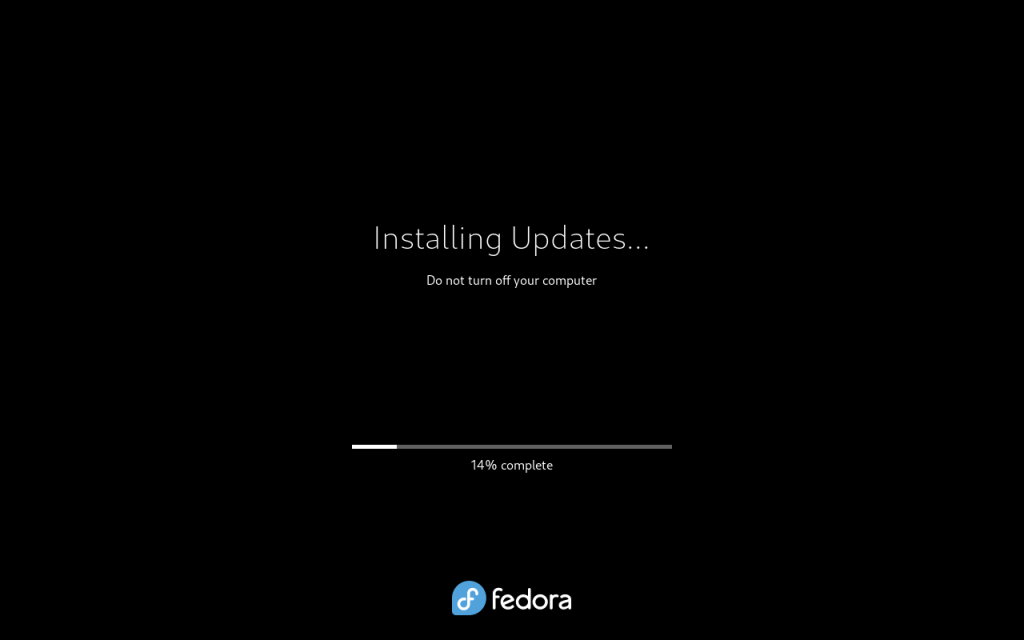
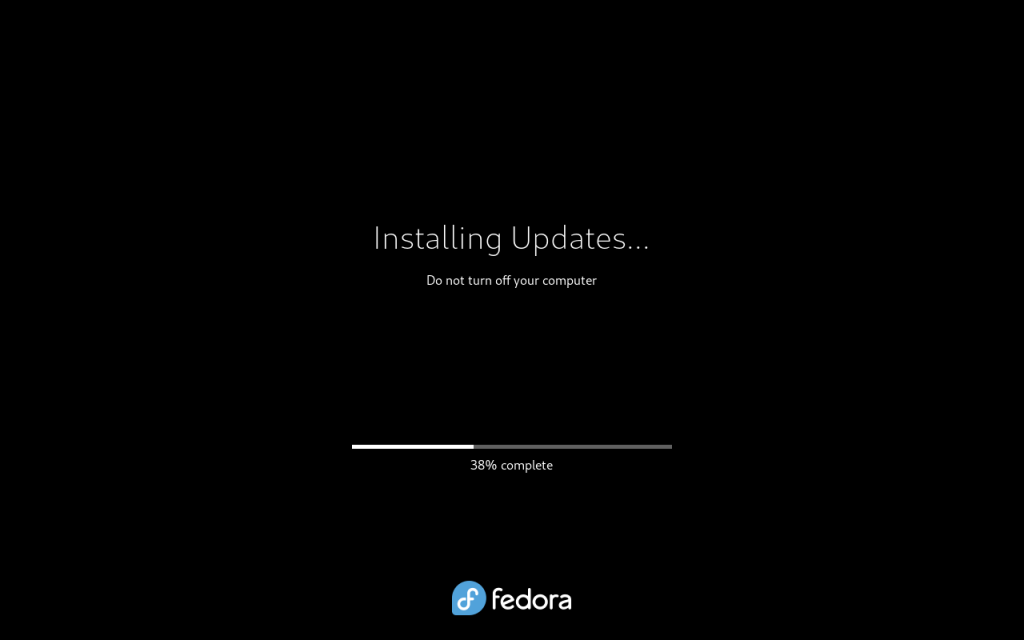
Updates installing (3%)
Updates installing (14%)
Updates installing (39%)
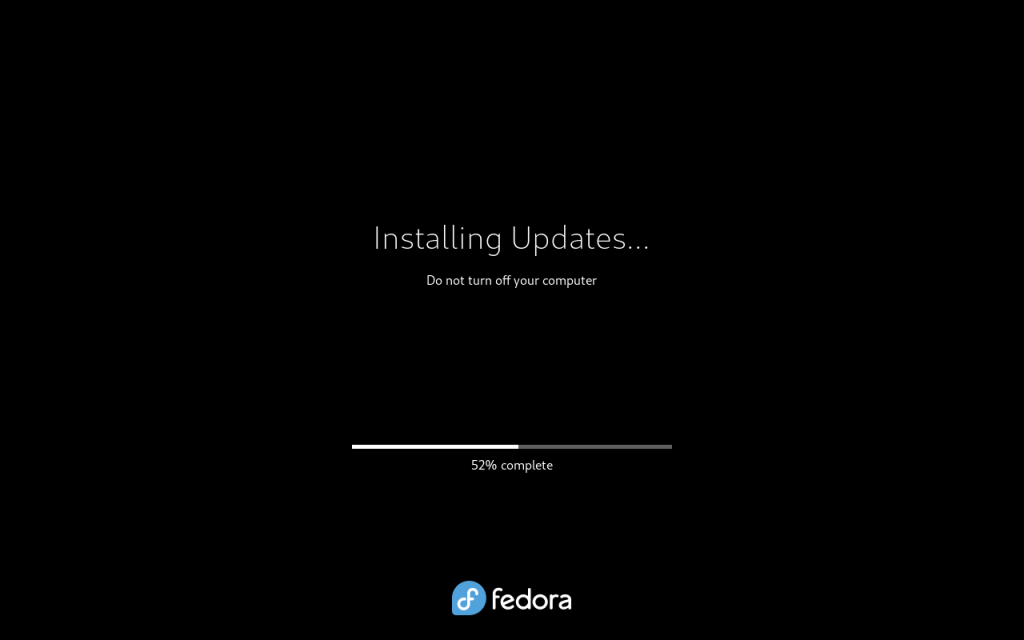
Updates installing (52%)
Updates installing (59%)
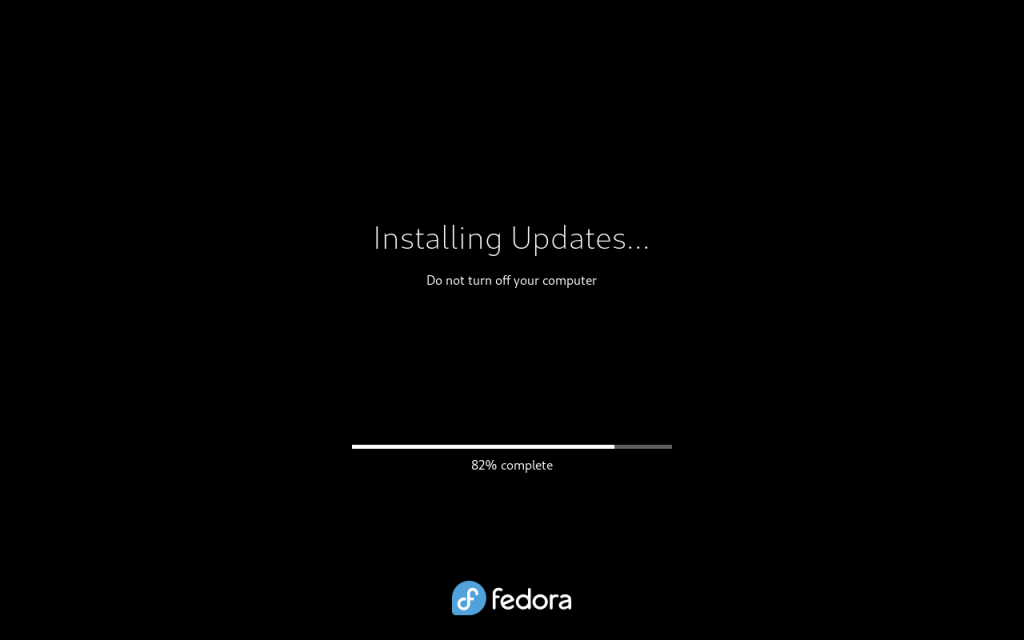
Updates installing (77%)
Updates installing (93%)
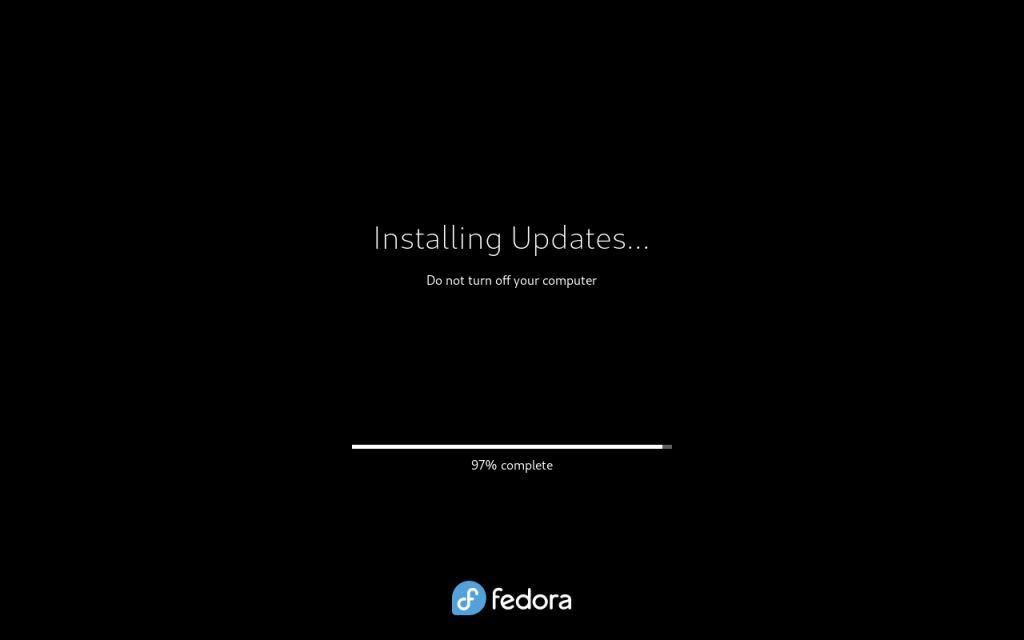
Updates installing (97%)
Once the upgrade was complete, the computer rebooted:
System rebooted after upgrades applied
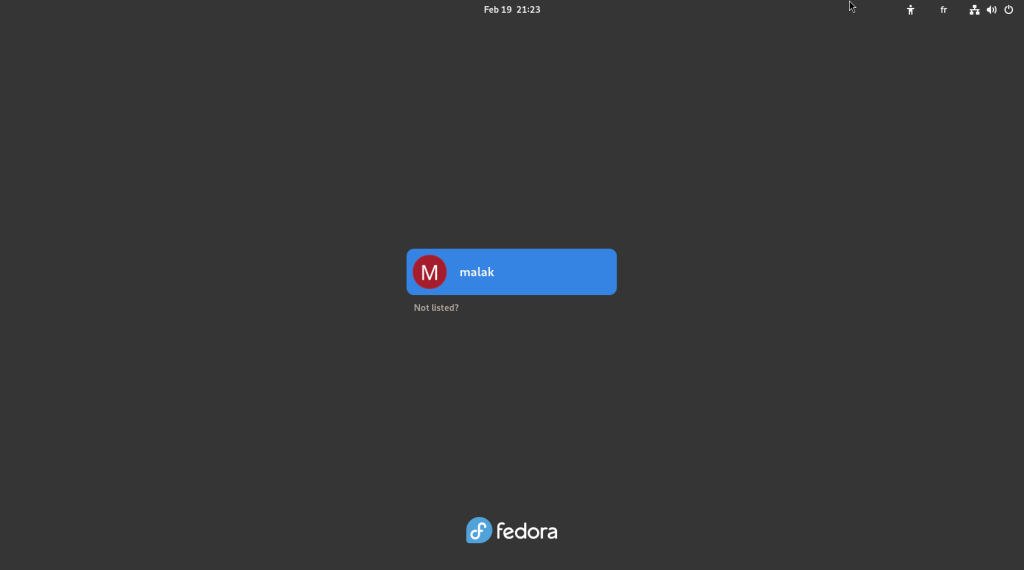
The login screen came up again:
Login screen
And again I provided my password:
Password challenge
Password entered
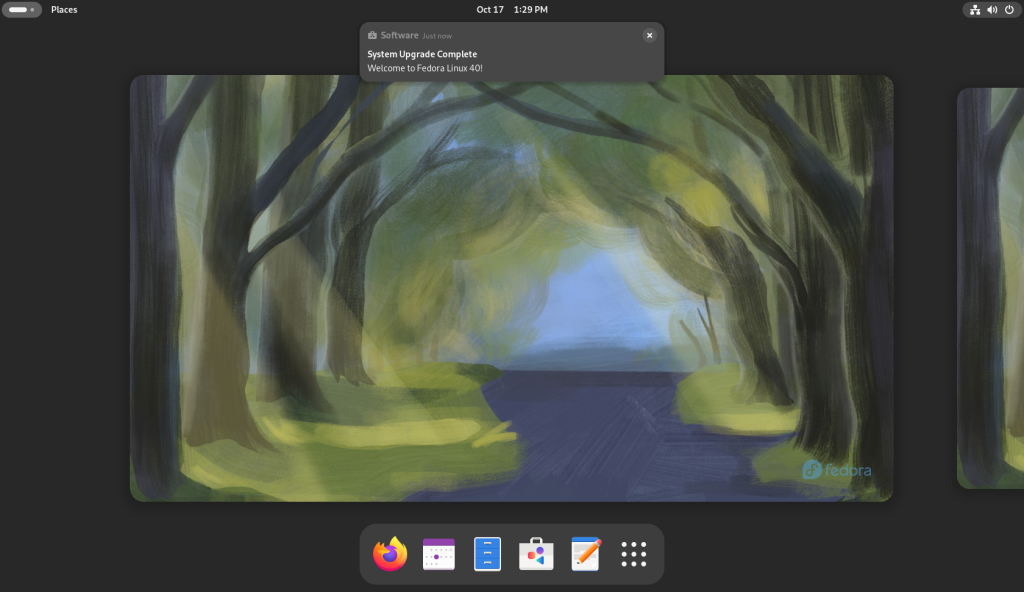
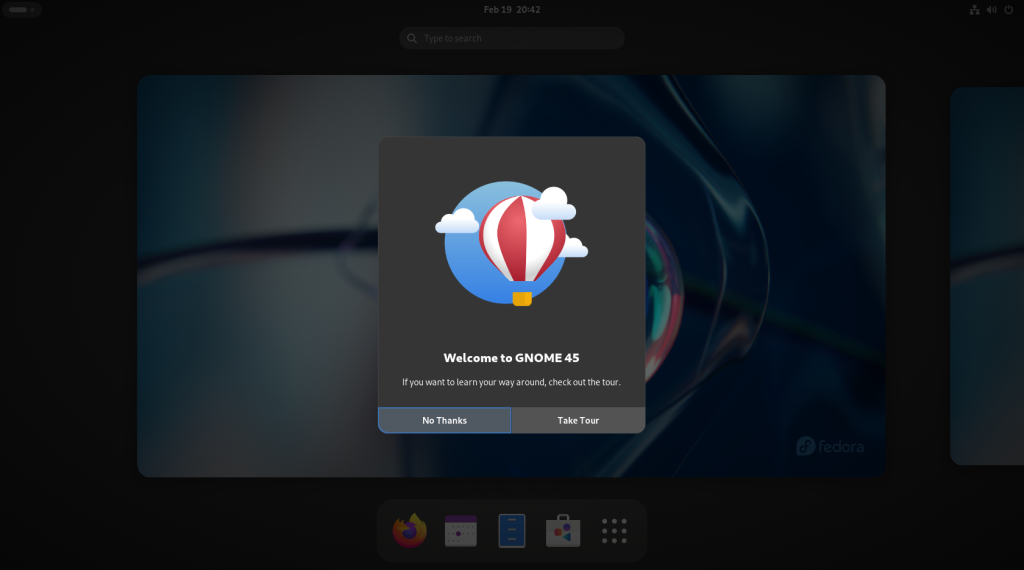
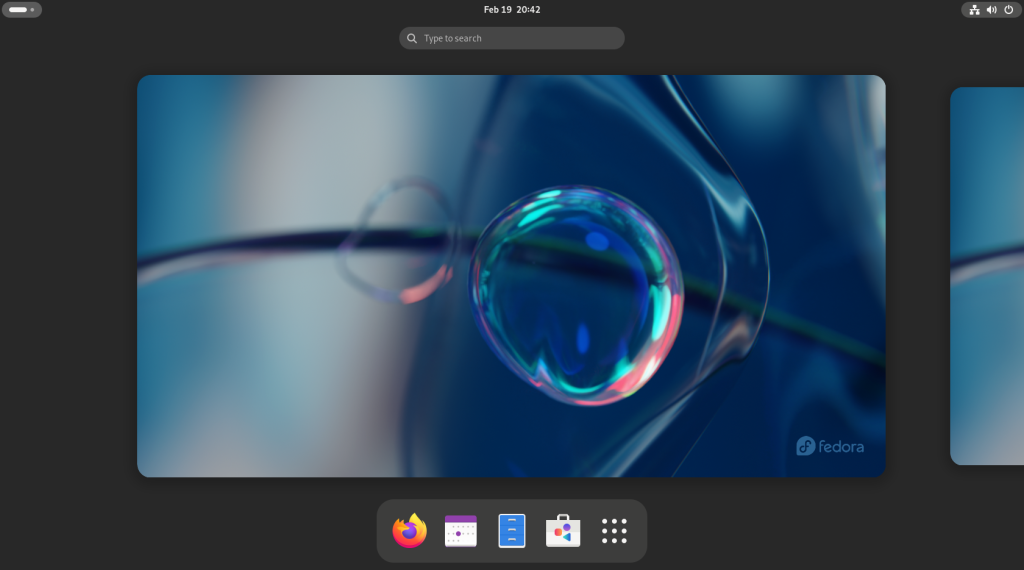
Once logged in, new artwork for the new version came up, as well as a notification that the system had been upgraded to the new version (in this case, Fedora v.40):
New artwork for Fedora 40
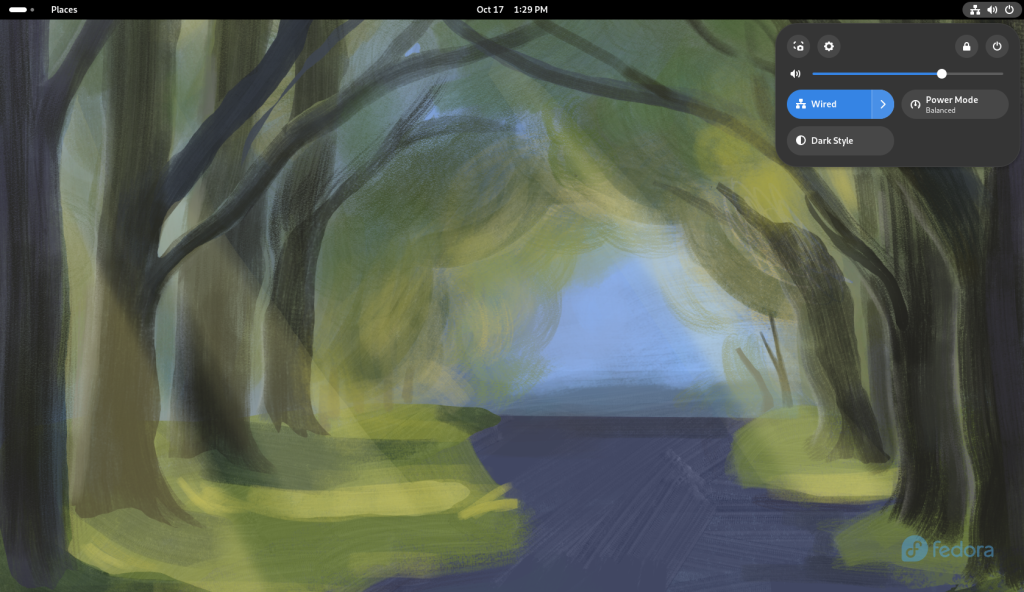
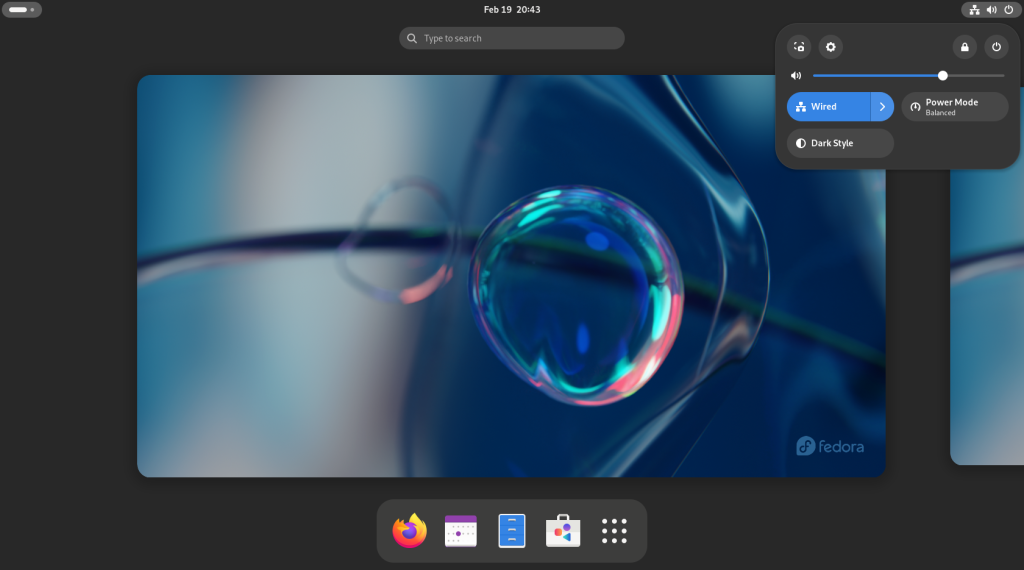
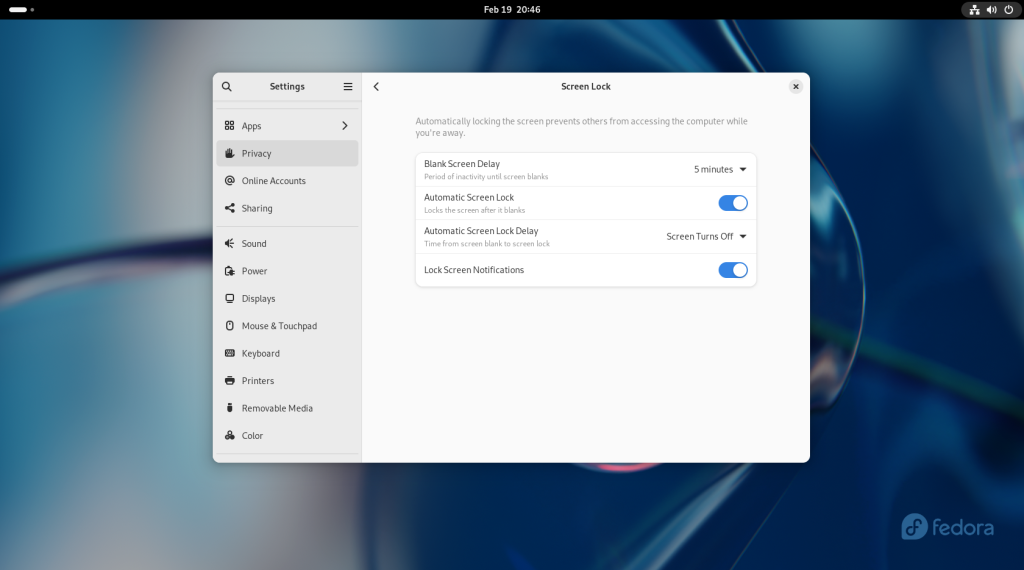
Just to finish off some checks, the menu at the power button was opened, in order to open the settings screen, accessible from the little gear second from the left on top:
Menu for settings opened
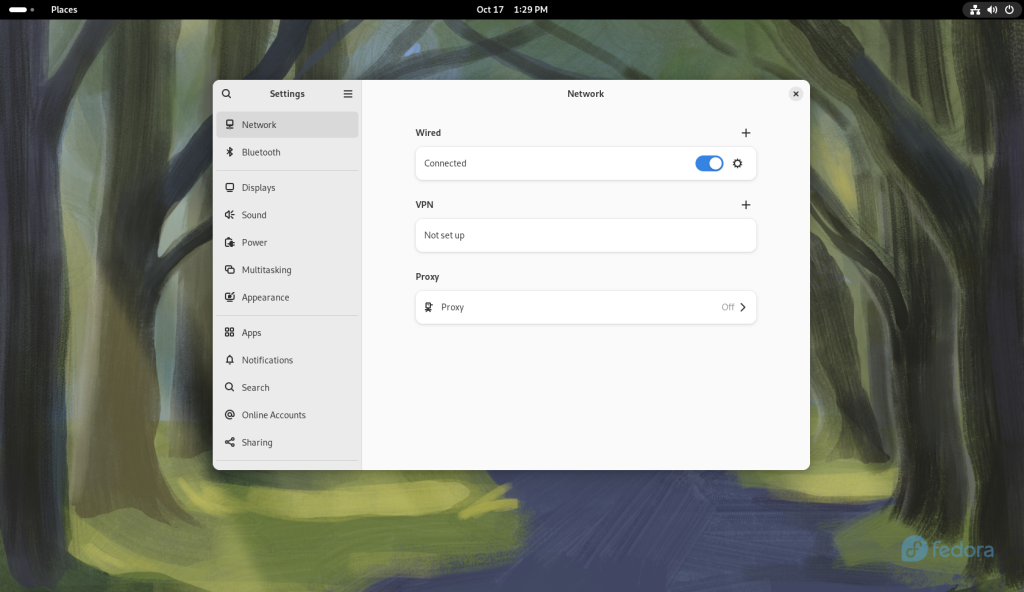
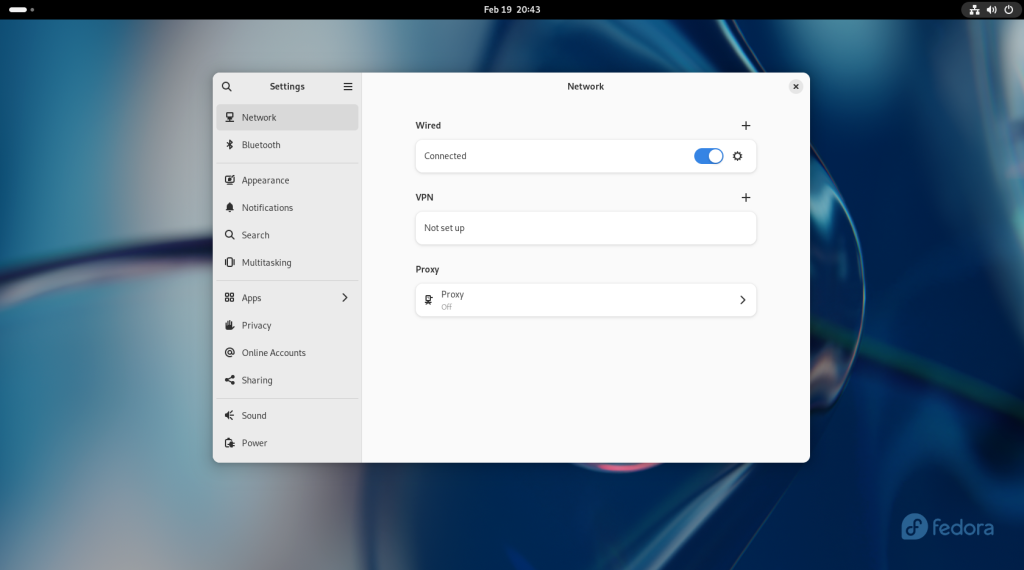
The settings were opened:
Settings opened
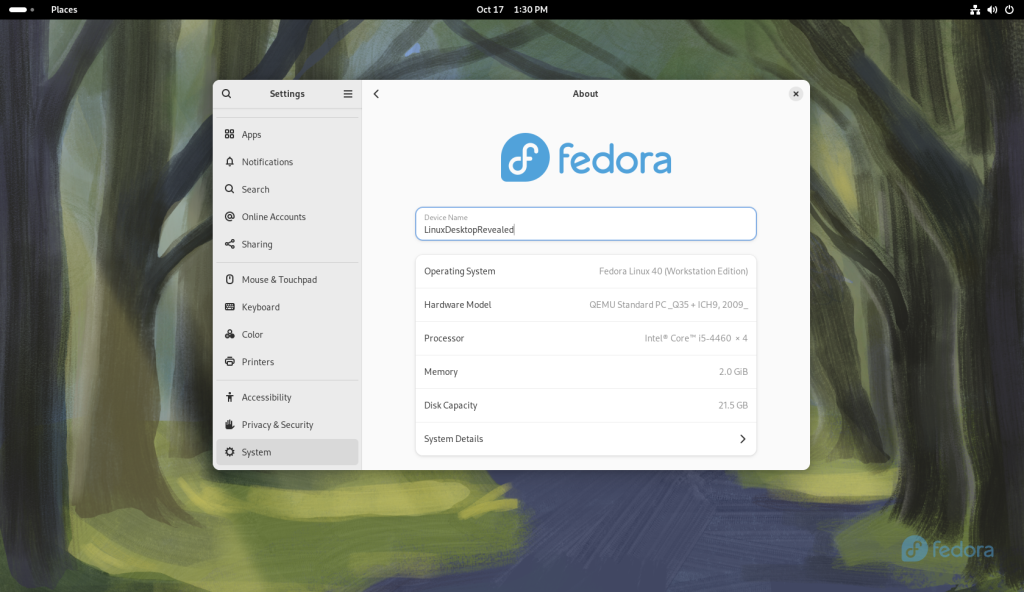
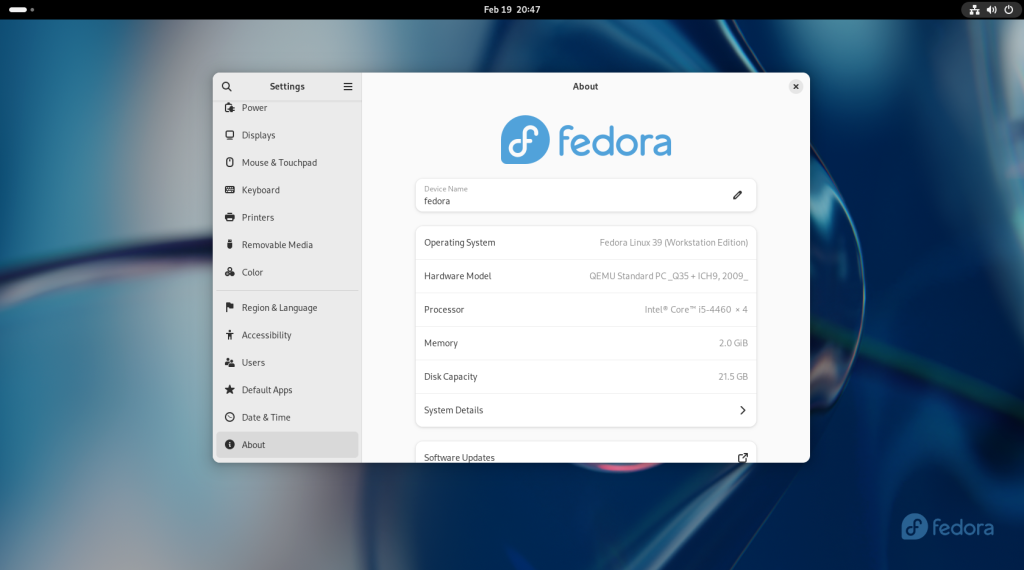
I noticed that the name of my computer was curiously changed back to “Fedora” in the upgrade:
System renamed after curious change by upgrade
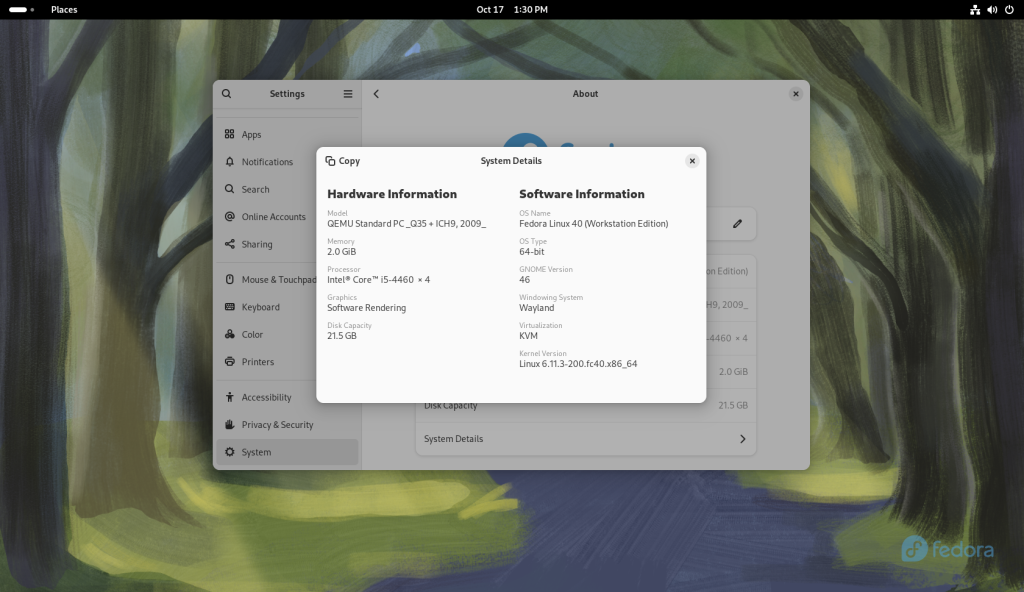
Then I chose the “System Details”, showing that the system had indeed been updated to version 40:
Confirmation that the system had been upgraded to Fedora 40
Next chapter: Using common pieces of desktop software
This past weekend, my brother decided to play around with the Google NotebookLM podcast generator, using my recent post about making yoghurt muffins as the podcast topic source material.
Here are the results: “Podcast 1“, the first one I listened to and chuckled at throughout (see below), and “Podcast 2“, which is longer than the first, and a slightly different approach (again, see below).
As a reference, according to Wikipedia (here’s my archive), NotebookLM is a tool by Google that has an “audio summary” feature has the “ability to condense complex documents into engaging podcasts”. As referenced in the article, some of the generated podcasts have indeed been making the rounds on at least the media local to me; the samples played on the radio had the “voices” of two artificial “hosts”, one male and one female, and appeared to greatly impress the real radio host. The real human host on the radio then proceeded to create their own samples with the tool using local news items as source material, resulting in stunningly … seemingly accurate (or at least faithful to the source material) content and banter between the two artificial “hosts”. The voices — and banter — of the artificial “hosts” that were created sounded so real that the “hosts” did not sound obviously artificial in almost any, let alone many, of the usual ways that usually betray the artificiality or synthetic nature of the voices. “They” seemed to bypass the Uncanny Valley (here’s my archive) as well, if only because they weren’t associated with artificially-created “speaking” faces or other cues that might suggest that “they” were artificial.
To wit: My brother came up with two podcasts: Podcast1, and Podcast2, based on the blog page about the yoghurt muffins: The first podcast was roughly what I would have expected, based on the samples I’d heard on the radio, in the form of “entertaining” banter from the artificial “hosts” about the overall post and subject, while the second podcast followed a play-by-play style review of the post and its pictures.
Especially while listening to the first, I was often incredulously guffawing at how “seriously” they seemed to be taking the subject, to the point of “their” calling me a perfectionist; despite, uhm, seriously having approached mounting the post with its pictures and processing the photos for presentation, as well as of course maintaining my recipe archive, and again of course being fairly serious on a hobby level about my cooking, for the overall cooking project I have always had a certain laid back, “enjoying the fun” pleasure to mounting the posts. Which, I must admit, intentionally include a lot of photos detailing usually every last step and even micro-step. I would estimate that the “hosts” got it better in the second podcast by calling me meticulous.
The end result of the two podcasts is so good that except for the knowledge that it’s totally AI generated, I would actually believe that the podcast was hosted by real people and put together by real people providing real feedback. As such, I have a few responses to some of the “comments” that the “hosts” made:
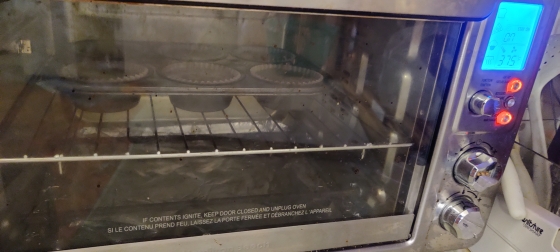
I am flattered in a giggly kind of way that the “hosts” underlined the dirty oven window, which I myself had somewhat sheepishly admitted was the case in the original post;
The “hosts” seem to enthusiastically say it’s like a scientific document with no room for error; I would challenge anyone to compare the blog post against the recipe and say that the two are identical. 🙂
For the record: I did not lick the spoon. 🙂
The “hosts” spoke of how much care I took by freezing them … well, I will go into the “easy” column and say both that baking a half batch or a double batch is roughly as easy as a standard batch, and, that I often try to make recipes that are good for the freezer!
And finally … the “hosts”, in a tongue-in-cheek fashion, pretty much suggested that I make a blog post on making the morning coffee, which I may just do sometimes in the futurewhich I actually have done. 🙂
The “hosts” asked what does “easy” mean in my claim that the muffins are easy to make, such as is it the number of ingredients, the technique, or the cleanup? “They” initially conclude “Let’s find out!” “They” then go on to point out the use of the paper liners, and the reuse of the measuring cup used to measure out the yoghurt to then measure out the oil without cleaning it in between, as examples of the “easy” part.
The “hosts” seem to insinuate at a couple of points that the amounts of sugar and oil used are “generous”, while of course continuing to state that the muffins’ crumb would no doubt be rather moist as a result; yet, when discussing the presence of the yoghurt, the “hosts” wondered whether the yoghurt muffins were just an alternative to the bran muffins I make for my mom, but ultimately seemed to decide that it was obviously a “health angle”. I perceived this as a lack of continuity in the “creation” of the podcast. And to be clear, having adopted this recipe was simply meant to be an alternative to the bran muffins I give to my mom, which is clearly stated at the beginning of the post; further, I am not trying to “match” the sweetness of bran muffins.
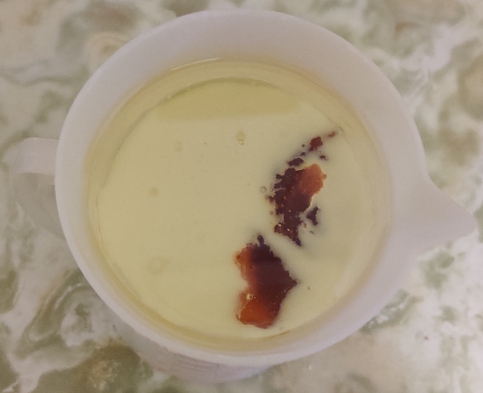
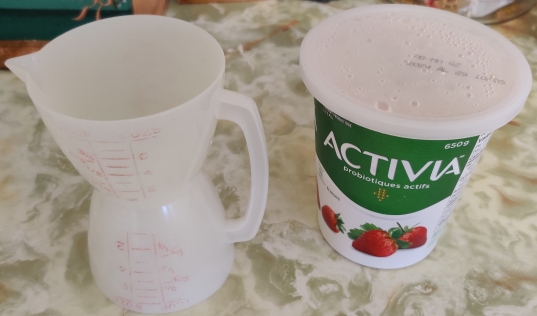
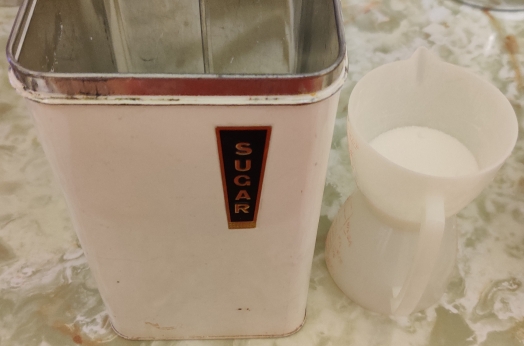
The “hosts” say that the kind of yoghurt I use is not identified, ie. firm yoghurt, stirred yoghurt, or greek yoghurt, etc.; “they” are correct that the tub does not say so, at least in the view in the picture. However, “they” do read into it by saying that this lack of information is part of the “easy” claim by letting people trying the recipe to use what they have on hand. Also, “they” did not pick up on the strawberry on the tub as an example of how the “relatively plain” was intentionally a loose interpretation.
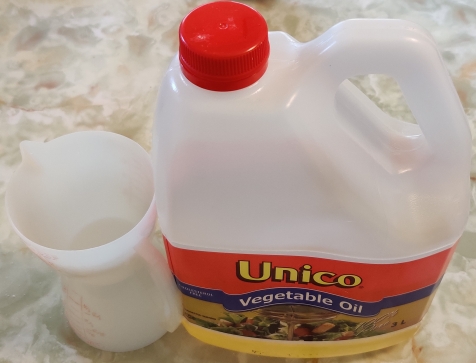
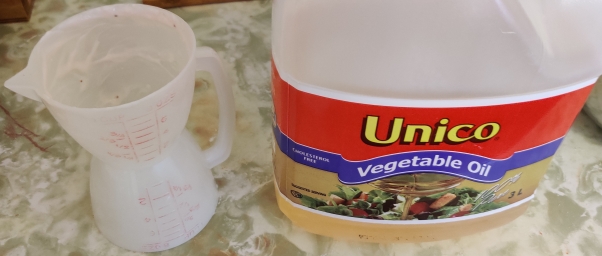
The “hosts” say that the kind of oil I used was not identified; again, the photo of the jug plainly says “vegetable oil”, which should tell all bakers that it’s generic vegetable-based cooking oil.
Is this a fun tool? Sure. My brother and I have bandied about ideas — purely in the hypothetical — about using the tool to create large numbers of podcasts that could then be syndicated to AM radio stations for the overnight slot during which a lot of content is often recycled or of what we consider to be of dubious interest.
These easy to make muffins are fairly straightforward, tasty, and, despite being labeled as “plain”, the term is used somewhat loosely since the yoghurt used may be any kind of flavoured yoghurt, which will come across lightly but distinctly in the final product. As well, small amounts of fruits or other flavouring agents could be added without substantial changes.
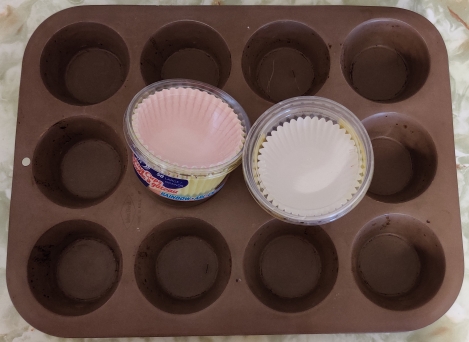
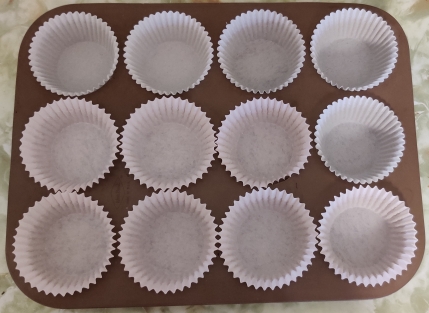
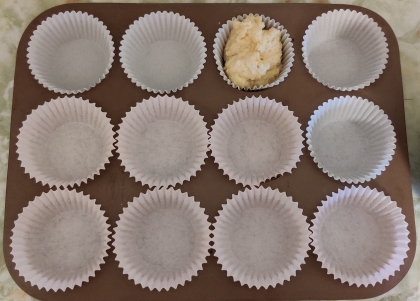
A tray of muffin moulds, and correspondingly sized paper liners, were taken out:
Muffin moulds and paper liners taken out
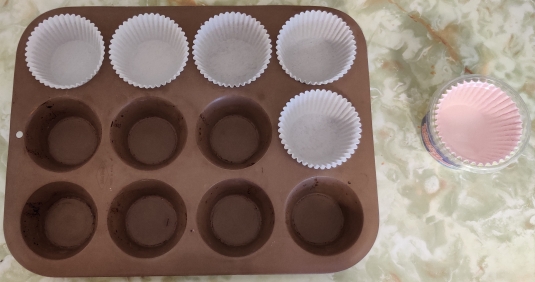
The moulds were each lined with paper muffin liners:
Lining moulds with paper muffin liners
Lining moulds with paper muffin liners
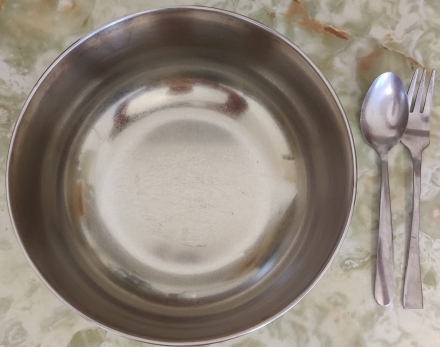
The lined baking tray was put aside, and a mixing bowl, a spoon, and a fork were taken out:
Mixing bowl, spoon, and fork taken out
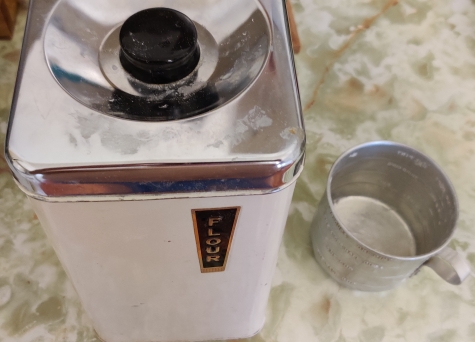
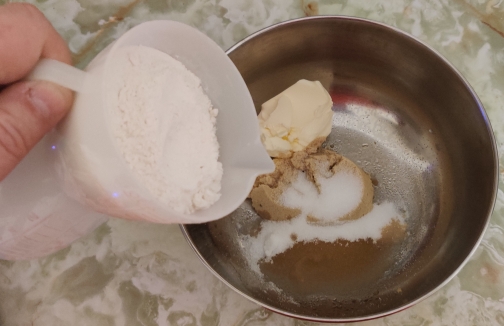
Flour and a measuring cup were taken out:
Flour and measuring cup taken out
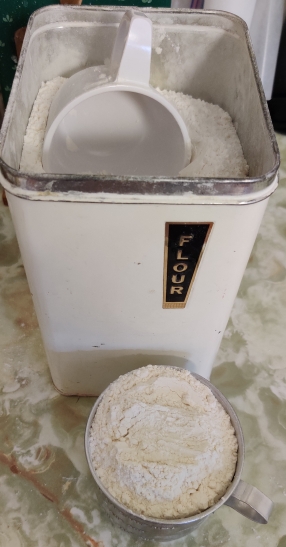
The measuring cup was filled with flour:
Measuring cup filled with flour
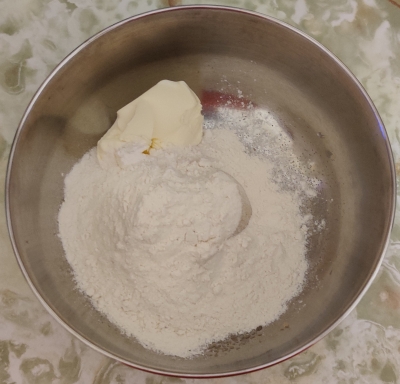
The flour was transferred to the mixing bowl:
Flour transferred to mixing bowl
Flour transferred to mixing bowl
Flour transferred to mixing bowl
Sugar was taken out, and the measuring cup was taken out again:
Sugar and measuring cup taken out
Sugar was measured out:
Sugar measured out
The sugar was transferred to the mixing bowl with the flour:
Sugar transferred to mixing bowl with flour
Sugar transferred to mixing bowl with flour
Sugar transferred to mixing bowl with flour
Sugar transferred to mixing bowl with flour
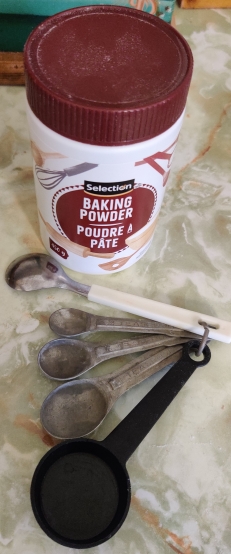
Baking powder and measuring spoons were taken out:
Baking powder and measuring spoons taken out
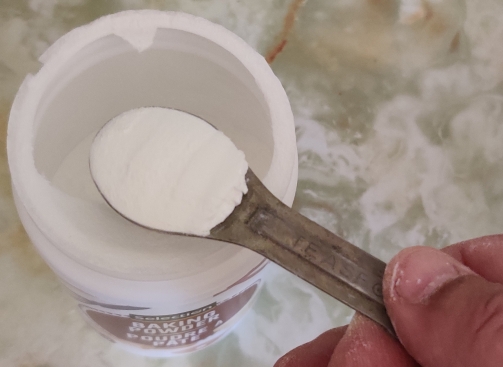
Baking powder was measured out:
Baking powder measured out
The baking powder was added to the flour and sugar in the mixing bowl:
Baking powder added to flour and sugar
Baking powder added to flour and sugar
Baking powder added to flour and sugar
Salt and measuring spoons were taken out:
Salt and measuring spoons taken out
Salt was measured out:
Salt measured out
The salt added to the flour, sugar, and baking powder:
Salt added to the flour, sugar, and baking powder
Salt added to the flour, sugar, and baking powder
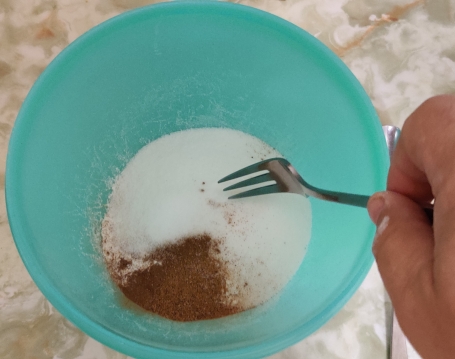
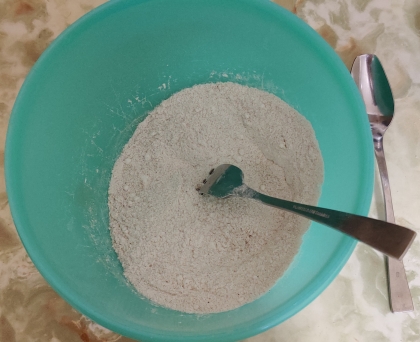
Using the fork, the flour, sugar, baking powder, and salt were thoroughly mixed:
Flour, sugar, baking powder, and salt thoroughly mixed with fork
Flour, sugar, baking powder, and salt thoroughly mixed with fork
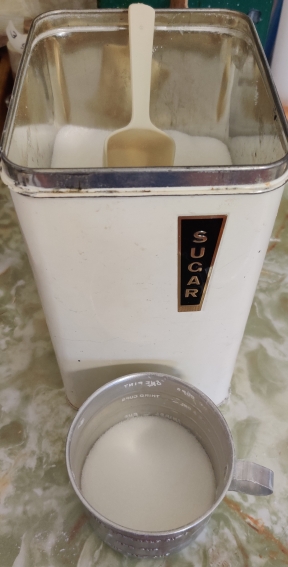
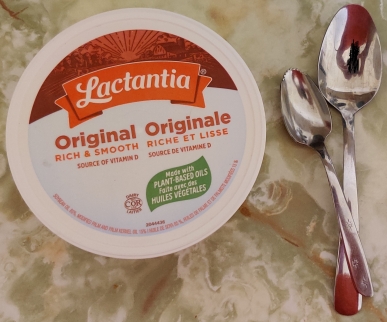
A tub of yoghurt and a measuring cup were taken out:
Yoghurt and measuring cup taken out
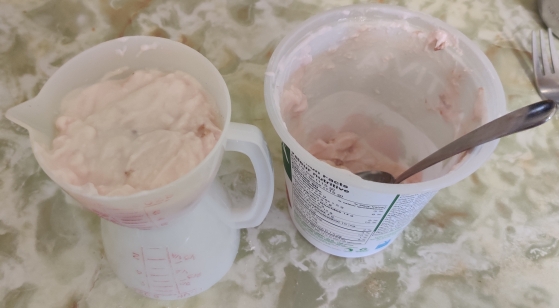
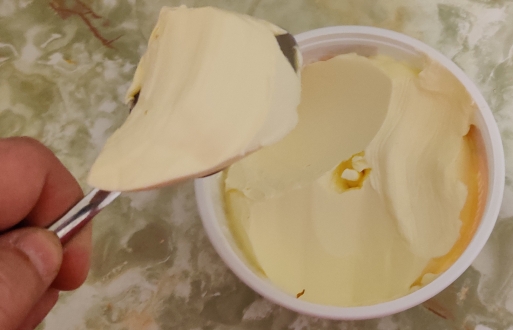
Yoghurt was measured out:
Yoghurt measured out
The yoghurt was transferred to the bowl with the flour, sugar, baking powder, and salt:
Yoghurt transferred to bowl of flour, sugar, baking powder, and salt
Yoghurt transferred to bowl of flour, sugar, baking powder, and salt
Yoghurt transferred to bowl of flour, sugar, baking powder, and salt, with spoon added
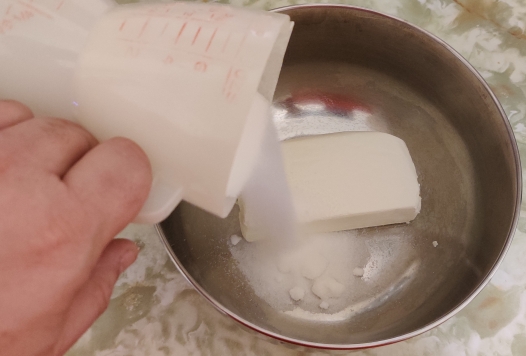
Vegetable oil was taken out, and the measuring cup used for the yoghurt was reused, without needing to clean it since I’d only just used it moments before for the yoghurt :
Vegetable oil and measuring cup taken out
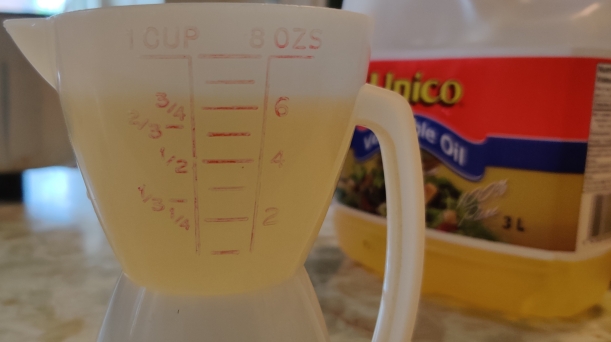
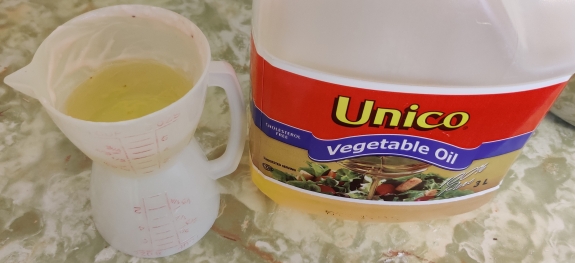
The vegetable oil was measured out:
Vegetable oil measured out
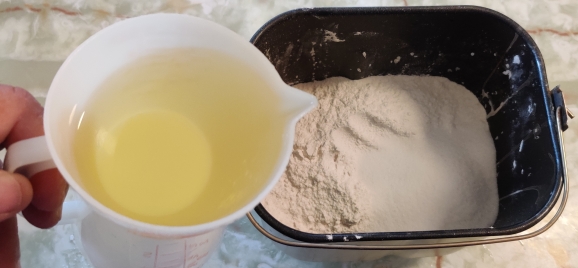
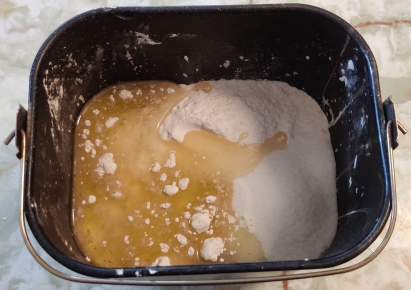
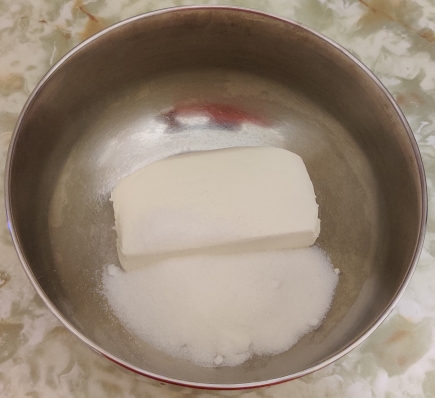
The vegetable oil was transferred to the bowl with the flour, sugar, baking powder, salt, and yoghurt:
Vegetable oil transferred to bowl
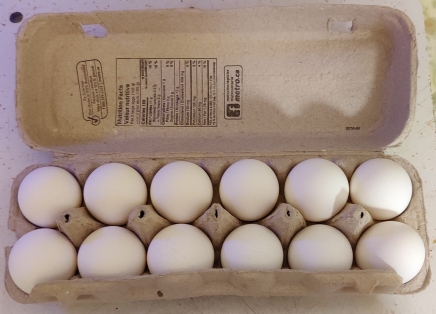
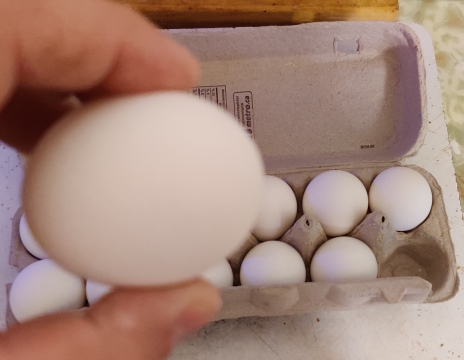
Eggs were taken out:
Eggs taken out
Eggs taken out
Eggs taken out
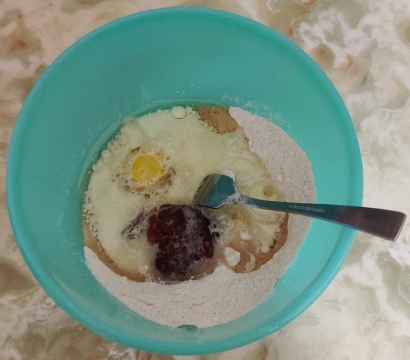
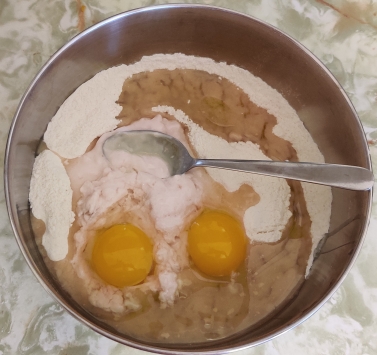
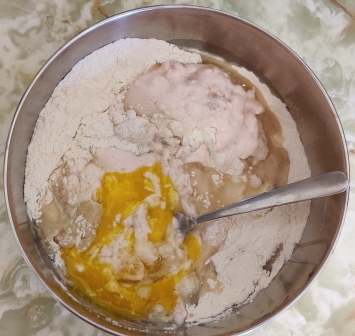
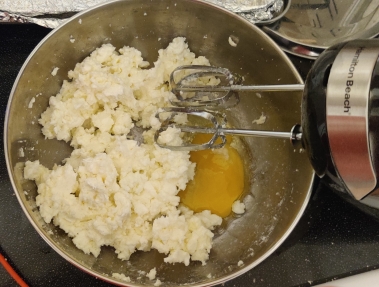
The eggs were cracked into the bowl with the flour, sugar, baking powder, salt, yoghurt, and vegetable oil:
Eggs cracked into bowl
Eggs cracked into bowl
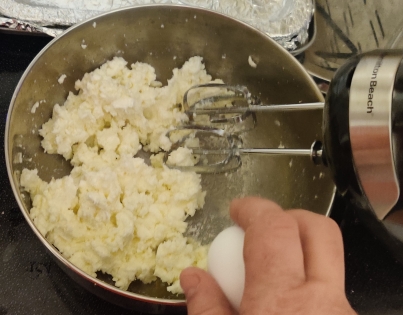
Eggs cracked into bowl
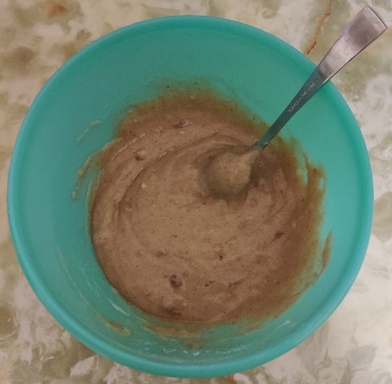
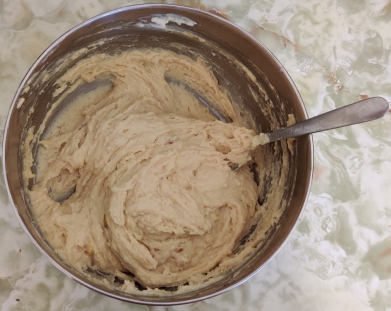
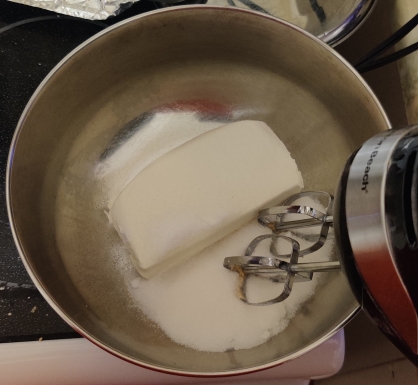
All the ingredients were mixed together with a spoon:
Ingredients mixed with spoon
… creating a thick paste dough:
Ingredients mixed with spoon
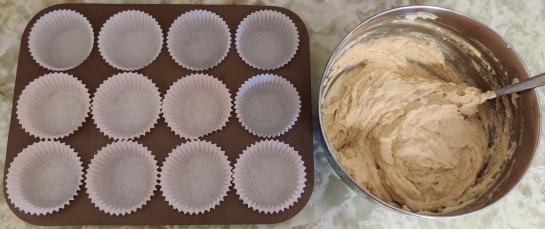
The muffin mould tray prepared earlier was taken out:
Prepared muffin mould tray taken out
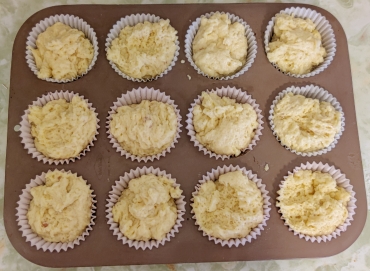
The dough was spooned into the paper muffin moulds:
Muffin moulds filled with muffin dough
Muffin moulds filled with muffin dough
The filled muffin tray was placed in the preheated oven:
Filled muffin tray placed in oven
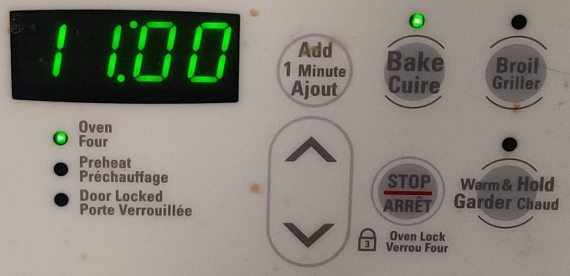
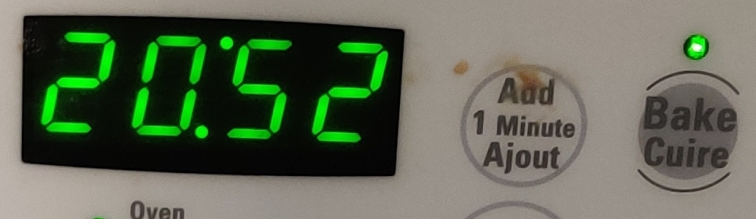
A timer was set to 21 minutes:
Timer set to 21 minutes
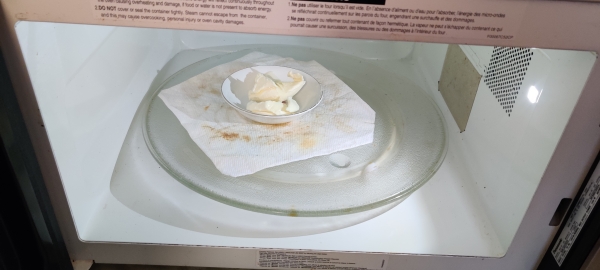
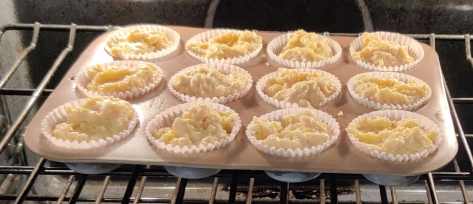
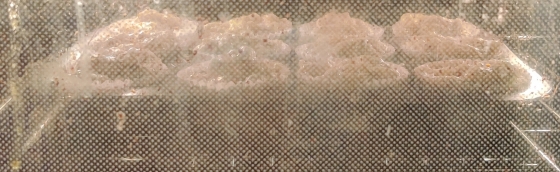
Looking through the oven window (which admittedly could use a cleaning!), the muffins began to rise:
Muffins baking and rising
Muffins baking and tops beginning to brown
Muffins baking and tops browning
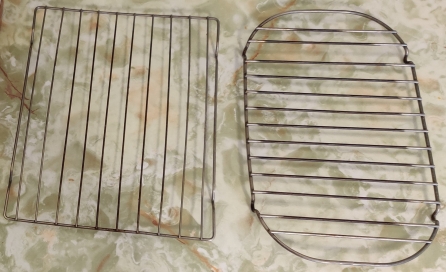
While the muffins were baking, cooling racks were taken out:
Cooling racks taken out
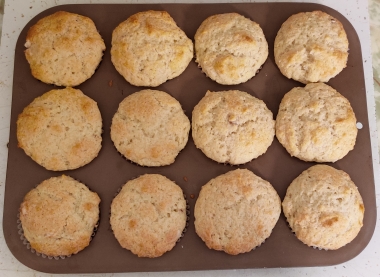
After the timer ran out and the muffins had baked, the muffins were taken out of the oven, and the tray placed on a cutting board:
Baked muffins taken out of oven
The muffins were transferred from the muffin tray moulds to the cooling racks to cool down:
Freshly baked muffins transferred to the cooling racks
A yummy fresh muffin was served to my mom with another mini-muffin, with the paper linings removed:
Muffins served
Muffins served
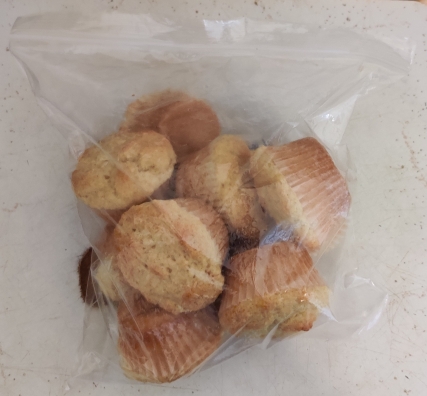
… and the rest of the cooled muffins were placed in a sealable freezer bag, to be placed in the freezer:
In this chapter, Gnome Extensions will be briefly discussed, and basic file transfers and manipulation will be highlighted.
Gnome Extensions
Gnome was designed to be extensible, or have its behaviour be changed with extensions. There are hundreds of extensions, most produced by volunteer programmers.
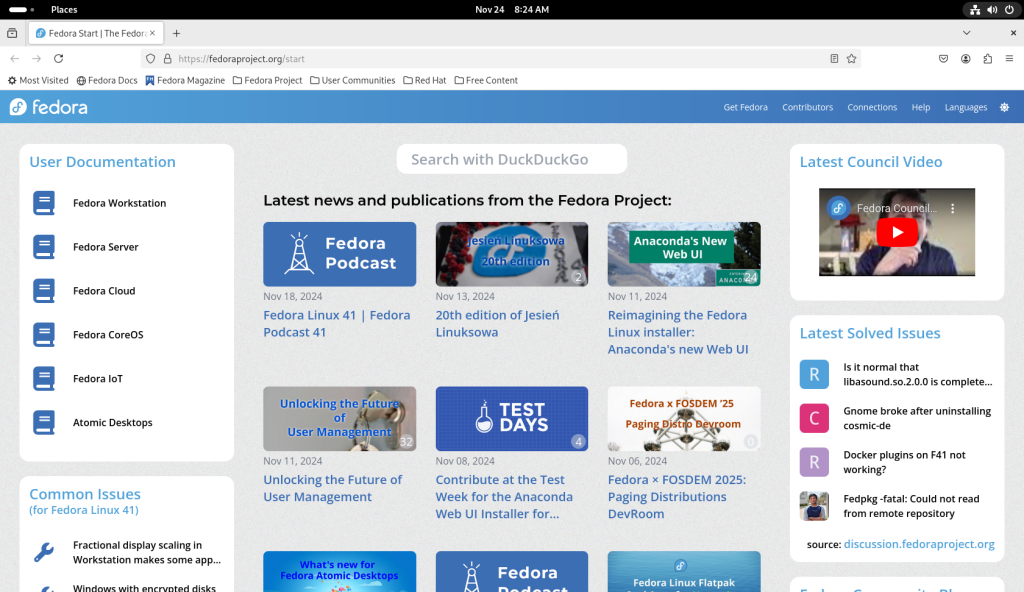
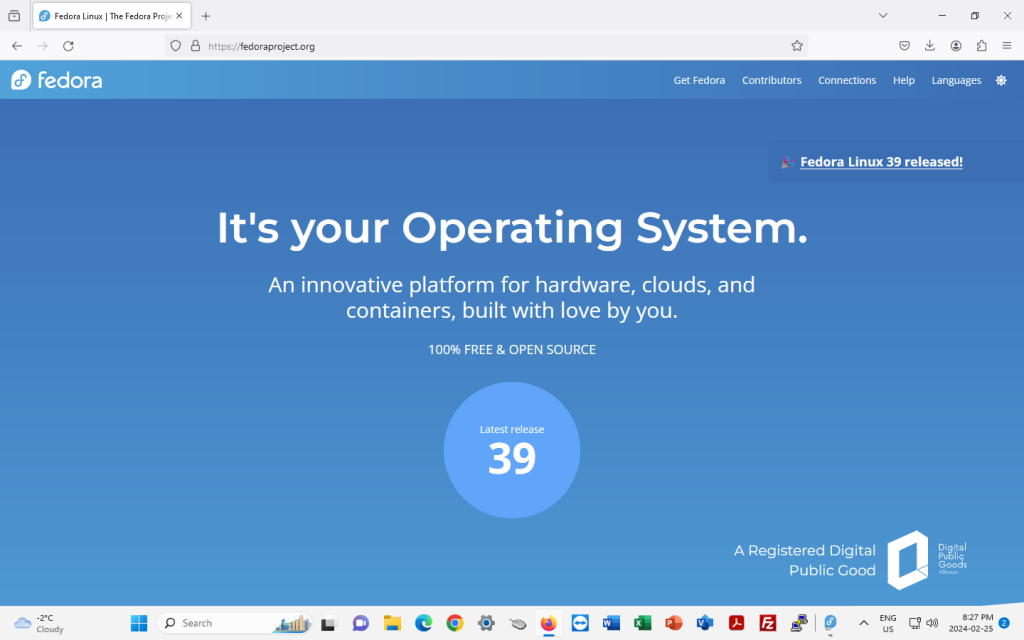
Launch Firefox from the dock at the bottom of the screen (the icon at the left). Firefox will launch, leading to the Fedora Project main page (a setting you may wish to keep, or change at a later time.)
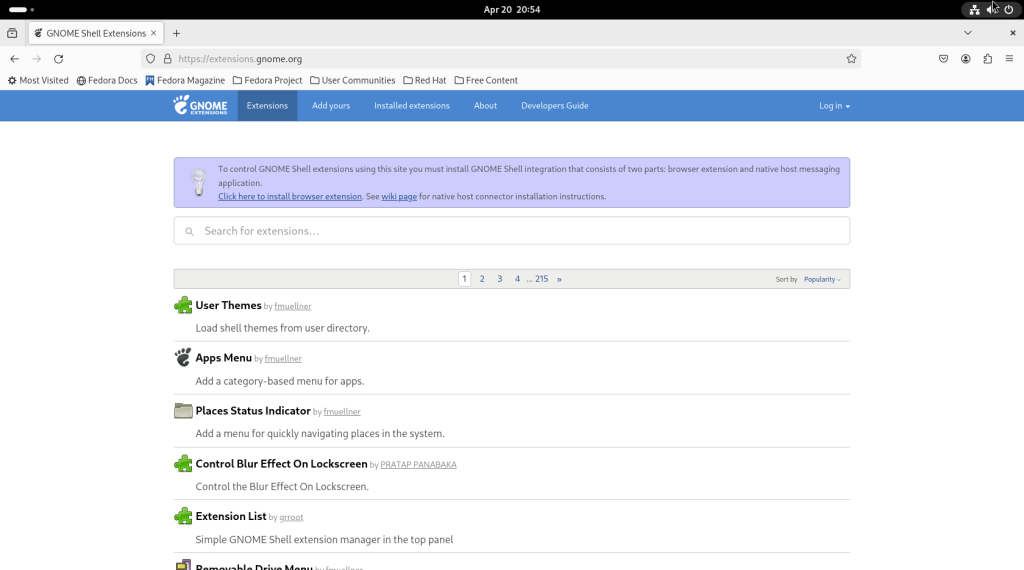
In the navigation bar, enter the site https://extensions.gnome.org. (Some distributions may manage extensions locally; Fedora has opted to only do so partially.)
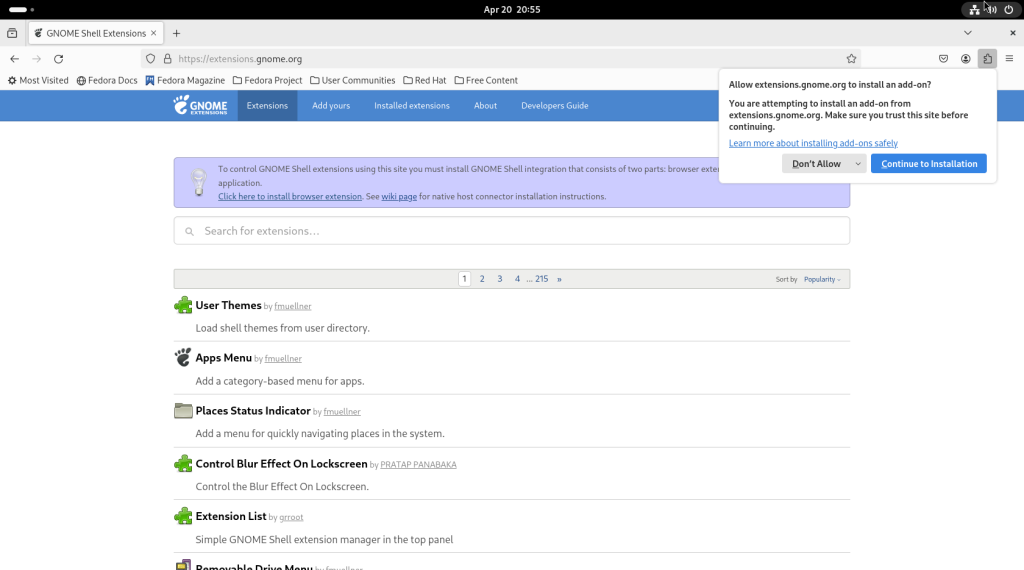
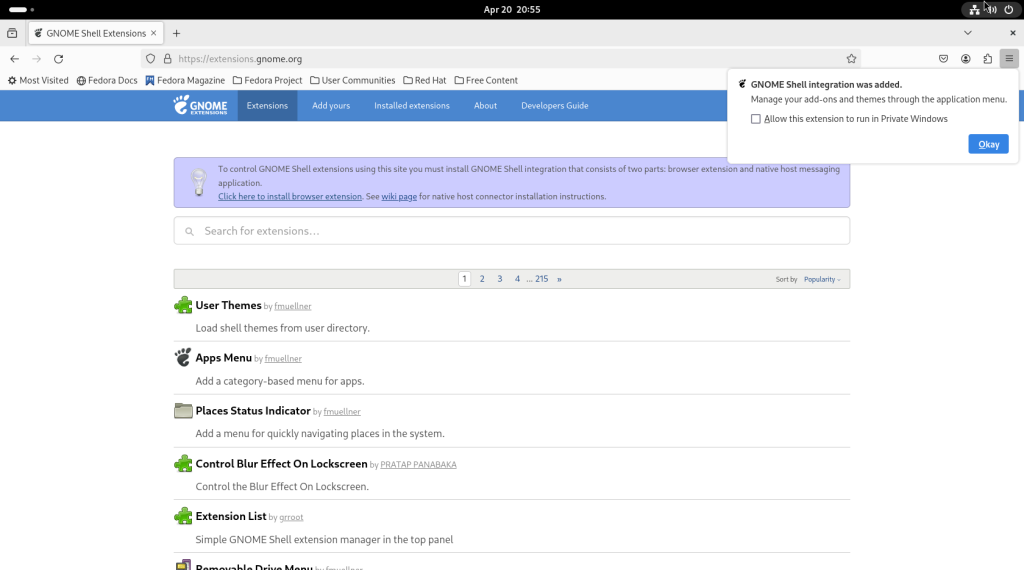
Click on the link “Click here to install browser extensions”, which will eventually allow for the installation of the Gnome Shell integration tool.
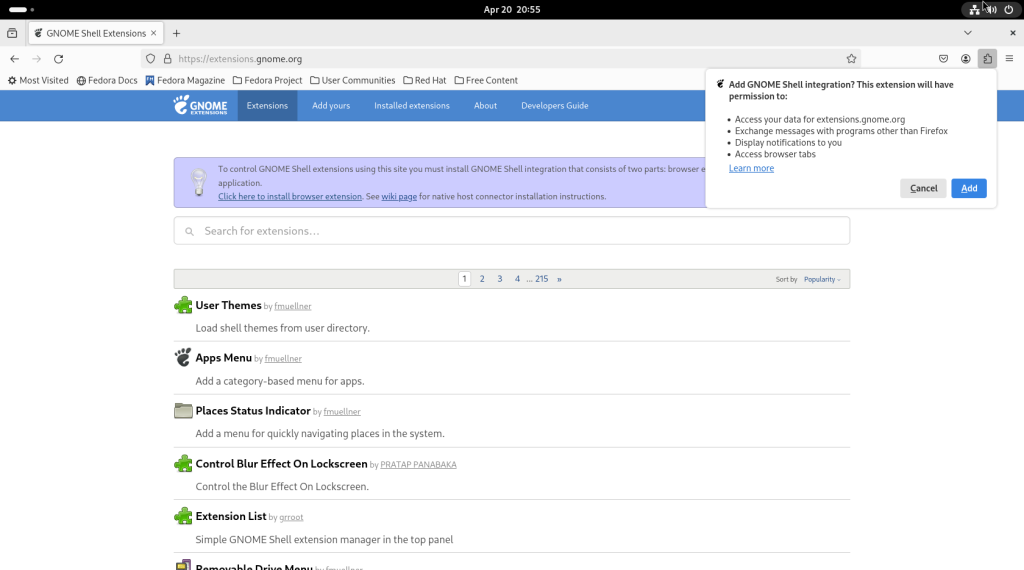
Click on “Add”:
I recommend that you click on “Allow this extension to run in Private Windows” and press “okay”.
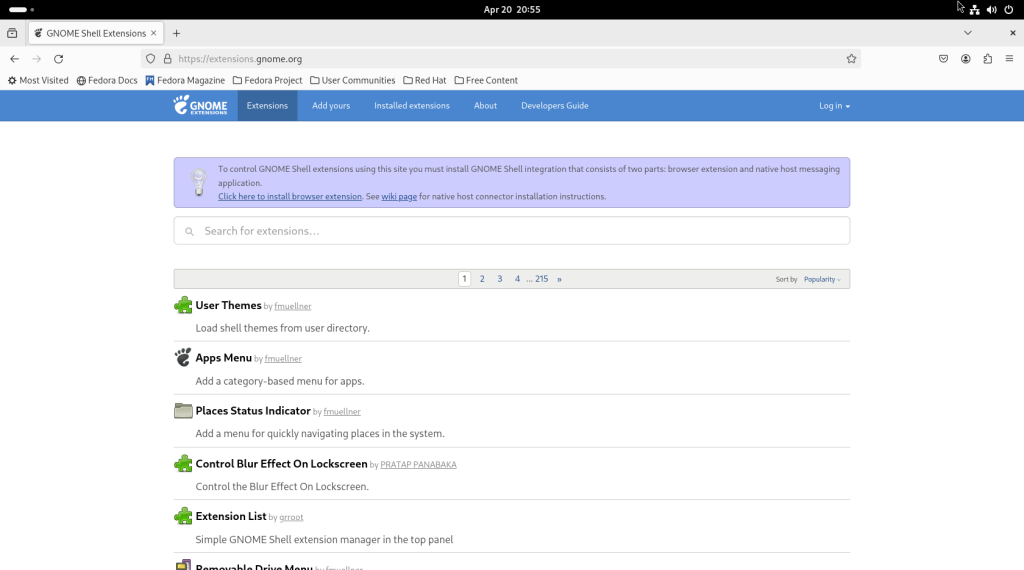
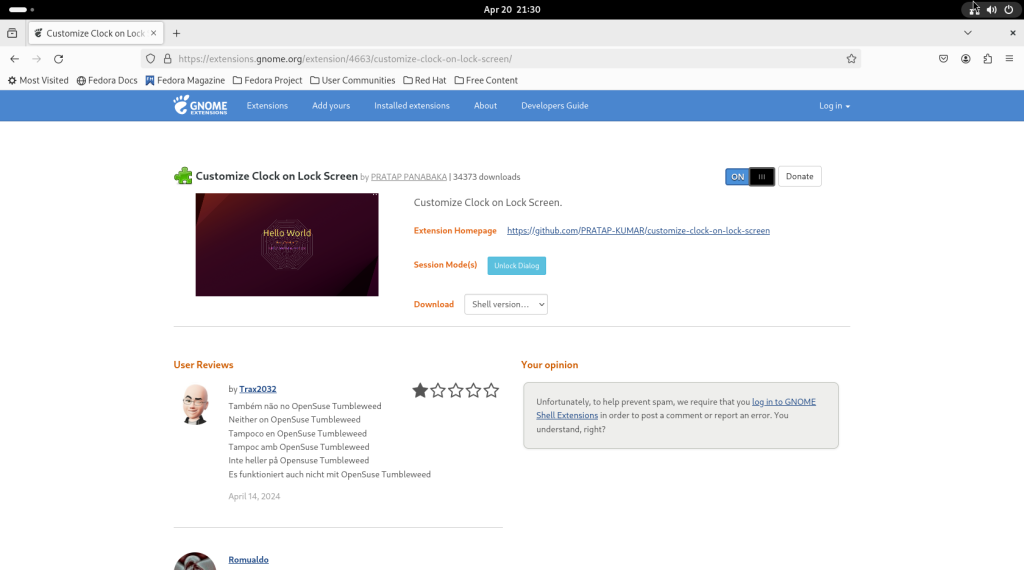
As of when the following screenshot was taken, here is page one of the available extensions, along with a brief description:
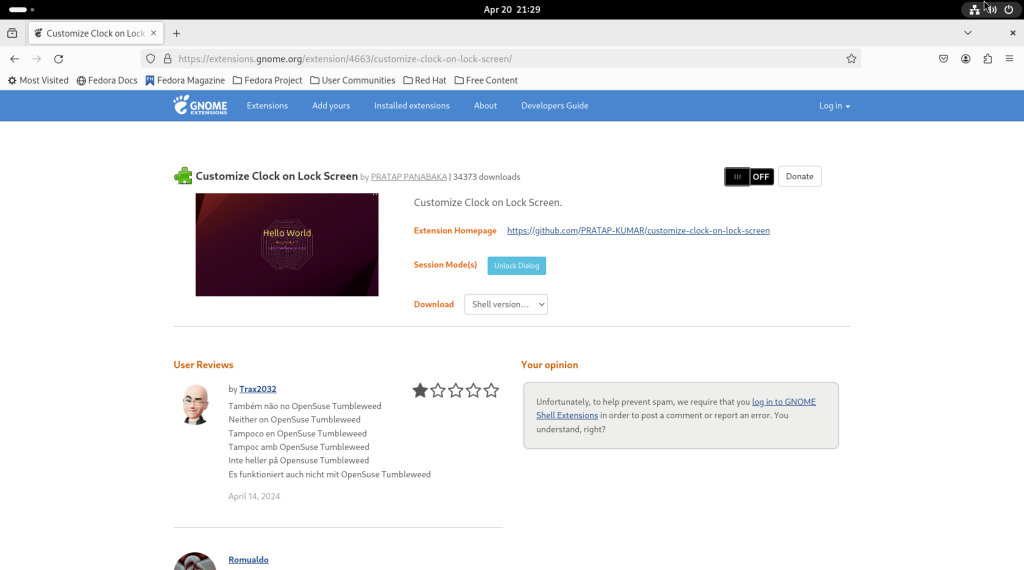
To install an extension that interests you, click on the black switch that will be set to “Off”.
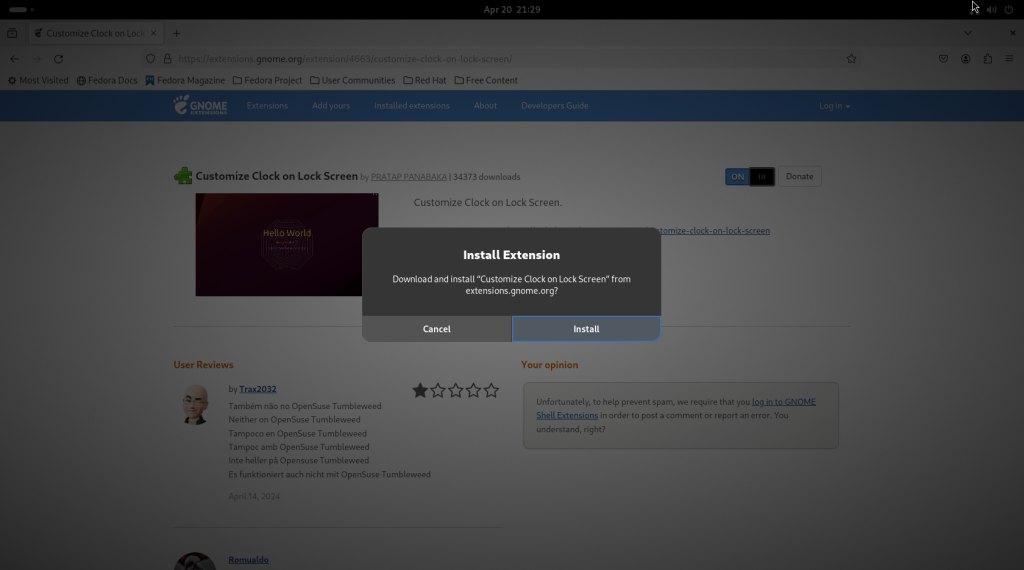
Click on “Install”:
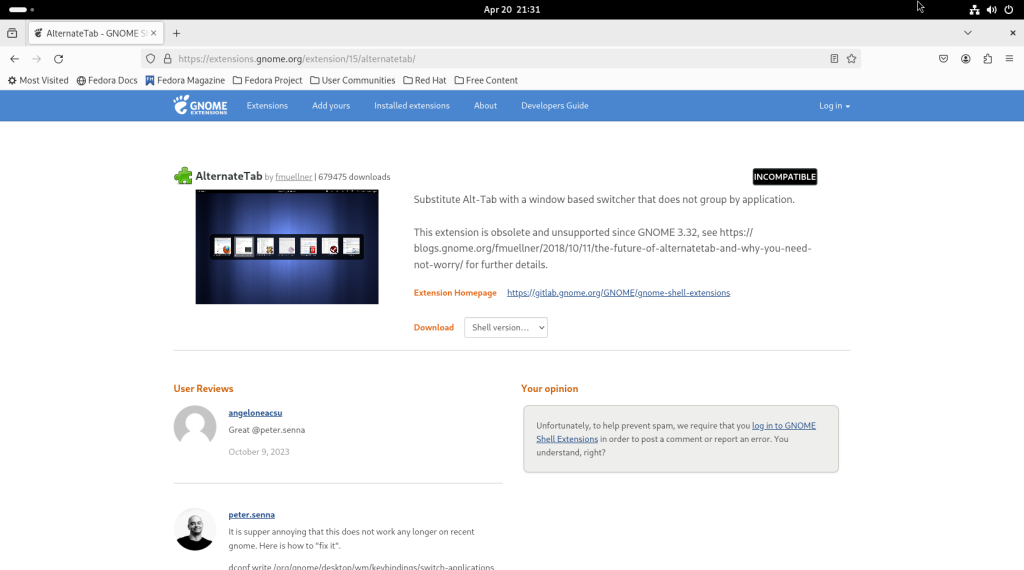
Sometimes, an extension will be incompatible with the current version of Gnome, and the page will say as much:
When you have selected all the extensions which interest you, close Firefox:
Basic file manipulation:
Starting from the main screen, click on the activities bar in the upper left hand corner:
… leading to the activities screen, with the dock:
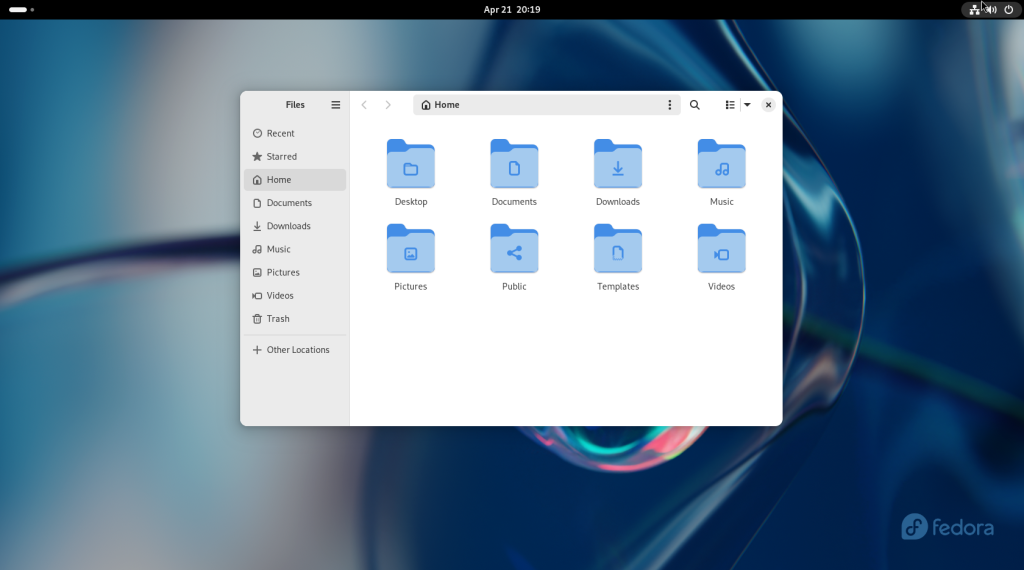
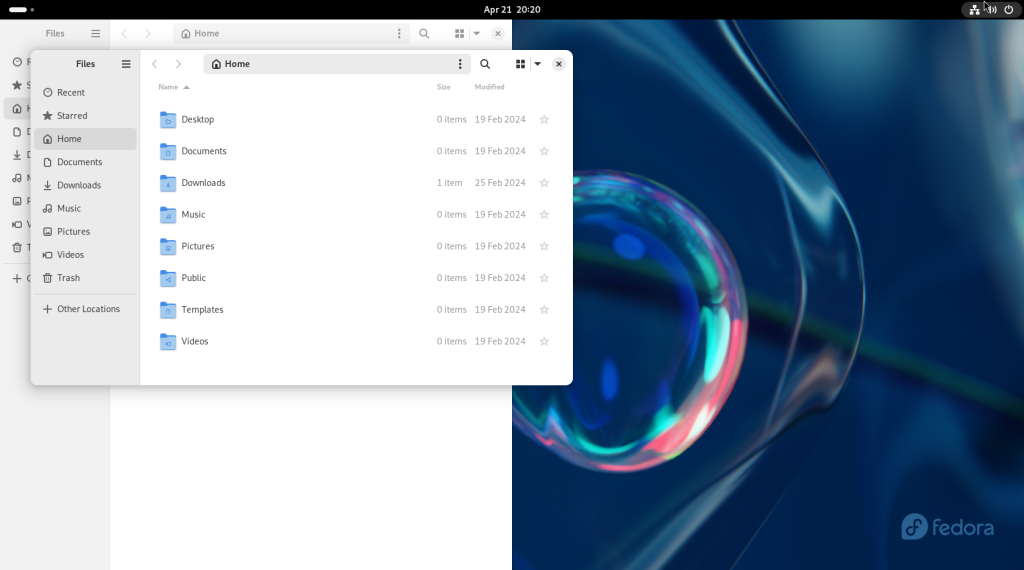
Click on the blue rectangle meant to resemble a filing cabinet, in the centre.
For convenience, I moved the window to the left, and it “snapped” to take up half the screen:
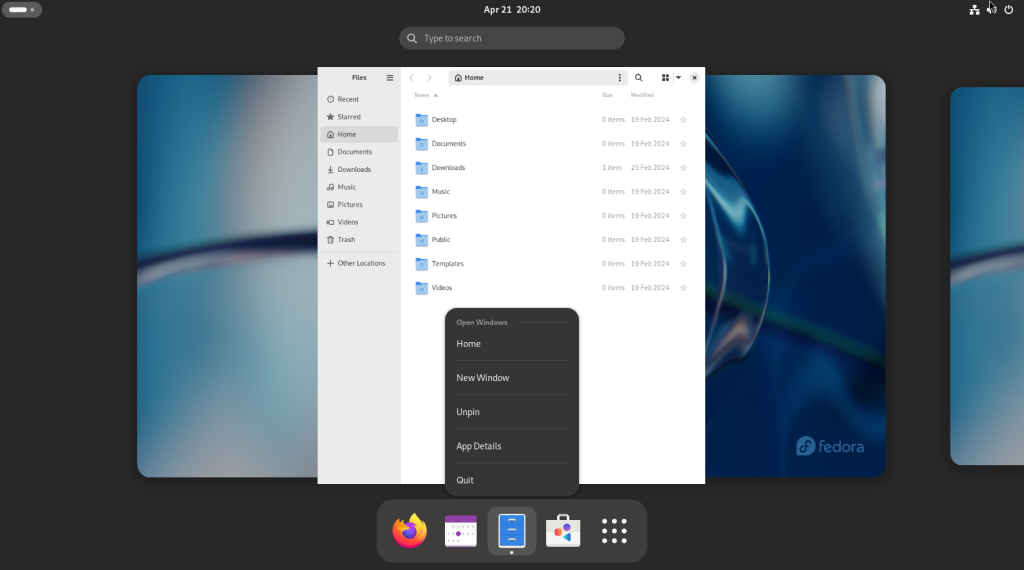
The activities screen was accessed again, to access the dock, and right-clicking on the file manager icon:
Choose “New Window”, in order to launch a second file manager window:
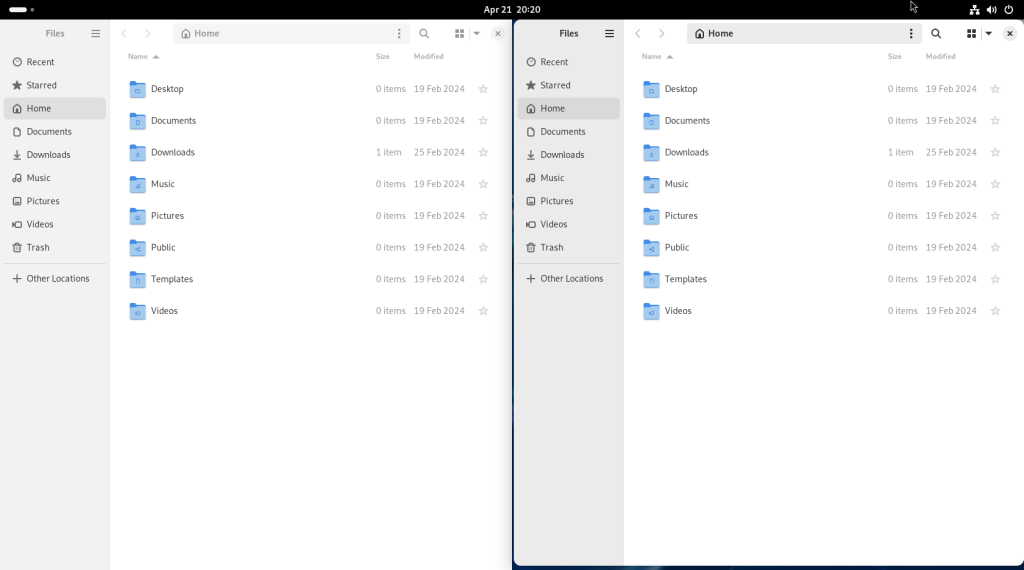
The size and location of the second window were adjusted in order to have a second window on the right:
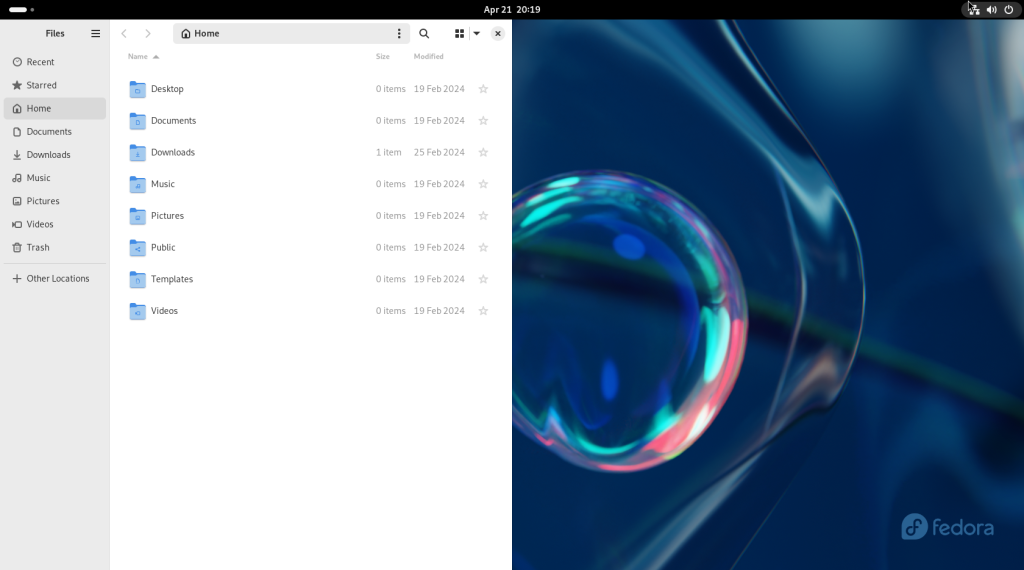
Before moving on, I am going to point out that I personally like file listings with full information; however, files can be displayed with previews (the following shots were taken after the following operations were completed):
By hovering the pointer over a button with four blocks in it, you can toggle between lists and icons:
Clicking on the icon will change the filenames to icon size:
Hovering over the same square icon can revert to a list view.
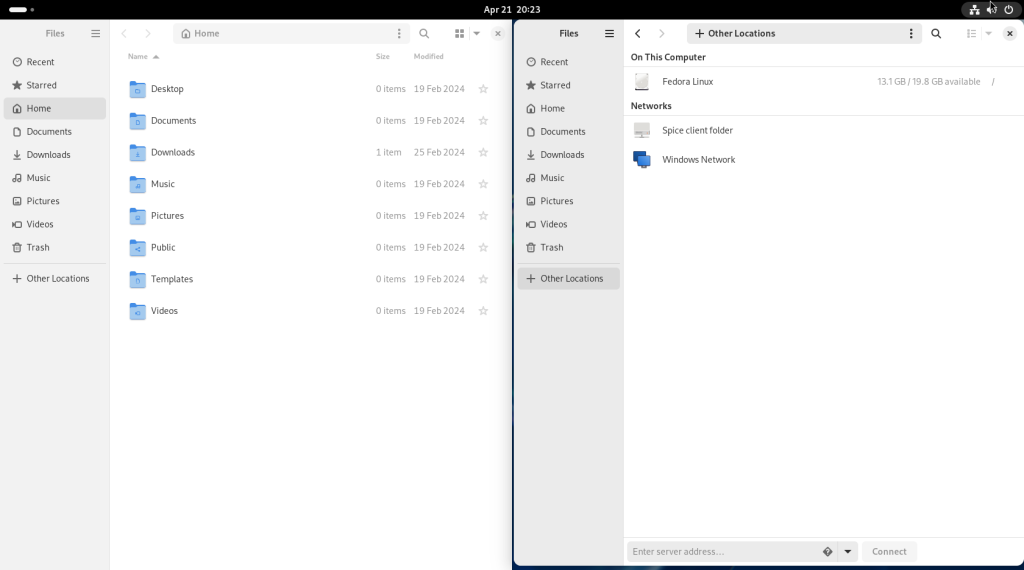
At this point, you can insert a USB key with some files or a backup, or a CD/DVD drive, or a portable USB hard drive.
In this case, I decided to copy some files from the computer hosting my website, and some file backups. Clicking on “+ Other Locations” reveals, as per the window on the right, access to other computers accessible to your computer:
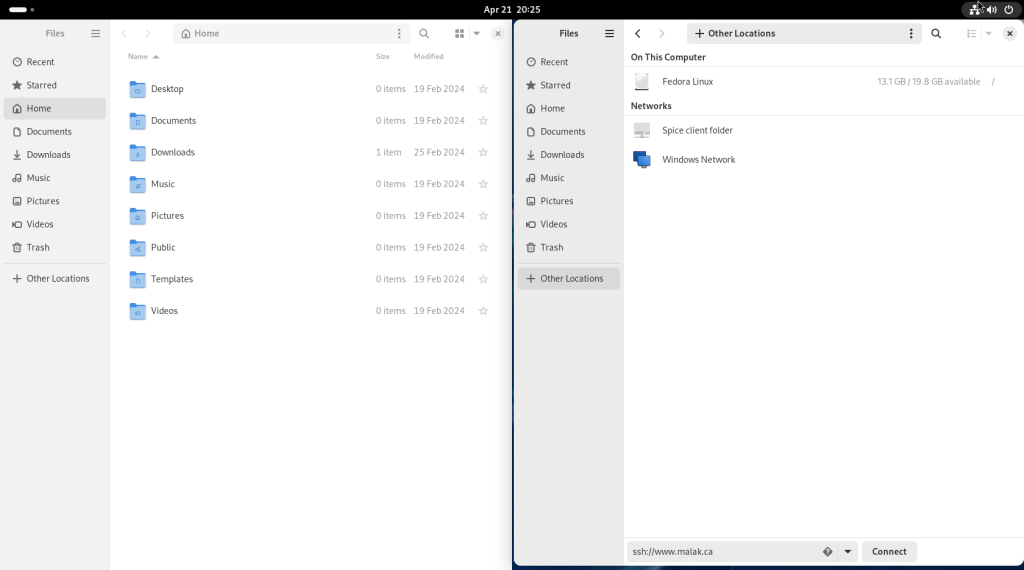
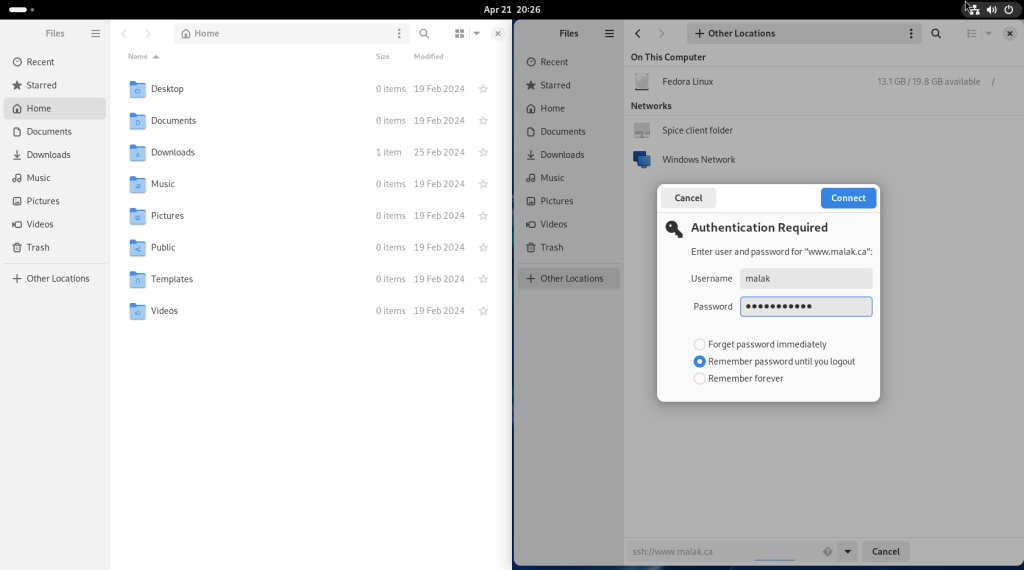
I entered into the address bar at the bottom of the window the address of my website, and telling the file manager to use the ssh protocol to securely access the location:
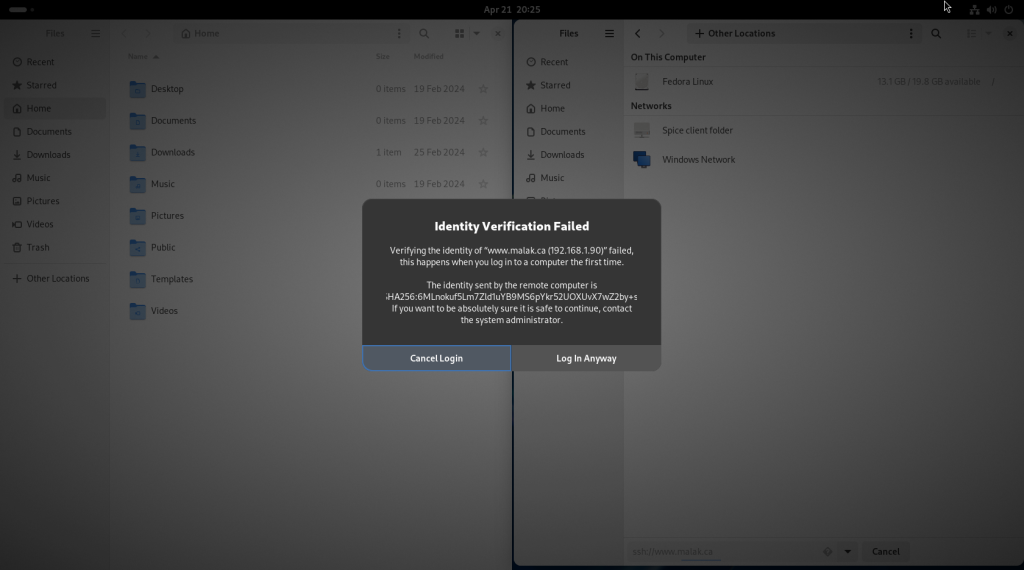
As part of the initial connection, my computer asked me to confirm if I wanted the connection, since it was the first time this instance was connecting to my website. Should you get such a challenge, click on “Log In Anyway”:
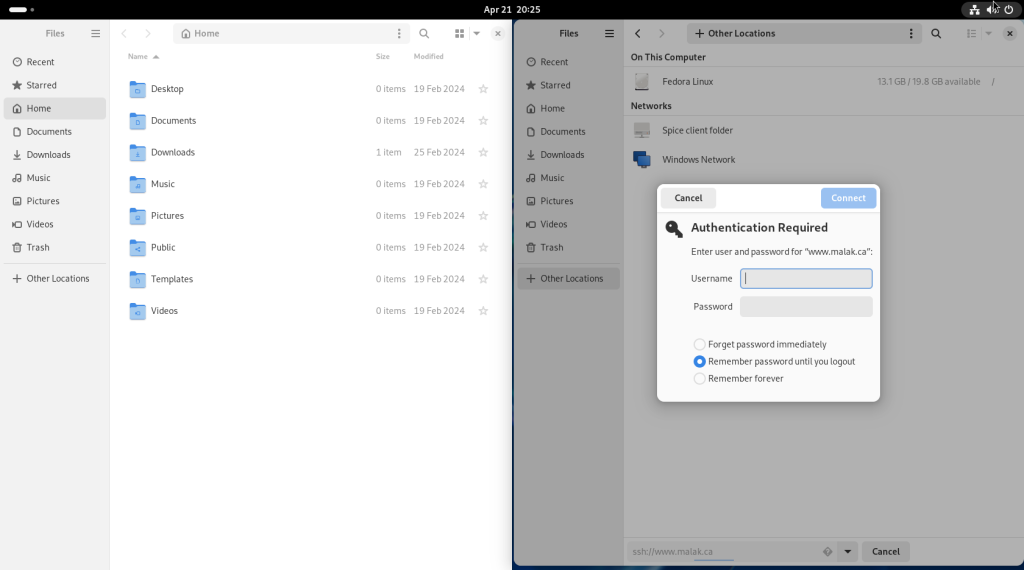
My website server presented an authentication challenge:
I entered my username and password, chose “Remember password until you logout”, and clicked on “Connect” (you may choose either of the two other options, at your discretion):
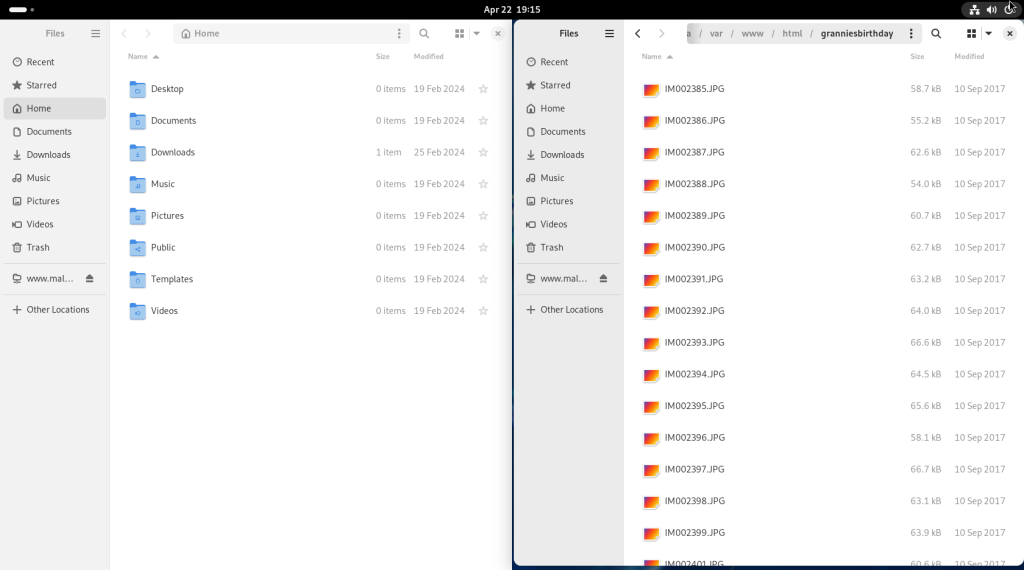
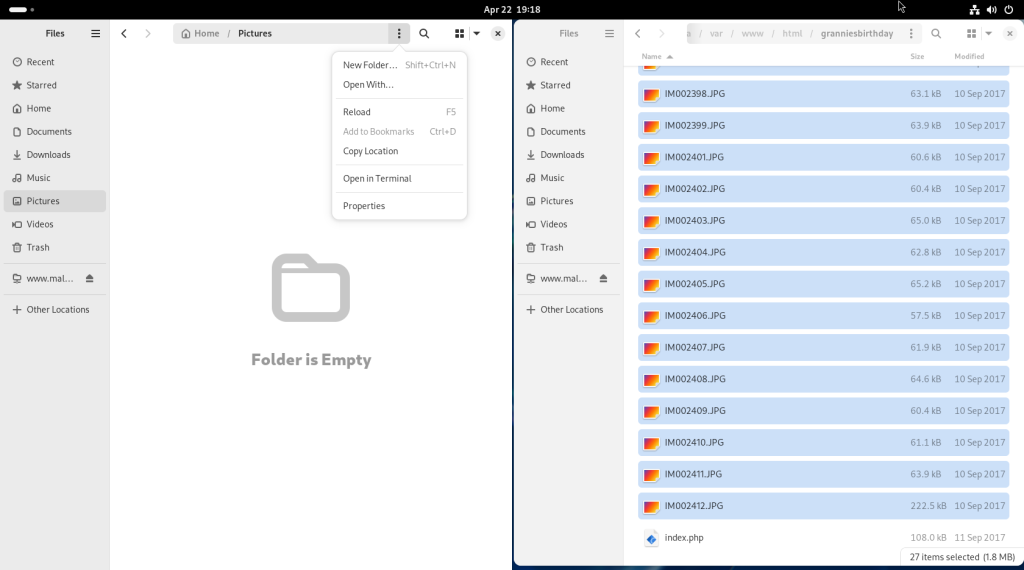
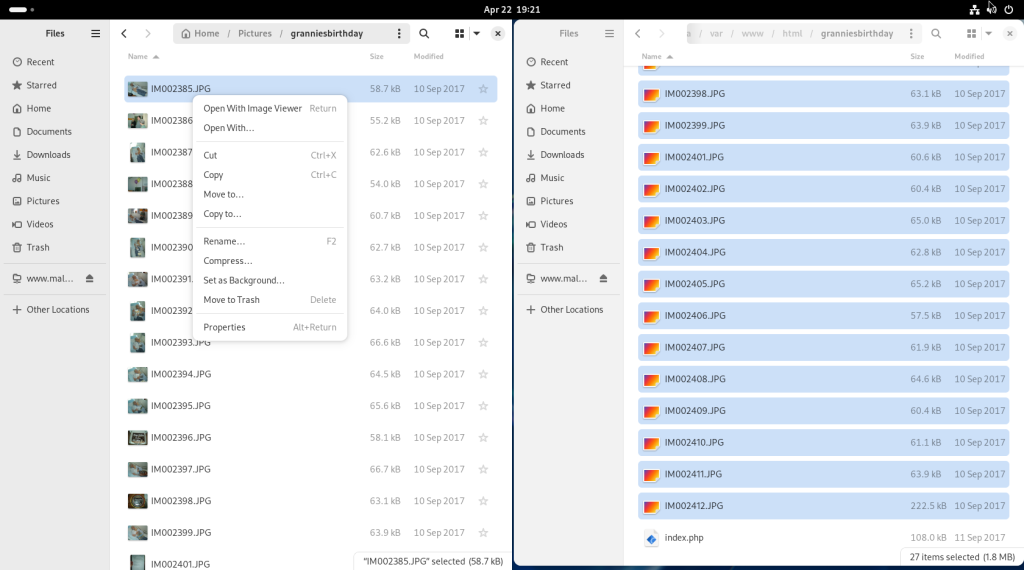
Once there, I navigated to a directory with some photos from a past birthday celebration for my grandmother:
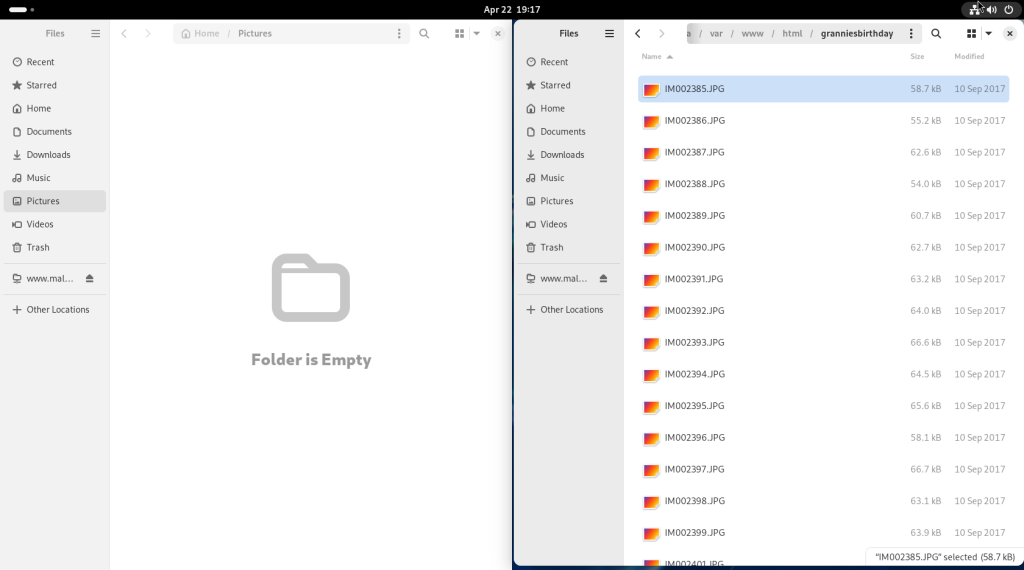
Wishing to copy all the files on my server (on the right) over to the computer (on the left), the first file was selected by clicking on it …
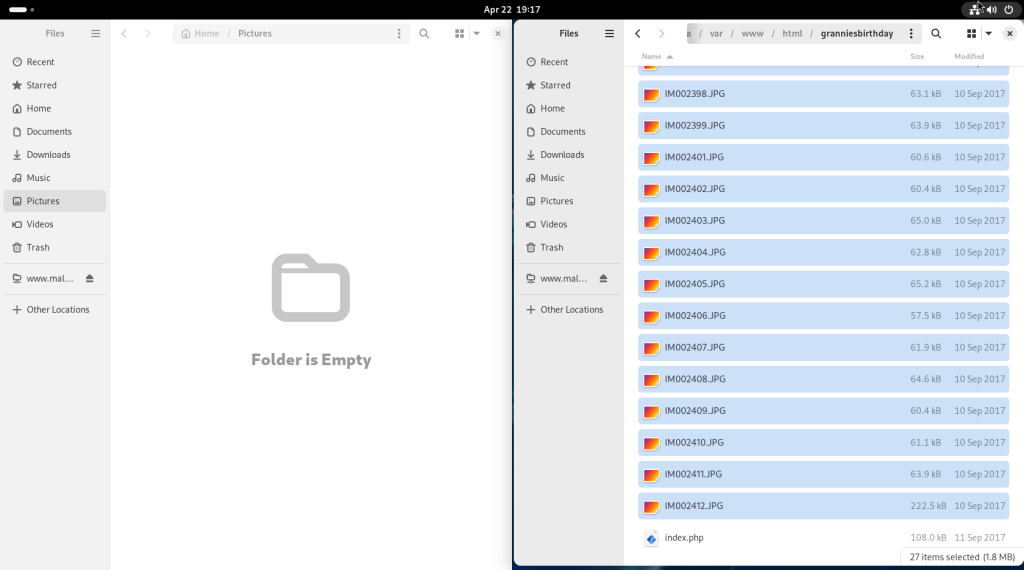
… and then scrolling down to the bottom of the file list, and while pressing on the CTRL key, clicking on the last:
Instead of drag and drop, I right clicked my mouse over the right …
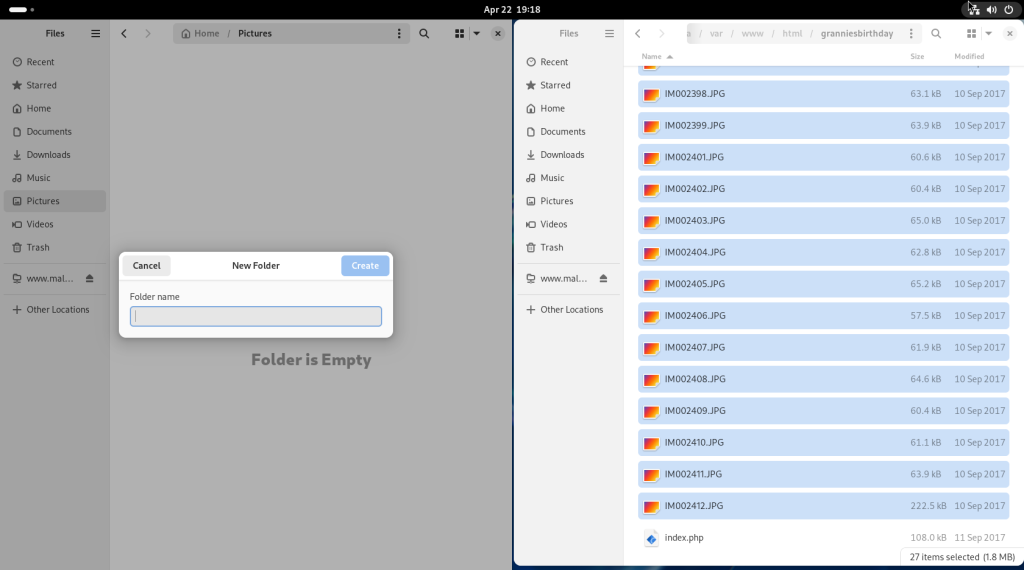
… which opened a contextual menu, in which I chose to create a folder, leading to the opening of a dialog:
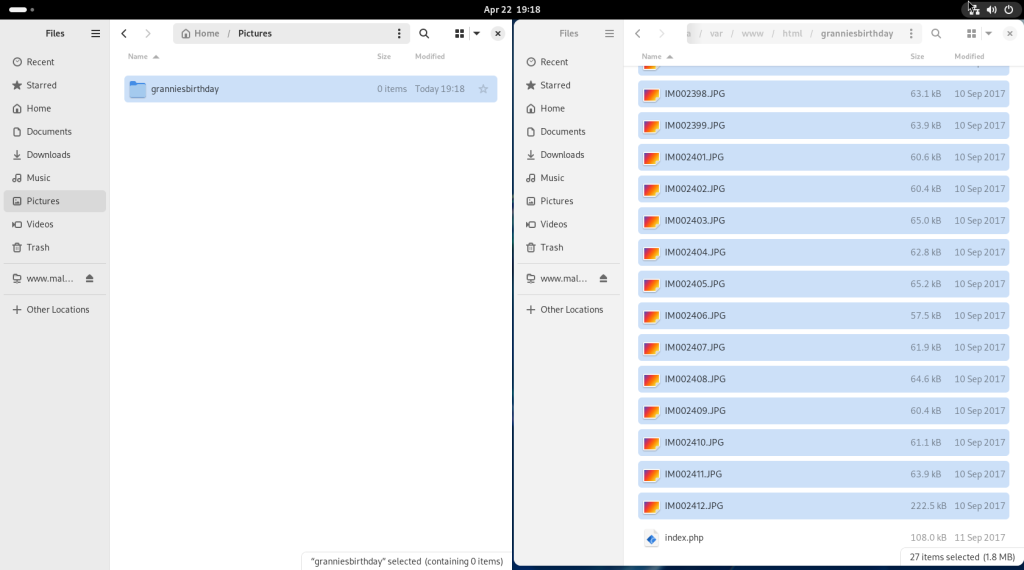
A name for a new directory, in this case reflecting that it was from my grandmother’s birthday one year, was entered into the dialogue, and the directory was created:
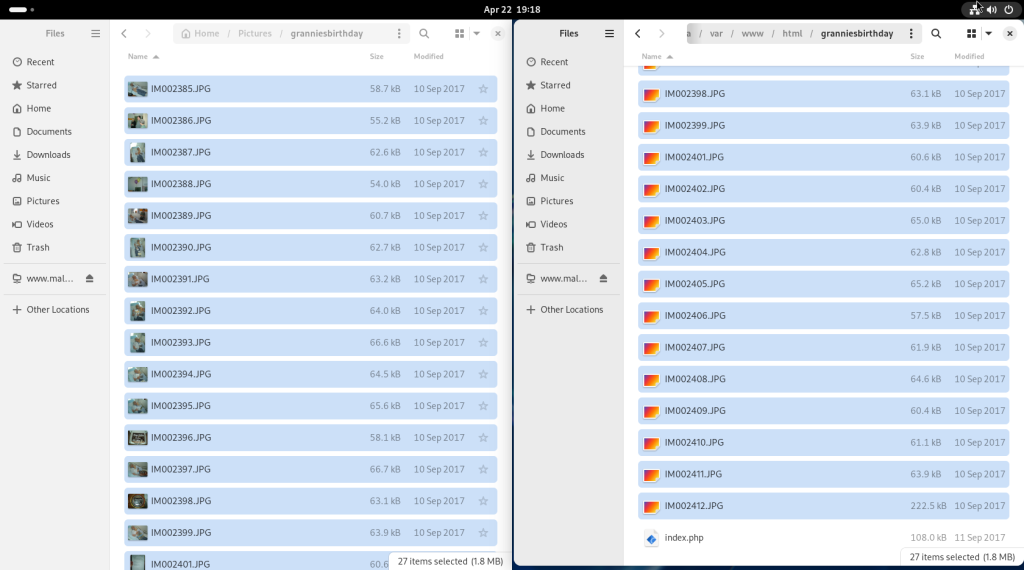
The previously selected files on my server were transferred via “drag and drop” to the newly created directory:
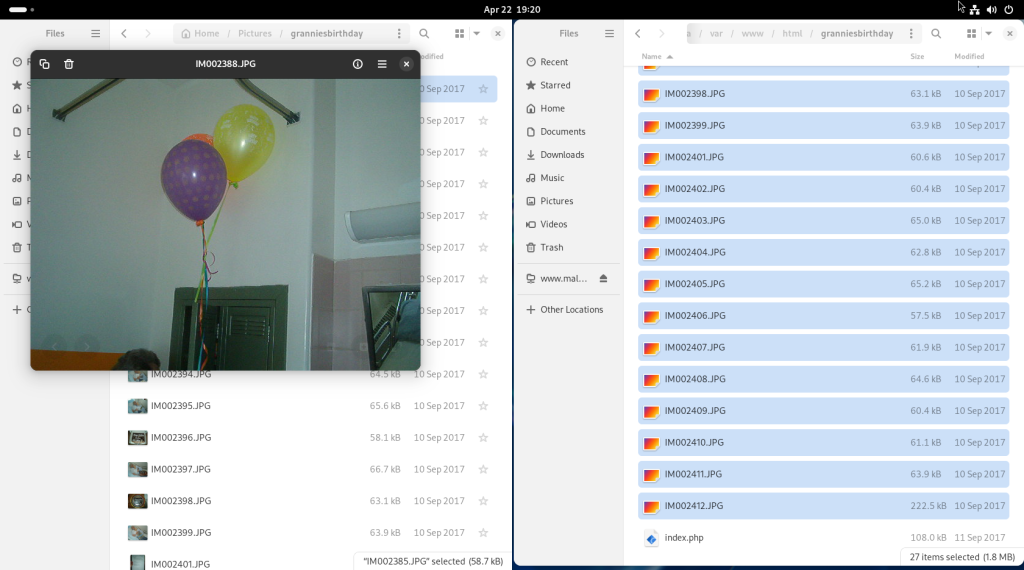
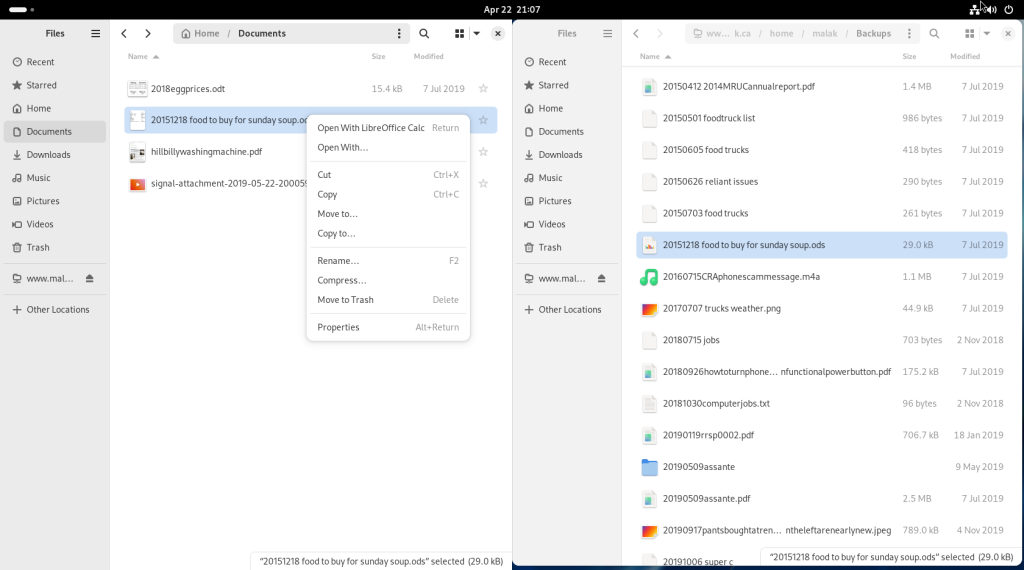
A photo was selected, and a right click opened a contextual menu, offering a number of options. The first, “Open With Image Viewer”, was selected …
… opening the selected photo.
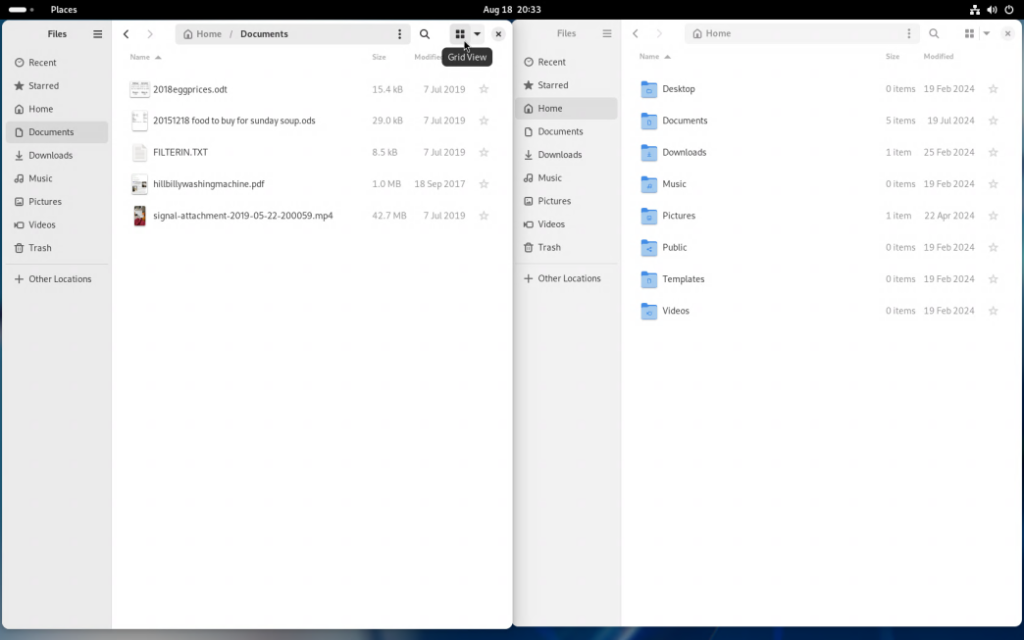
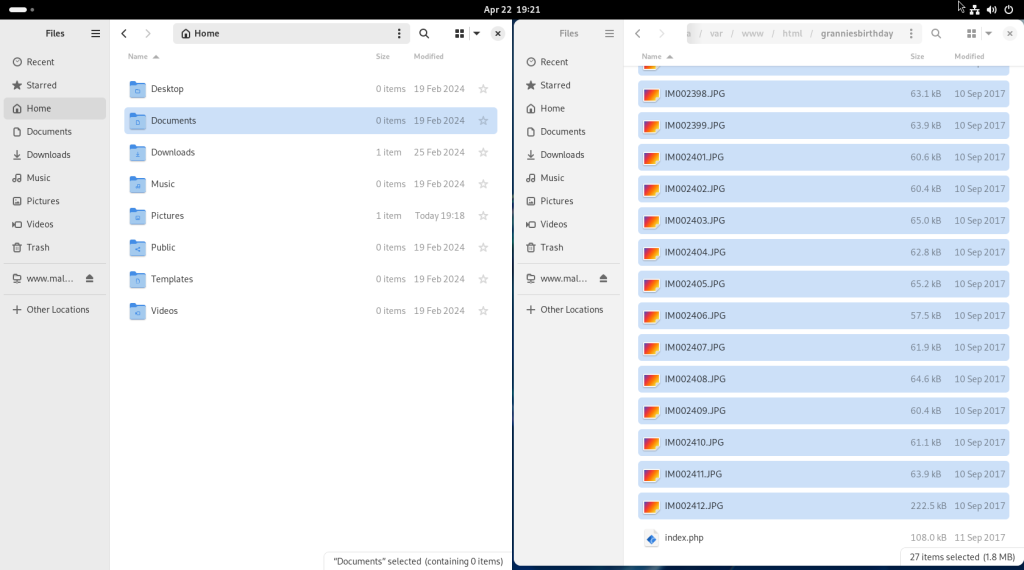
On the local machine, I clicked on “Home” …
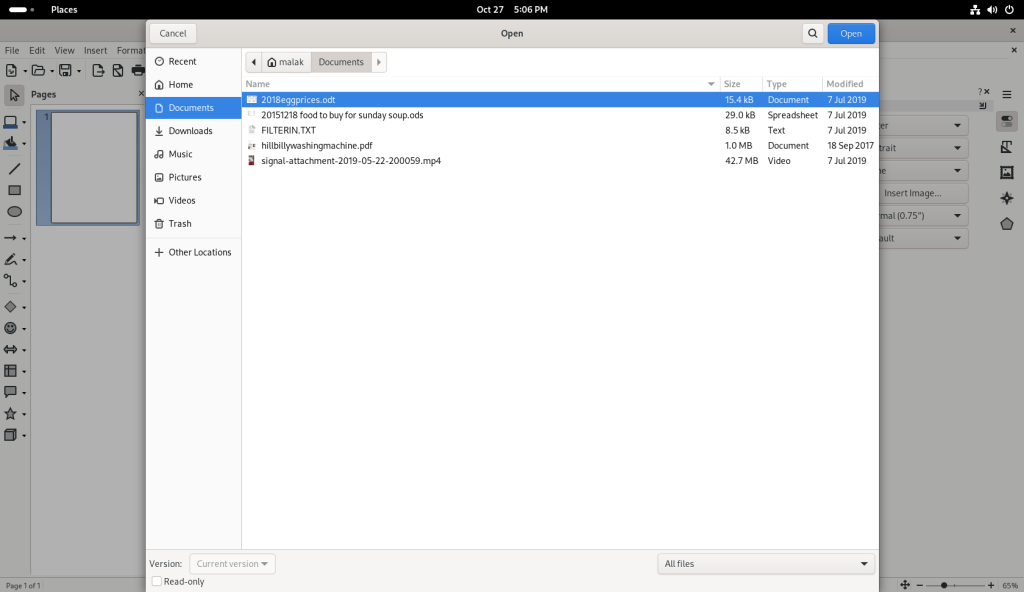
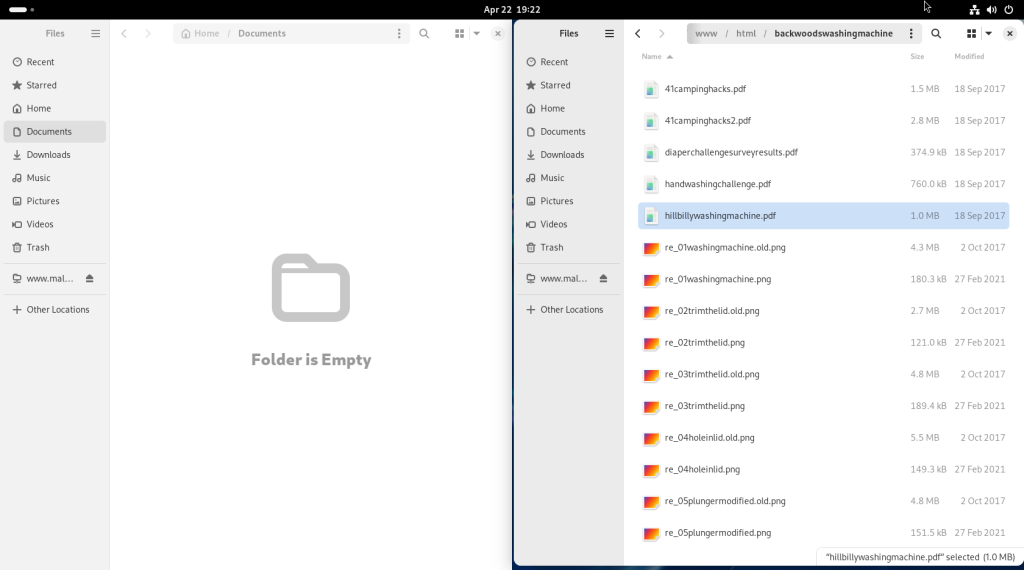
… then on “Documents”, while on my server, I navigated to another directory where I chose a PDF document:
This time, I used a right-clicked contextual menu on my server side to chose “Copy To” to copy the document over to my local machine.
The file was then selected, and a contextual menu (right click) was opened, which offered “Open with Document Viewer”:
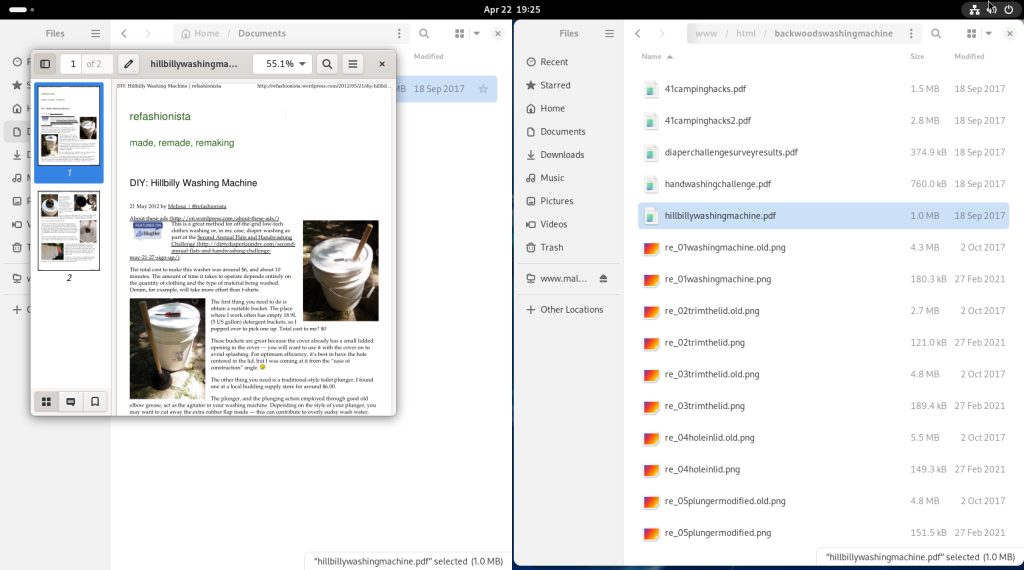
… opening up the document, in this case about how to make a backwoods washing machine:
Again on my server, I navigated to another directory, this time in my backups:
… and selected another file to transfer, in this case, a spreadsheet:
The spreadsheet was dragged and dropped onto the local machine:
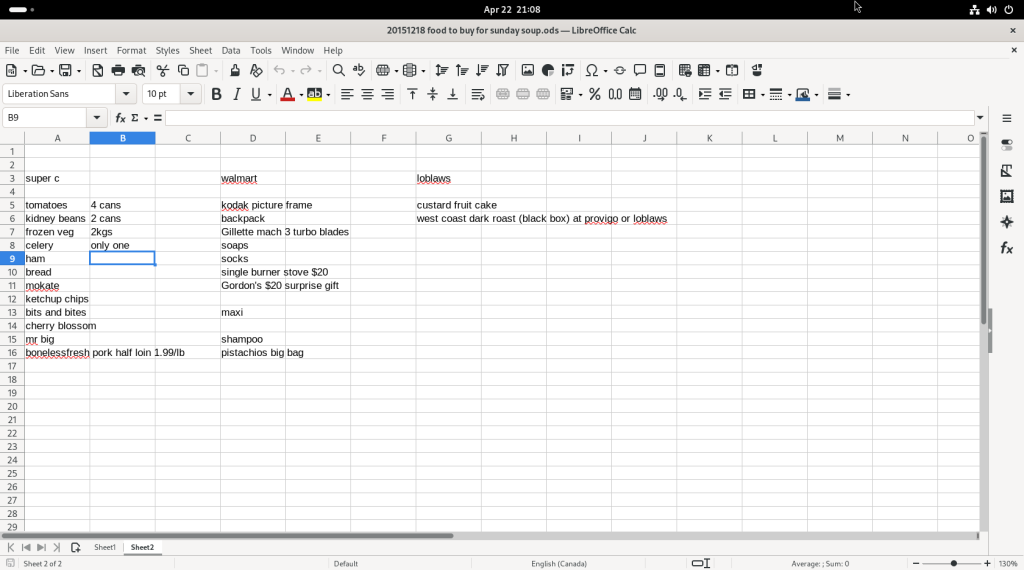
Recognizing the file extension as that of an OpenDocument spreadsheet file, LibreOffice was launched:
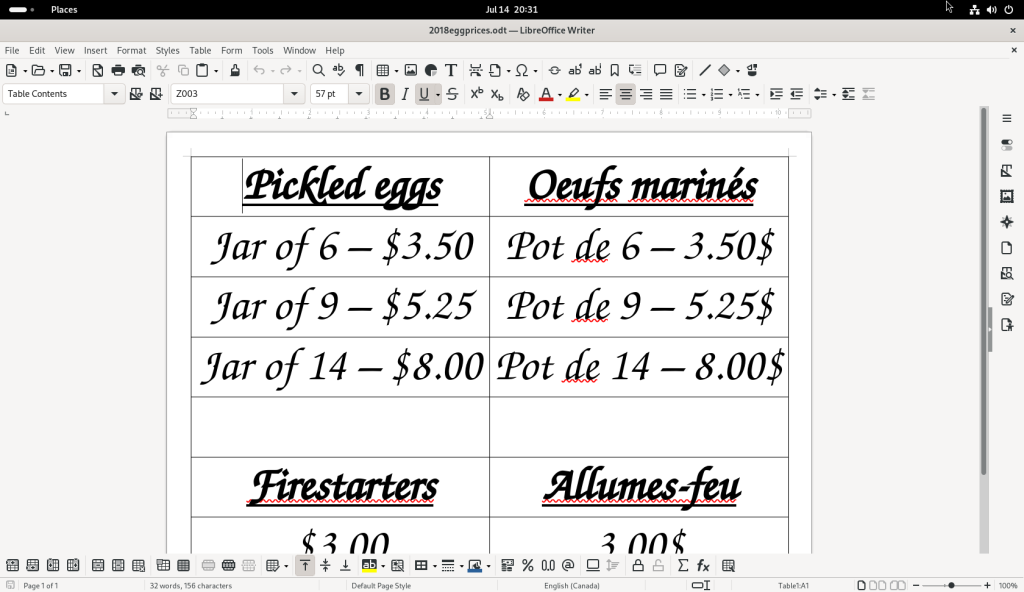
… and the file was opened, in this case, for a table of prices for a number of items I sell at a flea market near my cottage:
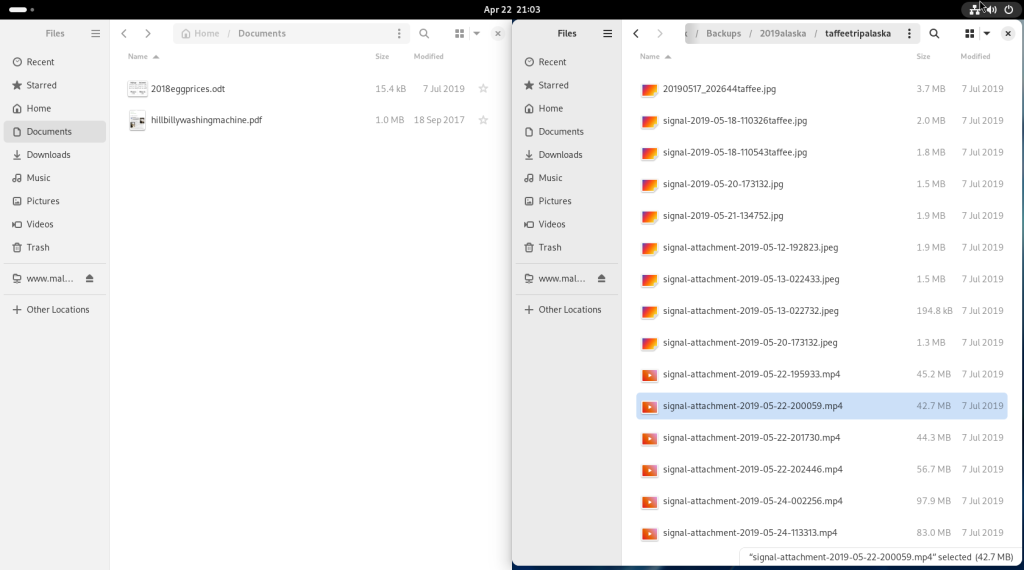
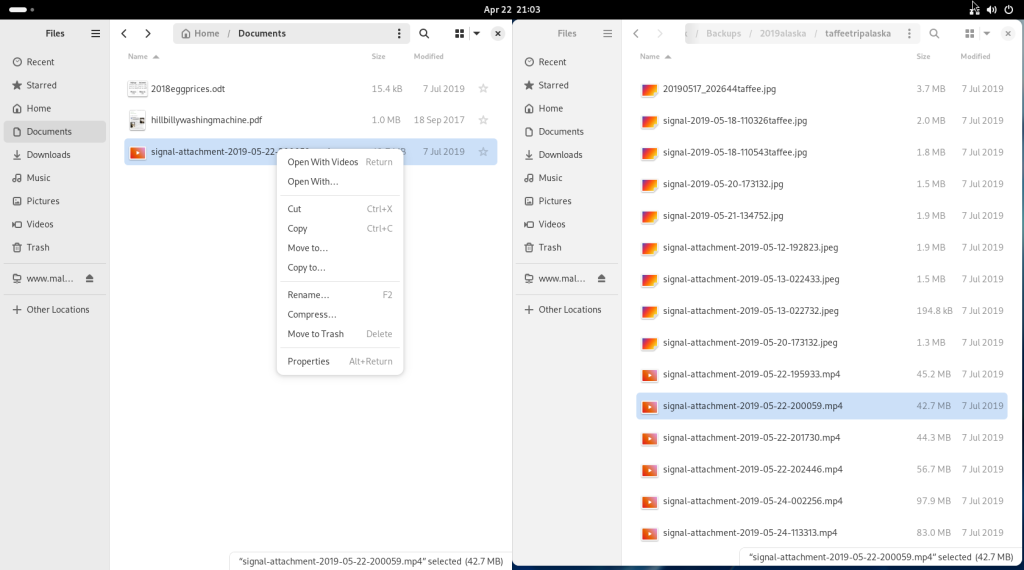
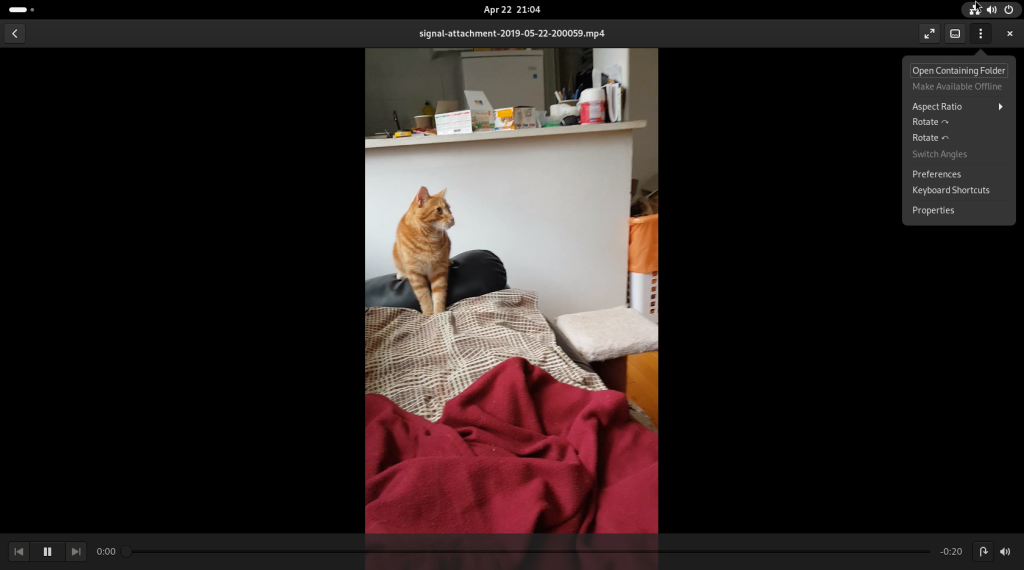
Back to the file transfers, a video file in a directory with pictures and videos of my cat was selected …
… and dragged and dropped over to the local machine, and the file selected and right clicked, revealing a contextual menu, allowing for the opening of the video file:
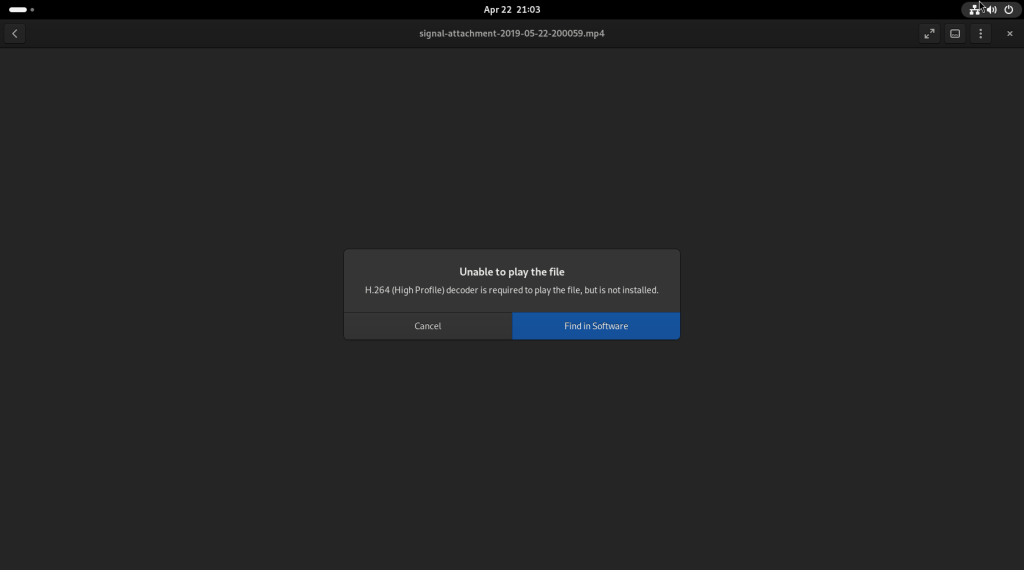
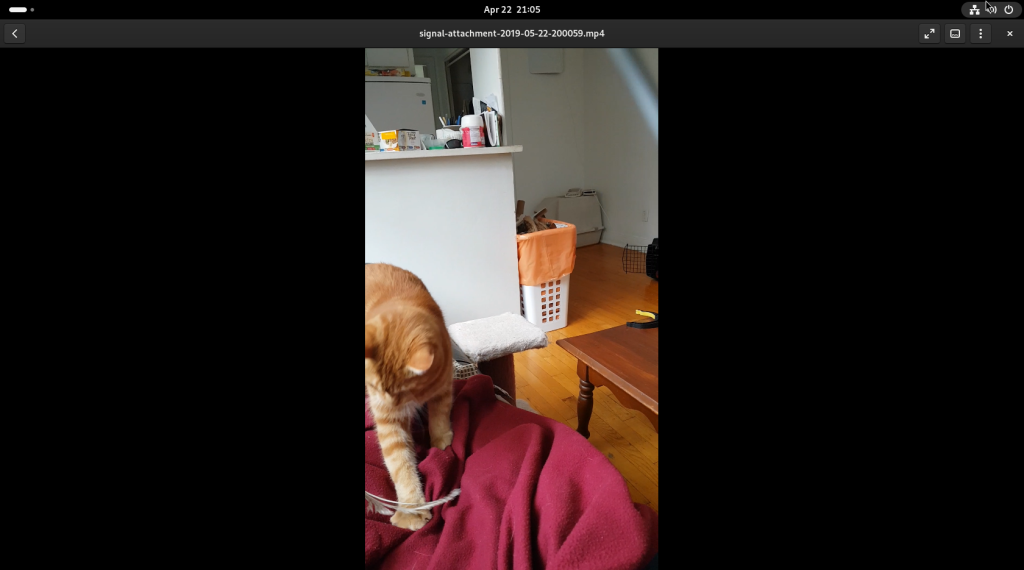
The Gnome Videos player was opened; since the relevant codec had not been installed in the base install, Videos asked if it should attempt to install the codec, which it proposed might be available in the software repositories:
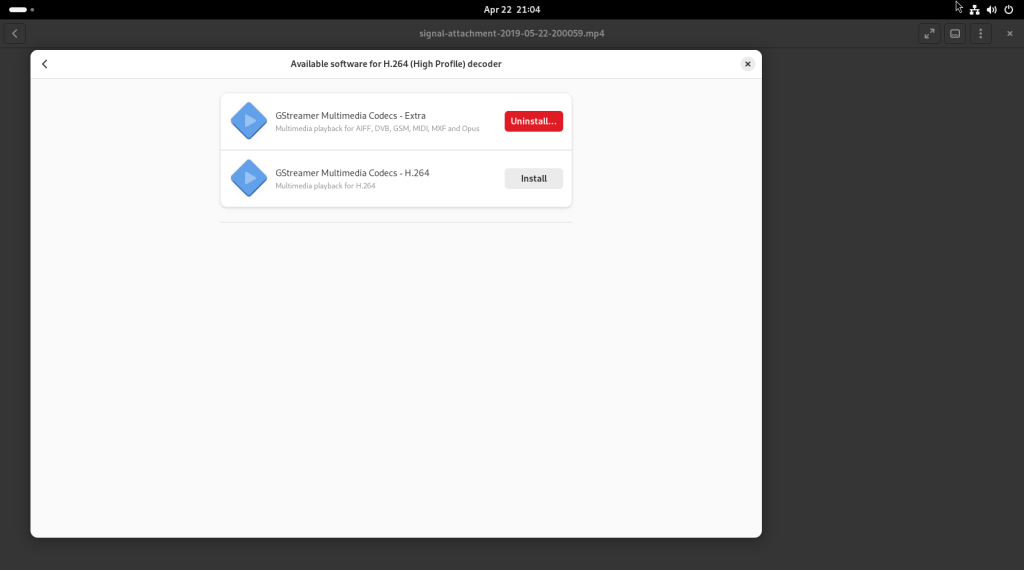
The “Find in Software” button was clicked, leading to the following window:
The required codec (“GStreamer Multimedia Codecs – H.264”) was chosen for installation; once installed, a video of my cat, playing with a feather toy, was shown:
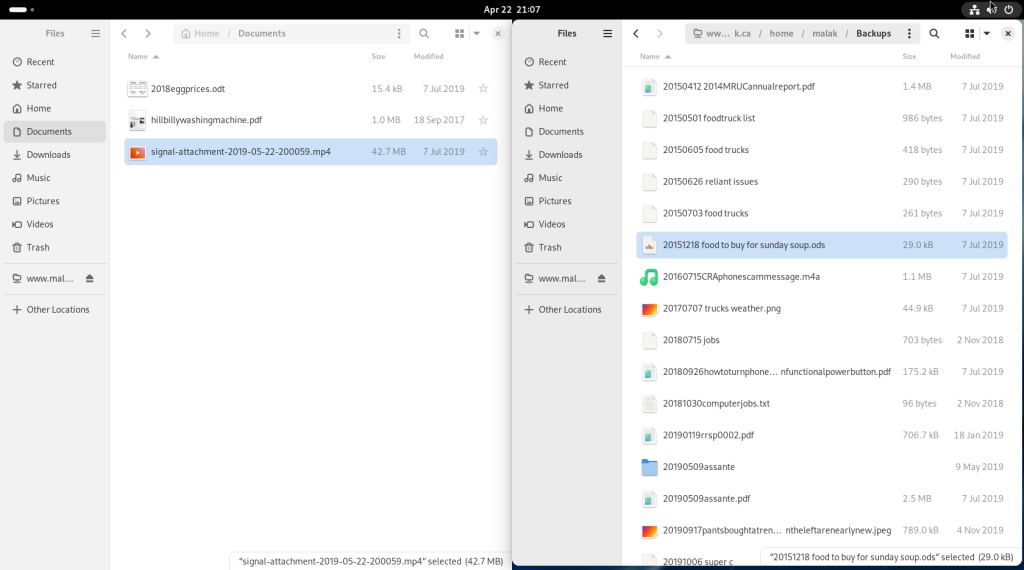
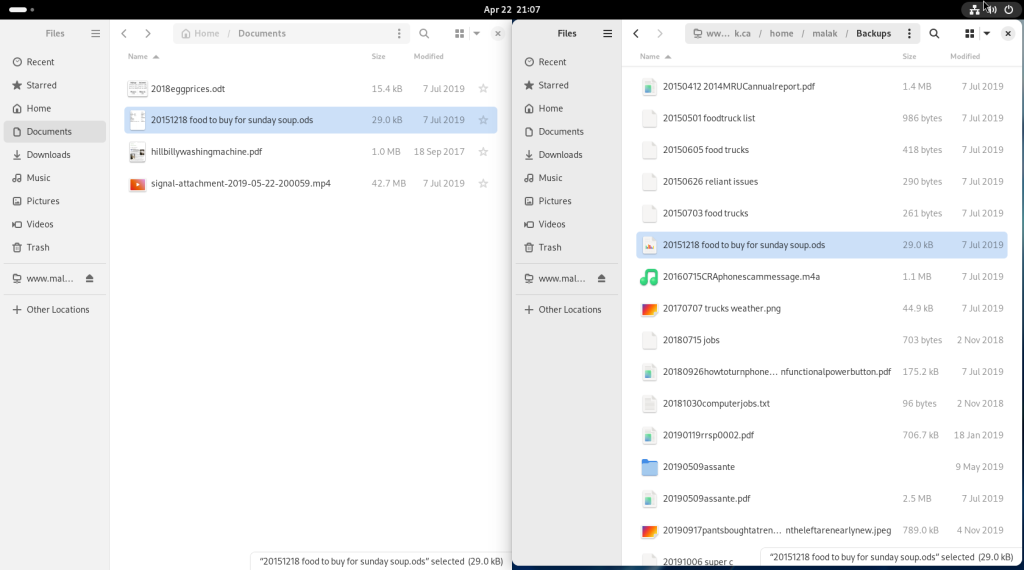
Another file, another spreadsheet, was selected on my server …
… and dragged over to the new setup:
Using a right click contextual menu, the new selected file was opened:
… revealing my shopping plans for a large amount of soup I was going to cook for a community meal:
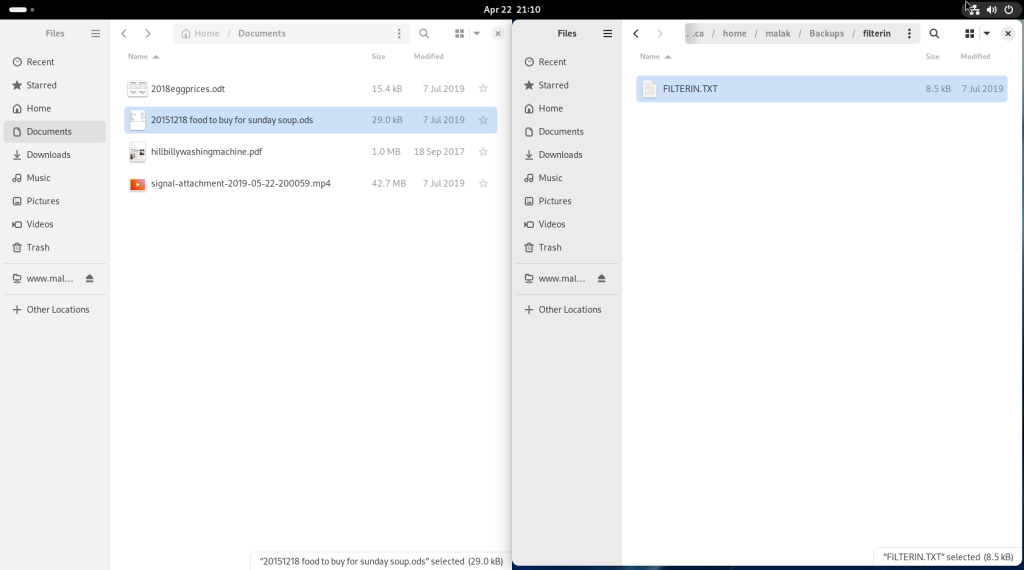
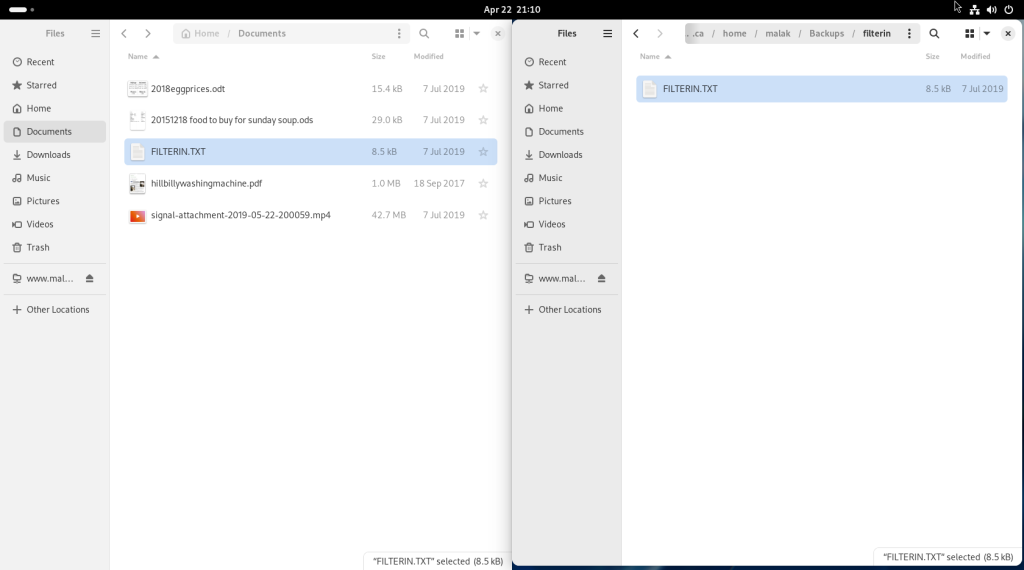
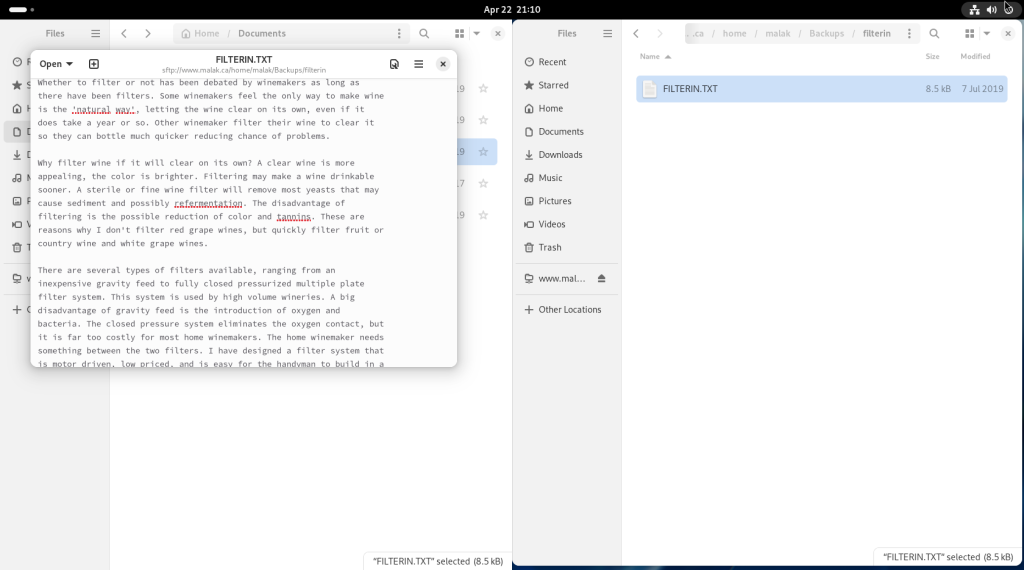
Another file, a text file, was selected on my server …
… and dragged over to the new setup:
Using a right click contextual menu, the new selected file was opened:
… and a text editor window opened up with the text file:
Many other things can be done with the file manager, including launching template documents in a click if templates have been placed in a templates directory.
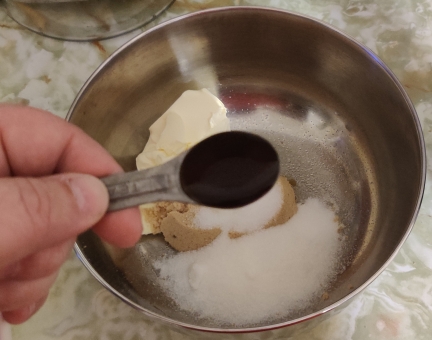
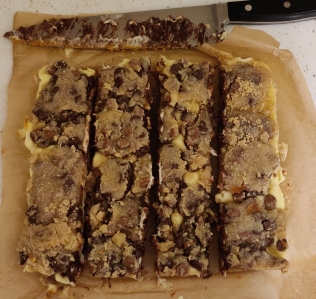
This decadently rich and scrumptious dessert is another relatively new addition to my collection of recipes. Mom loves it!
Making the squares:
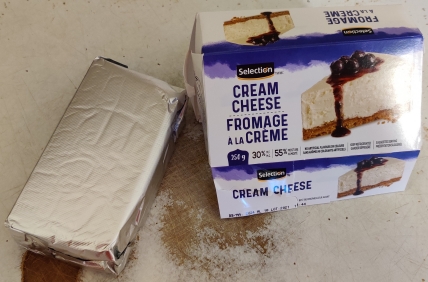
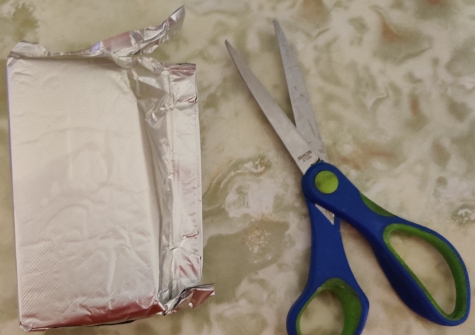
Before beginning, some cream cheese was taken out of the fridge and put on the counter to warm up to room temperature:
Cream cheese taken out before beginning in order to soften it
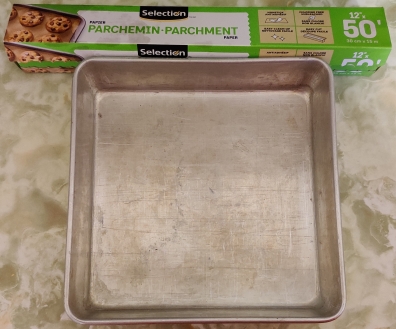
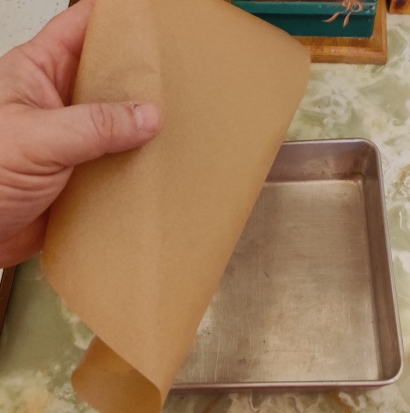
Parchment paper and an 8″ baking pan were taken out:
Parchment paper and baking pan taken out
A parchment paper larger than the baking pan was torn off the roll …
Parchment paper cut off of roll
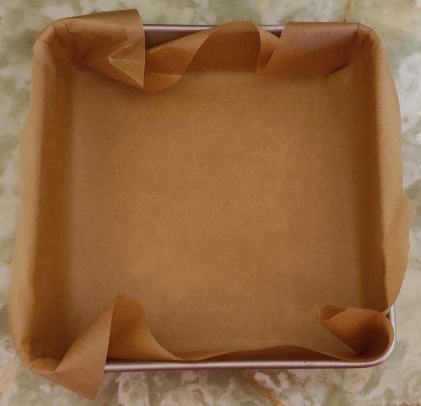
… and the baking pan was lined with the parchment paper, with a little bit left over the edges of the pan:
Baking pan lined with parchment paper
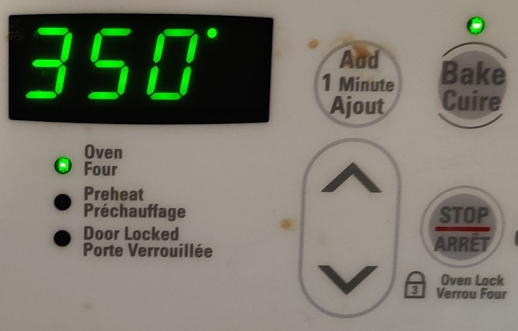
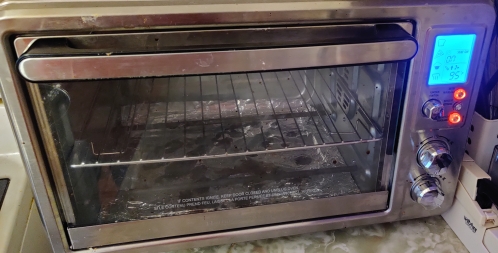
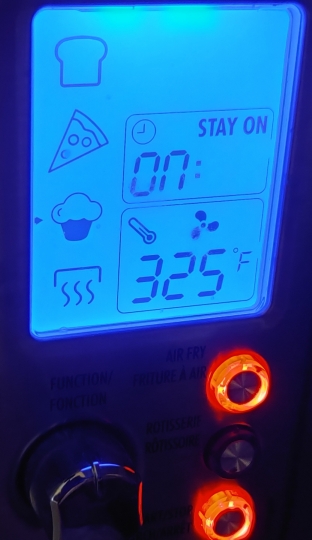
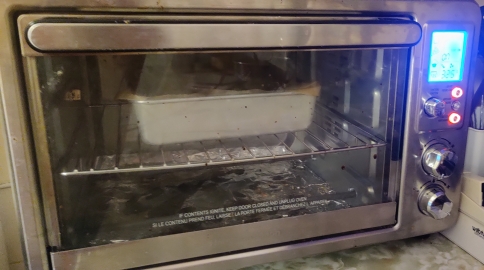
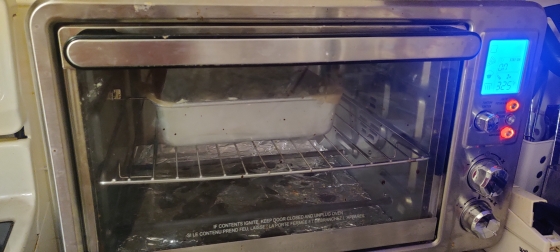
The pan was put aside for a few moments, and a countertop convection oven was set to 325F and turned on:
Countertop convection oven turned on
Oven set to 325F
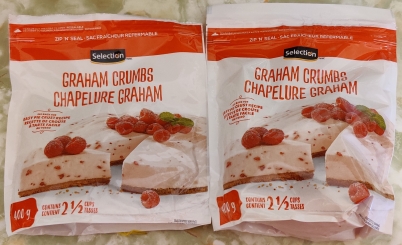
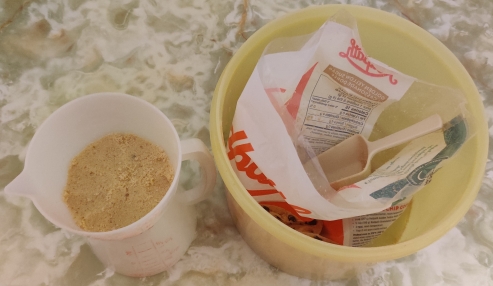
Graham cracker crumbs were taken out:
Graham cracker crumbs taken out
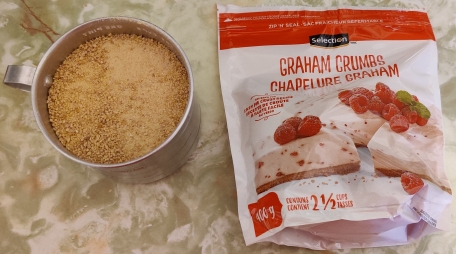
A cup and a half of graham cracker crumbs were measured out:
Graham cracker crumbs measured out
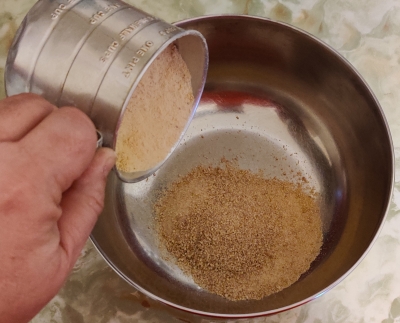
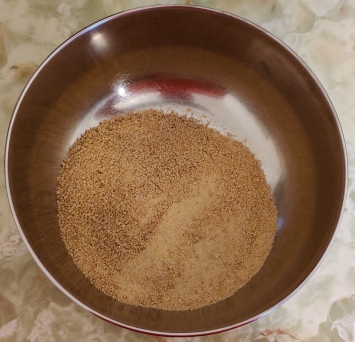
The graham cracker crumbs were transferred to a mixing bowl:
Graham cracker crumbs transferred to mixing bowl
Graham cracker crumbs transferred to mixing bowl
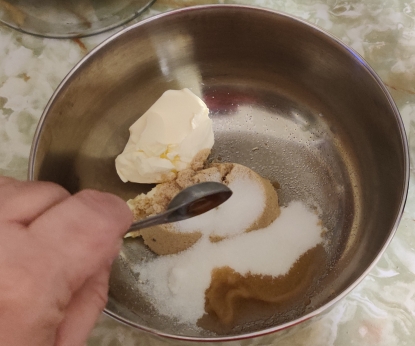
Margarine was taken out:
Margarine taken out
Margarine was scooped out of the tub:
Margarine scooped out of tub
The margarine was placed in a bowl, previously placed on the scale and the tare set to zero:
Margarine measured out
The margarine was melted in the microwave oven, 15 seconds at a time:
Microwave oven set to 15 seconds
Margarine being melted 15 seconds at a time in microwave oven
Once fully melted, the margarine was taken out of the microwave oven:
Melted margarine taken out of the microwave oven
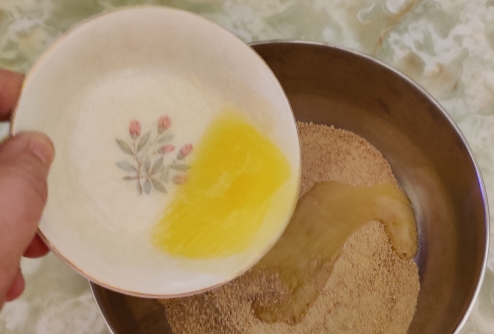
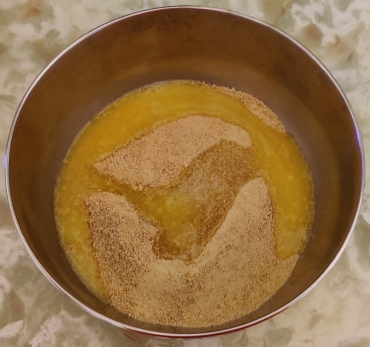
The melted margarine was poured over the graham cracker crumbs in the mixing bowl:
Melted margarine poured over graham cracker crumbs
Melted margarine poured over graham cracker crumbs
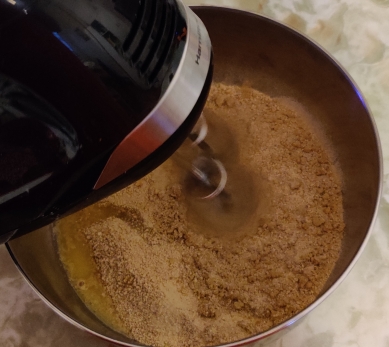
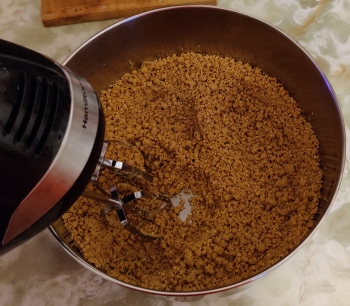
An electric blender was taken out and used to fully mix the graham cracker crumbs and the melted margarine:
Graham cracker crumbs and melted margarine mixed with electric blender
Graham cracker crumbs and melted margarine mixed with electric blender
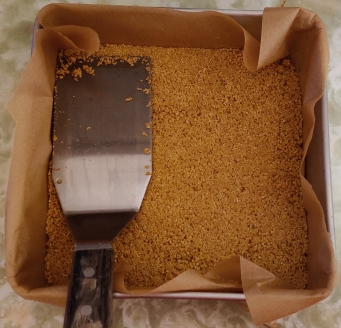
The baking pan with the parchment paper lining was brought back and the fully blended graham cracker crumbs and melted margarine were transferred to the baking pan.
Graham cracker mix transferred to baking pan
Graham cracker mix transferred to baking pan
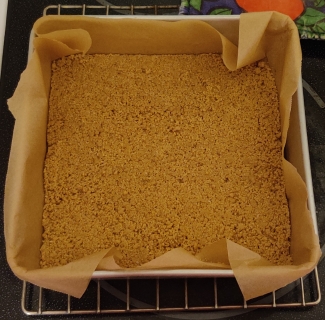
The graham cracker mix was flattened with an egg flipper:
Graham cracker mix flattened with an egg flipper
The baking pan with the graham cracker crust was placed in the pre-heated countertop oven:
Graham cracker crust placed in oven
A timer was set for six minutes:
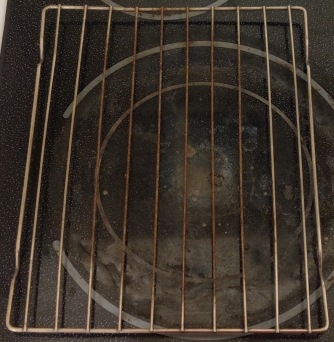
While the graham cracker crust was baking, a cooling rack was taken out (and placed on my stove):
Cooling rack taken out
After baking for six minutes, the graham cracker crust was taken out of the oven and placed on the cooling rack:
Graham cracker crust placed on cooling rack
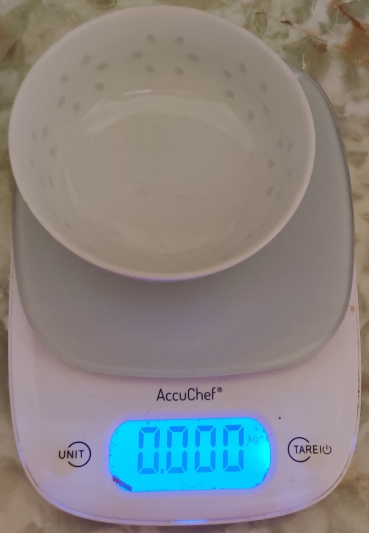
Another bowl was placed in the scale and the tare set to zero:
Small bowl placed on scale and scale set to zero
More margarine was taken out and measured out:
Margarine measured out
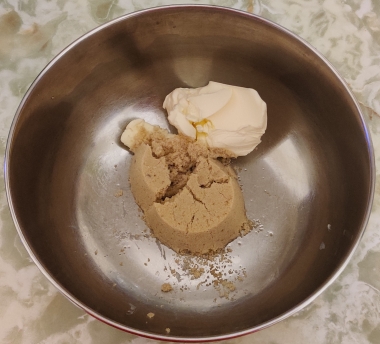
The mixing bowl had been washed while the graham cracker base was baking, and the margarine was transferred to the mixing bowl:
Margarine transferred to clean mixing bowl
Margarine transferred to clean mixing bowl
Brown sugar and a measuring cup were taken out:
Brown sugar and measuring cup taken out
The brown sugar was measured out:
Brown sugar measured out
The brown sugar was transferred to the mixing bowl with the margarine:
Brown sugar transferred to mixing bowl
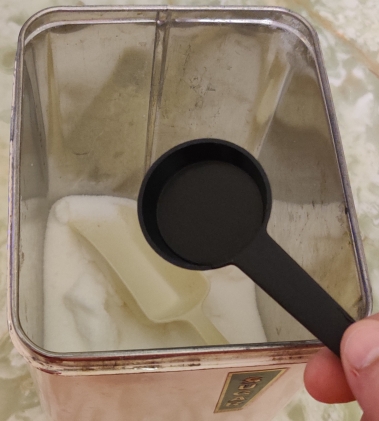
Table sugar and a measuring spoon were taken out:
Sugar and measuring spoon taken out
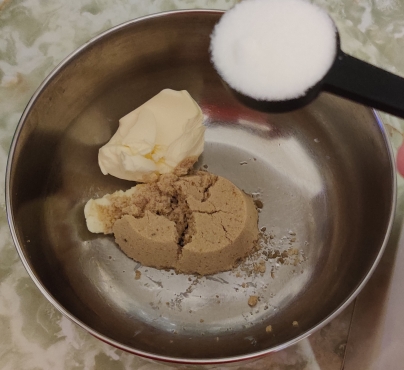
Table sugar was measured out and poured into the mixing bowl with the brown sugar and margarine:
Table sugar added to mixing bowl
Table sugar added to mixing bowl
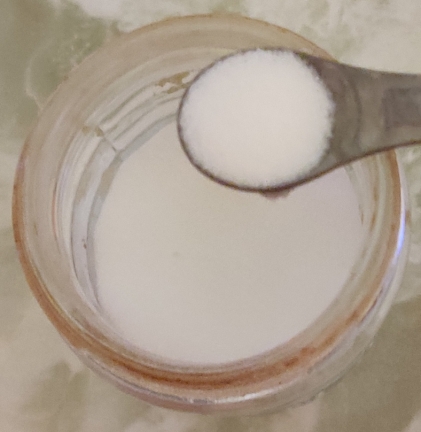
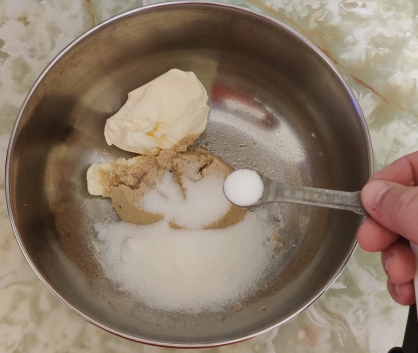
Salt was taken out and measured out:
Salt measured out
The salt was added to the mixing bowl with the two kinds of sugar and margarine:
Salt added to mixing bowl
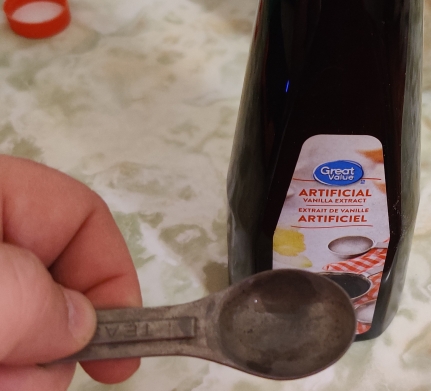
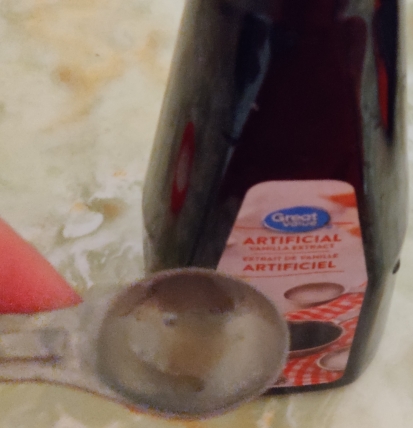
Vanilla extract and a measuring spoon were taken out:
Vanilla extract
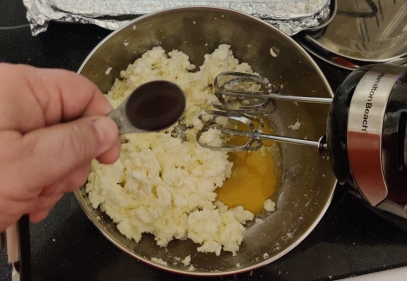
The vanilla extract was measured out and added to the mixing bowl with the two kinds of sugar, margarine, and salt:
Vanilla extract added to mixing bowl
Vanilla extract added to mixing bowl
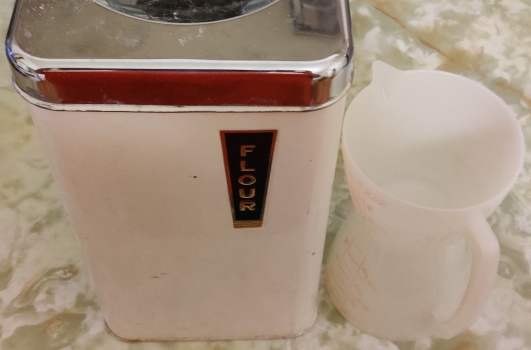
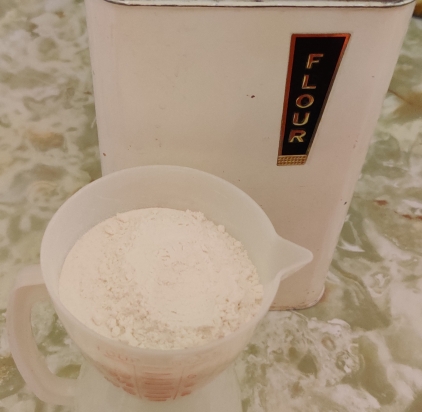
Flour and a measuring cup were taken out:
Flour taken out
The flour was measured out:
Flour measured out
The flour was transferred to the bowl with the two kinds of sugar, margarine, salt, and vanilla extract:
Flour added to mixing bowl
Flour added to mixing bowl
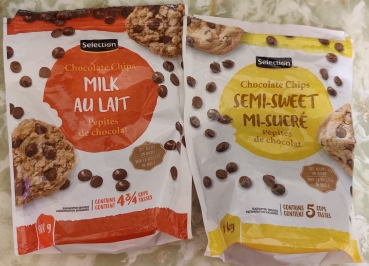
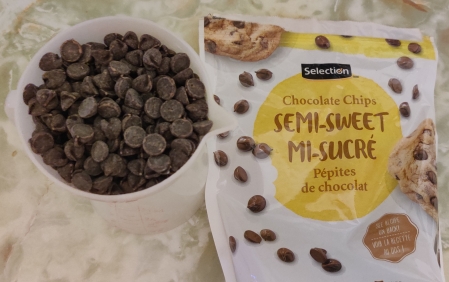
Two kinds of chocolate chips were taken out:
Two kinds of chocolate chips taken out
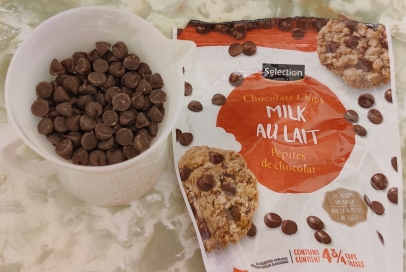
Half a cup of milk chocolate chips were measured out:
Half a cup of milk chocolate chips measured out
… and half a cup of semi-sweet chocolate chips were measured out:
Half a cup of semi-sweet chocolate chips measured out
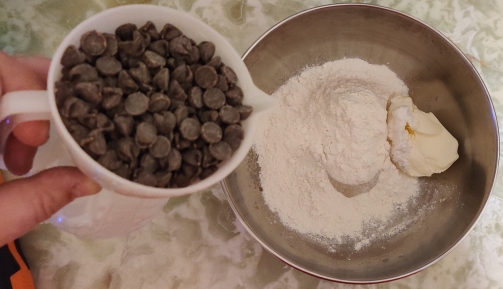
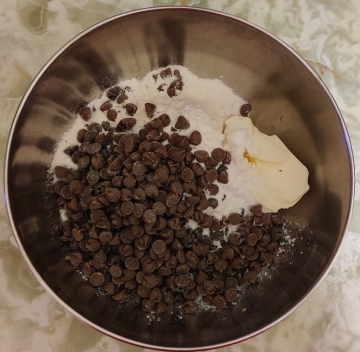
The chocolate chips were added to the mixing bowl with the other ingredients:
Chocolate chips added to mixing bowl
Chocolate chips added to mixing bowl
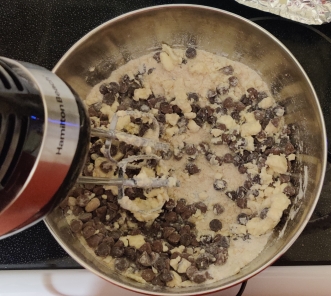
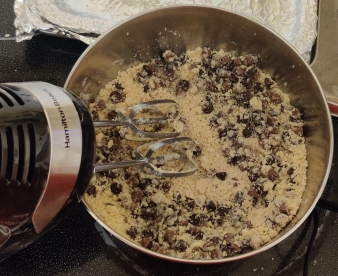
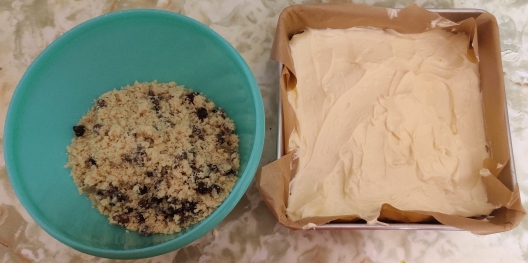
A hand held electric mixer was taken out and the ingredients mixed to make a powdery dough:
Ingredients mixed with electric mixer
Ingredients mixed with electric mixer
The cookie dough was transferred to another bowl and put aside:
Cookie dough transferred to another bowl
Cookie dough transferred to another bowl and put aside
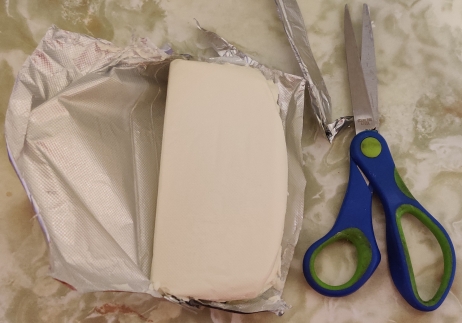
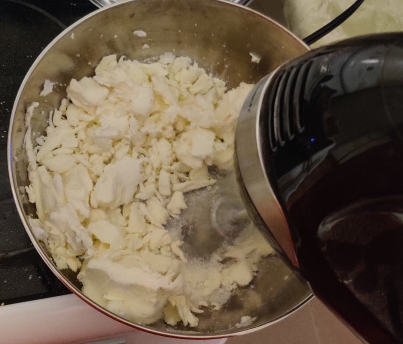
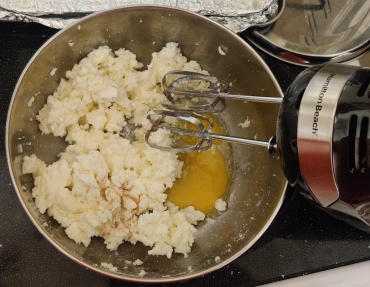
The package of cream cheese placed on the counter earlier to warm up to room temperature was taken out and opened with a pair of scissors:
Package of cream cheese opened
Package of cream cheese opened
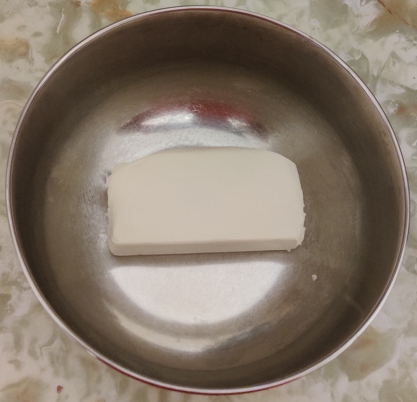
The cream cheese was transferred to the mixing bowl, the latter of which again was washed in between mixing jobs.
Cream cheese placed in mixing bowl
The table sugar was taken out again and measured out:
Sugar measured out
The table sugar was transferred to the mixing bowl with the cream cheese:
Table sugar placed in mixing bowl
Table sugar placed in mixing bowl
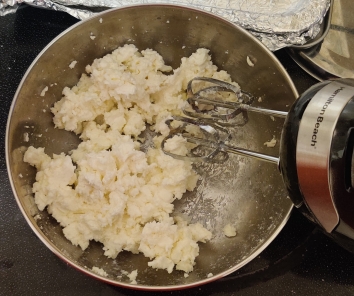
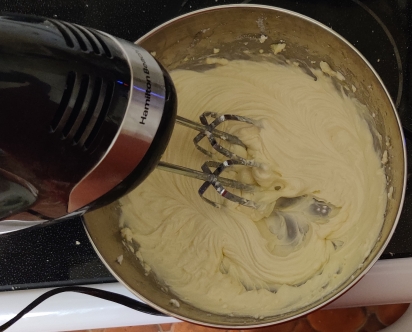
The electric mixer was taken out again to cream the cream cheese and table sugar together:
Creaming cream cheese and sugar
Creaming cream cheese and sugar
Creaming cream cheese and sugar
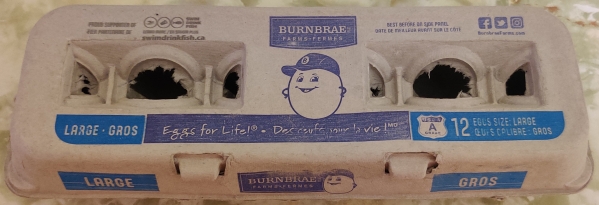
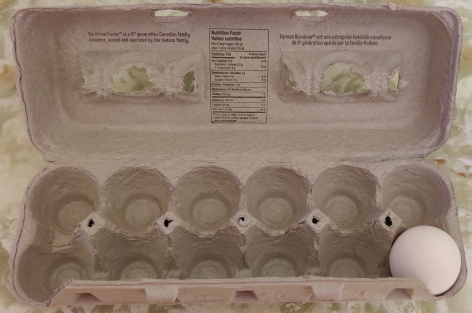
Eggs were taken out:
Eggs taken out
Last egg taken out
The egg was cracked into the bowl with the cream cheese and sugar:
Egg cracked in bowl with cream cheese and sugar
Egg cracked in bowl with cream cheese and sugar
Vanilla extract was taken out again:
Vanilla extract taken out
The vanilla extract was measured out and was added to the bowl with the cream cheese, sugar, and egg:
Vanilla extract added to bowl
Vanilla extract added to bowl
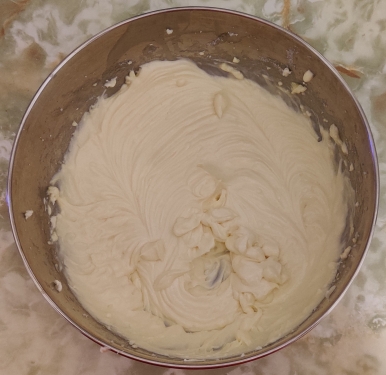
The egg and vanilla extract were mixed into the cream cheese and sugar:
Egg and vanilla extract mixed into cream cheese and sugar
Egg and vanilla extract mixed into cream cheese and sugar
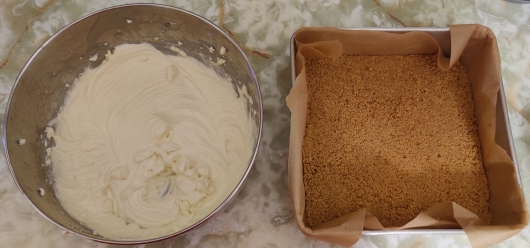
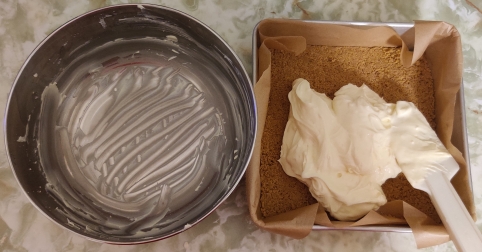
The now-cooled graham cracker crumb base was taken out:
Cooled graham cracker crumb base taken out
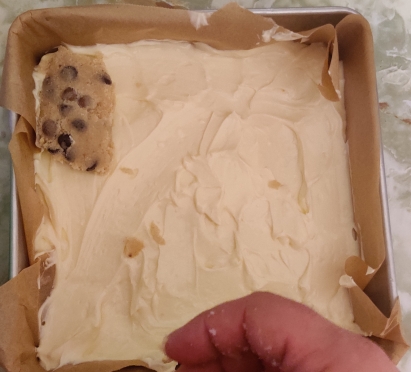
The cream cheese mix was transferred on top of the graham cracker crumb crust:
Cream cheese mix transferred to base
The cream cheese mix was spread evenly over the graham cracker crumb crust:
Cream cheese mix spread evenly over base
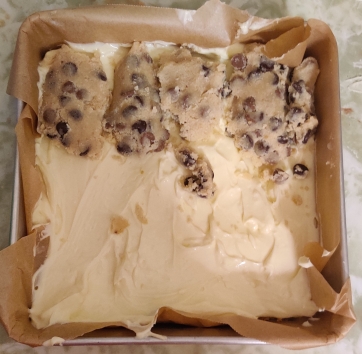
The chocolate chip cookie dough was taken out:
Cookie dough taken out
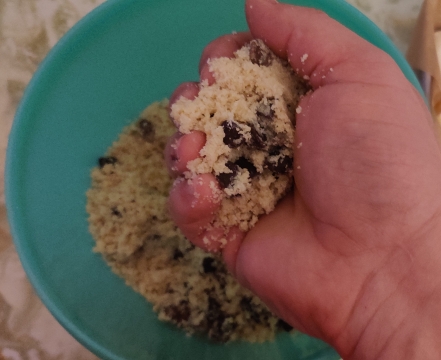
A bit of the cookie dough was picked up in my hand …
Cookie dough picked up
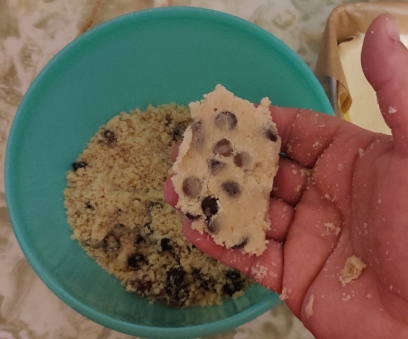
… and the ball of dough was flattened between my two hands:
Cookie dough flattened
The flattened cookie dough was placed on top of the cream cheese mix:
Flattened cookie dough placed on top of cream cheese mix
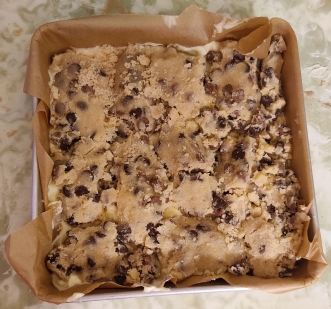
… and repeated with more cookie dough:
Flattened cookie dough pieces placed on top of cream cheese mix
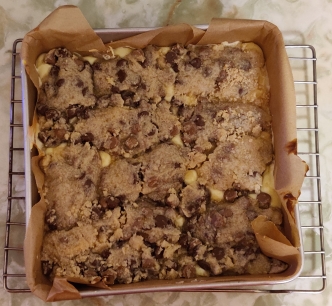
… until all the cookie dough was used and the whole surface of the cream cheese mix was covered:
In this post, the installation of a version of Linux, in this case Fedora Linux, will be demonstrated. The USB key created as a result of the previous chapter, as well as the computer on which you will be installing Linux, will be needed. Note: As per previous recommendations, you should perform the install on a computer that does not have any other active OS installation or data; should you be recycling one of your older computers, back up any data that may be present.
The computer should be physically set up and plugged in, with the various parts connected to each other should it not be a laptop computer, and connected to the internet via an ethernet cable, or later on or as prompted, connected by wifi (not covered in this post.)
Note that some of the following screenshots may have been created somewhat out of order as compared to the narrative.
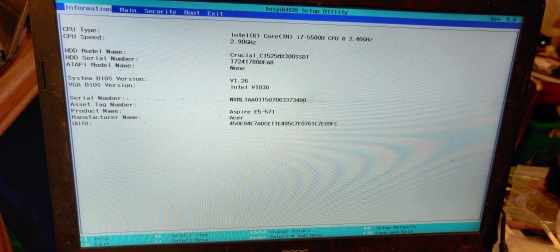
Once the USB key is plugged into the computer and the computer turned on, you should immediately go into the BIOS (often F2 or F12 at boot up):
The BIOS screen on one of my laptops
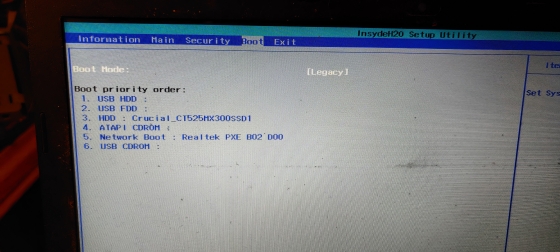
… and adjust the boot order to allow for booting from USB first:
Boot menu setting giving priority USB hard drives and floppy drives
Depending on the age of the computer you use and whether it predates UEFI, you may choose to boot under either régime. If the computer is UEFI enabled, you should install Linux under UEFI, although as explained below, a BIOS setup will be available; should the computer not be UEFI enabled, the point is moot and you will have to install under BIOS, which will be eminently adequate. (Ironically, the laptop shown above is UEFI enabled, but is set up under BIOS mode; since I purchased it new in 2015, I have never been able to properly install a Fedora image on it under UEFI that is functional, hence the unit being set up under “Legacy” — meaning “old fashioned” BIOS.)
Once exiting the BIOS screen, you will see the following screen:
Grub screen offering three options
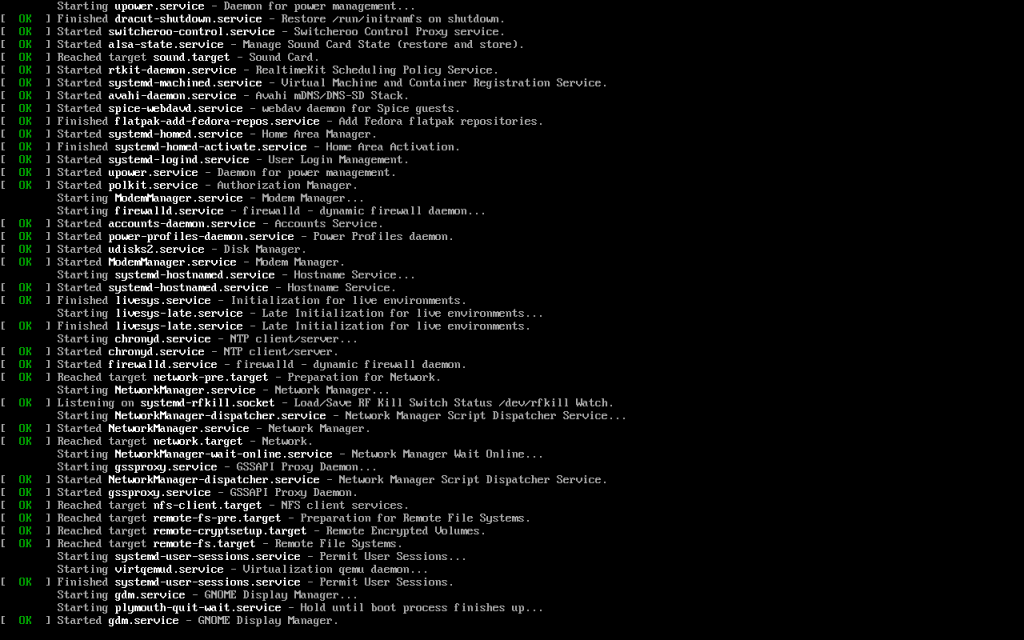
Choose the “Start Fedora-Workstation-Live” option using the up and down keys. You will then see a screen similar to the following:
Live USB booting up
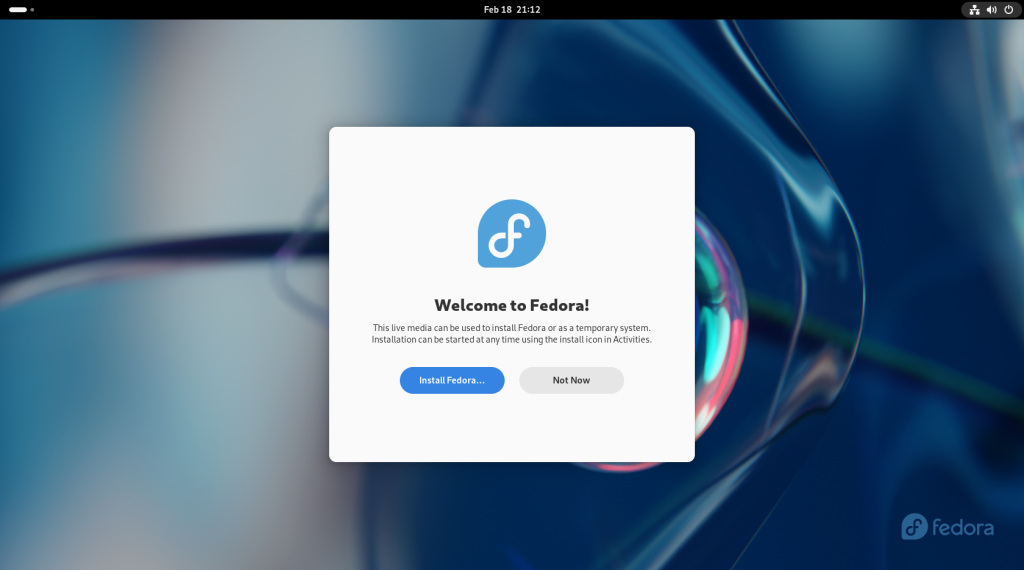
Once the computer has booted up, a welcome screen will appear:
Welcome screen
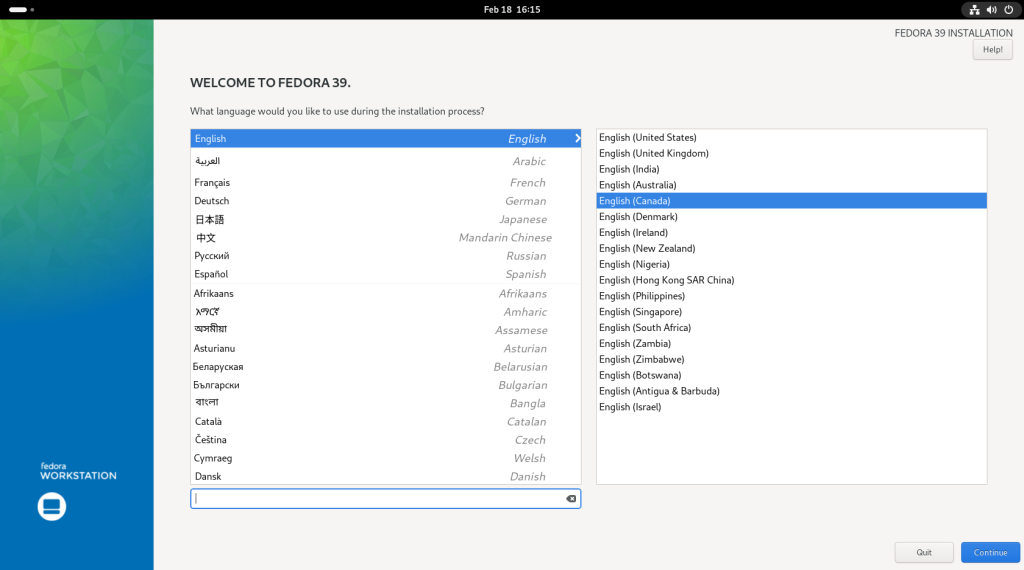
Choose the option to “Install Fedora …”, which will bring you to the following screen in Fedora’s installation utility named Anaconda, and will ask you to choose which language and which regional variant, as per the case, to use during the installation process:
Anaconda screen, with English chosen and Canadian English variant chosen
Once the language has been chosen, click on “Continue”.
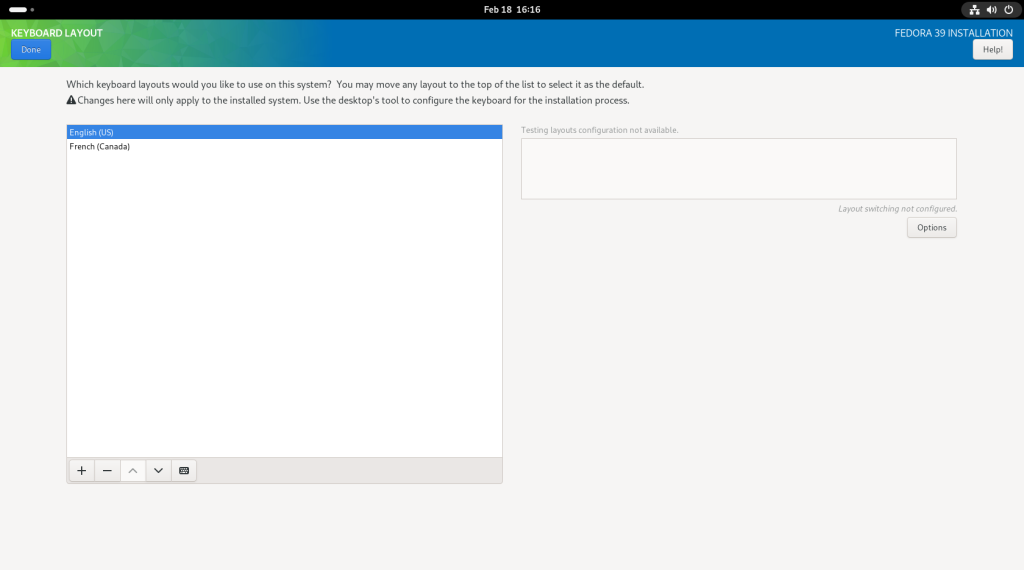
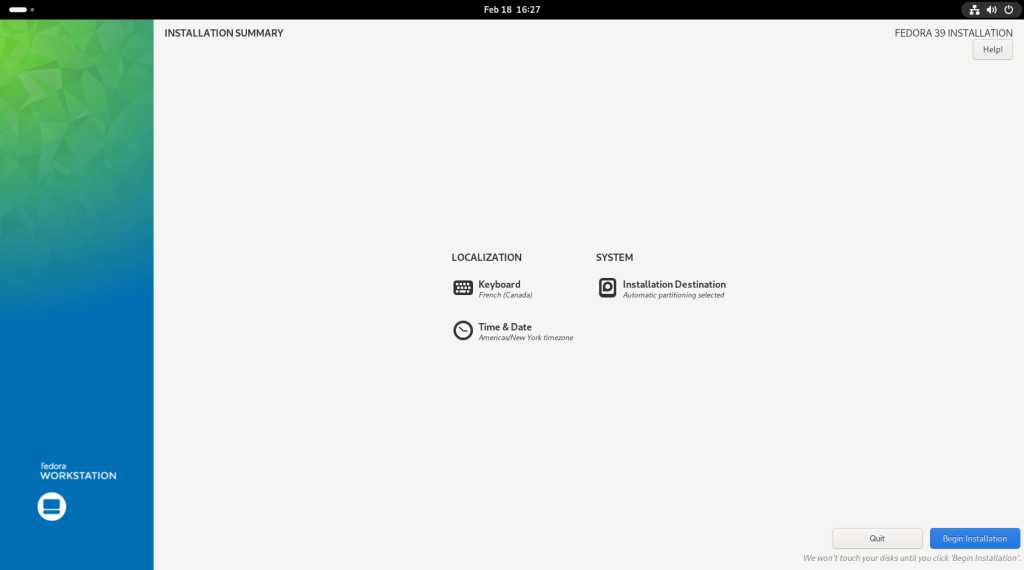
The following screen will be for the choice of the keyboard layout. The plus “+” button at the lower left corner of the left box was clicked, and a window popped up. In this case, I have chosen a French Canadian keyboard layout for reasons beyond the scope of this post; you should choose the layout that suits you.
Keyboard layout chosen
You may continue to add keyboard layouts, should you choose to do so or have multiple users of the machine with multiple preferences, by clicking again on the plus “+” sign.
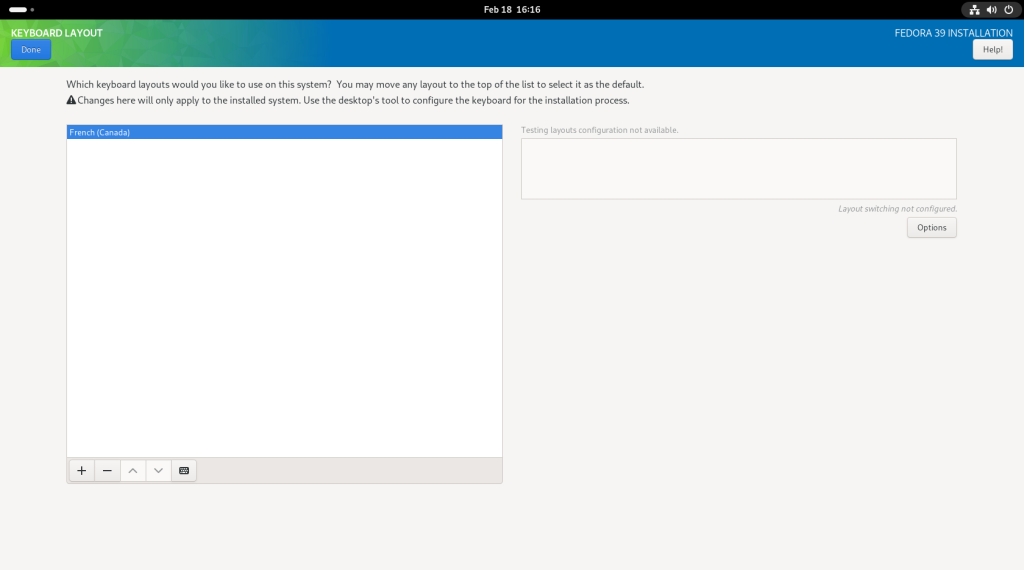
In this case, again for purposes beyond the scope of this post, I removed the “English (US)” keyboard layout by clicking on the minus sign “-” on the lower left corner of the left box, once the “English (US)” option was highlighted:
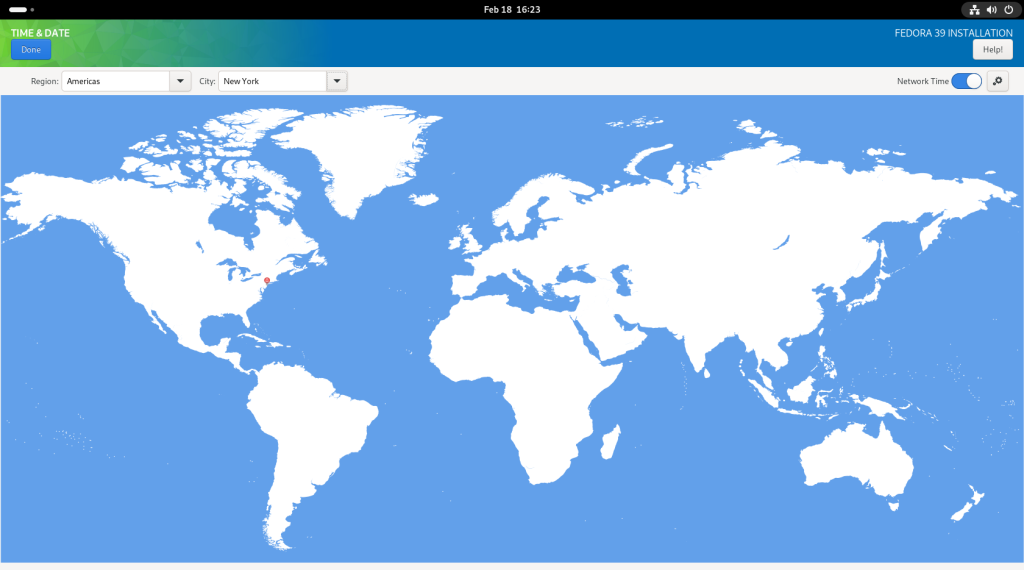
Next, the timezone was chosen, in this case, that for New York City, which is the same as for where I live:
Timezone chosen
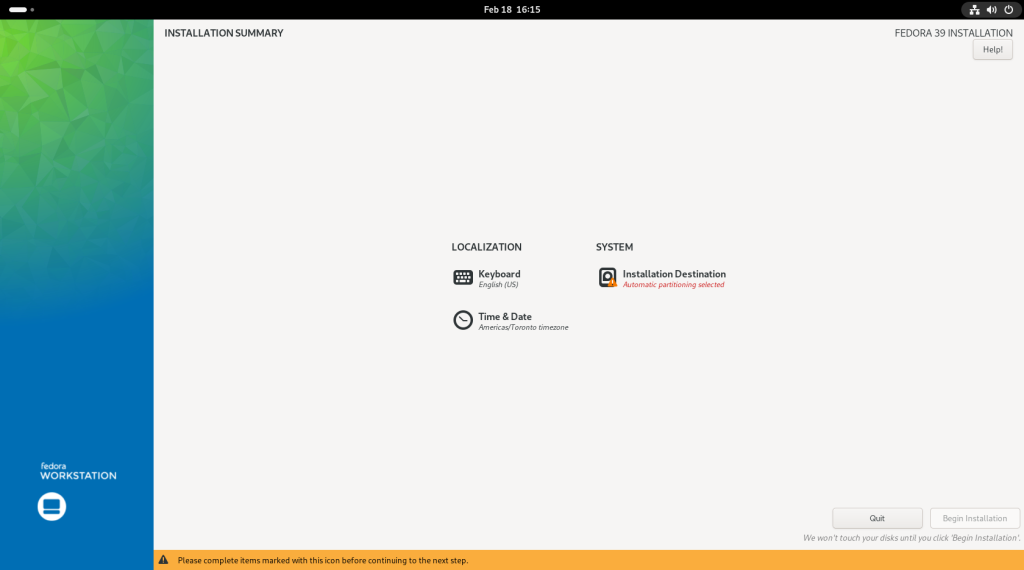
The next thing to arrange is where to install on the hard drive, by clicking on “Installation Destination”:
Choose “Installation Destination”
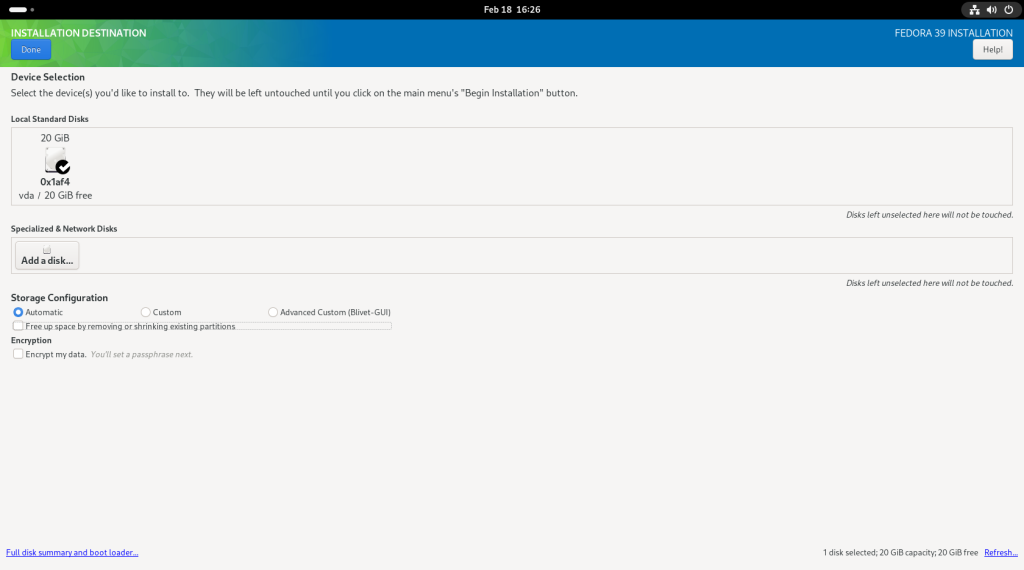
This screen will show details about your hard drive. Note that despite having previously recommended a minimum of 40GB, a 20GB only drive is in place since my screenshots are using a virtual machine, whose setup started with 20GB drives:
Hard drive details
Be certain to reclaim all space by clicking on “Full disk settings and boot loader …”
Click on “Full disk settings and boot loader …”
… Which should confirm that you will be using the whole disk:
Use of all disk space
After closing that screen, back at the main screen, click on “Begin Installation”:
Click on “Begin Installation”
At this point, the installation will begin:
Installation beginning
Basic installation complete
Boot Loader installation
Generating initramfs
Scripts being run
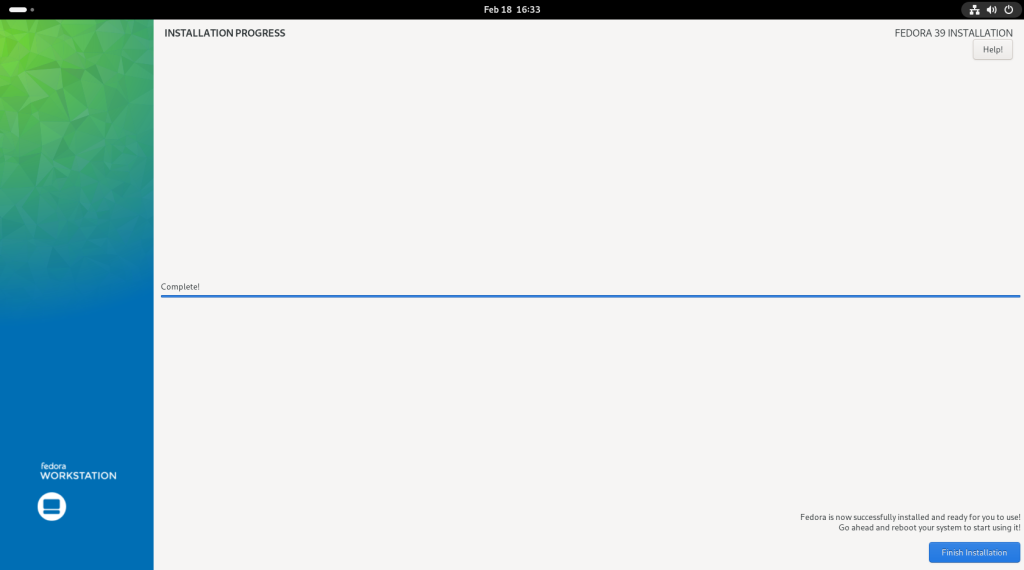
Click on “Finish Installation”
At this point, the installation is complete, and you should click on “Finish Installation”:
Anaconda will close and return to the main screen:
Return to main screen
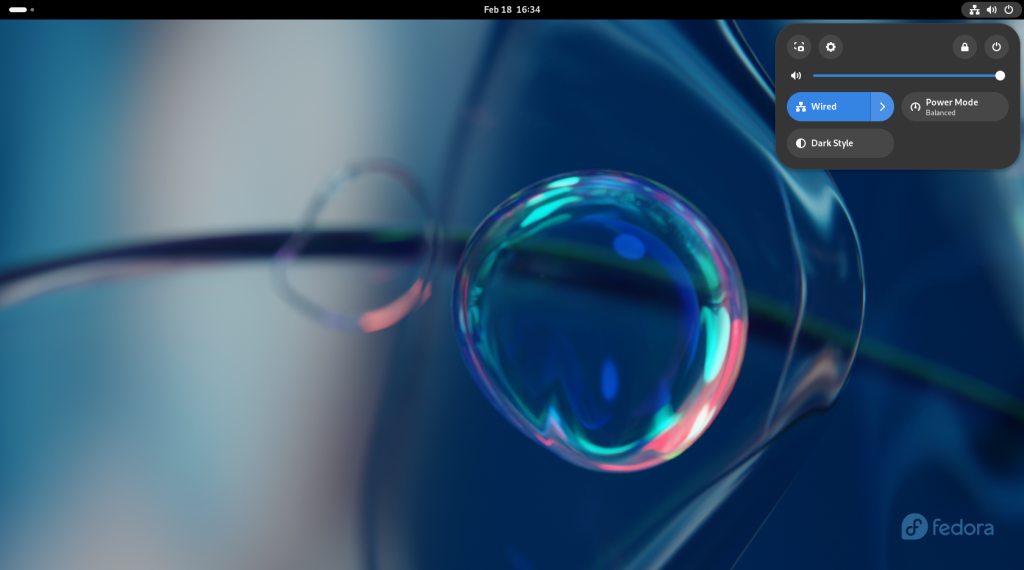
Click on the power button in the upper right hand corner, which will open a little window:
Settings options opened
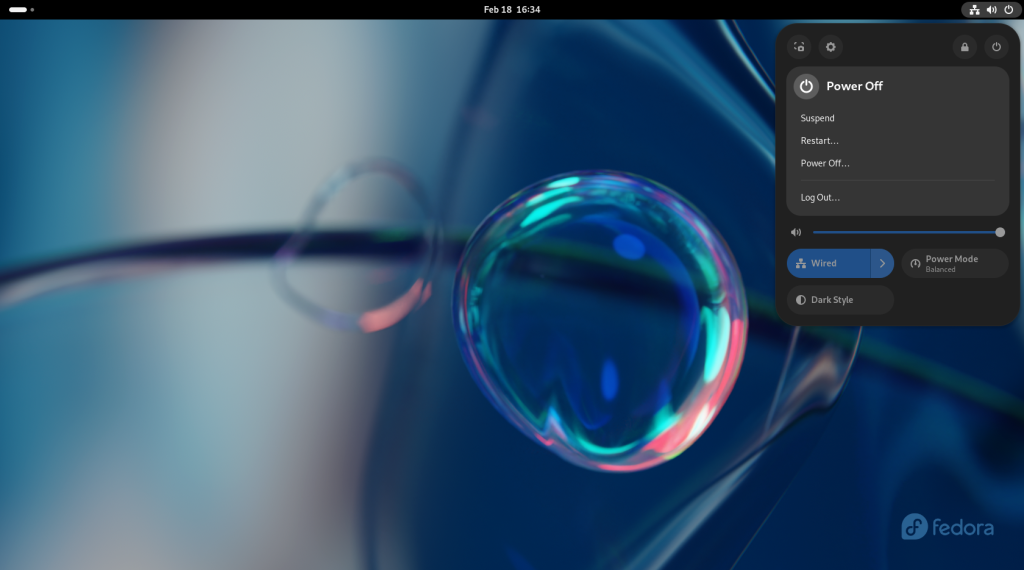
Choose the power options by clicking on the second power button to the right to the right of the lock symbol, opening up power options:
Power options opened
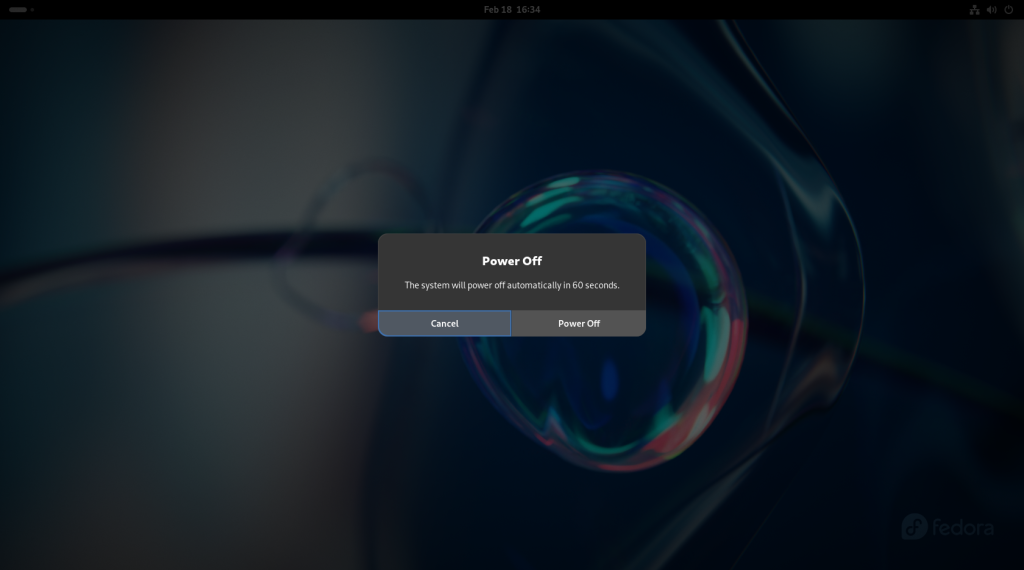
You will be asked whether to power off the machine; click on “Power Off”.
Click on “Power Off”
Your computer will shut down:
Computer shutting down
… and reboot:
Computer rebooting
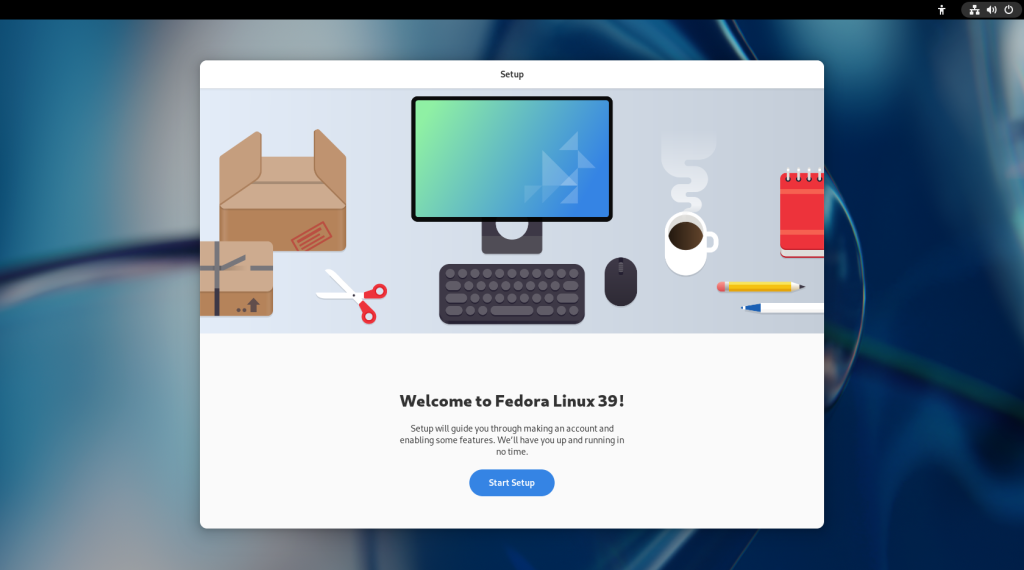
Which will bring you to a “first time” welcome screen, where you should click on “Start Setup”:
Initial welcome screen
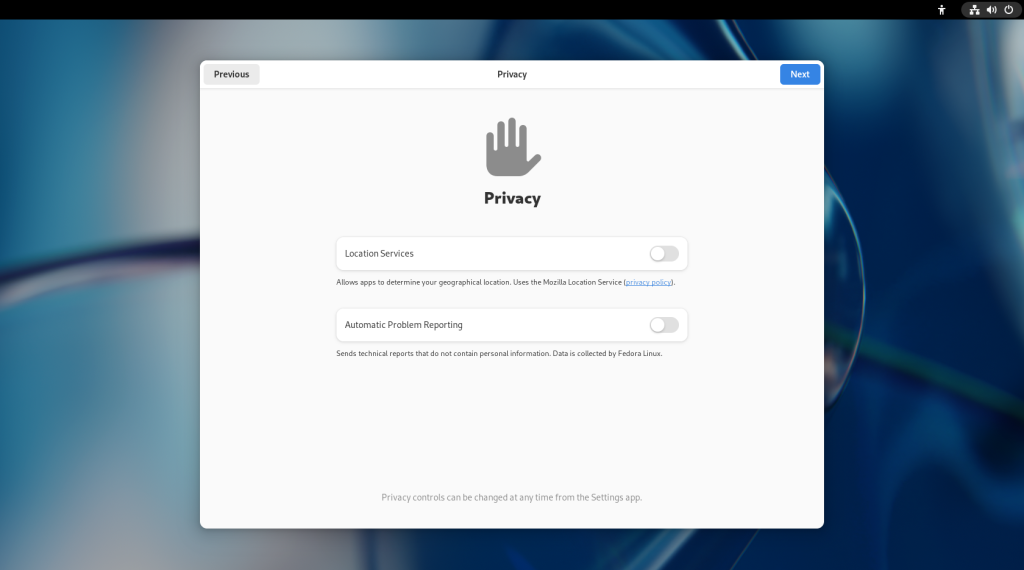
Choose whether to allow Location Services, and Automatic Problem Reporting:
Privacy settings
Settings turned off
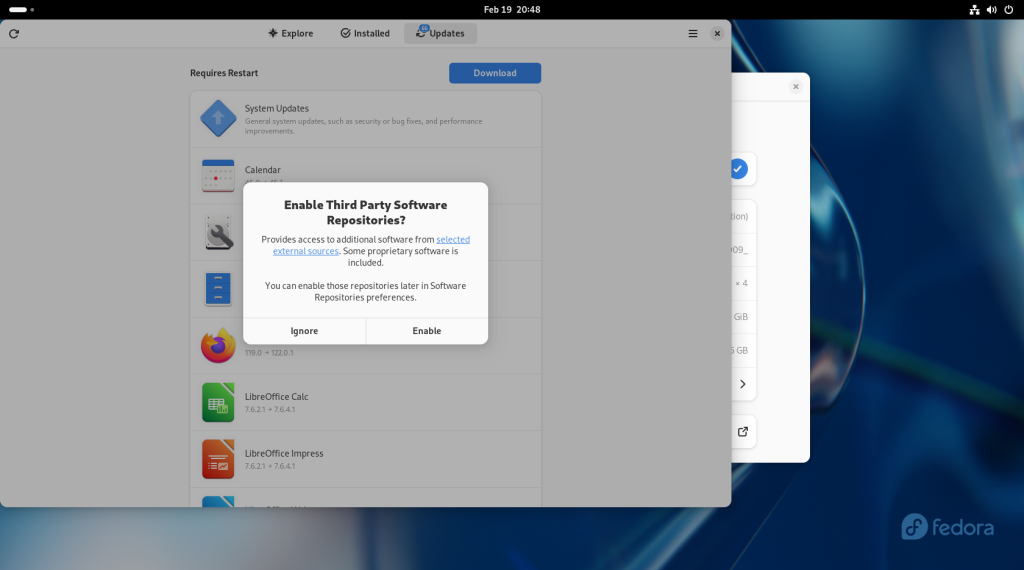
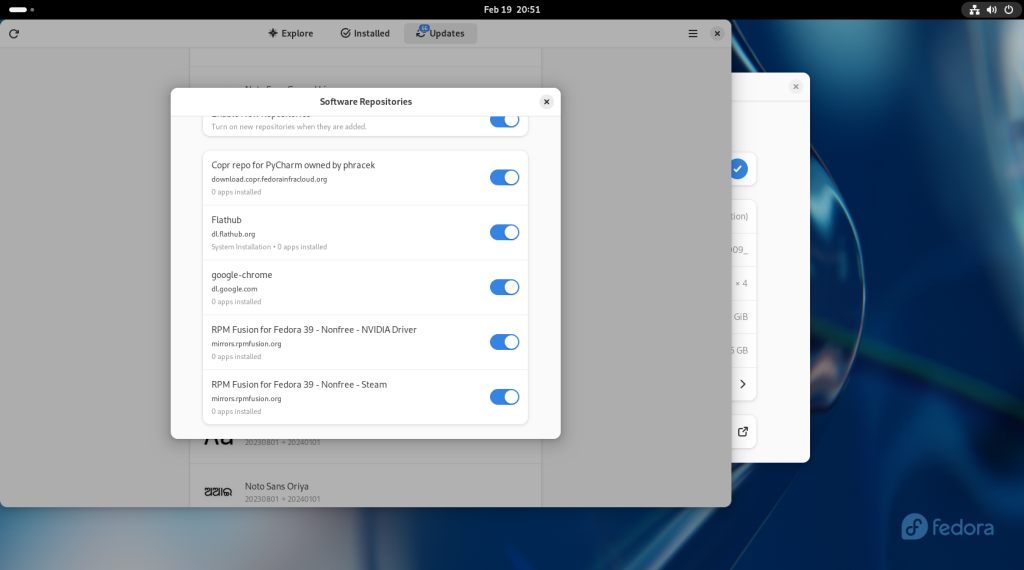
The following screen will allow you to enable Third-Party Repositories — extra “software stores” — beyond those of Fedora itself, which I recommend be enabled:
Enabling Third Party Repositories
The following screen will allow you to Connect to Your Online Accounts:
Connecting to online accounts
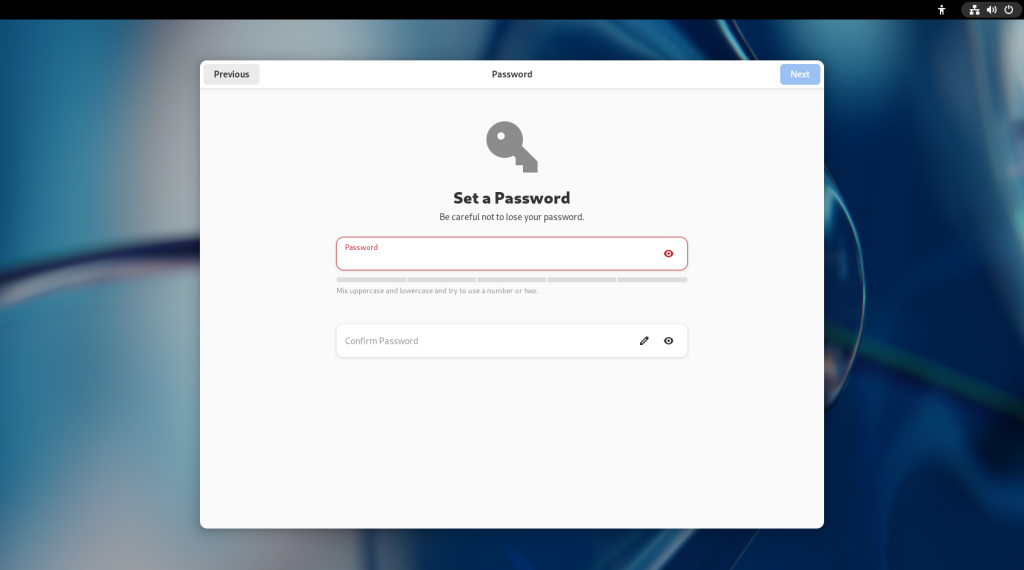
The following screen will ask you to set a password, which should be long enough to be secure (there will be an indicator line), and which will be important to remember:
Setting a password
… and enter the password again to confirm you haven’t made a typo:
Setting a password
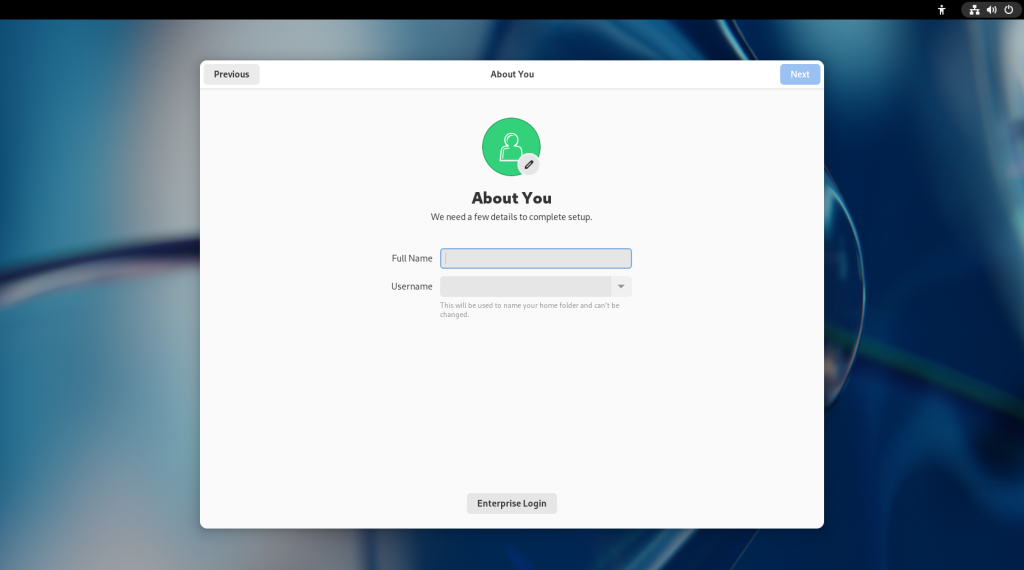
The following screen will ask you to enter your name and a username:
Entering a name and username
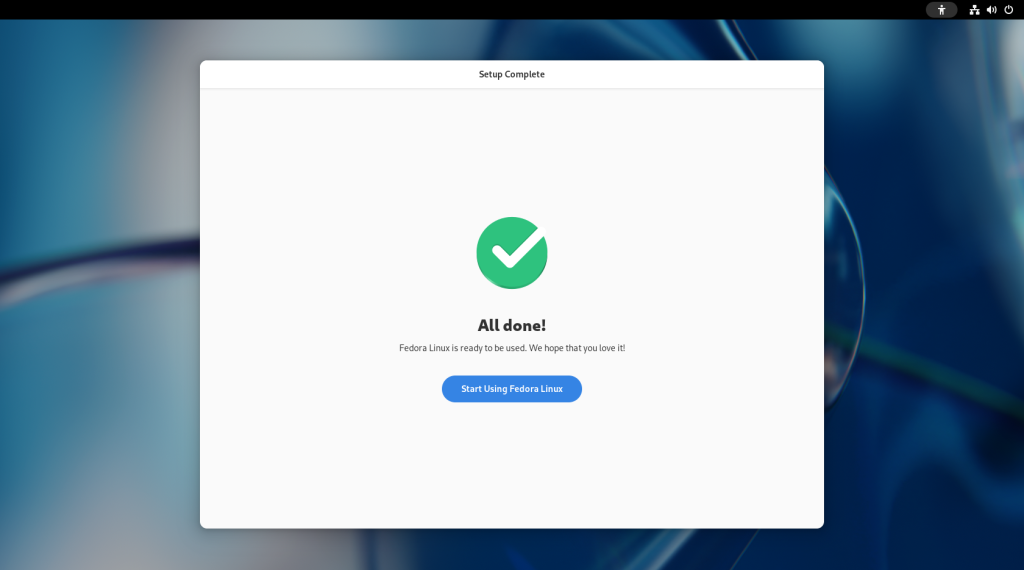
Once you have entered a name and username, the basic setup will be complete:
Basic setup complete
After clicking on “Start Using Fedora Linux”, the computer will offer a guded tour of the Gnome Desktop, which you may do if you wish, otherwise click on “No Thanks”:
Guided tour offered
The activities screen will come up at this point, offering you a dock at the bottom of the screen, as well as a search bar for other installed software:
Activities screen
But wait folks … there’s still plenty more to do! 😃
Click on the upper right hand corner to access the settings, and click on the round gear like button second from the left in the little window that will open:
Click on the upper right hand corner then the gear button
Which will open up the Settings menu:
Settings menu
Scroll down to the “Privacy” menu, and adjust the settings to options to your liking, or choose to keep the defaults:
Choose the Privacy menu
Next, scroll down to the bottom to the “About” menu:
Go to the About menu
The first line will be titled “Device Name” and by default will list the word “fedora”; you should choose a name for your computer that will distinguish it from other computers. It can be as simple as “MyComputer” or “LivingRoom”, or be more fanciful, or according to a personalized system. Warning: Do not choose an offensive name or word, since it may show up in odd places that may prove embarrassing, nor should you use a family member’s name or a pet’s name, since in the future you may end up using colloquial terms in reference to your computer paired with said name which may be very confusing or upsetting to those who may not understand the context.
Computer named
Close the settings menu by clicking on the “x” in the window’s upper right hand corner, and return to the activities screen by clicking on the bar in the upper left hand corner:
Return to Activities screen
Click on the “bag” on the dock at the bottom, a rectangle with two coloured circles and a triangle, to go to the Software Store (don’t worry, you won’t need any money.)
Software Store opened
Click on the “hamburger” menu (the three lines that look like a hamburger or a stack of pancakes), which will give a little menu:
Click on the hamburger menu
Click on the “Preferences” option:
Preferences menu
I recommend that you activate Automatic Updates, as well as allowing Automatic Update Notifications.
Next, click on the hamburger menu again, and choose the “Software Repositories” option:
Choose the “Software Repositories” option in the hamburger pull down menu
To modify the options in this menu, you will need to enter your password, which you created earlier:
Enter password
You will be asked whether you wish to enable third party software repositories; click on “Enable”.
Enabling third party software repositories
The default repositories will be enabled already; some others will not be. I recommend that the following repositories be enabled: Apps (Flatpak), openh.264, x86_64 …
… Firmware (fwupd) (if you are using UEFI), Enable New Repositories …
… Copr repo for PyCharm, Flathub, google chrome, RPM Fusion for Fedora 39 Non-Free — NVIDIA Driver (even if the computer doesn’t have an NVIDIA card) …
… and RPM Fusion for Fedora 39 Non-Free — Steam.
Click on the “x” button. At this point, click on the “Updates” tab up top, and click on the “Download” button.
The computer will determine which updates will be needed …
… and the computer will ask you for your password again:
Enter password
Enter password
The updates will be downloaded:
Updates downloading
… and then the updates will be listed:
Updates listed
Updates listed
Click on the Restart & Update button:
Click on Restart & Update
Click on “Restart & Install”:
Click on Restart & Install
The computer will shut down:
… and begin to reboot:
The updates will begin installing:
Updates installing
Updates installing
Updates installing
Updates installing
When the updates are complete, the system will reboot automatically:
Computer rebooting
You will now see a sign-in page with your username. You should click on your username.
Sign in page
… At which point, the computer will ask you for your password:
Enter password
… And finally, the Activities page will come up again.
Your computer has now been properly set up for operation.
Next Chapter
Chapter 5 will show some customizations of the Gnome desktop and basic file transfers.
In this post, acquiring a computer on which to install Linux, as well as downloading and writing a Linux distribution on a USB stick, will be shown. Fedora Desktop Edition will be used as an example, although at this point, setting up the installation USB stick can be done with any other distribution — which is most of the common ones — that allows for such an installation.
(Note for future reference, graphical installation with other distributions will be similar, but each may have some nuances and differences between them.)
Hardware — the computer on which Linux is to be installed
First, I recommend that as a newcomer, whichever linux you decide to install, that you decide to do the installation on a separate computer, such as an old computer, on its own. By doing this, you will not reduce space on the hard drive / SSD on which your current OS is installed, especially in taking account the space for data you may to transfer over to the Linux system, nor will you have to deal with the intricacies and occasional perils of dual booting or data loss on your current computer setup, nor will you have deal with the myriad and occasionally confusing issues that may surround virtualisation. Finally, by having a separate computer to “play” with, you will be able to start over again in the event that something goes wrong, or if you decide that you’d like to try a different Linux distribution.
The current (2024) webserver for www.malak.ca
The above photo is taken from a page from a recent (February 2024) presentation the author made about their web server, which hosts https://www.malak.ca (the website hosting this blog), using an old computer with a BIOS creation date of 2008.
Acquiring a computer:
“Old” computers are not unusually difficult to acquire; you may already possess one in storage.
Use an old computer you may be wishing to replace, or already be in the process of replacing, or even a several years-disused computer of which you may not yet have disposed;
Buy, or barter for, a used computer from family or friends;
Buy a used computer from a local computer repair person, who may have a storefront and may sell refurbished computers;
Speak with your employer; depending on their policies, they may be willing to sell you older equipment of which they would like to divest themself(ves);
Check reputable online markets;
Buy a new dedicated computer (only recommended once you become convinced of the cost/benefit regime).
Check the “minimum requirements” page of the distribution you choose; my current bare minimum specs are a Core 2 Duo 64bit processor, 4GB memory, 40GB hard drive (the current, as of late 2023, Fedora Workstation recommendation), and a spare USB 2.0 port (such as after other common USB peripherals you may be using, like a mouse and keyboard), in order to use the installation USB stick (which will be shown lower down in this post). (As desired or required, don’t forget to get a used screen.)
For the purposes of introduction to, and the exploration of, Linux, the old mechanical hard drive with such an old computer is likely adequate; however, SSD cards and extra memory will dramatically increase performance of older equipment. Further, as of posting, SSD cards in the 250GB range are typically very affordable to either add on later, or purchase for immediate use including installation of the system, while memory cards appropriate to the motherboard are usually readily available and inexpensively as per the above list regarding sourcing an old computer.
Downloading and creating a USB installation stick:
A USB stick is required for this step; Fedora’s installation image as of version 39 in late 2023 is approximately 2GB; hence a 4GB USB stick would be recommended going forward.
I am recommending the use of Fedora Media Writer to create the installation media, which can be run on Windows or Mac (as well as Linux, of course!) Should you choose another distribution, you can use a downloaded image from another distribution’s download page (see Desktop Linux: Unveiled Chapter 2: Common Linux Distributions for a few suggestions of other distributions; see below regarding choosing other Fedora desktops, or creating installation media of another distribution).
(Note that the following screenshots may have been created out of order, however are presented in the order required for the narrative.)
To get the Fedora Media Writer, visit https://getfedora.org (I start off using screenshots from Windows):
Click on the circle indicating the latest release (in the shot above, 39), which will bring you to the following screen.
On this screen, click on “Download Now”; don’t worry, you aren’t committing yet.
On the following page, click on the green download button for Fedora Media Writer, either for Windows or for Mac:
A licence agreement window will pop up. This is for the Gnu Public Licence version 2, the licence under which the Fedora Media Writer is licensed. Click on “I agree”.
The next screen will ask where to install Fedora Media Writer on your computer, and it will suggest a location to install it on your hard drive. Click “Install”:
Once Fedora Media Writer is installed, click on “Next”:
… and click on “Finish”:
Launch Fedora Media Writer:
You may be asked to allow the app to make changes to your device. Click “Yes”.
At this point, you can either choose to have the Fedora Media Writer download Fedora automatically, or, you can download a distribution of your choice, and ask Fedora Media Writer to use that distribution instead (the “Select .iso file” option):
Going with the “Download automatically” option above, which by default chooses a Fedora distribution, on the next page (below), choose “Official Editions”:
Should you wish to try another desktop instead of the standard Gnome Desktop in Fedora Workstation Edition, you can choose the “Spins” option above, which will list the following drop-down menu:
Under the choice taken, the next screen is the “Write Options” for the USB stick, which at this point should be inserted in a USB port. Choose the latest version of Fedora (in this case, 39), the hardware architecture, and the USB stick to which you wish to write the installation media:
Click “Write” in the above screen, and Fedora Media Writer will begin writing to the USB stick:
The screen will automatically change to indicate that the written data is being checked:
Once finished, you can click on “Finish”.
Should you wish to try out Fedora without installing it on your computer first, you can follow the instructions on the screen to restart the computer and try a live, temporary version of Fedora. This will not affect your hard drive in the least, unless you choose to install … which I am not recommending, since I am recommending that you install on a completely separate computer (see beginning section).
Next Chapter
Chapter 4 will show the installation of Fedora Workstation.