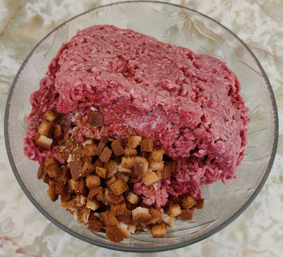
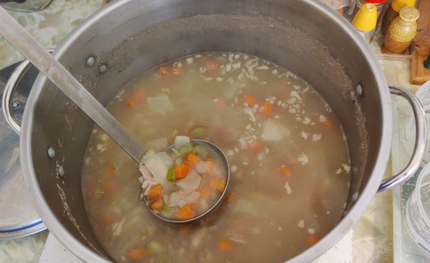
I made chicken pot pies (a family favourite) this past weekend, along with crisped rice squares, two batches of bran muffins for mom, and some cooked ground beef and onions frozen in ice cube trays in the freezer. The chicken pot pies I make are more chicken cottage pies than what most people consider to be chicken pot pies, because there is a potato topping instead of a flaky crust; additionally, the sauce in the filling is somewhat less liquid than most people would expect from a chicken pot pie.
This recipe was added to my collection of recipes in the mid to late 2000’s as another making-a-lot-in-advance freezer food project, based on a recipe I’d found on the internet and adjusted for amounts to make freezer quantities, and using commercial chicken broth instead of making my own.
Note that below, while there may appear to be a distinct sequence of steps to be taken, presented as such for the sake of the narrative, many steps were actually performed simultaneously and / or overlapping with each other as given steps were finished and new steps begun. Also, note that I was again cooking at the cottage, using water from containers, because the water system is turned off during the winter.
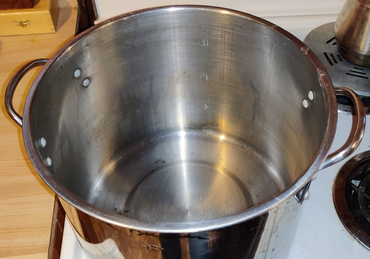
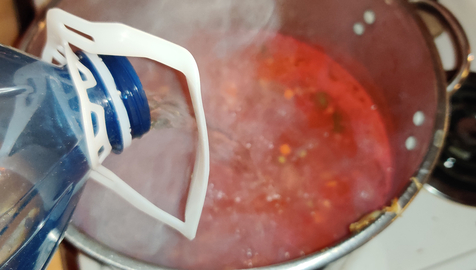
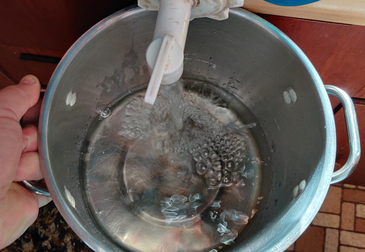
First, water was put in a large pot:
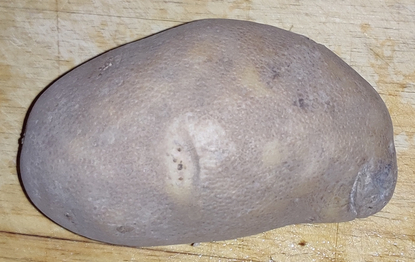
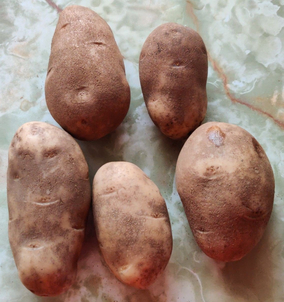
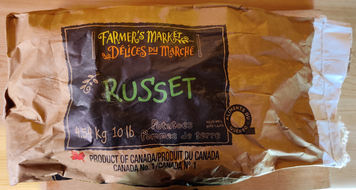
Then, ten pounds of potatoes were taken out …
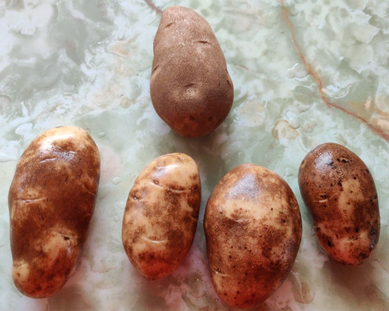
The potatoes were peeled …
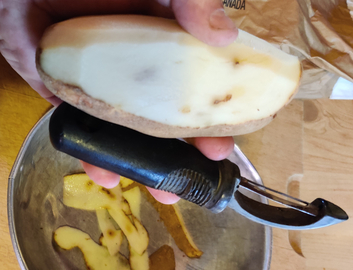
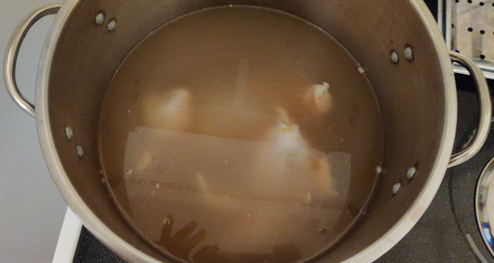
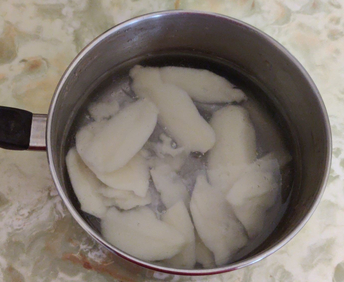
… and the peeled potatoes were placed in the pot with the water:
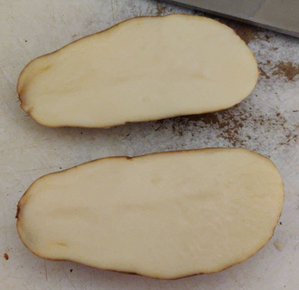
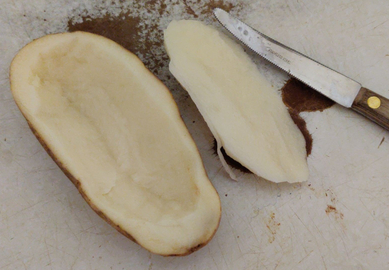
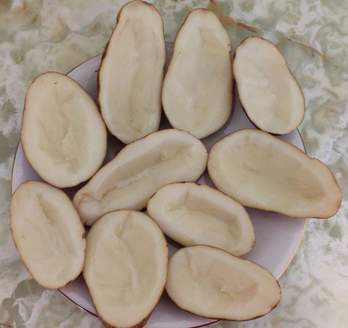
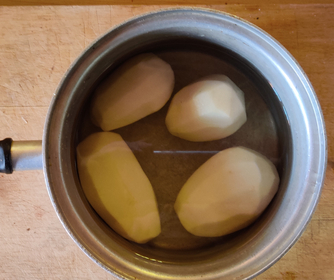
Four peeled potatoes were put aside for later use in the filling:
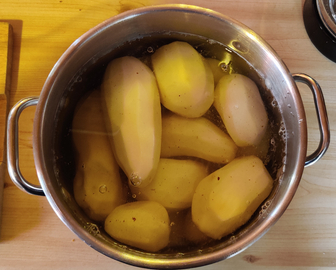
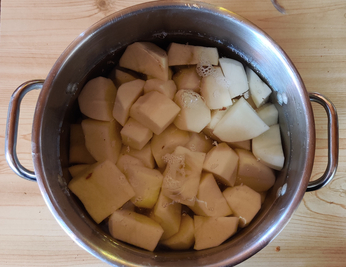
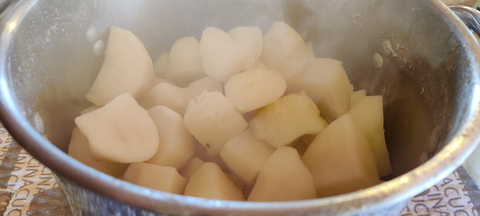
The rest of the potatoes were quartered …
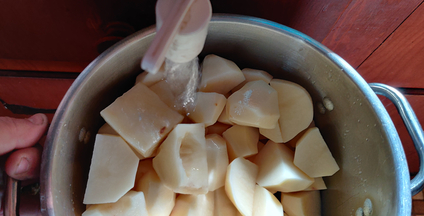
… and placed back in the pot of water:
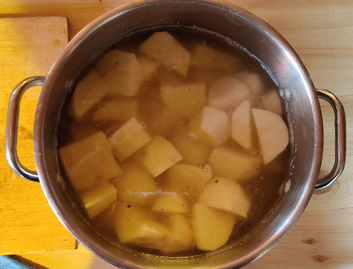
The water was drained from the pot, and fresh water was added to the pot, covering the potatoes:
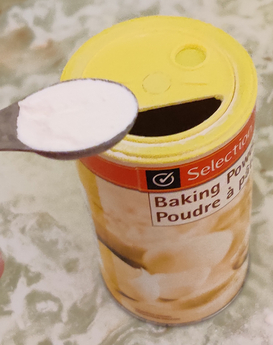
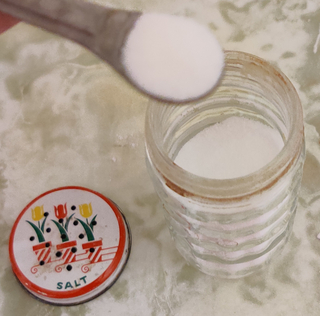
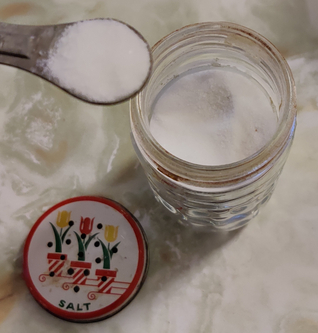
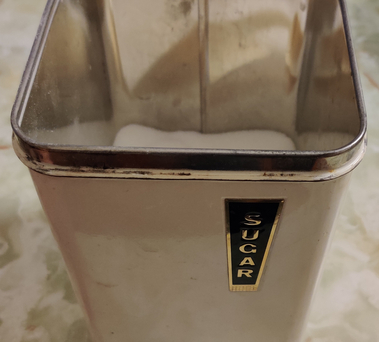
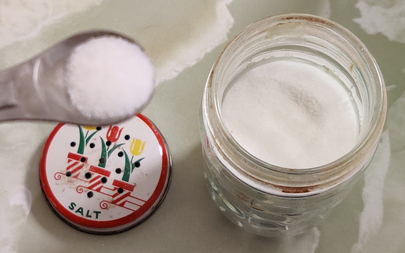
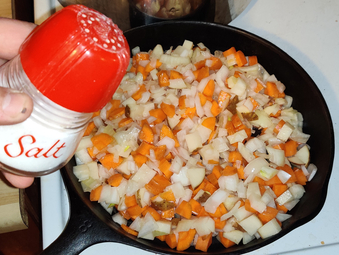
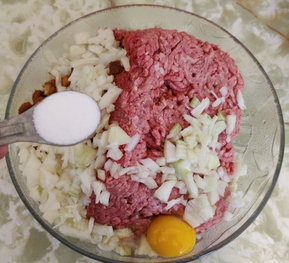
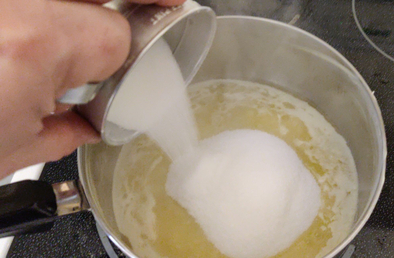
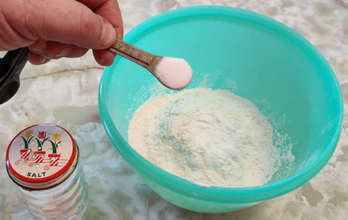
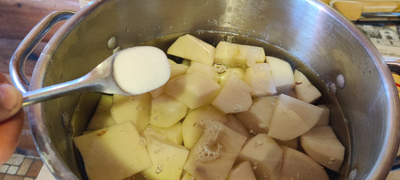
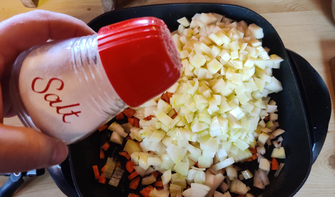
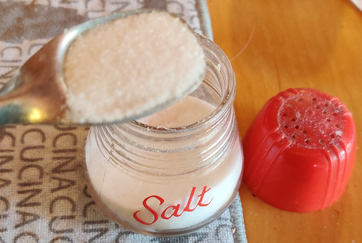
Salt was measured out:
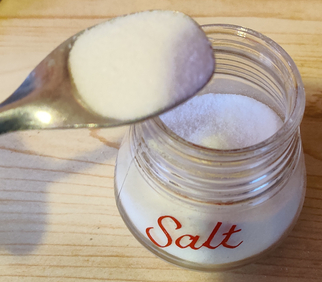
… and the salt was poured into the pot with the quartered potatoes:
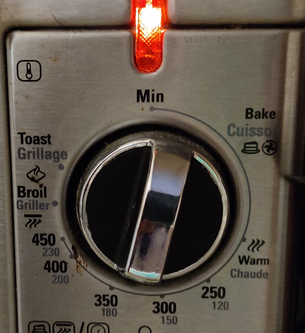
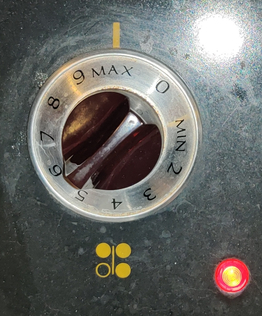
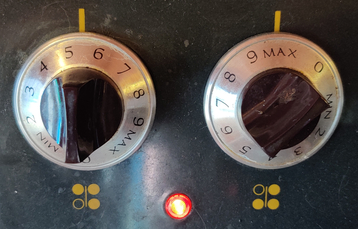
The stove was turned on for boiling the potatoes (rear burner), as well as frying the chicken breasts (front burner) (see next section):
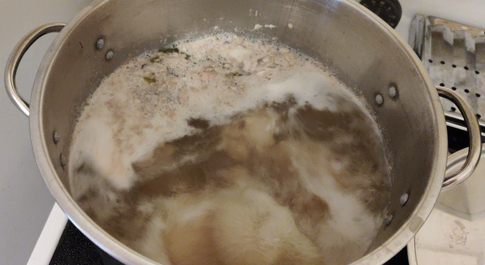
… and the potatoes were brought to a boil …
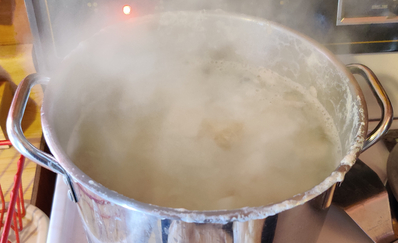
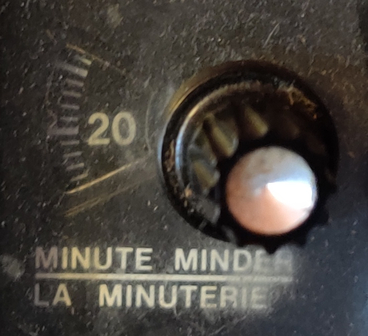
… and kept boiling for twenty (20) minutes:
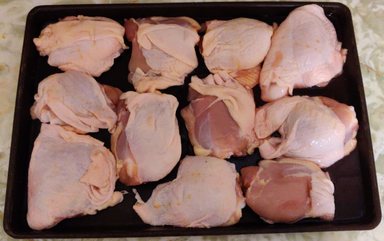
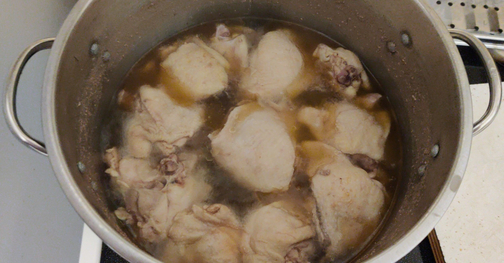
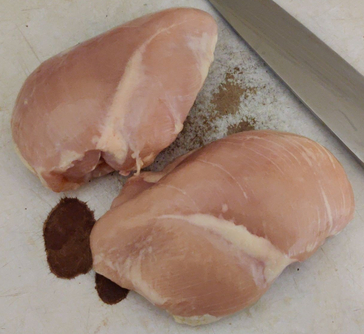
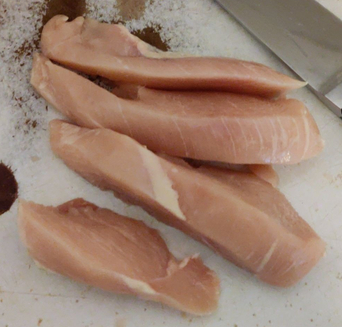
In the meantime, chicken breasts were taken out …

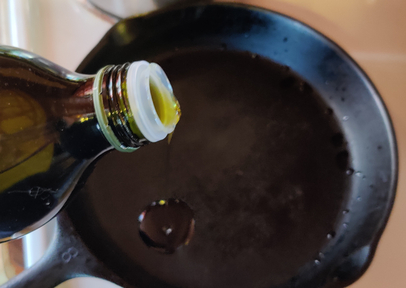
Olive oil was lightly poured into a cast iron skillet …
… salt was added to the cast iron skillet …
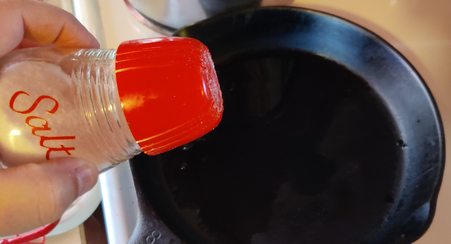
… and the chicken breasts were placed in the cast iron skillet and salted, to be slowly pan fried:

While the chicken breasts were cooking, occasionally being turned over several times in order to avoid burning on the outside while leaving the centres under-cooked, vegetables were prepared.
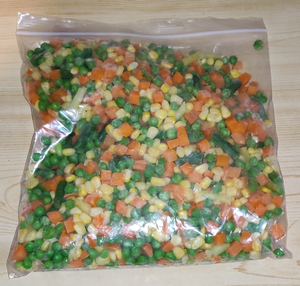
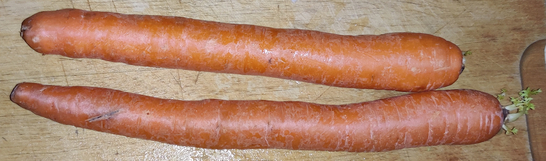
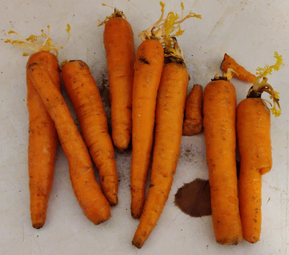
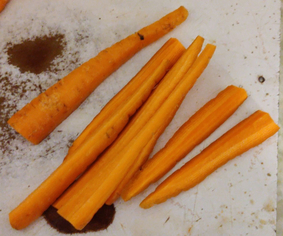
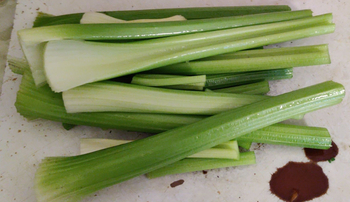
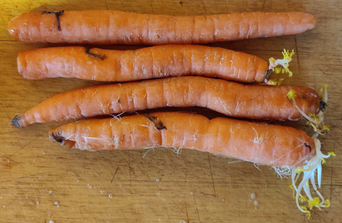
Carrots were taken out:
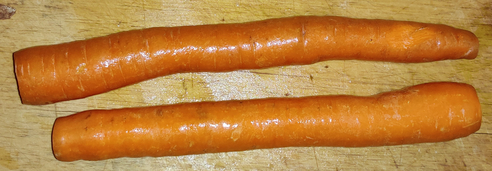
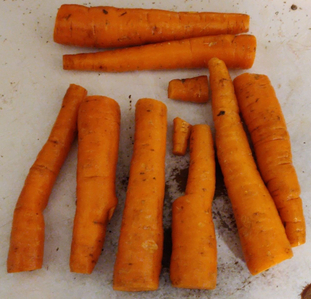
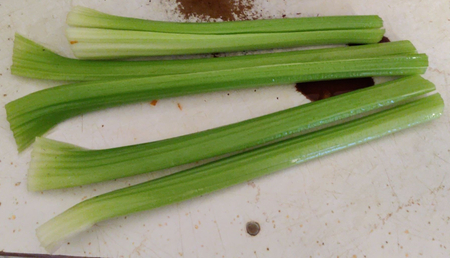
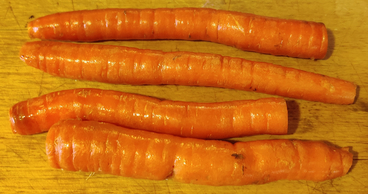
The carrots were cleaned and trimmed:
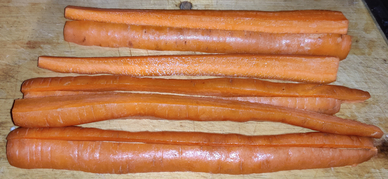
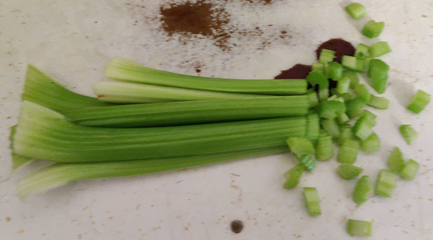
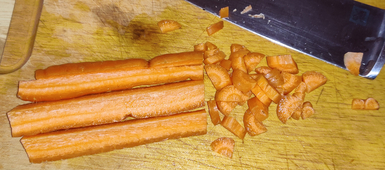
The carrots were then cut along their length twice, quartering them and creating spears:

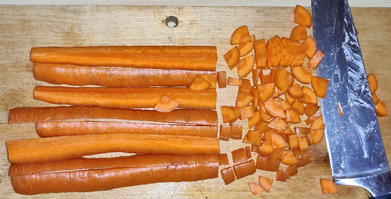
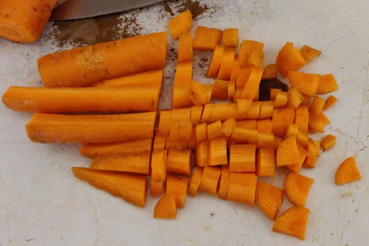
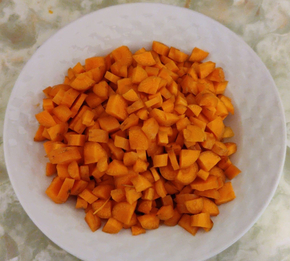
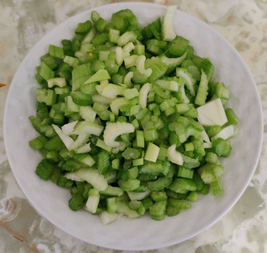
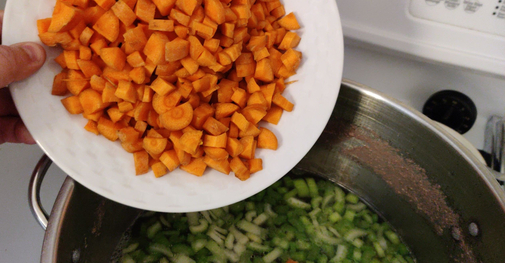
The carrots were then chopped coarsely:
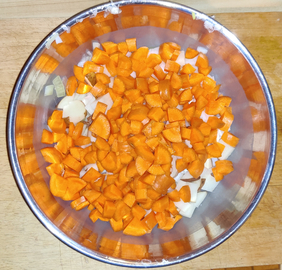
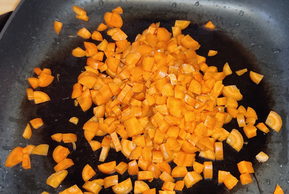
… and finally, the chopped carrots were placed in an electric skillet, and put aside:
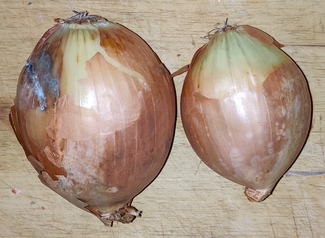
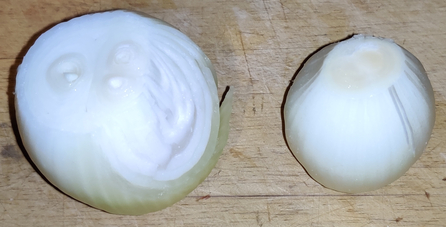
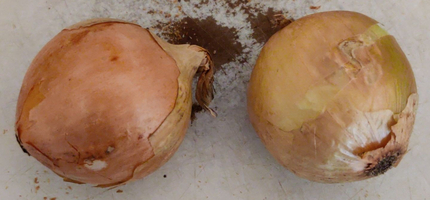
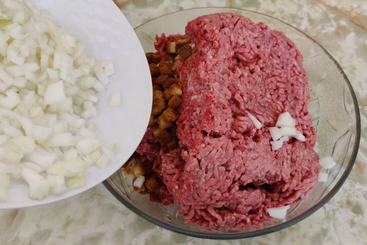
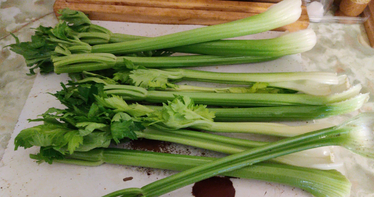
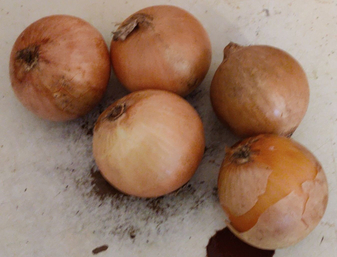
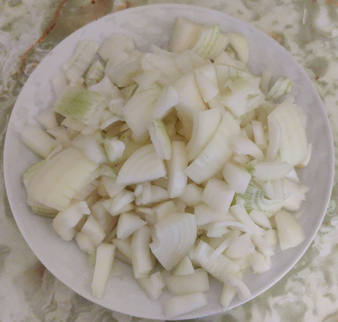
Onions were taken out:
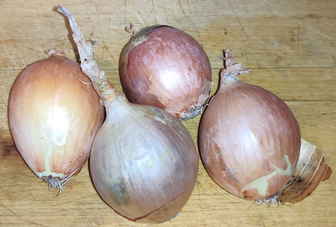
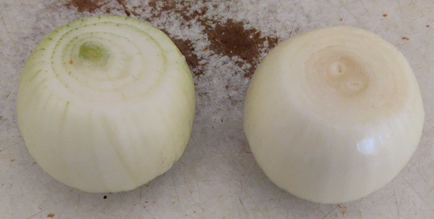
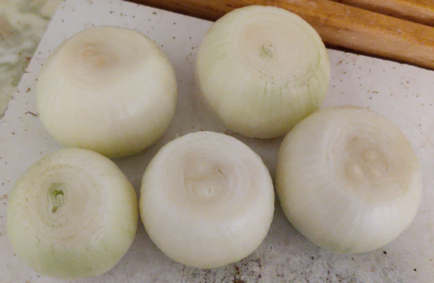
The onions were cleaned and trimmed:
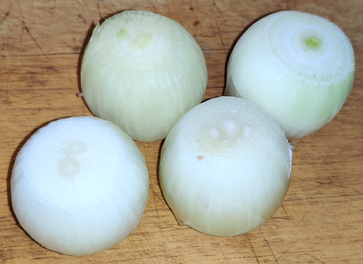
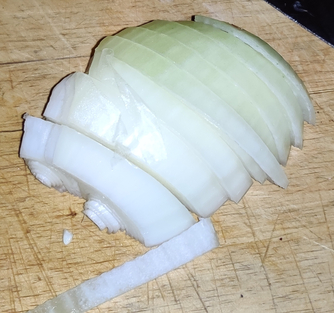
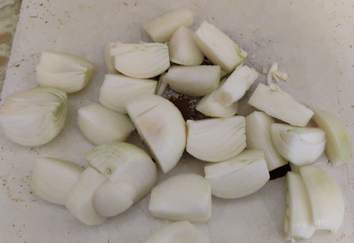
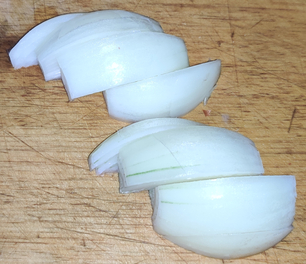
The onions were roughly quartered:
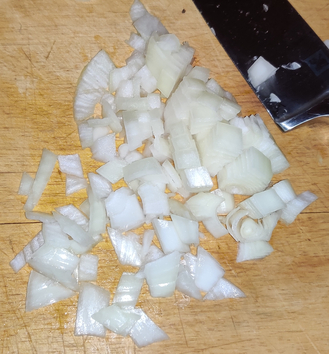
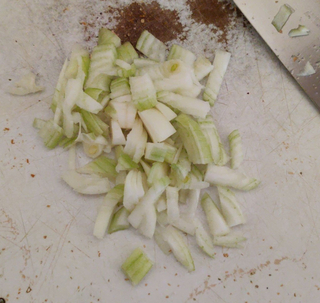
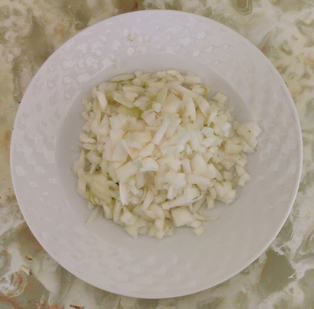
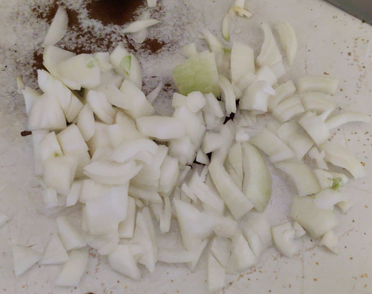
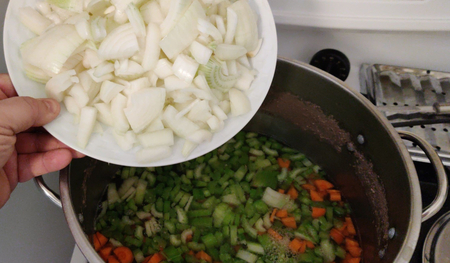
… and then the onions were chopped coarsely:
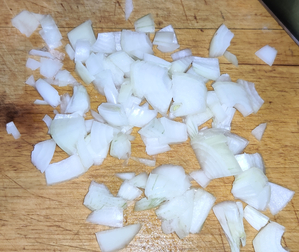
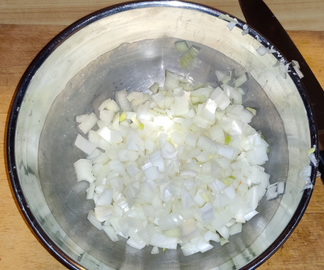
… and finally, the chopped onions were placed in the electric skillet with the carrots, and put aside:
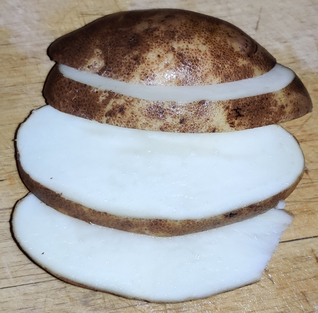
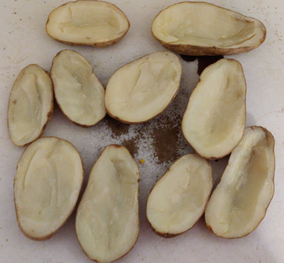
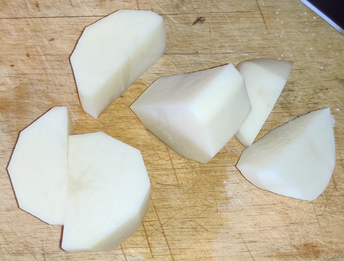
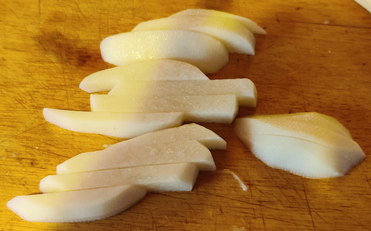
The peeled potatoes put aside earlier were taken out:

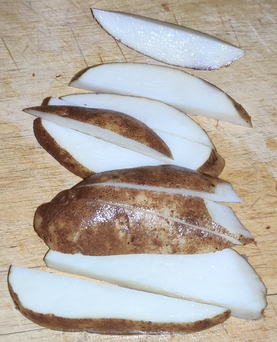
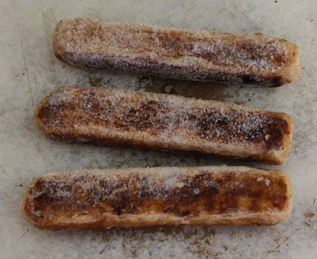
The potatoes were sliced along their length:
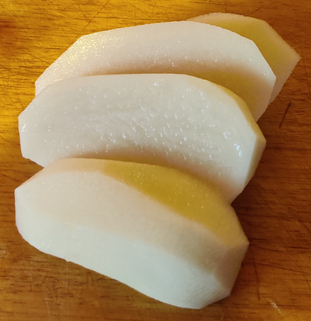
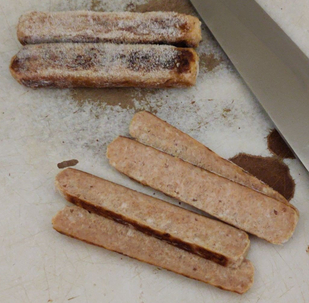
The potatoes were again sliced along their lengths, crosswise, in order to make spears:
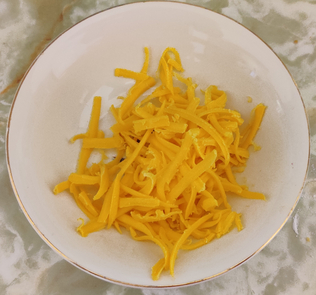
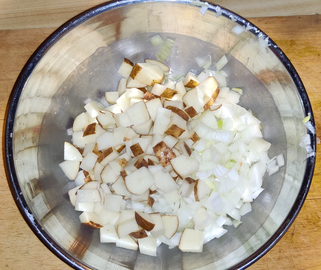
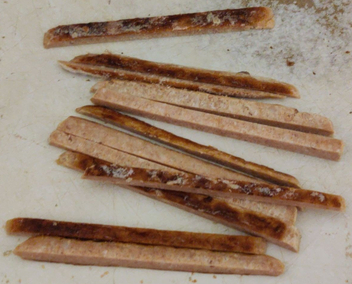
The potatoes were sliced into small cubes, about half an inch:
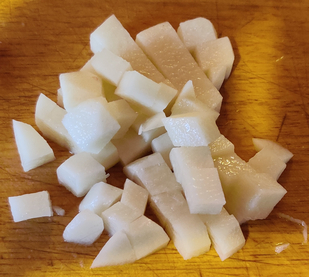
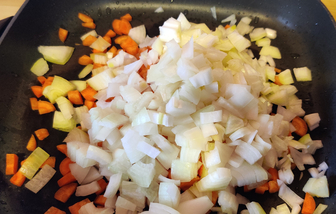
… and finally, the cubed potatoes were placed in the electric skillet with the carrots and onions:
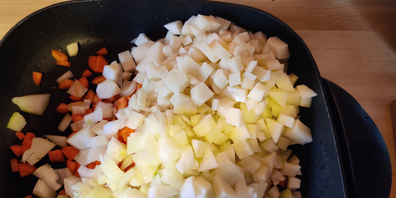
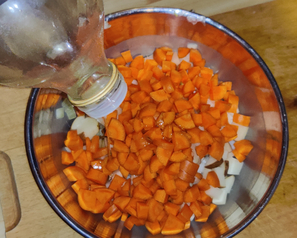
Olive oil was added to the carrots, onions, and potatoes in the electric skillet:
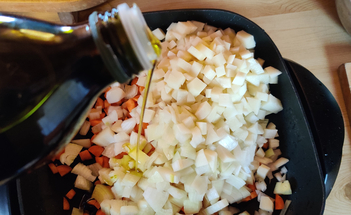
Salt was added to the vegetables and olive oil:
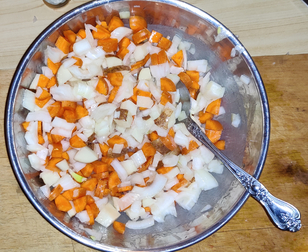
The vegetables, olive oil, and salt, were mixed together:
The vegetable mix and electric skillet were put aside until after the next step (mashing potatoes).
At this point, I turned my attention back to the potatoes, which were almost finished boiling.
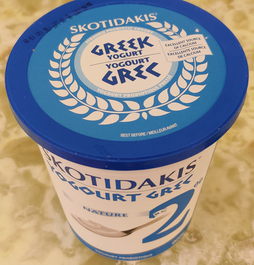
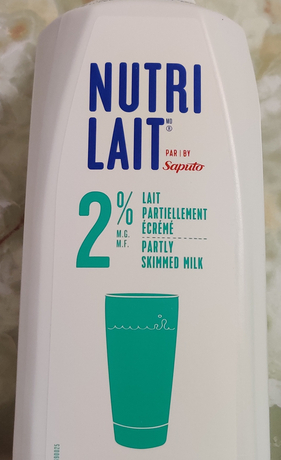
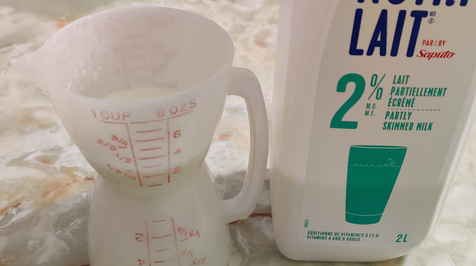
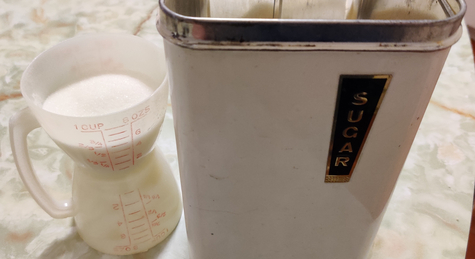
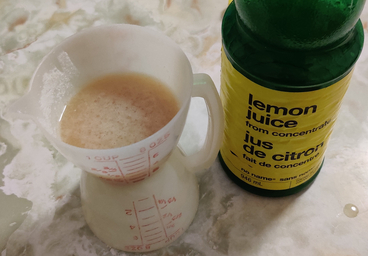
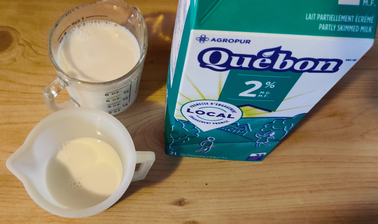
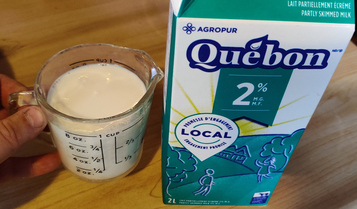
Milk was taken out and measured:
The boiled potatoes were drained:
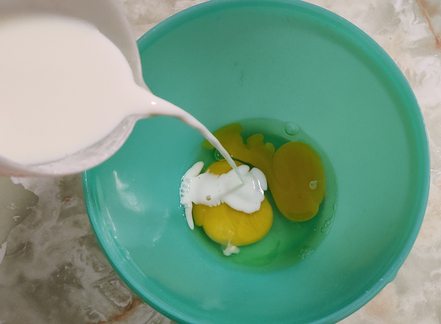
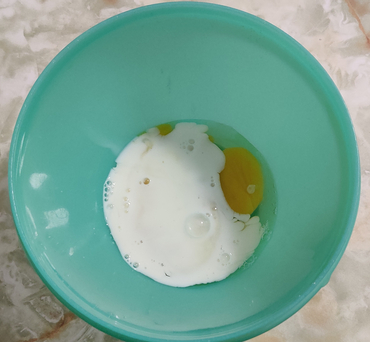
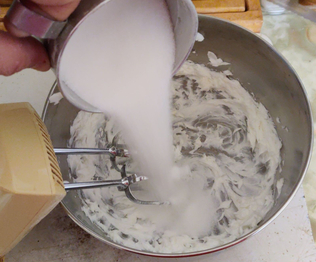
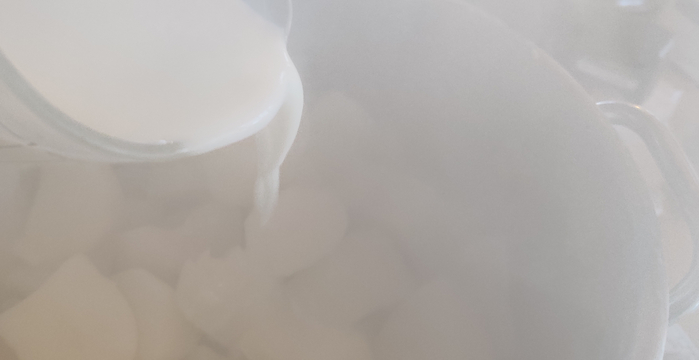
… and the milk was poured into the pot of still steaming boiled potatoes:
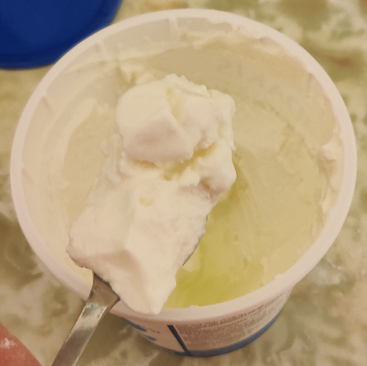
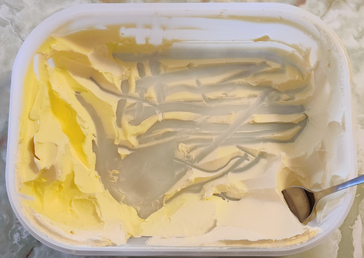
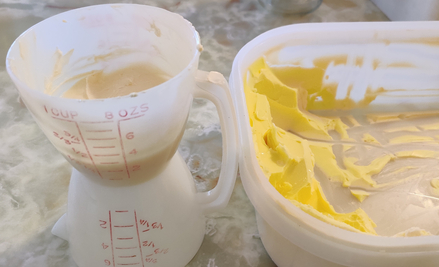
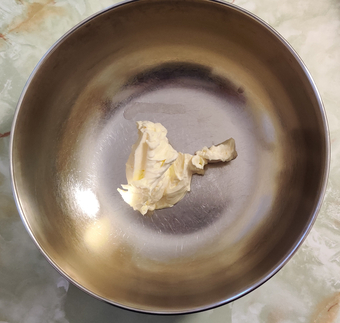
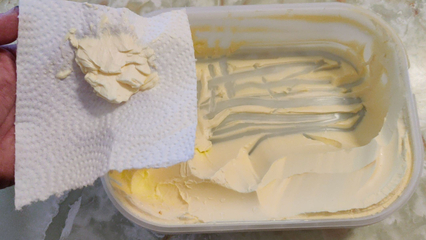
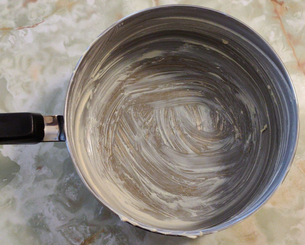
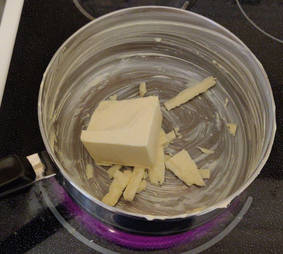
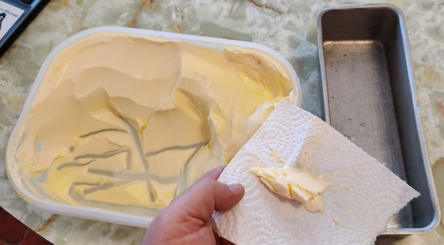
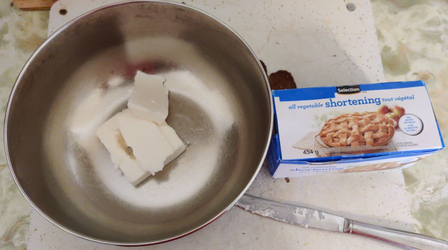
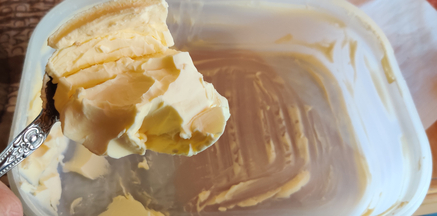
Margarine was taken out, and a couple of dollops of margarine were measured out:
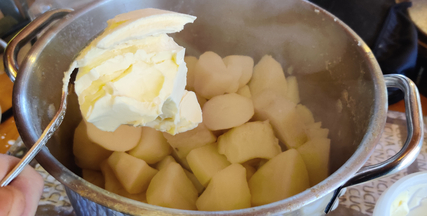
… and the margarine was added to the potatoes and milk:
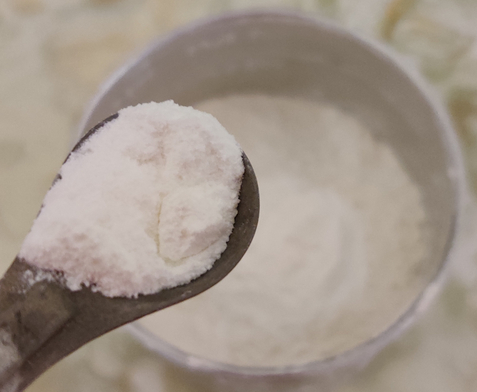
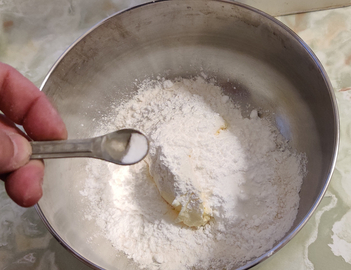
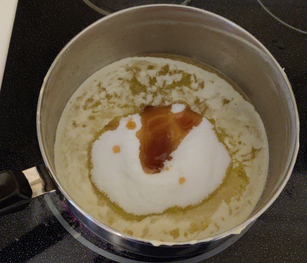
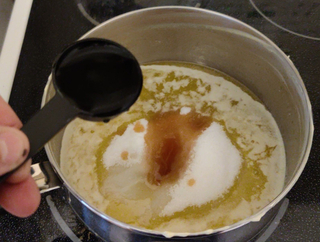
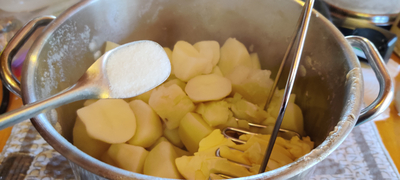
Salt was measured out again:
… and the salt was added to the pot of boiled potatoes, milk, and margarine:
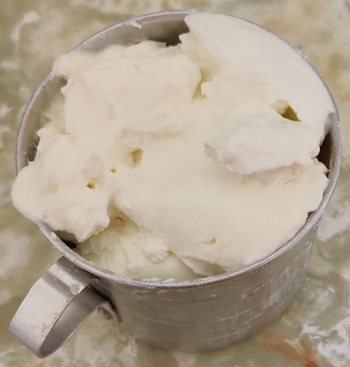
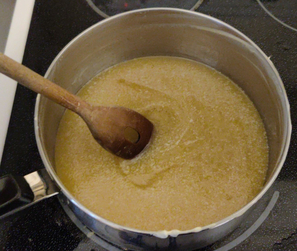
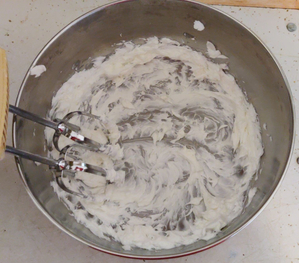
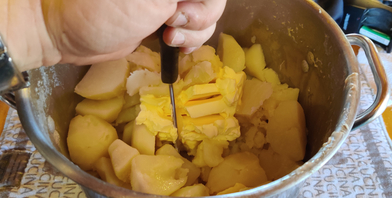
The potatoes were mashed with a hand-held masher:
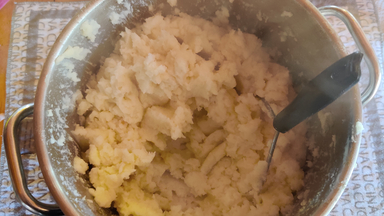
The mashed potatoes were covered and put aside for later.
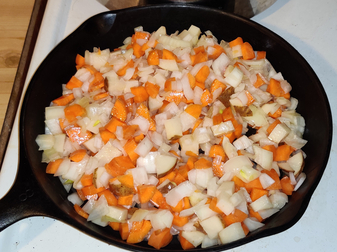
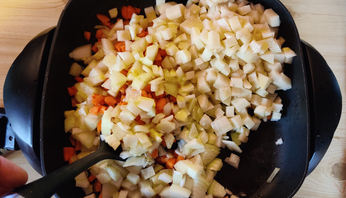
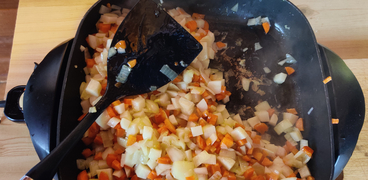
Back to the mixed chopped vegetables, the electric skillet was turned on …
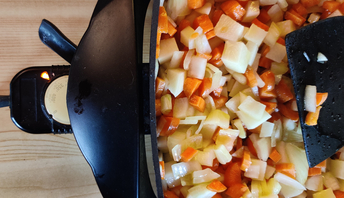
… and the mixed chopped vegetables were fried.
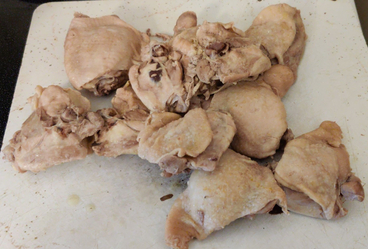
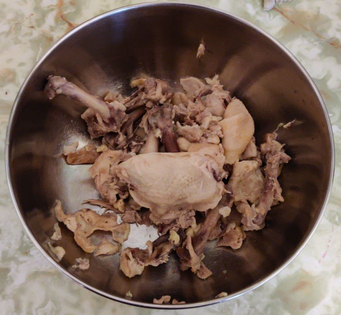
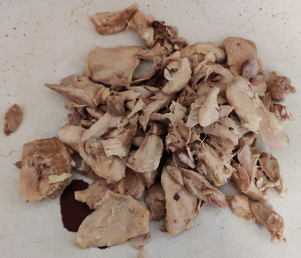
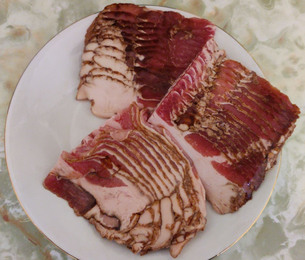
In the meantime, the chicken breasts had become nicely cooked and browned:
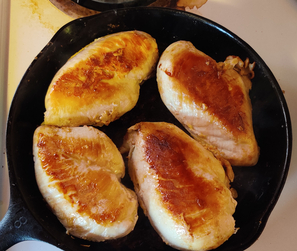
The chicken was removed from the cast iron skillet, and put aside on a plate for a few moments.
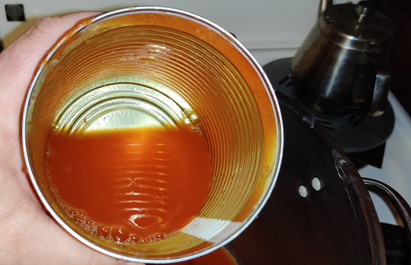
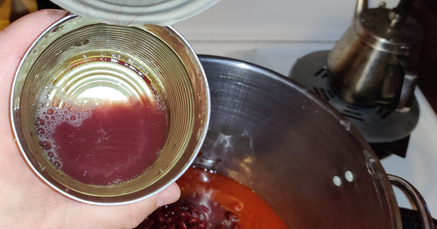
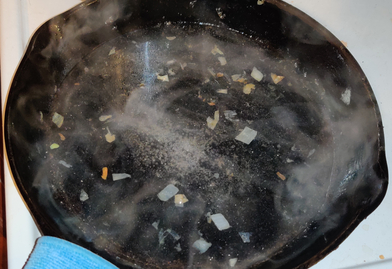
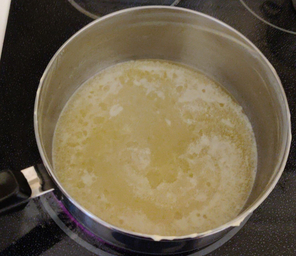
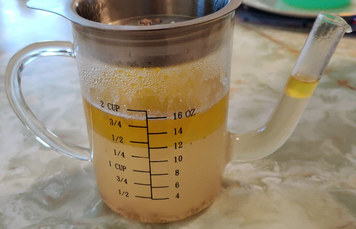
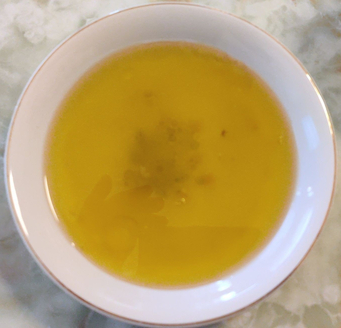
Water was poured into the cast iron skillet to deglaze the pan:
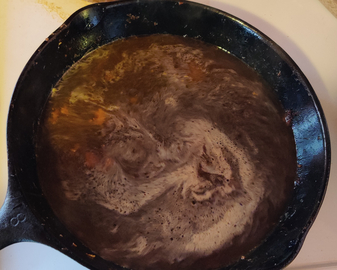
The cast iron skillet with the deglazing liquid were put aside for a few moments.
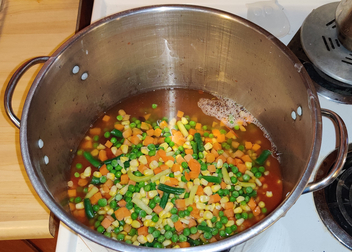
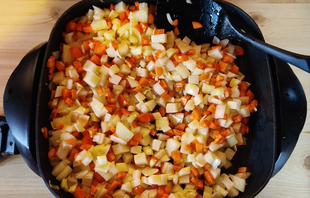
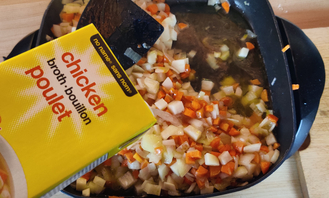
During this time, the vegetables began frying nicely:
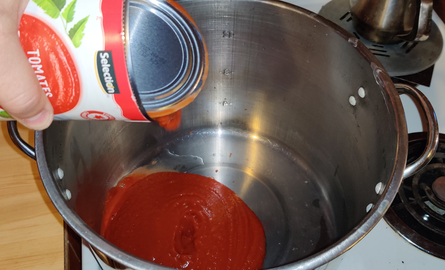
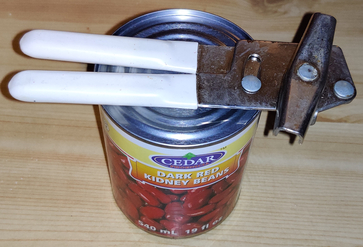
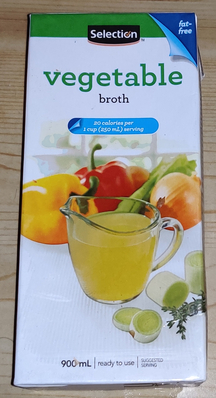
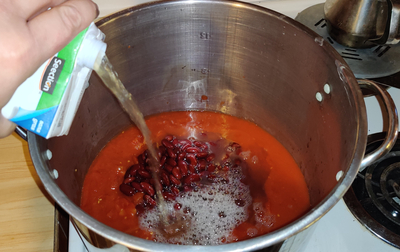
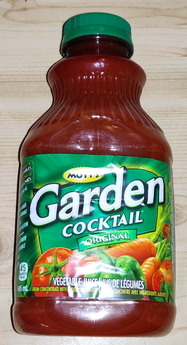
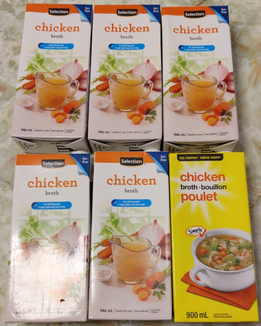
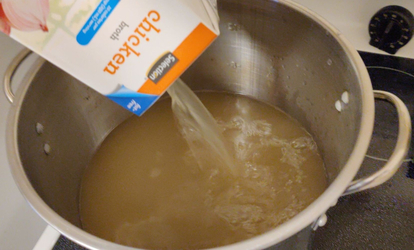
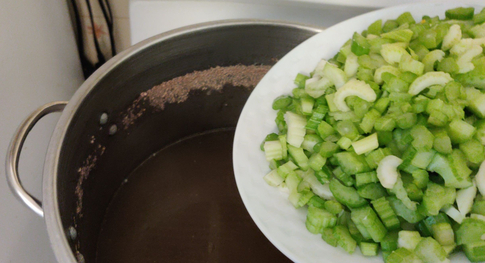
A box of commercial chicken broth was taken out …
… and the chicken broth was poured over the frying vegetables:
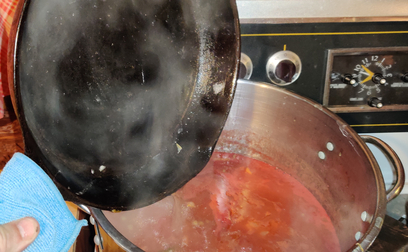
The deglazing liquid from the cast iron skillet was poured into the electric skillet with the vegetables and chicken broth:
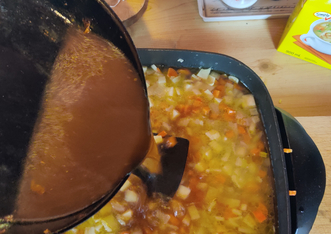
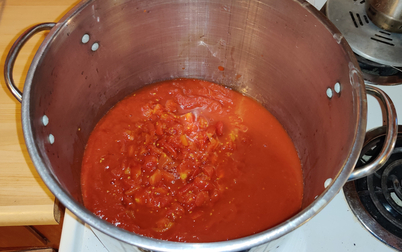
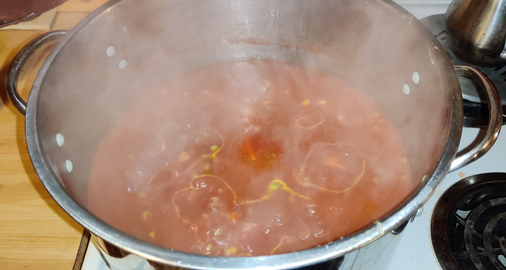
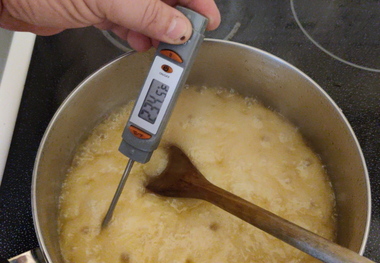
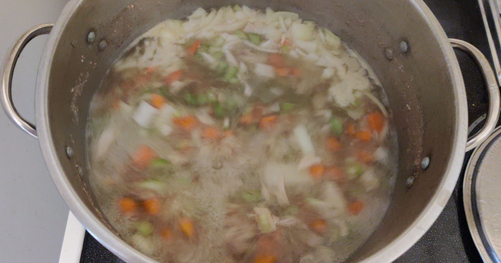
The liquid in the electric skillet was brought to a boil:
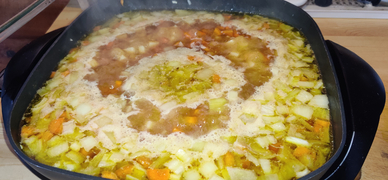
The vegetables and liquid were covered and simmered for about 20 minutes.
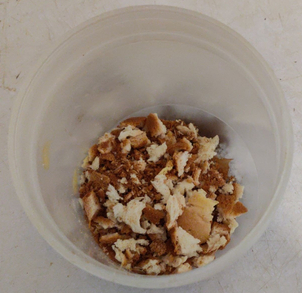
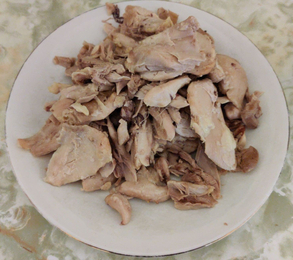
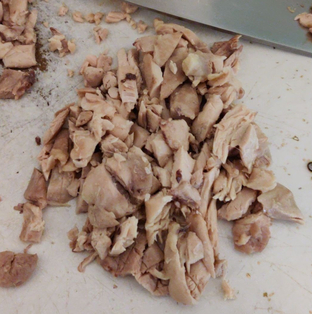
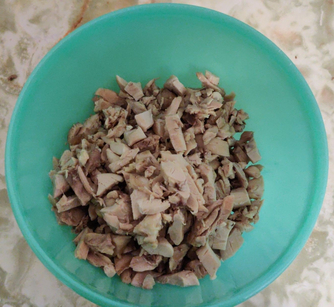
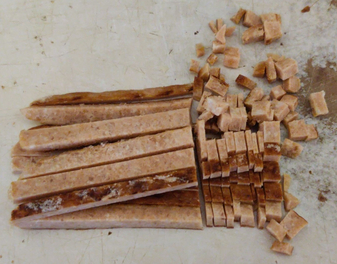
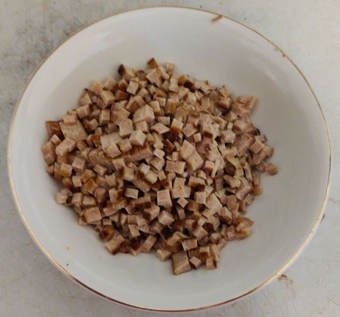
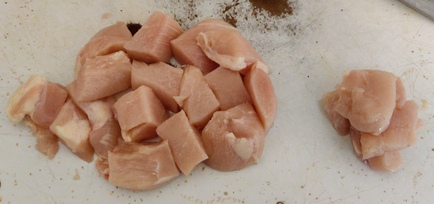
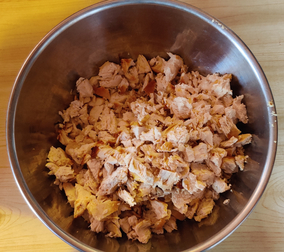
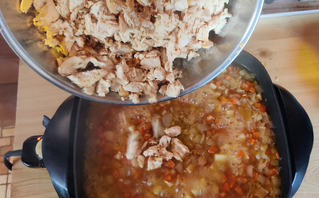
In the meantime, back to the cooked chicken breasts, the chicken breasts were cut into rough cubes and smaller:
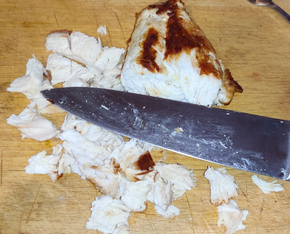
The chopped cooked chicken was then placed in a bowl, and put aside for a few moments:
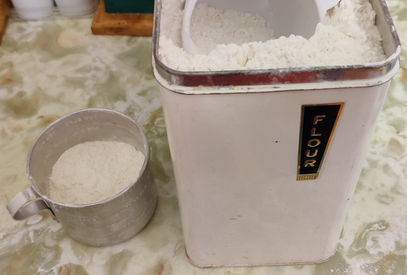
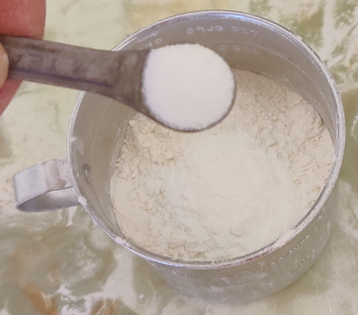
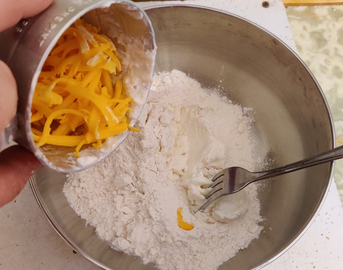
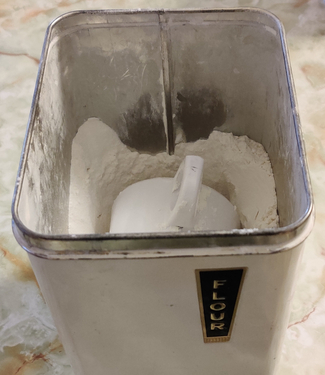
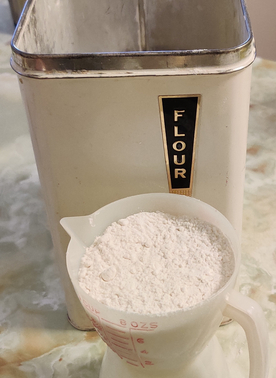
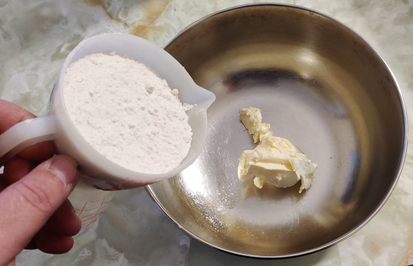
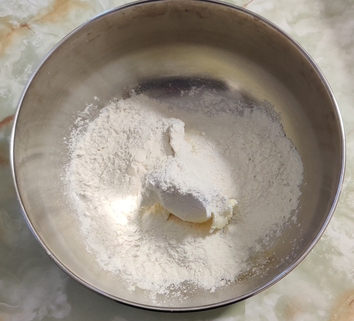
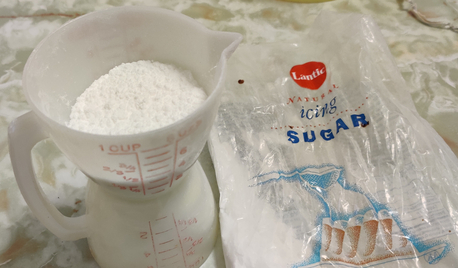
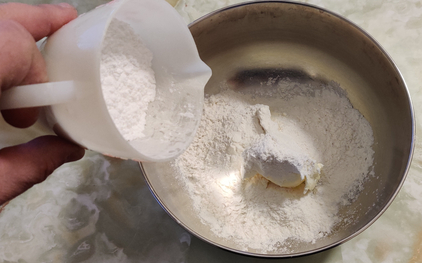
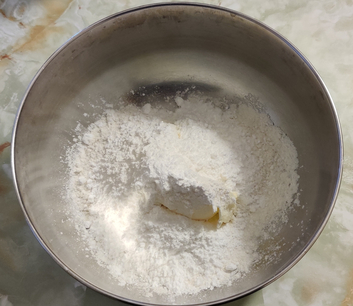
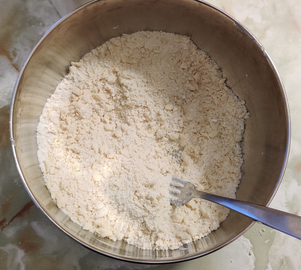
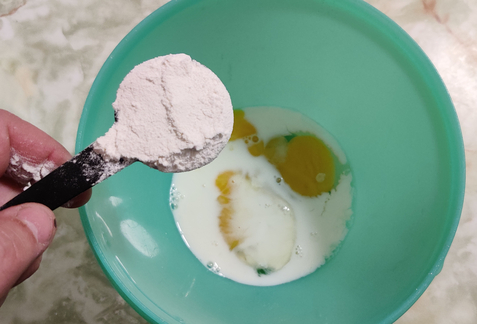
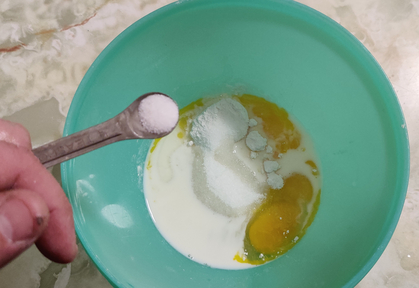
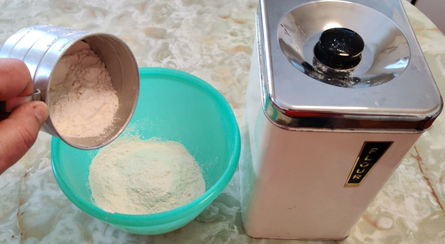
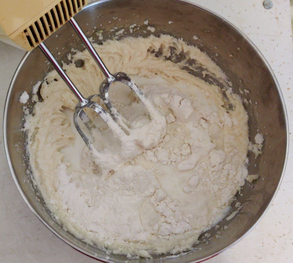
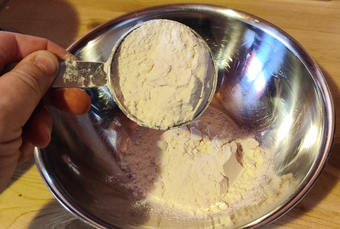
A cup of flour was measured out …
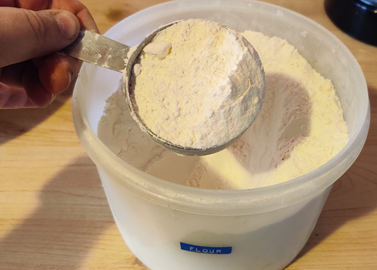
… and poured into a mixing bowl:
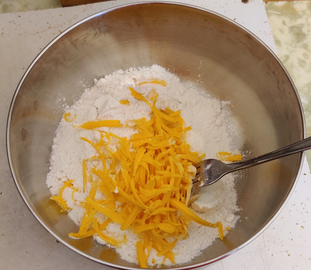
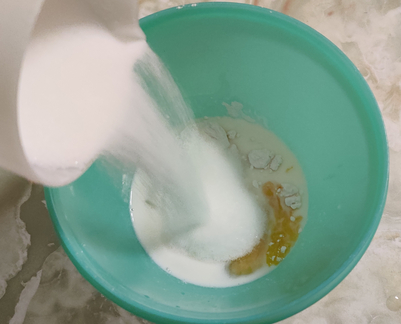
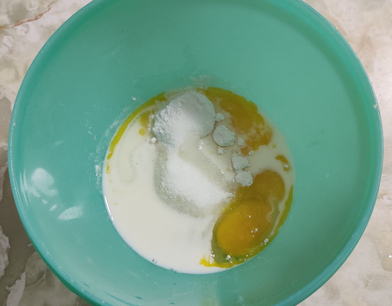
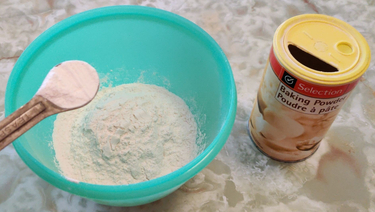
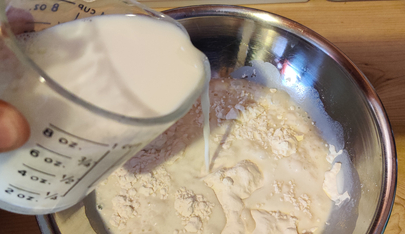
Two more cups of milk were measured out:
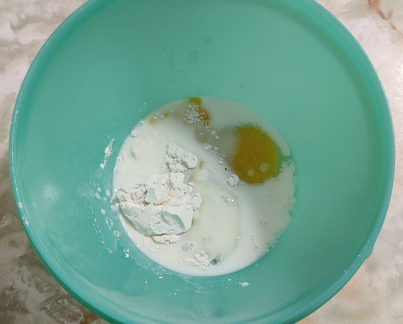
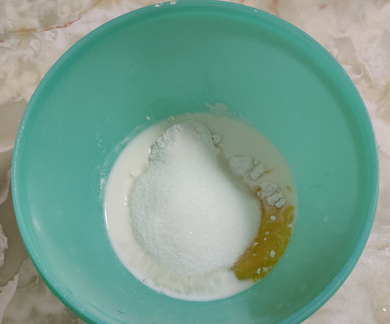
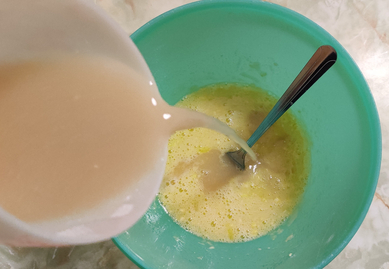
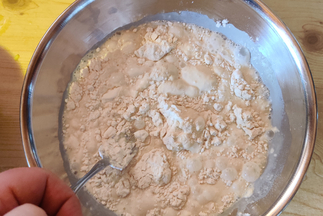
… and poured over the flour in the mixing bowl:
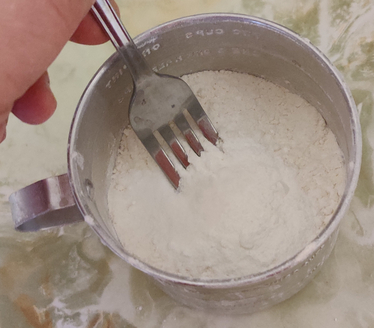
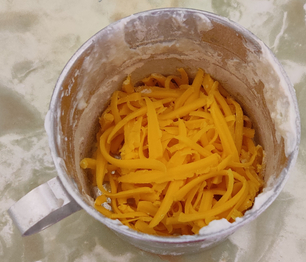
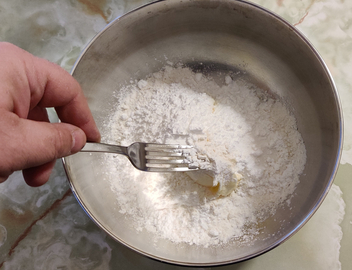
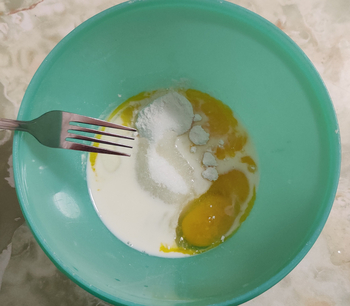
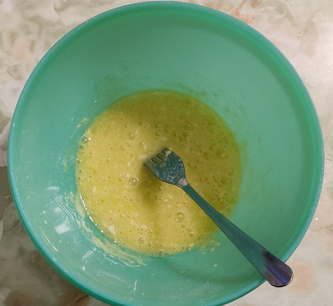
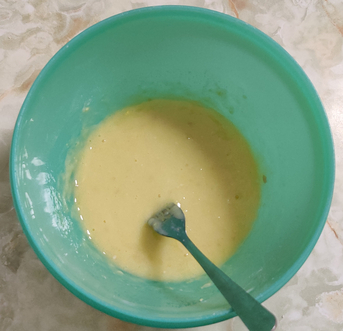
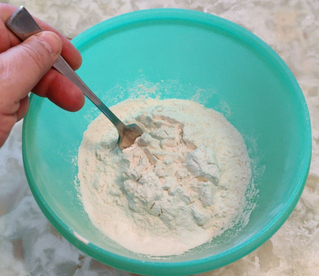
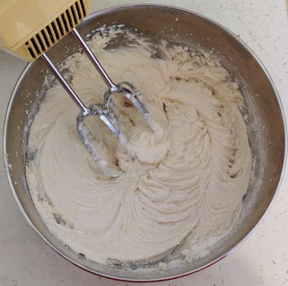
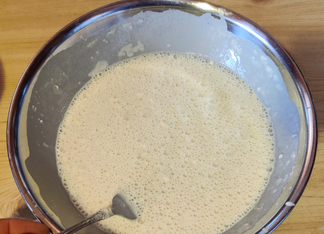
The flour and milk were thoroughly mixed with a fork:
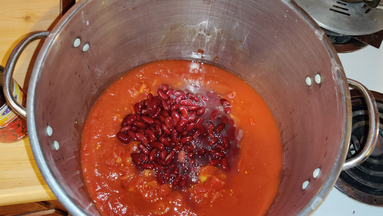
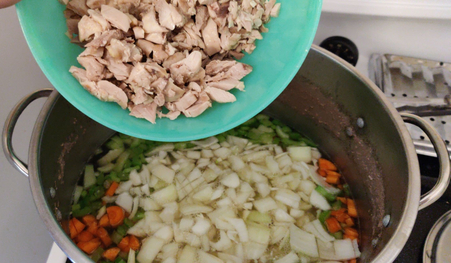
At this point, the vegetables and broth had been simmering for 20 minutes, and the chopped chicken was transferred to the electric skillet with the chopped vegetables and broth:
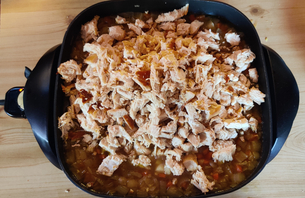
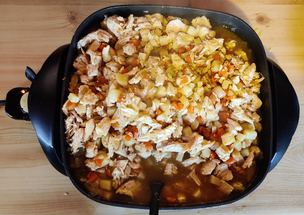
The ingredients were mixed together with a large serving spoon:
At this point, timing becomes important in order to mix things properly, before heat thickens the milk and flour mixture too much, making proper mixing more difficult.
The flour and milk mixture was added to the rest of the ingredients in the electric skillet:

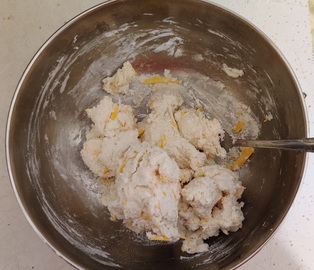
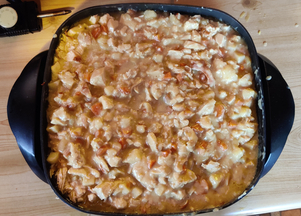
The electric skillet was unplugged, and quickly, the ingredients were all mixed together, fully mixing all the liquids as well as the rest of the ingredients:
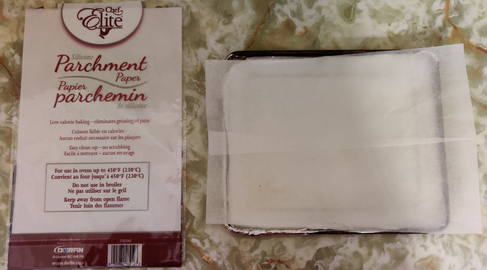
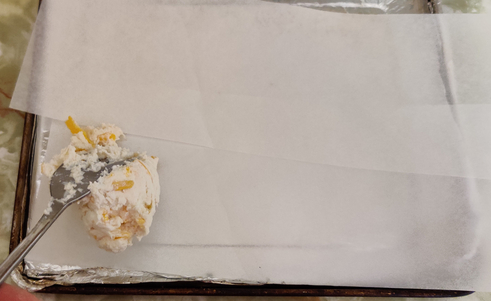
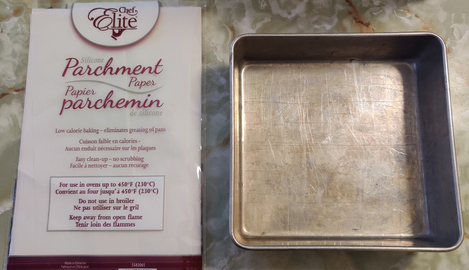
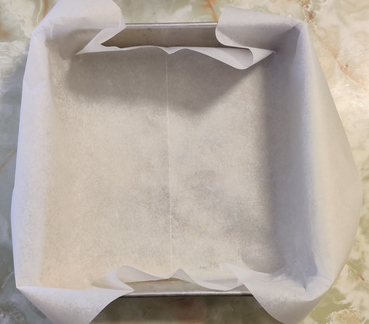
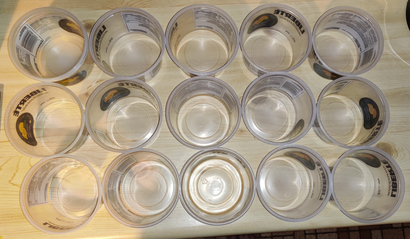
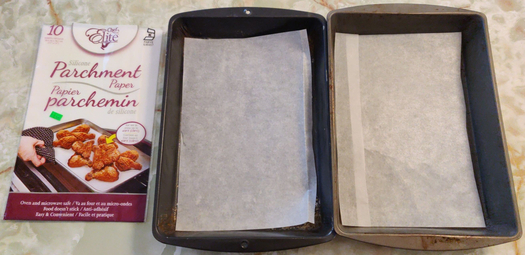
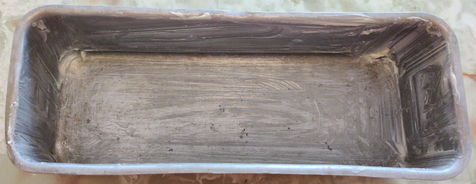
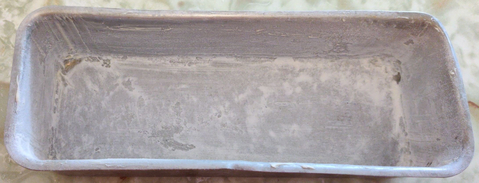
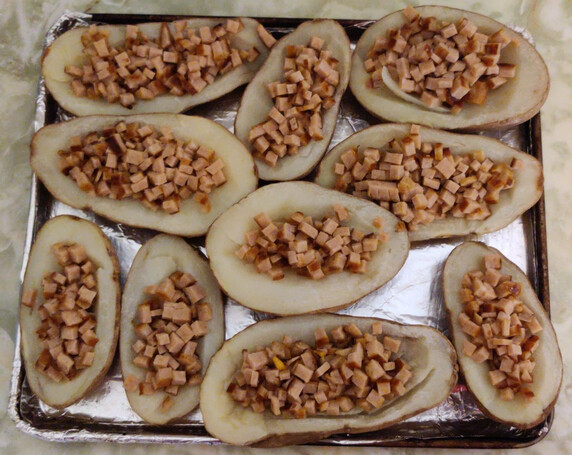
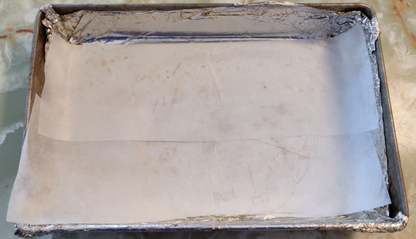
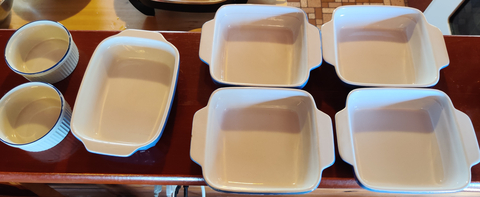
Previously, a number of baking containers were laid out:
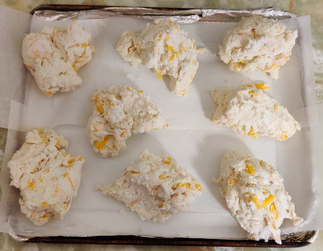
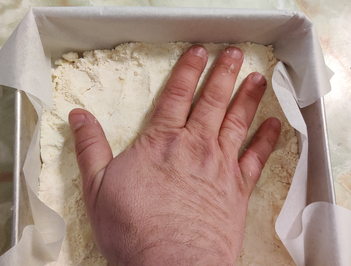
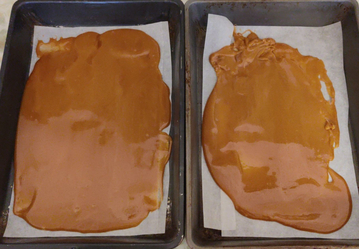
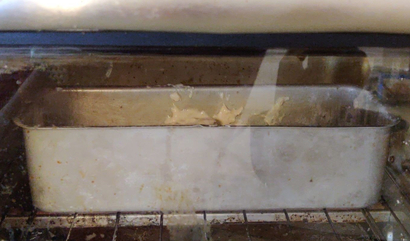
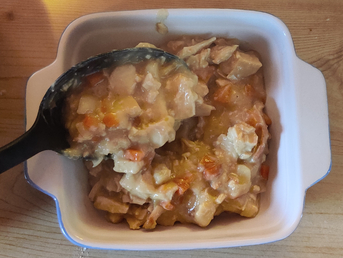
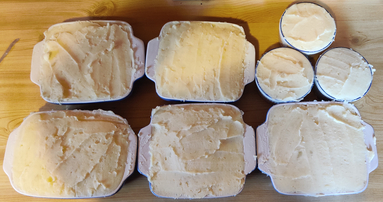
The filling was spooned into the baking pans, to about half the depth of the baking pans:
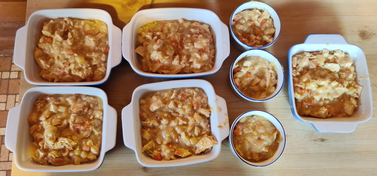
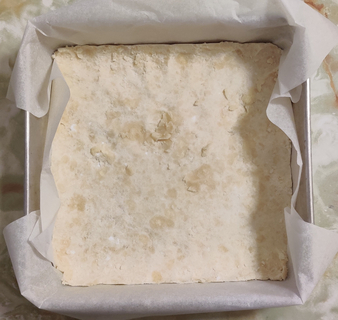
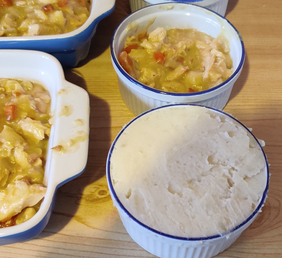
The still warm mashed potatoes were spread on top of the chicken / vegetable / sauce filling in the baking pans:
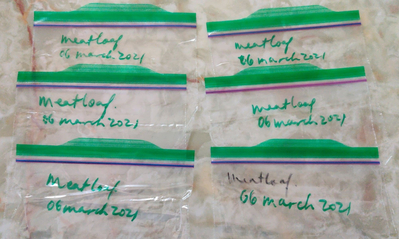
Sealable freezer bags were identified:
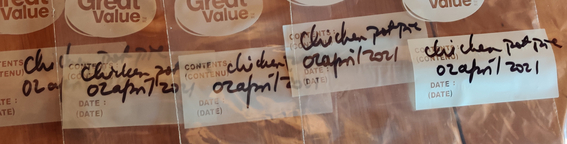
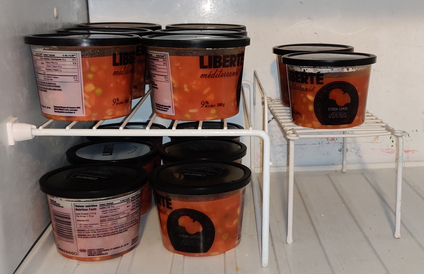
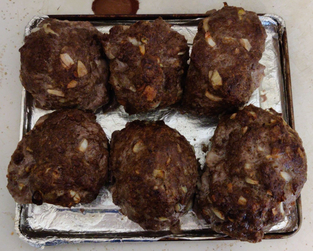
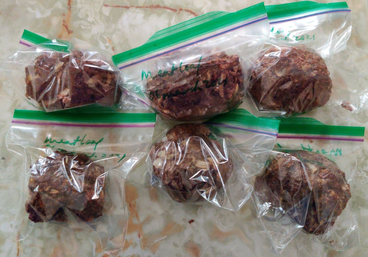
The chicken pot pies were placed in individual bags:
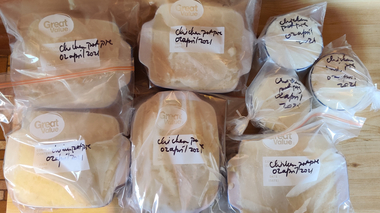
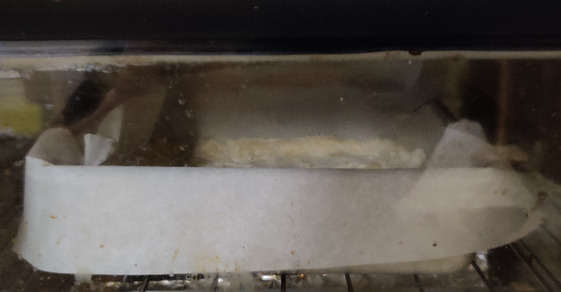
And finally, the chicken pot pies were placed in the freezer for freezing, and of course future eating!

Yummy!