I’m a lumberjack … — Part Deux

Further to my first post from my holidays that covered as much if not more of the aftermath of a tornado landing near my cottage while I was on holidays as outright lumberjack activities, I have put together this post … to concentrate on the rest of the “I’m a lumberjack …” (here’s my archive) part of the story which I had left to the implied, as in “well of course I cut up all that wood and piled it up in my wood shed.”

The first part of this story is to tell about my chainsaw: I have a Husqvarna 55cc gas powered chainsaw that was a Christmas gift from about 2007. After the usual question of “What do you want for Christmas”, I was initially told that a chainsaw was a bit too expensive an ask — an answer I completely knew, and which I fully expected to receive — so I followed up with “a beer concentrate kit and a wine concentrate kit” instead. When I was asked again a couple of weeks later about “What do you want for Christmas?” I responded with “I already told you!” meaning, in my mind, the beer kit and the wine kit. Was I ever surprised on Christmas morning!

During the initial cleanup of the fallen tree across the road after the tornado, I took out my chainsaw for the first time in the season, started it up, and helped cut up the tree — of course, to help clear the road and allow people to pass. A couple of days later during further cleanup operations, my chainsaw wouldn’t start up. I went through opening up the chainsaw and doing some cleaning with a neighbour the next day, and we used some high-flammability spray directly into the air intake to test the unit again. I even spent a morning the day after that hunting down a new spark plug for my chainsaw — the unit still wouldn’t start up. Yet another couple of days after that, I hunted down a local small engine tool repair shop, and left the chainsaw there along with said neighbour’s chainsaw for servicing — for an estimated turnaround time of “around up to two weeks.” Sigh, so much for my lumberjack dreams during my holidays being dashed.

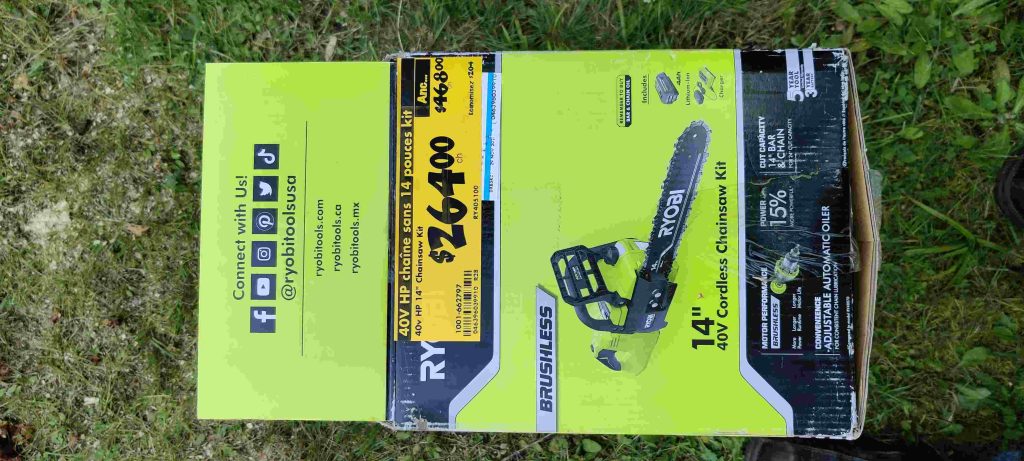
A few days later, I was back in Montreal for a quick trip to the dentist for a planned teeth cleaning, and I realized that — given that on the battery powered side of power tools, I use Ryobi tools — a big box store that distributes Ryobi was a mere few blocks away from the dentist’s office. I went there, got the least expensive weed whacker for the Ryobi 18V battery system (finally, Mom will be happy that the lawn edges will be done!) and I had designs on a Ryobi 10″ chainsaw for the Ryobi 40V batteries I own. Note that the idea wasn’t to replace the 55cc Husqvarna chainsaw, just to have a convenient to use tool for smaller jobs — which, frankly, is a lot of what I do with a chainsaw to begin with. After hunting down the 10″ chainsaw in the store, while going to the checkout, I passed by a display of Ryobi tools on sale. There was a 14″ chainsaw that came with a 40V x 4Ah battery and charger that was deeply discounted for about $75ish more than the regular price on the 10″ tool only chainsaw.
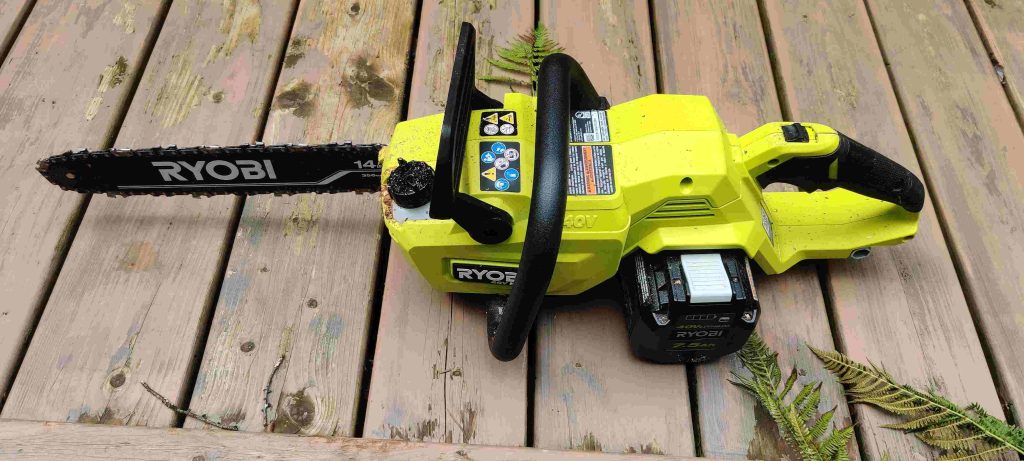
New 14″ Ryobi 40V chainsaw, with one of my 7.5Ah Ryobi batteries in the battery bay
Deeply discounted Ryobi 14″ chainsaw with 4Ah battery and charger

So I purchased the 14″ unit instead, obviously. In the process, I became pleased with myself and my good luck; much as I like the 14″ model, it is just at and arguably even noticeably below the lower end of my occasional heavy-duty needs. As such, I know that I would have regretted having purchased the 10″ model, even had I never discovered the deeply discounted sale.

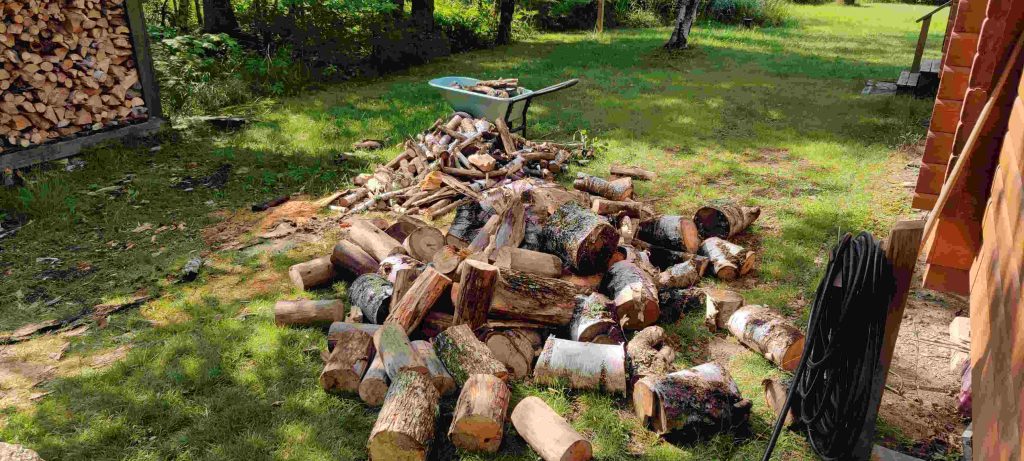
So back at the cottage, I eventually faced my pile of wood to cut up again, which I had shown at the end of the previous post about the tornado:
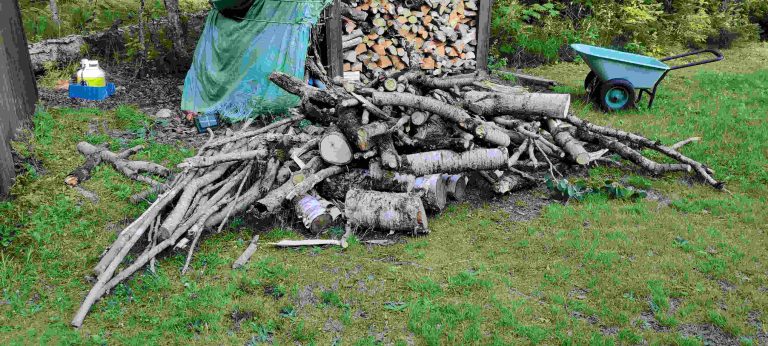
Pile of wood and branches to be cut up

The pile of wood was cut up, and to my pleasant surprise, about as easily as with my gas powered chainsaw, perhaps even more so:
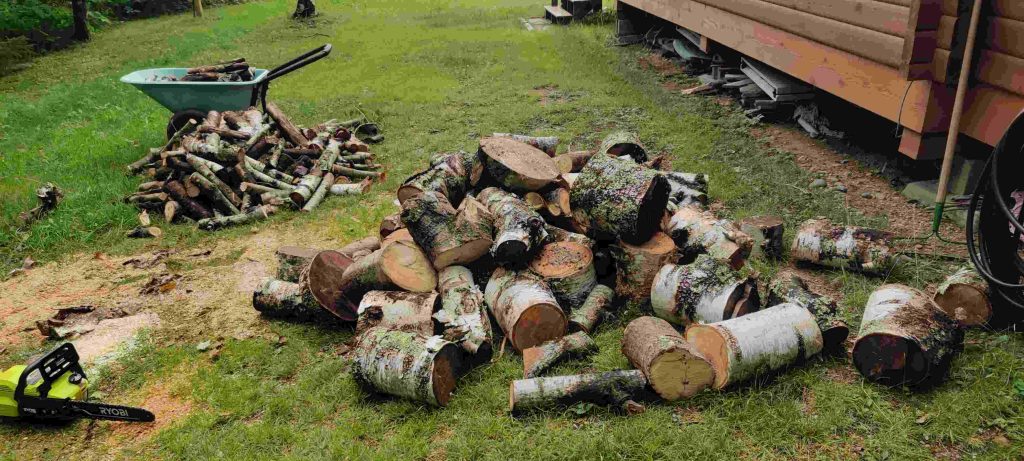

Wood cut up
Pile of wood all cut up

This used up just short of a full charge from one of my Ryobi 40V 7.5Ah battery from my lawnmower.

At this point, I already had ideas brewing in my head to go get the cut up eight foot log section leftover from the fallen tree across the road after the tornado because the lead person clearing up the wood and the road wasn’t interested in this piece; its centre was rotten enough, and therefore wouldn’t have provided, in his estimation, more than one or two planks of wood for the effort:

Eight foot length of wood leftover from the tornado cleanup

At the same time, there was an old very dead tree partly left standing, and partly knocked over but still precariously standing up several feet away, both parts of which I also decided to retrieve and cut up:


Part of dead tree still standing, roughly left of centre of the photo
The other part of dead tree knocked over but still standing, roughly centre in the photo

I proceeded to cut up the eight foot log and the dead tree, and I got about half a cut through the eight foot log which was about a foot and a half thick from the end of the charge in the 7.5Ah battery in the chainsaw. The operation, involving cutting the log eight foot log into eight pieces, and the knocked over dead tree into transportable lengths of roughly four fireplace sized logs, went through the full charge of the 4Ah battery that came with the chainsaw, the full charge from another 7.5Ah battery, and “one light”‘s worth (out of four) from the other 7.5Ah battery that had been recharged in the meantime. I also had to sharpen the chain, using a manual file with a fixed sharpening guide.
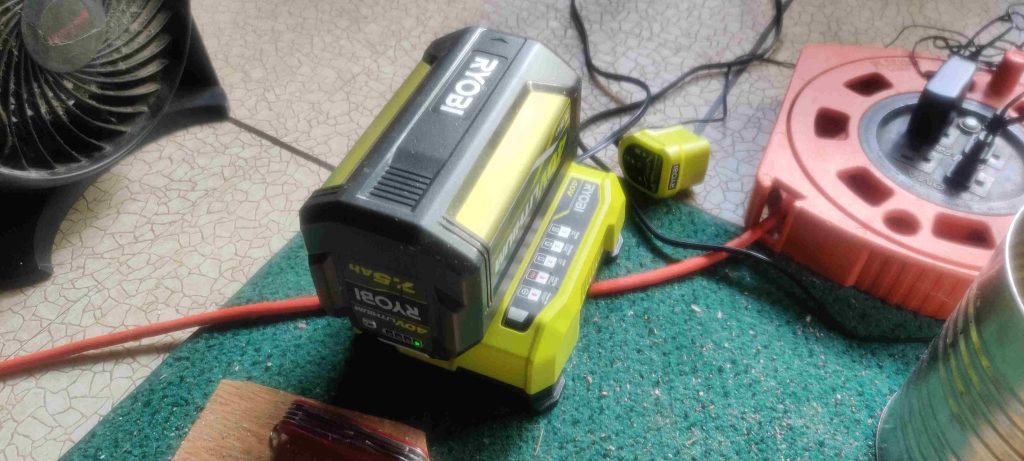
7.5Ah x 40V Ryobi battery being charged … again!

All of the wood was loaded into my car, effectively replicating a similar photo from the previous tornado post.
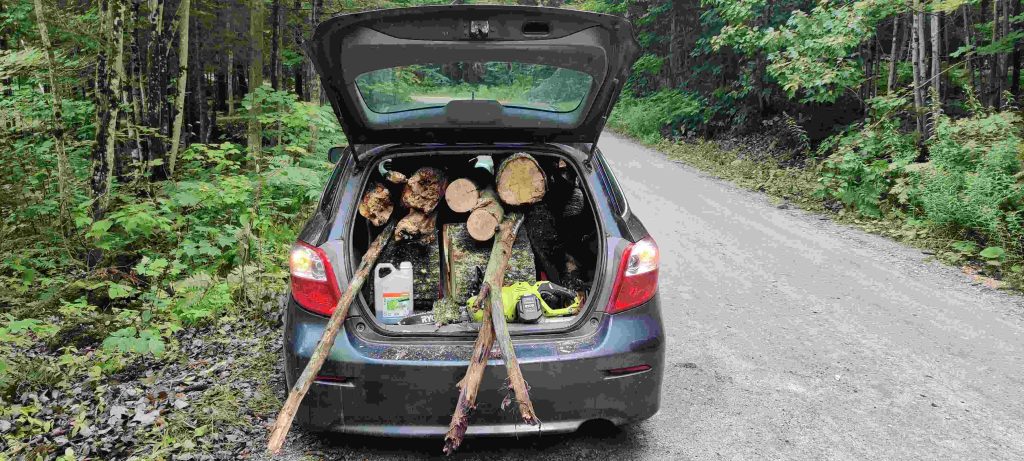
Car filled with more wood as well as my Ryobi chainsaw on the right and some biodegradable chain oil from Stihl on the left

(As an aside: Am I still going to contact Toyota with pictures to tell them one of the ways I use my 2012 manual transmission Toyota Matrix? Who knows? I’m still quite enjoying making the blog posts!)

The wood in the car was transported all of perhaps 100 feet to the side of the cottage where I was working, and unloaded from the car:
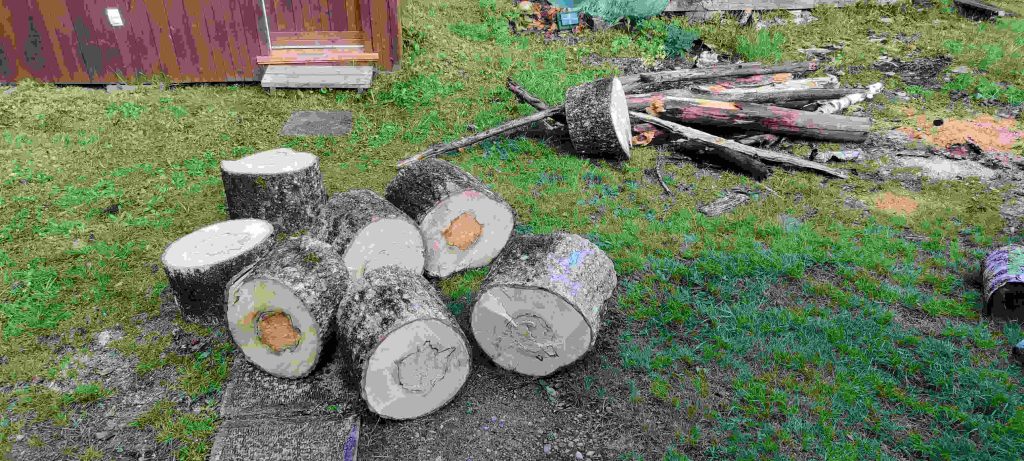
Wood unloaded from car

The first thing I did next was to cut up the branches and the logs that I had collected:
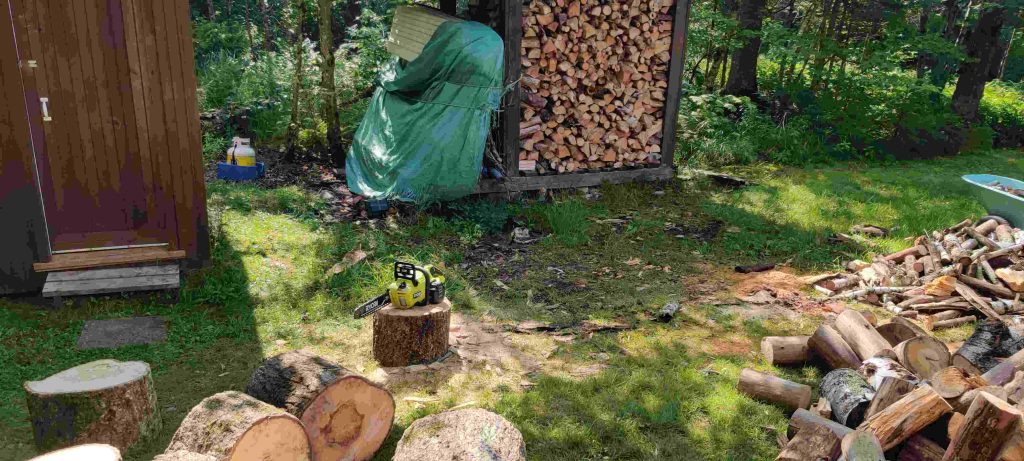
Branches and logs cut up
Branches and logs cut up and added to the piles of wood to either stack or split and then stack

At this point I should mention that last summer when I was playing lumberjack, our handyman with whom we are also just plain friendly stopped by and noticed all the wood to be split, and offered to lend me his six-ton electric wood splitter, with a comment to the effect of “you’ll never want to go back to splitting wood with an axe!” Sure enough, he was right, and over the winter, he sent me a link by email for a five ton electric wood splitter that had a substantially discounted sale price compared to its regular price; I immediately purchased a unit.

Fast forward to this past week, I had the necessary testing grounds for another one of my new toys; at this point, the new wood splitter was taken out, and I started splitting some logs:
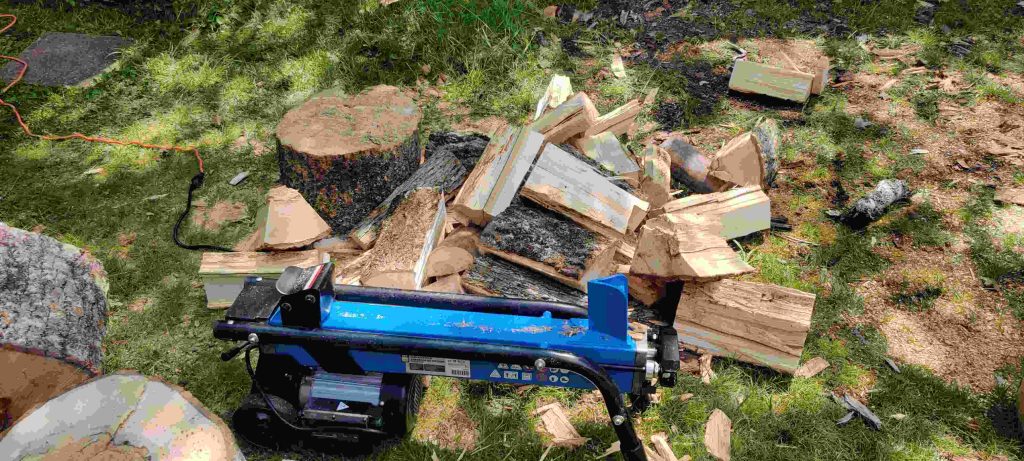
Log splitter taken out and some logs split

While I was learning how to use the unit, since it had been a year since I’d used the borrowed splitter, and that my splitter operates slightly differently from our handyman’s unit, I discovered the joys of having to hold down the power button with one hand while operating the ram lever with the other hand. This process essentially requires one to either to crouch down to ground level and use a support for one arm to balance oneself — in my case, one of the logs cut from the tree trunk fallen during the tornado — or, a hypothetical situation of lifting the “I have no idea how heavy this back-breakingly heavy beast is” to a level at which I’d be able to stand while operating it, and which would therefore require commensurately higher lifting of the logs to be split.

After splitting seven of the eight pieces from the roadside, I decided to start piling the wood to clear space for more wood to be split:
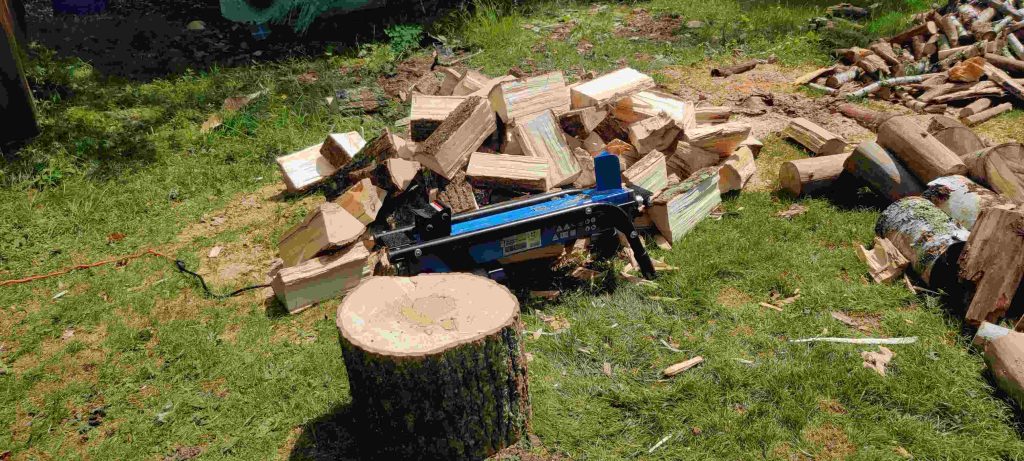
Split wood from roadside log

I piled said split wood on my woodpile, beginning with some of the cut up branches at the top of the third row:
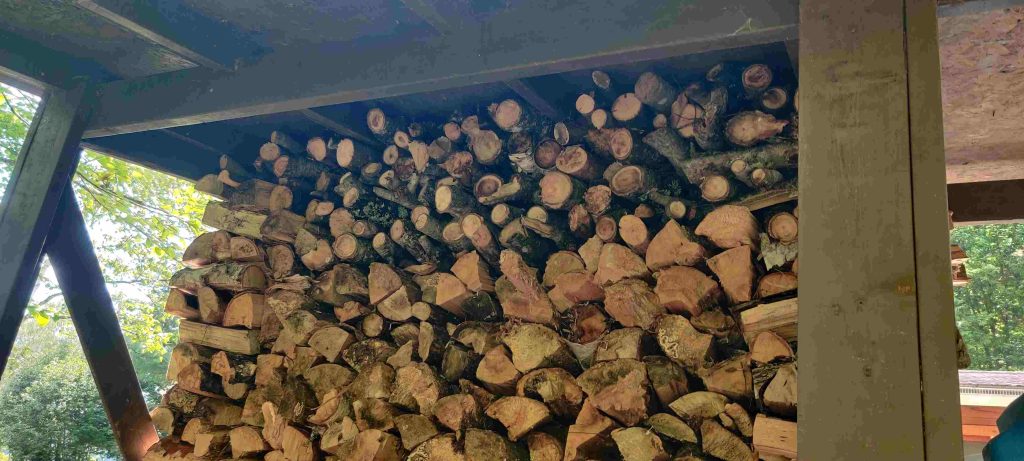
Third row of woodpile finished with cut branches

… and then beginning a fourth row of split wood:
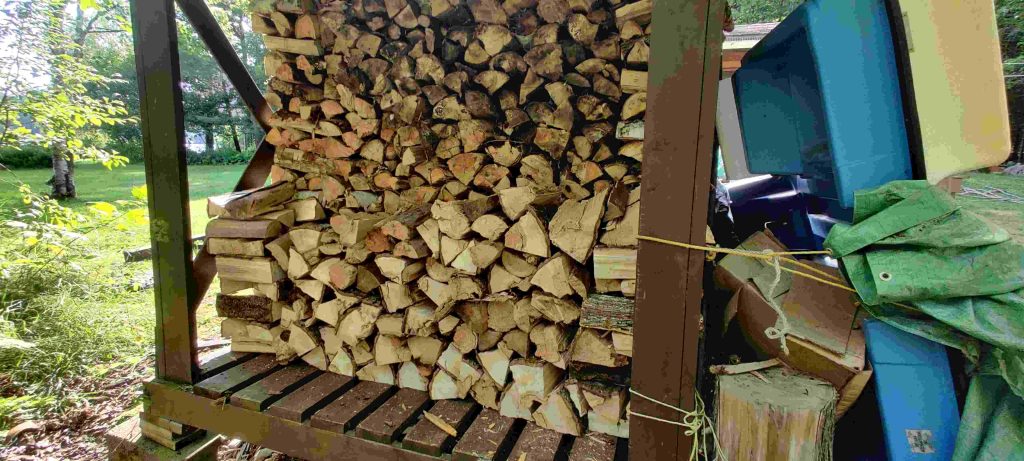
Fourth row of woodpile begun with split logs from roadside

Of course here is a photo of the work area, showing that the split logs from the roadside tree trunk had been moved away:
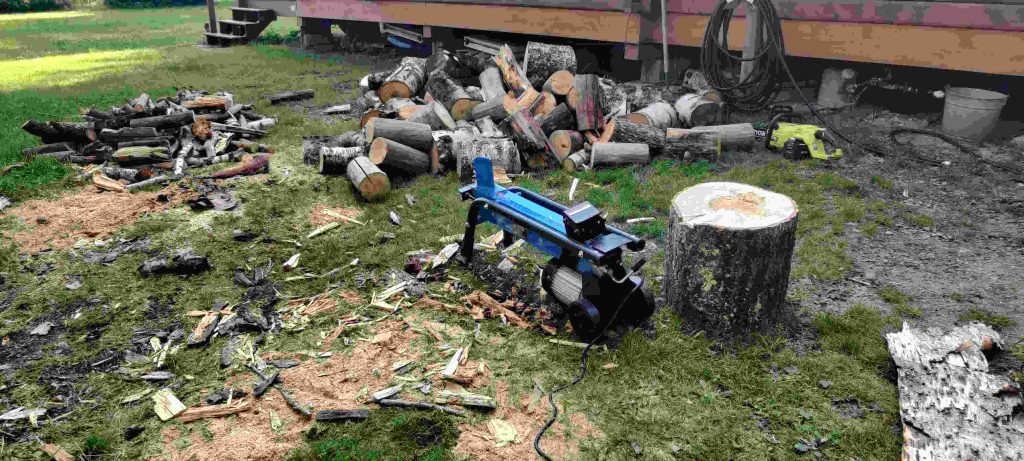
Chopped wood from roadside log moved away

I continued splitting all the logs of wood until I ran out, only having a few hard-to-split or otherwise odd logs left over:
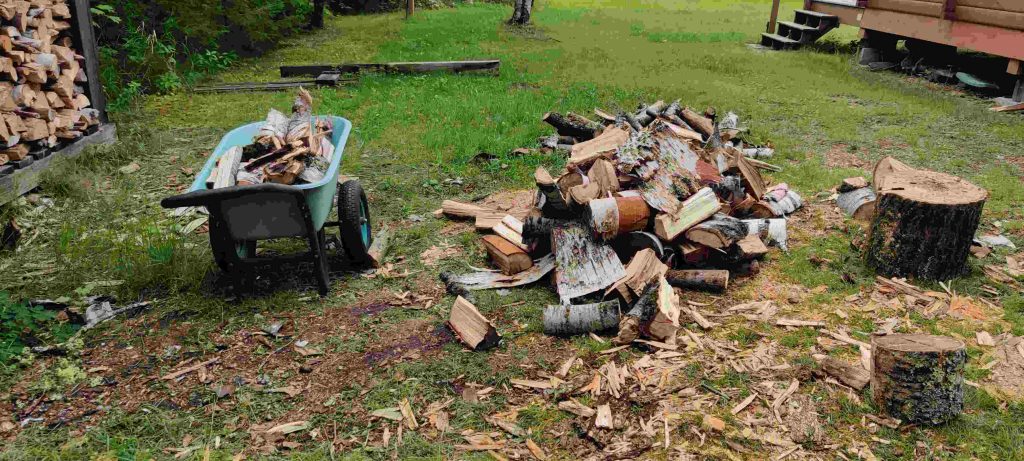
All logs chopped

I also continued to pile the split wood until I ended up finishing the fourth row of wood:
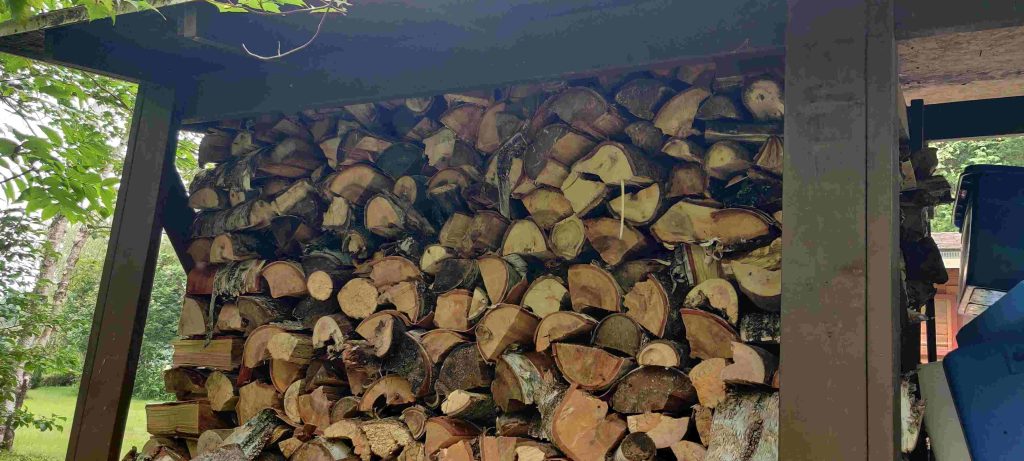
Fourth row of wood piled up to the roof of the wood shed

I even had so much wood to pile that I started a fifth row with the rest of the cut up branches and the hard-to-split pieces, waiting for the next time:
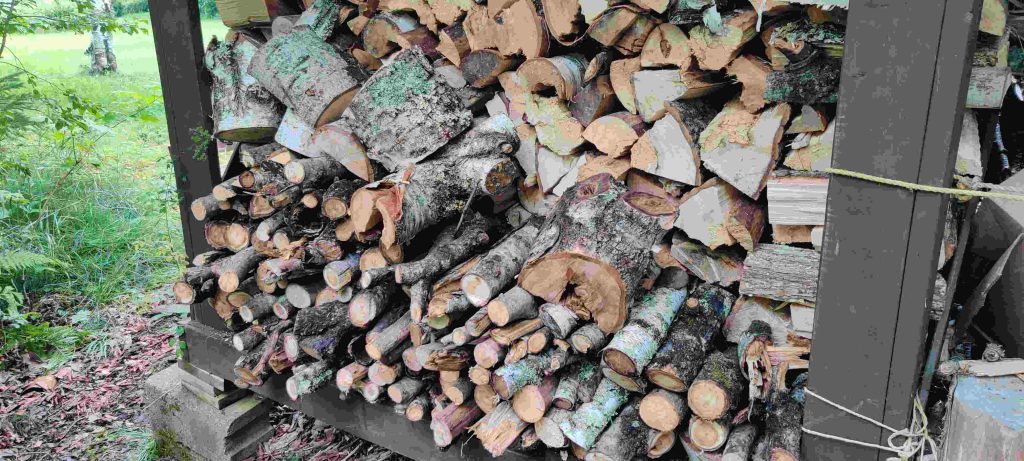
Fifth row of wood consisting of cut up limbs and hard to split pieces

Of course, having piled up all the wood, the work area was cleared, only leaving behind some scraps to be cleaned up another time:
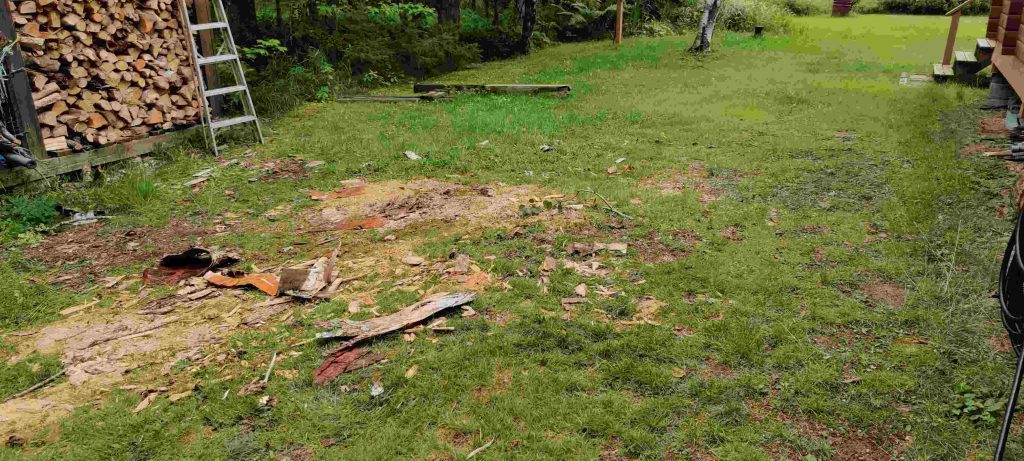
All cut up wood picked up from the work area

Here’s an overall view on the back of the wood shed:
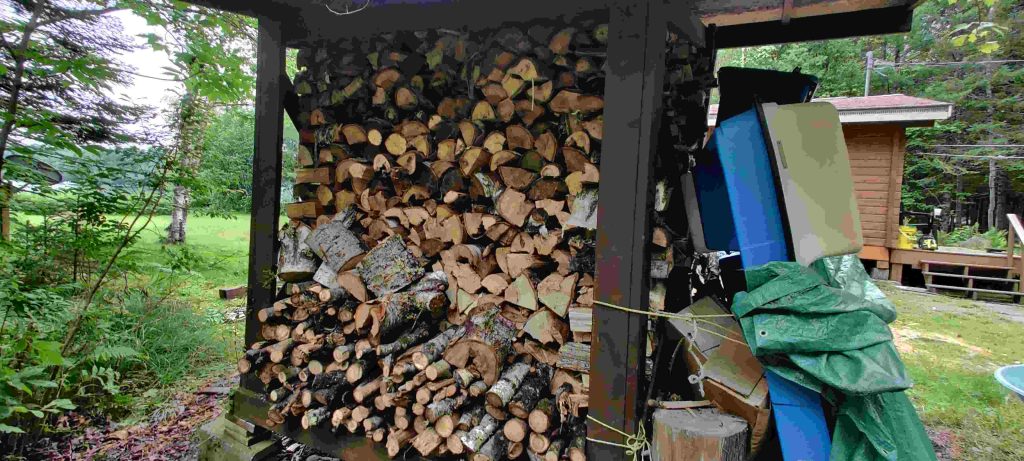
View of back of full wood shed

And of course a view of the side where you can see that all four rows are filled up:
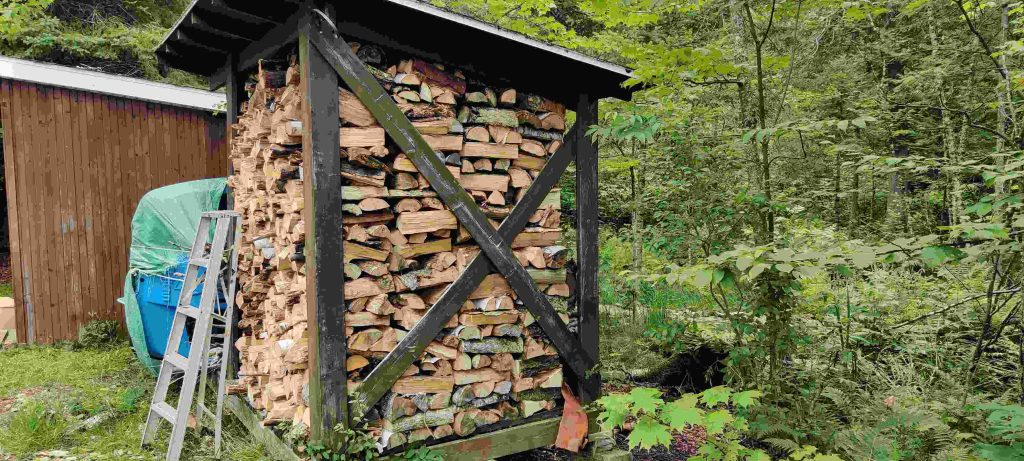
View of side of the wood shed and all four rows of split firewood

Now I just have to go to the cottage often enough this coming winter to burn through hopefully a row and a half, or more, of wood from the woodpile in the wood burning stove to heat the cottage!

… And that all still leaves me with the birch trees I was originally figuring I’d be cutting up over my holidays this summer:

Birch trees still not cut up and waiting for next year!
Depending on when I get my gas chainsaw back, when I get up to the cottage again this summer and fall, and a bunch of other “ifs” and “whens”, I may end up cutting up some of those tree trunks this fall and pulling them out of the woods to winter and spring in hopefully slightly less wet and marshy conditions, ready for next summer.

And did I really get to play lumberjack in the end? My aching legs, hips and lower back certainly think I did!

And yes, “I’m okay!” with that! (here’s my archive)

Making my mom’s turkey stuffing — Photos

This week, leading up to Christmas, and generally taking advantage of a week of holidays, I delved into my collection of recipes, and made plain white bread, as well as raisin bread (twice), lemon squares (twice), blondies, bran muffins (twice) for my mom, shortbread cookies, corned beef hash, my pepperoni pizza, and, the subject of this post, my mom’s turkey stuffing — of course, to use for family Christmas dinner, which I also made this year!

The various steps were performed over several sessions during the week (mostly cubing and drying bread), however, for the sake of narrative, the photos are listed, largely, as though it could have been done in two sessions. And, despite stating in the recipe that its cooking in a turkey is beyond the scope of the recipe, I do indeed show at the end of this post the cooking of the stuffing with the Christmas turkey, in response to a conversation with, and comment from, my brother: “If you get a trailer, you want to see it hooked up to a truck.

Making the turkey stuffing:

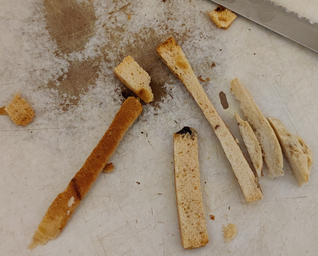
Although the following picture was taken this past week as part of preparing for making the stuffing, normally, throughout the year I collect bread bits and bread crusts …

Collected bread crusts

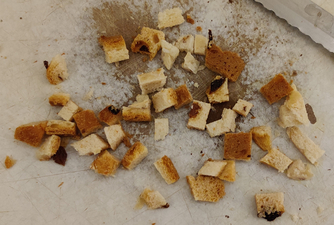
… and as I collect them I cube them and dry them, to add to a container of dried bread cubes:

Bread crusts cubed

This week, bread I’d just made was taken out:

Freshly baked bread taken out

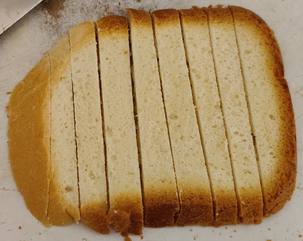
The loaf of bread was sliced for freezing, and some slices were put aside:

Bread slices taken out

Bread slices were sliced into spears:

Bread sliced into spears

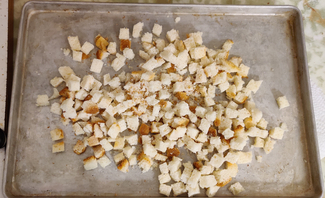
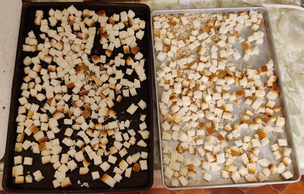
The bread spears were cut into cubes and placed on a tray to dry:

Bread cubes placed on a tray to dry
Bread cubes placed on trays to dry

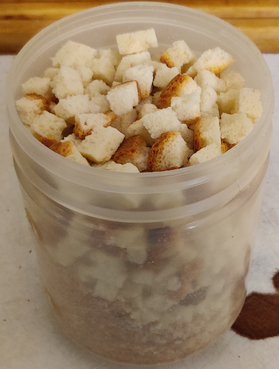
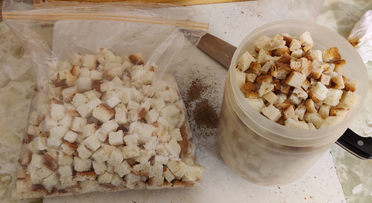
Once dried, the bread cubes were placed in a container I fill over time with dried bread cubes:

Container with dried bread cubes

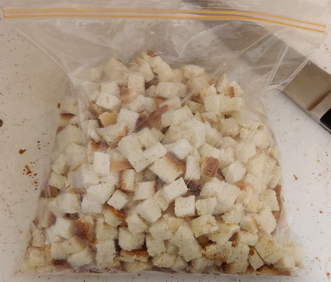
Fresh bread cubes were also put aside in a freezer bag and frozen, to be used later in the week when I made the turkey stuffing:

Fresh bread cubes in a freezer bag put aside for later in the week when I made the stuffing

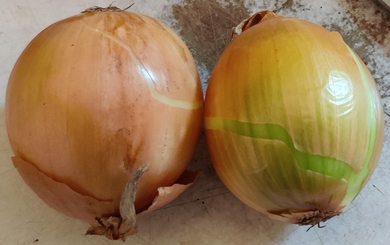
On the day I made the turkey stuffing, onions were taken out:

Onions taken out

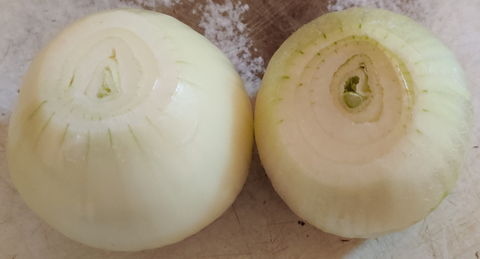
The onions were cleaned and trimmed:

Onions cleaned and trimmed

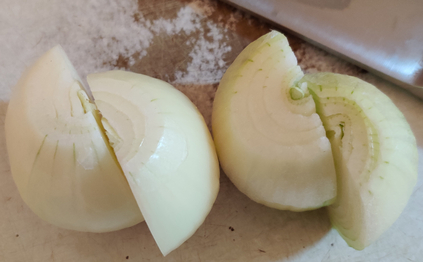
The onions were cut in half:

Onions cut in half

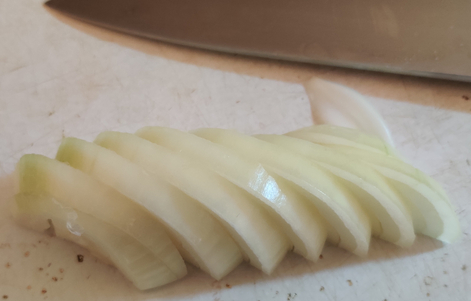
The onion halves were sliced into half coins:

Onions sliced into half coins

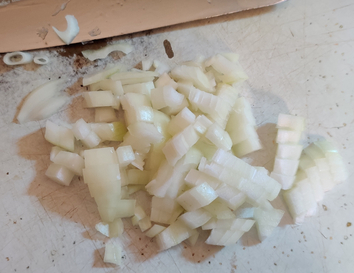
The onions were somewhat finely chopped:

Onions somewhat finely chopped

The chopped onions were transferred to a microwave oven safe cooking vessel, and put aside for a few moments:

Chopped onions transferred to microwave oven safe cooking vessel

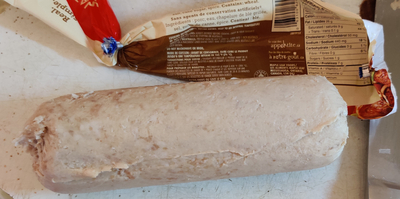
Bulk sausage meat was taken out:

Bulk sausage meat taken out

… and removed from its packaging:

Bulk sausage meat removed from its packaging

The sausage meat was broken up by hand and placed in the microwave oven safe cooking vessel along with the chopped onions:

Bulk sausage meat broken up by hand and placed in microwave oven safe cooking vessel along with chopped onions

The sausage meat and onions were mixed together by hand:

Sausage meat and chopped onions mixed together

Time was set on my microwave oven:

Time set on microwave oven

The microwave oven safe cooking vessel was placed in the microwave oven:

Microwave oven safe cooking vessel placed in microwave oven
Microwave oven safe cooking vessel in microwave oven

Part way through cooking the sausage meat and onions, they were taken out and large pieces were broken up with a large spoon:

Sausage meat and onions broken up with large spoon

Mostly cooked sausage and onions:

Mostly cooked sausage meat and onions

The fresh and dried bread cubes were taken out:

Fresh and dried bread cubes taken out

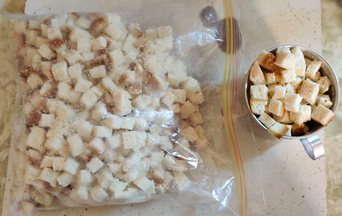
Fresh bread cubes were measured out:

Fresh bread cubes measured out

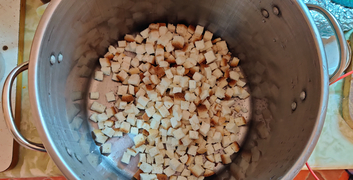
Fresh bread cubes were transferred to a large mixing vessel, in this case, my 16 litre soup pot:

Fresh bread cubes transferred to large mixing vessel
Fresh bread cubes in large mixing vessel

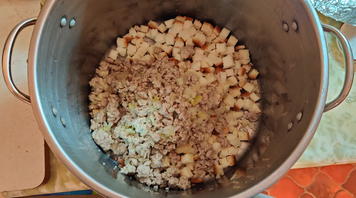
The cooked sausage meat and onions were added to the bread cubes

Cooked sausage meat and onions added to bread cubes

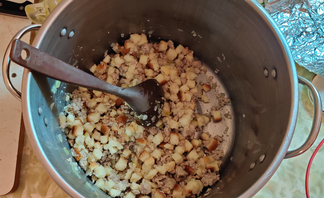
The bread cubes and the cooked sausage meat and onions were mixed with a large mixing spoon:

Ingredients mixed with large mixing spoon

Chicken soup base was taken out:

Chicken soup base taken out

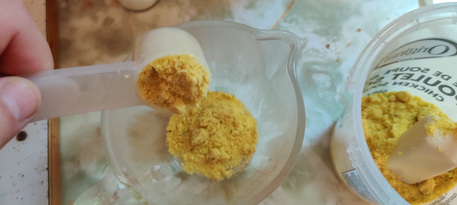
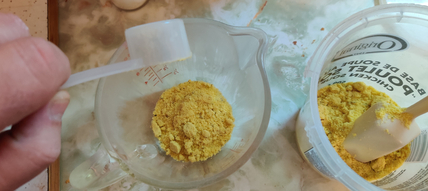
Chicken soup base was measured out:

Chicken soup base measured out

The chicken soup base was added to a measuring cup:

Chicken soup base added to measuring cup

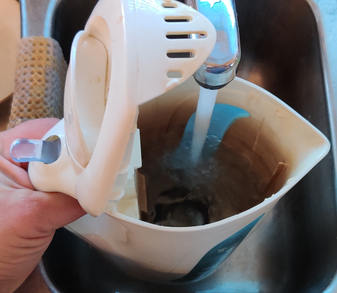
Water was added to an electric kettle:

Water added to electric kettle

The kettle was turned on:

Kettle turned on
Kettle turned on

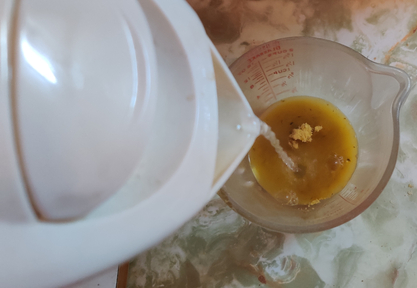
Once boiled, boiling water was added to the measuring cup with the chicken soup base:

Boiling water added to measuring cup with chicken soup base

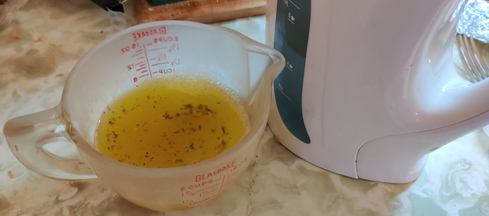
The chicken soup base and the boiling water were mixed together:

Chicken soup base and boiling water mixed together

The chicken soup was added to the rest of the ingredients:

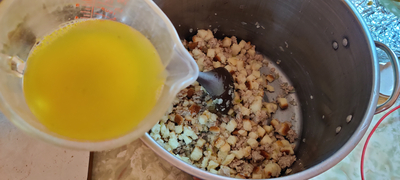
Chicken soup added to rest of ingredients

The ingredients were mixed together again with the large spoon:

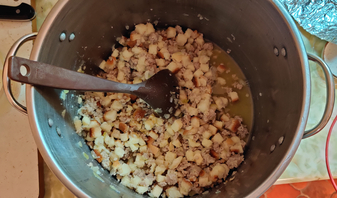
Ingredients mixed with large spoon

Savoury (spice) was taken out:

Savoury taken out

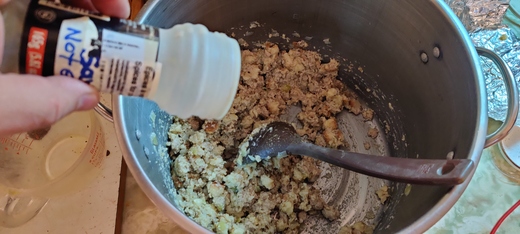
The savoury was sprinkled over the ingredients, and the ingredients were mixed again:

Savoury sprinkled over ingredients

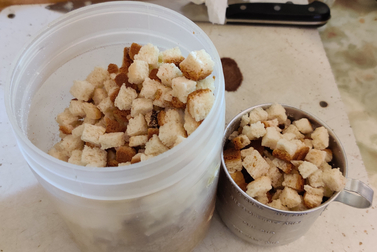
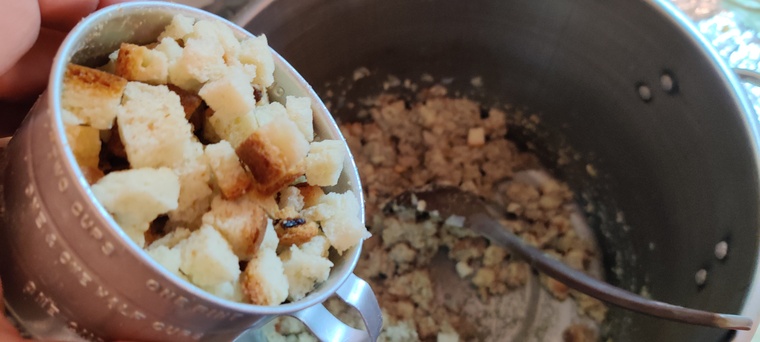
Dry bread cubes were measured out:

Dry bread cubes measured out

The dry bread cubes were added to the rest of the ingredients:

Dry bread cubes added to rest of ingredients

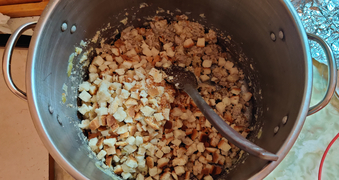
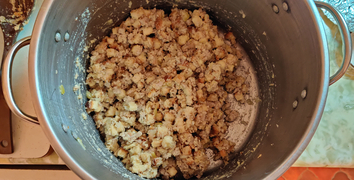
The ingredients were yet again mixed together with the large spoon:

Ingredients mixed again

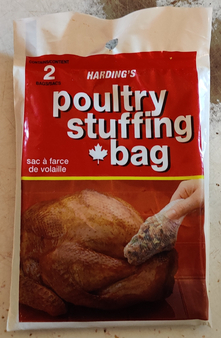
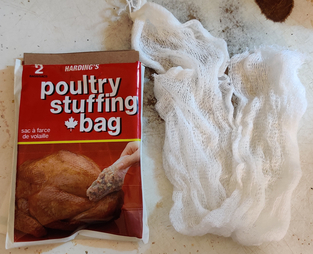
Gauze poultry stuffing bags were taken out:

Gauze poultry stuffing bags taken out

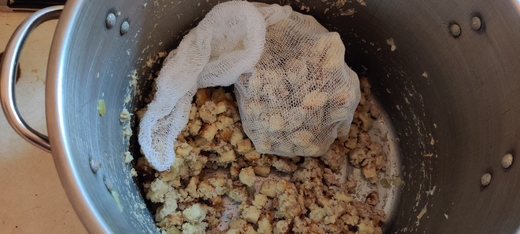
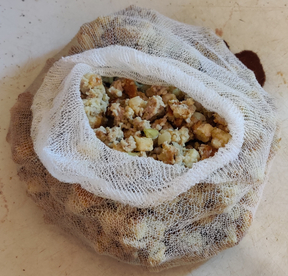
A gauze bag was filled with the stuffing:

Gauze bag filled with stuffing

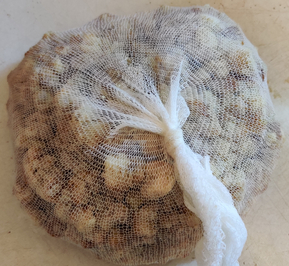
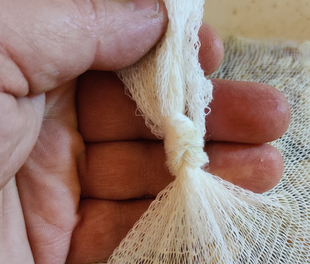
The gauze bag was tied off:

Gauze bag tied off
Gauze bag tied off

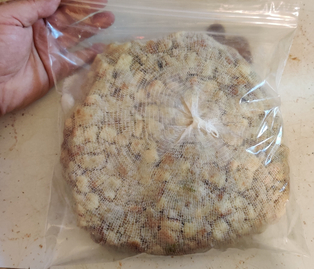
The gauze bag was placed in a sealable freezer bag and placed in a fridge for use later, on Christmas day:

Stuffing placed in a plastic bag for later use

And in the spirit of seeing the “trailer hooked up to a truck”, here are photos from Christmas day, cooking the turkey and stuffing:

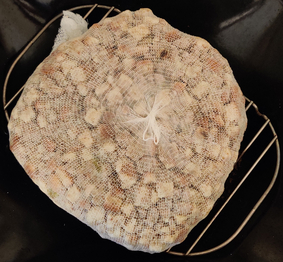
On Christmas day, the gauze bag with the stuffing was taken out of the freezer bag, and placed on a baking rack in a roasting pan:

Stuffing on baking rack in baking tray

Bacon was taken out:

Bacon taken out

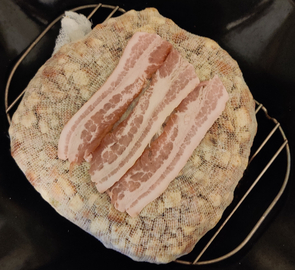
Slices of bacon were placed on top of the stuffing:

Bacon placed on top of stuffing

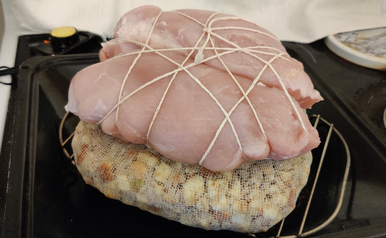
Two turkey breasts, tied together with butcher’s string, were placed on top of the stuffing:

Turkey breast place on top of stuffing

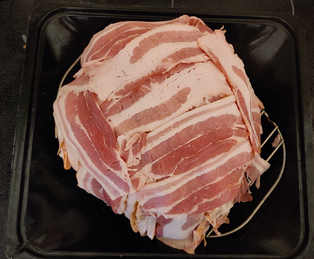
Bacon was liberally wrapped over and around the turkey and stuffing:

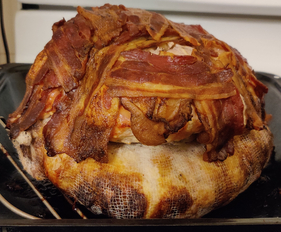
Turkey and stuffing wrapped with bacon

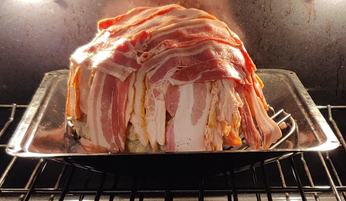
The Christmas turkey was placed in the oven:

Christmas turkey placed in oven

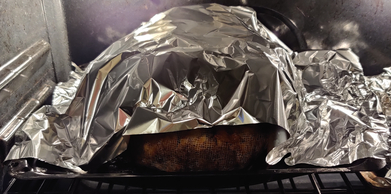
After some cooking, basting, and browning, aluminum foil was placed on top of the turkey partway through cooking the turkey in order to avoid burning on the outside and drying out of the turkey, while the inside of the turkey and stuffing continued to cook (a meat thermometer was critical):

Aluminum foil placed on top of turkey

The fully cooked turkey and stuffing were taken out of the oven:

Fully cooked turkey and stuffing

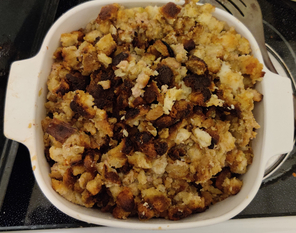
The turkey stuffing was taken out of the gauze bag and transferred to a serving vessel, ready for Christmas dinner:

Stuffing transferred to serving vessel ready for Christmas dinner

Yummy!

(And — mom loved it!)

It’s Christmas time, so I made some shortbread cookies — Photos

My aunt has been making shortbread cookies for a long time, and used to even send batches of her shortbread cookies through the mail across the country to my grandmother. At one point, I asked my aunt to teach me how make her shortbread cookies so that I could make them somewhat more often and then bring them directly and personally to my grandmother. Alas, my grandmother passed away a few years ago, but I have continued making the shortbread cookies because they are tasty, and my mom has said “why should I bother making my shortbread cookies when you make them (an albeit different recipe) so well?” 🙂

I recently made them for the third time in the past month or so, this time to make as a Christmas gift for my brother who also really likes them; I reminded him that our aunt is the mistress, and I merely the student. 🙂

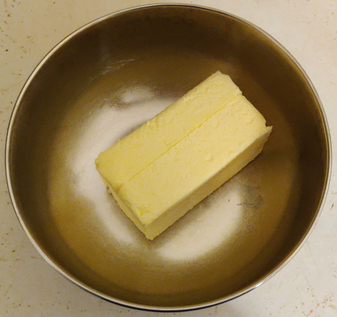
I started off by bringing a pound of butter to room temperature:

A pound of butter brought to room temperature

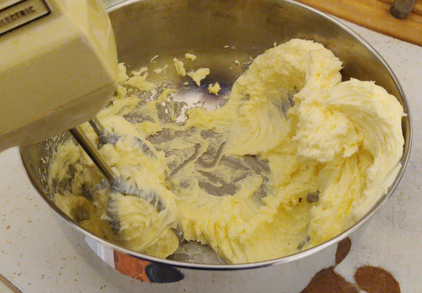
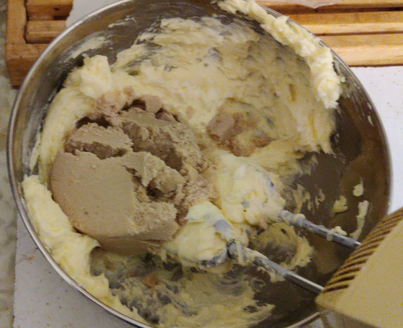
Then I creamed the butter with an electric beater (dating from the early 1960’s — it’s older than I am!)

Creaming the butter with an electric beater

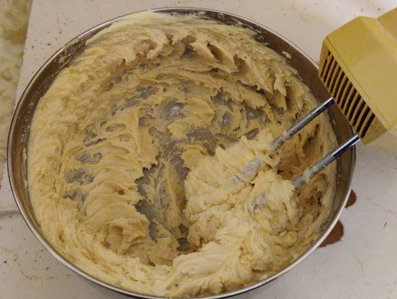
A cup (packed) of brown sugar was added …

A cup (packed) of brown sugar added.

… and then blended with the creamed butter.

1 (packed) cup of brown sugar blended into the creamed butter

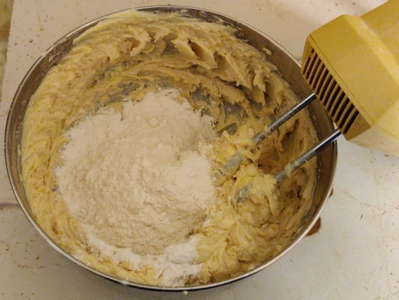
Four cups of regular flour were added, one cup at a time.

The first of four cups of flour added to the butter and brown sugar mix

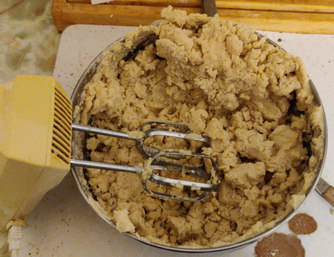
Here is the dough after all four cups of flour have been mixed in:

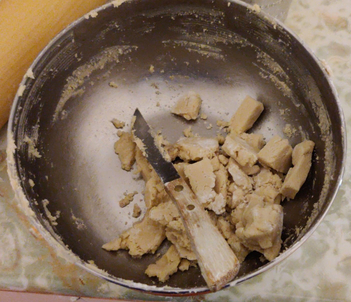
Dough after all the flour has been added and mixed together

Next, flour was spread on the cutting board to avoid sticking:

Flour on the cutting board

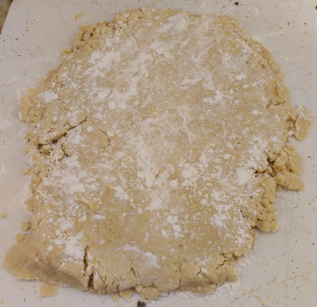
The dough was placed on the cutting board, floured a bit on top to avoid sticking, and flattened with my hands:

Dough on the cutting board, floured and flattened out by hand

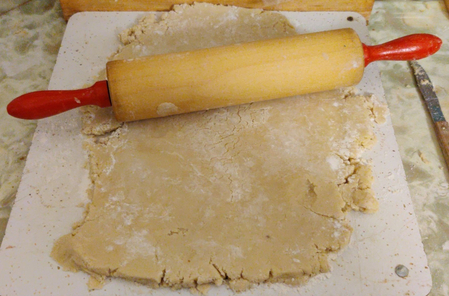
The dough was then further flattened out with a rolling pin.

Using a rolling pin to further flatten out the dough

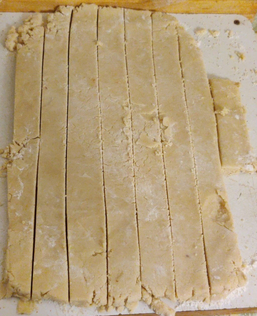
The dough was then cut into strips about an inch wide, and ends were cut off.

Dough cut into roughly 1″ wide strips

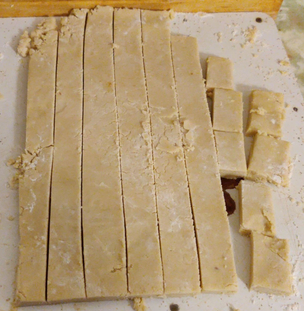
I started to cut the strips into roughly two inch lengths.

2″ lengths of dough were cut

Cuttings from the edges and cookie pieces that broke were put back in the mixing bowl to be formed together again to cut more cookies.

Dough cuttings put back in the mixing bowl

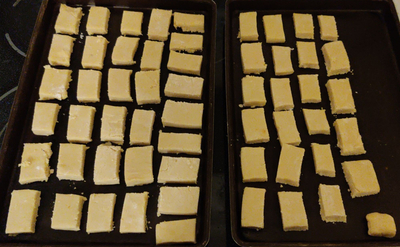
The rectangular cookies were placed on cookie sheets.

Cookie dough rectangles placed on baking sheets

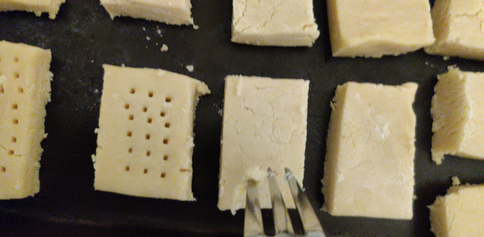
The cookies were then pricked with a fork. According to instruction #4 of the shortbread cookies recipe on the King Arthur Flour website (here’s my archive), it’s to allow steam to escape and avoid bubbling up of the cookies; to me it’s also been a matter of the traditions of the aesthetics of shortbread cookies; oh well, I do it because that’s how I was taught. 🙂

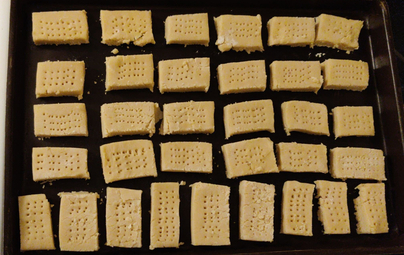
Pricking the cookies with a fork
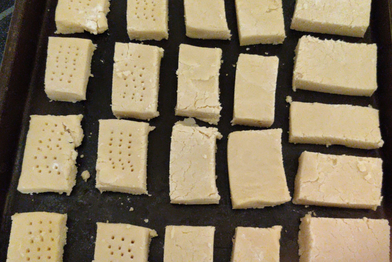
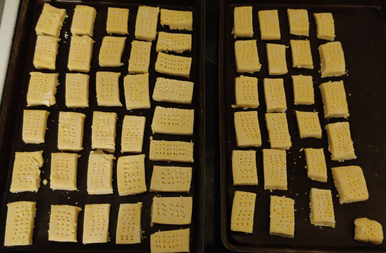
Some of the cookies have been pricked.

And here are all of my cookies, at the end of the pricking.

All of the cookies, pricked, ready to bake
Yet another closeup of the cookies, ready to bake

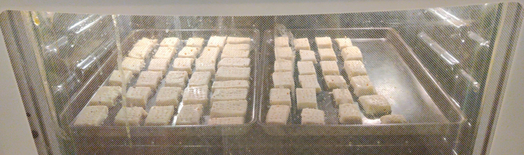
The cookies were placed in an oven preheated to 300F and baked for 22 minutes. This could vary somewhat based on your oven and the electrical load in your neighbourhood at the time you bake, but take them out when the bottoms just start to brown.

Shortbread cookies baking at 300F for 22 minutes

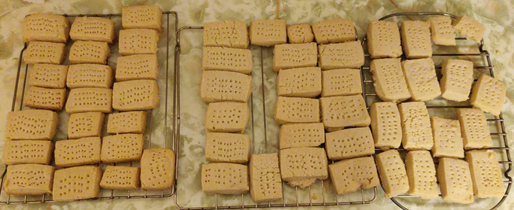
And here are the cookies, cooling on baking racks:

Baked cookies on cooling racks

Yes, there is a broken cookie in the upper right hand corner, it broke when I took it off the baking tray. Anyway, I had to do a quality control test, you must understand … it was yummy!

The cookies are now bagged up carefully and the bags placed in a box, which was placed in the freezer until Christmas Day when they will be given to my brother as one of his gifts.

Halloween 2020, my candy delivery tube, and inflatable decorations

Halloween Candy Delivery System

2020 for Halloween was slightly different, and a lot of the same, for me.

Given “the new normal” brought about contactless and distanced interactions, I had to rethink what I usually do for Halloween.

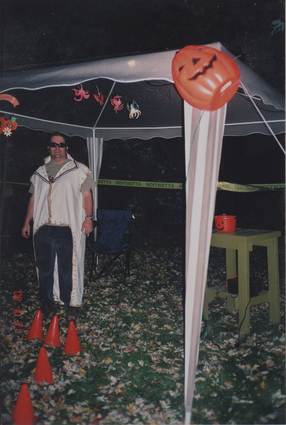
Normally, I set up a marquee on my front lawn, perhaps dress up a bit in (usually) a very simplistic Elvis costume, and give away candies to the ghosties and ghoulies in the usual way, while (badly) belting out a few Elvis tunes, and throwing in a few bellows of “Happy Halloween!”

Me during Halloween 2008, dressed in a simple Elvis suit

Over the years, I added a coffee urn to serve coffee to parents, cookies, juice boxes, and bags of chips, all on a side table, in addition to the candies I would hand out.

This year, there was some uncertainty as to whether Halloween would be allowed at all, but ultimately, where I live, the provincial authorities decided that Halloween was an important holiday for the children to participate in. Halloween activities for adults remained cancelled. This was great for me, since I prefer the street festival vibe of serving the ghosties and ghoulies over costume parties for adults.

However, this also meant that for me, there could be no serving of coffee, cookies, extra snacks, or juice boxes. Of course, contactless and distanced interactions were to be observed, such as placing a table at the end of your driveway, with the candies in individual bags for people to serve themselves. I found this last suggestion to be decidedly unsatisfactory.

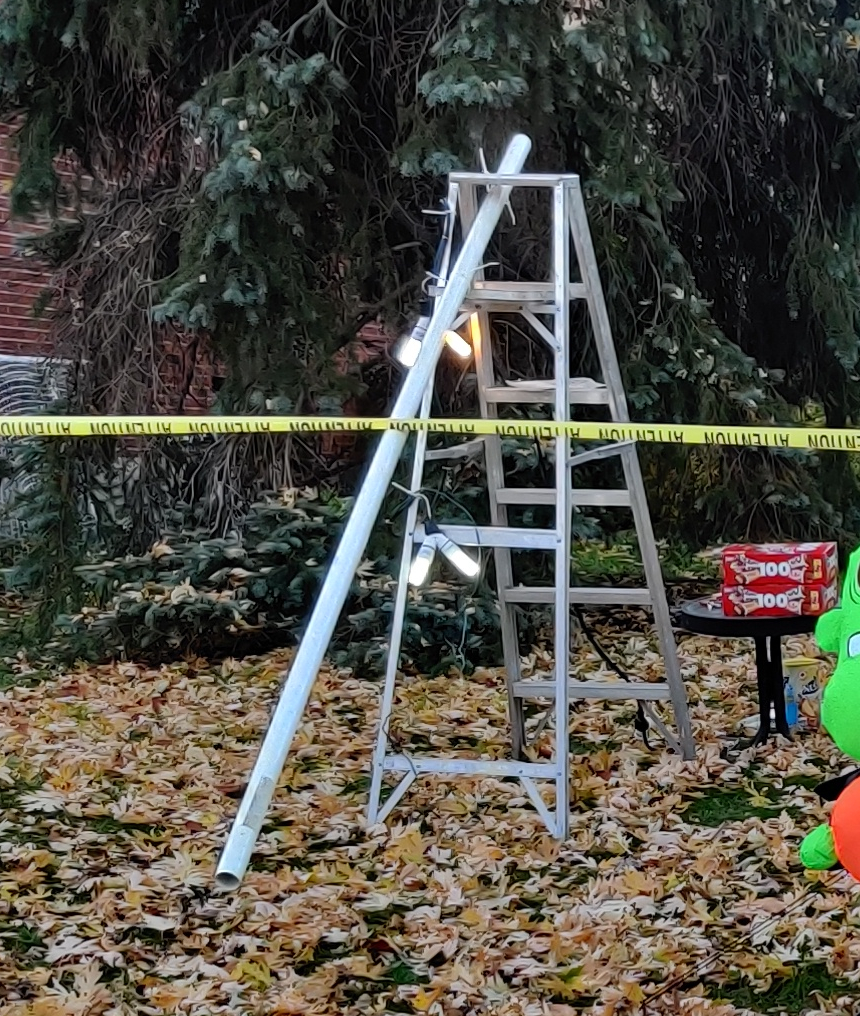
I thought about a tube delivery system, the topic of which was being discussed on the radio, while televised newscasts showed people demonstrating compressed air powered delivery systems. I chose something far more simple: A two inch tube, about ten feet long, and set up on an angle off of a step ladder.

This year’s candy delivery system, in the daylight

Operation was very low tech: I would be behind the ladder at the high end, while the ghosties and ghoulies would crouch down and place their bag or bucket at the bottom end of the tube, also on the other side of a cordoned off area. I would push three individually wrapped candies per child down the tube, one candy at a time, with a bit of flourish, calling out “One! Two! THREE!!!!!

And, if the candy didn’t make it down all the way, I would tip the ladder a bit to make sure that the candies would come out the other end.

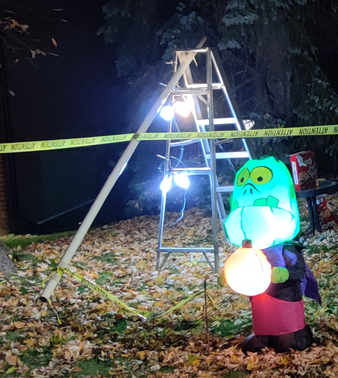
This year’s candy delivery system, lit up in the dark, with one of this year’s Halloween inflatables

The delivery system seemed popular, and adults thought it was cool enough. A lot, although not all, of the ghosties and ghoulies understood right away what to do, while others needed prompting from either the adults with them, or from me.

Inflatable Lawn Ornaments

I have also been taking a liking to the inflatable lawn ornaments that over the past few years have come out especially around Halloween, as well as around Christmas. While arguably a bit of a luxury item, I am cheap, so whenever I buy a new addition, I only buy the least expensive smallest units, sometimes on sale a day or two AFTER Halloween; I also don’t buy the (somewhat wildly) more expensive units which are licensed designs of movie or TV characters. (I am also somewhat concerned that at some point sufficiently far into the future when I still want to use them, that the premium paid will be lost on an icon whose heyday and easy recognition are long past.)

2020’s Halloween inflatables, with a couple of friends purchased years ago from a dollar store
2020’s Halloween inflatables, lit up in the dark

I purchased the ghost (on the right) a few years ago, and this year I added the green vampire monster, and the pumpkin head skeleton.

Final Count

Given that I wasn’t sure how many children would come, or even whether there would be any at all, I had a decent turnout. My better years have brought out almost 90 children. How many ghosties and ghoulies did I give out candies to this year? At three candies per child most of the time, and 200 candies purchased, with only nine pieces left over at the end, I estimate that I served about 60 children.

Now that Halloween 2020 has come and gone … it’s time for Christmas!

Christmas themed inflatables (squirrel, snowman, and fox)

Now that Christmas is on its way, today I felt that it was time to set up my Christmas-themed inflatables. In fact, while it’s only now the beginning of the fourth week of November and Christmas is still a month away, I’m actually a bit tardy — off the top of my head, I can think of at least five other houses on my block who have already set up Christmas lights and inflatables!

Fedora 12 installed — I’m a linux addict with an install every 6 months habit

Well over the past couple of weeks I’ve just installed Fedora 12 on three systems — mainly because I got a great great great new P4 3.0GHz home server, which I have been considering using as my desktop while using my current desktop as the server, a P4 2.8GHz.

To my dismay I have done this 6 months after I made a point of having the same version of Fedora on all my computers so as to avoid the “reformat a system every six months” treadmill that I was on by having different versions, because, well, my old server died and of course there was no point to putting a 6 month old version of Fedora on which I would only *have* to change 6 months from now, anyway … Sigh, the bliss of using CentOS, were only it not so completely obsolete, I would love to use it again … However on the other side, Fedora is the crack cocaine of “latest and greatest”, so for the moment there’s no going back!

All of this started back in, what, September, if not before; I couldn’t get the 80 gig drive and the 500 gig to play nice together, or so I thought. There *was* an issue with different spin speeds, but wait folks, there’s more. When I *did* have the 500gig as the boot disk, something seemed off with the amount of available storage, although I wasn’t fully aware. When I finally brought the 500 back as the boot drive, the installation went well several times with Fedora, then with Centos 5.1 (which would have been promptly updated upon reboot.) Except, the first reboot wouldn’t work, the system would freeze, and the keyboard buffer would fill up real quick. Forums were of little help, with sufficient dead ends and apparent red herrings. Finally, I started figuring out on my own that the BIOS was way too old to recognize such a large drive, and flashing it with a “new” bios would have required a lot of fun with WINE, which I wasn’t really wanting to get into using a live CD.

Christmas and a new server came along, and I’m up and running with a desktop upgraded from june 2008 — CentOS 5.1 to 5.2, July 2008 some version of Ubuntu, December 2008 Fedora 10, July 2009 Fedora 11, and now January 2010 Fedora 12 … and a netbook, a laptop which is no longer used, an old server, and a new server following a similar route for much of the way each. So much for even taking advantage of Fedora’s “1 month after the release of the second version following” … I’m still upgrading every 6 months!

As a result, though, I finally now have refined my “to-do” list when installing a machine so that it’s not so much of a hassle, and in fact two of the three setups were not only a breeze in and of themselves but the to-do lists also made the rest of the work a breeze, too. Of course my brother told me two years ago that his list was 300+ steps long and he’d found a two year old such list, that was only about 120+ items long. My list is currently somewhere around 58 items long depending on how you count it … I wonder how long it’ll take to get to 300? 🙂

However, I had problems with the desktop right after it was installed like a breeze, the disk boot sector died (I expected it would anyway as of about 6 months ago) and funnily enough the mem stick on which the setup worked like a breeze before suddenly wasn’t cooperating. Gotta figure out what was going wrong with UNetbootin creating the ram stick images from ISO, in which, curiously, the boot image required after the disk formatting in Anaconda wasn’t being properly copied or at least activated on the ram stick.

Anyway, I think I have to work on getting the most out of the system, I bet that months from now Fedora will find a way to make me upgrade again, with that lucky number associated with it and all … 🙂