
This recipe came about after another conversation with ChatGPT about easy-to-chew foods, and the recipe was suggested by the chatbot. To my pleasure, it’s tasty, and Mom likes it!
To be clear, this is a savoury, main meal component, not a dessert that might elicit a reaction of “I’m not having that for dessert!”, or at least cause you to scratch your head and wonder to why it was being offered for dessert! (As in, usually, custards are sweet desserts.)
Making the Pork Custards:
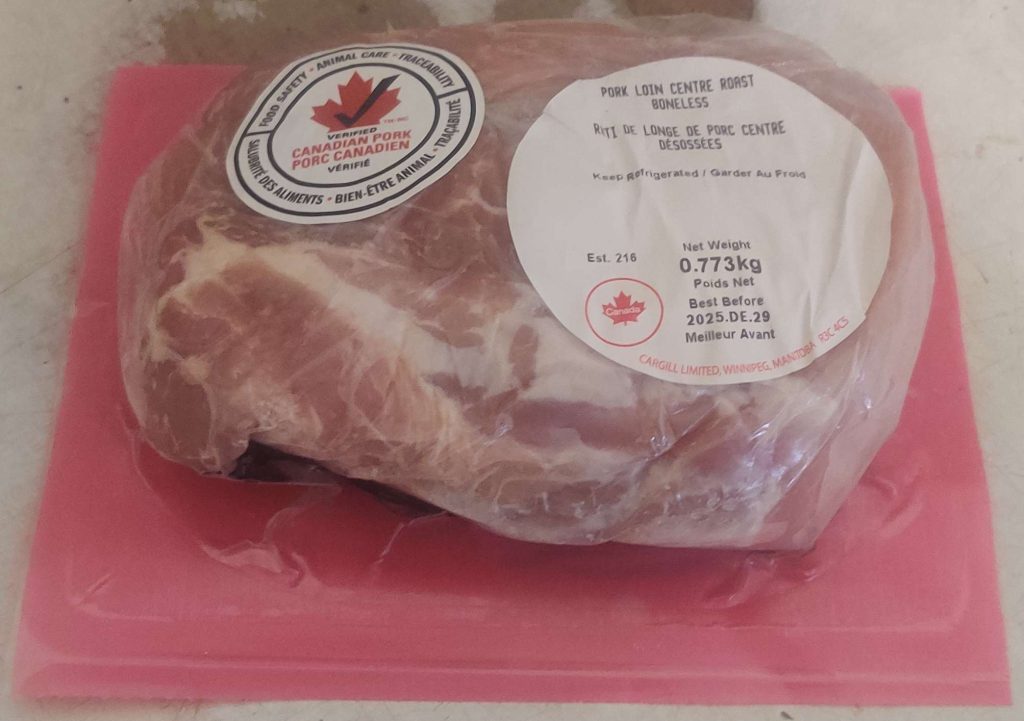
First, a pork roast, which had been purchased last December on special and frozen right away, was taken out of the freezer the night before the cooking project, and kept in the fridge to defrost overnight:
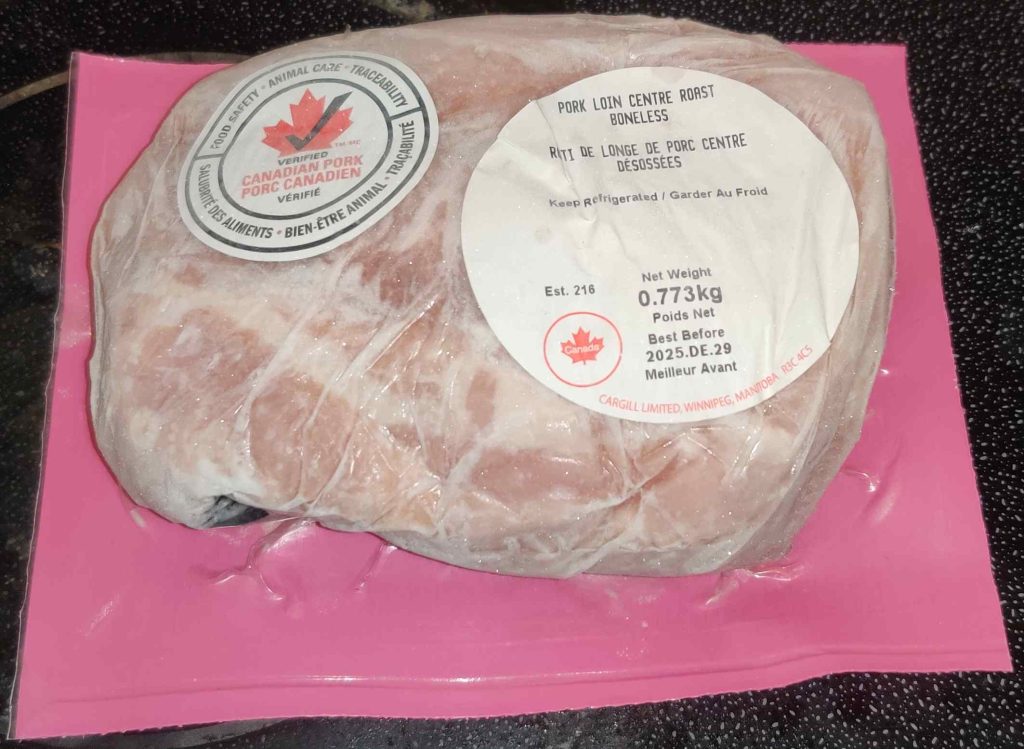
Note that the weight of the pork roast is about half as much larger than my base recipe, so as I was preparing the dish, I adjusted measures upwards accordingly.
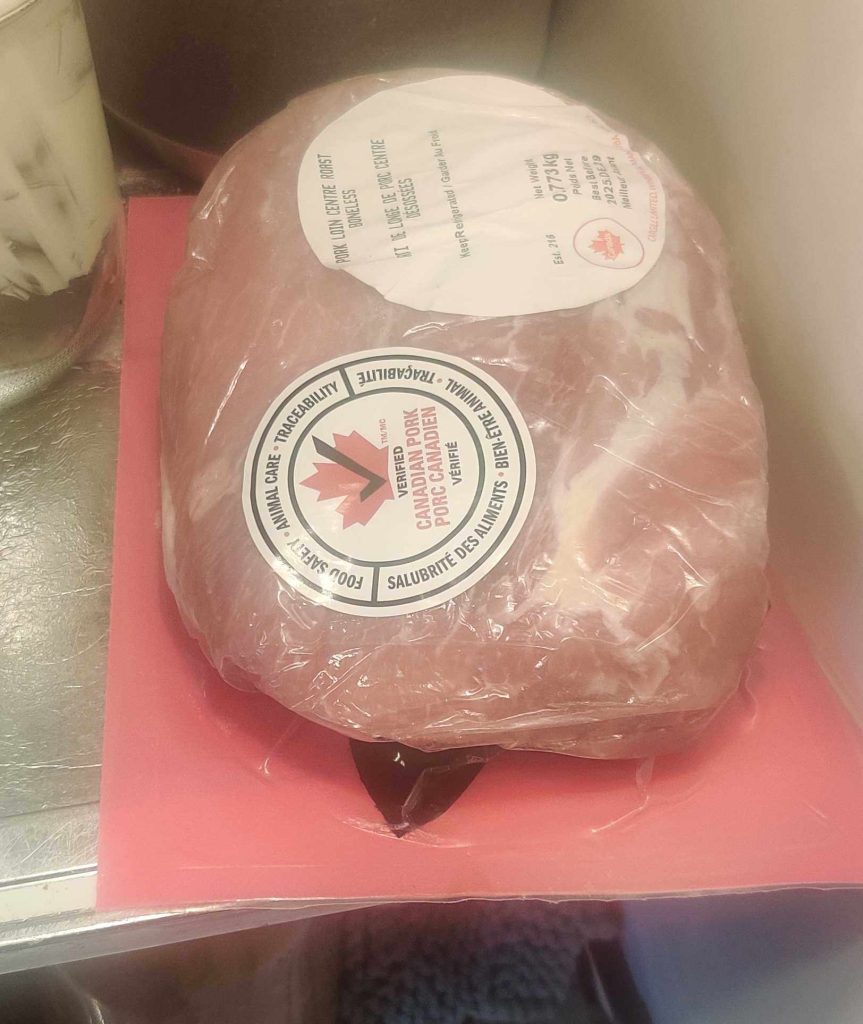
The roast was left on the counter for a couple of hours to begin defrosting, and then it was placed in the refrigerator to continue defrosting overnight:
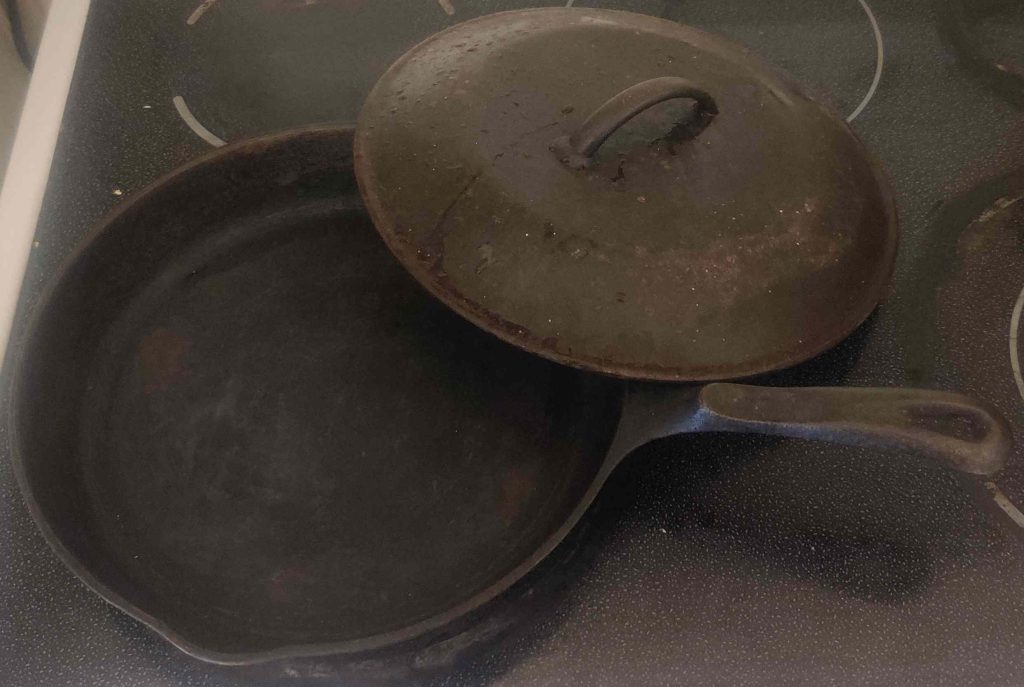
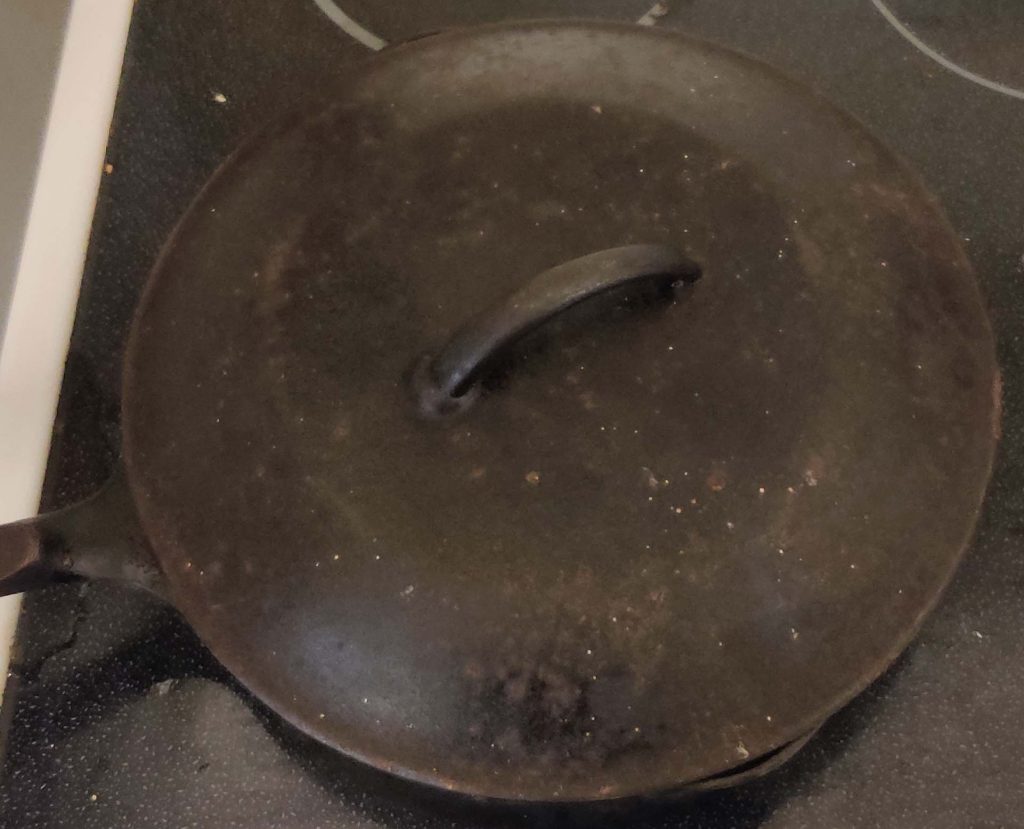
When I began the cooking project the next day, a cast iron frypan and a braising lid were taken out:
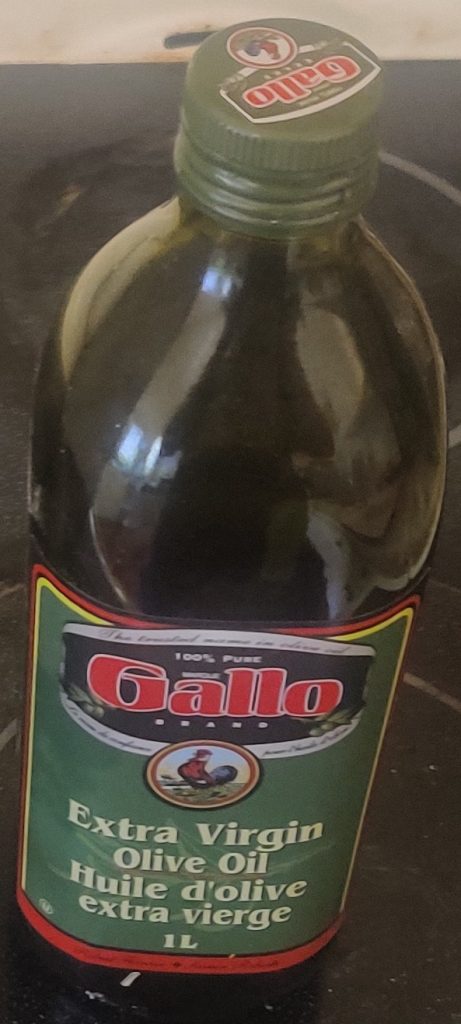
A bottle of olive oil was taken out:
The bottle of olive oil was opened:
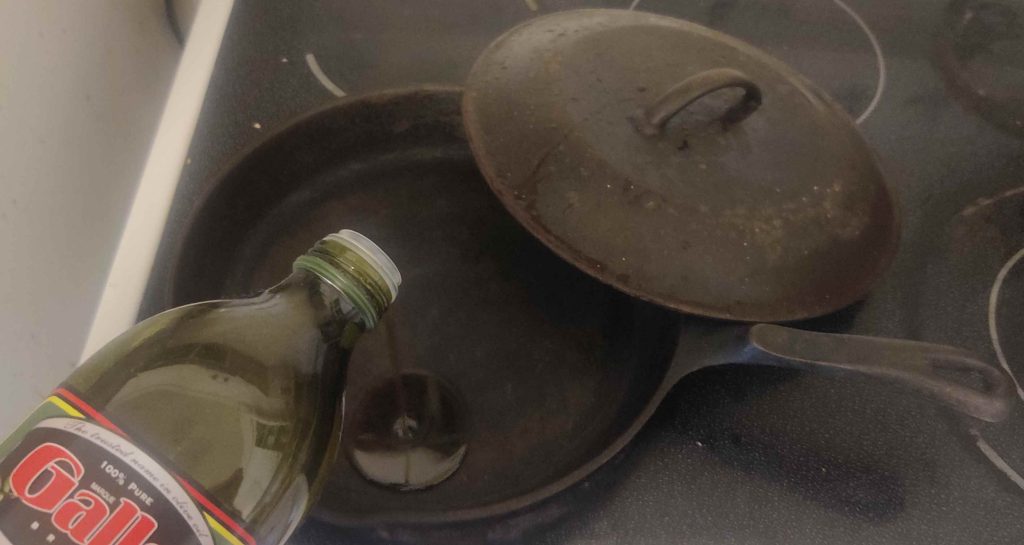
Olive oil was poured into the frying pan:
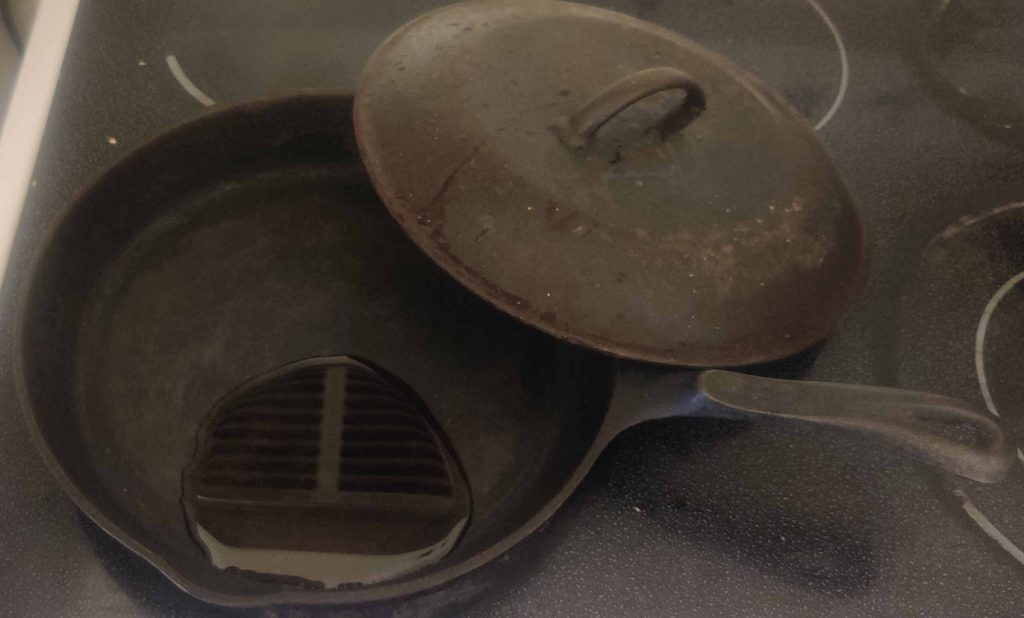
A spatula / egg flipper was taken out:
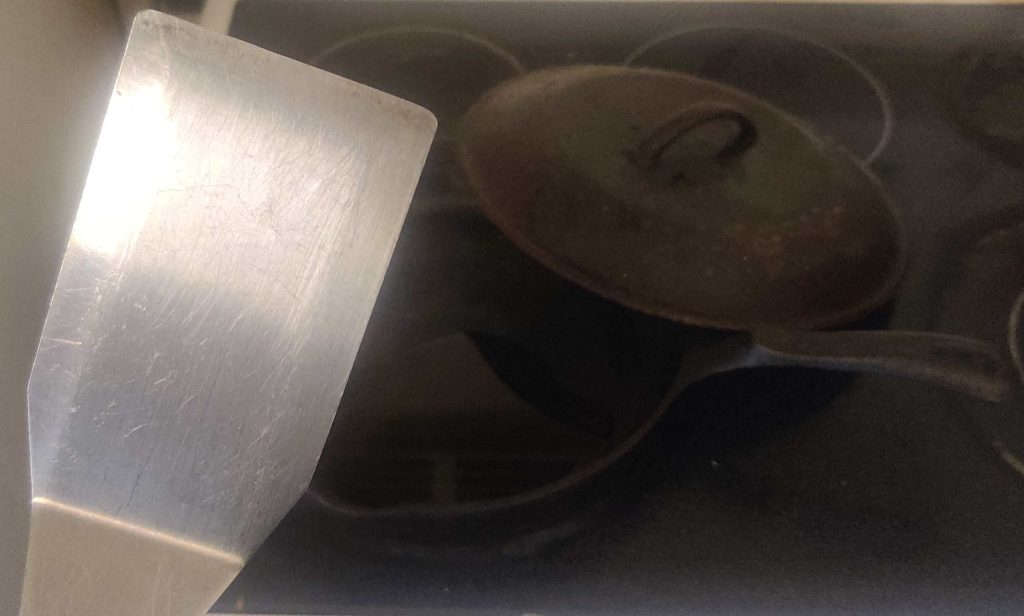
The oil in the frying pan was spread around with the egg flipper:
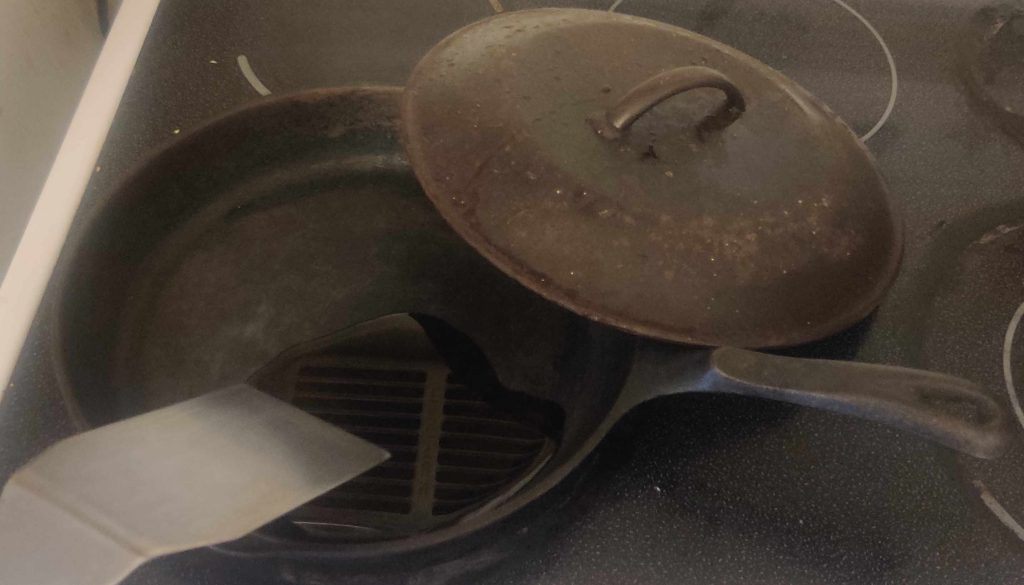
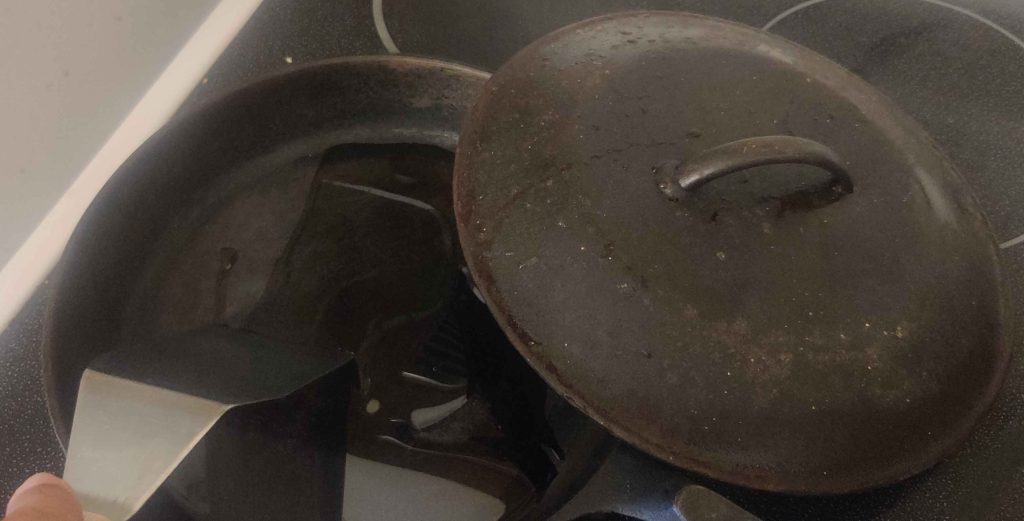
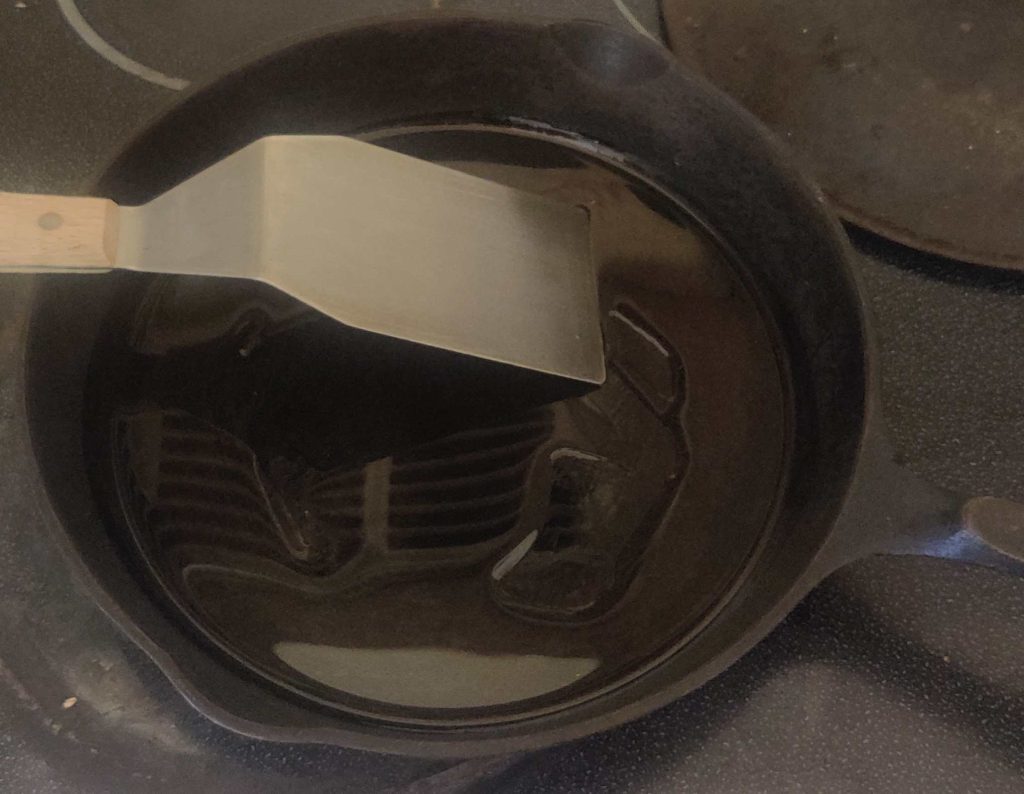
The oiled pan was put aside for a few moments.
The defrosted pork roast was taken out of the refrigerator:
Scissors were taken out, to open the packaging:
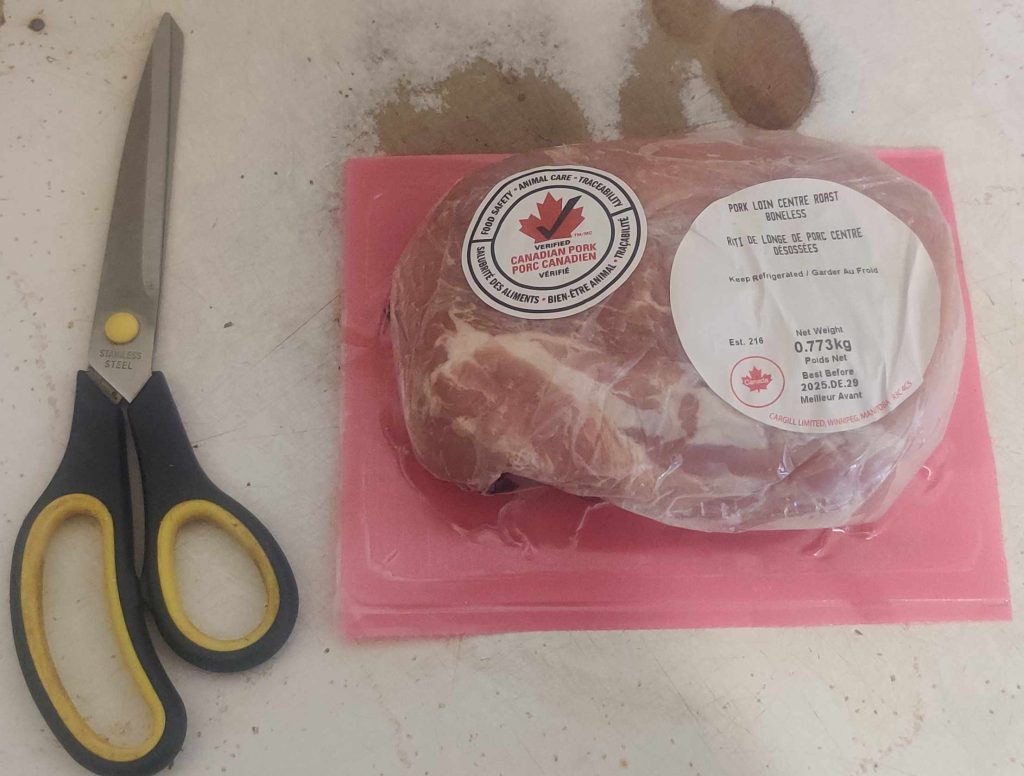
The packaging was opened up with the scissors:
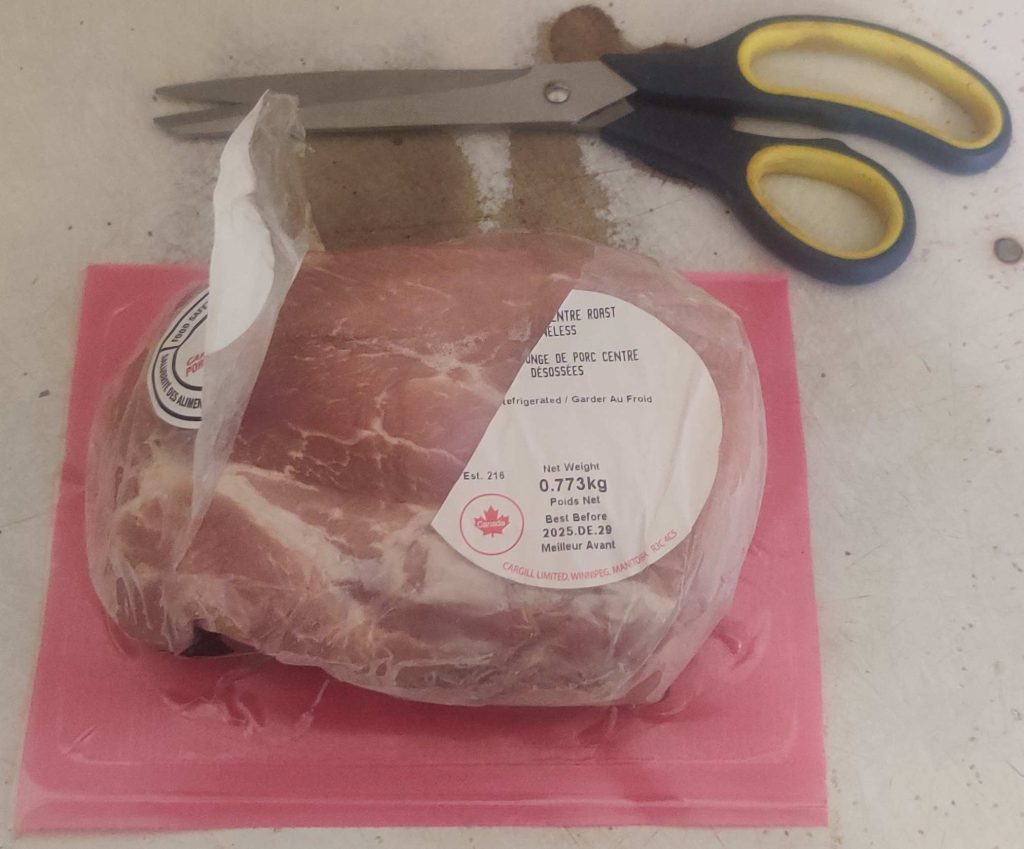
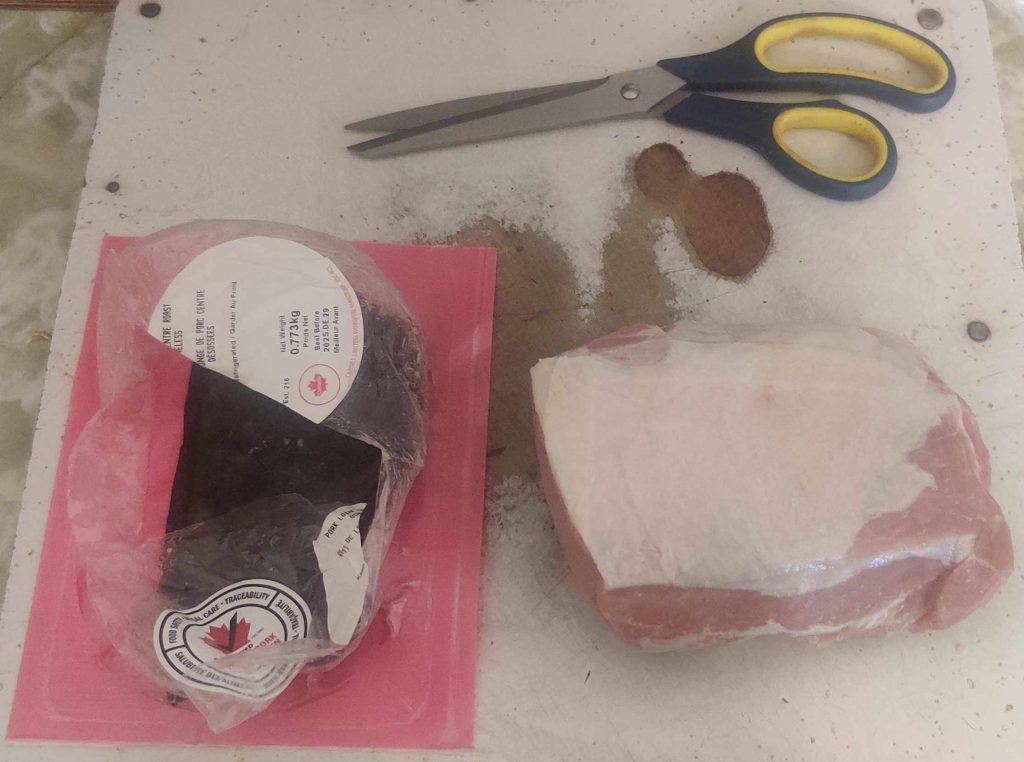
And the pork roast was removed from the packaging:
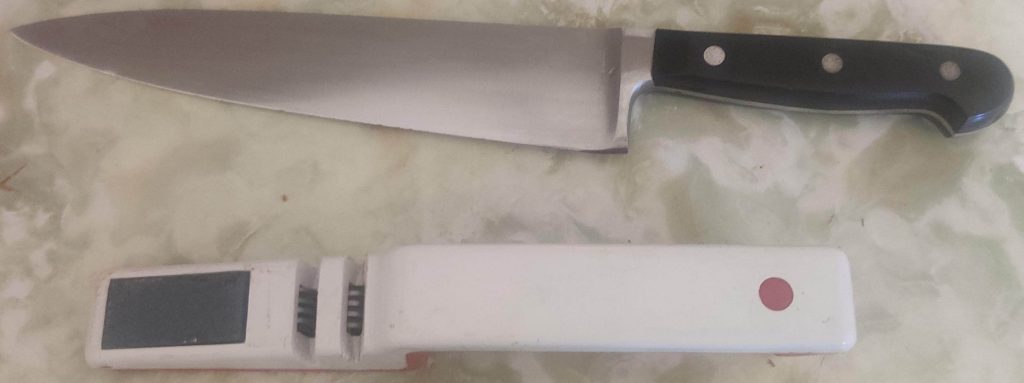
A kitchen knife and knife sharpener were taken out, and the knife was sharpened:
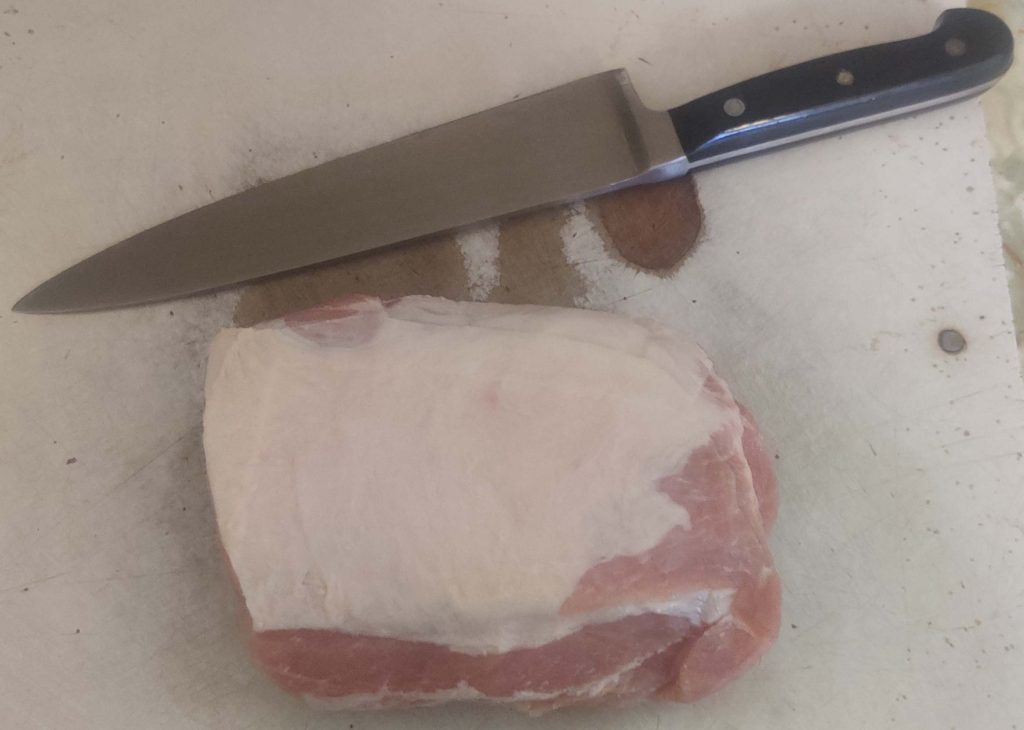
The sharpened knife was brought over to the pork roast:
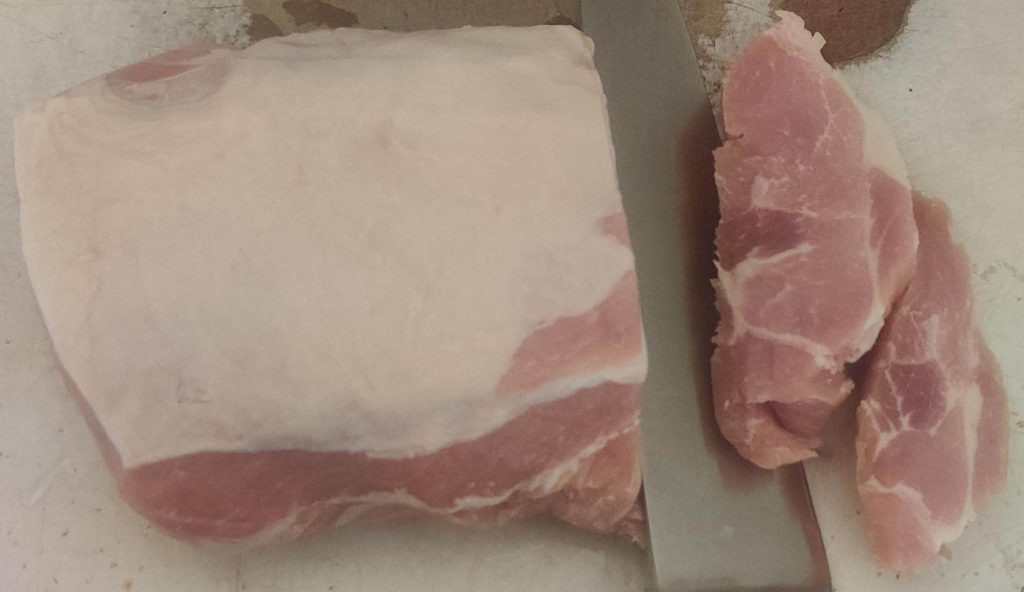
The pork roast was sliced into pork chops:
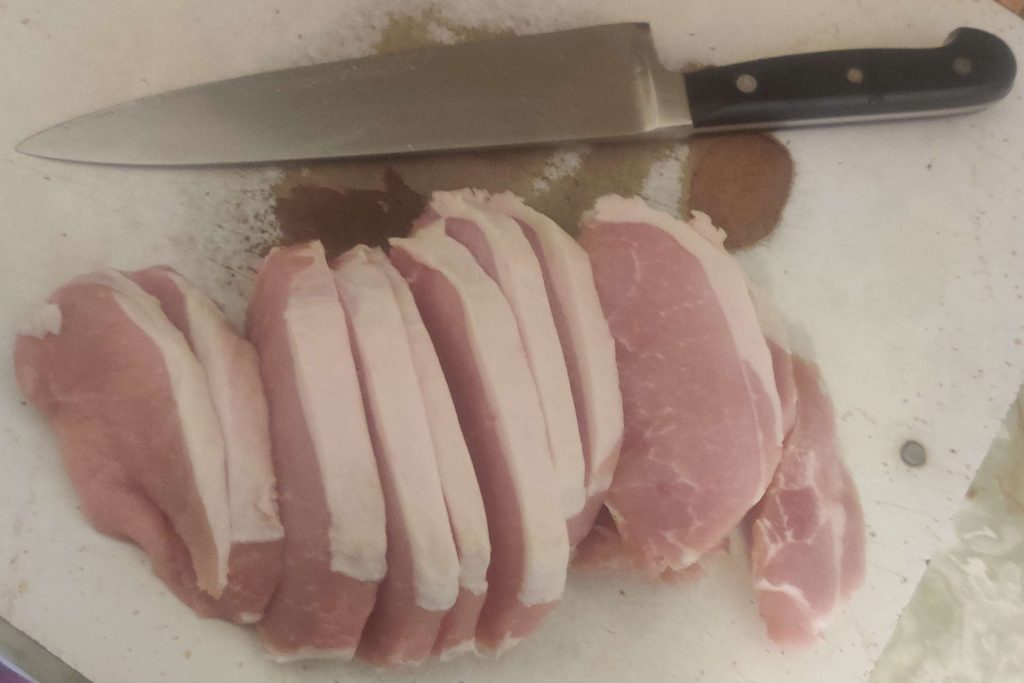
Note that I intentionally did not trim off the fat, since it will be integrated into the custards later.
The pork slices were then cut into cubes:
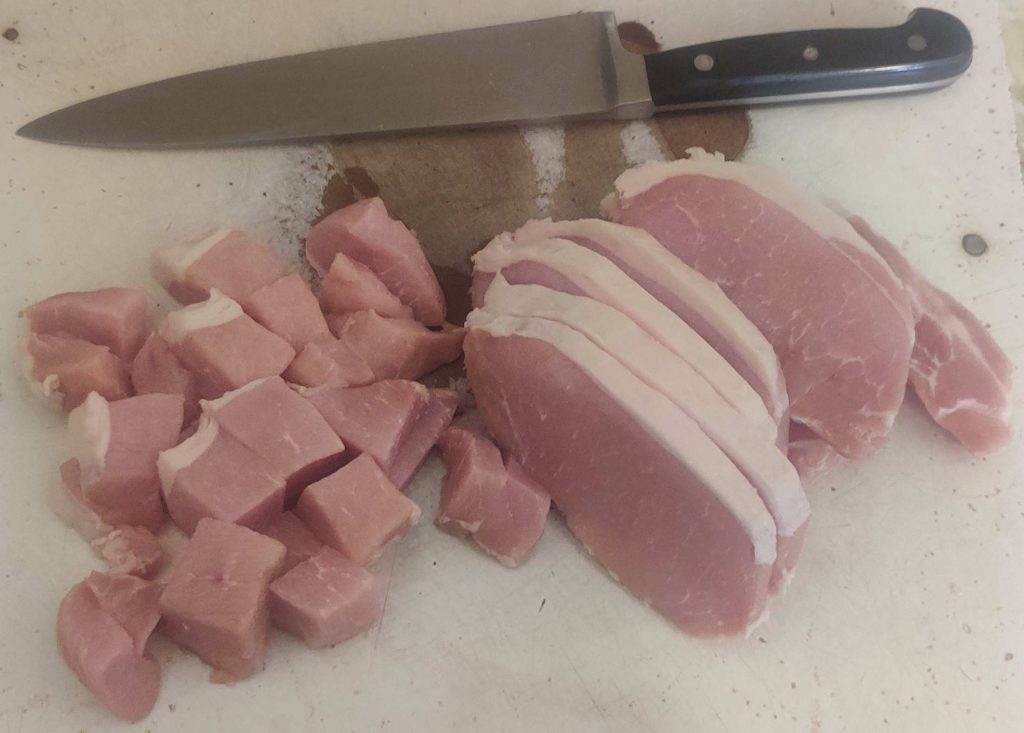
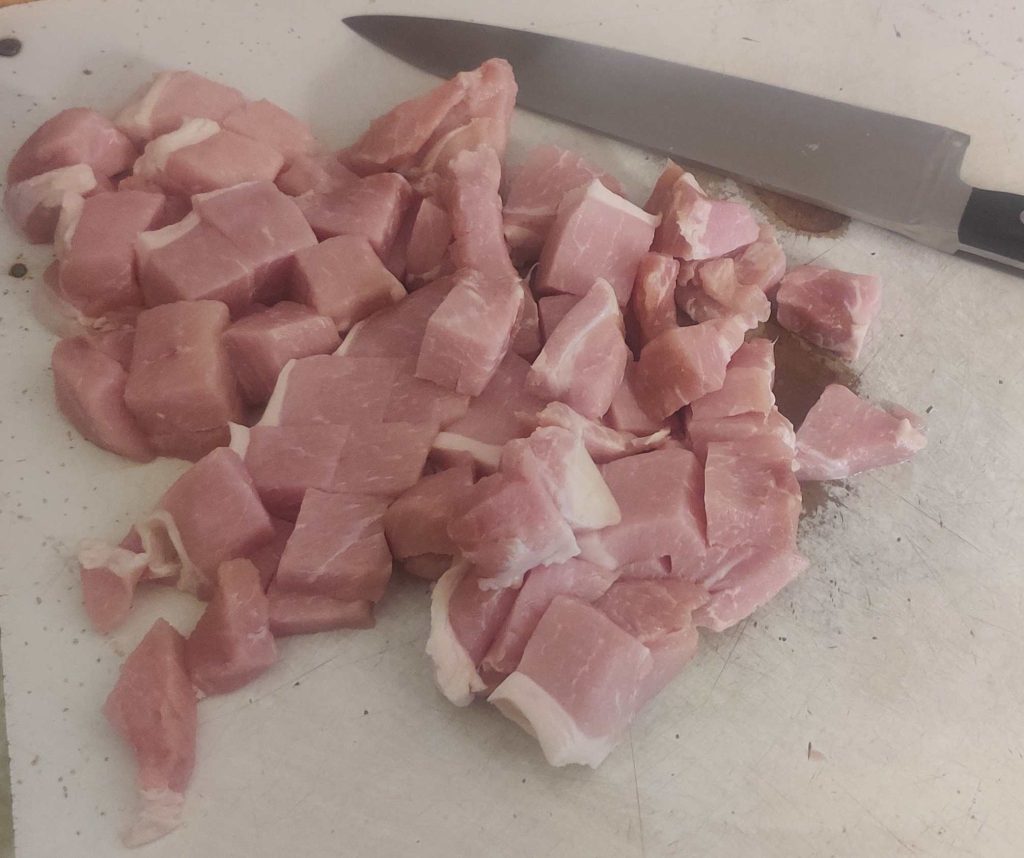
The pork cubes were transferred to the oiled pan:
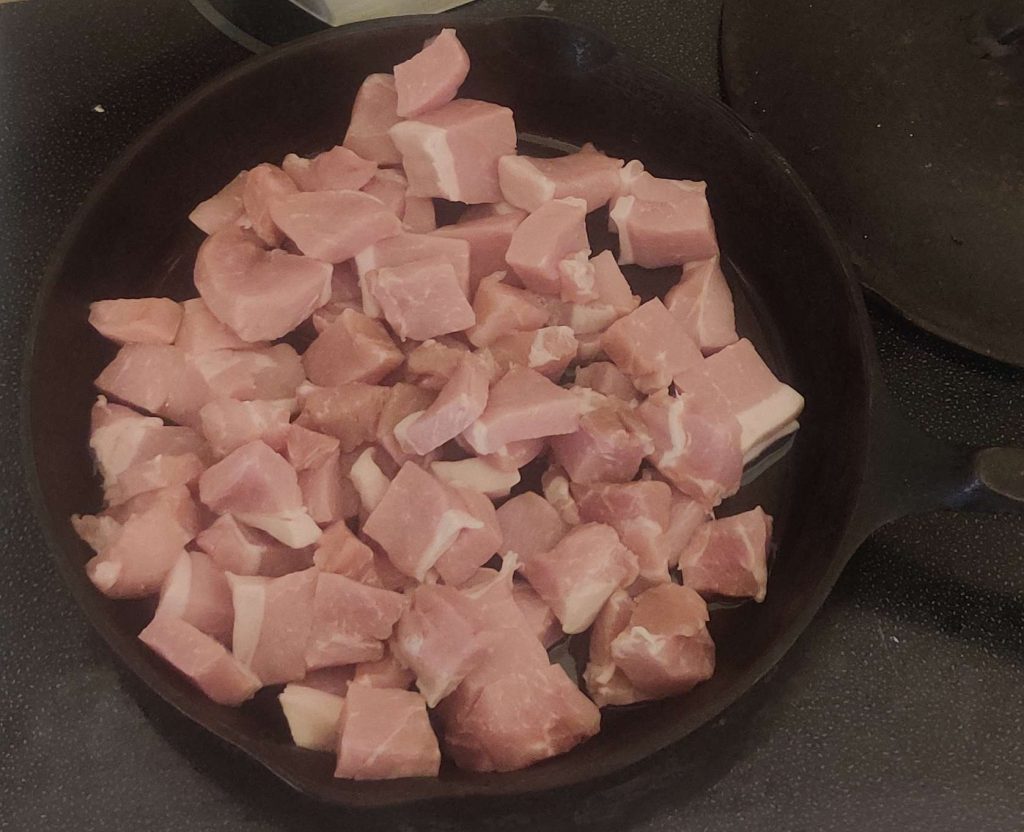
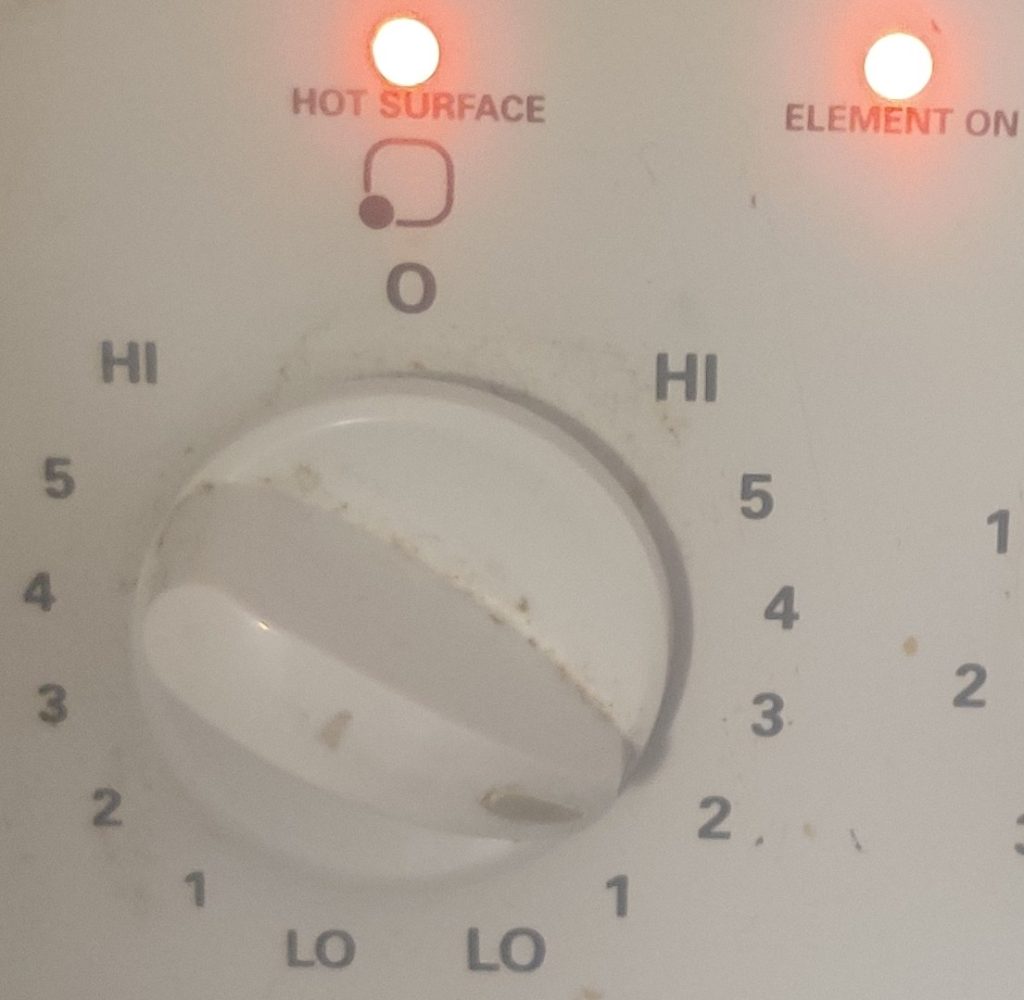
The stove burner was turned on to a low setting — and oh, my! the cleaning work I had done two weeks ago while making pulled pork was obviously inadequate! (And yes, during the mounting of this post, I started cleaning again!)
As the pork began to cook, I started turning it over:
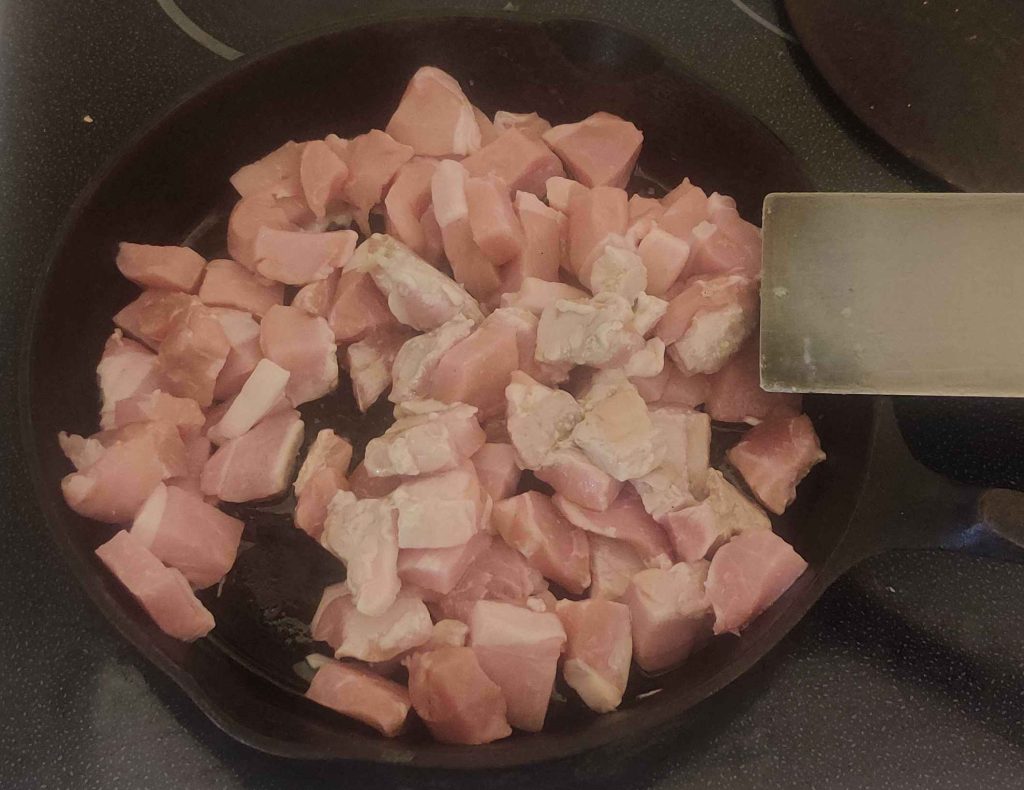
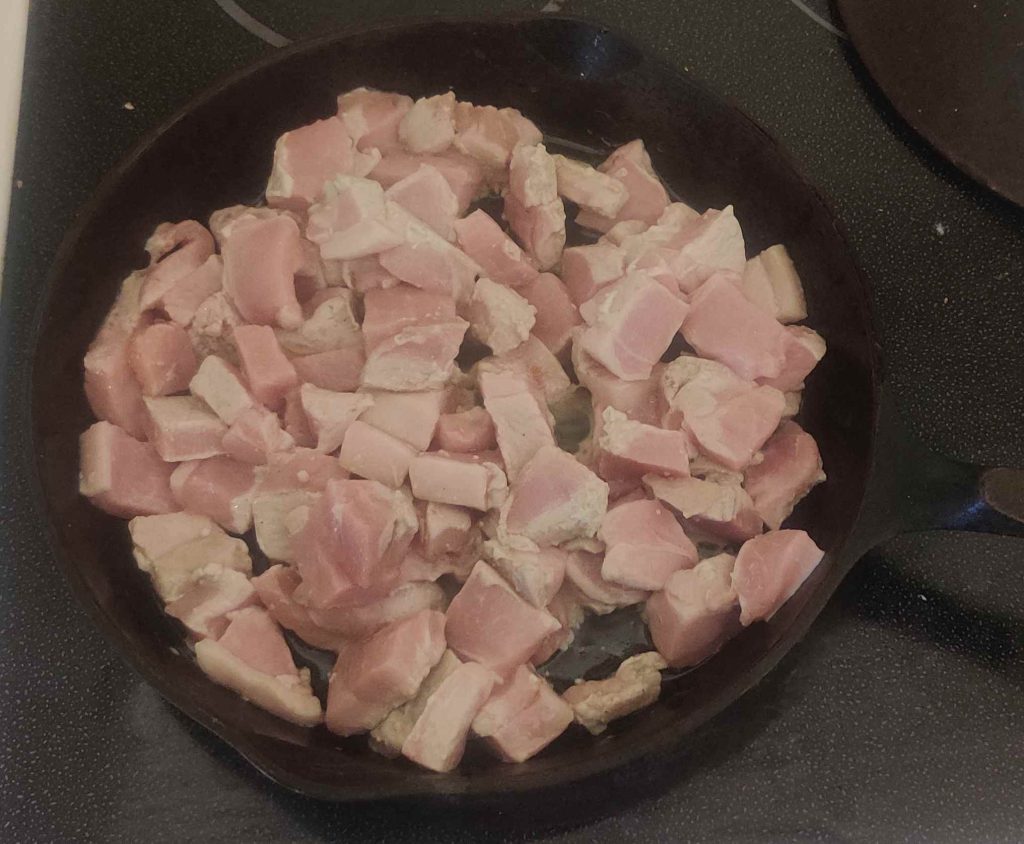
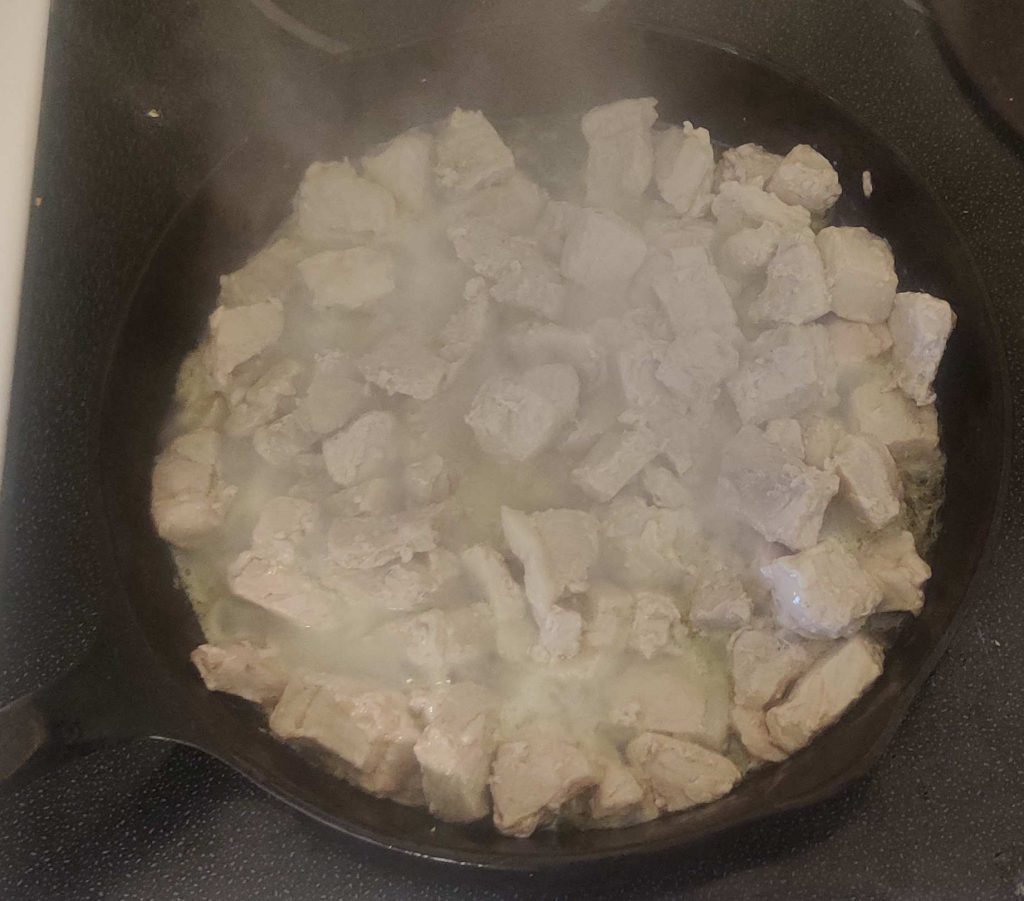
During the heating up process, a good amount of liquid was rendered — but, of course, not thrown out:
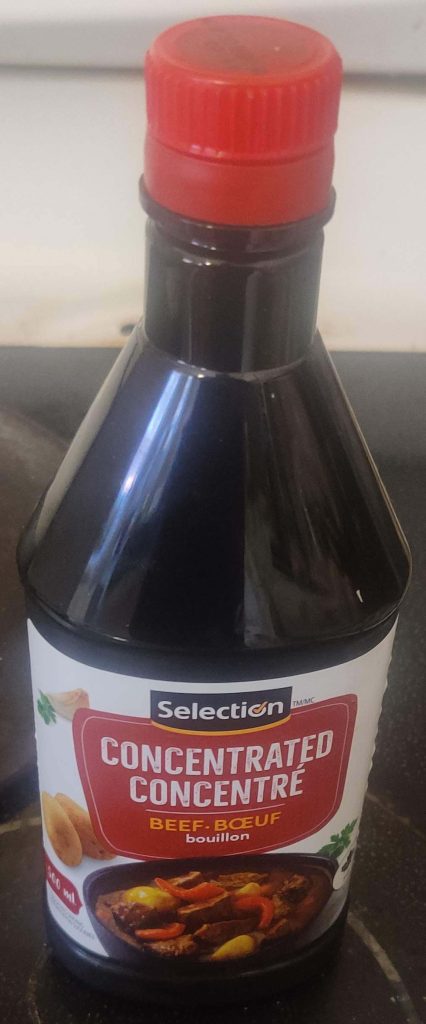
Broth concentrate was taken out, in this case, beef broth, instead of the vegetable broth suggested in the recipe, simply because that’s what I had on hand:
Measuring spoons were taken out:
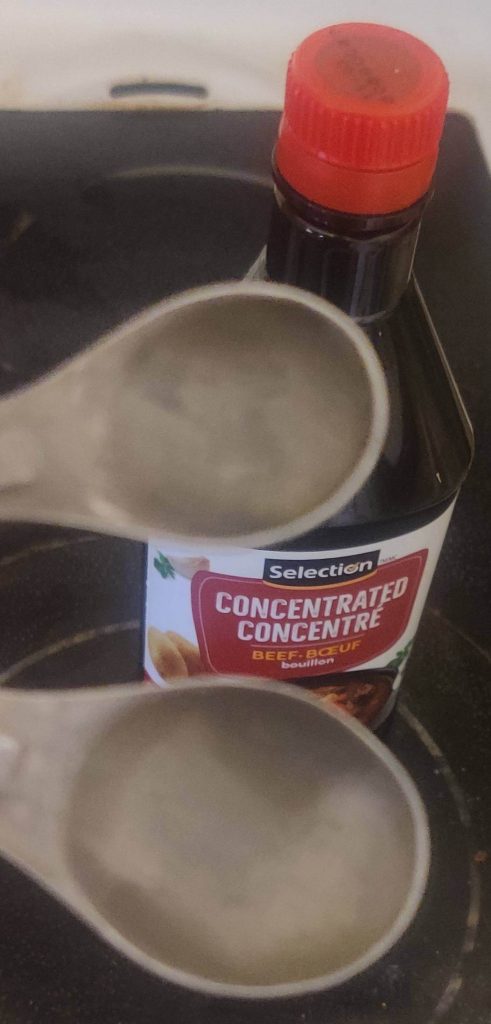
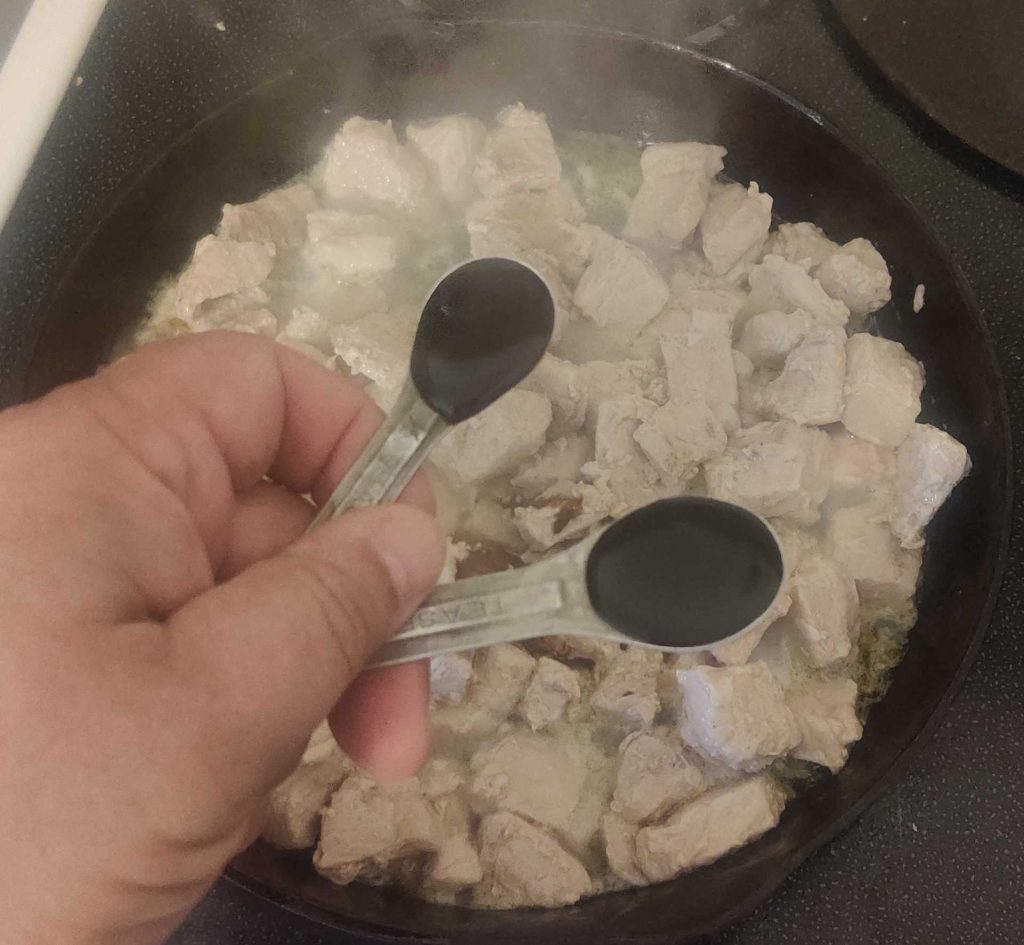
The broth concentrate was measured out, and transferred to the cooking pork:
Water was drawn into a glass:
The water was brought to the pan of cooking pork and broth:
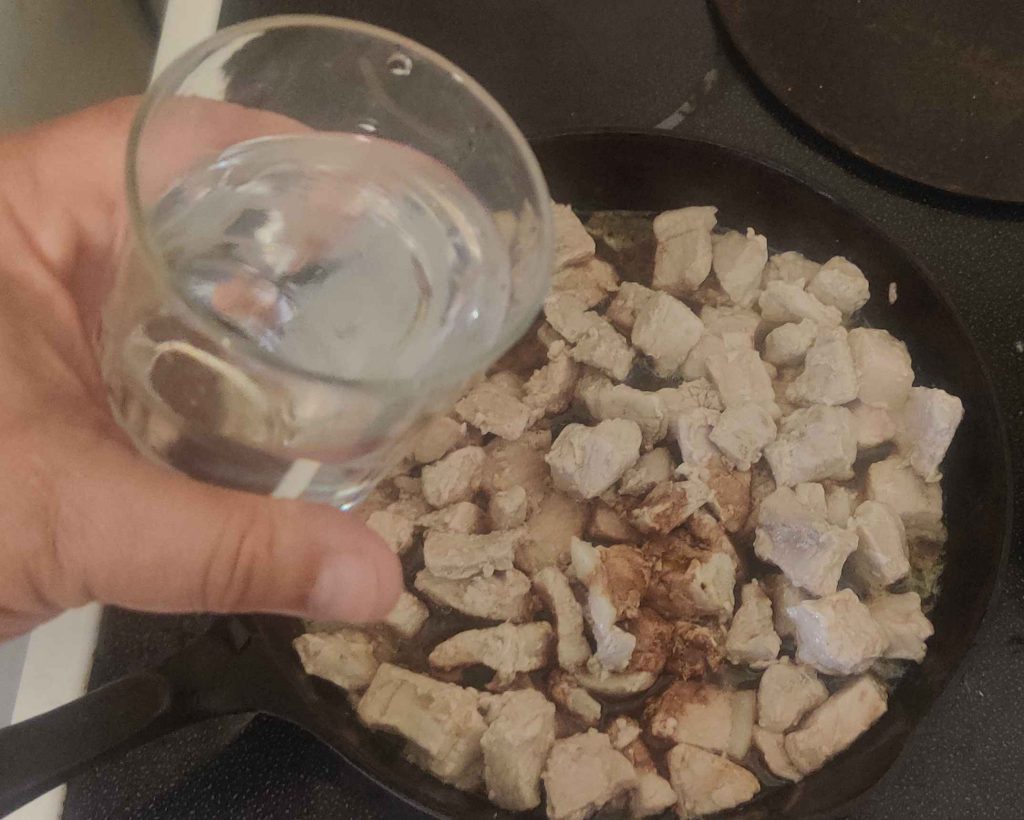
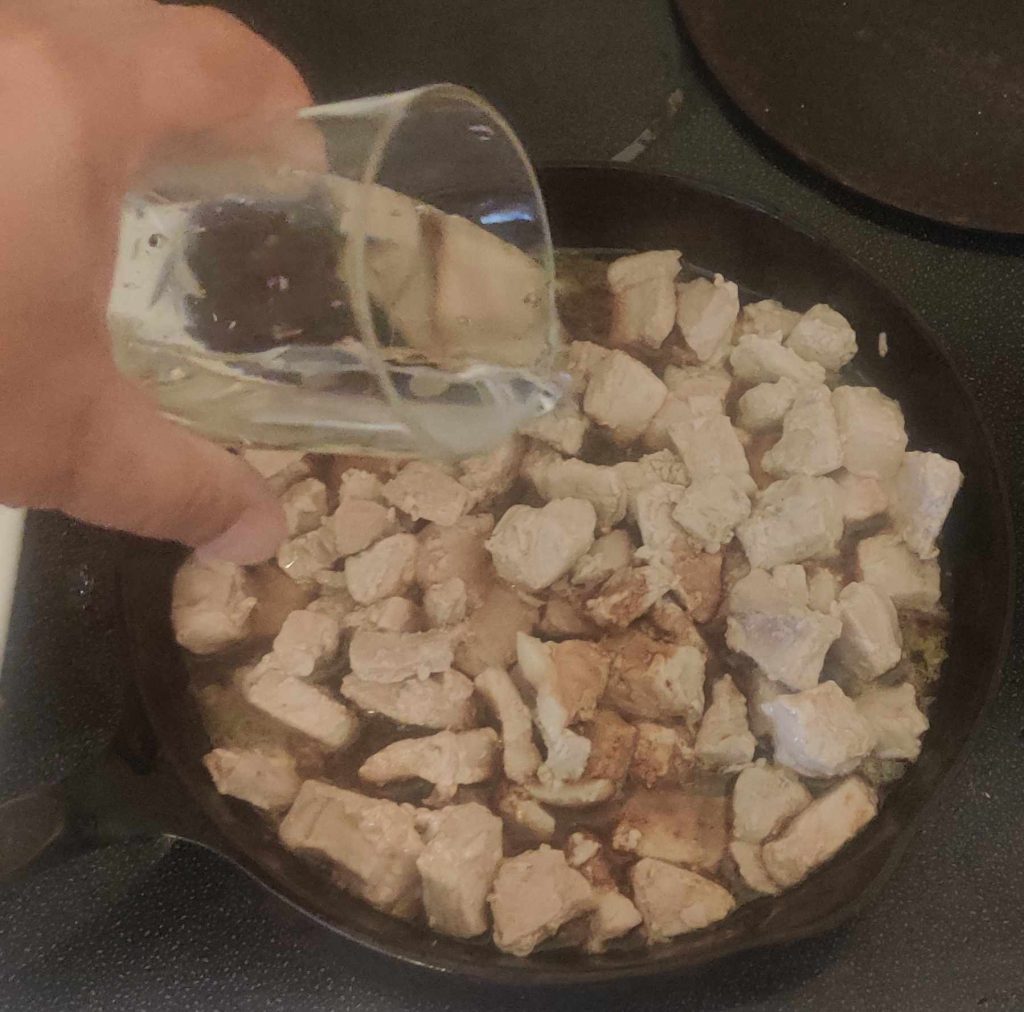
The water was transferred to the pan with the cooking pork:
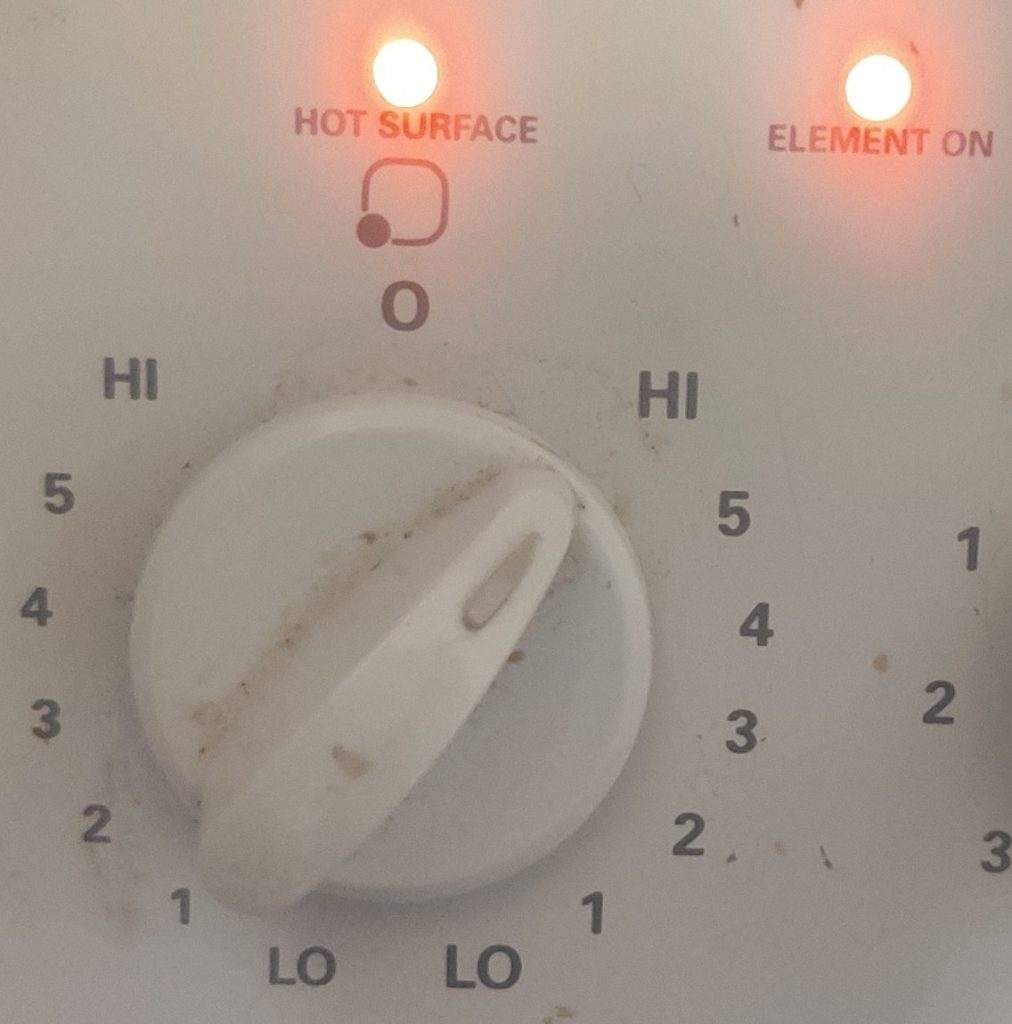
The burner was set to maximum:
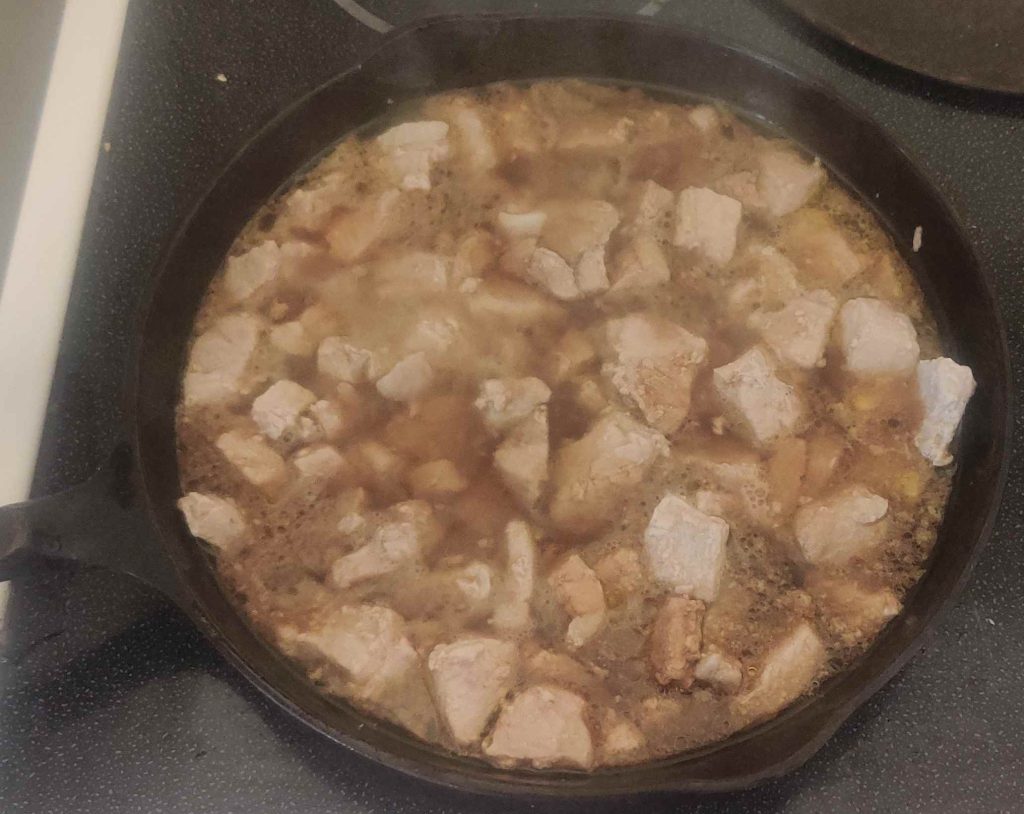
The liquid in the pan was brought to a boil:
The stove burner was turned back down to a low setting:
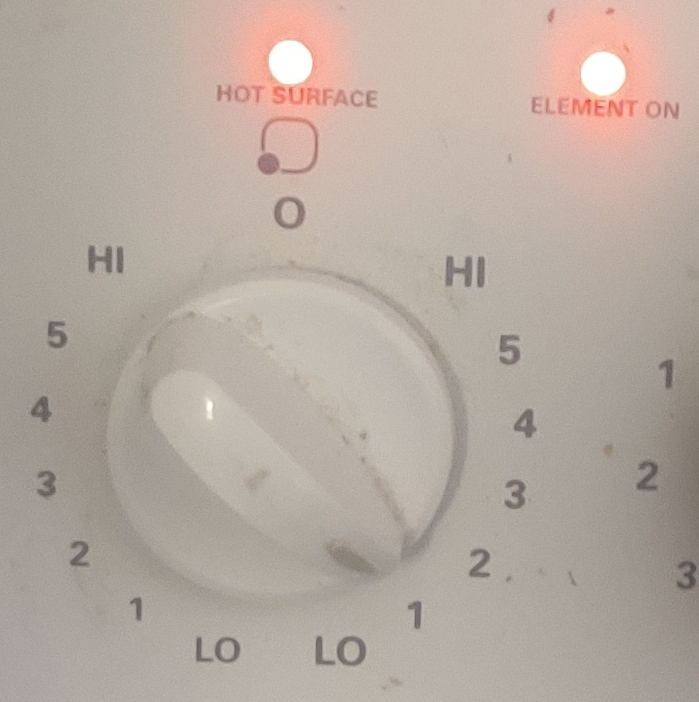
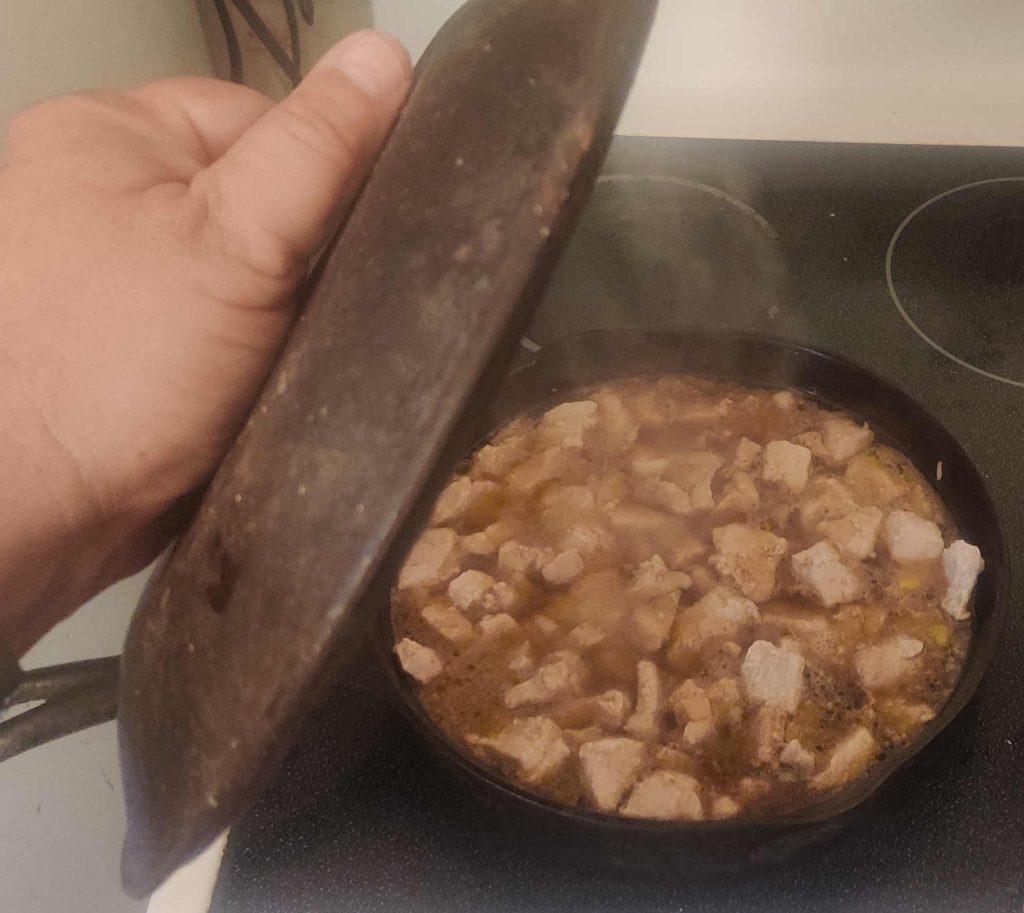
The braising lid was placed on the pan:
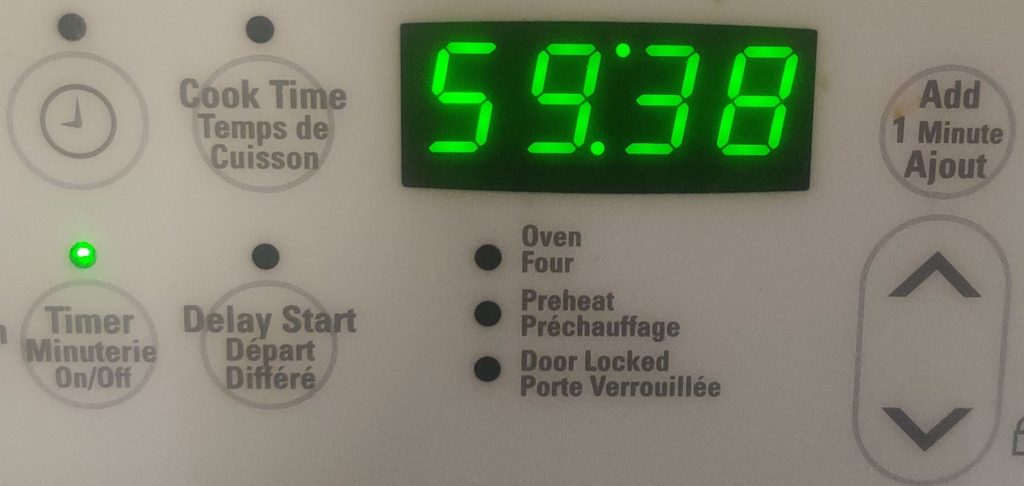
The timer on the stove was set to 60 minutes:
About halfway through the braising of the pork …
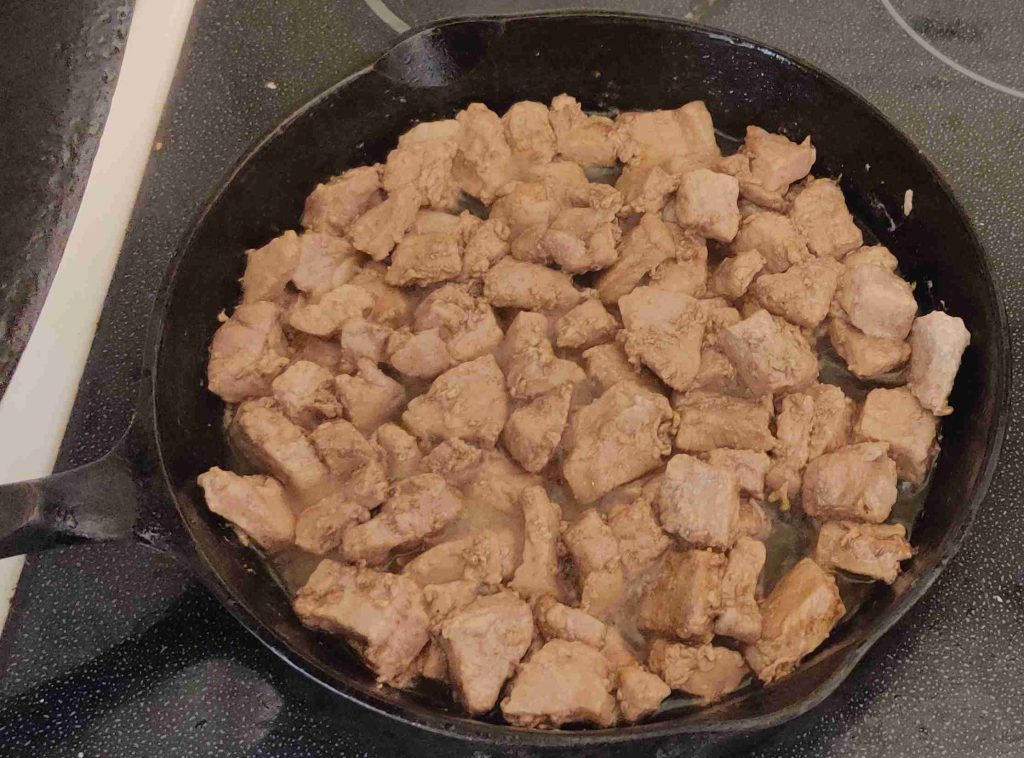
… the lid was removed and the liquid level checked:
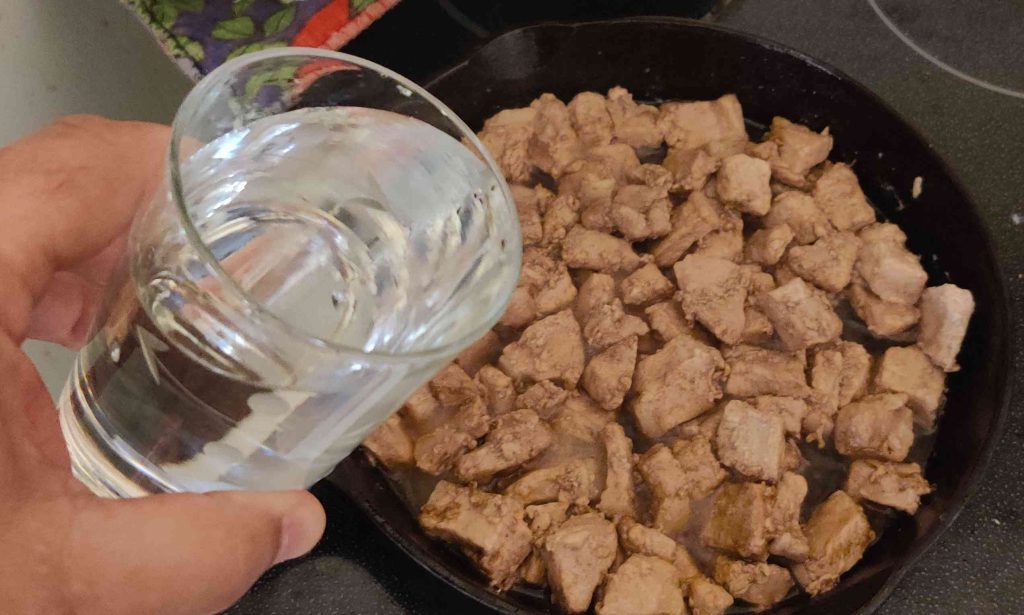
Given the (expected) loss of liquid via evaporation, more water was transferred to the pan:
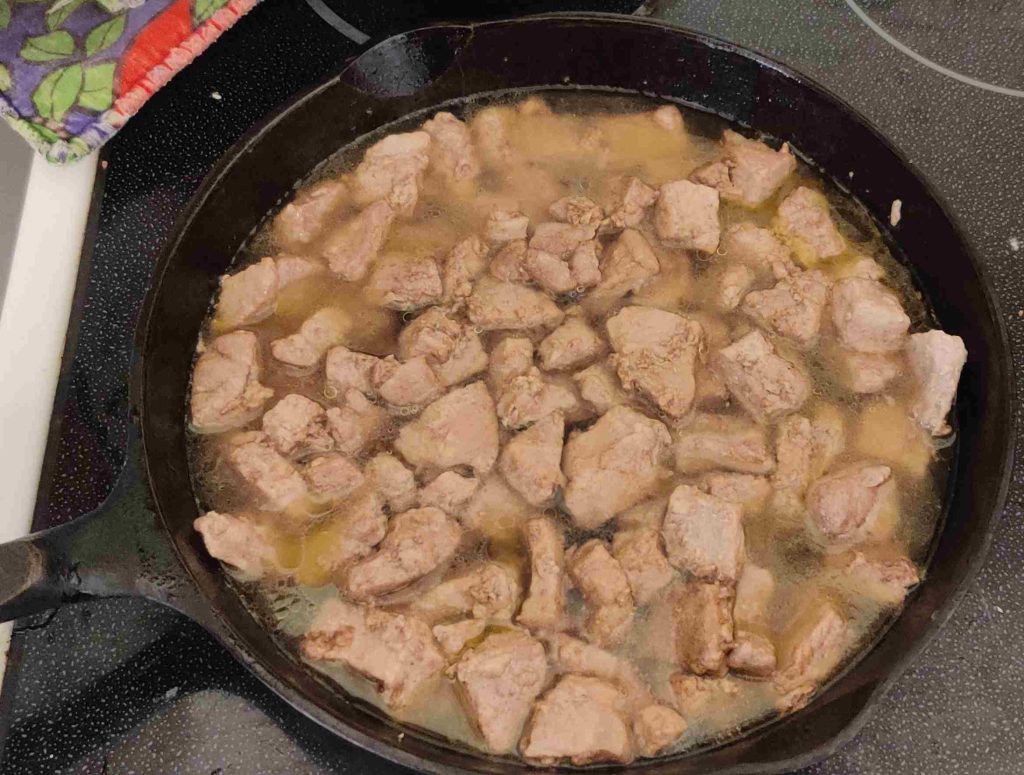
The lid was placed back on the pan:
At this point, while waiting for the pork cubes to finish cooking, onions were taken out:
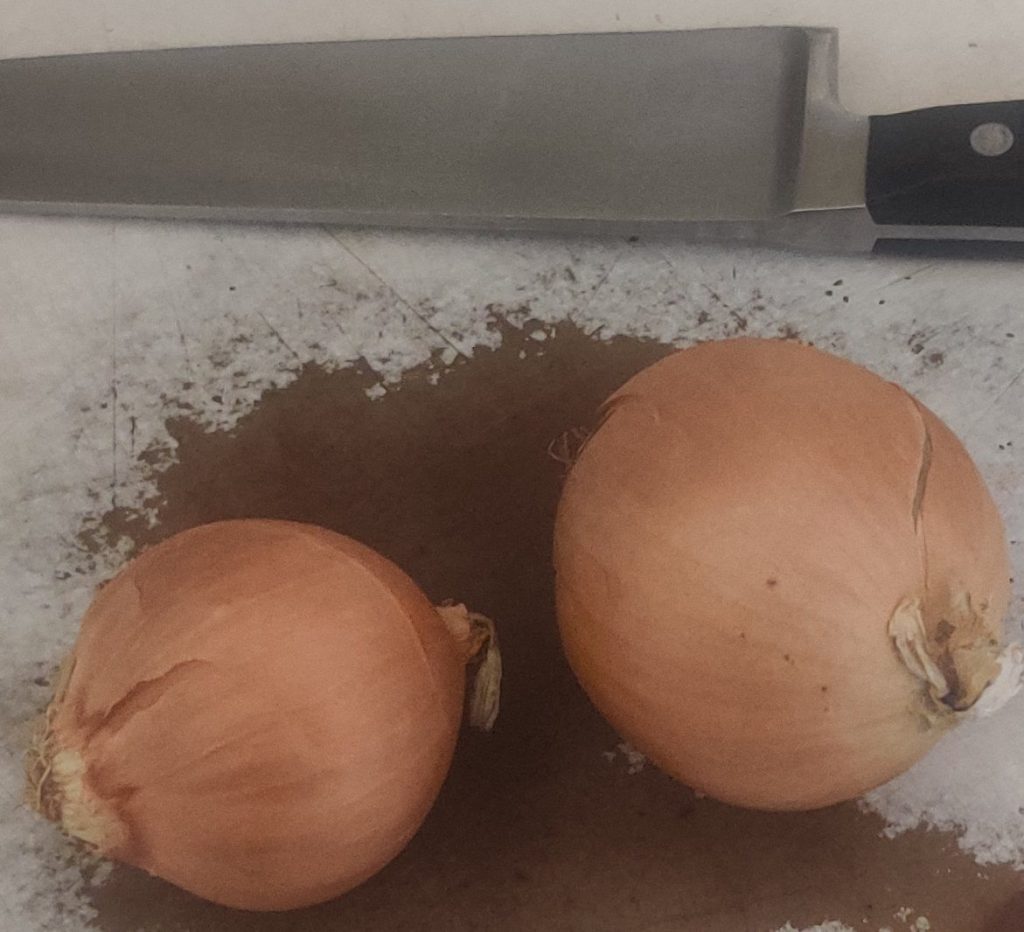
The onions were trimmed:
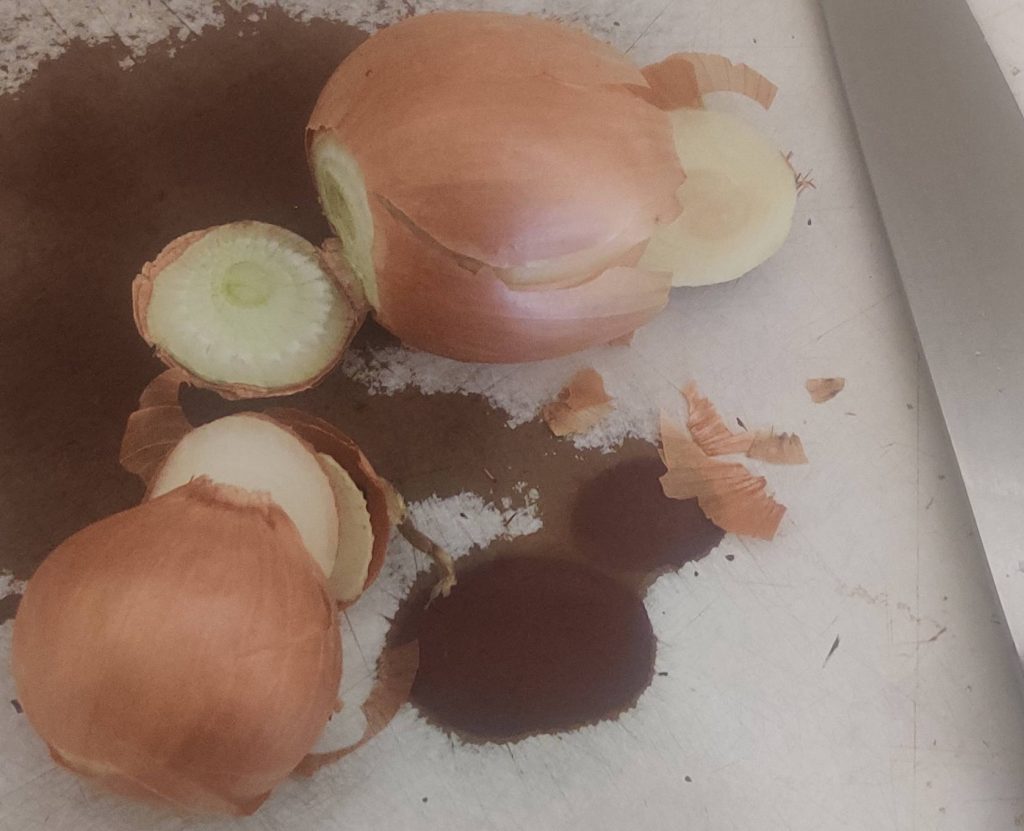
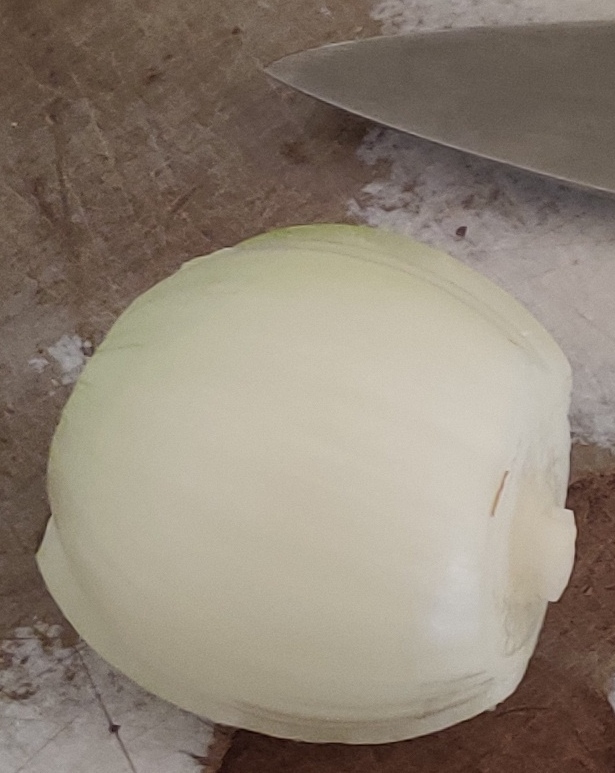
The onions were sliced in half:
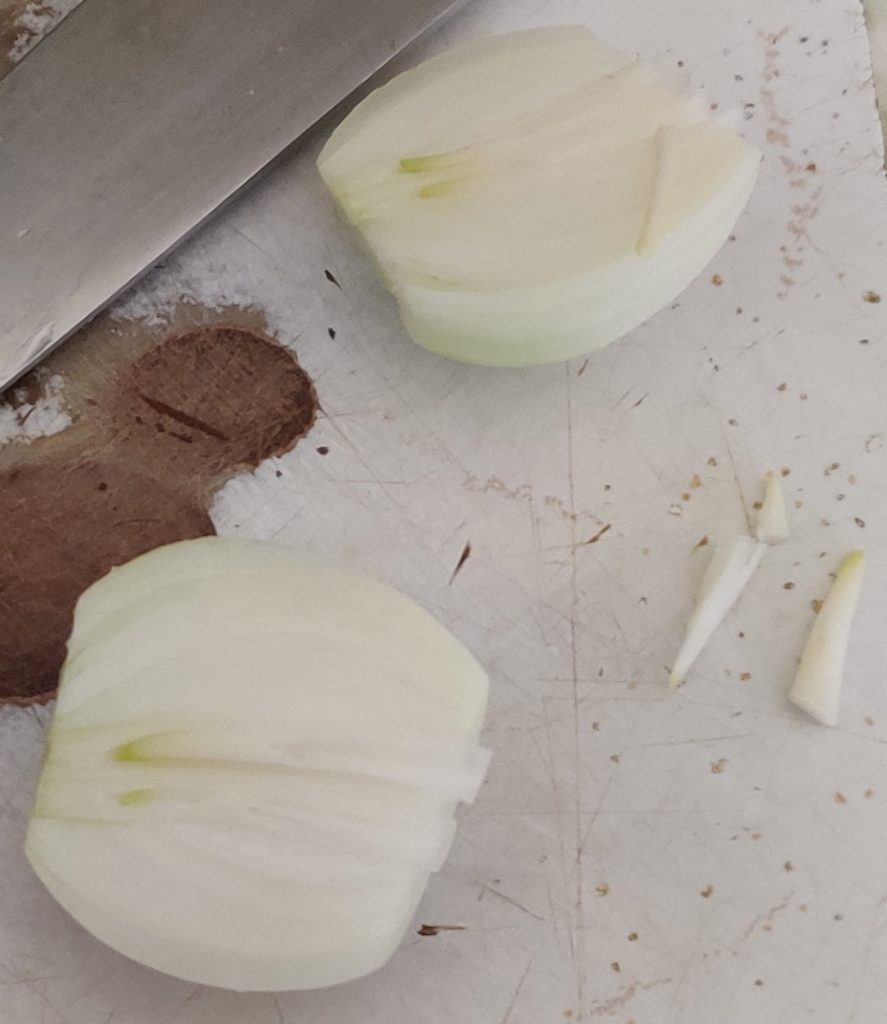
The onion halves were sliced into half coins:
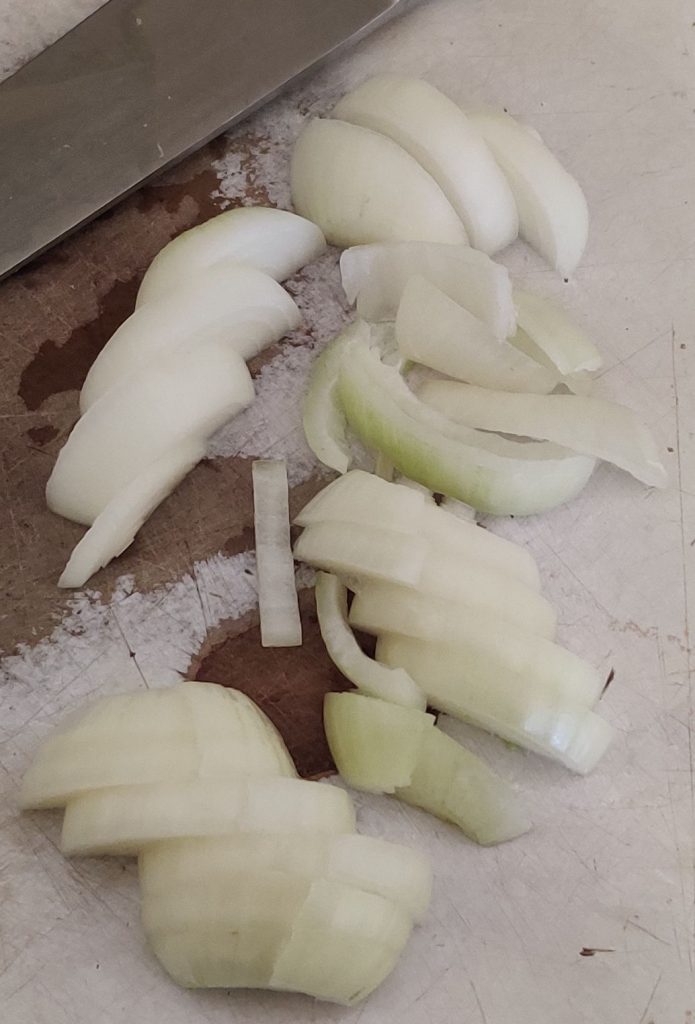
The onions were coarsely chopped:
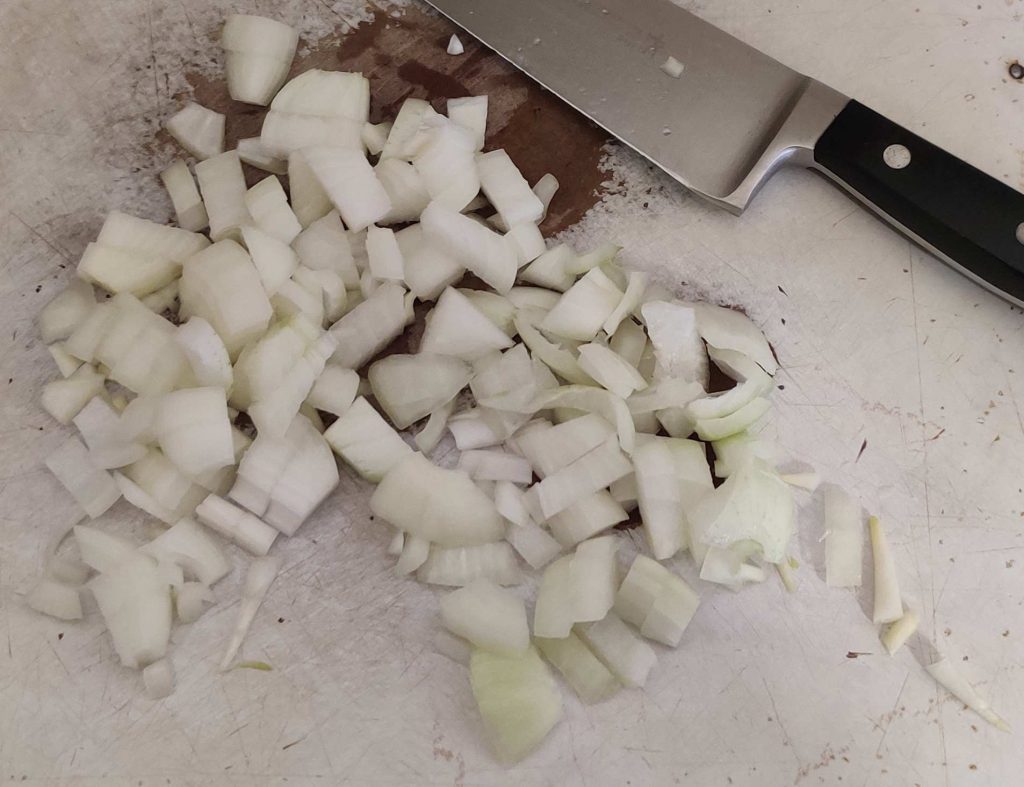
The onions were momentarily put aside.
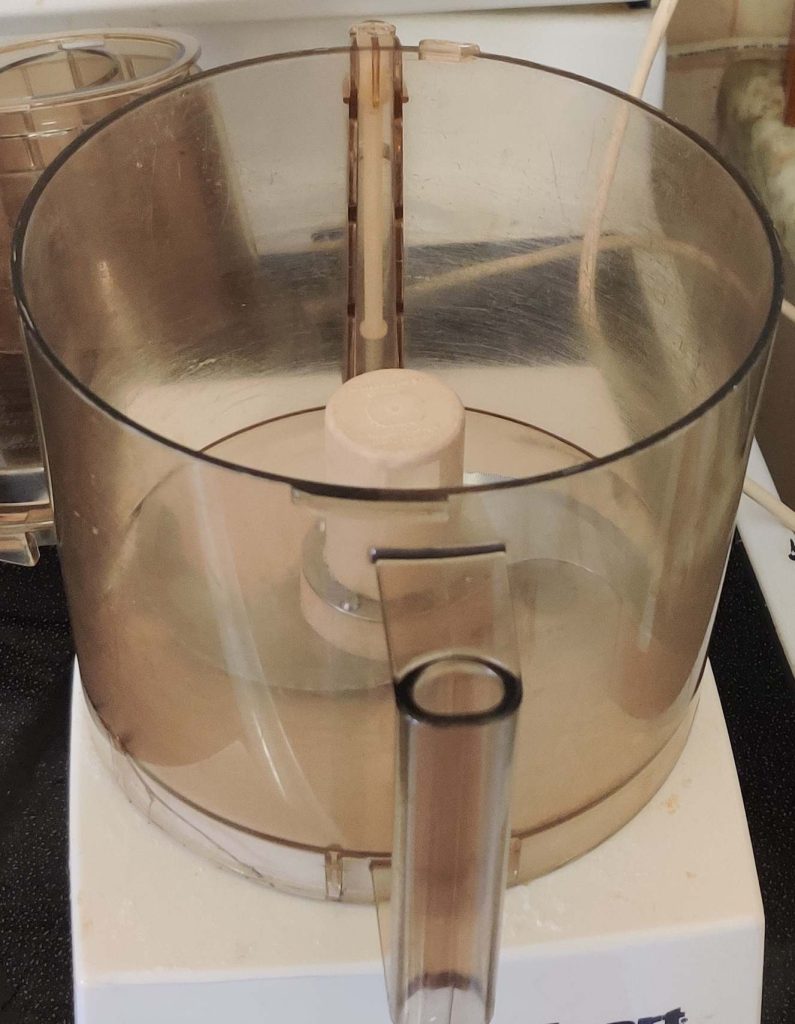
A food processor with a chopping blade was taken out:
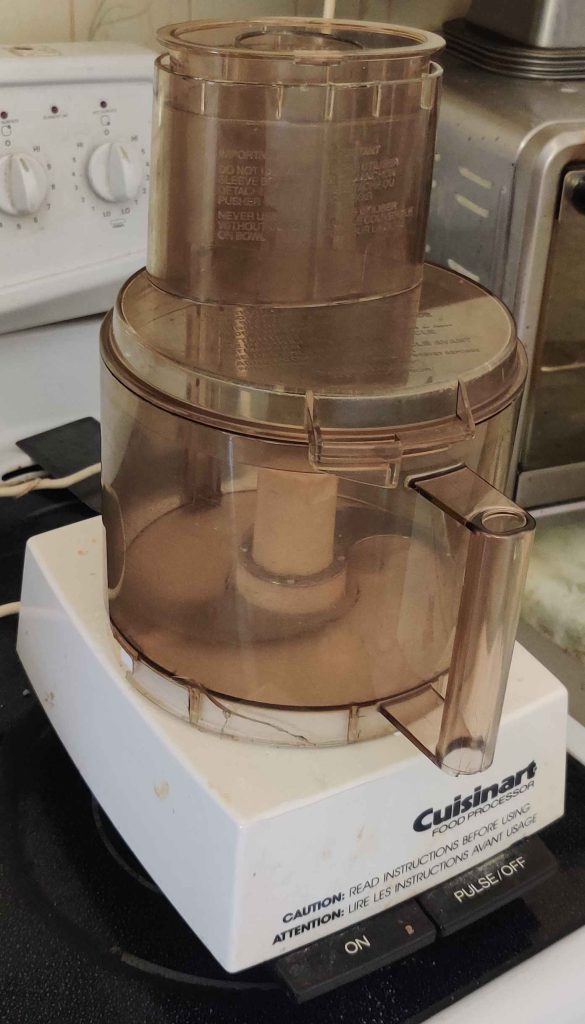
… and its lid was removed:
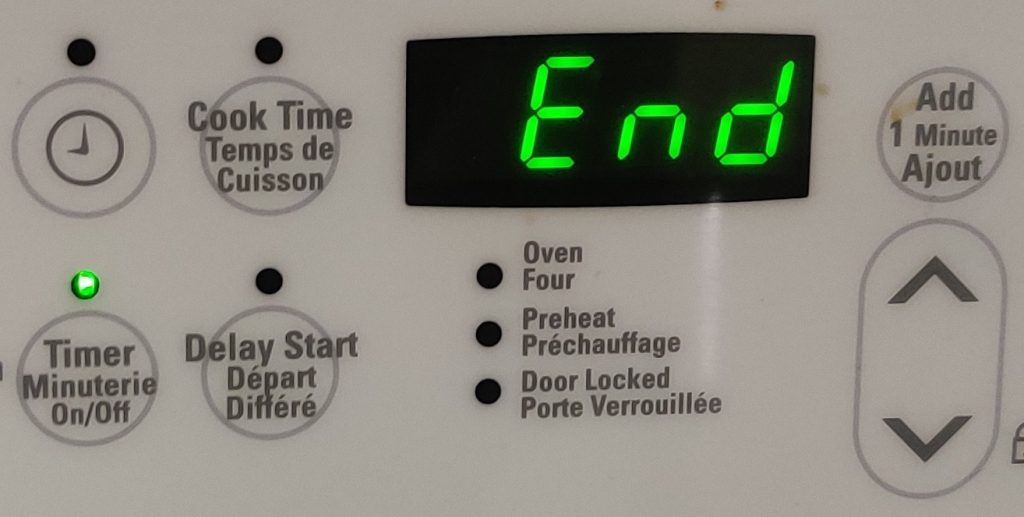
At this point, the timer on the cooking pork had run out:
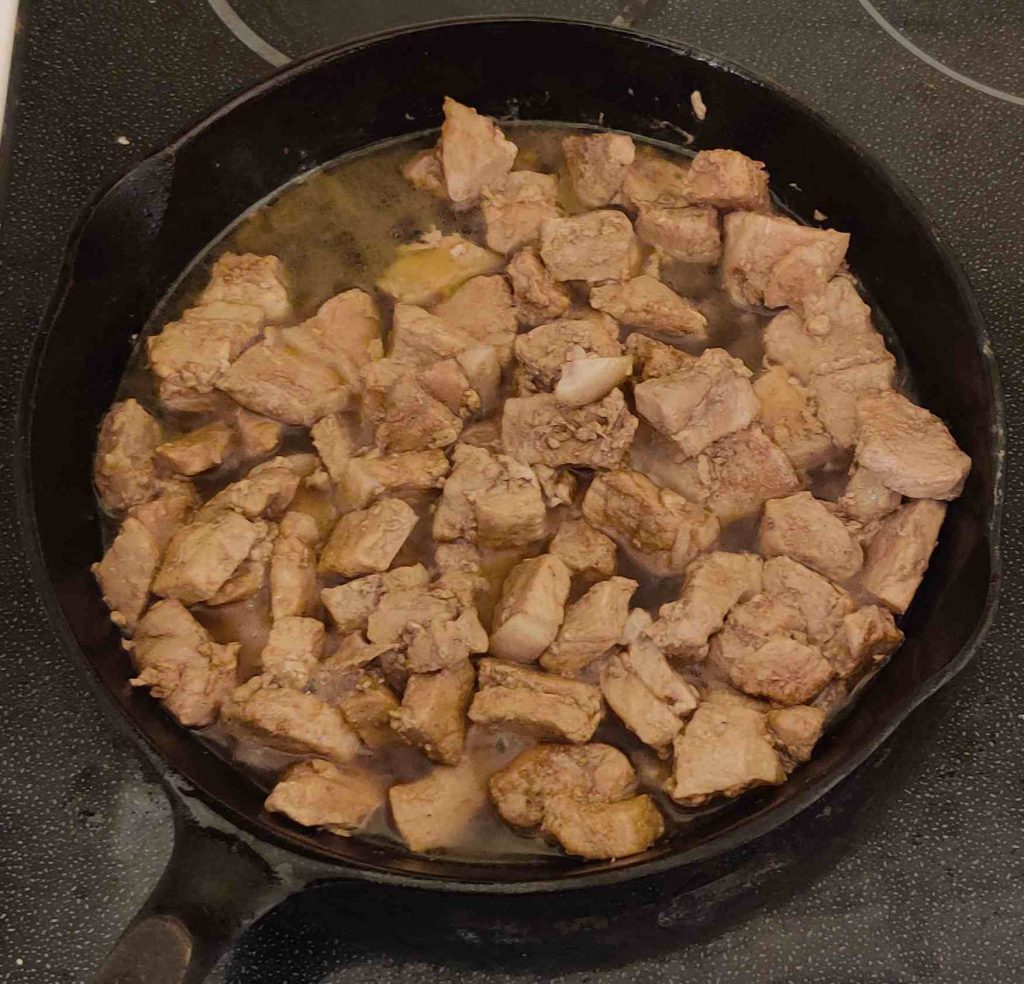
The lid was removed from the pan:
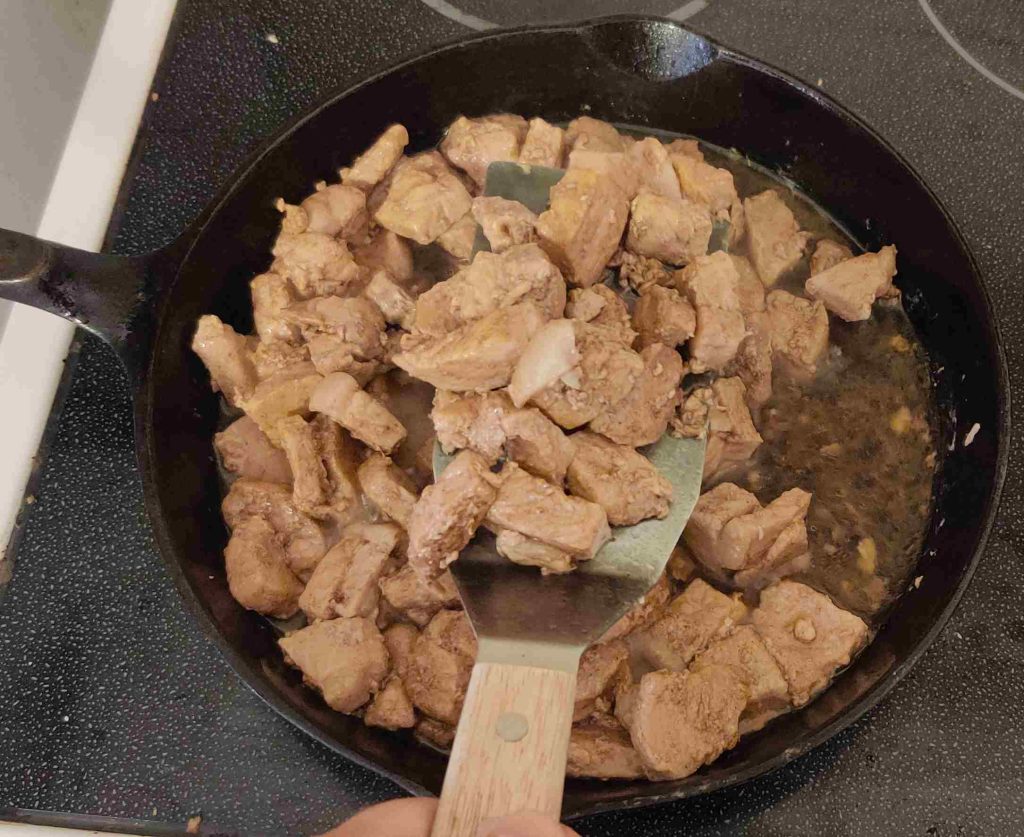
Yes, I tasted the pork — it was tasty, and importantly, it was tender!
The pork cubes were lifted with the cleaned egg flipper:
The cooked pork cubes were transferred to the food processor:
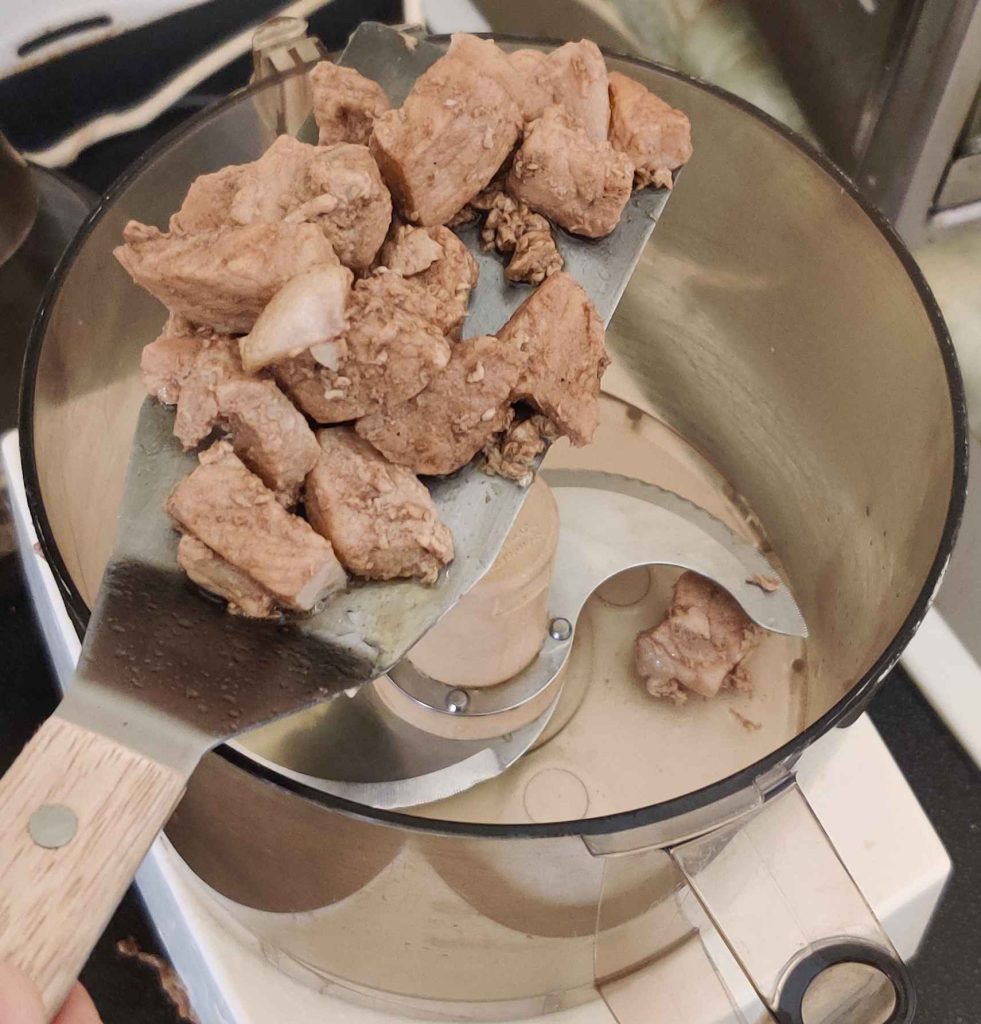
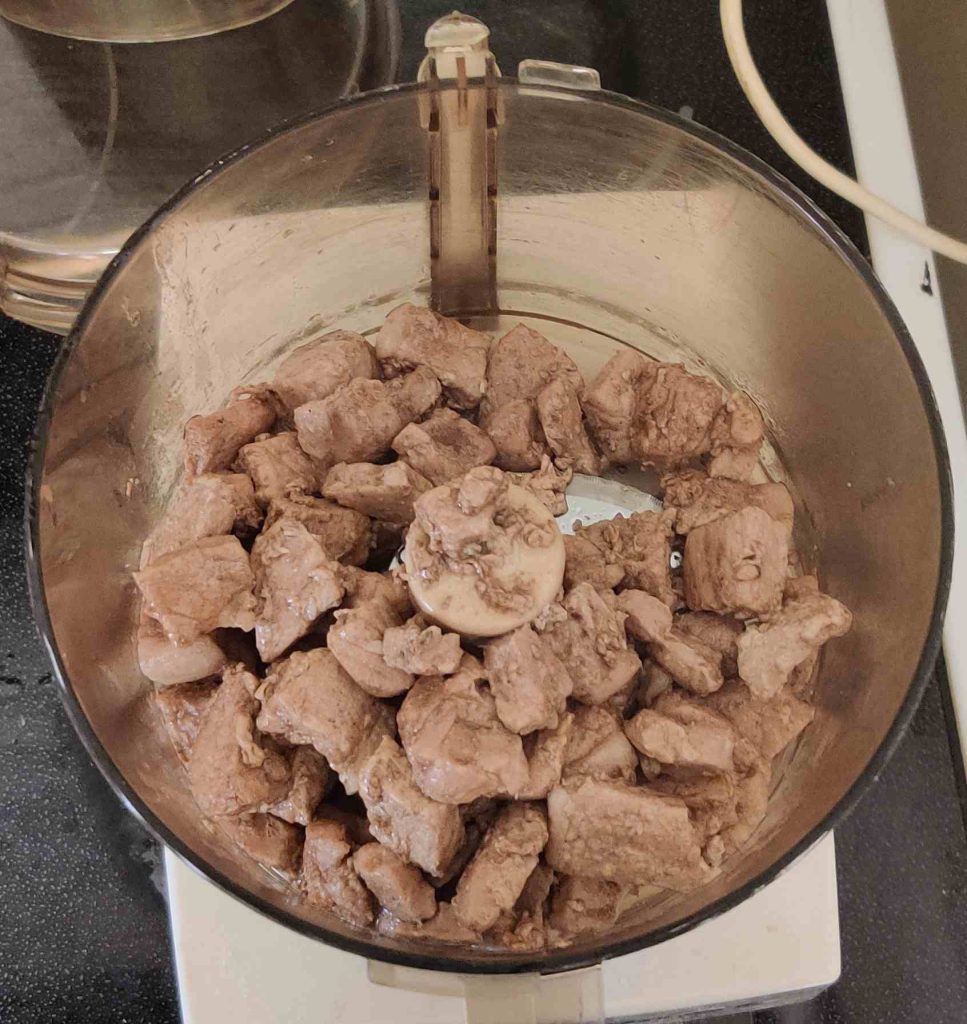
The braising liquid was kept in the frying pan:
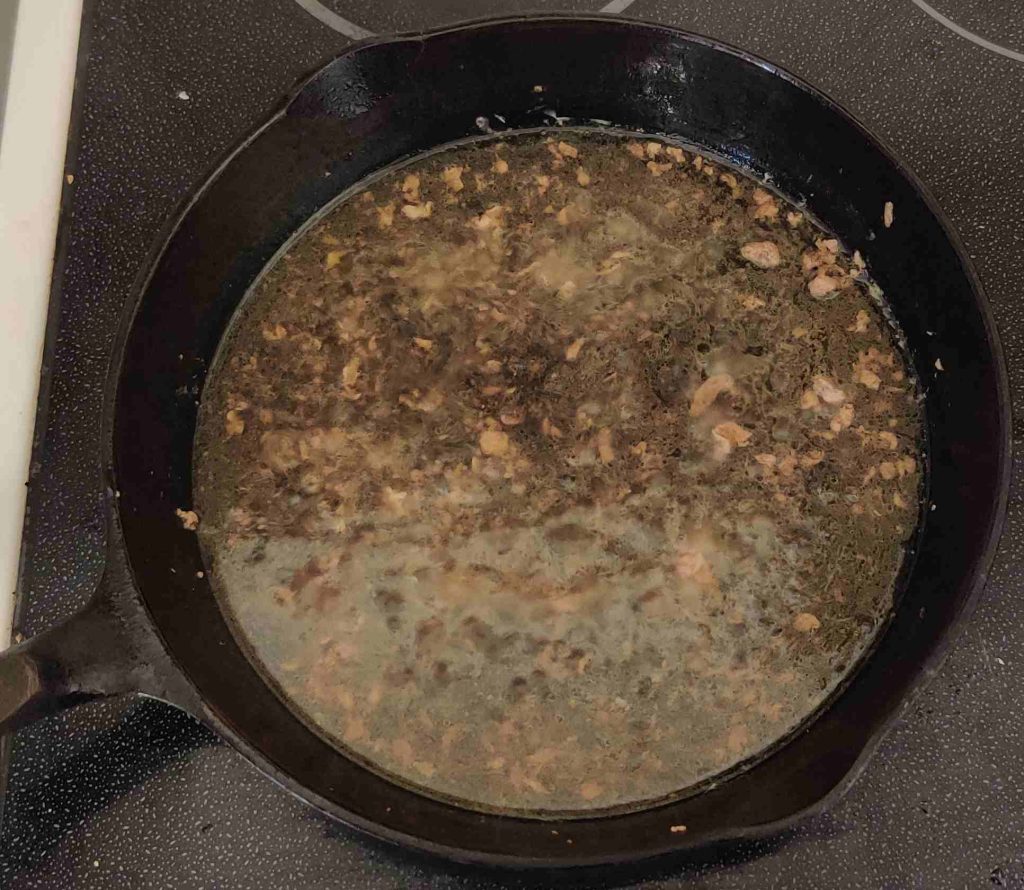
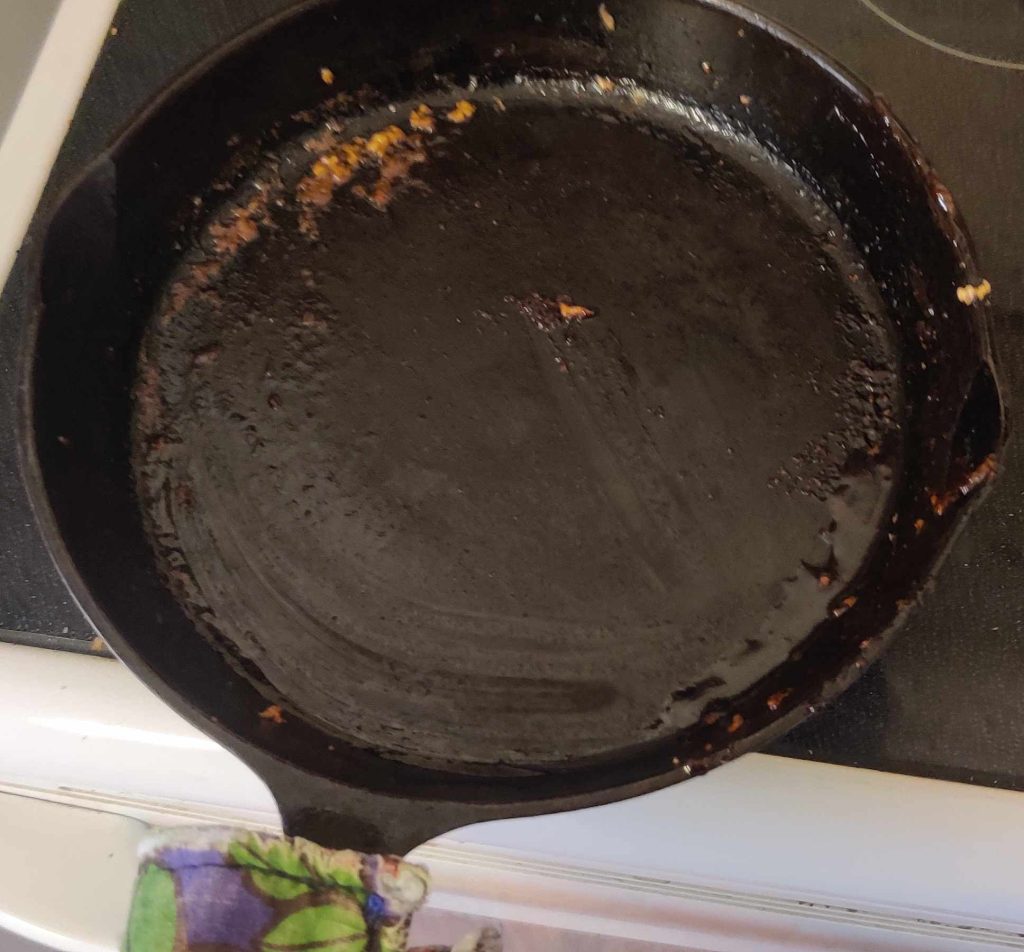
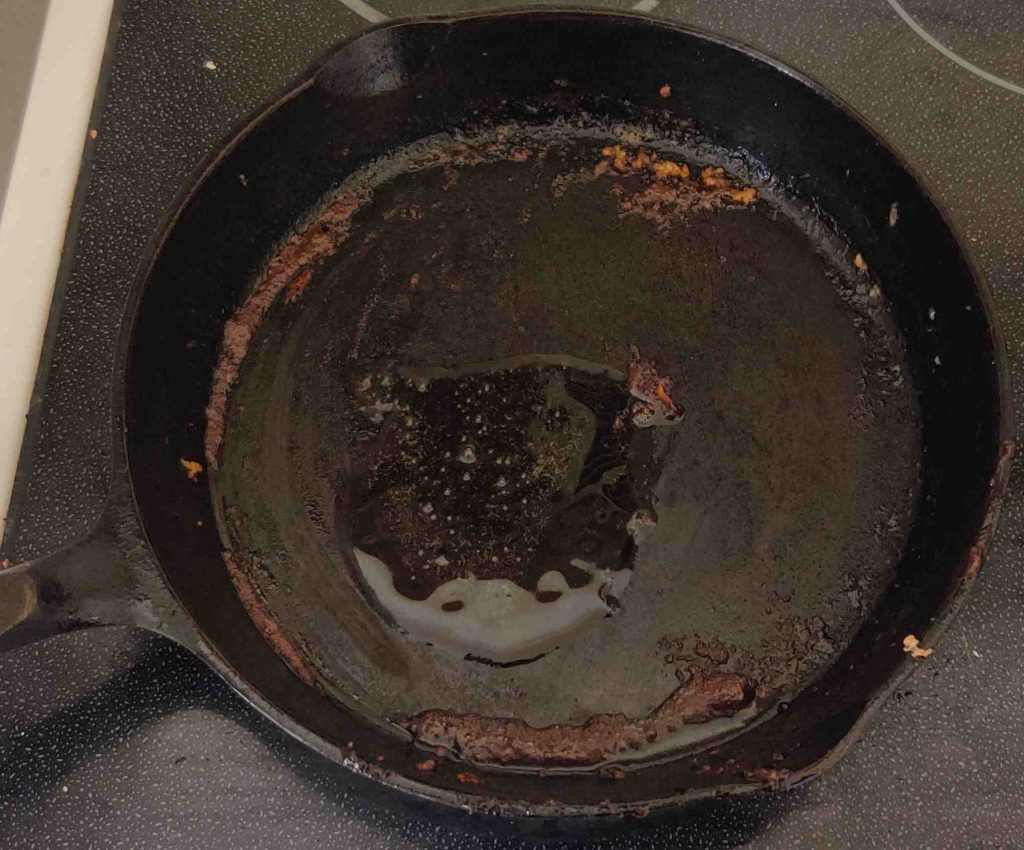
The stove burner was again turned to high — and oh, my, when I was handling the photos, I could really see the need for another cleaning here:
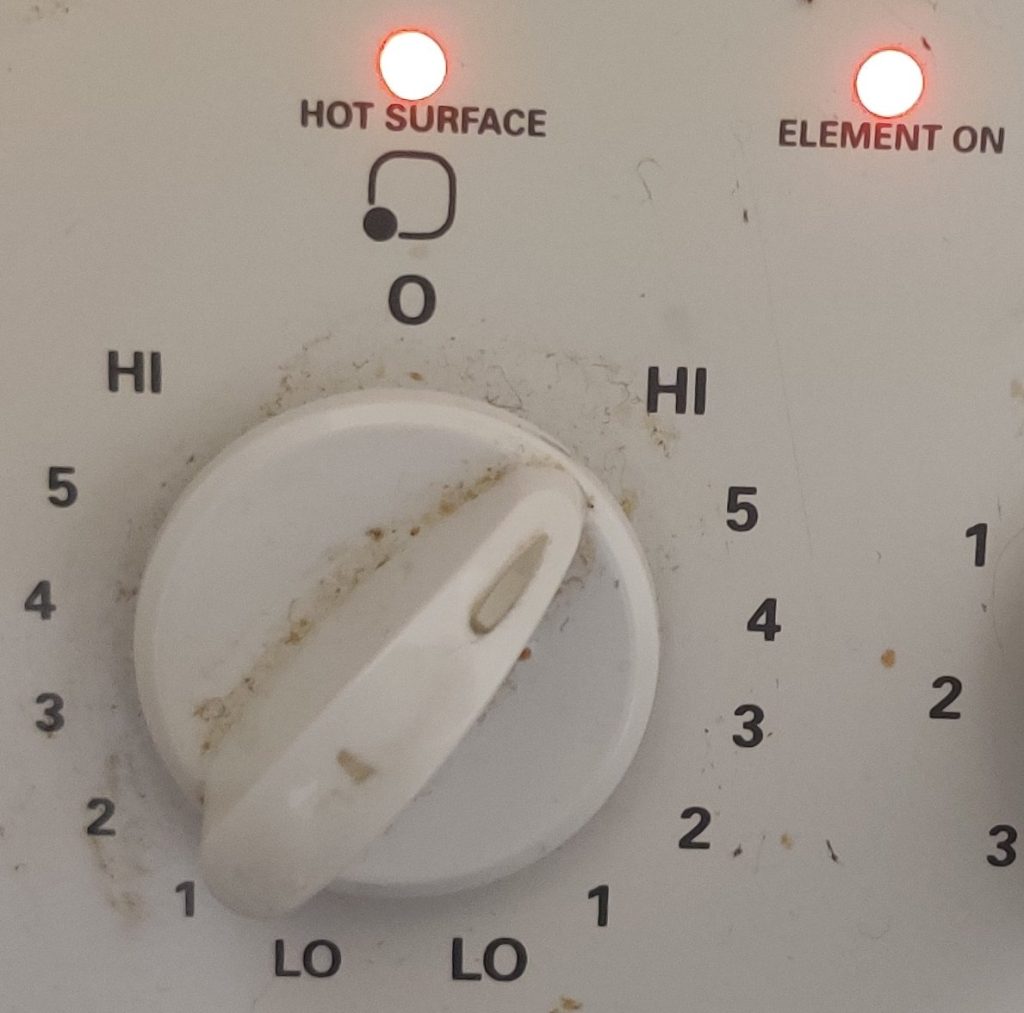
The braising liquid was brought to a boil in order to reduce it:
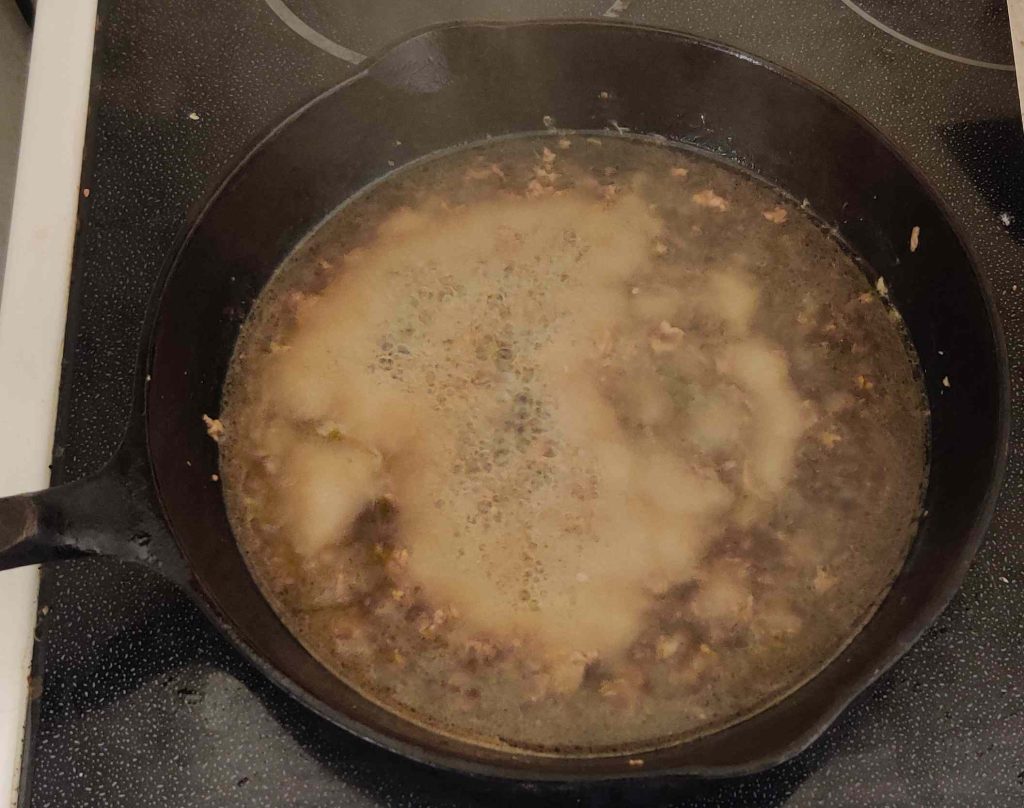
Oops I perhaps reduced it a bit too much — but without burning it:
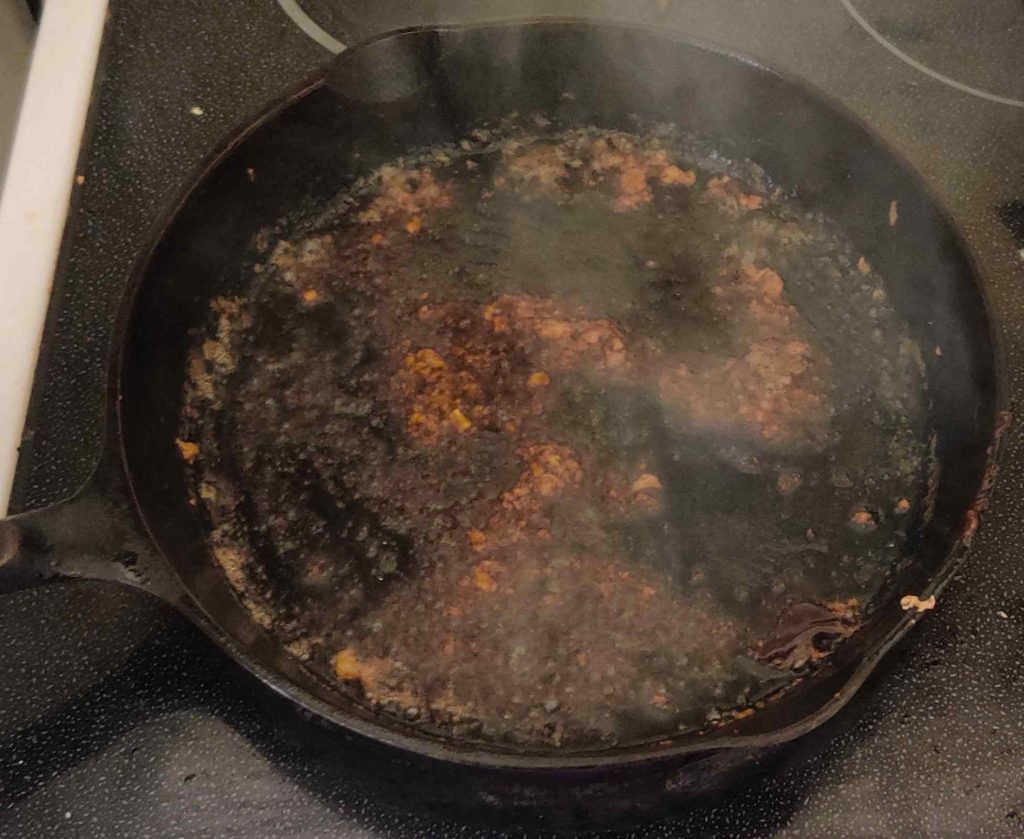
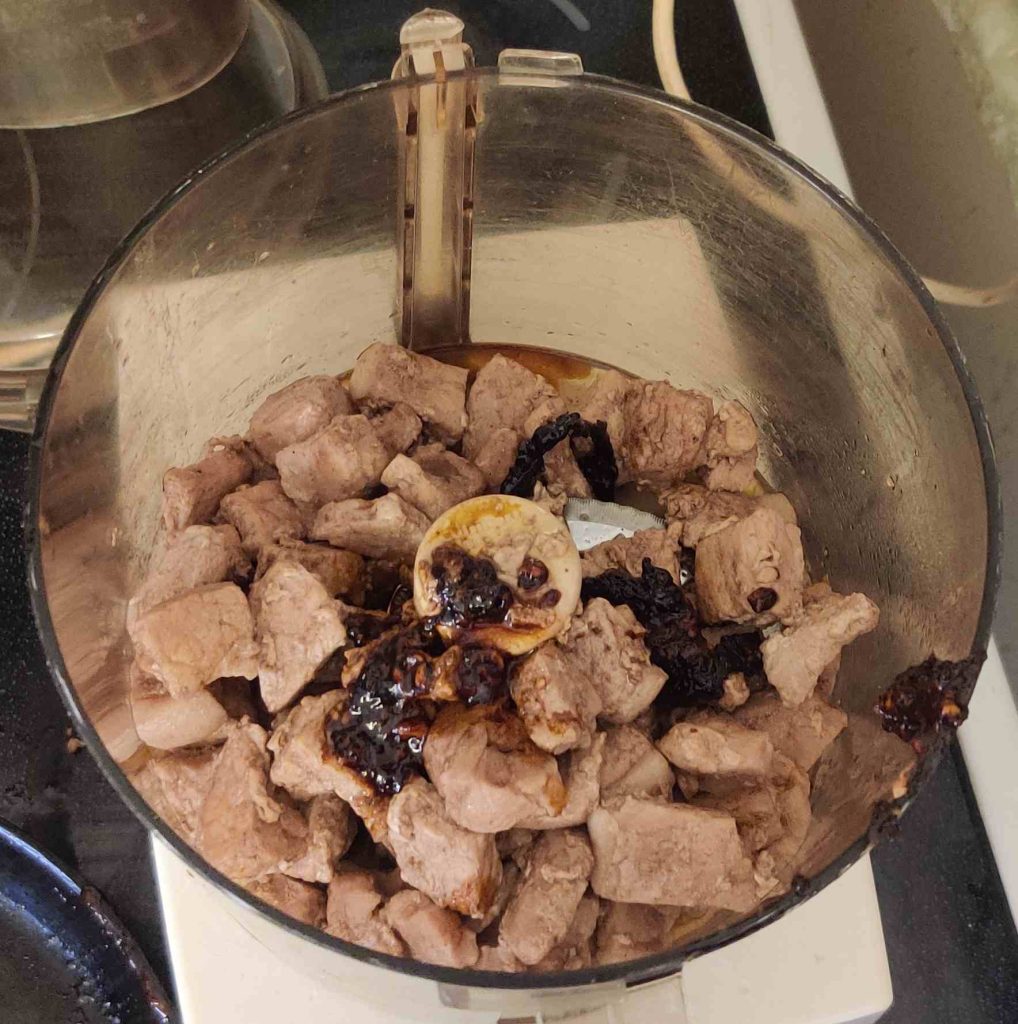
The reduction was transferred to the food processor, and the frypan was deglazed with a bit of water:
This is a good time to turn on the oven, in this case a countertop convection oven:
More olive oil was transferred to the fry pan:
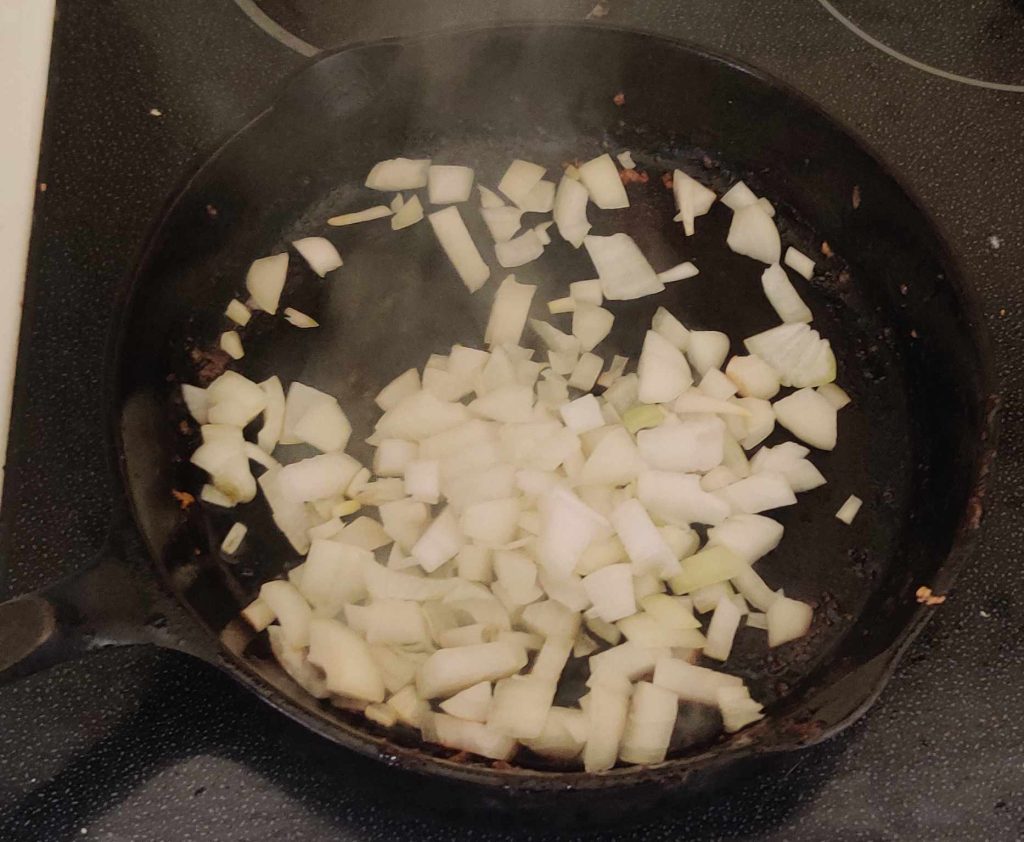
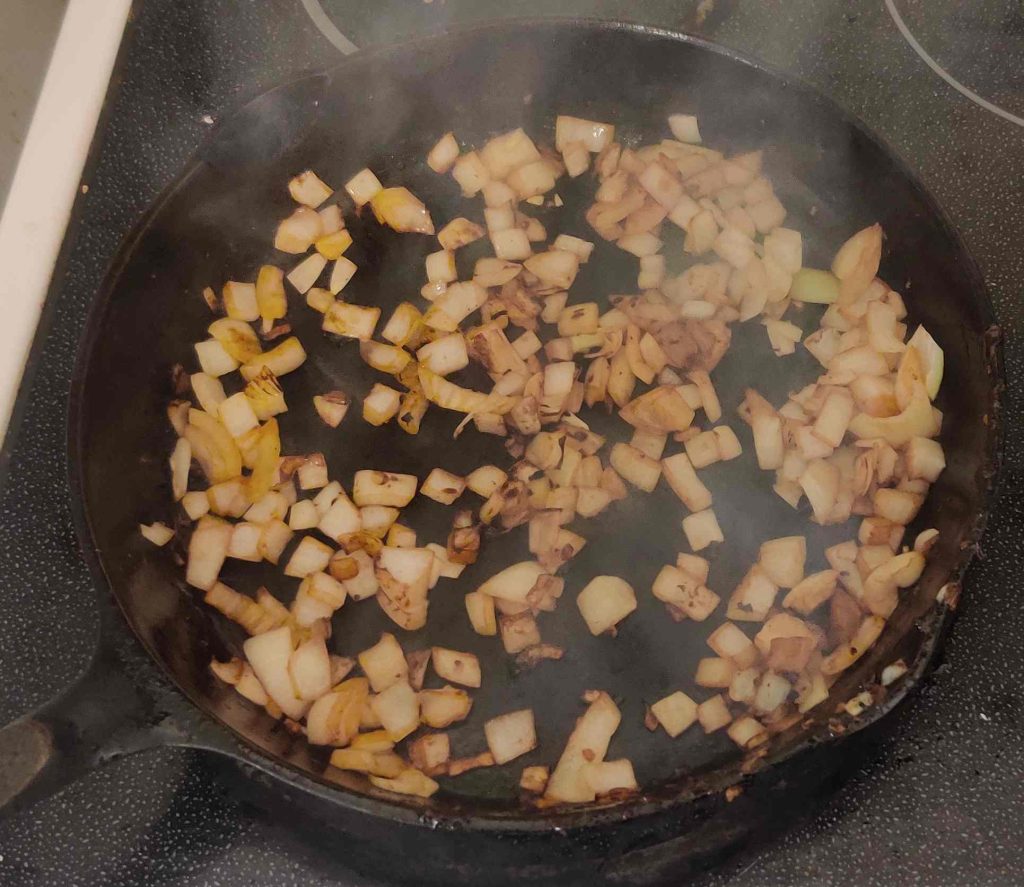
The onions that were chopped earlier were transferred to the frypan:
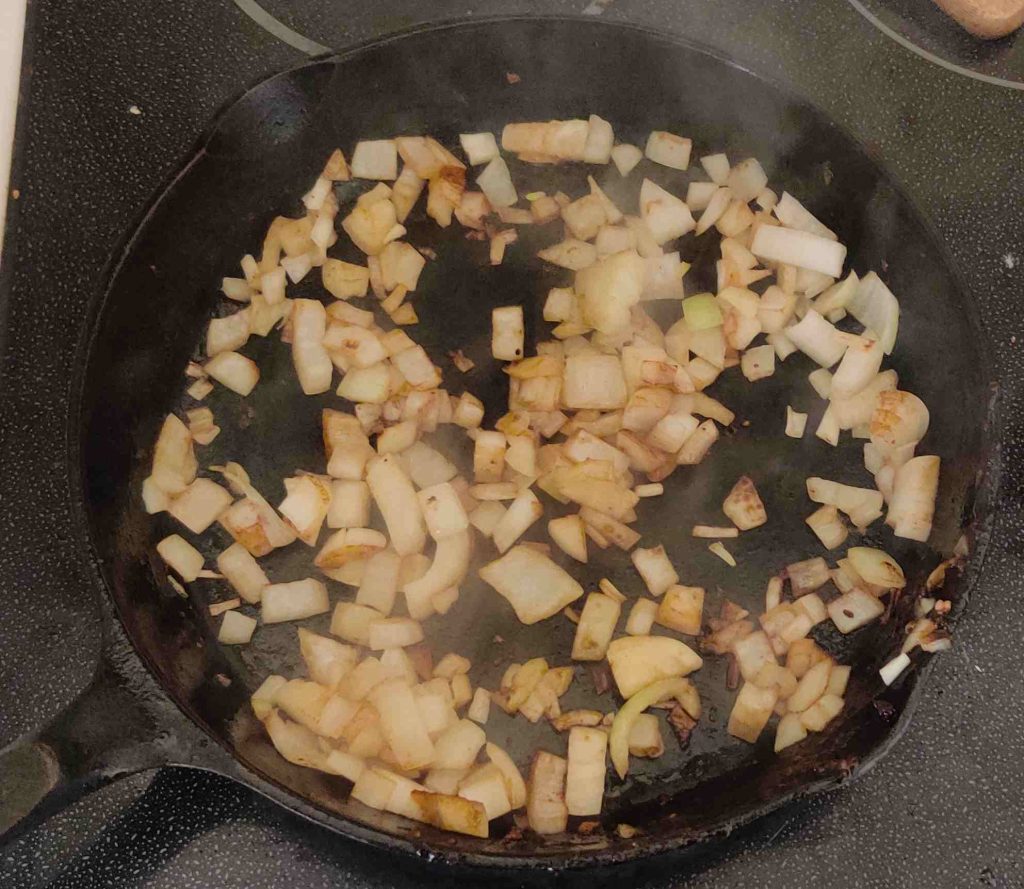
The chopped onions were fried — quickly, it seems, since I’d forgotten to reduce the heat from the liquid reduction!
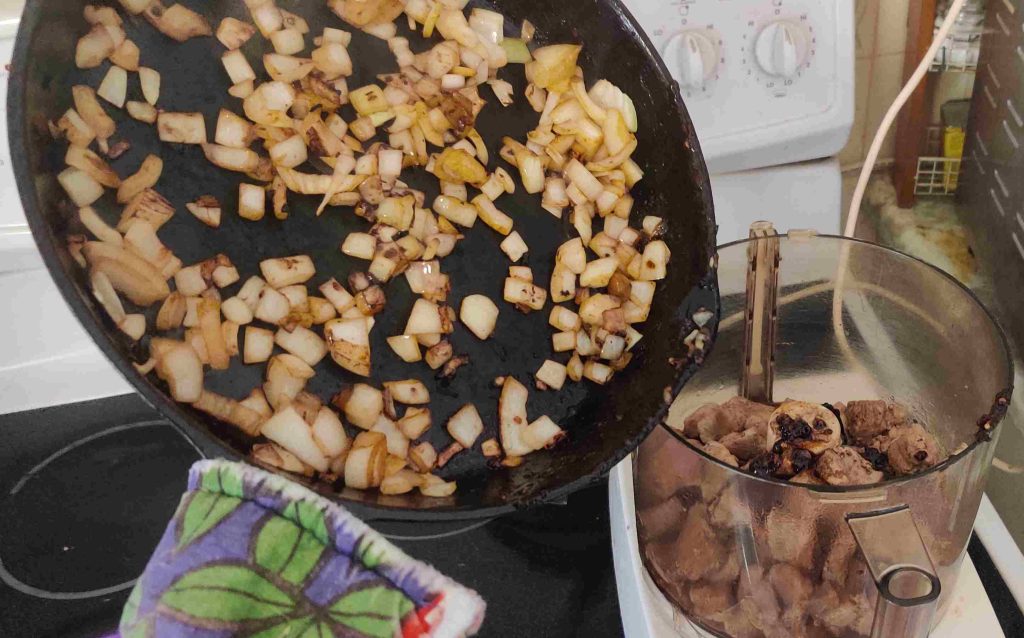
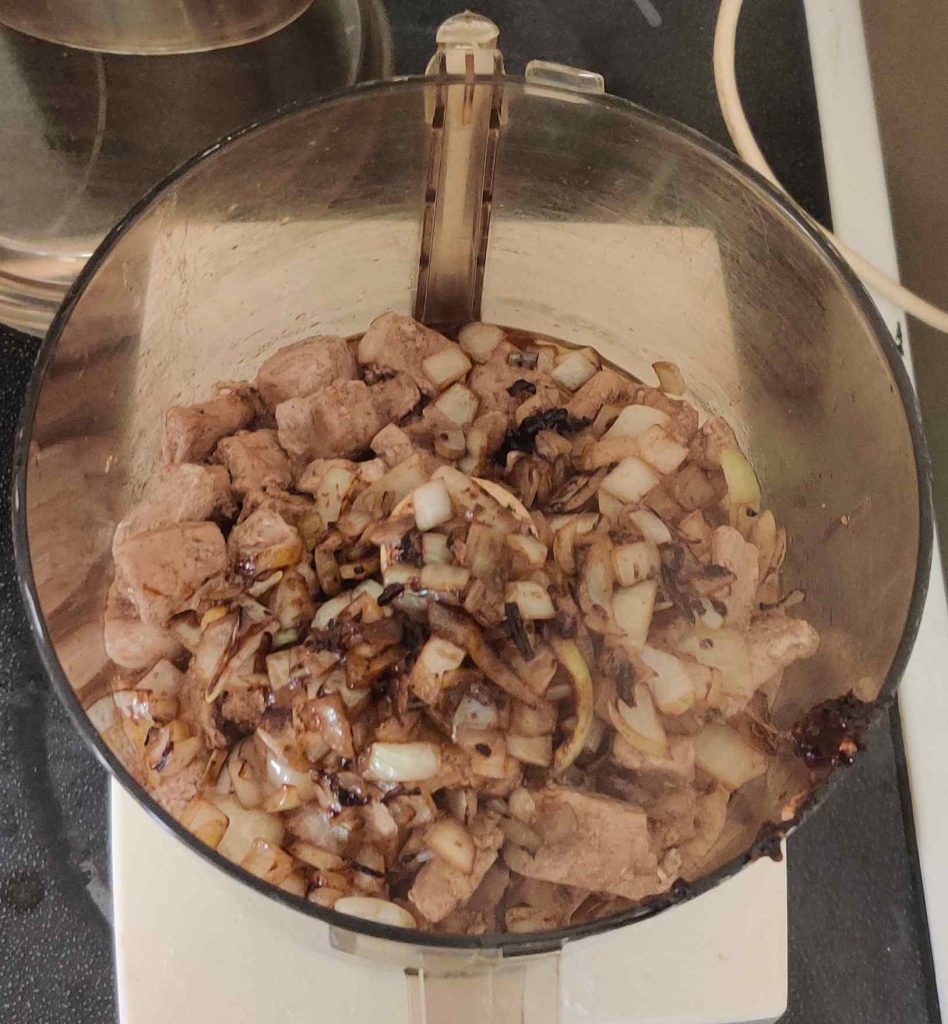
The fried onions were transferred to the food processor:
Eggs were taken out:
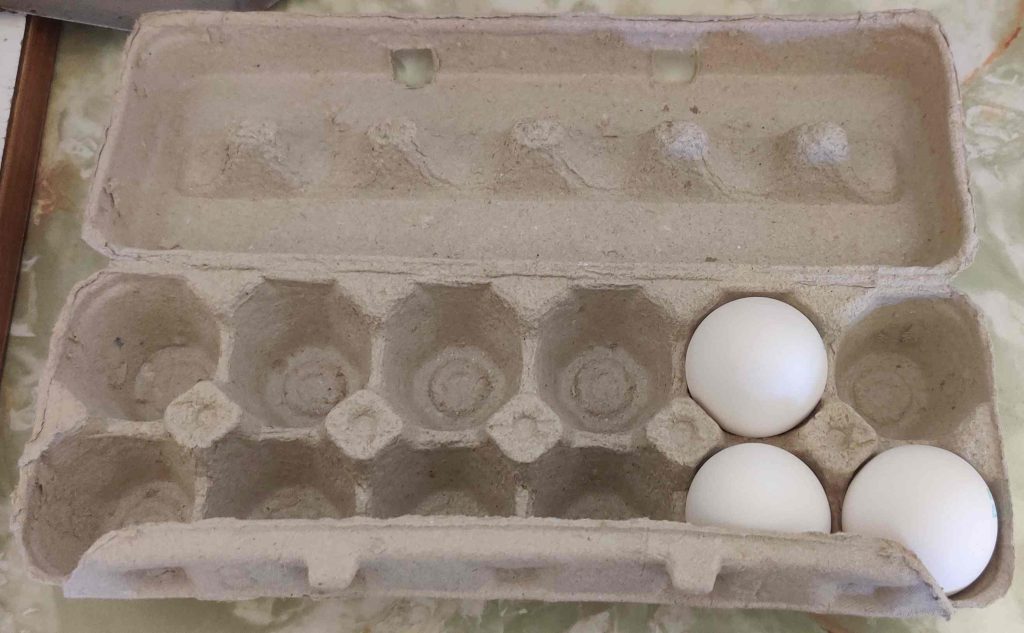
The eggs were cracked on the edge of the food processor:
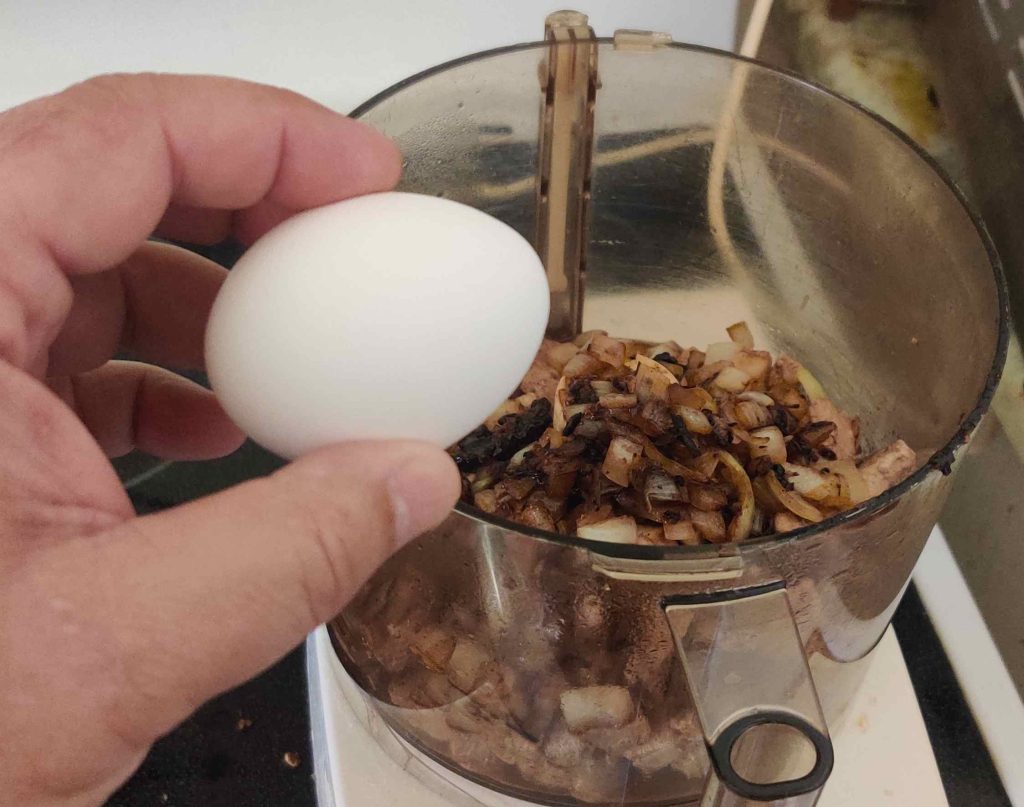
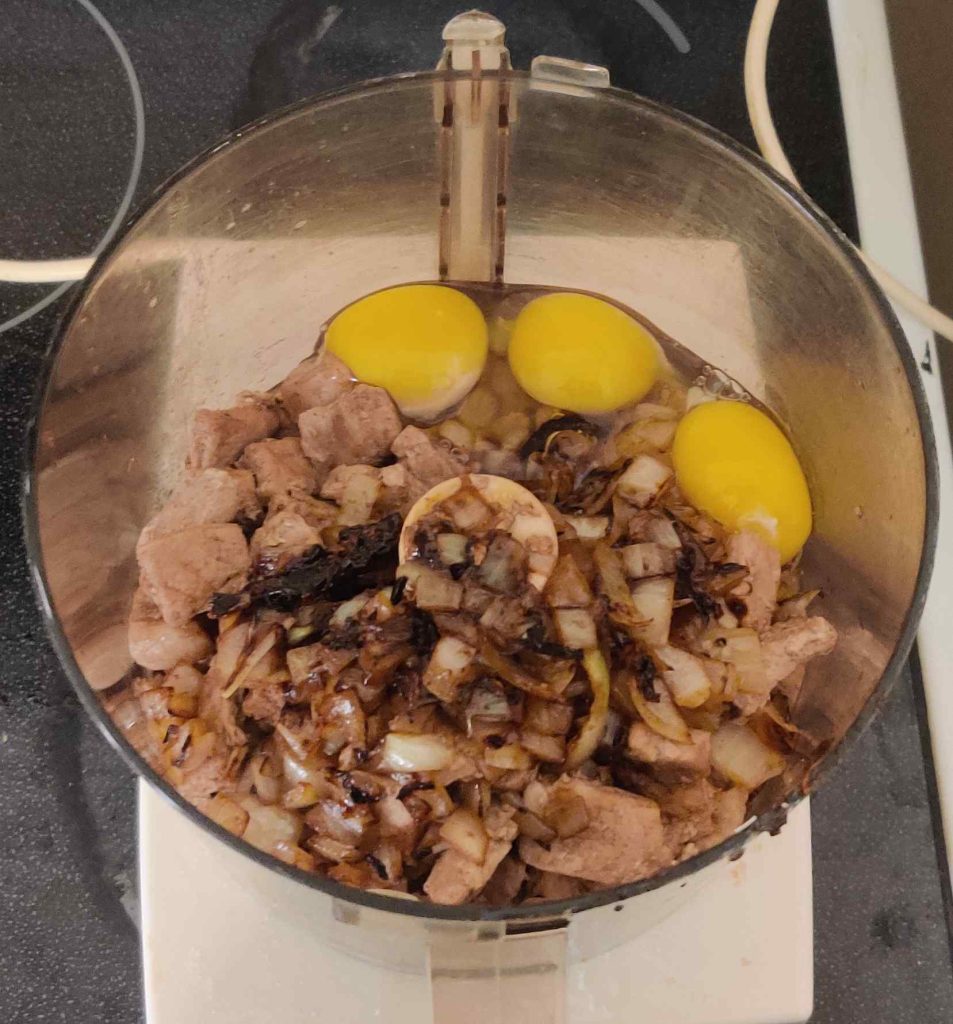
Milk was taken out:
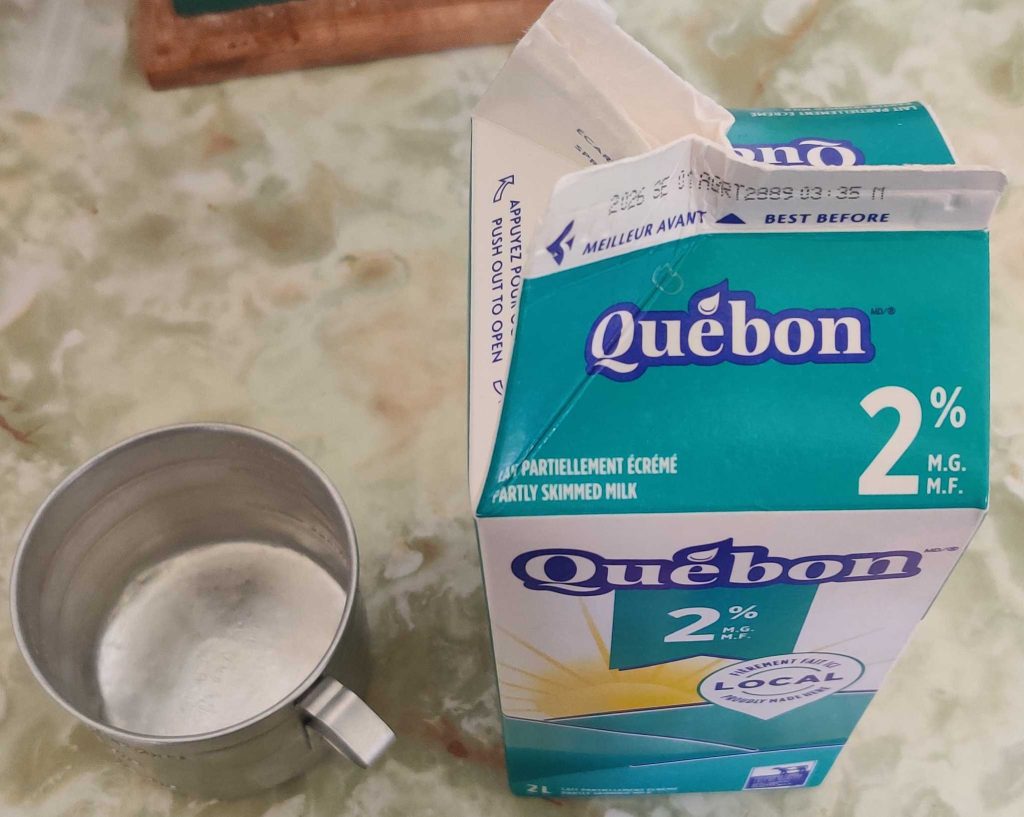
The milk was measured out:
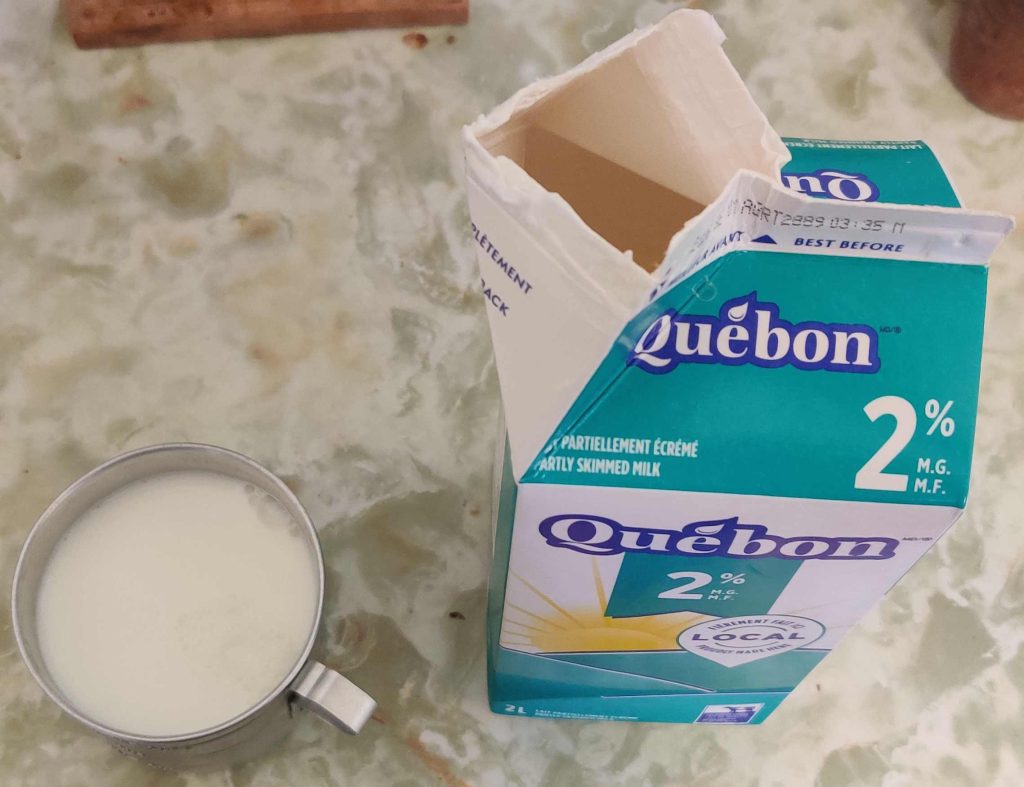
The milk was transferred to the food processor:
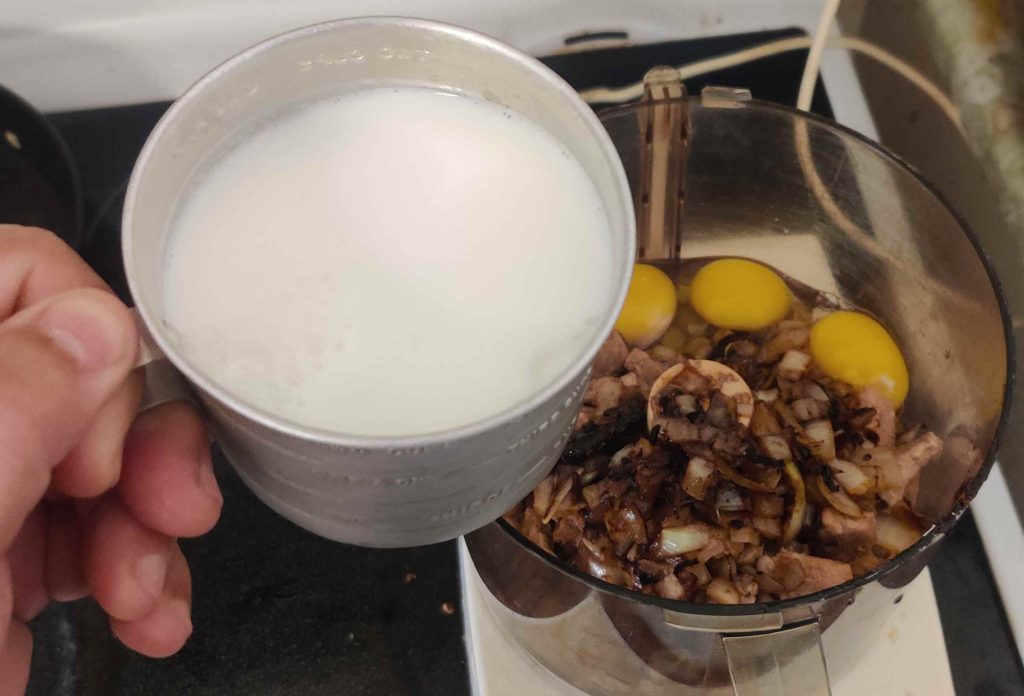
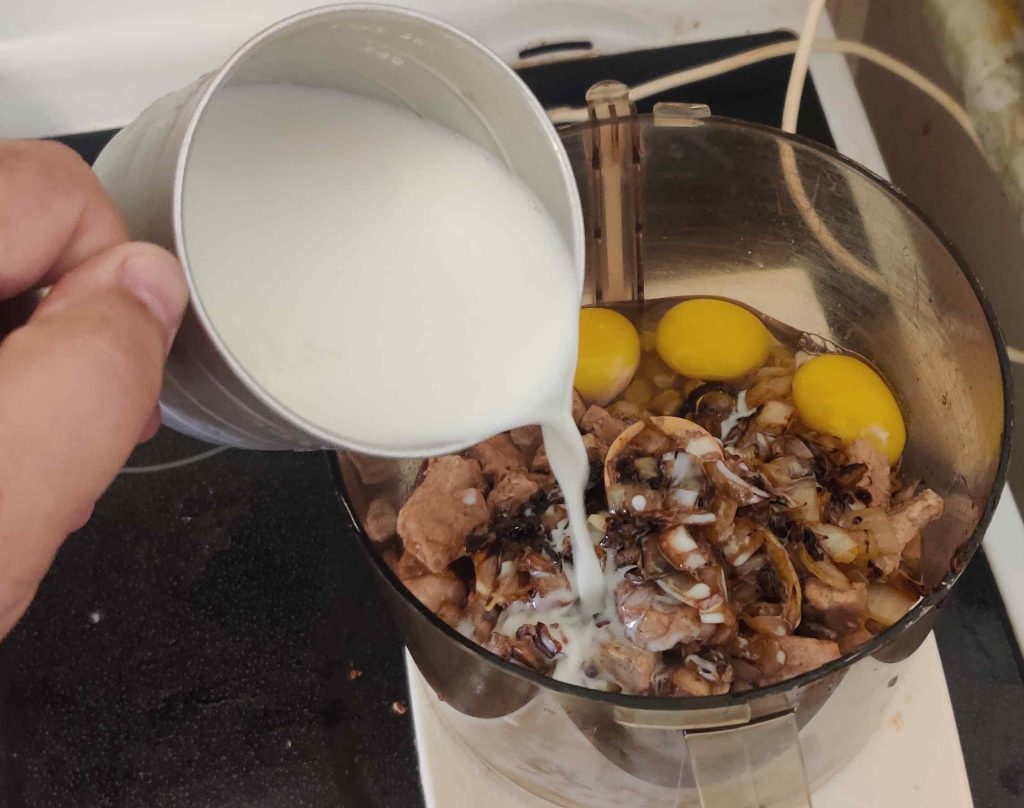
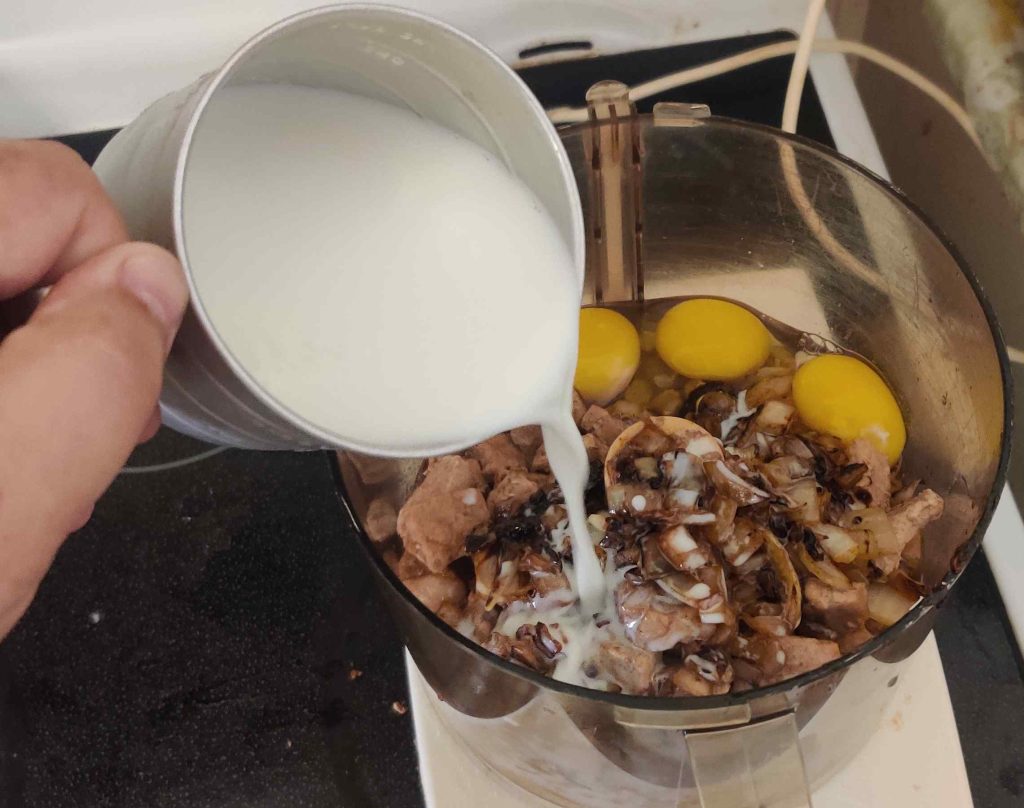
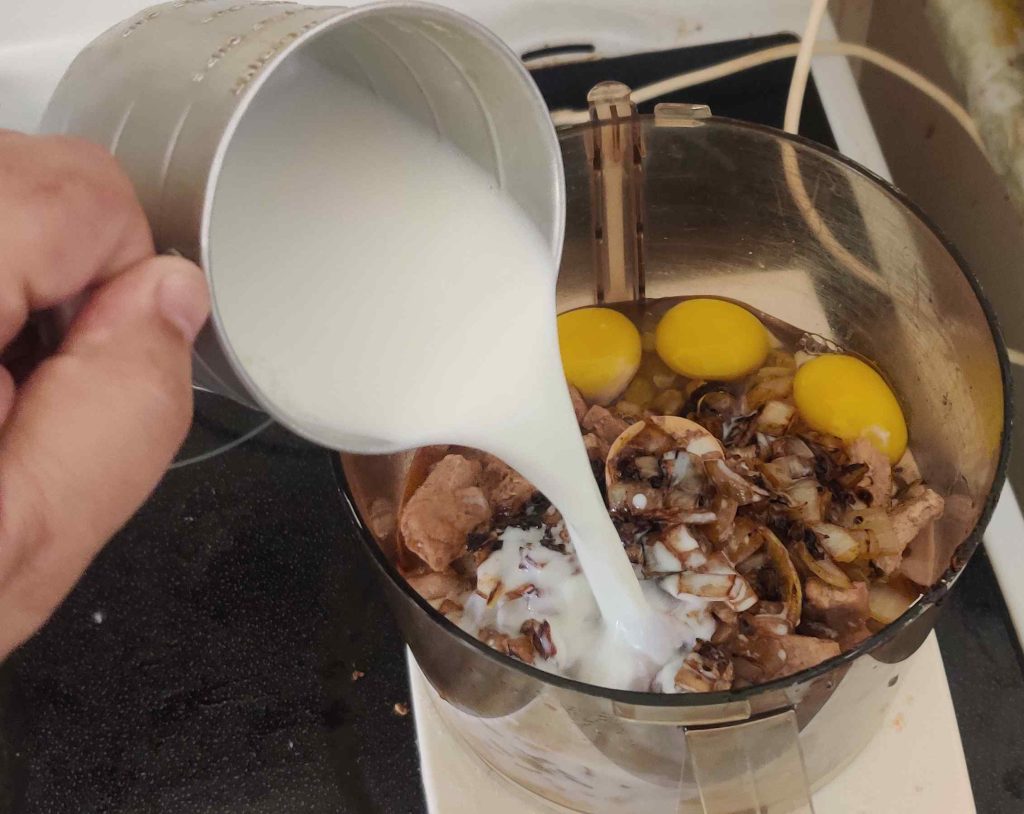
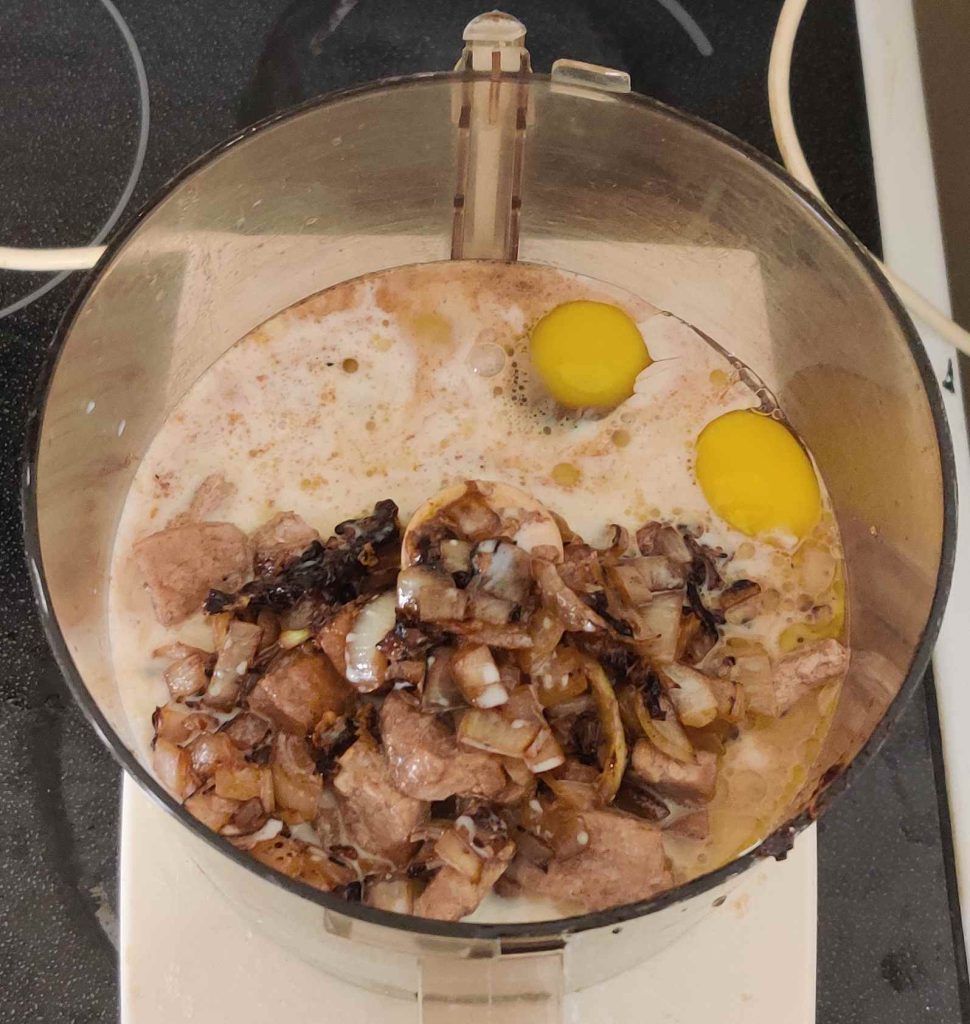
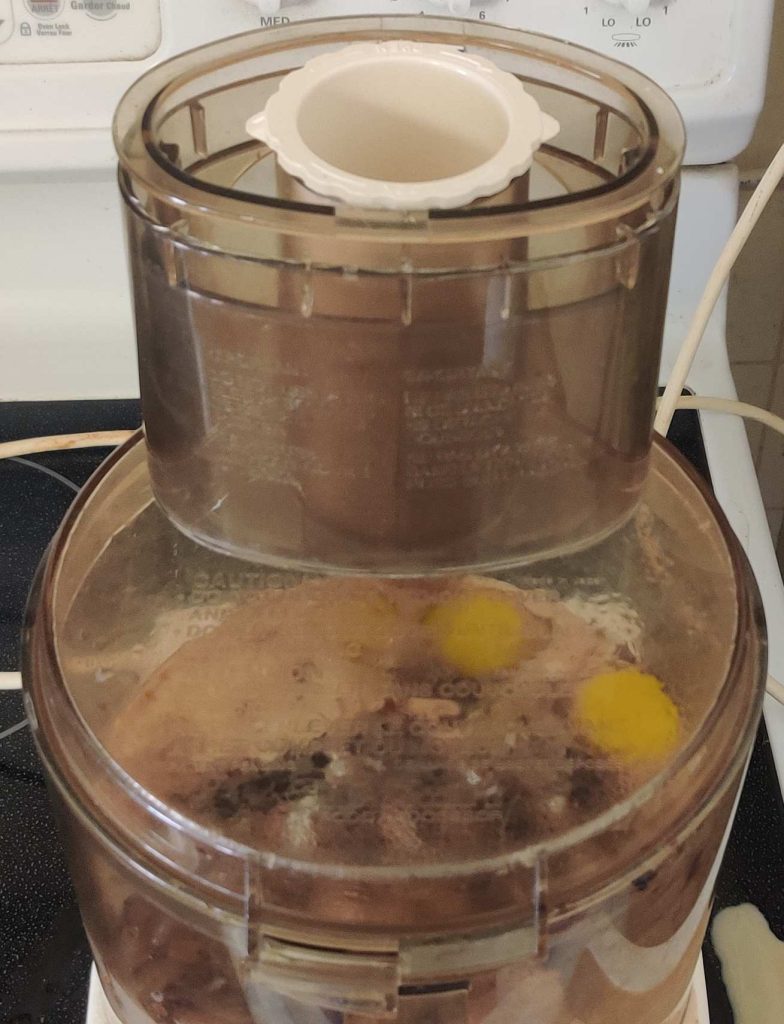
The lid was placed back on the food processor (yes, in the lower right hand corner, you can see that a bit of liquid spilled through the middle hole in the food processor):
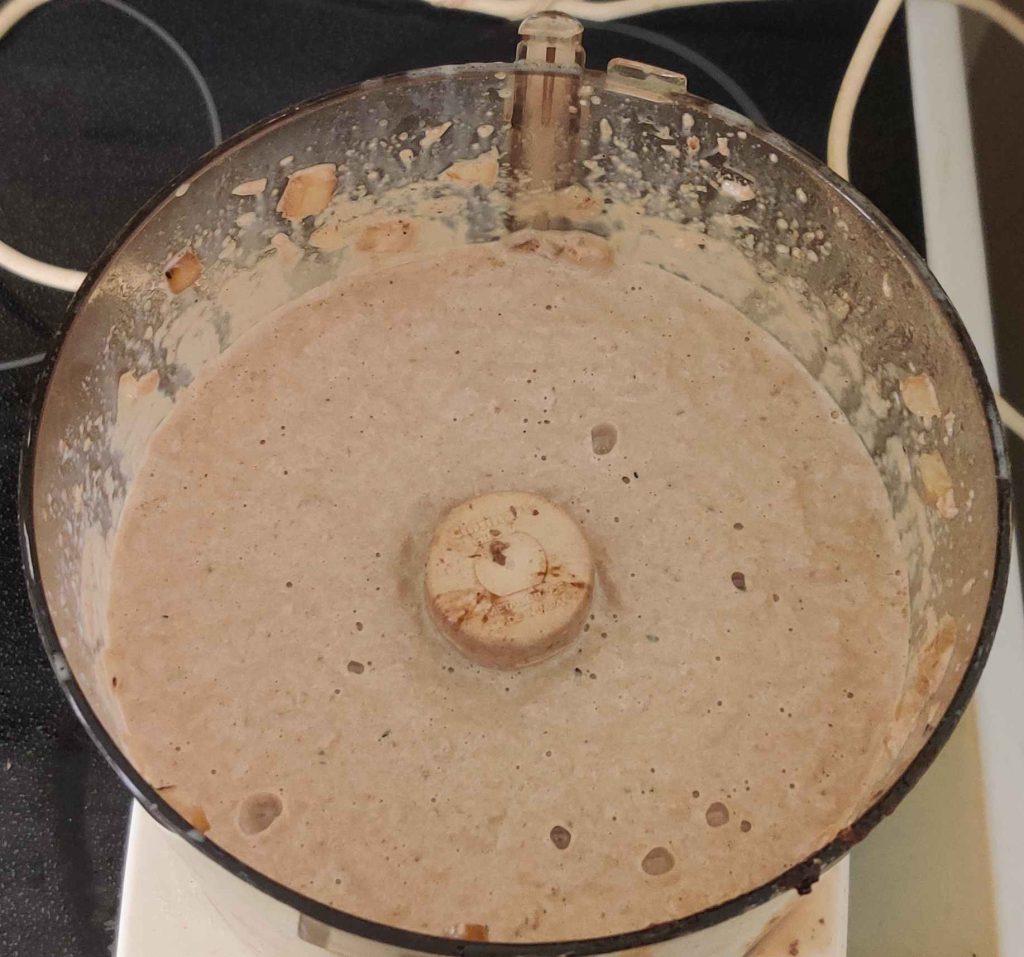
The food processor was turned on, and all the ingredients were liquidized:
A soup ladle was taken out:
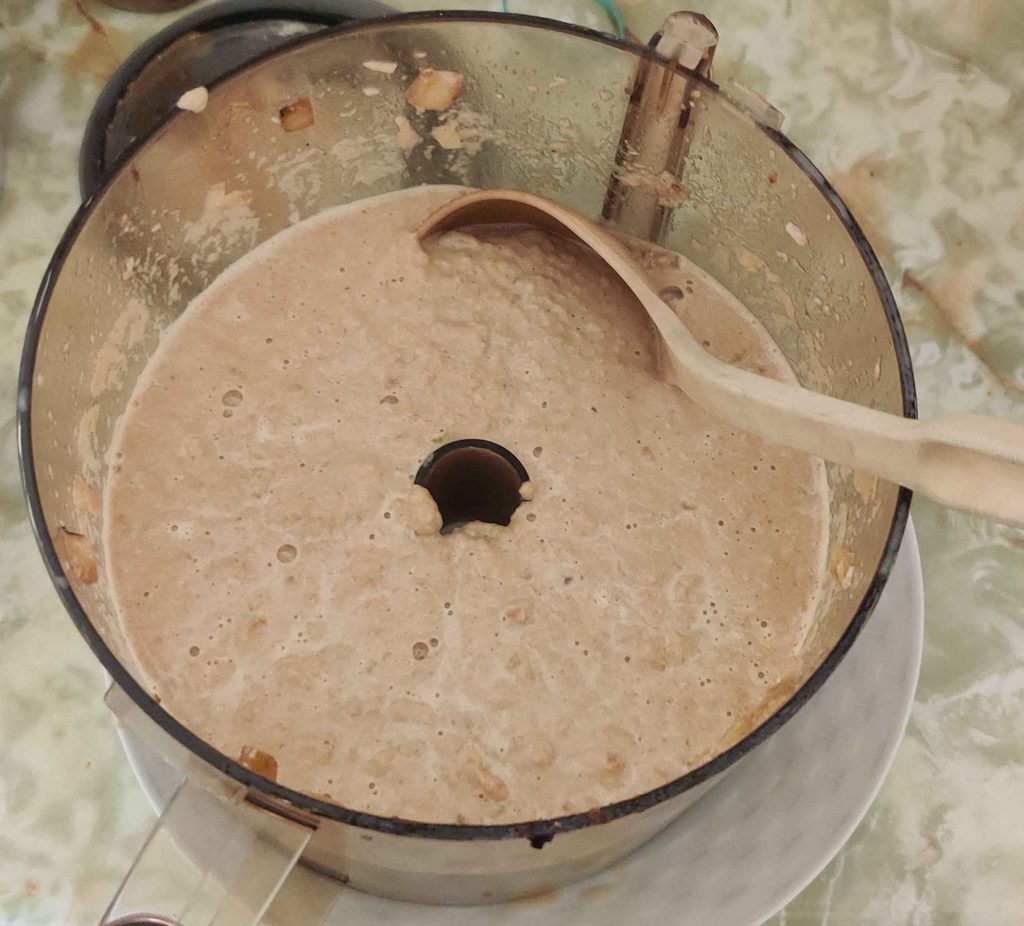
Some of the liquid was picked up with the ladle and the liquid was transferred to a ramekin, filling it to about an inch or so high:
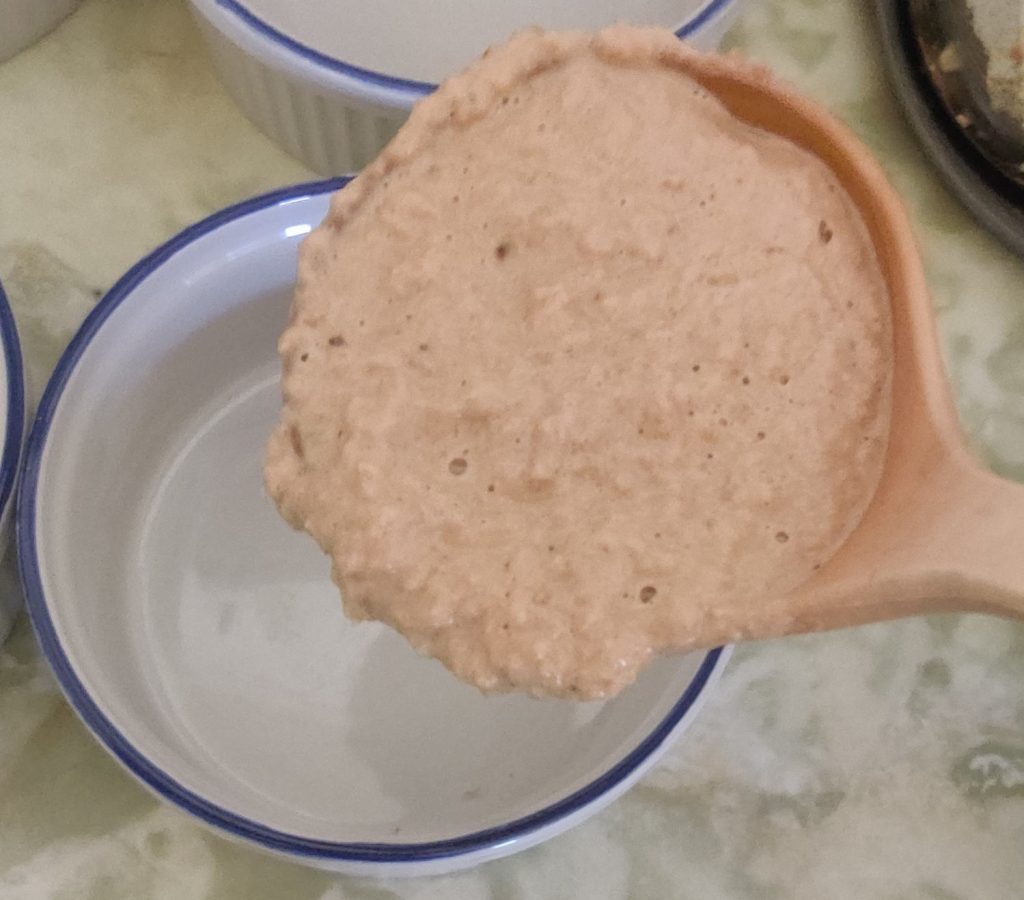
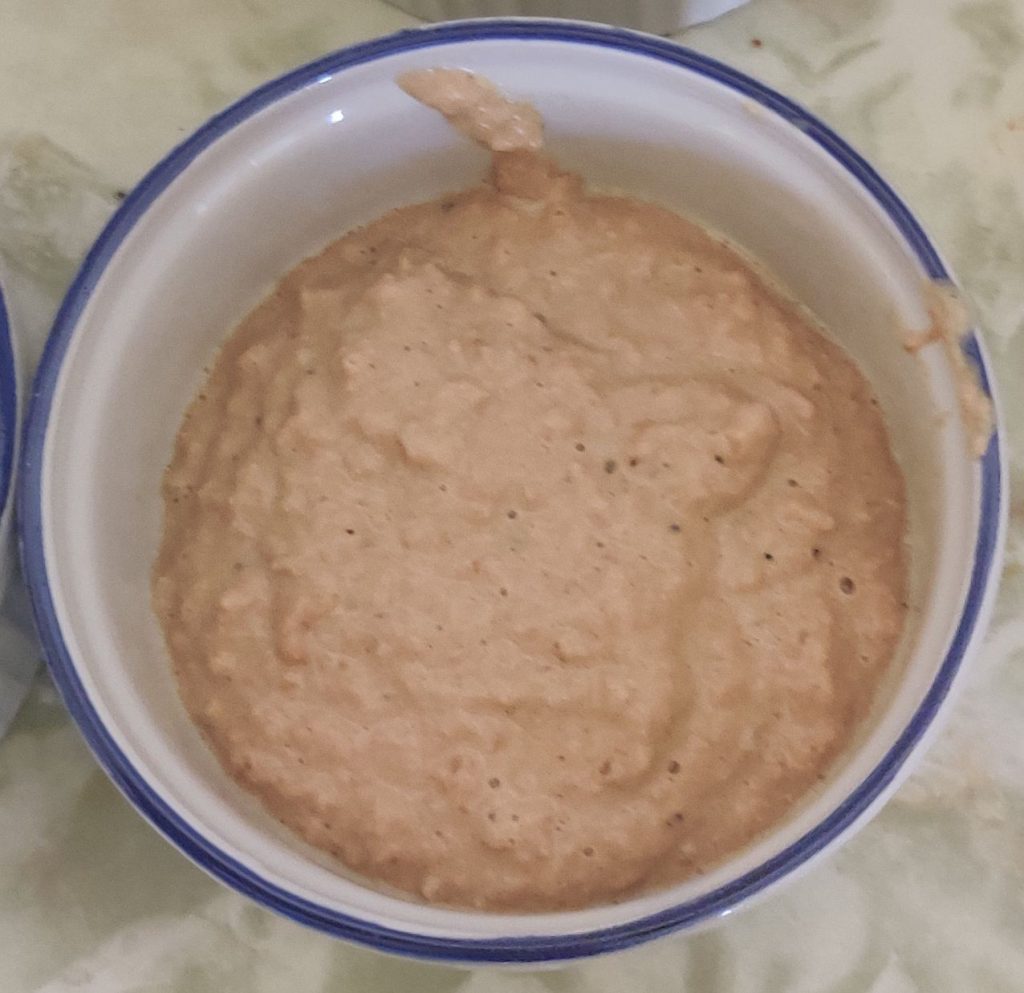
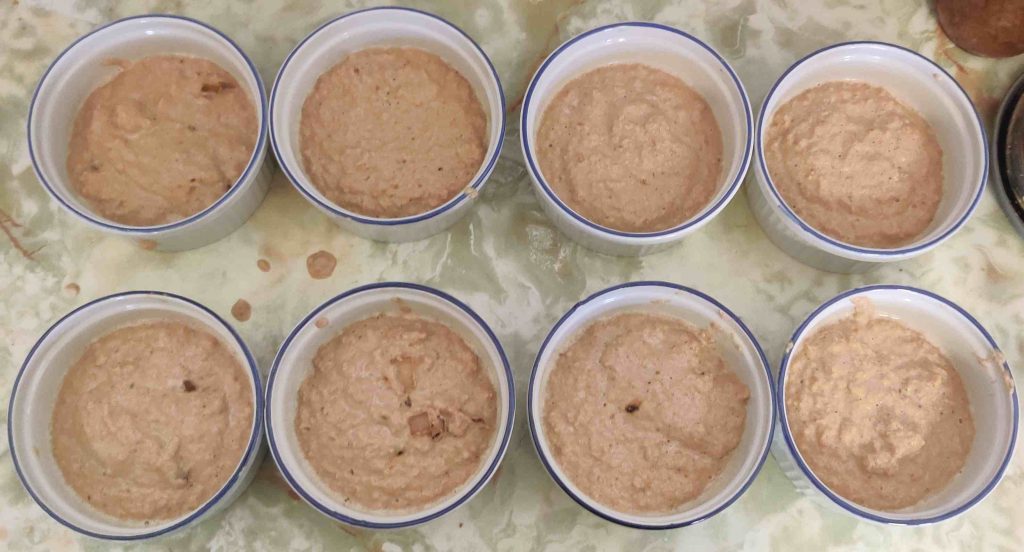
Four — half — of the filled ramekins were transferred to the hot oven:
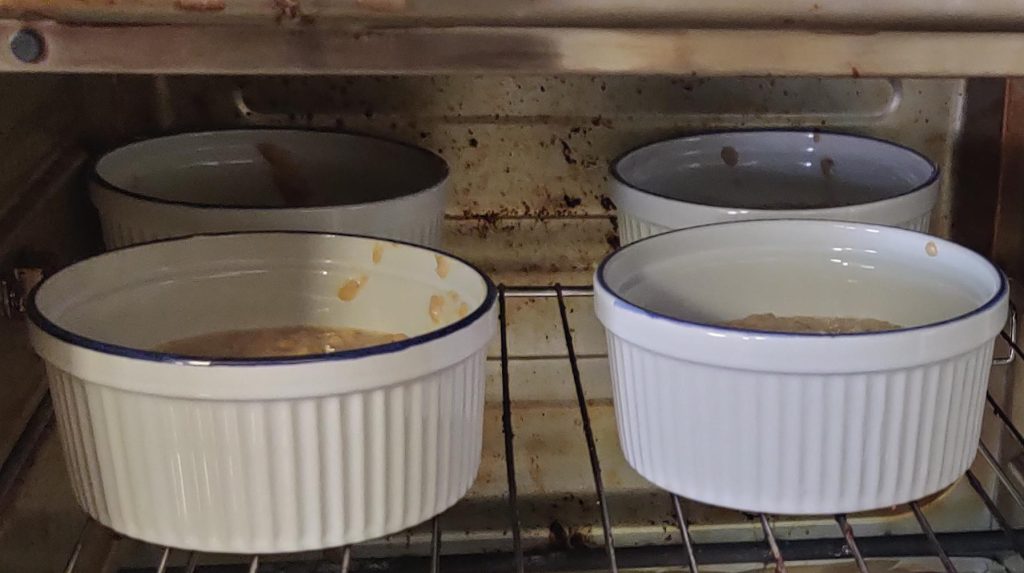
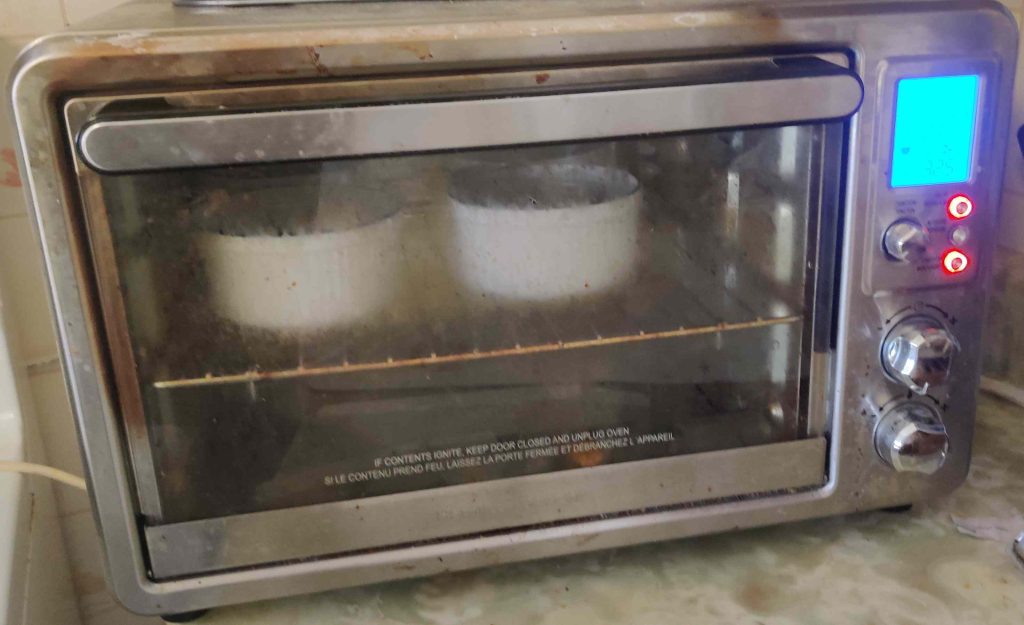
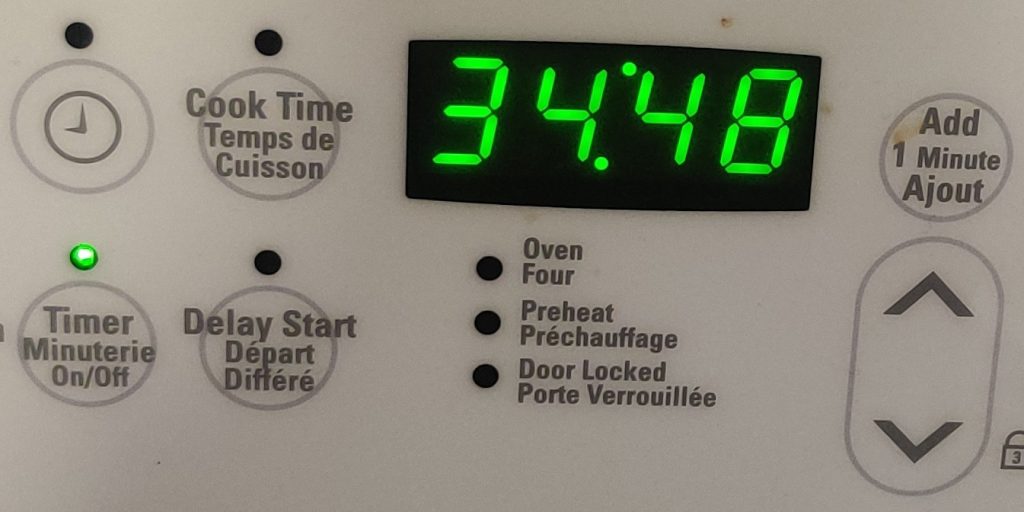
A timer was set to 35 minutes:
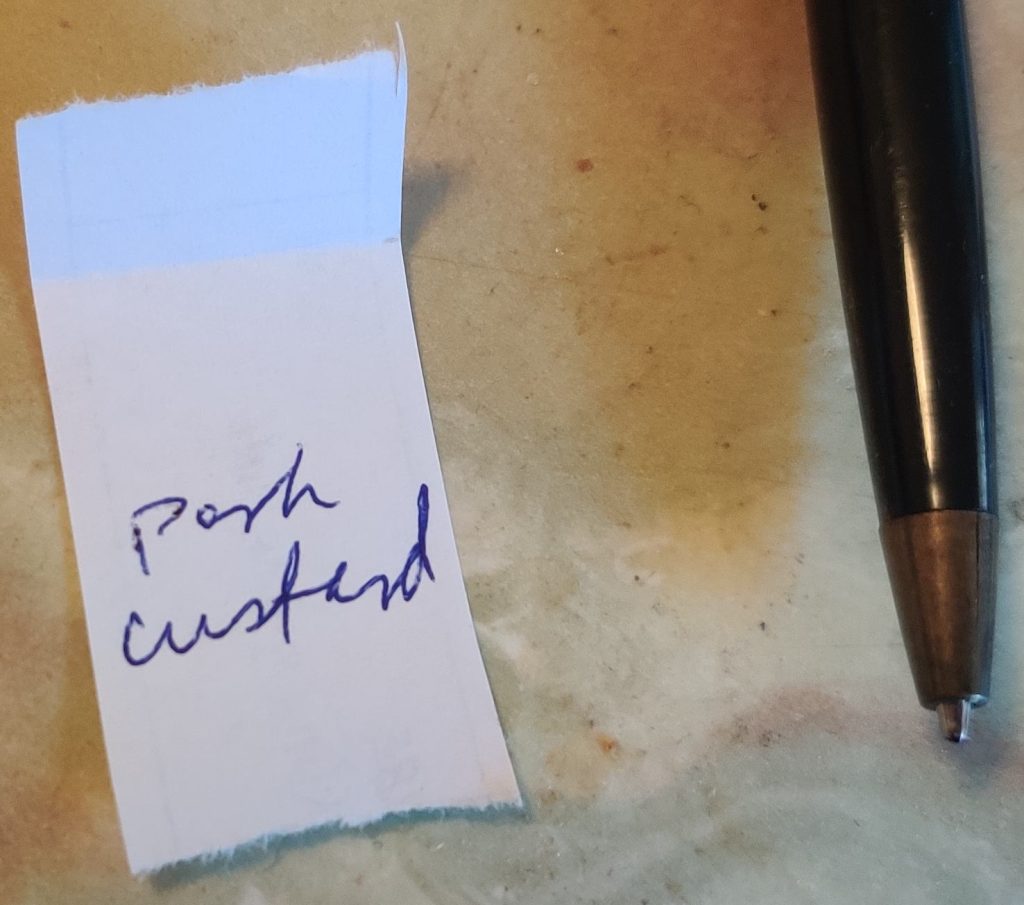
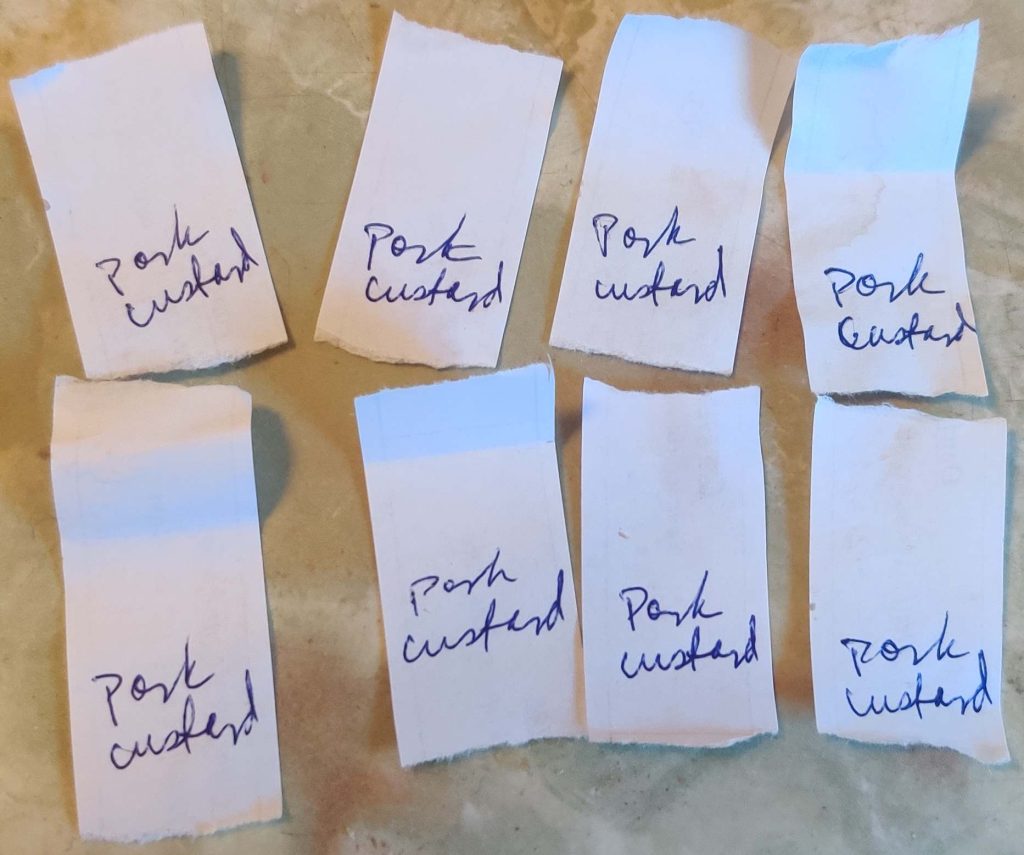
While the custards were baking, strips of paper were cut off from some old, used labels from my other food projects (in this case, picked eggs, stewed apples, and stewed rhubarb) in order to create some labels for when I place the custards in containers:
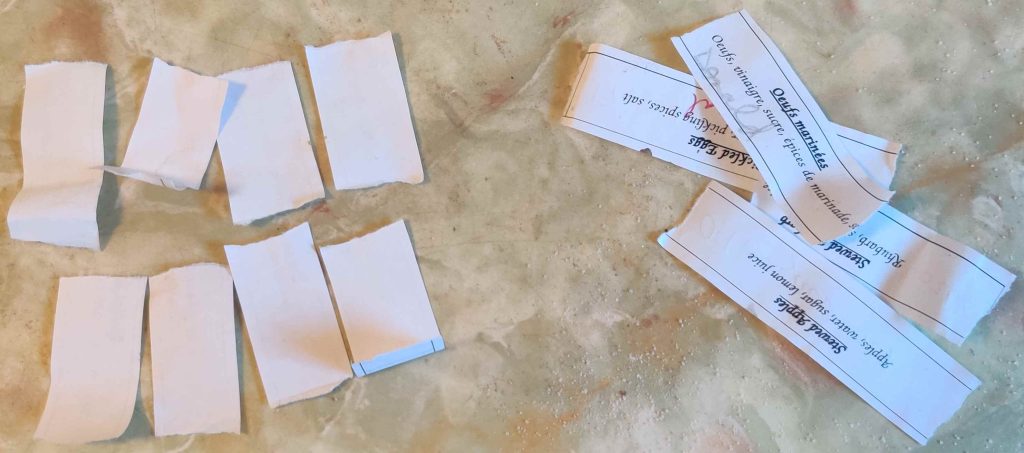
The strips of paper were identified:
The timer ran out on the baking of the pork custards:
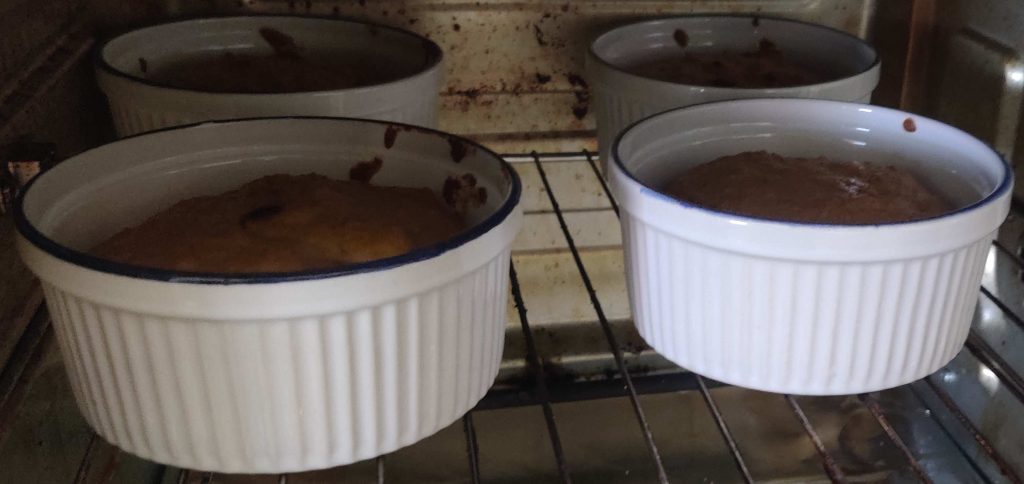
The baked custards were taken out of the countertop convection oven:
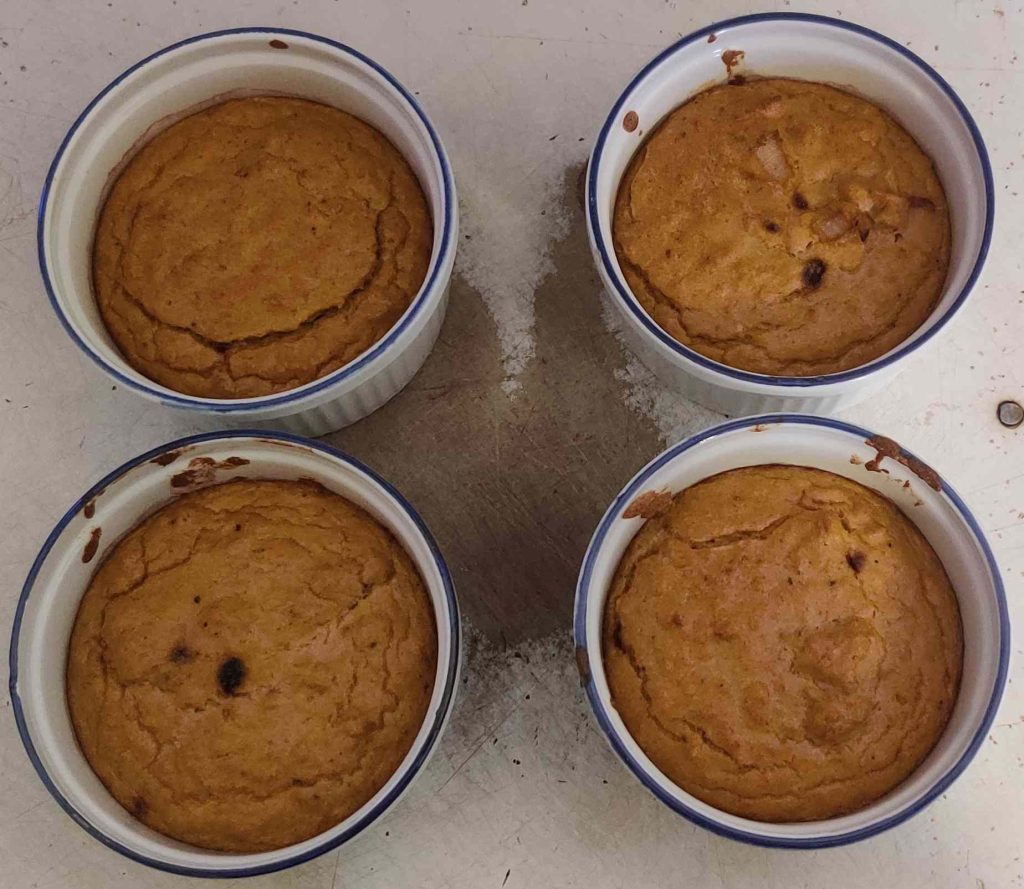
The other four custards were placed in the hot oven and were baked the same way and for the same amount of time.
The edges of the custards were released from the ramekins for cooling:
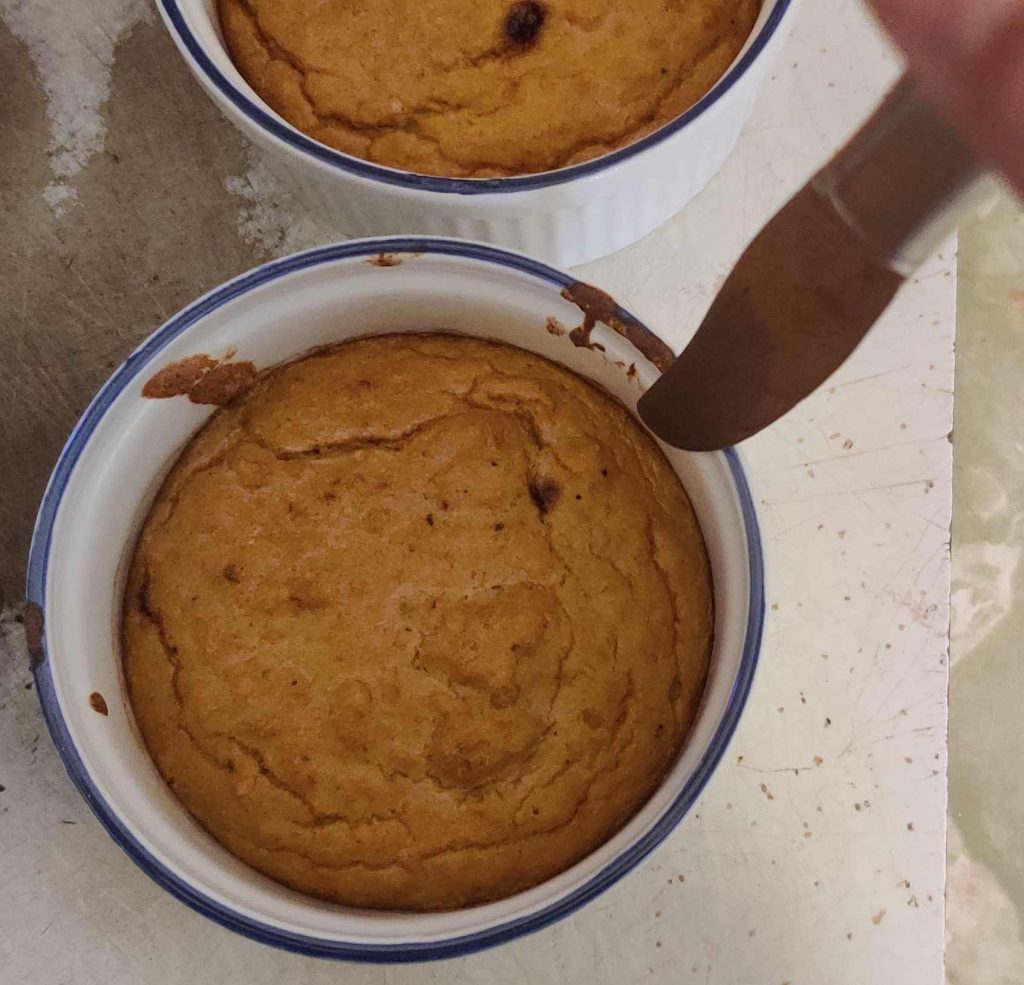
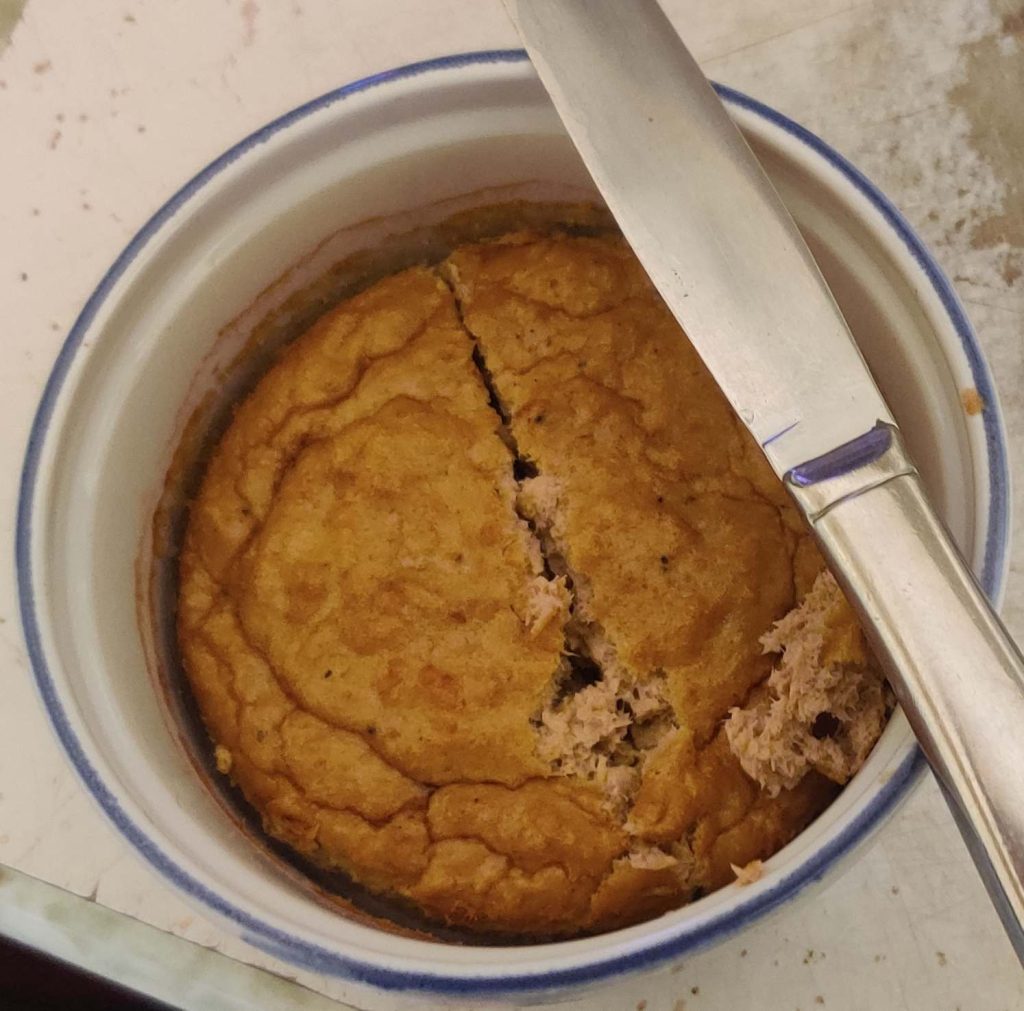
The cooled custards were cut in two:
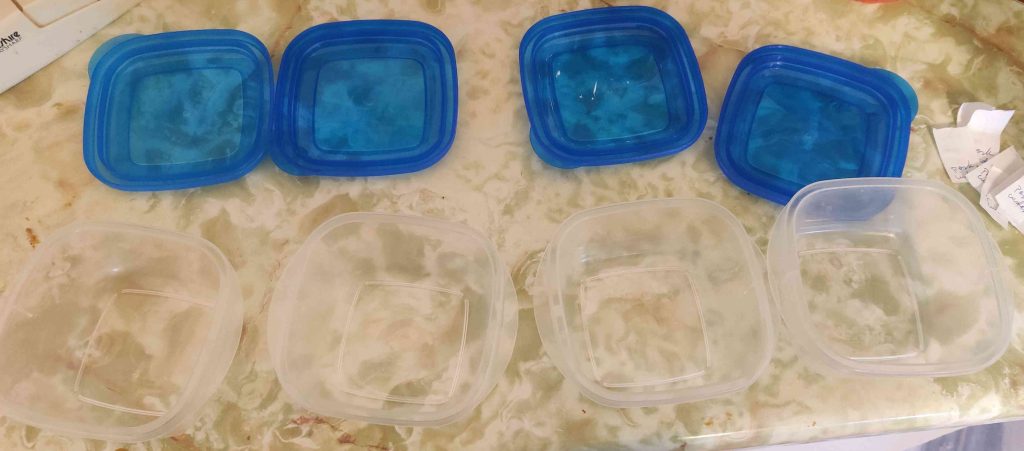
Plastic food containers were taken out:
When the pork custards had cooled, I scooped them out of the ramekins with a spoon and transferred them to the containers (as you can see, I probably should have used a bit of oil as a release agent while cooking):
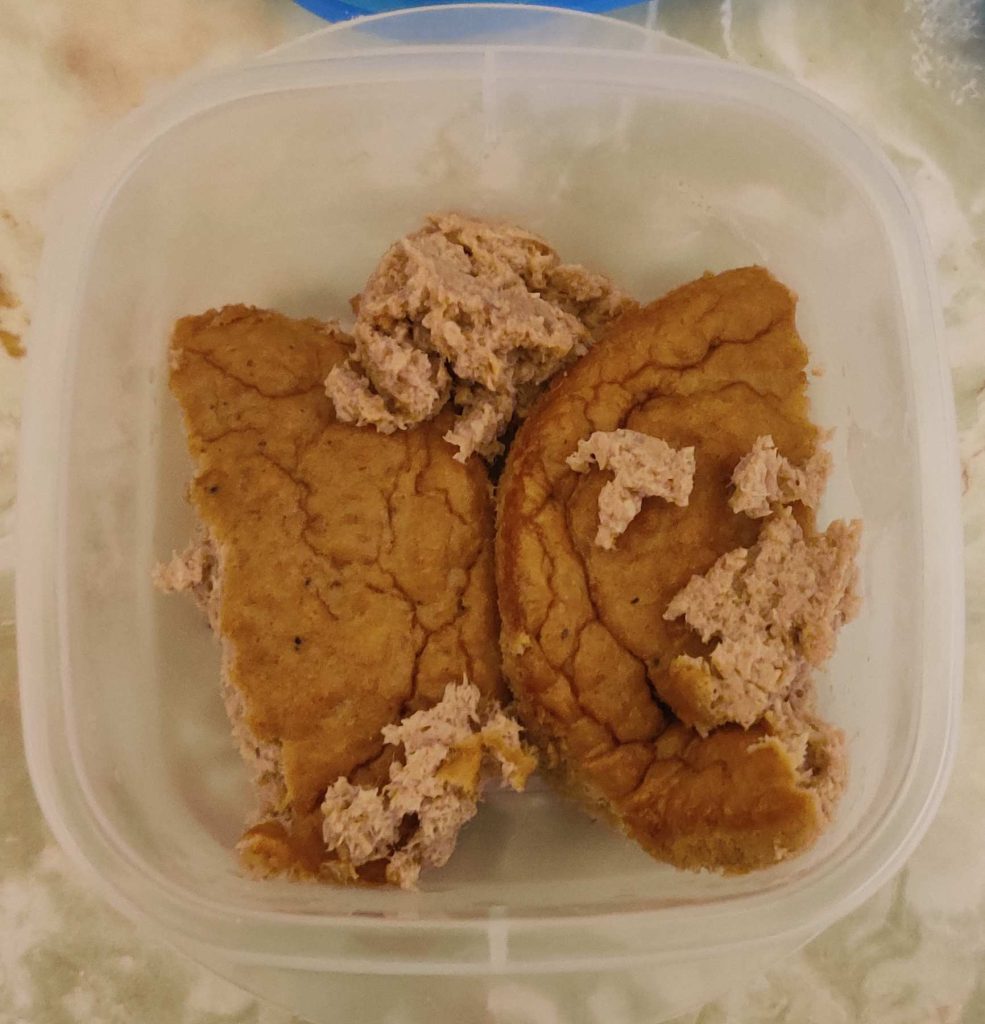
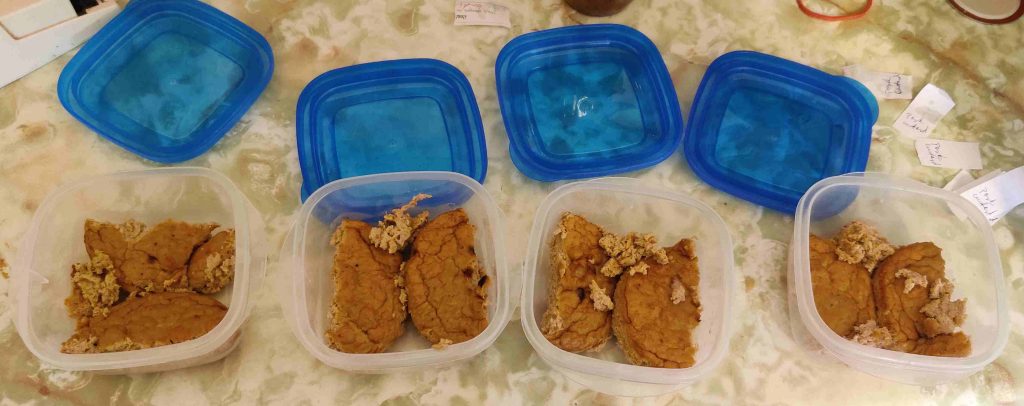
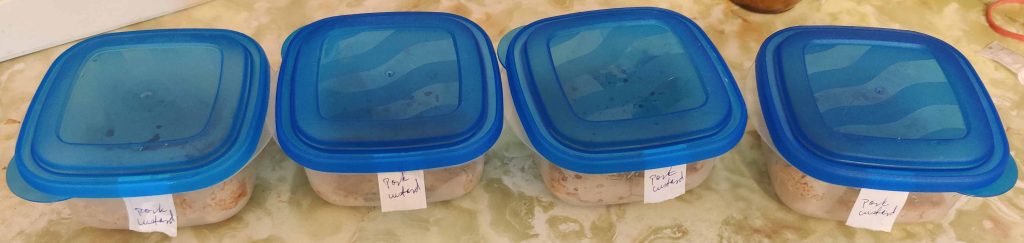
The covers were placed on the containers, along with the labels made earlier:
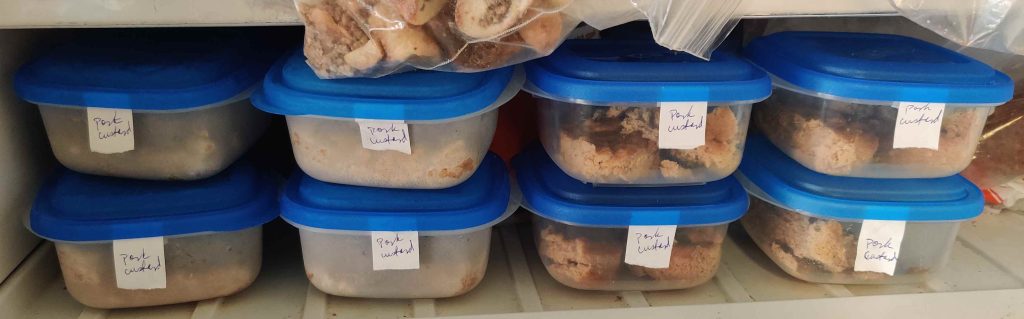
The containers were placed in the freezer, where you can see a bag of my cut up bierocks hanging over an edge!
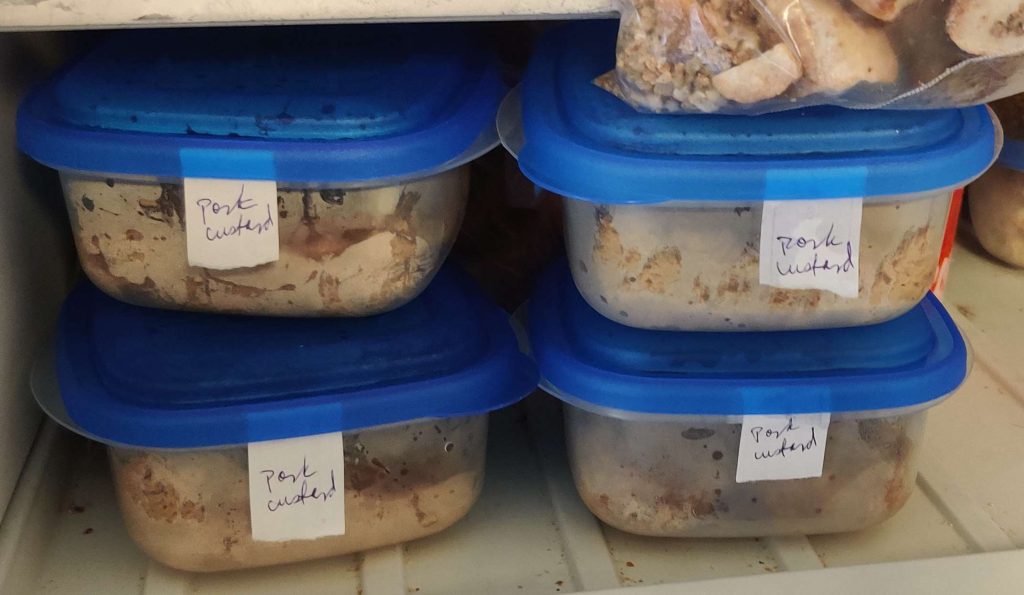
When the rest of the custards were baked, they were transferred to containers as well, and the containers were placed in the freezer beside the other containers:
That evening, a piece of pork custard was a part of Mom’s supper! Yummy!