Making Bagel and Cream Cheese Pieces Bites — Photos

This post is a bit of a gratuitous post to pass the time during my holidays, while showing a bit how I leverage freezers as useful tools for day to day cooking and eating, and highlight how, beyond the strictly obvious (or conversely, as an example of the obvious, whichever you prefer 🙂 ), my cooking efforts actually do fit into and serve everyday life — literally!

Yes, the breakfast shown at the end of this post is a very typical daily breakfast for me these days, barring the days, often on weekends or holidays, when I might choose to make other breakfast foods from my collection of recipes (or of course, something else completely.)

Note: I must confess that despite claiming to be a proud Montrealer, for these breakfast bites, I favour a commercial, industrially baked bagel typical of the fluffy, New-York style (here is my archive), instead of Montreal-style bagels (here is my archive).)

Making the Bagel and Cream Cheese Bites:

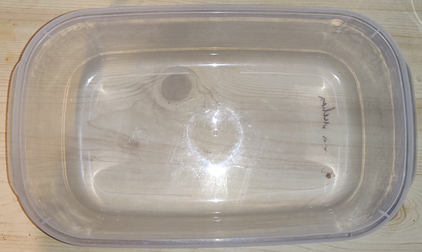
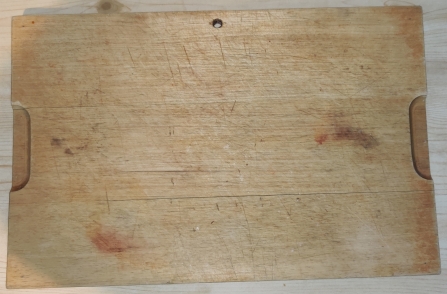
After coming home from the store and having bought bagels and a cream cheese spread flavoured with “herbs” and roasted garlic, I took out a cutting board:

Cutting board taken out

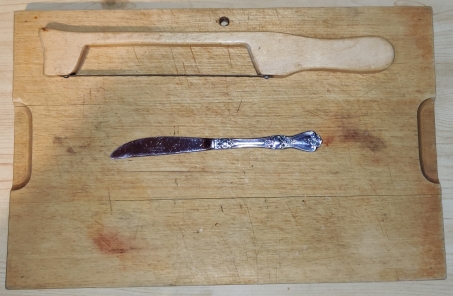
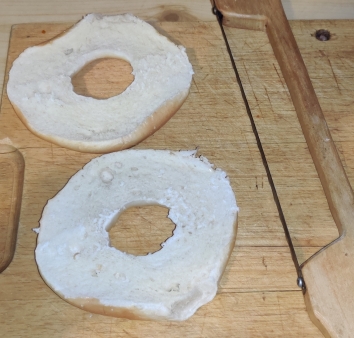
A bagel slicer, basically a serrated edge attached to a wooden guide, and a table knife, were taken out:

Bagel slicer and knife taken out

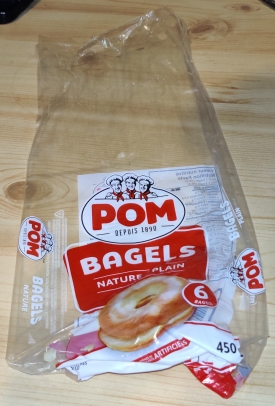
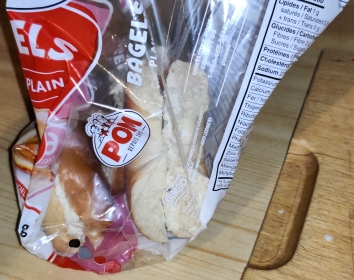
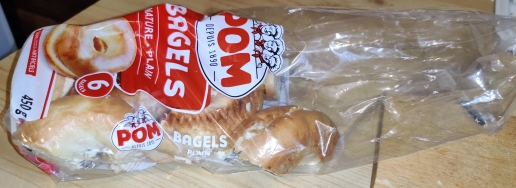
A bag of commercially produced bagels, purchased earlier in the day, was taken out:

Bag of bagels taken out

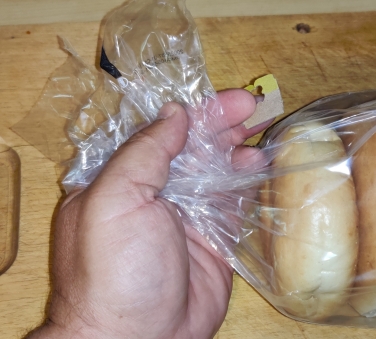
The bag clip was taken off the bag in order to open the bag of bagels:

Bag clip removed from bag

The bagels were taken out of the bag:

Bagels taken out of bag

The empty bag was kept and put aside:

Bag kept and put aside

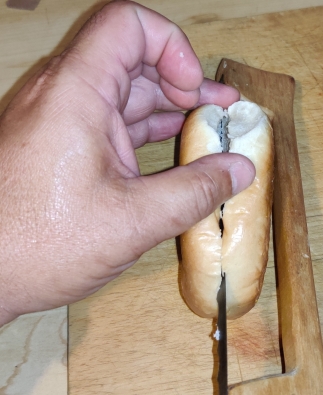
A bagel was sliced (be careful, some industrially produced bagels may be partly pre-sliced):

Bagel being sliced
Sliced bagel

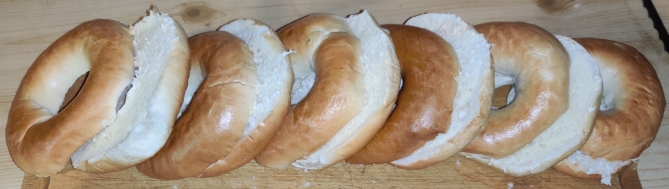
… and the rest of the bagels were sliced:

Bagels sliced

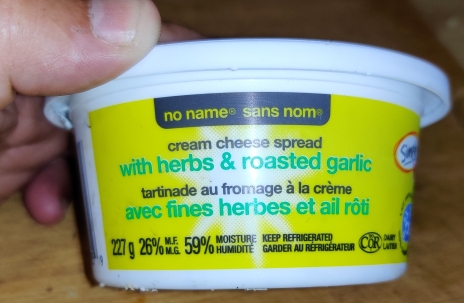
A 227g (8oz) container of a commercially prepared cream cheese spread, in this case flavoured with “herbs” and roasted garlic, purchased earlier in the day, was taken out:

Flavoured cream cheese spread taken out

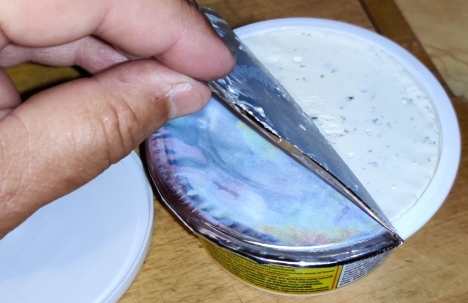
The lid was removed from the cream cheese container …

Plastic seal to be removed from container

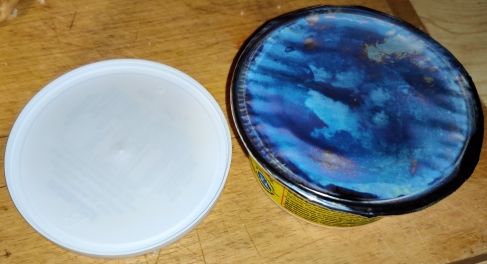
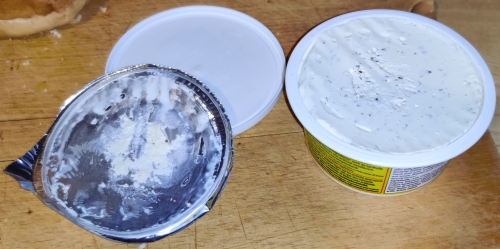
… and the plastic seal was also removed from the container:

Plastic seal removed from container

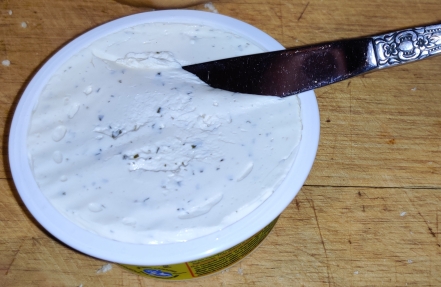
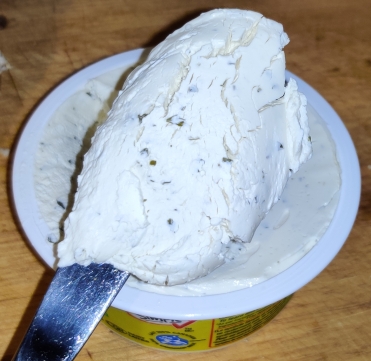
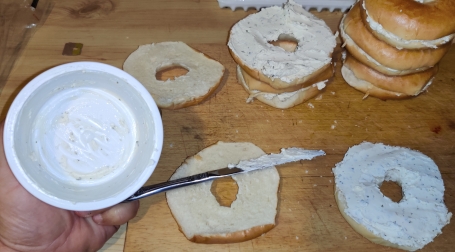
The knife was used to pick up some of the cream cheese:

Picking up cream cheese with knife
Cream cheese picked up with knife

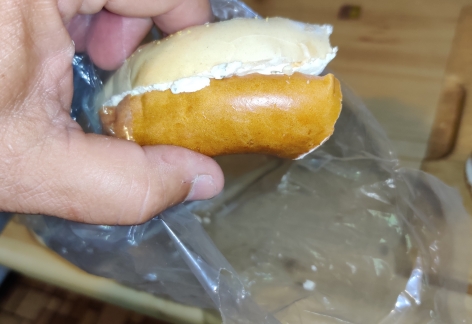
A couple of bagel halves were placed on the cutting board, and the knife holding the cream cheese was brought to them …

Cream cheese brought to bagel halves

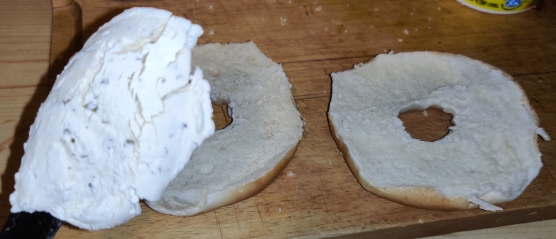
… and cream cheese was spread on one of the bagel halves:

Cream cheese spread on bagel half

The two bagel halves were put back together:

Bagel halves joined back together

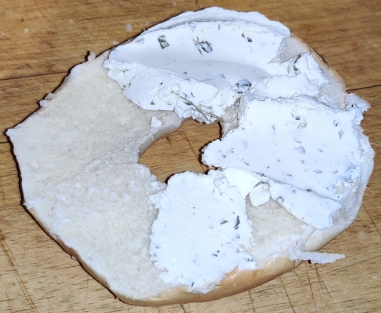
Cream cheese was spread on a few more bagels, and after spreading cream cheese on half of the bagels, the container was about half empty:

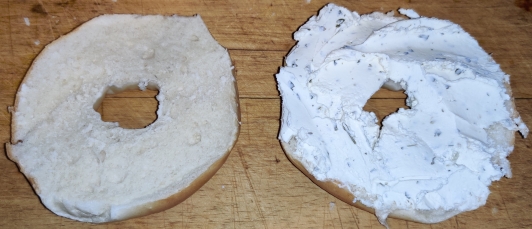
I continued to spread cream cheese on the rest of the bagels; I scraped the last of the cream cheese out of the container, and I spread the last of the cream cheese onto the last of the six bagels:

Scraping the last of the cream cheese from the bottom of the container and spread onto last bagel

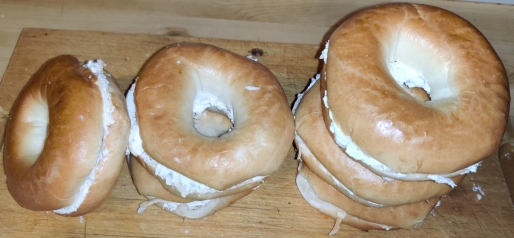
At this point, all six bagels were filled with cream cheese:

Bagels filled with cream cheese

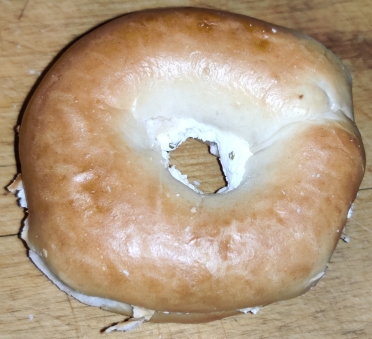
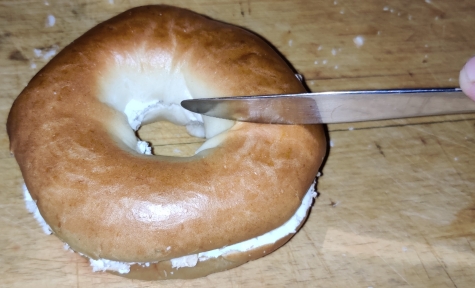
At this point, a clean knife was taken out, and a bagel was cut at a single point:

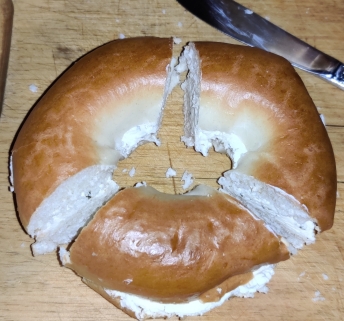
… and then the bagel was cut in two other places, resulting in three pieces:

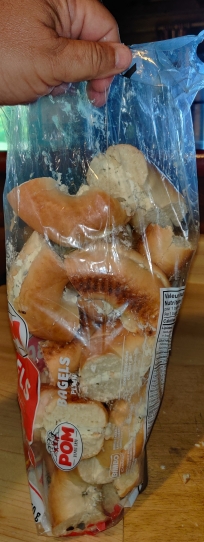
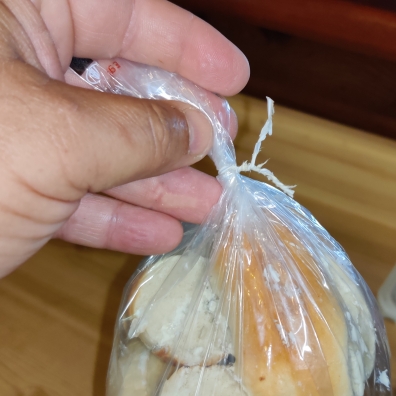
The bagel pieces were placed back in the bag:

Piece of bagel placed in bag
Three bagel pieces placed in bag

… and as I continued cutting up the rest of the bagels, I placed the bagel pieces in the bag:

Half the bagel pieces in the bag

… until all the bagel pieces were in the bag:

All bagel pieces in bag

A tie wrap was taken out:

Tie wrap taken out

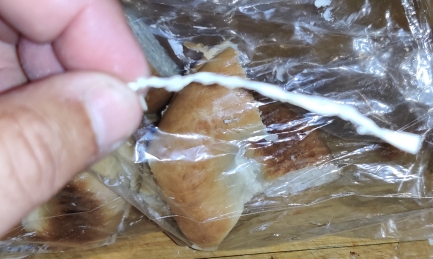
The tie wrap was used to seal up the bag again:

Bag sealed with tie wrap

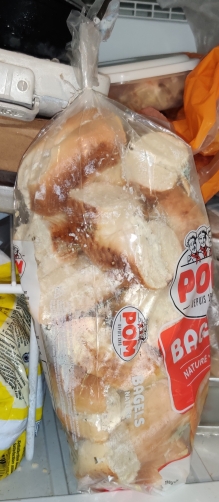
The bag of bagel and cream cheese pieces was placed in the freezer:

Bag of bagel and cream cheese pieces placed in freezer

The next morning, I took out a bagel and cream cheese bite, and defrosted it along with a mini raisin bran muffin, made earlier in the week using my mom’s bran muffin recipe, a pickled egg, some cheese, and some peanut butter scooped from the jar:
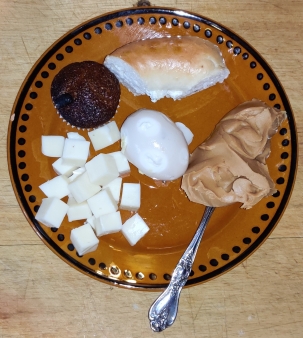
Breakfast is served!

Yummy!

Cooking Breakfast Sausages — Photos

This past week was again a busy week with no cooking projects from my collection of recipes; however, I took advantage of this past weekend to both develop my version of a favourite dish my mom continues to this day to make for me, a corned beef hash, but for which, strictly speaking, she doesn’t have a formal recipe, and, prepare a future post on firestarters. 🙂

I am therefore posting the photos I’d taken of cooking sausages a few weeks ago at the cottage and which I’d kept in reserve. The subject of cooking sausages would normally not qualify for a post in this cooking series, since I am “only” highlighting the cooking of (admittedly somewhat large quantities of) commercially prepared breakfast sausages — for which I of course do not have a recipe — as opposed to highlighting a non-existent hypothetical recipe for making sausage from scratch. However, I am including this post since several of my recipes call for cooked breakfast sausages, such as my stuffed potato skins, my breakfast sandwiches, and my english muffin breakfast sandwiches.

Note that these photos were taken in the month of May 2021, at the cottage, not this past weekend.

Cooking the sausages:

First, an electric skillet was taken out:

Electric skillet taken out

The electric skillet was turned on:

Electric skillet on

A frozen, two kilogram store-bought flat of breakfast sausages was taken out:

Package of commercial breakfast sausages taken out

The package of sausages was unsealed:

Package of sausages unsealed

Sausages were taken out and placed in the electric skillet — in this case, half of the package, or the top layer of two layers of sausages:

Sausages placed in the electric skillet

I turned over the sausages after a few minutes:

Sausages turned after a few minutes

Sometimes, a flipper is needed to loosen the sausages in order to turn them over:

Using a flipper to lift and turn over sausages

The sausages were turned again and were beginning to brown:

Sausages turned again after a few minutes

The sausages were turned yet again and continued to brown:

Sausages turned yet again after a few minutes

At this point, a cookie baking tray was taken out:

Cookie baking tray taking out

As the sausages began to be cooked, they were taken out of the electric skillet and placed on the cookie baking tray …

Cooked sausages placed on cookie baking tray

… while the rest of the sausages were kept in the skillet to continue cooking …

Finishing cooking the rest of the sausages

… and once all of the sausages were cooked, they were all placed on the cookie baking tray:

First half of the cooked sausages on the cookie baking sheet

The cookie baking tray of sausages were placed in the freezer:

Cookie tray of cooked sausages placed in freezer

The grease was drained from the electric skillet:

Grease drained from electric skillet

The process was repeated and the rest of the package of sausages was also cooked in the skillet the same way.

The grease was allowed to cool, and when it had solidified, it was wrapped up with the other kitchen wastes from the weekend’s other cooking projects, and brought home to place in the curbside kitchen waste brown box for municipal composting:

Grease allowed to solidify

A plastic container was taken out:

Plastic container taken out

The first round of cooked sausages, now partly frozen, were placed in the plastic container, and placed back in the freezer:

Cooked sausages placed in plastic container

When the second half of the sausages were all cooked and frozen, they too were placed in the plastic container, and placed back in the freezer:

Cooked sausages placed in plastic container

I now have several months’ worth of yummy, cooked sausages in the freezer, and I have indeed already eaten some!