Making (Simple) Meat Lasagnes — Photos

This is another recipe focusing on a simplification — in fact, two separate simplifications — allowing for easy assembly of as many or as few units that you are willing to mount at once, as well as depending on the number of containers and freezer space you have, or to which you have access.

In the process of mounting this post, a separate, overarching narrative from how I originally viewed the recipe emerged: I originally thought that I had a recipe for (what now used to be) four lasagnes, using commercial tomato sauce in a jar. I eventually realized that I actually had a recipe for one lasagne, which happened to be particularly convenient for making four units at a time, specifically tailored to some conveniently-sized baking pans I possess, measuring 7-1/2″ x 5-1/2″ x 2″.

This led me to calculating the surface area of the particular baking pans, about 41 square inches (266cm2) each, which I realized was about half the 81 square inch surface area of somewhat more common 9″ x 9″ (22.9cm x 22.9cm) baking pans; I further realized that the fairly common 9″ x 13″ (22.9cm x 33cm) baking pans, with a surface area of 117 square inches, have almost three times the surface area of the baking pans I use.

With this realization, the core recipe and process of making my lasagnes emerged from the base unit of my small pans:

  • about one pound (about 450g) of ground beef;
  • about 600mL (about two to two and a half cups) of sauce;
  • about five to six sheets of oven-ready lasagne sheets;
  • ultimately making four layers of lasagne, and five layers of meat and sauce;
  • about 100g (about 3.5 ounces) of grated mozzarella cheese;
  • for a lasagne of about 41 square inches, allowing for about up to four modest but hearty servings.

Having realized this and adjusted my recipe accordingly, this leads to the easier scaling of the recipe either to the number of pans I would be making at once, or to one or more other baking pan size(s).

And to be clear: The two simplifications to this recipe lay in:

  • the use of commercial spaghetti sauce in commonly available jars of 600mL (20oz) or thereabouts, which forms the basic unit of the lasagnes, and,
  • the use of oven-ready lasagne sheets, which require no precooking or soaking before use, making the production of any number of units or even larger units vastly easier and quicker.

Note that I think that you should use a tomato (or other) sauce that you like, be it a commercial tomato sauce in whatever size format that suits you, or your own (or your grandmother’s) homemade tomato (or other) sauce. I can only imagine that making extremely large amounts of lasagne — especially several large format units — may well favour the use of larger commercial formats of tomato sauce, or the outright making large pots of your own tomato sauce!

Lastly, a small handful of photos may have been reordered and/or re-taken afterwards for the sake of the narrative.

Making the lasagnes:

On cooking day, I decided to make two units of lasagnes in my small baking pans.

First, all the ingredients were gathered together. I will underline (given the prominent “reduced price” sticker) that the beef was purchased at a clearance price a couple of days before its due date, “a couple of months ago”, and kept in the freezer; it was defrosted overnight in the fridge before use.
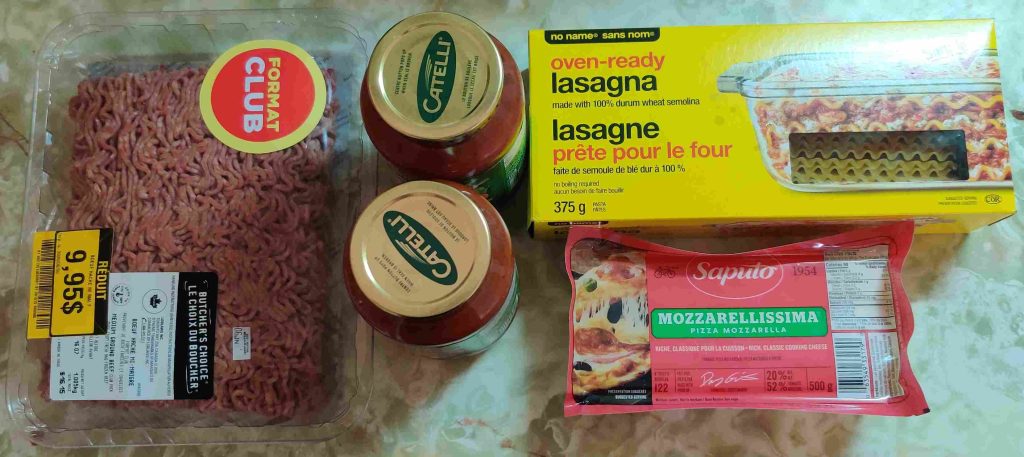
Ingredients taken out

An electric frypan was taken out and plugged in, as well as a spatula / egg flipper being taken out:
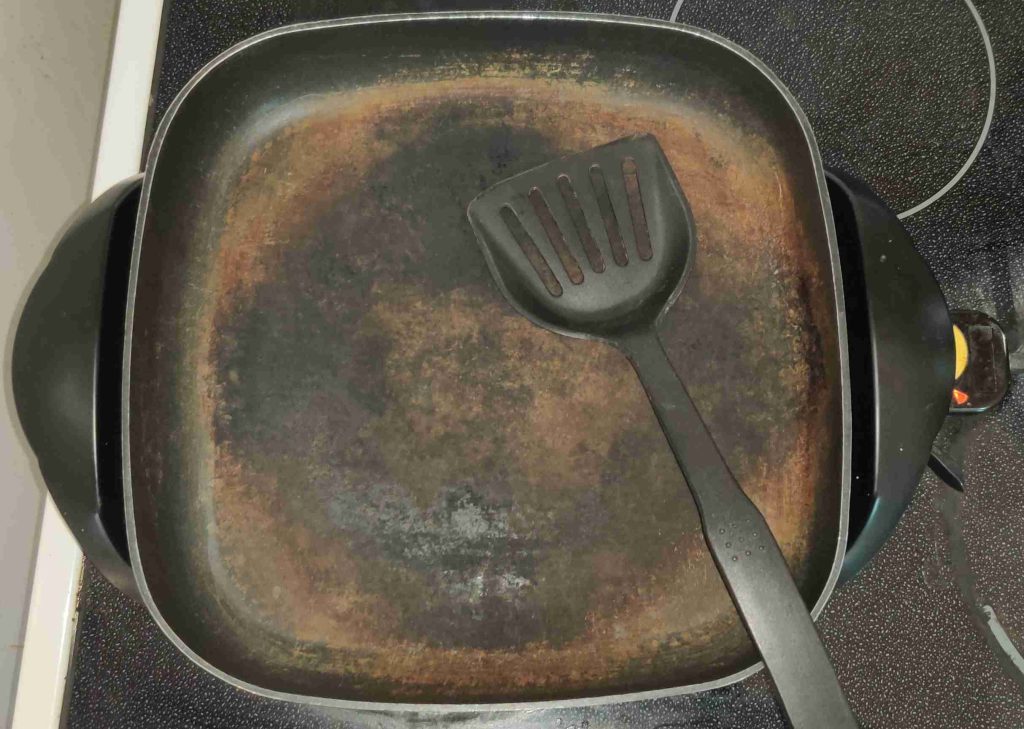
Electric frypan taken out and plugged in, and spatula / egg flipper taken out

The defrosted (overnight in a fridge) ground beef was taken out:
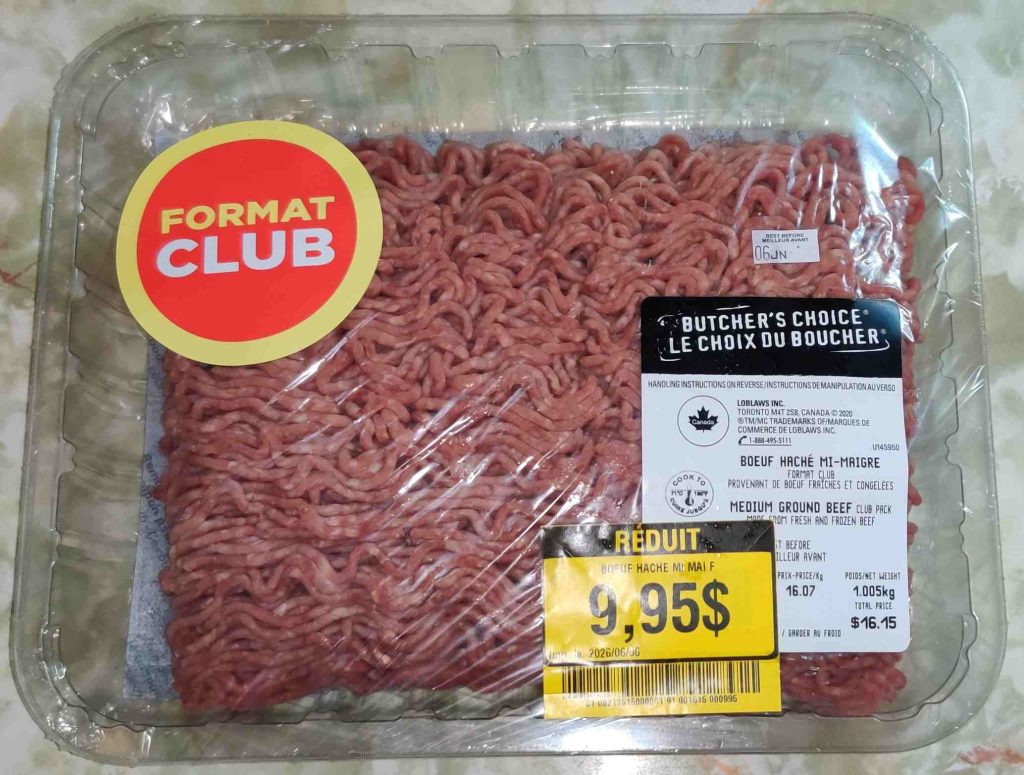
Defrosted ground beef taken out

The ground beef package was opened with some scissors:
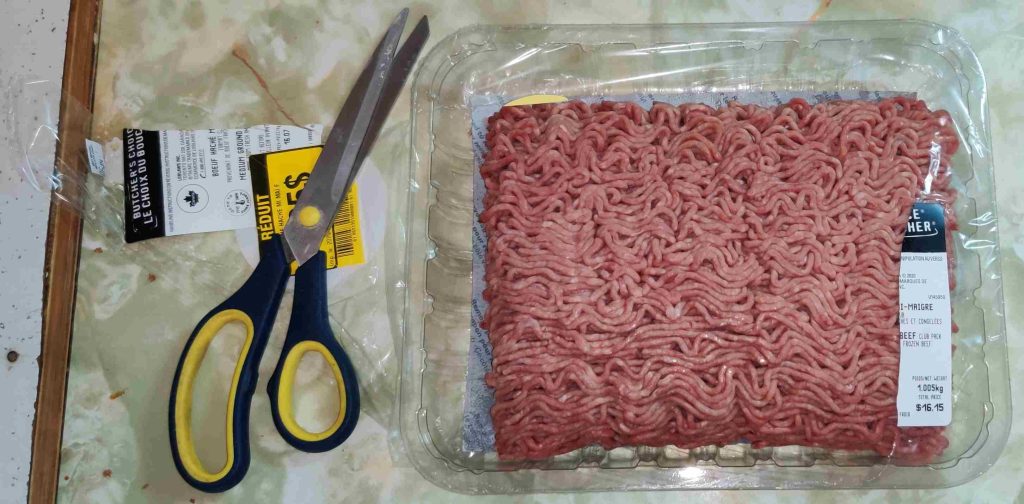
Ground beef package opened

Onions and a kitchen knife were taken out:
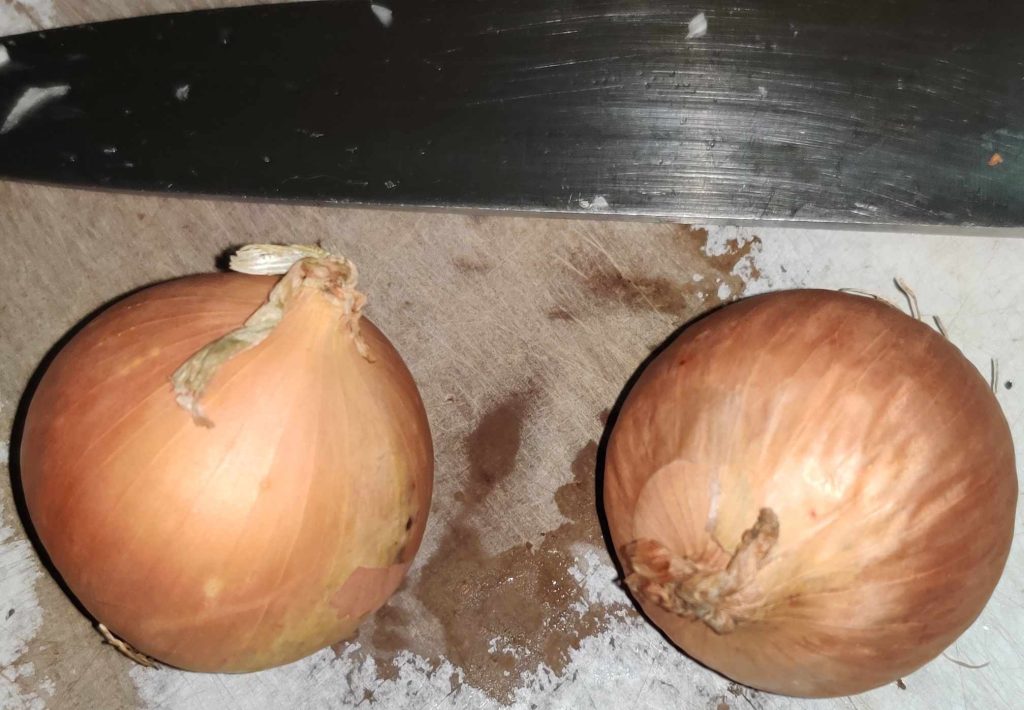
Onions and kitchen knife taken out

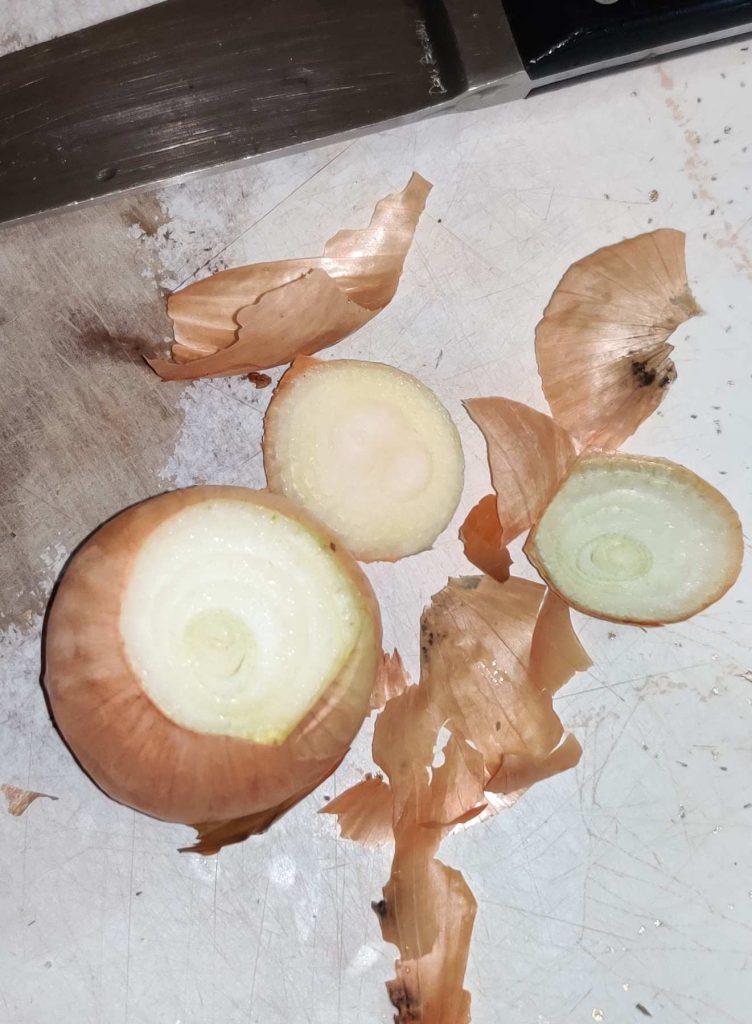
The onions were trimmed:

Onions trimmed

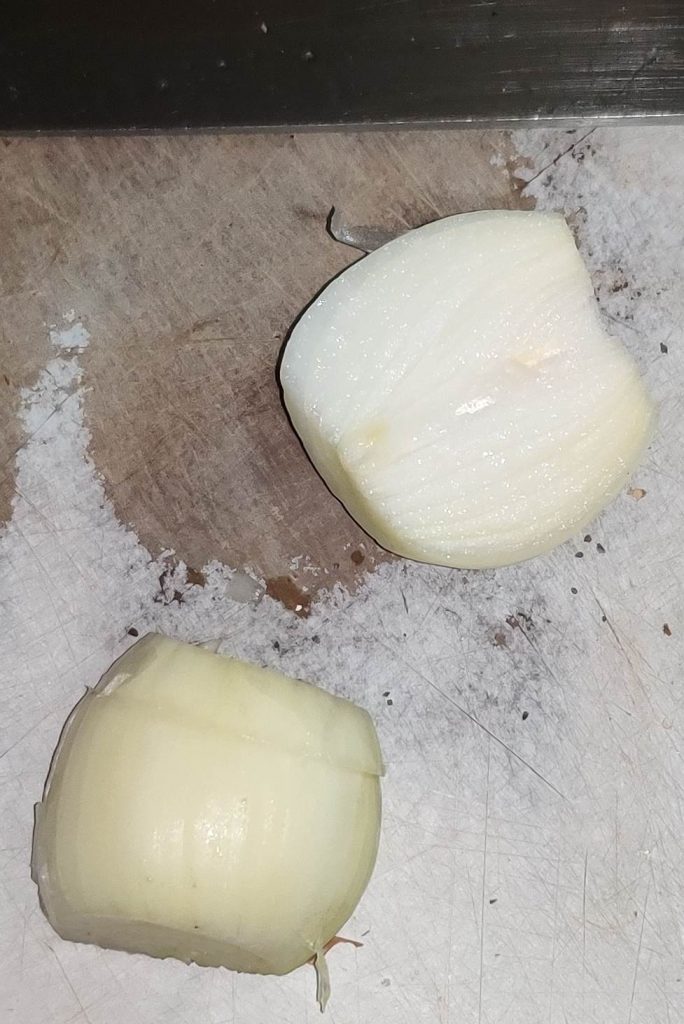
The onions were cut in half:

Onions cut in half

The onion halves were sliced into half-coin shapes:
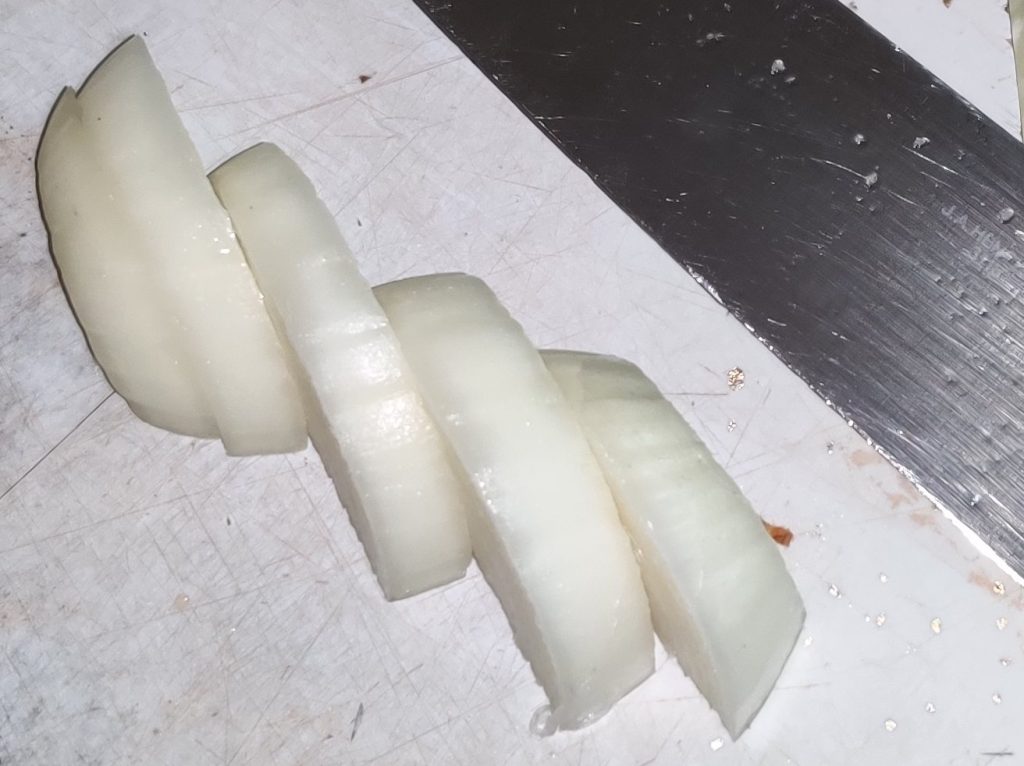
Onions sliced

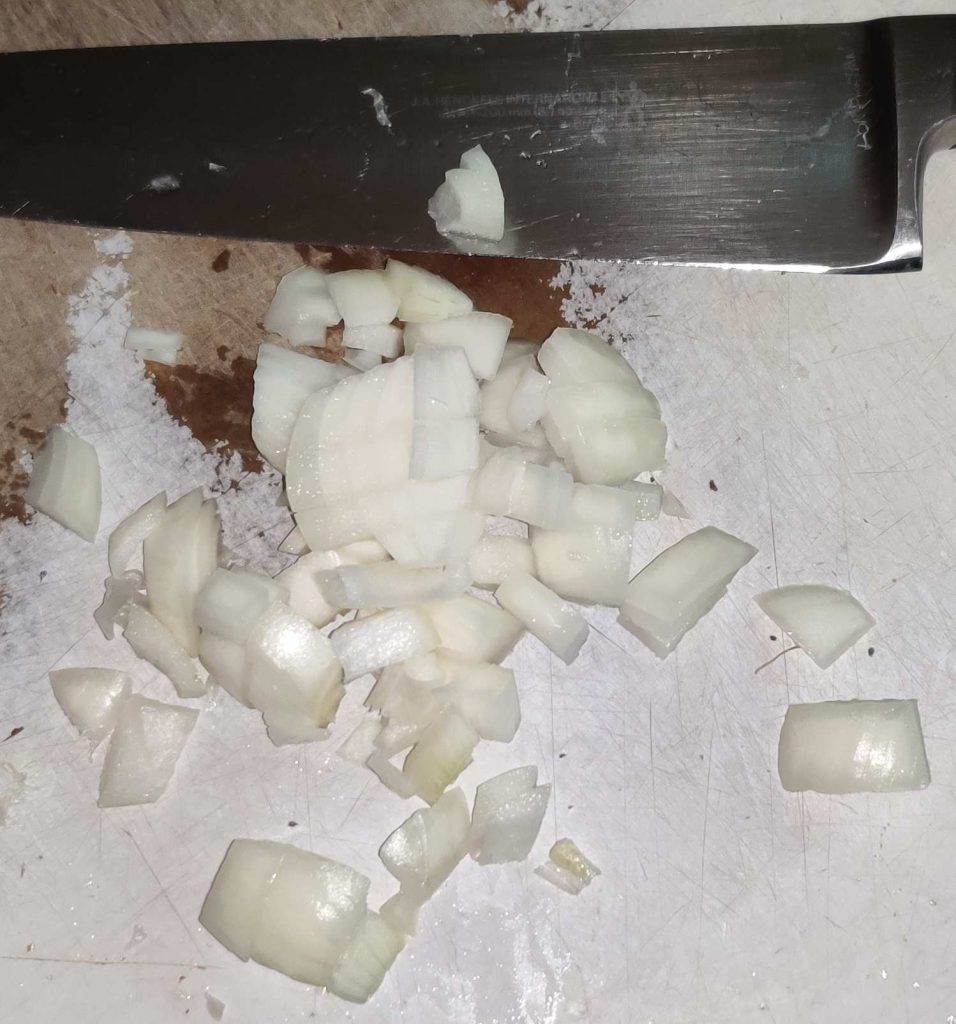
The onions were coarsely chopped:

Onions coarsely chopped

The ground beef and the onions were placed in the electric frypan:
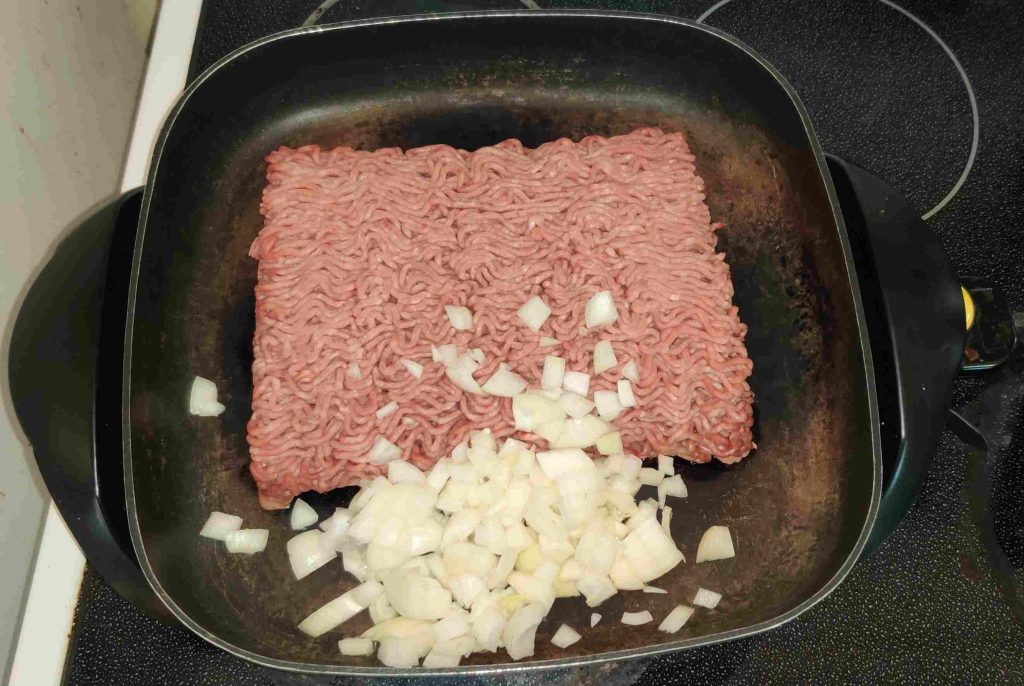
Onions and beef placed in electric frypan

A spatula / egg flipper was taken out, and the electric frypan turned on:
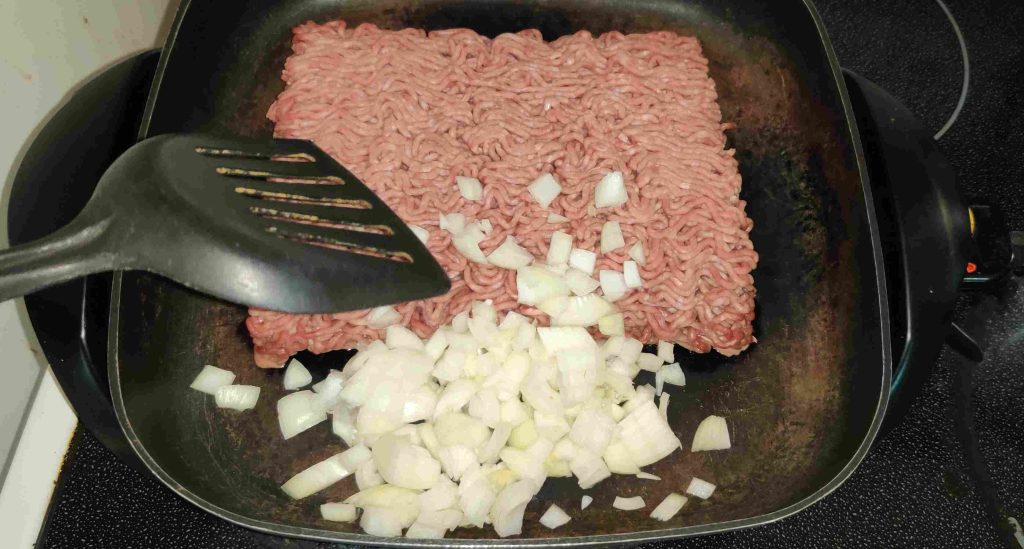
Spatula / egg flipper taken out, and frypan turned on

As the ground beef and the onions were cooking, I started breaking up the ground beef, and turning the mixture over:
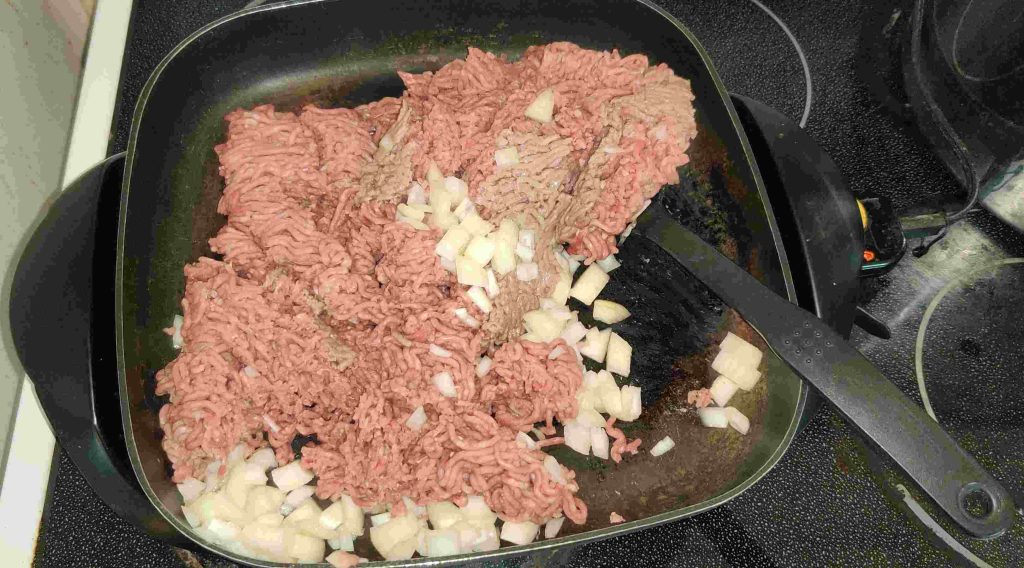
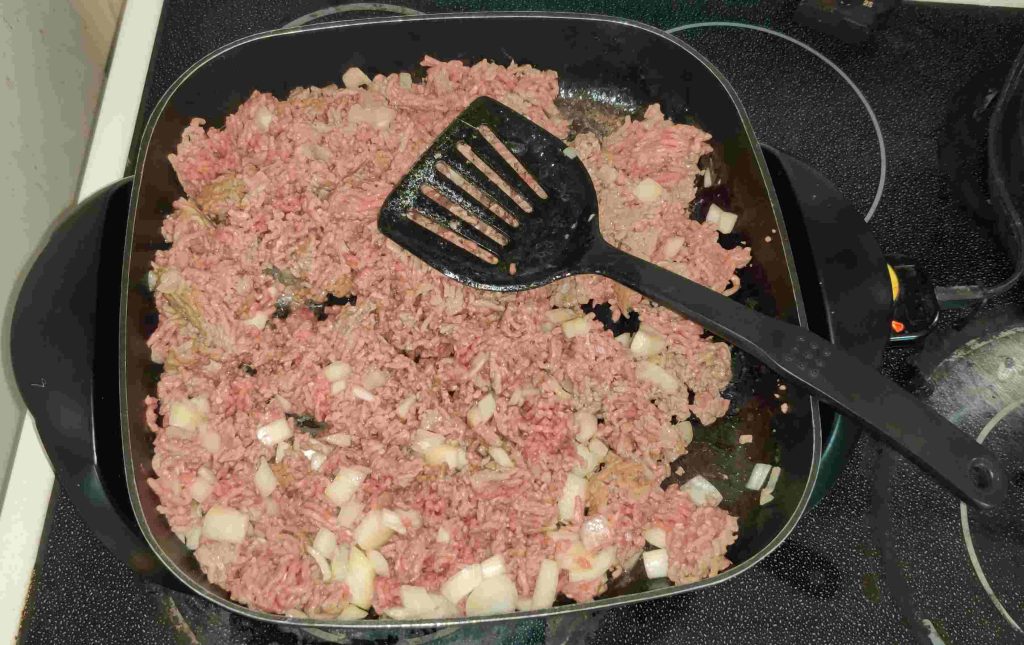
Ground beef broken up and mixture turned over while cooking
Ground beef broken up and mixed with onions

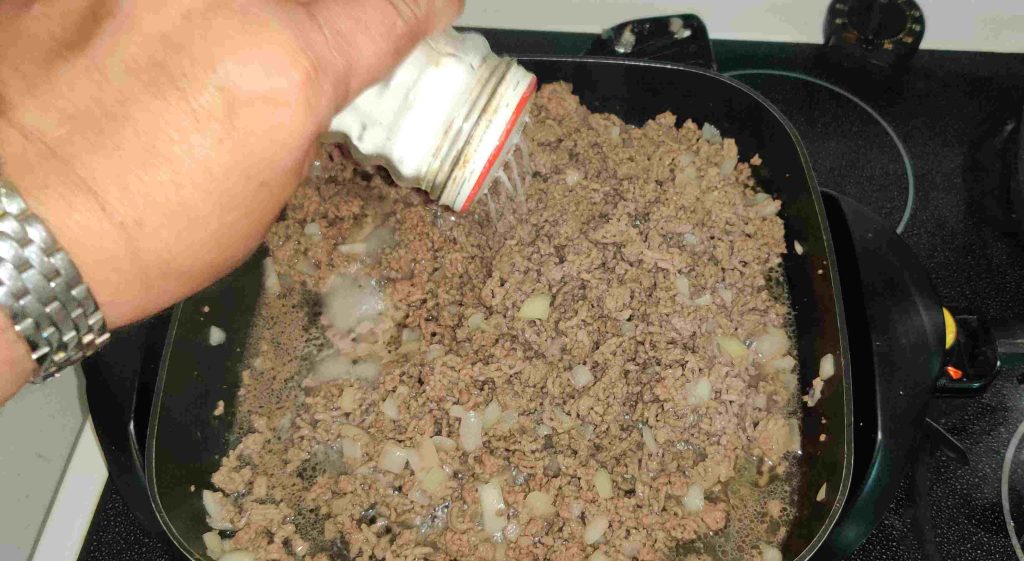
While the ground beef and onion mixture was cooking, I added some salt:
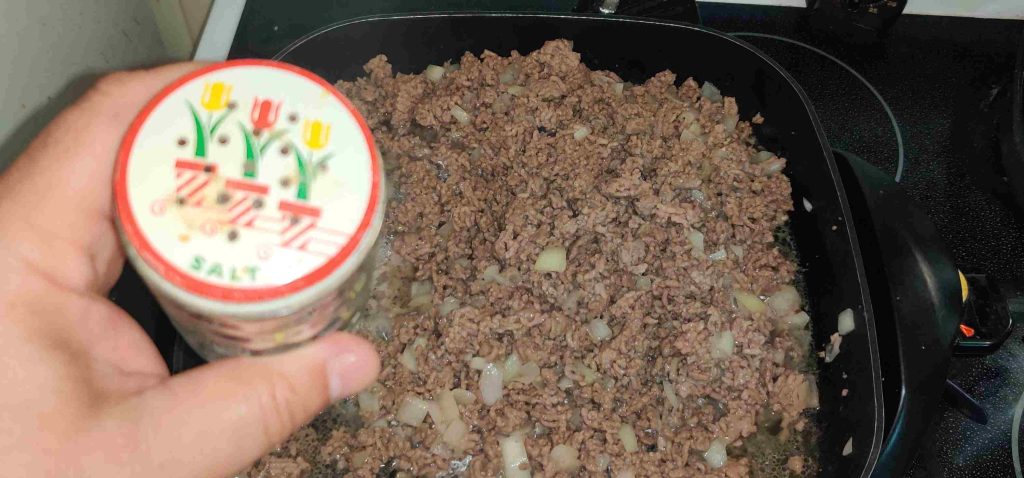
Salt added to ground beef and onion mixture

While the ground beef and onion mixture was cooking, I kept on breaking up the pieces of ground beef.

Once the ground beef and onion mixture was cooked …
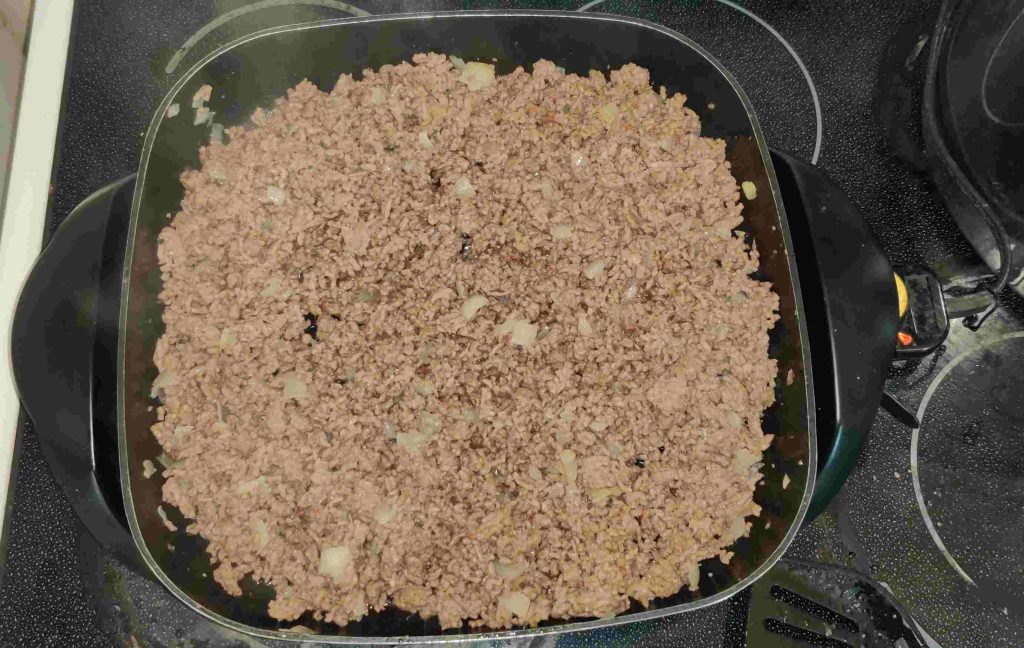
Ground beef and onion mixture cooked

… I separated the ground beef and onion mixture in two, for when I’d be mounting the lasagnes:
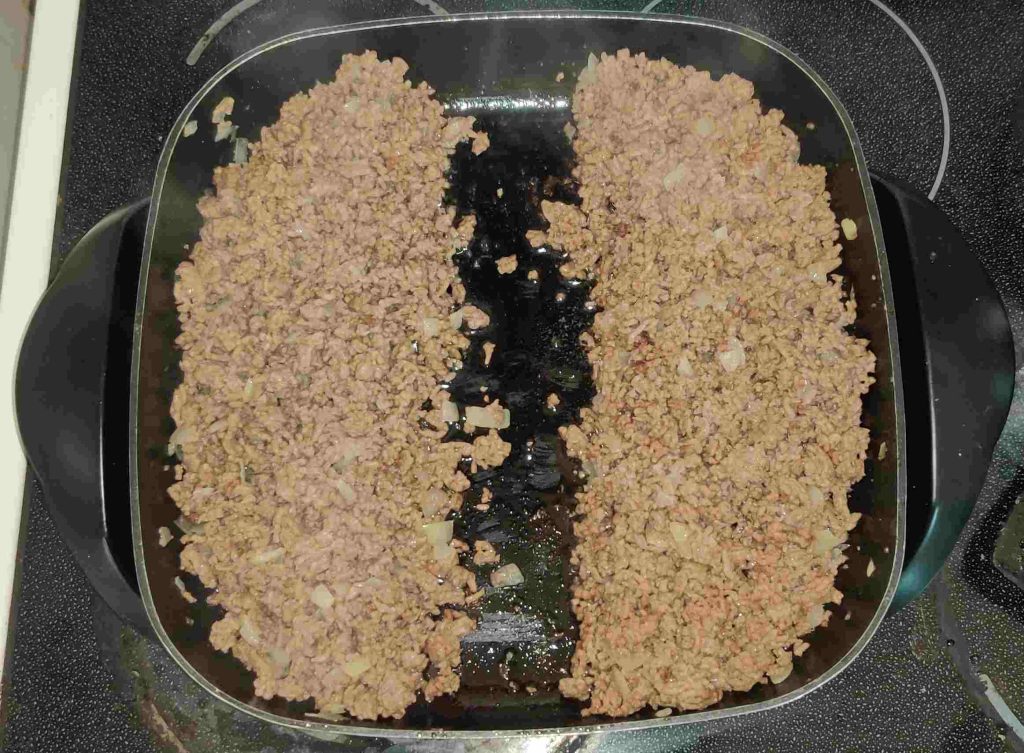
Cooked ground beef and onion mixture separated in two

The frypan containing the cooked ground beef and onion mixture was transferred to the nearby counter where I was going to start mounting the lasagnes:
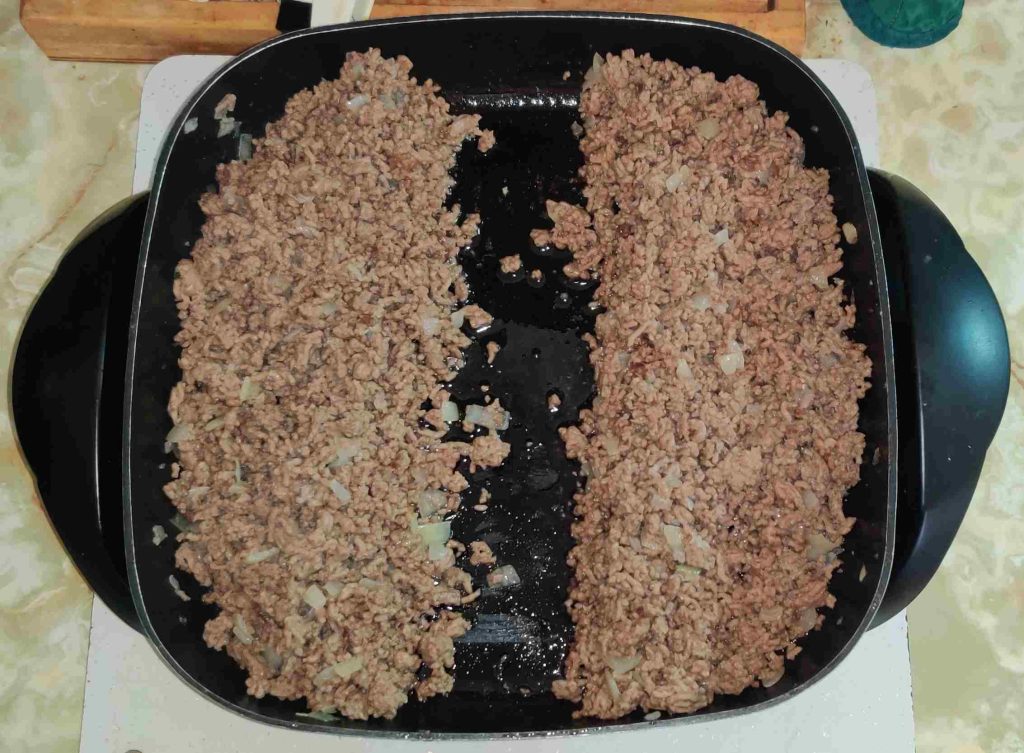
Frypan moved to work counter

Since I had decided to make two lasagnes of the size I was accustomed to making, two baking dishes were taken out:
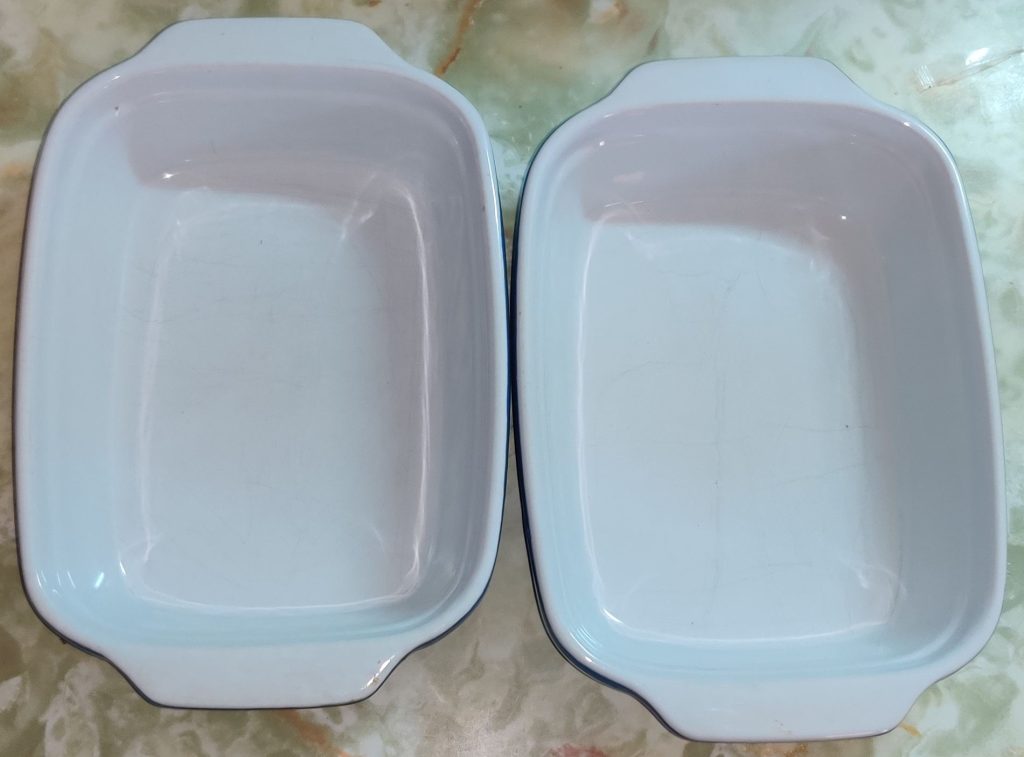
Baking dishes taken out

A serving spoon was taken out to start transferring the cooked ground beef and onion mixture to the first baking pan:
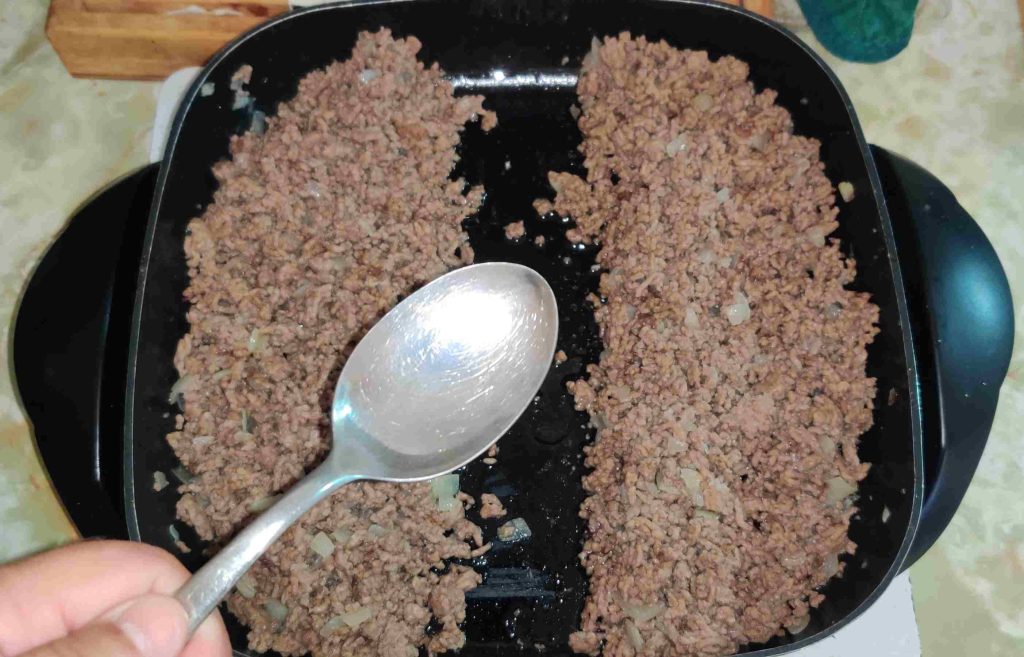
Serving spoon taken out to transfer cooked ground beef

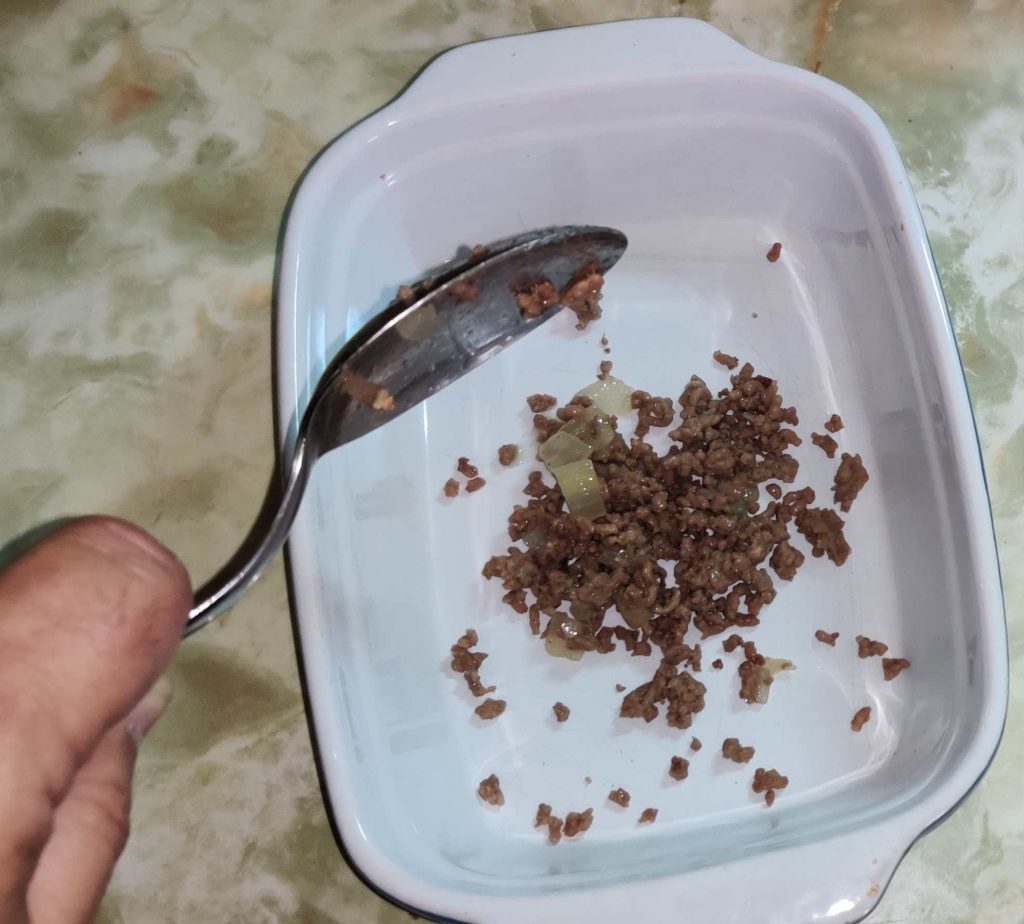
Cooked ground beef and onion mixture was picked up with the spoon:
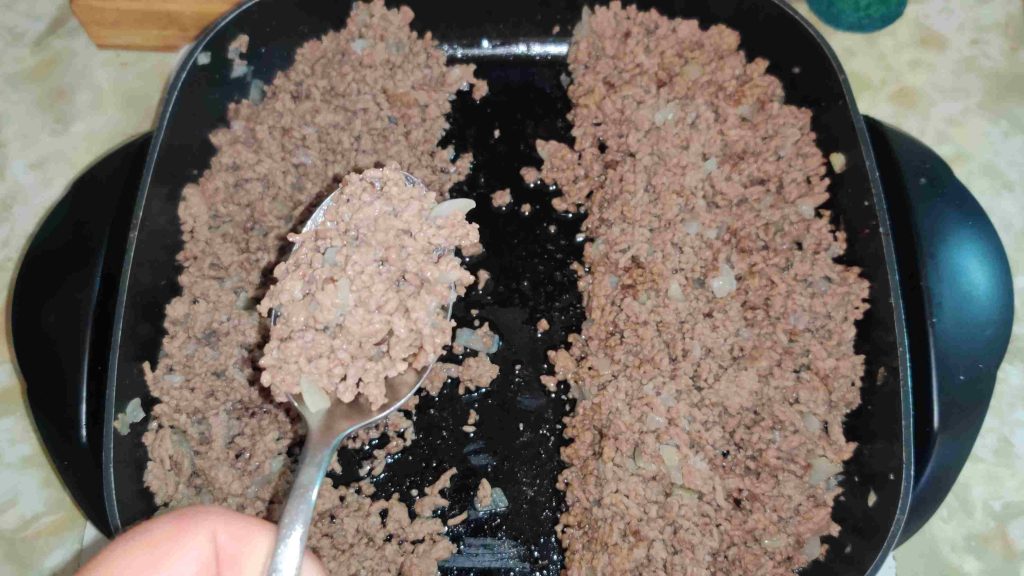
Cooked ground beef and onion mixture picked up with spoon

The cooked ground beef and onion mixture was transferred to the first baking pan:
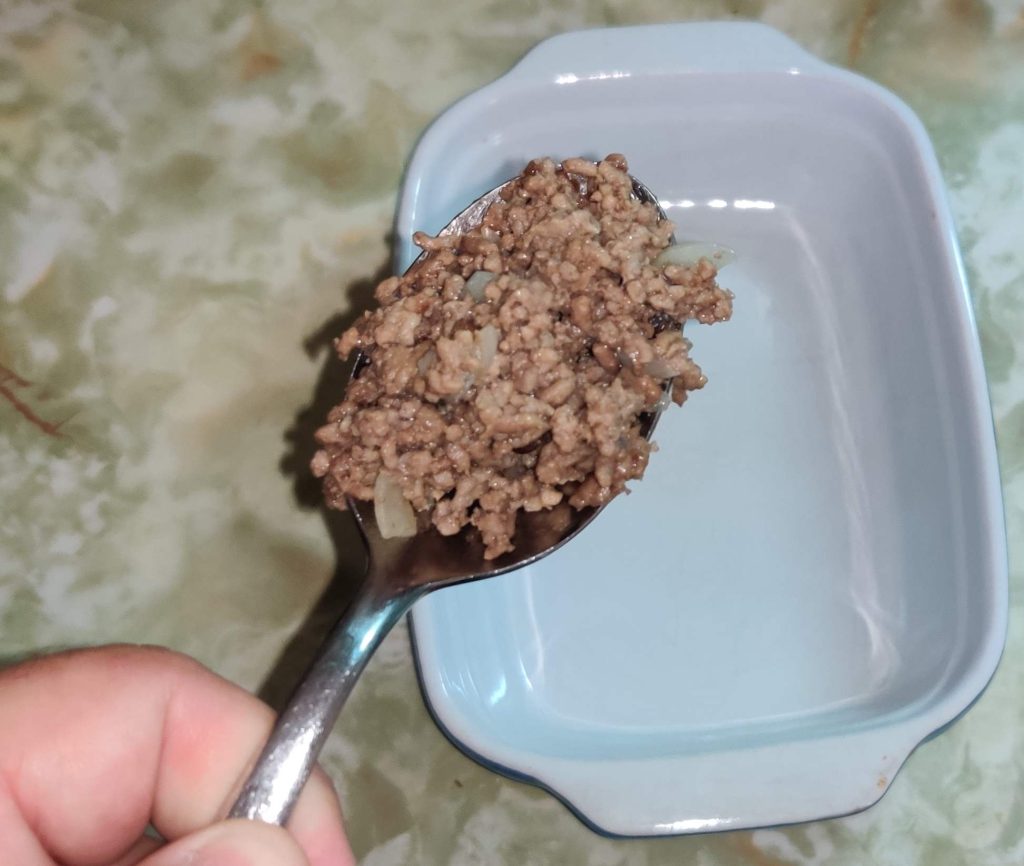
Cooked ground beef and onion mixture transferred to baking pan

The cooked ground beef and onion mixture was spread evenly over the surface of the bottom of the baking pan:
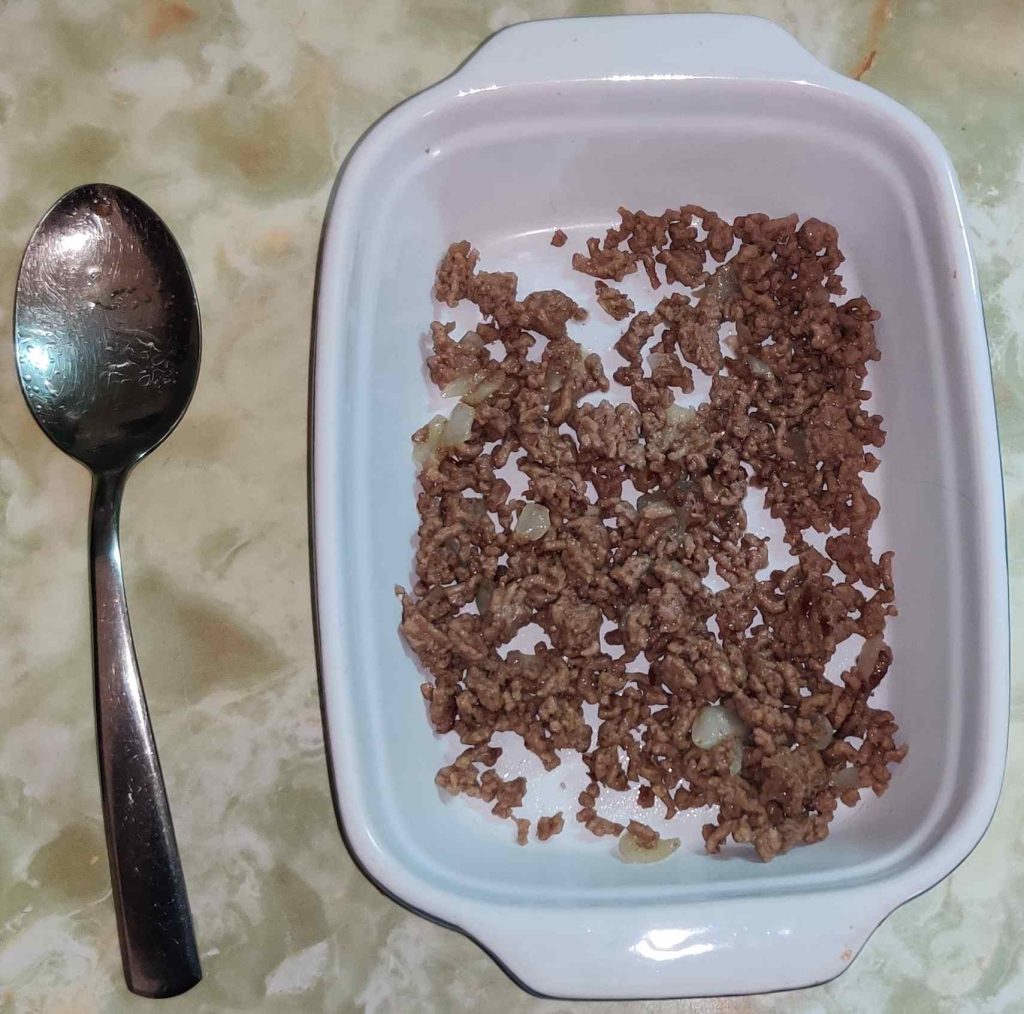
Cooked ground beef and onion mixture spread over base of baking pan

A jar of commercial tomato sauce was taken out:
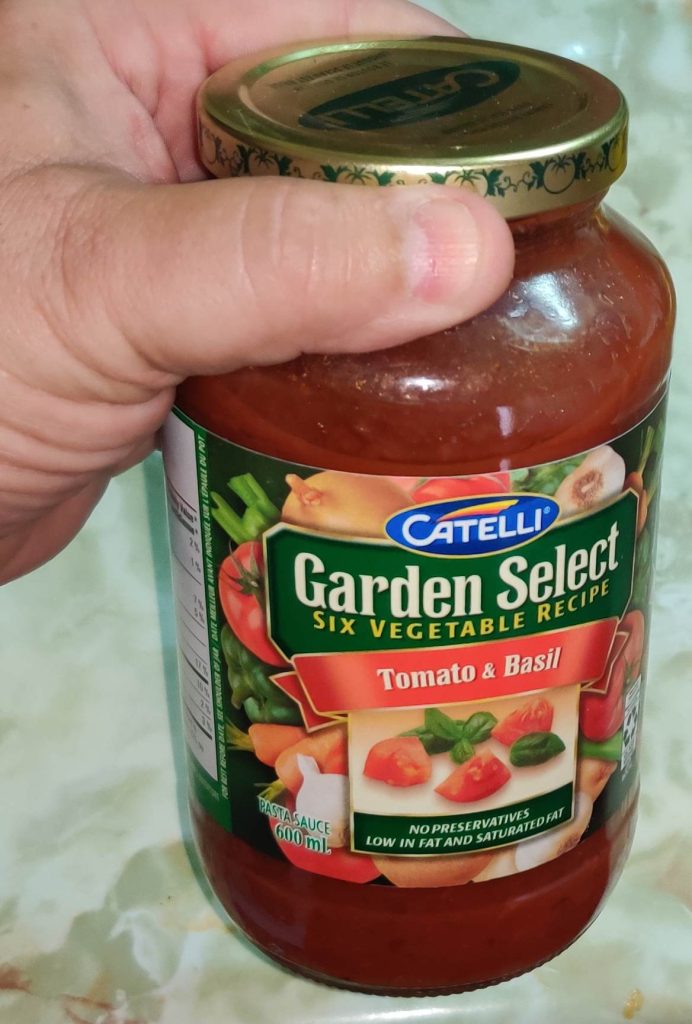
Jar of tomato sauce taken out

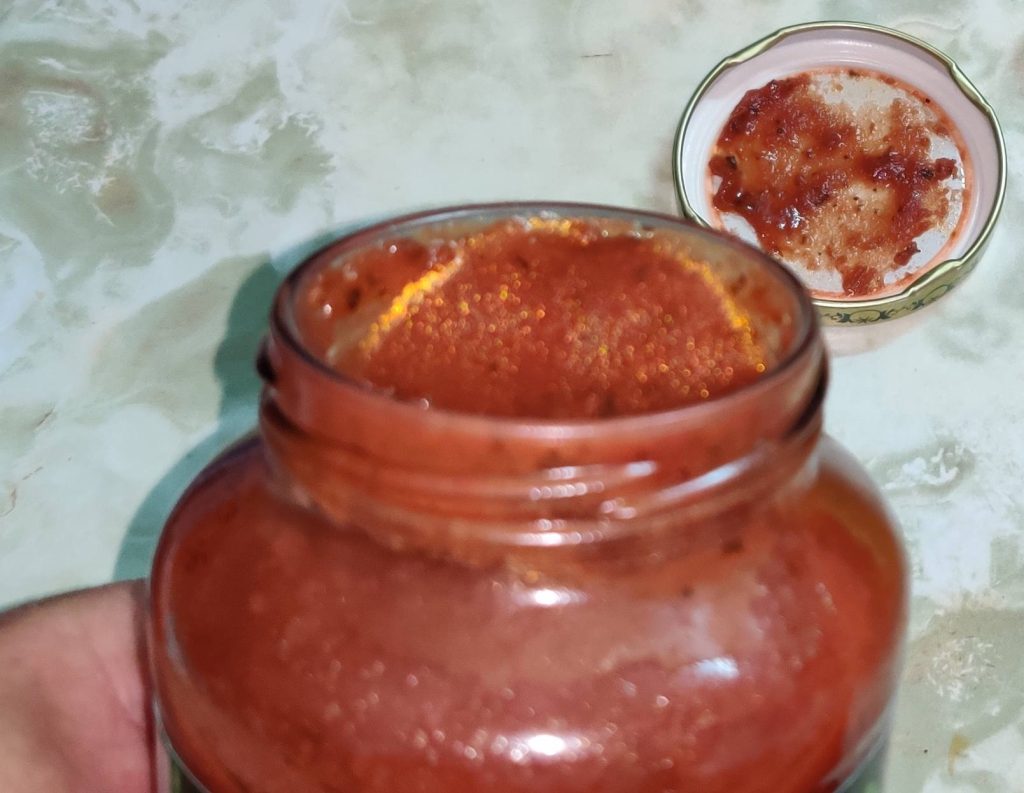
The jar of tomato sauce was opened:

Jar opened

… and a portion of the tomato sauce from the jar was spread over the cooked ground beef and onion mixture:
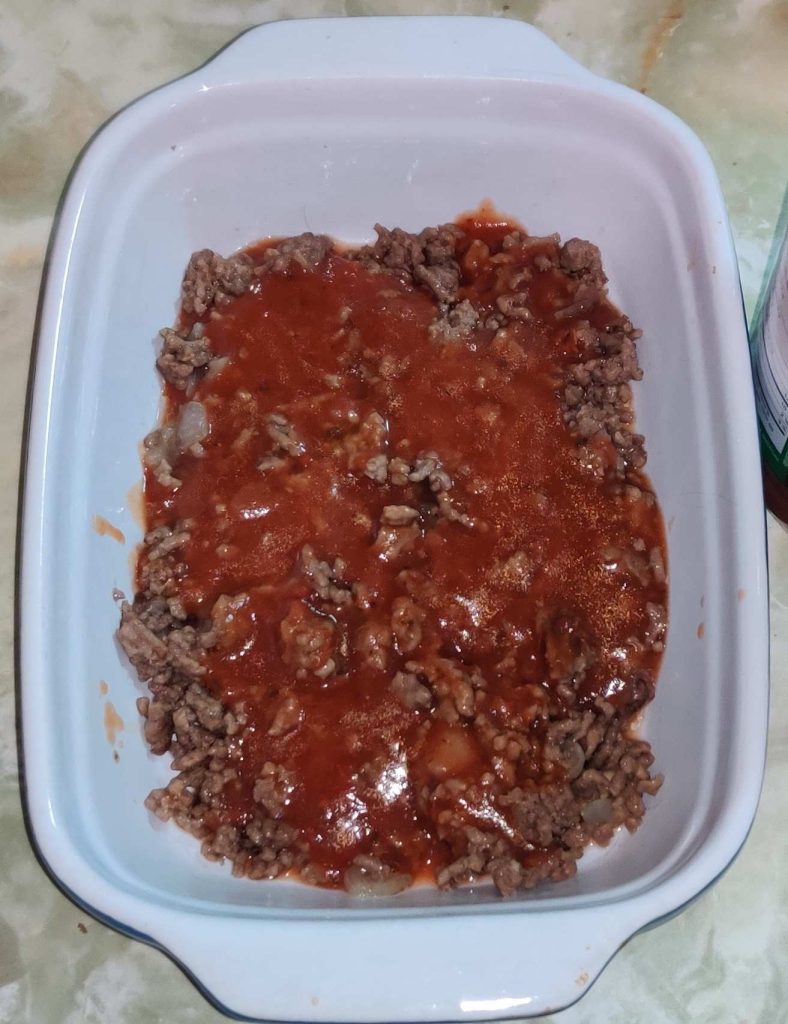
Tomato sauce poured over cooked ground beef and onion mixture

A box of oven-ready lasagne sheets was taken out …
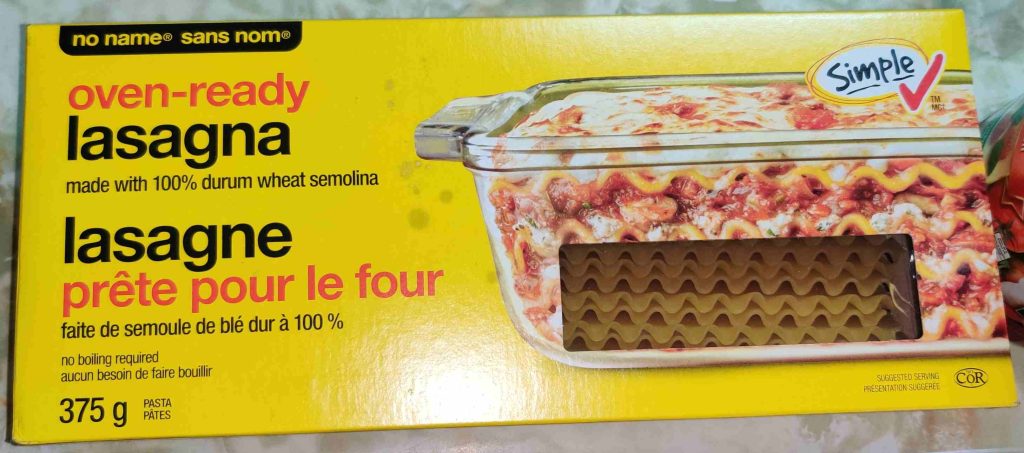
Box of oven-ready lasagne sheets taken out

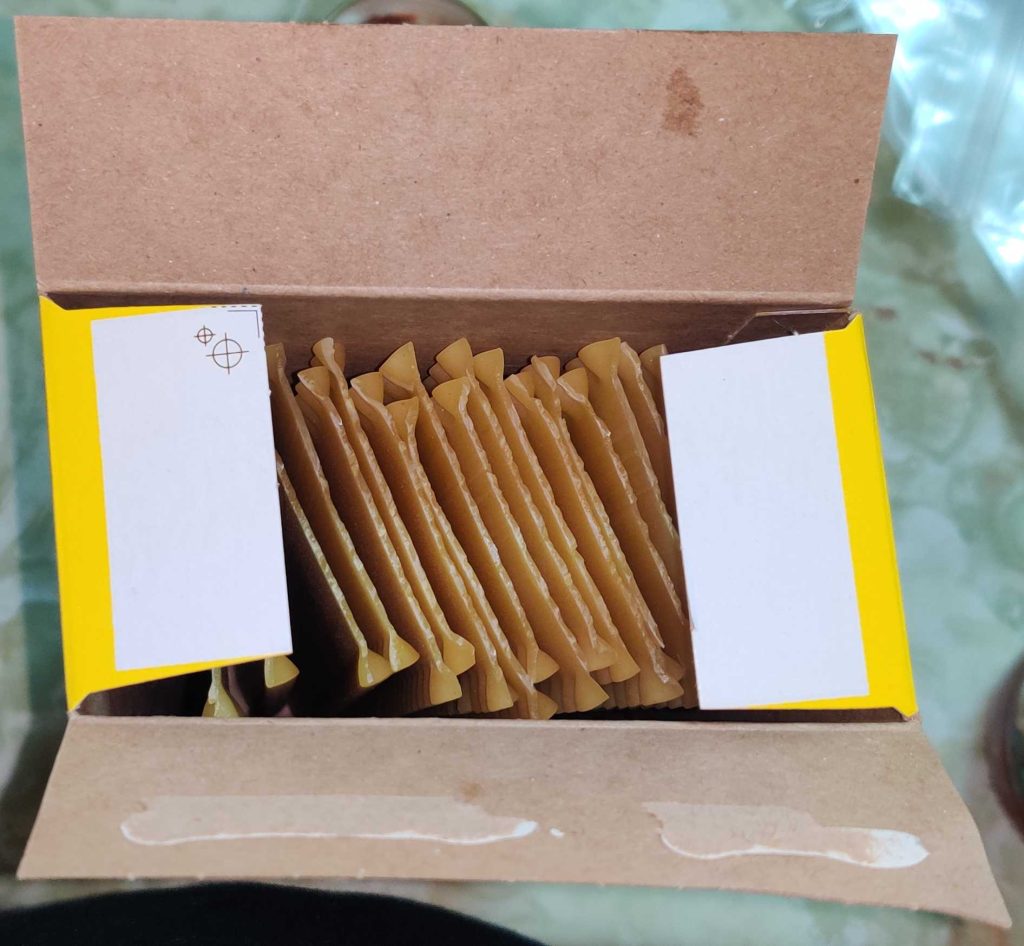
… and the box was opened:

Box of oven-ready lasagne sheets opened


A sheet of lasagne was taken out of the box:
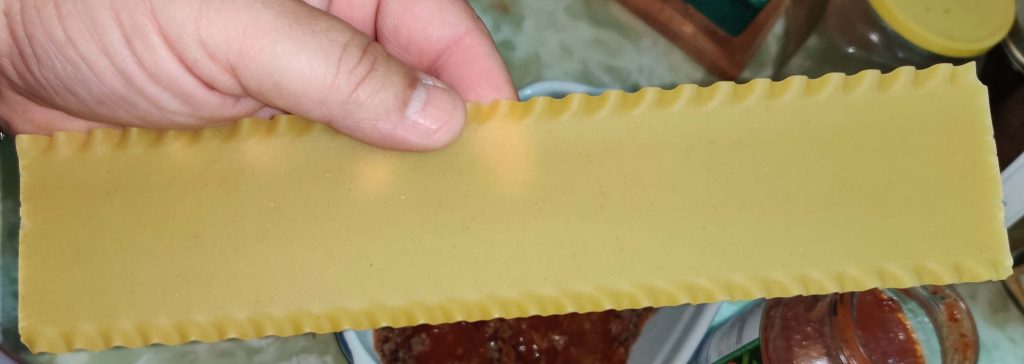
Sheet of lasagne was taken out of box

… and it was gently broken to size in order to fit in my baking pan:
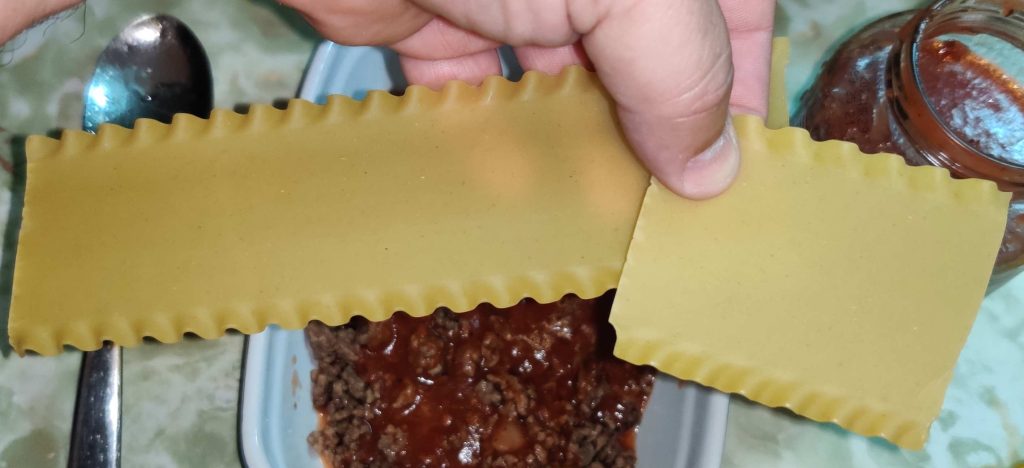
Sheet of lasagne broken to fit in baking pan

I began layering the lasagne sheets in the baking pan on top of the cooked ground meat and onion mixture:
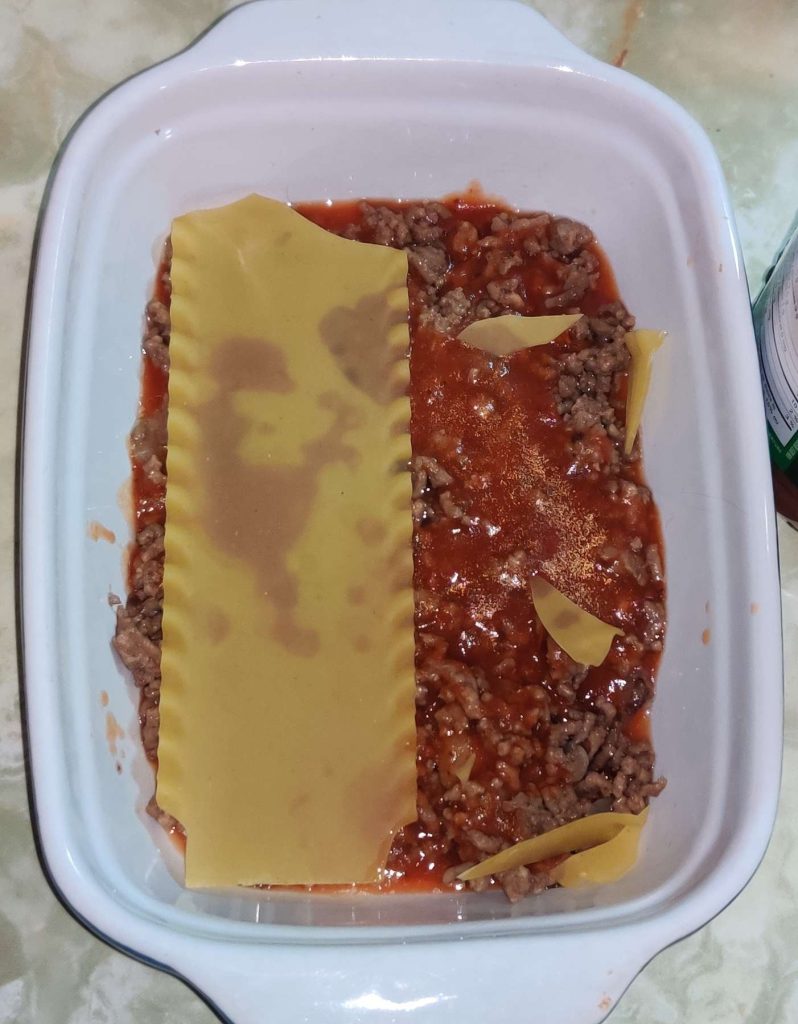
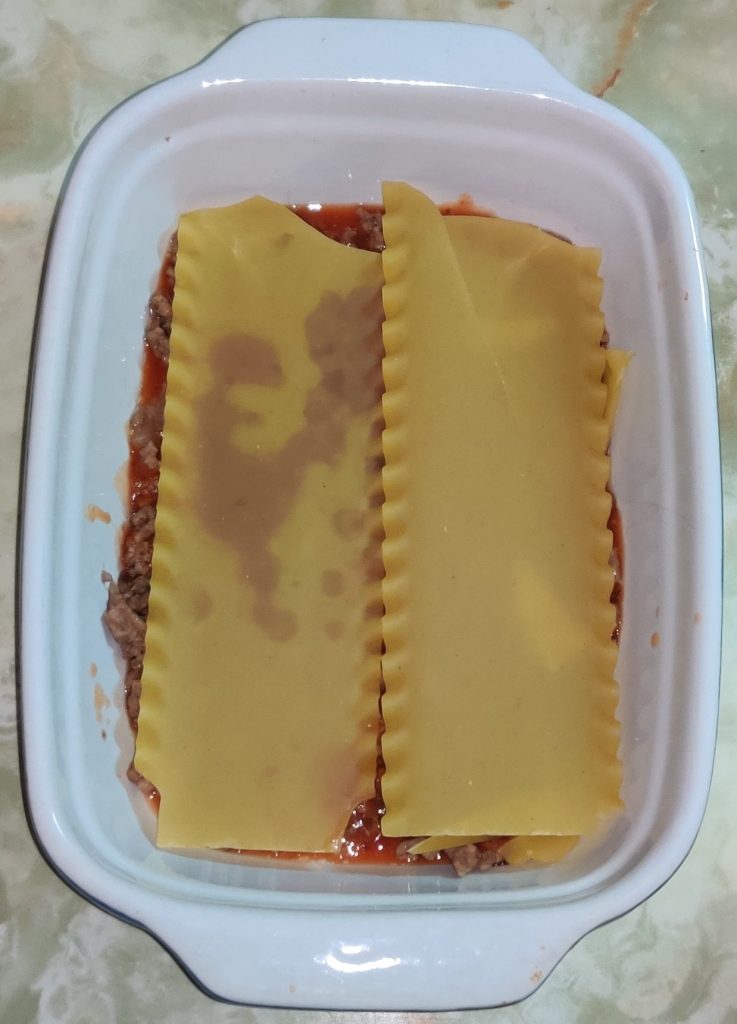
Lasagne sheet placed in baking pan

I began to repeat the layering with the cooked ground beef and onion mixture …
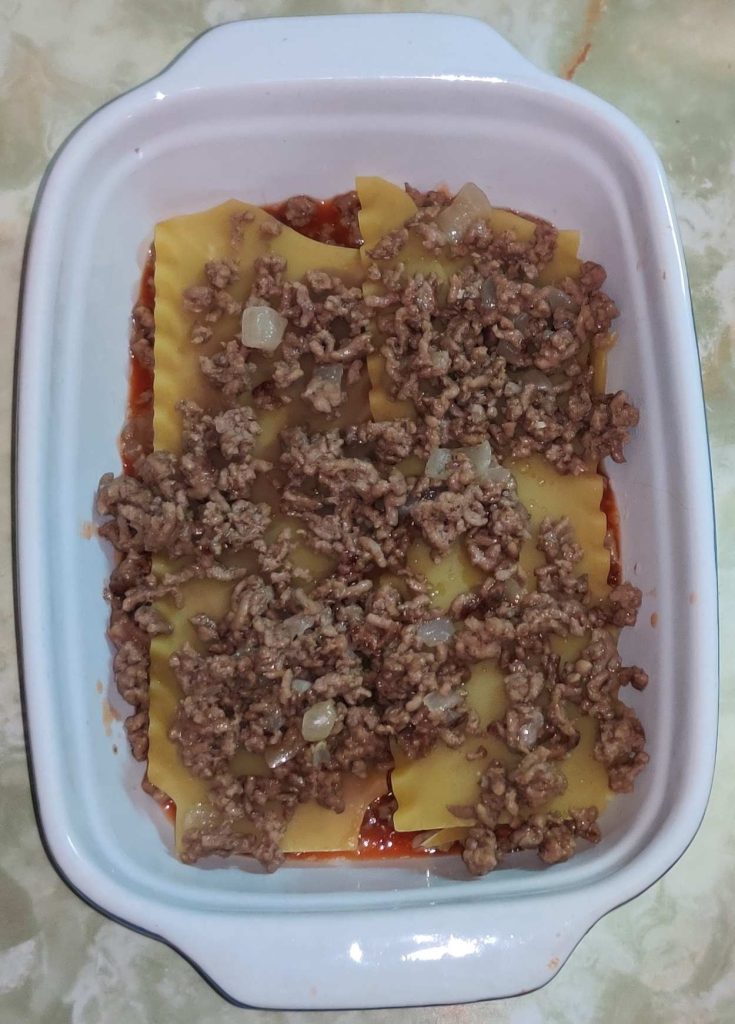
Layering of ingredients repeated

… until I had four layers of lasagne sheets, and five layers of cooked ground beef and onion mixture and tomato sauce:
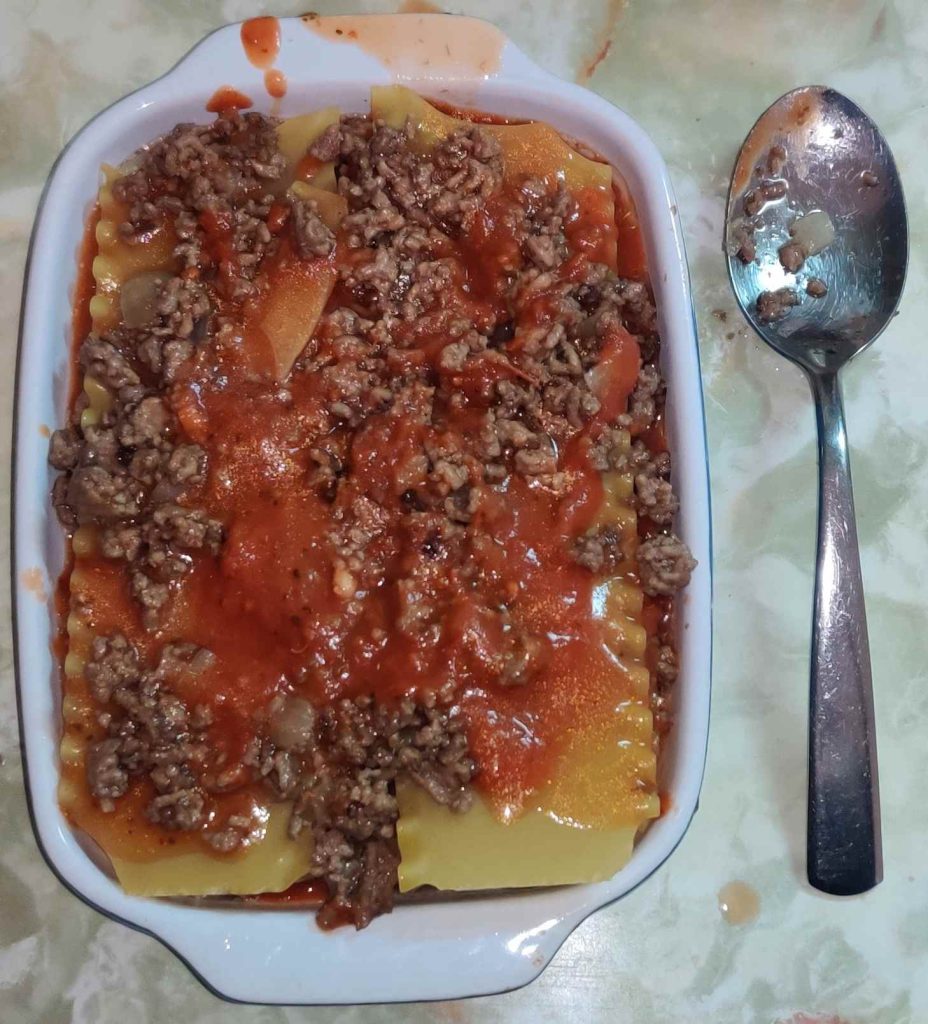
Layering completed in first lasagne

I should note that despite the lack of a photo, some of the layers of lasagne sheets were composed of varying amounts of the broken off pieces of lasagne sheets.

At this point, as planned, half of the cooked ground beef and onion mixture had been used up, and half remained:
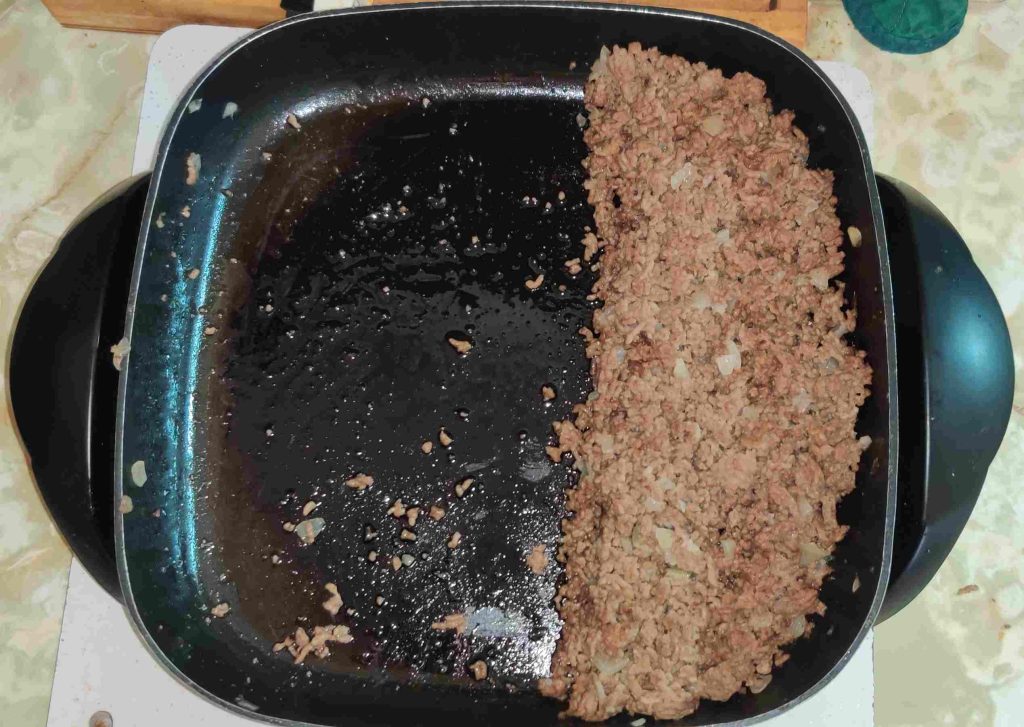
Half of cooked ground beef and onion mixture remaining

Because I had planned on making two small lasagnes, I continued by taking out the second baking pan, and starting the layering process again:
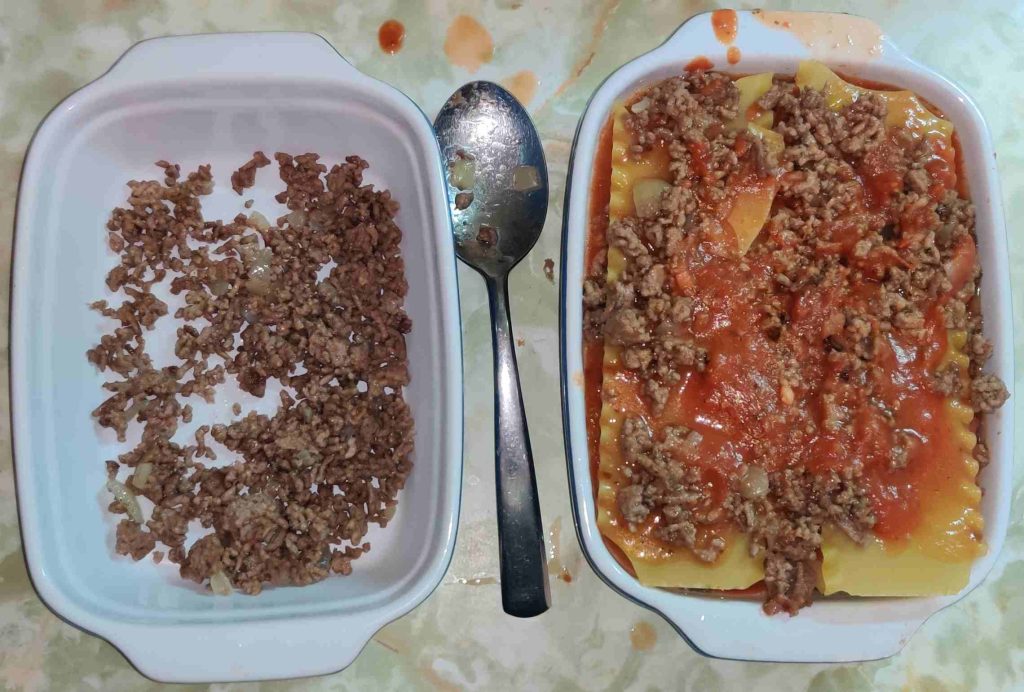
Cooked ground beef and onion mixture layered in the second baking pan

I continued with the layering of the second lasagne in the second baking pan — on the left — until I also had four layers of lasagne sheets and five layers of cooked ground beef and onion mixture and tomato sauce (yes, sometimes sauce distribution was somewhat uneven amongst the layers — although each lasagne contained a full jar of 600ml of sauce):
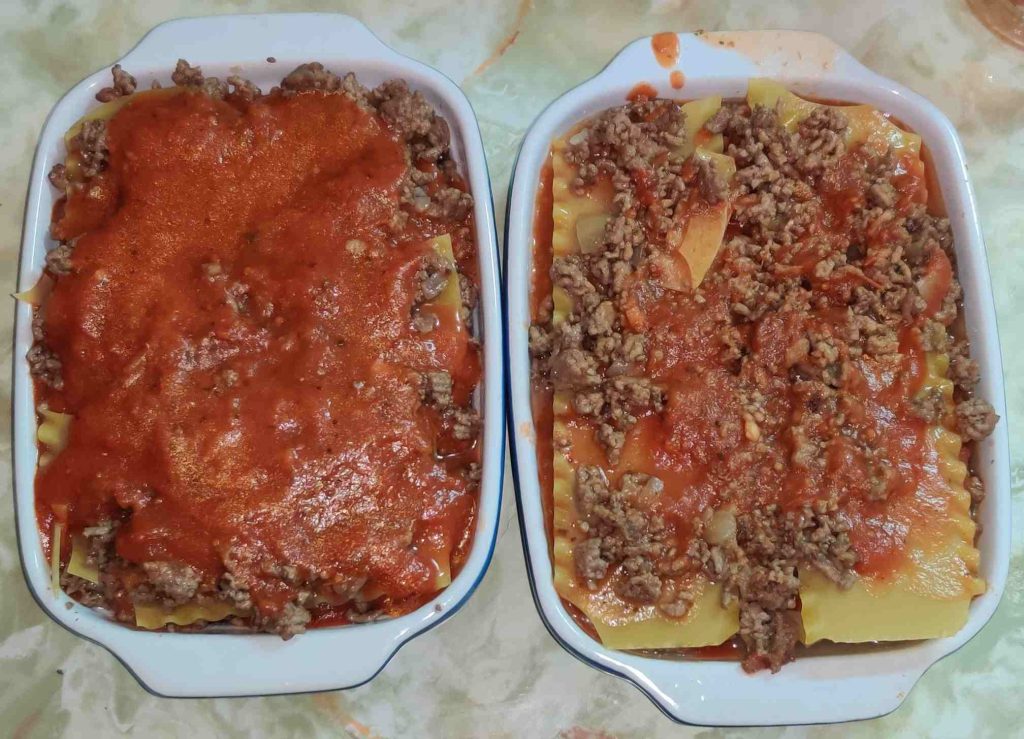
Two baking pans of lasagne

Again, at this point and as planned, the other half of the cooked ground beef and onion mixture had been used up:
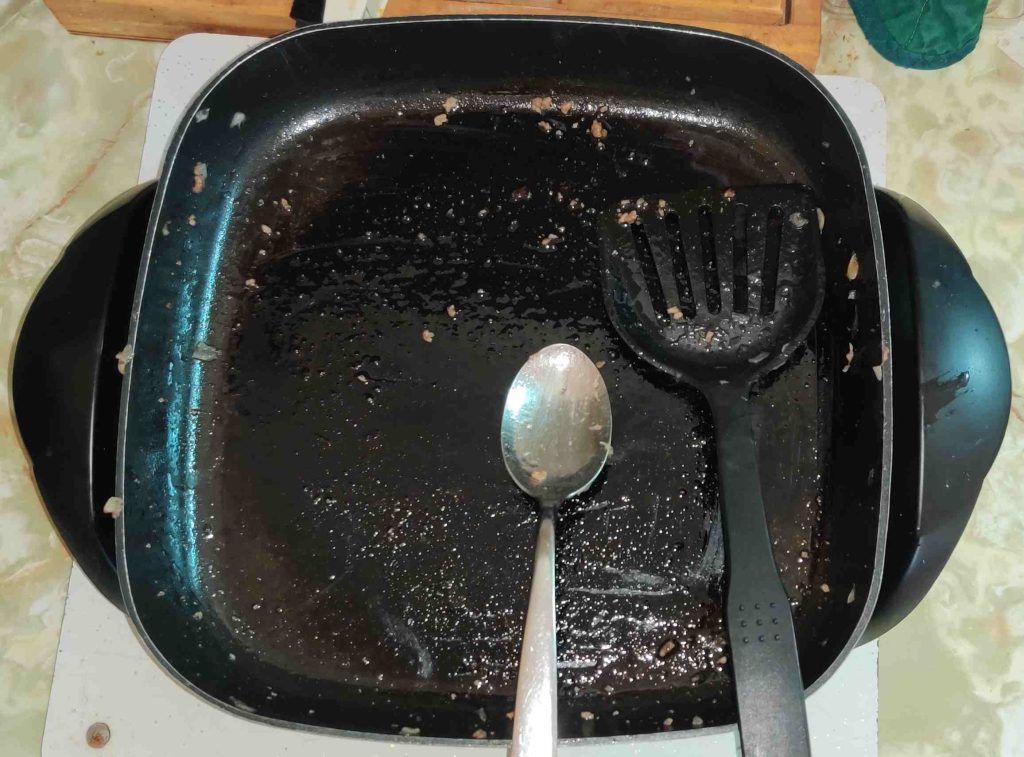
Frypan of cooked ground beef and onion mixture emptied of its contents

The frypan was brought over to the sink for washing later.

A box grater and a large soup bowl were taken out:
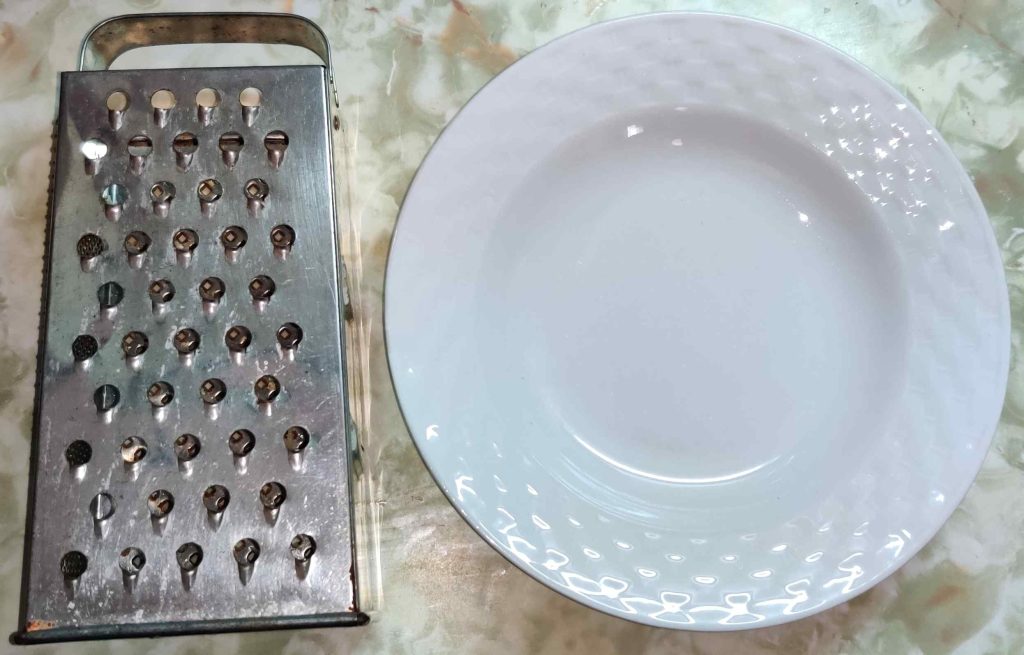
Box grater and soup bowl taken out

… and the box grater was placed in the soup bowl:
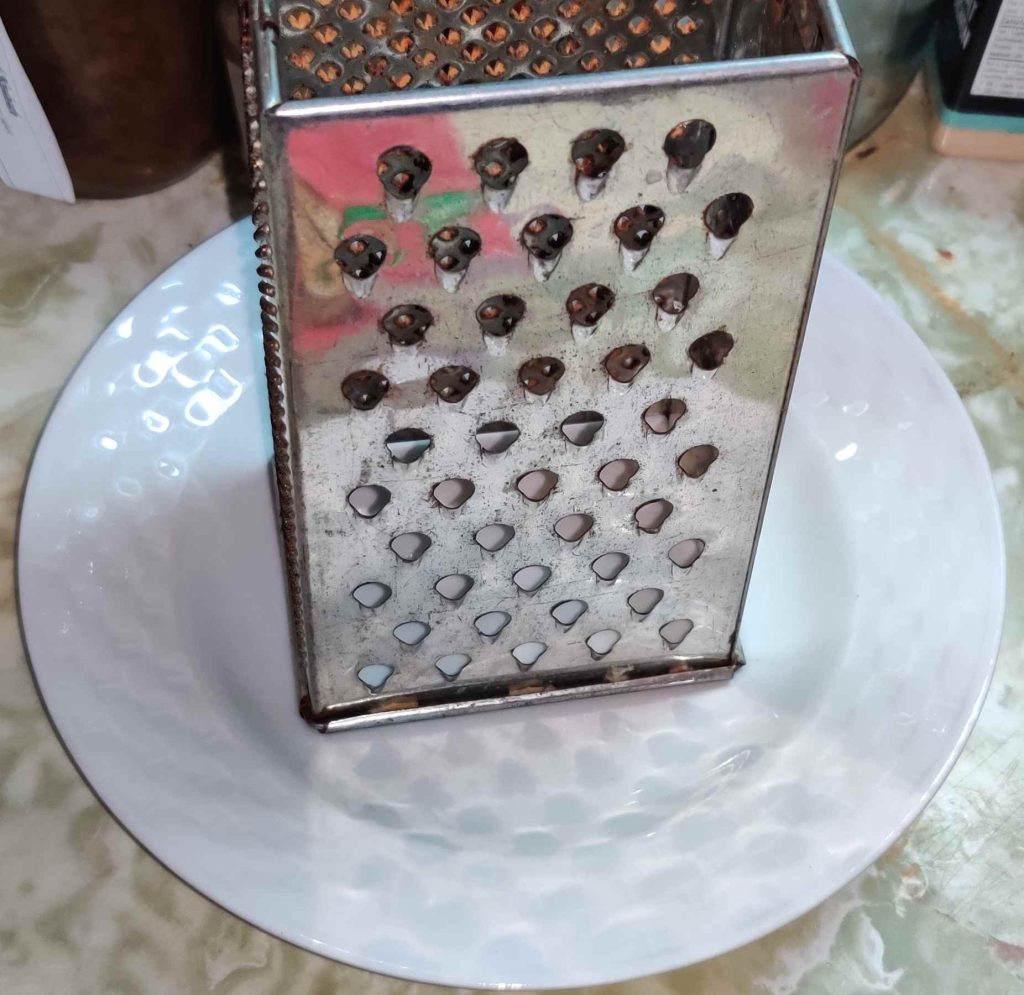
Box grater placed in soup bowl

A block of mozzarella cheese was taken out:
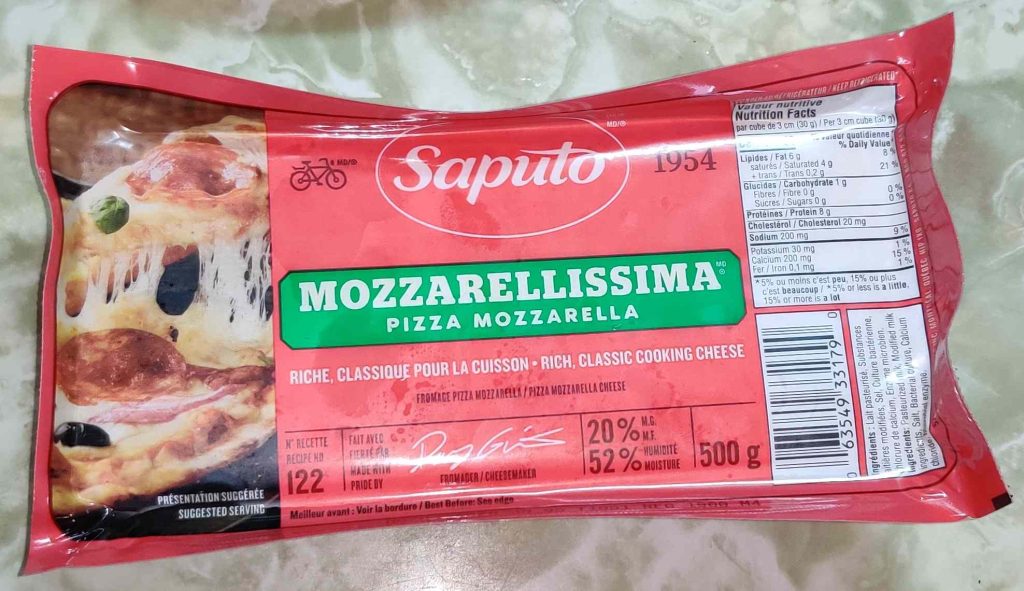
Mozzarella cheese taken out

The package was partly removed to facilitate grating about 200 grams of cheese:
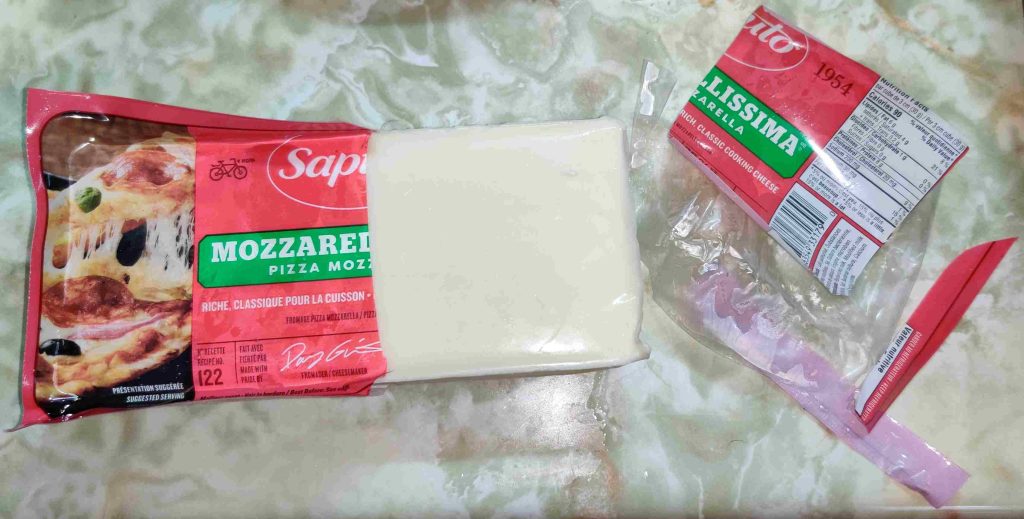
Cheese partly unwrapped

Approximately 200g of cheese, estimated visually as about two fifths of the 500g block, were grated off of the block of mozzarella cheese:
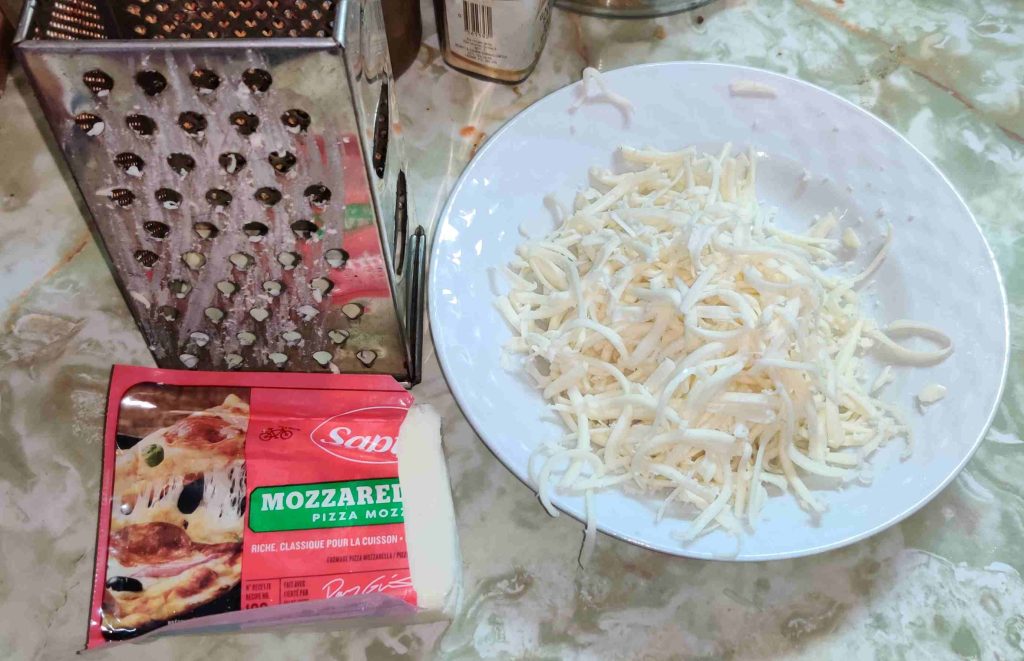
Approximately 200g of cheese grated off the block

The bowl of cheese was brought over to the two baking pans of lasagnes:
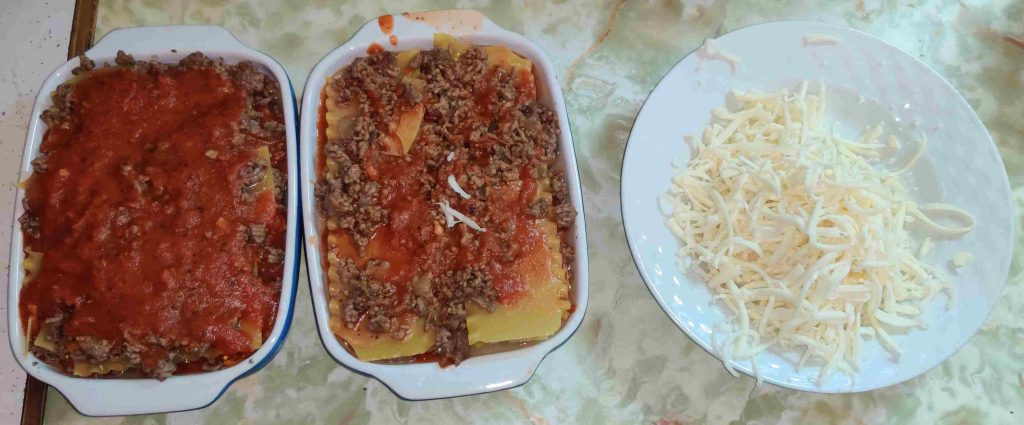
Cheese brought over to lasagnes

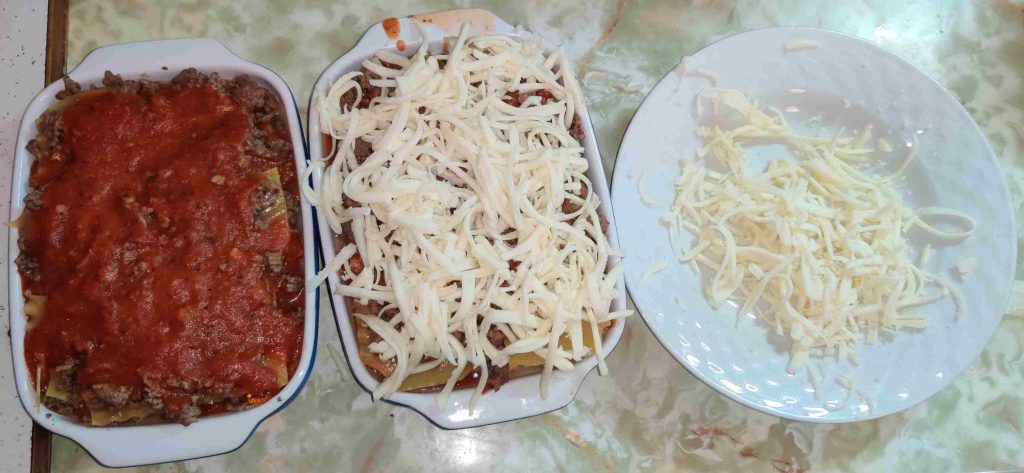
About half of the cheese, approximately 100g, was transferred to the top of a lasagne:
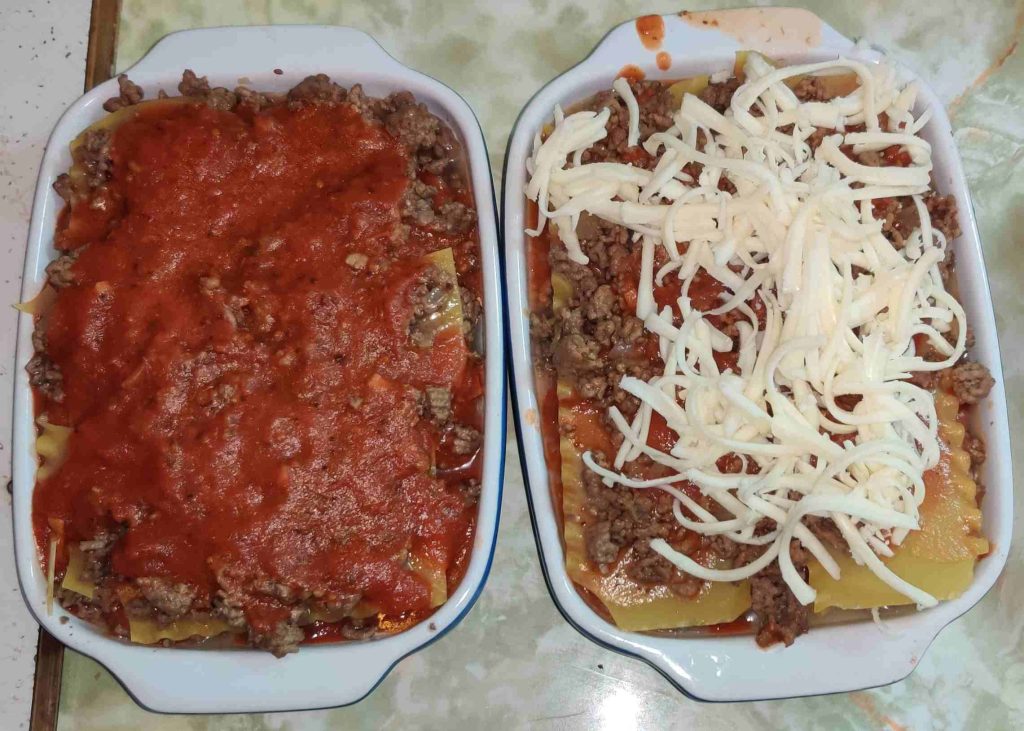
Cheese placed on lasagne
About 100g — about half of the grated cheese — were placed on one of the lasagnes

The rest of the cheese was transferred to the other lasagne, ensuring that each unit received approximately the same amount of cheese:
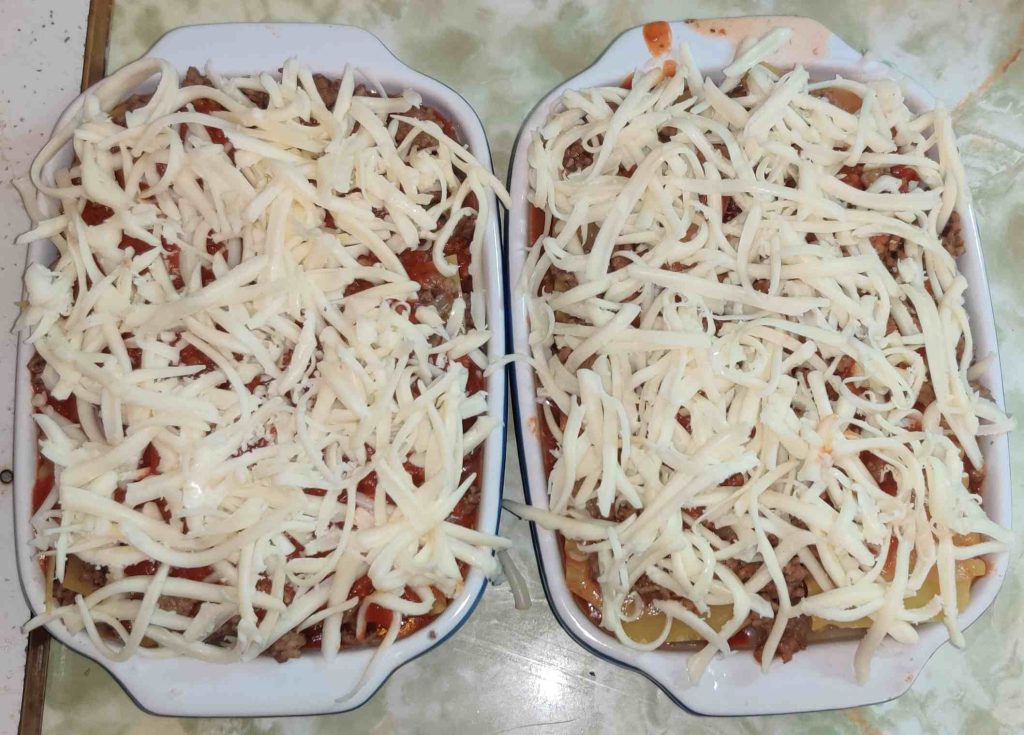
Cheese transferred to both lasagnes

Two freezer bags were taken out, and identified and dated:
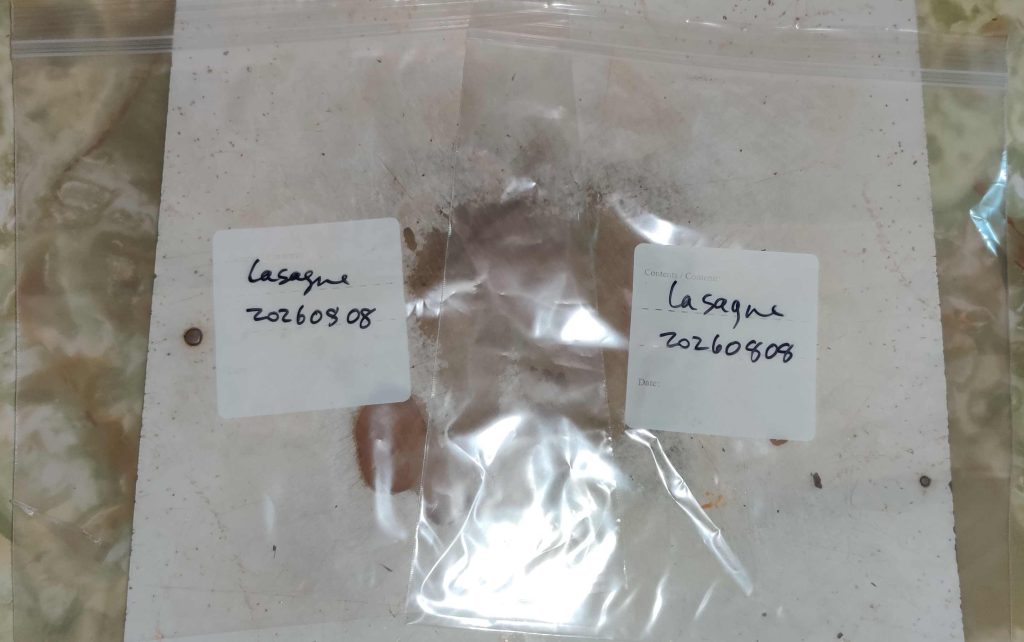
Freezer bags taken out and identified and dated

The lasagnes were individually placed in the bags:
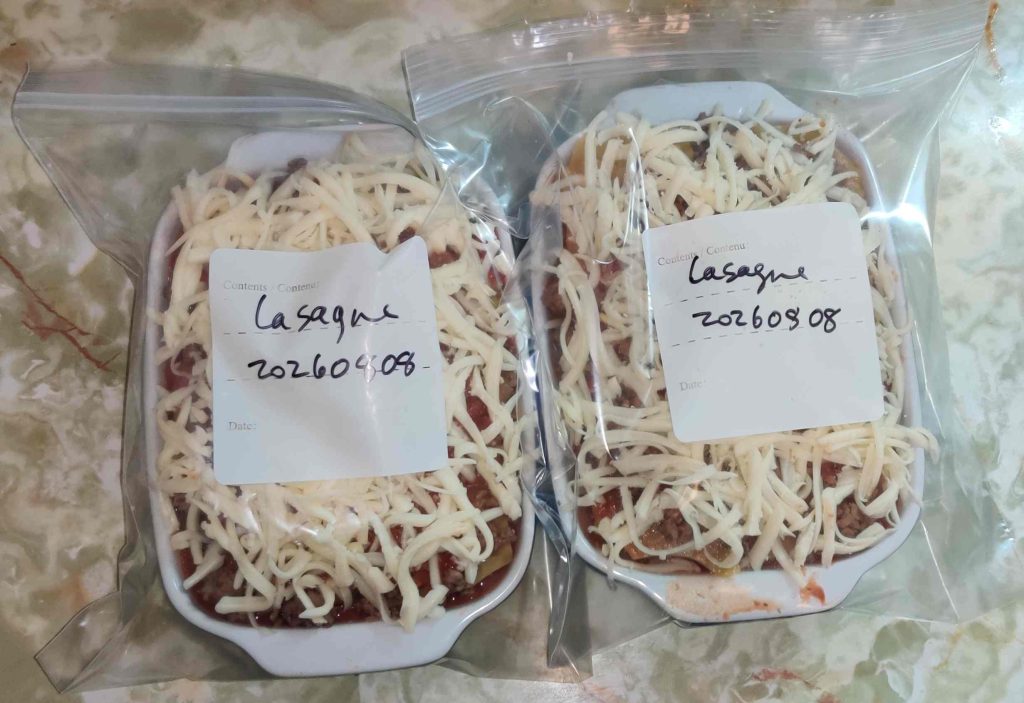
Lasagnes placed in freezer bags

The lasagnes were then placed in my deep freezer for when I’ll want to take them out and bake them:
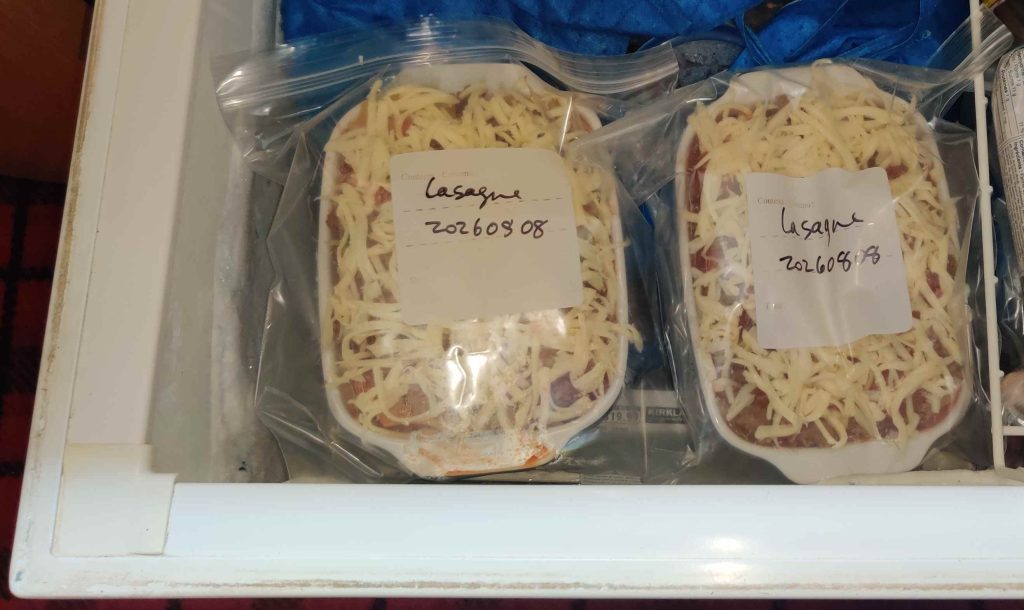
Lasagnes placed in freezer

Are they tasty? Of course!

A little postscript: Canada — where I live, in the province of Québec — has this funny equilibrium about the spelling of a bunch of words due to simultaneous historical and current day British English and American English influences, as well as our own Canadian conventions (and even regional ones too!) In the case of this post, I use the spelling of “lasagne” due to British influence, as well as French influence, since Québec is a French-speaking region in Canada, instead of “lasagna”, the American spelling. Hence, please don’t write in telling me that I spelled “lasagne” wrong throughout this post. 🙂 (And, we also have lots of fun with measuring systems, too.)
Making Tiramisu Layer Cake — Photos

Since I don’t care much for coffee, I have perhaps tried tiramisu once or twice in my life, although I am struggling to recall said occasion(s).

That being said, I was very interested in a “quick tiramisu” (here’s my archive) I saw being made on a “30-minute meal” TV show. The “easy shortcut” of using a store-bought loaf cake as well as the recipe in general completely captivated me, and I decided that I must make it. Of course, I sidestepped the defining shortcut of the recipe by realizing that “I know how to make a loaf cake!” (loaf cake recipe here). As such, I make my own loaf cake “in-house” for this recipe.
This last part being said, in this post I won’t show the making and baking of the loaf cake for two reasons:

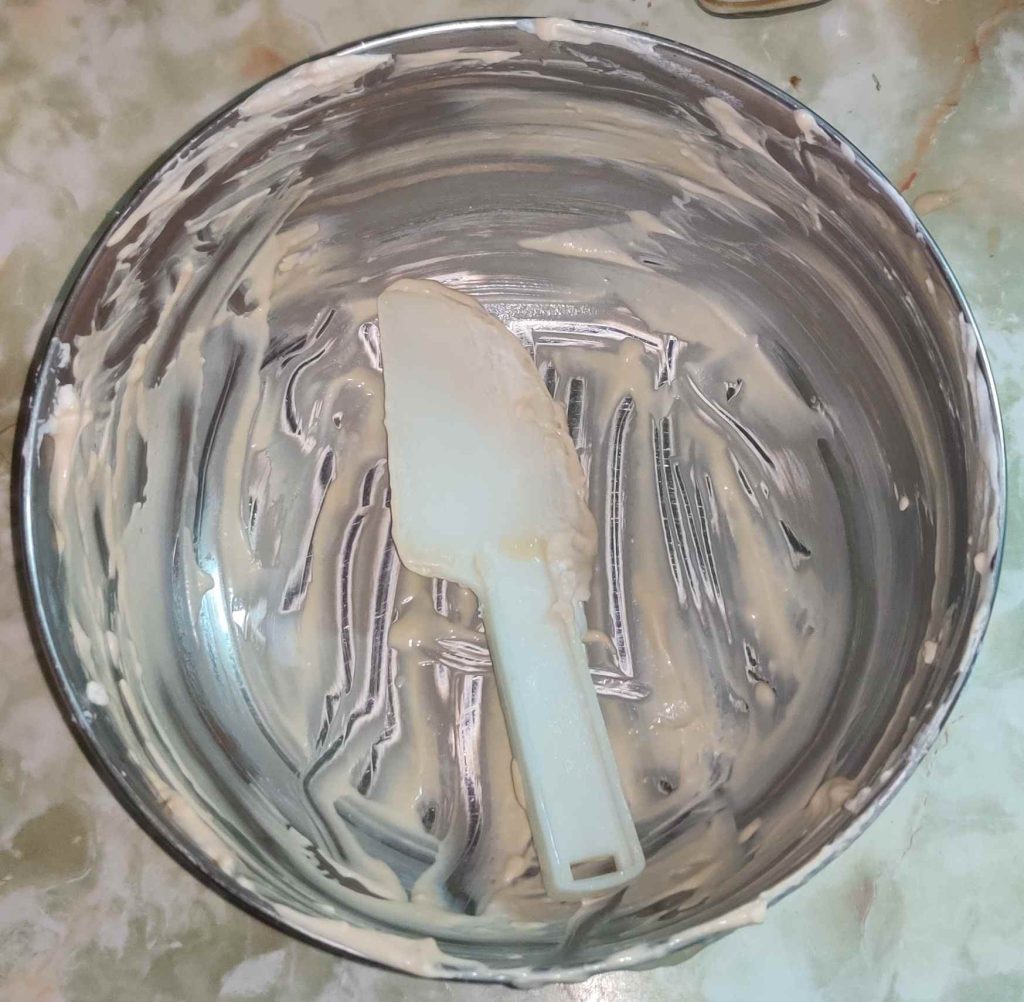
For the record: Yes, I indeed licked the utensils and the bowls used for the coffee cream and whipped cream. 👨‍🍳

Making the tiramisu cake:

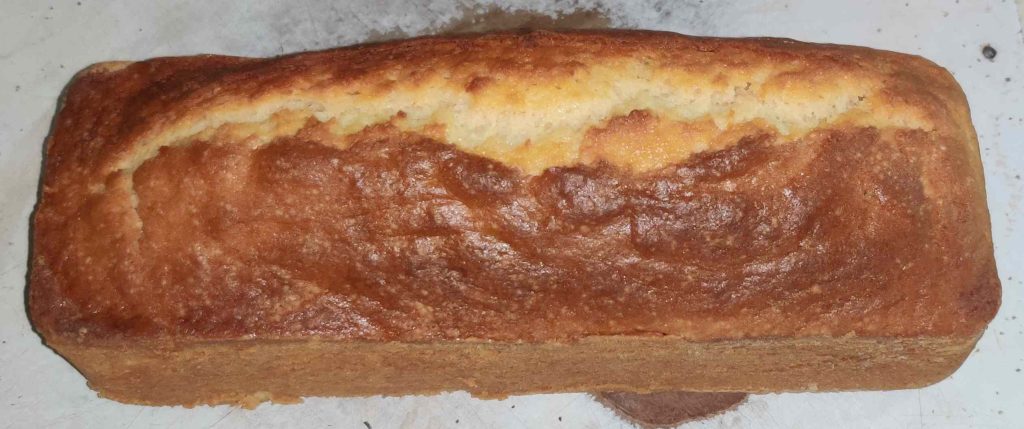
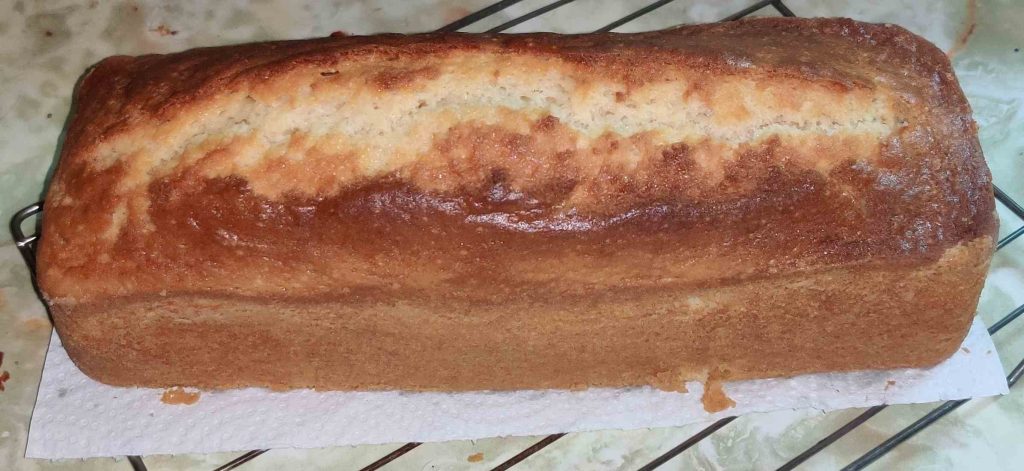
First, I baked a plain vanilla loaf cake earlier in the day, and I let it cool:

Plain loaf cake baked earlier in the day

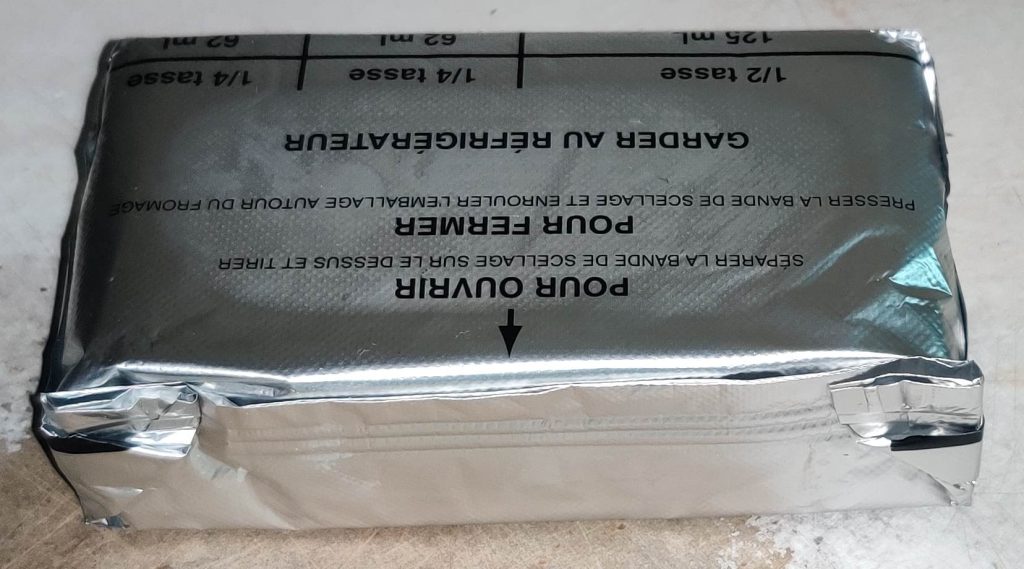
Also, cream cheese was taken out soon after baking the cake so that the cream cheese could warm up to room temperature or thereabouts:

Cream cheese taken out to warm up

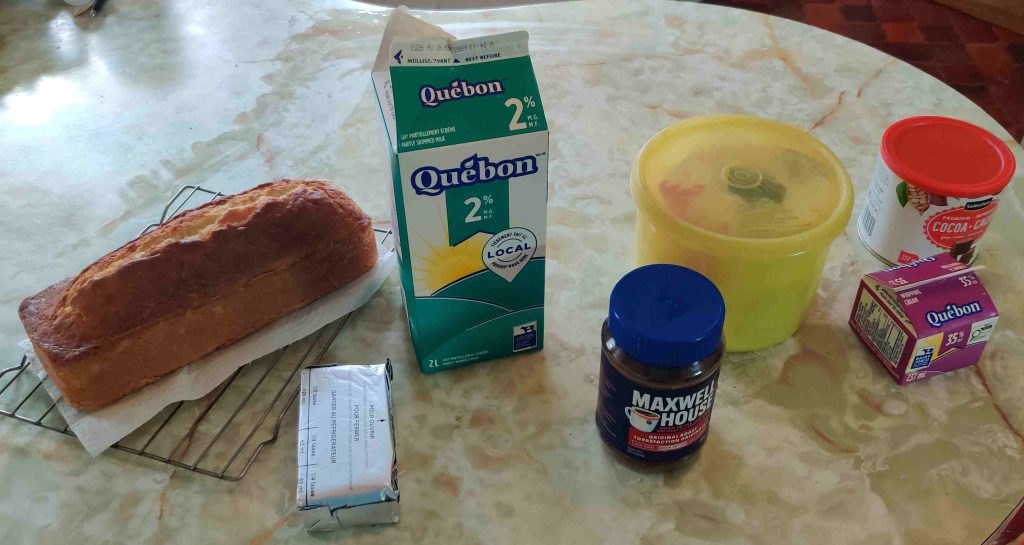
Later, when I was beginning to make the tiramisu layer cake, all the ingredients — loaf cake, cream cheese, milk, instant coffee crystals, icing sugar, whipping cream, and cocoa powder — were taken out:

Ingredients taken out

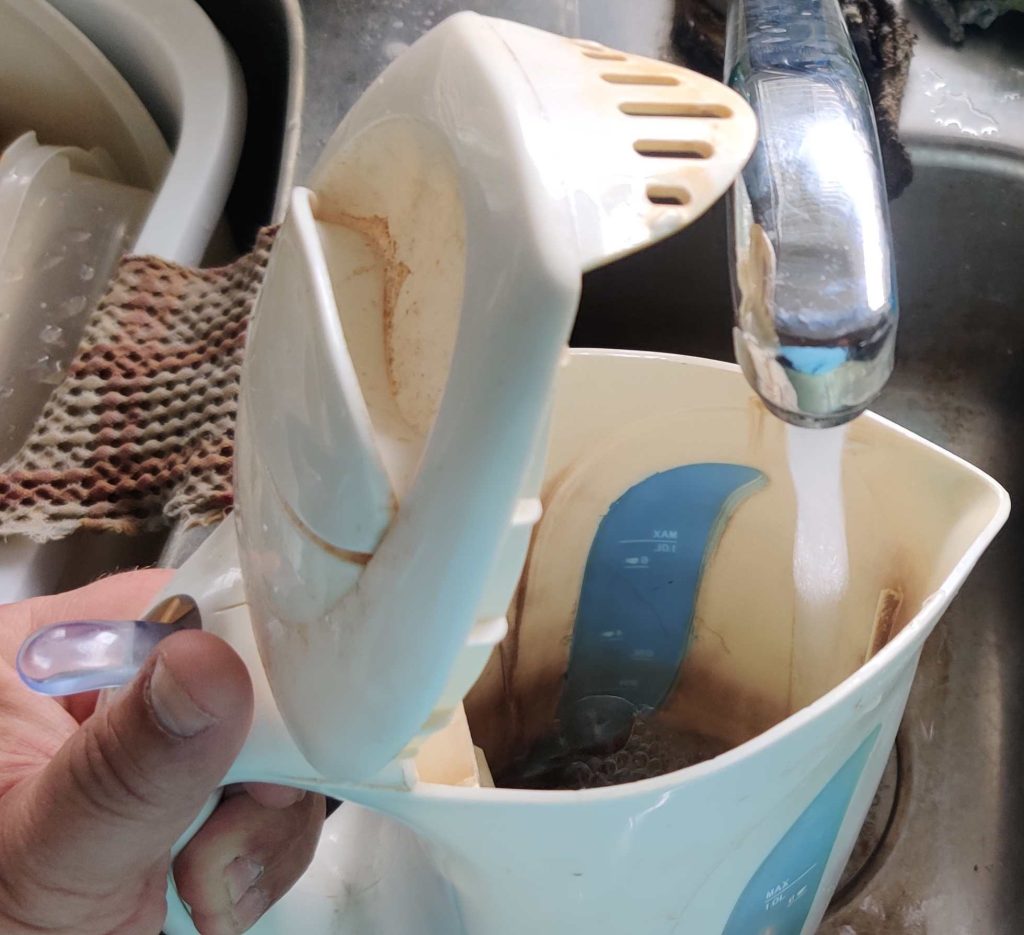
Water was quickly drawn into a kettle to boil to make the strong coffee:

Water drawn to make coffee

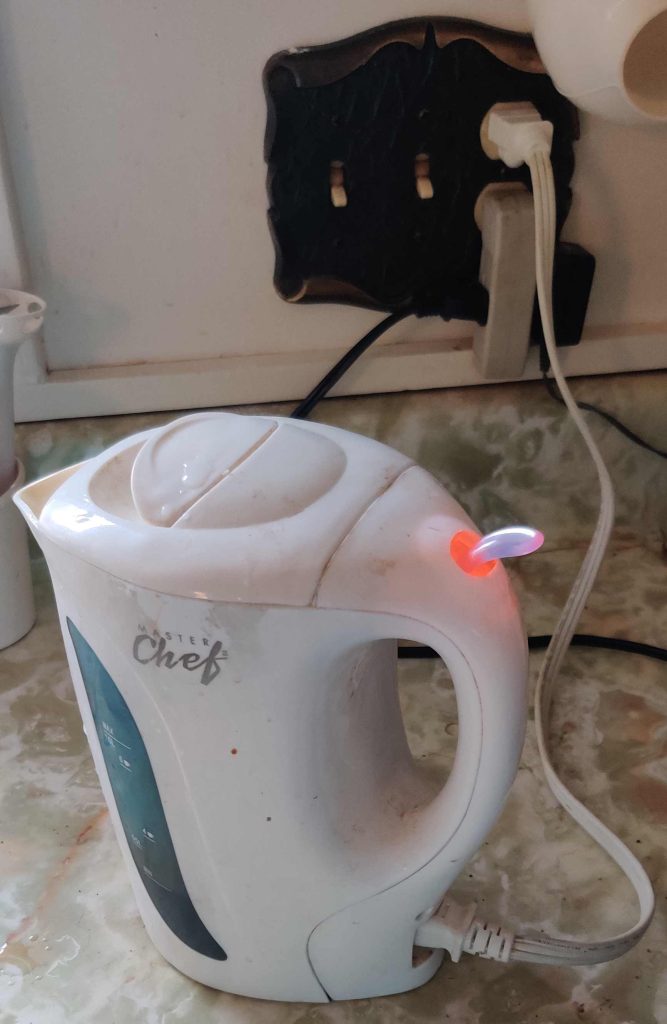
The kettle was plugged in and turned on, so as to boil the water:

Kettle plugged in and turned on

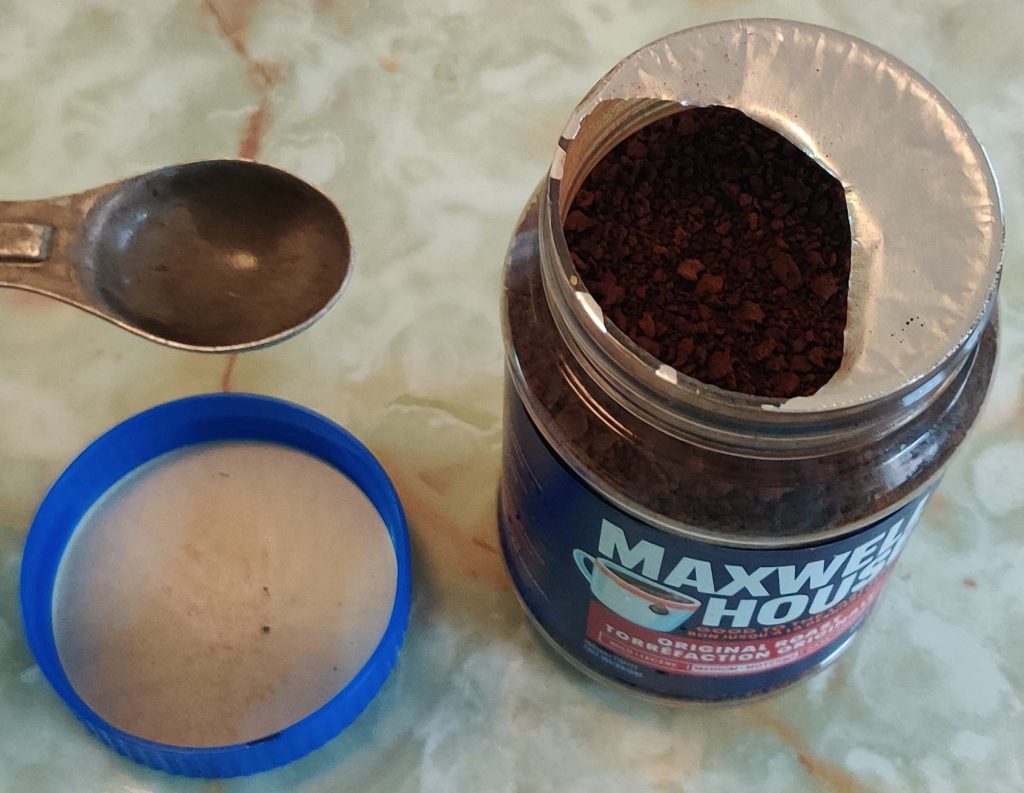
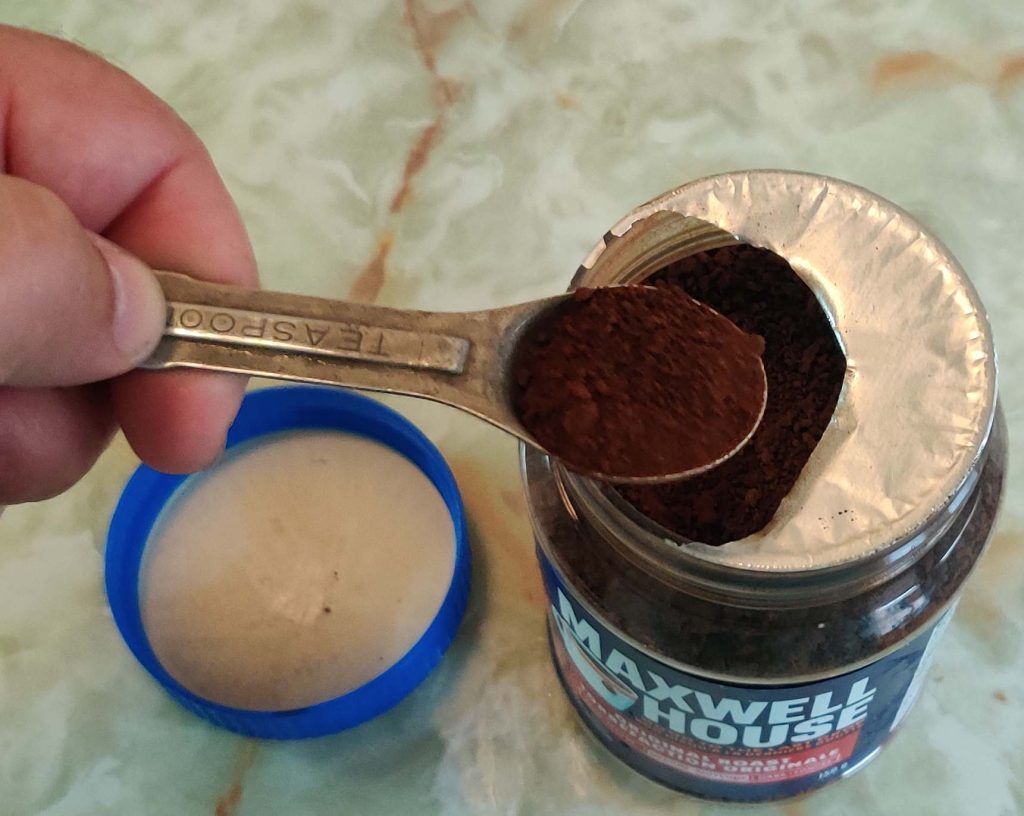
While the water was boiling, instant coffee crystals and a measuring spoon were taken out:

Instant coffee crystals taken out

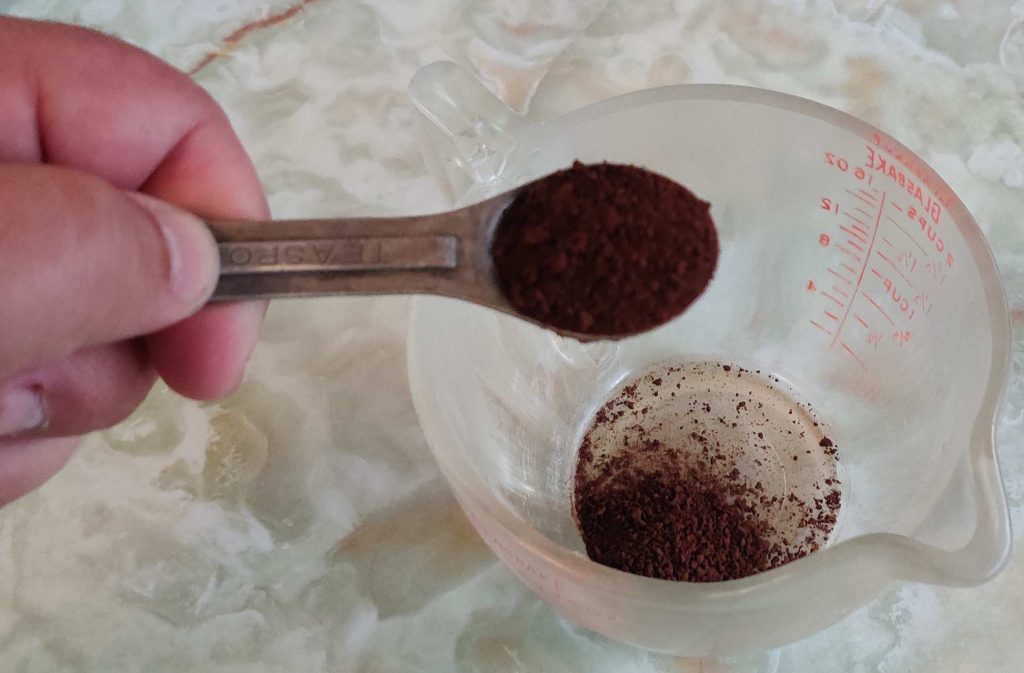
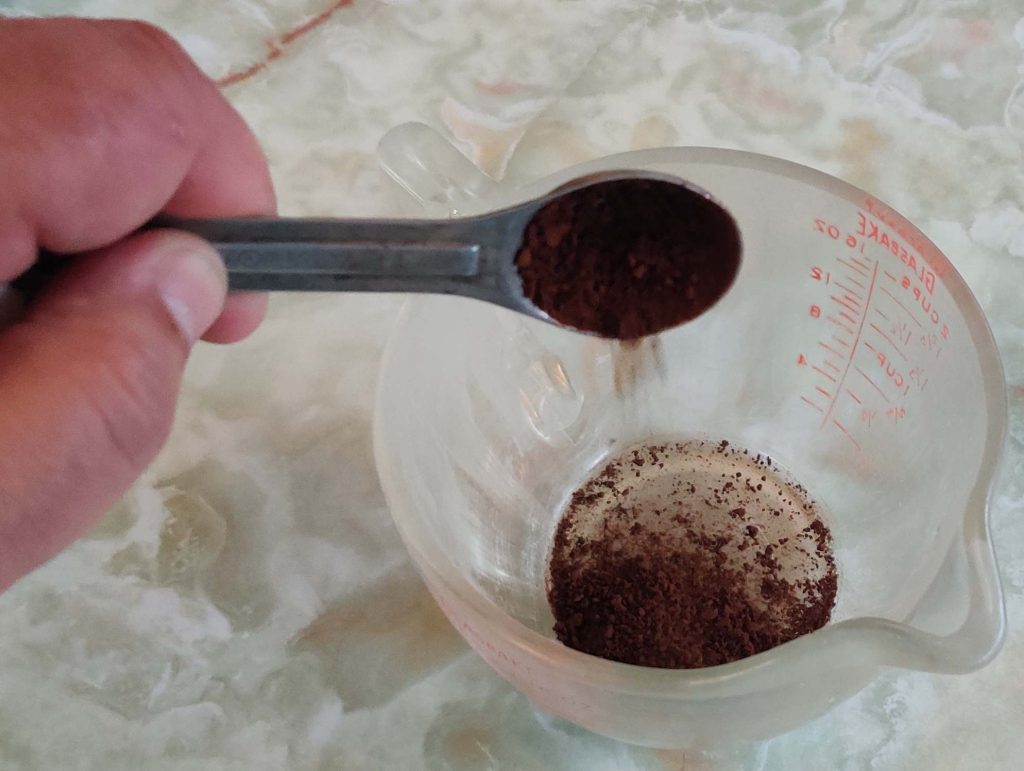
Two teaspoons of instant coffee crystals were measured out:

Instant coffee crystals measured out

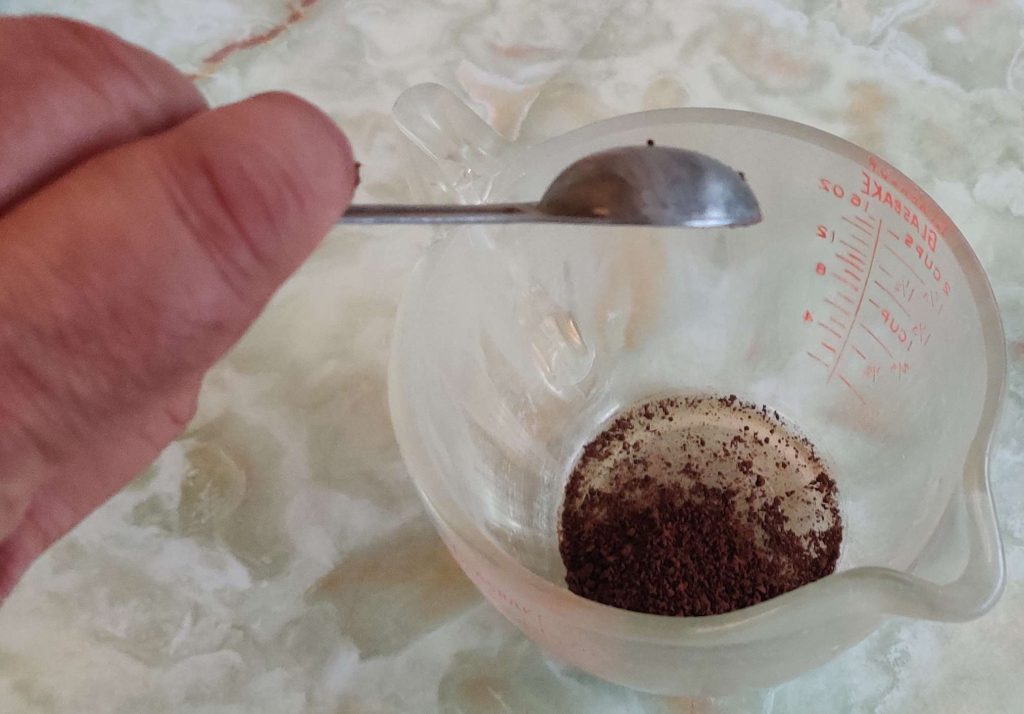
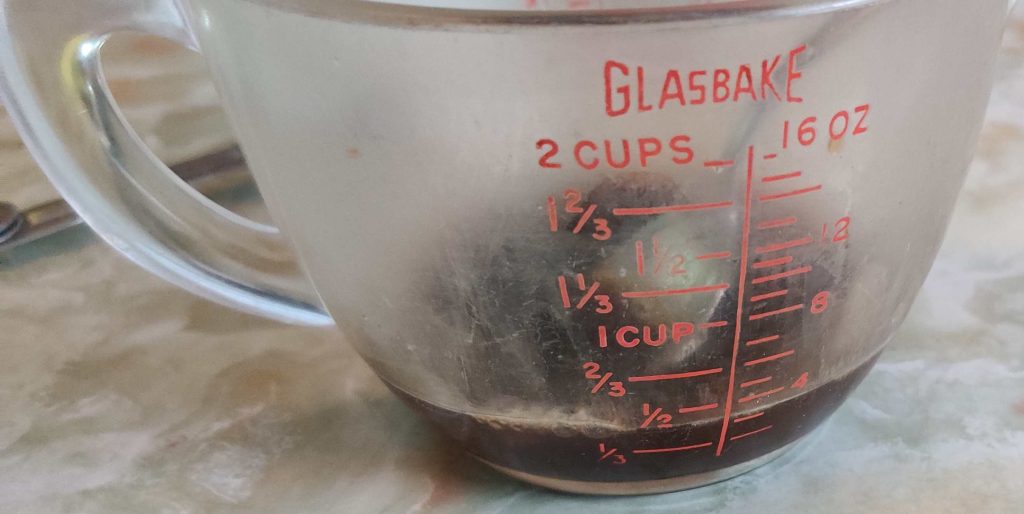
The instant coffee crystals were transferred to a heat-proof measuring cup:

Coffee crystals transferred to measuring cup

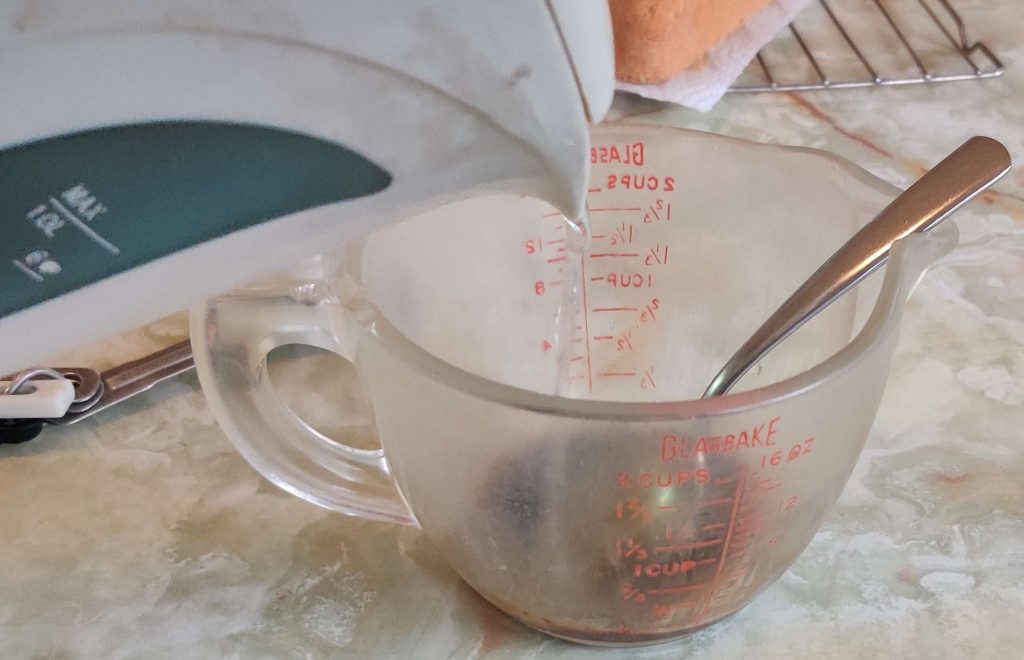
At this point, the kettle of boiling water was brought to the measuring cup, and water was transferred to the measuring cup:

Boiling water added to measuring cup
Boiled water added to measuring cup

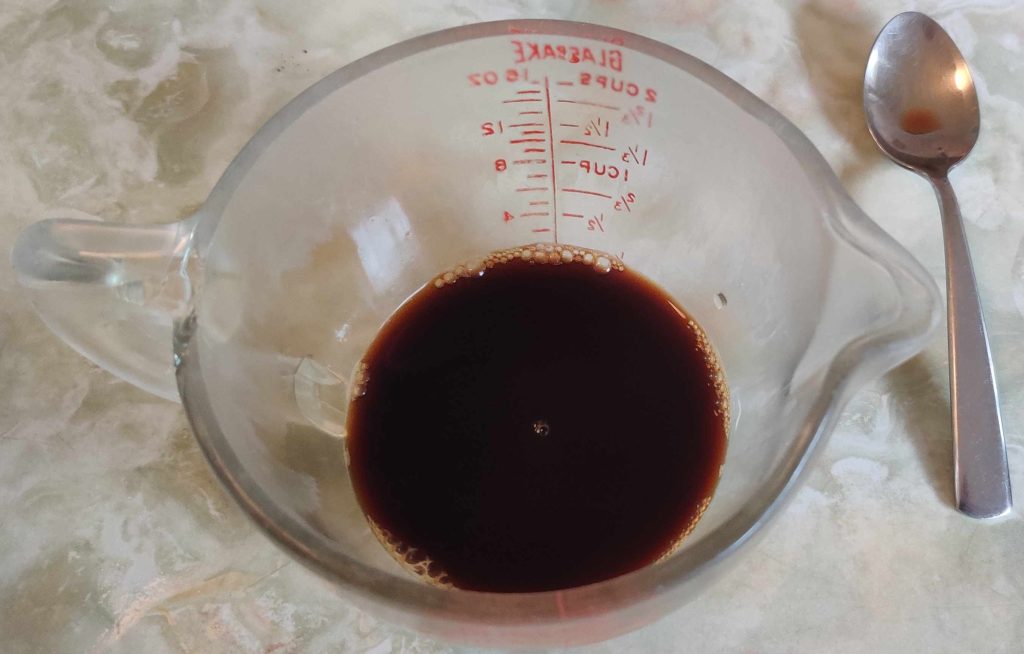
I noticed that I poured out three ounces of boiling water instead of two ounces of water:

Ooops! A bit too much water was added … but don’t worry, it’s not a disaster

A bit of commentary: The thing to remember here is that in this case, a fixed amount of instant coffee was used instead of fresh espresso, so the water is doing two things: While the water is dissolving the instant coffee so that it distributes more evenly than the dry powder alone would, the coffee taste and intensity in the final product come from the fixed amount of two teaspoons of instant coffee in the recipe, and obviously not that the crystals were dissolved in three ounces of water instead of two). And, secondly, the water is also affecting the liquid balance in the recipe to smooth out the cream cheese in the mix; since a bit too much water was added to dissolve the otherwise fixed amount of instant coffee, the amount of milk added in the upcoming step was reduced. (Were fresh espresso be used instead, the liquid balance issue would remain; however, an even stronger coffee flavour would be brought to the dessert, which may be either a good or not so good thing, depending on your perspective and preference — or what you might want to do with the extra ounce, like top up your own cup of espresso! 🙂 )

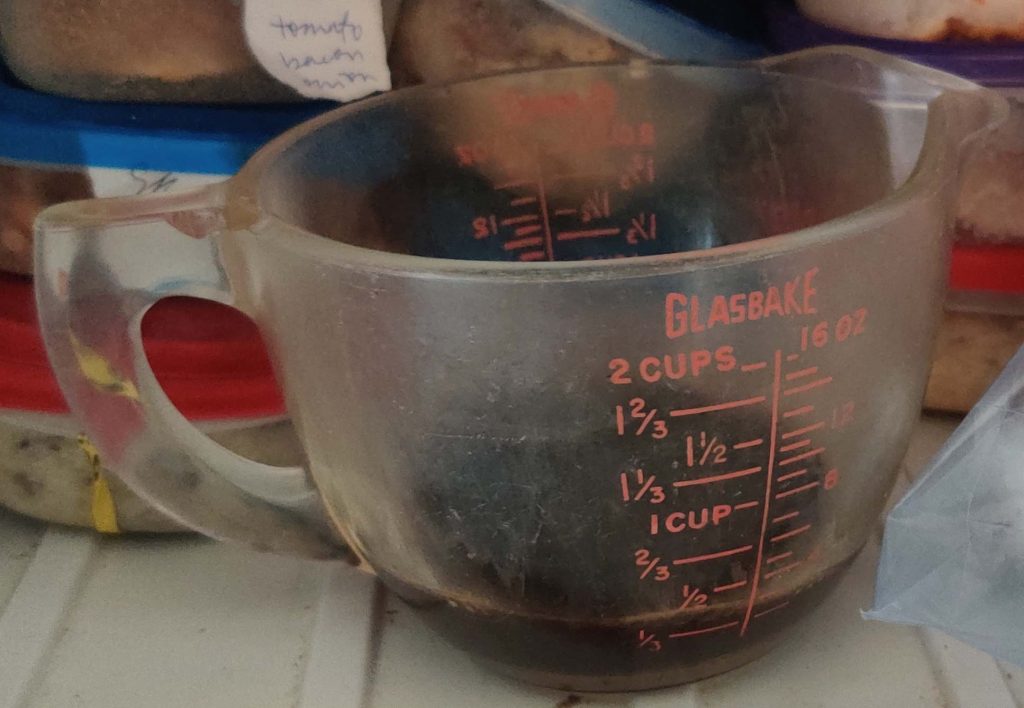
The hot strong coffee was placed in the freezer to cool it down quickly:

Hot coffee placed in freezer to cool down

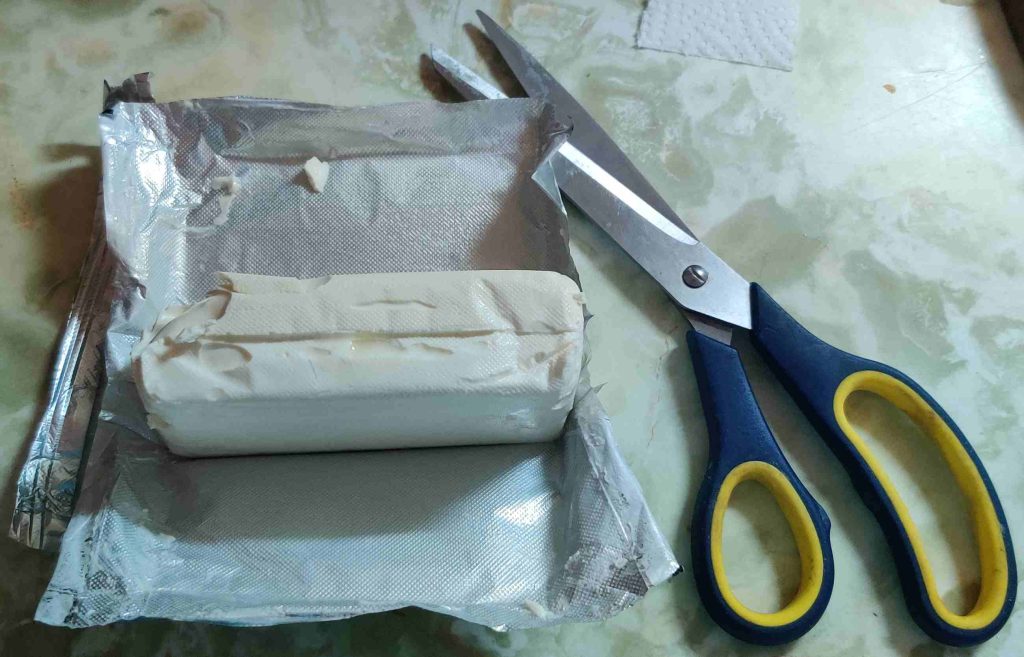
The package of cream cheese was opened with a pair of scissors:

Package of cream cheese opened

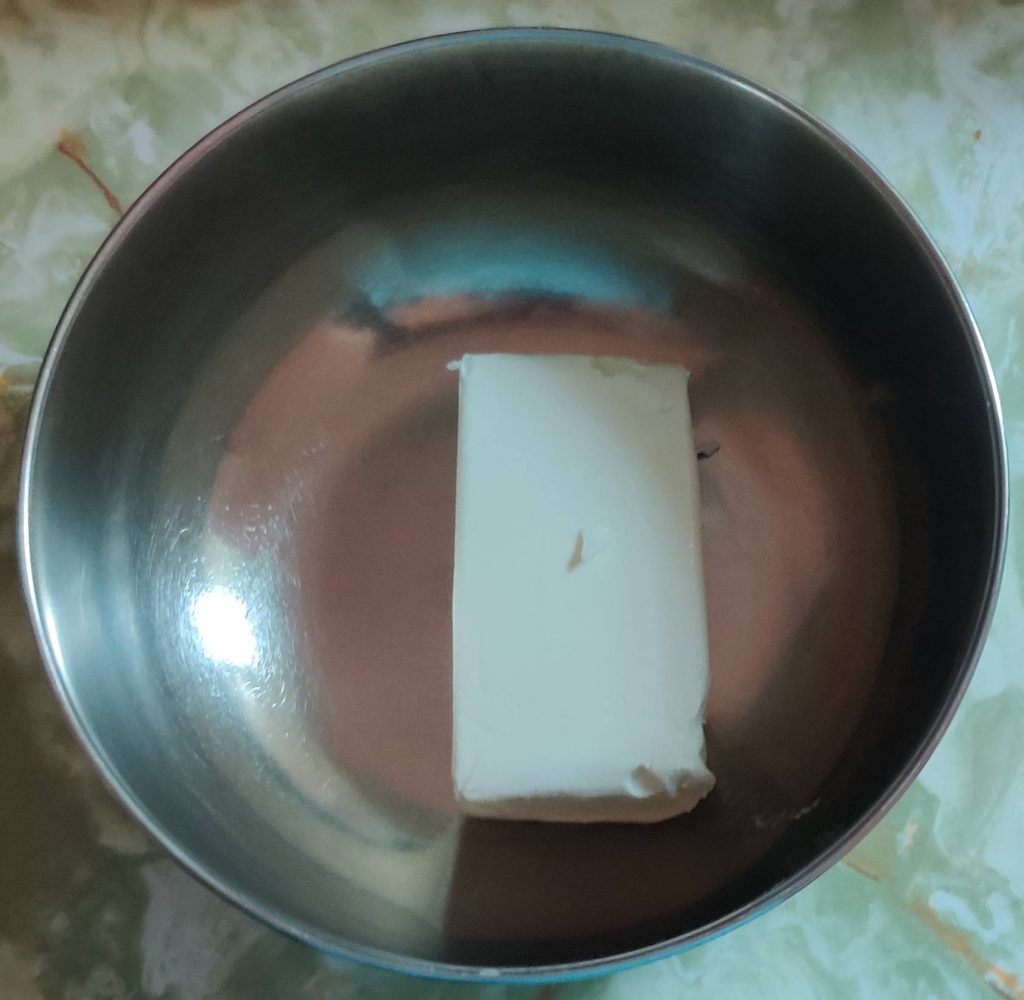
The cream cheese was transferred to a mixing bowl:

Cream cheese transferred to mixing bowl

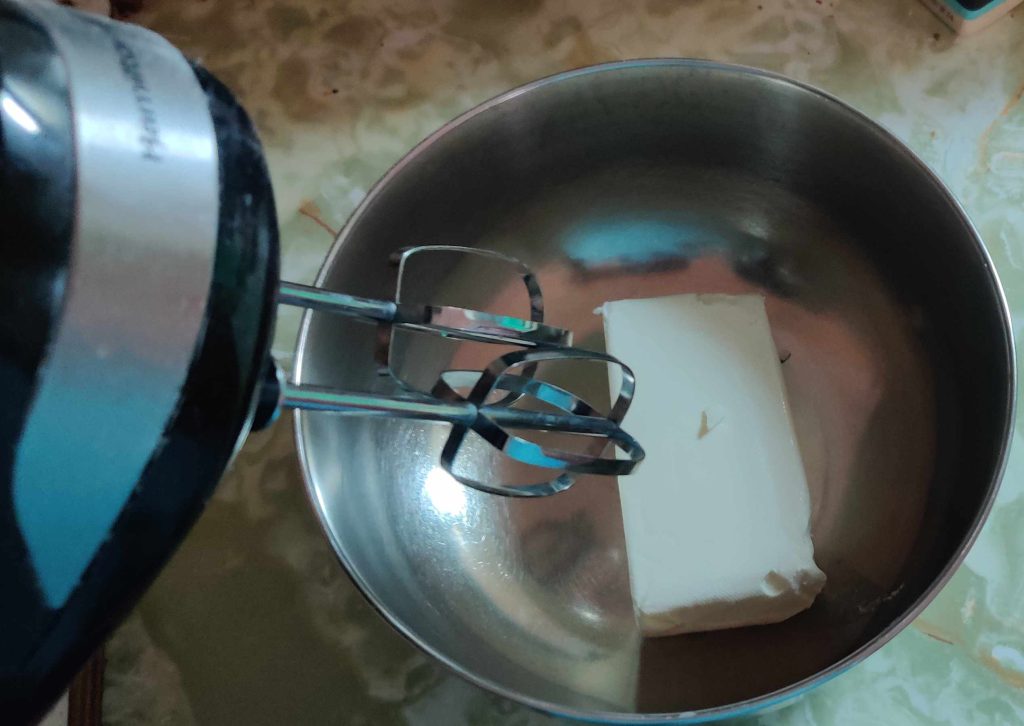
An electric beater was brought over in order to cream the cream cheese:

Electric beater brought to mixing bowl

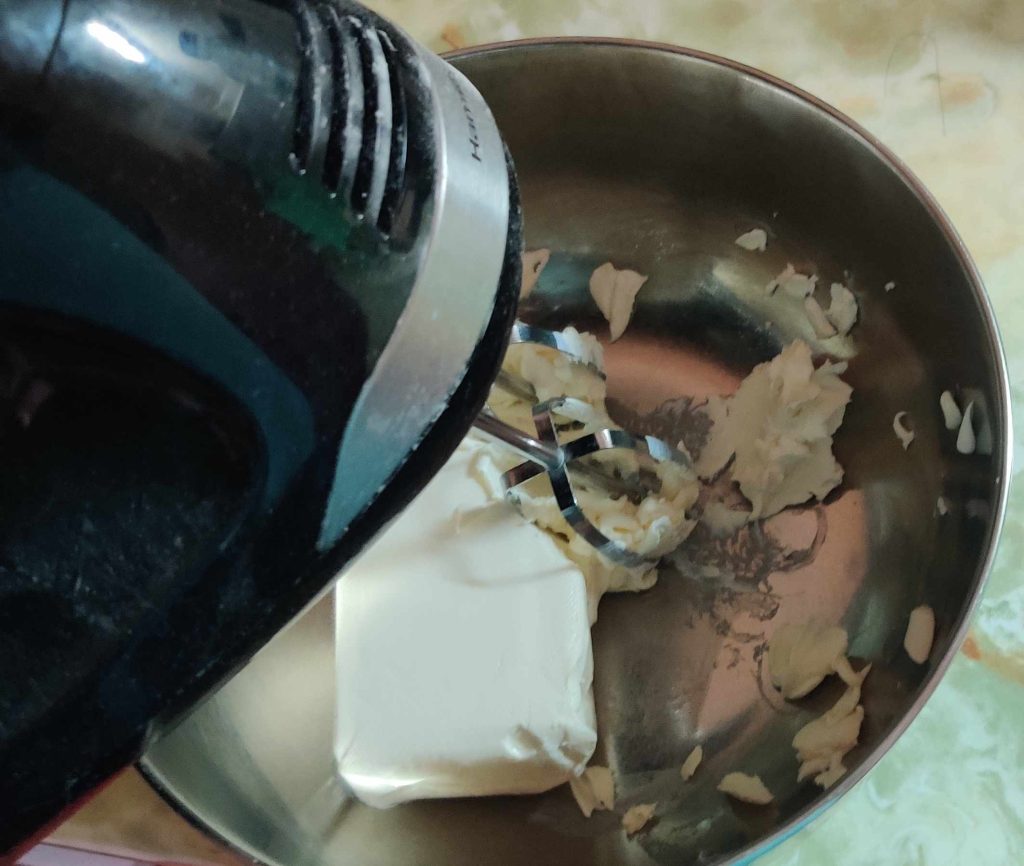
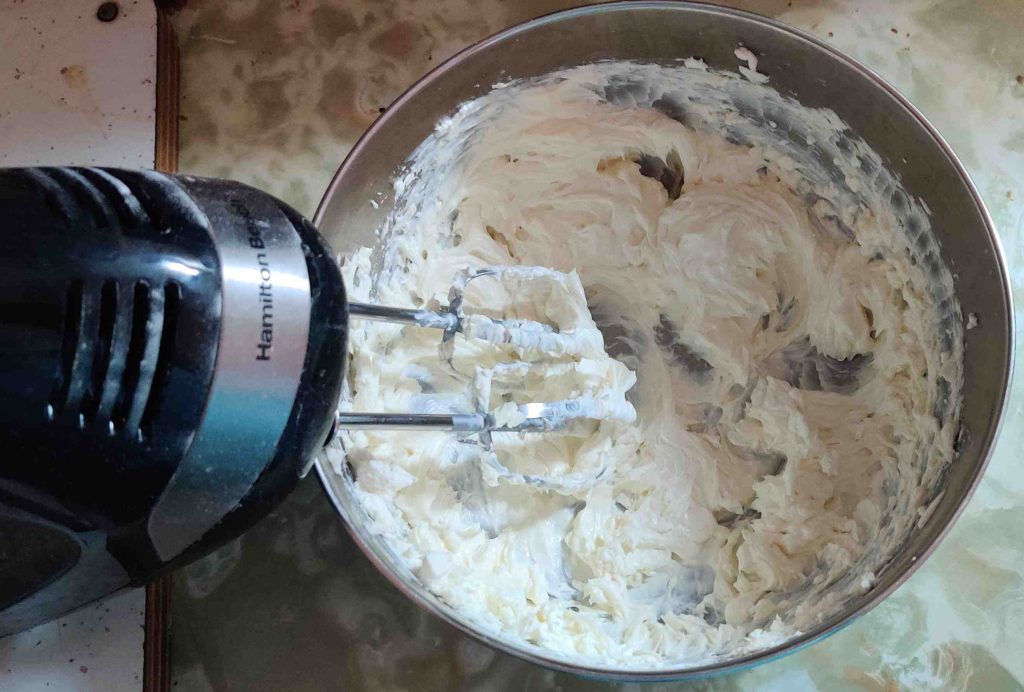
The cream cheese was creamed with the electric beater:

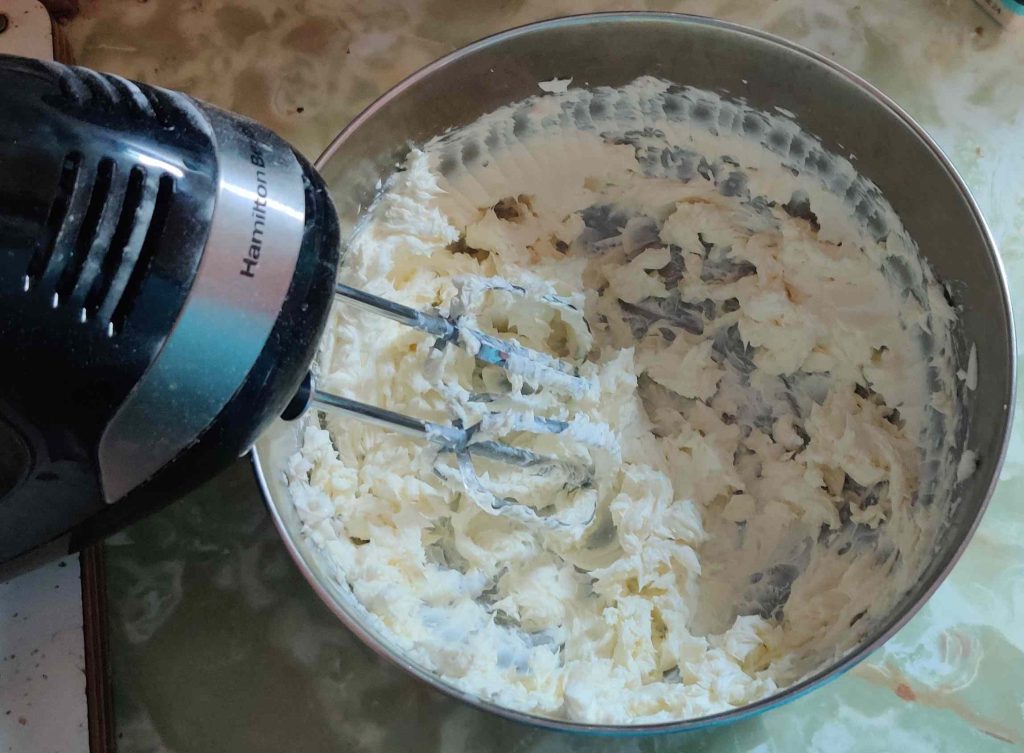
Creaming the cream cheese
Creamed cream cheese

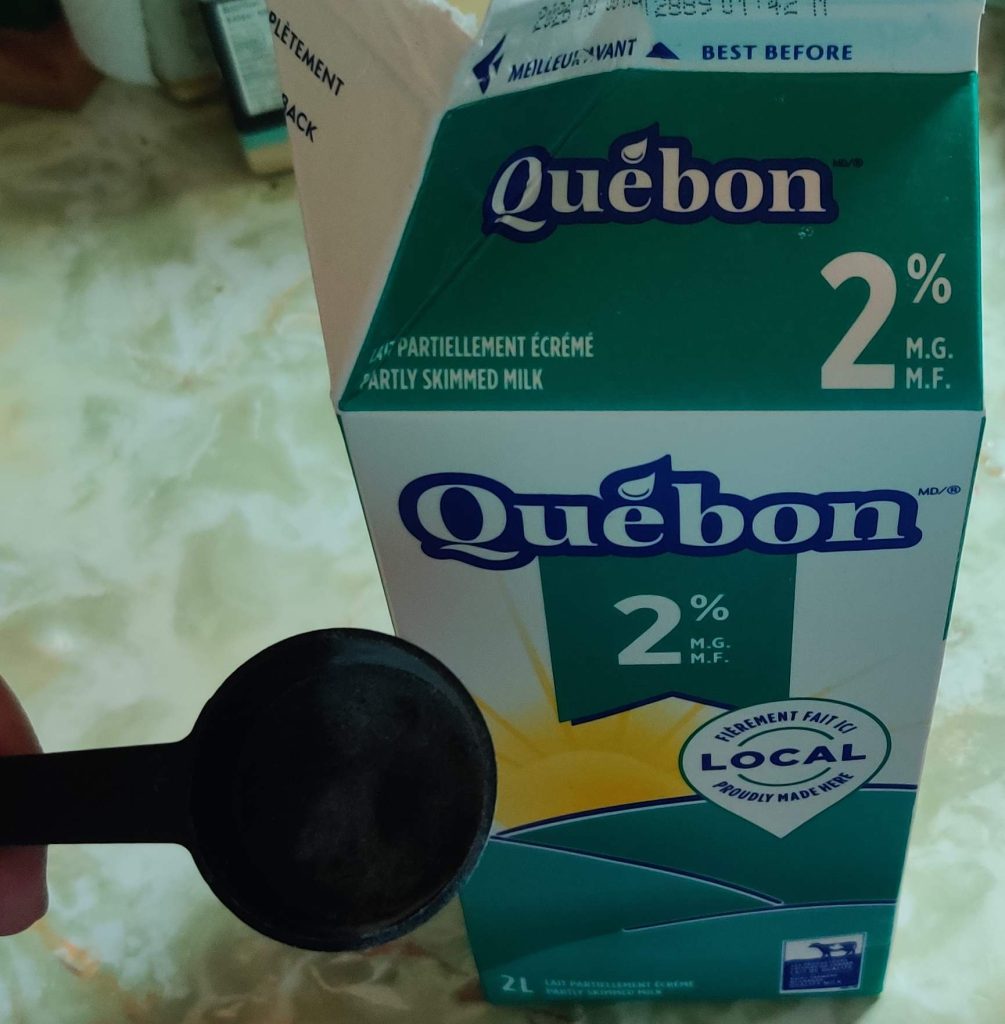
Milk and a measuring spoon were taken out:

Milk and measuring spoon taken out

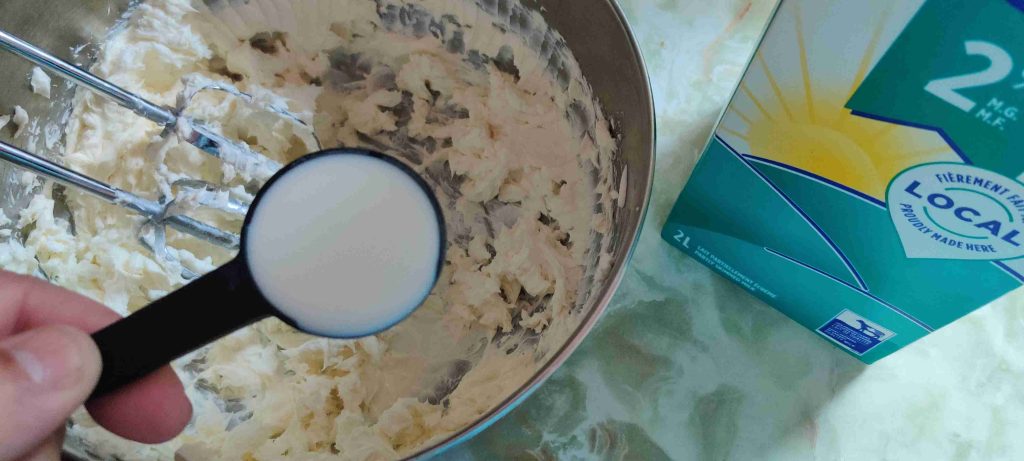
As mentioned earlier, one less tablespoon than specified in the recipe (to compensate for the extra water added to the instant coffee crystals) was measured out:

Milk measured out and added to mixing bowl

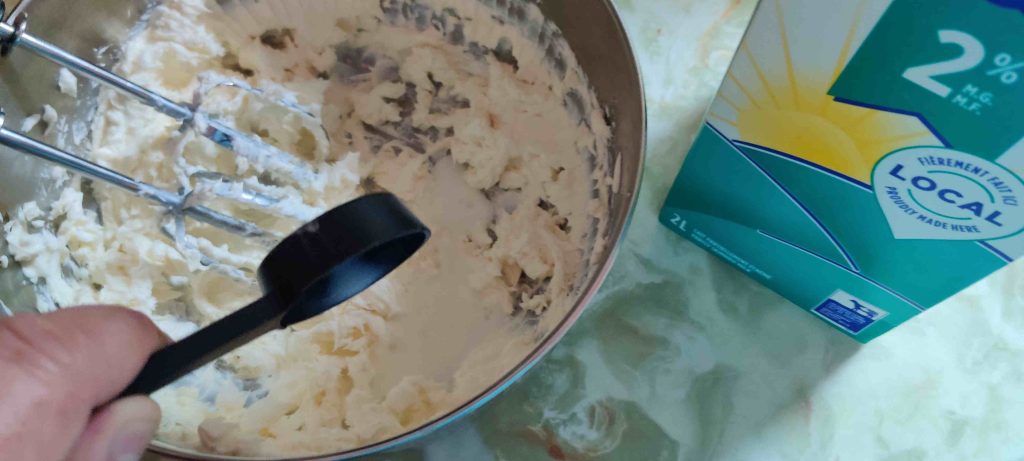
… and the milk was transferred to the bowl with the creamed cream cheese:

Milk transferred to mixing bowl

The milk and cream cheese were briefly mixed with the electric beater:

Cream cheese and milk mixed together

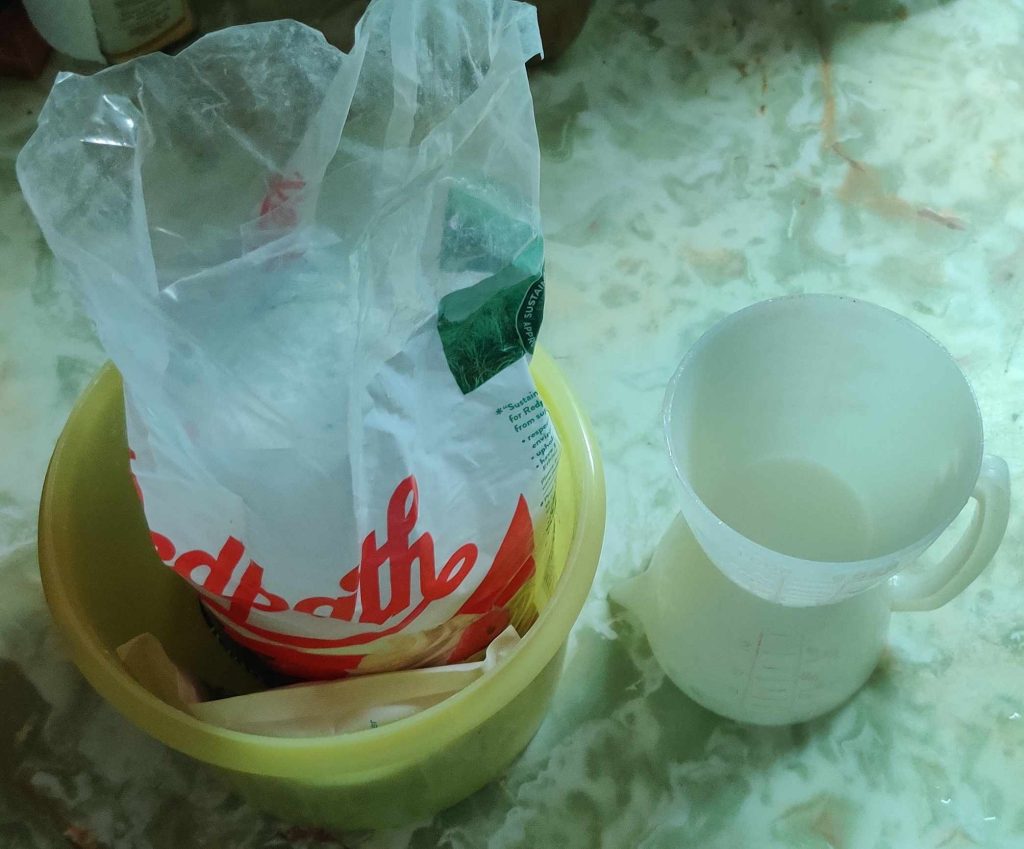
Icing sugar and a measuring cup were taken out:

Icing sugar and measuring cup taken out

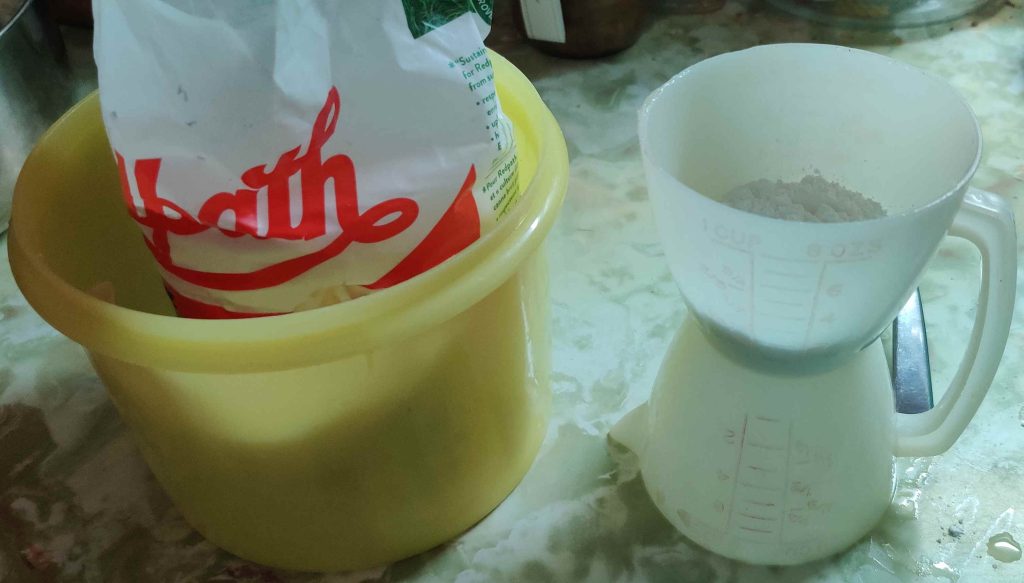
Icing sugar was measured out:

Icing sugar measured out:

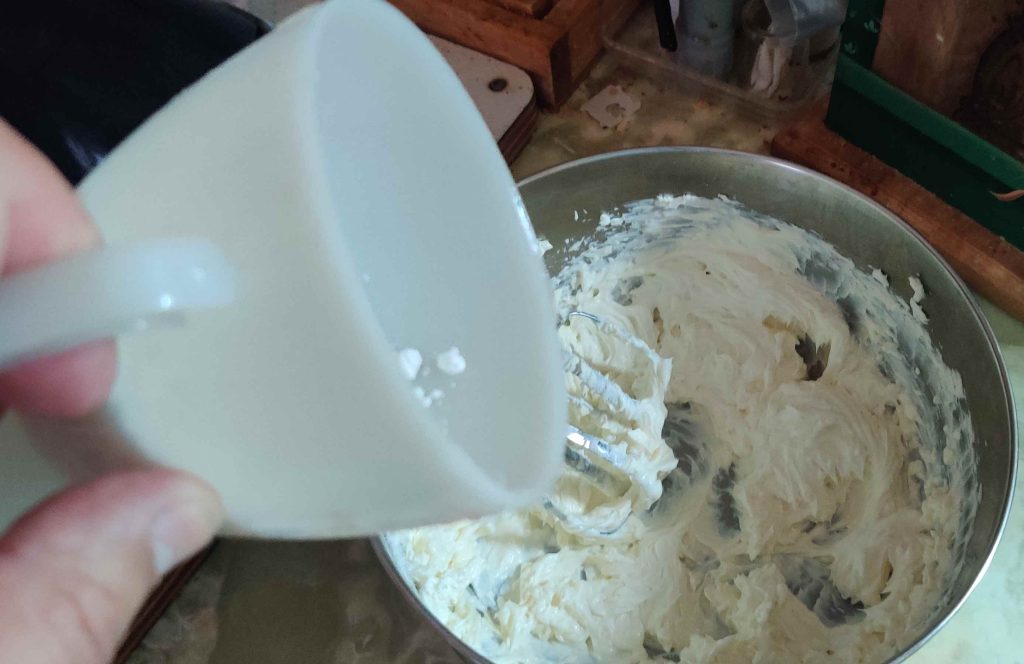
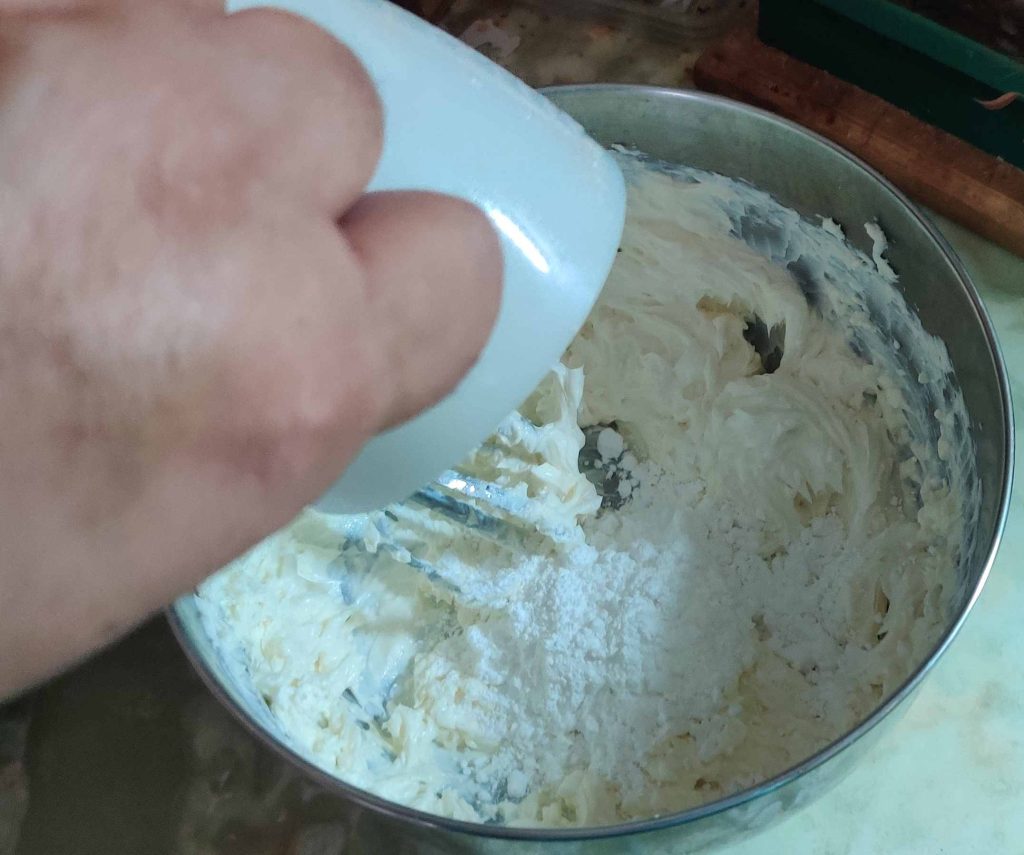
The icing sugar was transferred to the bowl with the cream cheese mixture:

Icing sugar transferred to bowl

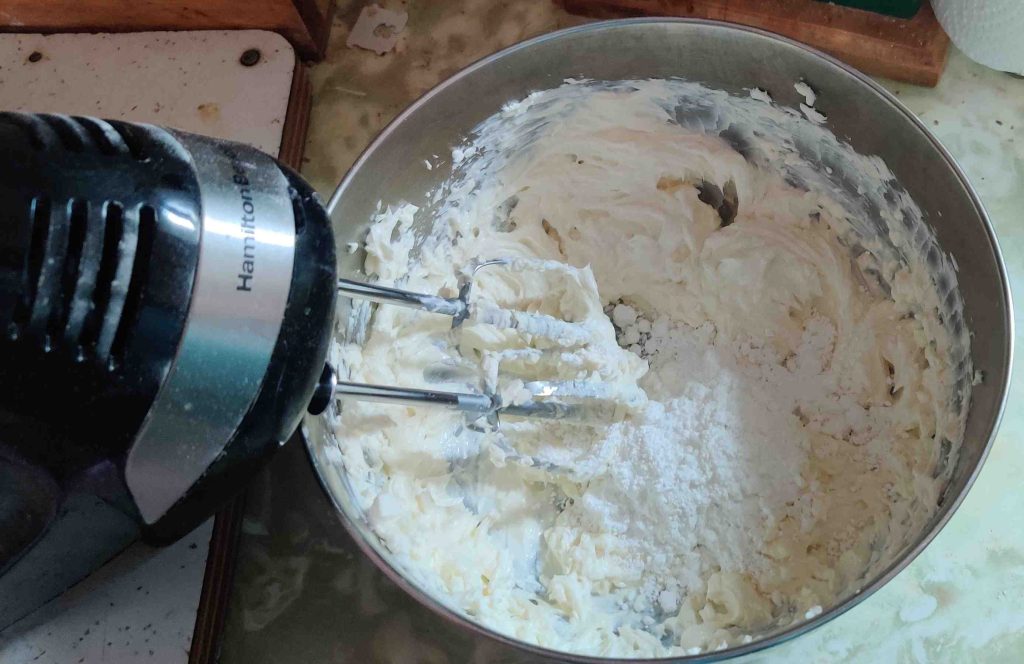
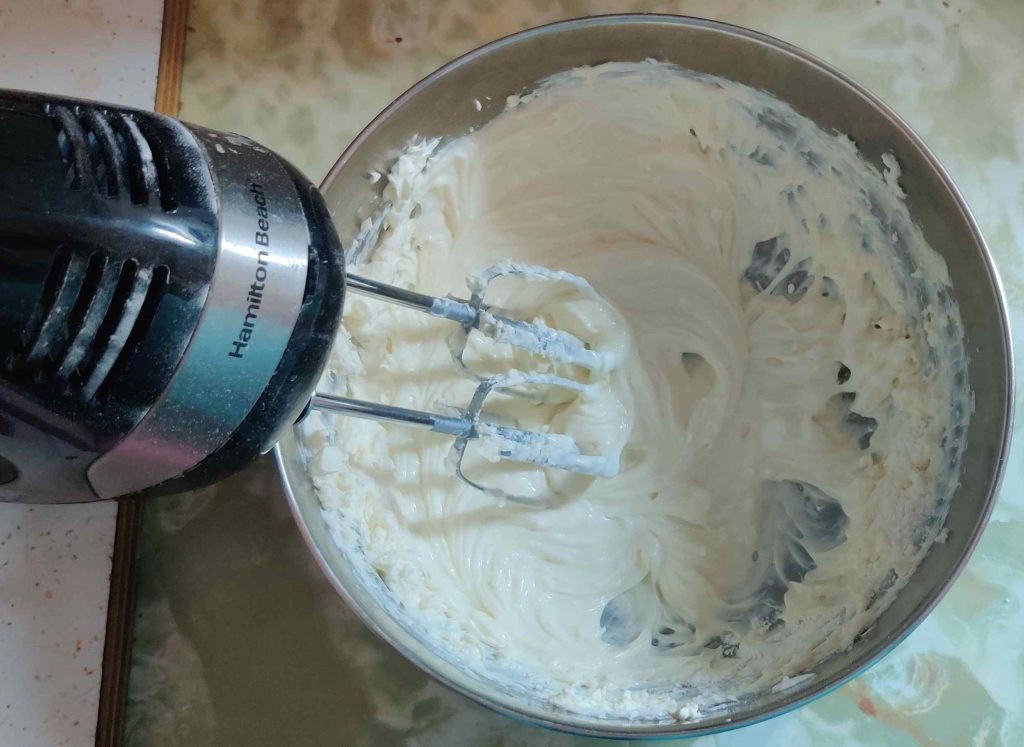
The cream cheese mixture and the icing sugar were blended together with the electric beater:

Icing sugar blended into cream cheese mixture

The cooled coffee was taken out of the freezer:

Cooled coffee taken out

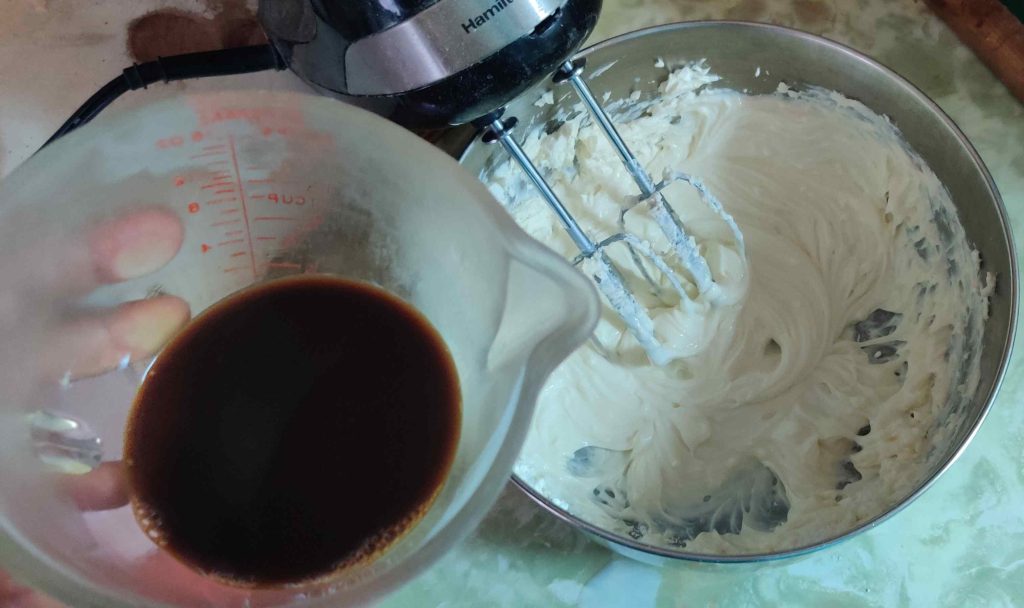
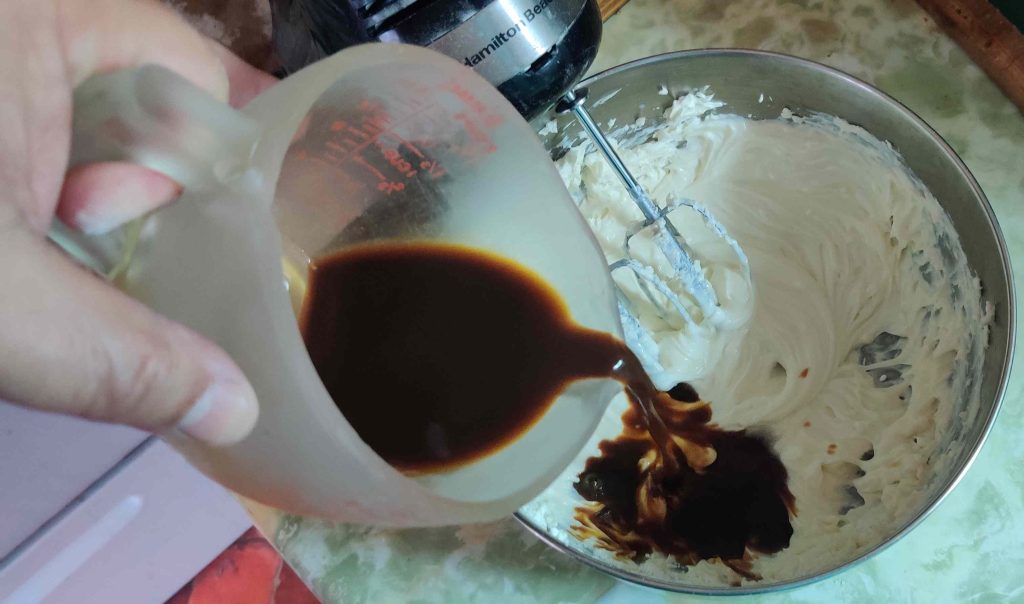
The cooled coffee was transferred to the cream cheese mixture:

Cooled coffee transferred to cream cheese mixture

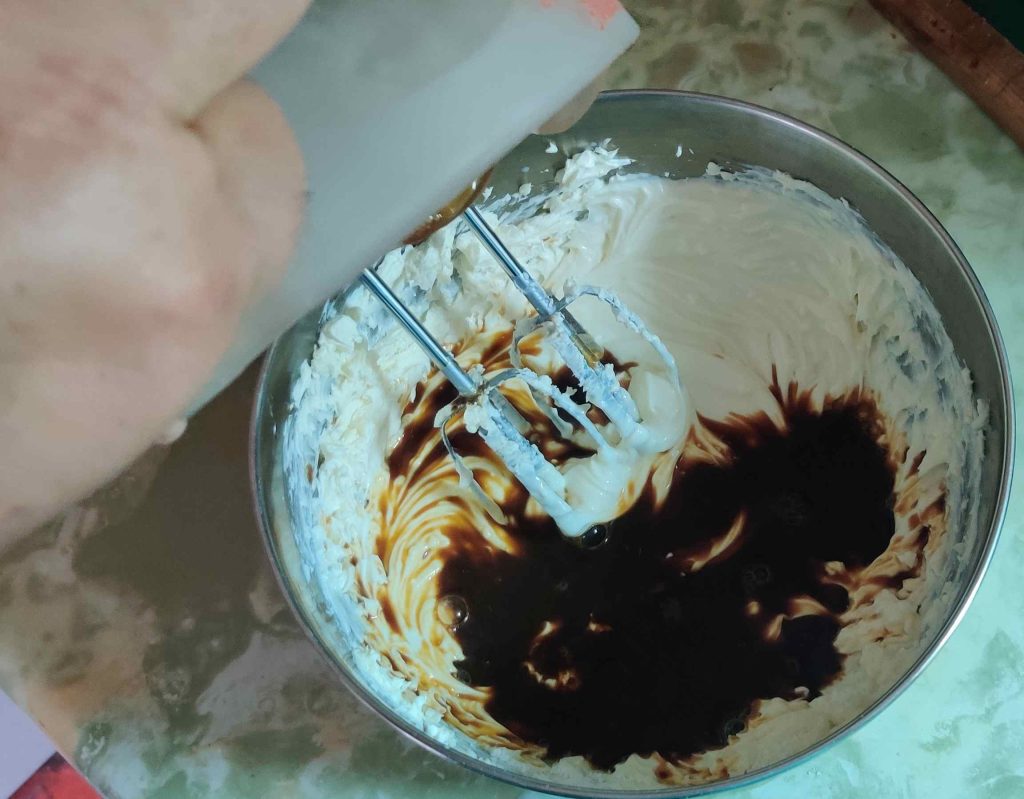
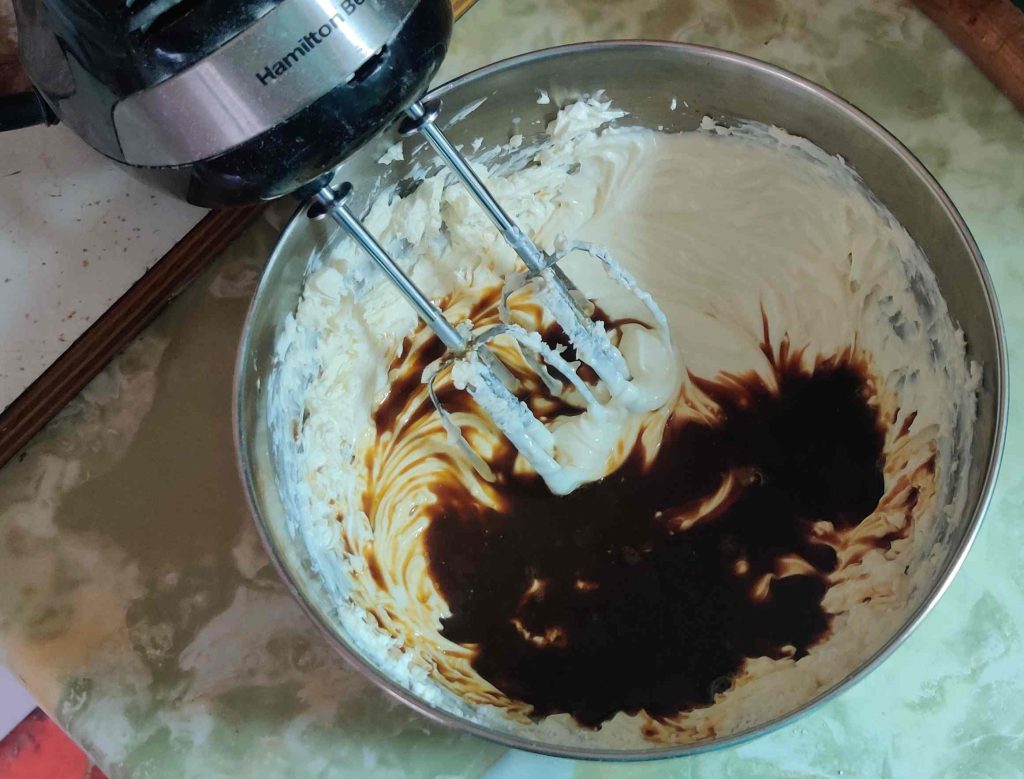
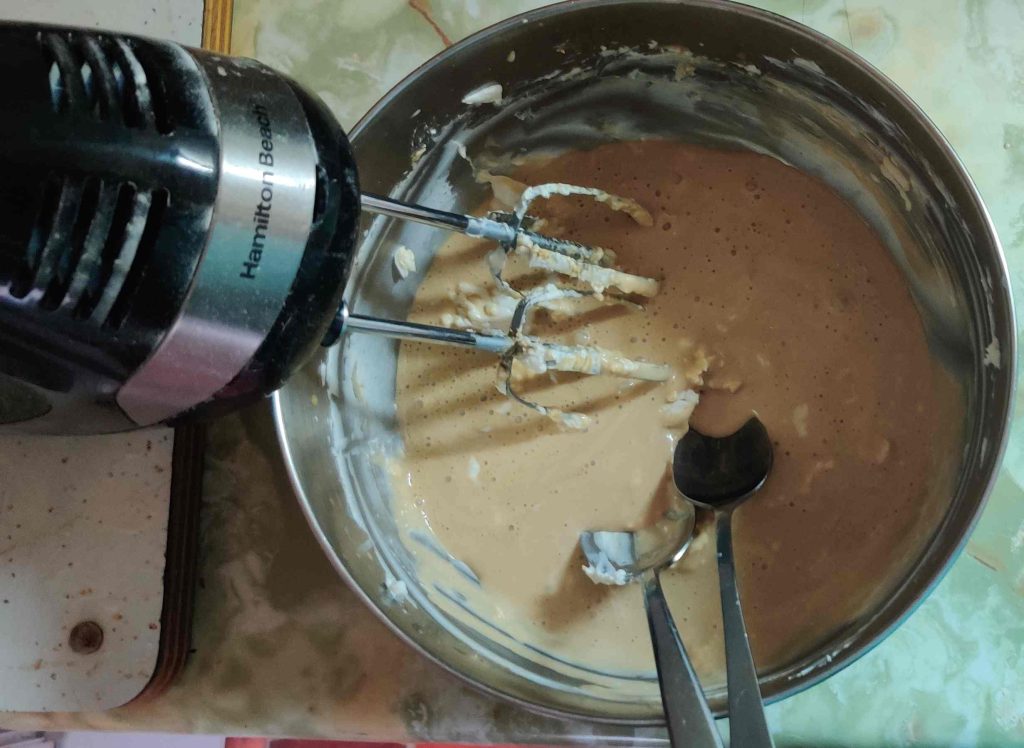
All the ingredients were mixed again with the electric beater, and a couple of spoons were used to scrape the edges of the bowl:

Ingredients mixed, using spoons to scrape edges of the bowl
Ingredients mixed

The cream cheese, milk, icing sugar, and coffee mixture was put aside for a few moments.

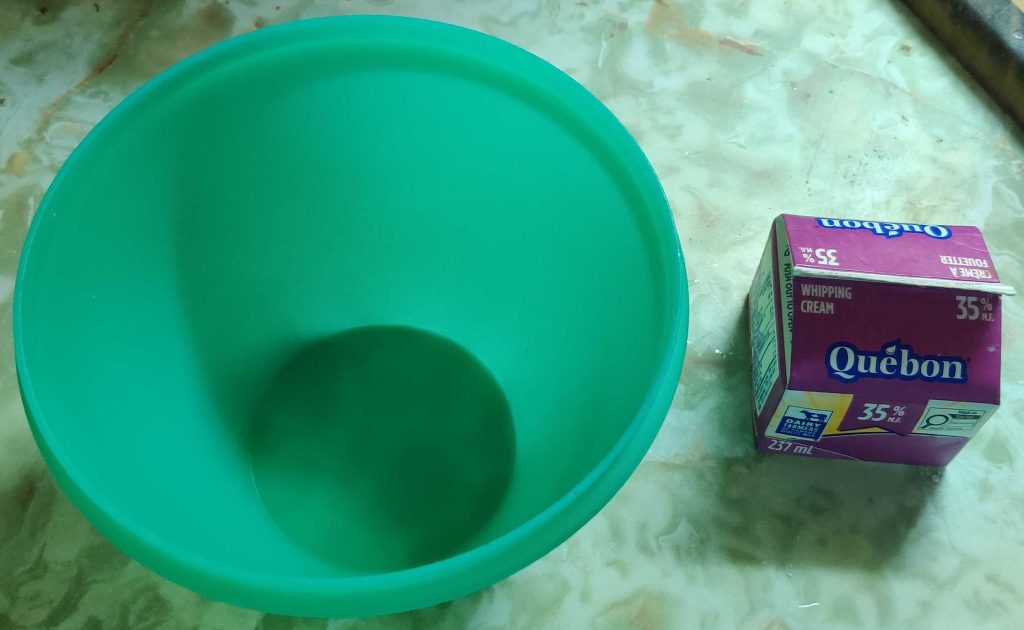
Another bowl and some whipping cream (237mL, about a cup) were taken out:

Bowl and whipping cream taken out

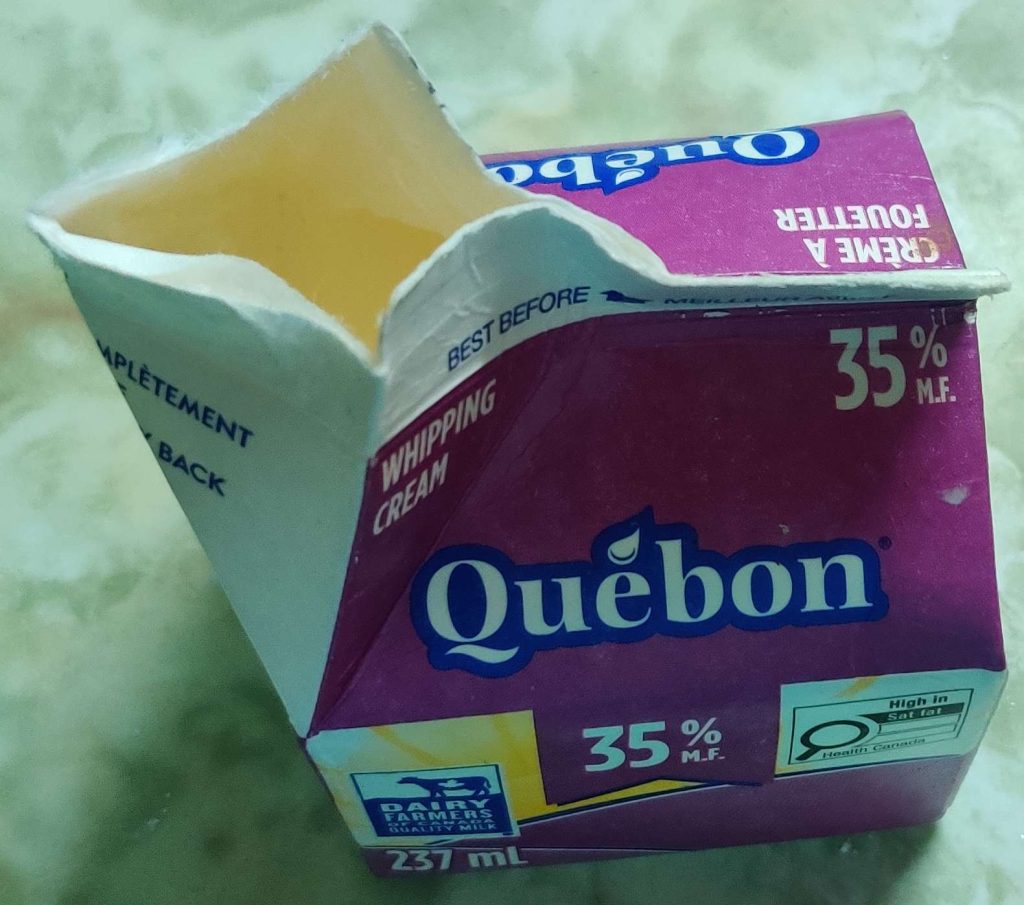
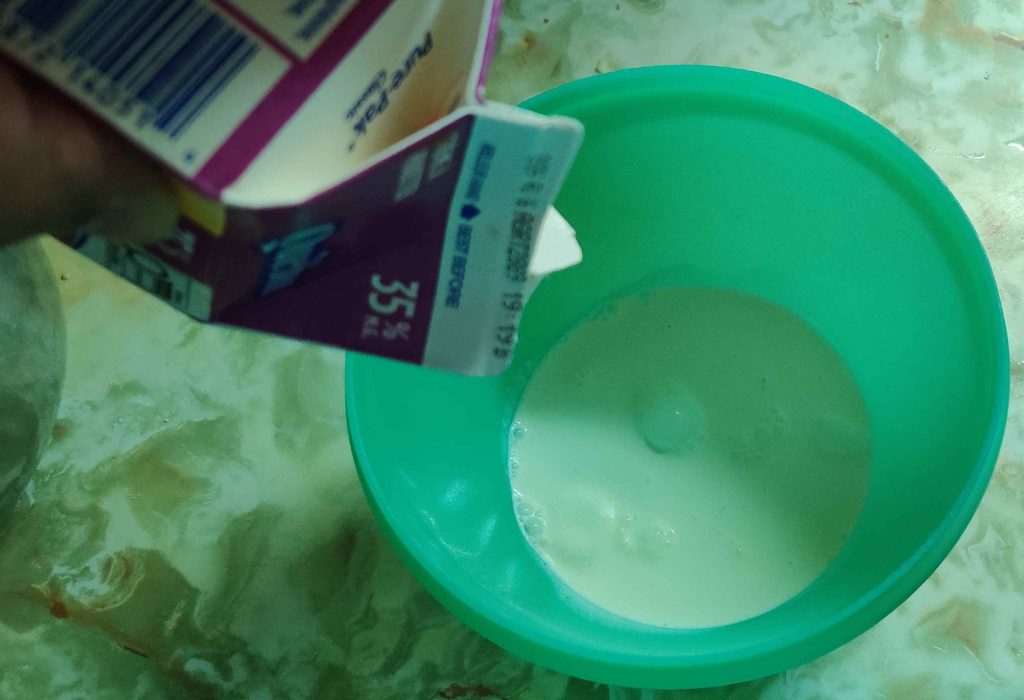
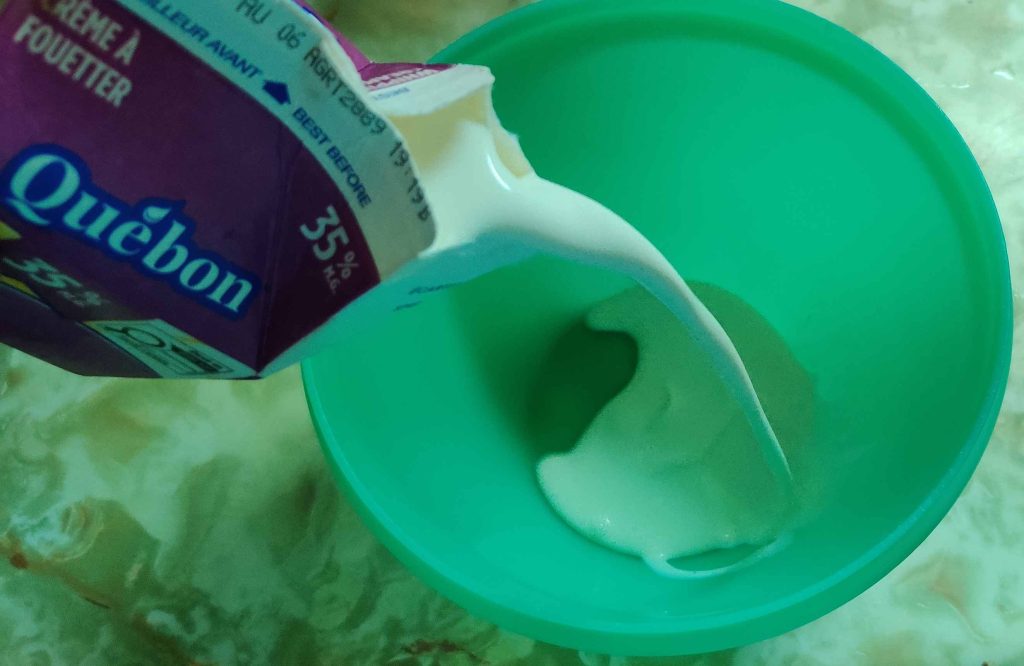
The carton of whipping cream was opened:

Carton of whipping cream opened

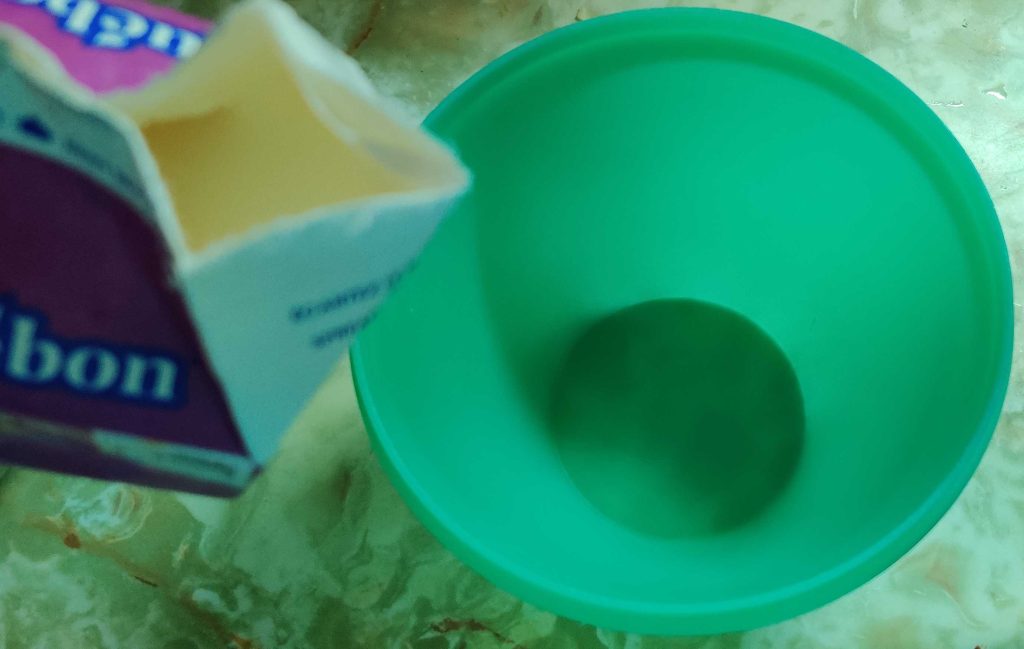
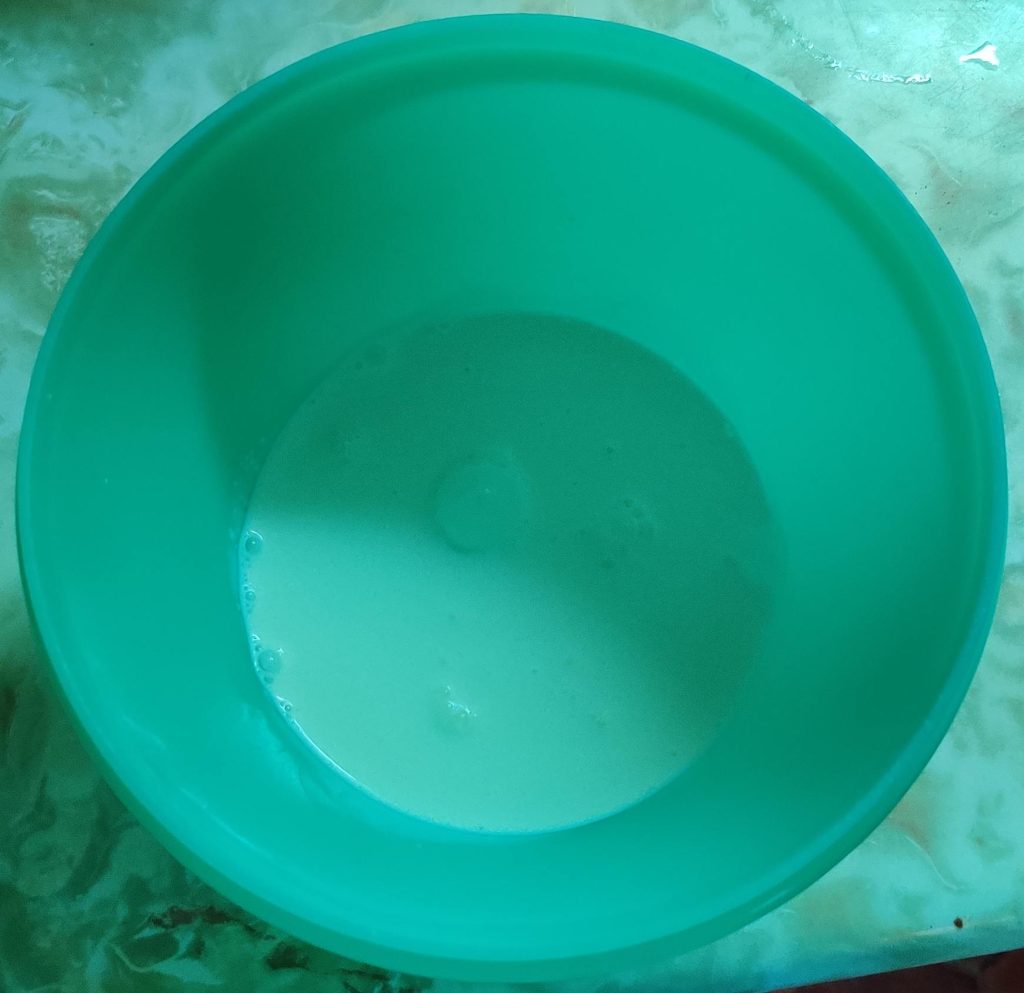
The whipping cream was transferred to the bowl:

Whipping cream transferred to bowl

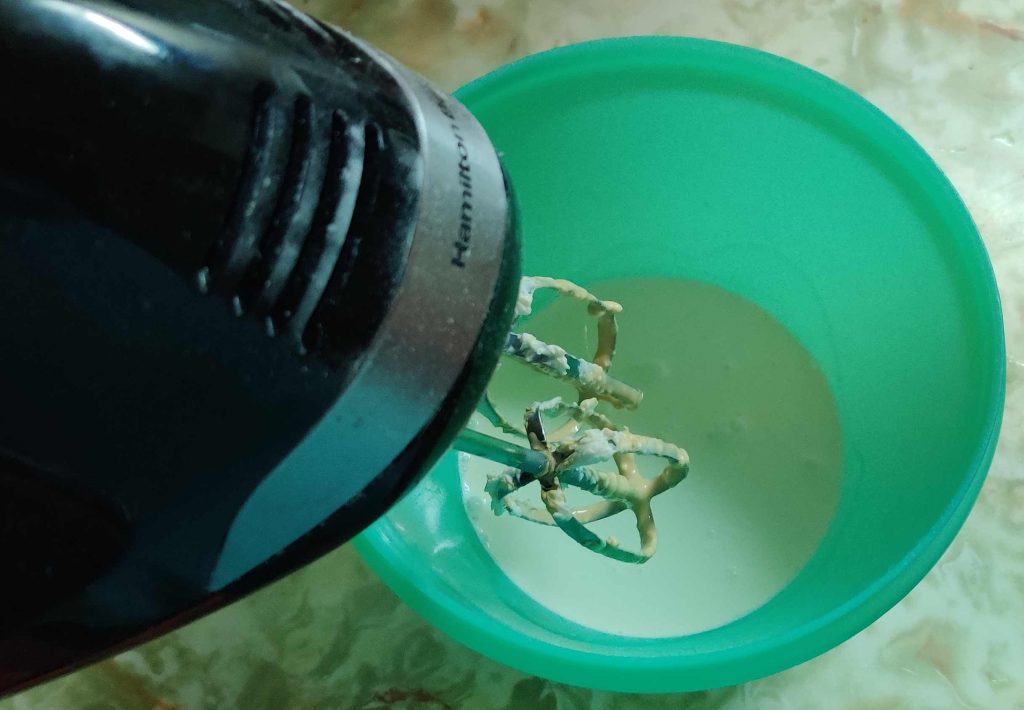
The electric beater was brought to the bowl with the whipping cream:

Electric beater brought to bowl

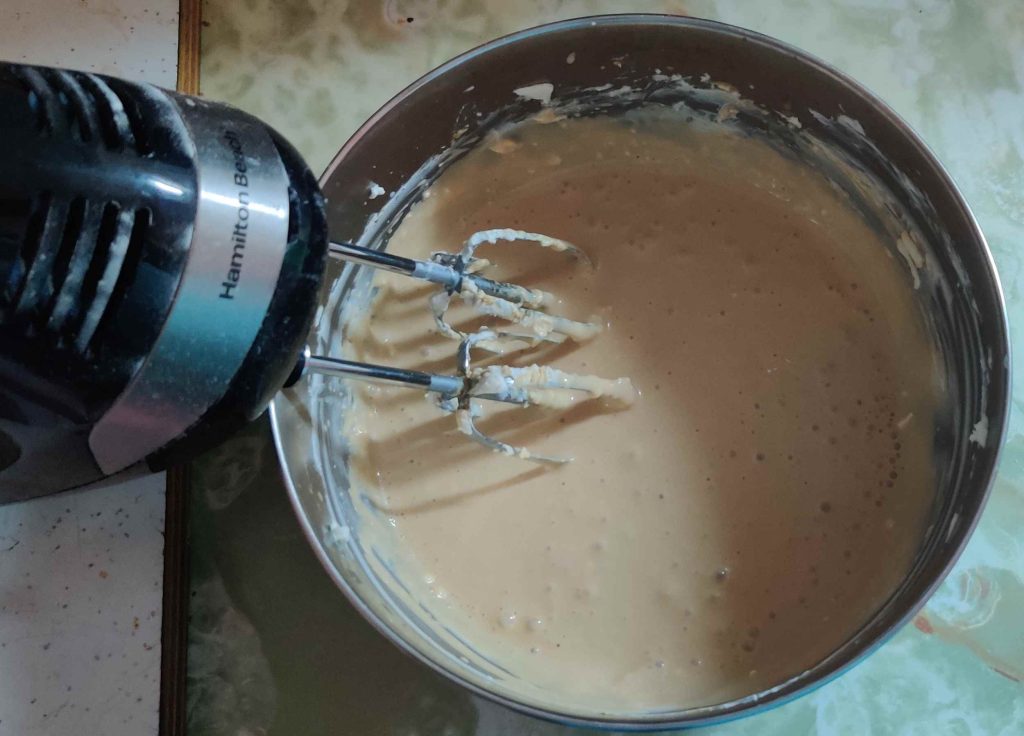
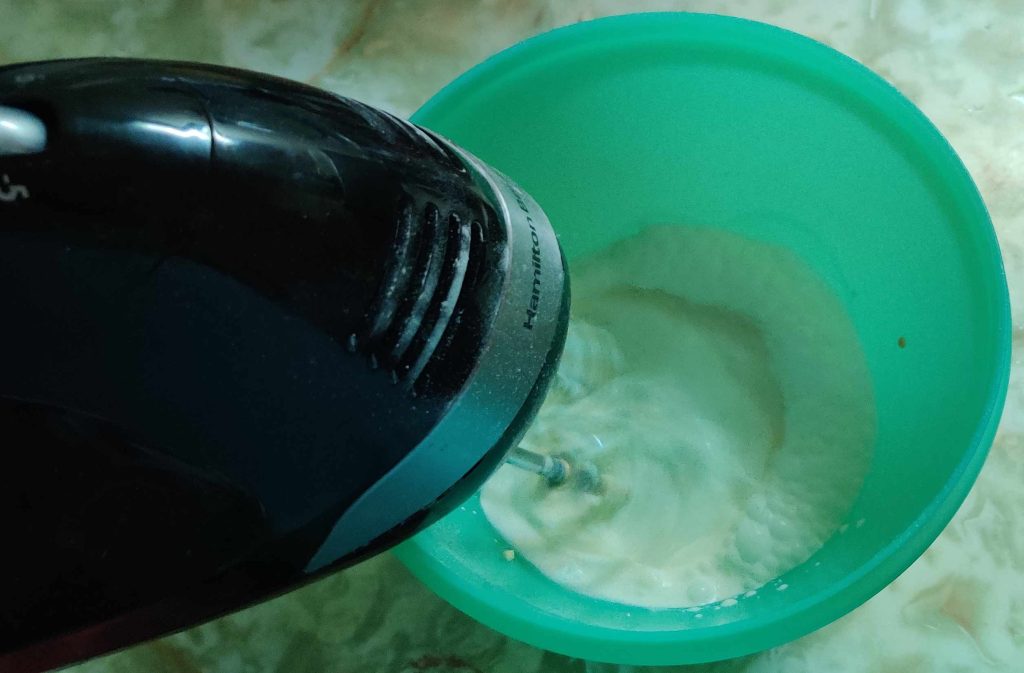
The whipping cream was whipped using the electric beater …

Whipping cream whipped with electric beater

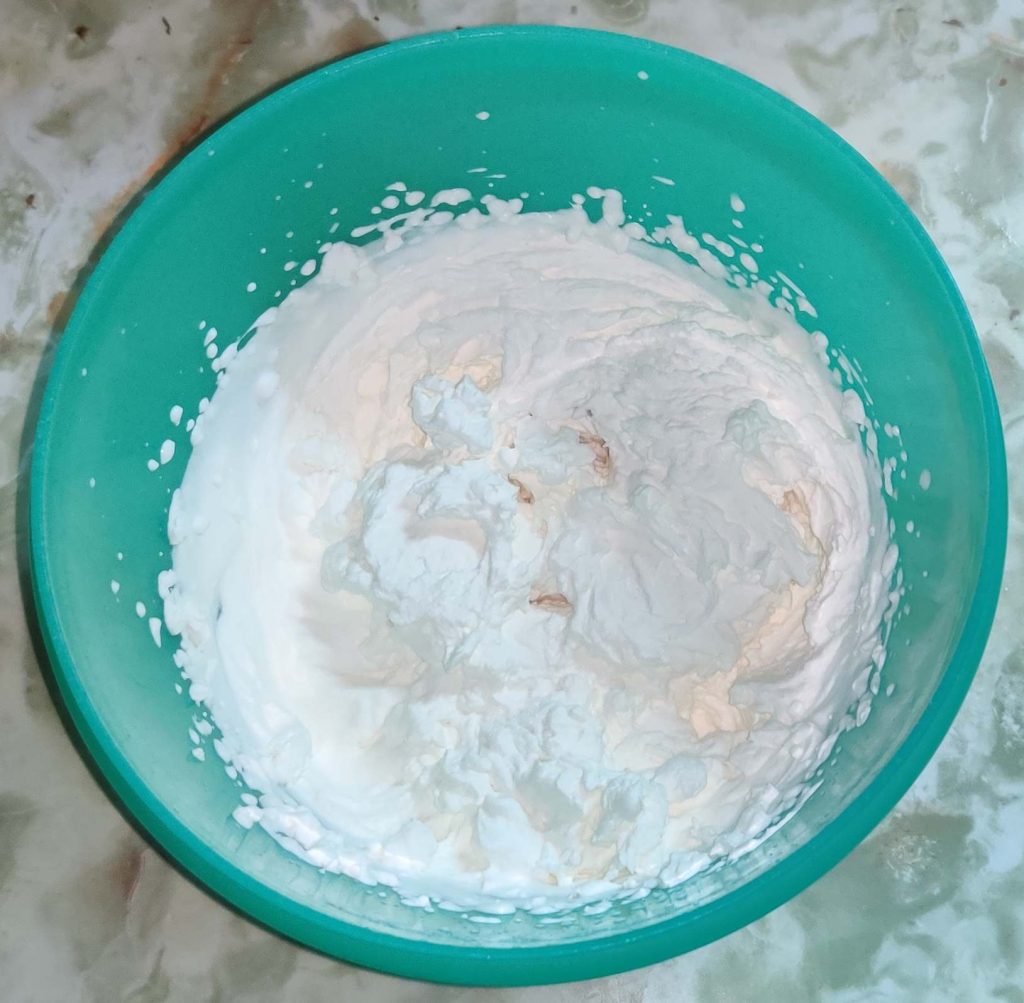
… until I had stiff peaks in the whipped cream:

Whipped cream with stiff peaks

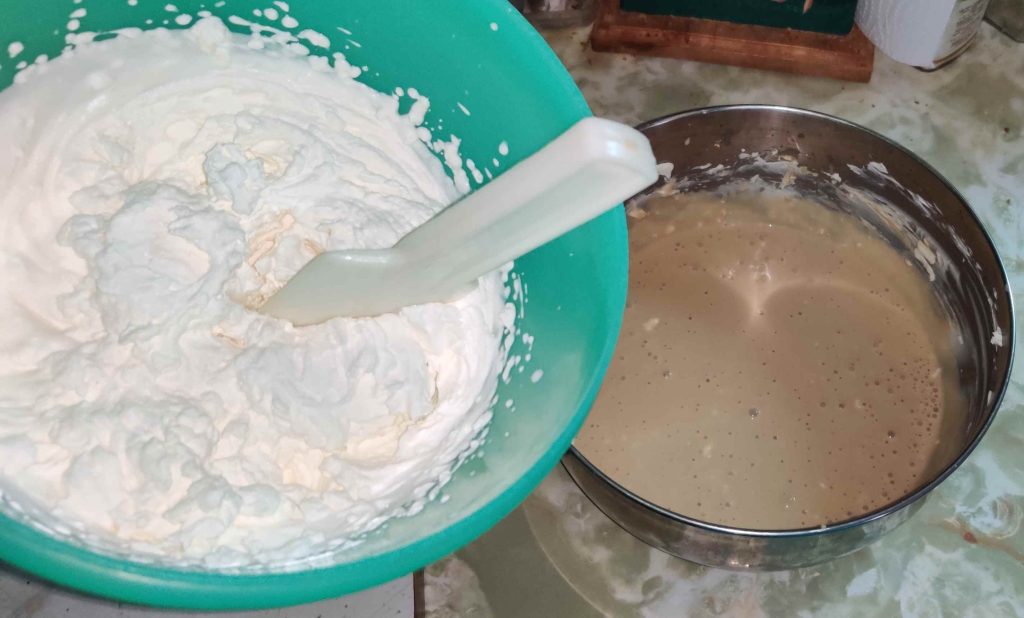
A bowl scraper / spatula was taken out, and the bowl of whipped cream brought over to the bowl with the cream cheese, milk, icing sugar, and coffee mixture:

Whipped cream brought over to cream cheese / coffee mixture

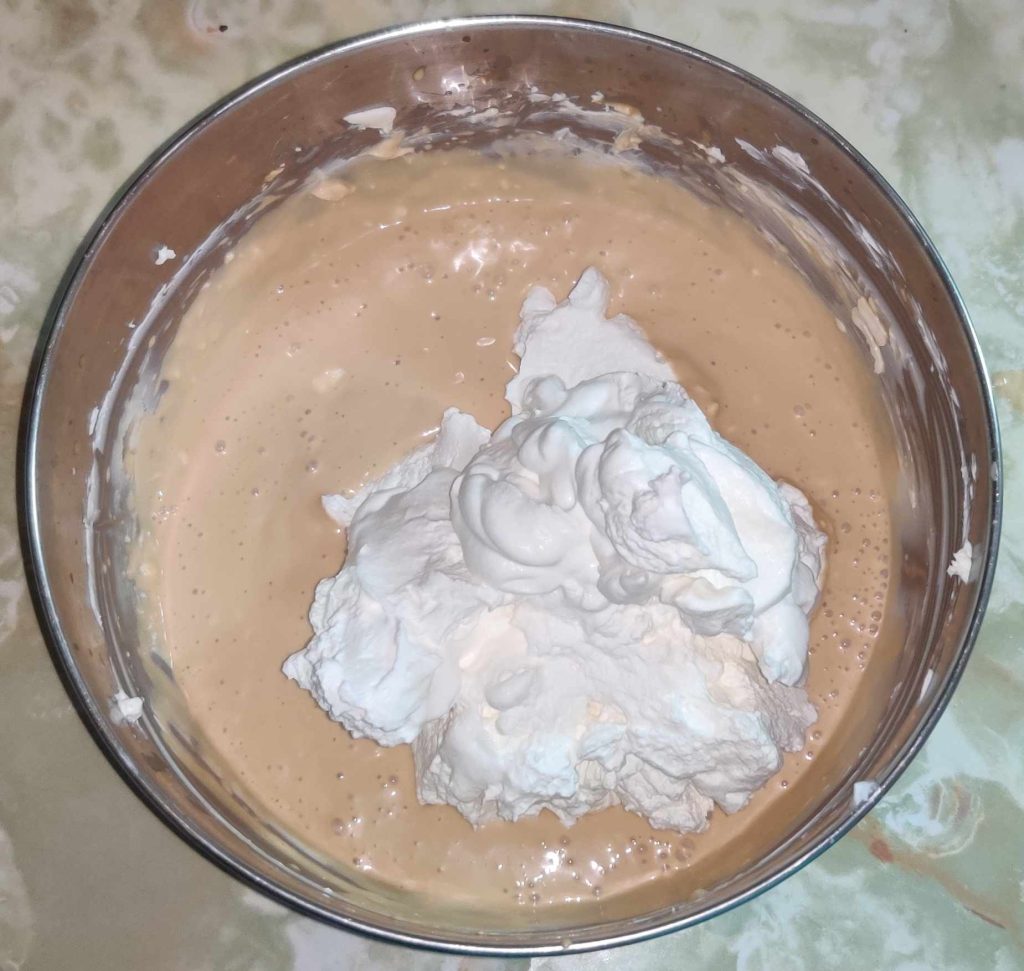
The whipped cream was transferred to the bowl with the cream cheese, milk, icing sugar, and coffee mixture:

Whipped cream added to cream cheese / coffee mixture

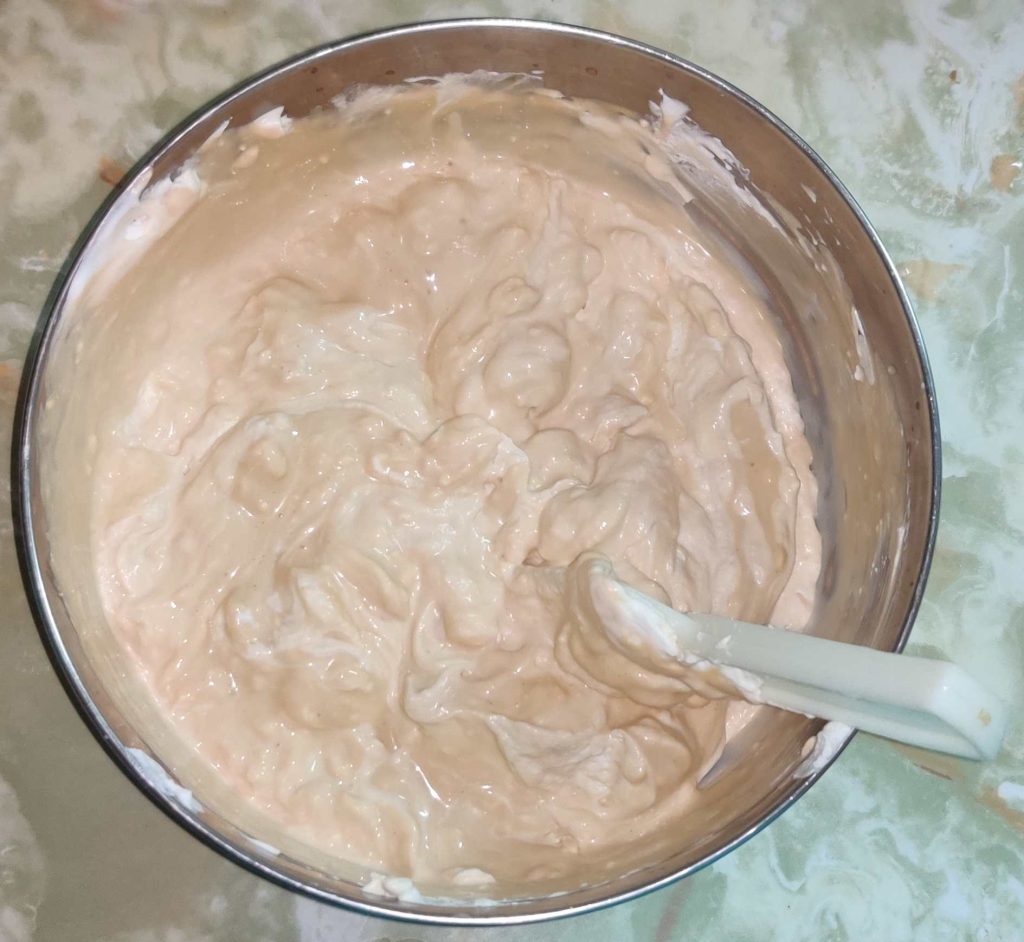
The whipped cream was gently folded into the cream cheese, milk, icing sugar, and coffee mixture, henceforth called the “coffee cream”:

Whipped cream folded into the coffee cream

The bowl of coffee cream was put aside again for a few moments.

At this point, the cooled loaf cake I baked earlier was taken out:

Cooled loaf cake

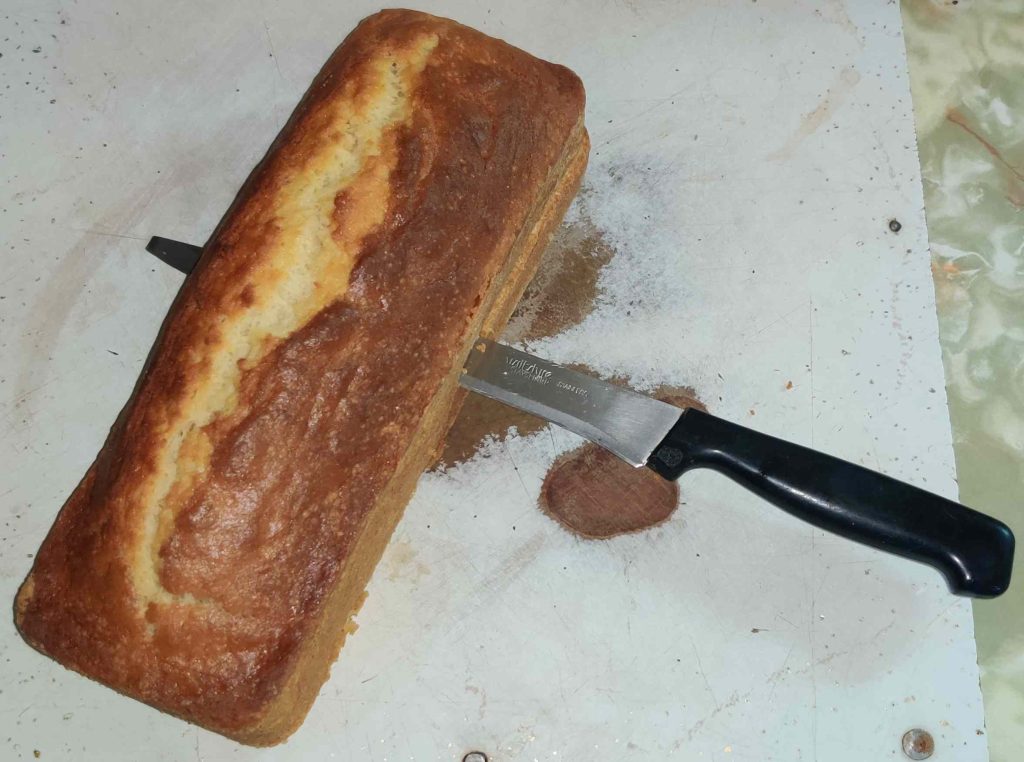
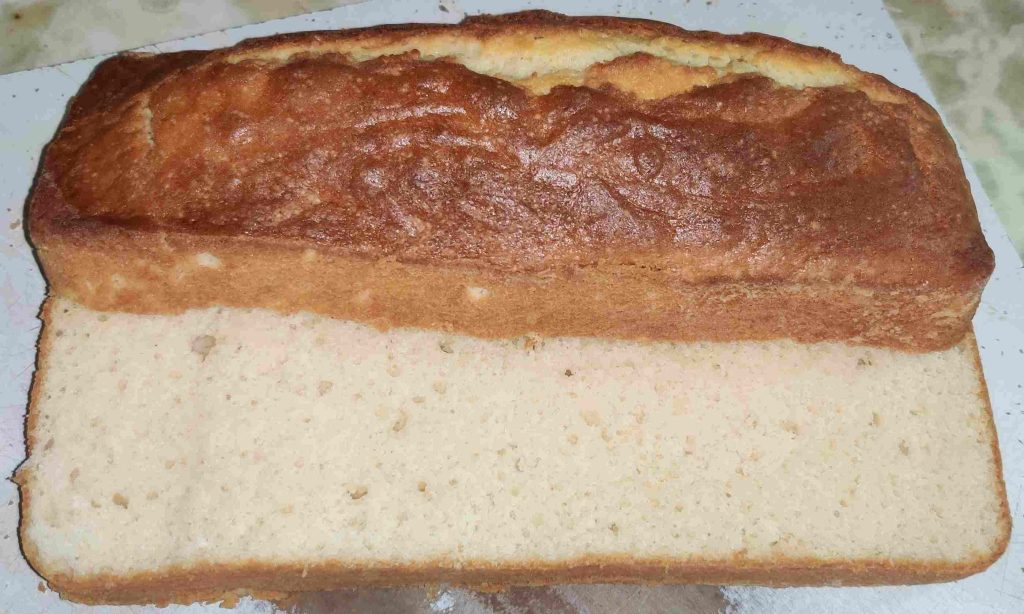
I sliced the loaf cake horizontally along its length with a sharp knife about an inch above its base:

Slicing loaf cake horizontally along its length
Loaf cake sliced horizontally along its length

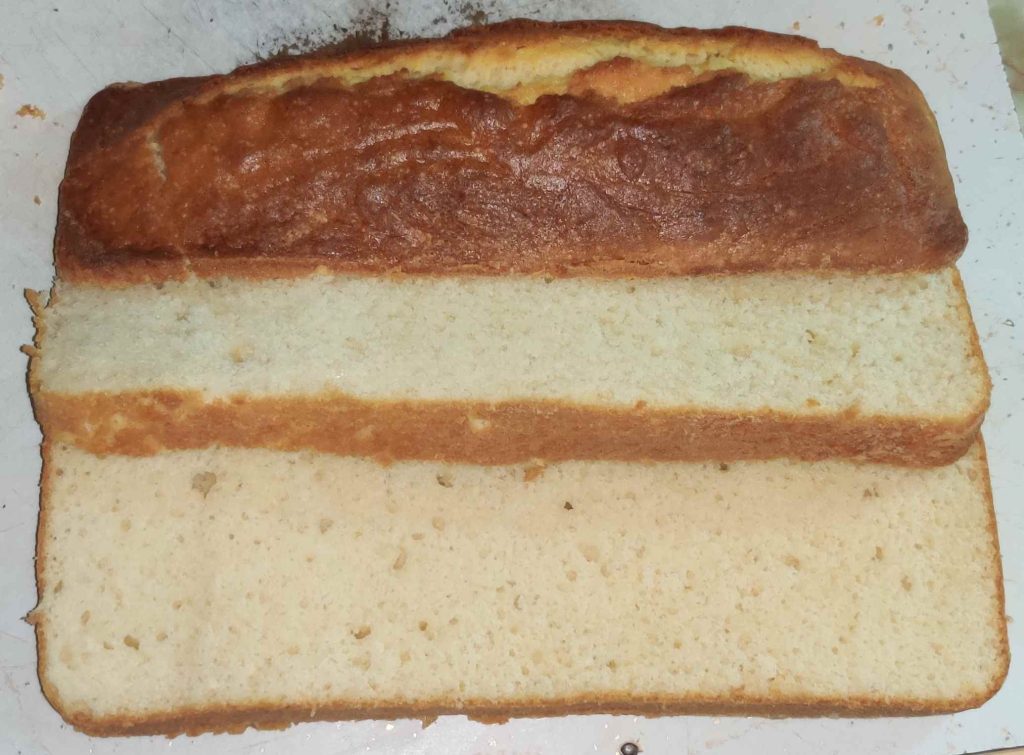
The loaf cake was sliced horizontally along its length again with the sharp knife, creating three layers of cake:

Loaf cake sliced horizontally along its length again

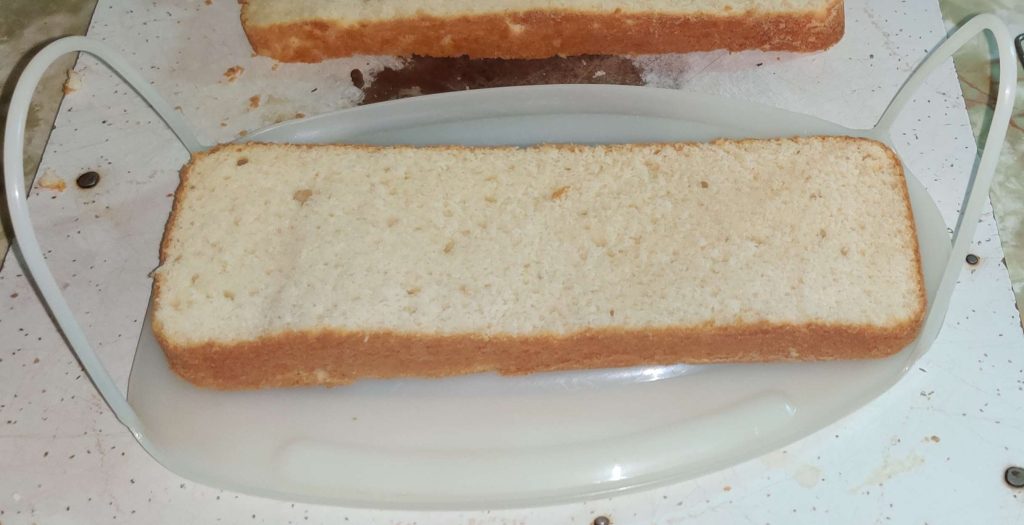
The base slice was placed onto a removable tray for a poultry / meat transport container (see below):

Base of cake placed on movable tray

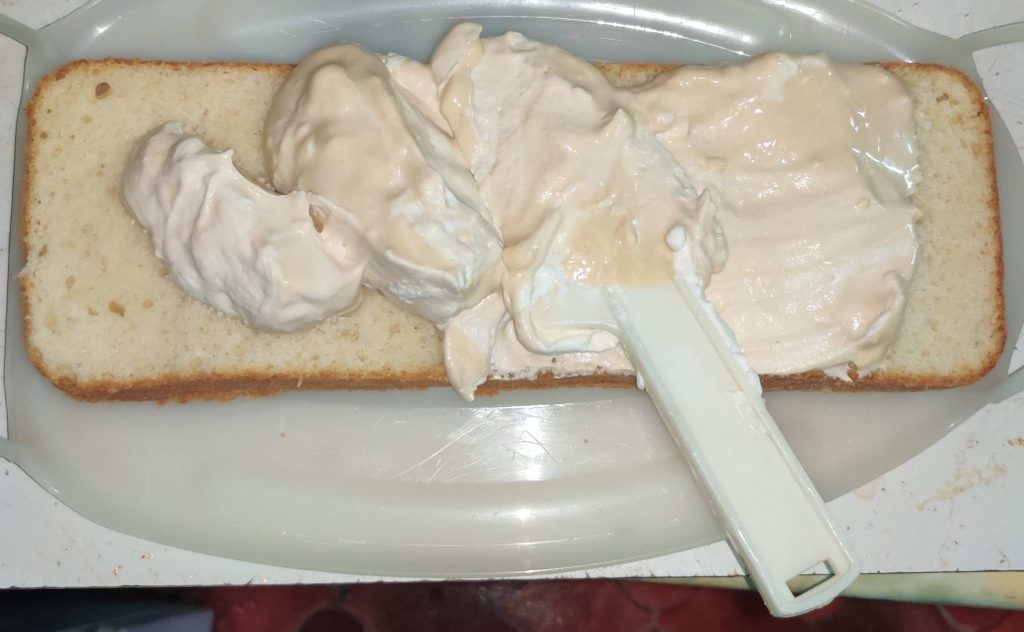
A layer of coffee cream was transferred to the sliced cake:

Coffee cream transferred to cake slice

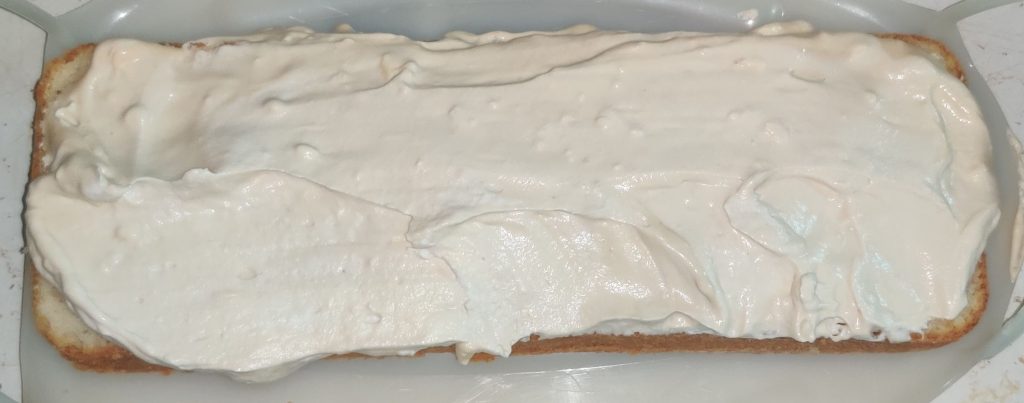
The coffee cream was spread over the whole surface of the cake slice:

Coffee cream spread over the slice of cake

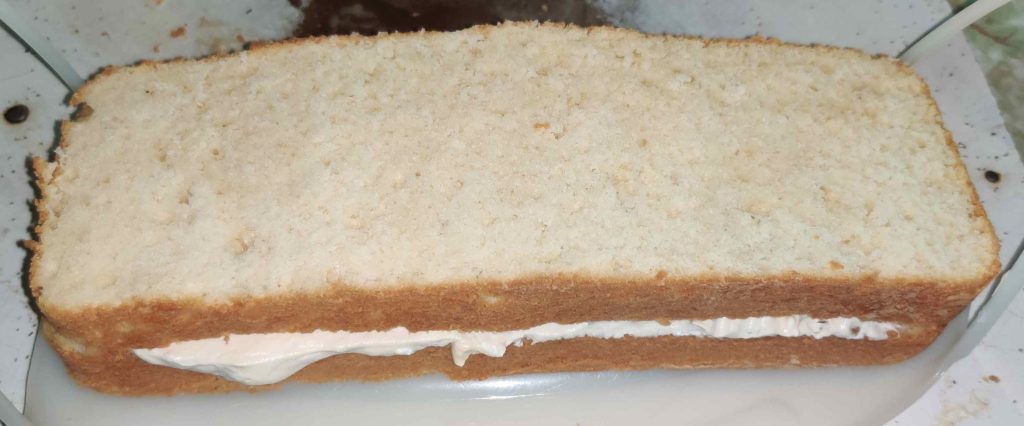
The middle slice of cake was placed on top of the coffee cream:

Middle slice of cake placed on top of the coffee cream

More coffee cream was transferred to the top of the middle slice of cake, and spread over the whole surface of the cake:

Coffee cream spread over middle slice of cake

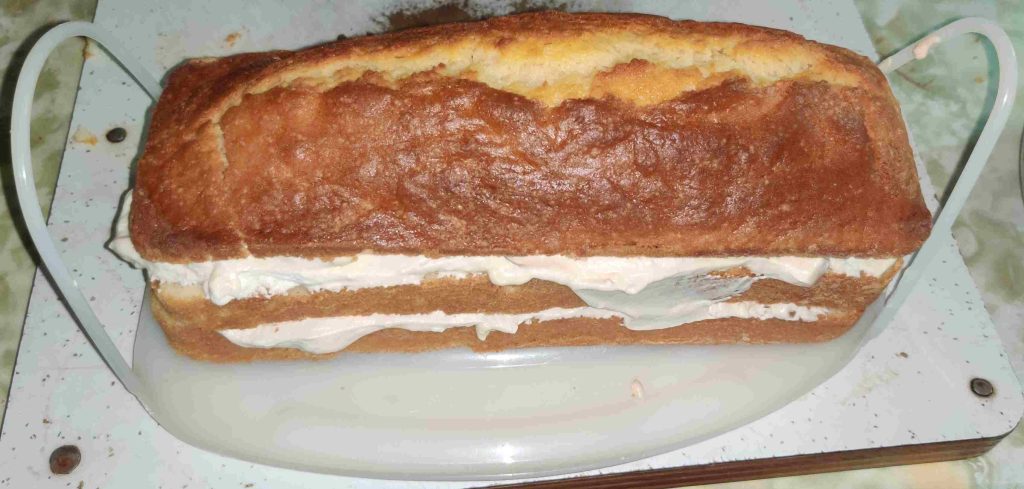
The top of the cake was placed on top of the coffee cream:

Top of cake placed over coffee cream

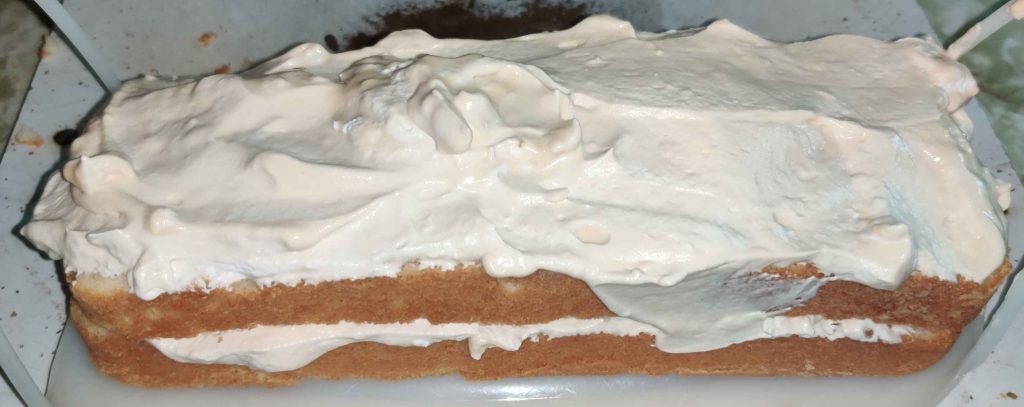
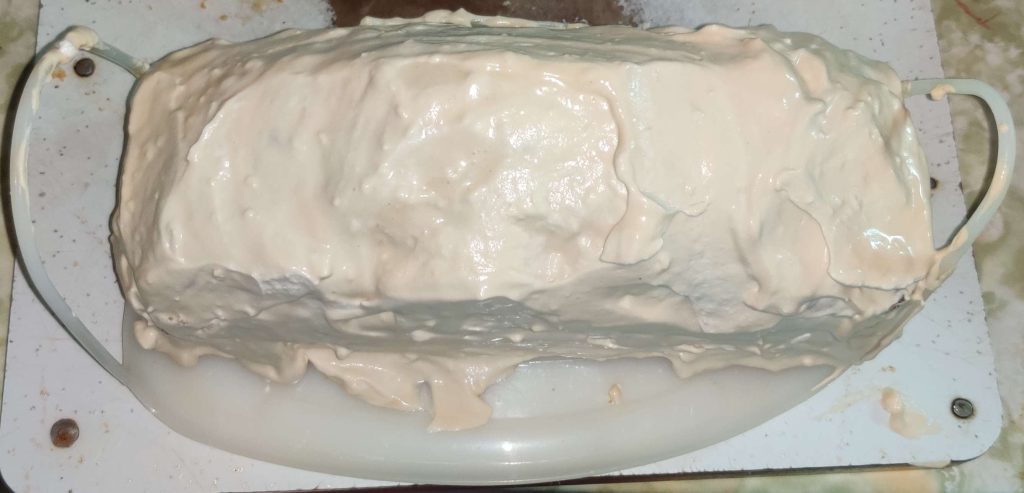
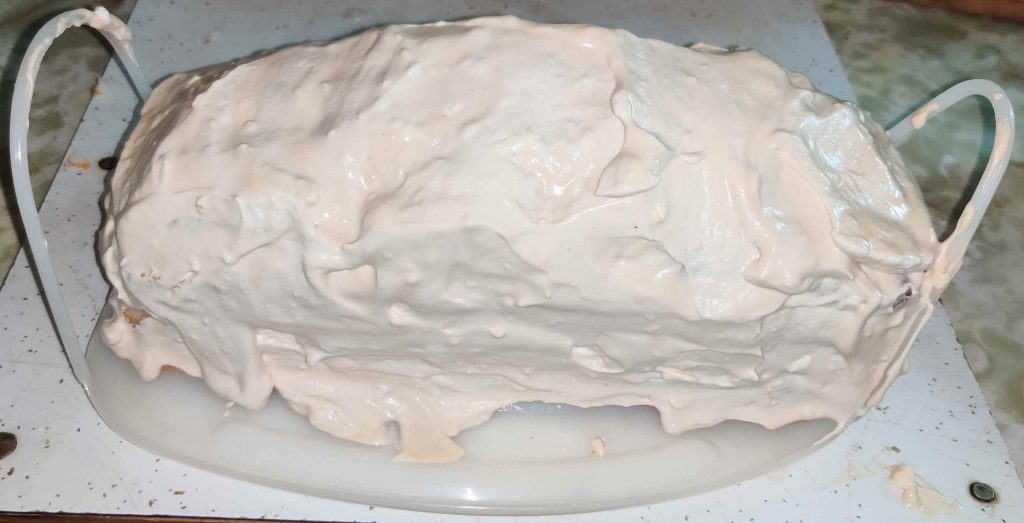
The rest of the coffee cream was transferred to the cake, and spread over all surfaces:

Balance of coffee cream spread over whole of cake, top view
Balance of coffee cream spread over whole of cake, side view

Here’s the empty bowl from the coffee cream:

Empty mixing bowl for coffee cream

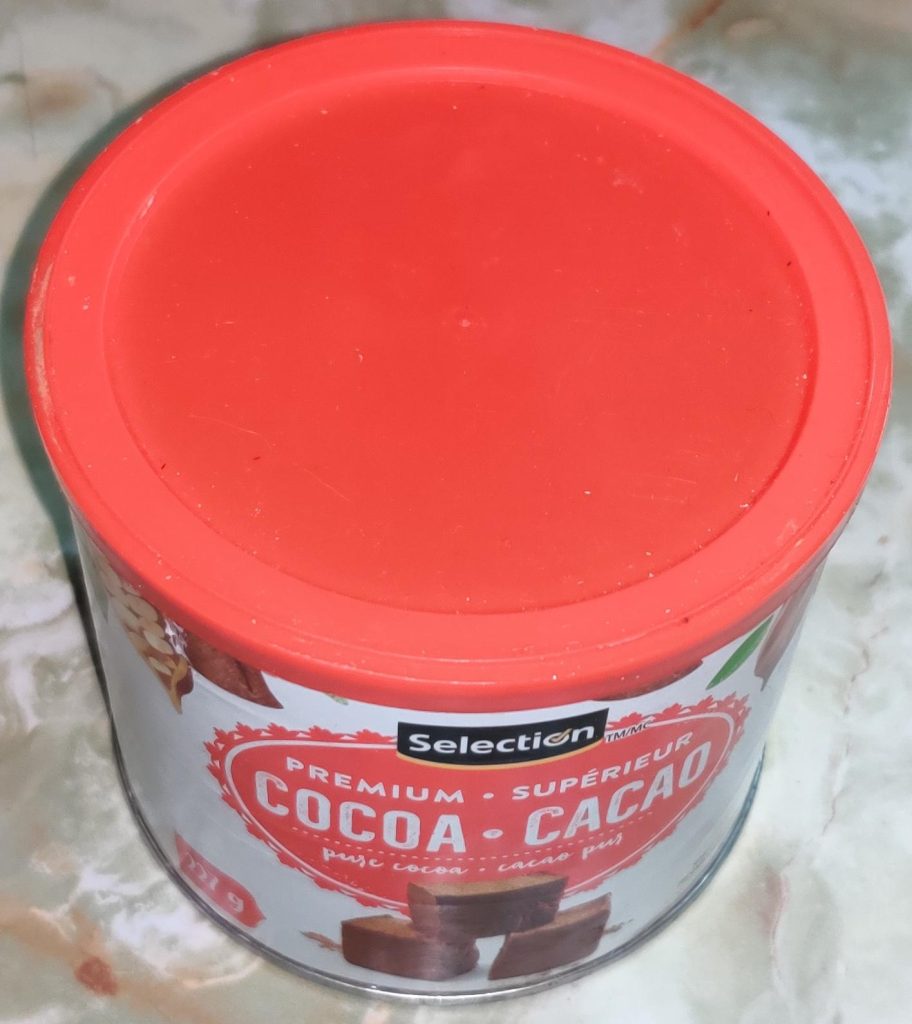
Cocoa taken out:

Cocoa taken out

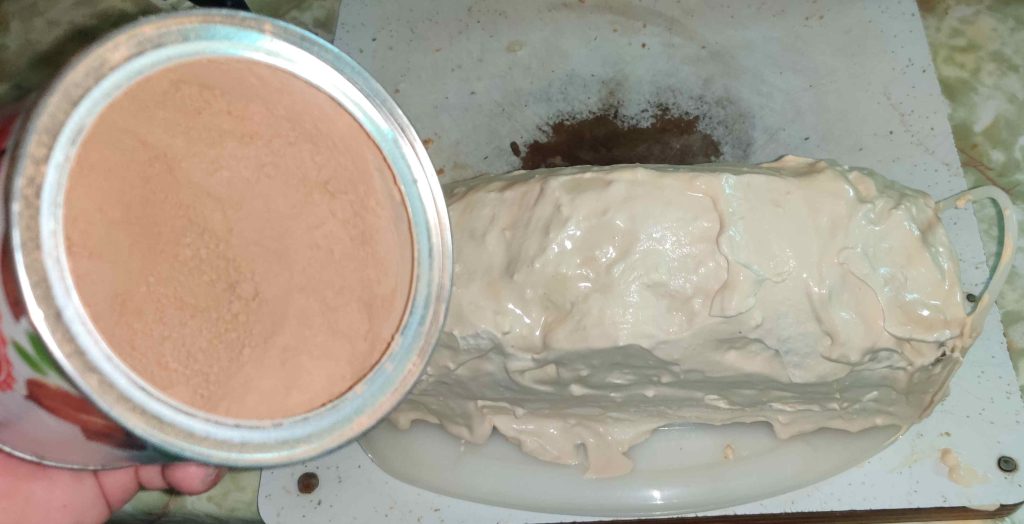
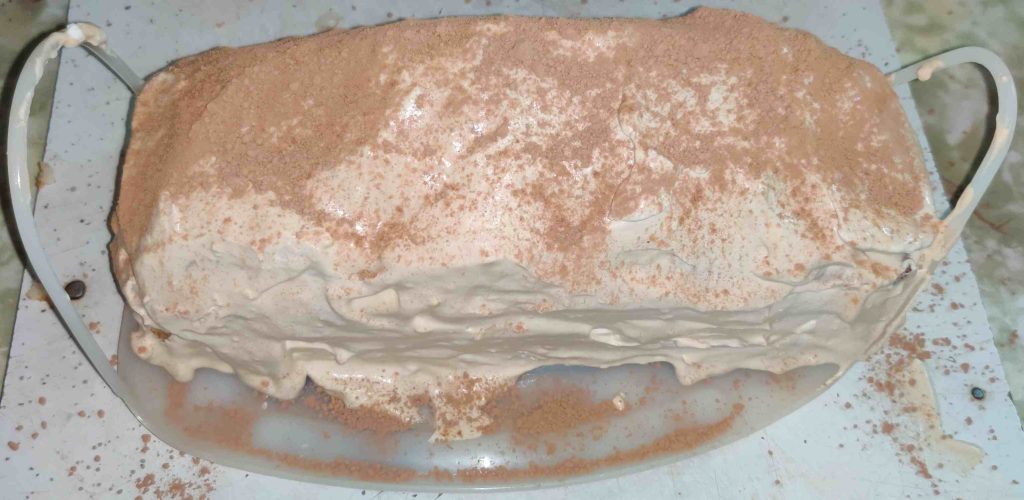
Cocoa powder sprinkled onto the cake directly from the container of cocoa:

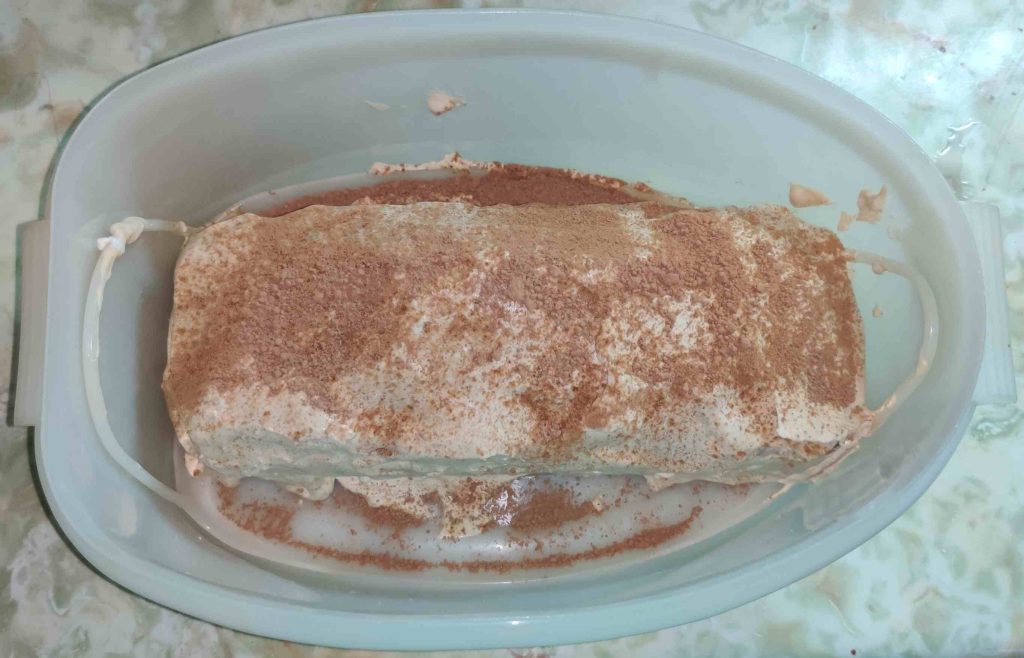
Cocoa sprinkled on cake

The cake and tray were lowered into the container:

Cake lowered into container

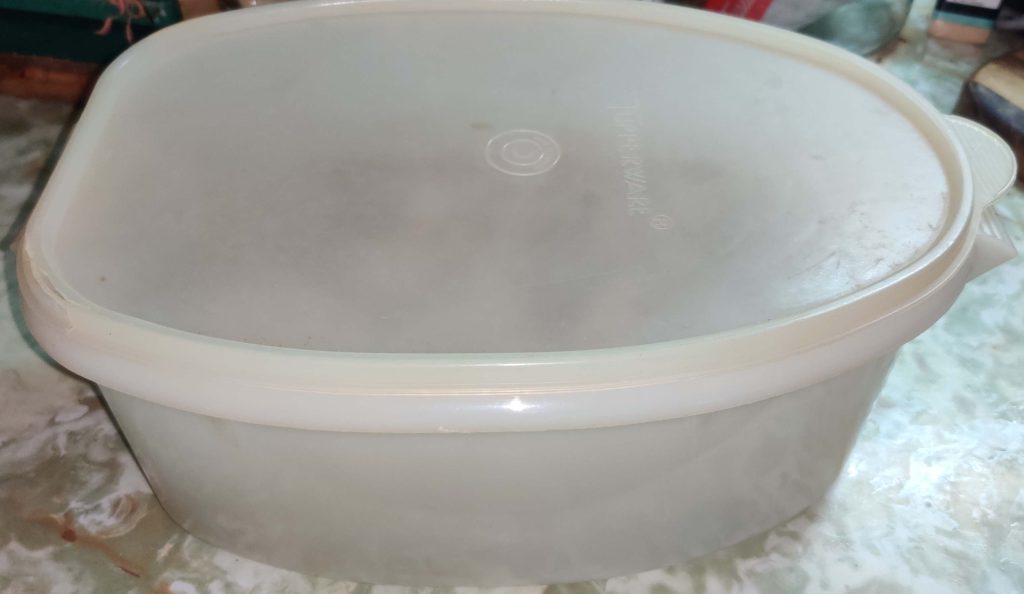
The lid was placed on the container with the cake:

Lid placed on container with cake

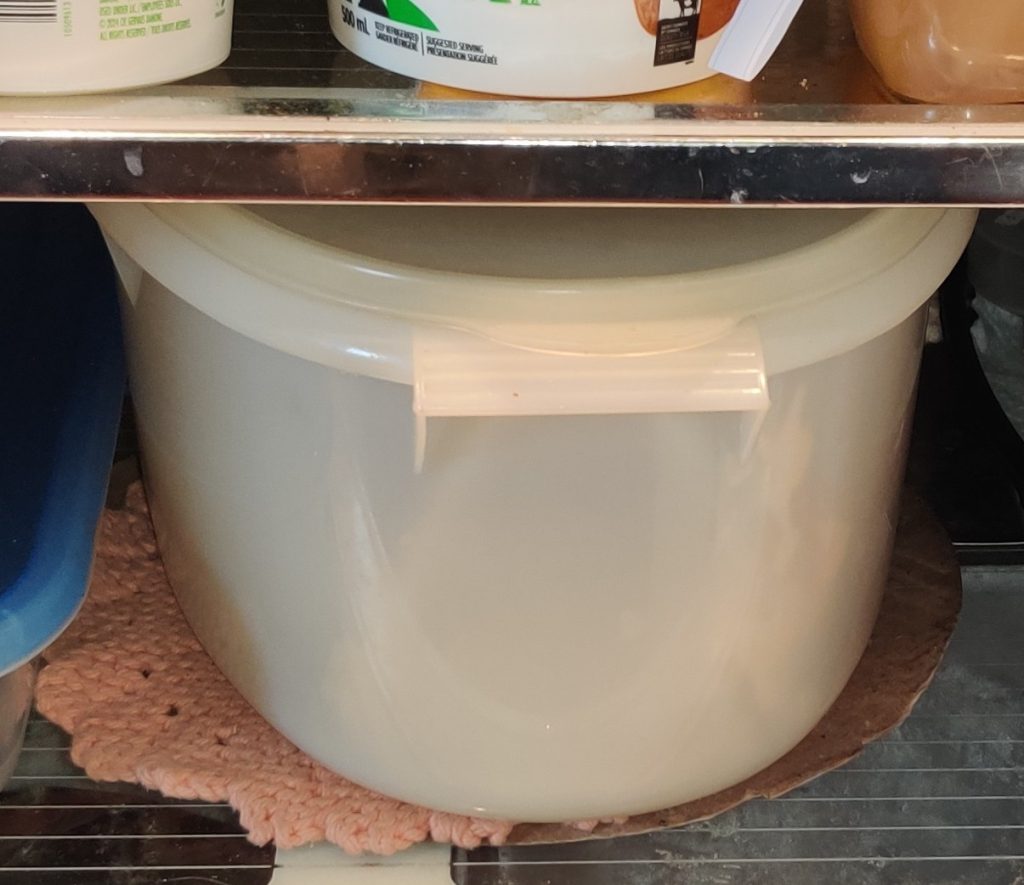
The cake was placed in the fridge to gel the coffee cream:

Cake in container placed in fridge

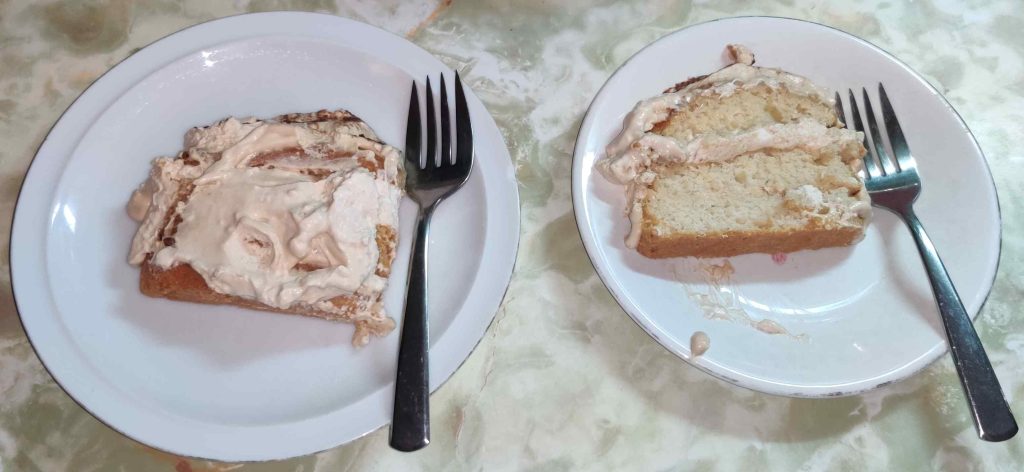
Later when the coffee cream had largely gelled in the fridge for a few hours, a couple of slices were cut off the cake, ready to be served for dessert!

Dessert is served!

Mom is over the moon with this cake, effectively having declared it her new favourite dessert!

(And, I’ve been asked to bring it to the next church potluck I attend, along with my pulled pork!)