goat cheese omelettes, which is effectively an evolution of the ham and cheese omelettes I used to make for Mom; I started making goat cheese omelettes after Mom preferred a goat cheese omelette my brother bought for her at a high-end pastry shop and bakery;
goat cheese muffins, an addition (developed at my mom’s behest, after having one of my goat cheese omelettes) to my growing collection of muffin recipes that I serve to my mom, to cater to her evolving tastes;
chocolate buttercrunch (“English Toffee”); along with among other things generally updating the recipe text, a section was added stressing the importance of and outlining the mise-en-place(here’s my archive) that I find to be crucial to this recipe (as in, “of course mise-en-place is always a good practice and a good idea and really helpful when cooking, however in the case of this recipe, mise-en-place is essential to the success of, and simply, the execution of this recipe“);
plain cake, mostly adding for the addition of the optional use of fruit and stewed fruit, the use of either a loaf pan or a square cake pan, and allowing for the distinction between the use of either the “old fashioned” greasing and flouring of the pan method and the parchment paper method;
chocolate chip cookie dough cheesecake squares, mostly for minor turns of phrase, as well as any updates I may or may not have done (oops bad memory, it’s been a while!) since the previous version;
shortbread cookies, again mostly for minor turns of phrase, as well as dividing some “multi-step” instructions, and fleshing out a number of implied steps (call my recipe style ridiculously verbose and overly detailed … in order to … live up to a lessonlearned at a computer conference I attended in 2011. 🙂 )
20260105 updated: The recipe for roast potatoes was updated yesterday.
Happy cooking!
PS: as a personal reference, I have made seven batches of chocolate buttercrunch — representing 3-1/2 pounds of butter, over 4-1/2 pounds of chocolate, over 3-3/4 pounds of sugar, and over 200mL of maple syrup — over the past roughly two weeks, to plan for Christmas giveaways. That’s about 90 to 91 bags of 60g of crunch each!
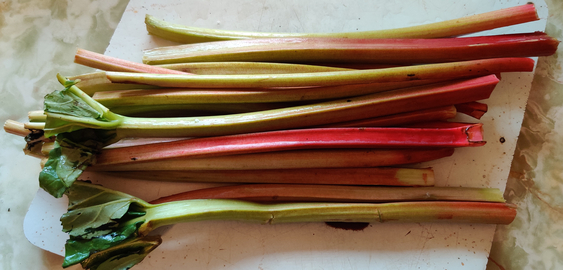
I picked up making stewed rhubarb because my mom always liked using the rhubarb grown in her garden to make stewed rhubarb and rhubarb chutney. (Ironically, for this post, and often enough, I use rhubarb purchased from the grocery store!)
Note that this recipe effectively needs to be done over two days, or at least with a pause of several hours (roughly equivalent to a minimum of “overnight” ) between preparing the rhubarb, and beginning to stew the rhurbarb.
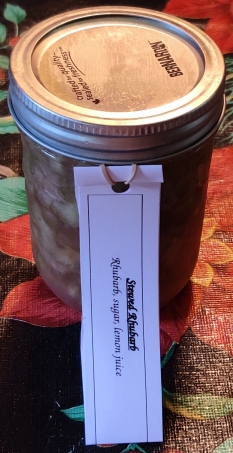
Note that I also am using the “packing in mason jars and heat-processing” method to preserve the stewed rhubarb, and to allow for the making of larger amounts of stewed rhubarb at once; once the heat-processed jars have cooled, the stewed rhubarb is ready to eat.
Making the Stewed Rhubarb:
Day one:
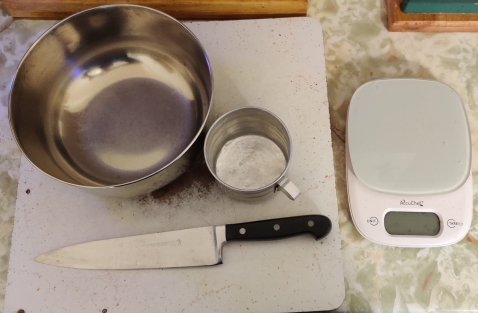
After buying some rhubarb at the grocery store, some mise-en-place was done by taking out a cutting board, a mixing bowl, a measuring cup, a kitchen knife, and a kitchen scale:
Cutting board, mixing bowl, measuring cup, kitchen knife, and kitchen scale taken out
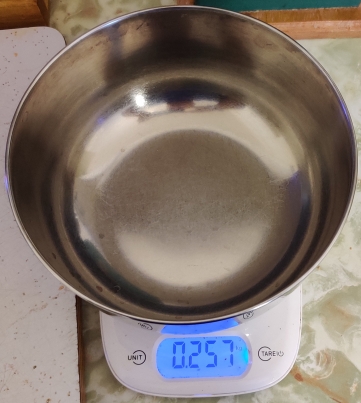
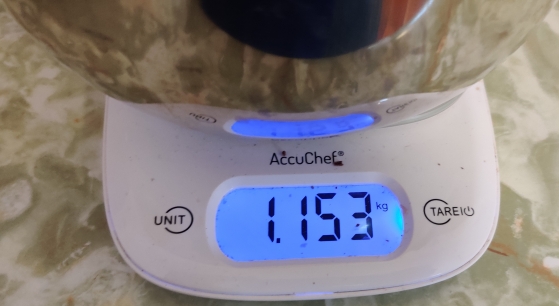
To avoid confusion a bit later on, the tare weight of the mixing bowl was measured and noted (instead of using the tare function on the kitchen scale):
Tare weight of bowl measured
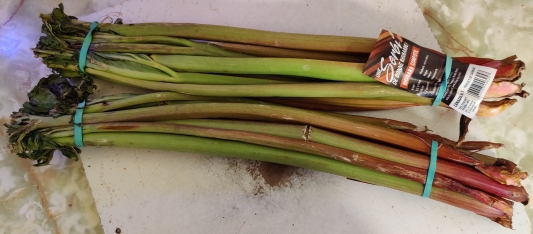
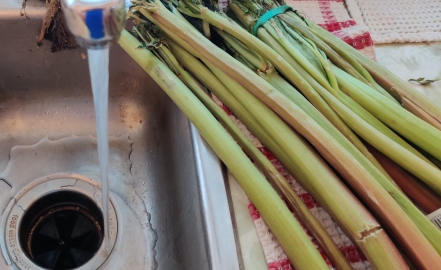
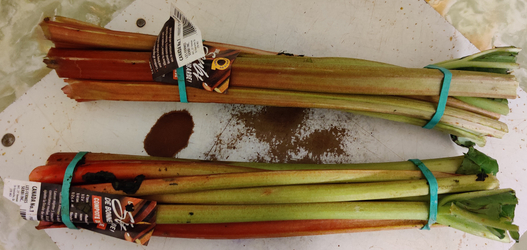
The rhubarb purchased earlier was taken out (yes, it is a bit shabby!)
Rhubarb taken out
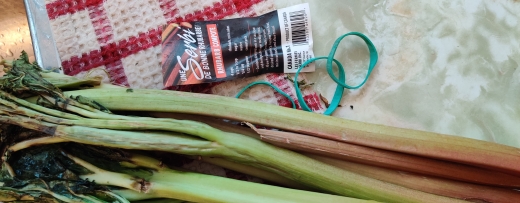
The elastics and labels were removed from the rhubarb bunches:
Elastics and labels removed
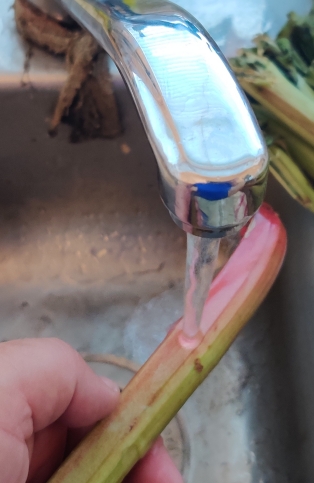
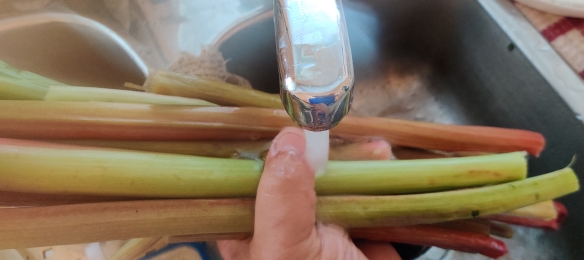
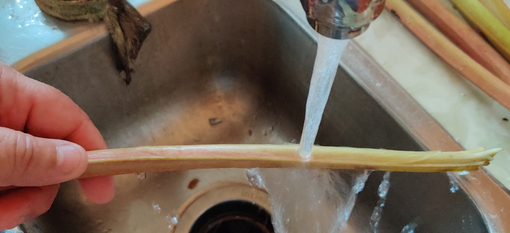
I began to wash and rinse the rhubarb:
Washing and rinsing rhubarb
Washing and rinsing rhubarb
The rinsed rhubarb stalks were brought to the cutting board:
Rhubarb brought to cutting board
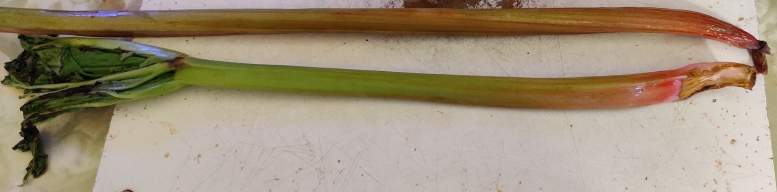
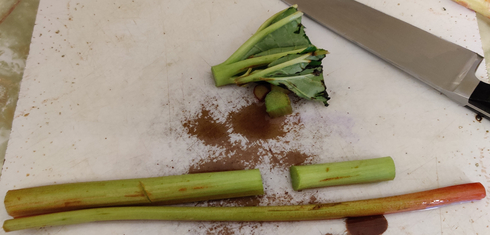
The rhubarb stalks were trimmed:
Trimming rhubarb stalks
Trimming rhubarb stalks
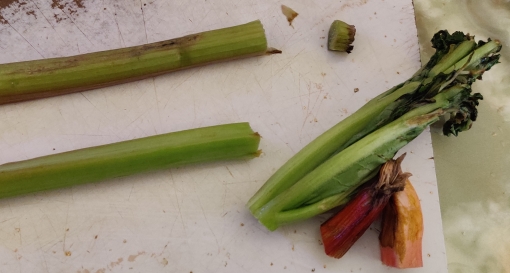
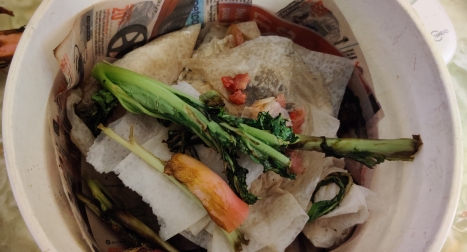
The trimmings were placed in a kitchen waste bucket for later disposal in a municipal composting programme:
Trimmings placed in bucket for composting
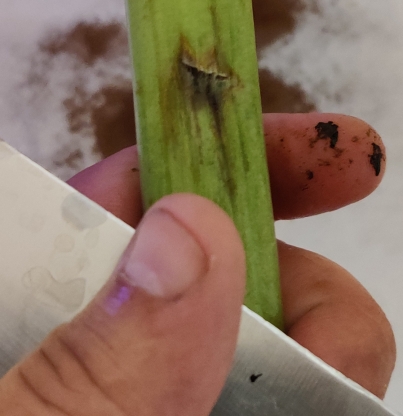
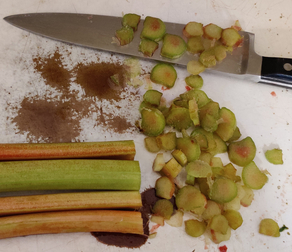
If the rhubarb isn’t completely fresh, or especially typical (in my experience) for commercial rhubarb purchased at the grocery store, sometimes there is some minor damage to the stalks to be removed:
Stalk damage to be removed
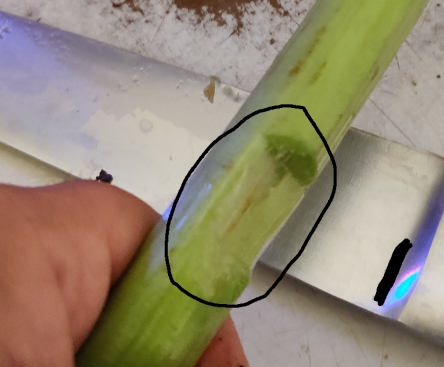
The stalk damage was removed (and while my name can be found on my — this — website in several places, I have blacked it out from my knife, on which I had inscribed my name years ago):
Stalk damage removed
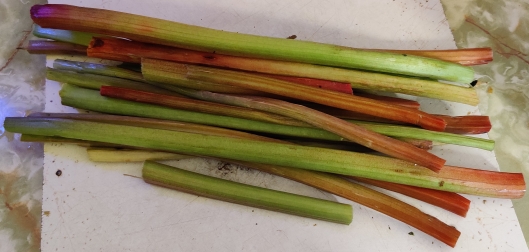
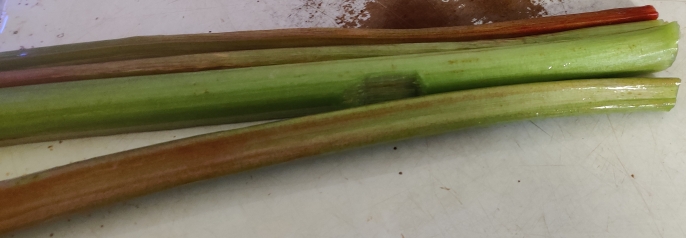
The trimmed rhubarb stalks were piled up …
Trimmed rhubarb
… and the rhubarb stalks were rinsed again to remove the last of the bits:
Rhubarb rinsed again
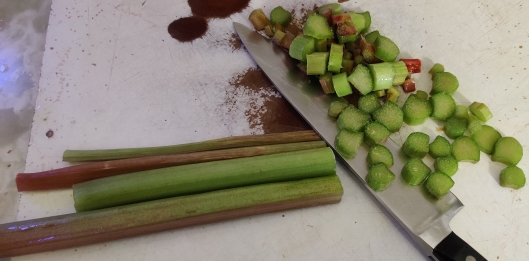
Some stalks were laid on the cutting board for chopping:
Rhubarb laid out for chopping
The rhubarb stalks were chopped using a slicing motion against the grain:
Rhubarb chopped
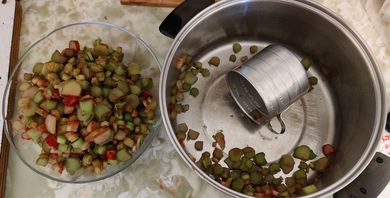
As chopped rhubarb started piling up on the chopping board, it was transferred to the mixing bowl:
Chopped rhubarb transferred to mixing bowl
The rest of the rhubarb was chopped, and transferred to the mixing bowl as it was produced:
Chopped rhubarb transferred to mixing bowl
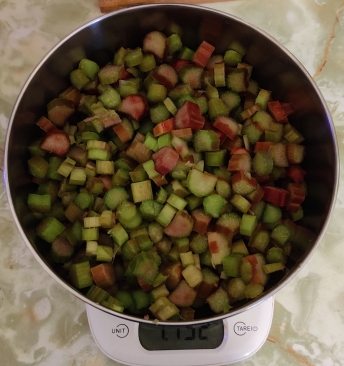
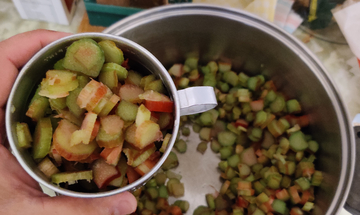
The bowl of chopped rhubarb was placed on the kitchen scale and weighed:
Chopped rhubarb weighed
The weight was noted, to be used in a moment:
Chopped rhubarb weighed
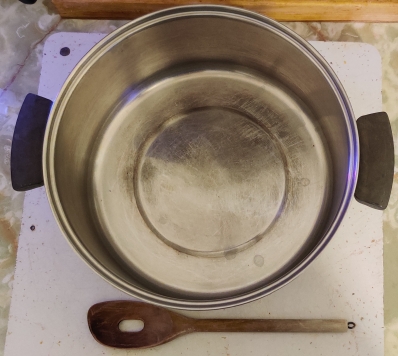
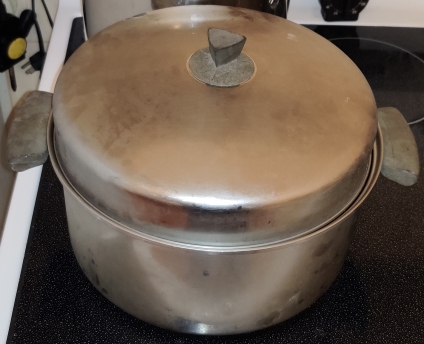
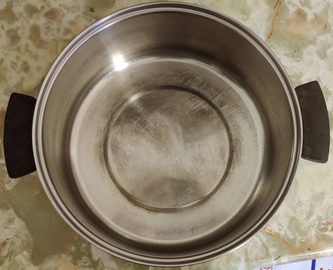
A large pot and wooden mixing spoon were taken out:
Pot and wooden spoon taken out
The chopped rhubarb was transferred to the pot:
Chopped rhubarb transferred to pot
Chopped rhubarb transferred to pot
A calculator app was started, and the net weight of chopped rhubarb was calculated by subtracting the bowl tare weight from the weight of the bowl filled with the chopped rhubarb:
Net weight of chopped rhubarb calculated
Since my recipe is based on the Imperial system, the weight of 0.895kg (above) was converted to pounds, giving a result just barely shy of two pounds of chopped rhubarb:
Rhubarb weight converted to pounds
Next, a multiplication factor for how many “recipe units” was calculated by dividing the weight of the chopped rhubarb by the base amount of three quarters of a pound:
Multiplication factor calculated
The multiplication factor was multiplied by the required amount of sugar and lemon juice for per “recipe unit” of 3/4 lb of chopped rhubarb: Half a cup of sugar, and half an ounce of lemon juice, resulting in 1-1/3 cups of sugar, and 1-1/3 ounces of lemon juice:
Multiplication factor applied to sugar and lemon juice required
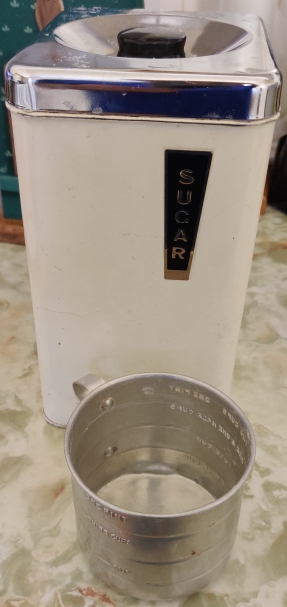
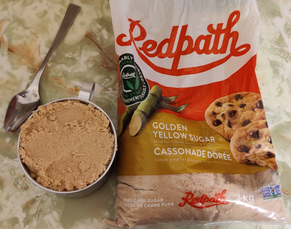
Sugar and a measuring cup were taken out:
Sugar and measuring cup taken out
Measures on measuring cup
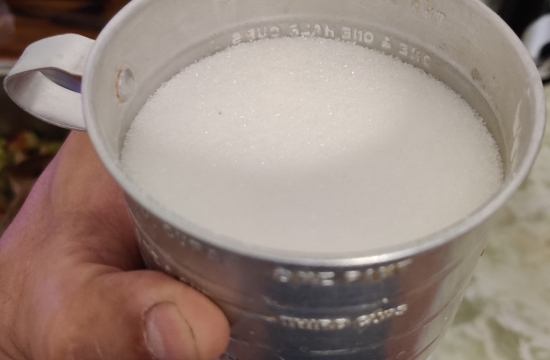
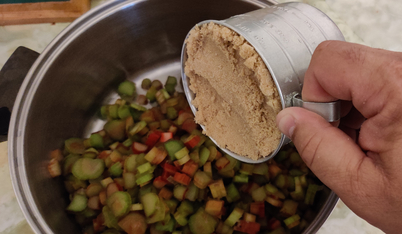
Sugar was measured out:
Sugar measured out
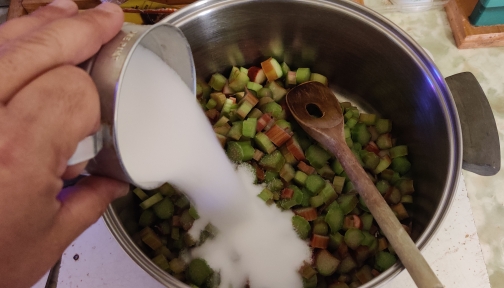
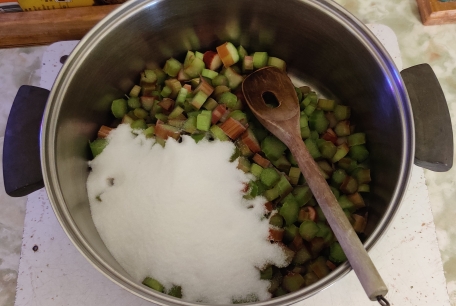
The sugar was poured onto the chopped rhubarb:
Sugar poured into pot of chopped rhubarb
Sugar poured into pot of chopped rhubarb
The chopped rhubarb and sugar were mixed with the wooden spoon:
Chopped rhubarb and sugar mixed
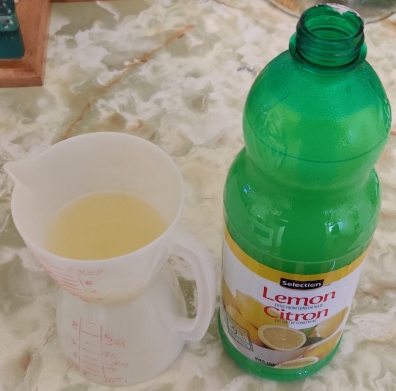
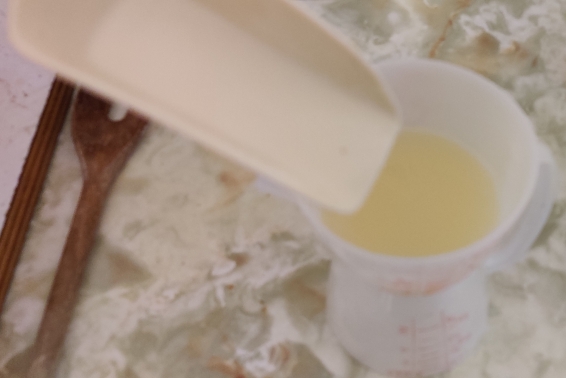
Lemon juice was measured out:
Lemon juice measured out
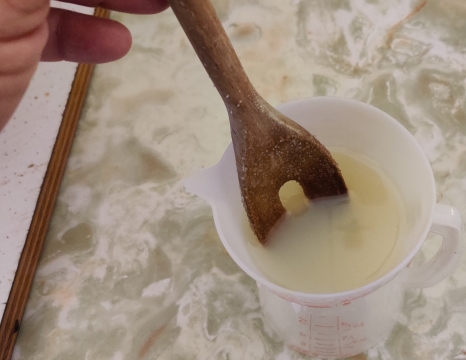
Extra sugar was added to the lemon juice:
Extra sugar added to lemon juice
The lemon juice and extra sugar were mixed:
Lemon juice and extra sugar mixed
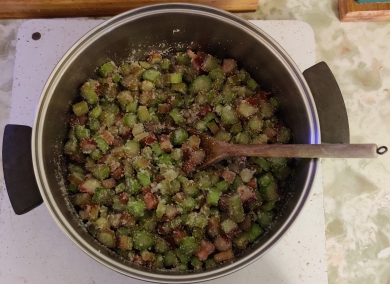
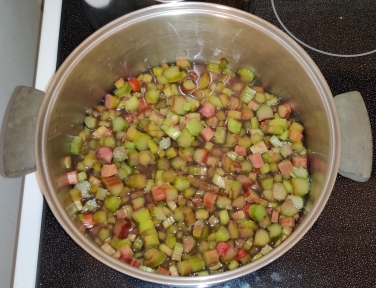
The lemon juice and sugar mix were added to the chopped rhubarb and sugar:
Lemon juice and sugar added to chopped rhubarb and sugar
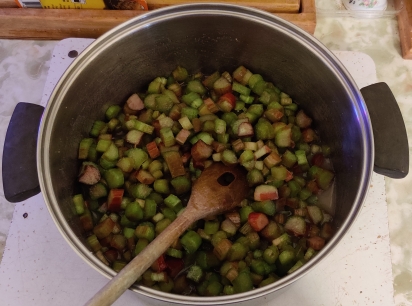
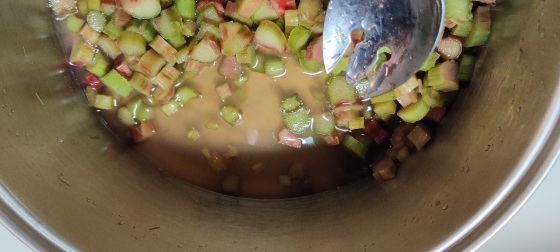
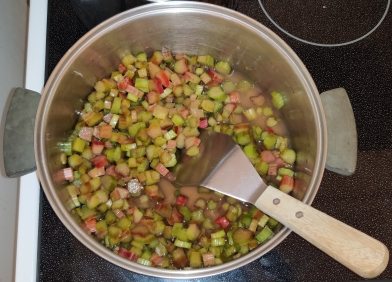
The chopped rhubarb, sugar, and lemon juice were mixed some more:
Chopped rhubarb, sugar, and lemon juice mixed
Chopped rhubarb, sugar, and lemon juice mixed
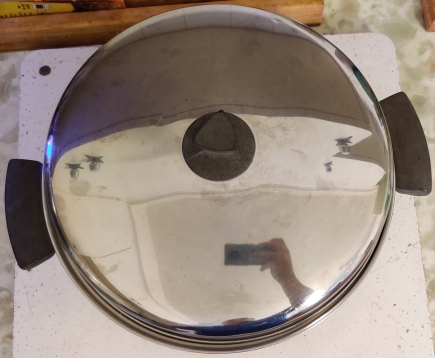
A lid was placed on the pot of rhubarb, sugar, and lemon juice:
Lid placed on pot of chopped rhubarb mix
The pot of chopped rhubarb, sugar, and lemon juice was placed in a fridge overnight:
Pot of chopped rhubarb mix placed in fridge
Day two:
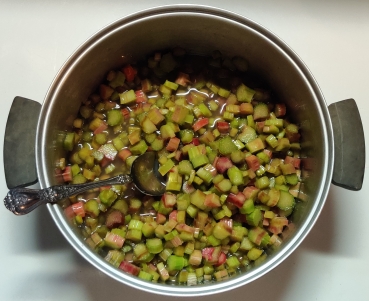
Early the next morning, I checked on the pot of chopped rhubarb:
Pot of chopped rhubarb checked
As can be sort of be seen above and better in the following photo, a good amount of liquid had been drawn by the sugar from the pieces of chopped rhubarb:
Liquid drawn from chopped rhubarb
The chopped rhubarb was mixed again with a spoon:
Chopped rhubarb mixed
The pot of chopped rhubarb was returned to the fridge until later that evening (after coming home from work.)
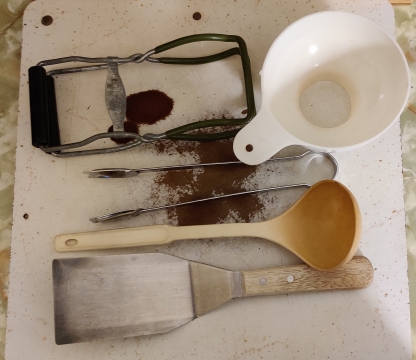
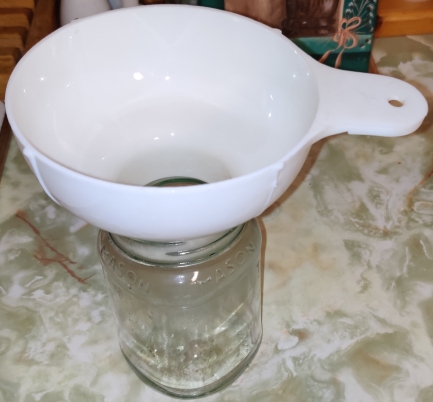
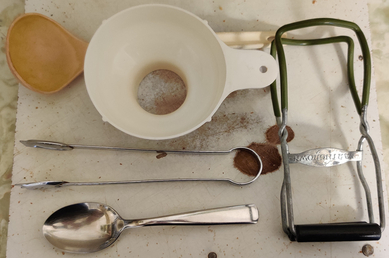
That evening, a jar wrench, a jar funnel, tongs, a ladle, and a stainless steel flipper were taken out:
Jar wrench, jar funnel, tongs, ladle, and stainless steel flipper taken out
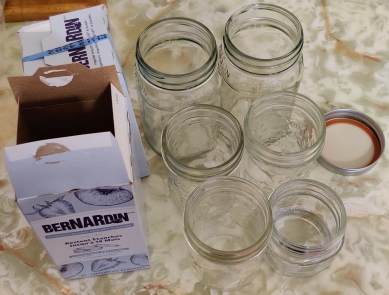
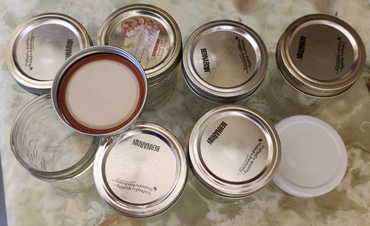
Mason jars, a few more than I expected to need, and new lids and lid rings, were taken out, but kept aside for the moment:
Mason jars and lids taken out
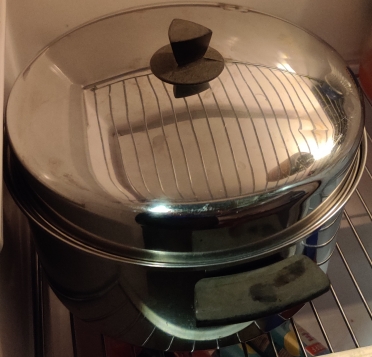
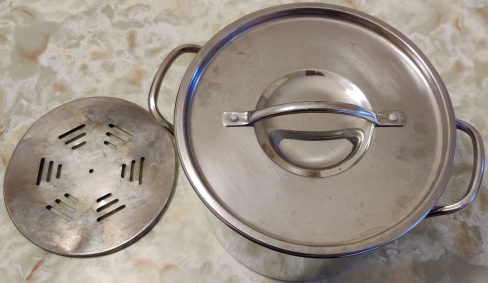
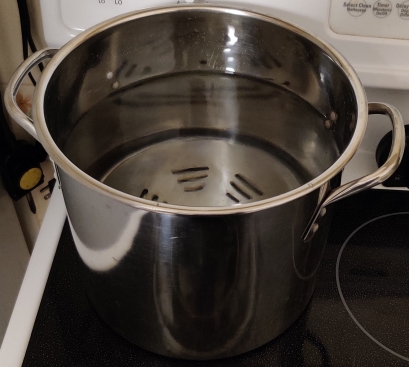
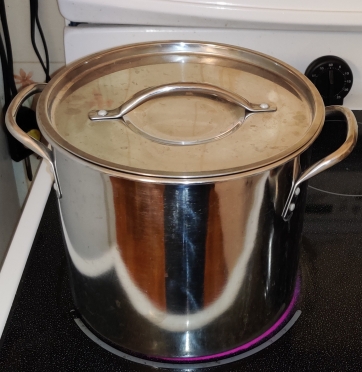
A pot and trivet were taken out, to act as a boiling water bath soon:
Pot and trivet taken out
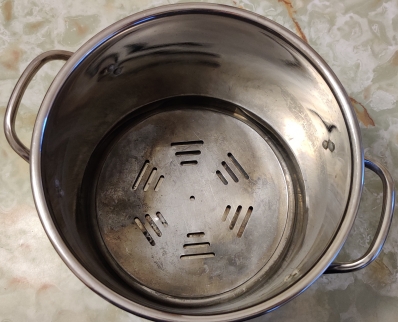
The trivet was placed in the bottom of the pot:
Trivet placed in pot
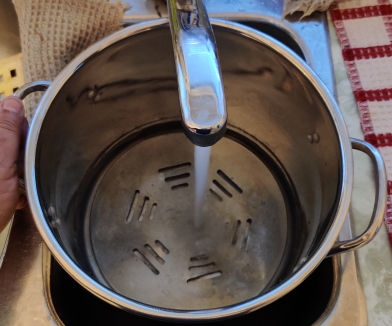
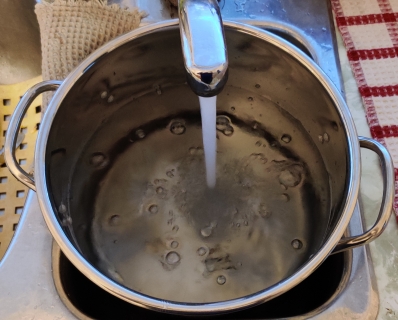
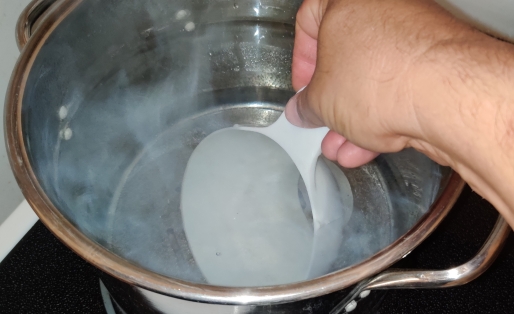
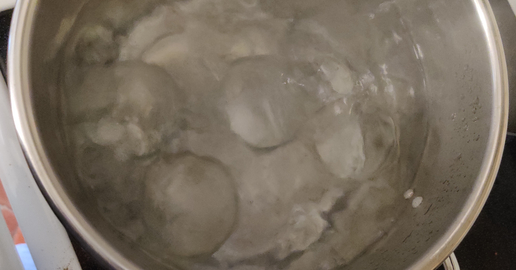
The pot was filled with water:
Pot filled with water
Pot filled with water
The pot of water was placed on a burner on the stove:
Pot of water placed on stove
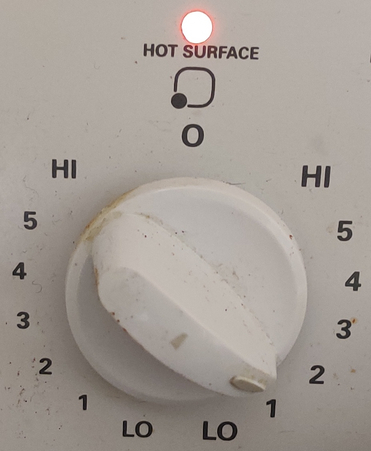
The stove was turned on:
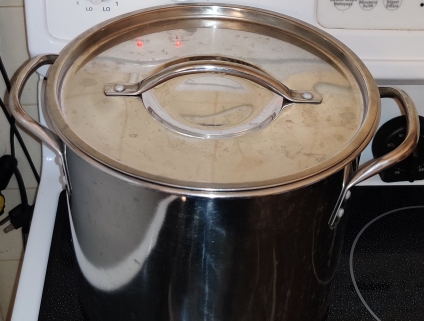
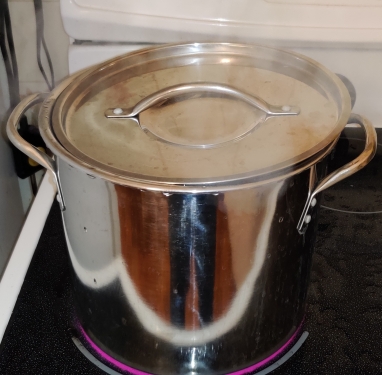
… and the lid was placed back on the pot:
Lid placed on pot of water
Since I had placed the pot of water on a smaller burner, which proved to be a mistake, I still waited a bit before taking out the pot of chopped rhubarb, sugar, and lemon juice, and placing it on the stove:
Pot of Rhubarb, sugar, and lemon juice placed on stove
After waiting a bit more, having gauged the heating up of the pot of water, the burner under the chopped rhubarb mix was turned on:
Burner under chopped rhubarb mix turned on
The lid on the pot of chopped rhubarb mix was removed:
Lid removed from pot of rhubarb mix
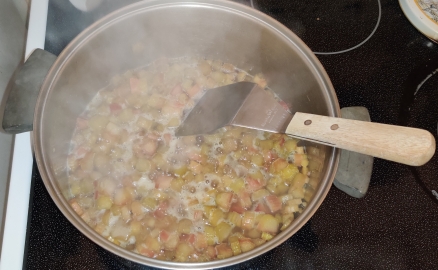
As the rhubarb mix was heating up, I of course mixed it to avoid burning:
Rhubarb mix being mixed while heating
Rhubarb mix being mixed while heating
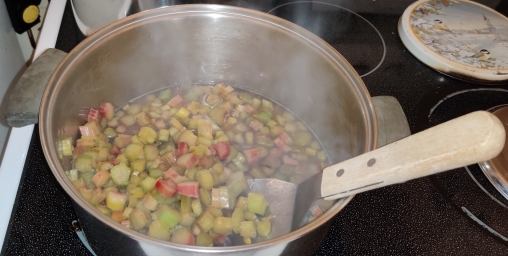
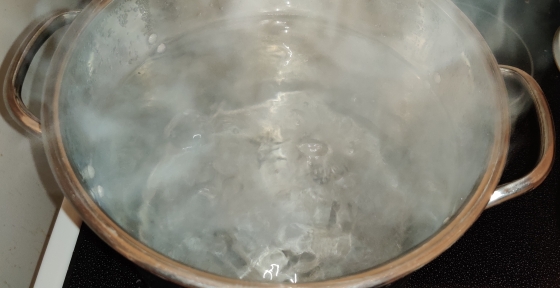
The rhubarb mix began to boil:
Rhubarb mix beginning to boil
At this point, the rhubarb mix was taken off the burner, and since the water bath had not yet reached the boiling point, I brought it forward to the larger burner to bring it to a boil more quickly:
Water bath brought forward to larger burner on stove
Fortunately, it was obvious that the water bath was “hot enough” to dip the (clean) bottle funnel to sanitize it:
Sanitizing bottle funnel
The bottle funnel was placed in the neck of a jar:
Jar funnel placed in neck of jar
The ladle was dipped in the hot water to sanitize it:
Ladle sanitized
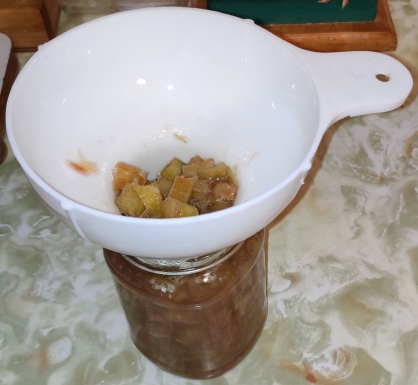
I started ladling the boiled rhubarb mix into the jar until it was filled:
Ladling boiled rhubarb mix into jar
Jar filled
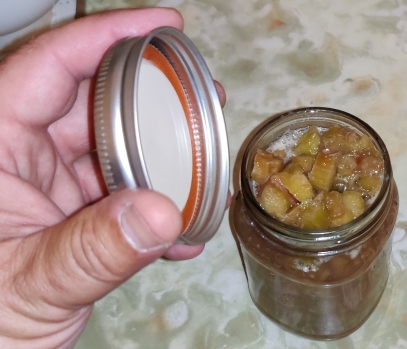
A lid and ring were brought to the jar, and screwed onto the jar (oops, I forgot to take a picture of this second part):
Lid brought to filled jar and screwed on
The rest of the boiled rhubarb mix was transferred into jars, and lids were screwed onto the jars:
Filled jars with lids screwed on
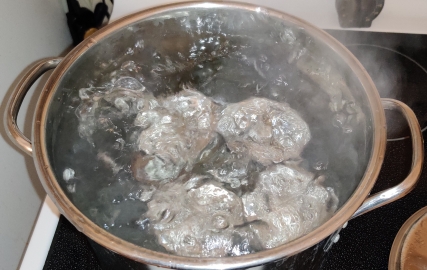
At this point, the water in the water bath was finally starting to boil:
Water bath starting to boil
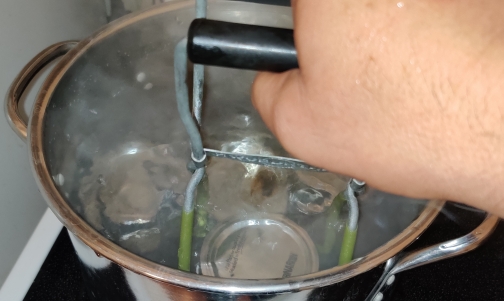
Using the jar wrench, the filled jars were transferred to the water bath:
Filled jars transferred to water bath
Filled jars transferred to water bath
Once the water had come to a rolling boil …
Water bath coming to a rolling boil
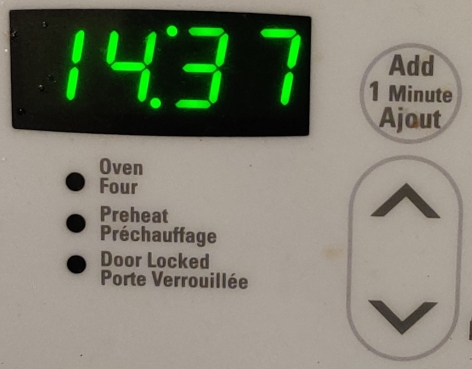
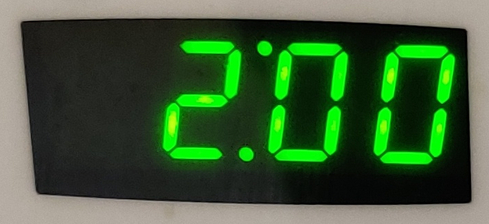
… a timer was set to 15 minutes …
Timer set to 15 minutes
… and the lid was placed back on the pot with the water bath and filled jars:
Lid placed on water bath
At this point, the water was boiling so vigorously, that water was splashing out of the pot!
Water splashing out of boiling water bath onto stovetop
After 15 minutes had elapsed, the filled jars were removed from the water bath using the jar wrench:
Removing filled jars with jar wrench
The now heat-processed jars were placed on the the cutting board:
Heat-processed jar placed on cutting board
Heat-processed jars placed on cutting board
Hot water collecting on the jars was soaked up with a towel:
Water on jars soaked up with towel
The jars were moved apart from each other to allow for some ambient cooling for a few moments:
Jars separated to facilitate ambient cooling
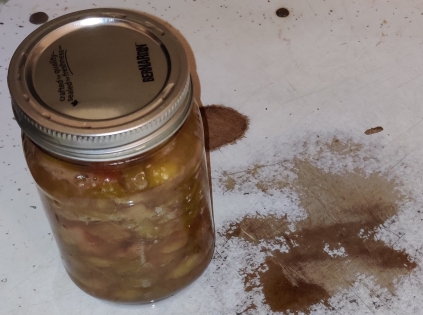
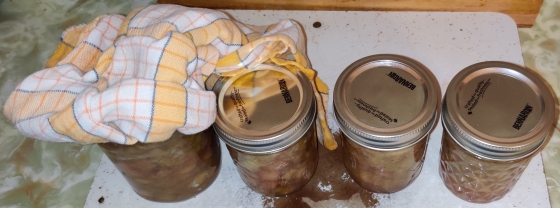
Then, the still-warm jars were moved to a fridge to complete cooling.
Jars moved to fridge
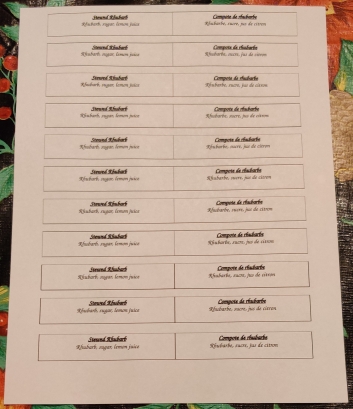
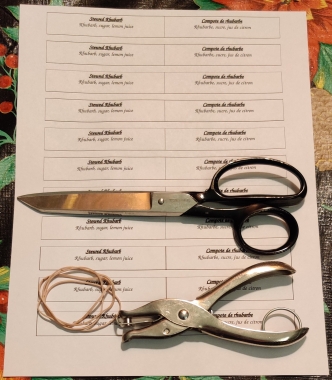
At this point, I changed tack a bit and printed out some labels for the jars, modifying another label template I have for my pickled eggs:
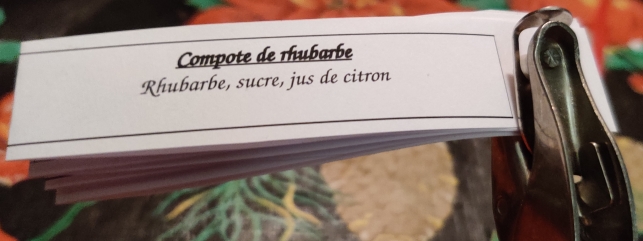
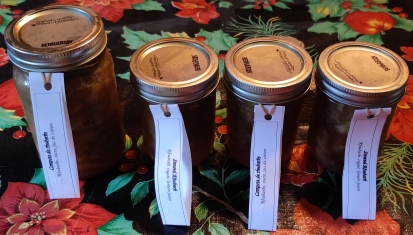
Printed labels for jars of stewed rhubarb
Scissors, a hole punch, and some elastics were taken out:
Scissors, hole punch, and elastics taken out
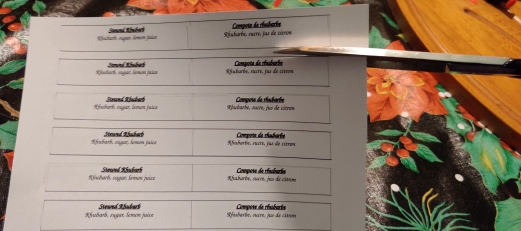
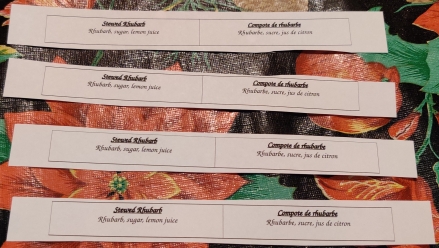
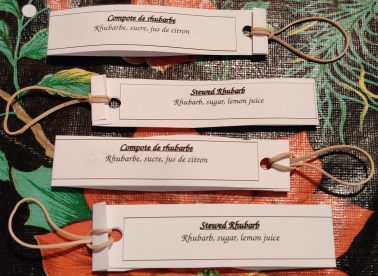
Four labels were cut from the sheet:
Label cut from sheet
Label cut from sheet
Labels cut from sheet
A date code (in this case for 09 August, 2023, the day I filled and processed the jars) was written on the back / inside of each label:
Date code written on backside of label
Date code written on backside of labels
The labels were folded over onto themselves:
Label folded over on itself
Label folded over on themselves
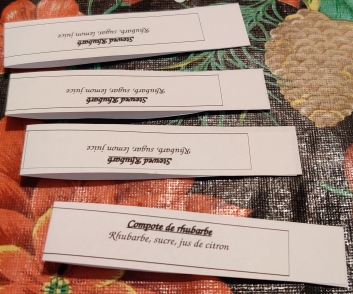
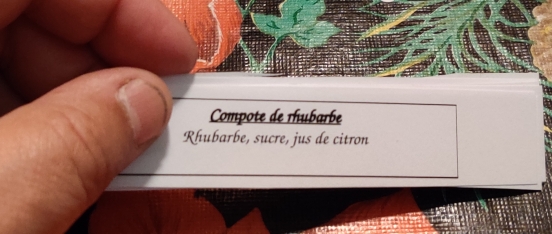
I should note at this point at which the print is more legible, that I live in Montreal, where French predominates, hence the labels are in both English and French. As it happened in the picture above, the folded labels with the English showing were upside down because that’s how I inadvertently happened to flip them over. 🙂
I then picked up the labels, piled them one on another, and crimped the folds:
Labels brought together and folds crimped
A hole was punched through the labels on the end opposite to the fold:
Hole punched through labels
Hole punched through labels
On each individual label, the end near the hole was folded over:
End near hole folded over
Ends near holes folded over
Ah here, the English labels are right side up. 🙂
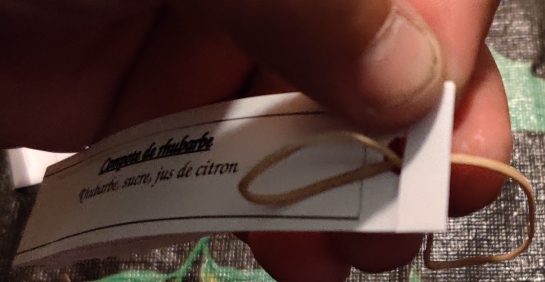
An elastic was threaded through the hole of a label:
Elastic threaded through hole in label
The elastic was looped into itself, and loosely tightened to allow for it to at once hold the label, as well as have a loop to use to go around a jar’s neck:
Elastic looped into itself
… which was repeated for the other three labels:
Elastics looped into themselves
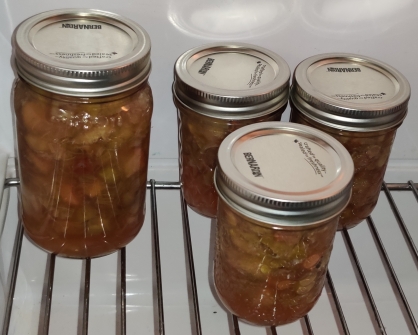
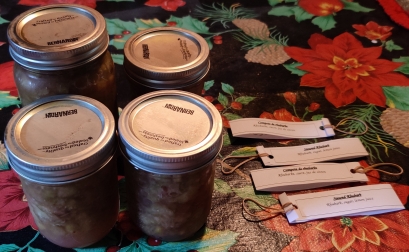
The following morning, the cooled (and fully sealed) jars were removed from the fridge, and brought to the workspace where the labels were:
Cooled bottles brought out
Labels were looped around the jars:
Label looped around jar
Labels looped around jars
These jars will be kept to be donated to my church’s fall fair, along with a few jars of my pickled eggs! (And, Mom will receive any which don’t sell. 🙂 )
My mom has been making a rhubarb chutney (of the British variety, not the Indian variety) since I was young, and she has loved it as long as I remember. Every year, she would harvest the rhubarb growing in her garden and make at least one batch per season, or two, or even three, depending on the yield.
I have been saying for years that I should learn how to make the chutney for her, although it has taken until this year before I finally consulted her recipe card and notes. The recipe I present here is adapted from (and very closely tracks) the recipe on my mom’s recipe card with several years’ worth of notes. The recipe on the card, if my recollection of her stories is accurate, is apparently derived from a recipe developed by her church ladies’ group in the early 1980’s, and which was possibly assigned to her after one of their canning sessions with a request to make some at home for an upcoming fall bazaar’s preserves’ table. It also incidentally is identical in ingredients and comparable in amounts to a recipe found on the internet for a barbecue sauce … so go figure.
Mom eats it as a condiment to various dishes, such as roast pork, chicken pot pies, shepherd’s pies, and many other dishes … basically, despite its sweet nature, it is also savoury, and pairs well with a number of savoury dishes.
Making the rhubarb chutney:
First, I took out two groupings of commercially grown rhubarb, in this case, about nine stalks each:
Two groupings of nine stalks each of rhubarb
The individual stalks of rhubarb were washed:
Rhubarb stalks washed
Washed rhubarb stalks
The rhubarb stalks were trimmed of their ends, leaves, and as the case may be, torn or damaged parts:
Rhubarb stalks trimmed
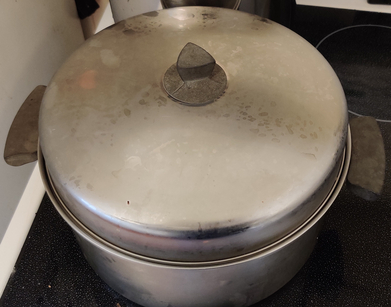
A non-reactive stainless steel pot (yes, there are some cheap stainless steel pots which will react with acid contents!) was taken out, and put to the ready beside the cutting board:
Stainless steel pot taken out
The rhubarb was sliced into 1/4″ to 1/2″ slices:
Rhubarb sliced
The chopped rhubarb was transferred to the stainless steel pot as sufficient amounts accumulated on the chopping board:
Transferring chopped rhubarb to pot
Transferring chopped rhubarb to pot
Once all the rhubarb was chopped and transferred to the pot, to be sure of the amount of rhubarb I had chopped was enough for the recipe, I measured it out …
Rhubarb measured out
… and placed it in a bowl:
Measured out rhubarb placed in a bowl
Once measured out, the rhubarb was placed back in the stainless steel pot.
Next, packed brown sugar was measured out:
Brown sugar measured out
The brown sugar was added to the chopped rhubarb:
Brown sugar added to chopped rhubarb
All brown sugar added to chopped rhubarb
The chopped rhubarb and brown sugar were mixed with a wooden spoon:
Wooden spoon used to mix chopped rhubarb and brown sugar
Brown sugar and chopped rhubarb mixed with wooden spoon
The chopped rhubarb and brown sugar mix was covered with the stainless steel pot lid:
Stainless steel pot covered
The stainless steel pot with the rhubarb and brown sugar mix was placed in the refrigerator overnight:
Pot of rhubarb and brown sugar in fridge
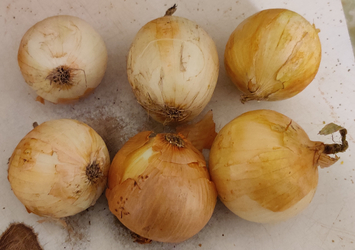
Onions were taken out:
Onions taken out
The onions were trimmed:
Onions trimmed
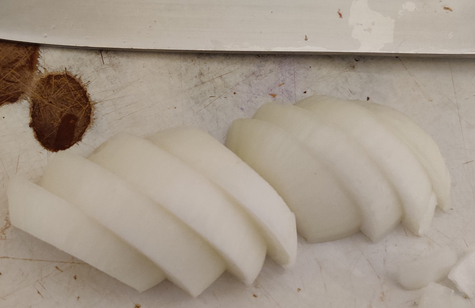
The onions were sliced into half-coins:
Onions sliced into half coins
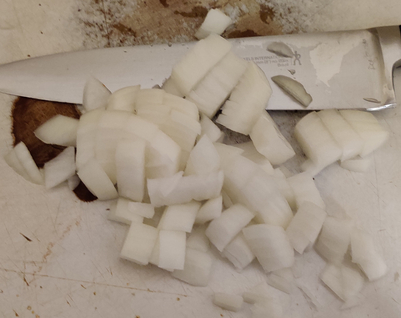
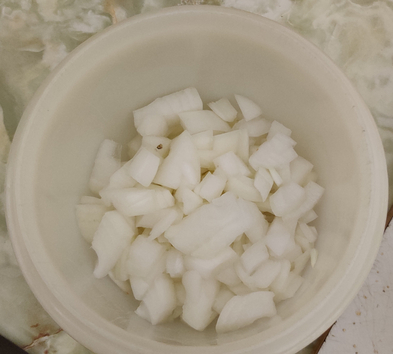
The onions were coarsely chopped:
Onions coarsely chopped
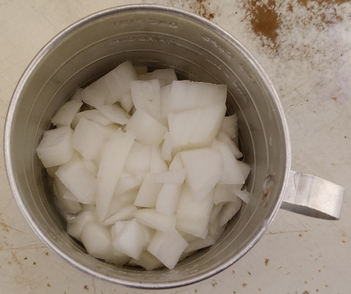
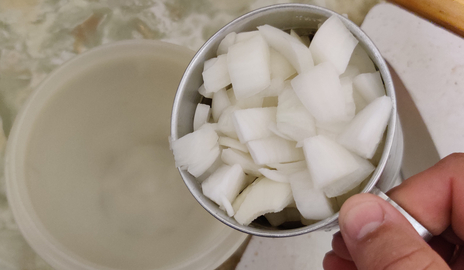
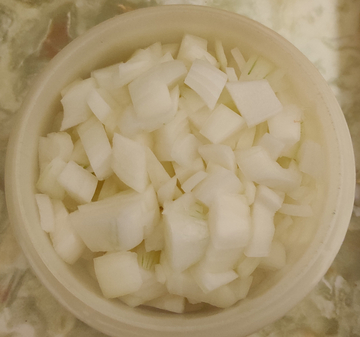
The onions were transferred to a measuring cup to keep track of how much onions I had:
Onions measured out
The chopped onions were transferred to a sealable container:
Chopped onions transferred to sealable container
Chopped onions transferred to sealable container
Chopped onions transferred to sealable container
The container of onions was covered and placed in the fridge until the next day.
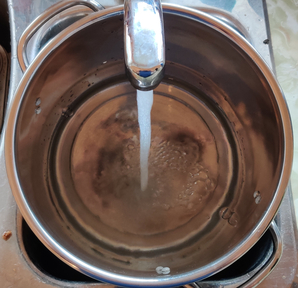
The next day, the first thing done was to fill a pot with water, for use later as a boiling water bath for the mason jars used to bottle the chutney:
Pot filled with water
Pot filled with water
A burner on the stove was turned on:
Stove turned on
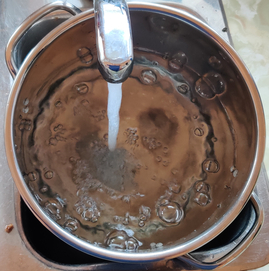
The pot of water was placed on the stove to bring it to a boil:
Pot of water placed on stove
The pot of rhubarb and brown sugar was taken out of the fridge:
Pot of rhubarb and brown sugar taken out of fridge
Another burner on the stove was turned on:
Second burner turned on
The pot of rhubarb and brown sugar was placed on the stove:
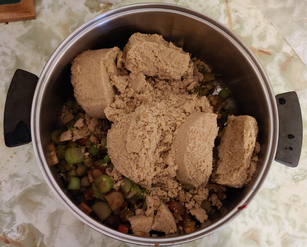
Pot of rhubarb and brown sugar placed on stove
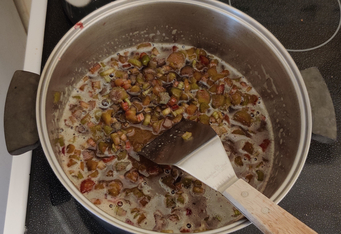
As the mix began heating up, it was mixed to loosen some brown sugar at the bottom of the pot:
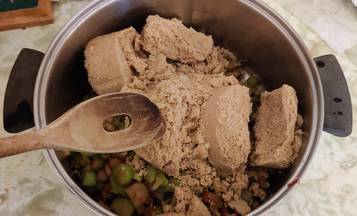
Rhubarb and brown sugar mixed
Throughout the following process, the mix was constantly stirred in order to avoid burning at the bottom of the pot.
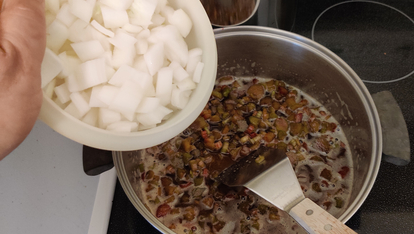
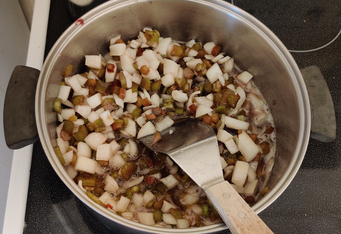
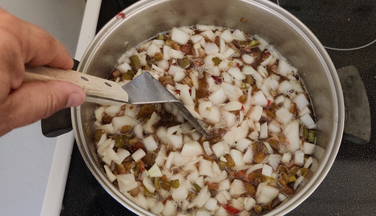
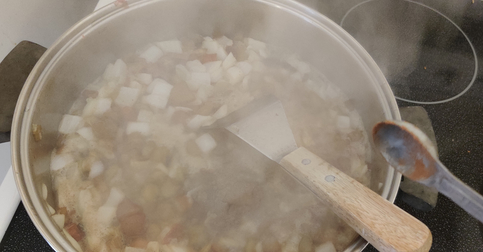
The chopped onions were added to the pot:
Chopped onions added to pot
Chopped onions added to pot
Chopped onions added to pot
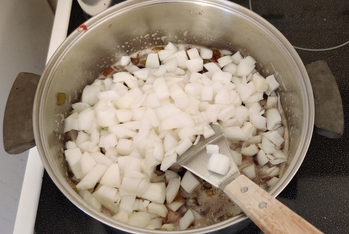
The ingredients were mixed together:
Ingredients mixed together
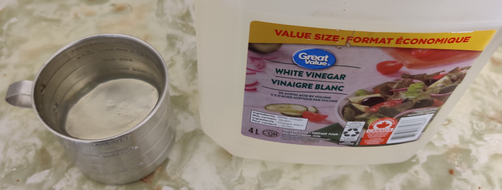
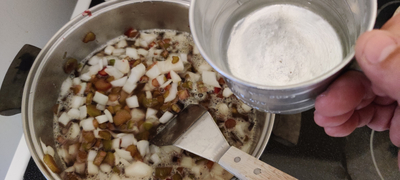
Vinegar was measured out:
Vinegar measured out
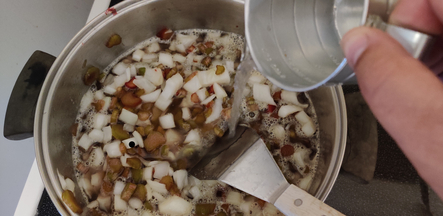
The vinegar was added to the pot:
Vinegar added to pot
Vinegar added to pot
The ingredients were yet again mixed together:
Ingredients mixed
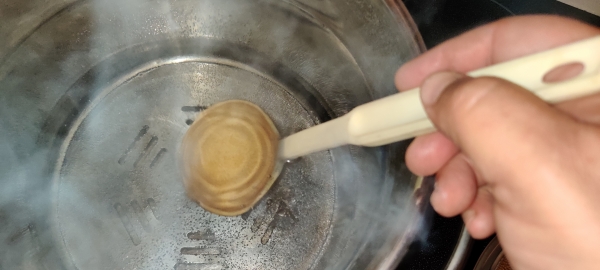
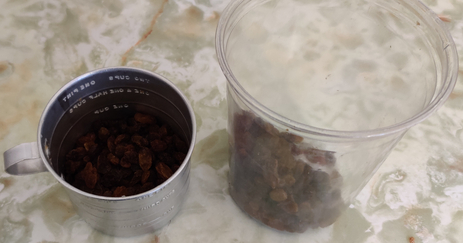
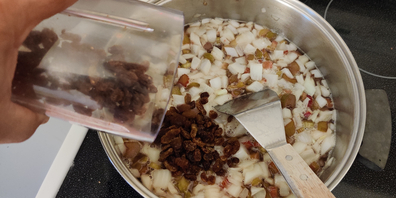
Raisins were measured out:
Raisins measured out
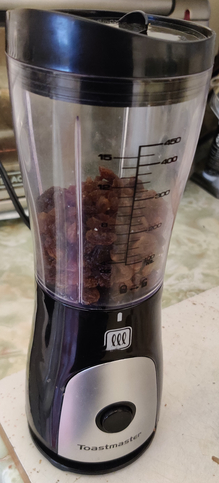
The raisins were placed in a small blender, to coarsely chop them:
Raisins placed in small blender for chopping
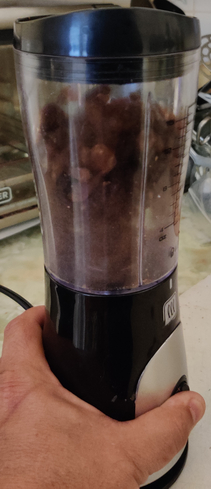
The raisins were chopped:
Raisins chopped
Chopped raisins
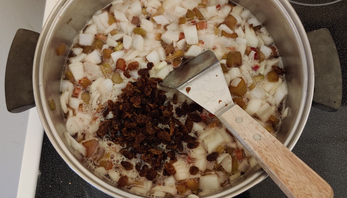
The chopped raisins were added to the pot:
Chopped raisins added to pot
Chopped raisins added to pot
The raisins were mixed in with the rest of the ingredients.
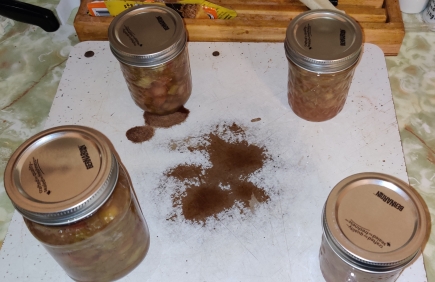
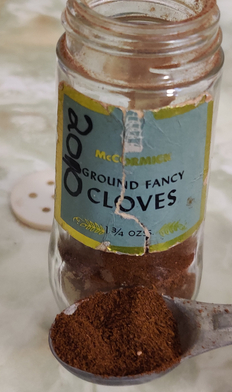
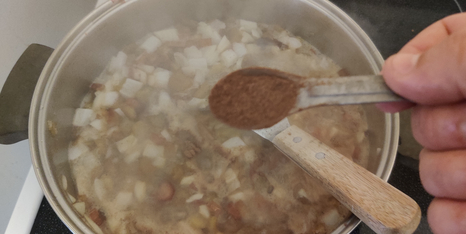
Ground cloves were measured out:
Ground cloves measured out
The ground cloves were added to the pot:
Ground cloves added to pot
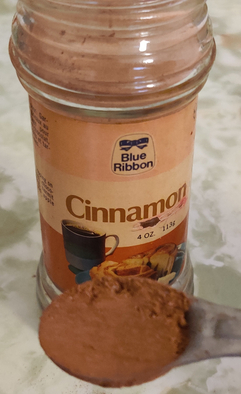
Ground cinnamon was measured out:
Ground cinnamon measured out
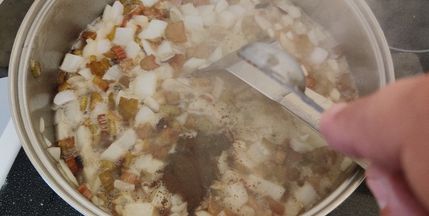
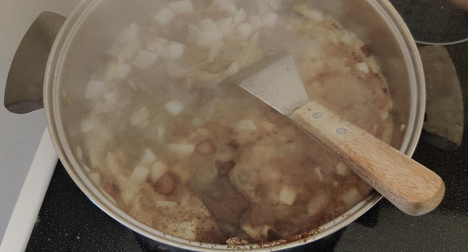
The ground cinnamon was added to the pot; as evidenced by the rising steam, the ingredients were heating up nicely:
Ground cinnamon added to pot
Ground cinnamon added to pot
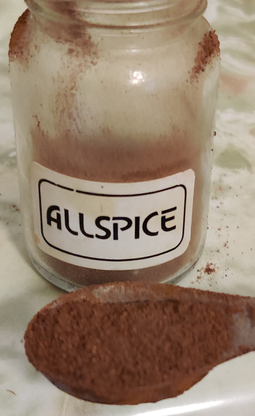
Ground allspice was measured out:
Ground allspice measured out
The ground allspice was added to the pot:
Ground allspice added to pot
Ground allspice added to pot
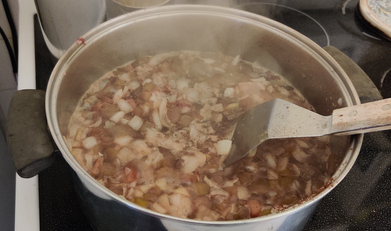
At this point, the chutney was starting to boil, and, for reference, two hours was set on the stove timer (because the original recipe called for two hours of simmering):
Timer set
The stove burner was turned down to a low setting:
Stove set to low setting
The ingredients were constantly stirred in order to avoid burning and sticking on the bottom of the pot:
Ingredients constantly stirred
After about half an hour of simmering …
Half an hour elapsed on timer
… this is what the chutney looked like:
Chutney after half hour of simmering
At this point, the pot of water for sanitizing the jars came to a boil and its burner turned off:
Water bath coming to a boil
After about an hour of simmering …
Hour elapsed on timer
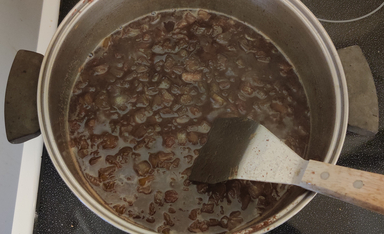
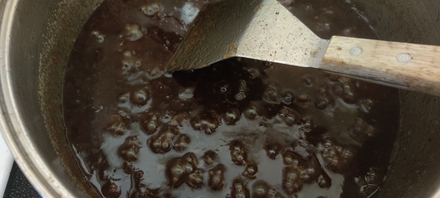
… this is what the chutney looked like, and was at the point of being syrupy:
Chutney after hour of simmering
As such, I knew I wasn’t going to need to continue simmering the chutney for another hour.
Canning tools were taken out: a ladle, a jar funnel, tongs, a large spoon, and a jar wrench:
Canning tools taken out
Mason jars, rings, and lids were taken out — and yes, I used good condition used lids for this batch, since I had no intention of giving away any of the jars:
Mason jars and lids
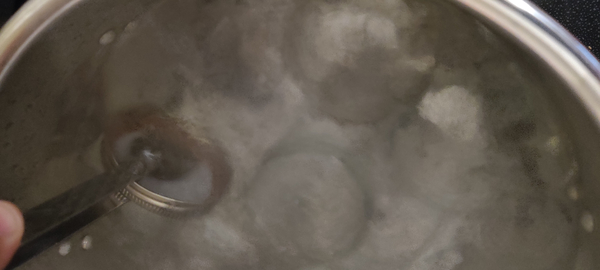
The water for the water bath was brought back to a boil, and mason jars were placed in the boiling water:
Water brought back to a boil and mason jars placed in boiling water
The canning funnel was quickly dipped in the boiling water to sanitize it:
Canning funnel dipped in boiling water
Unfortunately, at this point, I could not take as many photos, in order to quickly fill the jars while the chutney and jars were still hot, and create a proper seal with the lids.
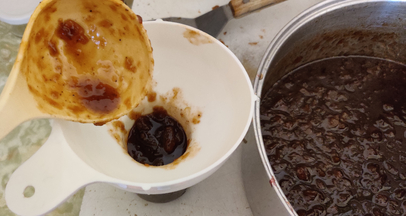
The chutney was taken off the stove; a mason jar was taken out of the boiling water, and the jar was filled with chutney:
Mason jar filled with chutney
A mason jar lid and ring were dipped in the boiling water:
Lid and ring dipped in boiling water
The lid and ring were placed on the mason jar and the ring tightened.
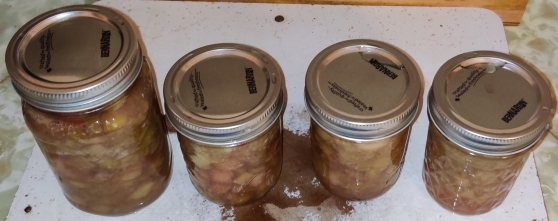
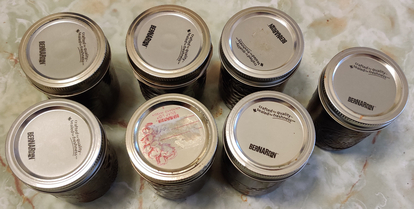
The process was repeated until all the chutney was bottled, in this case, filling seven jars:
Filled chutney jars
The jars were placed in the fridge to cool down a little more quickly:
Jars of chutney placed in fridge to cool them down
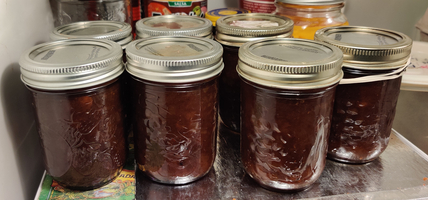
Afterwards, labels were placed on the jars, and the jars were placed in the cupboard.
And … Mom loves it, and has even whispered “it’s better than when I make it!” … no doubt (at least) a mild exaggeration. 🙂