Drying Pineapples — Photos

I bought a food dehydrator in early 1997 while I was still involved as an adult member in Scouting, and began by drying (mostly) various fruits for Scout Troop camping trips; Troop members were eager to test out the results of my efforts. While I am no longer involved in Scouting, I have continued drying fruits; I quickly decided that my favourite by far was dried pineapple, which comes out like candy to me.

A short overview of my very early experiences with drying food, from a Scouting perspective, is at what would have been a blog back in the late 1990’s before blogs were a thing at https://www.malak.ca/super.html#dried.

Drying the pineapples:

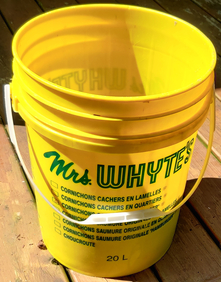
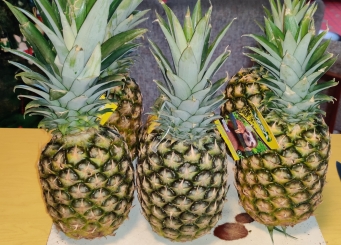
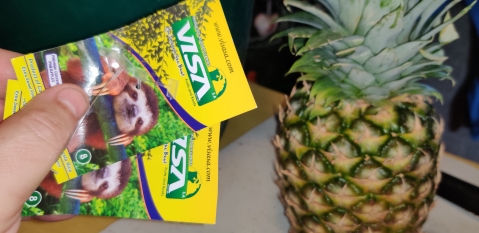
I keep an eye out for sales on pineapples, and brought home six pineapples last week:

Six pineapples (one is on its side)

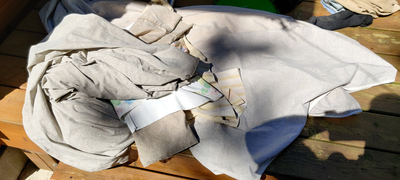
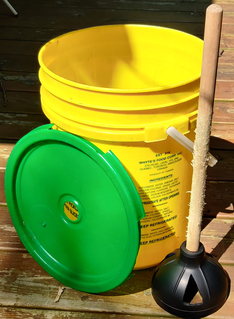
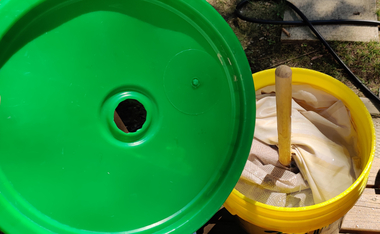
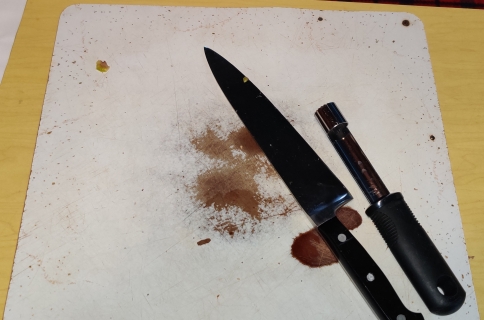
I brought my cutting board, knife, and corer down to the bar area downstairs, where I normally do my fruit drying:

Cutting board, knife, and corer taken out

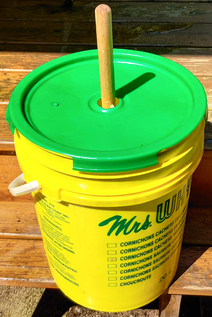
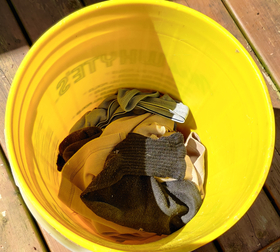
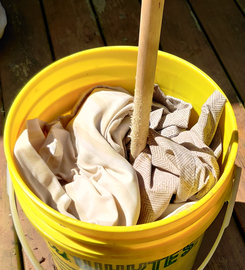
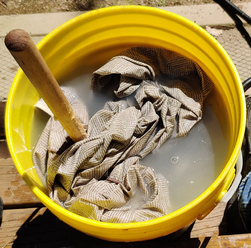
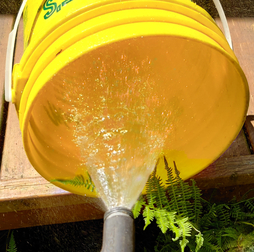
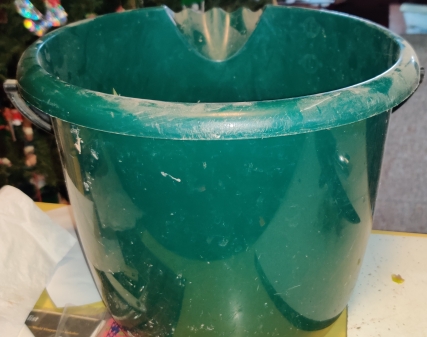
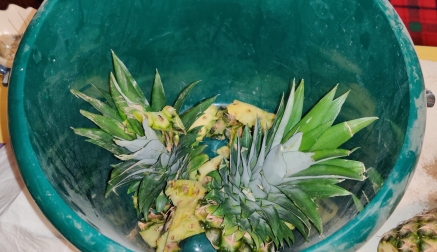
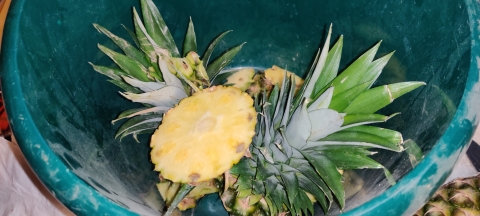
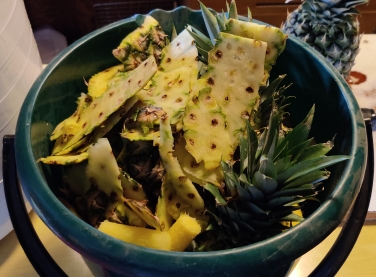
A bucket for the compostable trimmings was also set out:

Bucket for compostable trimmings taken out

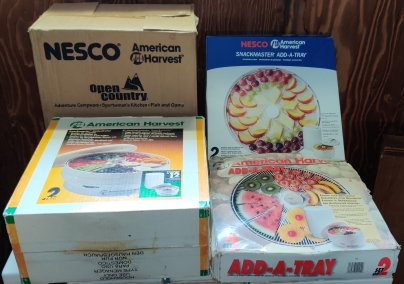
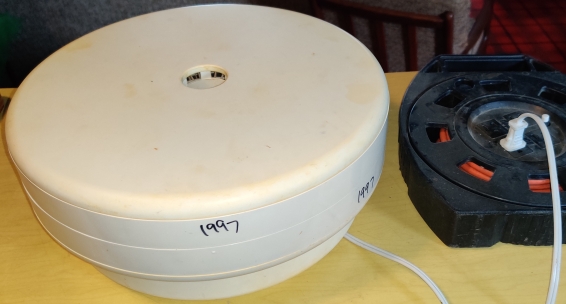
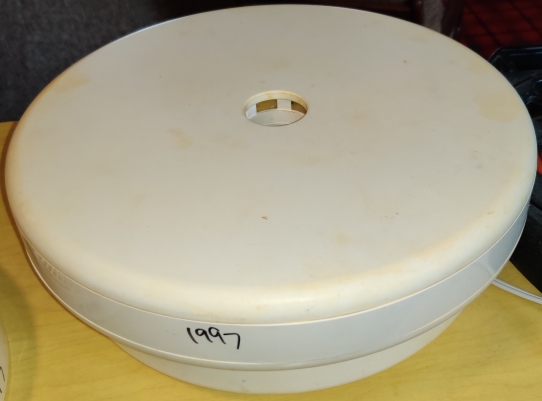
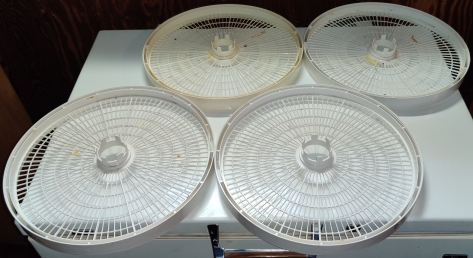
My food dehydrator was of course taken out, with all its extra trays …

Food dehydrator and trays taken out

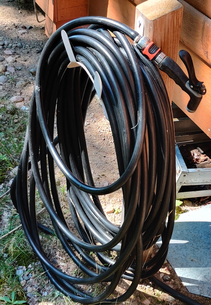
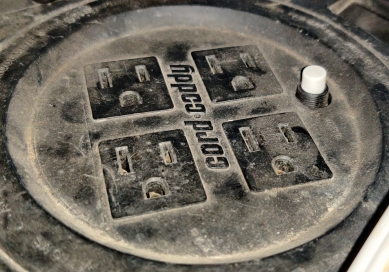
… and the unit was plugged into an extension cord caddy that was plugged into an outlet in an adjoining room, since the bar has an old outlet that doesn’t accept polarized plugs:

Food dehydrator plugged in

The food dehydrator was set to 135F for drying fruits and vegetables:

Food dehydrator temperature set

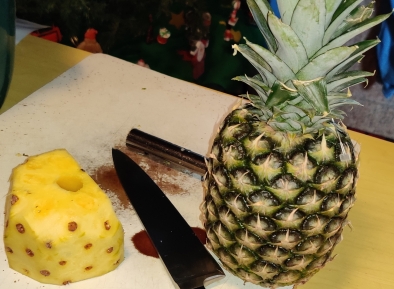
Now to the pineapples: The labels and their plastic tags were removed from the pineapples:

Labels removed from pineapples

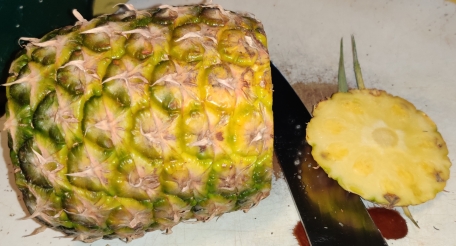
A pineapple was placed on its side in order to trim off the top:

Pineapple placed on its side

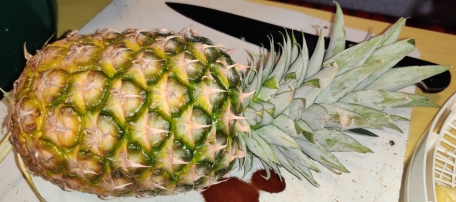
The top of the pineapple was sliced off:

Top of pineapple sliced off

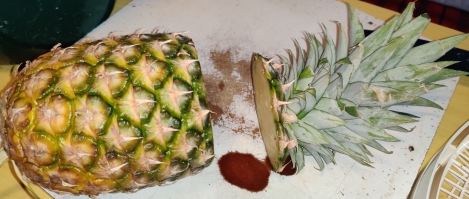
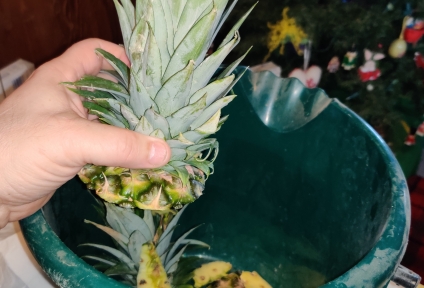
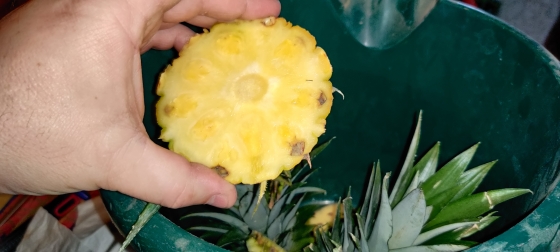
The top of the pineapple was placed in the scraps bucket:

Top of pineapple placed in scraps bucket
Pineapple tops in scraps bucket

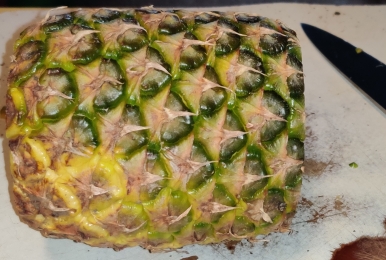
The pineapple was rotated so as to slice off the bottom:

Bottom sliced off pineapple

The bottom of the pineapple was placed in the scraps bucket:

Pineapple bottom placed in scraps bucket

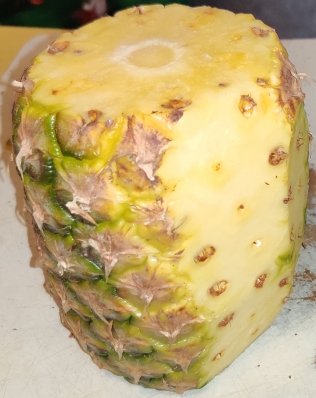
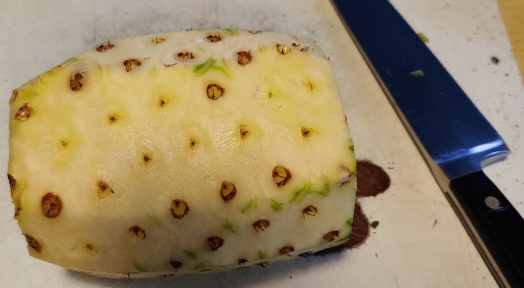
The pineapple is now ready for the rest of the trimming:

Pineapple ready for trimming

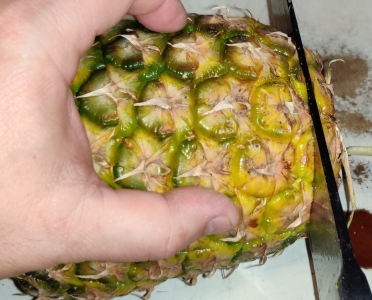
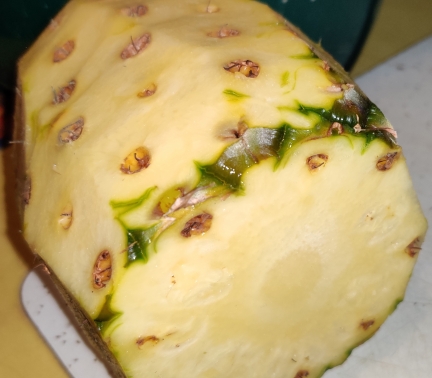
I started trimming the skin off the pineapple:

Trimming the skin off the pineapple

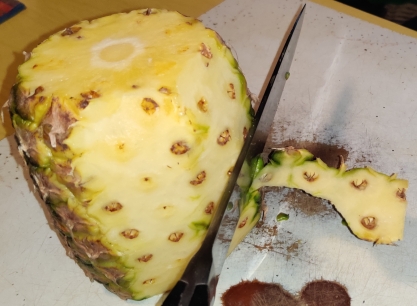
As part of trimming the skin off the pineapple, sometimes the bottoms have to be trimmed too because of the somewhat rounded shape of pineapples, making it tricky sometimes to trim off the skin in full slices:

Bottoms to be trimmed as well

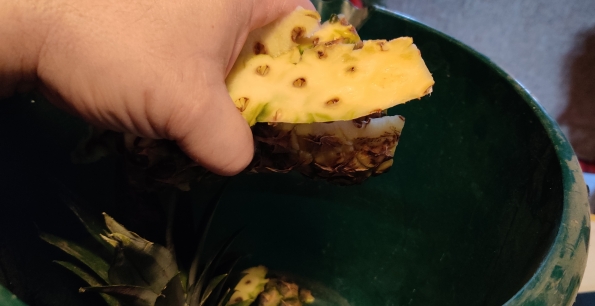
The trimmed pineapple skins …

Trimmed pineapple skins

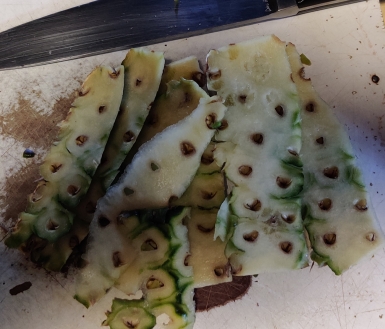
… were placed in the scraps bucket:

Pineapple skins placed in scraps bucket

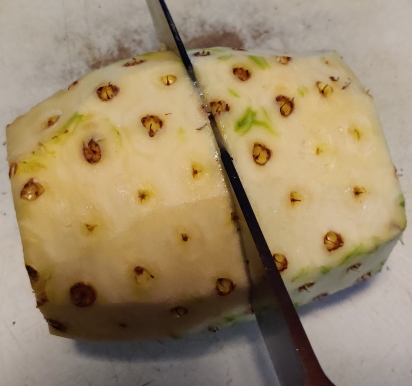
The trimmed pineapple was again placed on its side …

Pineapple placed on its side

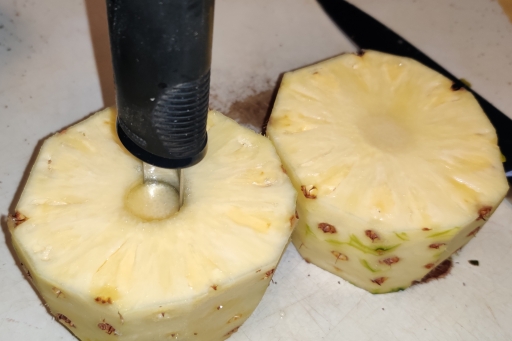
… and sliced into two halves roughly at its centre, essentially to accommodate the length of my corer, although the resulting slices tend to be of a convenient size as well:

Pineapple cut in half
Two pineapple halves

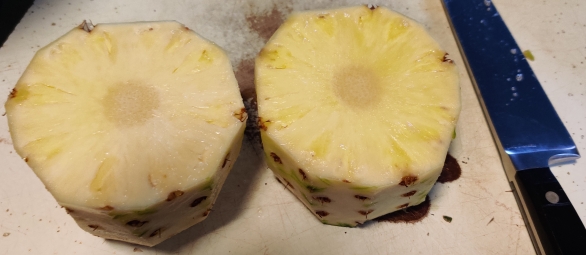
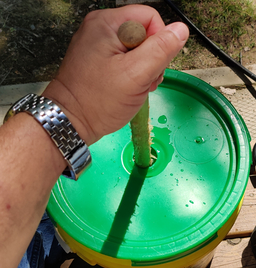
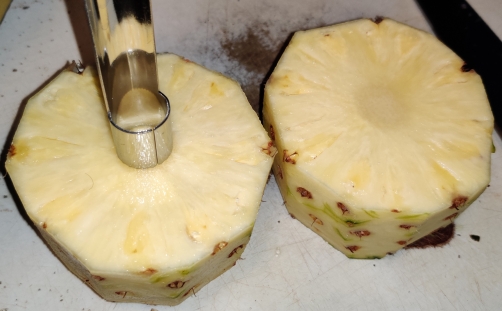
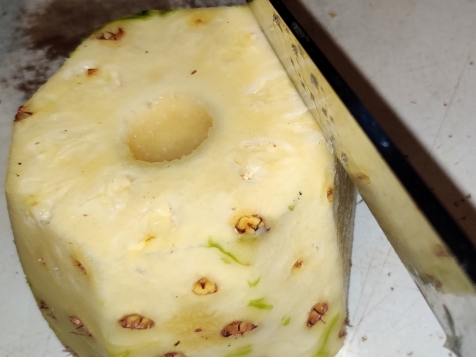
An apple corer was used to remove the pineapple cores:

Coring half of a pineapple
Cored pineapple half

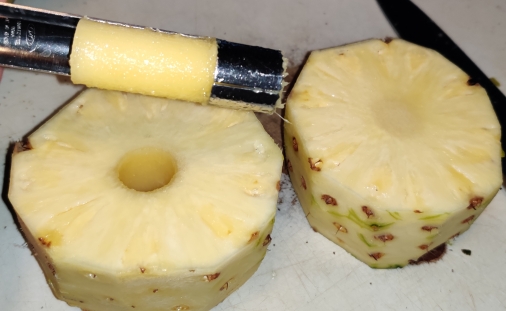
I began slicing pieces off the cored pineapple half, roughly two milimetres thick:

Slicing piece off pineapple

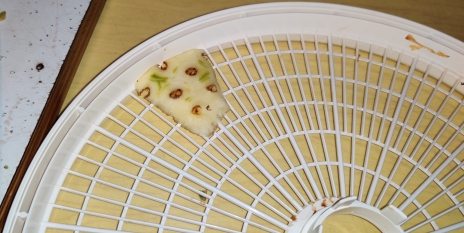
The slices were placed on a drying tray:

Sliced pineapple placed on drying tray

More slices were sliced off the pineapple, to about half of the pineapple half:

Almost half of the half pineapple sliced off

… until the tray was filled:

Tray filled with pineapple slices

The filled tray was placed on the food dehydrator base:

Filled tray placed on dehydrator base

The top of the dehydrator was placed on the tray:

Top placed on the dehydrator

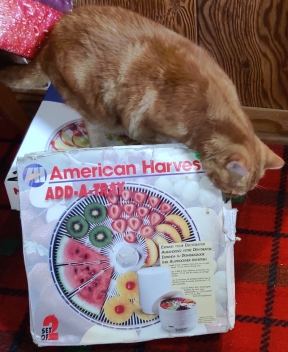
Oh and here’s my cat to help me out:

My cat helping me out

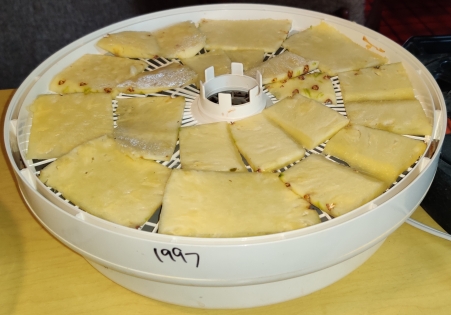
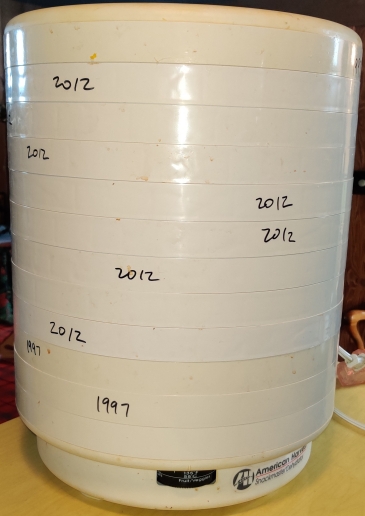
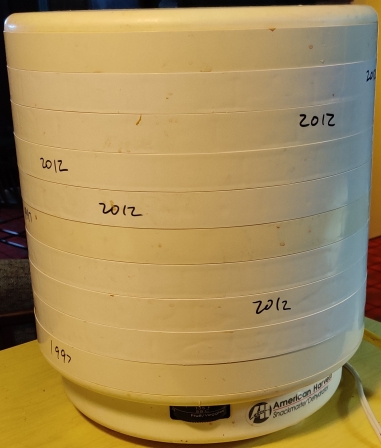
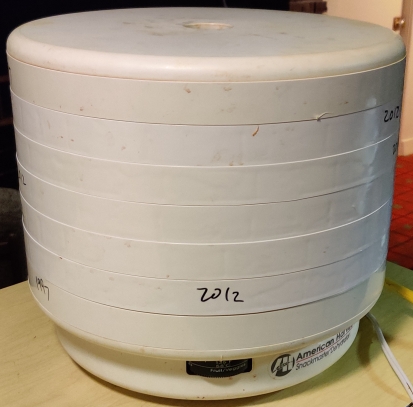
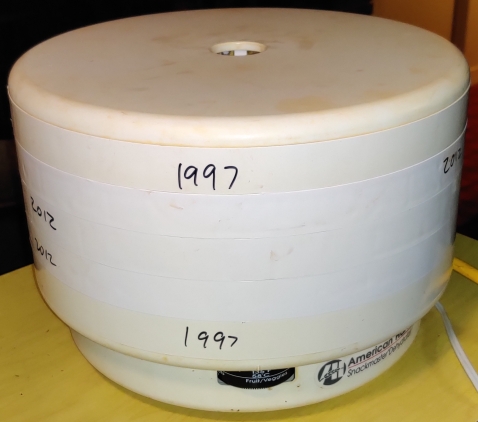
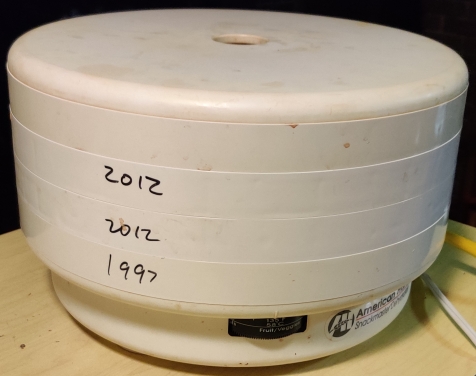
I continued trimming and slicing the pineapples, filling twelve trays; as can be surmised from the following picture, in 2012, I added an additional eight trays to the original four I’d bought in 1997!)

Twelve trays filled with pineapple slices

The twelve trays were filled with a bit more than four and a half of the pineapples I’d purchased, leaving at this point a little less than one and a half pineapples to slice up later as the slices in the dehydrator dried and made space:

One and a half pineapples left after filling twelve trays

At this point, the breaker on the extension cord carrying case decided to trip (in my experience, unusual for a single device with a peak draw of only about 550 watts, although I do suspect that the caddy does have a lower trip level than a normal household circuit breaker):

Tripped breaker

Quickly, a new extension cord was taken out:

New extension cord taken out

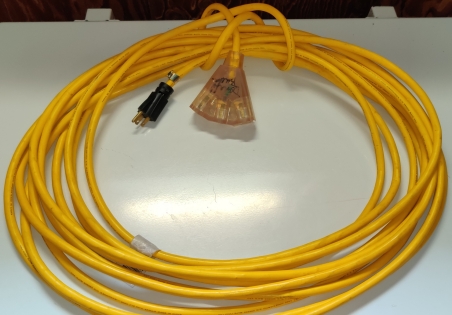
… which was plugged into an outlet, and the dehydrator plugged into the new extension cord:

Dehydrator plugged in to new extension cord

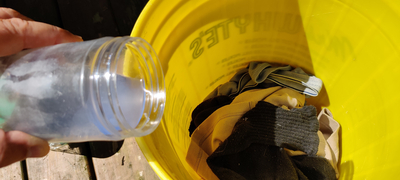
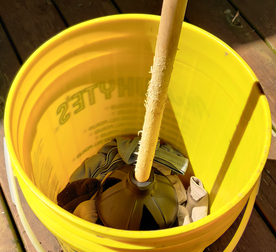
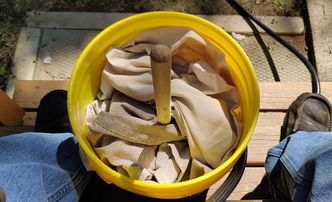
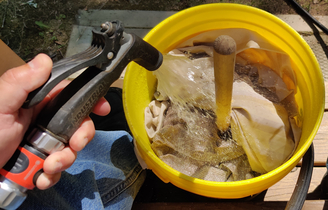
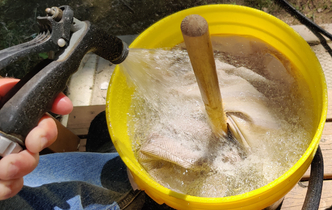
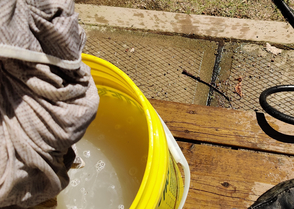
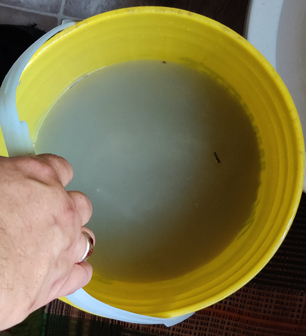
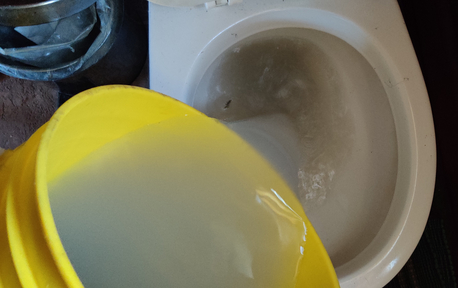
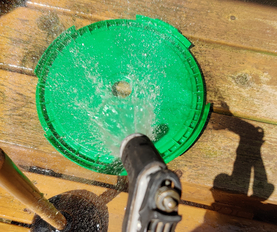
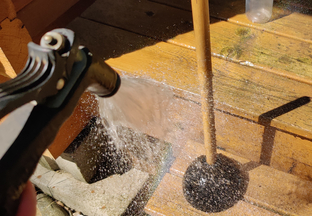
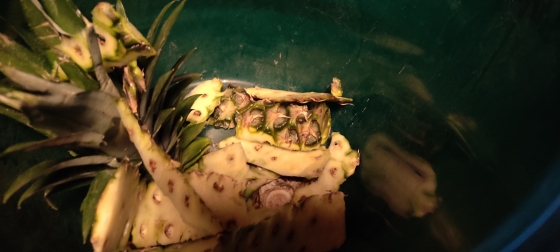
Back to the pineapples, the scraps were placed in the scrap bucket, which was ultimately emptied into my municipal compostable waste bin:

Scrap bucket filled with pineapple trimmings

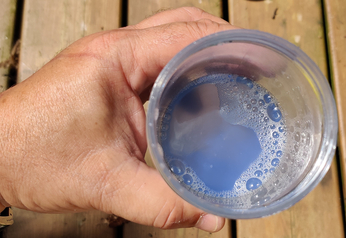
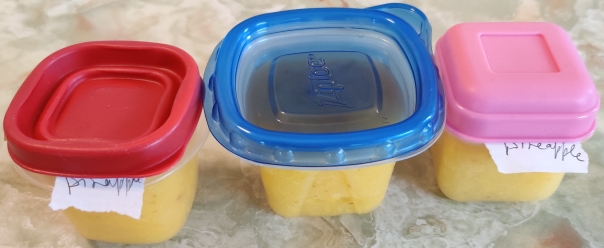
At this point, Mom asked for some mashed pineapple, and got a total of six containers, which were placed in the freezer:

Three of the six containers of mashed pineapple Mom got

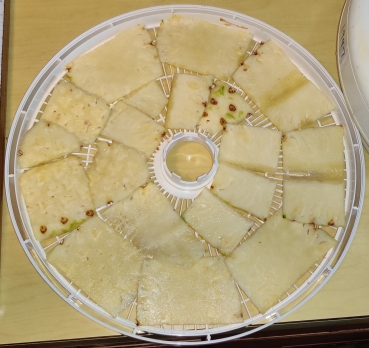
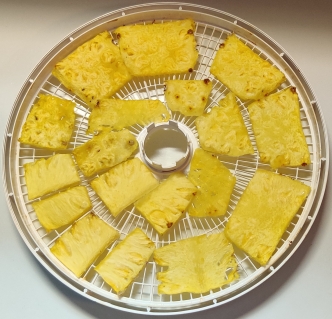
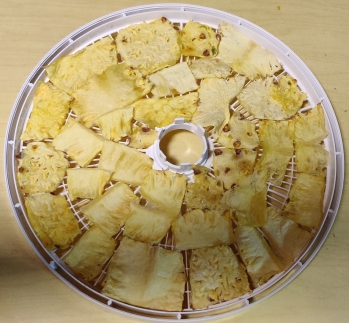
After about six hours, here’s what a tray of partly dried pineapple slices looked like, including the size shrinkage:

Tray of partly dried pineapples

The partly dried pineapple slices were shifted around to make space:

Space made on tray

After space was made on all the trays, four trays were emptied:

Four trays of space freed up

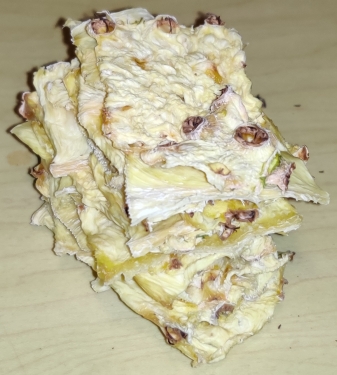
… and the first few pineapple slices dried to my liking were removed from the trays. Allowed to completely dry, pineapple will become crispy like potato chips; I like dried pineapple that is still a bit chewy and flexible, while there is still a very small amount of humidity left in the slices. As such, I remove slices when they have a leathery feel, and after the surface of the slices are no longer sticky.

Almost completely dried slices of pineapple

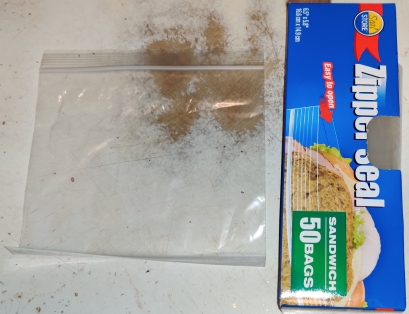
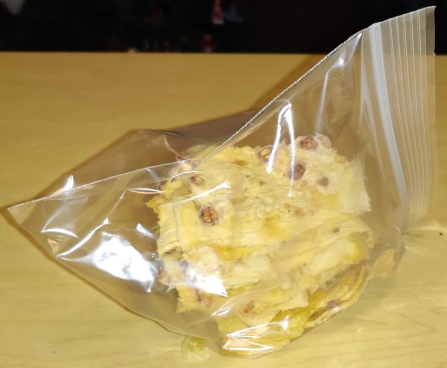
A zipper style sandwich bag was taken out to store the dried pineapple:

Zipper style sandwich bags taken out

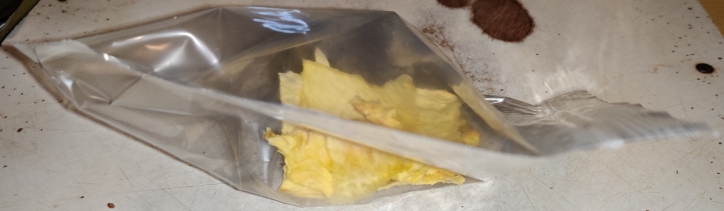
… and the dried pineapple slices were stacked and placed in the bag:

Dried pineapple placed in bag

At this point — seven hours in — I finished slicing the rest of the pineapples, spread them on a couple of the emptied trays, and inserted the filled trays back in the dehydrator stack, for a total of ten trays:

Ten trays after seven hours

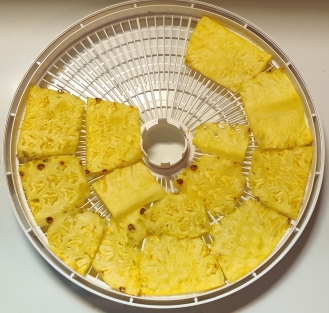
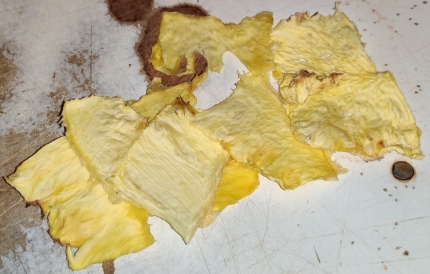
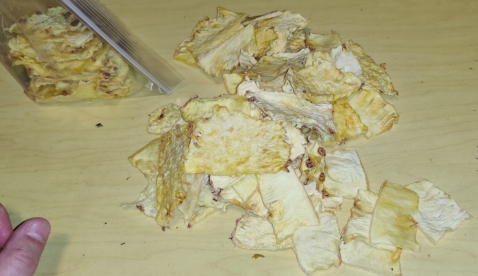
After nine hours, here’s what the pineapple looked like:

Tray after nine hours

… and a few more slices of dried pineapple were taken out for bagging:

More dried pineapple after nine hours
Collection of dried pineapple after nine hours

… and my dehydrator was down to seven trays after nine hours:

Seven trays after nine hours

After twelve hours, the dehydrator was checked again:

Tray of dried pineapple after twelve hours

… and more dried pineapple was taken out after twelve hours:

Dried pineapple taken out after twelve hours

… and stacked for bagging:
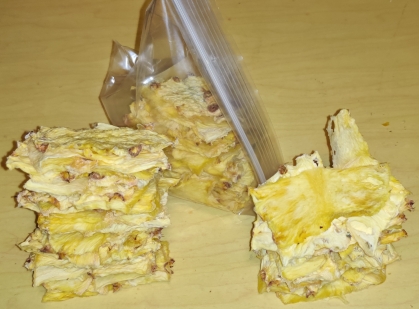
Dried pineapple stacked for bagging after twelve hours

… and bagged:

Dried pineapple after twelve hours

… and after all the shifting around and bagging, I was down to five trays in the dehydrator:

Five trays after twelve hours

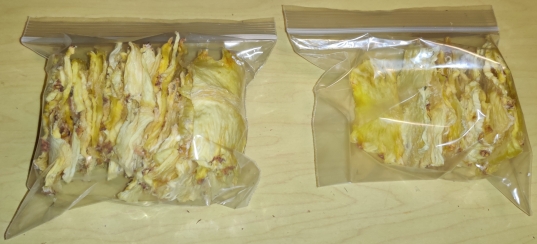
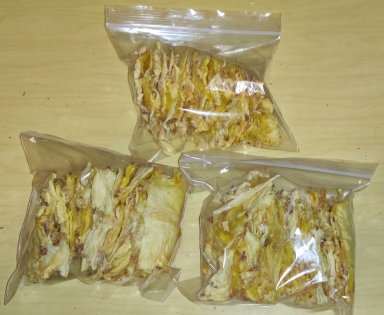
At this point, I had gone to bed, but I woke up after a couple of hours at midnight, and checked on the dehydrator, shifting pineapple slices around and removing dried sliced pineapple. Here’s the bagged cumulative production after fourteen hours:

Total production after fourteen hours

… and I was down to four trays after fourteen hours:

Four trays after fourteen hours

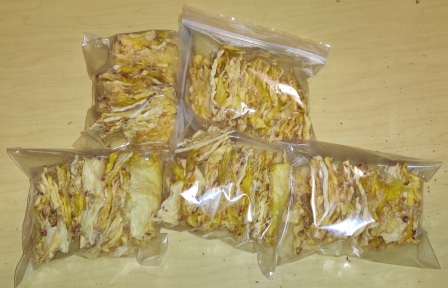
Finally, after seventeen hours — in this case, three in the morning! (yes, I had set my alarm) — I emptied the dehydrator and bagged the last of the dried pineapple slices, for a total of five bags of dried pineapple slices, from a bit over five pineapples:

Five sandwich bags of dried pineapple

After a couple of days, I started eating the dried pineapple — yes, like a kid in a candy shop! 🙂

Using a Backwoods Washing Machine — Photos

For several years, I have used a backwoods washing machine — basically, and literally, a slightly modified 20 litre bucket using a modified toilet plunger as an agitator — up at the cottage to wash clothes, towels, and even bed sheets, for its inherent value of washing clothes of course, but also to reduce the workload upon my return from holidays, as well as to implement a certain DIY ethic, and pass the time (in my eyes, in an amusing way). This is of course in the context of not having an automatic, electric washing machine at the cottage for a variety of reasons, including a lack of space, and the fact that the cottage is not winterized, hence there would issues related to freezing.

Note that while the use of modern conveniences of concentrated laundry detergent, as well as plentiful, clean water (from a pressurized water system) and a garden hose are shown in this post, depending on your circumstances and should you wish to make a backwoods washing machine for yourself, you may wish or need to adjust steps, practices, and so on.

Washing the laundry:

First, since my bed sheets at the cottage needed washing, I stripped my bed and took them outside to the back deck:

Laundry taken out

I also took out some other laundry to add to the wash:

Other laundry added to the lot

Laundry detergent was taken out (on the right), and previously, one of the laundry packs was diluted in water for easier use and dividing up in smaller laundry loads (on the left).

Dissolved laundry pack, and concentrated laundry detergent packs

My backwoods washing machine was taken out — a modified 20 litre plastic bucket and a modified toilet plunger:

Backwoods washing machine taken out

A garden hose was taken out:

Garden hose taken out

The clothes line was also up and in place for use:

Clothes line set up

Finally, sufficient clothespins were in place:

Clothespins needed for later

The lid to the backwoods washing machine was taken off the bucket:

Backwoods washing machine opened up

Clothes were added to the backwoods washing machine’s bucket:

Clothes added to backwoods washing machine

The diluted laundry detergent was taken out and added to the backwoods washing machine:

Diluted laundry detergent taken out
Laundry detergent added to backwoods washing machine

The plunger-agitator was added on top of the clothes in the backwoods washing machine:

Plunger-agitator placed in backwoods washing machine

More laundry was placed in the backwoods washing machine:

More laundry placed in backwoods washing machine

The backwoods washing machine was moved to a more convenient location on the steps of the deck at the cottage:

Backwoods washing machine moved to a convenient location on steps

The garden hose was used to fill the backwoods washing machine with water:

Garden hose used to fill backwoods washing machine

The lid to was picked up and placed on the backwoods washing machine’s bucket:

Lid picked up to place on backwoods washing machine
Lid placed on backwoods washing machine

The plunger-agitator was moved up and down like a butter churner:

Plunger-agitator was moved up and down

As part of moving the plunger-agitator up and down, the laundry will sometimes get caught a bit:

Laundry caught in plunger-agitator

After about five minutes of manual agitation, the lid was taken off the backwoods washing machine:

Lid removed from backwoods washing machine

Sometimes, the laundry may become caught up in the holes in the plunger-agitator:

Laundry caught in plunger-agitator

Given the rough-edged hole in the lid of the backwoods washing machine, the wooden handle can become worn and the wood fibres dislodged …

Fibres dislodged from wooden handle of plunger-agitator

… and which may transfer to some of the laundry:

Dislodged fibres transfer to laundry (already on clothesline)

After the washing had been completed for the first load, the individual items were taken out of the backwoods washing machine and hand-wrung, and were put aside for a few moments:

Washed clothing taken out of backwoods washing machine and hand-wrung

The rest of the dirty bed sheets were placed in the backwoods washing machine, and the agitation action mentioned above was repeated:

More bed sheets added to backwoods washing machine and the agitation process repeated

As the water on the steps of the deck and the garden tiles at the foot of the steps shows, the process can be a bit wet:

Wet steps and garden tiles at the foot of steps

At the end of the manual agitation, the bed sheets were removed from the backwoods washing machine and hand-wrung, and were put aside for a few moments.

At this point, the backwoods washing machine’s bucket of dirty wash water …

Bucket of dirty wash water

… was brought inside and emptied in the toilet, and the toilet flushed:

Dirty wash water flushed down toilet

Back outside, the backwoods washing machine’s bucket was rinsed with the garden hose:

Bucket rinsed with garden hose

The backwoods washing machine’s lid was rinsed with the garden hose:

Lid rinsed with garden hose

The backwoods washing machine’s plunger-agitator was rinsed with the garden hose:

Plunger-agitator rinsed with garden hose

At this point, the backwoods washing machine components were allowed to dry, and the backwoods washing machine was put away until the next use.

The laundry was hung on the clothesline:

Laundry hung on clothesline

In order to rinse the laundry, the garden hose was used to spray clean water on the laundry hanging on the clothesline:

Laundry being sprayed with clean water from garden hose

At this point, the laundry on the clothesline is dripping water:

Water dripping from laundry on clothesline

The bottoms of the various pieces of laundry were hand-wrung at their bottoms in order to remove the rinse water:

Laundry on clothesline hand-wrung to remove rinse water

As the laundry dries and become less heavy, they begin to get caught in the breeze:

Drying laundry beginning to catch the breeze

And depending on the amount and strength of the breezes and the winds, the laundry can really get caught in the wind:

Laundry really getting caught in the wind

As the laundry dried, it was taken off the clothesline …

Dried laundry taken off the clothesline

… while the rest of the laundry remained on the clothesline to continue drying out:

Rest of laundry continuing to dry on clothesline

Ah, the wind picked up quite a bit again, making the remaining laundry on the clothesline really get caught up in the wind:

Laundry really caught up in the wind

As the dried laundry was taken off the clothesline, it was folded up, ready for their next use:

Folded laundry

Although the backwoods washing machine has its limits regarding just how much laundry it can wash at once or just how well it deals with ground-in dirt, it is quite effective at washing regular albeit small loads, and is quite useful in situations in which more modern and convenient, automatic washing machines are not conveniently available!