
My mom has been making a rhubarb chutney (of the British variety, not the Indian variety) since I was young, and she has loved it as long as I remember. Every year, she would harvest the rhubarb growing in her garden and make at least one batch per season, or two, or even three, depending on the yield.
I have been saying for years that I should learn how to make the chutney for her, although it has taken until this year before I finally consulted her recipe card and notes. The recipe I present here is adapted from (and very closely tracks) the recipe on my mom’s recipe card with several years’ worth of notes. The recipe on the card, if my recollection of her stories is accurate, is apparently derived from a recipe developed by her church ladies’ group in the early 1980’s, and which was possibly assigned to her after one of their canning sessions with a request to make some at home for an upcoming fall bazaar’s preserves’ table. It also incidentally is identical in ingredients and comparable in amounts to a recipe found on the internet for a barbecue sauce … so go figure.
Mom eats it as a condiment to various dishes, such as roast pork, chicken pot pies, shepherd’s pies, and many other dishes … basically, despite its sweet nature, it is also savoury, and pairs well with a number of savoury dishes.
Making the rhubarb chutney:
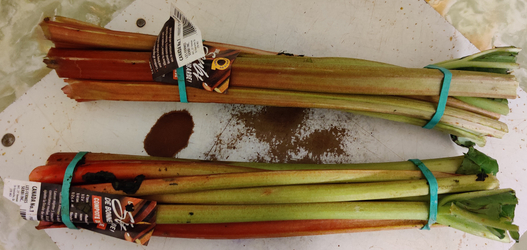
First, I took out two groupings of commercially grown rhubarb, in this case, about nine stalks each:
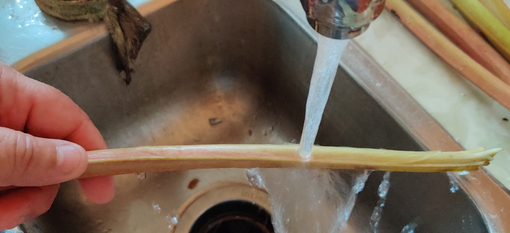
The individual stalks of rhubarb were washed:
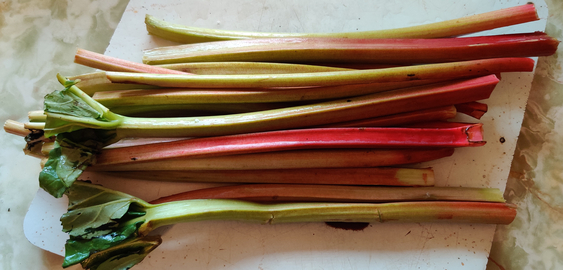
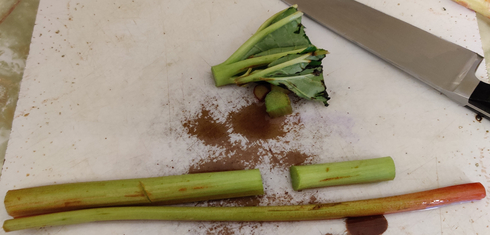
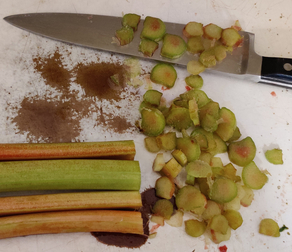
The rhubarb stalks were trimmed of their ends, leaves, and as the case may be, torn or damaged parts:
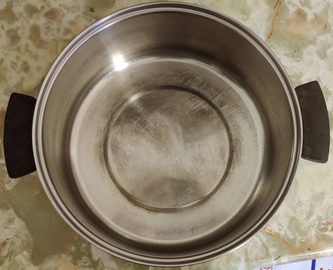
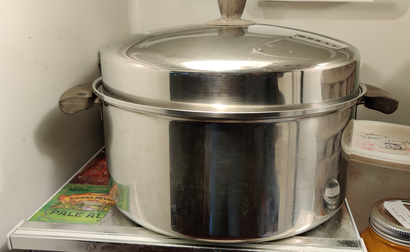
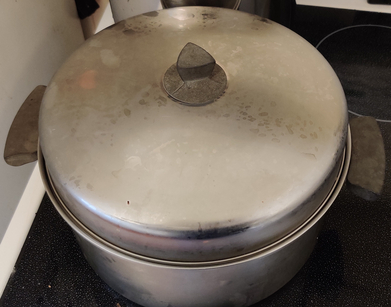
A non-reactive stainless steel pot (yes, there are some cheap stainless steel pots which will react with acid contents!) was taken out, and put to the ready beside the cutting board:
The rhubarb was sliced into 1/4″ to 1/2″ slices:
The chopped rhubarb was transferred to the stainless steel pot as sufficient amounts accumulated on the chopping board:
Once all the rhubarb was chopped and transferred to the pot, to be sure of the amount of rhubarb I had chopped was enough for the recipe, I measured it out …
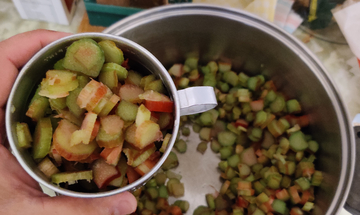
… and placed it in a bowl:
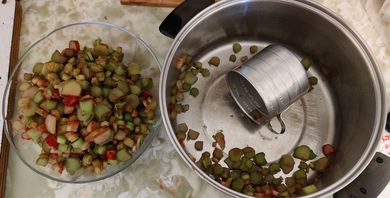
Once measured out, the rhubarb was placed back in the stainless steel pot.
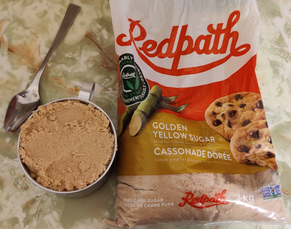
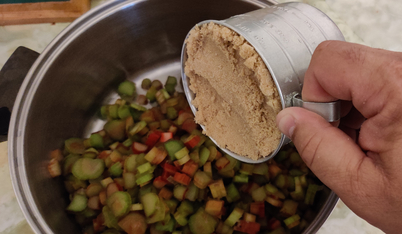
Next, packed brown sugar was measured out:
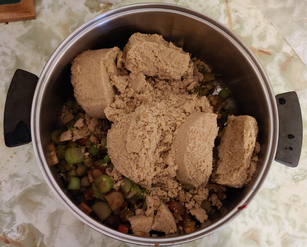
The brown sugar was added to the chopped rhubarb:
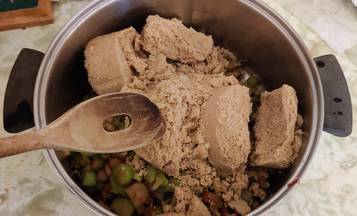
The chopped rhubarb and brown sugar were mixed with a wooden spoon:

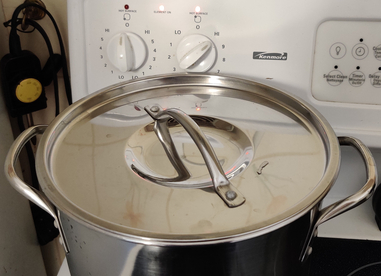
The chopped rhubarb and brown sugar mix was covered with the stainless steel pot lid:

The stainless steel pot with the rhubarb and brown sugar mix was placed in the refrigerator overnight:
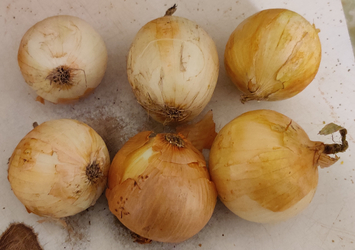
Onions were taken out:
The onions were trimmed:

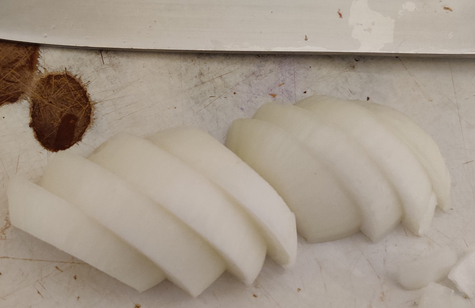
The onions were sliced into half-coins:
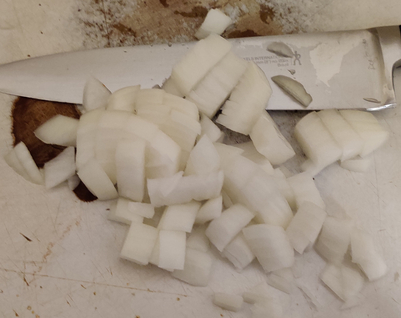
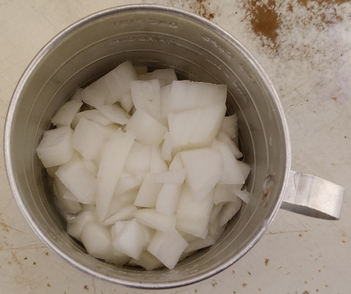
The onions were coarsely chopped:
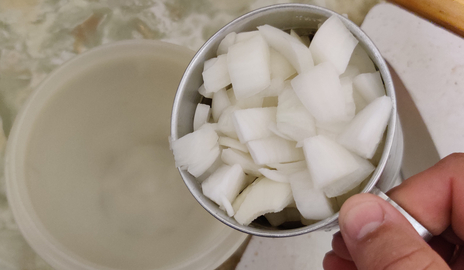
The onions were transferred to a measuring cup to keep track of how much onions I had:
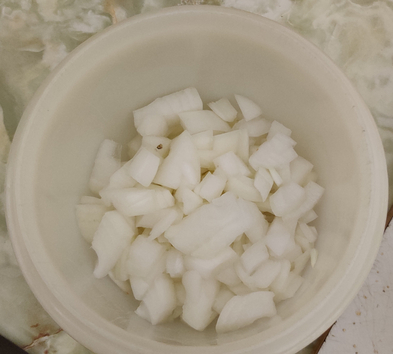
The chopped onions were transferred to a sealable container:
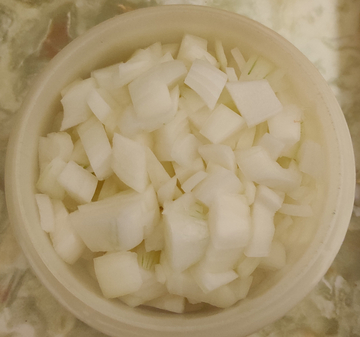
The container of onions was covered and placed in the fridge until the next day.
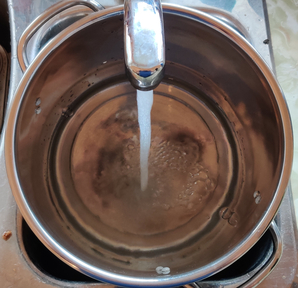
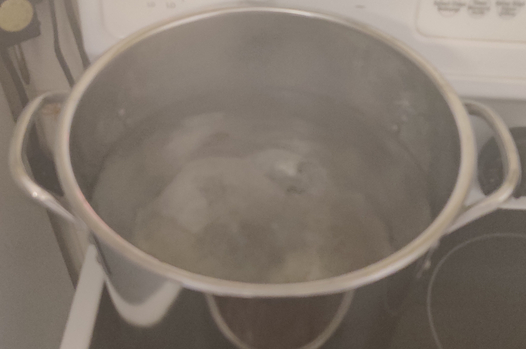
The next day, the first thing done was to fill a pot with water, for use later as a boiling water bath for the mason jars used to bottle the chutney:
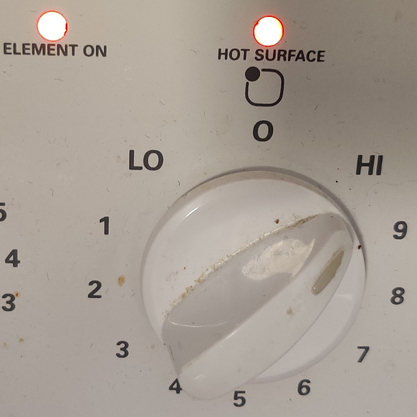
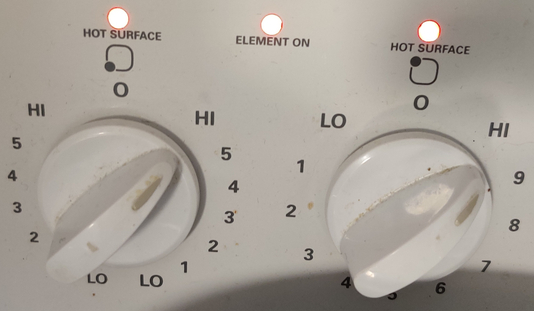
A burner on the stove was turned on:
The pot of water was placed on the stove to bring it to a boil:
The pot of rhubarb and brown sugar was taken out of the fridge:
Another burner on the stove was turned on:
The pot of rhubarb and brown sugar was placed on the stove:
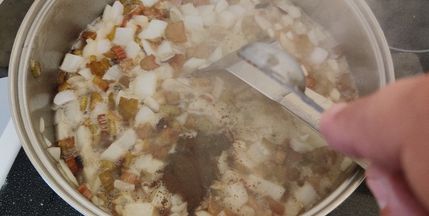
As the mix began heating up, it was mixed to loosen some brown sugar at the bottom of the pot:
Throughout the following process, the mix was constantly stirred in order to avoid burning at the bottom of the pot.
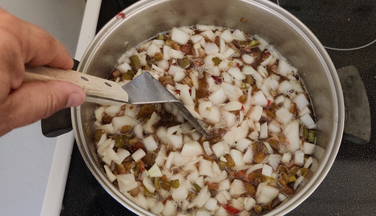
The chopped onions were added to the pot:
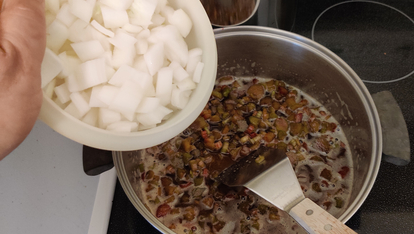

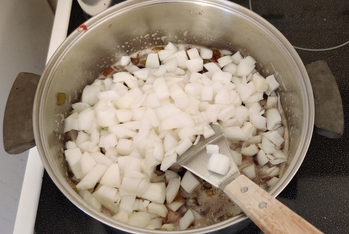
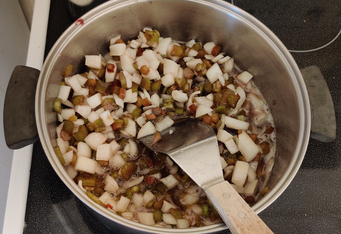
The ingredients were mixed together:
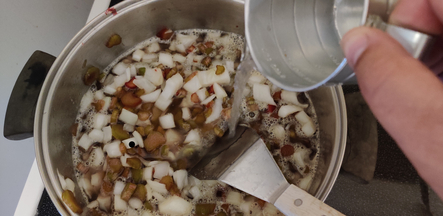
Vinegar was measured out:
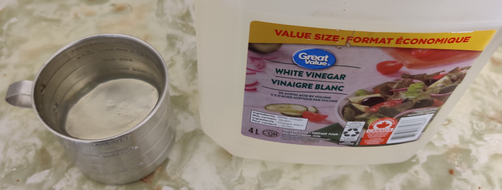
The vinegar was added to the pot:
The ingredients were yet again mixed together:
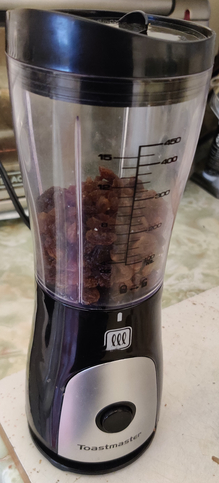
Raisins were measured out:
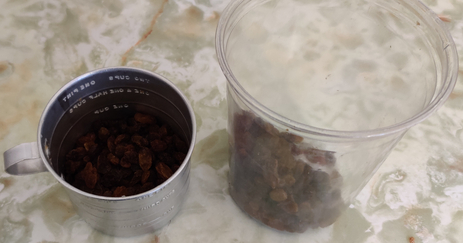
The raisins were placed in a small blender, to coarsely chop them:
The raisins were chopped:
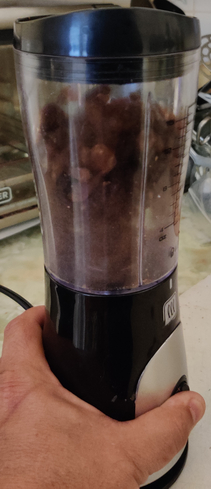

The chopped raisins were added to the pot:
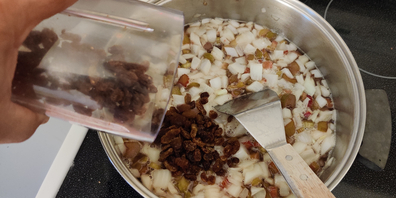
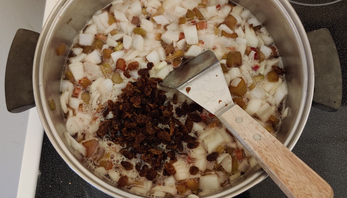
The raisins were mixed in with the rest of the ingredients.
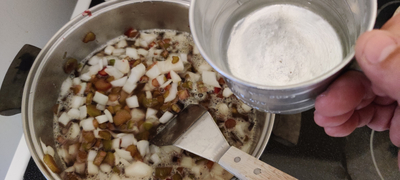
Ground cloves were measured out:
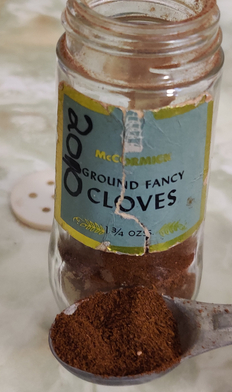
The ground cloves were added to the pot:
Ground cinnamon was measured out:
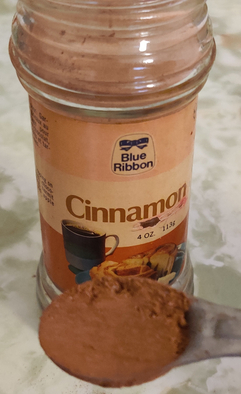
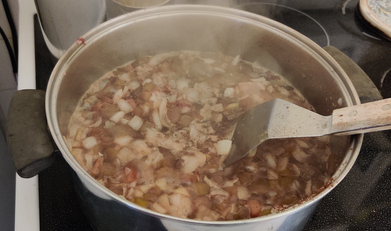
The ground cinnamon was added to the pot; as evidenced by the rising steam, the ingredients were heating up nicely:

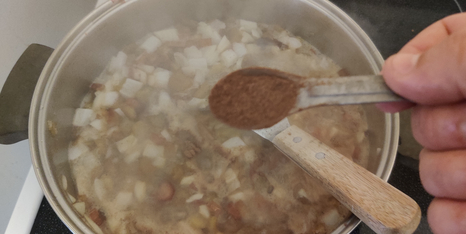
Ground allspice was measured out:
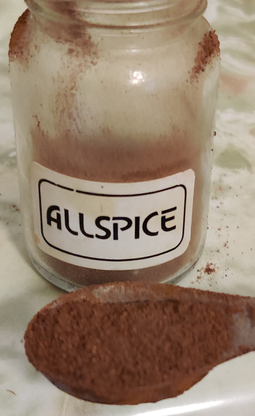
The ground allspice was added to the pot:
At this point, the chutney was starting to boil, and, for reference, two hours was set on the stove timer (because the original recipe called for two hours of simmering):

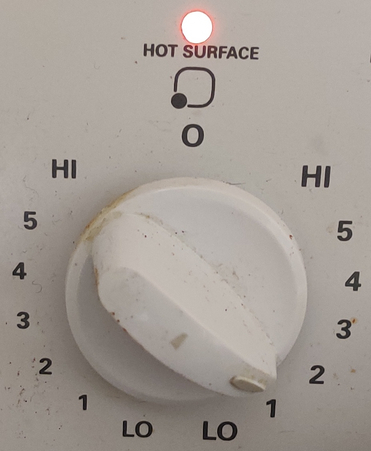
The stove burner was turned down to a low setting:
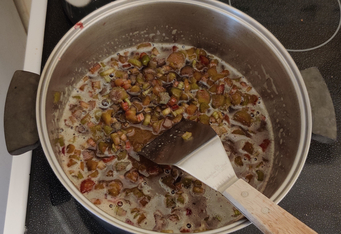
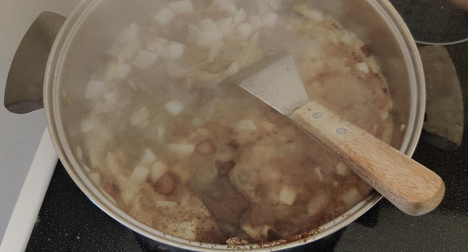
The ingredients were constantly stirred in order to avoid burning and sticking on the bottom of the pot:
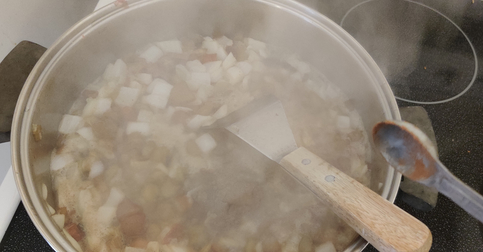
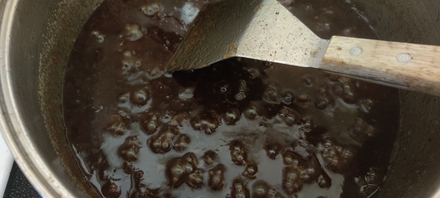
After about half an hour of simmering …

… this is what the chutney looked like:
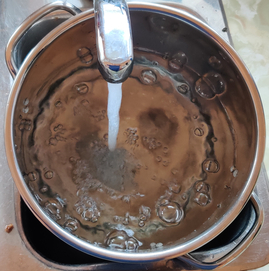
At this point, the pot of water for sanitizing the jars came to a boil and its burner turned off:
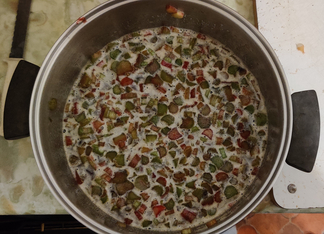
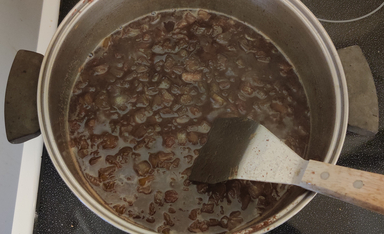
After about an hour of simmering …

… this is what the chutney looked like, and was at the point of being syrupy:
As such, I knew I wasn’t going to need to continue simmering the chutney for another hour.
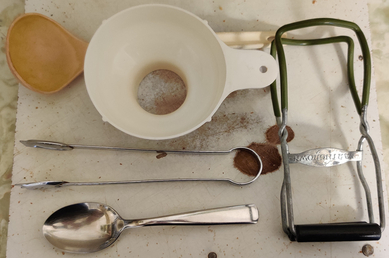
Canning tools were taken out: a ladle, a jar funnel, tongs, a large spoon, and a jar wrench:
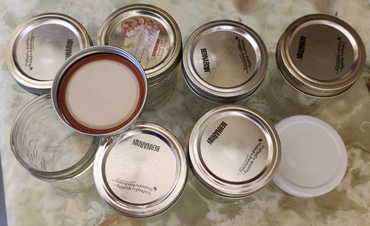
Mason jars, rings, and lids were taken out — and yes, I used good condition used lids for this batch, since I had no intention of giving away any of the jars:
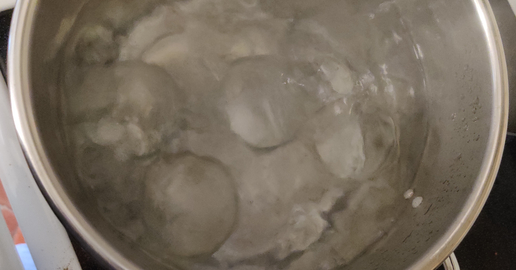
The water for the water bath was brought back to a boil, and mason jars were placed in the boiling water:
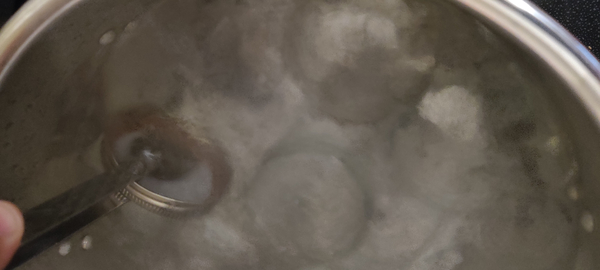
The canning funnel was quickly dipped in the boiling water to sanitize it:

Unfortunately, at this point, I could not take as many photos, in order to quickly fill the jars while the chutney and jars were still hot, and create a proper seal with the lids.
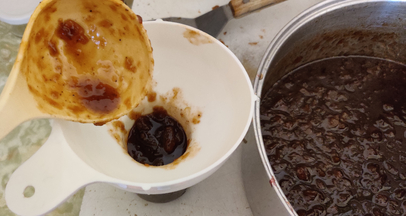
The chutney was taken off the stove; a mason jar was taken out of the boiling water, and the jar was filled with chutney:
A mason jar lid and ring were dipped in the boiling water:
The lid and ring were placed on the mason jar and the ring tightened.
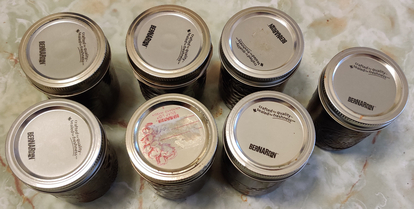
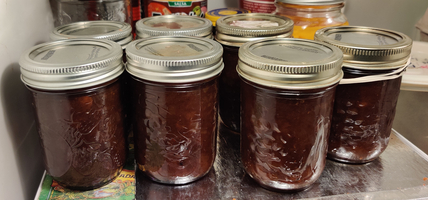
The process was repeated until all the chutney was bottled, in this case, filling seven jars:
The jars were placed in the fridge to cool down a little more quickly:
Afterwards, labels were placed on the jars, and the jars were placed in the cupboard.
And … Mom loves it, and has even whispered “it’s better than when I make it!” … no doubt (at least) a mild exaggeration. 🙂