
I learned how to make home-made wine during a university microbiology course in 1990, and I quickly picked up the hobby. After many years, I picked up making beer, to the pleasure of many friends over the years at local Canada Day celebrations.
Incidentally, while this page follows the preparation of beer from beer concentrate kits, the process is almost identical for making wine from wine concentrate kits.
The photos shown below cover a period of nine weeks, starting in early March, 2023, through to bottling the beer three weeks later at the very end of March, and taste testing the beer about six weeks after that — nine weeks total — in mid May, 2023. Normally, my “official” answer to “How long does it take to make beer?” is “A minimum of six weeks. Don’t believe the instructions when they say two, or three, or four weeks. Just don’t.” (Wine from kits takes about eight to nine weeks minimum.)
Making the beer:
The following is showing a very detailed progression of making beer using two kinds of beer concentrates, a blonde beer, and a brown ale. The narrative of this page will be primarily following the preparation of the blonde beer.
Day one:
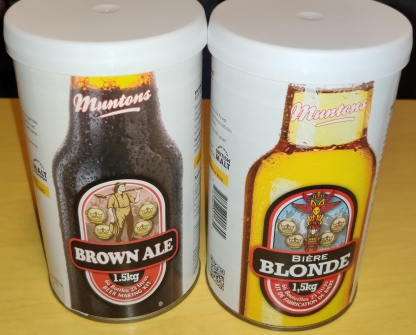
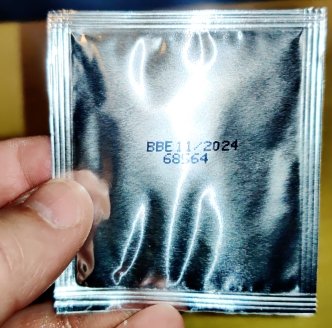
First, a couple of kinds of beer concentrate kits were purchased, for a brown ale, and for a blonde beer.
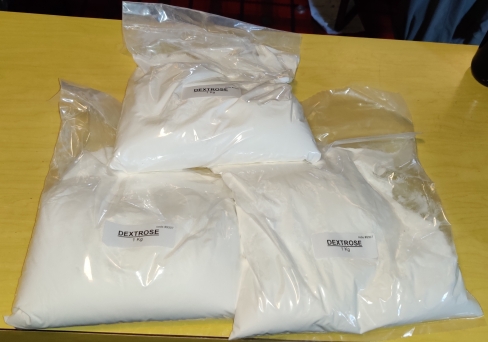
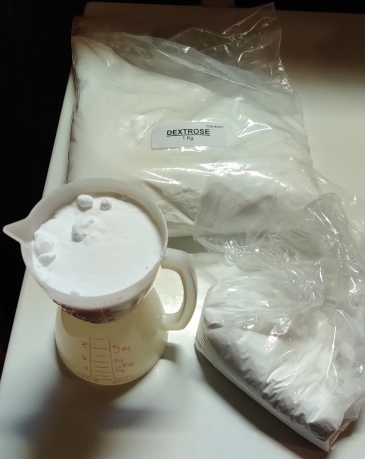
Since beer concentrate kits often do not contain fermentable sugars, 1kg bags of dextrose were also purchased at the same time; in this case, about a bag per batch will be used, to produce a bit less than 5% alc/vol given the amount of beer I will be making (although I am not particular at all on this point beyond not wanting the alcohol content to be significantly different either way.)
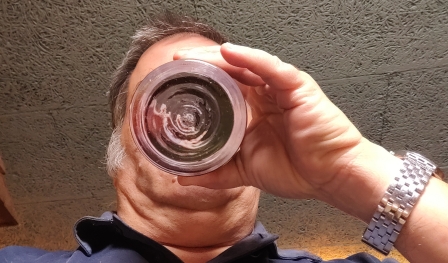
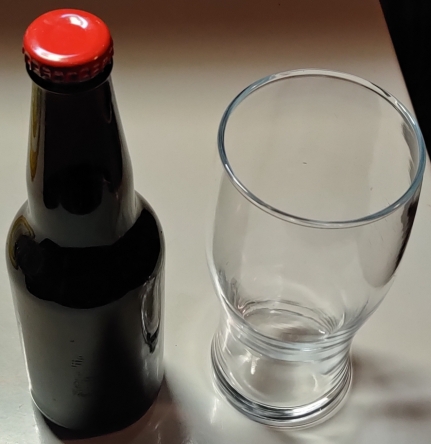
Having brought the beer concentrates and dextrose home, the first thing I did was take out a beer from a previously brewed batch of beer:
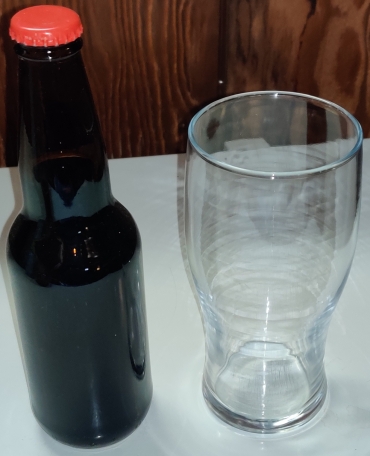
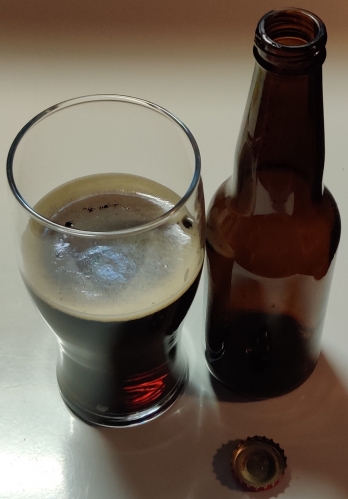
The beer was poured into the glass:
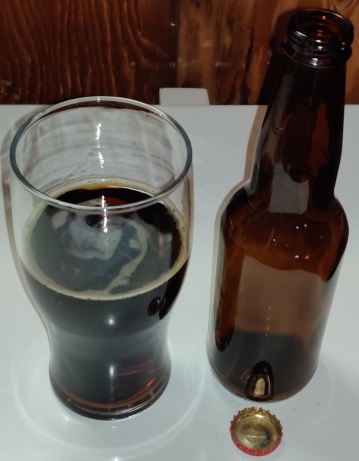
… and the beer was enjoyed:
On to making new beer:
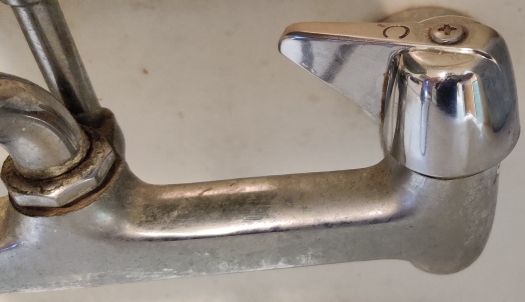
The aerator on the tap in the laundry tub was removed:
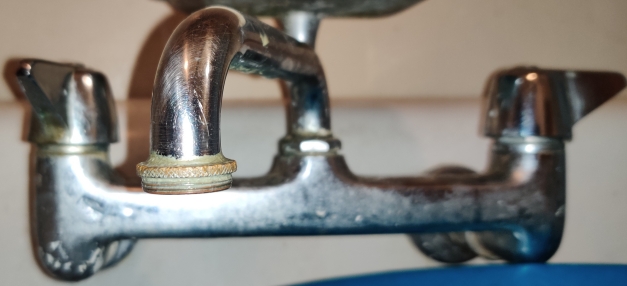
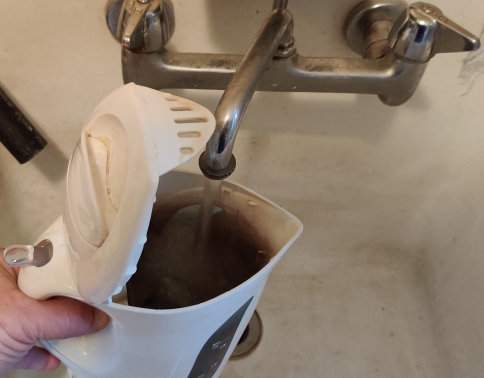
A five (imperial) gallon water jug was placed under the tap:
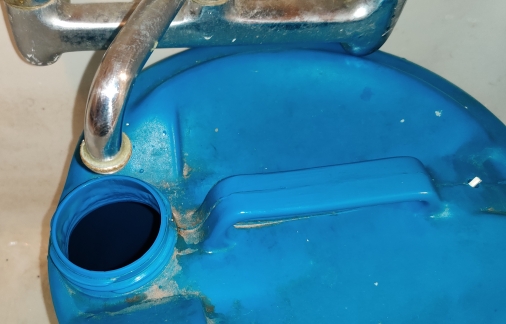
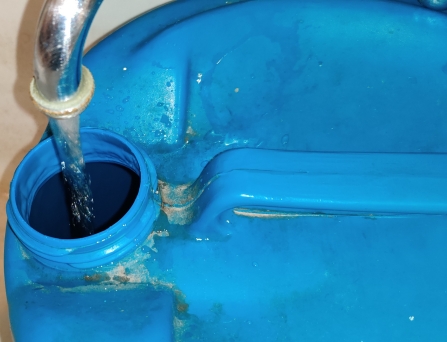
The water was turned on, and the jug filled with water …
While the jug was filling with water, a plastic cloth was laid out on the floor:

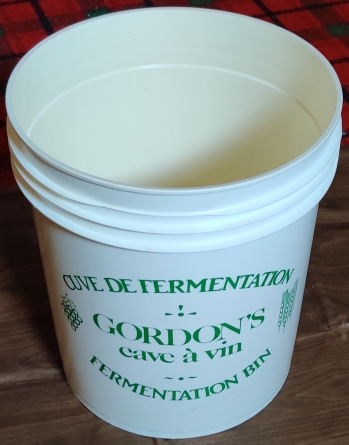
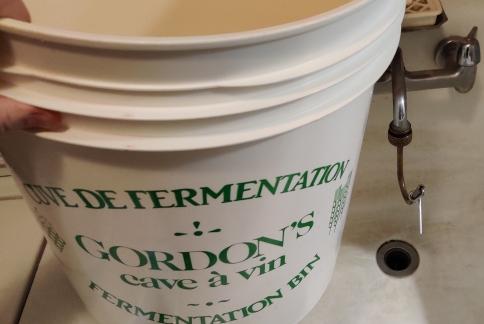
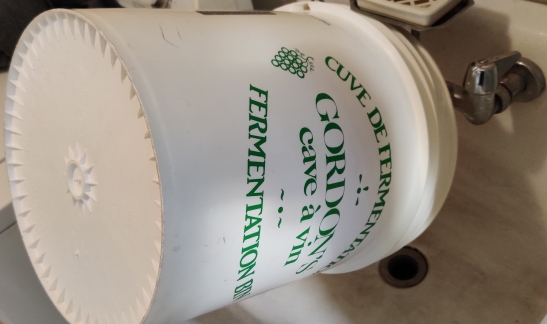
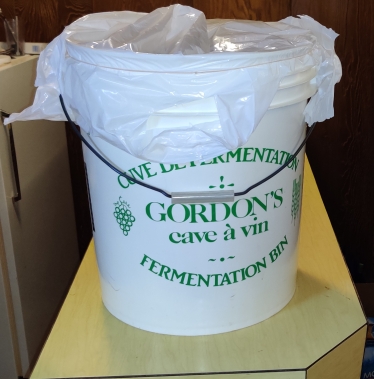
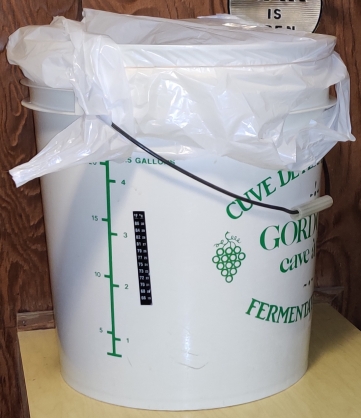
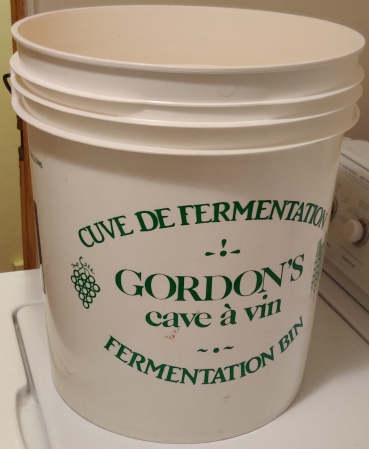
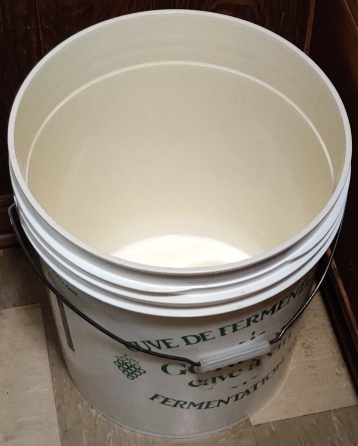
A fermentation bin was taken out (incidentally, the original bin I bought back in late 1990 when I started making wine):
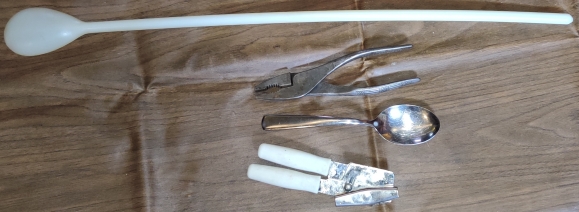
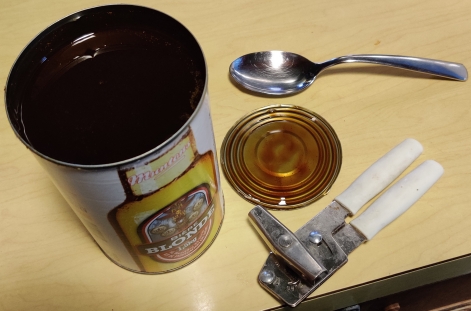
A large stirring spoon, pliers, a large spoon, and a can opener, were taken out:
The now-filled water container was brought out to the plastic cloth:
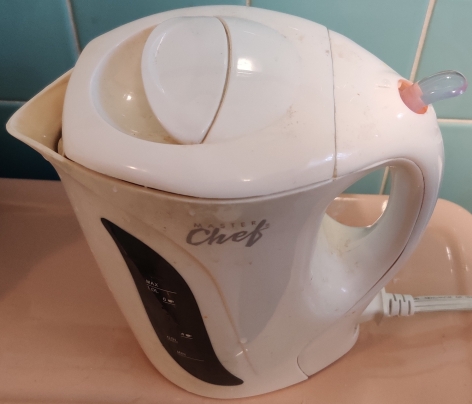
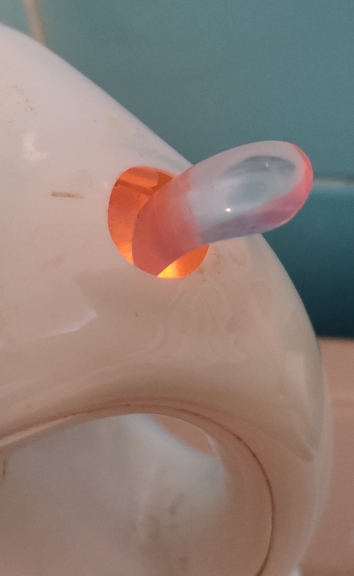
A kettle was filled with water …
… the kettle was plugged in …
… and finally the kettle was turned on:
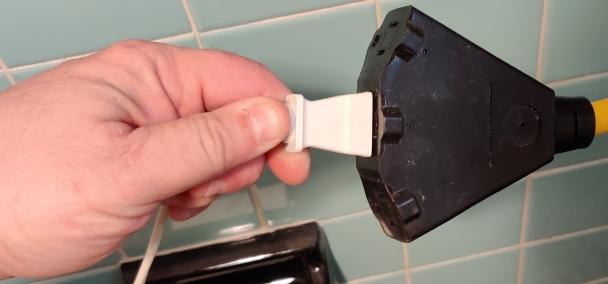
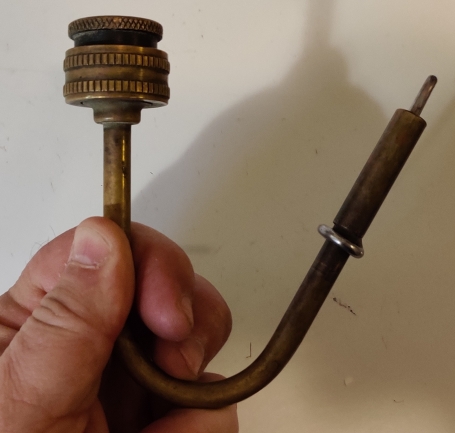
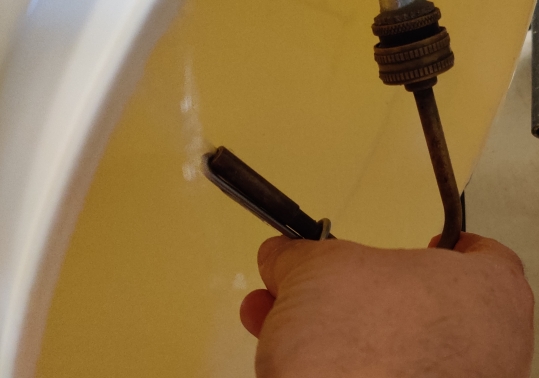
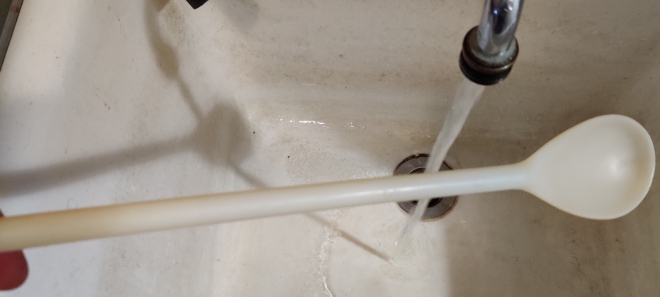
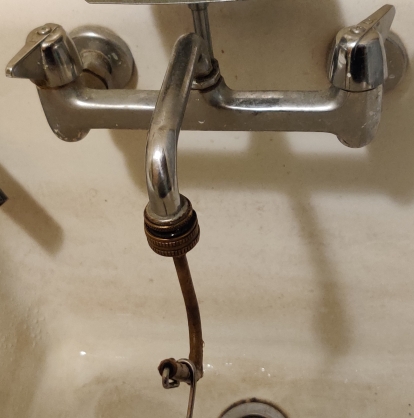
A jet washer was taken out …
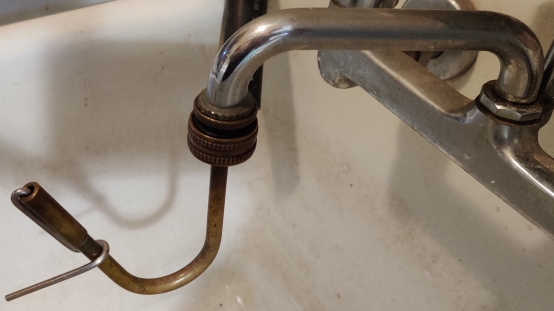
… and the jet washer was attached to the tap in the laundry tub:
The tap was turned on again:
The aforementioned fermentation bin was brought to the laundry tub …
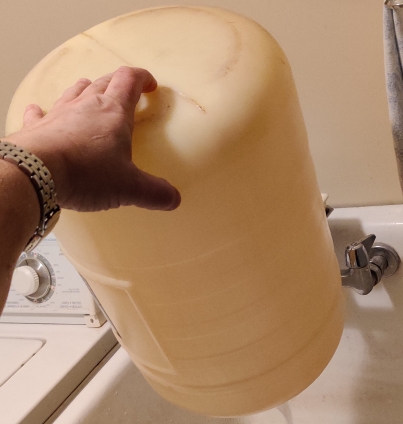
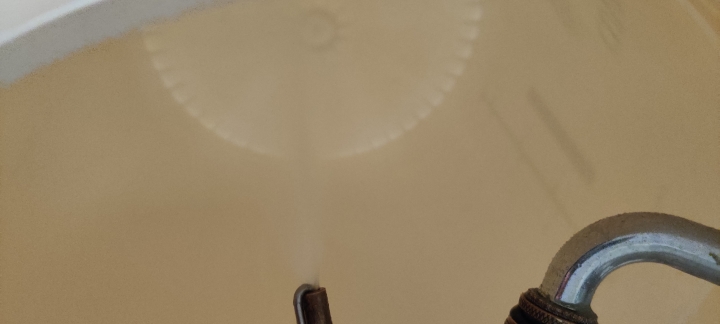
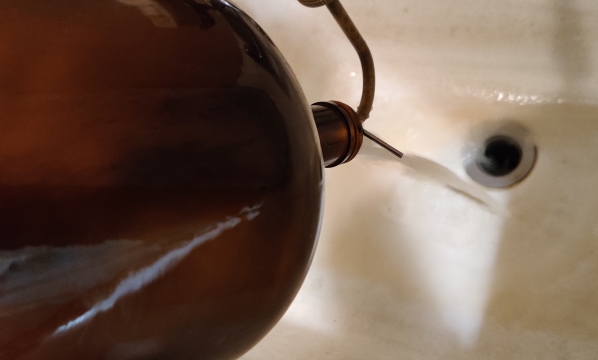
… then the fermentation bin was placed over the jet washer …
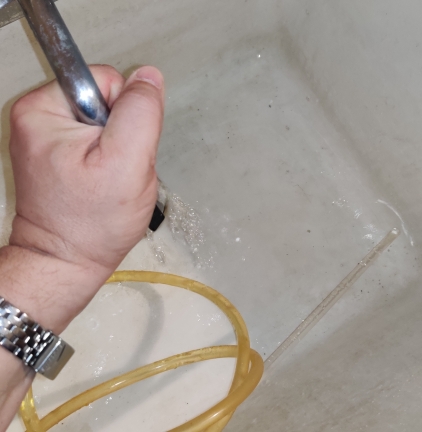
… and I used a finger to activate the jet washer to rinse out the (previously cleaned) fermentation bin:
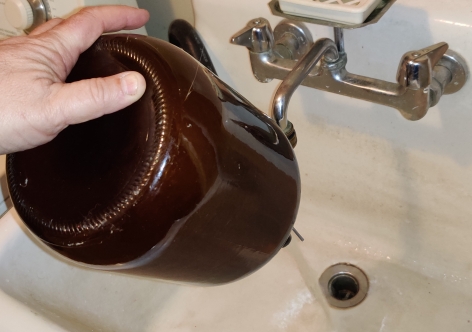
At this point, I took advantage of the moment to jetwash the emptied beer bottle from earlier:
… which was then placed in the dishwasher along with my other dishes, to clean for future bottling purposes (see later on).
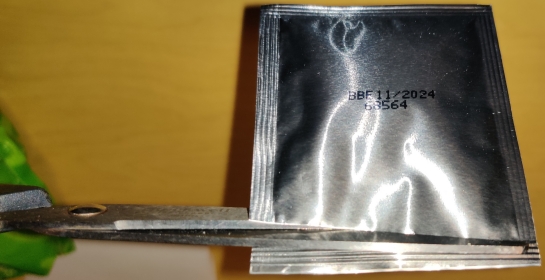
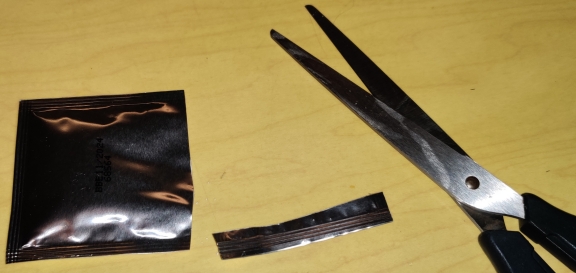
Scissors were taken out:
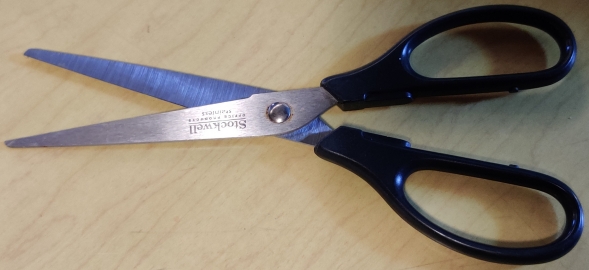
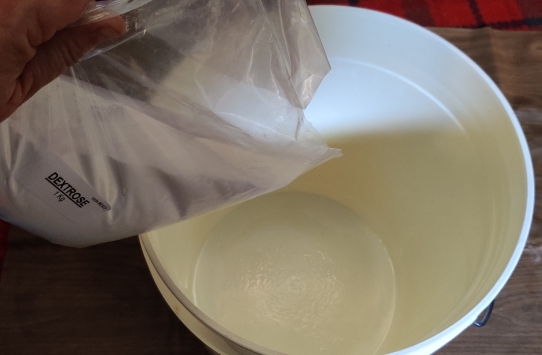
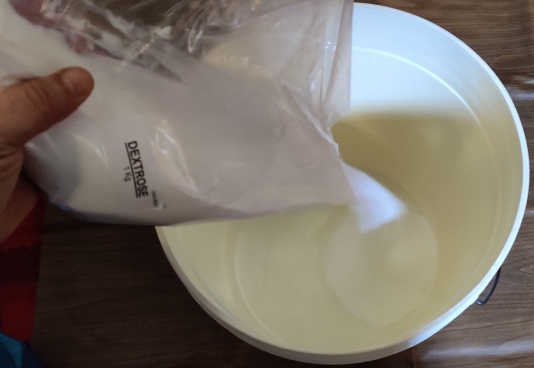
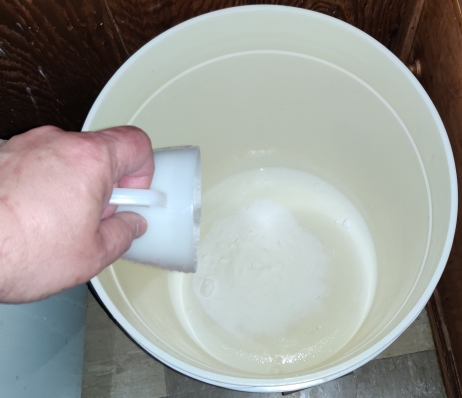
The scissors were used to open a bag of dextrose:
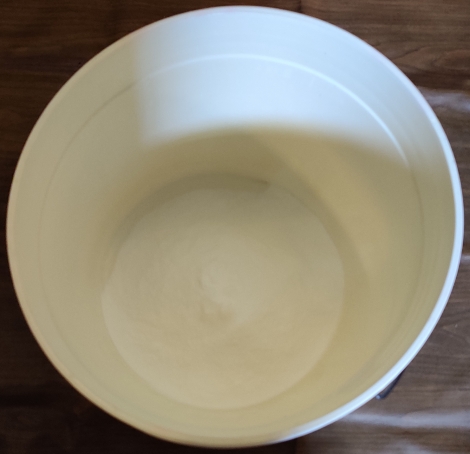
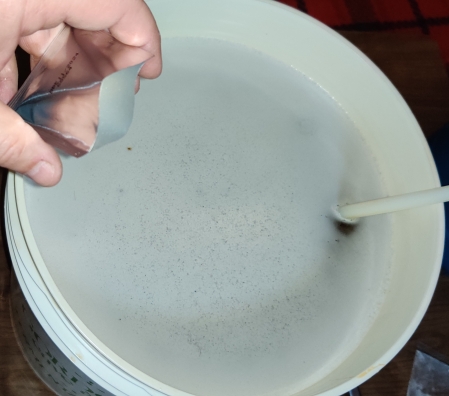
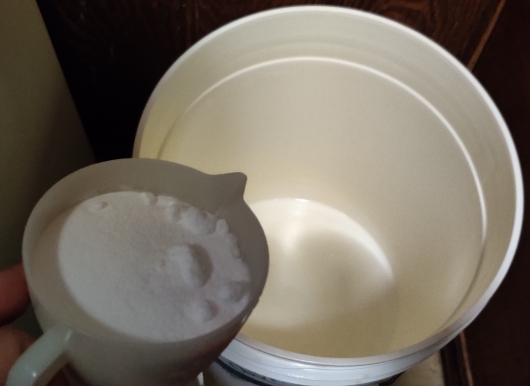
The full contents of a bag of dextrose were poured into the fermentation bin, which was brought back to the plastic cloth:
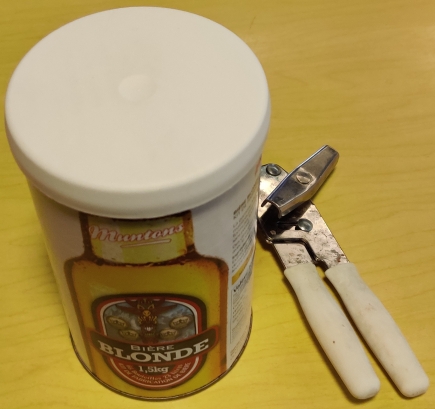
A can of beer concentrate, for the blonde beer, and the can opener, were taken out.
The plastic top was removed from the can, revealing a yeast packet and the kit’s instructions.
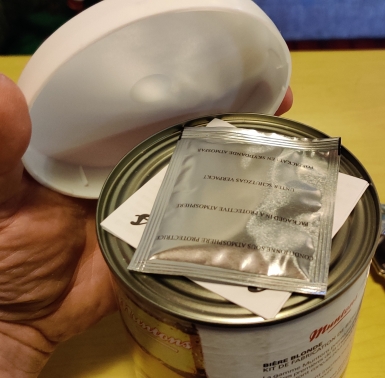
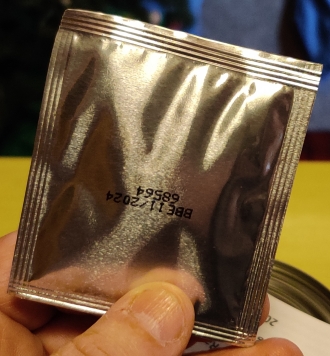
The yeast packet was taken out …
… as were the instructions:
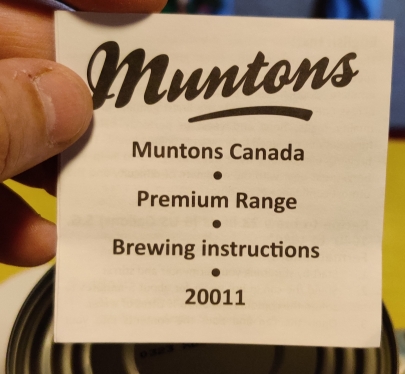
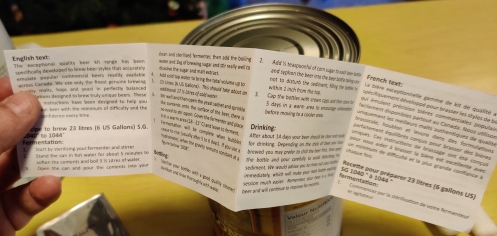
Note that while I generally follow the instructions, I apply my own fine tuned procedures. 🙂
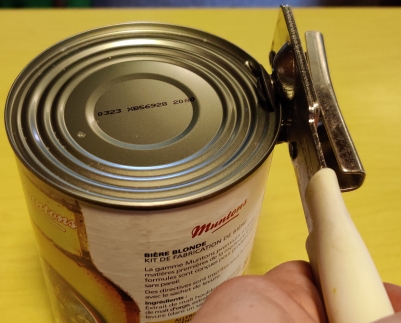
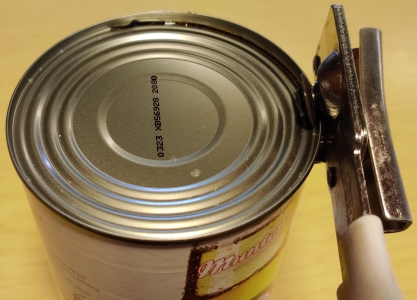
The can opener was used to open the can of beer concentrate:
A spoon was used to remove the top of the can:
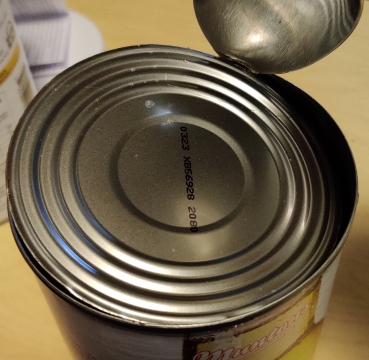
… and the top of the can was finally properly removed:
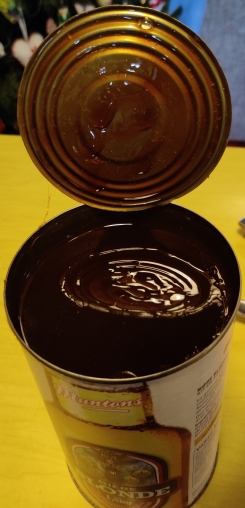
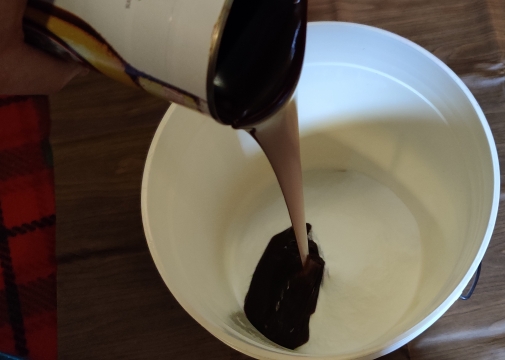
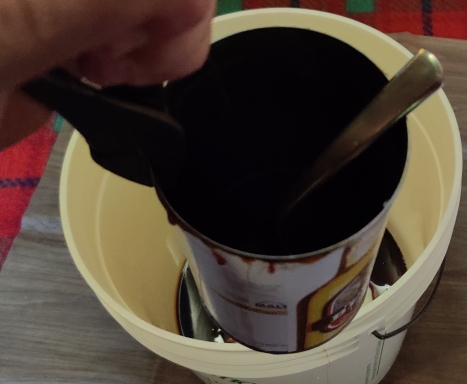
The viscous beer concentrate was poured into the fermentation bin:
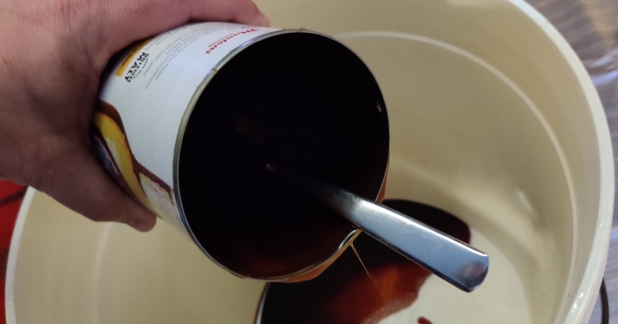
The spoon was used to scrape out the rest of the concentrate from the can:
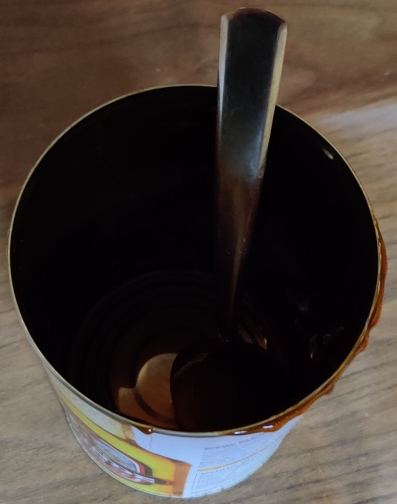
The kettle of water, while still hot, was reboiled, and boiling water was poured into the can:
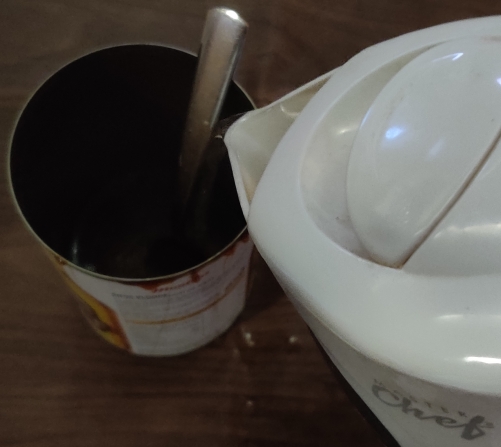
The hot can was picked up with the pliers …
The hot water was swirled around in the can to dissolved the last of the concentrate from the can walls, and the water was poured out and into the fermentation bin:
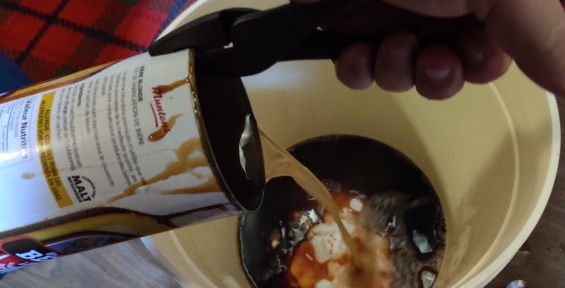
The rest of the boiling water was poured into the fermentation bin:
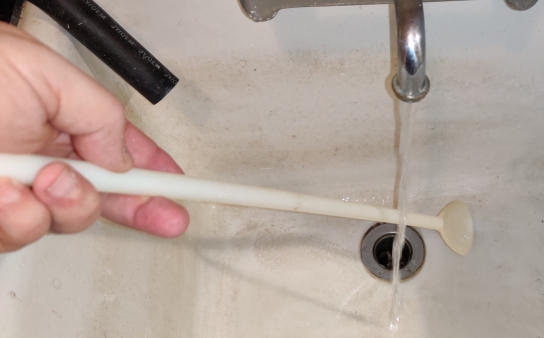
The large plastic stirring spoon was quickly rinsed under the tap at the laundry tub:
The spoon was brought to the fermentation bin:
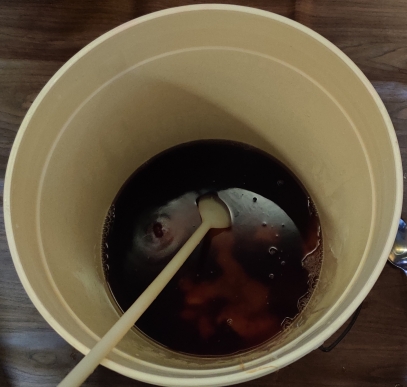
… and the hot water, beer concentrate, and dextrose were thoroughly mixed:
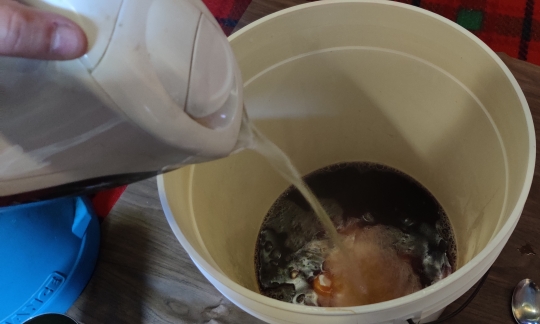
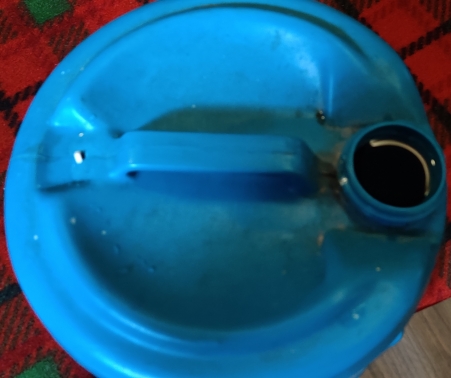
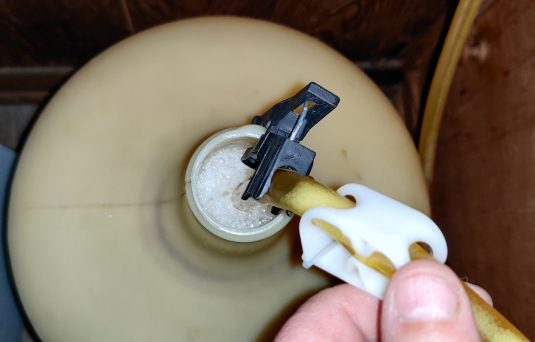
The plastic tap placed on the water jug was removed:
The water in the jug was poured into the fermentation bin with the other ingredients:
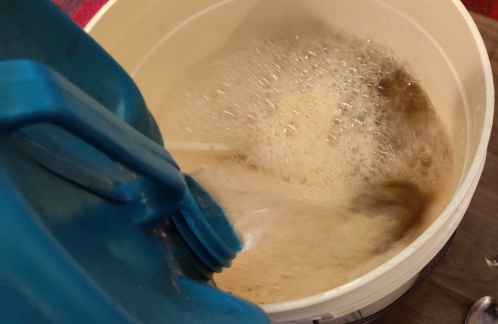
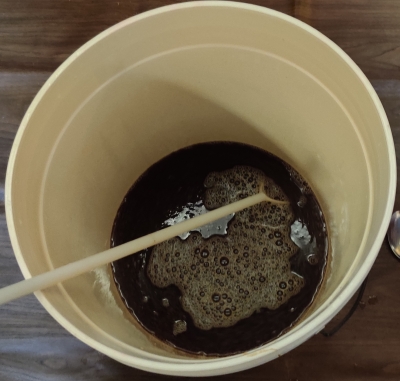
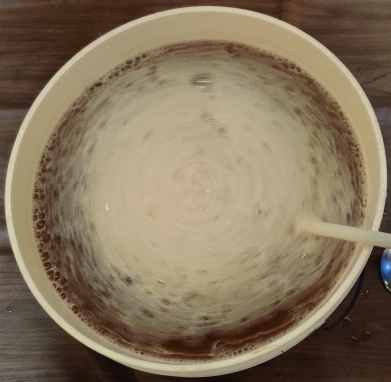
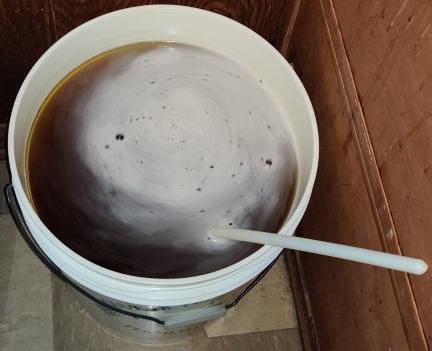
At this point, all the ingredients are called wort (pronounced “wurt”), and the wort was mixed with the big plastic spoon:
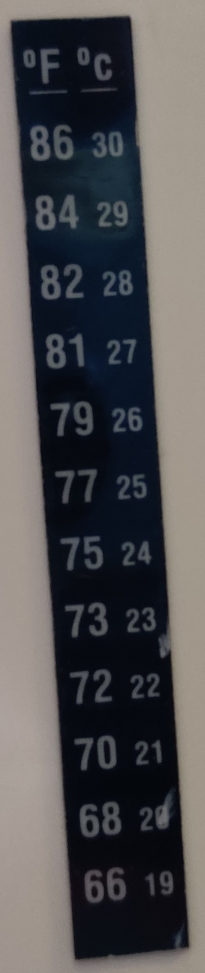
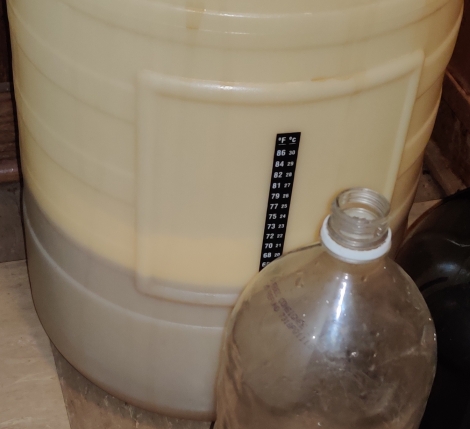
The temperature on the thermometer stuck onto the side of the fermentation bin was checked, and the wort temperature had not yet risen come up to fermentation range (one of the temperature ranges would be highlighted were it the case):
Despite this, and knowing that the water temperature was below optimum range, as opposed to too warm and dangerous to yeast, the yeast packet was taken out:
The yeast packet was cut open with scissors:
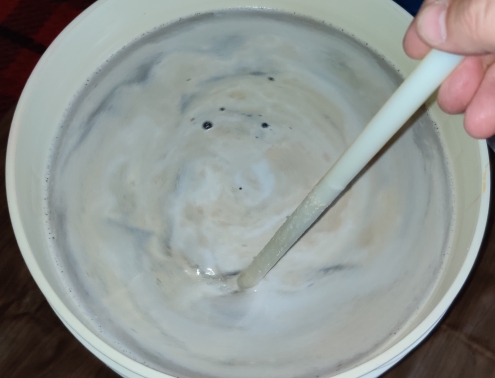
The yeast was pitched into the wort (ie. sprinkled onto the surface of the unfermented beer):
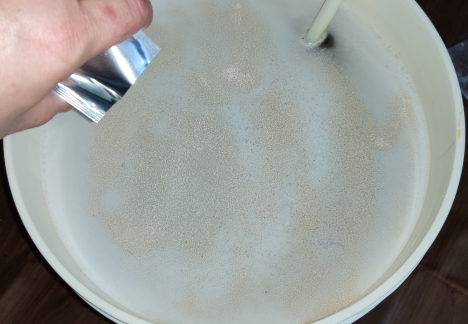
The wort with the yeast was lightly stirred, in order to moisten the yeast and reactivate it:
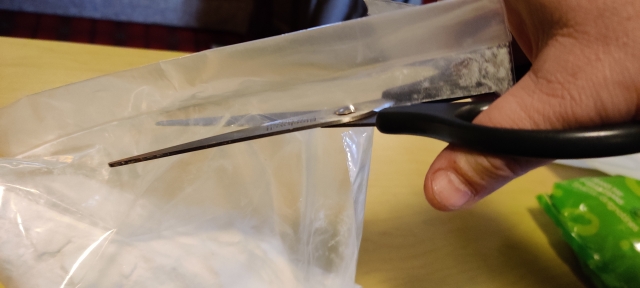
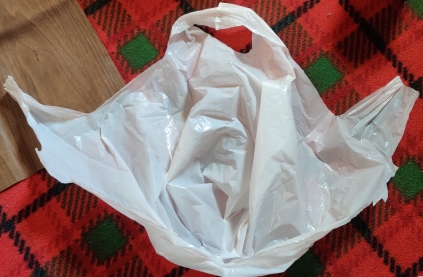
A plastic shopping bag — in fact, one of the bags I’d received when the beer kits had been purchased earlier in the afternoon — was taken out:
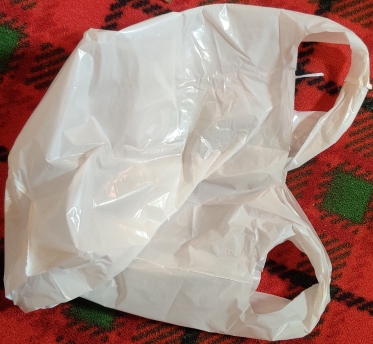
The bag was partially cut so as to allow it to be used as a cover for the fermentation bin:
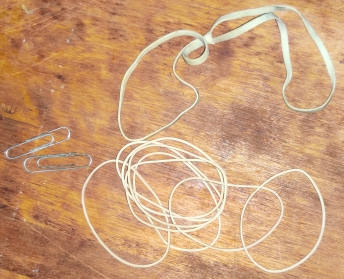
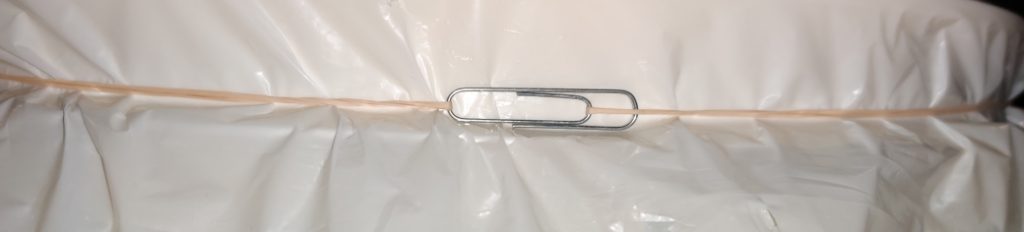
Elastics and paper clips were taken out:
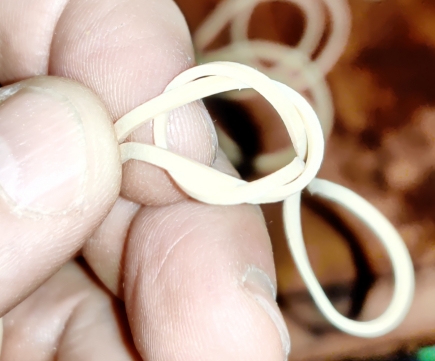
Elastics were looped together:
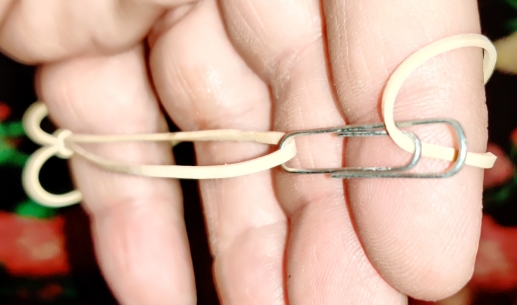
The ends of the looped elastics were joined together with a paper clip to make a “belt”:
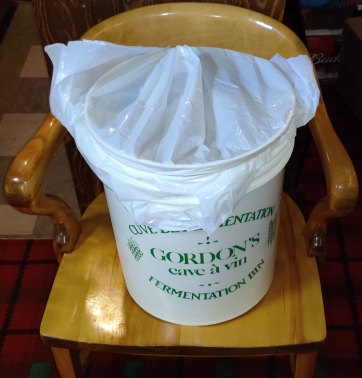
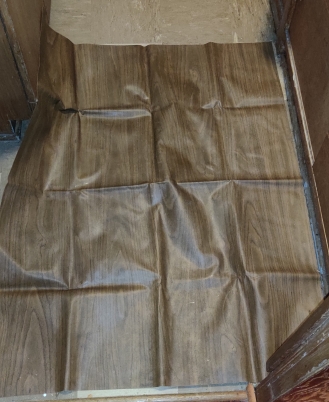
The plastic bag was placed on top of the fermentation bin, covering the wort:
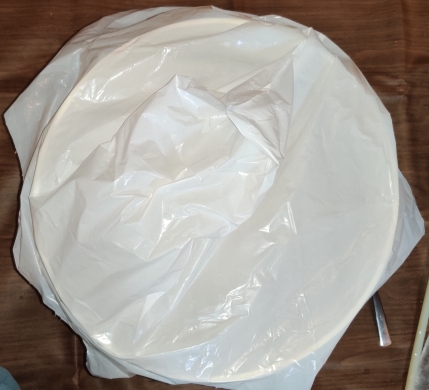
The elastic loop was wrapped around the plastic sheet to keep it in place on the top of fermentation bin:
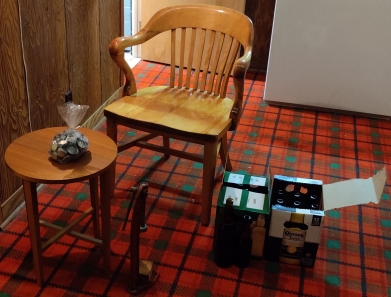
At this point, I had to clear the bar so that I could place the fermentation bin, full of wort, on it:
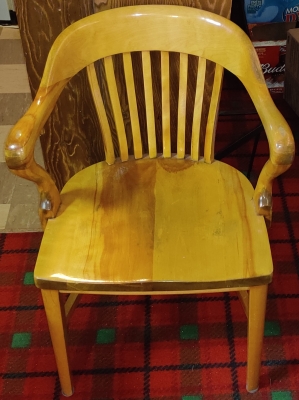
A chair was placed beside the bar, so as to help in raising the heavy fermentation bin full of wort:
The heavy fermentation bin full of wort was lifted off the floor and onto the chair, in order to allow me to get a better hold on the bin while lifting it up to the level of the bar:
The fermentation bin full of wort was then lifted up to the level of the bar:
… and finally, the fermentation bin full of wort was moved to the end of the bar, against the wall:
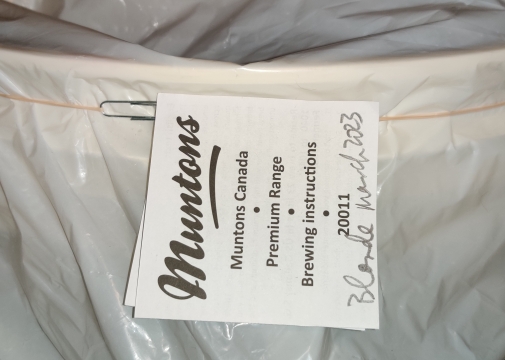
The instructions, principally used as piece of paper on which to identify the type of beer in the fermentation bin, were placed within the elastic loop:
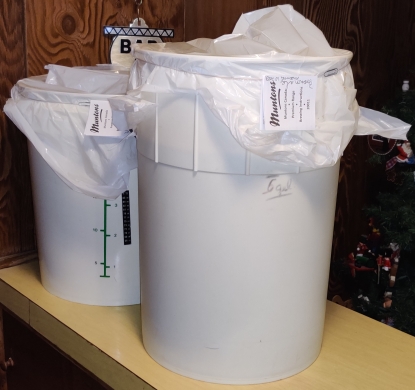
The whole process was repeated for the brown ale beer kit, and producing a second identified fermentation bin filled with wort, placed beside the first bin:
Day two:
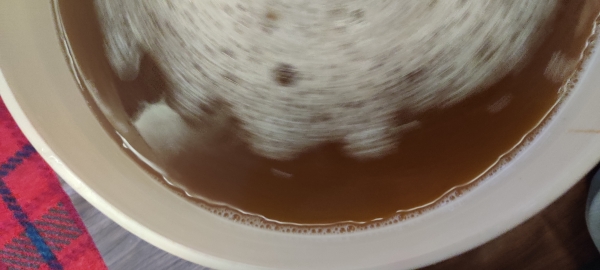
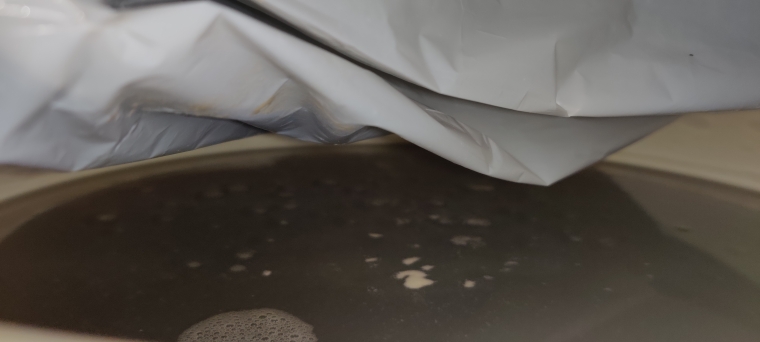
Fourteen hours later (the following morning), I peeked into the fermentation bins, and could see signs of the beginnings of fermentation:
That evening, after about 27 hours had passed, the wort temperature was checked again, and it was barely up to 68F:

… and, at the same time, I peeked again at the wort, noticing more yeast growth:
Day three:
After about 39 hours, I peeked once again at the wort, and the yeast was bubbling away:

Day six:
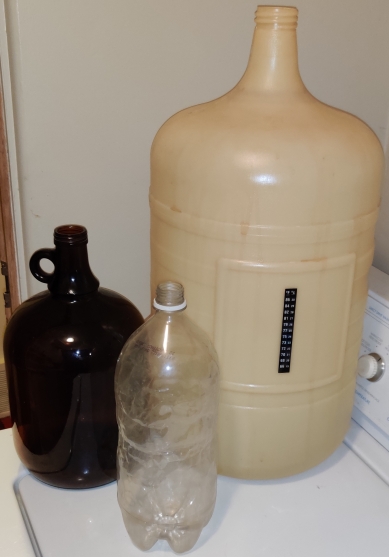
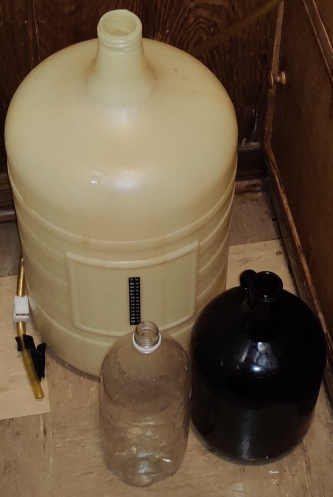
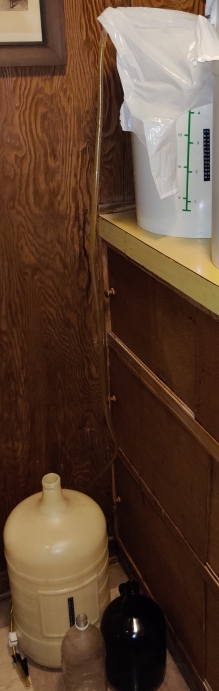
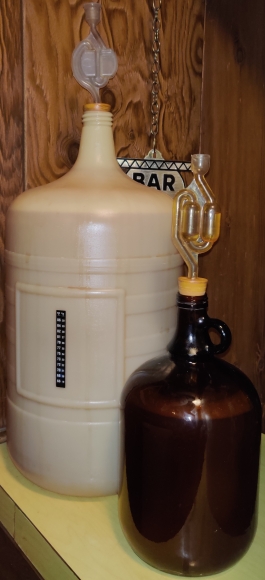
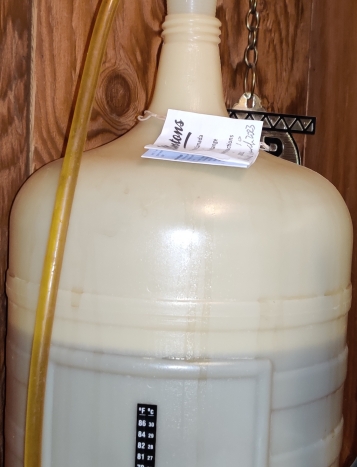
After six days, secondary fermentors were taken out; in this case, a large five gallon plastic bottle, a one gallon jar, and, just in case, a soda bottle for last little bits:
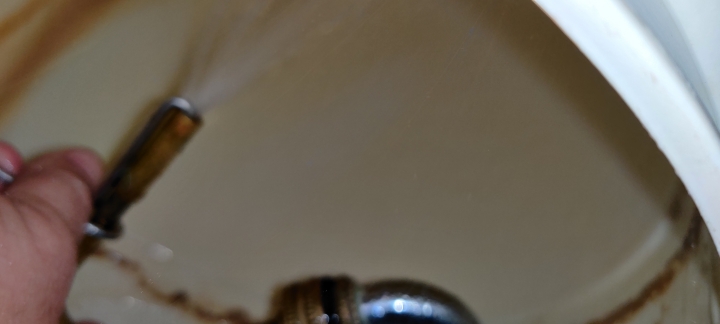
The jet washer was again installed on the tap in the laundry tub:
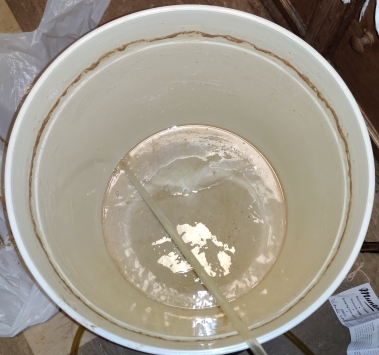
The secondary fermentors were rinsed out with the jet washer:
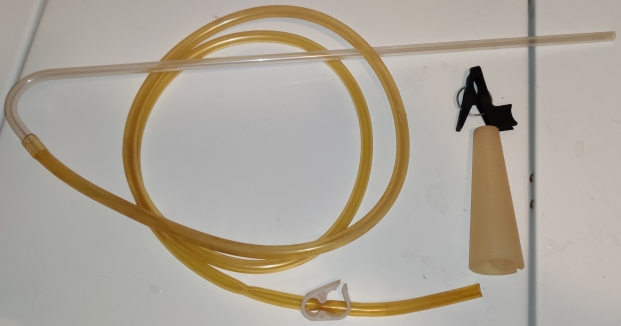
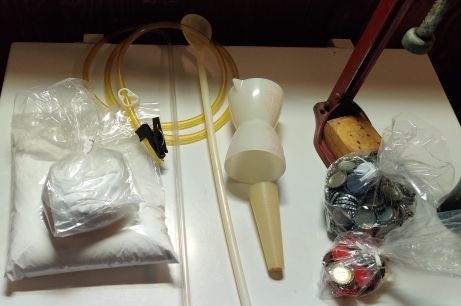
Racking equipment — items used to transfer the now-fermenting liquid easily — were taken out: Plastic tubing, a stiff plastic racking cane, a cone shaped holder to hold the racking cane (including this item was an oops, since I wouldn’t be needing it on this day), and a clip to hold the plastic tubing in place on the edge of the secondary fermentor:
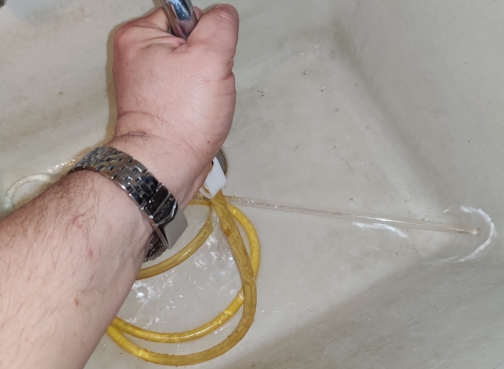
The racking tubes were rinsed with water:
The secondary fermentors were placed on the floor of the bar next to where the fermenting beer was located:
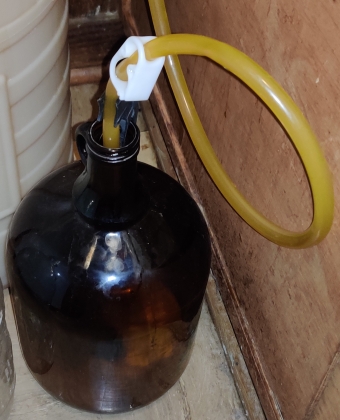
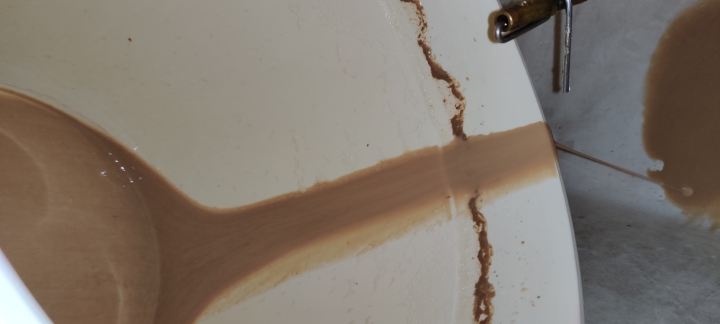
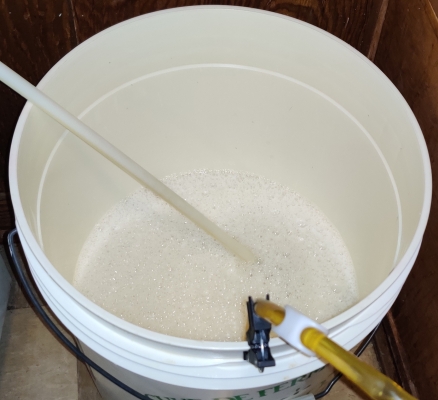
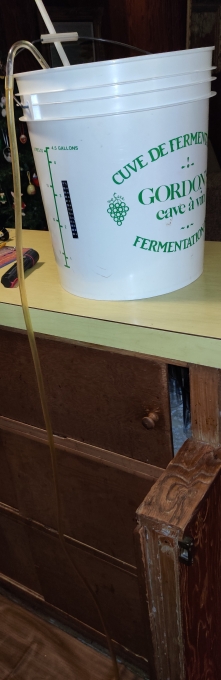
The racking tube was placed in the fermentation bin with the fermenting beer, and leading all the way down to the floor where the secondary fermentors were placed:
The flow of liquid beer was started by sucking on the end of the flexible section of the racking tubing (avoiding to leave any spit!), which was then secured in the neck of the secondary fermentor using the black clip, allowing for the flow of beer from above down below:
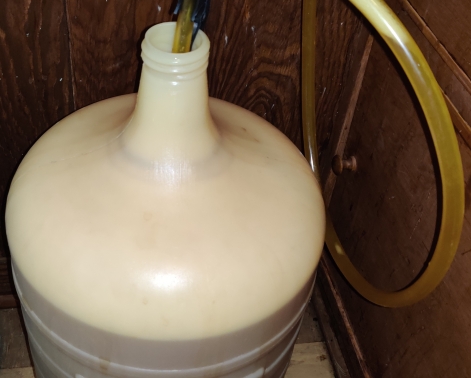
Here is the neck of the racking tube in the fermentation bin, with beer flowing through down to the secondary fermentor:
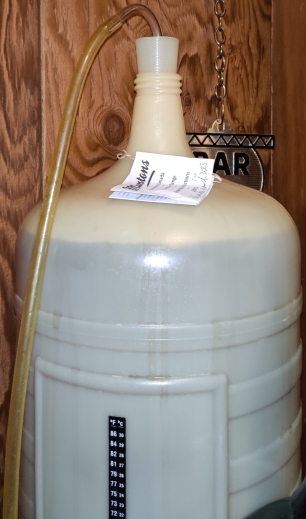
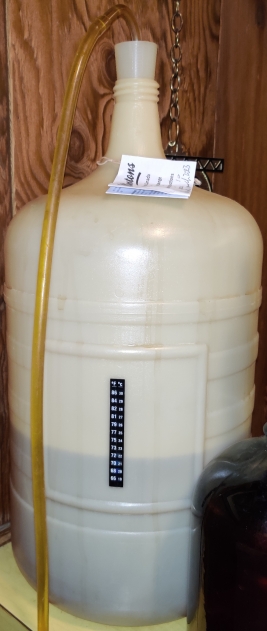
And here’s a photo of the secondary fermentor as it was filling with fermenting beer:
At a certain point when the secondary fermentor was almost full, foam formed up to the top of the secondary fermentor …
… and the racking tubing was transferred to the gallon jug:
At this point, I should explain that during the primary fermentation, the fermentation was sufficiently vigorous to avoid air getting back in, while during secondary fermentation and the following period during which solids drop to the bottom of the secondary fermentor, the rate of gas production is insufficient to protect the beer from oxidation and contamination from the air outside the fermentor.
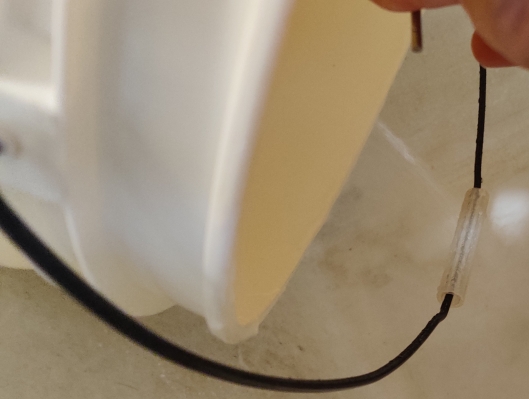
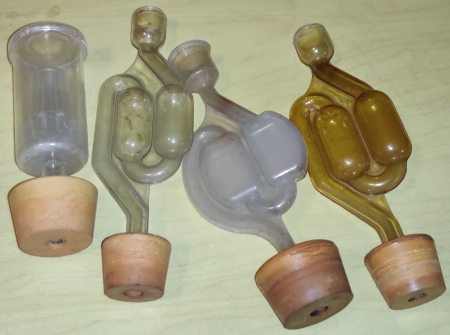
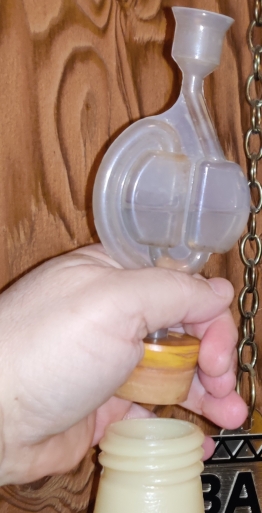
Therefore, airlocks, plugs for the secondary fermentors which allow gas — in this case, carbon dioxide produced by the yeast fermenting the dextrose into alcohol — to escape the secondary fermentors while keeping air from getting back in, were taken out:
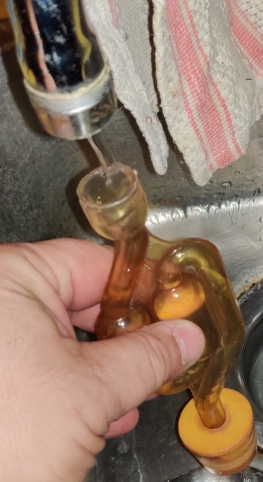
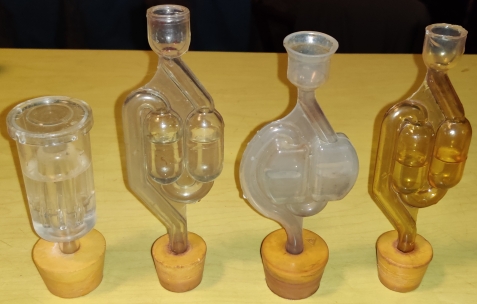
Airlocks were filled with water:
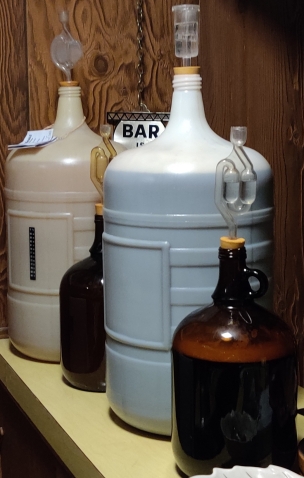
Water-filled airlocks were fitted onto the now-filled secondary fermentors, which were raised up to the level of the bar:

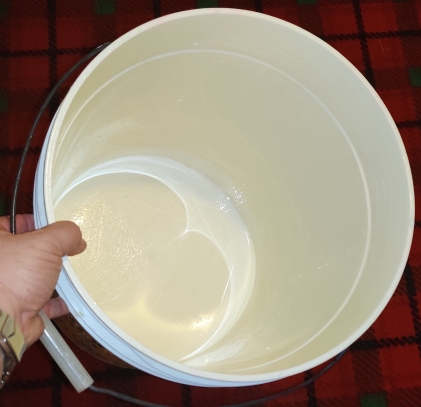
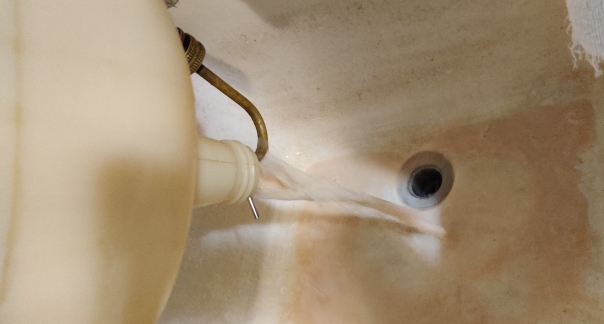
At the bottom of the fermentation bin, there was a sediment of dead and dying yeast:
The fermentation bin was brought to the laundry tub, and the sediment was drained out:
The fermentation bin was washed and rinsed with the jetwasher and a rag (not shown):
The airlock was already bubbling at this point:

The whole process was repeated for the other beer, the brown ale, and at this point, a second set of identified secondary fermentors filled with beer was placed beside the first set of secondary fermentors:
Day nine:
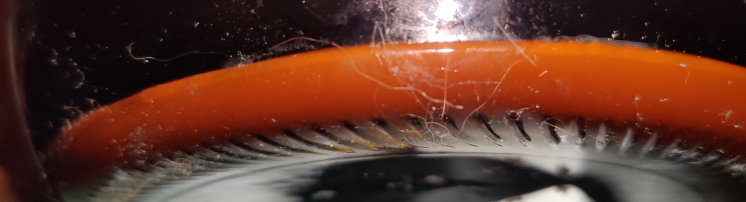
At this point, sediments had formed in the secondary fermentors:
You should start this now if you haven’t already:
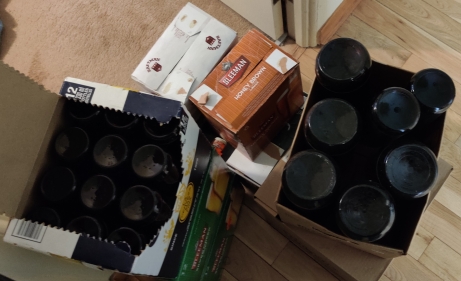
Normally, I have a collection of cleaned and de-labeled beer bottles in storage. Should you not have an adequate number of bottles for bottling your beer — 23 litres requires about 66 or thereabouts 341mL bottles, or equivalent — by now you should begin collecting them.
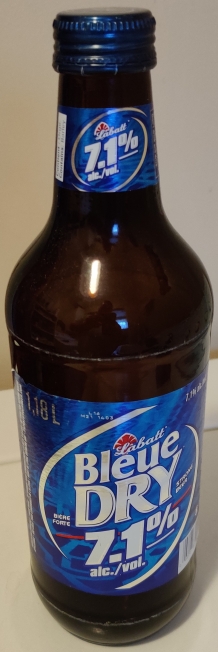
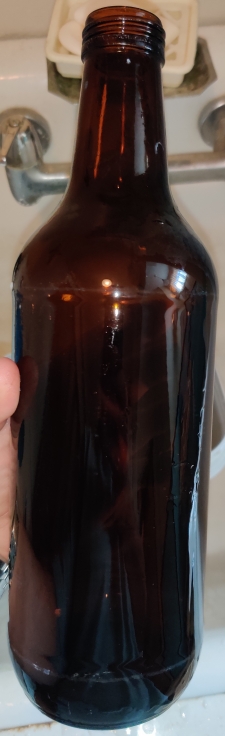
Normally, I get beer bottles from city streets; as I am walking about in the streets, I am continuously on the lookout for empty beer bottles to reuse for my beer; fortunately for brewers like myself, but in more general terms unfortunately, in the general area where I live, they are far more common and abundant than I might want to admit, and, surprisingly, most are in excellent condition! In the following few pictures, I show the cleaning of larger 1.18 litre bottles, since I use them as well as regular 341 mL bottles for beers I produce sometimes.
Other places to get beer bottles are to buy beer at stores, consume the beer, and then clean the bottles; or, ask friends and family to save beer bottles for you; and, be really nice with the bottle return clerk at the store and politely ask them if you may pay the bottle deposits on empty returned beer bottles.
Hence, an empty bottle was taken out:
The cap was unscrewed from the bottle, and kept:
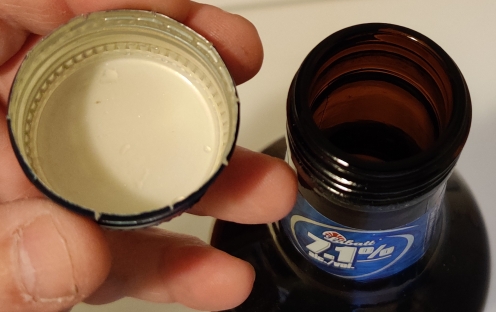
The bottle was inspected for chips, cracks, and any other defects:

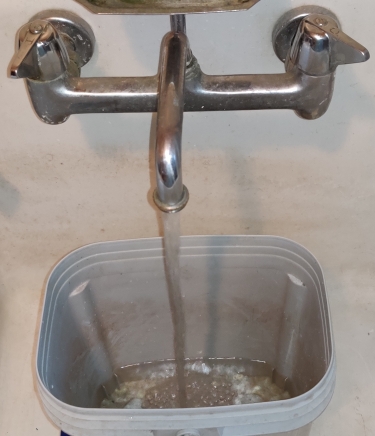
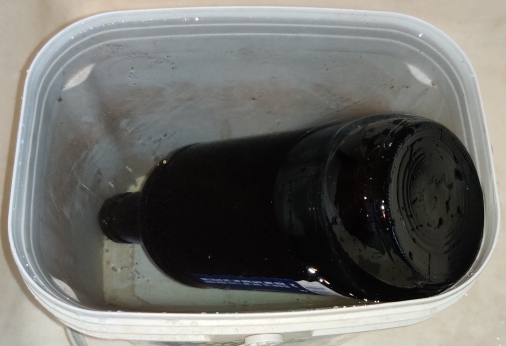
A plastic bucket was partly filled with water for soaking off the labels:
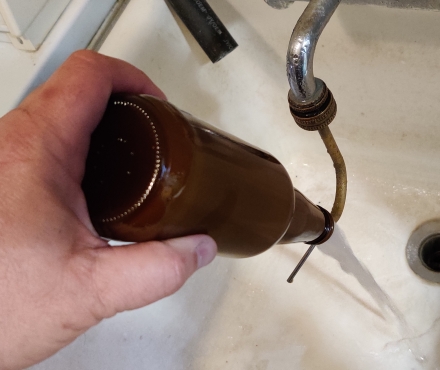
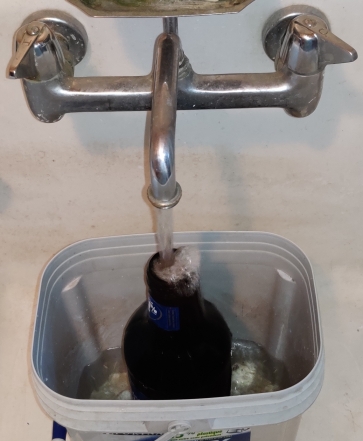
The bottle was placed in the bucket and filled with water …
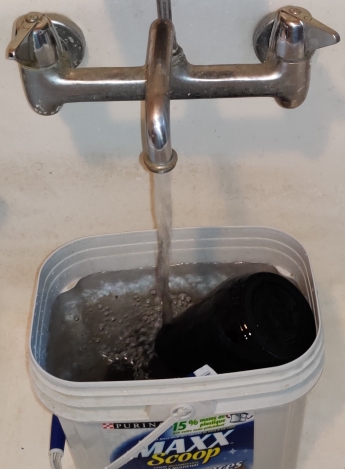
Once filled, the bottle was turned over (in order to properly soak the label on the neck), and the bucket was almost fully filled with water:
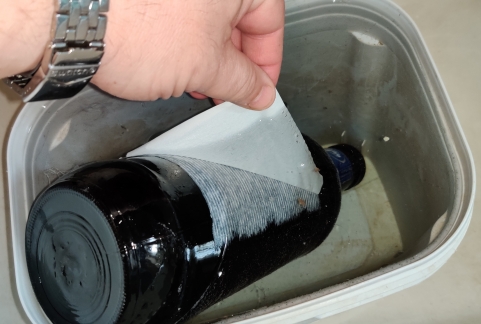
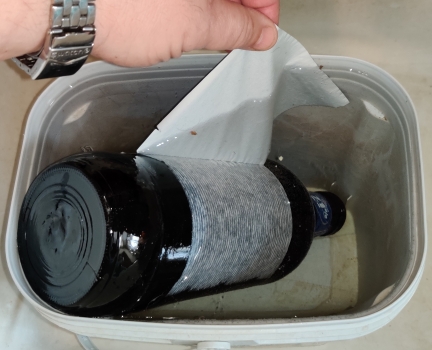
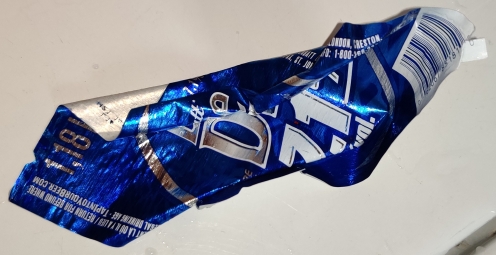
After a while, the label was carefully removed from the bottle:

An old vegetable scraping brush was taken out:
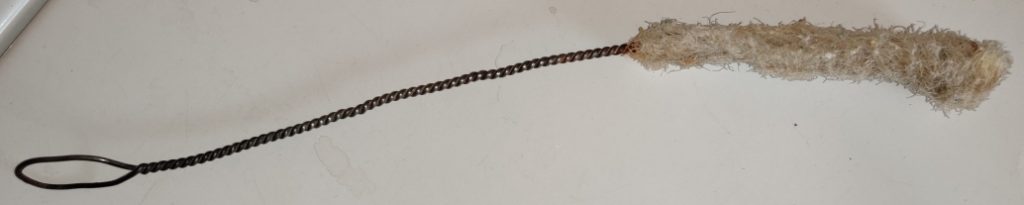
The brush and partially delabeled bottle were brought together …
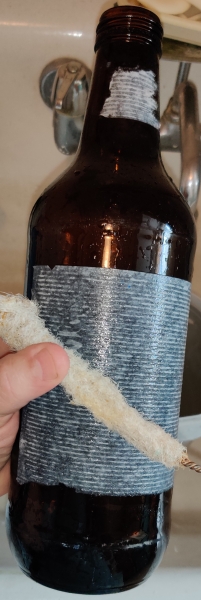
… and the vestiges of the label were removed …
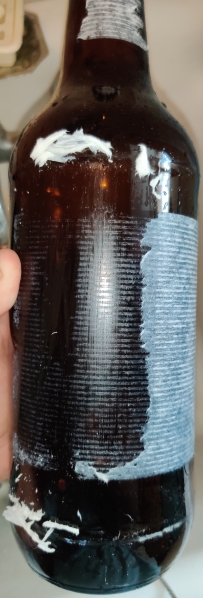
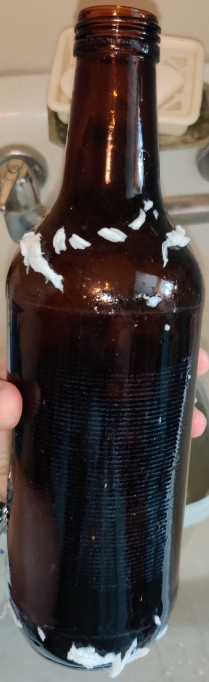
… including the glue:
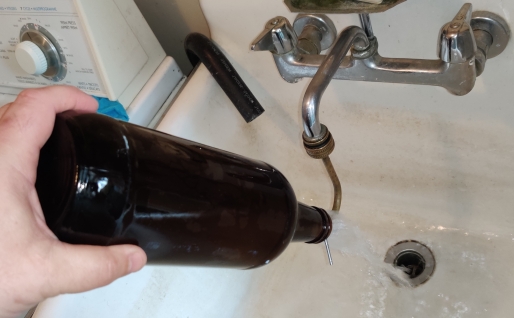
Yet again, the jet washer was installed onto the tap in the laundry tub:

… and the bottle’s interior was rinsed with the jet washer:
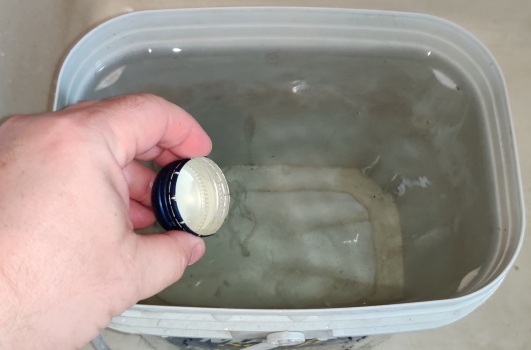
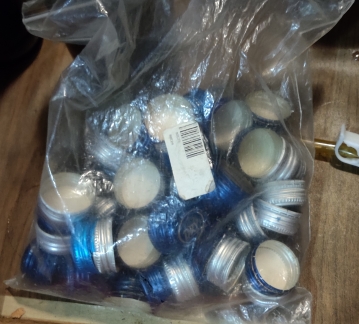
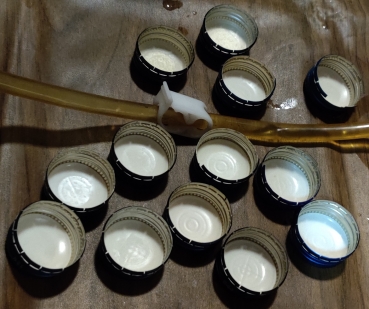
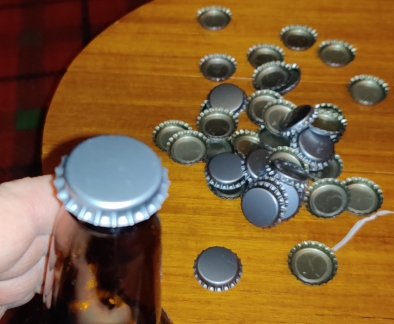
The bottle’s cap, which for these bottles and cap model can be reused if in good condition, was removed from the soaking water:
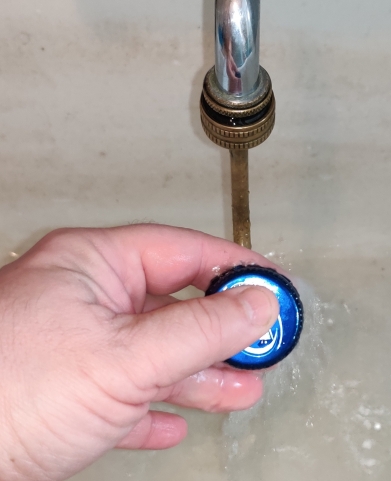
The cap was jet washed:
The bottle and cap were placed in the dishwasher with other dishes, to be washed and sanitized before storing for bottling day:
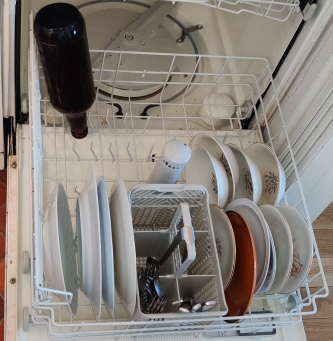
After the dishwasher had been run, the clean bottle was taken out, ready to be stored in anticipation of bottling day:
After three weeks:
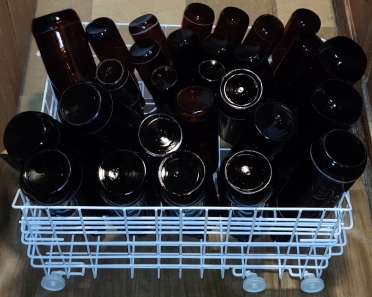
On bottling day, clean bottles were taken out to bottle the beer:
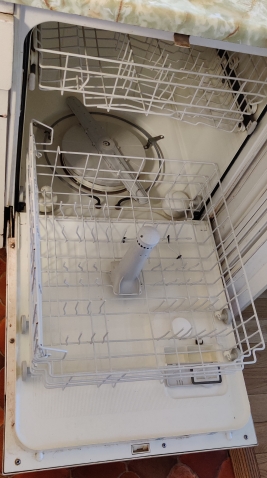
The dishwasher had been previously run to clean dishes, and then the clean dishes were all taken out, leaving an empty and clean dishwasher:
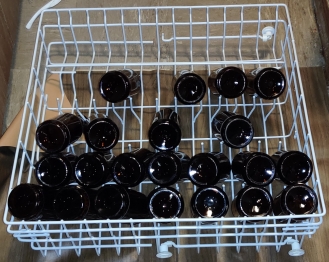
Large, 1.18 litre beer bottles were placed in the dishwasher:
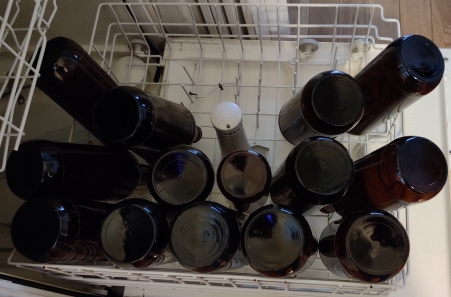
Small, 341 mL beer bottles were placed in the lower rack of the dishwasher alongside the larger beer bottles …
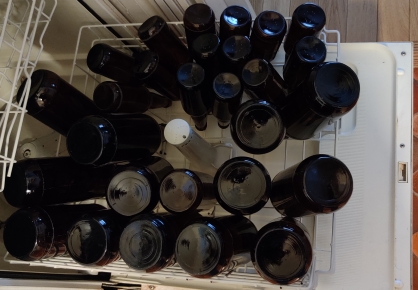
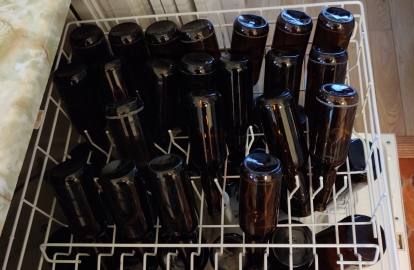
… as well in the dishwasher’s upper rack:
The dishwasher racks were rolled into the dishwashwer …
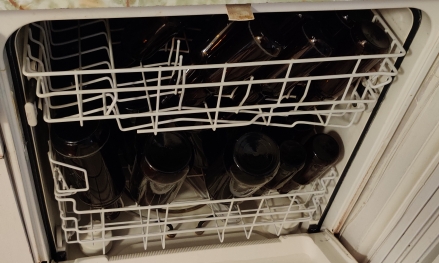
The dishswasher door was closed, and the dial set to start running the dishwashwer (without any soaps):
At this point, with the dishwasher running, I took out another beer and glass:
The beer was poured into the glass:
And the beer was enjoyed:
Various supplies and equipment were taken out for bottling, such as more dextrose to mix into the beer (to carbonate the beer once bottled), a racking tube, a large plastic mixing spoon, a measuring cup, a cone used to hold the racking cane in place in the secondary fermentors, a measuring cup to measure out the dextrose, some bottle caps for the smaller bottles, and the bottle capper for securing the caps on the smaller bottles. Missing: Caps used for larger bottles.
The racking tube and cane were rinsed with water:
The long plastic spoon was rinsed:
The jet washer was installed again:

The original fermentation bin was taken out:
The fermentation bin was rinsed with the jet washer:
The rinsed fermentation bin was brought over to the bar:
Dextrose was measured out:
The dextrose was brought to the fermentation bin:
The dextrose was poured into the fermentation bin:
The conical cane holder was placed on the racking cane:

The airlock was removed from the secondary fermentor whose beer was going to be racked:
The racking cane was carefully placed in the secondary fermentor whose beer was about to be racked:
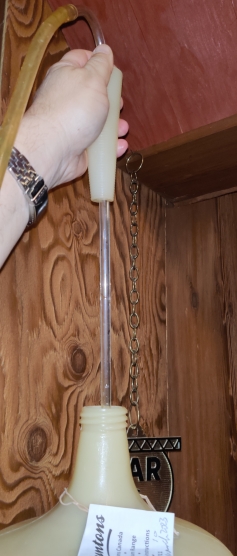
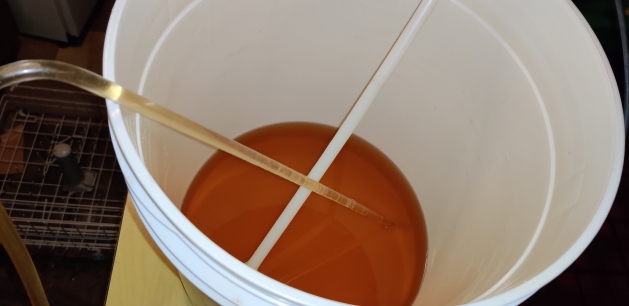
I sucked a bit on the end of the tubing to start the transfer of the beer from the secondary fermentor …
… which allowed for the beer to be siphoned off and transferred to the primary fermentor with the dextrose, which was on the floor of the bar:
As the beer was transferring to the fermentation bin at floor level, I stirred the beer a bit to dissolve the dextrose:
As the beer was being transferred, the level in the secondary fermentor kept on dropping:
Once the liquid had been fully transferred from the secondary fermentor, I transferred the racking tube to the gallon jug:
… until it too was empty:
The large secondary fermentor was jetwashed …
… as was the gallon jug:
At this point, the original fermentation bin was filled with the beer, and was thoroughly mixed again:
While the beer was still being racked, a section of the bar was cleared again …
… the plastic cloth was placed on the floor beside the cleared section of the bar …
… and the fermentation bin with the beer was raised up to the bar again, with the racking cane and tubing having been placed in the bucket and draping down to floor level:
At this point, the dishwasher had finished operating, so the bottom rack with the large 1.18 litre and some 341 mL bottles were brought downstairs to the bottling area:
Large 1.18 litre bottles were taken out of the rack and stood upright for filling:
The racking tube was primed (flow started) and used to fill bottles one by one:
The clean caps were taken out:
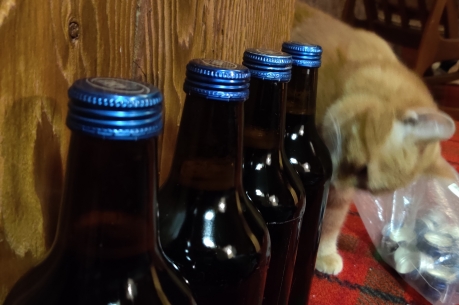
… and the bottles were capped, and moved out of the bottling area. And here is my cat helping out with the beer bottling!
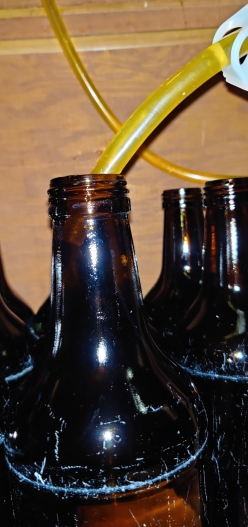
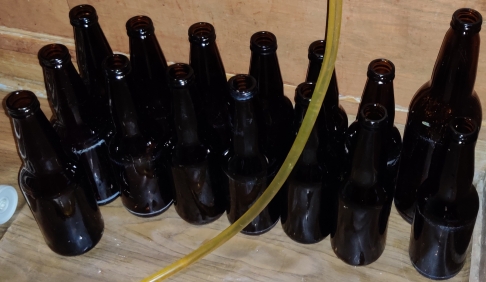
Smaller 341 mL and a single 750 mL bottles were taken out of the dishwasher rack and stood upright for bottling:
The regular-sized beer bottles were filled with the racking tube:
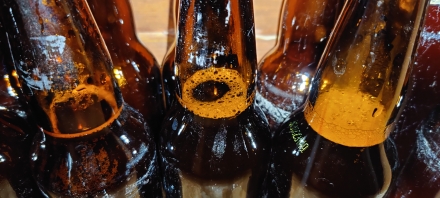
The filled beer bottles were moved out of the filling area as they were filled:
At this point, the level of beer in the fermentation bin had gotten low, however it still contained several bottles of beer:
Also at this point, all the bottles from the lower rack of the dishwasher had been filled with beer:
The upper rack from the dishwasher was brought down to the bottling area:
The rest of the beer was bottled, and the uncapped bottles were placed in beer cases in order to facilitate moving them over to where I capped the bottles:
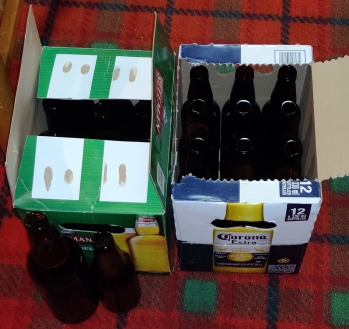
At this point, I had set up my capping station, and had moved the cases of filled beer bottles there:
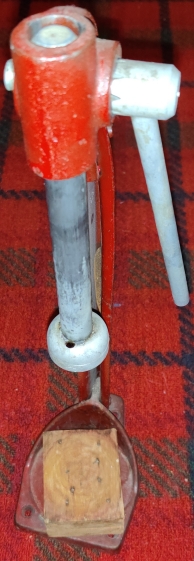
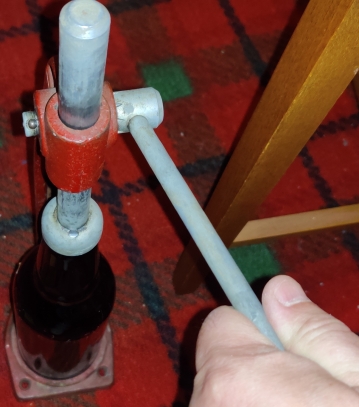
My beer bottle capper was taken out, along with a wooden booster to accomodate “modern” beer bottles, which are shorter than the tall bottles for which the capper seems to have been designed:
Uncrimped beer bottle caps were placed on bottles one at a time …
Bottles with caps were placed in the bottle capper, starting with a tall bottle not needing the wooden booster …
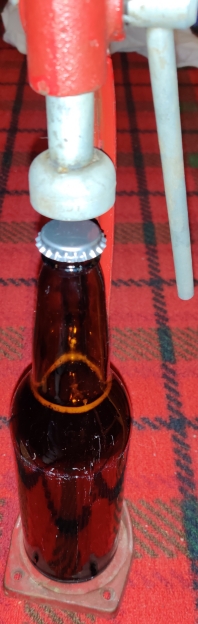
… and the plunger was pushed down over the cap, in order to crimp it onto the bottle:
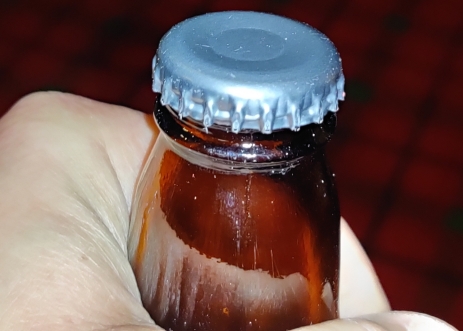
… producing a capped and sealed bottle of beer:
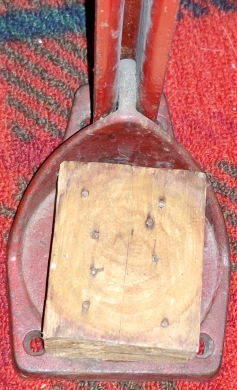
The wooden booster was placed back on the base of the capper:
The bottles of beer were all capped:
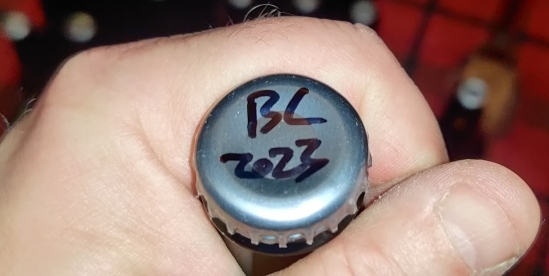
A permanent marker was taken out:

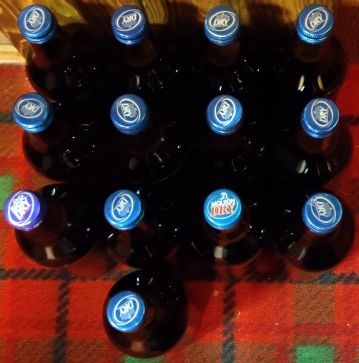
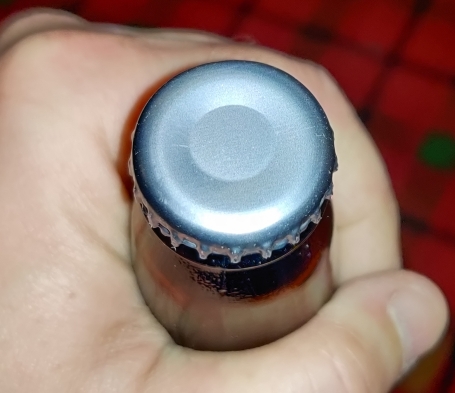
The tops of the bottles were identified, in this case with “BL” for the blonde beer, and 2023 … for the year 2023. 🙂
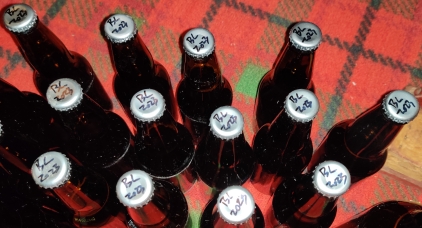
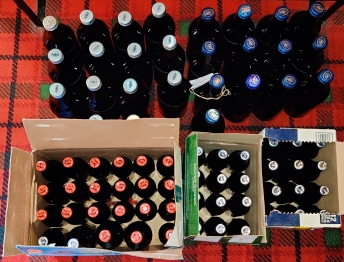
The bottles were placed back in beer cases:
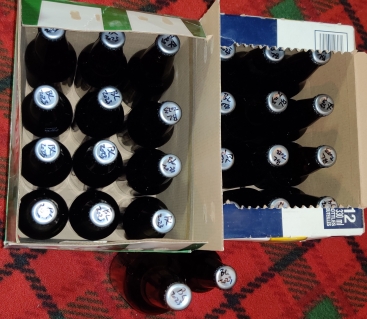
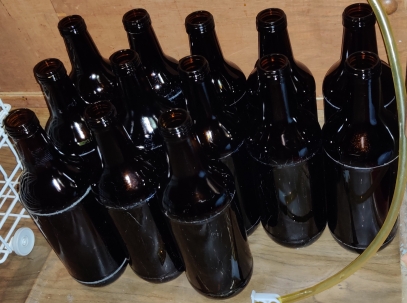
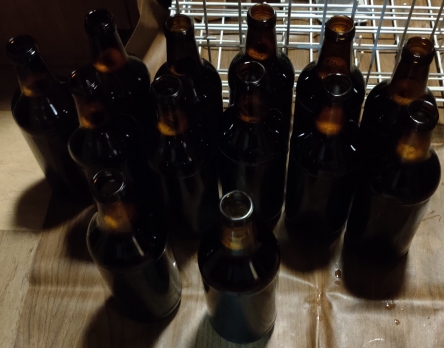
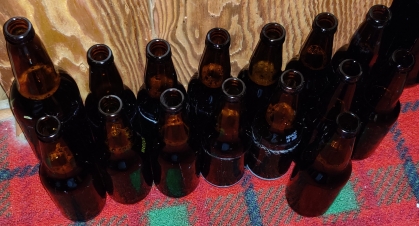
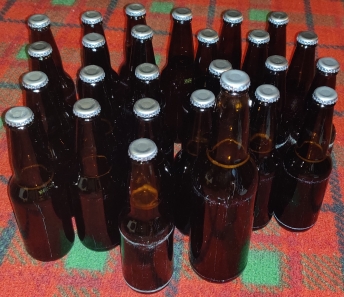
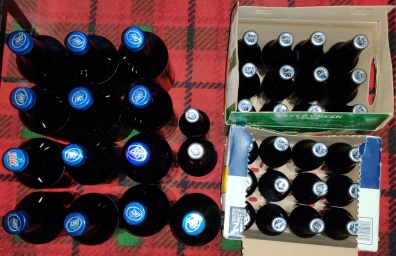
Here are all the bottles of beer of the blonde beer:
The bottling process was repeated for the brown ale:
After nine weeks:
Of course, the beer had to be taste tested, so a bottle of the blonde beer, as well as a glass, were taken out:
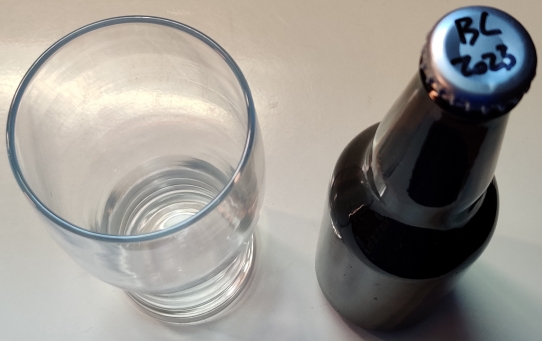
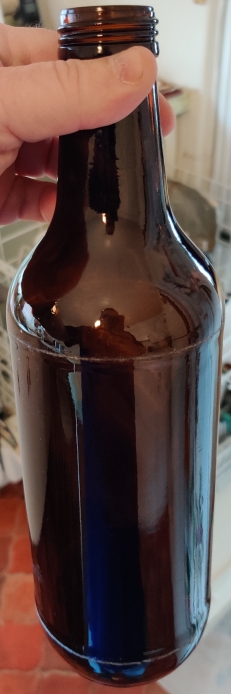
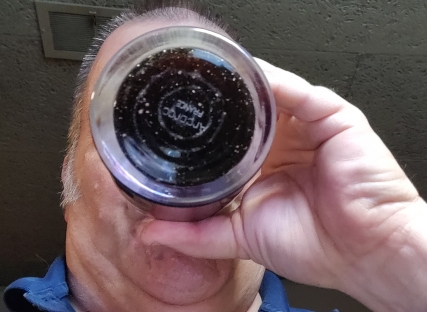
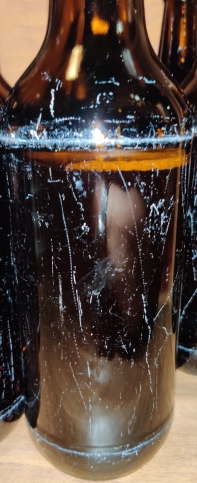
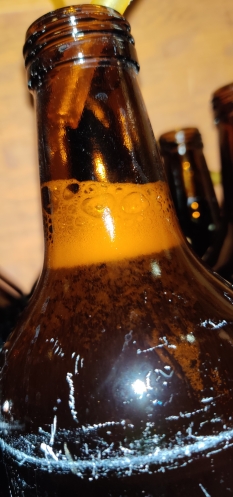
The bottle was held up to the light of a window to check that it had cleared on its own:
The blonde beer was poured into the glass …
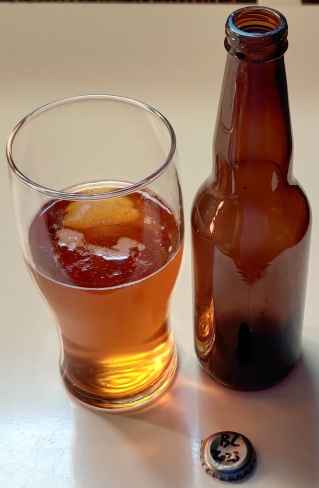
… and the beer was enjoyed:
The beer is now ready to be consumed on … well, poor weather postponed the Canada Day festivities where I live, so it will be ready when Canada Day is rescheduled!